Blueberry season is upon us and today I wanted to share with you our favorite blueberry creations that you can use those fresh picked berries for. Our family is looking forward to an evening of picking this week and these are the recipes that we will be using to create our favorite blueberry dishes.

A pancake laced with fresh handpicked blueberries seems the perfect occasion to break out the old griddle and spatula for a fun and inexpensive weeknight meal. These blueberry pancakes are a delicious way to use a few of those berries and I promise that they will be a hit with your family too!
I love that with this batter it is encouraged to mix the batter up ahead of time and allow it to rise for a bit on the counter. What happens is that this seemingly unimpressive batter is magical as it puffs up beautifully once placed on the griddle. Once poured on the griddle, I sprinkle the blueberries into each pancake individually as they become golden. The pancakes are then served with a little syrup and another generous handful of fresh berries on top.
Recipe: Blueberry Pancakes
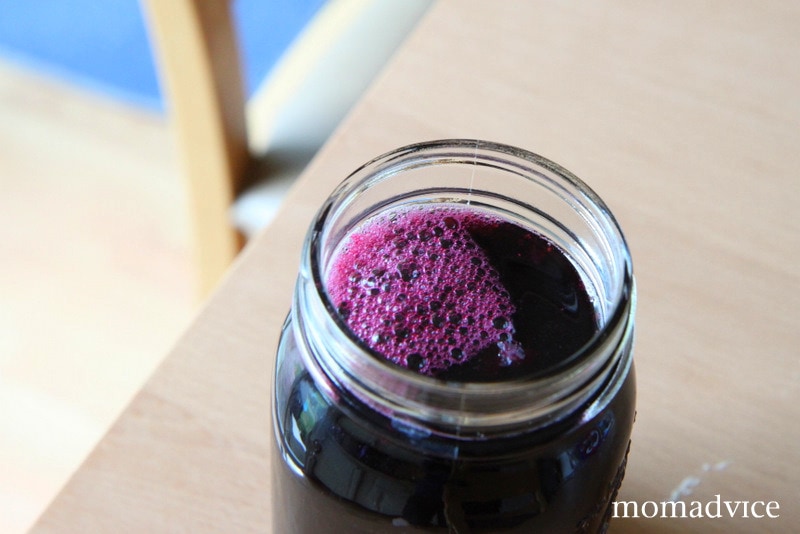
Making homemade syrups for drinks is something that I love to keep in our refrigerator to fancy up a glass of iced tea or a mug of coffee. Making homemade syrups does not take a lot of time, but it can make a regular glass of iced tea go from a standard glass to a fantastical gourmet treat.
This is a my favorite recipe for making Blueberry Drink Syrup that can be added to your iced tea, your coffee, or even your margarita! Whatever gets you going in the morning, I promise not to judge!
Recipe: Blueberry Drink Syrup
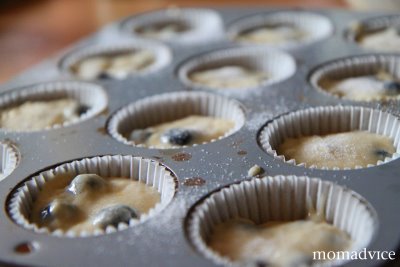
It is the berry season and nothing says summer to me like a big blueberry muffin. These blueberry muffins are laced with the juice and zest of one lemon, which cuts through the sweetness and makes a perfect balance of flavors. I dust these with raw sugar and they make a fantastic snack to eat and to share with neighbors and friends.
Recipe: Lemony Blueberry Muffins
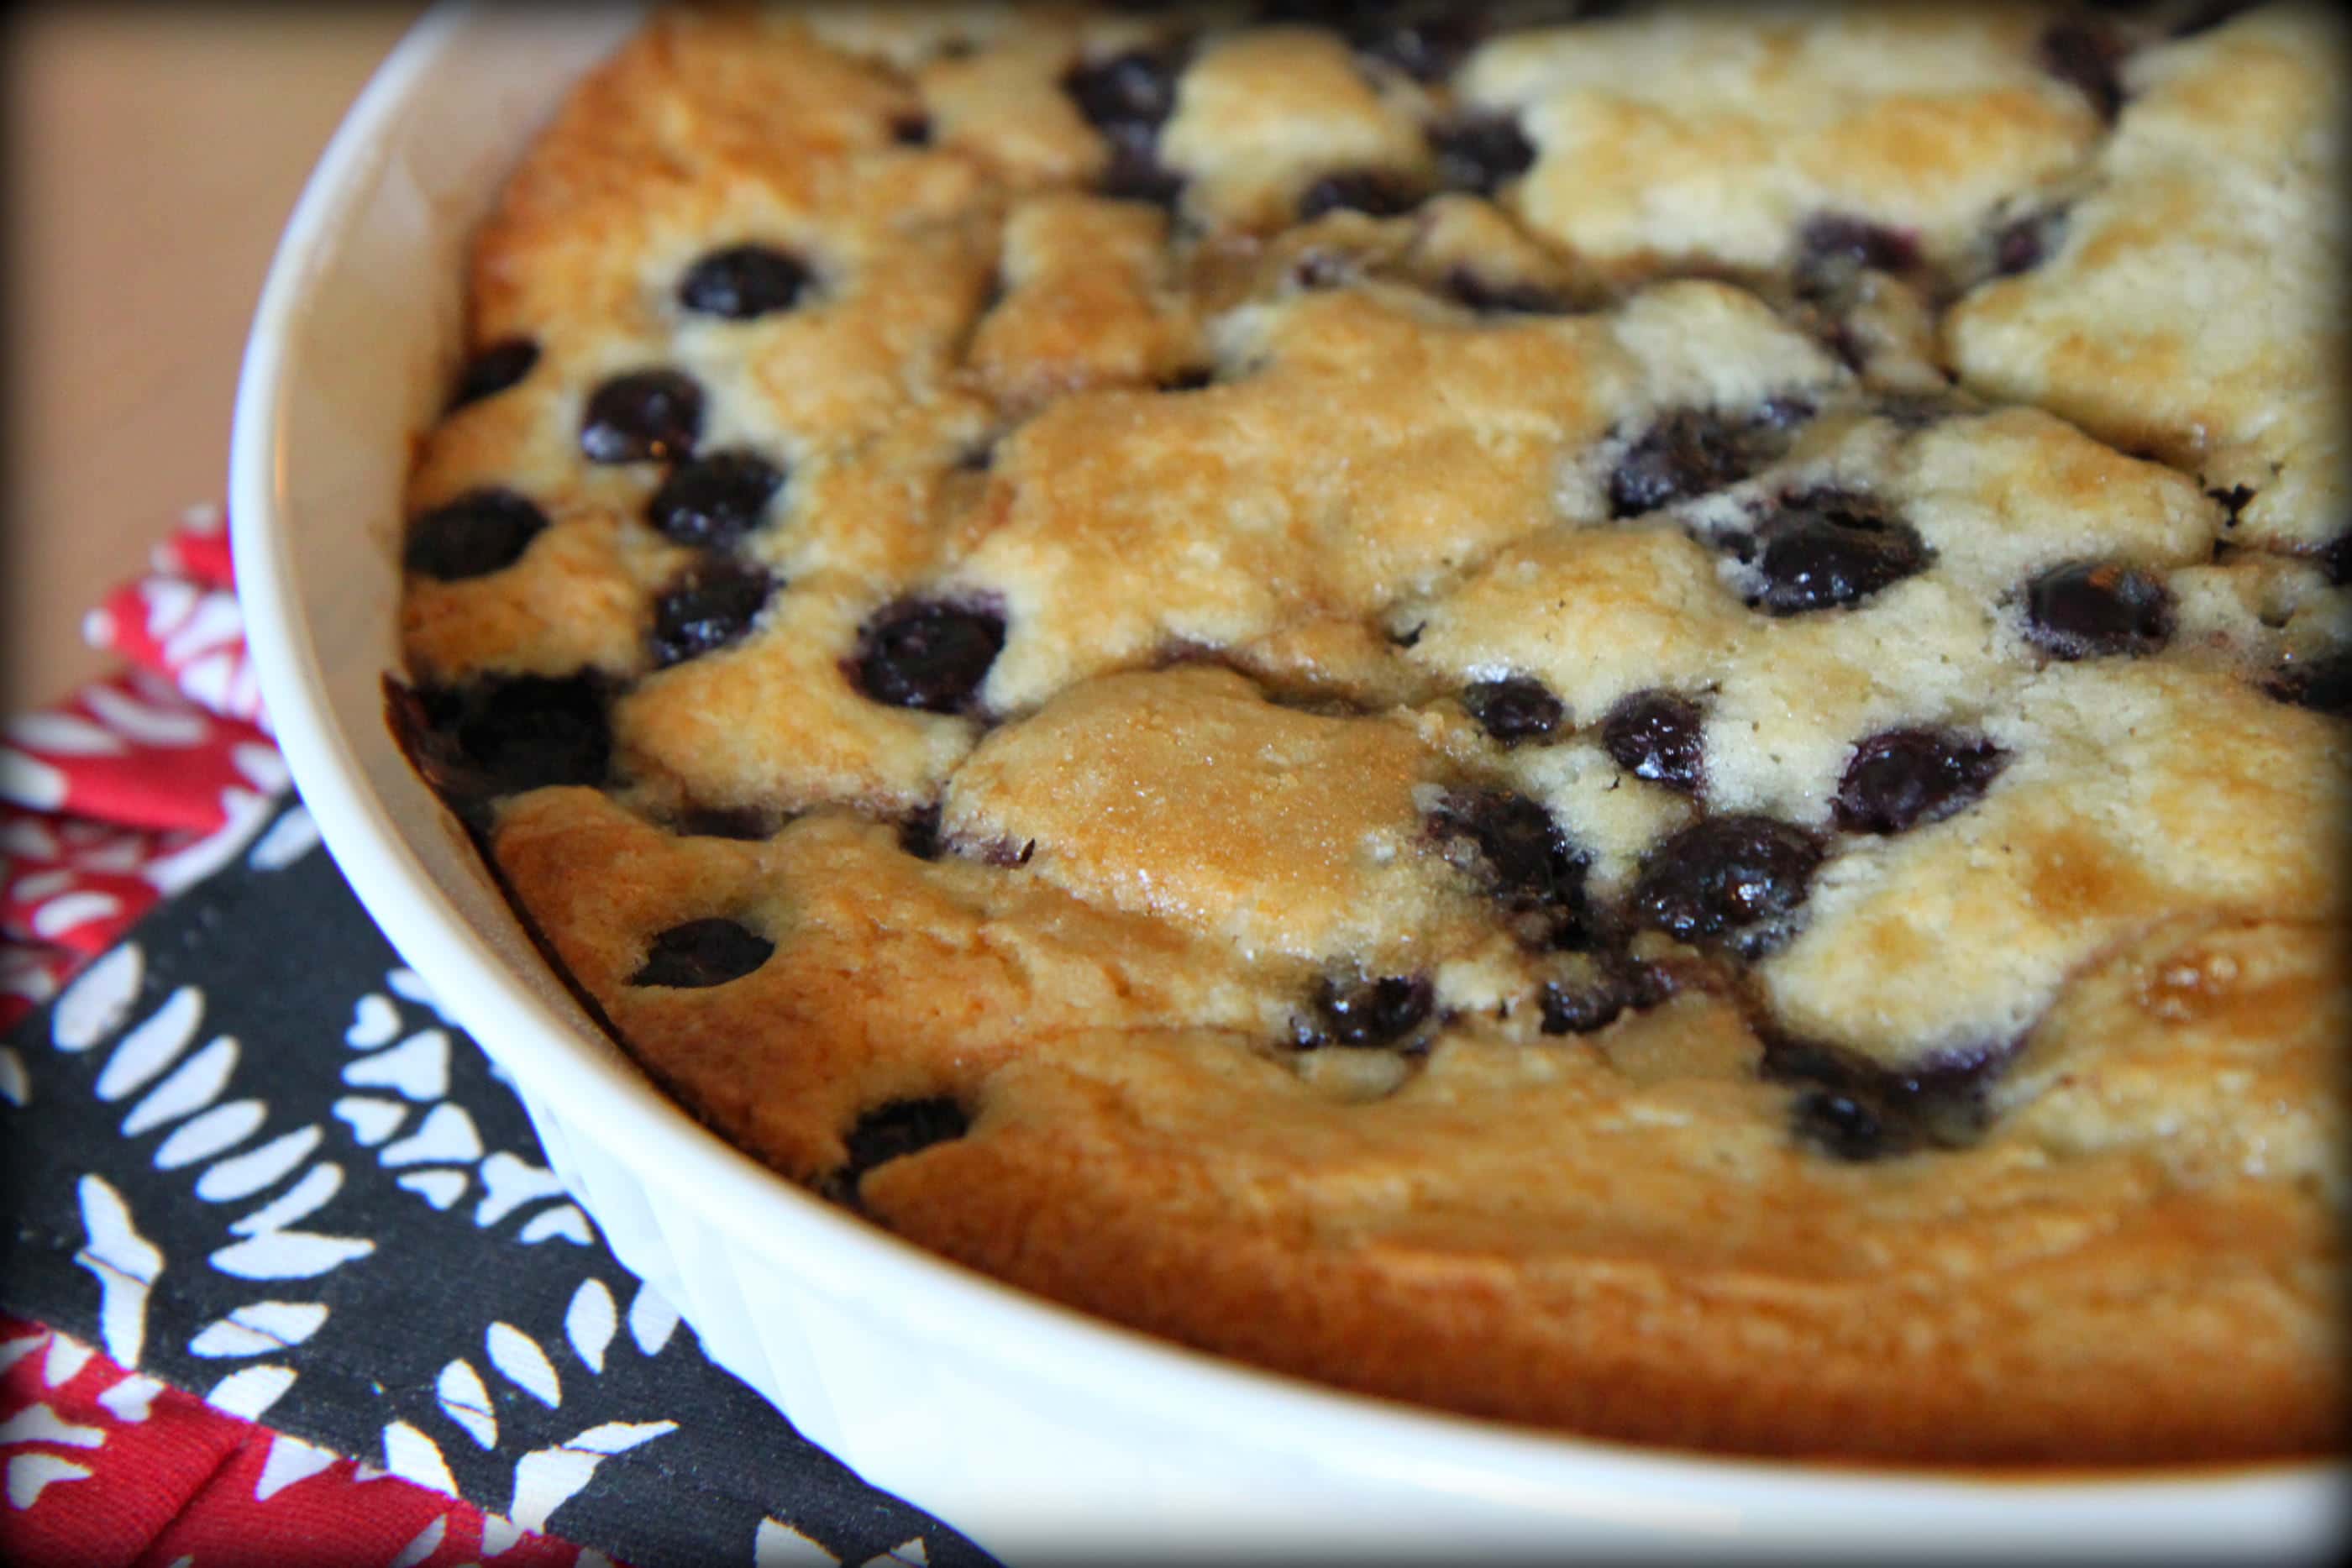
Last year I decided to give a blueberry cobbler a try for a book club meeting and this recipe pulled together so easily that I shared it that evening and then later, as a special birthday treat for my mom. With all of the ingredients coming straight from the pantry, it was a fun and frugal dish to share and everyone I shared it with really seemed to enjoy it. If you are looking for a fast and satisfying dish to bring to your next gathering, I highly recommend this delicious blueberry cobbler for a perfect way to end any meal.
Recipe: Fresh Blueberry Cobbler
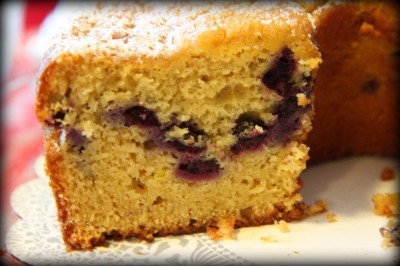
Looking for a recipe for a few blueberry haters in your family? This is the one that is sure to convert them and just a peek inside this cake shows why anyone can eat it. The cake only has one cup of blueberries in the whole thing. This handful of berries makes a beautiful stripe down the middle and adds just the right balance of blueberries and cake instead of the overwhelming amount of berries that can be in other cakes and muffins.
The blueberries are suspended in the batter with the help of a little reserved cake mix and a quick toss to coat them. The cake mix has added flavor boosts from the addition of cinnamon, vanilla yogurt, and a little vanilla pudding mix. The resulting cake is moist and absolutely perfect. This is truly my favorite blueberry recipe and I promise it will be yours too!
Recipe: Blueberry Muffin Cake
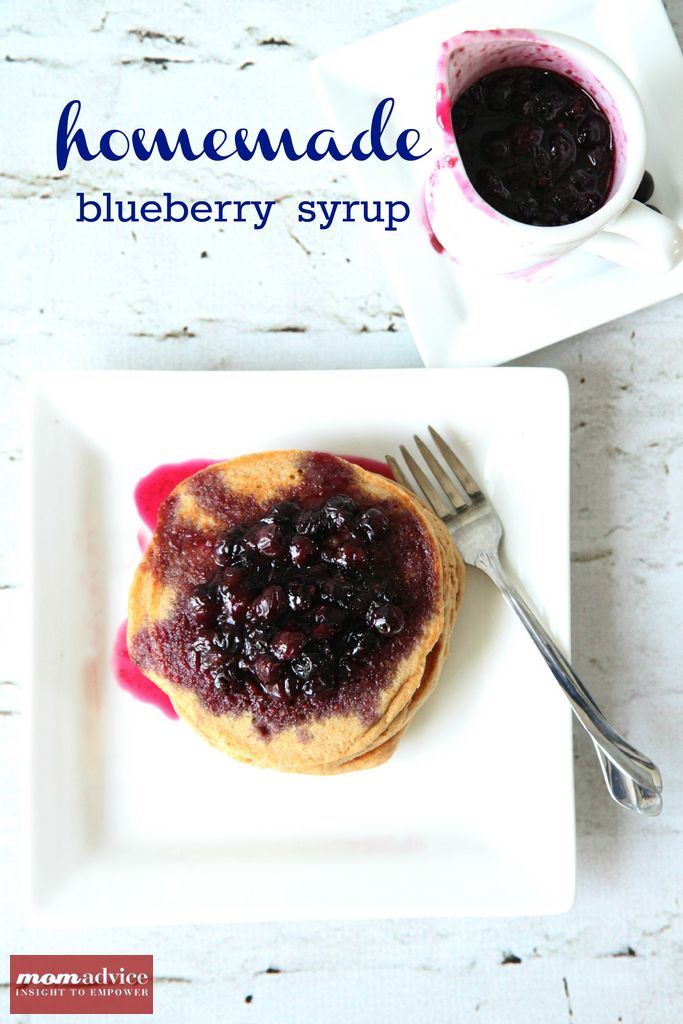
It is amazing how sugar, water, a little vanilla, and fresh berries make such an incredible difference on a plain old waffle, but this blueberry pancake syrup proves that simple ingredients can create something outstanding.
The burst of flavor, the happy dance in my mouth, and the smacking of lips at the table make me so incredibly joyful when we eat this syrup over our waffles. The berries coat the waffle perfectly and add a little sweetness to my waffles without a sugary overkill.
This is really and truly a fantastic indulgence that takes about the same amount of time to cook as it does to make up a batch of waffles. Fast and delicious!
Recipe: Blueberry Pancake Syrup
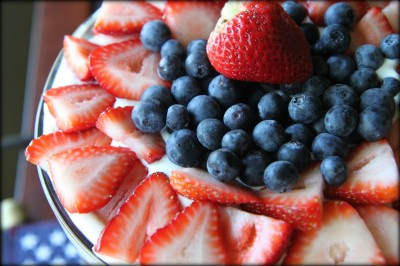
One thing I have wanted to try is a trifle and for my son’s birthday this year, I had the perfect opportunity! With berries in season and a store-bought angel food cake, this dish isn’t only affordable, but easy too!
The white chocolate pudding set this trifle apart from any other I have ever eaten because it adds a richness and unexpected layer into this berry trifle. Not only does this dish taste rich, but it is perhaps one of the lightest desserts I have ever made where I felt full and satisfied, while feeling like I indulged. Of course anything with pudding, cake, and berries is a winner in my book. I would highly recommend giving this recipe a try for your next get together!
Recipe: Red, White, & Blueberry Trifle
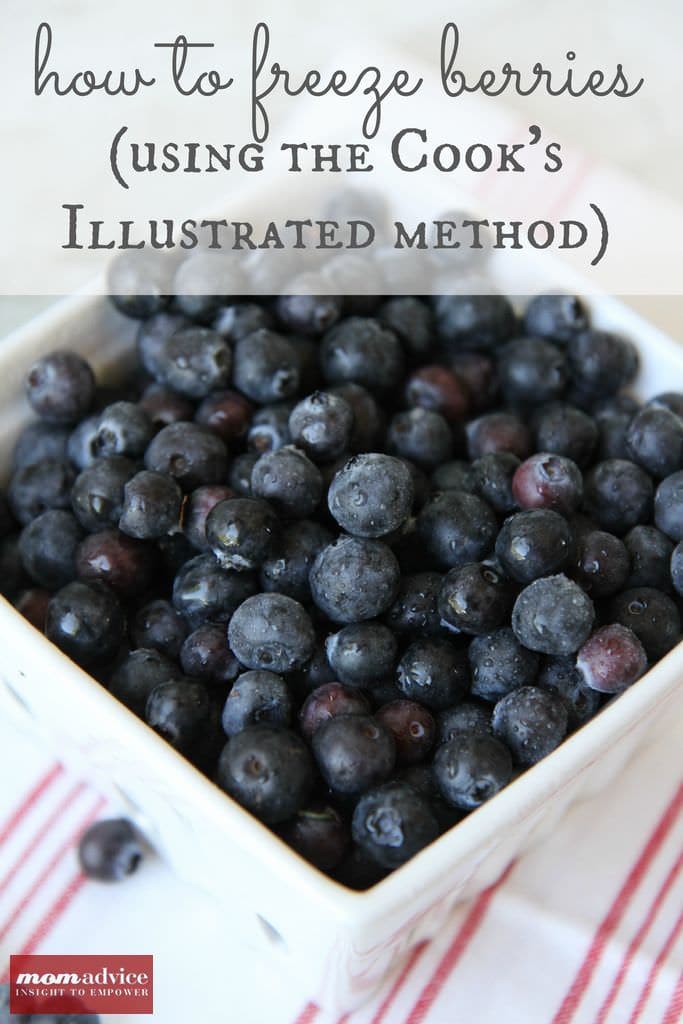
After all of this inspiration, if you still have some berries left, I highly recommend the Cook’s Illustrated technique for freezing your berries for optimal flavor. I tried this last year and last month we ate berries that tasted like they had been freshly picked after almost a year of storage.
In years past, I just threw the berries on a cookie sheet, froze them, and then tossed them into marked bags for later consumption. Cook’s Illustrated is my Bible for cooking and they claim that the best consistency for blueberries is if they have been frozen with sugar. They froze six different kinds of fruit, tried seven different methods of freezing on each fruit, stuck them in the freezer for six months, and then tasted them. I certainly don’t have the time or inclination to take on a task like that and that is why I absolutely love Cook’s Illustrated!
If you are worried about the sugar, it is just meant to help keep the fruit’s shape and texture. When you want to eat the berries, you just rinse the sugar off and enjoy the optimal taste of the fruit.
Freeze Blueberries in 3 Easy Steps
Our collection of recipes continues to grow! While I have you here, here are four more fun ideas to try this year!
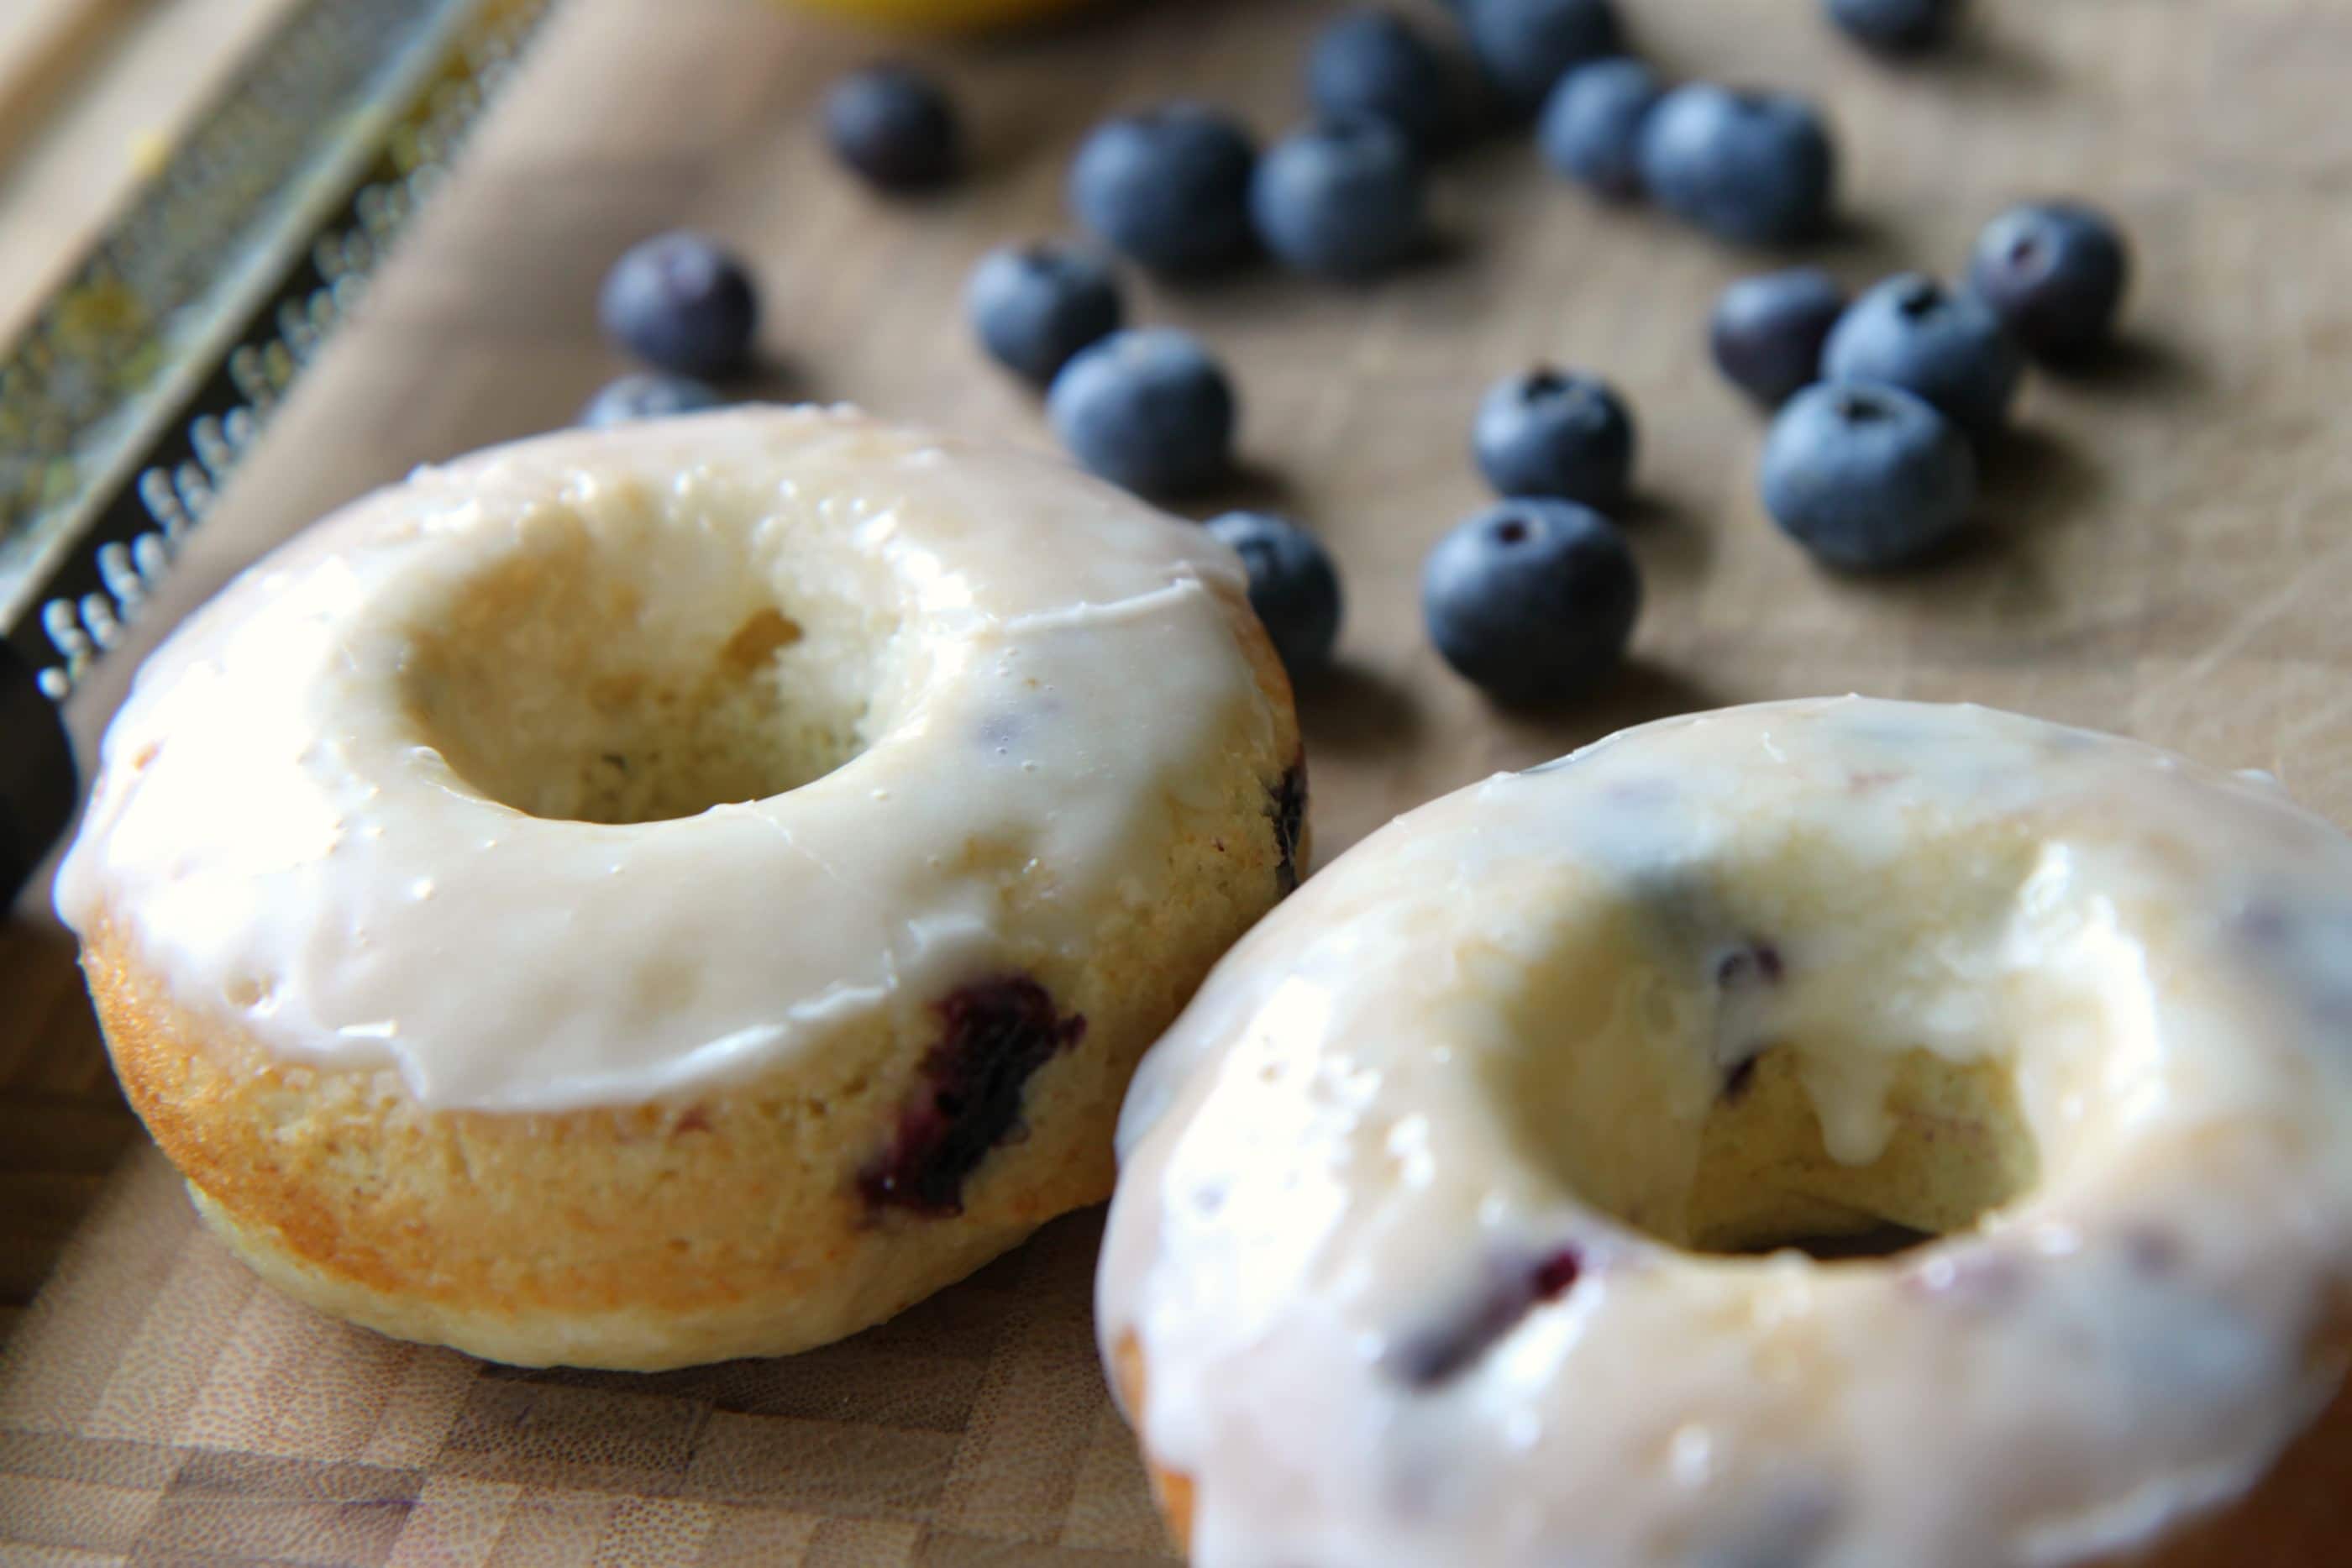
Baked Blueberry Doughnuts With a Lemon Glaze
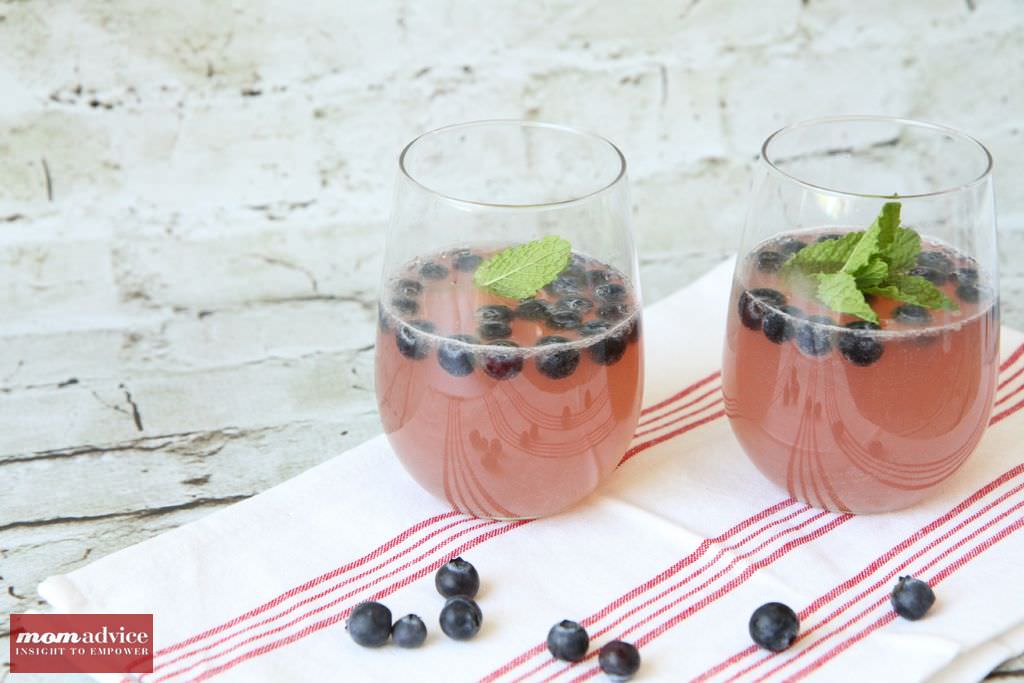
Blueberry Sangria Lemonade
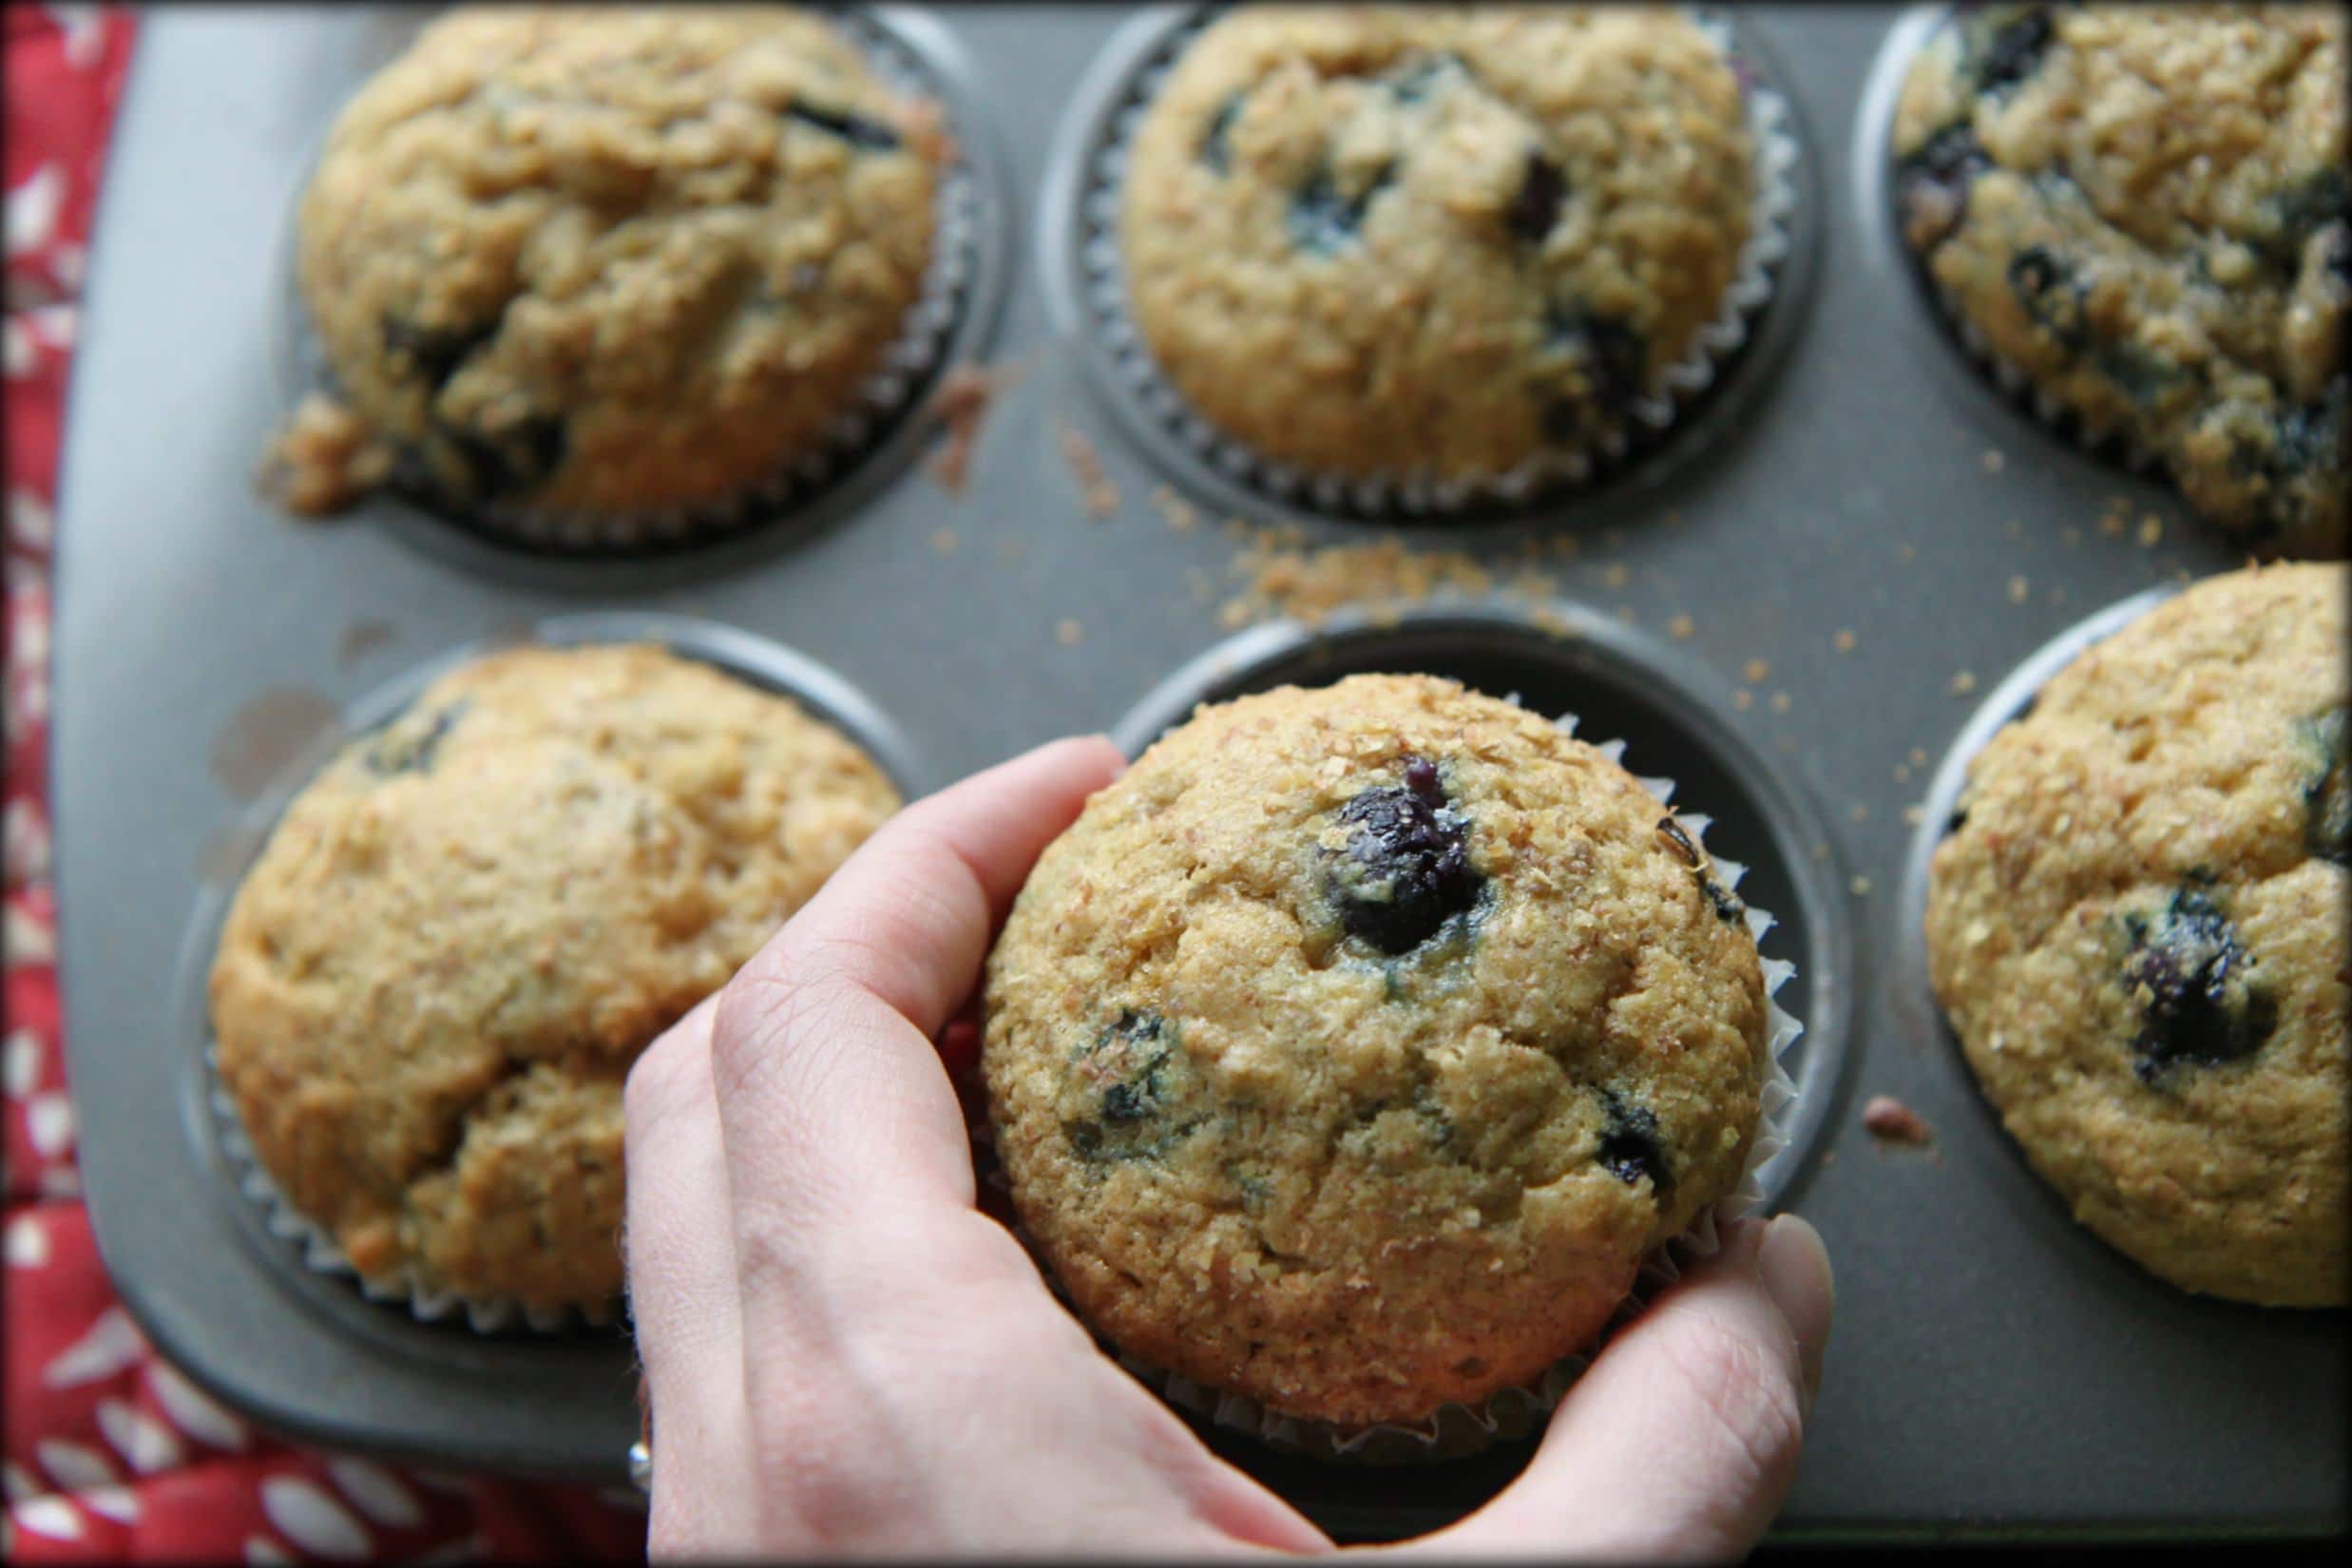
Healthy Blueberry Banana Muffins
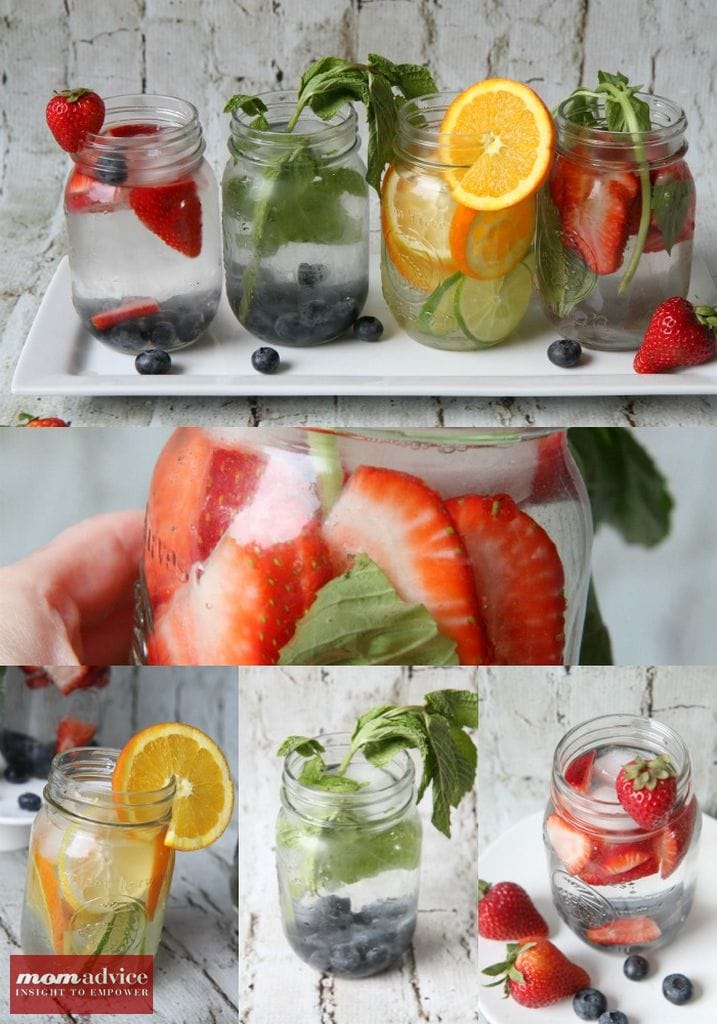
Healthy Fruit Infused Waters
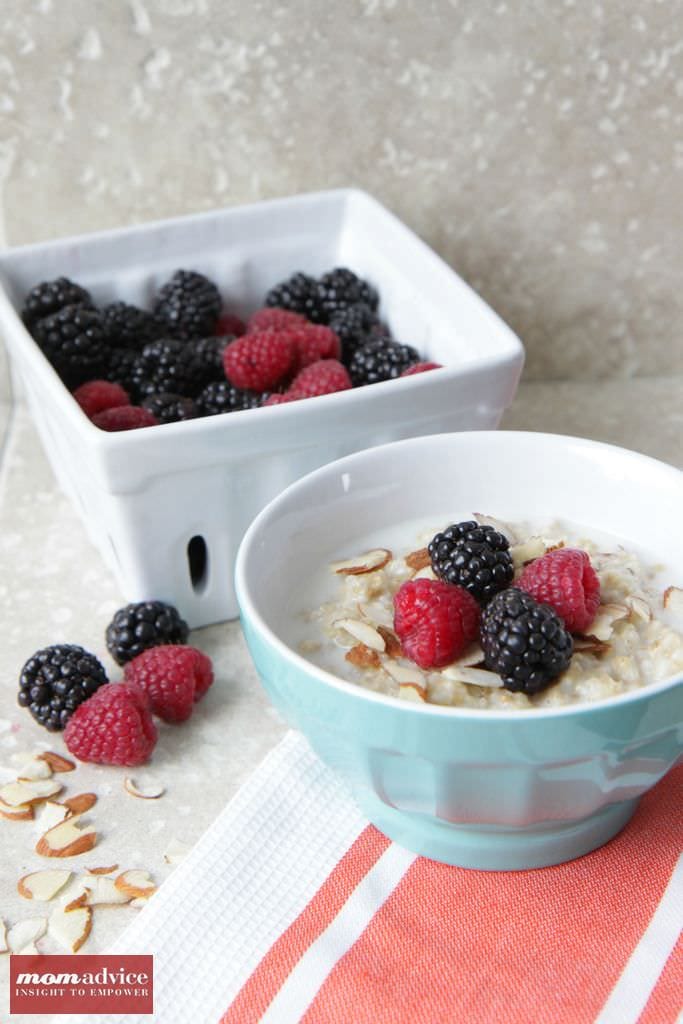
Quinoa-Berry Breakfast Bowls (sub with blueberries)
What are your favorite blueberry recipes? How do you freeze your berries? Feel free to share links and recipes here for even more inspiration for our readers!
Pin It


