Archive for the ‘Food & Recipes’ Category

How to Candy Nuts (EASY RECIPE)

Monday, February 26th, 2024
How to Candy Nuts

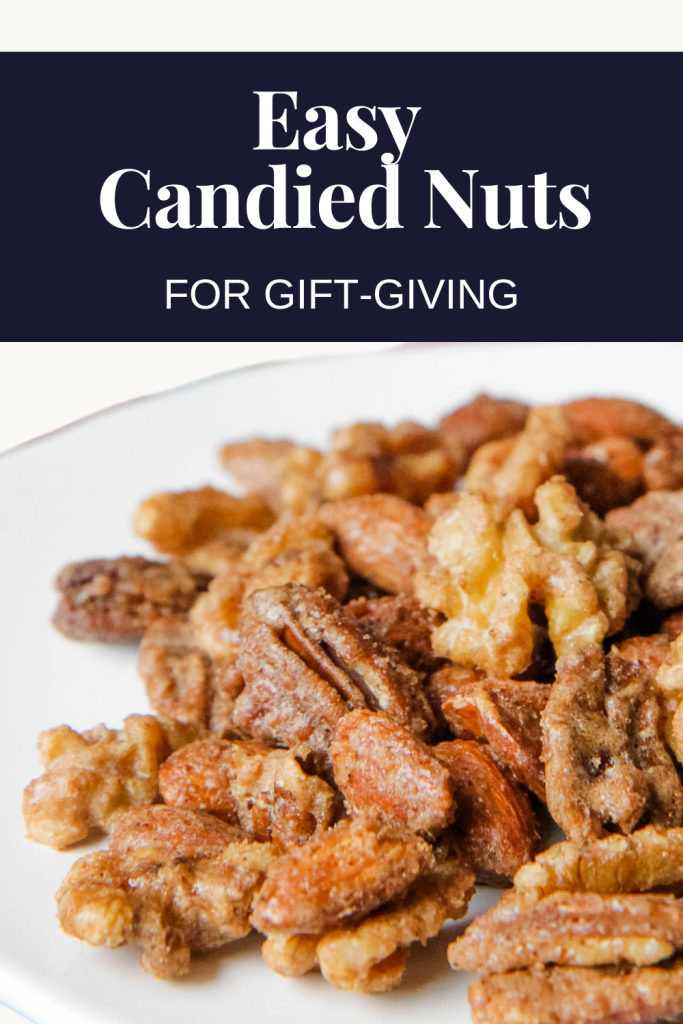
Learn how to candy nuts with this candied nuts recipe that incorporates sugar and spice. This yummy no bake treat is a perfect gift to give for the holidays.

Are you ready to impress with a holiday gift that’s as easy to make as it is delicious? Look no further than this sugar & spice candied nut mix!

Whether you’re a seasoned baker or a kitchen novice, this recipe will surely become a favorite for gift-giving or holiday snacking.

Making your own flavored nut mixes might not be something you have considered for the holidays, but once you try this delicious nut mix, you will have a difficult time giving these sugared and spiced holiday nut mixes away.

What Are Candied Nuts Made Of?

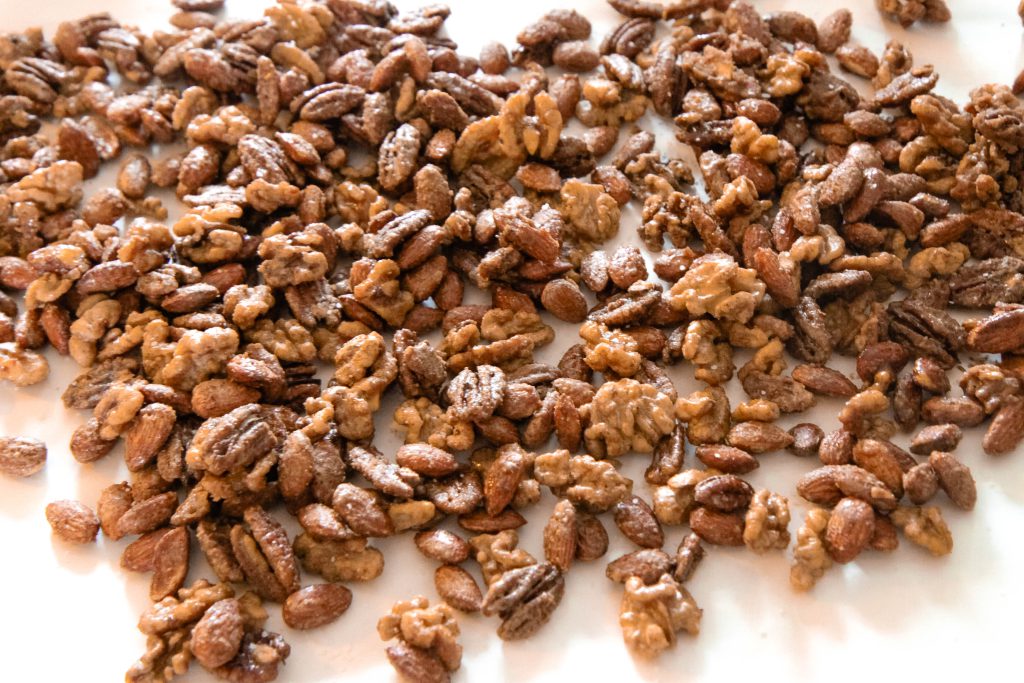
Candied nuts are made by coating raw nuts in a mixture of sugar, spices, and egg whites and then baking them until golden and crispy. 

This creates a sweet, crunchy treat perfect for snacking or gifting.
How to Candy Nuts

Kitchen Equipment Needed to Candy Nuts

Mixing bowls- For mixing the nuts and spice mixture.

Measuring cups and spoons- For measuring the spices and nuts.

Baking sheet- For baking the nuts in the oven.  I recommend the Nordic Ware Big Baking Sheet for your holiday baking projects.

Parchment paper or silicone baking mat- For lining the baking sheet.

Whisk- For whisking the egg whites and spices.

Wooden spoon- For stirring nuts.

Airtight containers or packaging materials- For storing or gifting candied nuts.
How to Candy Nuts

How to Candy Nuts

You can scroll down to see the complete ingredient list and step-by-step instructions.

Preparation: Preheat your oven and line a baking sheet.

Mix Spices: Whisk together sugar, water, egg white, and spices.

Coat Nuts: Toss raw nuts in the spice mixture until evenly coated.

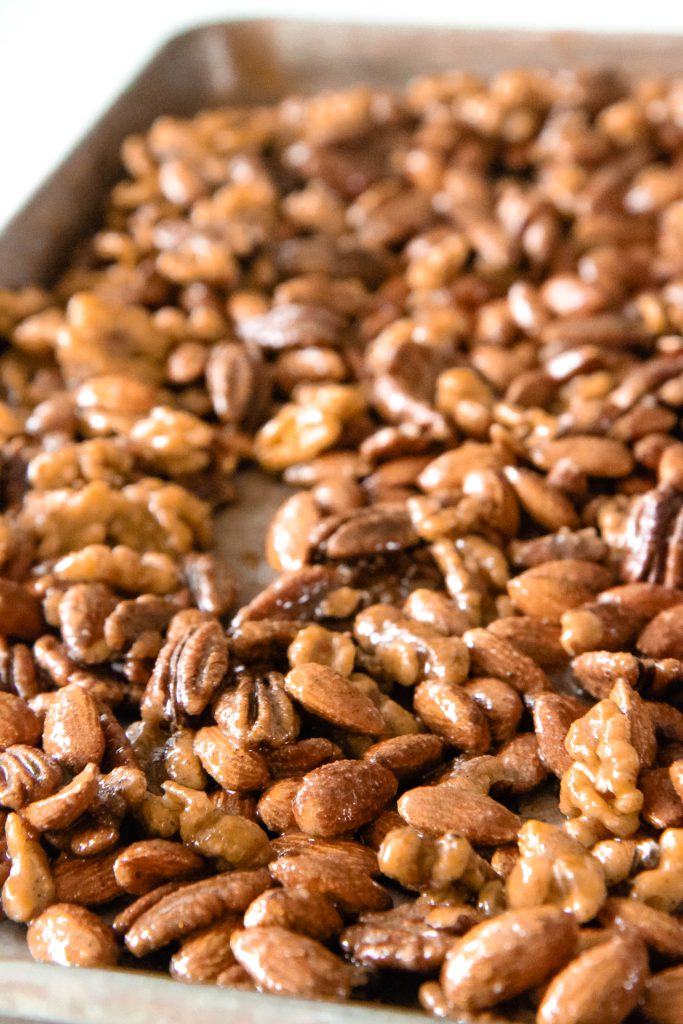
Bake: Spread nuts on the baking sheet and bake, stirring occasionally.

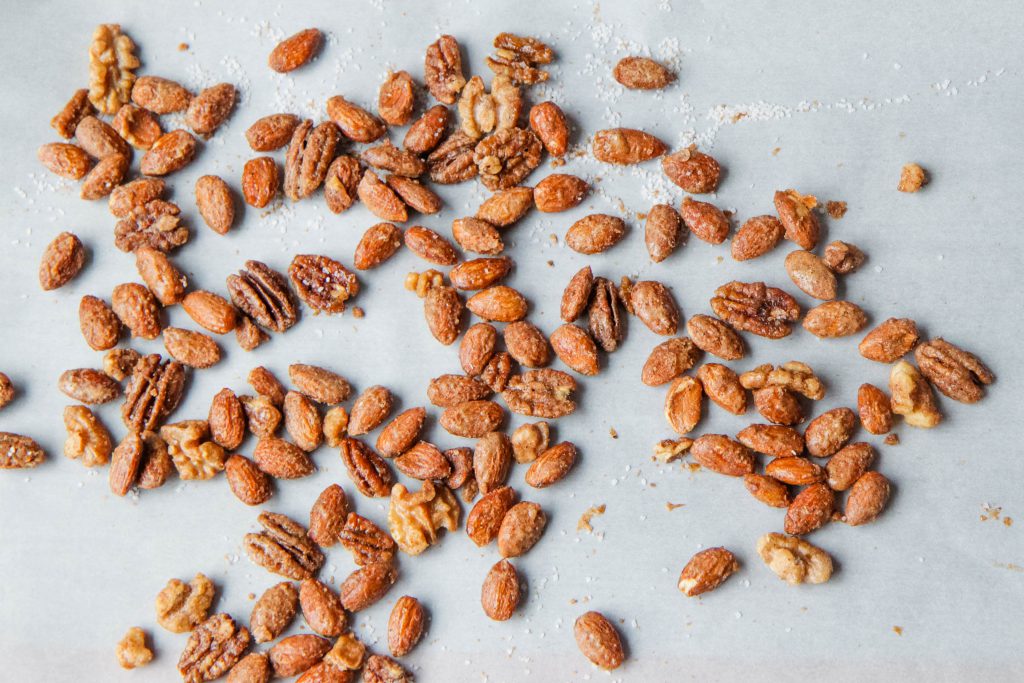
Season: Sprinkle hot nuts with coarse salt for a perfect finish.

Cool and Package: Let the nuts cool, then package them for gifting or enjoying.
Before I share the recipe, here are some answers to commonly asked questions about how to candy nuts:

Where is The Best Place to Buy Nuts for Gifts?

If you have a membership to Costco or Sam’s Club, you can buy these ingredients in bulk to save on your cost per pound.

I also found this Reddit thread on where to buy the cheapest nuts and thought it had some incredible suggestions that I wouldn’t have thought of to reduce the price on buying nuts in bulk.
How to Candy Nuts

What Are the Best Nuts for a Holiday Nut Mix?

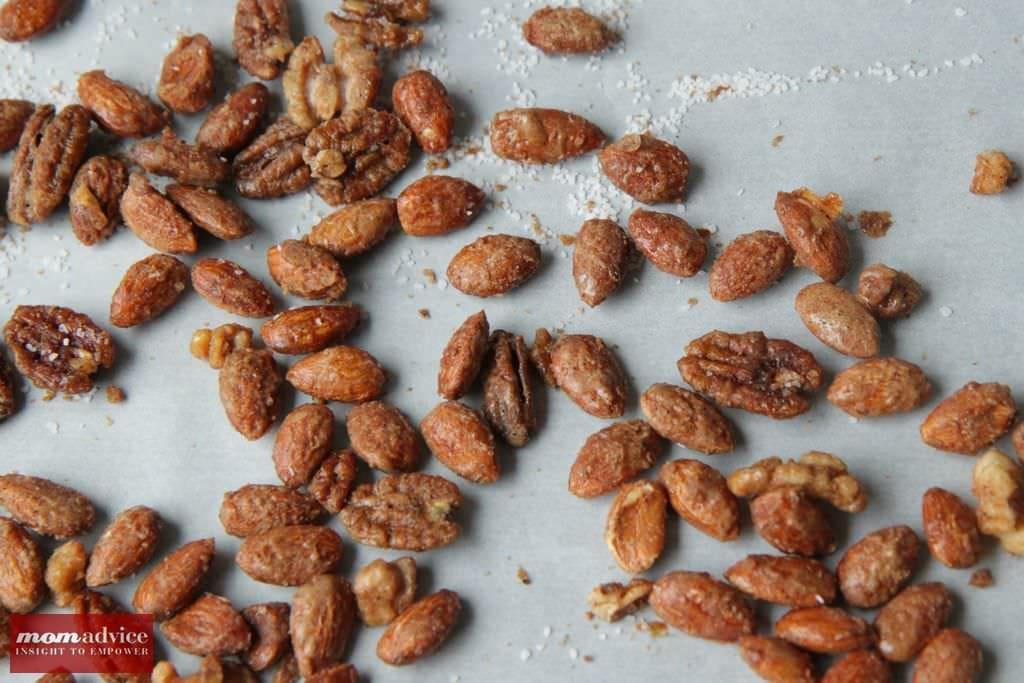
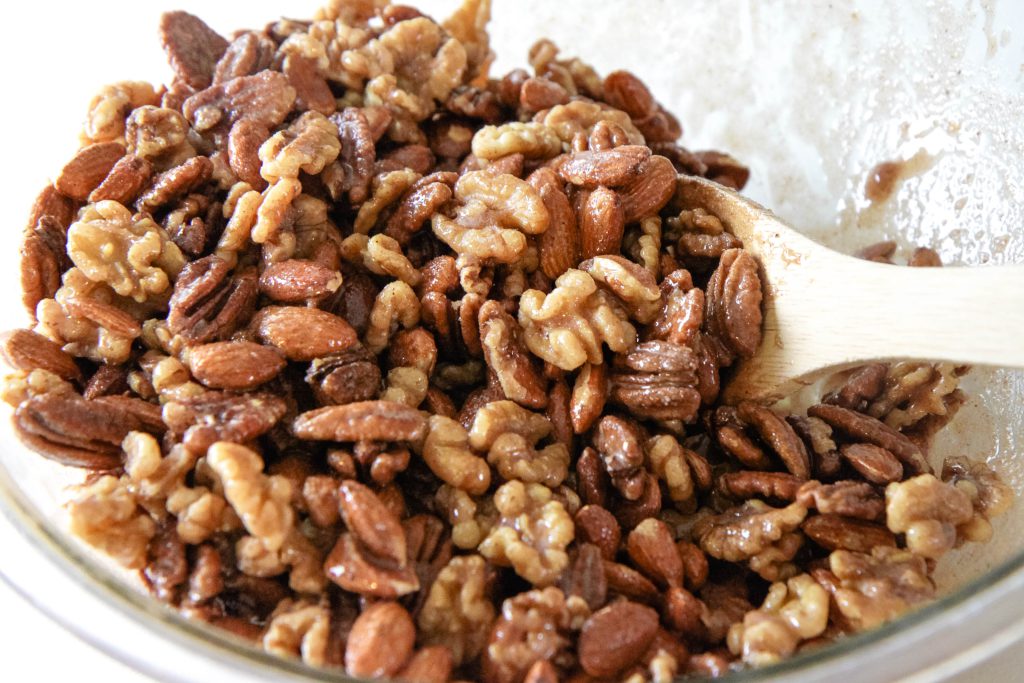
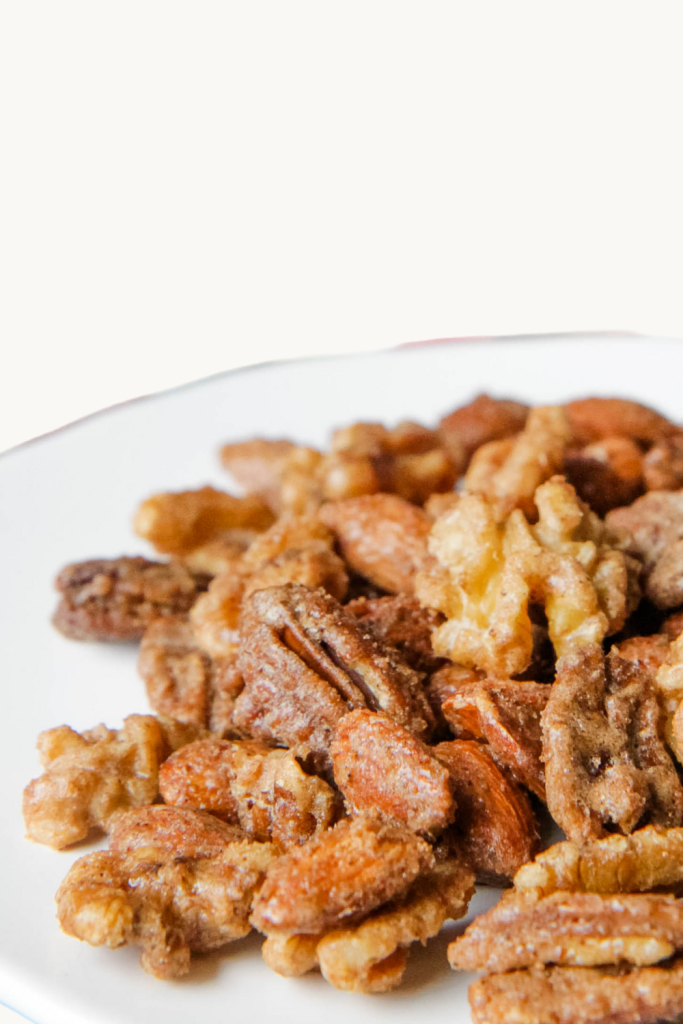
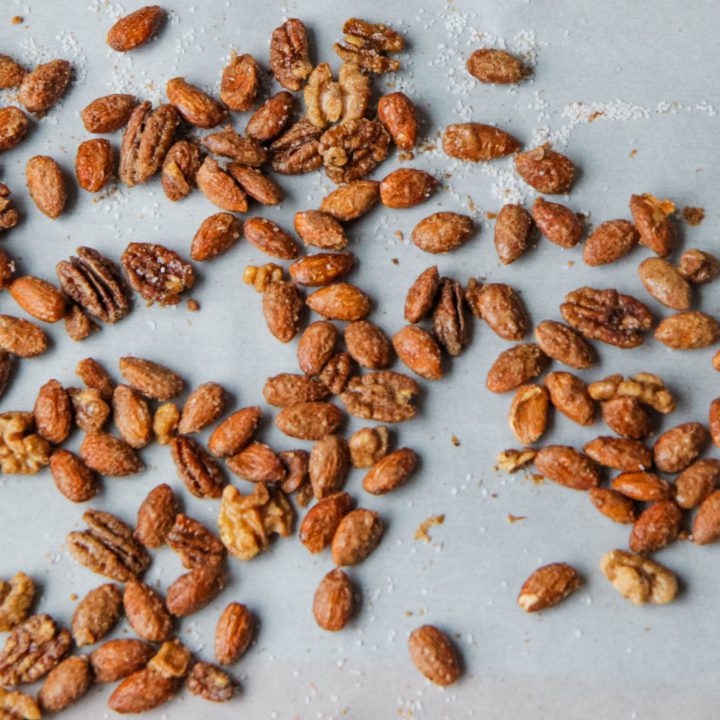
You can choose any combination of mixed nuts that you might love or just keep things simple and roast only your absolute favorite. I’m just using three of my favorites in this recipe- pecans, almonds, and walnuts.

My favorite varieties of nuts include candied pecans, almonds, and walnuts.
How to Candy Nuts

What Other Spice Combinations Can I Try With These Candy Nuts?

These nuts are tossed with some of my favorite holiday spices- cinnamon, nutmeg, ground cloves, and allspice. 

Feel free to try building your own spice combination. 

Add cardamom for a Middle Eastern twist or smoked paprika for a smoky flavor. 

Mix in ginger and cloves for a festive touch, or add a hint of cayenne for some heat. 

You can even experiment with Chinese five-spice or curry powder for more adventurous flavors.
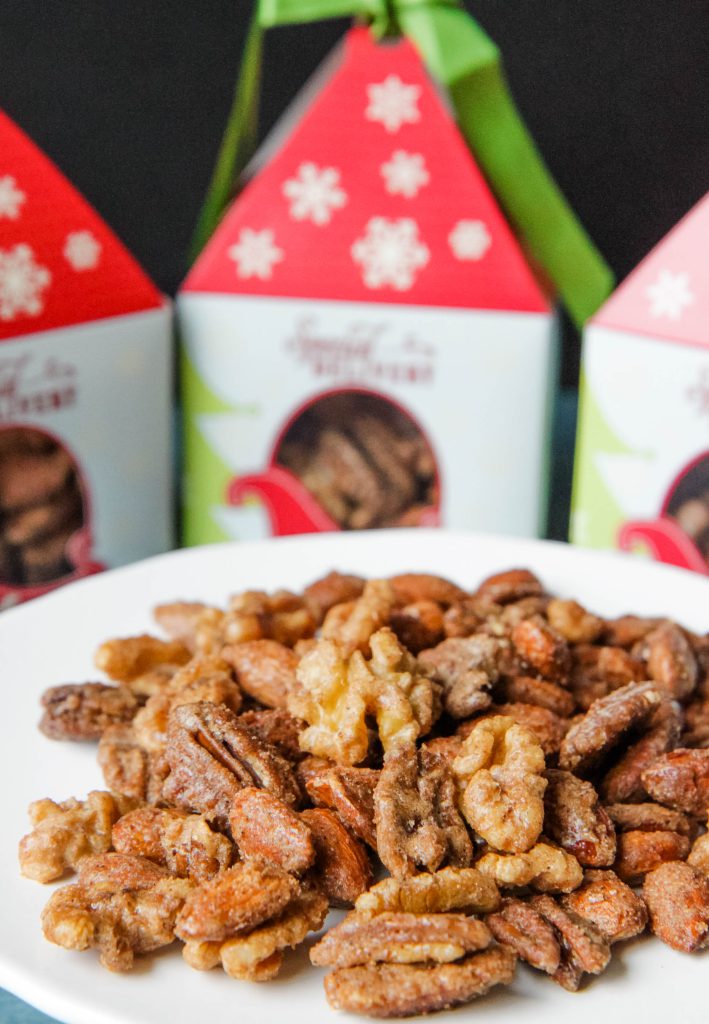
How to Candy Nuts

How Long Do Candied Nuts Last?

Properly stored in an airtight container, these candied nuts can last up to two weeks, making them an ideal make-ahead gift for the holiday season.

How Do You Make Candied Nuts Not Sticky?

To prevent your candied nuts from becoming too sticky, spread them out in a single layer on the baking sheet and stir them every 15 minutes while baking. 

Also, sprinkling them with coarse salt while still hot can help absorb excess moisture and enhance the flavor.
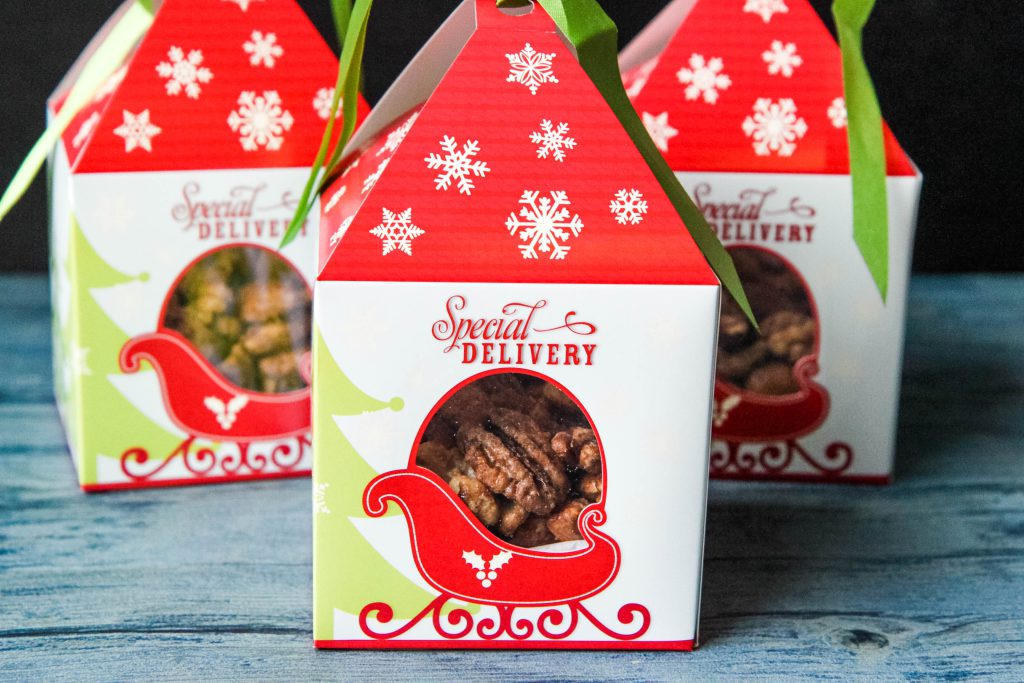
How to Candy Nuts

How Do I Package Nuts for Gift-Giving?

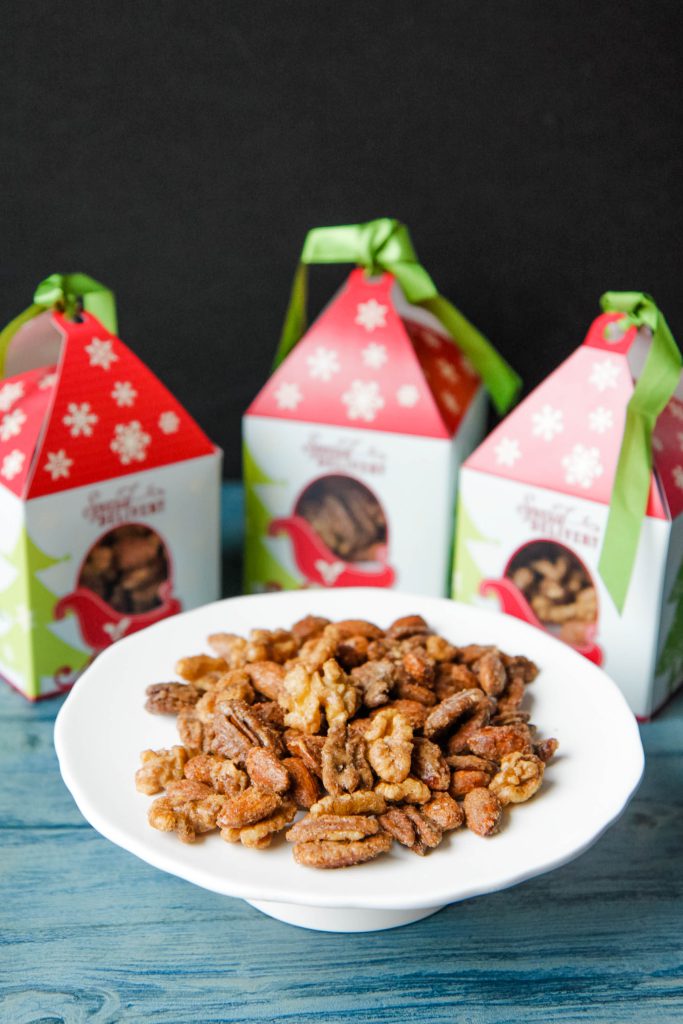
This time of year, the craft stores are loaded with food packaging for your gifts. I love to check the seasonal aisles in my local craft stores.
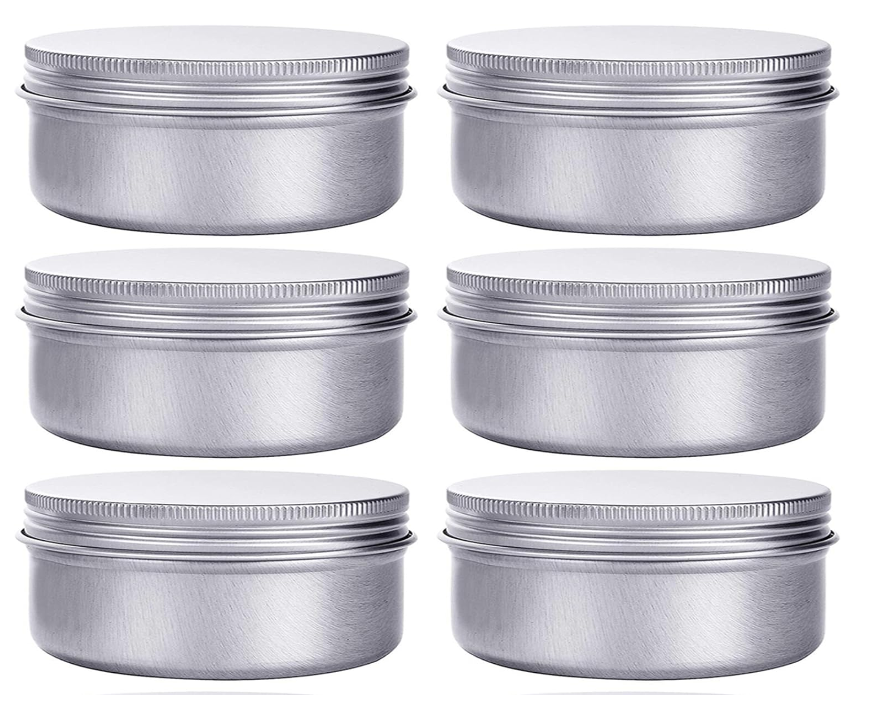
Nut Tins in Bulk

The important thing is that they are airtight, especially if you are giving a large amount as a gift.

While these paper boxes make a cute display, but buying nut tins in bulk will help your nuts stay fresher longer.
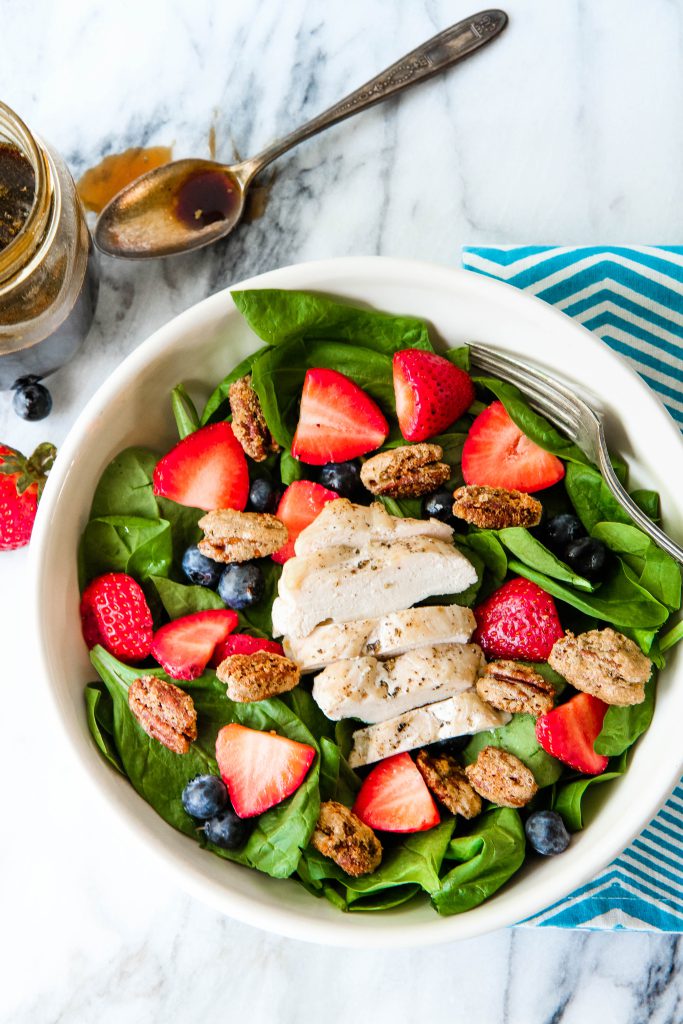
Strawberry Pecan Salad

What Dishes Can I Enhance With These Candied Nuts?

Looking for more recipes to incorporate candy nuts? I’ve got you covered!

Sprinkle these candy nuts over salads like my strawberry pecan salad for added crunch and sweetness.

Honestly, any fruit and candied nut combo works well in a spinach salad.

You can use them as a topping for a thick smoothie bowl or slow cooker apple oatmeal (steel cut recipe).

These can also be incorporated into dark chocolate brownies with sea salt for a fun baking twist, or simply enjoy them alone as a satisfying treat any time. 

Add these over ice cream with caramel, toffee, or chocolates for topping for an indulgent treat. If you feel ambitious, this roasted plum ice cream with cinnamon would be another fantastic option.

What Other No Bake Christmas Treats Can I Make for the Holidays?

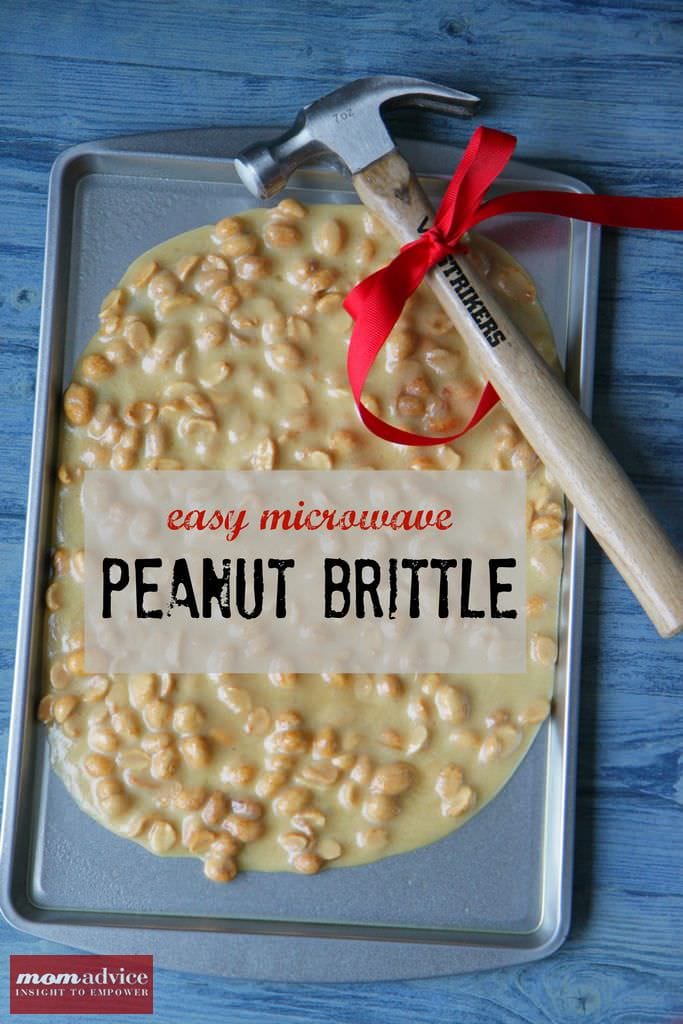
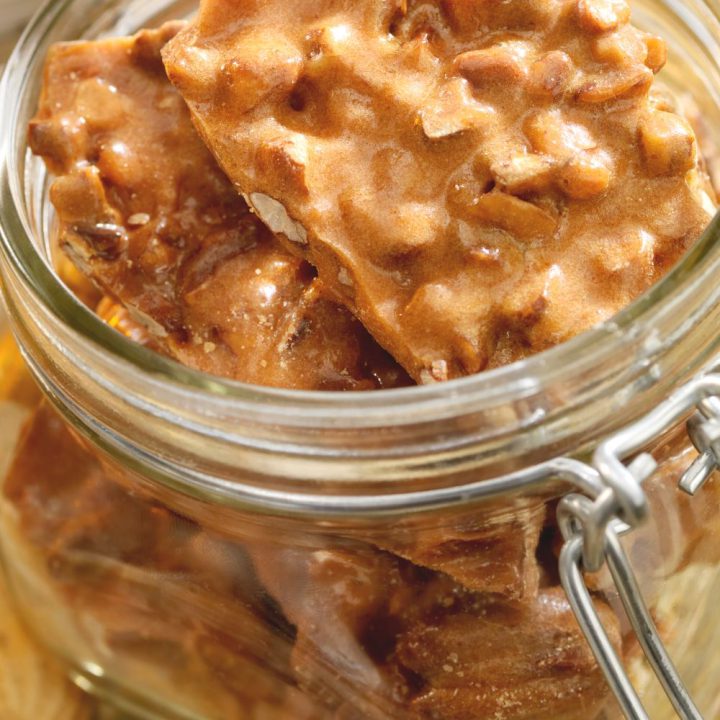
For other easy no-bake gifts, I recommend these gluten-free cake mix cookies, this easy microwave peanut brittle, or my peppermint cheesecakes in jars.
How to Candy Nuts
How to Candy Nuts

Candied Nuts

Yield: 6 servings
Prep Time: 10 minutes
Cook Time: 45 minutes
Total Time: 55 minutes

This easy nut mixture is created from spices in your pantry and is perfect for your holiday snacking or giving.

Ingredients

  • 3/4 cup granulated sugar (you can use white or brown sugar)
  • 3 tablespoons water
  • 1 egg white, lightly beaten
  • 2 teaspoons ground cinnamon
  • 1/2 teaspoon ground cloves
  • 1/4 teaspoon allspice
  • 1/4 teaspoon nutmeg
  • Coarse salt for sprinkling
  • 2 cups pecans, halves
  • 2 cups whole almonds
  • 2 cups walnuts

Instructions

      1. Prep oven and baking sheet. Heat oven to 250°F. Line a large baking sheet with parchment paper.
      2. Add the beaten egg white, water, sugar, granulated sugar, ground cinnamon, ground cloves, allspice, and nutmeg to a large mixing bowl and whisk until evenly combined.
      3. Add the pecans, almonds, and walnuts to the sugar mixture and gently toss until the nuts are evenly coated.
      4. Spread the nuts in a single layer on the baking sheet. Bake for about 45 minutes. Every 15 minutes, remove the nuts and stir them.  When the cooking time is done, the nuts should be fragrant, and the sugar coating cooked. 
      5. Transfer the baking sheet to a wire cooling rack and sprinkle liberally with coarse salt while still hot.
      6. Allow the nuts to come to room temperature. The sugar coating will continue to harden and dry once the nuts cool. 
      7. Once cooled, store the candy nuts in an airtight container for up to two weeks.

Notes

Add a pinch of cayenne pepper to make these into sweet & spicy nuts.

Recommended Products

As an Amazon Associate and member of other affiliate programs, I earn from qualifying purchases.

Nutrition Information:
Yield: 6 Serving Size: 1
Amount Per Serving: Calories: 845Total Fat: 72gSaturated Fat: 6gTrans Fat: 0gUnsaturated Fat: 62gCholesterol: 0mgSodium: 337mgCarbohydrates: 45gFiber: 11gSugar: 30gProtein: 19g

TELL ME: What did you think of this candied nut recipe?

Recipe updated: February 26, 2024

Pin It
The Best Gluten-Free Meatloaf Recipe

Wednesday, February 21st, 2024

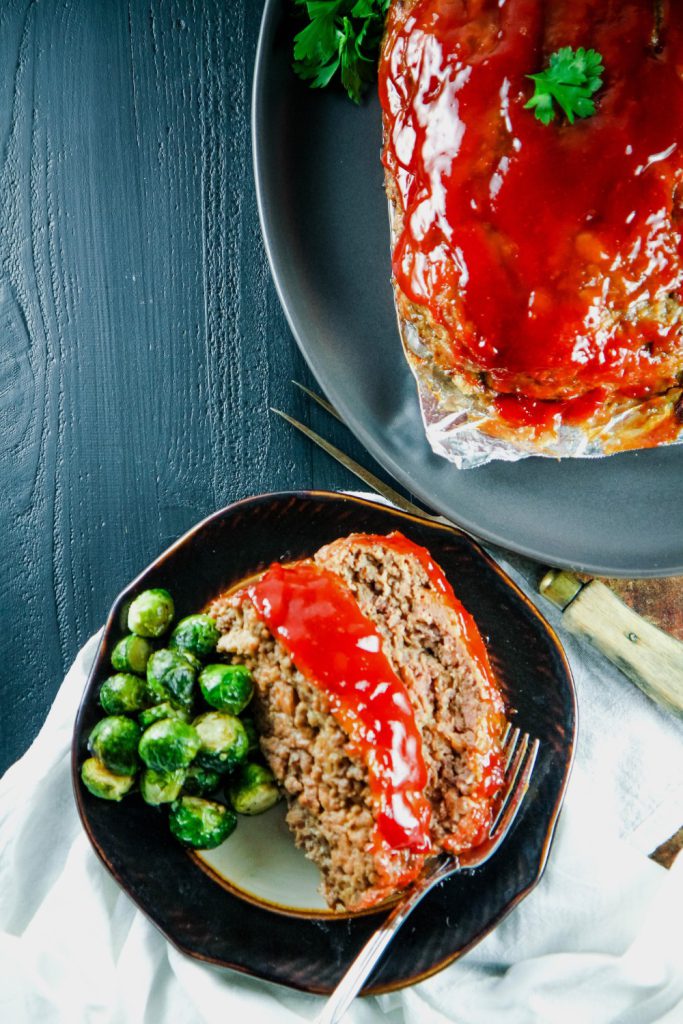
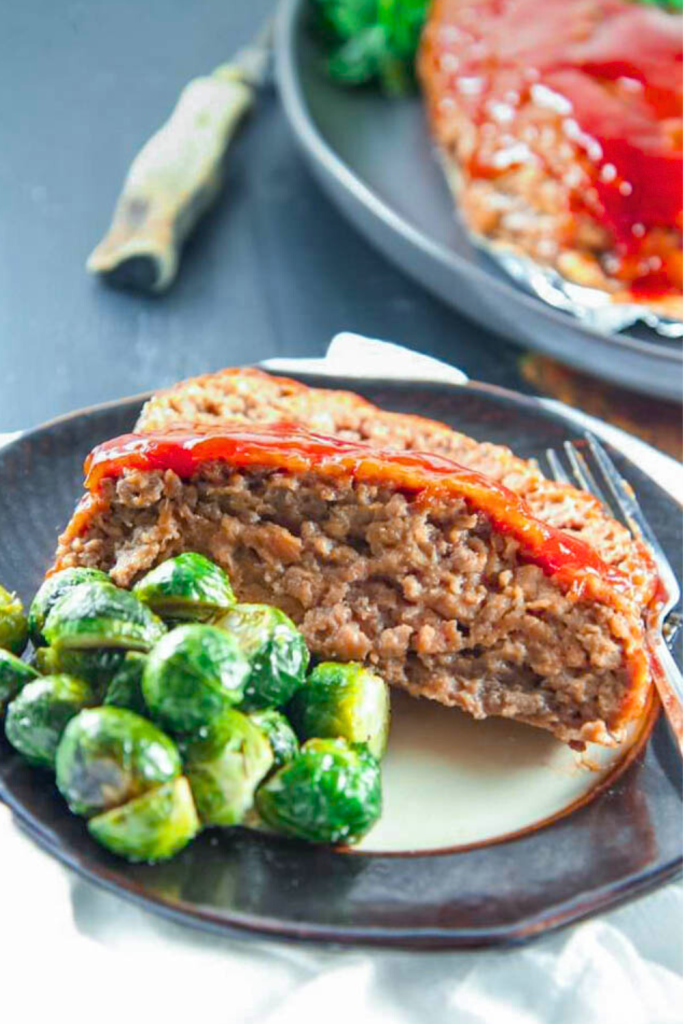
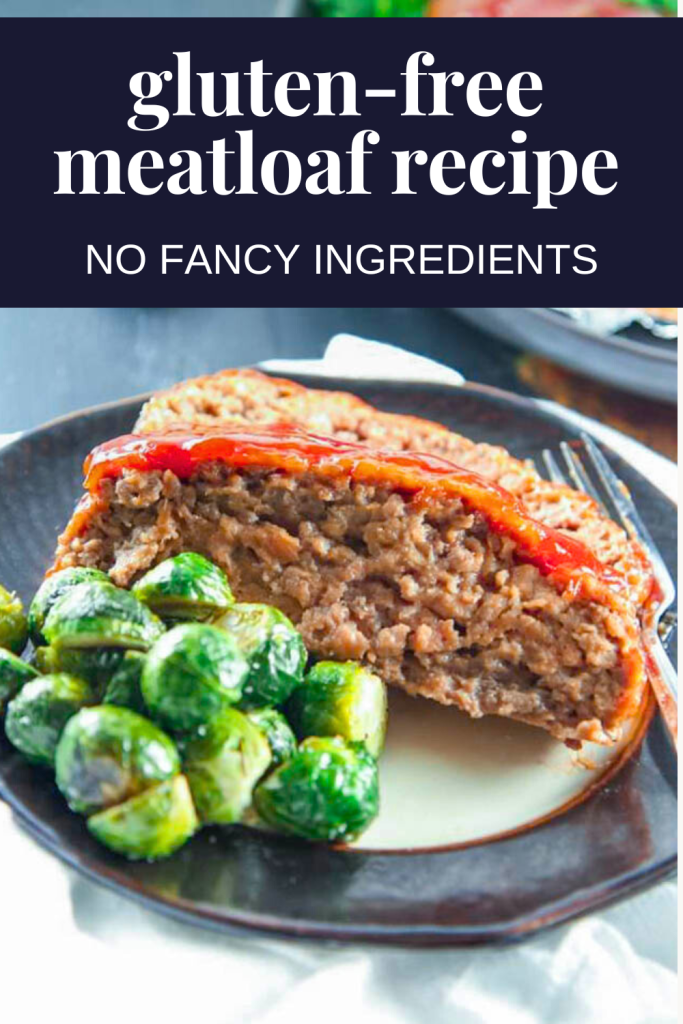
This easy gluten-free meatloaf recipe uses an unusual breadcrumb substitute- instant mashed potatoes! With a tangy glaze, this recipe is a classic for a reason!

The Best Gluten-Free Meatloaf Recipe

I have tried and tried and tried to create a delicious gluten-free meatloaf but have failed on countless occasions. 

We incorporated all of the usual suspects for months of testing.

From oatmeal to gluten-free breadcrumbs to no breadcrumbs to fresh gluten-free breadcrumbs. 

It was a parade of hard-as-a-rock meatloaves, runny meatloaves, gummy meatloaves, and dense meatloaves. 

Imagine my delight when I stumbled upon a gluten-free substitute that finally created the consistency we had been after all along.

This tried-and-true gluten-free ingredient is one I had never considered until America’s Test Kitchen offered this as a suggestion in their How Can It Be Gluten-Free Cookbook.

This meatloaf recipe offers an unusual binding agent that yields a fluffy and delicious meatloaf without gluten. 

Here’s the secret: Your new meatloaf gluten-free breadcrumb substitute is instant mashed potato flakes! 

Let’s break down how this recipe works and some tips and tricks for the perfect gluten-free loaf that you can eat now or freeze for later!

The Best Gluten-Free Meatloaf Recipe

Kitchen Equipment Needed for Gluten-Free Meatloaf

Meatloaf pan– For your prepared gluten-free loaf- if you don’t have one, please see the substitution below.

Large mixing bowl- For mixing the meatloaf mixture

Whisk- For mixing the meatloaf glaze

12-inch nonstick skillet- For sauteing the veggies in this recipe

Brush- For applying the meatloaf glaze.

Measuring cups and spoons- For measuring the ingredients in this meatloaf mixture.

The Best Gluten-Free Meatloaf Recipe

How to Make a Gluten-Free Meatloaf

Scroll down to see the complete ingredient list and step-by-step instructions.

Preheat and Prepare: Adjust the oven rack to the upper-middle position and preheat the oven. Prepare the meatloaf pan and spray the foil with cooking oil spray.

Prepare the Glaze: In a bowl, stir the ketchup, light brown sugar, and cider vinegar until well combined. Set aside.

Sauté the Aromatics: Heat vegetable oil in a skillet. Sauté finely chopped onions until softened for about 5 minutes. Stir in minced garlic and thyme, cooking until fragrant for about 30 seconds, and transfer the mixture to a large bowl. Let cool. 

Mix the Meatloaf Mixture: Combine cooled onion with eggs, milk, Dijon mustard, gluten-free Worcestershire sauce, salt, pepper, potato flakes, and minced parsley. Mix until fully incorporated, and blend in ground pork and lean beef.

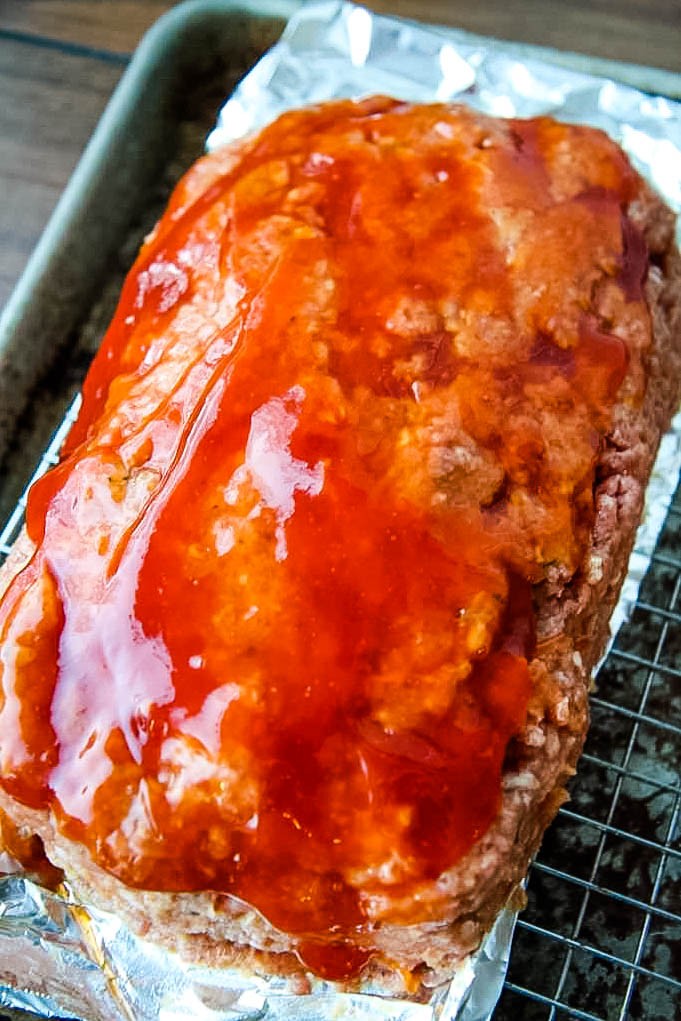
Shape and Bake: Transfer the meat mixture to the foil rectangle on the wire rack and shape it into a 9×5-inch loaf. Brush half of the ketchup mixture over the meatloaf. Bake in the preheated oven for 40 minutes. After 40 minutes, brush the remaining ketchup mixture over the meatloaf.

Let the meatloaf cool for 15 minutes before slicing.

This is a brief overview of my recipe. If you need comprehensive instructions, please refer to the recipe card at the bottom of this post.

Before I share the full recipe, I’d love to put all those hours I spent in cooking classes for my dietetics program to work.

Here’s how to nail a great meatloaf no matter what recipe you use. 

The Best Gluten-Free Meatloaf Recipe

What Keeps Meatloaf From Falling Apart?

There are three ways to keep a meatloaf from falling apart- binding agents, avoiding overmixing, and using a pan with drainage holes.

Ingredients that act as binders, such as eggs, breadcrumbs, or a gluten-free substitute like instant mashed potatoes, are essential.

These ingredients help hold the meat mixture together and provide structure during baking. 

Also, try to avoid overmixing the meatloaf mixture, as excessive mixing can break down the proteins in the meat and result in a crumbly texture. 

What Are Potato Flakes?

Technically, potato flakes are dehydrated mashed potatoes cooked, mashed, and then dried to form flakes. 

Instant mashed potatoes are a shelf-stable product used as a quick way to prepare mashed potatoes.

Typically, you would rehydrate them with water, milk, or a mixture of both, along with added butter or margarine.

Besides serving as a quick side dish, potato flakes are a gluten-free thickening agents.

You can use this in soups and stews, as a binder in meatloaf and meatballs, and in bread making to add moisture and a soft texture. 

Experiment in your kitchen beyond this recipe using this as your binder. 

Why Are Instant Mashed Potatoes a Good Breadcrumb Replace For a Gluten-Free Meatloaf?

When I took cooking classes, we constantly tested binding agents, and I’m baffled why I hadn’t considered this as a tool before. 

Now, I’m dreaming of other ways to incorporate it into my other recipes, from meatballs to meatloaves.

Let’s discuss why instant mashed potatoes are an excellent breadcrumb substitute:

Texture: Instant mashed potatoes have a powdery consistency that, when mixed with liquids, forms a thick and cohesive mixture. 

This helps hold the meatloaf together just like breadcrumbs or traditional wheat-based binders.

Neutral Flavor: Instant mashed potatoes typically have a mild, neutral flavor, which won’t overpower the taste of the meatloaf. 

Naturally Gluten-Free: Since instant mashed potatoes are made from potatoes, they are naturally gluten-free. 

This is the perfect ingredient substitute for those who need to avoid gluten due to celiac disease or gluten sensitivity.

Convenience: Instant mashed potatoes are readily available and easy to prepare, making them a convenient option for adding moisture and binding properties without needing specialty ingredients.

Price: This ingredient choice is less expensive than gluten-free breadcrumbs and is available at all discount grocery stores (hint, hint- Aldi Supermarket), including the dollar store! 

How Can I Make This a Dairy-Free Meatloaf Recipe?

To make this dairy-free, choose a non-dairy alternative like almond milk or soy milk for this recipe.

For the record, most instant potato flakes do not contain dairy.

They are typically made from dehydrated potatoes without any dairy ingredients added. 

However, it’s always a good idea to check the ingredient list on the packaging or contact the manufacturer for clarification.

Meatloaf Pan

What Are Meatloaf Pans?

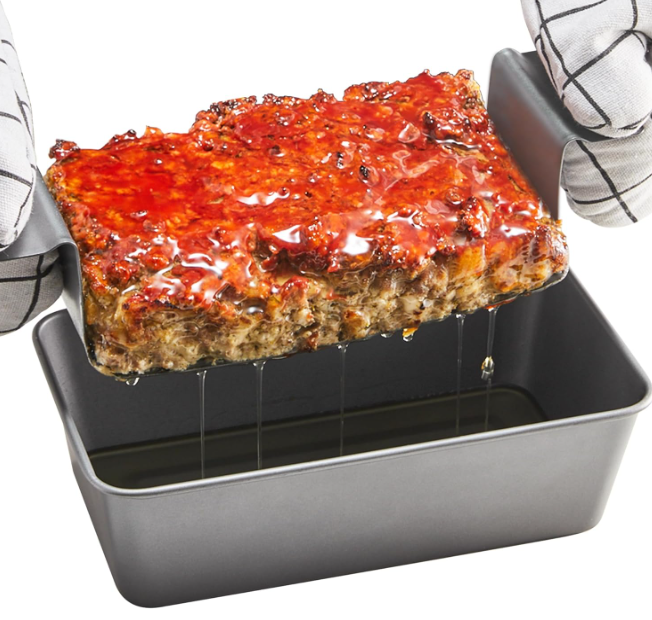
A meatloaf pan is a baking dish designed specifically for making meatloaf. 

It typically has a rectangular shape with high sides and may come with a removable insert or rack that allows excess fat to drain away during cooking.

Meatloaf pans come in various materials, including metal, glass, and silicone, and may feature non-stick coatings for easy cleanup. 

Using a meatloaf pan helps shape it into a uniform loaf shape and prevents it from spreading too much during baking. 

Additionally, the high sides of the pan help contain any juices or glazes added to the meatloaf, ensuring that it stays moist and flavorful.

Meatloaf Pan Substitution

What If I Don’t Have a Meatloaf Pan? 

As someone with a small kitchen, I want always to be mindful of your kitchen storage.

I’m showing a simple, budget-friendly alternative that will yield delicious results without excess grease. Here’s what you can do:

If you find yourself without a dedicated meatloaf pan, you can achieve delicious results with a simple workaround. Here’s what to do:

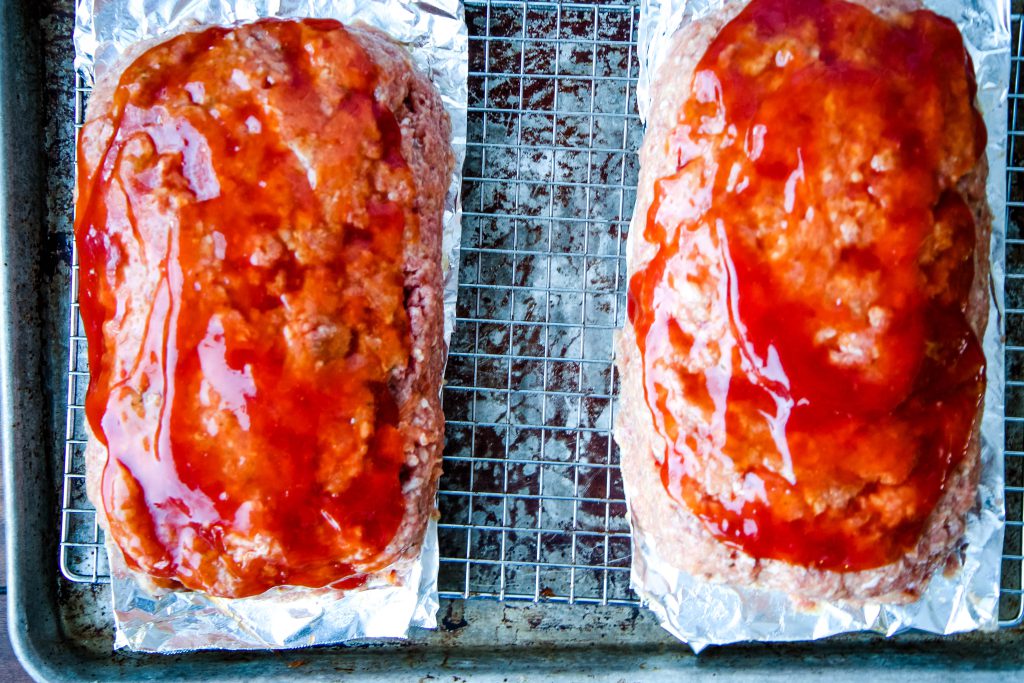
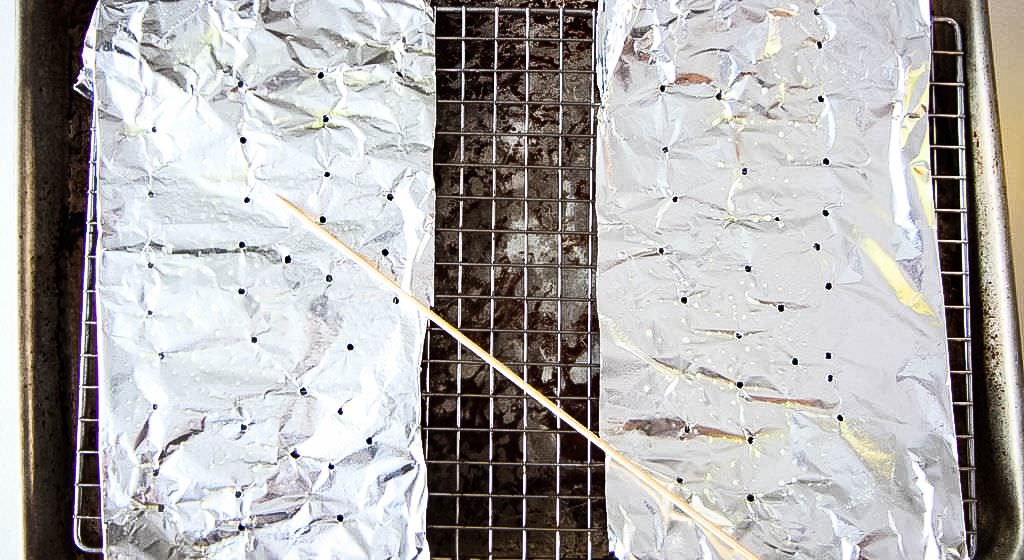
Prepare Your Setup: Place a standard cooling rack on a rimmed baking sheet. This setup will elevate the meatloaf and allow excess grease to drain during baking.

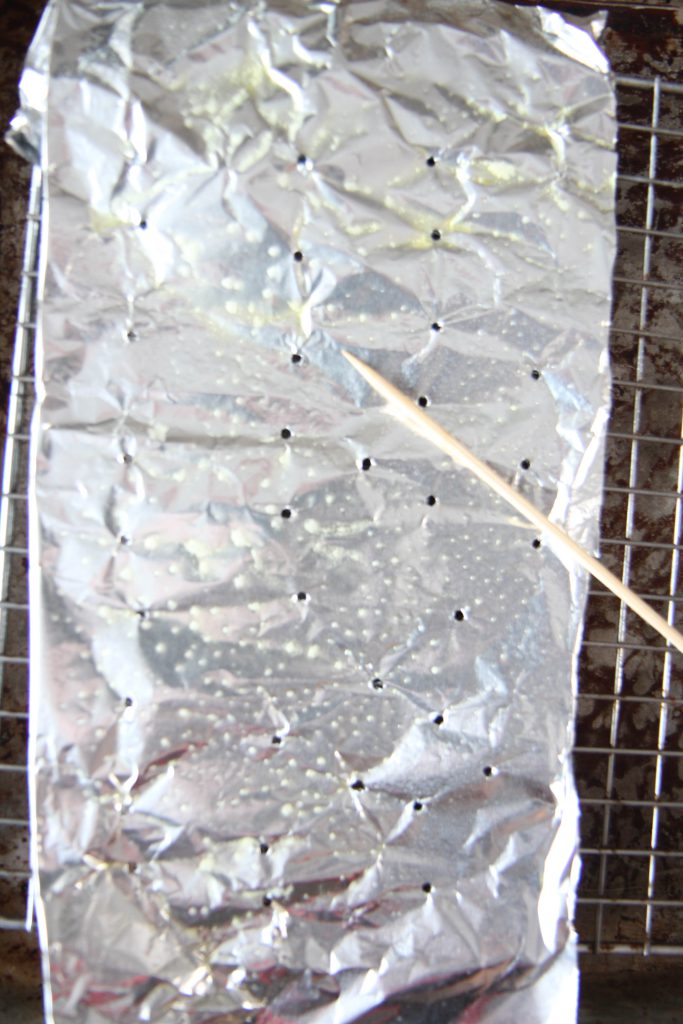
Create a Foil Mold: Tear pieces of foil, roughly the size of a loaf pan, to lay on top of the cooling rack. Ensure that the foil extends over the edges of the rack to contain the meatloaf mixture.

Prevent Sticking: Spray the foil with cooking spray to prevent the meatloaf from sticking during baking.

Meatloaf Pan Substitution

Poke Draining Holes in the Foil:  Using a wooden skewer,  poke holes to drain the grease from the loaf. These holes will allow the excess grease to drain away and collect on the baking sheet below.

Bake as Directed: Once your setup is ready, shape your meatloaf mixture on the foil-lined cooling rack according to your recipe’s instructions.

The Best Gluten-Free Meatloaf Recipe

What If I Don’t Like This  Meatloaf Glaze?

For an Italian twist on your gluten-free meatloaf, use canned tomato sauce instead of the sweet glaze. 

This easy swap adds a savory flavor that perfectly matches the meatloaf’s rich taste. 

I prefer how tomato sauce brings in acidity and is more reminiscent of my favorite Italian meals.

Follow the instructions for the gluten-free meatloaf recipe, but substitute with an 8-ounce can of tomato sauce and season with your favorite spices like garlic powder, onion powder, basil, and salt. 

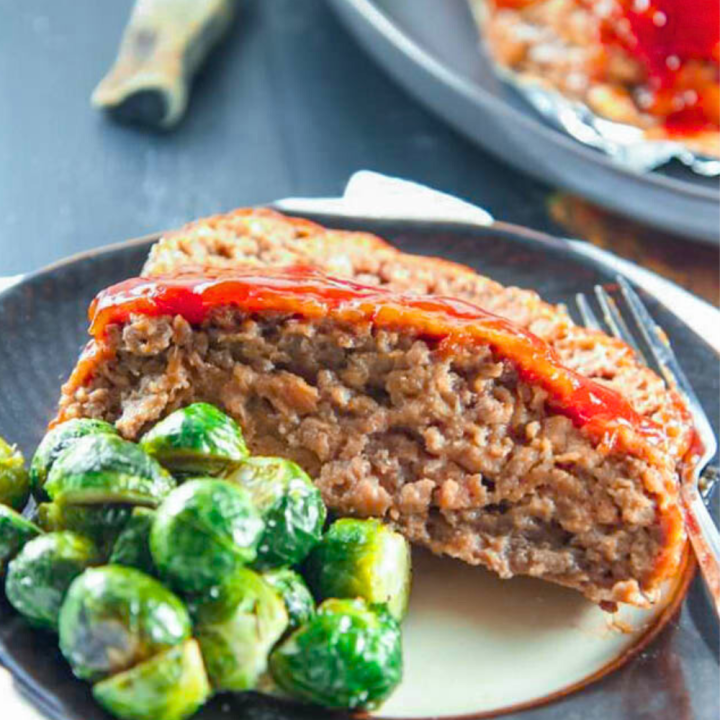
What Are the Best Sides for Meatloaf?

If you have a box of instant potatoes, you can make those.

I love to add fresh ingredients like a scoop of creamy Borisin cheese, fresh chives, or sour cream to elevate this pantry ingredient. 

Other options: Roast frozen green beans, these oven-roasted baby potatoes, or this easy make-ahead mashed potatoes recipe that can be tucked in the freezer for busy weeknights.

Can I Freeze This Gluten-Free Meatloaf?

Yes, you can freeze this gluten-free meatloaf both before and after baking. 

To freeze before baking, prepare the meatloaf as per the recipe, but stop before baking. 

Wrap the uncooked meatloaf tightly in plastic wrap or aluminum foil, and place it in a freezer-safe bag or container. 

When you’re ready to bake, thaw it in the refrigerator overnight before cooking as directed.

To freeze after baking, allow the cooked meatloaf to cool completely. Then, wrap it securely in plastic wrap, followed by aluminum foil, or place it in a freezer-safe bag or container. 

To reheat, thaw the meatloaf in the refrigerator overnight and then reheat in the oven until it is heated through. 

When freezing make sure to label with the date. Whichever preparation you choose for freezing, this gluten-free meatloaf can be frozen for up to 3 months.

Looking for more gluten free recipes for easy dinners? Here are three of our favorites:

The Best Gluten-Free Meatloaf Recipe

The Best Gluten-Free Meatloaf Recipe

Yield: 8 servings
Prep Time: 15 minutes
Cook Time: 1 hour 15 minutes
Total Time: 1 hour 30 minutes

This traditional meatloaf recipe has a tangy glaze that reminds me of my childhood. The secret ingredient is a box of instant mashed potatoes from your pantry.

Ingredients

  • ½ cup ketchup
  • ¼ cup packed light brown sugar
  • 4 teaspoons cider vinegar
  • 1 tablespoon vegetable oil
  • 2 onions, chopped fine
  • 4 garlic cloves, minced
  • 1 teaspoon minced fresh thyme or ½ teaspoon dried
  • 2 large eggs
  • ½ cup milk of choice
  • 2 teaspoons Dijon mustard
  • 2 teaspoons gluten-free Worcestershire sauce
  • 1 teaspoon salt
  • ½ teaspoon pepper
  • ⅓ cup potato flakes
  • ⅓ cup minced fresh parsley
  • 1 pound ground pork
  • 1 pound lean ground beef (85 percent lean)

Instructions

  1. Adjust the oven rack to the upper-middle position and preheat oven to 350°F. Prepare a 9 Inch x 5 Inch meatloaf pan with cooking spray.  
  2. Stir ketchup, sugar, and vinegar in a bowl and set aside.
  3. Heat oil in a 12-inch nonstick skillet over medium-high heat until shimmering. Add onions and cook until softened about 5 minutes. Stir in garlic and thyme and cook until fragrant, about 30 seconds. Transfer to a large bowl and let cool for 5 minutes.
  4. Whisk in eggs, milk, mustard, Worcestershire, salt and pepper. Stir in potato flakes and parsley. Add pork and knead with hands until thoroughly combined. Add beef and continue to knead until uniform.
  5. Transfer the meat mixture to your prepared pan. Brush half of the ketchup mixture over the meatloaf. Bake meatloaf in preheated oven for 40 minutes.
  6. Brush meatloaf with remaining ketchup mixture and continue to bake until the internal temperature reaches 160°F, 30 to 35 minutes. 
  7. Let the meatloaf cool for 15 minutes before slicing and serving with your favorite side dishes.

Notes

Please see instructions in the post for how to prepare gluten-free meatloaves on a sheet pan if you do not have a meatloaf pan.

You can substitute this sweet topping with an 8-ounce can of tomato sauce mixed with your favorite Italian seasonings for a different flavor profile.

Recommended Products

As an Amazon Associate and member of other affiliate programs, I earn from qualifying purchases.

Nutrition Information:
Yield: 8 Serving Size: 1
Amount Per Serving: Calories: 399Total Fat: 22gSaturated Fat: 8gTrans Fat: 0gUnsaturated Fat: 12gCholesterol: 151mgSodium: 569mgCarbohydrates: 16gFiber: 1gSugar: 11gProtein: 34g

Looking for more gluten free recipes for easy dinners? Here are three of our favorites:

Gluten-Free Orange Chicken– This takeout recipe is thickened with gluten-free flour or cornstarch. The fresh orange sauce makes this recipe a family favorite.

Gluten-Free Meatballs– This meatball recipe can be served over your favorite gluten-free pasta, on your favorite gluten-free bun, or as an appetizer.

Gluten-Free Pad Thai– Pick your favorite protein and enjoy this takeout treat at home. This is a great way to use up frozen shrimp in the freezer!

TELL ME: What did you think of this gluten-free meatloaf recipe?

Recipe updated: February 21, 2024

Pin It
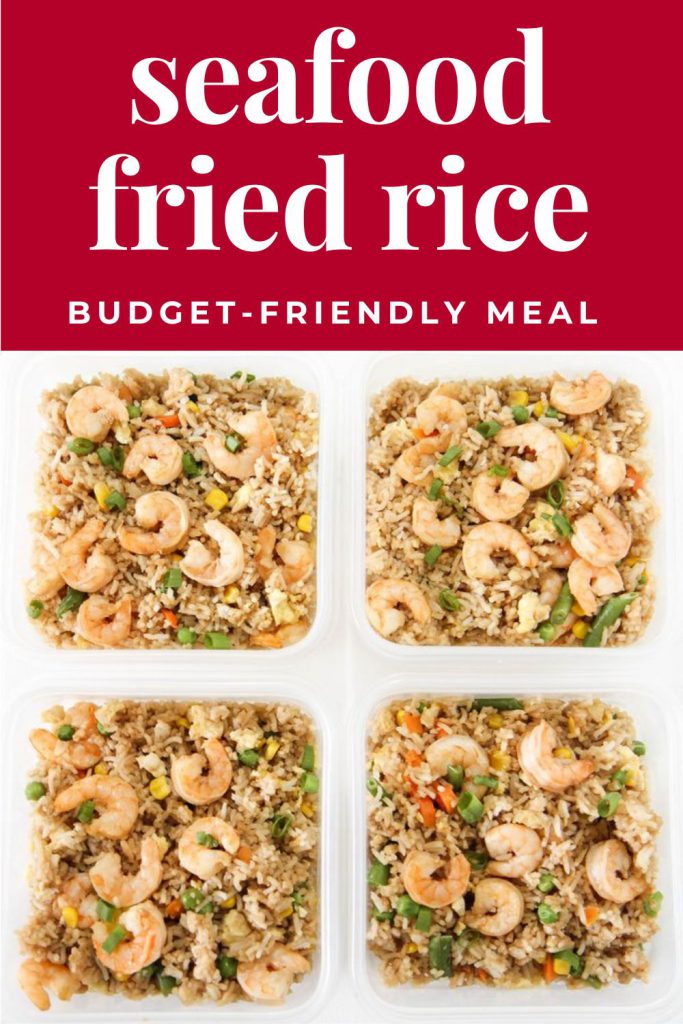
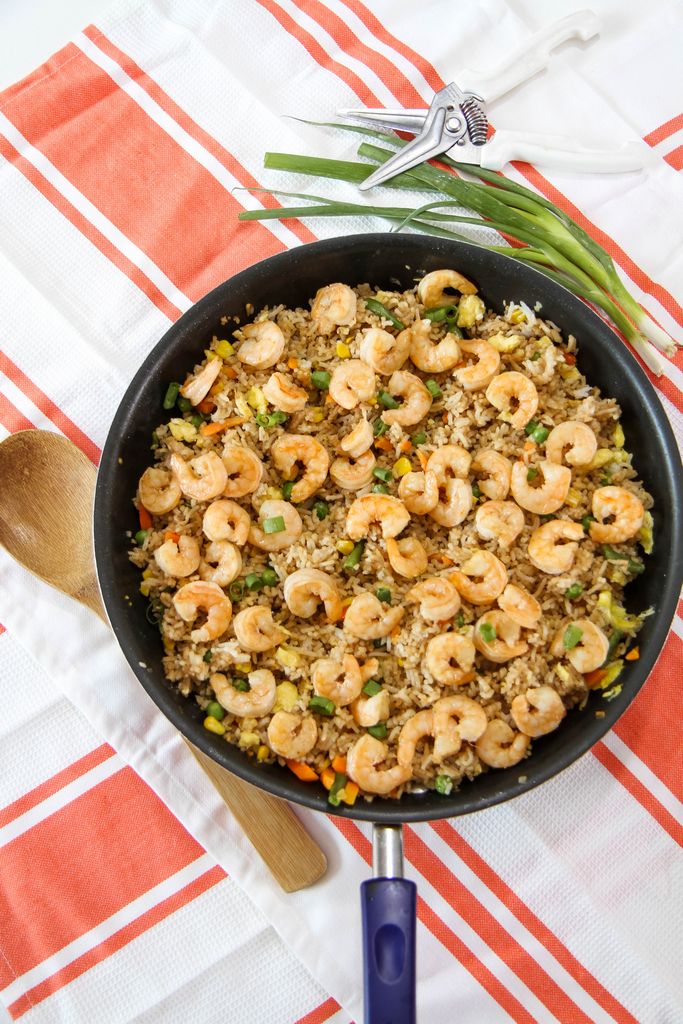
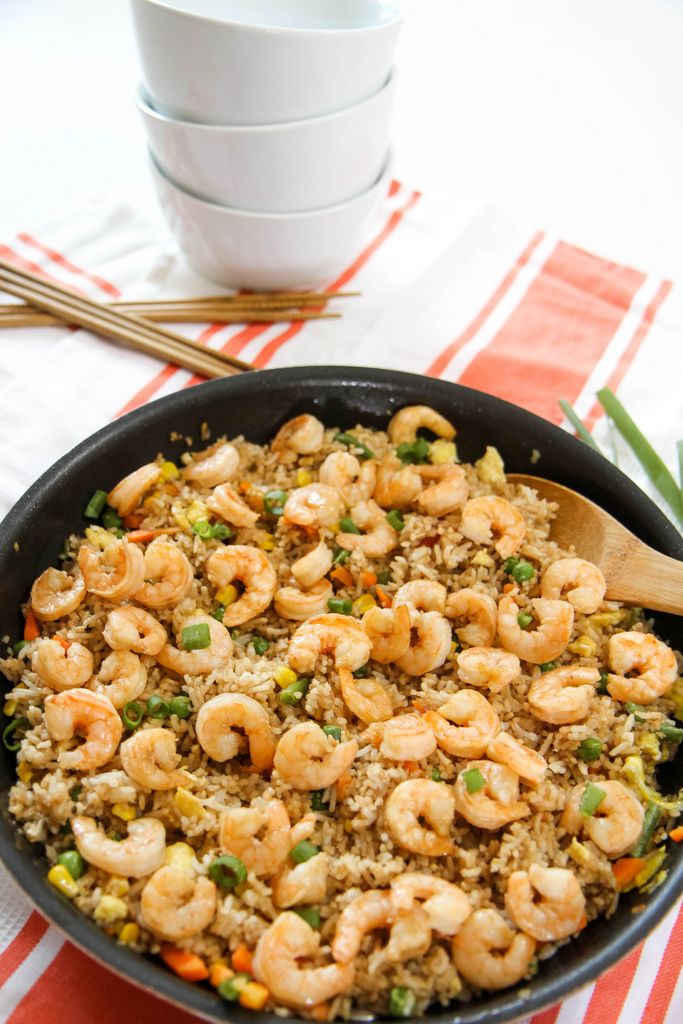
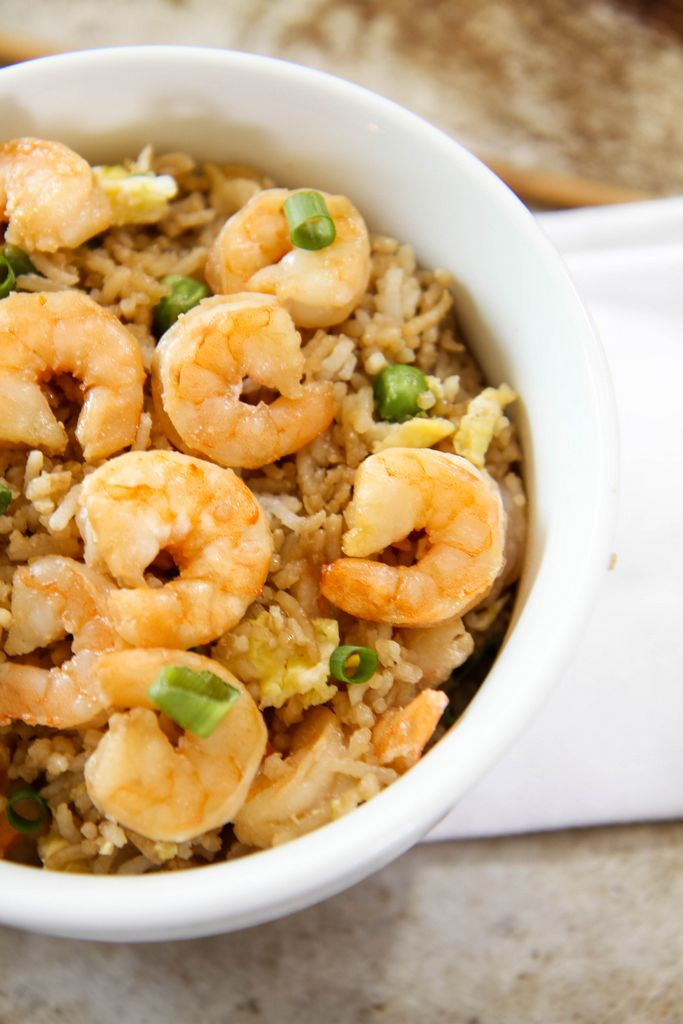
Easy Seafood Fried Rice (Better Than Takeout)

Monday, September 11th, 2023

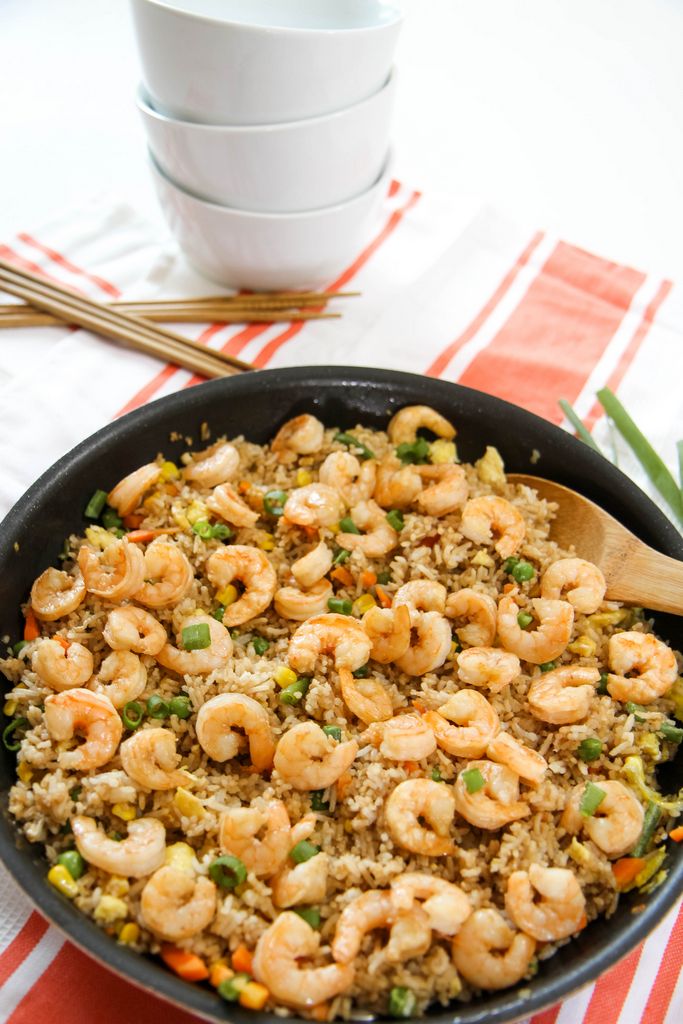
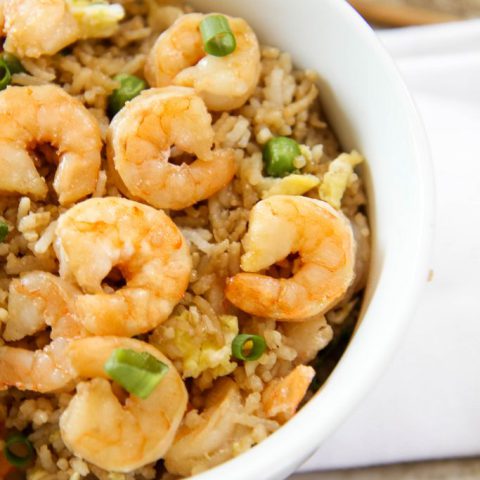
Meal prep this seafood Fried Rice from leftover rice, soy sauce, veggies, and your favorite seafood. Try this better than takeout shrimp fried recipe today. 

Seafood Fried Rice

Are you looking for a versatile and budget-friendly dish to help you put those odds and ends in your fridge to good use? 

Look no further than this Seafood Fried Rice recipe!

This flavorful meal transforms leftovers into a tasty lunch option and can be customized to suit your dietary preferences, such as using cauliflower rice for a lower-carb version. 

If you meal prep brown rice in your rice cooker like we do each week, you already have a wonderful base for this recipe. Learn how to cook brown rice in rice cooker today.

In this blog post, we’ll walk you through simple steps to create a delicious Shrimp Fried Rice that’s a healthier and more satisfying alternative to your takeout cravings.

Seafood Fried Rice

How to Cook Fried Rice With Shrimp or Prawns

Scroll down to see the complete ingredient list and printable step-by-step instructions.

Shrimp or Prawns

Cooked rice (day-old rice works best)

Frozen mixed vegetables

Eggs

Soy sauce

Cooking oil

Optional extras (see below for ideas)

Seafood Fried Rice

Step 1: Prep Your Ingredients

Gather your ingredients- Shrimp or Prawns, cooked rice (day-old rice works best), frozen mixed vegetables, eggs, soy sauce, cooking oil, and any optional extras (see below for ideas).

If using day-old rice, break up any clumps so that it’s easier to work with in the pan.

Measure your frozen veggies.

Beat the eggs in a small bowl and set them aside.

Step 2: Sauté Your Veggies

Heat some cooking oil in a large pan or wok over medium-high heat.

Add your chopped vegetables to the pan and stir-fry them until they’re tender but still crisp. This should take about 3-4 minutes.

Seafood Fried Rice- Cooking Eggs and Veggies in Wok

Step 3: Scramble the Eggs

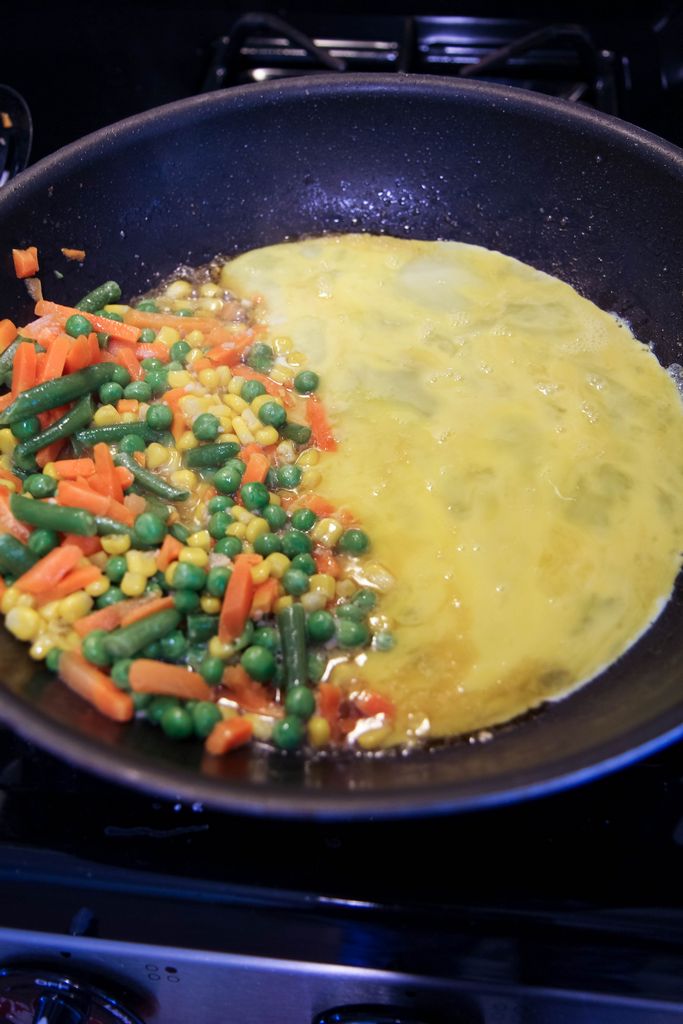
Push the sautéed vegetables to one side of the pan to make space.

Pour the beaten eggs into the empty side of the pan. Allow them to cook without stirring for a few seconds.

Once they start to set, scramble the eggs until fully cooked.

Now, mix the scrambled eggs with the cooked vegetables in the pan.

Seafood Fried Rice

Step 4: Add Seafood and Rice

Add your cooked shrimp or prawns to the pan with the vegetables and eggs.

Next, add the cooked rice. Stir everything together to combine.

Step 5: Season to Perfection

Drizzle soy sauce over the mixture to add flavor and color. Be sure to taste as you adjust the seasoning to your liking.

If you like a bit of heat, you can also add a dash of sriracha sauce or crushed red pepper flakes.

Seafood Options You Can Try In your Fried Rice

Shrimp: Cooked shrimp adds a delicious seafood flavor and texture to the fried rice. 

Crab Meat: Lump crab meat or imitation crab can be flaked into the rice for a sweet and briny taste.

Scallops: Sliced or chopped scallops provide a tender and mildly sweet seafood element.

Mussels: Steamed and shelled mussels can be mixed into the fried rice for a unique taste and texture.

Fish Fillets: Small pieces of white fish, such as tilapia or cod, can be lightly seasoned and pan-fried, then added to the rice.

Lobster: Lobster meat, diced into chunks, offers a luxurious addition to seafood fried rice.

Fish Roe: Roe from fish like salmon or flying fish can be used as a garnish for a burst of salty flavor.

Oysters: Fresh or canned oysters can be chopped and stirred into the fried rice for a unique taste.

Smoked Salmon: Flaked or thinly sliced smoked salmon can add a delightful smoky flavor.

Sardines: Canned sardines can be flaked and mixed into the rice for a strong, savory taste.

Seafood Fried Rice

Seafood Fried Rice Toppings to Try:

Chopped green onions or chives for freshness

Pineapple chunks for a sweet and tangy twist

Sesame seeds for a crunchy texture

Cashews or peanuts for added crunch and protein.

Yum Yum Sauce

What Goes With Shrimp Fried Rice?

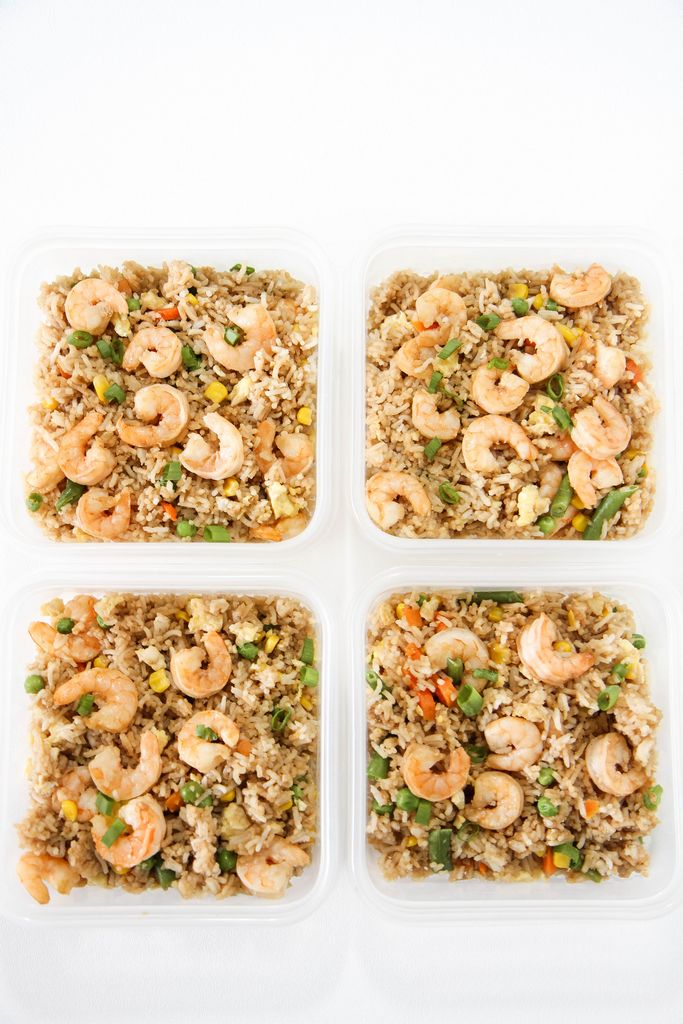
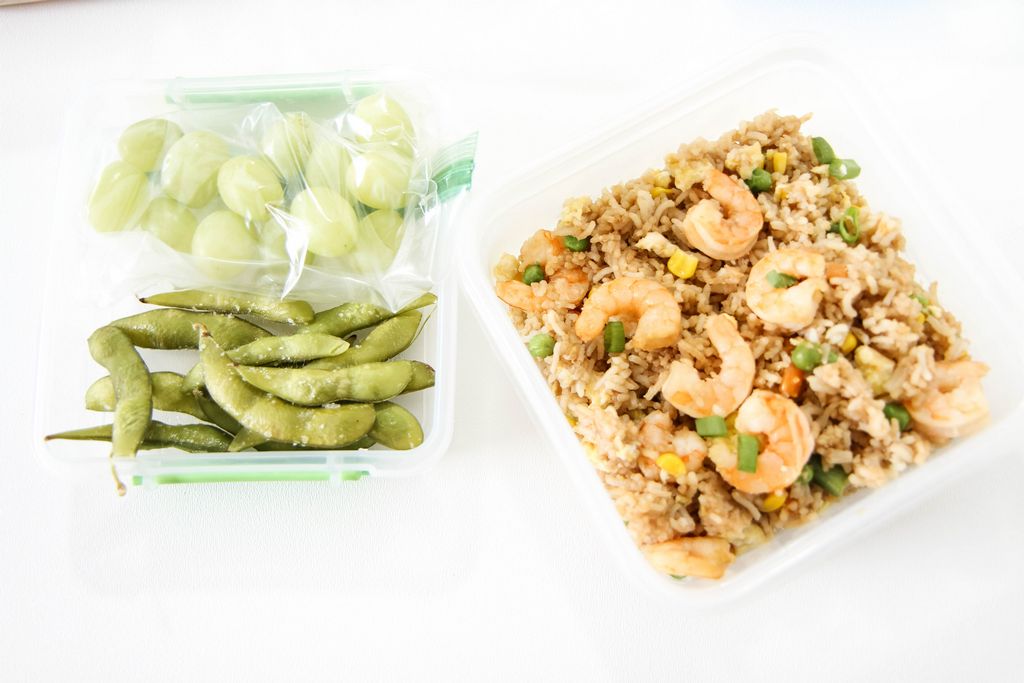
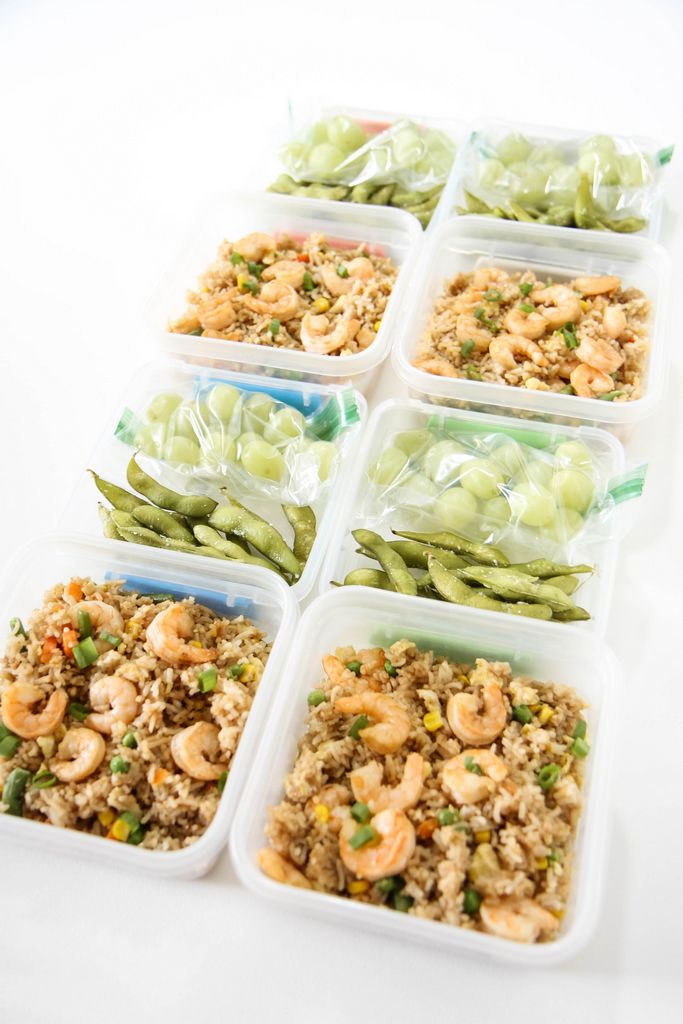
For lunch meal prep, I paired this  Shrimp Fried Rice recipe with bags of green grapes and some prepared edamame for a delicious lunch.

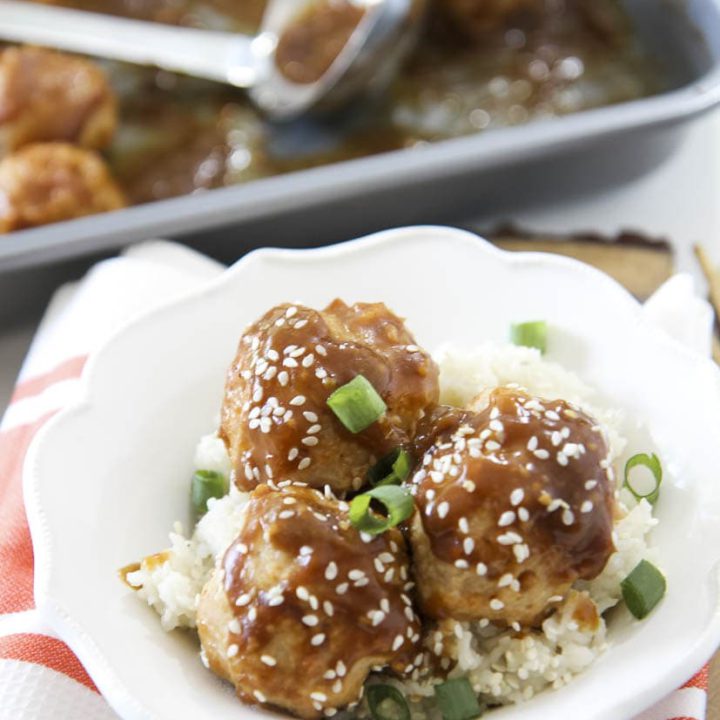
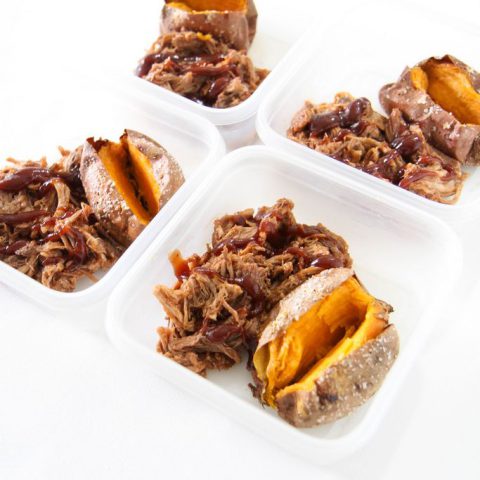
Be sure to scroll down for even more meal prep ideas!

Seafood Fried Rice

Seafood Fried Rice

Yield: 6 servings
Prep Time: 10 minutes
Cook Time: 20 minutes
Total Time: 30 minutes

A frugal chef’s dream dish made from leftover rice and veggies. Try this shrimp fried rice for a meat-free night at your house or any other suggested seafood combination.

Ingredients

  • 2 tablespoons sesame oil
  • 2 tablespoons canola oil
  • 1 pound medium prepared fresh shrimp or prawns (see post for more seafood options)
  • 2 cups frozen mixed vegetables (any mix of frozen peas, carrots, corn, and green beans)
  • 3 minced garlic cloves
  • 1 teaspoon fresh ginger
  • 3 large eggs, lightly beaten
  • 4 cups cooked jasmine or other long-grain white rice, preferably cold and day-old
  • 4 tablespoons soy sauce
  • Salt to taste

Instructions

  1. In a large skillet or wok, heat sesame oil and canola oil. 
  2. Add shrimp or prawns and cook for 3 minutes or until pink and done. With a slotted spoon, remove the seafood into a bowl and set aside.
  3. Add your choice of veggies and cook for two minutes. 
  4. Add garlic and ginger and cook for one more minute.
  5. Scoot your veggies to one side and add your beaten eggs to the wok (see the picture in this post for guidance). Scramble the eggs well.
  6. Finish by adding the cooked rice, soy sauce, and salt to taste. Stir to combine.
  7. Add the seafood and toss well.

Notes

For variations on seafood options, see today's post with tinned fish and fresh seafood options. Shrimp rice topping suggestions can also be found for variations.

Nutrition Information:
Yield: 6 Serving Size: 1
Amount Per Serving: Calories: 376Total Fat: 12gSaturated Fat: 2gTrans Fat: 0gUnsaturated Fat: 10gCholesterol: 238mgSodium: 831mgCarbohydrates: 39gFiber: 3gSugar: 2gProtein: 27g

The calorie and nutrition information provided with our recipes is intended to be an estimate based on commonly used ingredients and serving sizes. However, individual nutritional needs may vary, and the actual values can depend on factors such as specific brands of ingredients, preparation methods, and portion sizes. Please use these figures as estimates.

Easy Meal Prep Ideas

Try these 3 other meal prep ideas for lunch or dinner.

Pin It
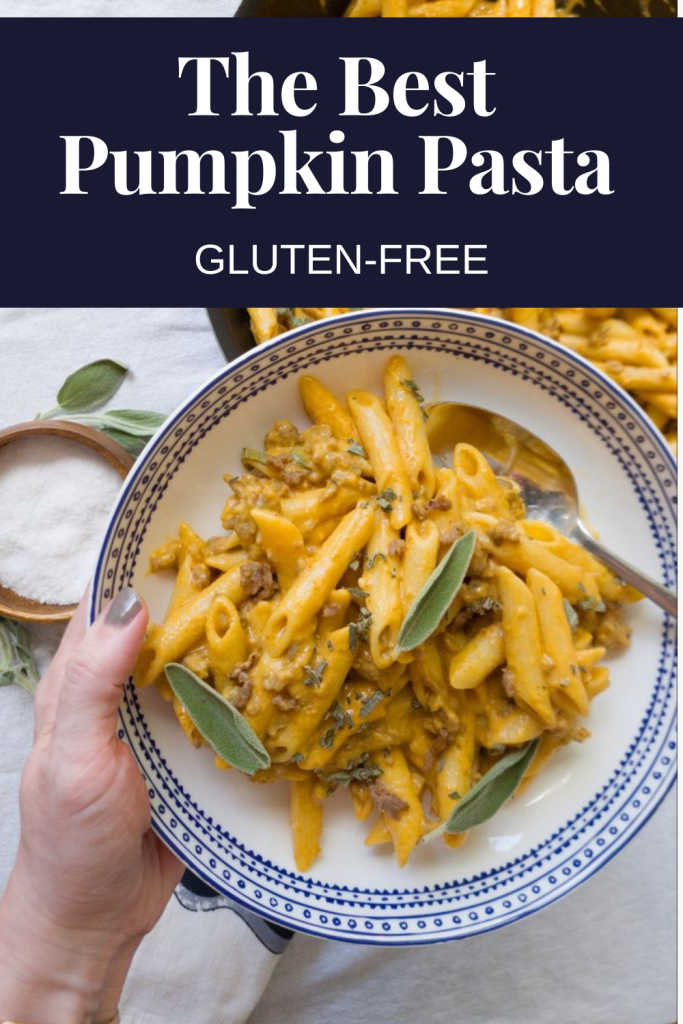
Creamy Pumpkin Pasta (So Easy and Delicious)

Saturday, September 9th, 2023

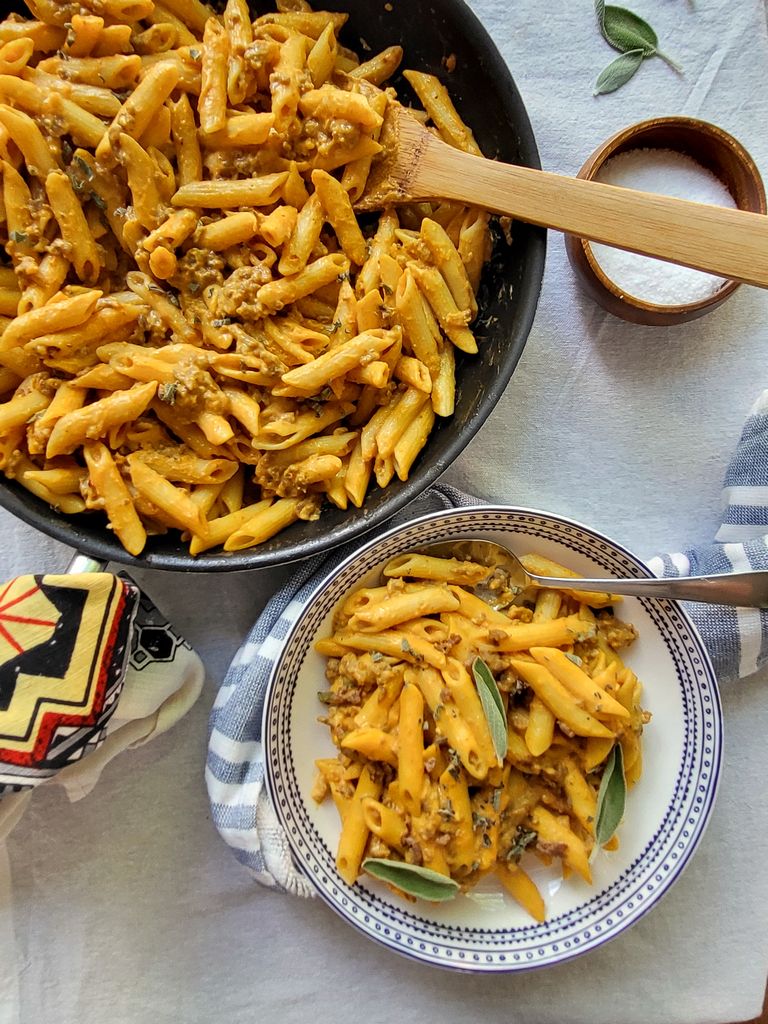
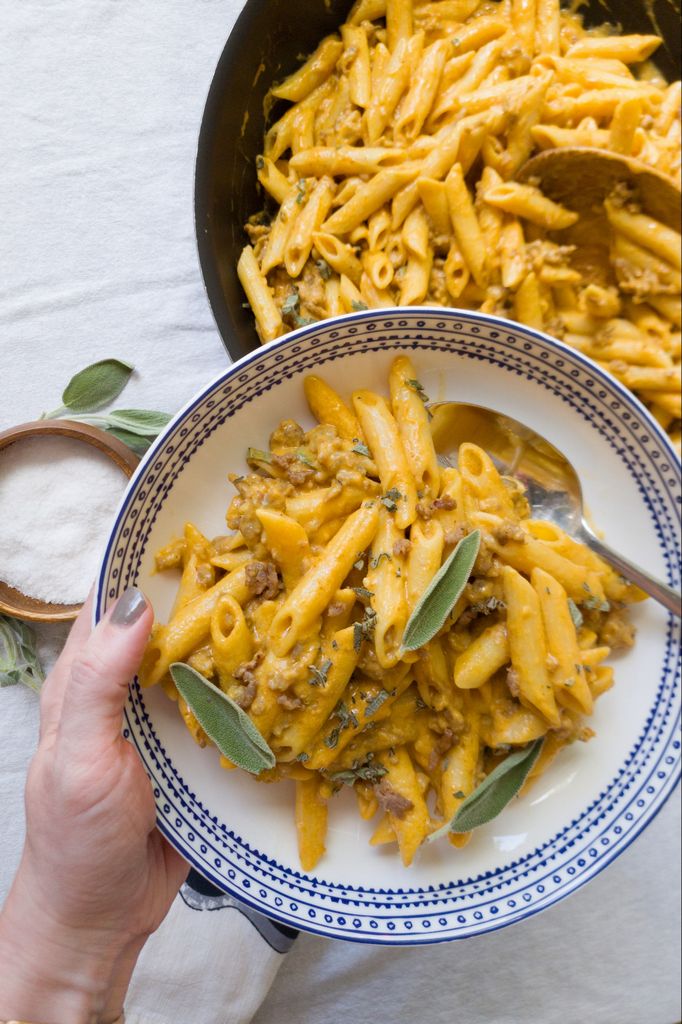
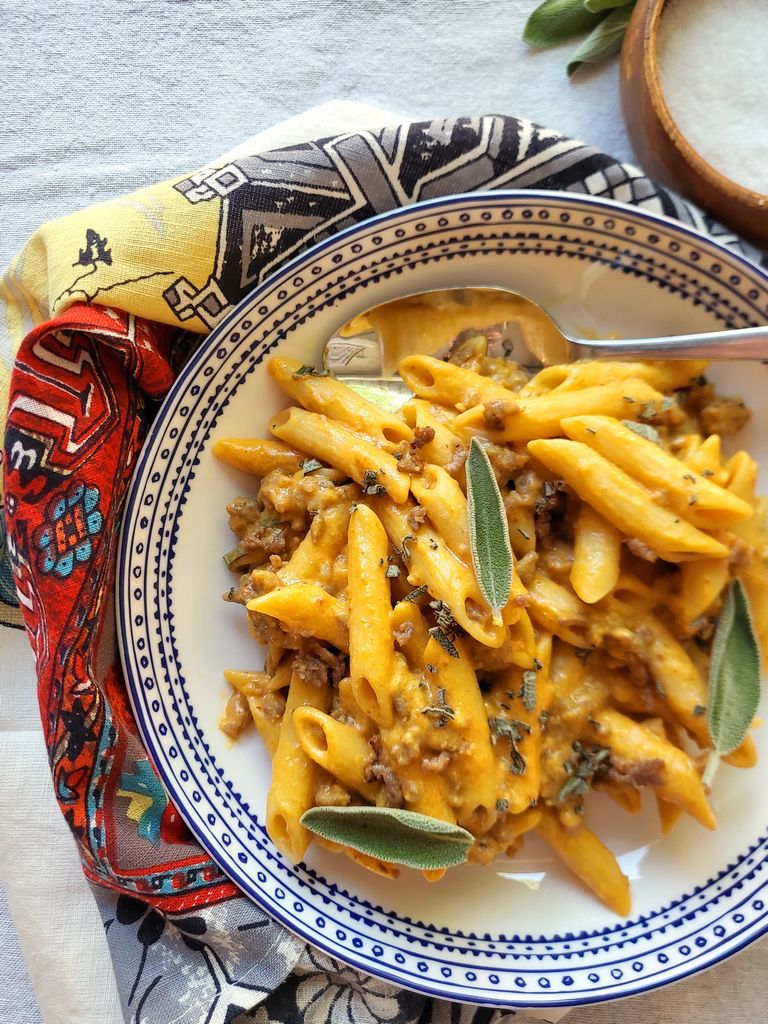
This creamy pumpkin pasta is gluten-free and made from canned pumpkin. This easy fall dinner idea is a cozy, satisfying meal for any season and so easy.

Creamy Pumpkin Pasta from MomAdvice.com

Are you craving a comforting and creamy pasta dish with a seasonal twist? 

Look no further than this delightful creamy pumpkin pasta recipe on our site that has been my family favorite since 2009. 

Perfectly balanced flavors and a creamy texture make this dish a fall favorite for many readers. 

The best part about this unique recipe is that this pasta sauce is creamy AND gluten-free! The secret thickening ingredient is sour cream!

In this article, we’ll provide step-by-step instructions on preparing this mouthwatering pumpkin sauce recipe and answer a frequently asked question to help you master this dish.

Creamy Pumpkin Pasta from MomAdvice.com

How to Make Pumpkin Pasta Sauce Recipe

Scroll down to see the complete ingredient list and printable step-by-step instructions.

Step 1: In a large skillet, sauté garlic in olive oil over medium heat. Add turkey sausage, cook until no longer pink, and remove from skillet.

Step 2: Pour chicken stock into skillet to deglaze. Whisk in half & half, sour cream, pumpkin, white vinegar, nutmeg, salt, white pepper, and sage. Simmer for 10 mins.

Step 3: Boil penne in salted water until al dente (about 11-12 mins). Reserve 1 cup of pasta water before draining.

Step 4: Stir drained pasta into pumpkin sauce with sausage. Simmer for 3 mins, adding reserved pasta water to thin as needed.

Step 5: Garnish with grated cheese and parsley. Customize to taste. Enjoy!

Here are some answers to frequently asked questions about this recipe:

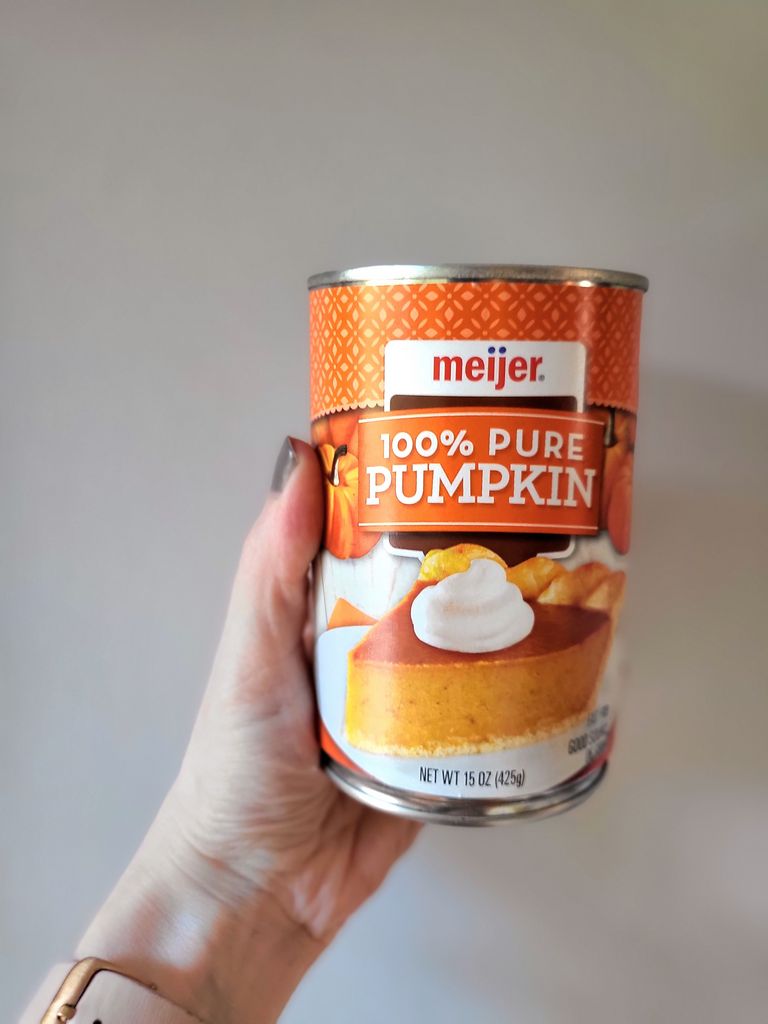
How Many Cups Are in a Can of Pumpkin?

How Many Cups Are in a Can of Pumpkin?

A 15-ounce can of pumpkin contains about 1 ¾ cups of pumpkin. One can of pumpkin is needed for this recipe. 

Can I Use a Different Type of Pasta For This Dish?

While penne and rotini are excellent choices for this creamy pumpkin pasta, you can certainly use other pasta shapes like fettuccine, linguine, or spaghetti. 

Just be sure to adjust the cooking time according to the pasta type you choose.

Can You Substitute Pumpkin Puree for Canned Pumpkin in Your Creamy Pumpkin Pasta Recipe?

Absolutely! You can seamlessly swap canned pumpkin for homemade pumpkin puree in many pumpkin recipes.

Both pumpkin puree and canned pumpkin are often used interchangeably due to their similar consistency and flavor profiles.

However, it’s essential to avoid using pumpkin pie filling as a substitute, as it contains added sugars and spices that can significantly alter the flavor of this pumpkin pasta sauce.

Creamy Pumpkin Pasta

What Goes Well with Pumpkin Pasta Sauce?

Roasted Vegetables: Roasted vegetables like green beans, broccoli, or Brussels sprouts complement the pumpkin sauce beautifully.

Sausage: Just like in the recipe you provided, sausage, whether it’s a sweet Italian turkey sausage or a spicy sausage, adds contrast to the creamy pumpkin sauce.  

Spinach or Kale: Fresh greens like spinach or kale can be wilted into the sauce for added color, nutrients, and a touch of bitterness that balances the sauce’s richness.

Bacon or Pancetta: Substitute the sausage with crispy bacon or pancetta bits to add a smoky, salty crunch that complements the creamy pumpkin sauce.

Nuts: Toasted nuts like chopped walnuts, pine nuts, pepitas, or pecans sprinkled on top can add a delightful crunch and nutty flavor that contrasts with the creamy sauce.

Dried Cranberries: You can sprinkle some dried cranberries on top for a touch of sweetness. Their tartness can be a lovely contrast to the richness of the sauce. 

A Dash of Spice: You can add a pinch of red pepper flakes or a drizzle of balsamic glaze for a subtle kick or a hint of acidity, respectively. Remember, the white pepper in this recipe will already give this recipe a kick. 

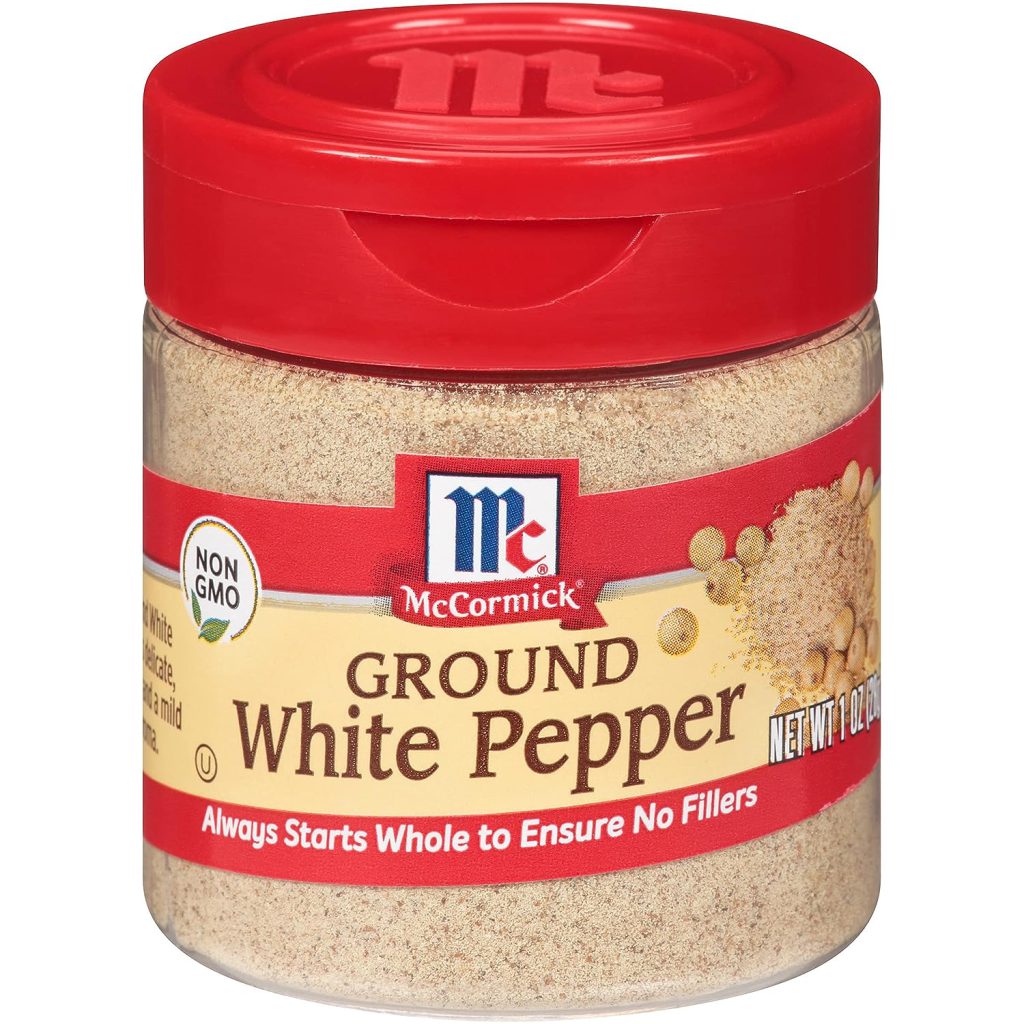
Ground White Pepper

What is the Difference Between White Pepper and Black Pepper?

White pepper is a milder spice than black pepper, with a subtle, earthy flavor. 

You can find it in the spice section of most grocery stores, online retailers, specialty spice shops, or international markets. 

It’s commonly used in creamy sauces like this pumpkin pasta dish and incorporated in my chai latte mix which is also popular around the holidays. 

The Best Gluten-Free Pumpkin Bread

What Can I Do With Leftover Canned Pumpkin?

While you can use the whole can of pumpkin for this recipe, there are many recipes on the site to try with canned pumpkin.  

Our family loves this gluten-free pumpkin bread, pumpkin spice pancakes, pumpkin chili, and pumpkin spice lattes.

Creamy Pumpkin Pasta

Creamy Pumpkin Pasta

Yield: 8 servings
Prep Time: 5 minutes
Cook Time: 25 minutes
Total Time: 30 minutes

Creamy pumpkin pasta is an autumn-inspired dish that combines the rich, velvety goodness of pumpkin puree with a blend of spices for a cozy and comforting meal.

Ingredients

  • 2 garlic cloves, minced
  • 2 tablespoons olive oil
  • 1 pound package of Sweet Italian Turkey Sausage (removed from its casing)
  • 1 cup to 2 cups pureed pumpkin (adjust to personal taste)
  • 2 cups chicken stock or vegetable stock (chicken broth or vegetable broth work too)
  • 2 teaspoons white wine vinegar
  • ¼ cup half & half
  • ½ cup sour cream (low-fat or fat-free)
  • ¼ teaspoon nutmeg
  • 1 teaspoon salt
  • ¼ teaspoon white pepper
  • 1 tablespoon fresh sage, minced
  • 2 tablespoons fresh parsley, minced
  • ¼ cup Romano or Parmesan cheese, shredded
  • 1 pound penne or rotini pasta (can substitute with gluten-free)

Instructions

    1. In a large skillet, sauté the garlic in the olive oil over medium heat. Add the turkey sausage and cook until it is no longer pink, breaking the meat up with your spoon as you cook it. Once cooked, remove the turkey sausage and garlic from the skillet.
    2. Pour the chicken stock into the skillet to deglaze the pan. Use a wire whisk to scrape up all of the flavorful bits stuck to the pan.
    3. Whisk in the white wine vinegar, half & half, sour cream, pumpkin puree, nutmeg, salt, white pepper, and sage. Let the sauce simmer for about ten minutes, to allow the flavors to meld together.
    4. While the sauce simmers, boil the penne in salted water until it reaches an al dente texture (approximately 11-12 minutes). 
    5. Before draining the cooked pasta, reserve a cup of the pasta water to help thin the sauce later. Once cooked, drain the pasta and set it aside.
    6. Stir the drained pasta into the pumpkin sauce, along with the cooked turkey sausage, and let it simmer for three more minutes or until the sauce thickens and clings to the pasta. Add small amounts of the reserved pasta water to thin as needed. 
    7. To finish this dish, garnish it with grated Parmesan or Romano cheese and a sprinkle of parsley.

Notes

Feel free to customize this recipe to suit your taste. You can adjust the amount of pumpkin puree for a stronger or milder pumpkin flavor or experiment with different pasta shapes, as mentioned in the frequently asked question.

Nutrition Information:
Yield: 8 Serving Size: 1
Amount Per Serving: Calories: 340Total Fat: 15gSaturated Fat: 5gTrans Fat: 0gUnsaturated Fat: 8gCholesterol: 68mgSodium: 868mgCarbohydrates: 29gFiber: 2gSugar: 4gProtein: 21g

The calorie and nutrition information provided with our recipes is intended to be an estimate based on commonly used ingredients and serving sizes. However, individual nutritional needs may vary, and the actual values can depend on factors such as specific brands of ingredients, preparation methods, and portion sizes. Please use these figures as estimates.

Tell Me: What did your family think of this recipe?

Easy Make Ahead Mashed Potatoes Recipe (For a Crowd)

Wednesday, September 6th, 2023

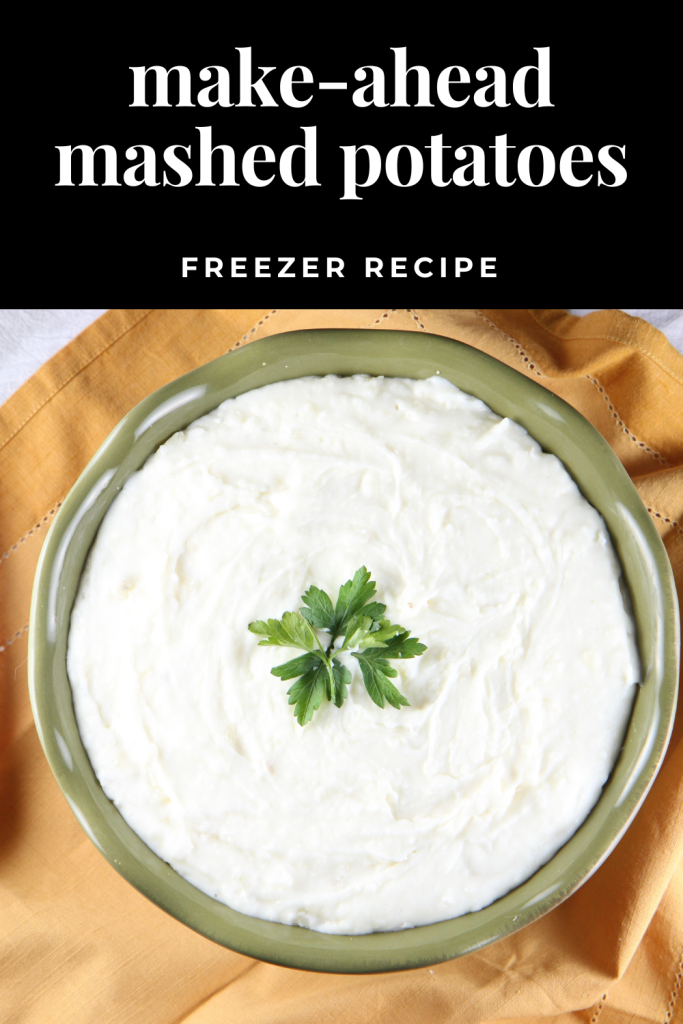
This is the best make-ahead mashed potatoes recipe. Prep this dish early and reheat it in the slow cooker for an easy Thanksgiving side dish everyone loves.

Easy Make Ahead Mashed Potatoes Recipe (For a Crowd)

Can you believe it’s already time to start preparing for Thanksgiving?

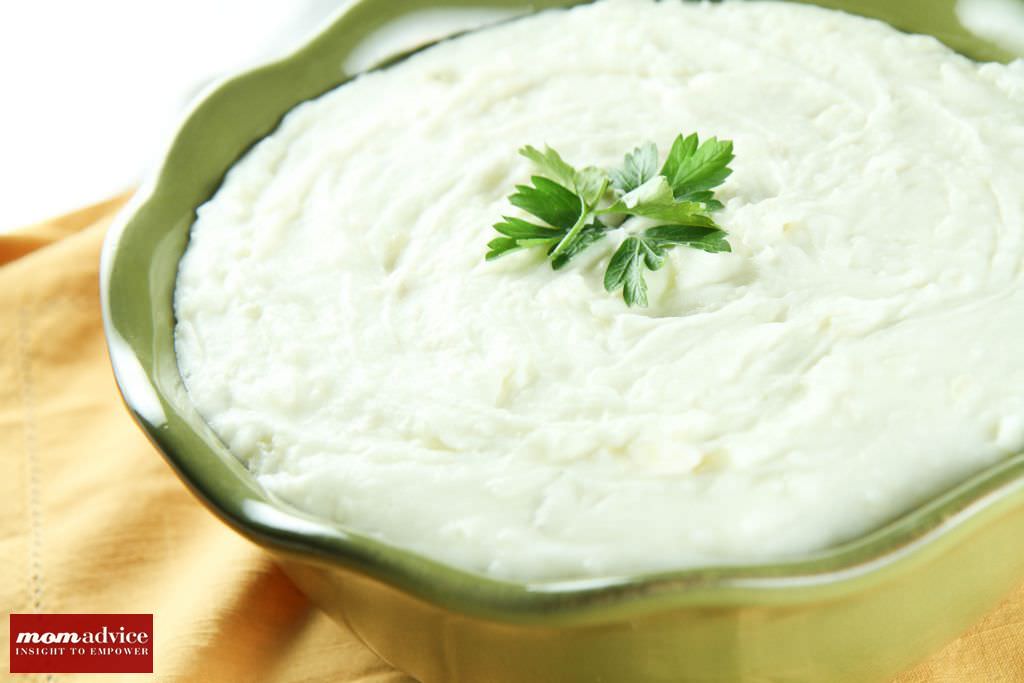
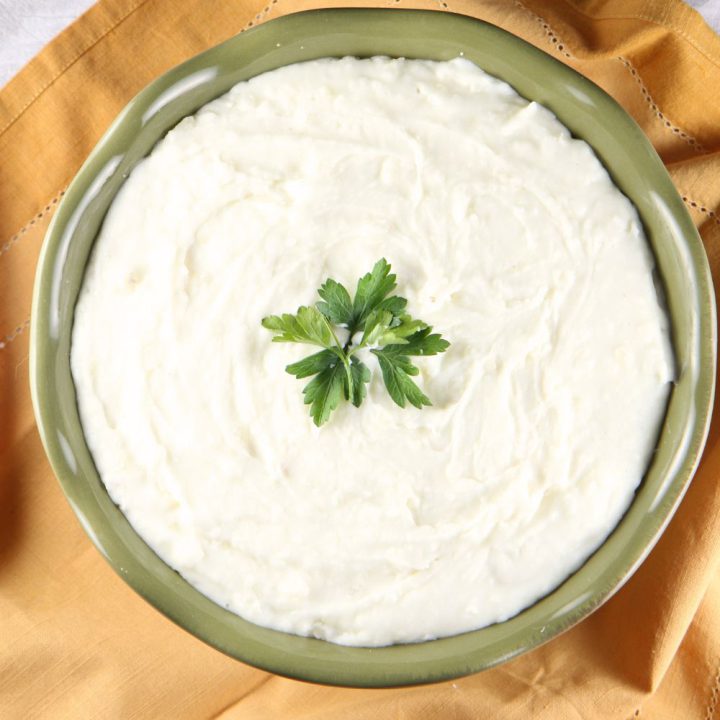
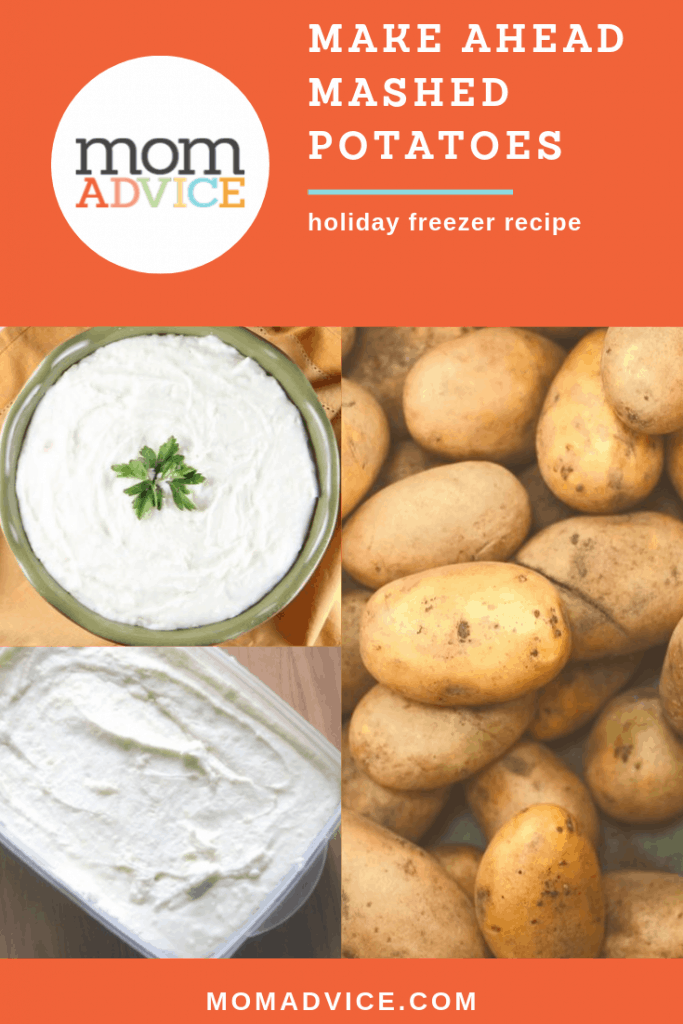
Lucky for you (and me), I have a fantastic make-ahead freezer recipe to share – Creamy Make-Ahead Mashed Potatoes!

This recipe has been a personal favorite over the years, and it’s the perfect solution for busy holiday meal prep. These mashed potatoes are incredibly creamy and freeze beautifully and reheat easily in your slow cooker. 

This comprehensive guide provides step-by-step instructions on creating make-ahead mashed potatoes for the freezer.

Additionally, we’ll explore the benefits of freezing this dish and answer frequently asked questions to ensure you have the perfect holiday.

Easy Make Ahead Mashed Potatoes Recipes (For a Crowd)

How to Make Easy Make Ahead Mashed Potatoes 

Scroll down for the recipe with a complete ingredient list and step-by-step instructions for this recipe.

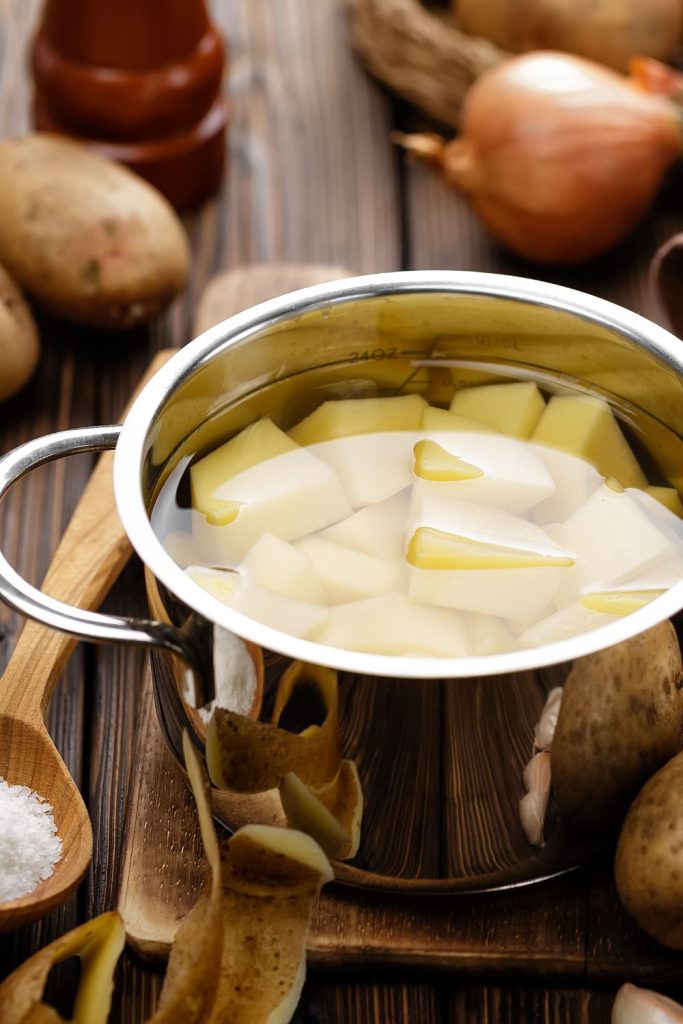
Boiling Potatoes in Cold Water

Boil the Potatoes:

Place the peeled and cubed potatoes in a large pot of salted water. 

Bring to a boil and cook until fork-tender, approximately 25-30 minutes.

Drain and Mash: 

Drain the cooked potatoes and return them to the pot. Mash them using a potato masher or a ricer until smooth and lump-free.

Add Creamy Buttery Additions:

While the potatoes are still warm, add the butter, sour cream, and milk—season with salt and pepper to taste. 

Mix until all the ingredients are well incorporated and your mashed potatoes are creamy and fluffy.

Freezing Mashed Potatoes

Cool and Pack: 

Allow the mashed potatoes to cool completely. Once cooled, transfer them to freezer-safe containers or resealable bags. Be sure to remove any excess air from the bags to prevent freezer burn.

Freeze Mashed Potatoes: 

Label the containers or bags with the date and place them in the freezer. These mashed potatoes can be frozen for up to 2-3 months.

Here are some frequently asked questions about how to make these make-ahead mashed potatoes:

What Potatoes Are Best For Mashed Potatoes

What Potatoes Are Best for Mashed Potatoes?

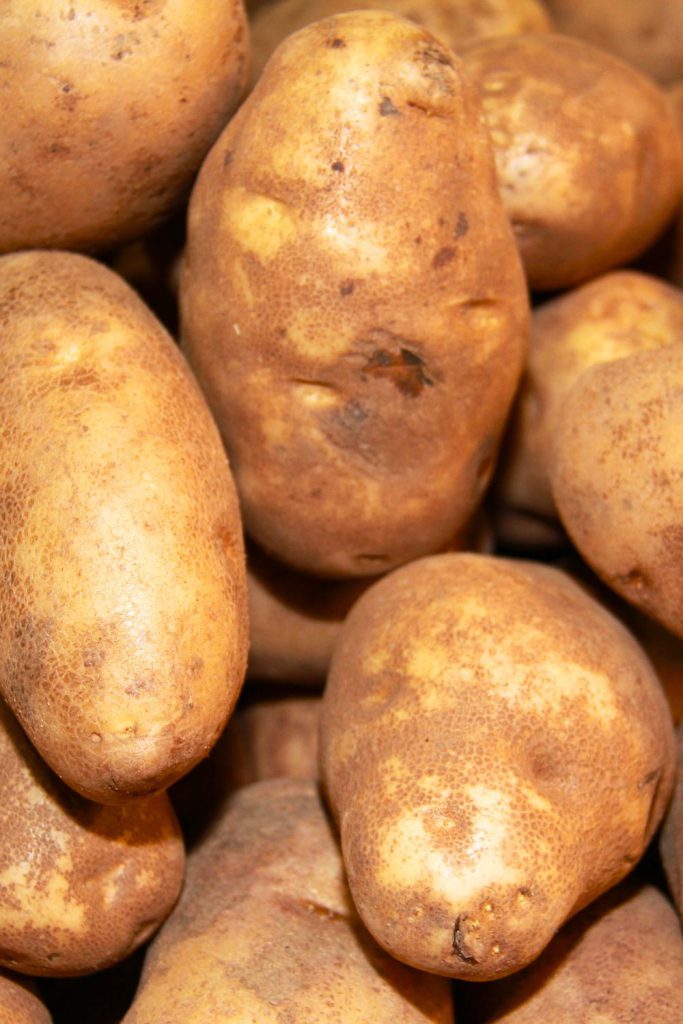
The best potatoes for mashed potatoes are typically those with a high starch content and a low moisture content. These types of potatoes yield the creamiest and fluffiest mashed potatoes. 

The popular potato choices for this make-ahead recipe are Russet and Yukon Gold.

The primary difference in taste between Yukon Gold and Russet potatoes lies in their flavor profiles and textures.

  • Yukon Gold Potatoes: Yukon Gold potatoes are known for their buttery and slightly sweet flavor.  When cooked, they have a creamy, smooth texture, making them an excellent choice for mashed potatoes and gratins. Their thin, yellowish skin is tender and can be left on for added color and texture in various dishes.
  • Russet Potatoes: Russet potatoes, also known as Idaho potatoes, have a mild, earthy flavor with a starchy and dry texture. This makes them ideal for baking, frying, and creating fluffy mashed potatoes. The thicker and rougher skin of Russet potatoes is usually peeled before cooking in most recipes.

For these make-ahead mashed potatoes, I’ve experimented with both varieties, and they turn out beautifully. 

I find though that the Yukon Gold potatoes offer a more buttery, creamy texture.

Use Yukon Gold potatoes when possible in your dish. 

Easy Make Ahead Mashed Potatoes for a Crowd

Are Mashed Potatoes Gluten-Free?

When prepared with ingredients like potatoes, butter, milk, salt, and pepper, mashed potatoes are naturally gluten-free. Potatoes do not contain gluten, so they are safe for individuals with gluten sensitivity or celiac disease.

However, it’s essential to be cautious when making mashed potatoes, as certain additives or toppings can introduce gluten. Here are some things to watch out for:

  • Gravy: If you serve mashed potatoes with gravy, use a gluten-free gravy thickener or a gluten-free pre-made gravy mix. Traditional gravy is typically thickened with wheat flour, which contains gluten. Check here for some gluten-free gravy options.
  • Toppings: If you add toppings to your mashed potatoes, such as breadcrumbs, fried onions, or crispy bacon, make sure these are gluten-free. Standard breadcrumbs contain gluten, so you would need to use gluten-free breadcrumbs if desired.

Use fresh, whole ingredients for a gluten-free dish, and check labels for processed items.

Homemade mashed potatoes are usually gluten-free, but it’s a good practice to check the gluten-free status of your ingredients.

How to Make Dairy-Free Mashed Potatoes?

Use almond, coconut, or oat milk and dairy-free butter for dairy-free mashed potatoes.

How Do I Reheat Frozen Mashed Potatoes?

To reheat, you have a couple of options.

One of the best methods is to use your slow cooker. The mashed potatoes reheat in crockpot and save room in your oven for the Thanksgiving Turkey.

Place the thawed mashed potatoes in the slow cooker on low heat for 3-4 hours, stirring occasionally until heated.

You can also reheat them in the oven. Bake the potatoes at 350 degrees for thirty to forty minutes or until completely hot.

Can I double the recipe for a large gathering?

This recipe is easily scalable. Make sure you have a large pot to accommodate the additional potatoes and adjust the other ingredients accordingly.

I have doubled and tripled the batch for our family gatherings. We rarely have leftovers, and this is always our family’s favorite Thanksgiving side dish.

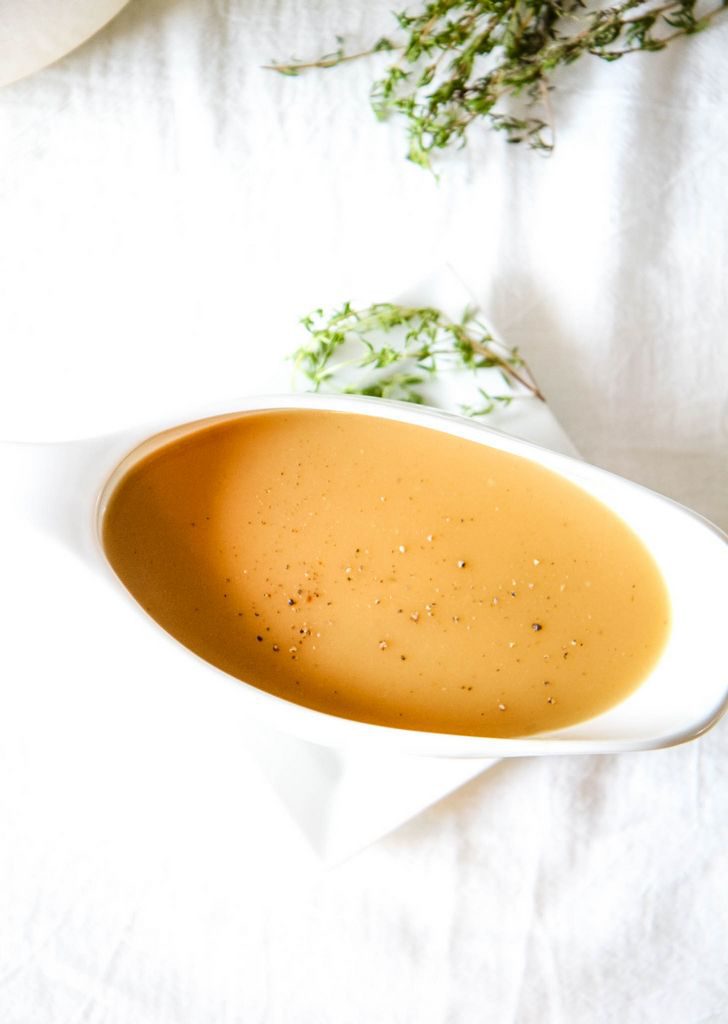
Make Ahead Turkey Gravy

I recommend preparing these with this make-ahead turkey gravy recipe for topping.

What to Add in Mashed Potatoes

Can I add additional seasonings or toppings to the mashed potatoes?

These mashed potatoes are a blank canvas. Feel free to add garlic, herbs, cheese, or any other favorite toppings or seasonings to customize the flavor.

I have provided instructions for topping with melted butter and paprika.

What Freezer-Safe Container Should I Prepare These Make-Ahead Mashed Potatoes In?

Selecting the proper containers can make all the difference in freezing dishes. Here are some options:

  • Glass or Plastic Containers: If you prefer a more durable, consider investing in glass or BPA-free plastic containers with airtight lids. They can be reused for future freezing needs. I have linked to a great option below.
  • Foil Pans or Containers: These come in various sizes and are ideal for freezing casseroles. They’re easy to stack in the freezer and can be recycled afterward.
Easy Make Ahead Mashed Potatoes Recipes (For a Crowd)

Easy Make Ahead Mashed Potatoes

Yield: 12
Prep Time: 30 minutes
Cook Time: 30 minutes
Additional Time: 10 minutes
Total Time: 1 hour 10 minutes

Naturally gluten-free, these make-ahead mashed potatoes can be made early for your holiday meal and freeze until the big day. You can reheat in your slow cooker to save space in your oven.

Ingredients

  • 5 pounds Yukon Gold Potatoes
  • 1 block (8 oz) of low-fat cream cheese, softened
  • 3/4 cup low-fat sour cream
  • 4 tablespoons melted butter
  • 3/4 cup milk (or more if desired)
  • 1 1/2 teaspoons salt
  • Paprika (optional)

Instructions

  1. Peel potatoes and cut into small cubes. Throw the potatoes in a large pot filled with cold salted water.
  1. Bring to a boil. Cook for 25-30 minutes or until fork-tender.
  2. Drain the boiled potatoes and put them back into the hot pot. Add melted butter, cream cheese, milk, sour cream, and salt. Mash with a potato masher or use a hand mixer to whip the potatoes. Add salt and pepper to taste.
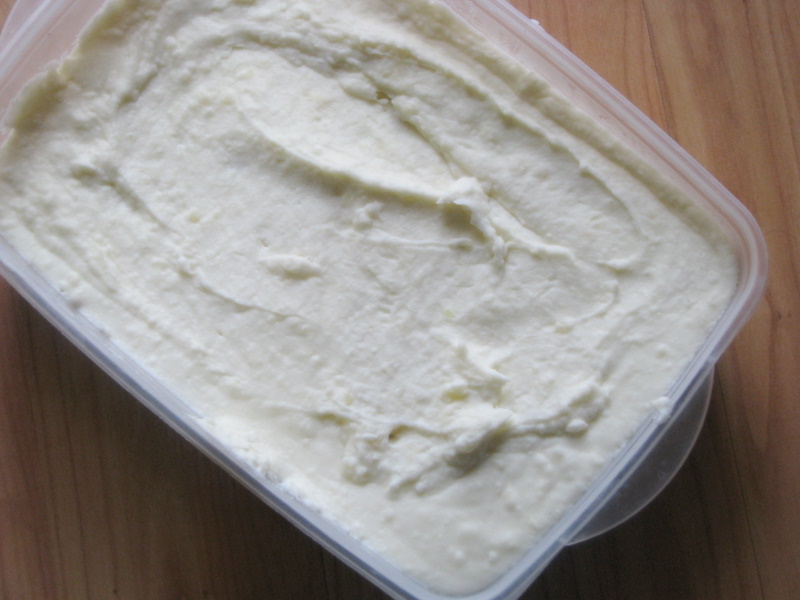
  3. Spoon mashed potatoes into a freezer-safe casserole dish and label.
  4. Allow the mashed potatoes to thaw 1-3 days before your event in your airtight container in the fridge. See the notes below for warming instructions.

Notes

  • To prepare in slow cooker: Spray a slow cooker with cooking spray and put prepared potatoes inside. Brush the top of the potatoes with a tablespoon of melted butter and sprinkle with paprika. Cook on low for two to four hours.
  • To prepare in the oven: Bake the potatoes at 350 degrees for thirty to forty minutes or until completely hot in your baking dish.

Nutrition Information:
Yield: 12 Serving Size: 1
Amount Per Serving: Calories: 249Total Fat: 7gSaturated Fat: 4gTrans Fat: 0gUnsaturated Fat: 2gCholesterol: 18mgSodium: 340mgCarbohydrates: 42gFiber: 4gSugar: 3gProtein: 7g

The calorie and nutrition information provided with our recipes is intended to be an estimate based on commonly used ingredients and serving sizes. However, individual nutritional needs may vary, and the actual values can depend on factors such as specific brands of ingredients, preparation methods, and portion sizes. Please use these figures as estimates.

Other Make-Ahead Thanksgiving Recipes To Try This Year:

Did you try this recipe? We would love to hear what you thought of this holiday classic side dish!

Make-Ahead Mashed Potatoes Freezer Recipe from MomAdvice.com

Pin It
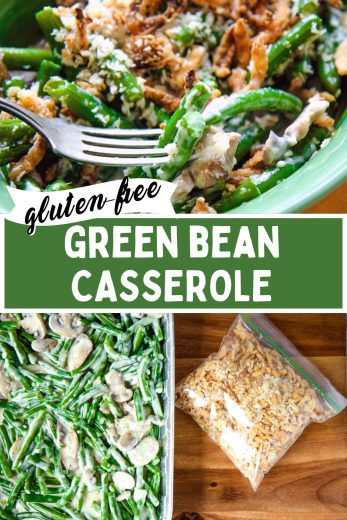
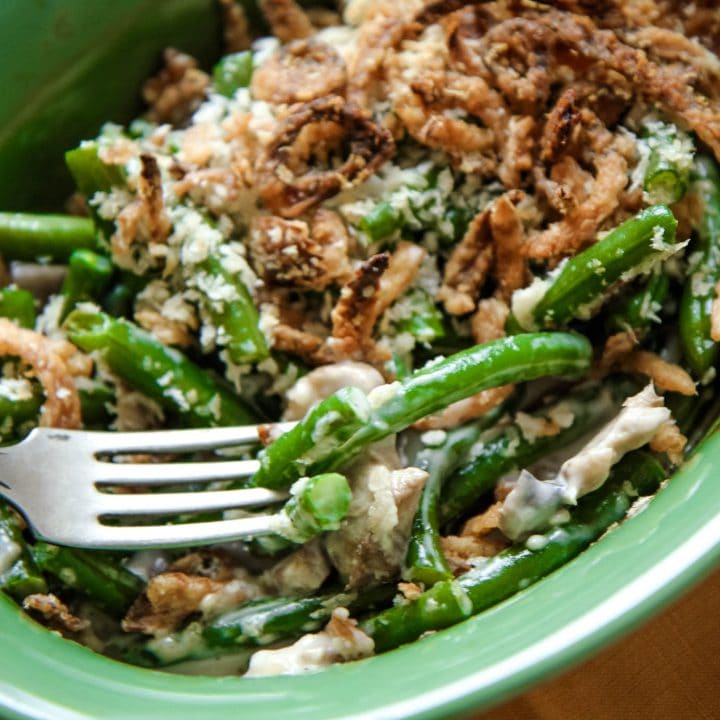
Best Gluten Free Green Bean Casserole (how to freeze)

Wednesday, September 6th, 2023

This gluten free green bean casserole recipe is made with fresh green beans and a mushroom sauce. Check out all these easy make-ahead Thanksgiving recipes.

Best Gluten Free Green Bean Casserole (how to freeze)

Classic Green bean casserole is beloved, especially during Thanksgiving and Christmas. 

However, enjoying this side dish can be challenging for those with dietary restrictions or allergies. 

Fortunately, making a gluten-free version of green bean casserole is possible and delicious. With a homemade cream of mushroom soup and a simple switch with your toppings, this fresh recipe will be your new family favorite. 

This comprehensive guide provides step-by-step instructions on creating a gluten-free green bean casserole.

Additionally, we’ll explore the benefits of freezing this dish and answer frequently asked questions to ensure your gluten-free green bean casserole is always ready to serve.

How to Make the Best Gluten Free Green Bean Casserole (how to freeze)

Scroll down to the bottom for the recipe with a complete ingredient list and step-by-step instructions for this traditional green bean casserole.

Best Gluten Free Green Bean Casserole (how to freeze)

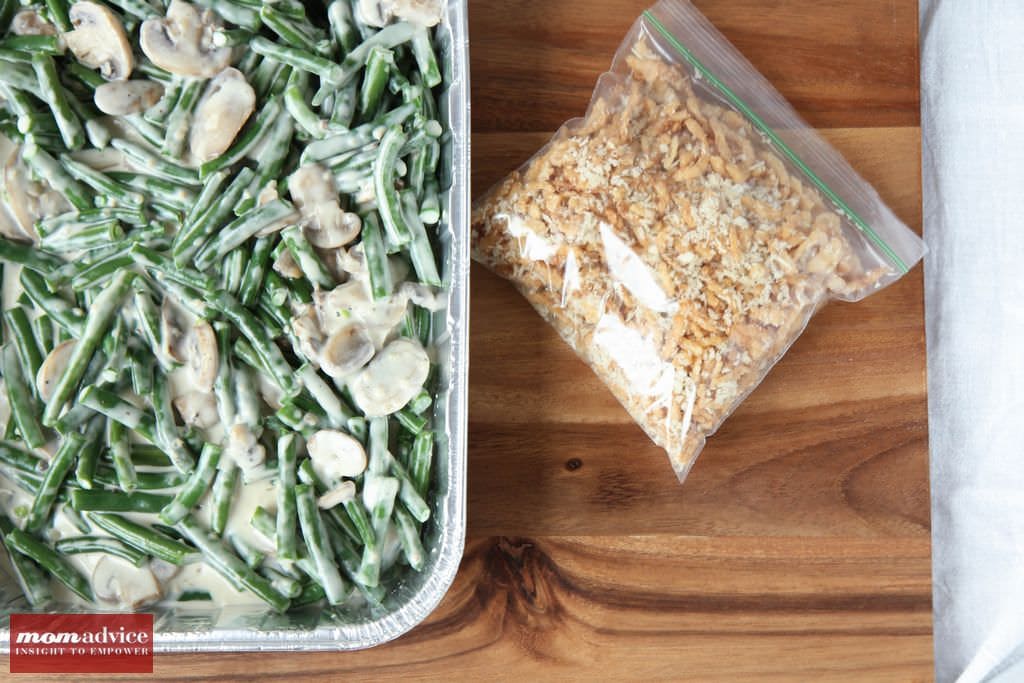
Prepare the Topping:

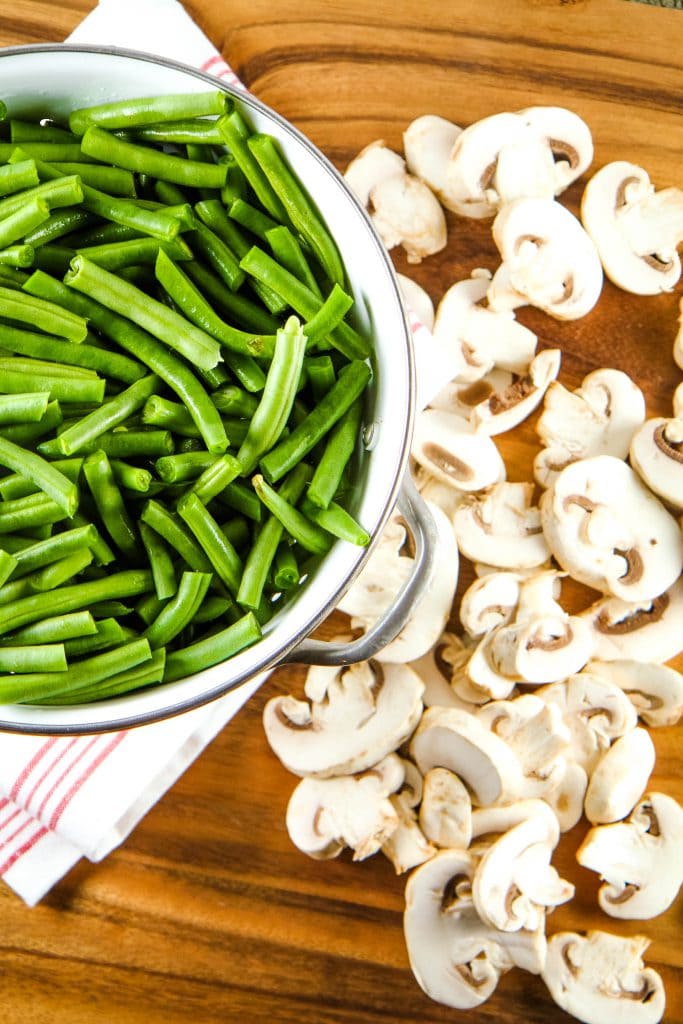
In a small bowl, combine panko breadcrumbs and canned fried onions.

Mix well with two tablespoons of olive oil (or melted butter).

Pour into a resealable bag for storage, if freezing this dish.

How to Blanche Green Beans

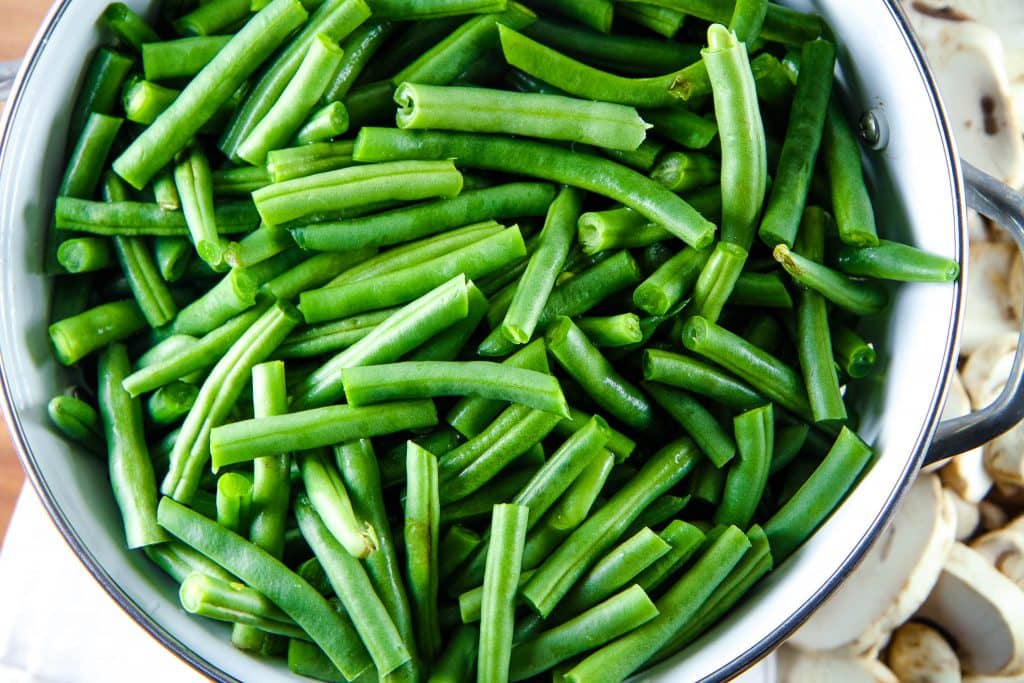
How to Blanch Green Beans:

Blanching green beans is a quick cooking method where fresh green beans are briefly boiled in hot water for  4 minutes until they become bright green and slightly tender. 

Blanching helps to preserve the beans’ vibrant color, texture, and nutrients, while also halting the cooking process, making them ideal for use in various dishes or for future storage.

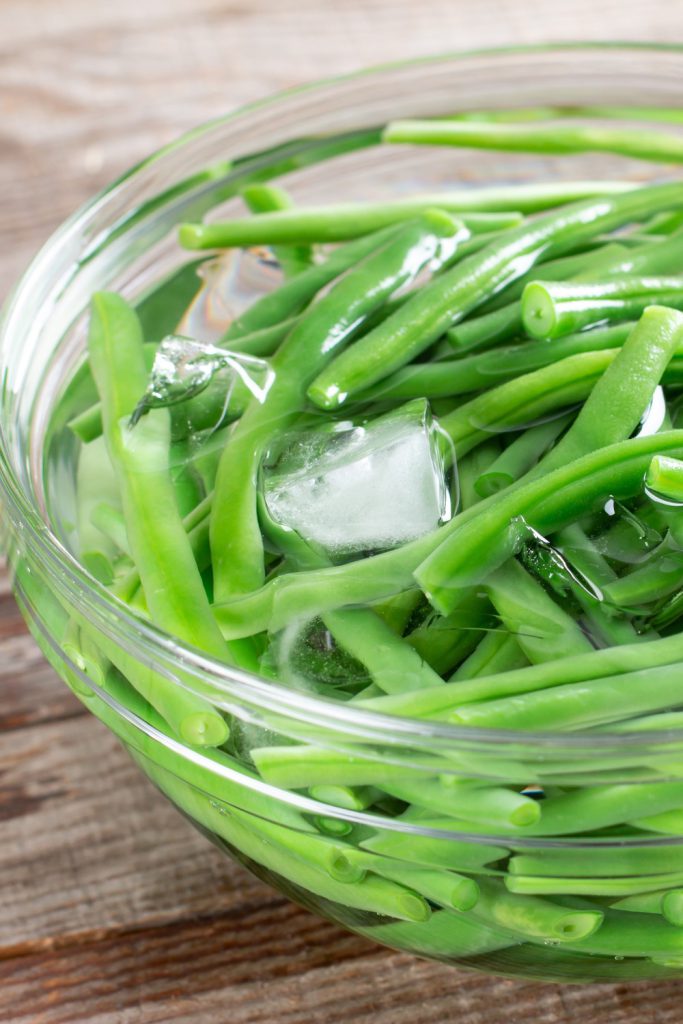
How to Blanch Green Beans

Immediately following this process, you plunge the beans into ice water, creating an “ice bath” that rapidly cools them down.

Set aside.

Best Gluten Free Green Bean Casserole (how to freeze)

Prepare the Gluten Free Cream of Mushroom  Soup:

In the same hot pot you boiled the green beans, melt the unsalted butter over medium-high heat.

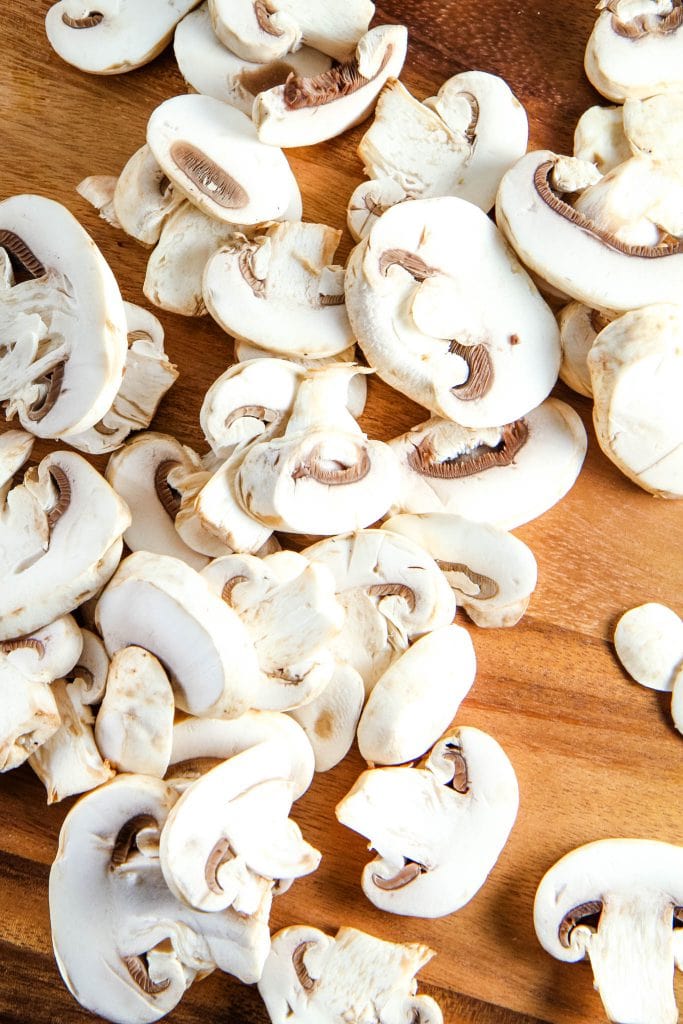
Add the sliced mushrooms, season with salt and pepper, and sauté until they release moisture and it evaporates, approximately 6 minutes. Stir in the minced garlic, taking care not to let it burn.

Add the gluten-free flour and cook for 1 minute, stirring constantly. Pour in the chicken broth and bring it to a simmer, stirring continuously.

Add the heavy cream, reduce the heat to medium, and simmer until the sauce thickens and reduces to about 3 1/2 cups, which will take approximately 12 minutes.

Season the sauce with salt and pepper to taste.

Best Gluten Free Green Bean Casserole (how to freeze)

Combine the Green Beans and Sauce:

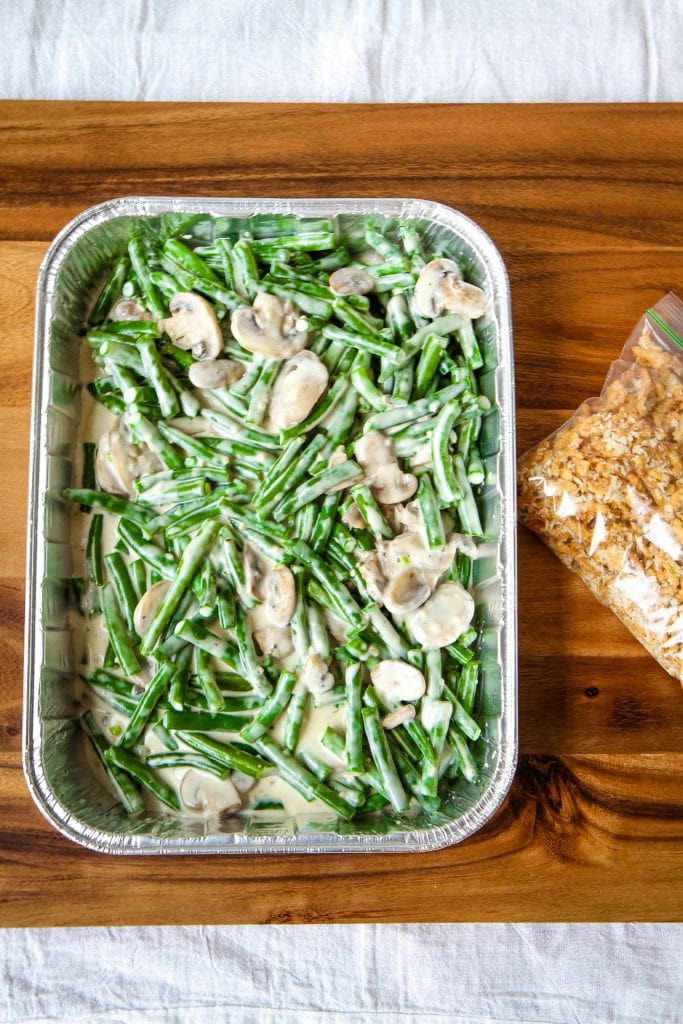
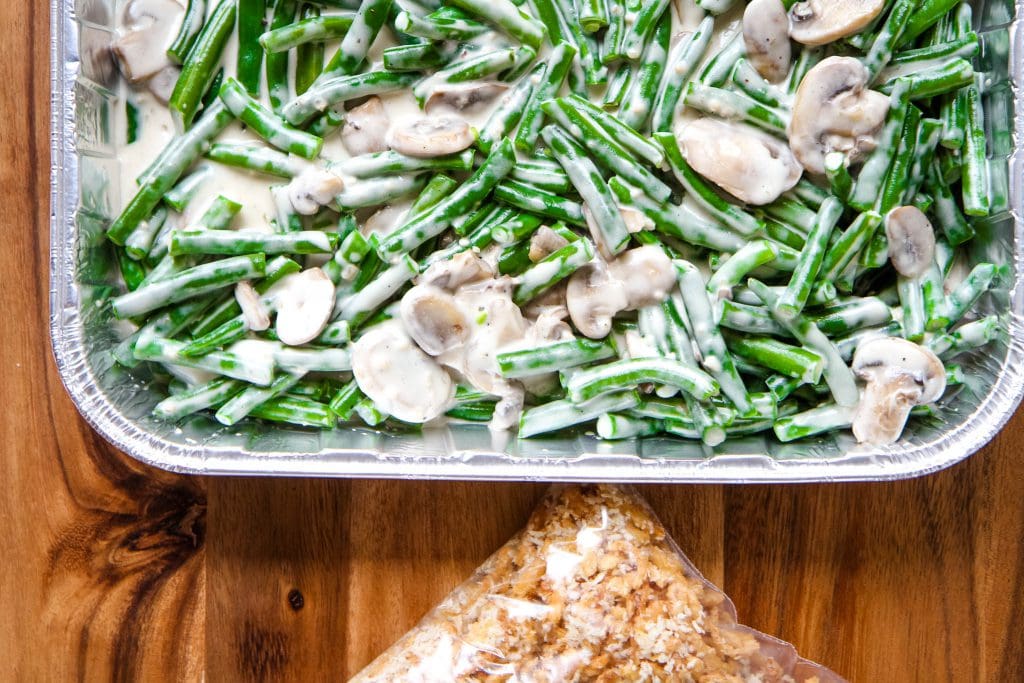
Add the blanched green beans to the cream sauce, stirring until they are evenly coated.

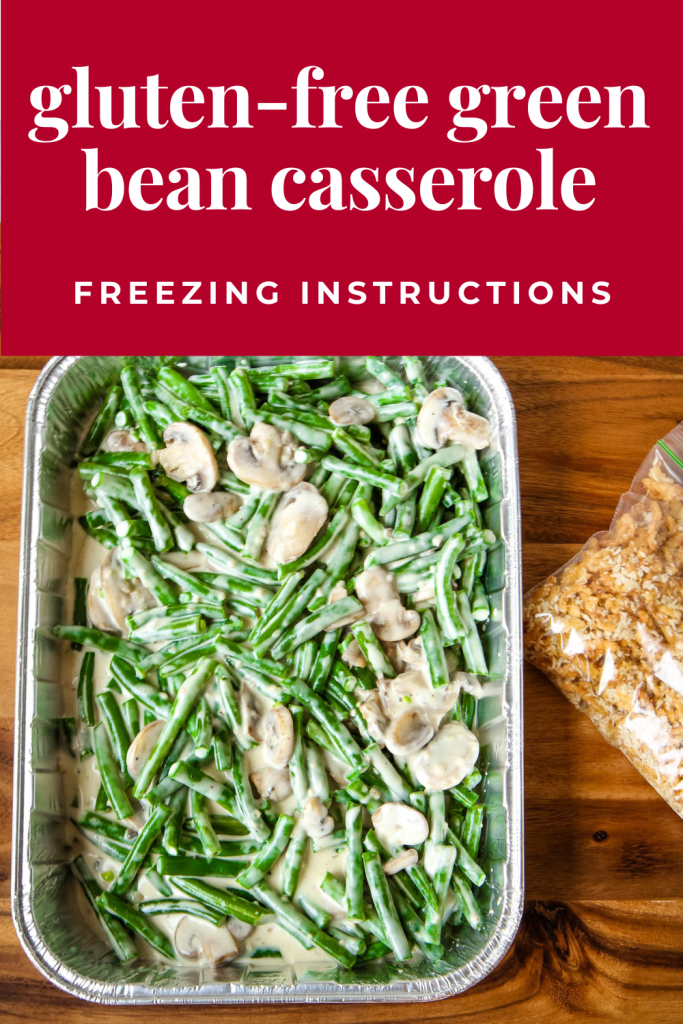
Arrange the mixture in an even layer in a 3-quart (or 13 x 9″) baking dish.

Best Gluten Free Green Bean Casserole (how to freeze)

Prepare for Freezing:

Store the panko and onion topping in a resealable bag or container in your pantry (to keep it from getting soggy in the freezer).

Freeze the casserole in a freezer-safe container or disposable foil pan.

Here are some frequently asked questions about how to make this gluten-free green bean casserole recipe:

Best Gluten Free Green Bean Casserole (how to freeze)

How to Make Green Bean Casserole Gluten-Free?

Are you following a gluten-free diet? This recipe is gluten-free. This is made possible through these recommended substitutions:

Can I make this casserole dairy-free?

You can substitute dairy-free alternatives like almond, coconut, or oat milk for regular milk and use dairy-free butter to achieve a dairy-free green bean casserole. 

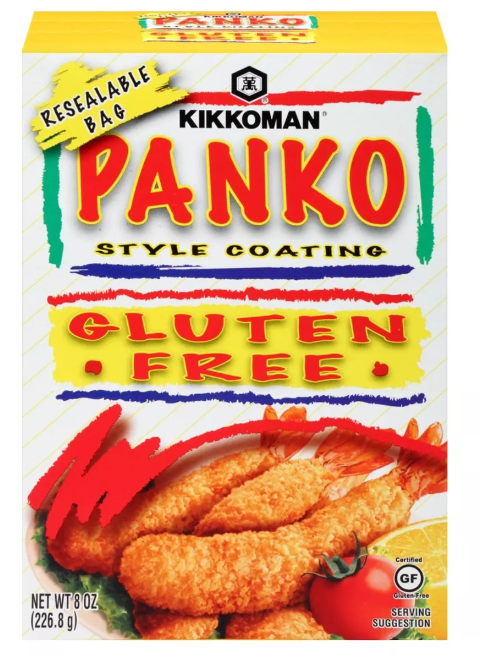
Gluten-Free Panko

Is Panko Gluten Free?

Panko breadcrumbs are light and airy Japanese-style breadcrumbs commonly used for breading and frying foods.

Regular panko is not gluten-free. 

Gluten-free panko breadcrumbs are a variation of traditional panko breadcrumbs that do not contain gluten, making them suitable for people with gluten sensitivities or celiac disease. 

You can find this ingredient in most well-stocked grocery stores, usually in the following store locations:

  • Gluten-Free Aisle: Many grocery stores have a dedicated gluten-free section where you can find gluten-free products, including breadcrumbs. Look for the gluten-free panko breadcrumbs in this section. This aisle may also contain other gluten-free products like pasta, flour, and snacks.
  • Baking Aisle: Sometimes, gluten-free breadcrumbs, including panko, may be in the baking aisle with other baking supplies. Check near the regular breadcrumbs and flour.
  • Specialty Food Section: Some grocery stores place gluten-free items, including panko breadcrumbs, in a specialty or health food section. Be sure to explore this area if your store has one.

Be aware even if the product is labeled as gluten-free, be aware that cross-contamination can occur during production.

If you have a severe gluten allergy or sensitivity, you may want to contact the manufacturer to inquire about their cross-contamination prevention measures.

Are French’s Fried Onions Gluten Free?

The French’s Fried Onions ingredient list includes onions, palm oil, wheat flour, dextrose & salt. They are not gluten-free because they contain wheat.

Many store brands offer gluten-free options, especially around the holidays. 

We have had incredible success with the ALDI gluten-free french fried onions, but you can also check here for a variety of online grocery options. 

This gluten-free ingredient is always available around the holidays, so stock up when you see it!

Best Gluten Free Green Bean Casserole (how to freeze)

Can you Freeze Gluten Free Green Bean Casserole?

This gluten free casserole is a make-ahead freezer recipe, but you must store the prepared topping separately.

Store the onion and panko topping in a resealable baggie and place it in your pantry. 

Place the prepared casserole in a freezer-safe container or a foil pan, sealing it securely to prevent freezer burn. 

Allow the casserole to thaw in the refrigerator for 1-3 days before your event, and keep it covered with plastic wrap. 

What Freezer-Safe Container Should I Prepare This Gluten Free Green Bean Casserole In?

Selecting the right containers can make all the difference in freezing dishes. Here are some options:

  • Glass or Plastic Containers: If you prefer something more durable, consider investing in glass or BPA-free plastic containers with airtight lids. They can be reused for future freezing needs.
  • Foil Pans or Containers: These come in various sizes and are ideal for freezing casseroles. They’re easy to stack in the freezer and can be recycled afterward. I purchase these from my local dollar store.
Gluten Free Green Bean Casserole

Gluten Free Green Bean Casserole

Yield: 12 servings
Prep Time: 15 minutes
Cook Time: 30 minutes
Total Time: 45 minutes

This make-ahead gluten-free green bean casserole is perfect for your Thanksgiving feast. Once you try this fresh take on this casserole, you'll never return to the canned version again.

Ingredients

  • 1/2 cup gluten-free panko breadcrumbs
  • 2 tablespoons olive oil (or melted butter)
  • 1/4 teaspoon table salt
  • 1/8 teaspoon ground black pepper
  • 3 cups canned gluten-free fried onions (about 6 oz.)
  • 2 lbs green beans, ends trimmed and halved
  • 3 tablespoons unsalted butter
  • 1 lb sliced white button mushrooms
  • 3 medium garlic cloves, minced
  • fresh ground black pepper
  • 3 tablespoons gluten-free flour
  • 1 1/2 cups low sodium chicken broth
  • 1 1/2 cups heavy cream

Instructions

  1. Mix panko and fried onions in a small bowl with two tablespoons of olive oil (or melted butter). Set aside.
  1. Fill a large bowl with ice water. Set aside.
  2. Bring a large pot of water to a boil. Add two tablespoons of salt and the green beans. Cook beans until bright green and crisp-tender, for about 4 minutes.
  3. Drain beans in a colander and plunge into the bowl of ice water to stop cooking. Set aside.
  4. Add butter to your now-empty pot and melt over medium-high heat until foaming subsides.
  5. Add mushrooms, salt and pepper them.
  6. Add the garlic next. Make sure to watch this so that it doesn’t burn.
  7. Cook this mixture until mushrooms release moisture and liquid evaporates, about 6 minutes.
  8. Add flour and cook for 1 minute over medium heat, stirring constantly. Stir in broth and bring to simmer, stirring constantly. Add cream, reduce heat to medium, and simmer until sauce is thickened and reduced to 3 1/2 cups, about 12 minutes—season with salt and pepper to taste.
  9. Add green beans to the sauce and stir until evenly coated. Arrange in even layer in 3 quart (or 13 x 9") freezer-safe dish or foil pan.
  10. Freeze your casserole in a freezer-safe container or in a foil pan. You can freeze this green bean casserole for up to 2-3 months. Store your onion & panko topping in a baggie in your pantry until your day of preparation.
  11. Allow the casserole to thaw 1-3 days before your event in your airtight container in the fridge.
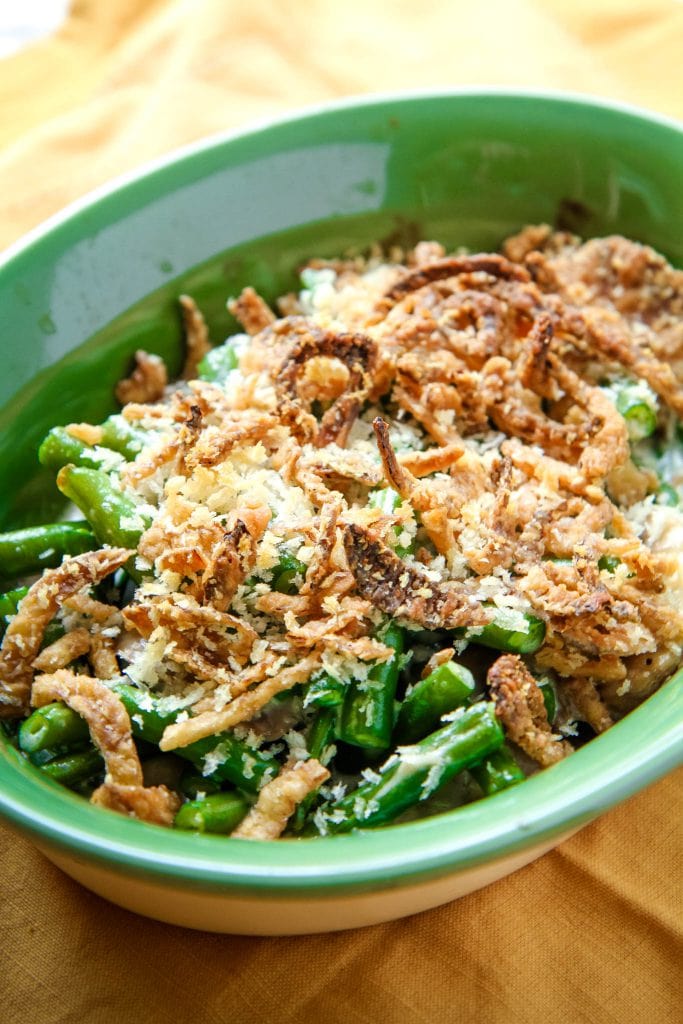
  12. When preparing: Heat the casserole in a 425-degree oven for 10 minutes. Add the onion topping and bake for an additional 20 minutes. You want to bake this until the top is golden brown and the sauce is bubbling on the edges.

Notes

Follow the instructions within the post to make this a gluten-free green bean casserole with suggested gluten-free products. If you do not have dietary restrictions, use all-purpose flour, regular Panko, and fried onions for substitutions.

Nutrition Information:
Yield: 12 Serving Size: 1
Amount Per Serving: Calories: 305Total Fat: 22gSaturated Fat: 10gTrans Fat: 0gUnsaturated Fat: 10gCholesterol: 41mgSodium: 271mgCarbohydrates: 25gFiber: 4gSugar: 6gProtein: 6g

The calorie and nutrition information provided with our recipes is intended to be an estimate based on commonly used ingredients and serving sizes. However, individual nutritional needs may vary, and the actual values can depend on factors such as specific brands of ingredients, preparation methods, and portion sizes. Please use these figures as estimates.

Looking for more great dishes to make ahead? Check out these other ideas from MomAdvice.com.

Cranberry Sauce with Orange Juice (FREEZER RECIPE)

Make-Ahead Thanksgiving Recipes

Cranberry Sauce with Orange Juice
Make-Ahead Mashed Potatoes
Gluten-Free Stuffing Recipe
Make-Ahead Gravy Recipe

Did you try this recipe? We would love to hear what you thought of this holiday classic side dish!

Pin It
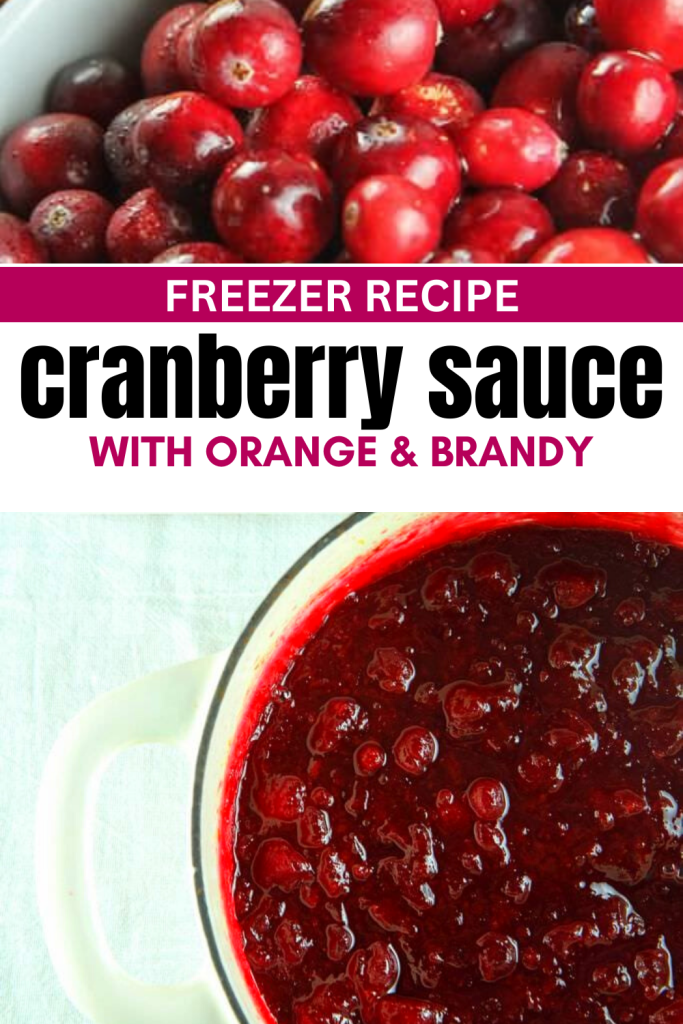
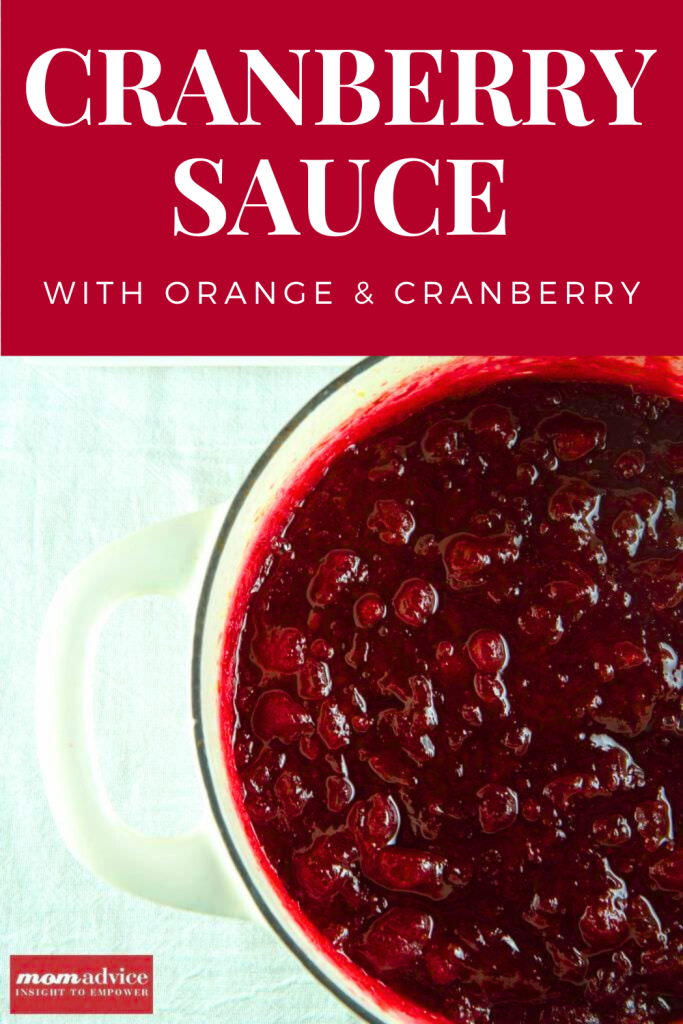
Cranberry Sauce With Orange Juice (So Easy)

Sunday, August 20th, 2023

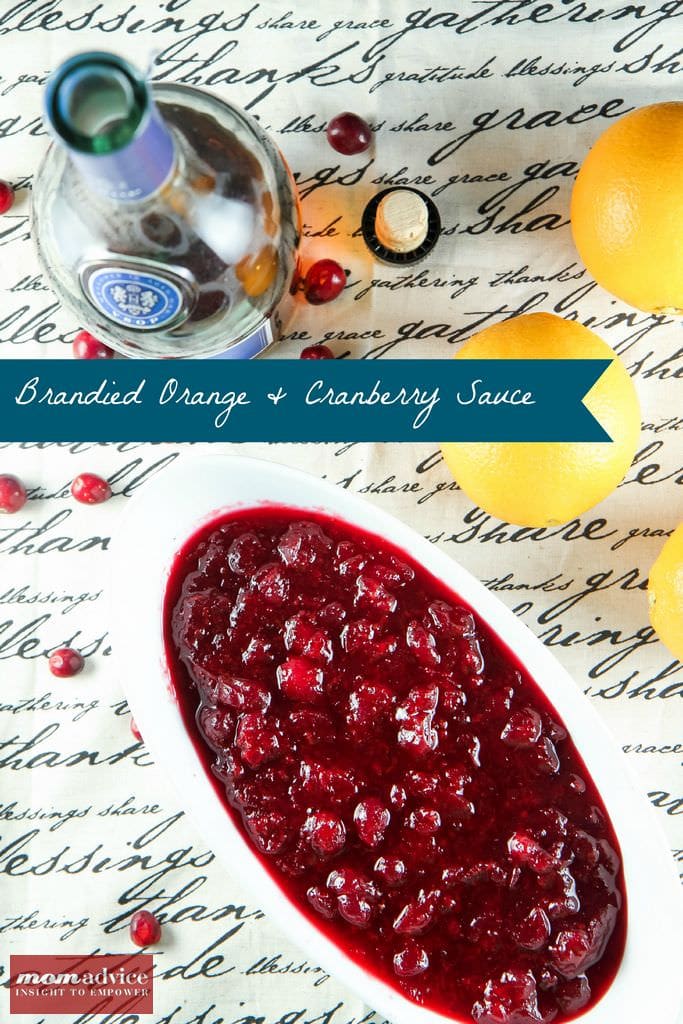
Learn how to make classic cranberry sauce with orange juice and brandy. This make ahead recipe includes freezer instructions and leftover cranberry sauce ideas.

Cranberry Sauce With Orange Juice

This tried-and-true recipe is the most requested Thanksgiving recipe.

The tartness of cranberries pairs well with the natural sweetness of oranges for a winning combination for your Thanksgiving or Christmas meal.

Cranberry Sauce With Orange Juice (easy how to guide)

Is Cranberry Jelly the Same as Cranberry Sauce?

Cranberry sauce and cranberry jelly differ in texture, ingredients, and usage.

Cranberry sauce features a chunky consistency with whole or crushed cranberries, often combined with other ingredients like sugar and spices.

On the other hand, cranberry jelly has a smooth, gelatinous texture achieved by using strained cranberry juice or puree, often mixed with sugar and pectin.

Both canned cranberry sauce and cranberry jelly are available at your local grocery store, but the flavors of homemade cranberry sauce are worth the effort, especially when you can add your own flavor combos

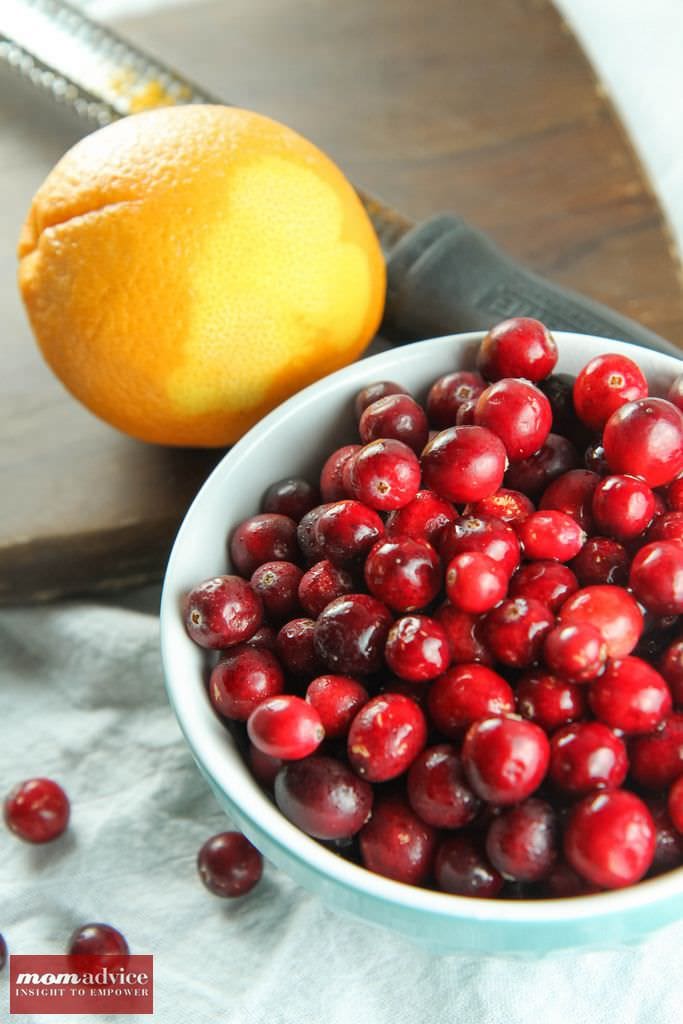
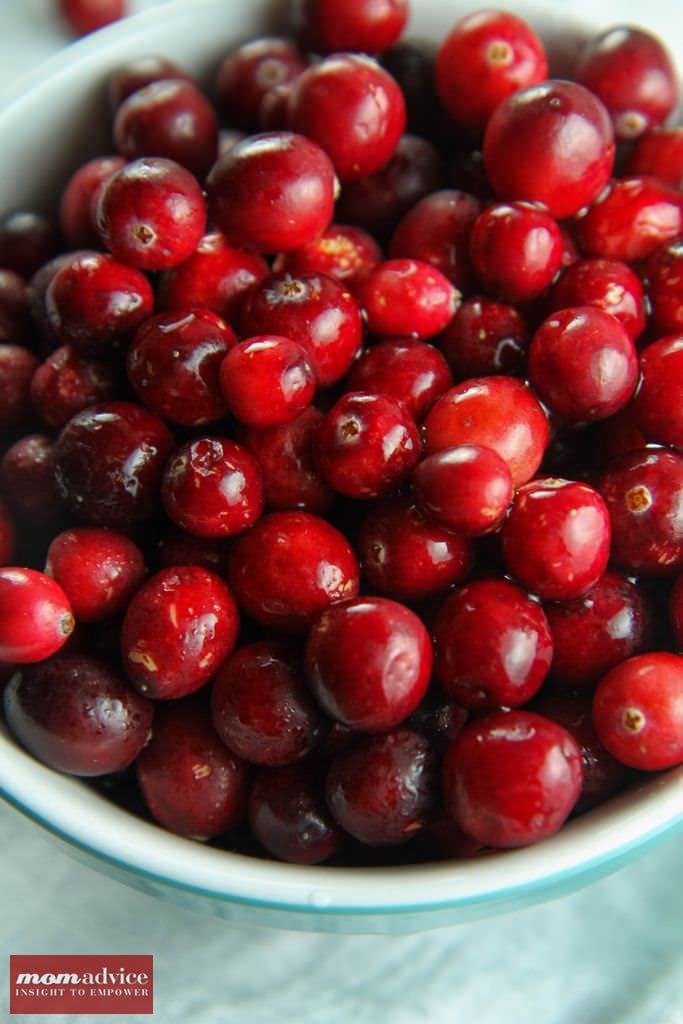
Cranberries


Cranberry Sauce Tips and Tricks

When a recipe instructs you to cook cranberries until they “pop,” you should continue cooking them until they burst open. Fresh cranberries have tough outer skin; as they heat up, the moisture inside them turns into steam, causing them to expand and burst. 

This bursting is often accompanied by a distinct “popping” sound.

Cooking cranberries until they pop creates a smooth and well-textured sauce, as the burst cranberries release their juices, flavors, and natural pectin, which helps thicken the sauce. 

The process of popping and releasing their juices transforms the firm cranberries into the soft, saucy consistency that we associate with cranberry sauce.

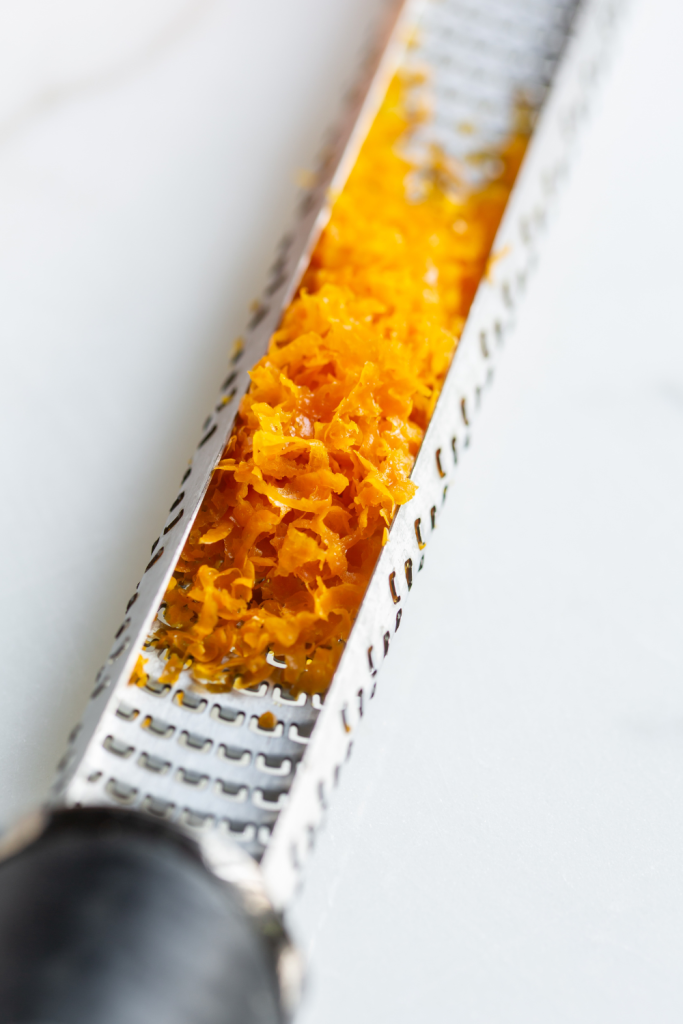
What is a Microplane?

What is a microplane?

A microplane is a kitchen tool with a razor-sharp, fine-grated blade designed for effortless zesting and grating. 

We will use this tool for the orange zest in this recipe. The zest adds a fragrant aroma, while the juice provides a tangy sweetness that complements the cranberries.

A microplane is commonly used to extract the colorful and flavorful outer peel (zest) of citrus fruits like oranges and lemons.

You an also use this tool to finely grate ingredients like cheese, ginger, or nutmeg.

To zest an orange, take your microplane or fine grater and gently scrape the outermost layer of the orange peel.

Be cautious not to include the bitter white pith underneath, as the vibrant outer layer contains the aromatic oils and flavor you want.

Cranberry Sauce With Orange Juice

How to Make Cranberry Sauce

Scroll down to see the complete ingredient list and step-by-step instructions.

Wash Your Cranberries: Give the fresh cranberries a good rinse under cold water. This cleans them up and makes them ready for cooking.

Zest & Juice Your Oranges: Extract both the zest and juice from your oranges.

Combine Orange Zest With Water: Cook for fifteen minutes, reducing the liquid. 

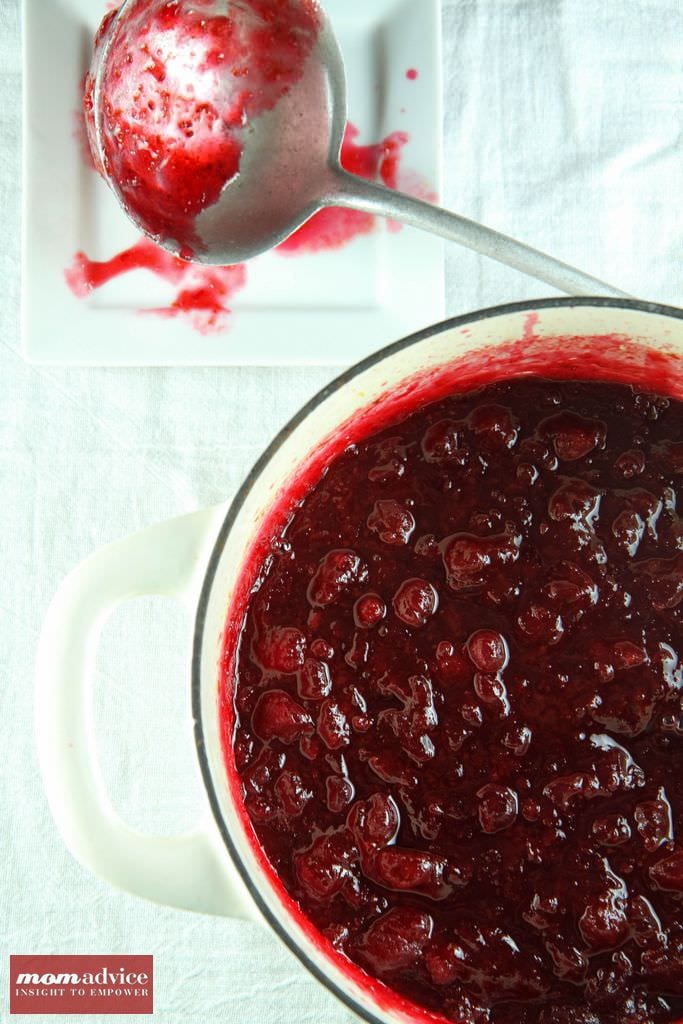
Simmer and Stir:  To the cooked liquid add cranberries, sugar, cinnamon, orangie juice, and lemon juice. Let the cranberries simmer in the pot for about 10-15 minutes. You’ll see the cranberries start to soften and hear them pop.

Add Flavor: Remove the sauce from the heat and stir back in the zest and brandy into the cooked cranberries.

Cool Down and Store:  When the sauce is completely cool, you can serve it in a bowl. You can keep it in the fridge if you’re not using it immediately.

This is a brief overview of my recipe. For comprehensive instructions, refer to the recipe card located at the bottom of this post.

Cranberry Sauce With Orange Juice

Here are some of our most frequently asked questions for this recipe:

Is Cranberry Sauce Served Warm or Cold?

Cranberry sauce is typically served cold.

After it’s cooked and has thickened, allow it to cool down to room temperature and then chill in the refrigerator.

This chilled cranberry sauce is then served as a condiment alongside various dishes, especially during holiday meals like Thanksgiving and Christmas.

Is it Necessary to Add Brandy?

Adding brandy is optional, but it does enhance the depth of flavor. It adds subtle warmth and complexity to the sauce. If you prefer not to use alcohol, the sauce will still be delicious without it.

Can I Make This Sauce Ahead of Time?

Cranberry sauce is the perfect make-ahead recipe. 

This cranberry sauce recipe is better if you can prepare it beforehand. It allows the flavors of this sauce to meld even more. 

After cooking, cool the sauce completely, then refrigerate it in an airtight container.

It will keep well for about a week.

Can You Freeze Cranberry Sauce?

Homemade cranberry sauce freezes well.

Allow it to cool to room temperature, then transfer it to an airtight container.

You can freeze it for up to three months.

Thaw the sauce in the refrigerator or by placing the container in a bowl of cold water.

Can Dogs Eat Cranberry Sauce?

Fresh cranberries can be a healthy dog treat in small, stem-free, and plain portions. Cranberries are safe, unlike grapes and raisins, which are toxic to dogs.  

As for cranberry sauce, it’s not toxic but should be given sparingly due to its sugar content, especially for dogs with diabetes or sugar sensitivity. 

Talk to your veterinarian about your pet’s specific diet needs and what they recommend. 

Cranberry Maple Syrup Sauce- What to Do With Leftover Cranberry Sauce

What to Do With Leftover Cranberry Sauce?

Cranberry sauce is the perfect topping on leftover turkey sandwiches.

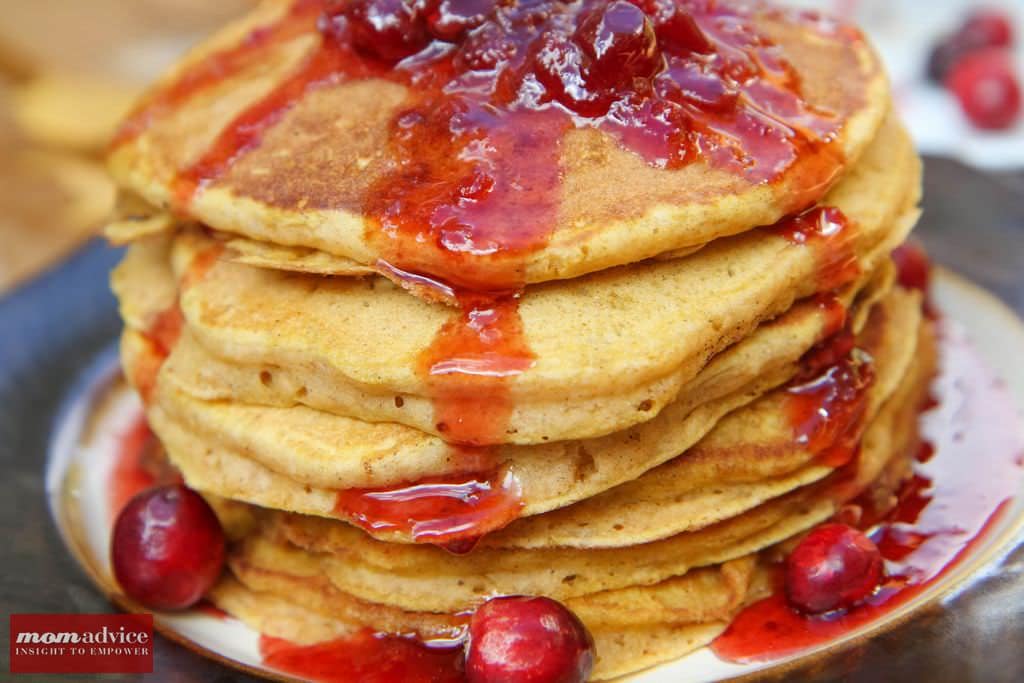
My favorite leftover cranberry sauce recipe is this 2-ingredient cranberry maple syrup sauce. This is perfect for topping pumpkin spice pancakes or ice cream. 

Cranberry Sauce With Orange Juice (easy how to guide)

Cranberry Sauce With Orange Juice

Yield: 8 servings
Prep Time: 30 minutes
Cook Time: 30 minutes
Total Time: 1 hour

This fresh cranberry sauce is the perfect Thanksgiving side dish. Cranberries, orange, and brandy make the perfect flavor combination for this homemade sauce.

Ingredients

  • 1/3 cup orange zest (approximately the zest from four oranges)
  • 2 cups water
  • 2 cups granulated sugar
  • 2/3 cup freshly squeezed orange juice (approximately from four oranges)
  • 1 tablespoon lemon juice
  • 3 cups cranberries
  • 1/2 teaspoon ground cinnamon
  • 1 tablespoon brandy

Instructions

    1. In a small pan over medium heat, combine orange zest and water.

    2. Cover and bring the mixture to a boil. Reduce heat and let it simmer for 15 minutes.

    3. After simmering, strain the mixture, reserving the zest and about 1/3 cup of the liquid.

    4. Return the reserved liquid to the saucepan.

    5. To the cooked liquid, add sugar, ground cinnamon, freshly squeezed orange juice, and lemon juice.

    6. Bring the mixture to a boil, then reduce the heat and simmer uncovered for about 3 minutes, stirring often.

    7. Add cranberries to the saucepan.

    8. Increase the heat to medium-high and boil for around 30 minutes until the cranberries pop, and the sauce slightly thickens. The sauce will continue to thicken as it cools completely.

    9. Remove from heat, and stir in the brandy.

Nutrition Information:
Yield: 8 Serving Size: 1
Amount Per Serving: Calories: 229Total Fat: 0gSaturated Fat: 0gTrans Fat: 0gUnsaturated Fat: 0gCholesterol: 0mgSodium: 4mgCarbohydrates: 58gFiber: 2gSugar: 53gProtein: 0g

The calorie and nutrition information provided with our recipes is intended to be an estimate based on commonly used ingredients and serving sizes. However, individual nutritional needs may vary, and the actual values can depend on factors such as specific brands of ingredients, preparation methods, and portion sizes. Please use these figures as estimates.

Looking for more great dishes to make ahead? Check out these other ideas from MomAdvice.com.

Gluten-Free Green Bean Casserole

Make-Ahead Thanksgiving Recipes

Gluten-Free Green Bean Casserole
Make-Ahead Mashed Potatoes
Gluten-Free Stuffing Recipe
Make-Ahead Gravy Recipe

Can You Freeze Cranberry Sauce?
Pin It
The Best Gluten-Free Pumpkin Bread

Saturday, August 12th, 2023

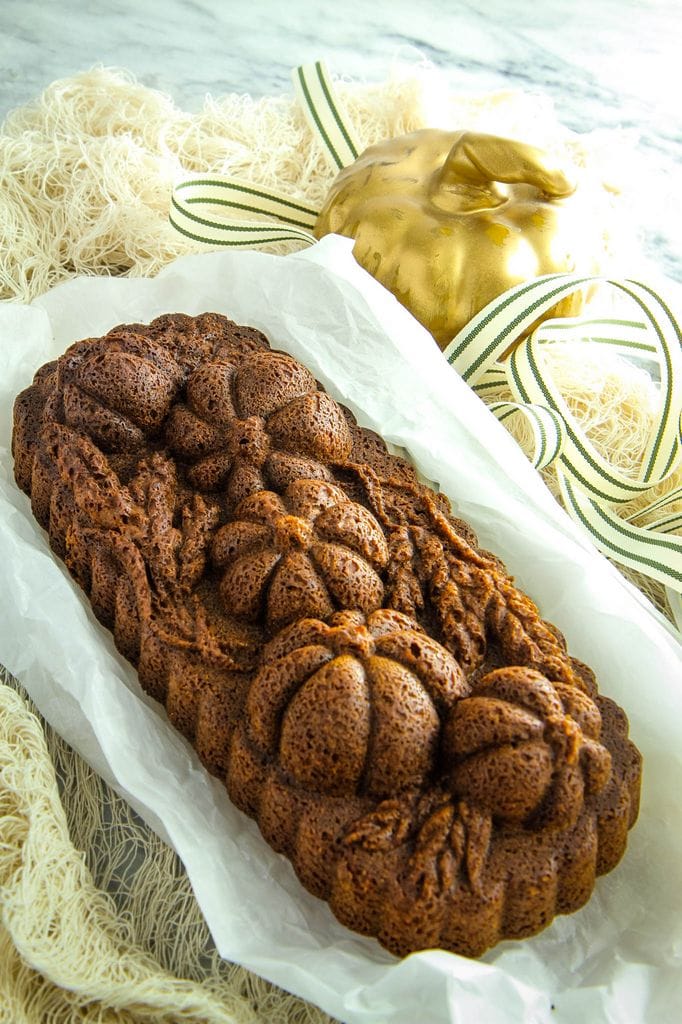
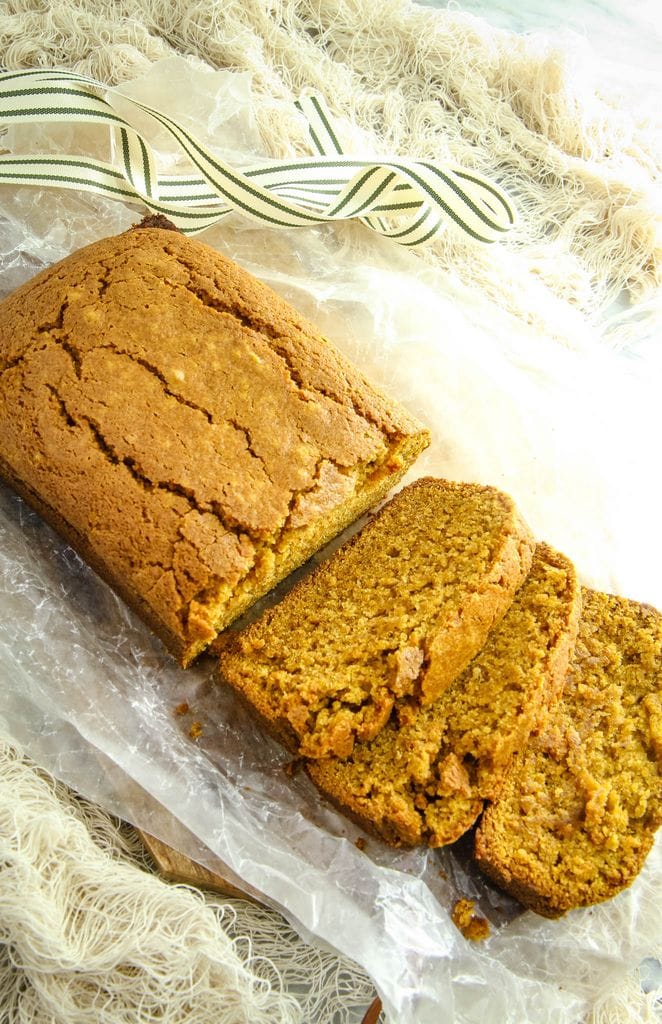
The Best Gluten-Free Pumpkin Bread  from MomAdvice.com

This is the BEST gluten-free pumpkin bread recipe for the holidays. This quick bread is made with canned pumpkin and a simple all-purpose gluten-free flour.

Last Fall, I finally perfected a gluten-free pumpkin bread that I have held on to share with you until this year.

I’m a big fan of quick bread recipes because they are just as speedy as their name implies.

Instead of yeast, quick breads rely on chemical leavening agents like baking powder or baking soda to create the rise and texture in the finished product.

Because they don’t require the time-consuming process of yeast fermentation, they can be prepared relatively quickly compared to traditional yeast-risen breads.

This technique is not limited to bread recipes like banana, zucchini, or pumpkin breads though. It can also include muffins, cornbread, or quick rolls (like drop biscuits). 
Over the years, I have shared this recipe with friends and family, and nobody ever suspects that this quick bread doesn’t contain gluten.

It is also my most requested baked treat from my kitchen.
The Best Gluten-Free Pumpkin Bread

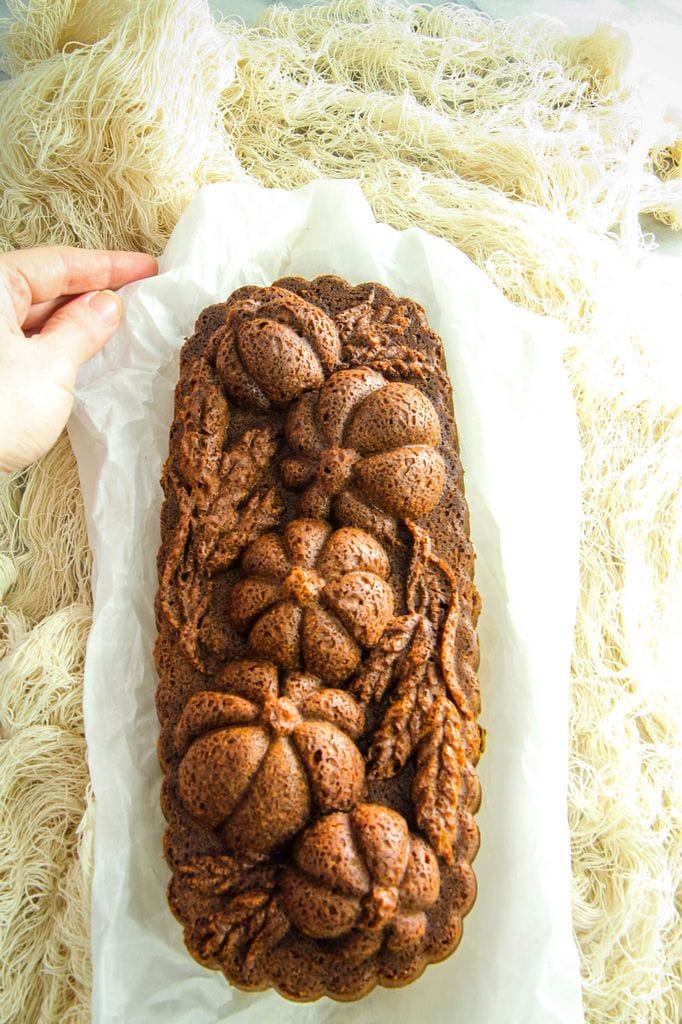
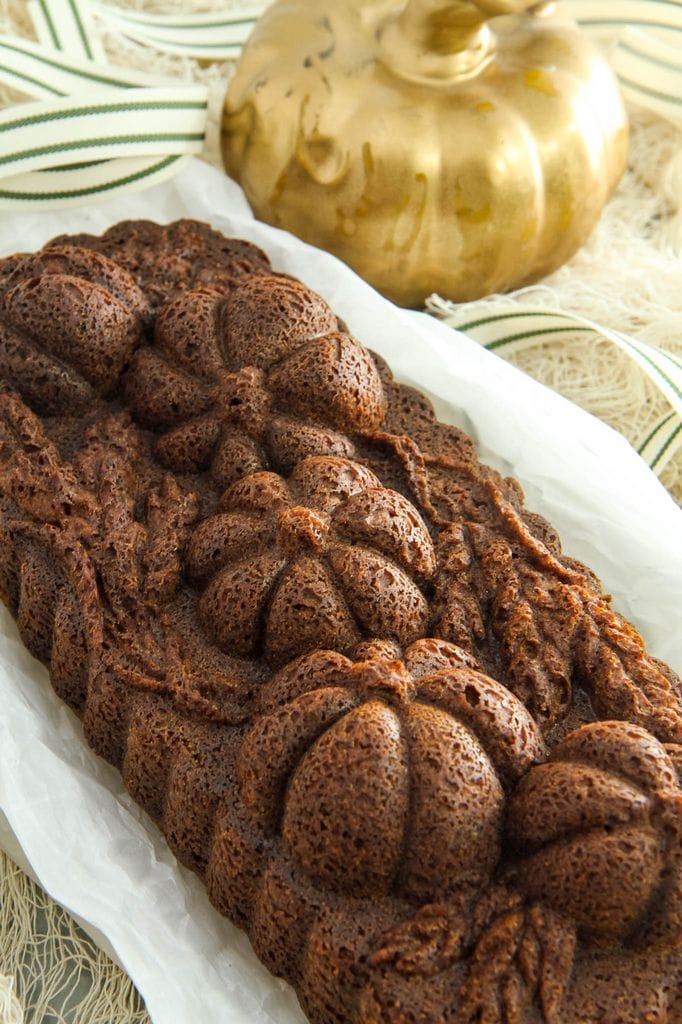
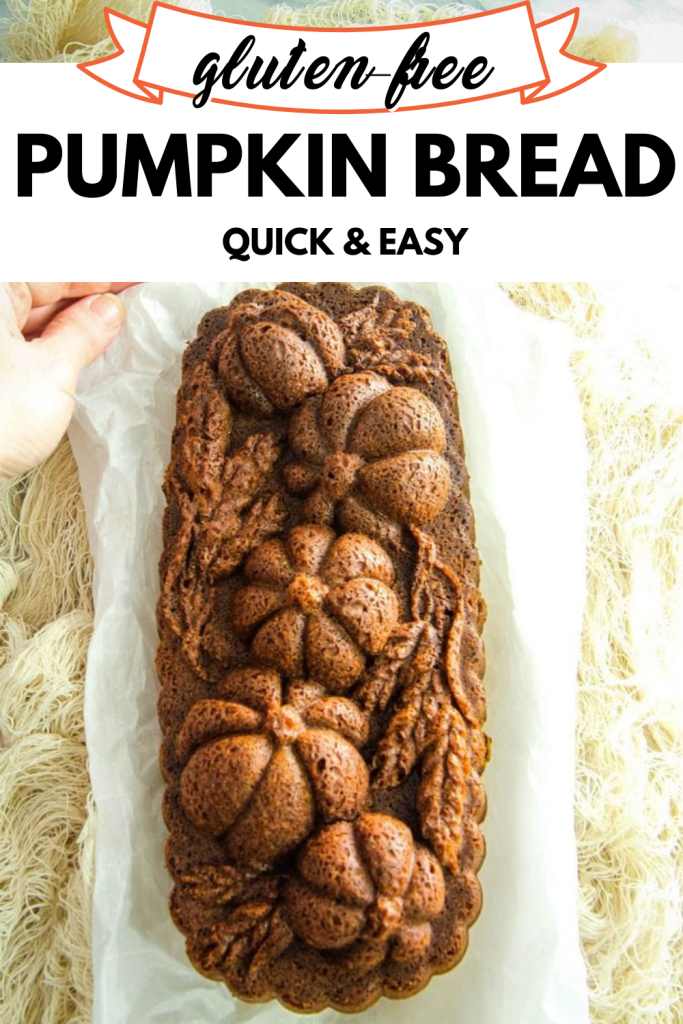
To spice up my infatuation for this quick bread even more, I decided to snag this beautiful pumpkin bread pan for my holiday baking.

This created such a beautiful loaf that my family hesitated to eat it. 

They never suspected that it required exactly the same amount of effort as a regular standard loaf. 

I was, in fact,  so tired from making this beautiful artisan loaf that they volunteered to clean the dishes. 

I love the trickery that I get away with around here.

How to Make My Easy Gluten-Free Pumpkin Bread Recipe

Here are some frequently asked questions about this recipe (located at the bottom of this post).

The Best Gluten-Free All-Purpose Flour for Baking

What is the Best Way to Prepare My Loaf Pans for Gluten-Free Breads?

Pour your batter into prepared loaf pans (sprayed with nonstick spray or lined with parchment paper so you can remove them from the pan easily). 

Be sure to allow these to cool completely (room temperature) so that your loaf holds together.

Gluten-free baked goods have a tendency to fall apart easily if they haven’t been allowed to cool completely. 

What Gluten-Free Flour Should I Use In My Baking Recipes?

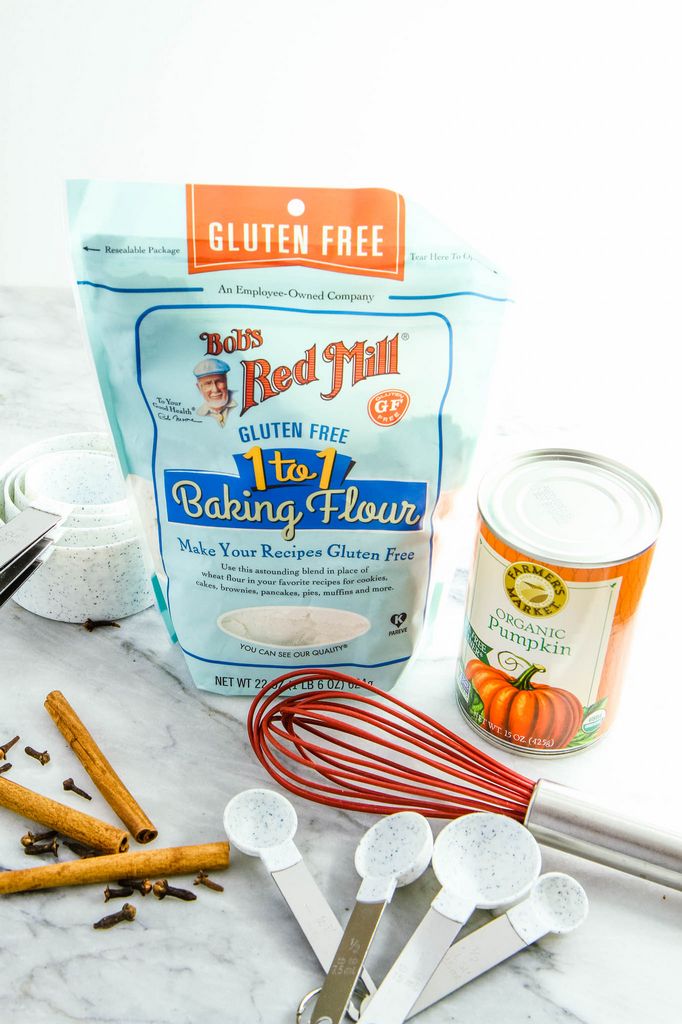
I swear by this baking flour as the perfect cup-for-cup gluten-free flour for your all-purpose flour.

The best part is that it does not contain the xanthan gum so you have more control over this addition when tackling all of your holiday baking.

Typically, I find the texture of many flours to be gritty and a little off-putting. 

Can you mix up your own gluten-free flour mix?

Is This Dairy-Free Pumpkin Bread?

Yes, this recipe is dairy-free- no need to make any changes. 

How Do I Make This With All-Purpose Flour?

This recipe is so easy to convert because our only gluten-free substitution is the cup-for-cup gluten-free flour blend.

If you don’t need this substitution, just make it with all-purpose flour. 

The Best Gluten-Free Pumpkin Bread

Is Canned Pumpkin the Same As Pumpkin Pie Filling?

One of the biggest mistakes I made when first starting to cook with pumpkin is picking up the wrong type of pumpkin at the grocery store. 

If you see a can that says, “Pumpkin Pie Mix,” (it looks like this), you do not want this type of pumpkin for your baking. 

Pumpkin Pie Mix is intended to be mixed with milk and eggs to create pumpkin pies fast. 

Instead, you are looking for canned pumpkin because it is ONLY pumpkin and allows you to add in your own sugar and spices to create your dishes. 

As you can see, the labels are almost identical, which can really throw people off when shopping for their recipes. 

Of course, you can.

I must admit that I’m one of those moms who haven’t made time for it, especially since discovering how well this flour works in many recipes. 

I have not had a recipe fail on me yet with this flour blend.

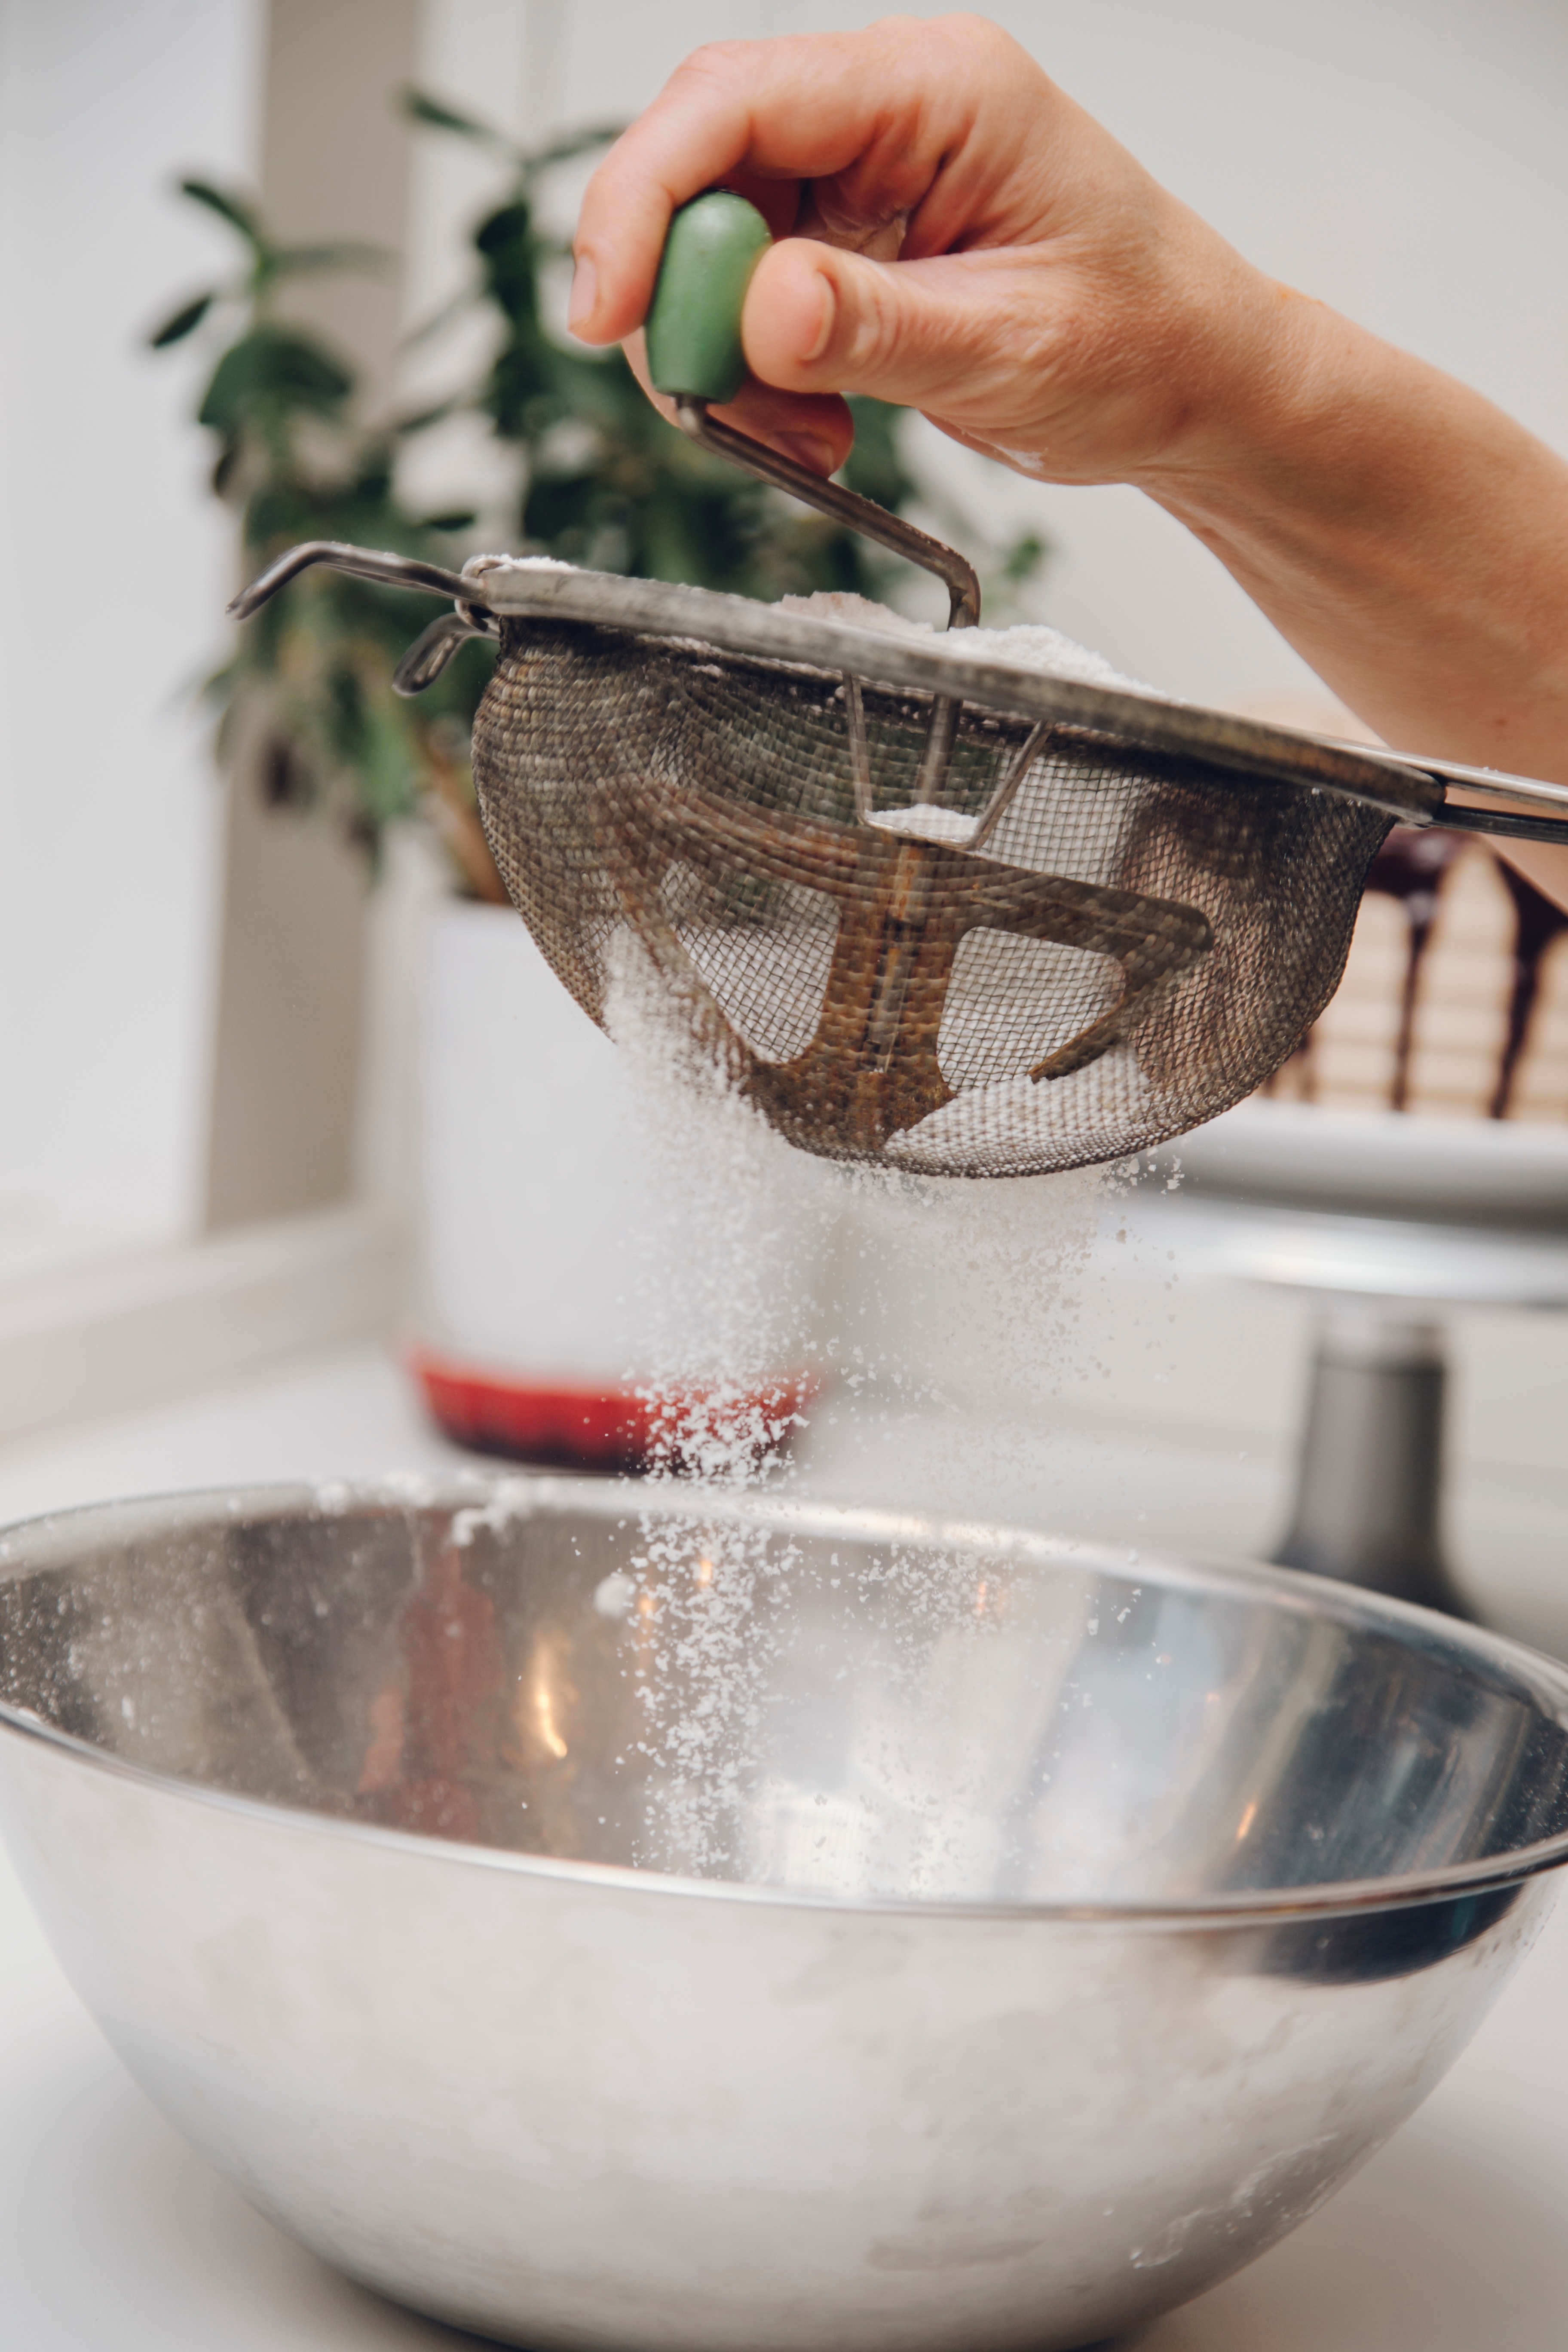
Sifting Flour for the Gluten-Free Pumpkin Bread Recipe

Can I Use Pumpkin Puree Instead of Canned Pumpkin? 

Yes, you can generally use pumpkin puree instead of canned pumpkin in a pumpkin bread recipe. 

Pumpkin puree and canned pumpkin are often used interchangeably in recipes, including pumpkin bread. 

Since they have a similar consistency and flavor, the substitution is usually seamless.

However, there are two things to consider to make sure you end up with the same results. 

Make sure your homemade pumpkin puree is well-blended and smooth, similar to the texture of a canned pumpkin.

And, If your homemade pumpkin puree is particularly watery, you might want to drain off any excess moisture before using it in your recipe. This can prevent the bread from becoming too moist. 

In most cases, swapping pumpkin puree for canned pumpkin in a pumpkin bread recipe should work well and produce delicious results. 

What Can I Do With Leftover Canned Pumpkin?

I mean, what *can’t* you use pumpkin for? Our family loves pumpkin pancakes, pumpkin chili, pumpkin waffles, pumpkin lattes, and even pumpkin pasta.

The Best Gluten-Free Pumpkin Bread

How Do I Know When My Gluten-Free Pumpkin Bread is Done?

If you are concerned if the middle is done though, be sure to test it. The best way to check (without damaging your loaf) is to have a toothpick inserted to poke the center. If it comes out with batter on it, you will need to cook it a little longer! 

Why is My Loaf a Dark Brown?

This dairy-free loaf gets its brown hue from the combination of pumpkin pie spice and ground cloves. 

You may notice the loaf in the fancy pan looks darker than the standard loaf (scroll down for a picture of a standard loaf).

This is simply because the loaf has been inverted, and you see the bottom of the decorative loaf! 

What Can I Use if I Don’t Have Pumpkin Pie Spice in My Pantry?

Don’t have any pumpkin pie spice in the pantry? No worries at all! You can mix up this pumpkin pie spice substitute from spices in your pantry.

Can I Mix In Nuts or Chocolate to this Recipe?

The bread has been sweetened with granulated sugar (rather than brown sugar) although you could sweeten it up with a handful of chocolate chips or some coarsely chopped walnuts to try out different flavors. 

I’ve added instructions for adding nuts and chocolate chips to the notes section of the recipe.

The Best Gluten-Free Pumpkin Bread

What is the Best Way to Store My Quick Breads?

Should you have any pumpkin bread leftover, I have found a good airtight container is good to have in your arsenal. I found mine at our local Home Goods. These discount retail shops are a great place to shop for food storage solutions.

Remember, this does yield two loaves so you can always store your second loaf (or share it with a friend)!

What is the Best Way to Freeze Gluten-Free Pumpkin Bread?

You can freeze your loaves after they have cooled to be enjoyed later. If you want to freeze them, I like to wrap them in a layer of plastic wrap, a layer of tin foil and then place these loaves in an airtight freezer bag. 

Make sure to clearly label the bread and the date that you froze it. These loaves can be frozen for up to six months! 

This recipe is perfect for preparing and sharing for the holidays. 

How Long Should I Cook it If I Do This Gluten-Free Pumpkin Bread in Mini Loaves?

Mini loaves are such a great way to share bread with others They also make great hostess gifts. Although there is no “perfect” amount of time necessarily (because it depends on the type/size of the pans), I did find this advice very helpful for making time adjustments.

I can’t wait to hear what you think of today’s recipe, and I am looking forward to sharing more fun pumpkin recipes in the upcoming weeks! 

The Best Gluten-Free Pumpkin Bread

Gluten-Free Pumpkin Bread

Yield: 2 Loaves
Prep Time: 10 minutes
Cook Time: 1 hour 10 minutes
Total Time: 1 hour 20 minutes

This spiced pumpkin bread is gluten-free AND dairy-free. Try this quick bread recipe for snacking or to share as a gift.

Ingredients

  • 3 cups sugar
  • 1 cup vegetable oil
  • 3 large eggs
  • 1 16-ounce canned pumpkin (read which pumpkin to buy at your local grocer in the post above)
  • 3 cups gluten-free flour (Bob's Red Mill Gluten Free 1-1 Baking Flour is recommended)
  • 1 teaspoon of ground cloves
  • 2 teaspoons of pumpkin pie spice
  • 1/2 teaspoon salt
  • 1/2 teaspoon baking powder
  • 1 teaspoon baking soda

Instructions

  1. Preheat oven to 350°F. Butter and flour two 9x5x3-inch loaf pans.
  2. Beat sugar and oil in a large bowl to blend.
  3. Mix in eggs and pumpkin.
  4. Sift flour, cloves, pumpkin pie spice, baking soda, baking powder, and salt into another large bowl. 
  5. Add wet ingredients to the flour mixture.
  6. Divide batter equally between prepared pans.
  7. Bake until the tester inserted into the center comes out clean, about 1 hour and 10 minutes.
  8. Transfer to racks and cool for 10 minutes.
  9. Using a sharp knife, cut around the edge of the loaves. Turn loaves out onto racks and cool completely.

Notes

Walnuts or mini-chocolate chips (1 cup) can be mixed into the batter if desired.

Recommended Products

As an Amazon Associate and member of other affiliate programs, I earn from qualifying purchases.

Nutrition Information:
Yield: 16 Serving Size: 1
Amount Per Serving: Calories: 375Total Fat: 15gSaturated Fat: 1gTrans Fat: 0gUnsaturated Fat: 13gCholesterol: 35mgSodium: 176mgCarbohydrates: 58gFiber: 2gSugar: 38gProtein: 4g

The calorie and nutrition information provided with our recipes is intended to be an estimate based on commonly used ingredients and serving sizes. However, individual nutritional needs may vary, and the actual values can depend on factors such as specific brands of ingredients, preparation methods, and portion sizes. Please use these figures as estimates.

TELL ME: What is YOUR favorite recipe for Fall

Easy Microwave Peanut Brittle Recipe (The BEST Gift Idea)

Friday, August 11th, 2023
Easy Microwave Peanut Brittle Recipe (The BEST Gift Idea)

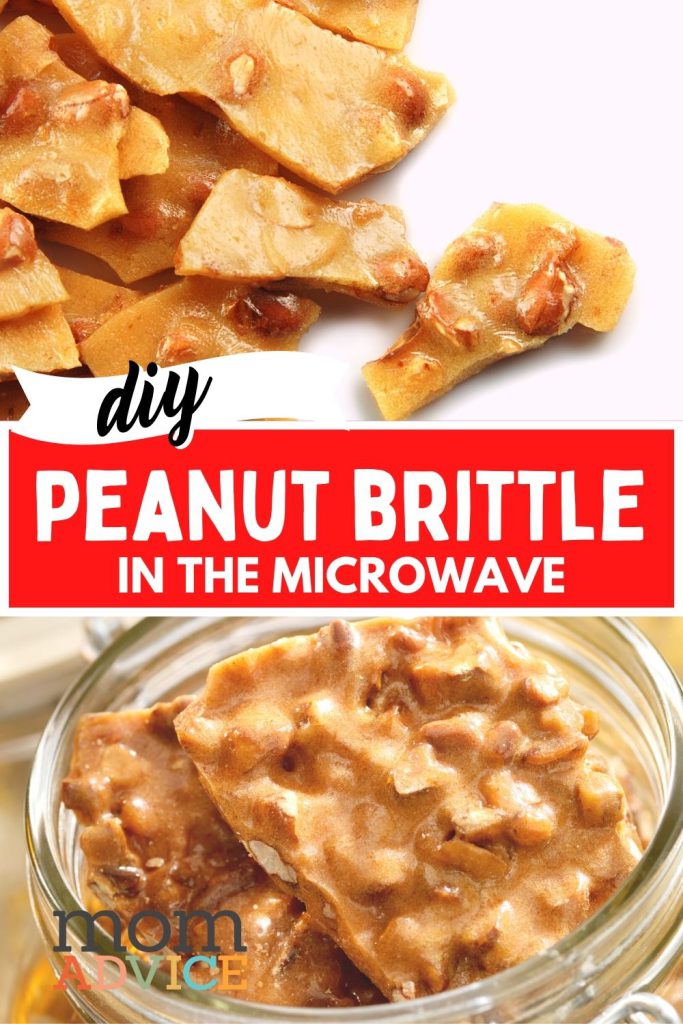
Make this easy microwave peanut brittle recipe for a quick holiday treat. Simply stir in peanuts and microwave with a few common pantry ingredients!

Elevate your gift-giving game with this easy and easy microwave peanut brittle recipe you can make in the microwave. Simply stir in peanuts and microwave with a few common pantry ingredients.

Say goodbye to hours of stirring over a hot stove with a candy thermometer, and say hello to a simple, modern approach to crafting an old-fashioned peanut brittle.

With just a microwave and a few pantry staples, you can create a crunchy and sweet peanut brittle that’s bound to become a festive favorite.

Are you ready for the easiest no-bake treat? 

If you haven’t tried making microwave peanut brittle, you are in for a real treat.

The only trick with making peanut brittle in the microwave is keeping a CLOSE eye on it so you don’t burn your nuts.

In this article, we unveil the secrets to crafting the perfect microwave peanut brittle while providing a unique gifting idea that will impress. 

Whether you’re a seasoned chef or a kitchen newbie, this recipe is designed to simplify your holiday preparations. 

Easy Microwave Peanut Brittle Recipe (The BEST Gift Idea)

Here are some frequently asked questions about this easy microwave recipe:

How Can I Prevent Air Bubbles?

Air bubbles can be a common occurrence when making microwave peanut brittle.

While they may not always be preventable, there are some key things to keep in mind to minimize their presence and ensure a smooth brittle:

Stirring:

When stirring the mixture after adding the butter and vanilla, do so gently but thoroughly. 

Stirring helps distribute the ingredients evenly and reduces the risk of large air pockets forming.

Baking Soda Reaction:

Adding baking soda to the mixture causes it to foam and expand. 

Stir in the baking soda quickly but gently, and avoid over-mixing to prevent excessive air incorporation.

Microwave Wattage:

Microwave wattage can impact the cooking process. Lower-wattage microwaves may require slightly longer cooking times to ensure the mixture reaches the desired consistency without trapping excess air.

If your microwave has different power levels, consider using a lower power setting during certain stages of cooking to minimize rapid boiling and bubbling that can introduce air bubbles.

You should also consider the size of the microwave-safe container you use. Using a wide, shallow bowl may help prevent excessive bubbling and make it easier to mix the ingredients evenly.

Pouring Technique:

Pour your brittle gently and evenly when pouring the hot mixture onto the greased baking sheet. 

Avoid pouring from a great height, which could introduce more air into the mixture.

Tapping or Shaking:

As I describe in the recipe below, after pouring the mixture onto the baking sheet, gently tap or shake the sheet to help release any trapped air bubbles before the brittle sets.

Cooling Process:

Allowing the brittle to cool slowly and evenly can help minimize the formation of large air bubbles as it solidifies.

It’s important to note that some air bubbles are natural and won’t necessarily affect the taste or quality of the peanut brittle. 

In fact, a bit of texture and irregularity can add character to the final product. 

However, if air bubbles are consistently causing issues, you can experiment with different mixing techniques and microwave settings to achieve a smoother result.

Bowl of Raw Peanuts

What Other Microwave Brittles Can I Make With This Recipe?

While our recipe offers a traditional peanut brittle experience, you can get creative by adding your favorite nuts or even a hint of your preferred spices for a unique twist on this classic treat.

Here are some brittle combinations you can try! 

Almond Brittle: Substitute peanuts with chopped almonds for a rich, nutty almond brittle. The microwave method works just as well for almonds, delivering a satisfying crunch and delightful flavor.

Cashew Brittle: Cashews lend their buttery taste to create a delectable cashew brittle. The microwave ensures the cashews caramelize beautifully, resulting in a mouthwatering treat.

Pistachio Brittle: Experiment with colorful and flavorful pistachios for a unique twist on traditional brittle. The microwave preserves the vibrant green pistachios while turning them into a delightful brittle.

Seed Brittle: Opt for a healthier version using a combination of pumpkin, sunflower, and sesame seeds. These nutrient-packed seeds create a brittle with a satisfying texture and earthy flavors.

Hazelnut Brittle: Indulge in the rich and decadent flavor of hazelnuts. The microwave method ensures that the hazelnuts are evenly coated in the sweet caramel, resulting in an irresistible brittle. If you have extra hazelnuts to use up, try this hazelnut soup recipe

MAKE THIS SUGAR AND SPICE CANDIED NUT RECIPE

Sugar and Spice Nuts Recipe

Mixed Nut Brittle: Combine a medley of your favorite nuts, such as almonds, walnuts, pecans, and cashews, for a diverse and flavorful brittle. The microwave technique simplifies the process of making a mixed nut brittle.

Remember, when experimenting with different nut or seed varieties, the microwave cooking times might vary slightly, so keep a close eye to prevent overcooking. 

Easy Microwave Peanut Brittle Recipe (The BEST Gift Idea)- Packaged with a Mini Hammer

How can I present the microwave peanut brittle as a gift?

Visit your local dollar store for cookie sheets and hammers for a delightful and memorable holiday gift. 

If you don’t have a dollar store, I’ve provided some other options including baking trays for toaster ovens and mini-hammers you can buy in bulk.

These packaging details offer a creative and thoughtful way to share your homemade treat.

Easy Easy Microwave Peanut Brittle
Easy Microwave Peanut Brittle Recipe (The BEST Gift Idea)

Easy Microwave Peanut Brittle Recipe (The BEST Gift Idea)

Yield: 4 servings
Prep Time: 5 minutes
Cook Time: 9 minutes
Additional Time: 15 minutes
Total Time: 29 minutes

This easy microwave peanut brittle is the perfect no-bake treat. Package with a small hammer from your local dollar store tied with a bow.

Ingredients

  • 1 cup dry roasted peanuts
  • 1 cup sugar
  • 1/2 cup light corn syrup
  • 1 pinch of salt
  • 1 tablespoon of butter
  • 1 tablespoon vanilla
  • 1 teaspoon baking soda

Instructions

    1. Grease a baking sheet & set aside.

    2. Combine peanuts, sugar, corn syrup, and salt in a microwave-safe bowl.

    3. Cook in the microwave for six minutes on high (keep one eye on it to ensure it isn’t bubbling over or burning the nuts). The mixture should be bubbly, and the peanuts should be golden brown.

    4. Add the butter & vanilla; cook for two to three more minutes.

    5. Quickly add the baking soda, just until the mixture is foamy.

    6. Pour immediately onto a greased baking sheet and spread. After pouring the mixture onto the baking sheet, gently tap or shake the sheet to help release any trapped air bubbles before the brittle sets.

    7. Let cool for fifteen minutes or until room temperature. Break into pieces.

Notes

If packaging for gifts, leave the brittle in tact and package with a hammer for gift-giving.

Recommended Products

As an Amazon Associate and member of other affiliate programs, I earn from qualifying purchases.

Nutrition Information:
Yield: 4 Serving Size: 1
Amount Per Serving: Calories: 563Total Fat: 21gSaturated Fat: 5gTrans Fat: 0gUnsaturated Fat: 14gCholesterol: 8mgSodium: 400mgCarbohydrates: 91gFiber: 3gSugar: 85gProtein: 9g

Pin It
How to Make a Slushie (In Blender)

Saturday, July 22nd, 2023
How to Make a Slushie in Blender

Learn how to make a slushie in blender with sugar, ice cubes, and a Kool-Aid drink mix. Pick your favorite flavor and blend these up on a hot summer day.

Have you been looking for an affordable recipe for slushies at home? When we were struggling financially, we were always looking for the best bang for our buck, and this cheap dessert with a bowl of popcorn was always a crowd-pleaser.

Few recipes in my house have earned me more fame than this easy summer dessert. If you need a dairy-free dessert option is, this is the perfect alternative to an ice cream treat.

The best part is that I created this summer drink is made with an inexpensive drink mix powder. 

If your family loves the Sonic slushes or 7-11 gas station Slurpees, I know they will love this inexpensive recipe just as much.

How to Make a Slushie In Blender

Here are some answers to frequently asked questions about this slushie recipe:

How to Make a Slushie With a Blender

Honestly, these are as easy as they sound! You will blend a packet with ice water, crushed or cubed ice, and sugar.  

High-speed blenders offer a more robust motor and sharp blades that can handle even the toughest ingredients, giving you smoother and finer textures.

I’ve found it perfect for all sorts of tasks, like making smoothies and soups, and you know what’s really cool?

It crushes ice effortlessly, making it a total winner for whipping up slushies!

Over the years, I have had great success with this my Ninja Blenders. You can usually find these more affordably at places like Costco or Sam’s Club.  

How Do I Make This Smoothie With Fruit Juice?

We recommend trying this watermelon ice smoothie recipe. It is reminiscent of those Slurpees & Icees, but an all-natural homemade slushie option instead. 
Kool-Aid Packets for Homemade Slushies

Can I Make These With Sugar-Free KOOL-AID?

Unfortunately, we do not recommend this method. The consistency drastically changed. If you substitute with the sugar-free KOOL-AID, it will have more of a shaved ice consistency. 

Can I Replace the Water With Club Soda? 

Yes, you can substitute this ingredient with club soda, tonic water, or even Sprite. 

To make a soda slushie, follow these instructions, but keep in mind that Sprite will add more sugar to your drink. 

How Do I Make Wine Slushies? 

I recommend blending this rosé and strawberry wine slushie recipe. These can be blended into wine pops or you can pour the wine slushies with fresh fruit into a plastic bag with the mixture and freeze until it reaches your desired consistence. 

How Can I Keep My Smoothies Colder Longer?

Serve these up in a double insulated cup to help this frozen treat last longer. 

How to Make a Slushie in Blender

What is the Best Slushie Machine?

If you have a blender, you do not need a Slushy machine for this recipe. 

There are a variety of slushy machines and shaved ice makers for treats on Amazon, including individual slushy cups. Shop these slushy makers here.

How to Make Slushies With Kool-Aid

Keeping Homemade Slushes Cold With a Double-Insulated Cup
How to Make a Slushie With Kool-Aid

Testing flavors is the best part. It can be a fun summer project to try new combinations.

I am always tweaking my recipes and have tried everything from sugar-free Kool-Aid packets to make slushies (they did not turn out for us) to reducing the sugar in our slushies to see if the kids notice a taste difference. 

How to Make Slushies With Kool-Aid

We decided to drop the sugar to a 1/2 cup in our batch (originally 2/3 cup) and we found that we didn’t notice a big taste difference, but I felt better about sharing this treat with my kids with the lower sugar content. The recipe below is our new lower-sugar verison.

I hope you love this recipe as much as our family! Let me know in the comments below and what your favorite flavors are!

How to Make Slushies With Kool-Aid

How to Make a Slushie With KOOL-AID

Yield: 4
Prep Time: 5 minutes
Total Time: 5 minutes

An easy slushie that you can whip up anytime for a fun treat! Stock up on a variety of KOOL-AID flavors for this easy 5-minute treat.

Ingredients

  • 2 cups ice water
  • 1 packet KOOL-AID drink mix (use your favorite flavor)
  • 1/2 cup sugar
  • 4 cups or 1 full tray of ice cubes

Instructions

  1. Put all of the ingredients into your blender.
  2. Process until well blended.

    Recommended Products

    As an Amazon Associate and member of other affiliate programs, I earn from qualifying purchases.

    As an Amazon Associate I earn from qualifying purchases.

    Love these frozen treats? Here are a few other recipes we think you will like!

    easy fruit-infused waters (endless combos and healthy!)

    Fruit-Infused Water Recipes With Ice

    blend up strawberries and wine for this fun adult push pop

    Wine Slushie With Fresh Fruit in a Push Pop

    stock your freezer with these make-ahead smoothie packets

    Make-Ahead Smoothie Packets for Your Freezer from MomAdvice.com

    Happy blending!

    Pin It