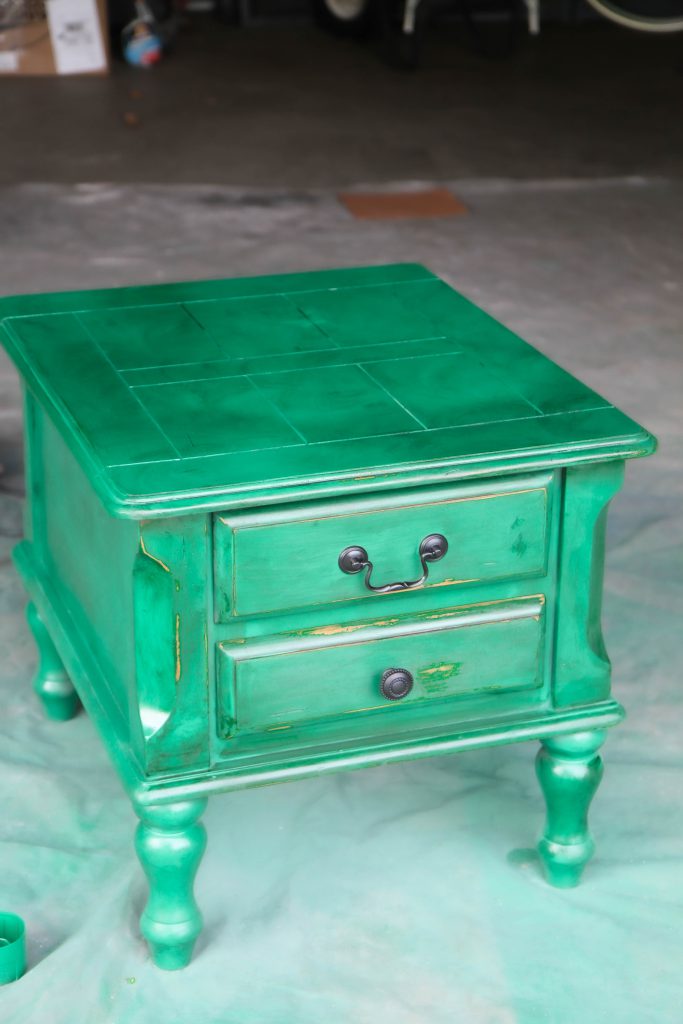
This EASY tutorial teaches you how spray painting on wood furniture can transform a piece. This paint job is a budget-friendly beginner project.
Painting furniture with a brush can be time-consuming, so I have fallen in love with this spray painting technique, which gives a fresh new look with a small time investment.
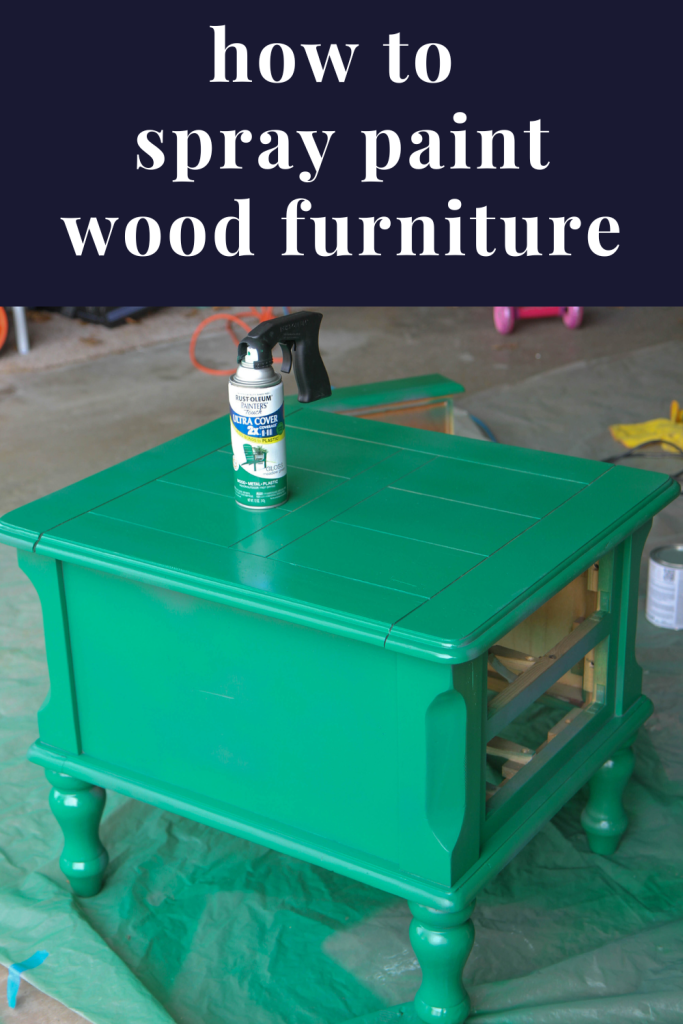
Today I am going to show you how to spray paint your wood furniture to give an old piece in your home a new lease on life.
Can you use spray paint on wood?
You might be surprised to learn that spray painting on wood furniture IS a great way to update your wood furniture pieces.
I have spray-painted many pieces in our home with great success.
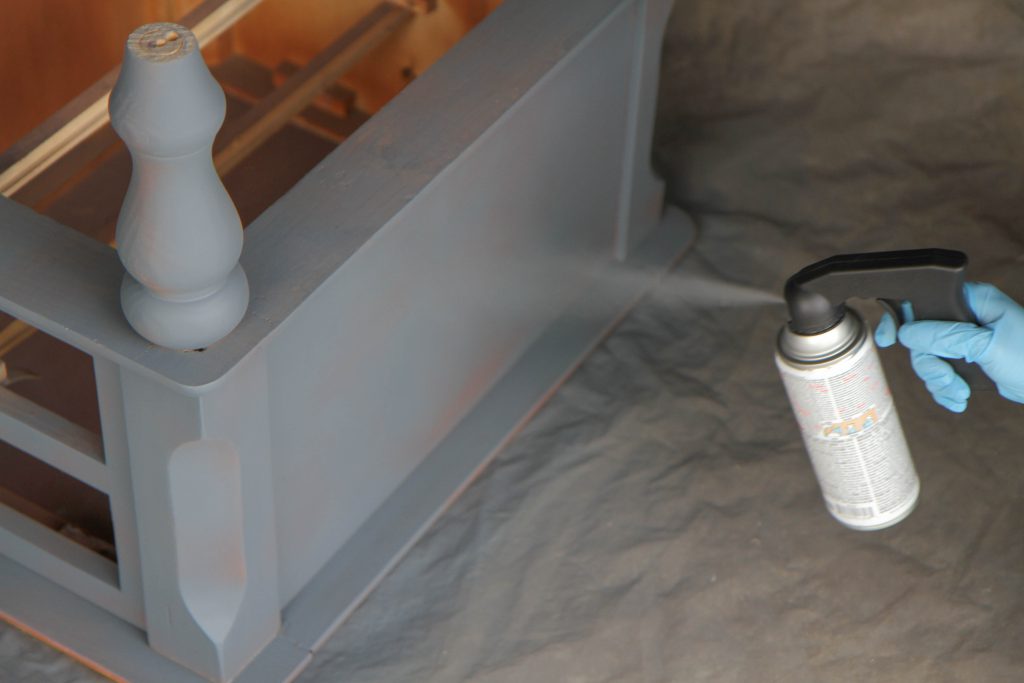
Much of your success with this painting project will be found in these valuable tips, including inverting your furniture when painting, using a spray grip, and picking the right spray paint for your project.

Today, I’m painting furniture pieces that have withstood the test of time for TEN YEARS in our home. I’d love to share some tips for your first project if you have never spray-painted furniture.
Considerations for Spray Painting Wood:
You can scroll down to see the complete supplies list and step-by-step instructions.
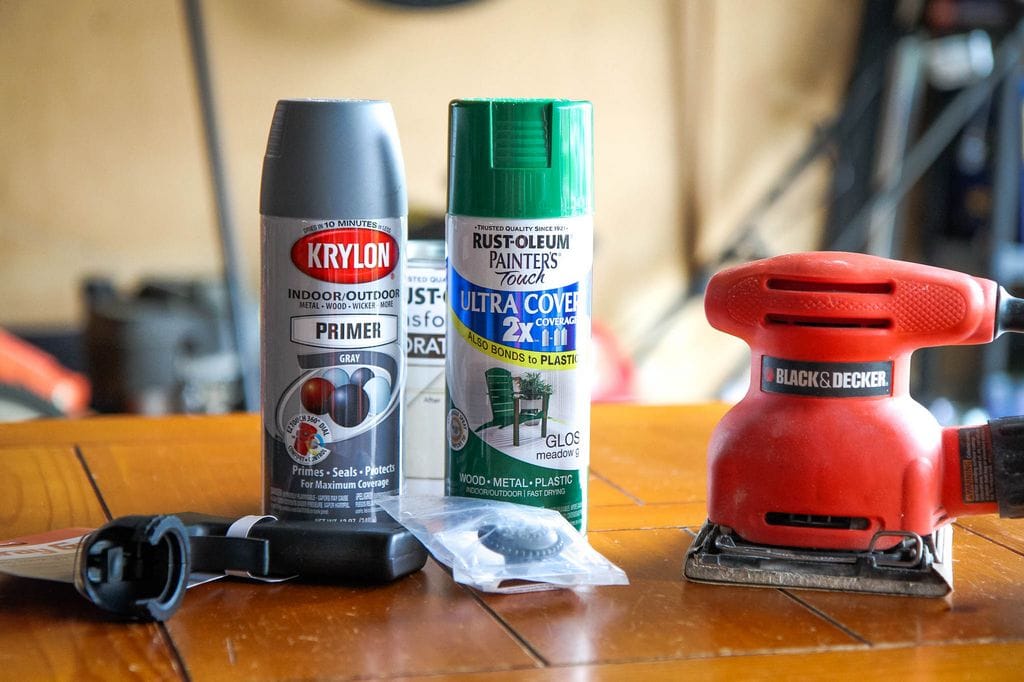
Choose the Right Spray Paint:
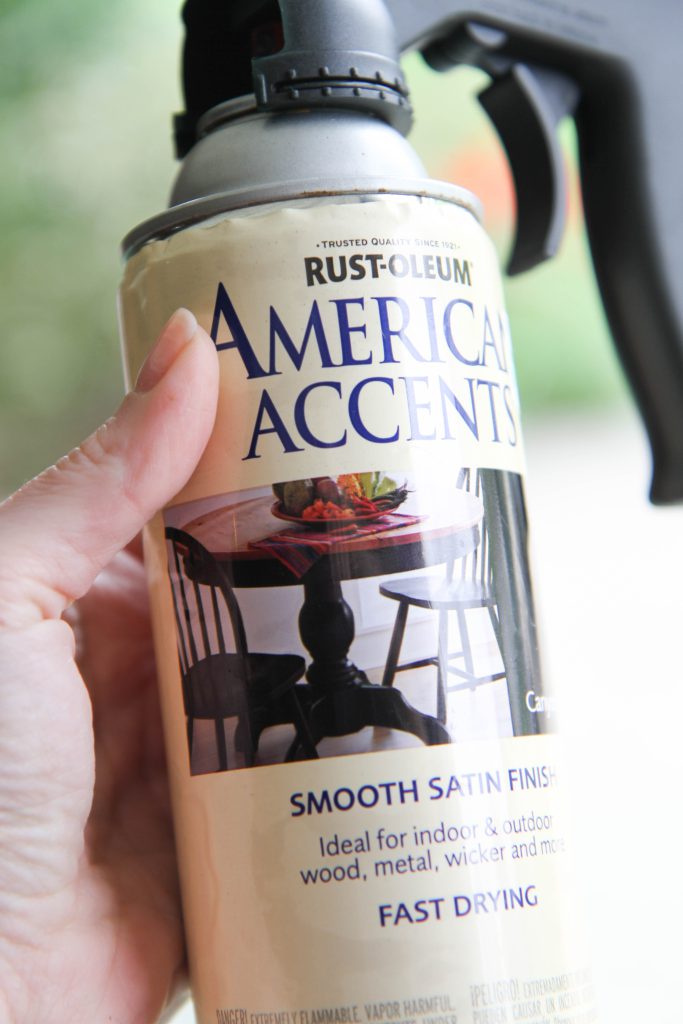
When spray painting wood furniture, the quality of your spray paint matters.
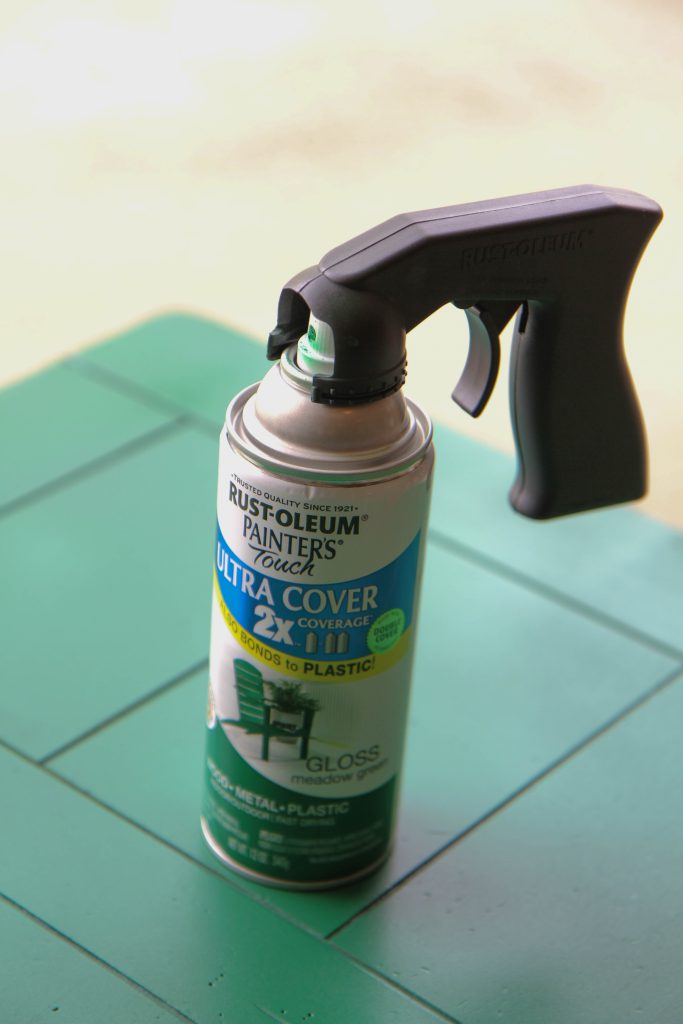
I’ve had great success with Rust-Oleum spray paint for its excellent coverage, fast drying times, and durable finish.
Not only will you find a wide variety of gorgeous colors, but they also offer fabulous finishes like metal and stoneware to experiment with on other elements in your pieces.
Determine Paint Quantity:
Before starting your project, estimate how much spray paint you’ll need to cover your furniture adequately. Having extra spray paint on hand is better than running out midway through.
Most spray paint cans indicate the coverage area on the label to help you calculate, but at minimum, you will need 2-3 cans for each project.
Prepare Your Space for Spray Painting:
Whether you paint indoors or outdoors, ensure proper ventilation to avoid inhaling fumes and overspray.
If painting indoors, protect surrounding surfaces from overspray with drop cloths or cardboard. You can also use a paint tent to help with this process.
Prepping Wood for Spraying
Proper preparation is critical to any successful spray painting project.
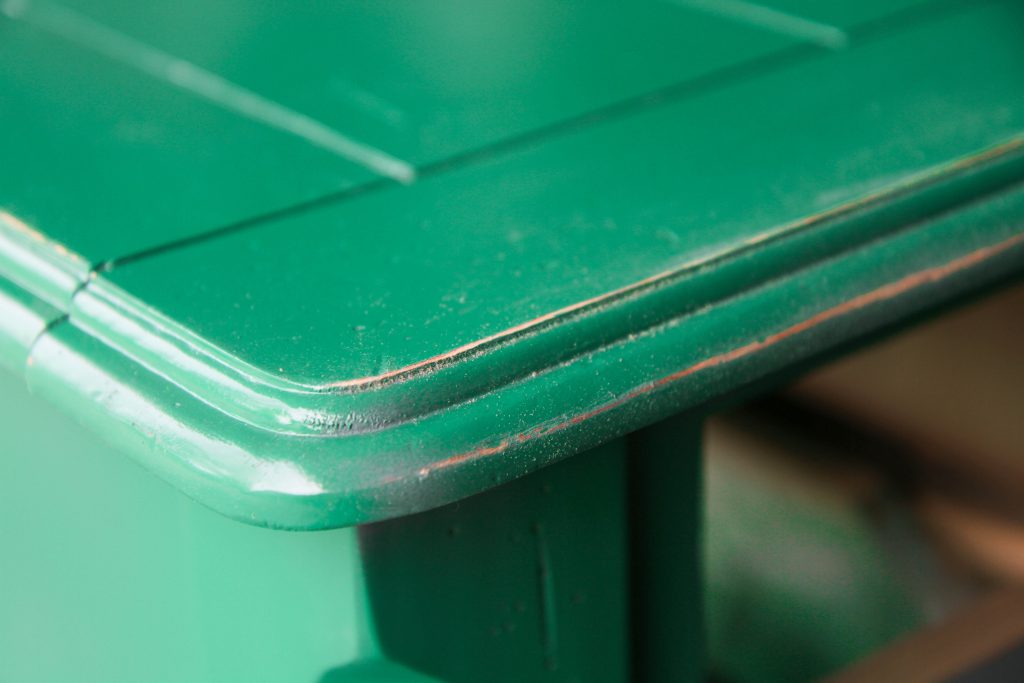
Clean the wood thoroughly to remove dirt or grime.
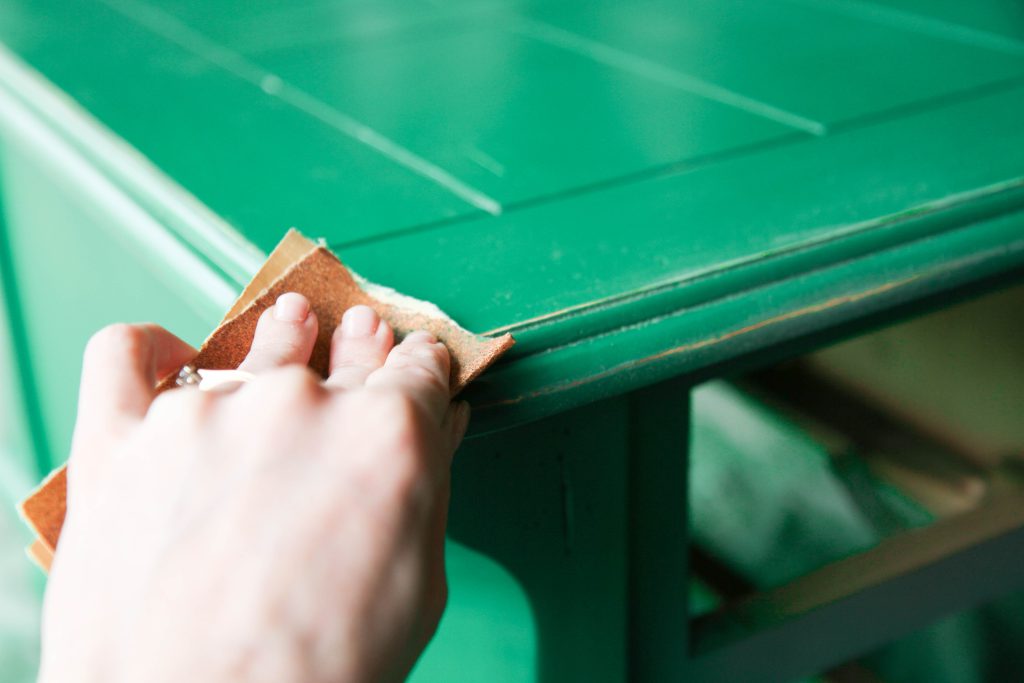
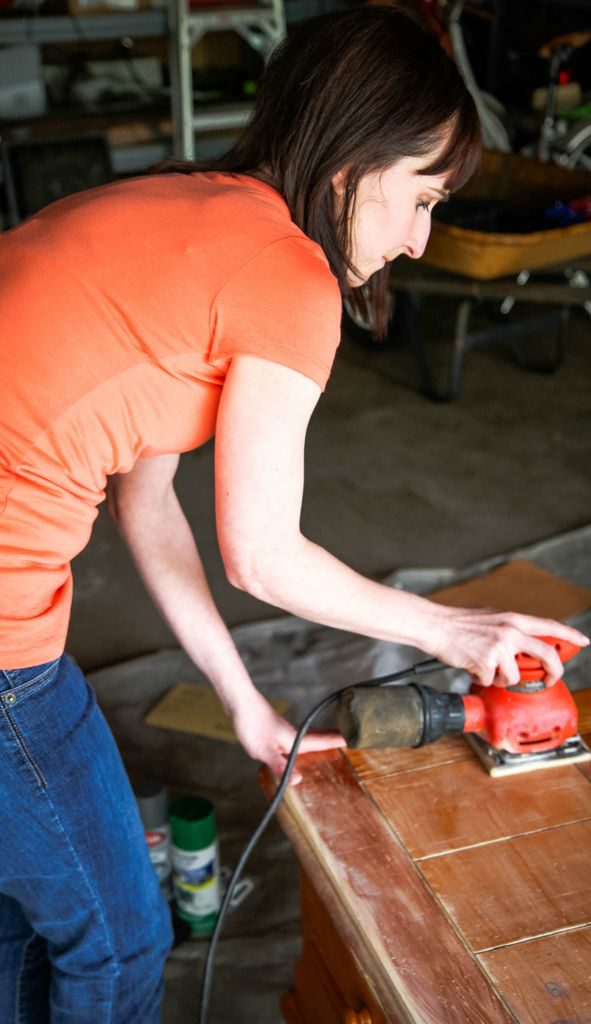
Next, sand the wood furniture for better paint adhesion. Sand any edges with your sander to smooth the top of your piece.
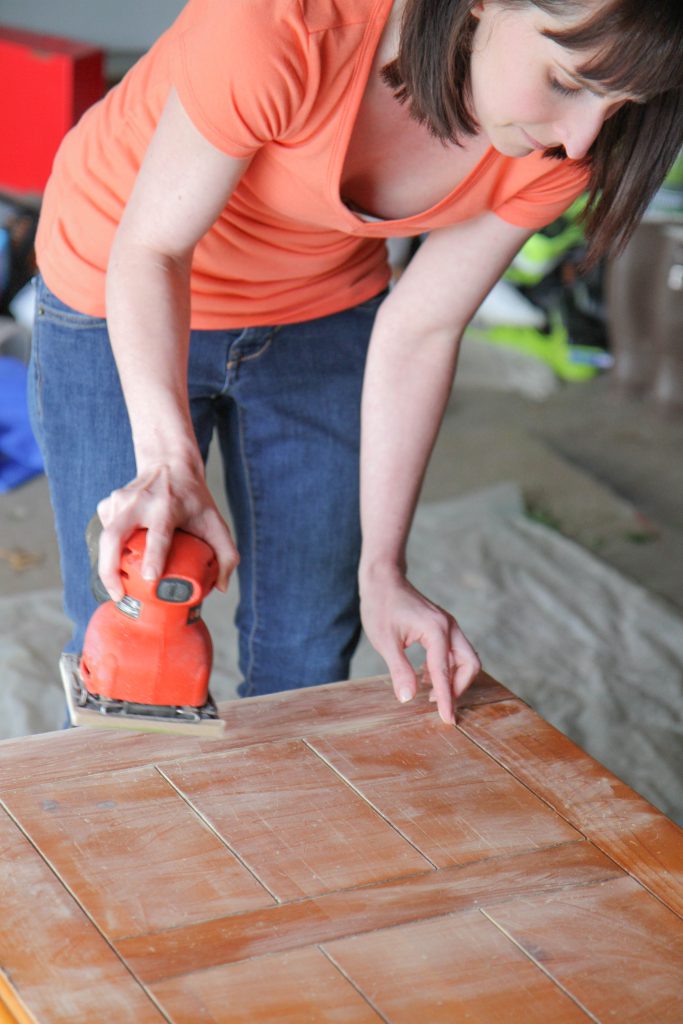
Taking your time when you sand your furniture is necessary to have an excellent base for painting.
Once the piece is thoroughly sanded, wipe it down with a damp cloth to prepare it for priming.
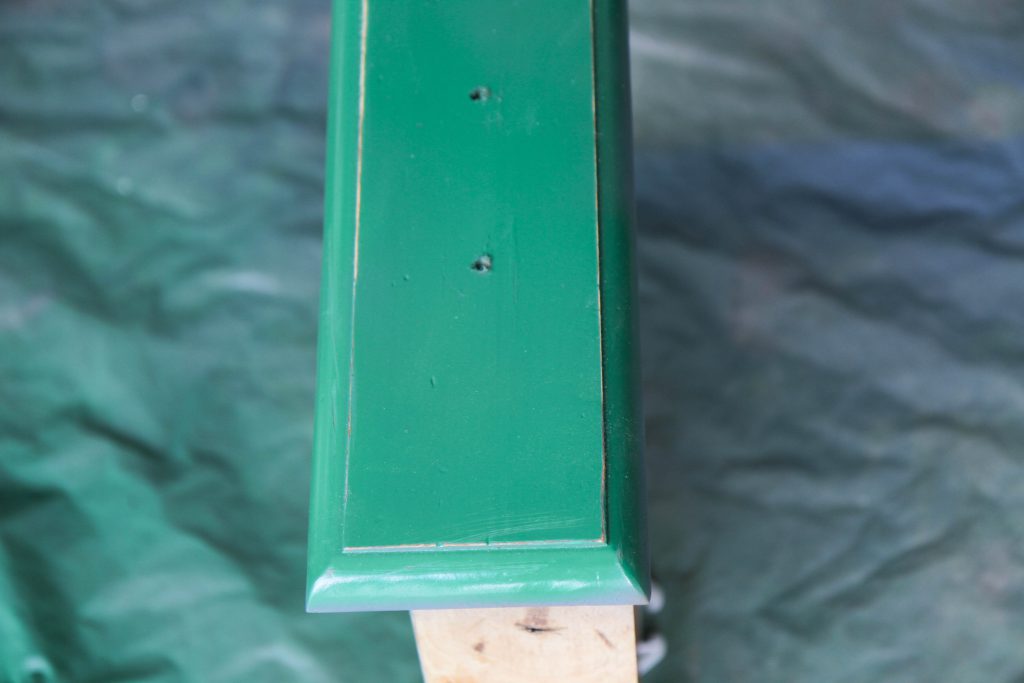
Finally, fill any imperfections with wood filler and sand smooth before painting.
Apply Thin, Even Coats:
To achieve a smooth finish, apply thin, even coats of spray paint, holding the can 8-12 inches away from the surface.
Avoid heavy application to prevent drips and runs.
Allow each coat to dry completely before applying the next.
Consider Weather Conditions:
Temperature and humidity can affect the drying time and finish of spray paint.
Choose a day with mild temperatures and low humidity for optimal results.
Avoid spray painting on windy days to prevent dust and debris from sticking to wet paint.
Practice Proper Spray Painting Technique:
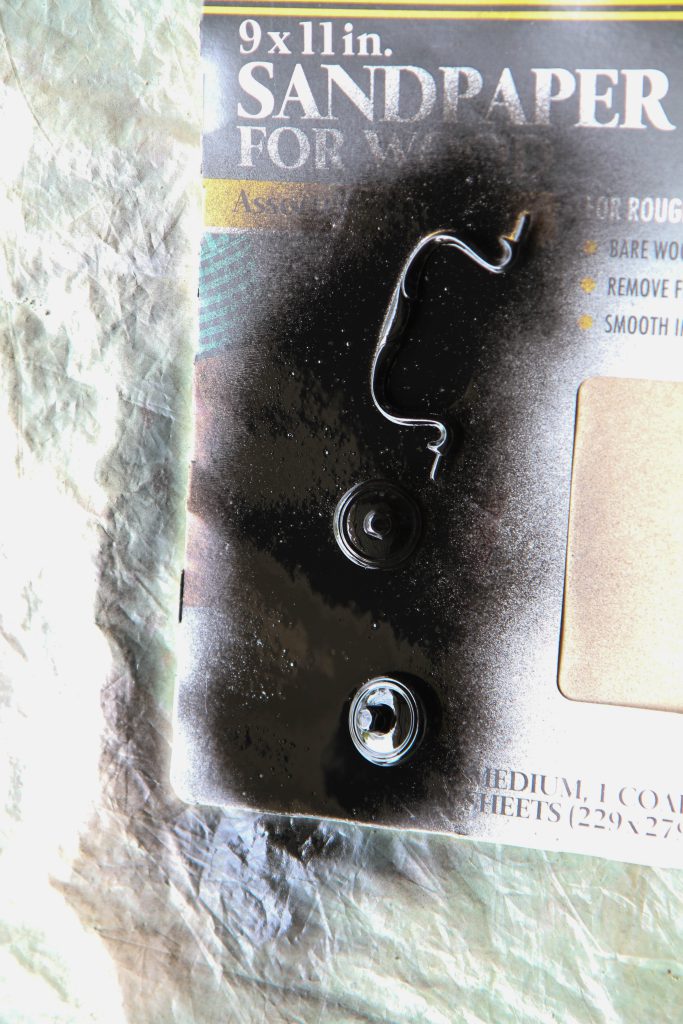
Practice spray painting on scrap wood or cardboard before tackling your furniture.
Practicing is especially important if this is your first time using a spray grip on your spray paint.
Maintain a consistent spraying motion and overlap each pass slightly for even coverage.
Keep the nozzle clean to prevent clogs and ensure a smooth paint flow.
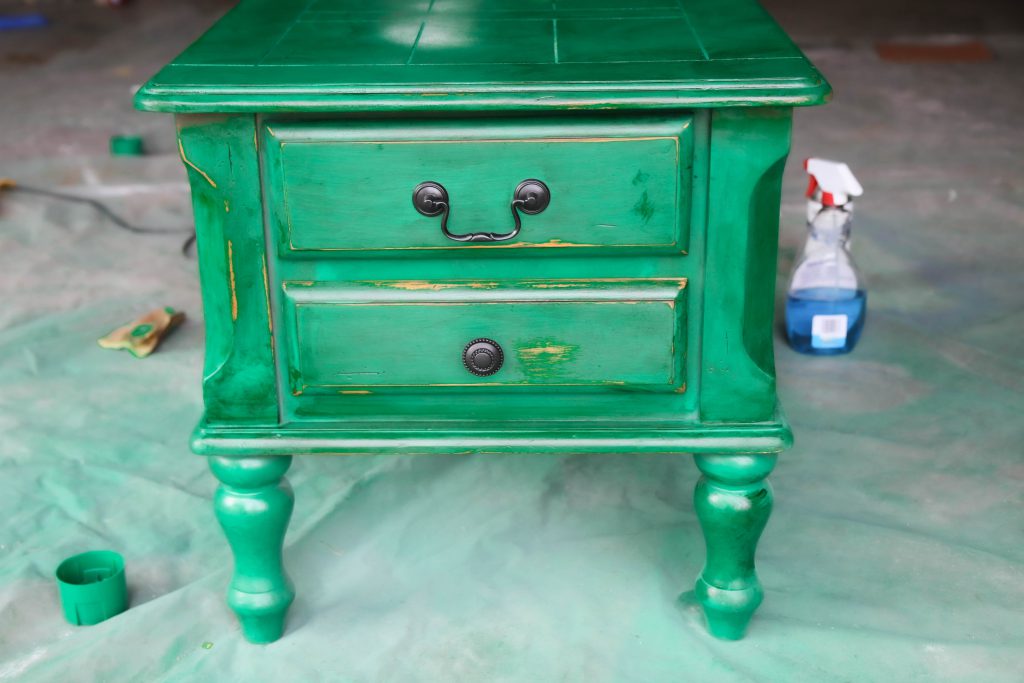
Optional: Customize Your Hardware
If you desire, you can spray paint your hardware.
As you know, cabinet pulls and drawer handles can be expensive to replace, and sometimes older pieces have more custom-fitting hardware, so spray paint can be a great way to freshen it up.
We replaced the wooden handle with a black hardware piece and then spray-painted the old gold accessories black with a can I had in my craft supplies.
I recommend purchasing a metallic spray paint in your desired finish.

Optional: Add An Antique Glaze
An antique glaze can add depth and dimension to your furniture piece after spray painting furniture.
Follow the instructions below for timing your application of the wood glaze after painting your piece.
To apply, rough up the edges with your sandpaper to expose the wood.
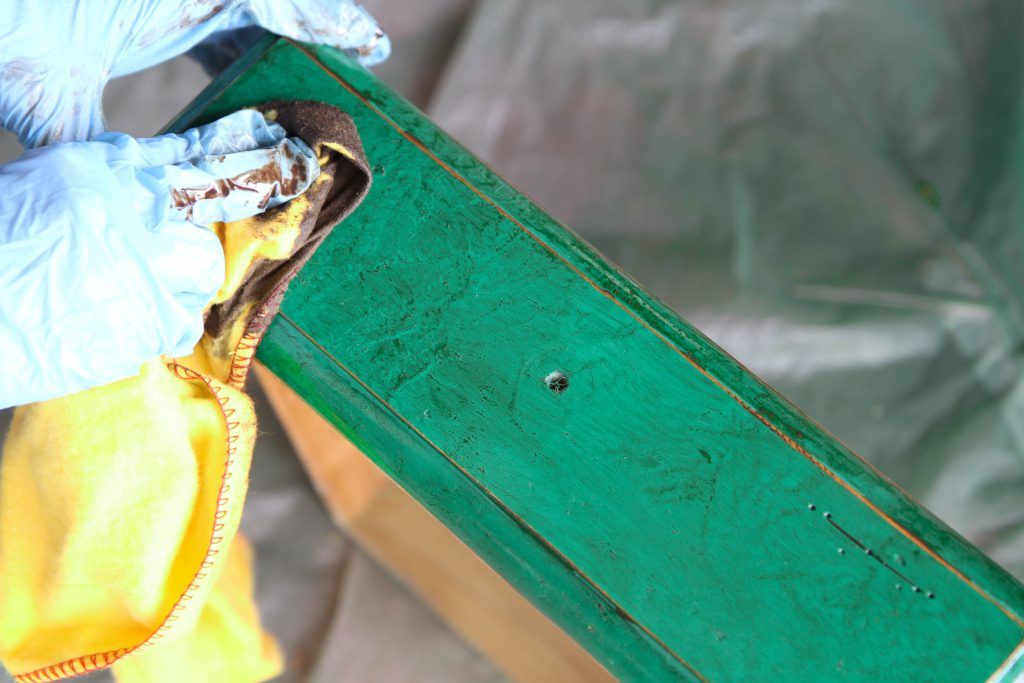
Next, using a clean rag, dip it in your glaze and then apply the glaze to your piece in a circular motion.
With a clean and damp cloth, remove as much of the glaze as you would like.
I, again, removed this in a circular motion from the piece until it added a hint of variation to the wood.
How to Spray Paint Wood
Materials Needed:
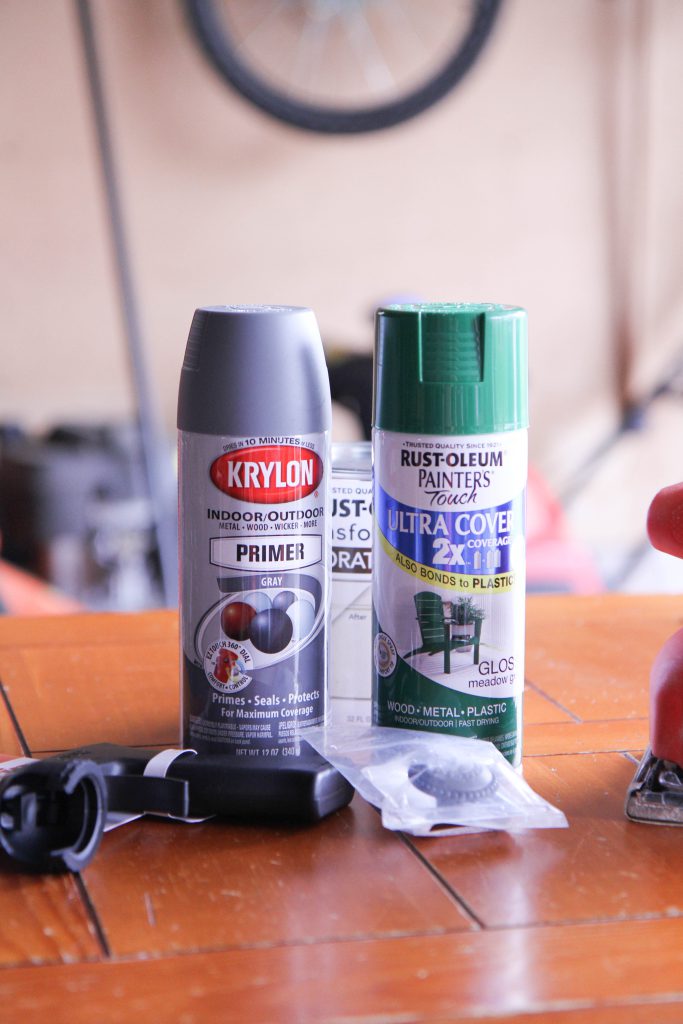
- Spray Paint Primer– Use gray if doing a dark color or white if doing a light color
- 1-2 Cans Rust-Oleum American Accents Ultra Cover 2X Spray Paint, any shade (I am using Moss Green)- make sure the one you choose is a spray paint for wood
- Rust-Oleum Standard Spray Grip (make sure you choose a paint sprayer nozzle that fits the spray paint brand you choose for your project)
- Rust-Oleum Decorative Glaze in Java Brown
- 220 Grit Sandpaper
- Wood Filler, if needed, for filling in imperfections
- Putty Knife
- Drop Cloth
- Rags
- Polycrylic in a Clear Satin (Water-Based)
Instructions:
- Prepare the Surface: Wipe the entire piece down with a clean cloth to remove dirt or debris. Disassemble any drawers and hardware to prepare it for painting. Fill any spots with wood putty or wood filler that need it.
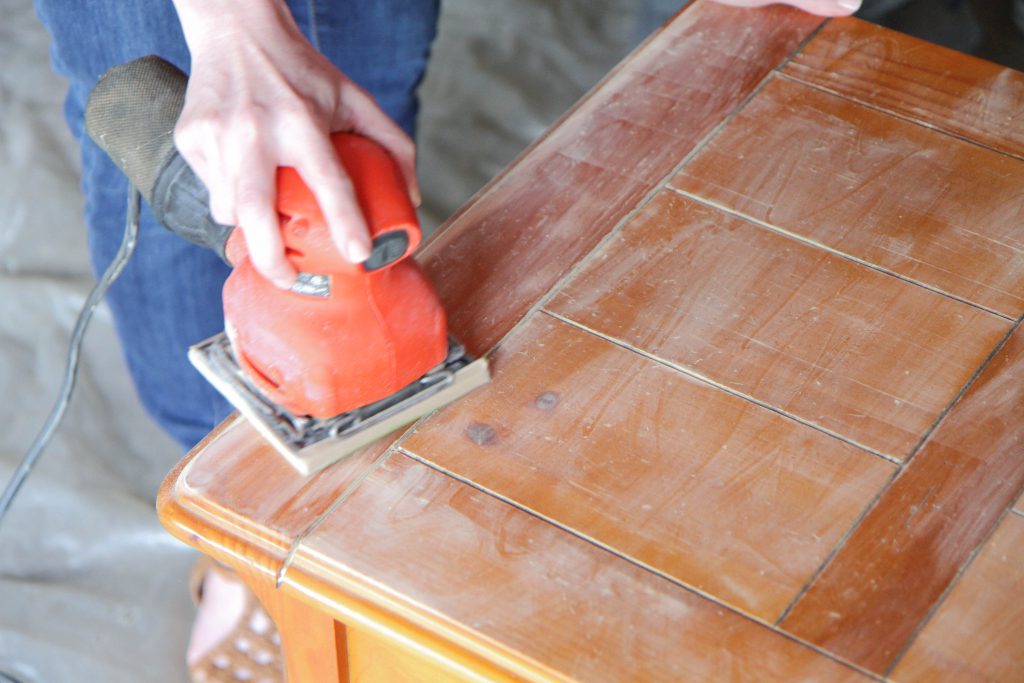
- Sand Your Wood Furniture: Sand the wood furniture thoroughly to improve paint adhesion and create a smoother surface. Pay extra attention to sanding the edges and the top of the piece.
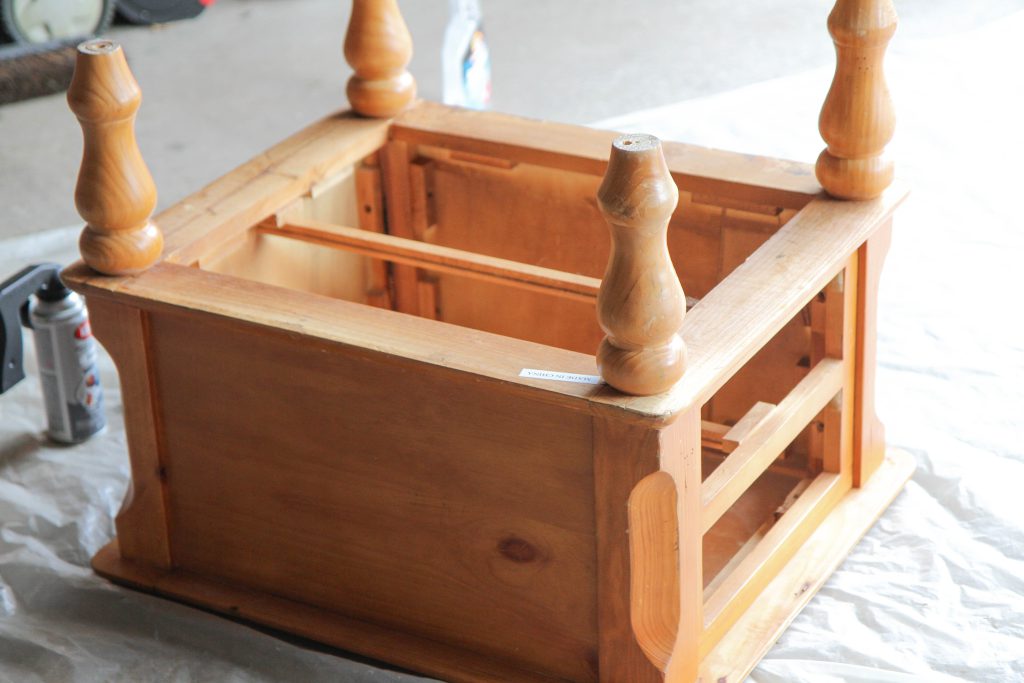
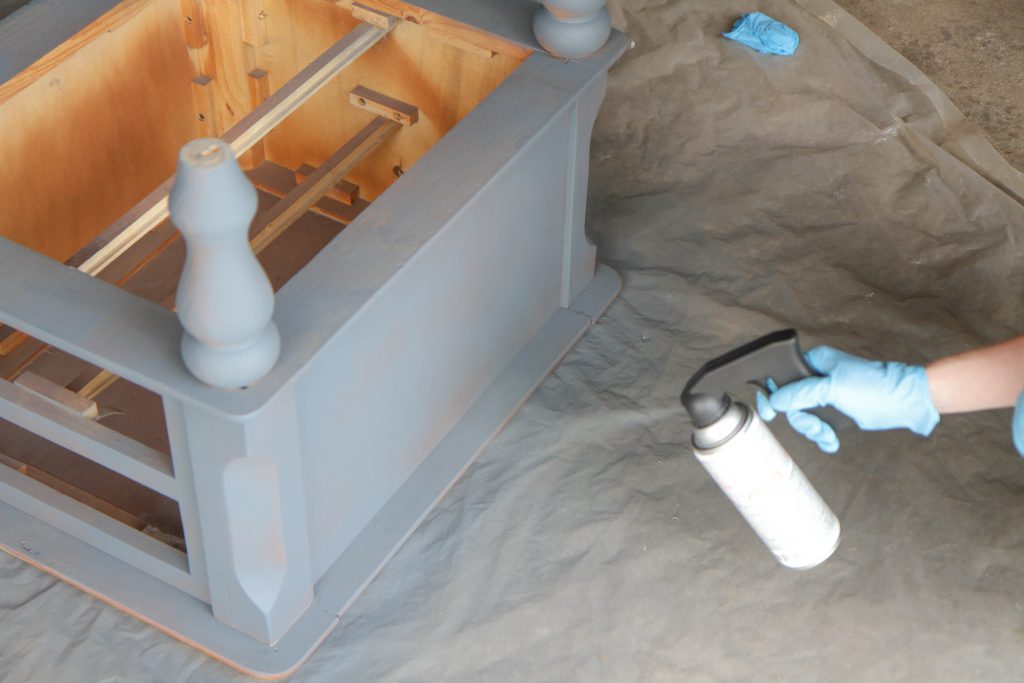
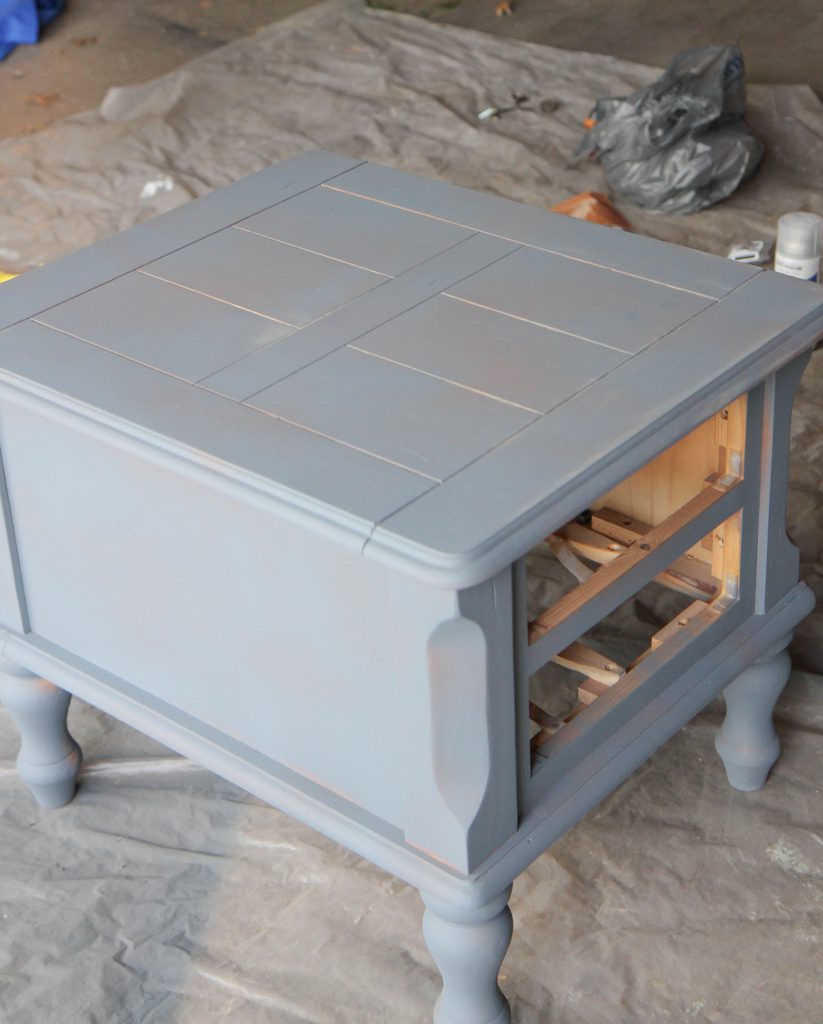
- Prime the Piece: Start with your piece inverted to prevent drips and ensure full coverage. Hold your can 8 inches away from your surface and spray your primer in a sweeping motion side to side with a slight overlap. Allow the primer to dry for one hour. Once dry, put the piece right side up and finish priming the top.
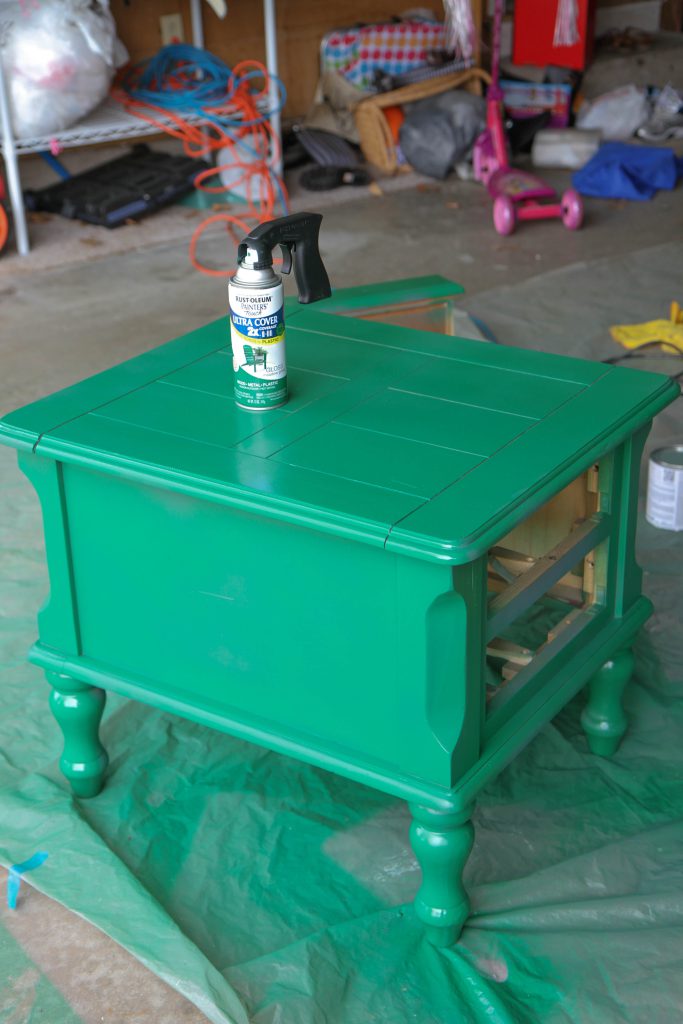
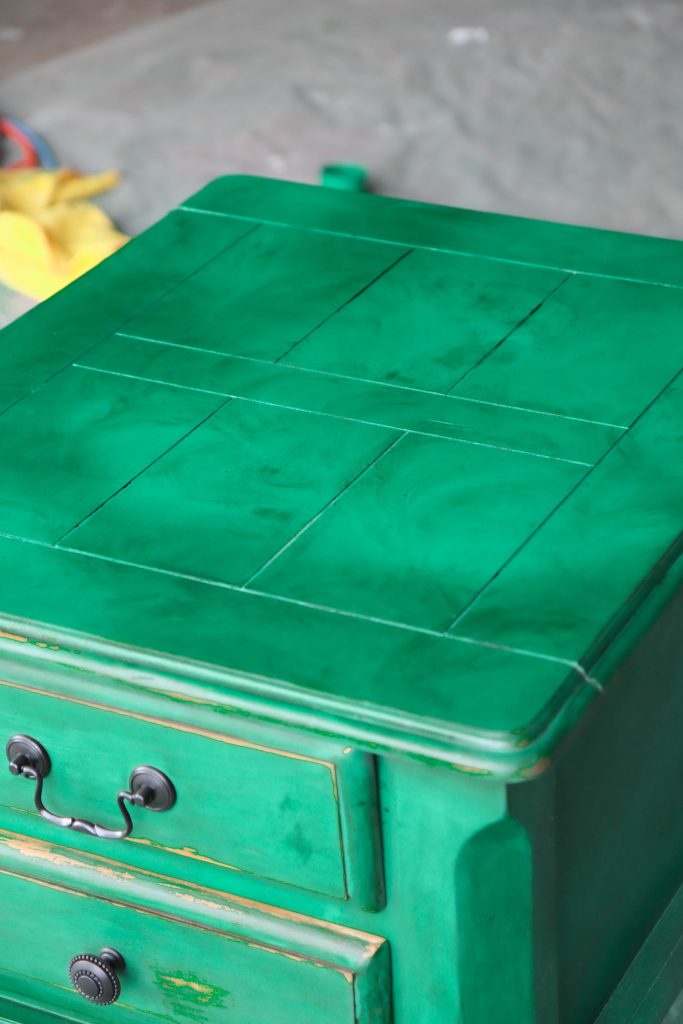
- Apply Base Coat: Now, it is time to paint over primer. Repeat the same spray painting process with your choice of Rust-Oleum American Accents Ultra Cover 2X in your favorite shade. Once the piece is fully painted, allow it to dry overnight before glazing (optional).
- Finish with Polycrylic: Once the paint is dry, apply two coats of Polycrylic in a Clear Satin finish, giving your piece a slick, smooth finish. Use a clean paintbrush or foam brush to apply evenly.

After you are done, make sure to allow the sealer to dry for two hours before reapplying.
I recommend allowing the piece to dry overnight before using or moving it.
Here are some FAQs on Spray Painting Wood:
Can I spray paint wood without sanding?
Yes, you can spray paint wood without sanding; however, achieving the best results depends on the quality of your wood furniture, its condition, and being mindful of the Rust-Oleum product you choose.
When it comes to this painting project, sanding is necessary to help the spray paint stick.
If you are determined not to sand your piece, practice spray painting on the the underside to discover if it will work.
Remember, if the surface is not smooth, that will pull through no matter how much paint you put over it.
How Do I Apply Wood Putty or Wood Filler to Repair My Furniture?
If your furniture piece has been well-loved, you can still achieve a smooth finish spray painting wood furniture by using a product like wood putty or wood filler to repair spots on your piece.
Wood putty or wood filler fills gaps, holes, or cracks in wood surfaces, providing a smooth and even finish.
It helps to improve the appearance of the wood to prepare the surface for painting, staining, or sealing.
To apply wood putty, scoop a small amount onto a putty knife or your fingers, then press it firmly into the imperfection.
Scrape away any excess putty and allow it to dry according to the manufacturer’s instructions before sanding smooth.

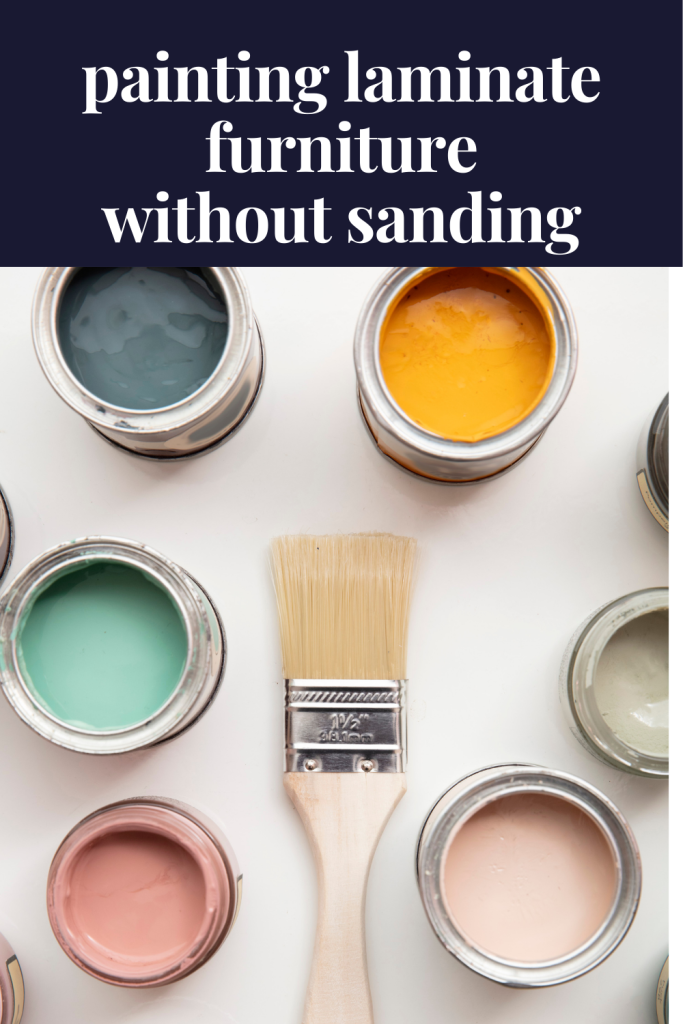
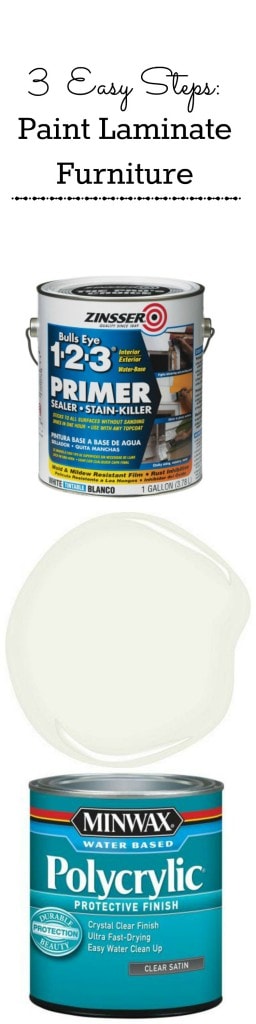
Can I use spray paint on laminate furniture?
Visit my how to paint laminate furniture without sanding tutorial for tips on the best primer for these types of laminate wood projects.
To try this with spray paint technique, follow my instructions for priming laminate furniture and then use today’s spray painting tips after your piece is primed.
Is it better to spray paint or brush paint wood?
Spray painting wood furniture is ideal for smaller pieces in your home. Use this painting technique for coffee, accent, or decorative elements around your house.
How do I get a smooth finish with spray paint on wood?
To achieve a smooth finish, apply thin coats of paint, maintain consistent strokes, and sand between coats if necessary. If you follow my tuturial, you should have great success!
Love this tutorial? Don’t miss these other fun home improvement projects:
How to Paint a Kitchen Table– Revitalize your kitchen table with a coat of paint. Discover easy steps to give your dining area a new lease on life.
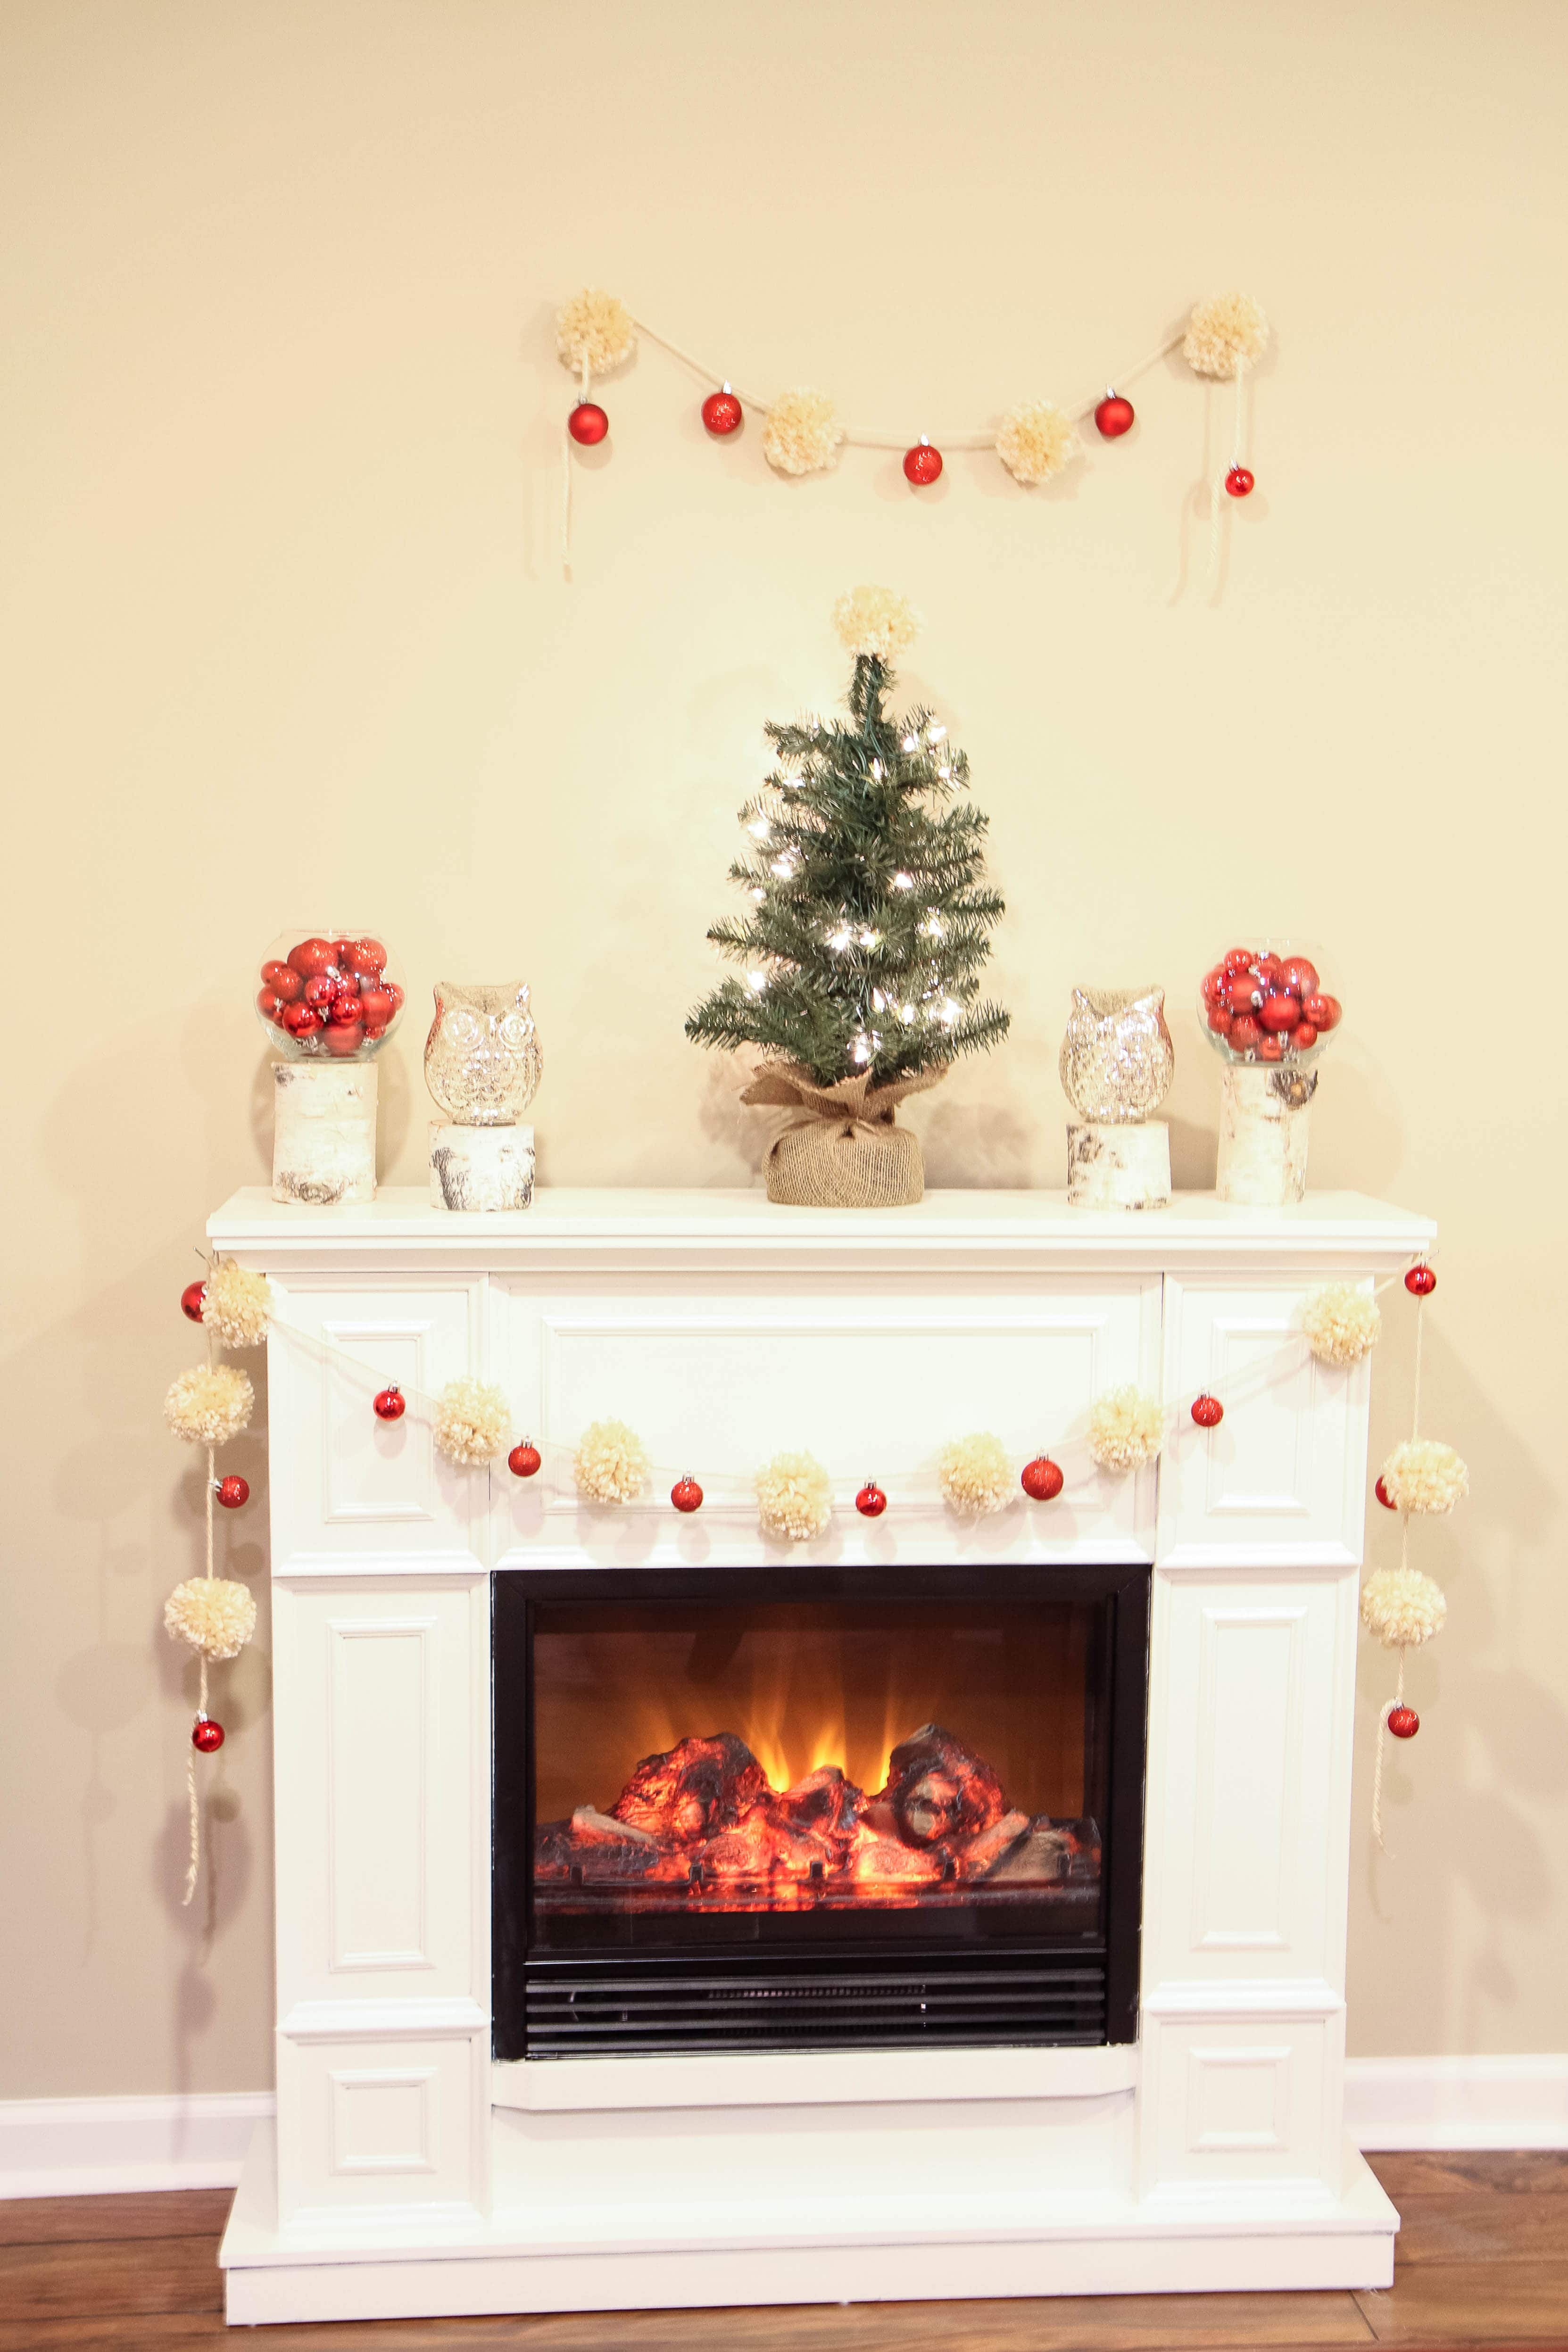
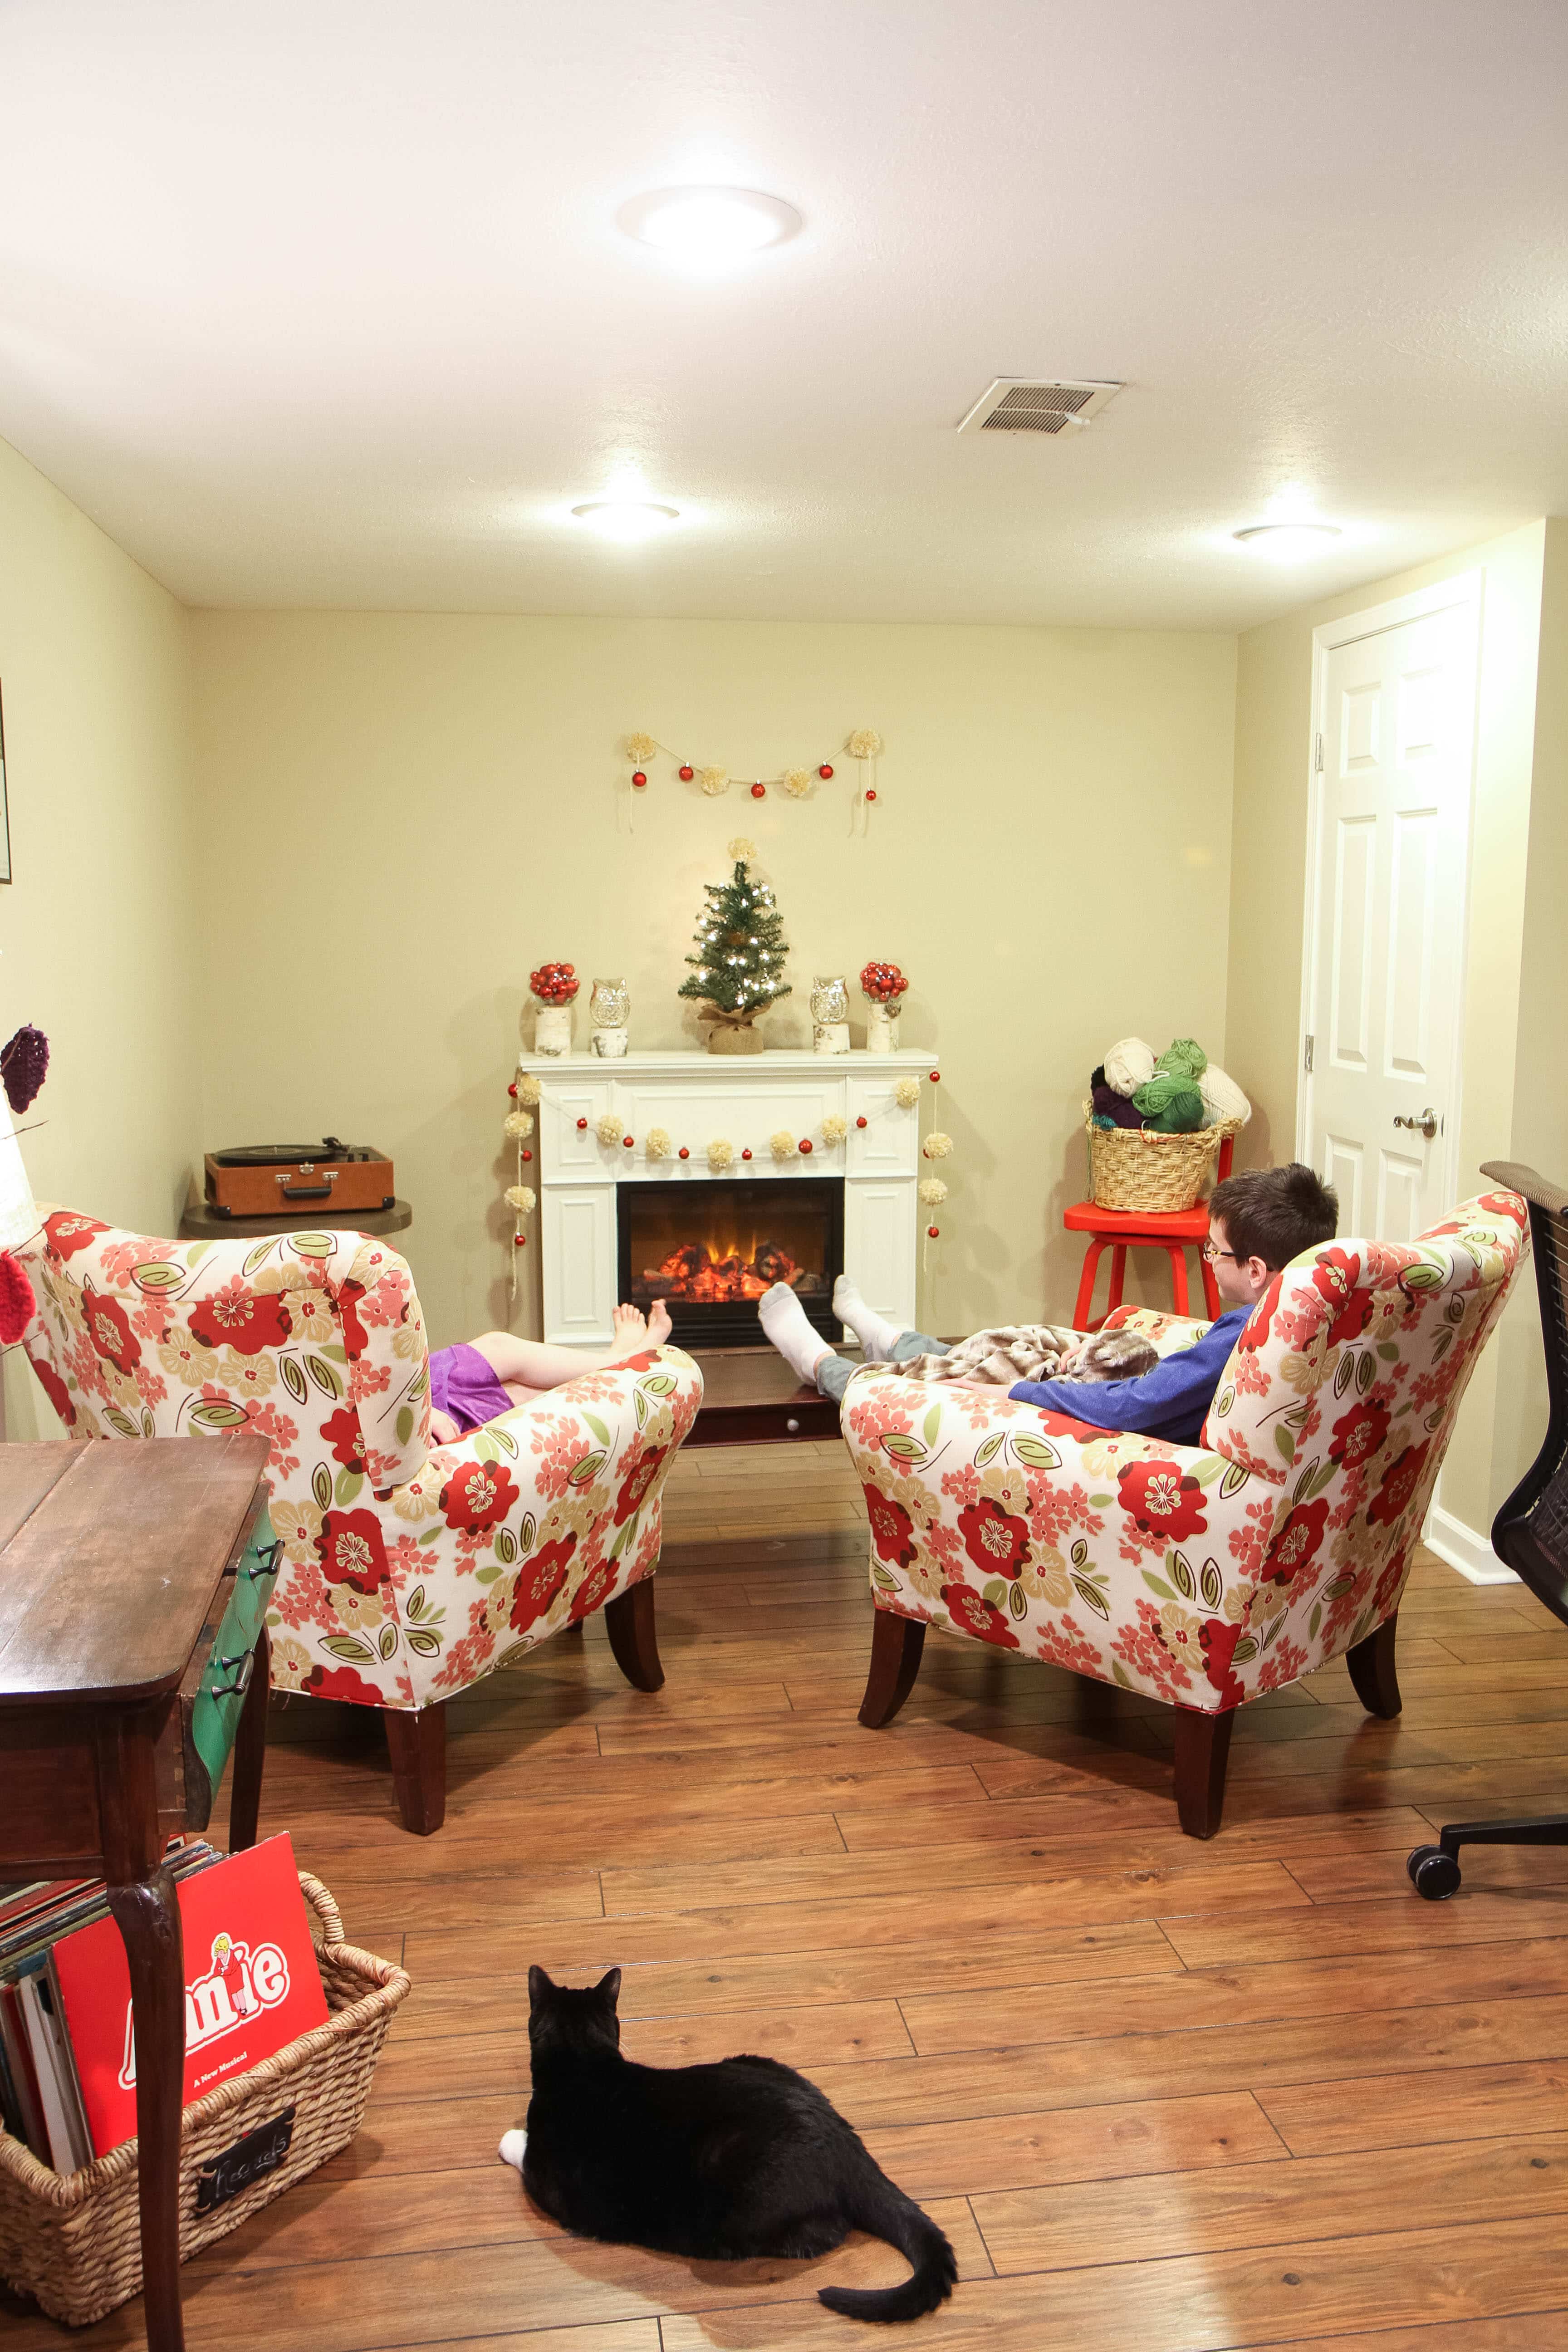
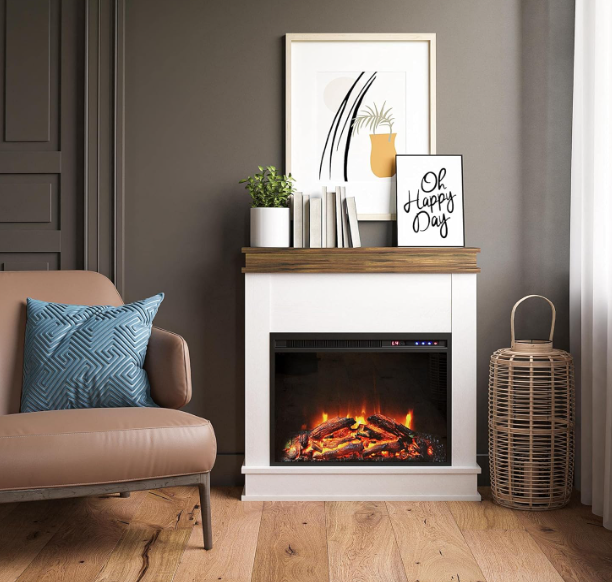
How to Paint Laminate Furniture Without Sanding– Discover the secrets of painting laminate furniture effortlessly, no sanding required! The possibilities are endless, whether it’s Ikea laminate pieces or electric fireplaces with heaters liike our family!
Stain Picnic Table Tutorial– Enhance outdoor gatherings by staining your picnic table with this tutorial. Explore how to protect your outdoor wood furniture so you can use it year after year.
How to Stain Wood Furniture– Bring new life to your furniture by staining it. Follow these straightforward steps to add rich color and depth to your favorite pieces.
The best part is that you can combine this staining project with today’s tutorial!
This post contains affiliate links.
Tutorial updated: February 27, 2024
Pin It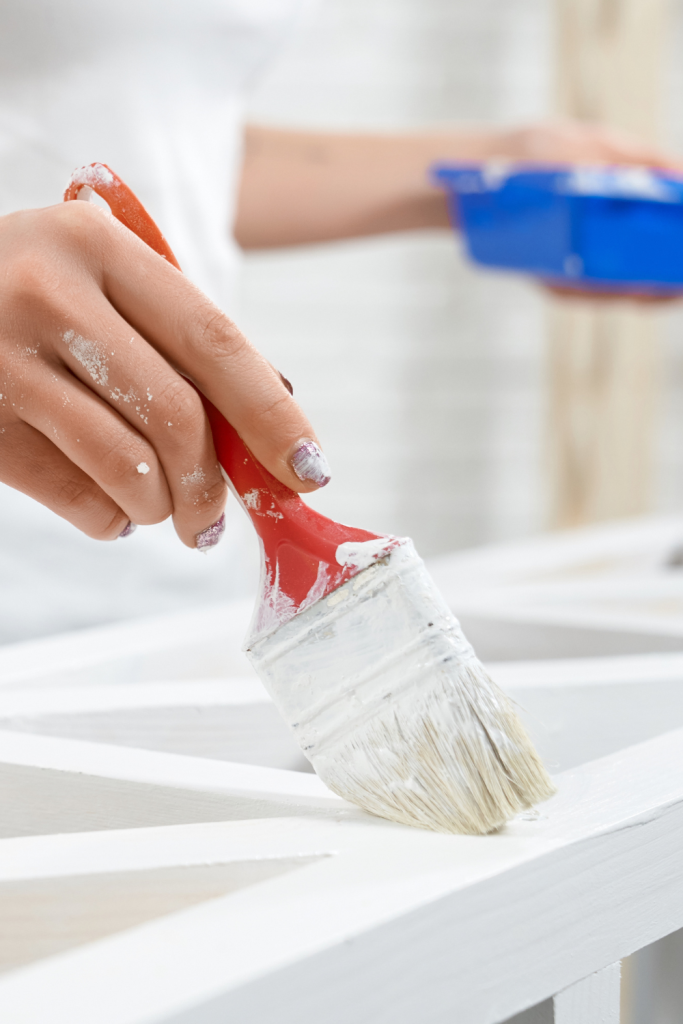


