
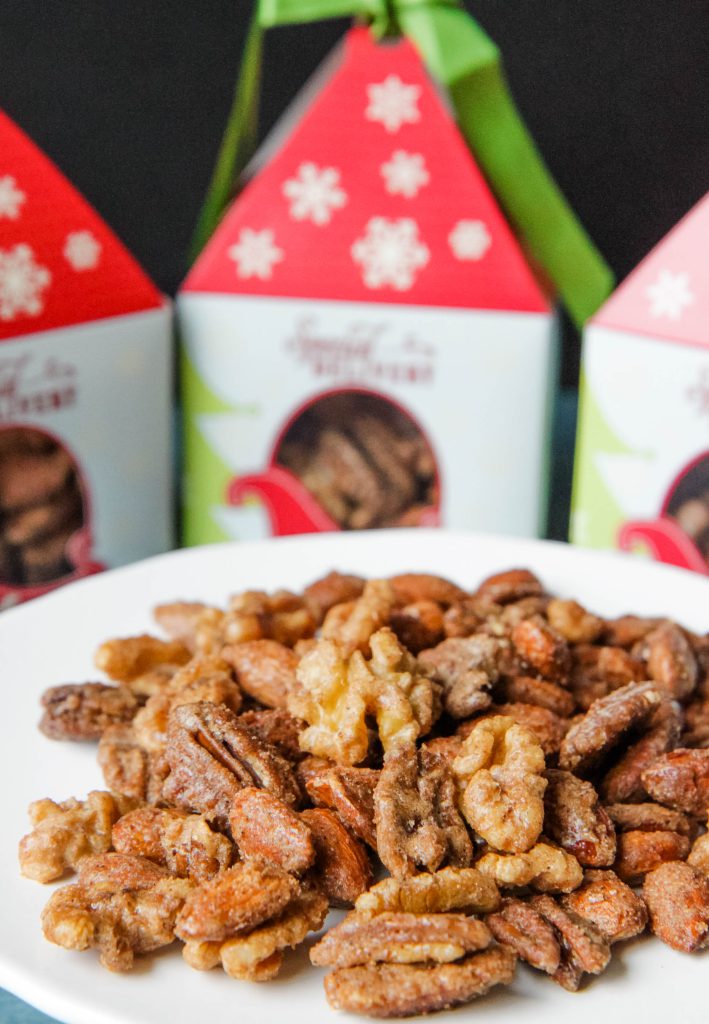
Learn how to candy nuts with this candied nuts recipe that incorporates sugar and spice. This yummy no bake treat is a perfect gift to give for the holidays.
Are you ready to impress with a holiday gift that’s as easy to make as it is delicious? Look no further than this sugar & spice candied nut mix!
Whether you’re a seasoned baker or a kitchen novice, this recipe will surely become a favorite for gift-giving or holiday snacking.
Making your own flavored nut mixes might not be something you have considered for the holidays, but once you try this delicious nut mix, you will have a difficult time giving these sugared and spiced holiday nut mixes away.
What Are Candied Nuts Made Of?
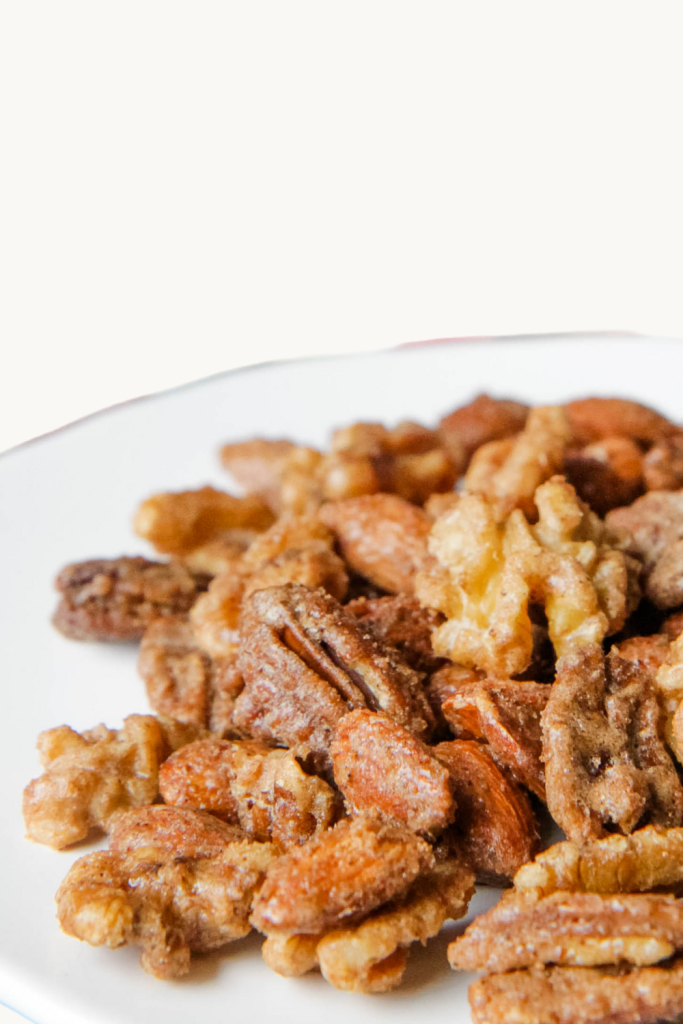
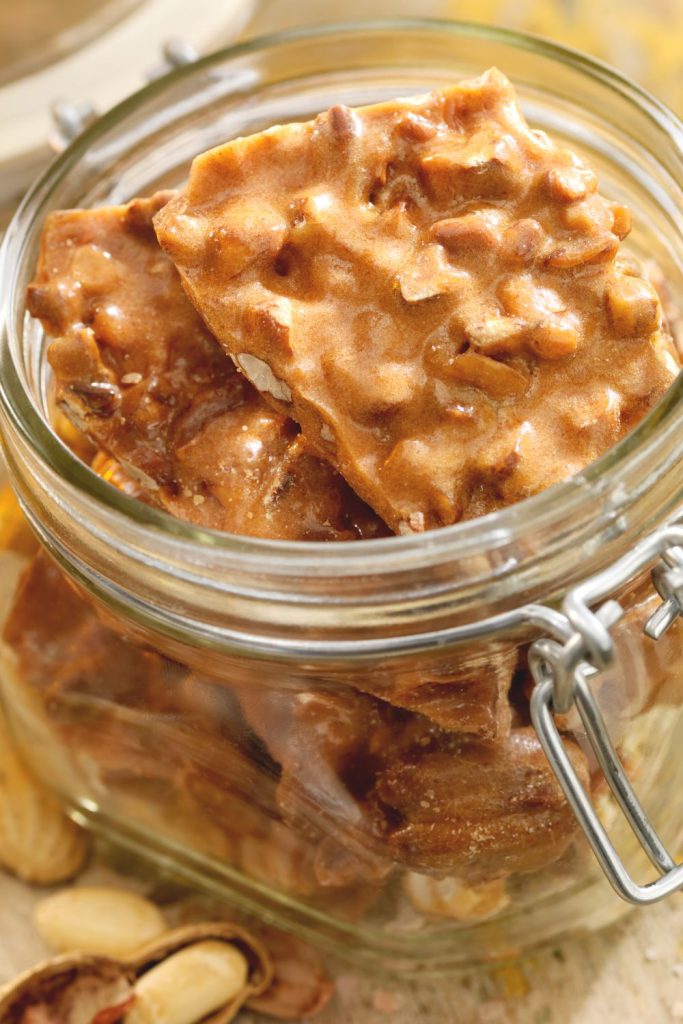
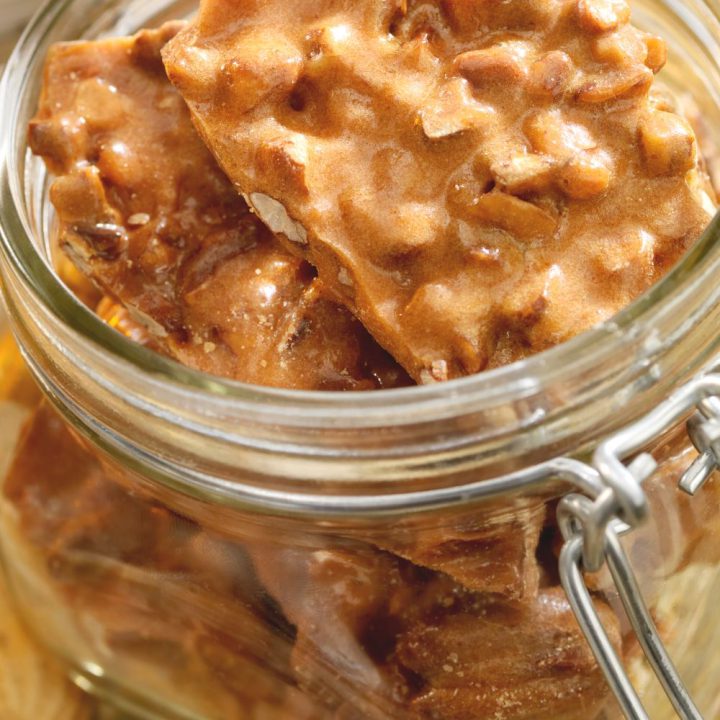
Candied nuts are made by coating raw nuts in a mixture of sugar, spices, and egg whites and then baking them until golden and crispy.
This creates a sweet, crunchy treat perfect for snacking or gifting.
Kitchen Equipment Needed to Candy Nuts
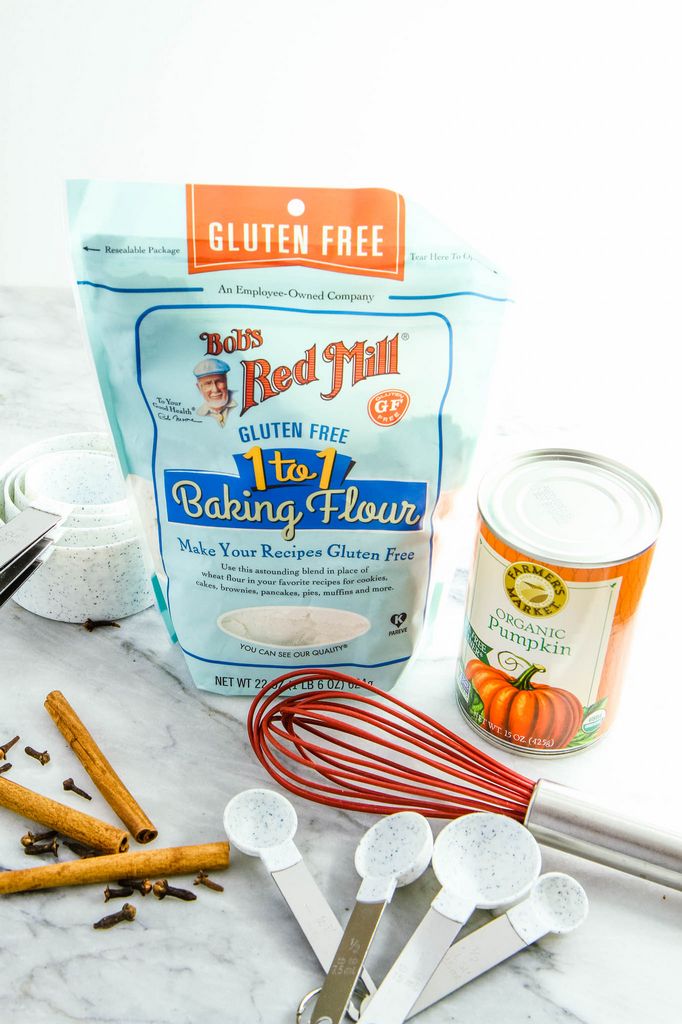
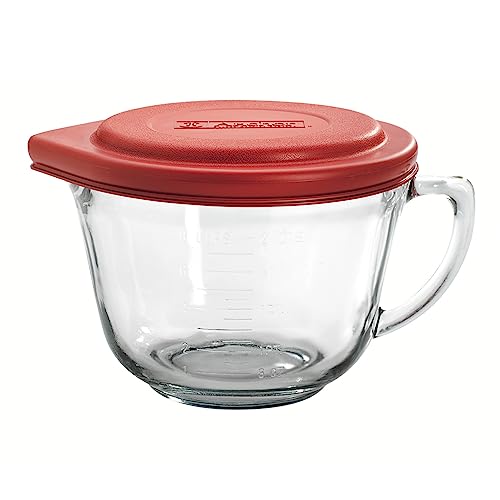
Mixing bowls- For mixing the nuts and spice mixture.
Measuring cups and spoons- For measuring the spices and nuts.
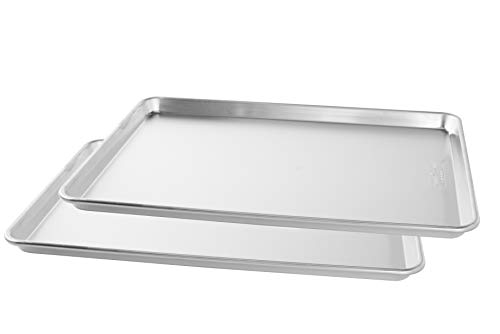
Baking sheet- For baking the nuts in the oven. I recommend the Nordic Ware Big Baking Sheet for your holiday baking projects.
Parchment paper or silicone baking mat- For lining the baking sheet.
Whisk- For whisking the egg whites and spices.
Wooden spoon- For stirring nuts.
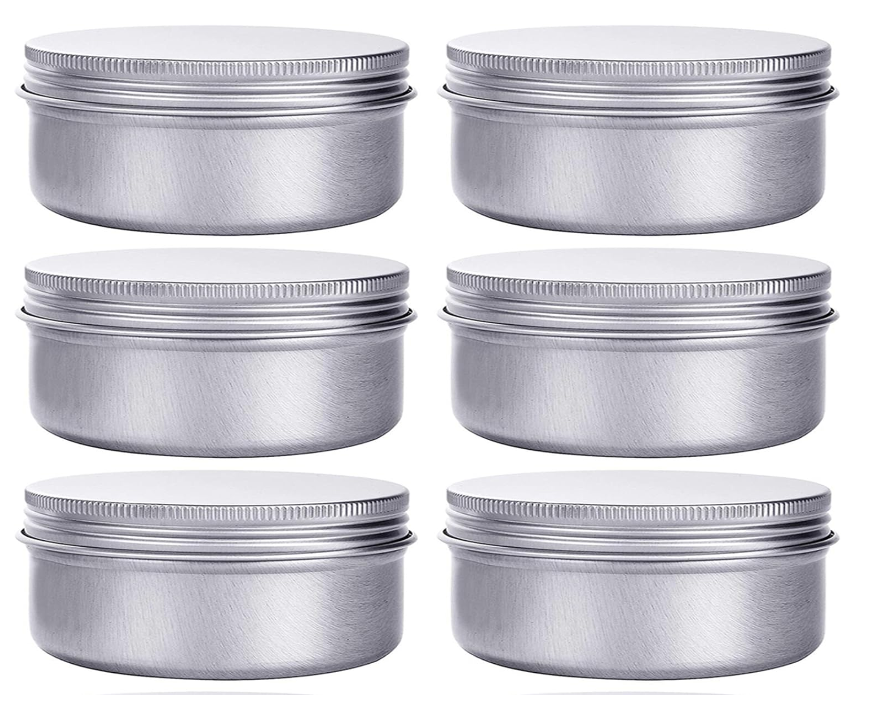
Airtight containers or packaging materials- For storing or gifting candied nuts.
How to Candy Nuts
You can scroll down to see the complete ingredient list and step-by-step instructions.
Preparation: Preheat your oven and line a baking sheet.
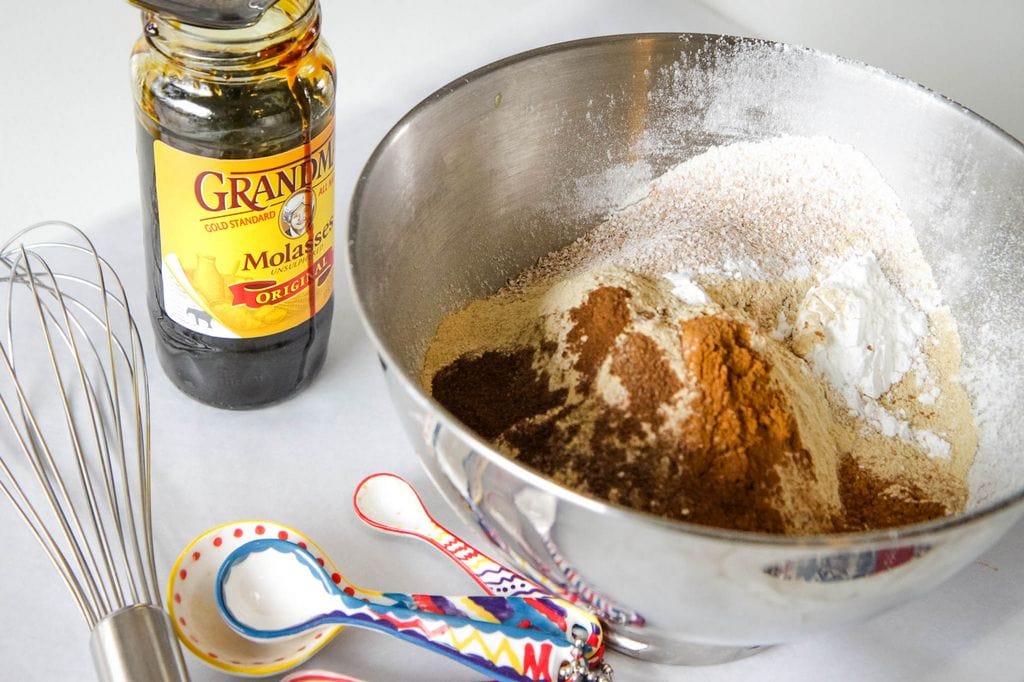
Mix Spices: Whisk together sugar, water, egg white, and spices.
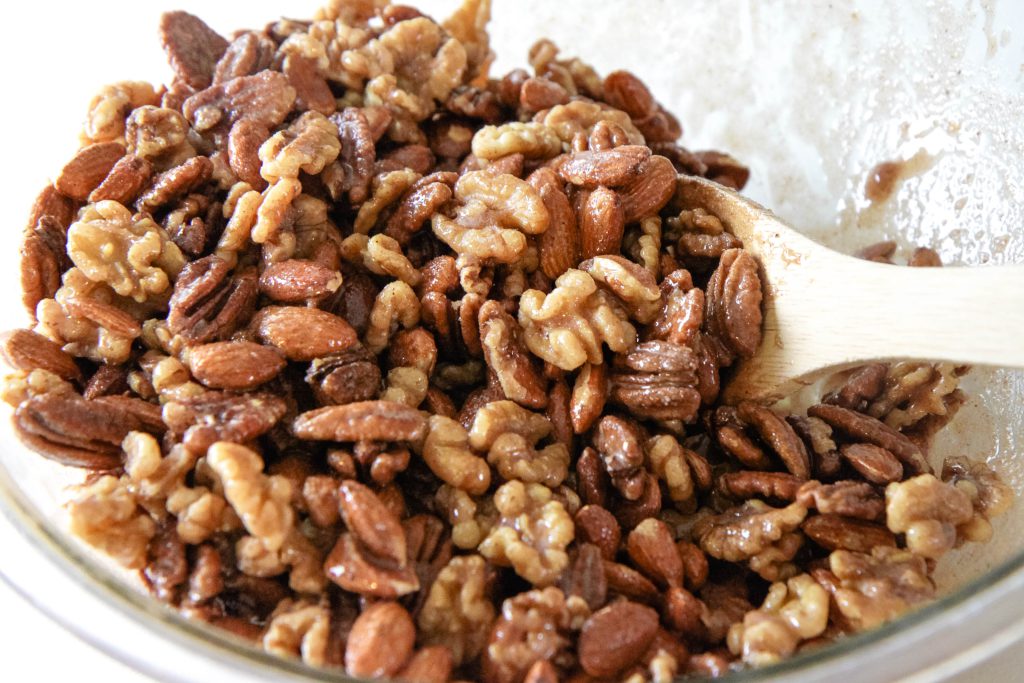
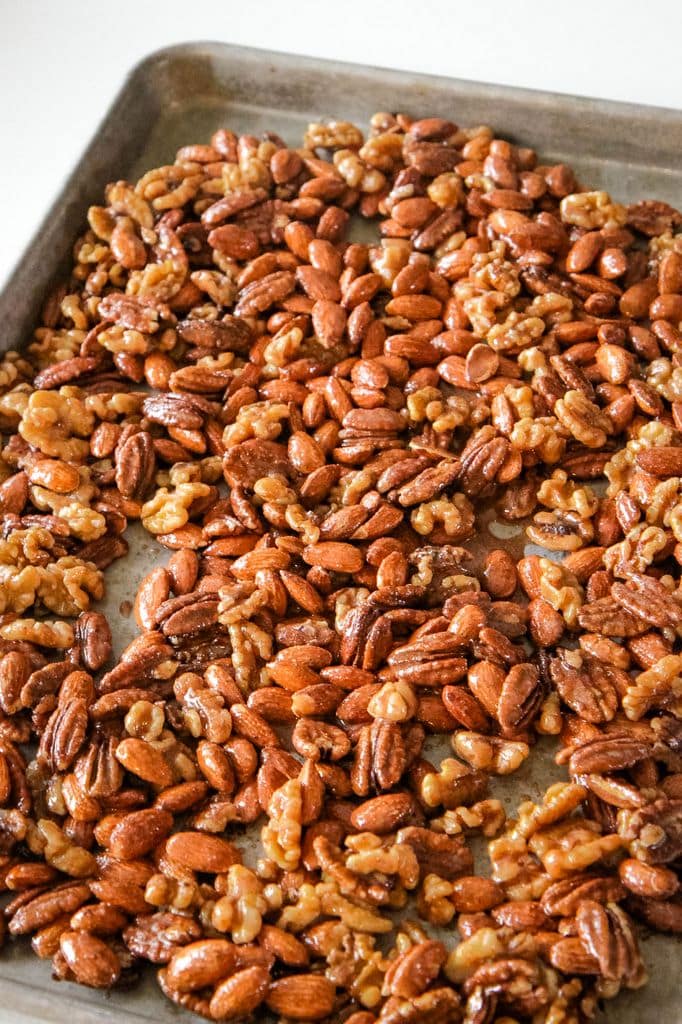
Coat Nuts: Toss raw nuts in the spice mixture until evenly coated.
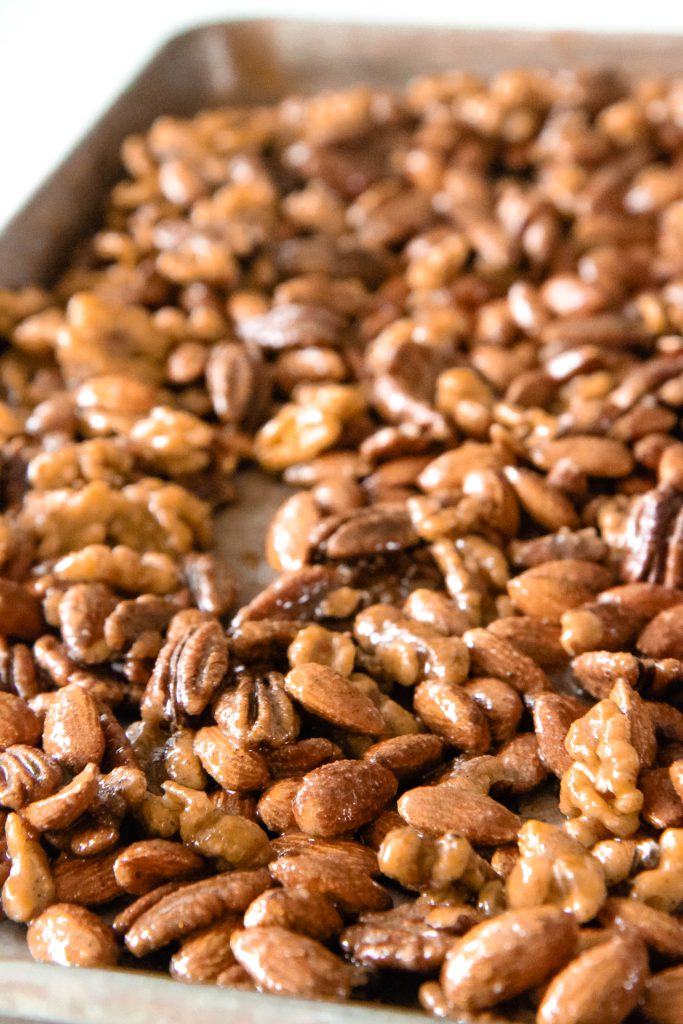
Bake: Spread nuts on the baking sheet and bake, stirring occasionally.
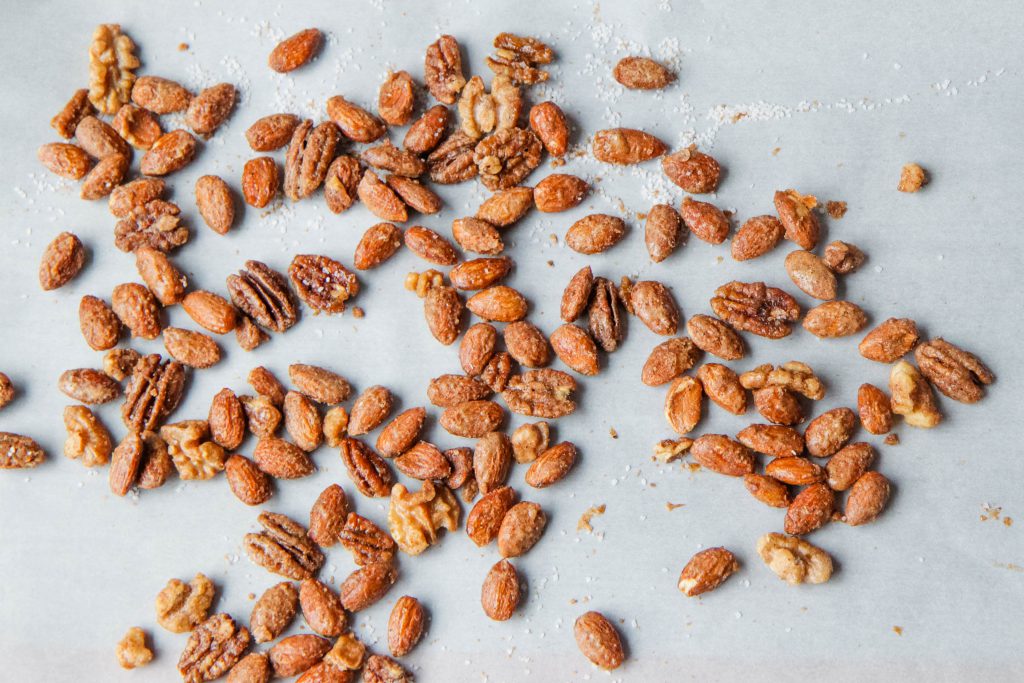
Season: Sprinkle hot nuts with coarse salt for a perfect finish.
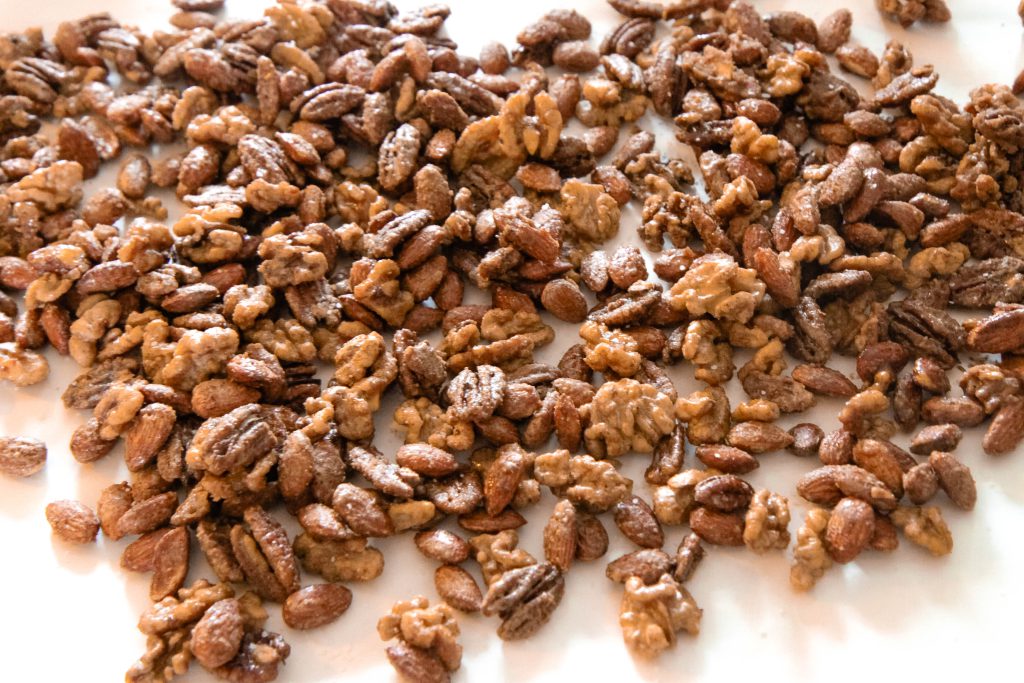
Cool and Package: Let the nuts cool, then package them for gifting or enjoying.
Before I share the recipe, here are some answers to commonly asked questions about how to candy nuts:
Where is The Best Place to Buy Nuts for Gifts?
If you have a membership to Costco or Sam’s Club, you can buy these ingredients in bulk to save on your cost per pound.
I also found this Reddit thread on where to buy the cheapest nuts and thought it had some incredible suggestions that I wouldn’t have thought of to reduce the price on buying nuts in bulk.
What Are the Best Nuts for a Holiday Nut Mix?
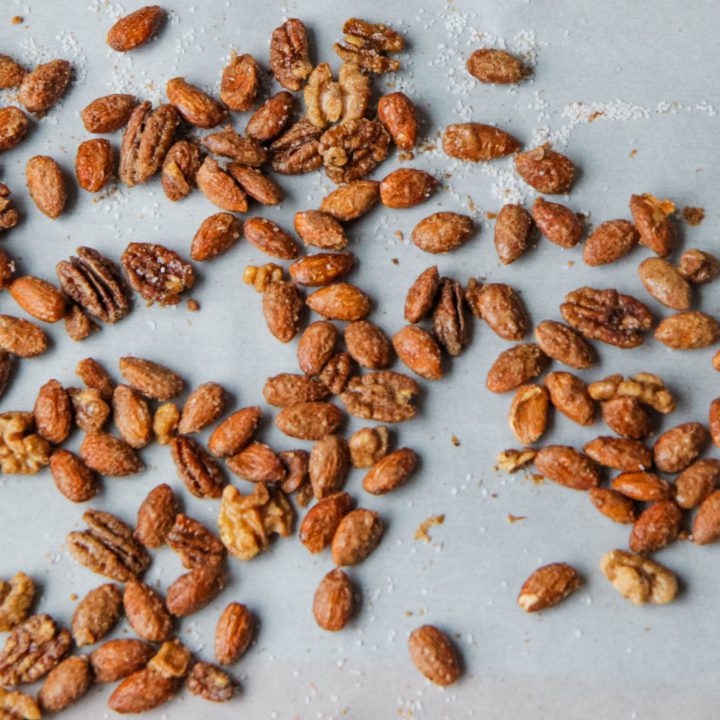
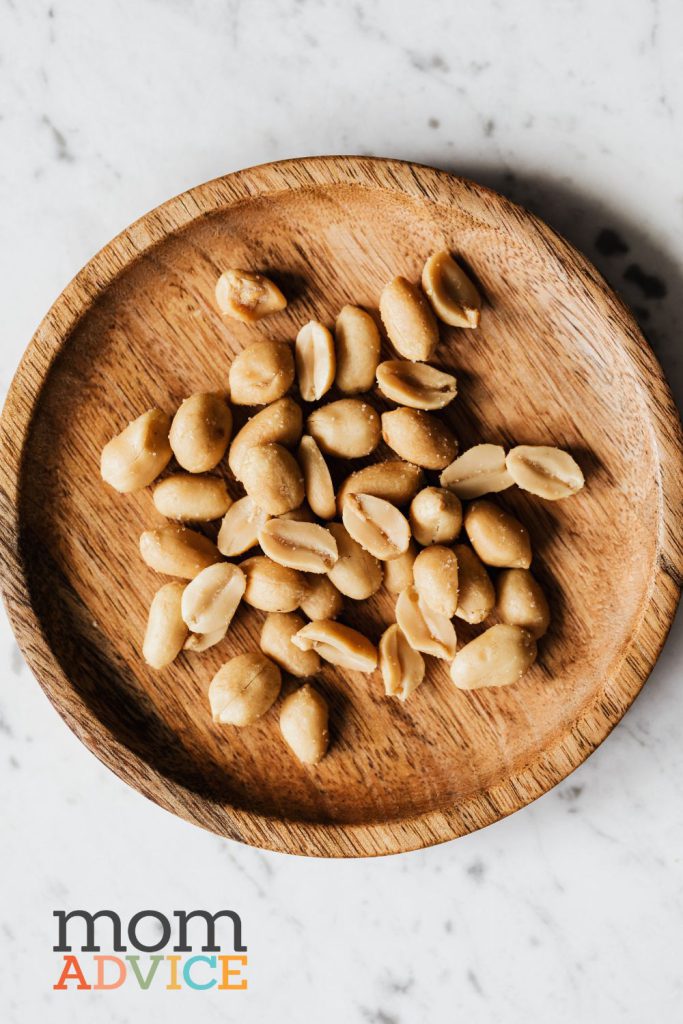
You can choose any combination of mixed nuts that you might love or just keep things simple and roast only your absolute favorite. I’m just using three of my favorites in this recipe- pecans, almonds, and walnuts.
My favorite varieties of nuts include candied pecans, almonds, and walnuts.

What Other Spice Combinations Can I Try With These Candy Nuts?
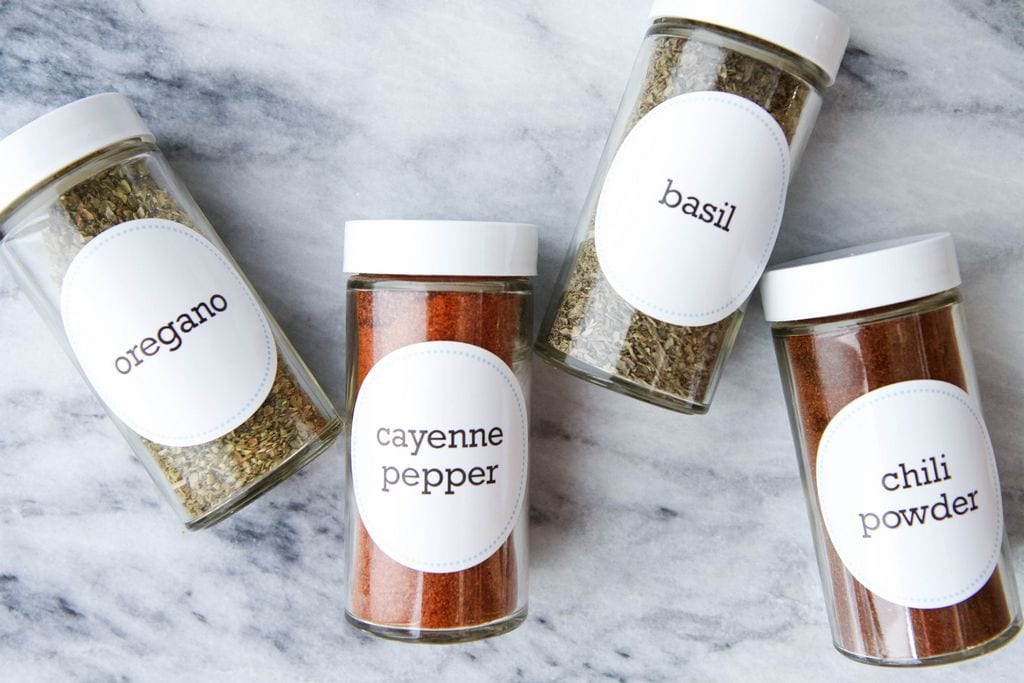
These nuts are tossed with some of my favorite holiday spices- cinnamon, nutmeg, ground cloves, and allspice.
Feel free to try building your own spice combination.
Add cardamom for a Middle Eastern twist or smoked paprika for a smoky flavor.
Mix in ginger and cloves for a festive touch, or add a hint of cayenne for some heat.
You can even experiment with Chinese five-spice or curry powder for more adventurous flavors.
How Long Do Candied Nuts Last?
Properly stored in an airtight container, these candied nuts can last up to two weeks, making them an ideal make-ahead gift for the holiday season.
How Do You Make Candied Nuts Not Sticky?
To prevent your candied nuts from becoming too sticky, spread them out in a single layer on the baking sheet and stir them every 15 minutes while baking.
Also, sprinkling them with coarse salt while still hot can help absorb excess moisture and enhance the flavor.
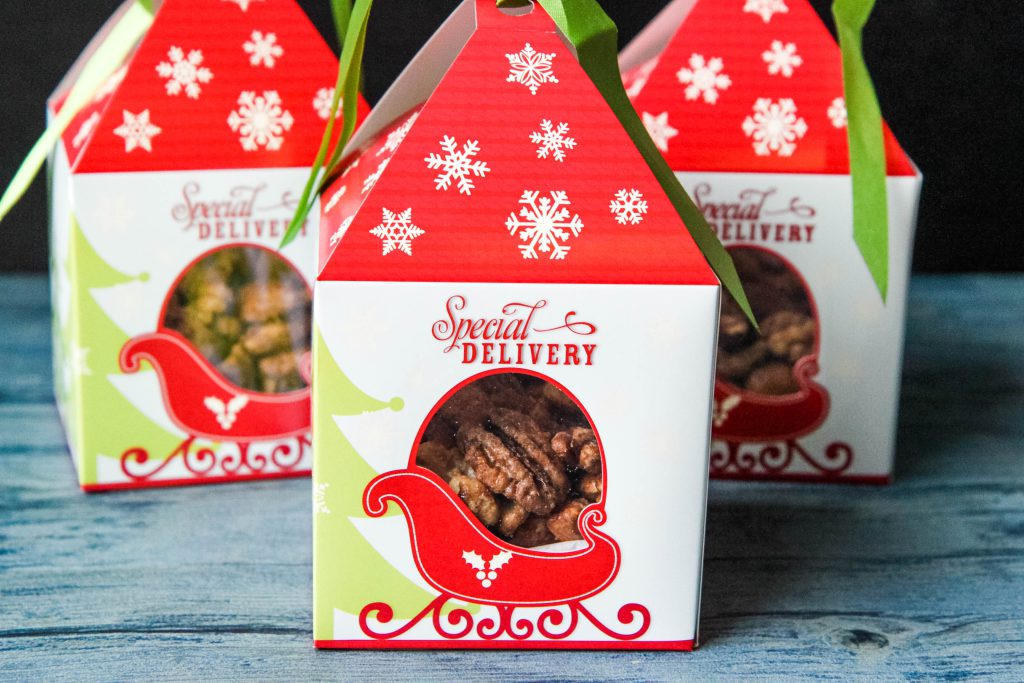
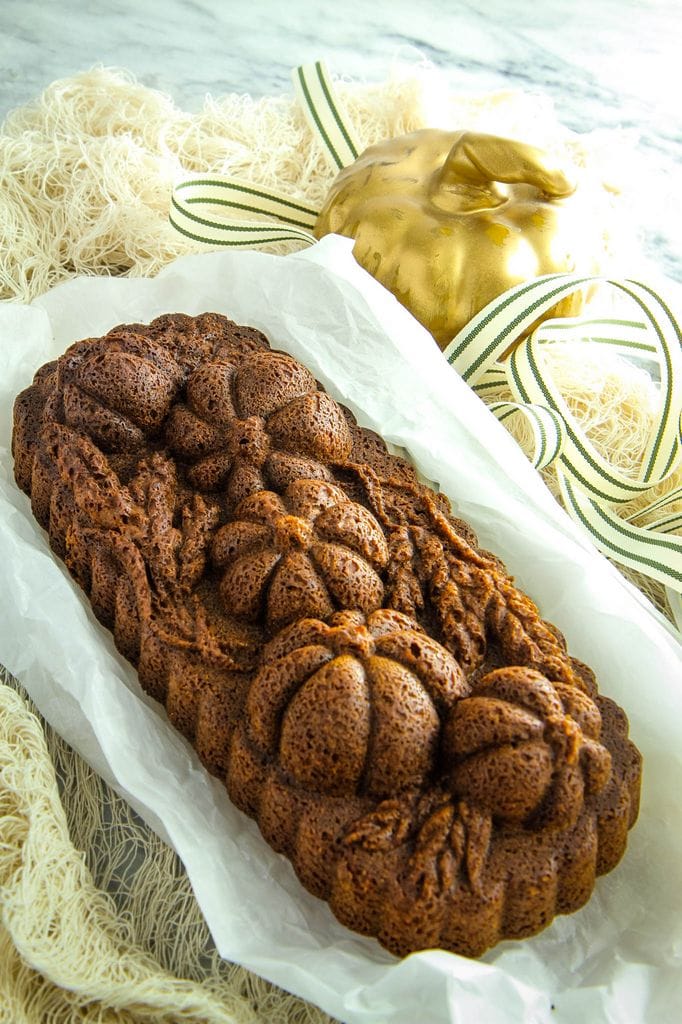
How Do I Package Nuts for Gift-Giving?
This time of year, the craft stores are loaded with food packaging for your gifts. I love to check the seasonal aisles in my local craft stores.
The important thing is that they are airtight, especially if you are giving a large amount as a gift.
While these paper boxes make a cute display, but buying nut tins in bulk will help your nuts stay fresher longer.
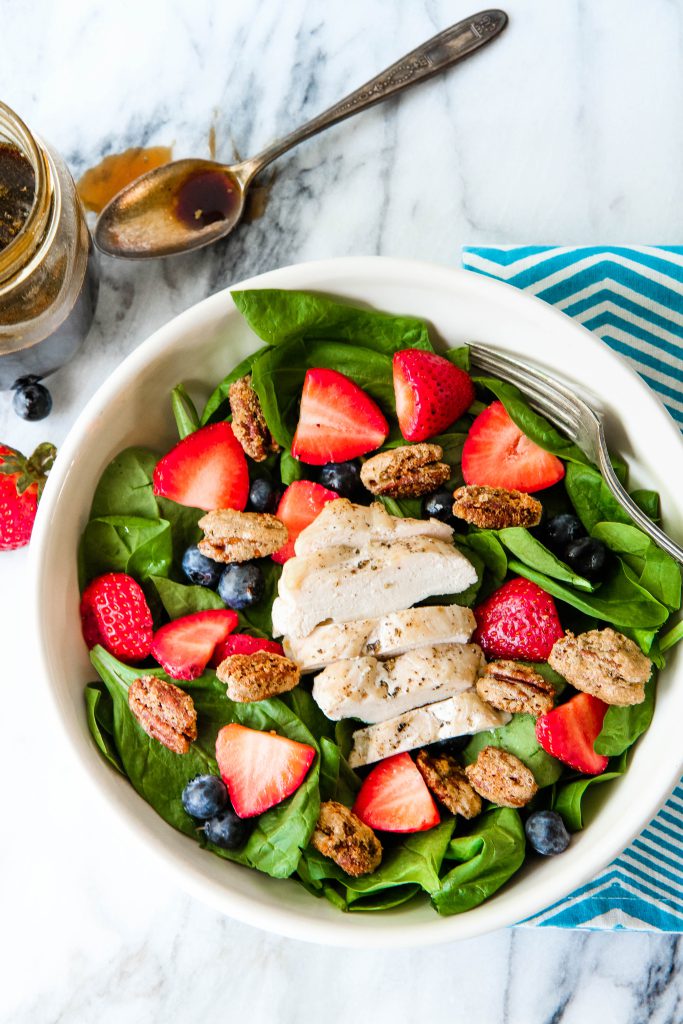
What Dishes Can I Enhance With These Candied Nuts?
Looking for more recipes to incorporate candy nuts? I’ve got you covered!
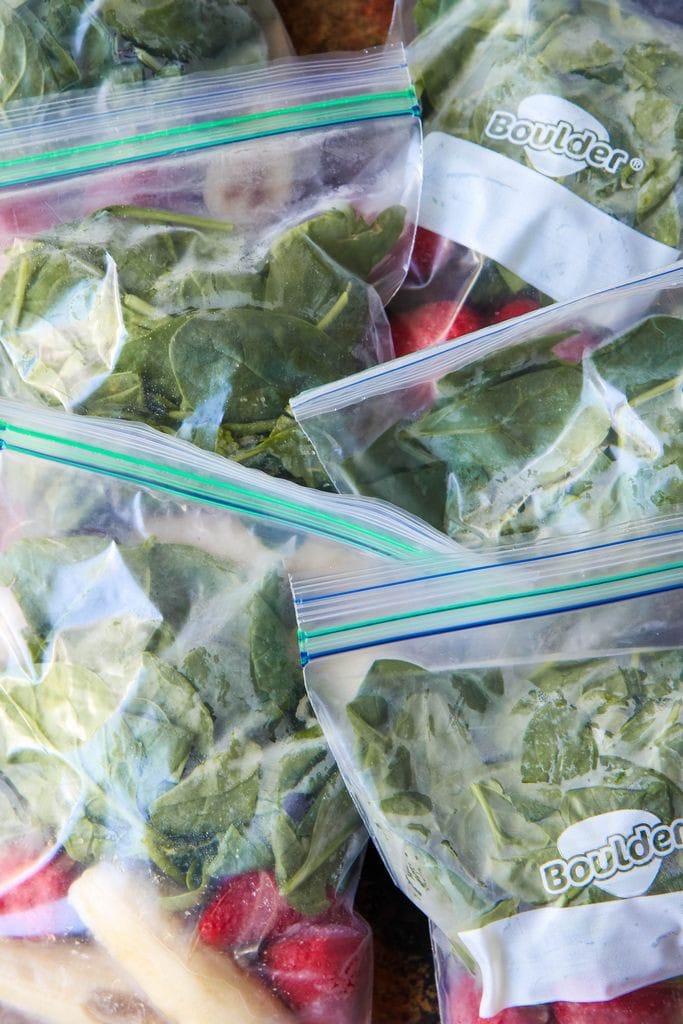
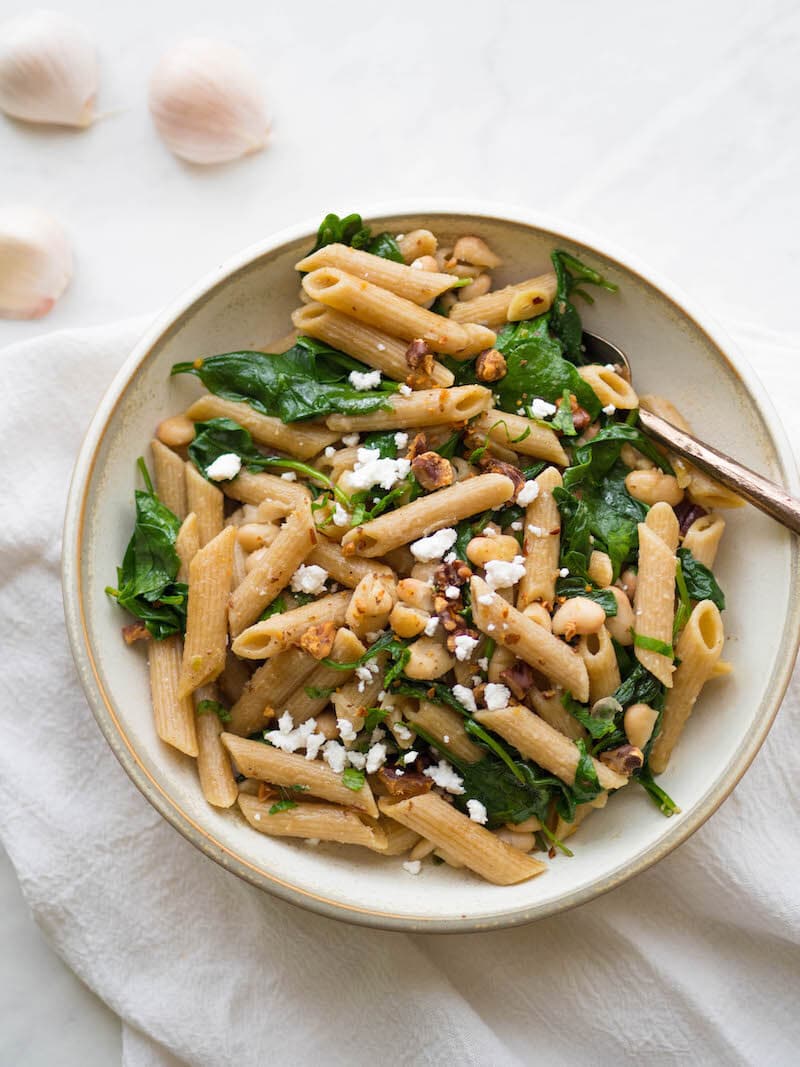
Sprinkle these candy nuts over salads like my strawberry pecan salad for added crunch and sweetness.
Honestly, any fruit and candied nut combo works well in a spinach salad.
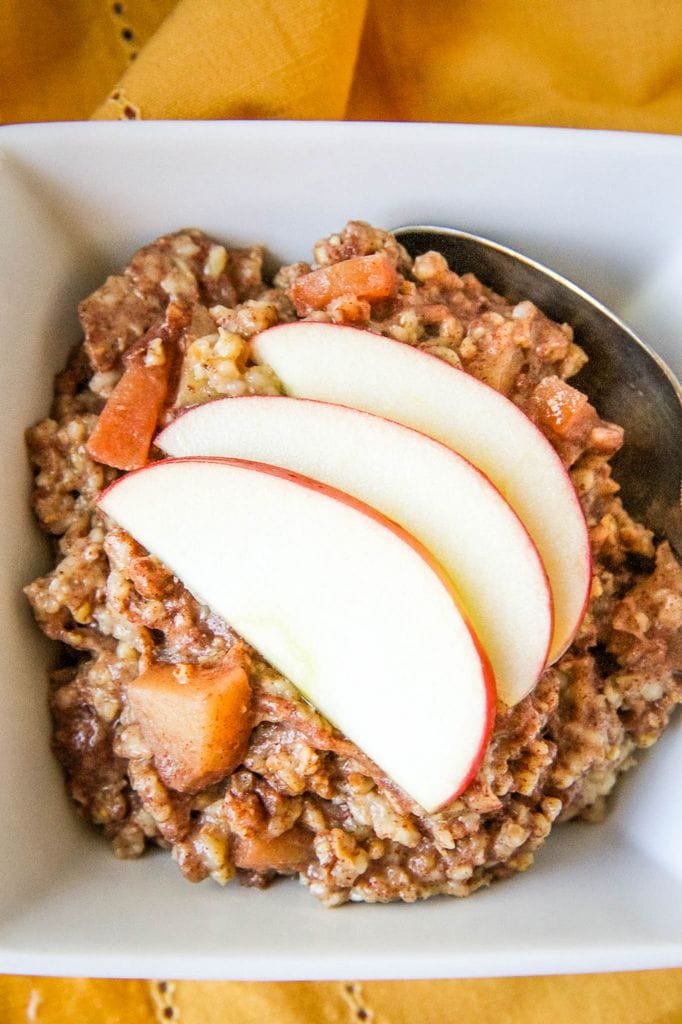
You can use them as a topping for a thick smoothie bowl or slow cooker apple oatmeal (steel cut recipe).
These can also be incorporated into dark chocolate brownies with sea salt for a fun baking twist, or simply enjoy them alone as a satisfying treat any time.
Add these over ice cream with caramel, toffee, or chocolates for topping for an indulgent treat. If you feel ambitious, this roasted plum ice cream with cinnamon would be another fantastic option.
What Other No Bake Christmas Treats Can I Make for the Holidays?
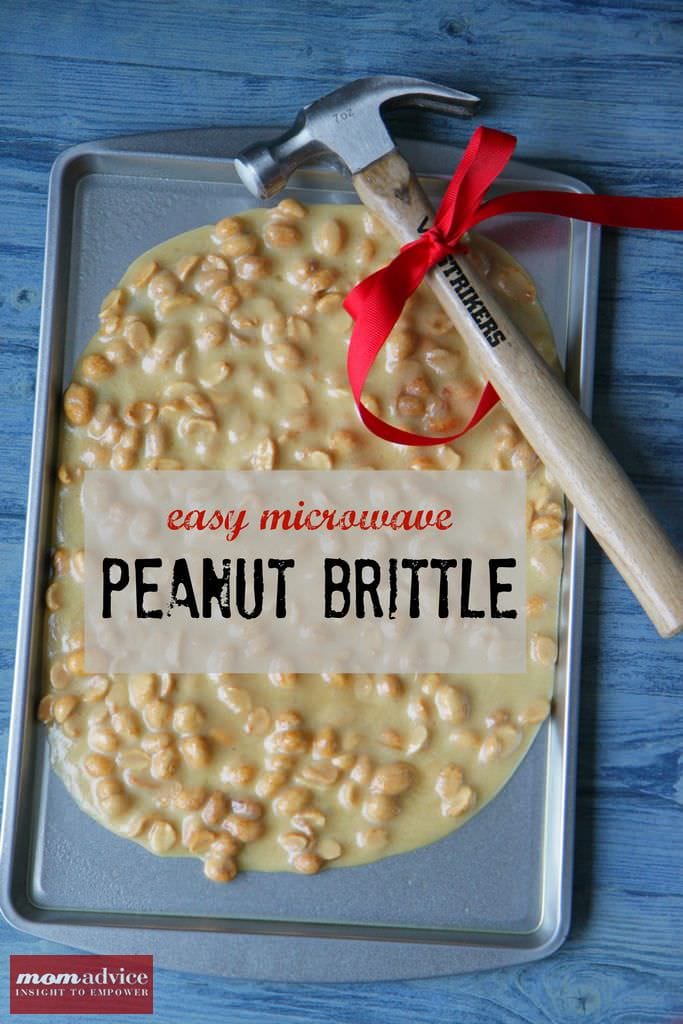
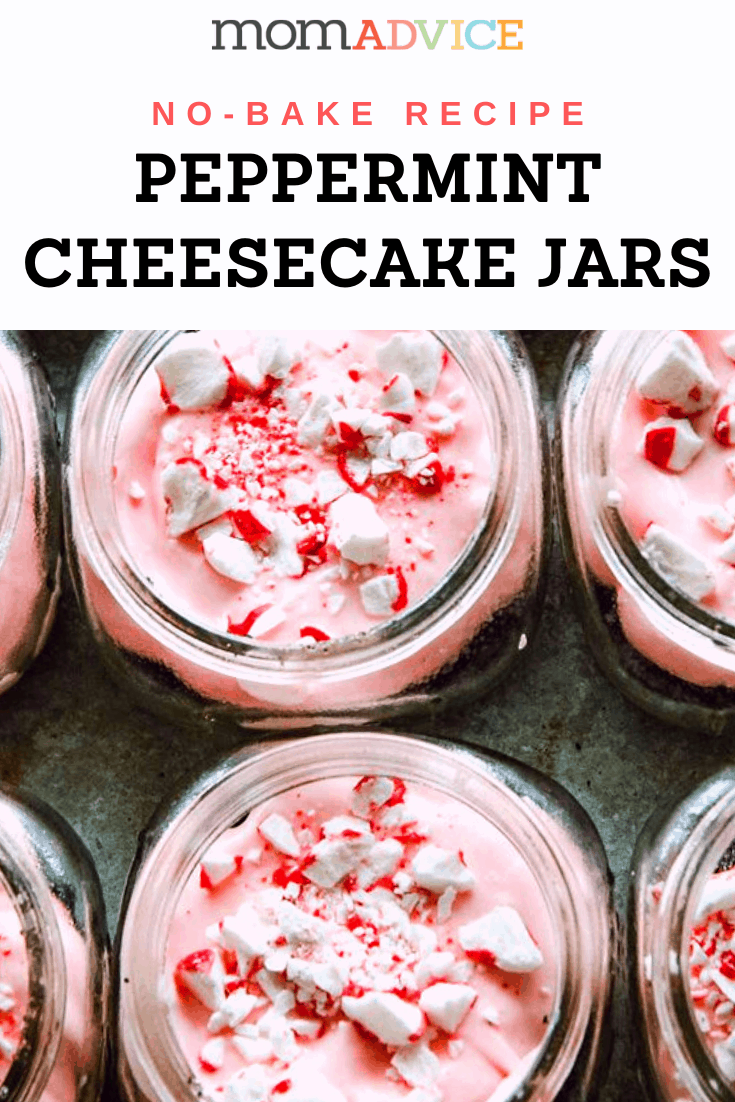
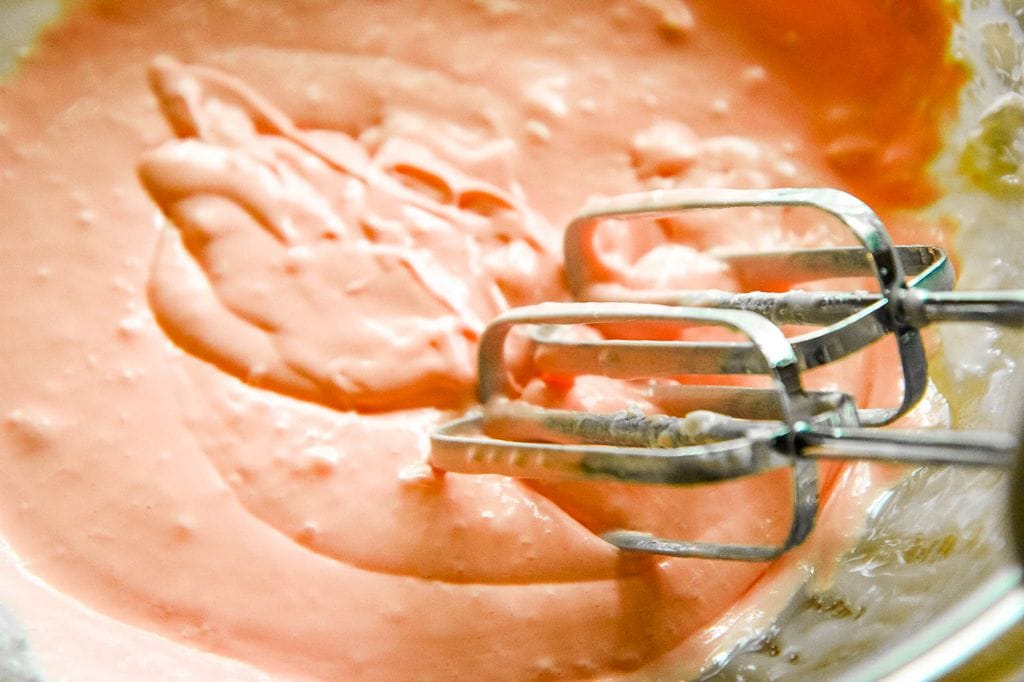
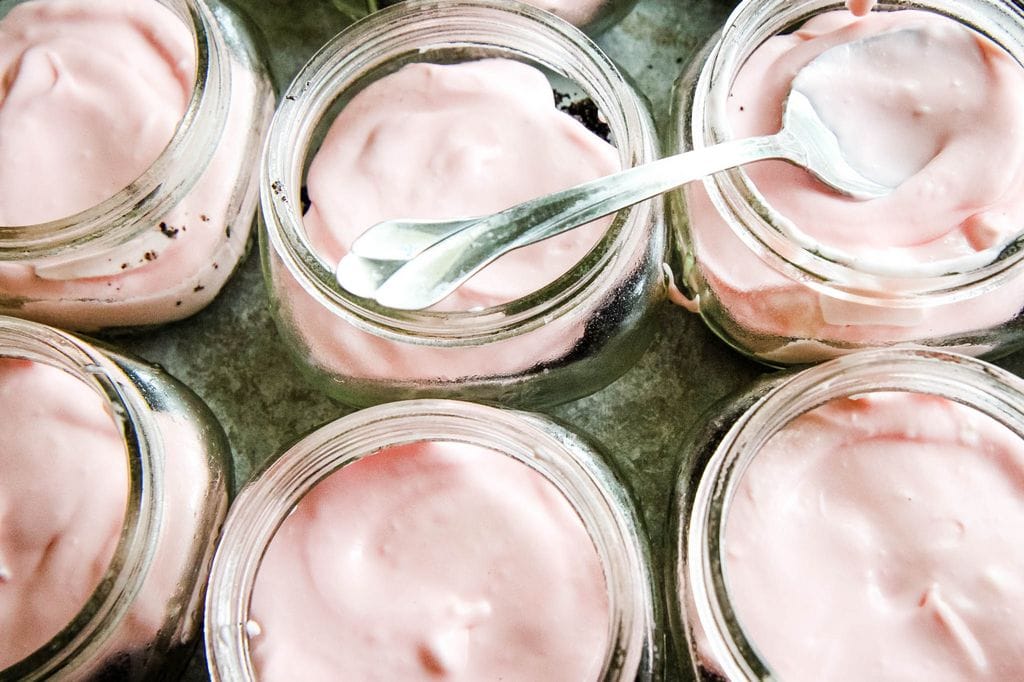
For other easy no-bake gifts, I recommend these gluten-free cake mix cookies, this easy microwave peanut brittle, or my peppermint cheesecakes in jars.
Candied Nuts
This easy nut mixture is created from spices in your pantry and is perfect for your holiday snacking or giving.
Ingredients
- 3/4 cup granulated sugar (you can use white or brown sugar)
- 3 tablespoons water
- 1 egg white, lightly beaten
- 2 teaspoons ground cinnamon
- 1/2 teaspoon ground cloves
- 1/4 teaspoon allspice
- 1/4 teaspoon nutmeg
- Coarse salt for sprinkling
- 2 cups pecans, halves
- 2 cups whole almonds
- 2 cups walnuts
Instructions
- Prep oven and baking sheet. Heat oven to 250°F. Line a large baking sheet with parchment paper.
- Add the beaten egg white, water, sugar, granulated sugar, ground cinnamon, ground cloves, allspice, and nutmeg to a large mixing bowl and whisk until evenly combined.
- Add the pecans, almonds, and walnuts to the sugar mixture and gently toss until the nuts are evenly coated.
- Spread the nuts in a single layer on the baking sheet. Bake for about 45 minutes. Every 15 minutes, remove the nuts and stir them. When the cooking time is done, the nuts should be fragrant, and the sugar coating cooked.
- Transfer the baking sheet to a wire cooling rack and sprinkle liberally with coarse salt while still hot.
- Allow the nuts to come to room temperature. The sugar coating will continue to harden and dry once the nuts cool.
- Once cooled, store the candy nuts in an airtight container for up to two weeks.
Notes
Add a pinch of cayenne pepper to make these into sweet & spicy nuts.
Recommended Products
As an Amazon Associate and member of other affiliate programs, I earn from qualifying purchases.
Nutrition Information:
Yield: 6 Serving Size: 1Amount Per Serving: Calories: 845Total Fat: 72gSaturated Fat: 6gTrans Fat: 0gUnsaturated Fat: 62gCholesterol: 0mgSodium: 337mgCarbohydrates: 45gFiber: 11gSugar: 30gProtein: 19g
TELL ME: What did you think of this candied nut recipe?
Recipe updated: February 26, 2024
Pin It


