Archive for April, 2013

DIY Book Page Flower Tutorial (With Free Printable)

Tuesday, April 30th, 2013

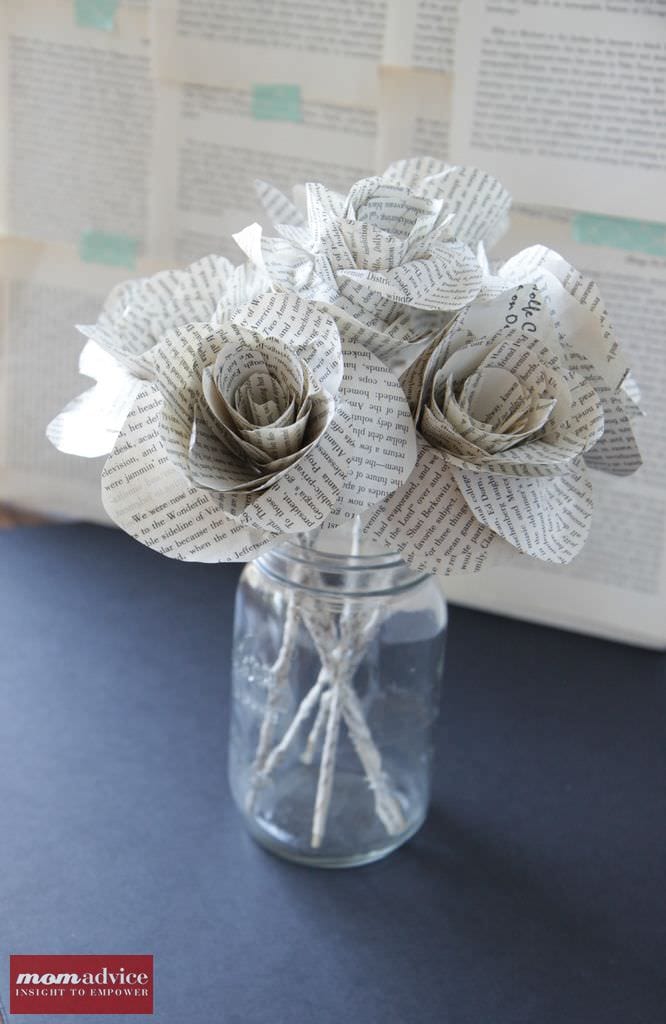
If there is one thing our family loves to do it is spoil our teachers. Today I am sharing how to make book page flowers out of old books to brighten a teacher’s day. I hope you will enjoy this book page flower tutorial and be able to use our free printable to create your book page flowers.

As you know, book page crafts are something that I have recently grown fond of and I wanted to create a bouquet of book page posies that you could share with a favorite teacher. A great way to build upon this thrifty gift is to pair it with a gift card to a favorite local bookstore for your teacher.

Supplies Needed:

1 old book/textbook (I picked one up at Goodwill for $.50- it was WELL loved with loads of notes, yellowed edges, and bent corners.)
Jar or Vase
Grilling skewers
Hot Glue Gun
Glue Sticks
Book Page Flowers Template

Directions:

1. Cut out your five flower petals from the provided flower petal template

2. Begin by pulling out five pages of your book and leave them stacked. Using one of your flower petal templates as a guide, cut out your first petals. Since you are cutting through the stack of papers, you should have five petals cut. Repeat this process with the other four petal templates until you have five of each kind.

3. Using your grill skewer as a paper shaper, roll each of the petals to create curving of the petals around it. I simply rolled these around the skewer, then released them.

4. Pull out another page from your book and tear a strip lengthwise from the book. Just as you would with floral tape wrap, pulling down gently, the skewer with the strip from your page. You may need two strips to cover the entire length. (pictured above).

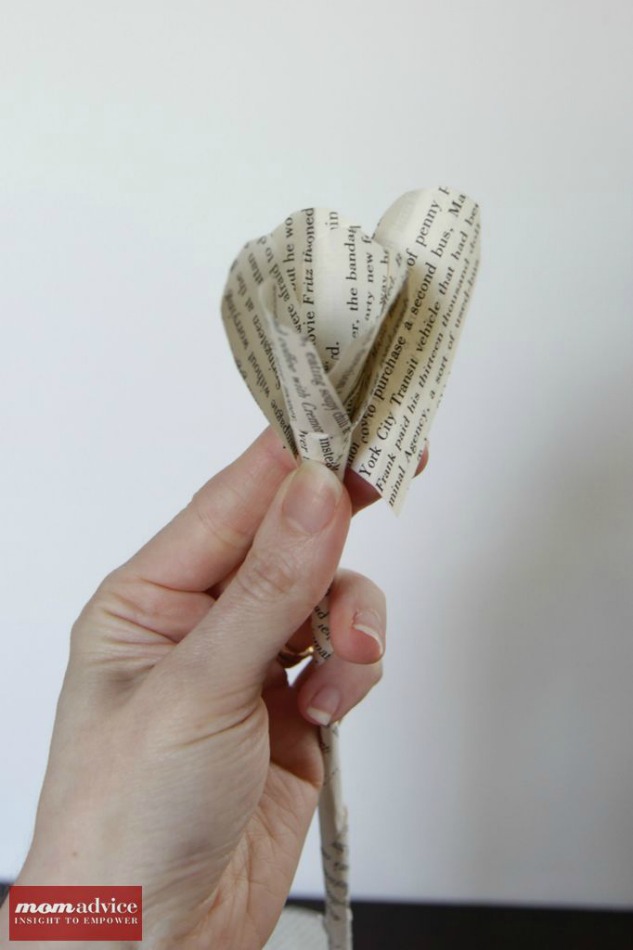
5. Tear another strip lengthwise and roll this at the top of your skewer to create the center of your flower (just ignore that bare stem!).  I just add a bit of glue at the beginning and then a bit of glue at the end to hold it together. Now you are ready to start adding your petals.

6.  Add a drop of glue almost at the edge of the bottom of your petal and begin with the smallest layer. Add these petals all around the flower center. Repeat this process with the petals the next size up. Repeat again, again, and again until all of the petals are attached to your flower. If the base feels loose at all, add a little dab of hot glue around the bottom of the flower with your hot glue gun.

DIY Book Page Flower Tutorial
7. Finish by placing them in a thrifted jar or vase and spread and fluff the petals of your flowers. Give these to your favorite teacher with a gift card to their favorite bookstore.

Be sure to check back this week for more fun teacher gift ideas!

Pin It

Apron Full of Giveaways .04.30.13

Tuesday, April 30th, 2013

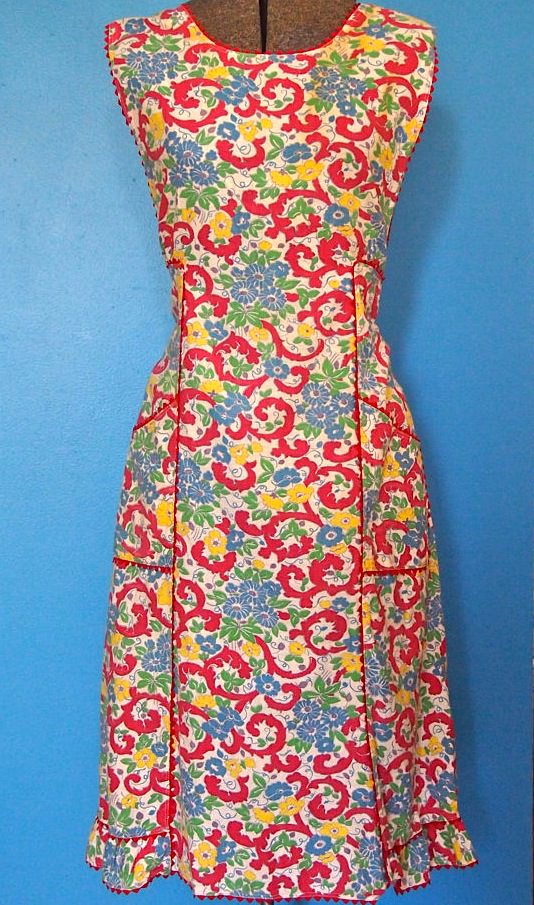
vintage floral apron

Source: Cotillion Vintage,  $22.00


Welcome to our Apron Full of Giveaways! I hope everyone is having a great week this week! As we do each week, here is our round-up of giveaways for our readers. We hope that this is beneficial to you and your family! Please let us know if you guys win anything- I love to hear the success stories!

Below are the contest links-if you are hosting a contest please link it up below. Sorry, we are not giving away the aprons just showcasing them! Please put your site name and then what type of contest you are hosting. For example, “MomAdvice (Kid’s Movies).”

Good luck to each of you!

Pin It

Skip to My Lou Teacher Appreciation Series + Giveaway

Saturday, April 27th, 2013

Today I am over at Skip to my Lou guest posting today for a Teacher Appreciation Series.

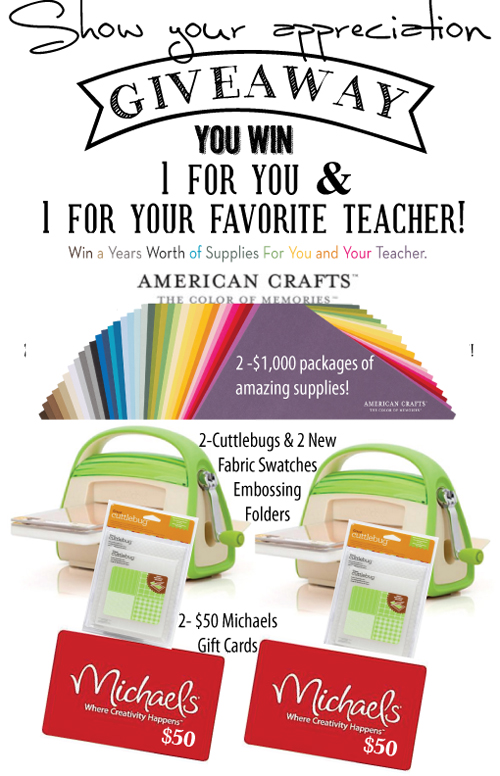
As part of the series I get to share this fabulous: Show your Appreciation Giveaway {1 for you and 1 for your favorite teacher}!

This is one AMAZING giveaway!
We are giving away a fabulous Prize Package worth more than $1,000!
One lucky winner and their favorite teacher will receive…

Watch your creativity take shape! Using unique rolling technology, the Cricut Cuttlebug(tm) machine can cut shapes, emboss shapes, or cut and then emboss shapes to add texture and dimension to your latest creative endeavors. Great for School projects!
Did you know the cuddlebug accepts the dies you already own? Plus the Cricut Cuttlebug(tm) loves the materials you love, freeing you to cut and emboss from a wide range of crafting materials.

  • 2 Michaels gift cards $50 each Don’t forget to tell your teacher they can get 15% off every day at Michaels with their special teacher discount!
  • 2 Bundles of a years worth scrapbook supplies from American Crafts (valued at more than $1,000)! Basics like paper, scissors, trimmers, glitter, etc. – and then some fun patterned paper to take you both through the entire year!

It is easy to enter simply wait for rafflecopter to load and enter there.

a Rafflecopter giveaway

If you really want to win Remember to follow the entire series because you can get a new entry each day by visiting the featured blogger!

Amy’s Notebook 04.24.13

Wednesday, April 24th, 2013

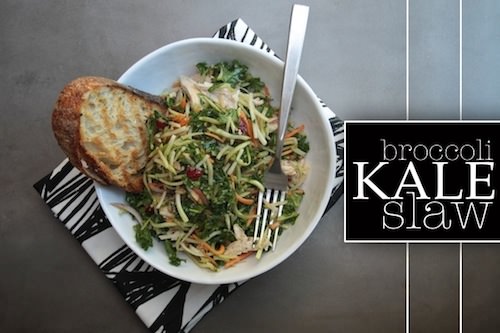
broccoli kale slaw Source: Shutter Bean

Remember when I said last week that I want to find ways to add kale to our meals? This broccoli kale slaw is making the list for sure.

I’m hoping my family will flip for these quesadillas filled with breakfast foods, because they look so good!

This chicken skillet dinner looks amazing and would be an easy weeknight meal.

Goodness, I think I’m going to have to make these incredible cream cheese brownies with toffee and pecans soon!

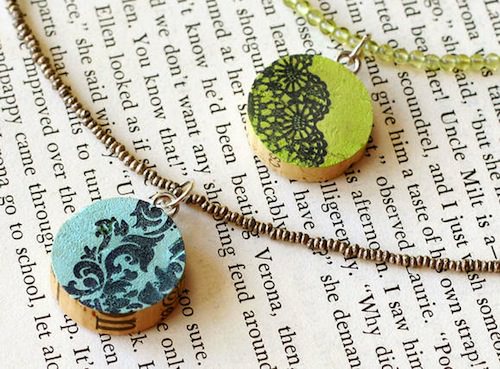
Wine-Cork-Pendant-Necklaces Source: Fiskars.com

This has got to be one of the cleverest ways to use old wine corks that I’ve seen in a long time – I’m already thinking of the people in my life who would enjoy getting a wine cork pendant necklace as a gift.

We always seem to wear out our fitted sheets before the top ones, so I’m excited to find this tutorial on how to make a flat sheet into a fitted one!

I’m loving this neon dip tote bag – a great way to add a bright and fun accent for the warmer months.

I can never get enough organizing tips so I’m finding this post on how to organize your house really motivating – and really pretty, too!

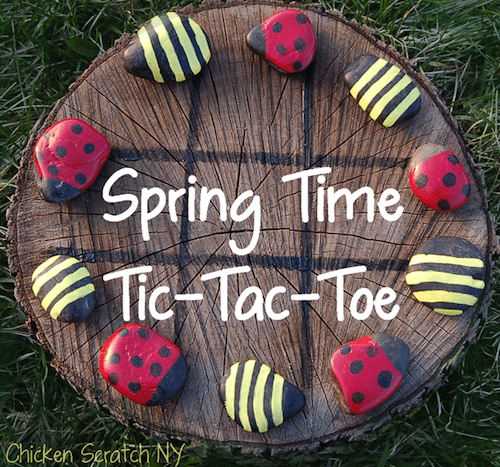
outdoor tic-tac-toe Source: Chicken Scratch NY

This diy tic-tac-toe game made with painted rocks and wood is seriously cute – it’s making me anxious for the days of hanging out in the backyard with the kiddos!

Here’s a fun and unique idea – make cute flower planters using large cardboard paper mache initials.

I really like the way this front door and porch makeover refreshed this porch – especially the color choice for the door.

This recycled key wind chime looks like a quick – and quirky – craft to do with the kids. Now just to start collecting old keys…

Spring always makes me think about spiffing up the outside of our home, so I found these ideas to add curb appeal to your home really inspiring!

amys_notebook I hope you enjoyed this collection of gathered links to DIY crafts, food projects, and thrifty ways to spruce up your home. Nothing brings me more joy then to highlight other fabulous bloggers. Follow me on Pinterest for daily inspiration!


DIY Fabric Softener Sheets

Tuesday, April 23rd, 2013

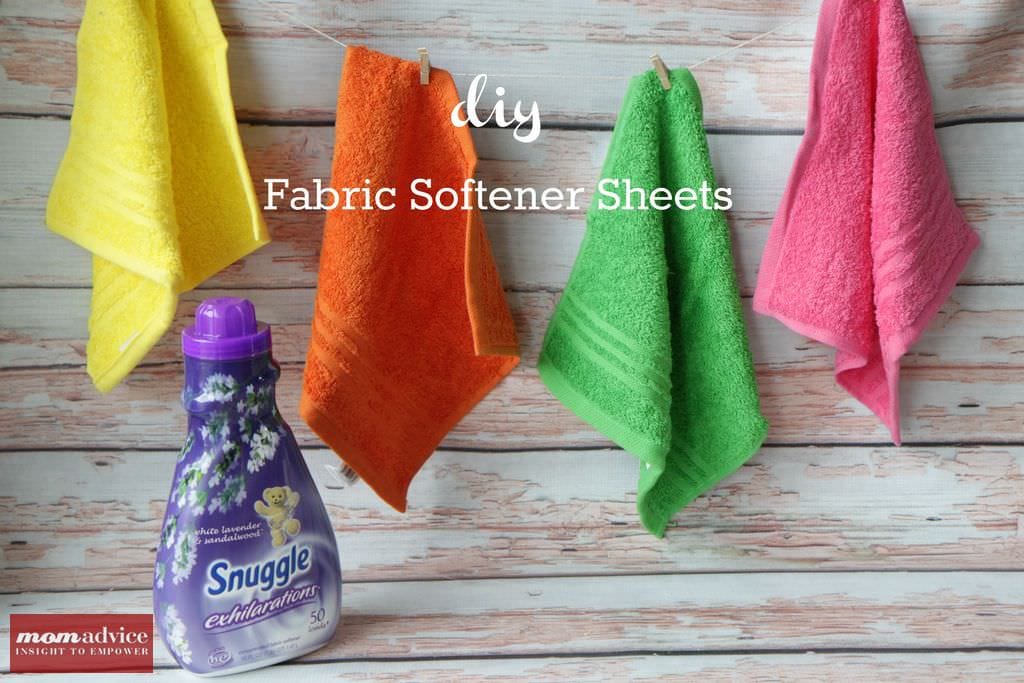
For years I have been making my own DIY fabric softener sheets and today I wanted to share an easy process for making your own homemade fabric softener sheets for your laundry. These DIY fabric softener sheets will stretch your bottle of fabric softener much further, there is nothing to throw away, and when they finally begin to lose their effectiveness,  you simply repeat the process and can continue using them again. Pairing these with a jar of my homemade laundry detergent really can keep your laundry budget down!

How Can I Make My Own Fabric Softener Sheets?

When making your own fabric softener sheets, visit the housewares aisle of your favorite store and look for the brightest colors of washcloths to use. By picking bright fabrics, it will be easier to spot the softener sheet to pull out and reuse after you are done with your load of laundry.

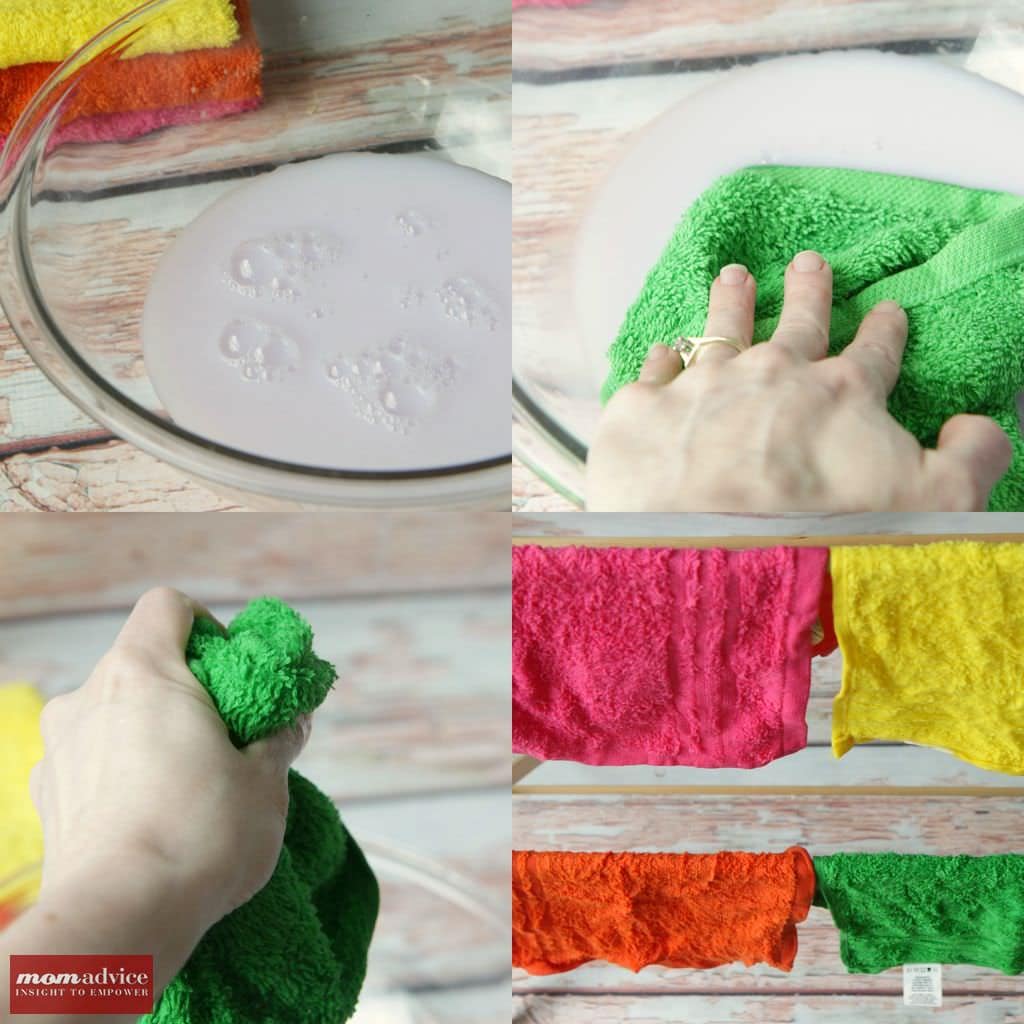
Choose your favorite fabric softener and pour it into a bowl. Soak your washcloth in the softener and then wring it out well. Hang the washcloth to dry overnight.

That’s it. Done.

How Many Times Can You Reuse Your DIY Fabric Softener Sheets?

You can reuse your dryer sheets on up to twenty loads of laundry before you need to repeat the process. If you make a set of these and alternate them with your loads, they should last a long time. The best part about this sheets is that they perform better than putting fabric softener in your washer compartment and you don’t have to worry about any staining on your fabrics.

Are There Any Green Alternatives to Fabric Softeners?

Seventh Generation (affiliate) offers a green alternative to fabric softeners and could be used to create your own DIY fabric softener sheets. The best part about that one is that it still offers a scent, but this version is better for the environment over the other commercial brands.

I also was sent a bottle of the Method fabric softener (affiliate) and used that with fairly good results on my loads of laundry, although I did find that my loads still had a little bit of static in them, particularly if they needed to be refreshed.  The unique thing about the Method cleaner was that you sprayed it directly onto your fabrics and the tumbling of the dryer dispersed the softener throughout the load. It never stained my fabrics and also offered a fresh scent to them.

If you are looking for a frugal and green method for fabric softener, you can use vinegar to replace your fabric softener. Add 1/2 cup of vinegar in your fabric softener compartment of your washer or during the Rinse cycle of your load.

Using vinegar will help to soften the fabric, but it doesn’t always perform effectively in reducing the static in fabrics. You can either crumple aluminum foil into a ball and use that as a dryer ball, buy a store-bought dryer ball alternative like this one (affiliate), or even make dryer balls from yarn.

What Should I Not Use Fabric Softener On?

This might come as a surprise since those fabric softener commercials always seem to be about fluffy towels, but you really shouldn’t use fabric softener on your towels. Fabric softener can reduce the absorbency of your fabrics so avoid using it on your towels.

If you are a big fan of cleaning with microfiber cloths, like I am, you should also avoid using fabric softener on those. I just wash them with my towels so I know they won’t get mixed up into my other loads.

DIY Fabric Softener Sheets
Recipe Type: Cleaning
Author: Amy Allen Clark
Prep time: 2 mins
Total time: 2 mins
Serves: 20
An easy DIY fabric softener sheet that will save you money on your laundry loads!
Ingredients
  • Brightly colored washcloths
  • Fabric Softener (your favorite variety)
Instructions
  1. Pour fabric softener into a bowl.
  2. Submerge your washcloth in the fabric softener and soak it for a few seconds.
  3. Wring the washcloth out and and hang it to dry.
  4. Allow the washcloth to dry overnight.
  5. To begin using, just throw it in your dyer with freshly washed cloths.
  6. You can reuse the same DIY fabric softener sheet on up to 20 loads before you need to repeat the process again.


Pin It

Apron Full Of Giveaways 04.23.13

Tuesday, April 23rd, 2013

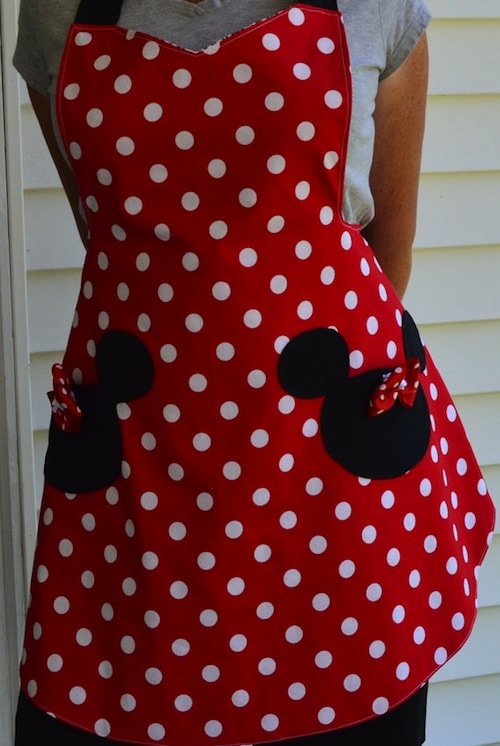
Minnie Mouse Apron Source: Cute As Pie,  $27.00


Welcome to our Apron Full of Giveaways! I hope everyone is having a great week this week! As we do each week, here is our round-up of giveaways for our readers. We hope that this is beneficial to you and your family! Please let us know if you guys win anything- I love to hear the success stories!

Below are the contest links-if you are hosting a contest please link it up below. Sorry, we are not giving away the aprons just showcasing them! Please put your site name and then what type of contest you are hosting. For example, “MomAdvice (Kid’s Movies).”

Good luck to each of you!

Pin It

Chicken Caesar Pasta Salad

Monday, April 22nd, 2013

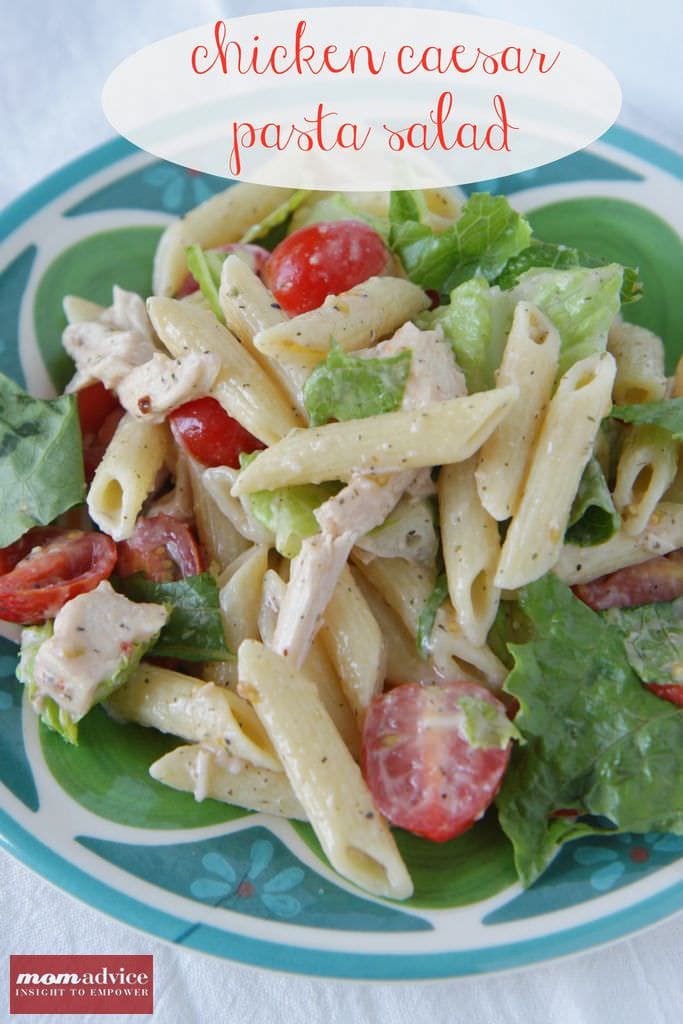
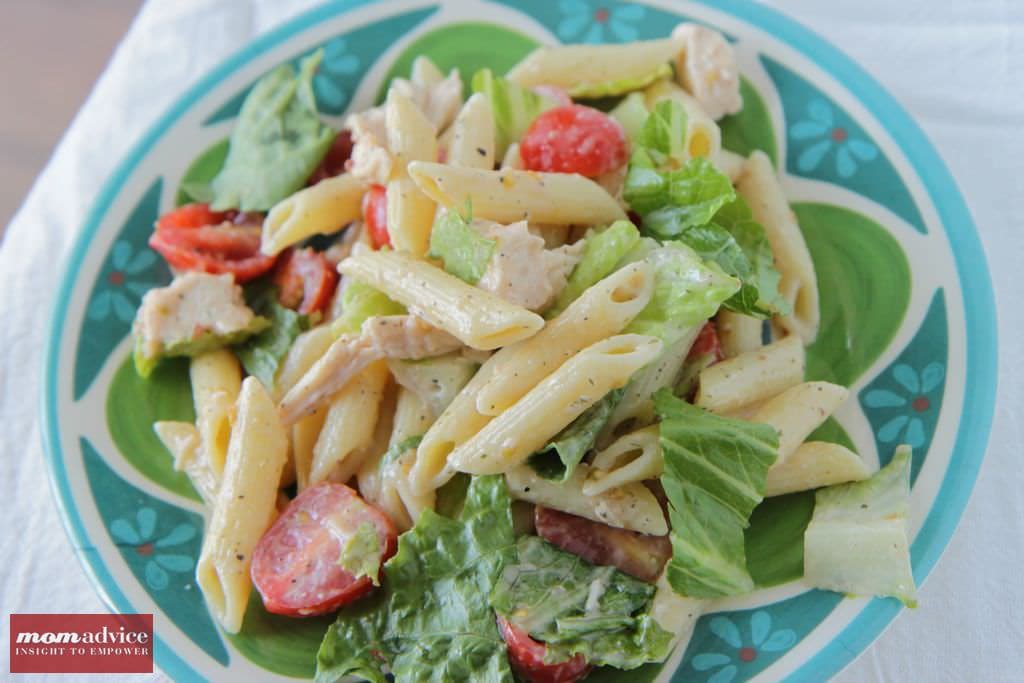
Pasta salad is one of my favorite dishes to make when the weather turns warmer,  thanks to it’s simplicity and ease in preparation. My favorite pasta salad is my Chicken Caesar Pasta Salad because it incorporates all of my favorite salad flavors into one dish. This Chicken Caesar Pasta Salad is a crowd-pleaser, a fun picnic dish to share, and an easy weeknight meal.

I have been making this salad for years and recently made some new additions to it to incorporate more flavors. I roasted my chicken, but coated it in Mrs. Dash Tomato Basil Garlic seasoning (along with the olive oil, salt, and pepper that I traditionally do) that I found at our grocery store to add spice to it, added more of this fun seasoning to the dressing mixture itself, and thinned the dressing with red wine vinegar so it coated the noodles better.

The fresh additions of romaine and tomatoes add brightness and freshness to this dish. You can, of course layer on the Caesar salad flavorings by adding parmesan cheese and croutons, but it is delicious with or without these additions.

I have yet to meet a person that didn’t love this pasta salad as much as I did. If you intend to eat this one all week long, I recommend storing the romaine separately and adding it when dishing it up so you don’t have soggy lettuce in your dish.

I hope you can give this dish a try!

Chicken Caesar Pasta Salad
Recipe Type: Main
Author: Amy Allen Clark
Prep time: 15 mins
Cook time: 12 mins
Total time: 27 mins
Serves: 6
To make this dish quicker, use a rotisserie chicken instead of roasting your own!
Ingredients
  • 1 pound dry penne pasta
  • 4 boneless chicken breasts, roasted & seasoned with Mrs. Dash Tomato Basil Garlic seasoning (see link above for preparation technique)
  • 1/2 teaspoon ground black pepper
  • 1/4 teaspoon salt
  • 1-2 teaspoons Mrs. Dash Tomato Basil Garlic seasoning
  • 1 (8 ounce) bottle Caesar salad dressing
  • 1/4 cup red wine vinegar
  • 1 head romaine lettuce – rinsed, dried and
  • shredded
  • 1 pint cherry tomatoes, halved
  • 1/2 cup grated Parmesan cheese (optional)
Instructions
  1. Prepare chicken as directed above. Allow the meat to rest ten minutes and then dice or shred for your pasta salad.
  2. Prepare your lettuce and tomatoes and toss them into a large bowl with the cooled chicken.
  3. Bring a large pot of lightly salted water to a boil. Add penne pasta and cook for 8 to 10 minutes or until al dente; drain.
  4. In a bowl, mix together salad dressing, vinegar, and seasonings. Toss together pasta, chicken, lettuce, tomatoes, and dressing mixture.
  5. Garnish with croutons and Parmesan cheese, if desired.


Pin It

Welcome, Type-A Philly Attendees!

Friday, April 19th, 2013

image credit: Nancy Lary Studios

I would like to extend a warm welcome to all of the wonderful Type-A Philly Attendees this weekend to my site! I am so honored and excited to be sharing with you my tips for driving and making the most of Pinterest traffic on your blogs, along with my fabulous friend Jo-Lynne Shane at Musings of a Housewife.

You may not know this about me, but I am a Pinterest addict! I absolutely love pinning great bloggers and showcasing everything from home organization to recipes to activities to keep your kids busy. To get to share my passion for Pinterest and how to grow your business is a true honor for me.

You are only meeting half of the MomAdvice team in our house. I tend to get all the glory, while my husband graciously does all of the hard coding, programming, and back-breaking work of our site. Without his mad skills and his willingness to give me the chance to travel and share, we just wouldn’t have the site that we have today. We have been a team for a long time. Thirteen years of wedded bliss and high school sweethearts before we could even drive. That is a lot of team work, friends!

My name is Amy and I am the Founder of MomAdvice.com and author of, “The Good Life for Less.” I am a busy mom of two and live in the beautiful Midwest with my web designing husband and our two children. I love to cook, knit, drink coffee, take pictures, and am a total bookworm. I am dedicated to anything that will help make my life simpler, keep me on my budget, and that promotes family time! If you want to take a look at a snapshot of my day, I offer the real story this week on the life of a niche blogger.

We started this site over nine years ago as a platform to share about all of those topics that I had been searching for when I became homemaker. How do I cook? How do I clean this house? How do I keep my children entertained without breaking the bank? How do I manage a daily routine? Most of all though…how do I do all of this on a limited income?

I love staying connected with my readers so you can find me on Facebook,Twitter, GoodReads, and Ravelry…just to name a few! Chances are, if you search for someone named momadvice, you will likely find me there!

Are you on Facebook? Please be sure to Fan our MomAdvice.com Page. We would love to continue to share and interact with you! If you are on Twitter, you can find me there too sharing about our daily life and what is happening on our site. There are so many ways to connect regularly with the site and I would love to interact with you daily!

Here are some links to articles and plugins that will be highlighted in this discussion:

How to Be a Pinterest Superstar

Pin It On Pinterest Plugin (great for tracking what is being pinned and setting up how you want your pins to display)

How to Add a “Pin It,” Mouseover Button (I used this tutorial from Kevin & Amanda to add our mouseover button and I love it!)

Food Photography 101

10 Photo Taking Tips to Make Your Photos Pin Worthy

Protect Your Work. How to Watermark Your Photos

Pinterest Newbie? Pinterest for Bloggers

How and Why to Verify Your Website on Pinterest


Here are some other great reads that I encourage you to look at for creating a community, generating revenue, and a balanced blogger life:

What Do You Do All Day? The Real Behind My Niche Blog!

I Did It My Way: Long-Term Blogging Success Tips

7 Tips for Leading a Balanced Blogger Life

The Player Scores and Silence

Five Commandments for Blogging

Gaining a Readership the Frugal Way

Simplifying Your To-Do List

How Do I Become a Product Review Blogger

How Do I Track My Traffic

How Do I Work From Home

What in the World is Twitter?

10 Useful Tools for Twitter Users

Selling Yourself

Achieving Balance When Working From Home

If you are attending the conference this week, PLEASE say hello to me! I am looking forward to learning, networking, and loving you! I am an open book of information because it has been hard to find people who were an open book to me. I will tell you anything you want to know about blogging and if I don’t know it, I can help you network with the people who can offer you the information you need. I have had GREAT mentors in my life who have shaped who I am and family & friends that keep me grounded and living an authentic life on MomAdvice.

If you would like, I would love to have you subscribe to my blog! I look forward to connecting with you!


Pin It

Amy’s Notebook 04.17.13

Wednesday, April 17th, 2013

Little-Mans-Workbench

Source: HoneyBear Lane


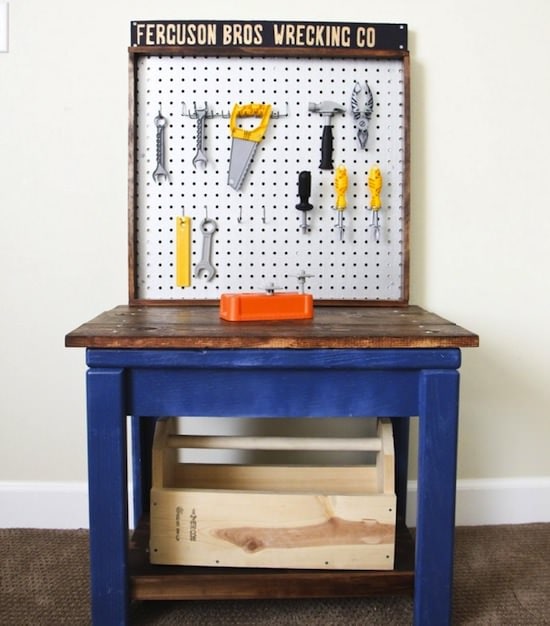
I think this kid’s tool bench made from an old table is beyond creative – and it’s vintage vibe makes it all the sweeter!

Any birthday boy or girl will be proud to wear one of these birthday badges that are easily made with the accompanying printable.

This simple yarn bow garland would be a wonderful addition to my daughter’s bedroom – maybe above the bed or across a bookshelf?

This list of 25 Inexpensive Date Ideas has given me some new ideas to make our date nights a bit more creative.

felt coasters

Source: Sugar Bee Crafts


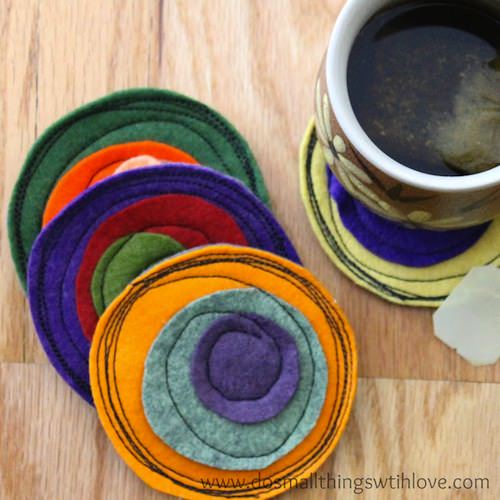
I adore the modern, slightly crazy look of these charming felt coasters – and the fact that they are an easy way to use up felt pieces leftover from other projects.

A row of spring flowers will look so awesome in this diy wall hung test tube vase.

One day I’d love to use all our old t-shirts to create a cool braided rug like this.

These bright stenciled tea towels would add a pop of color to the kitchen – just what we need for spring.

Three-Layer-Party-Bars

Source: No Biggie


With a cookie bottom, chocolate filling, and a meringue topping, these three layer bars make my mouth water just looking at them!

I’ve been wanting to add more kale to our diet since it’s so good for us and this kale and lemon pasta would be a great way to get more into our diet.

I can’t wait to try this rosemary cheddar batter bread – it’s not only yummy looking but easy, too.

These lemon-ginger crispy treats sound like such an interesting, grown-up crispy treat, don’t they?

amys_notebook

I hope you enjoyed this collection of gathered links to DIY crafts, food projects, and thrifty ways to spruce up your home. Nothing brings me more joy then to highlight other fabulous bloggers. Follow me on Pinterest for daily inspiration!

What Do You Do All Day? The Real Story Behind My Niche Blog!

Tuesday, April 16th, 2013

One of the biggest questions that I get asked is, “What exactly is your job?” It is one of those things that people are often curious about, and admittedly are confused about,  since my job is so difficult to explain. Today I wanted to offer a behind-the-scenes look at what it is like to run a niche blog.

I have been blogging for 9 1/2 years now which makes me a dinosaur in this business! The blog that you see today is very different than the blog I started out with. The site has grown a lot over the years and many  of you have been through all of its growing pains. For those of you that have been following our journey, I wanted to share with you what my business has evolved into.

What is a Typical Day Like For You?

I am a busy mom of two kiddos so my day-to-life is probably a lot like yours. I handle the day-to-day routines and schedules of my kids. I take my kids to their extra curricular activities, I volunteer weekly at my kid’s school helping with kids that are struggling with reading, we go to worship once a week, and I do my best to workout at the gym three days a week.

Every pocket of time that I have beyond that though is spent working on projects for one of the many freelance clients I write for. I am either shopping for my clients, creating tutorials for craft/diy/food, photographing projects, or writing for them. Since many of my clients are running on magazine calendar deadlines, you will often find me shopping for Easter supplies in the dead of winter or working on Christmas crafts in the Fall.

Even my free time is often accounted for because I share it with you. I try to read four books a month for our reviews and you will rarely find me sitting still when I am watching television because I am usually working on a craft project at the same time for the blog.

Much like you, I am sure, I am pretty beat at the end of the day! By the time the kids go to bed, I am ready for bed myself. I usually head to bed pretty early so I can start the whole routine again!

Who Works With You?

I think one of the things that people have found most surprising about our site is that I was the only writer & contributor on my site for over nine years alone. My husband did all of the coding and design of our site and I managed all the content.

When our site experienced a lot of growth from Pinterest, I realized that there was no way that I could manage all of this on my own. My email inbox had over 50,000 unopened emails, my taxes and paperwork for my business were a mess, and I had been treating my work like a hobby rather than a business.

This last month I hired a virtual assistant to help  me with some of the things my readers had come to expect here, but didn’t really showcase my personality- the weekly freebie list, our weekly notebook, and our giveaway link list. She got my inbox down to zero within two months and I finally felt like I could breathe a little bit. She is, in one word, amazing, and has brought back a quality of life that I felt like I had been lacking.

We also hired an accountant to handle our taxes this year, something that had burdened us greatly over the years, and I also started using FreshBooks (affiliate) to help me keep track of my accounting better (a recommendation made by my amazing friend over at Dine & Dish). Invoicing, following up on payments with clients, and paperwork for them takes up a good portion of my day so any people/products I can use to make my day go smoother really helps me.

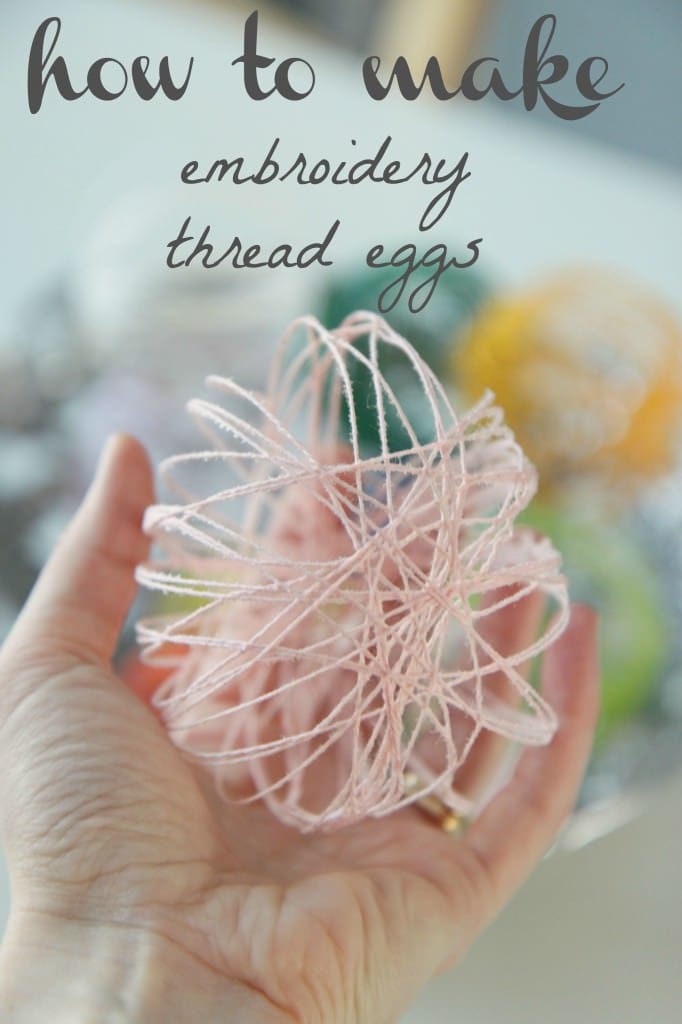
embroidery thread egg for Kenmore


Why Do You Work For So Many Brands?

I write a lot of content for brands because, frankly, it helps pay the bills. I write professionally for five to six clients monthly and those projects help our family financially, but much of the earnings go towards keeping my site up and running.

When our site was smaller, we had an inexpensive web host and I was able to do everything on my own. Our site grew by 100,000 users this year alone, which is incredible and awesome, but our web host couldn’t handle the traffic! It was time to invest in the business and move to Liquid Web (affiliate), who can handle anything we throw at them. We currently spend about a thousand dollars a month to pay for web hosting, photography props/equipment, our accountant, and my assistant. Many of my projects that I write for just go towards keeping the business afloat and paying my self-employment taxes.

No, I Was Asking How Much You Make?

Yup, I get asked that all the time although I have NEVER asked anyone what their salary is. It is such a weird job that people are always dying to know how much you make. I make a full-time income thanks to the companies I work for as a content writer/creator, ambassador, and spokesperson for. If I was living on our ad revenue alone, we could pay for our web host and maybe a bill or two. In all honesty though,  my income fluctuates a lot because it depends on what jobs come through for me for the year. This past year all my time was devoted towards my book which was a rewarding experience, but also prevented me from taking on a lot of paying jobs.

How Do You Do It All?

I don’t think I do more than many of the other working parents that I know, but people constantly ask me this. I think the main reason is because when people do these types of projects around their house they aren’t pointing a bunch of Twitter, Facebook, and Instagram traffic over to it like,

“LOOK AT ME! I MAKE THINGS! LOOK HOW AWESOME I AM!”

Here is an example of a typical month of projects  for my clients.
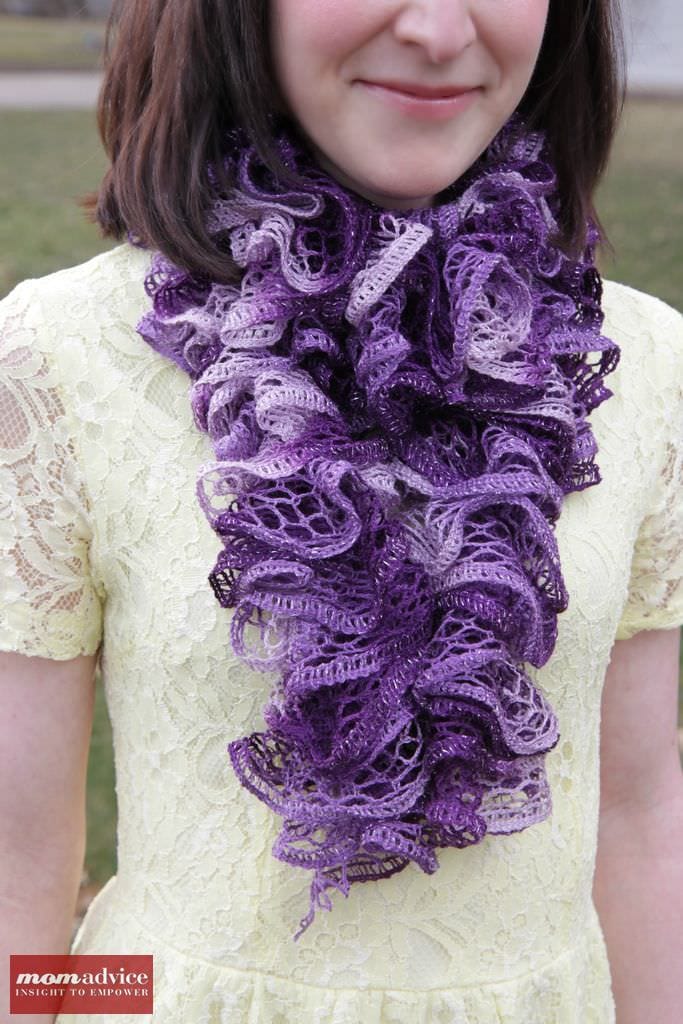
I knitted a scarf for a new yarn line that Walmart was carrying.
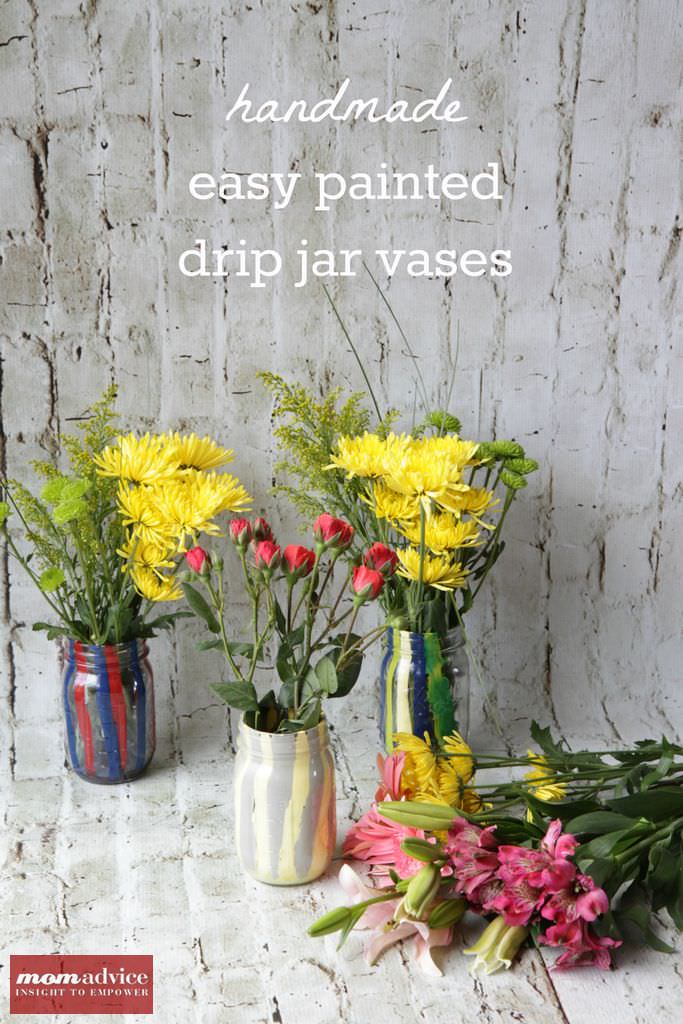
I painted vases with my kids for Kenmore.

I took my kids over to the Dinosaurs Alive! exhibit at Brookfield Zoo to write a review for a local magazine I write for.
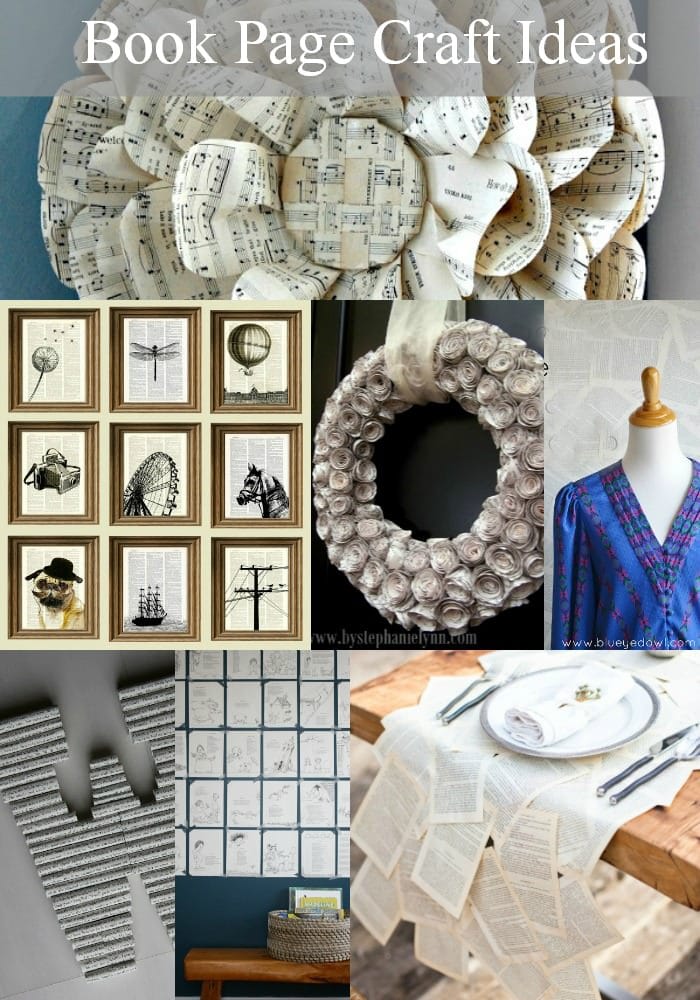
I gathered up ideas for things to do with old books for Goodwill.
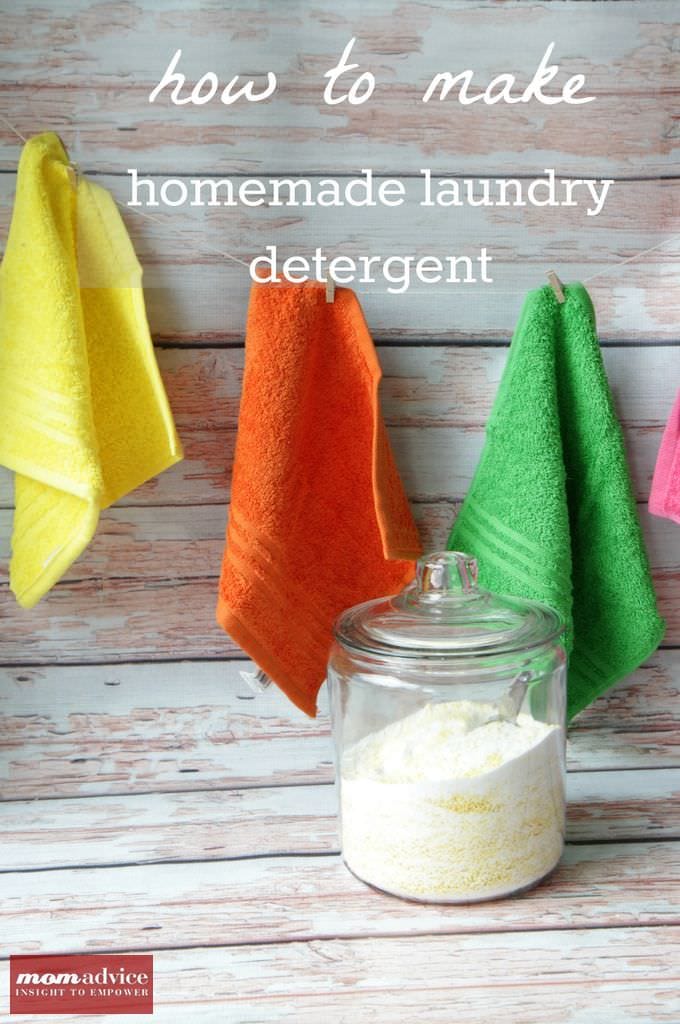
I made homemade laundry detergent for Walmart.
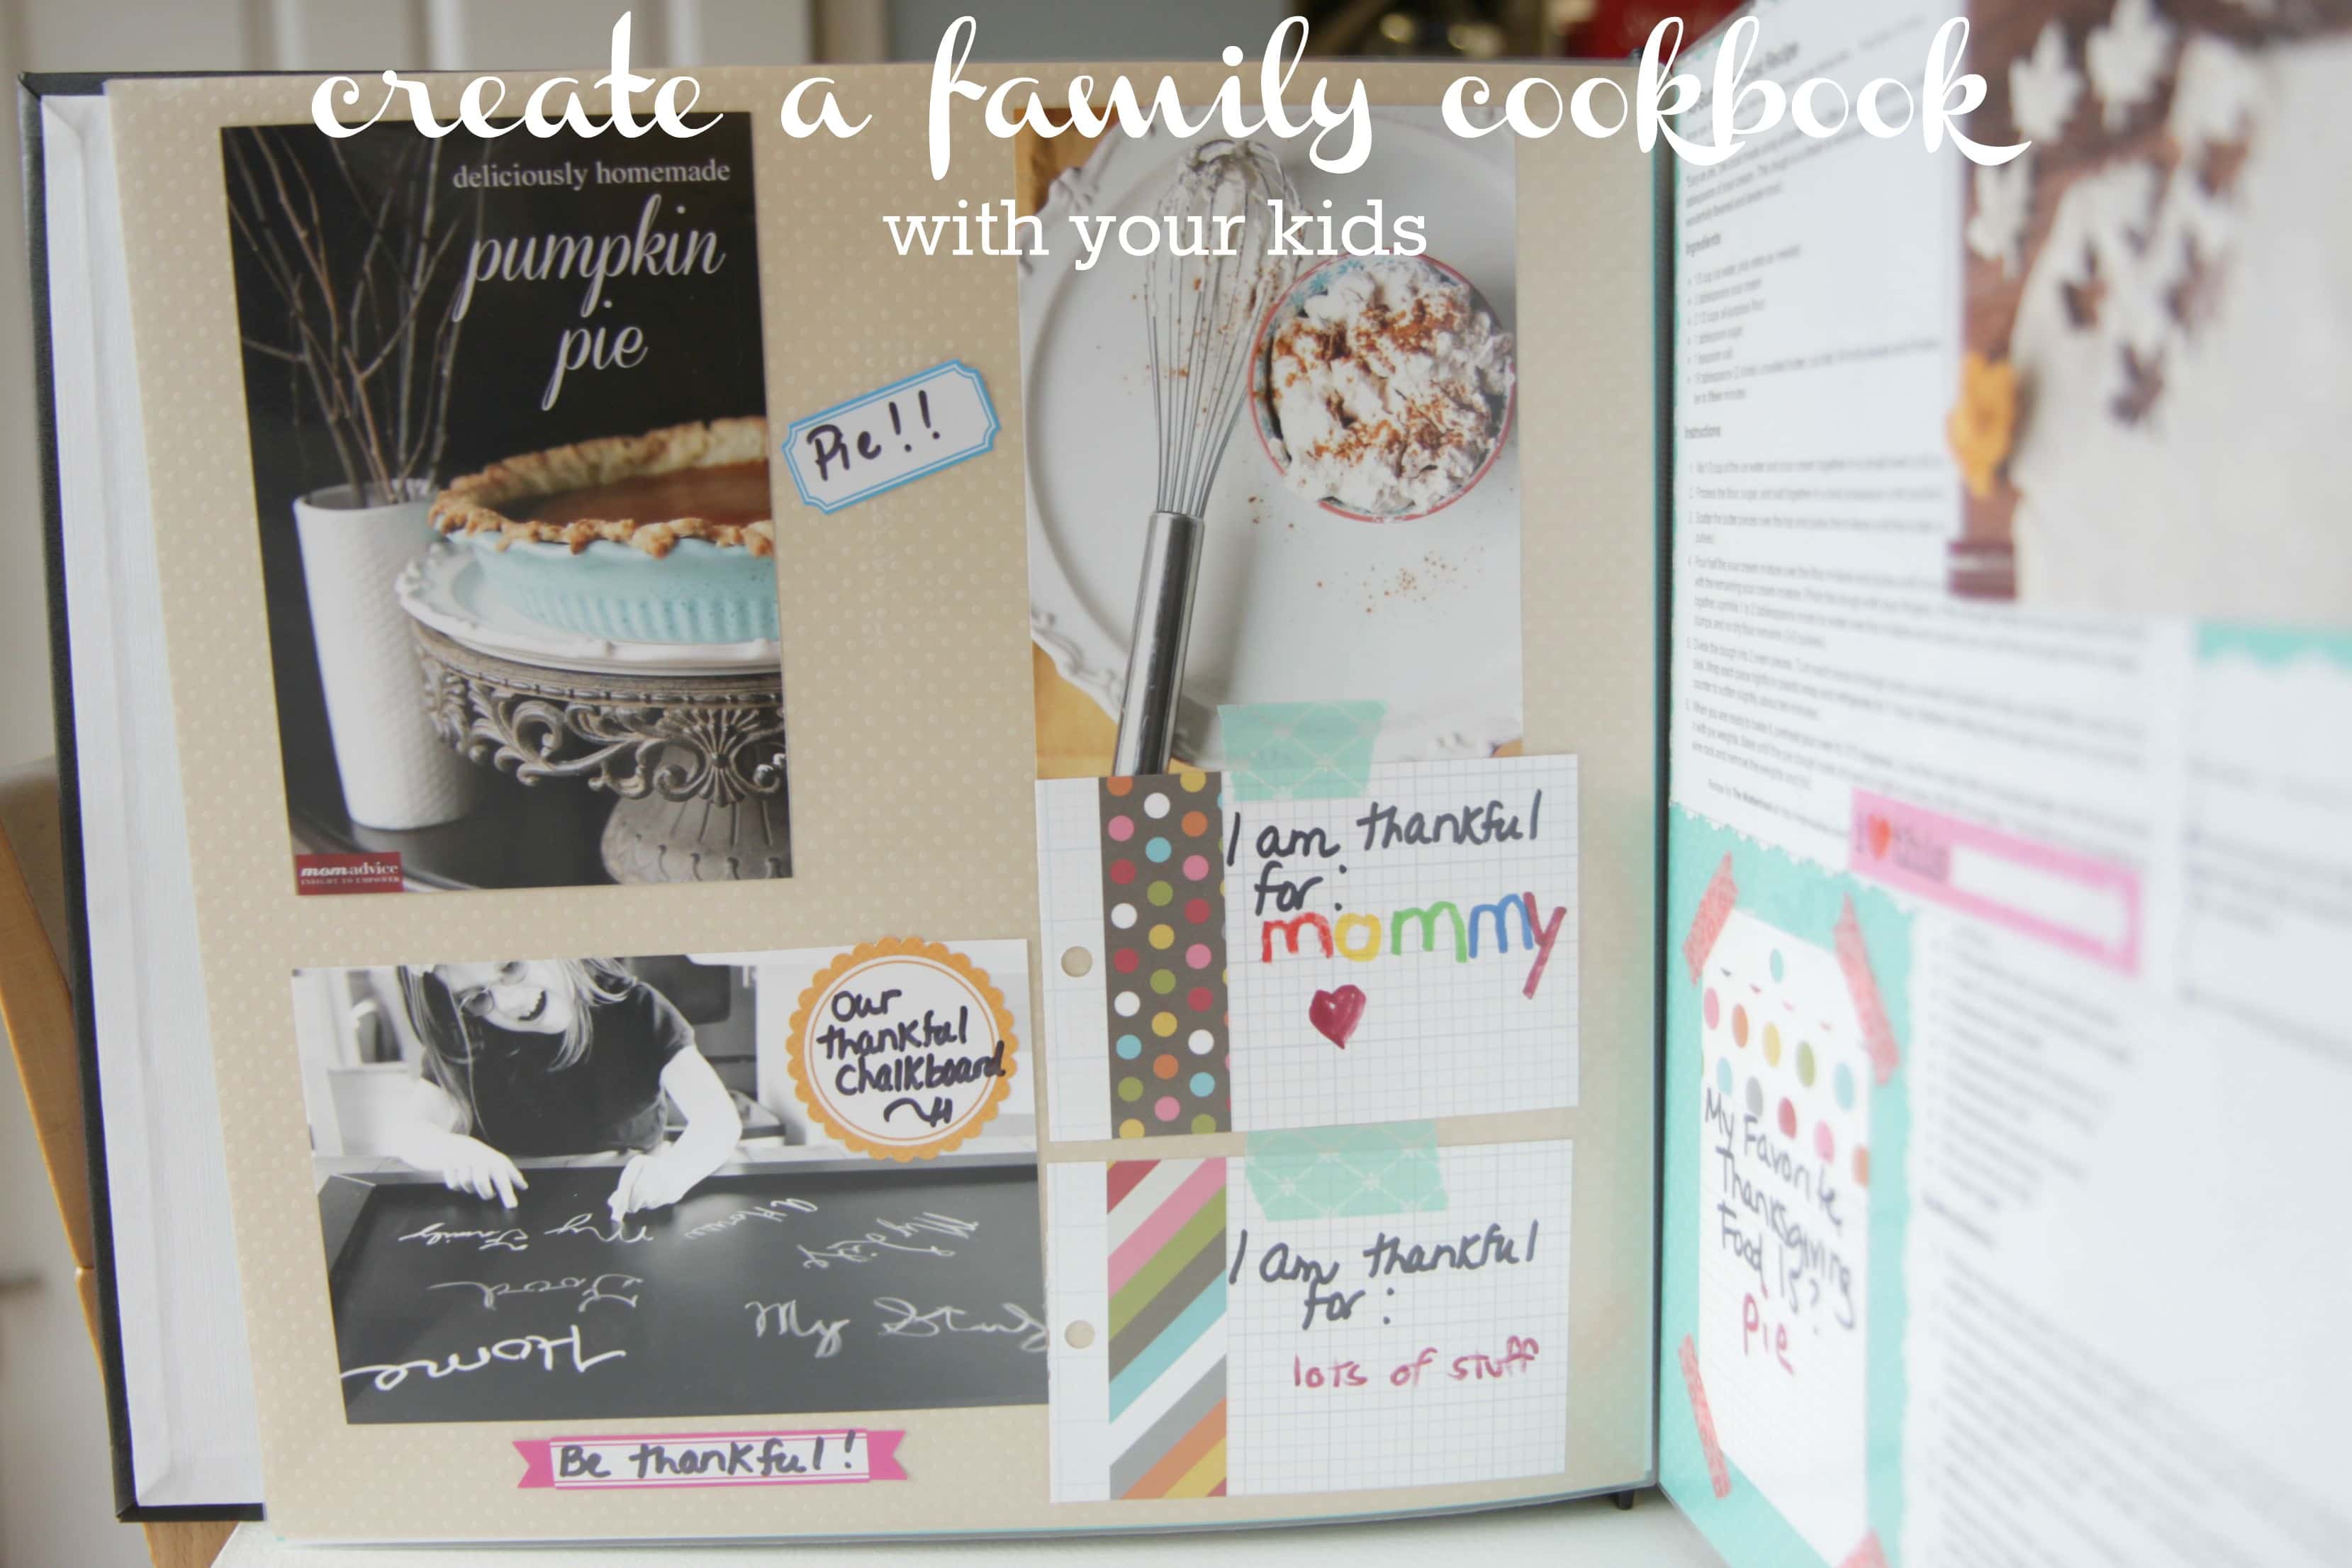
I made a cookbook with my kids for Kenmore (post coming soon!)
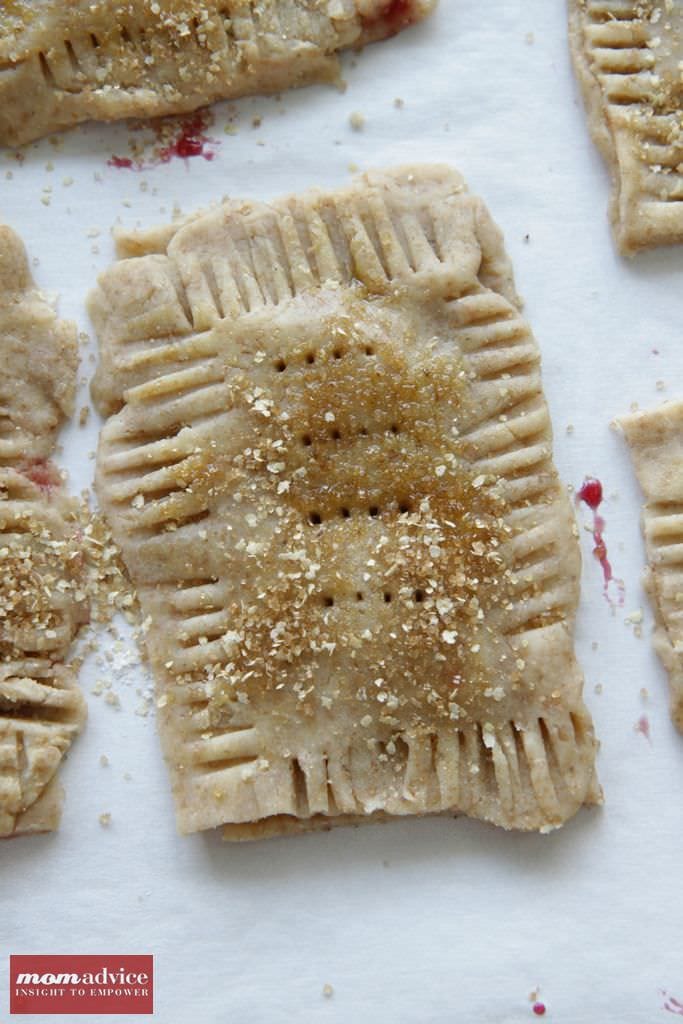
I made whole wheat toasted tarts with Walmart.

There are several other projects, but this gives you an idea of what I am up to. If I look at it as a whole, I am completely overwhelmed. On any given week I could have anywhere between two to four projects for clients. Since I do all of  the shopping, crafting/cooking and then my own writing & photography for these projects, each project is very time-consuming.

I also am maintaining the writing that I do here on  my blog like sharing yummy recipes for pecan-crusted chicken fingers, whipping up Peep-tinis, & sharing all those fun book reviews and making sure we have plenty of content for the rest of the week. All of that, and I haven’t even touched on the social media side of things which is just as consuming now that my readers can connect with me through every available social media channel!

Usually the most surprising amount of time I spend is on the shopping and the staging for photos. I will get a brilliant idea for a client and then get to the store and find out that the items I need aren’t sold there or that I have to completely rethink a project. What’s worse is if I spend a whole day on a recipe and it flops.

Although it appears I take every opportunity given to me, I take about half or less of the projects offered. If you look at the projects above, you might be surprised they were even for companies because they are just the types of projects I would want to share with you anyway. Since the companies supply a budget for supplies, it helps to offset some of the costs to crank out this many projects monthly.

Time management is a tricky terrain with a juggle like this. I have learned that is better to tackle a few recipes in one day and then edit & write the content the other days. Many days it looks like a bomb exploded in my house because I am in some stage of creation for someone. It doesn’t make my Type-A heart very happy, but it is one of those things that comes with the job. I try to look at it the way I see my kids LEGO’s all over the floor or all their art supplies out, I am just proud they are creative and they are making something. I want to always be surrounded by creativity.

Basically, I take it all day by day.

How Does Your Job Impact Your Family Life?

I am so thankful for my job because it usually has a positive impact on our family life. My kids and I see these projects as opportunities to spend time together and the recipes that I create in our kitchen are enjoyed by all at our family dinners. How many people get to craft all day long and call it work? Not many! It almost sounds too good to be true sometimes.

I have gotten to travel to places that I thought I would only read about in books, I got to fulfill a life goal to write a book, my kids have gotten to go to places we couldn’t have afforded, and I’ve met a lot of truly amazing men & women who blog that my life would have never crossed paths with.

rainbow_cake_in_a_jar

Let me be honest though, there are positive and negative aspects about my work. For example, since our holiday content is written months in advance, I am usually not sitting around making rainbow cakes with my kids on St. Patrick’s Day or being a super creative parent like I want to be. By the time the holidays roll around, they are usually lucky if I dye their milk green because we have already done those projects together ages ago and I am on to the next holiday.

Traveling can be hard especially when my jobs end up interfering with family events. One year I had to travel on my daughter’s birthday and I cried a lot over that. It didn’t matter that I had thrown three parties for her, I was not there on the actual day. Inevitably, some kid gets sick or they have a fancy holiday show and I am off promoting the latest product for a company or have a speaking engagement for my work that has been planned months in advance. I am thankful for Skype on days like those so that I can see their faces and feel like I am there. I am sure every working parent feels that way sometimes.

Operating at a frantic pace each week can also have negative impacts on me and my health. I was two years overdue for a lot of routine check-ups for myself this year, my stomach issues have increased, and there are times where I feel completely overwhelmed or just don’t want to do all of this. It is hard to escape your work when it is always there!

We are not celebrities by any stretch of the imagination, but our family does not have an anonymous life. Some of us thrive better than others with this and there are days where we miss that.

There are times where I want to be political or snarky, but I worry how that might reflect to my readers so it definitely censors me in my social media life.I am sure this is a good thing in the long run.

All in all, the positives have outweighed the negatives though. If it starts to turn the other direction, we will have to make a decision to continue or not as a family. We operate under the, “All for one, one for all,” family motto. I wouldn’t have it any other way.

Have a question for me? Feel free to ask it!


Pin It