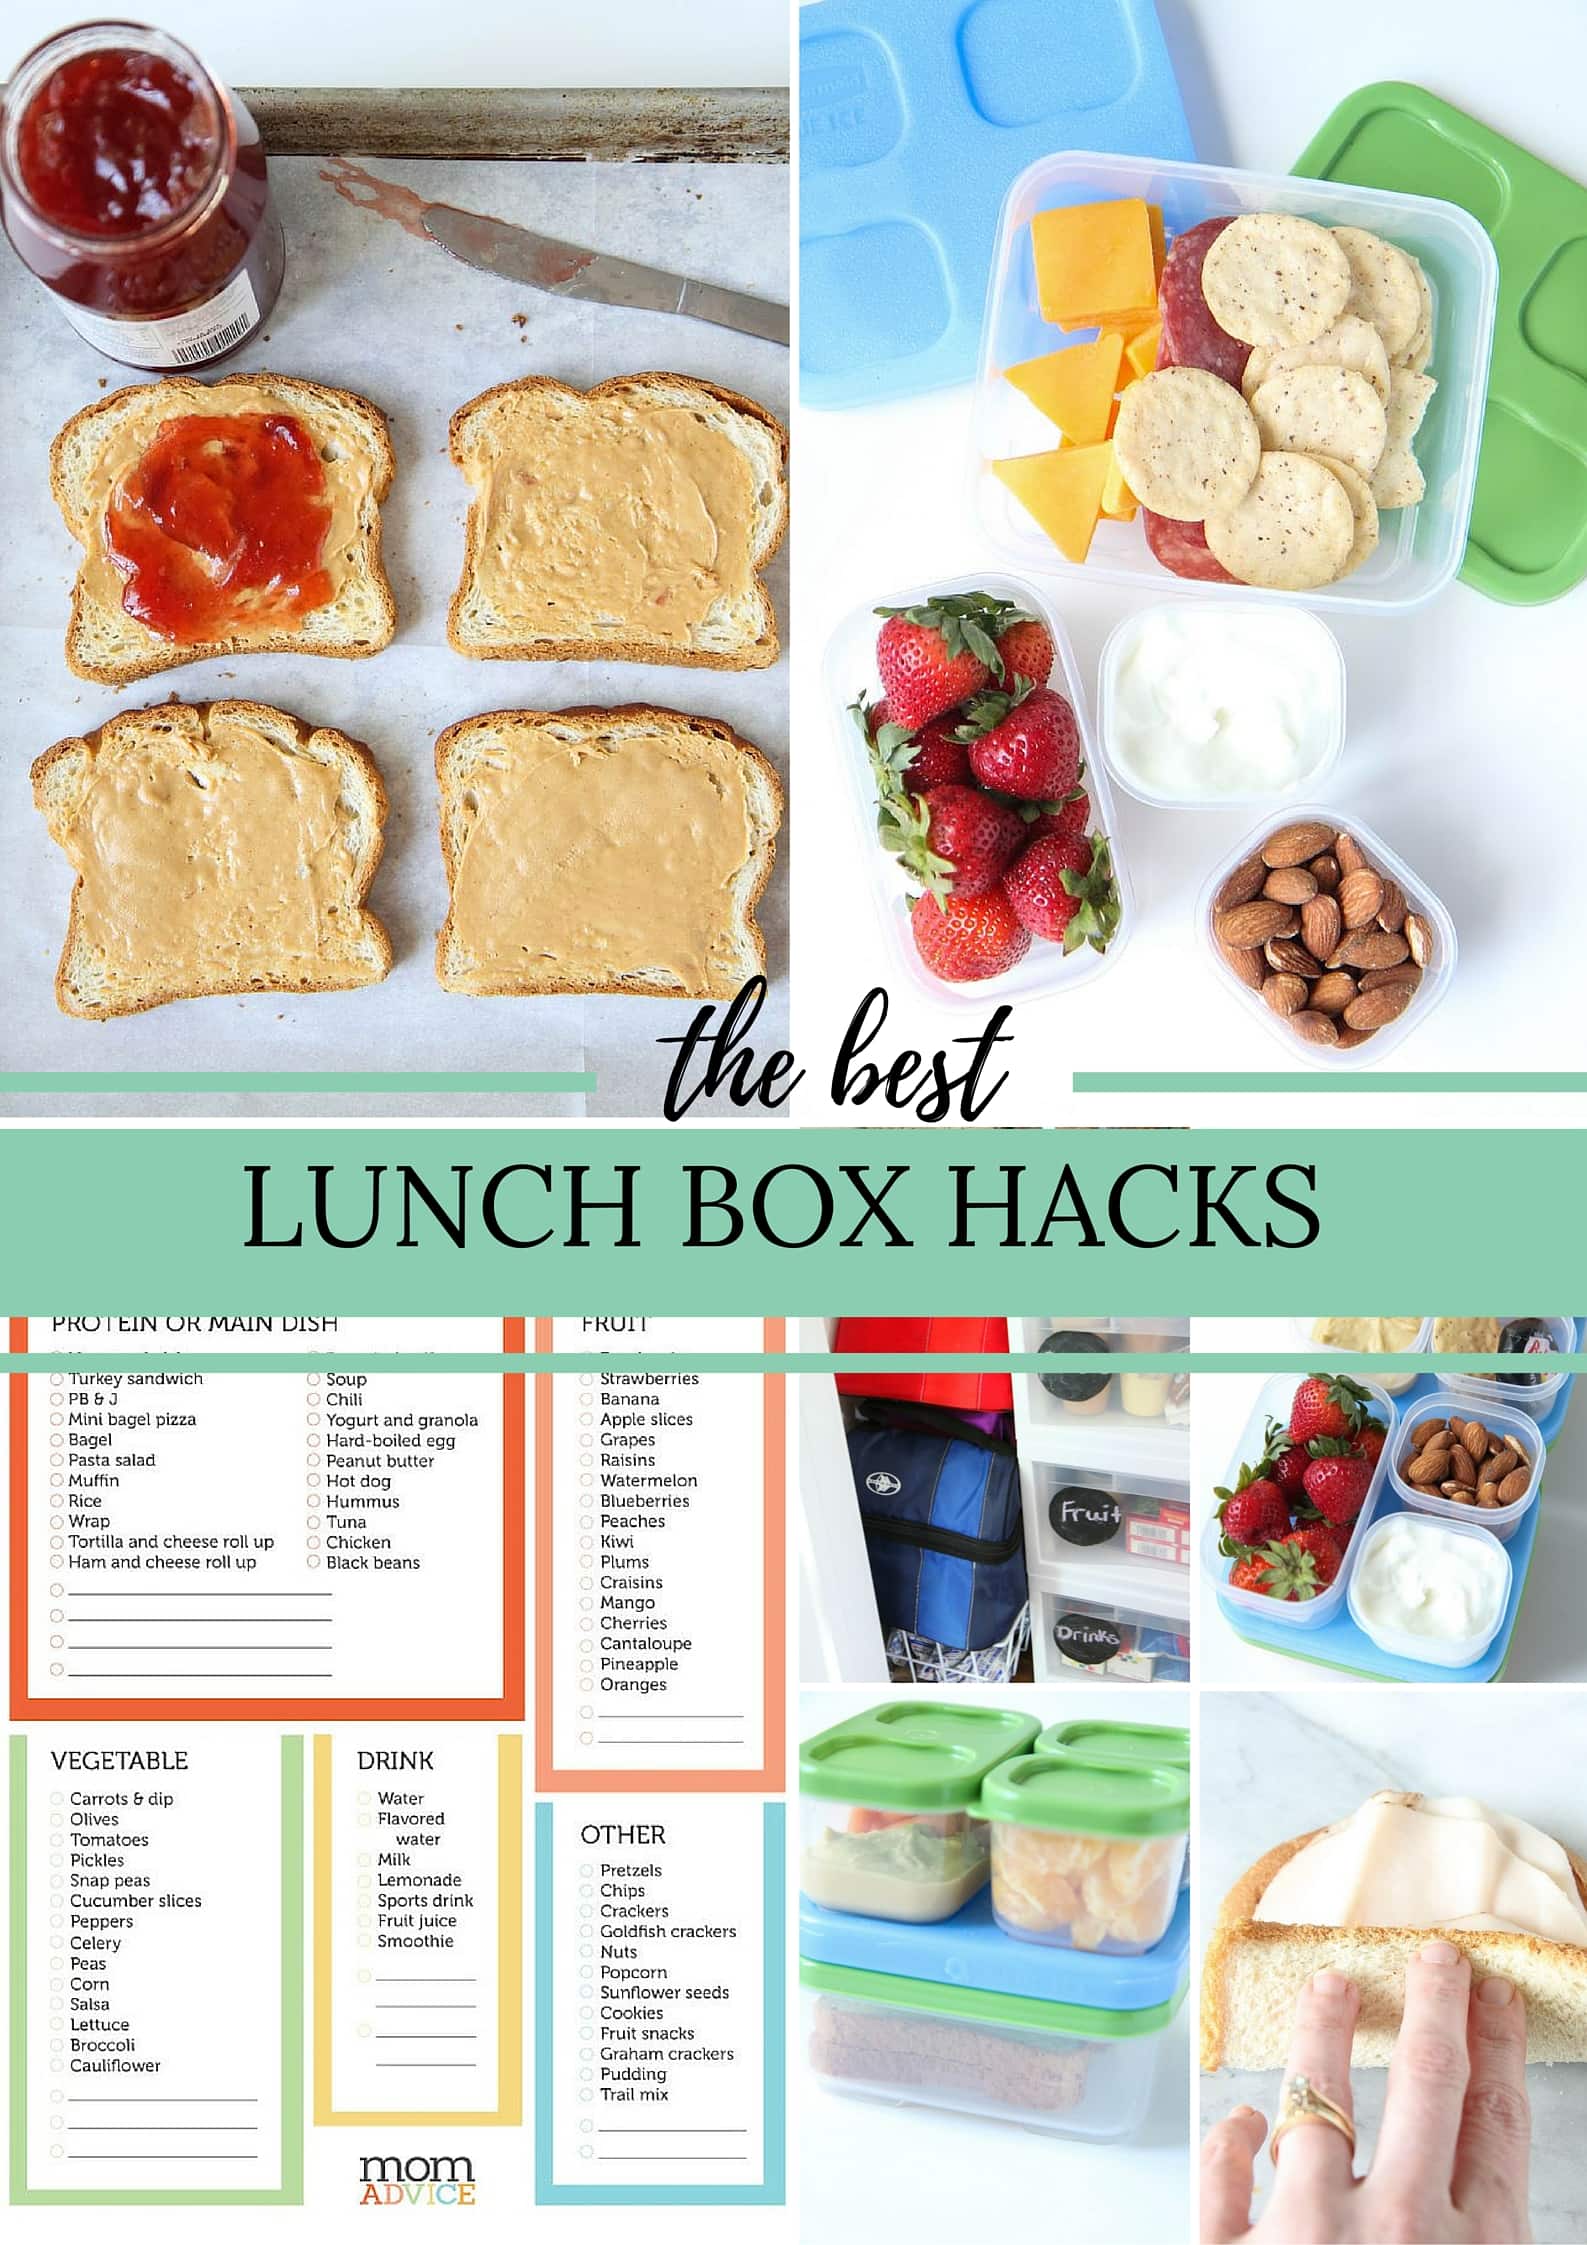
Make kids love lunch time a little more and make your life easier with these easy hacks for packing lunches. From a fun sushi sandwich idea to a lunchbox and snack station set-up, these school lunch life hacks will make your mornings a little easier. Includes a free printable too!
Thank you to Rubbermaid LunchBlox® for sponsoring today’s post!
Lunches can get a little boring in our house so today’s post will hopefully inspire you AND ME to make lunchtime more fun for our kids.
Over the years, I have found a few lunch box hacks that help save me time, money, and keep our family organized.
I am excited to show a few of those to you today and share our free printable to help your kids be part of the process for assisting with lunch creation.
Let’s get packing!
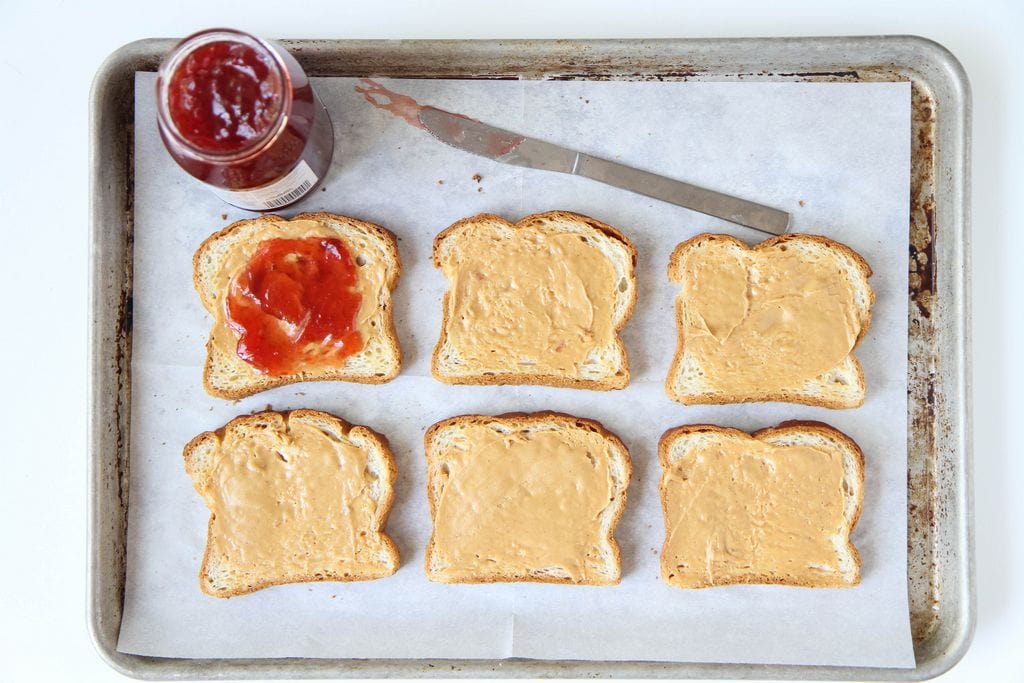
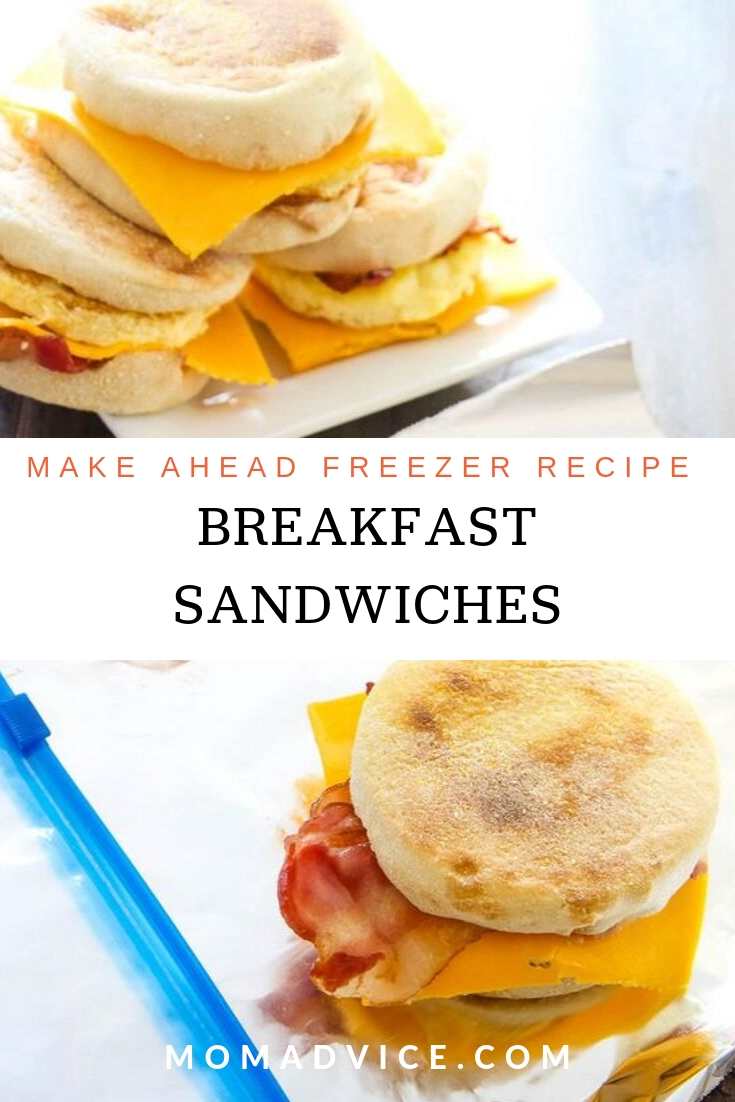
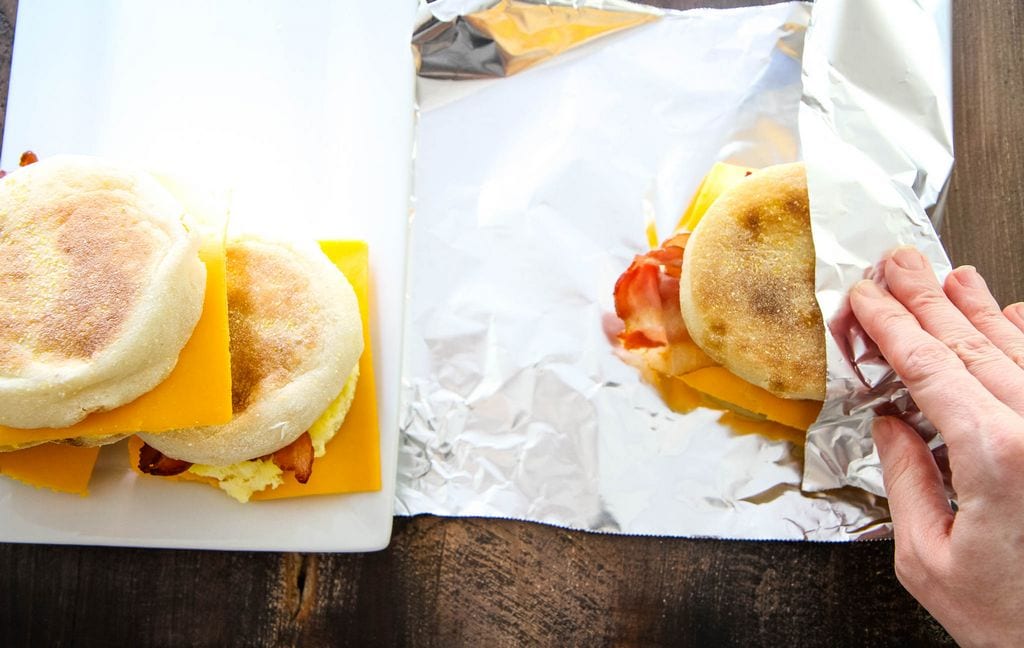
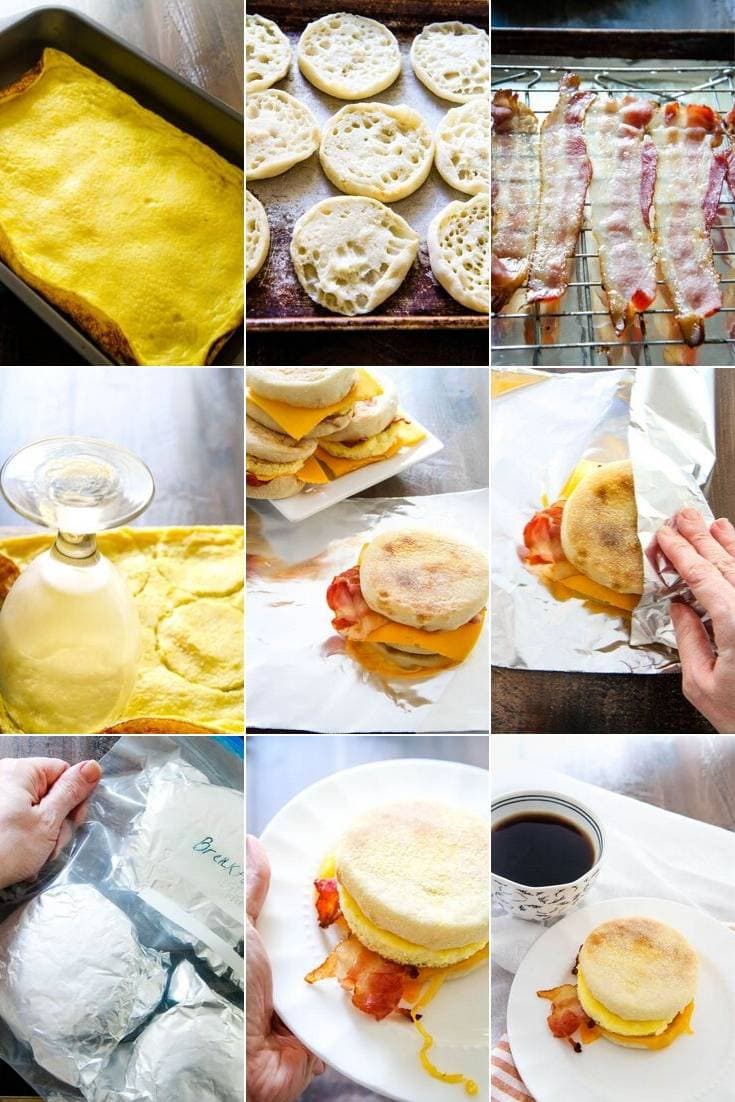
Freeze Peanut Butter & Jelly Sandwiches For The Week
My daughter’s favorite sandwich is the good ol’ PB&J.
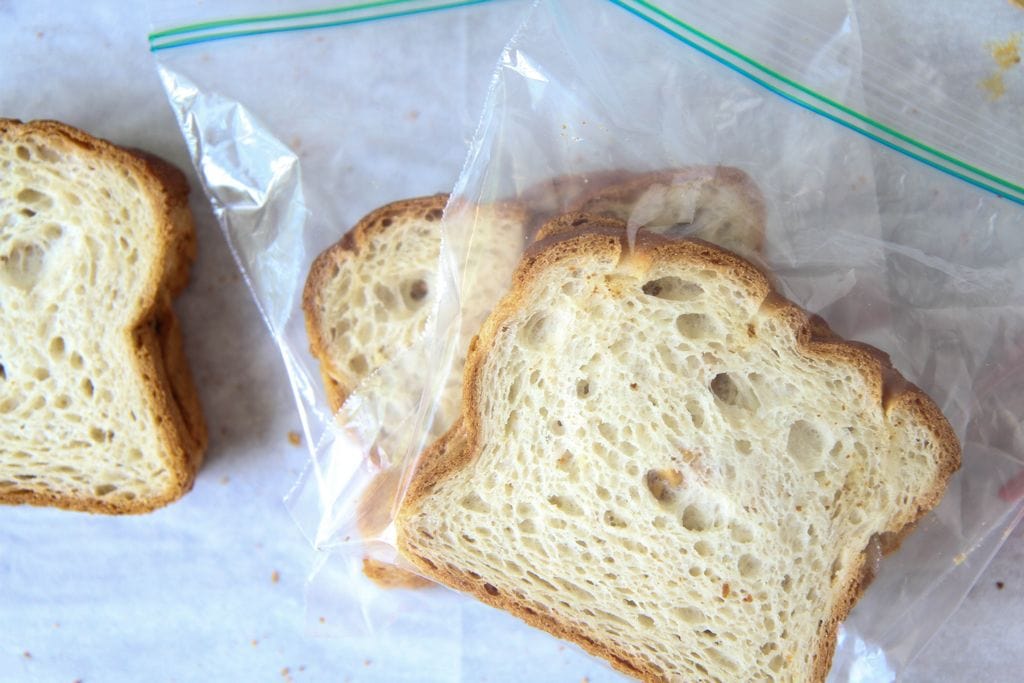
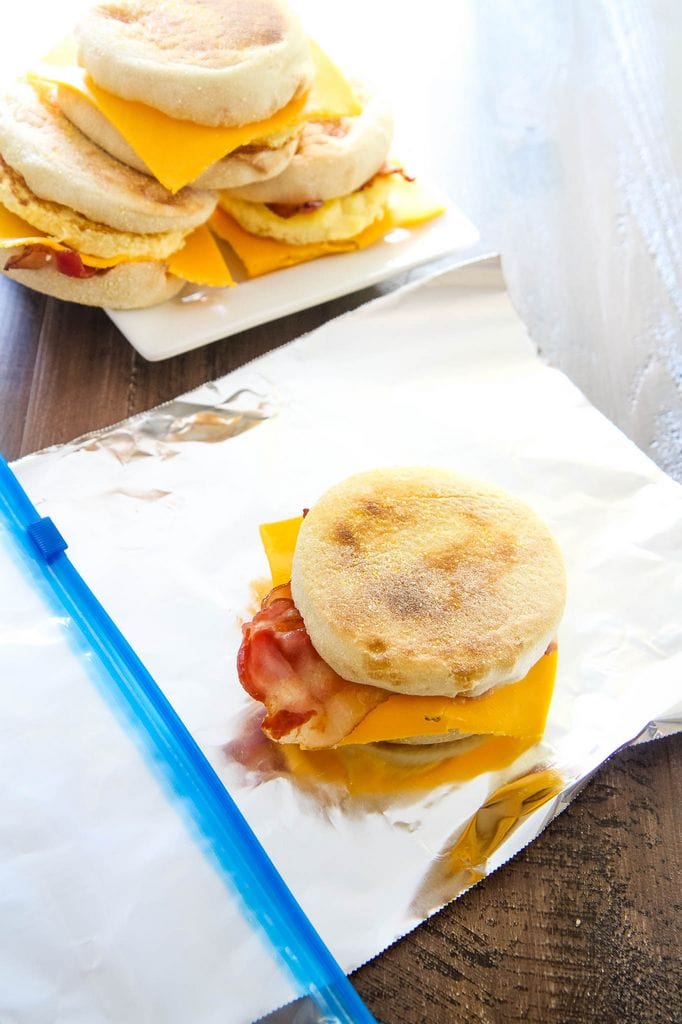
Did you know that you can freeze your sandwiches for the week instead of making them daily?
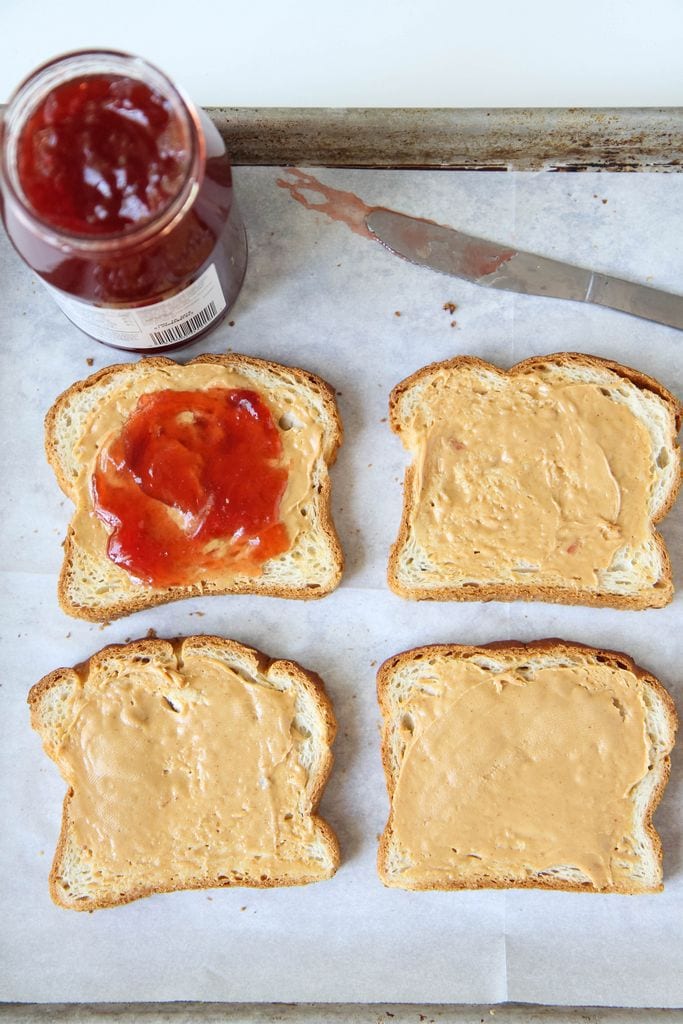
If your child’s favorite is this sandwich too, simply spread peanut butter on both slices of bread to create a wall to prevent the jelly from making your bread soggy.
Smear your jelly on in the center of one slice of bread and then put the two slices together.
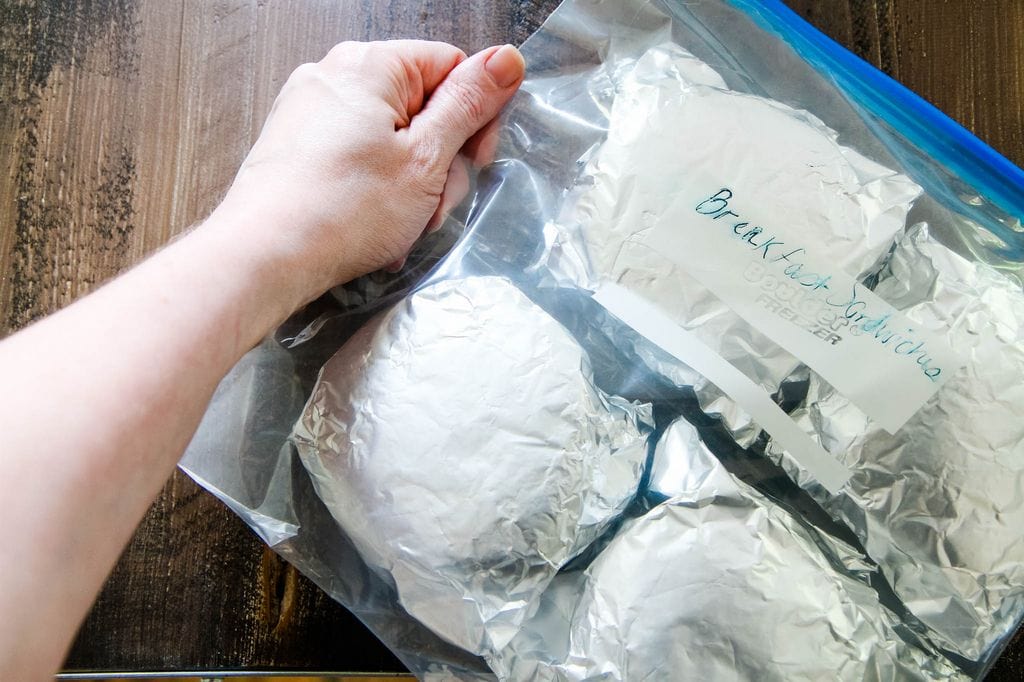
By creating an assembly line of sandwiches for your week you only dirty up the kitchen once.
This trick is so simple that your kids can do it!
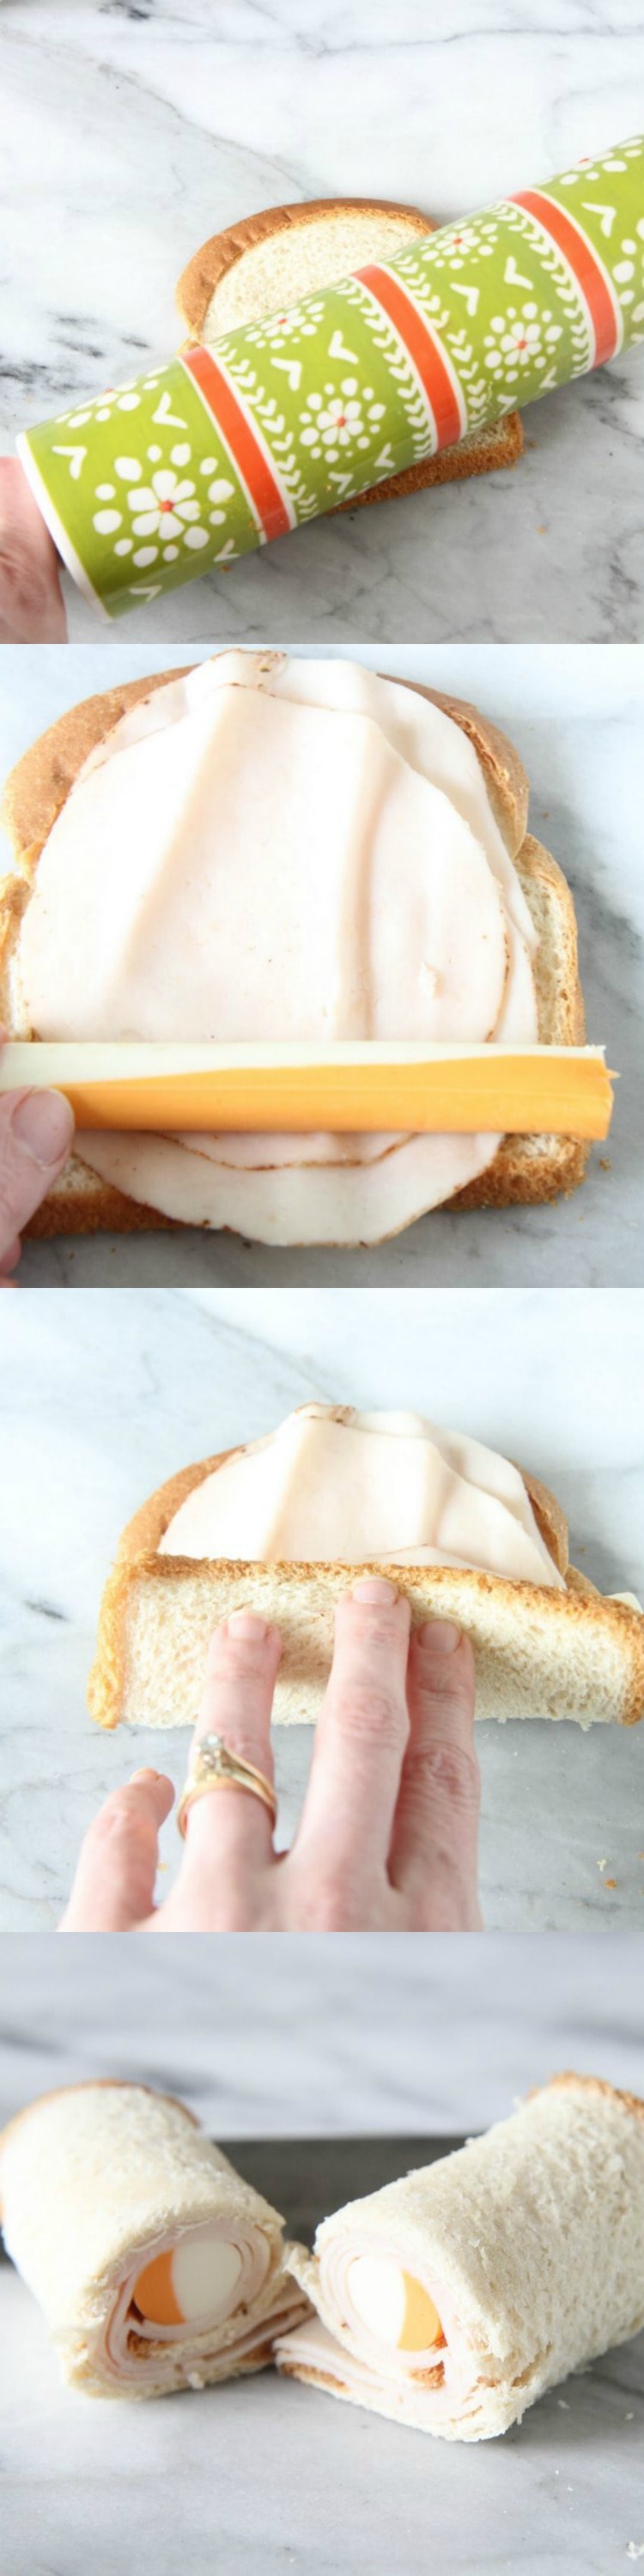
Rethink Your Sandwich Styling
When sandwiches start to get a little boring, try making a sushi sandwich instead.
Dust off that rolling pin and roll your bread out flat to create the base for your sandwich sushi.
Add your child’s favorite meat and then their favorite string cheese combo. Roll it tight and slice in half.
For kids that aren’t as big of a fan of crusts or bread (I have one of those kids too!), this is a great way to get them to still eat a sandwich without investing in a pricier wrap option!
Oh, and it’s sneaky- they don’t even notice the crust!
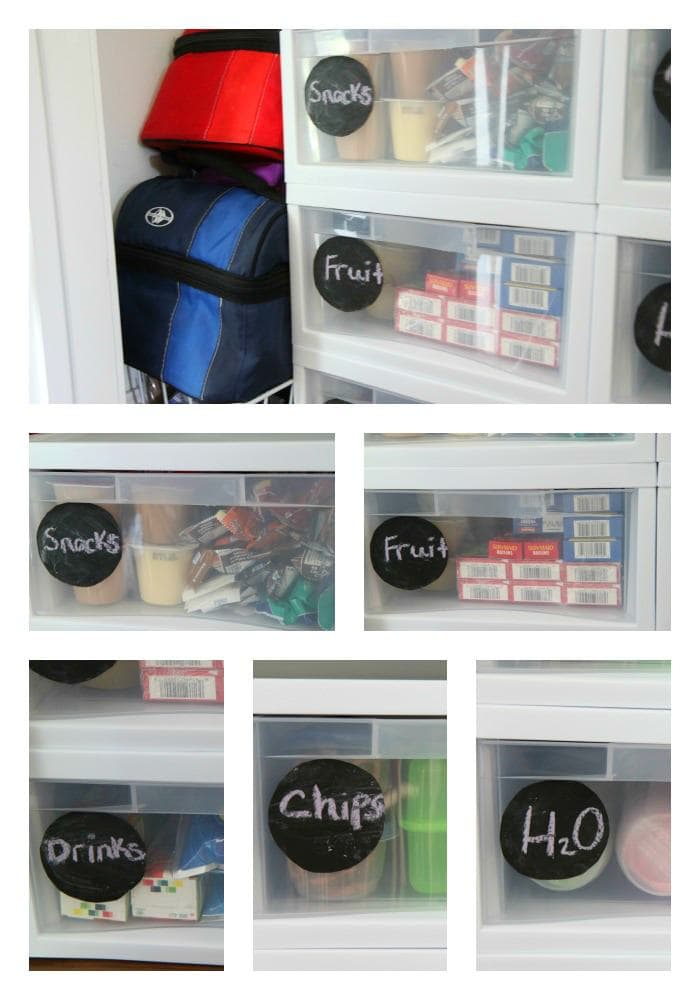
Get Organized With a Lunchbox Station
Few things have stood the test of time in our house when it comes to organization.
Let’s just say that we are a family with great ideas, but poor execution once those ideas are in place.
There is one thing though that has helped us a lot over the years and it is a lunchbox station in our pantry.
I used chalkboard labels to be able to switch our drawer categories as needed so this pantry can grow up with our kids culinary tastes.
The nice thing about having it set up this way is that kids can assist when making lunch preparations.
I also love that we are able to actually see and use the items in our pantry.
When loads of boxes are placed on shelves, they can often get lost in the shuffle.
Having this organized helps me to not purchase duplicate items and to actually use the things we purchase.
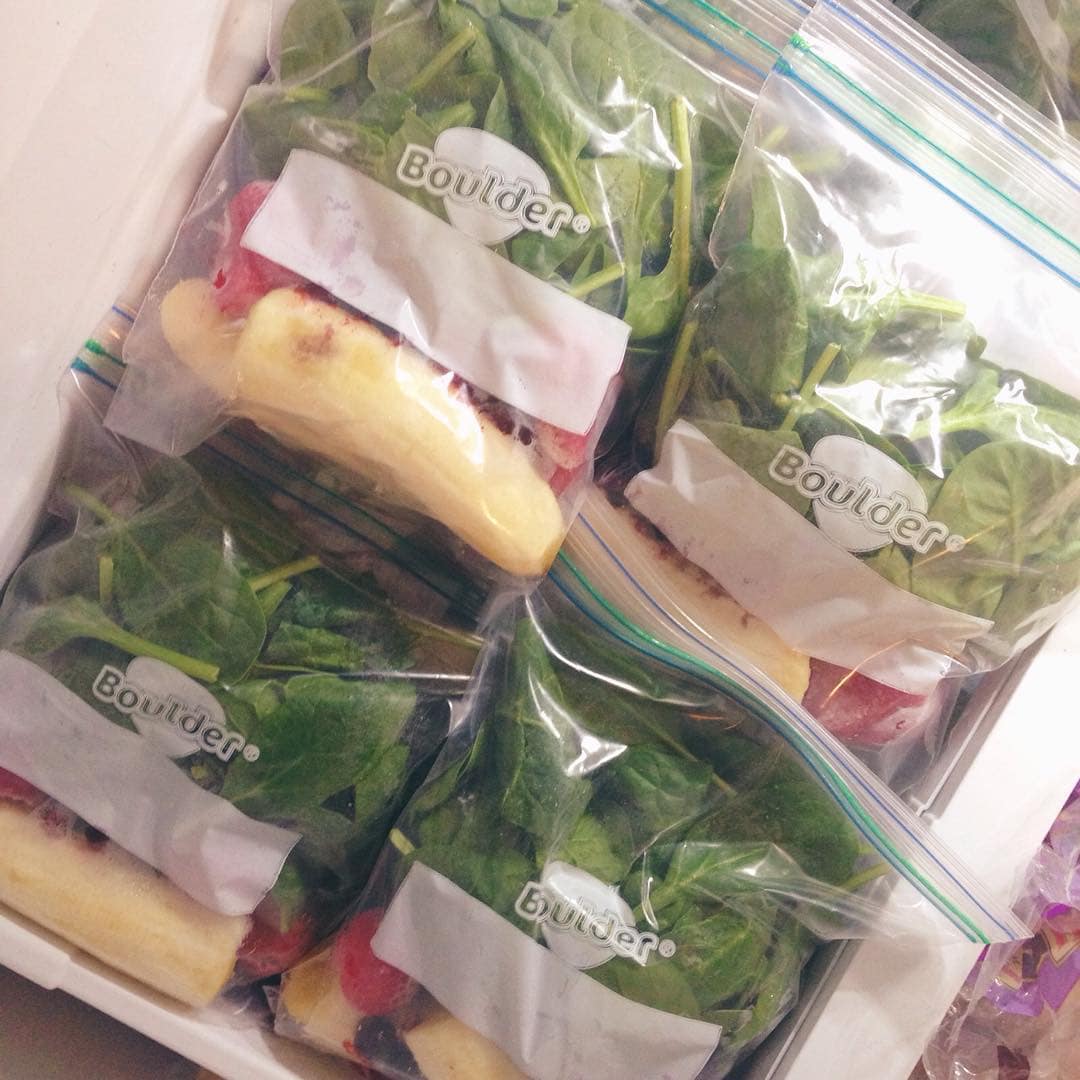
Get Smart Lunch Packing Solutions
Our family had been using a lot of plastic baggies and disposable items to create our lunches, but I knew we could do better.
I have seen a lot of documentaries on waste and what we are doing to our planet and we talk about it a lot with our kids.
We knew improvements need to be made.
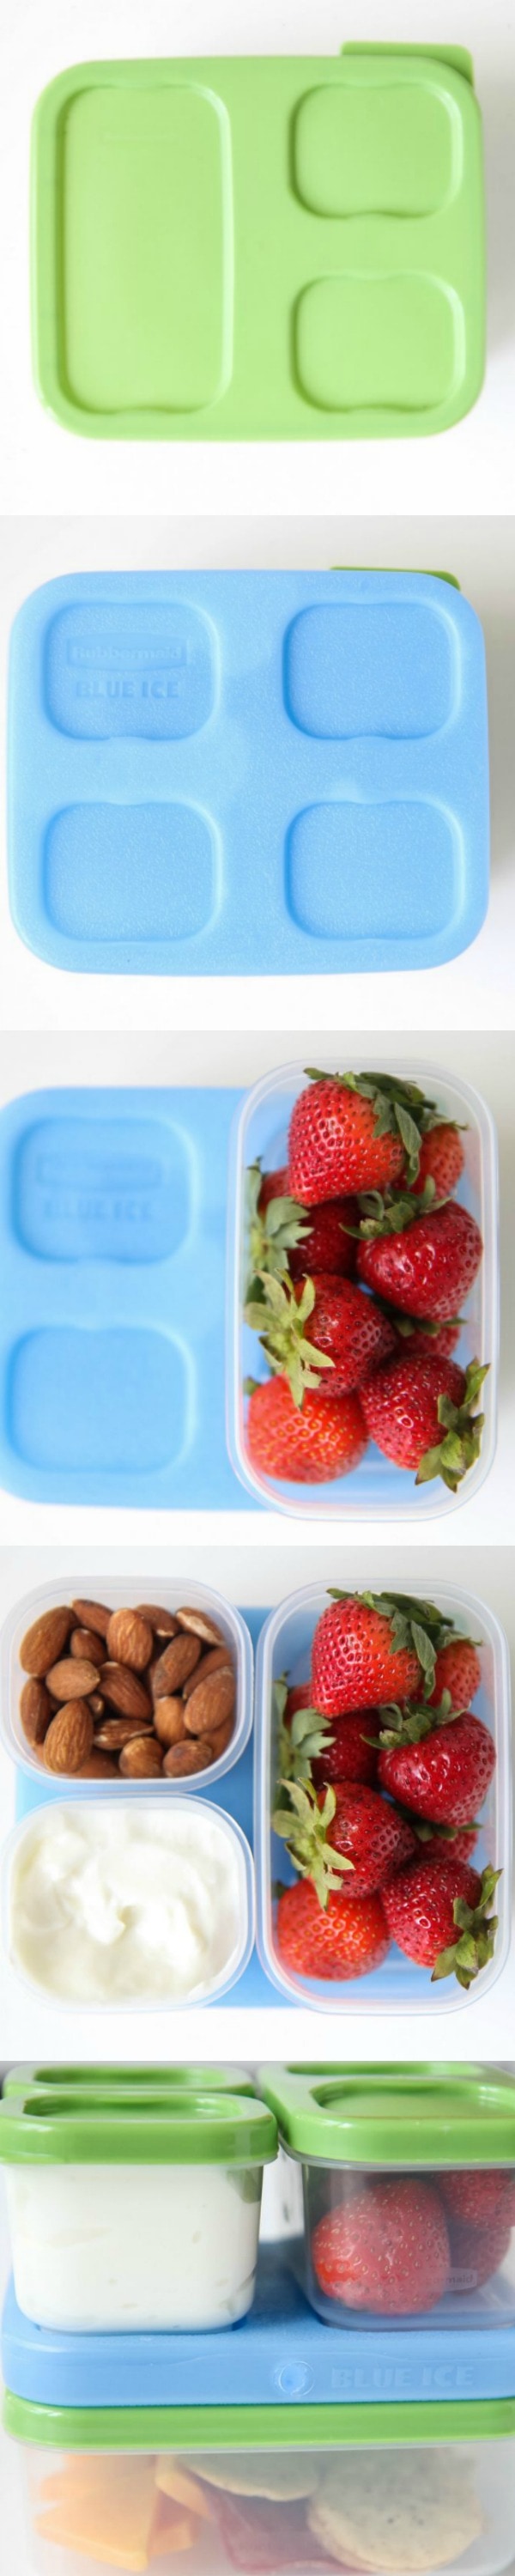
Have you seen the Rubbermaid LunchBlox® products?
I hate to sound like an infomercial, but seriously these are so smartly designed!
Everything snaps and fits together into one piece, including the ice pack to make putting together and pulling out your lunch a streamlined process.
I’m absolutely hooked.
Today I’m showing off their Sandwich Kits and that you can find over at Target.
To prevent you from my experience of walking in forty different aisles to find these, I’ll share an awesome little tip I have discovered on their site.
![]()
If you type in your store on the Target website it will pull up the exact aisle you can find these in at your store AND how many are available.
If your store doesn’t have them, you can save yourself a trip and order a set (or 4 like me!!) to be delivered to your doorstep.
After discovering the exact aisle, I found them over in the grocery section by the other food storage options!
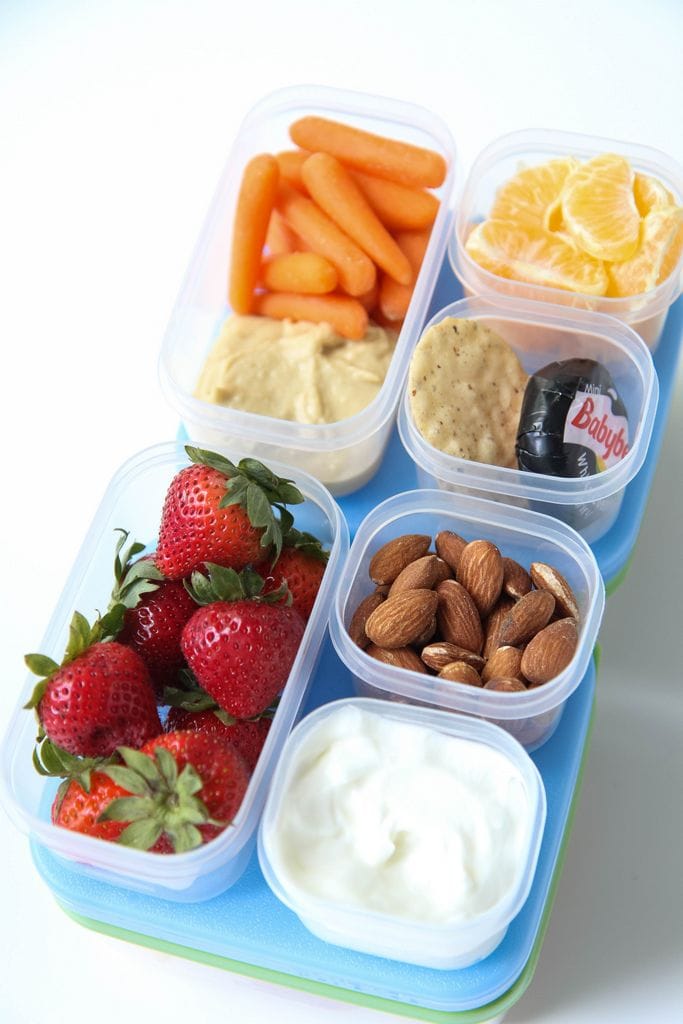
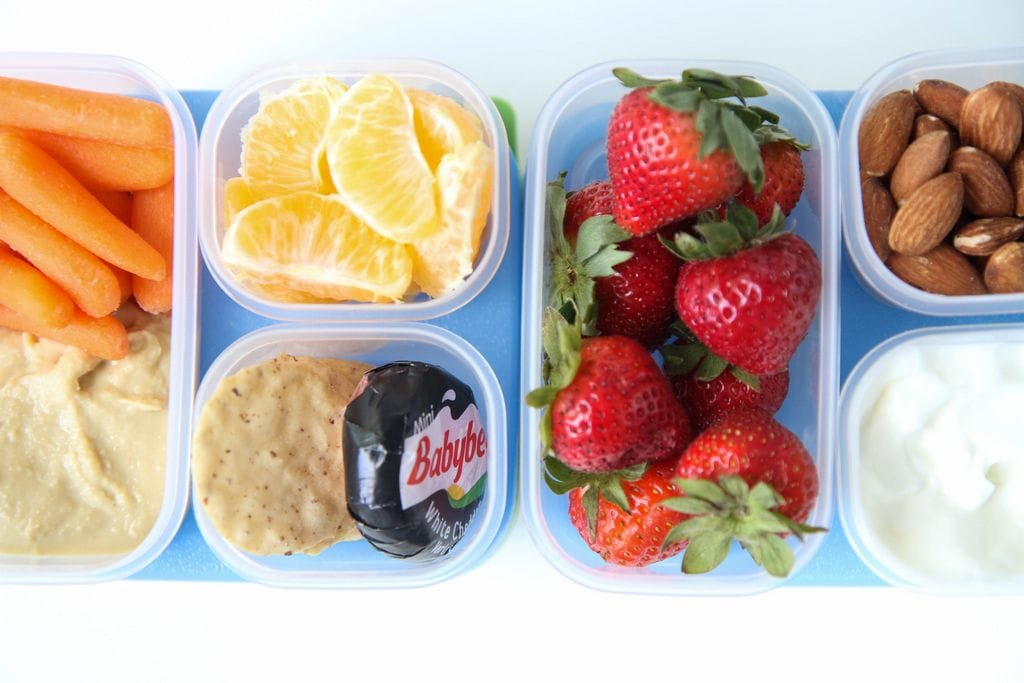
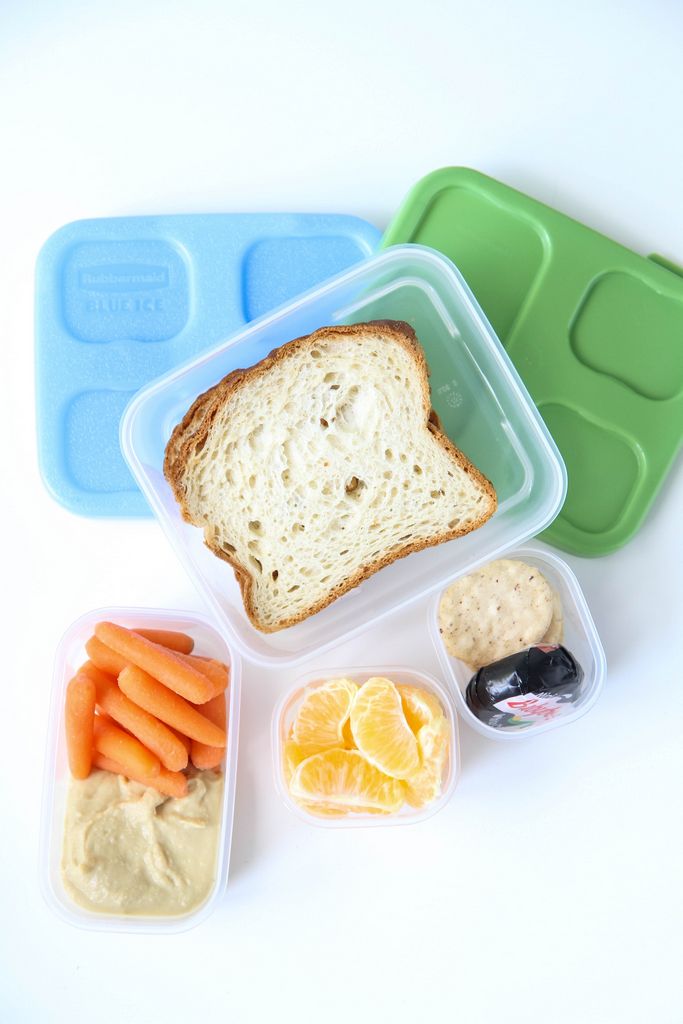
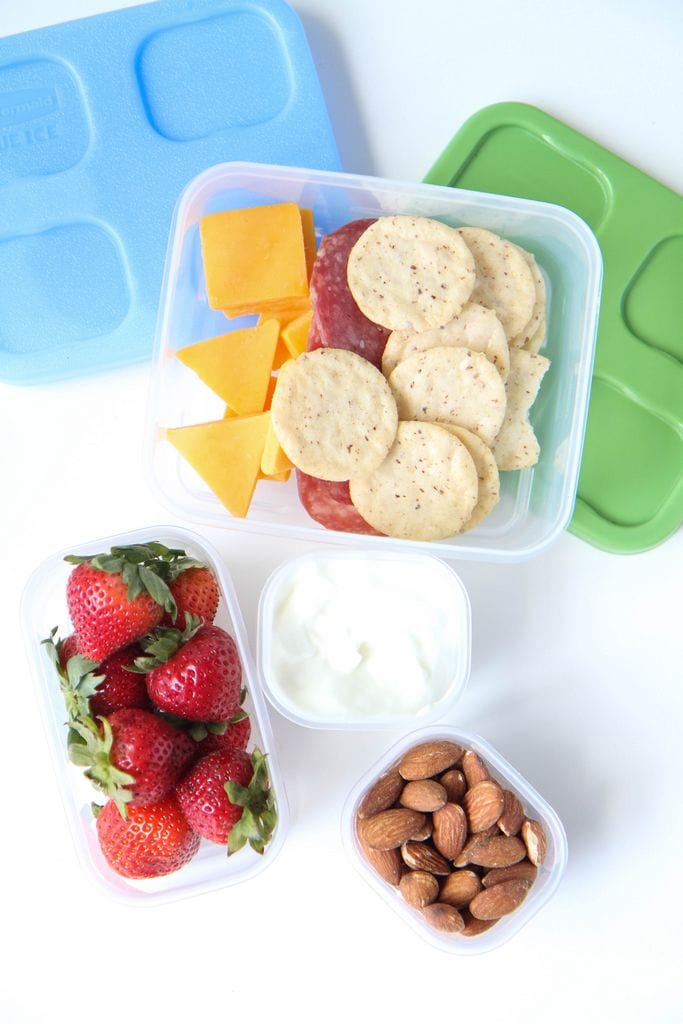
Don’t feel like you have to be limited to just sandwiches on the bottom.
I have found this is a perfect place for packing a delicious meat, cheese, and cracker combo or it would even be the perfect spot for a salad.
Did I mention these are actually microwave, dishwasher, AND freezer safe? Yup. They also happen to be BPA free.
These containers aren’t just for kids though.
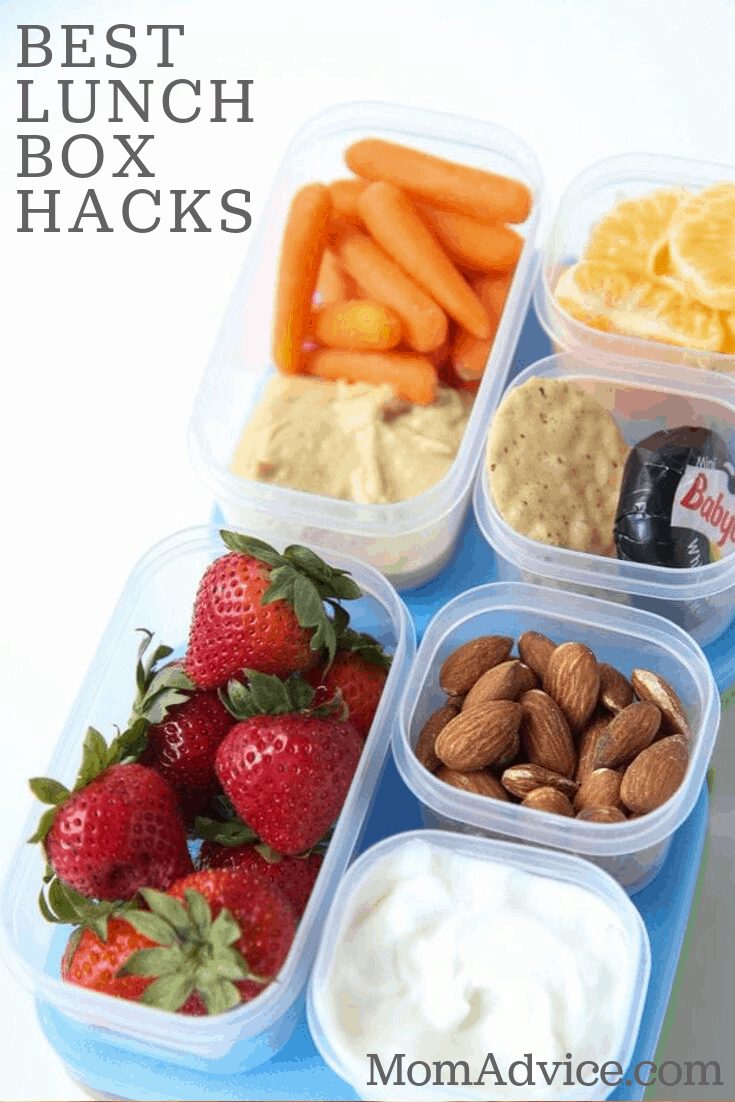
I can’t imagine a better way to get healthy snacks in throughout the day then this system.
Keeping fueled is just as important for adults as it is for kids.
If packing a lunchbox to carry to work as an adult feels a little weird, I’ve got good news.
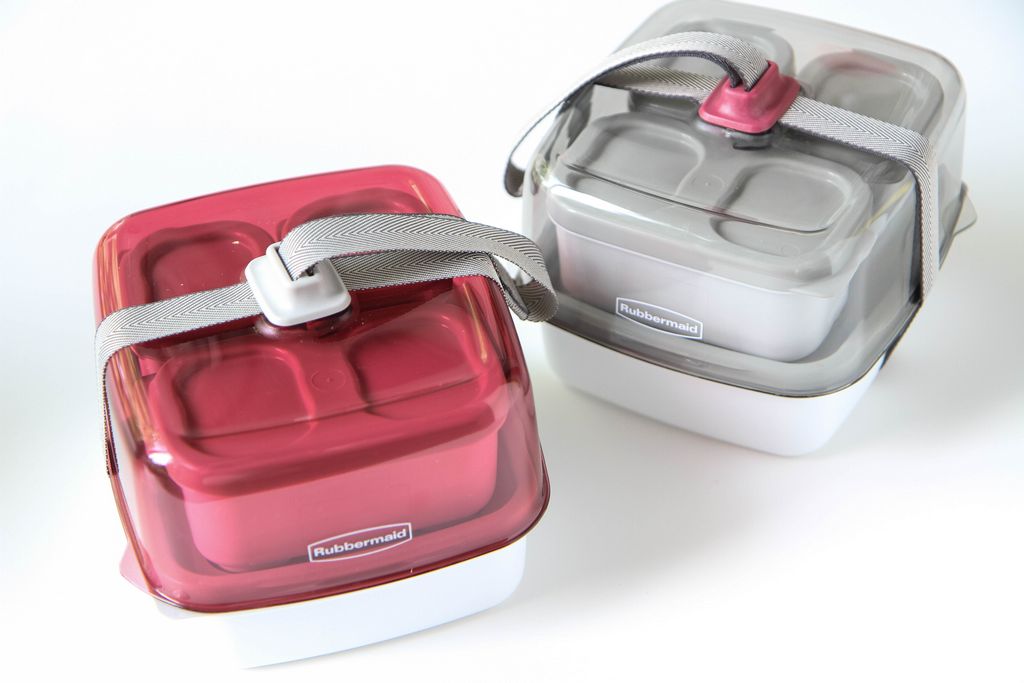
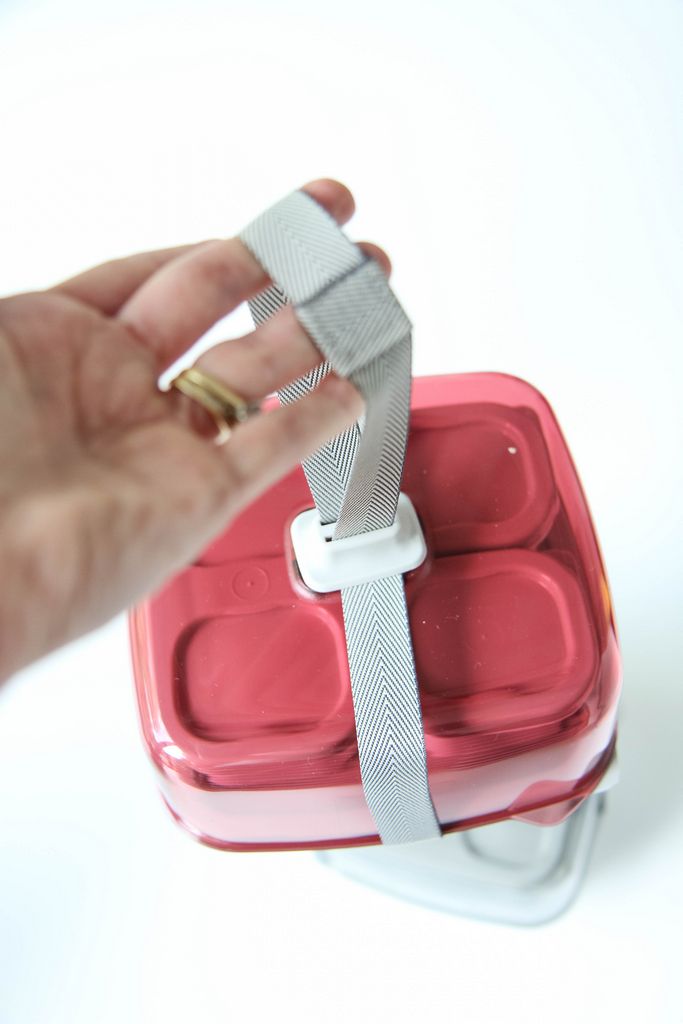
They also make these really cool Rubbermaid Fasten+Go™ Sandwich Kits that are just like this system with a lid and removable strap for one-handed carrying.
Welcome to the grown-up lunchbox system!
Winning!
I picked up two of these for my husband & I and am so excited to get back to better lunches this year.
We need it as much as our kiddos.
Lucky for you, there is a Cartwheel offer to save your family some money on the Rubbermaid LunchBlox® and the Rubbermaid Fasten+Go™ products! Yay! Here are some deals you can score right now!
20% Off Rubbermaid Fasten+Go™ All Items (deal available through August 13th)
5% Off Rubbermaid LunchBlox® Sandwich Kit (deal available through August 13th), 5%- https://cartwheel.target.com/
Note: this coupon will go live on August 28th! Don’t miss it…
20% off Rubbermaid LunchBlox® (available on 08/28 through 09/03)
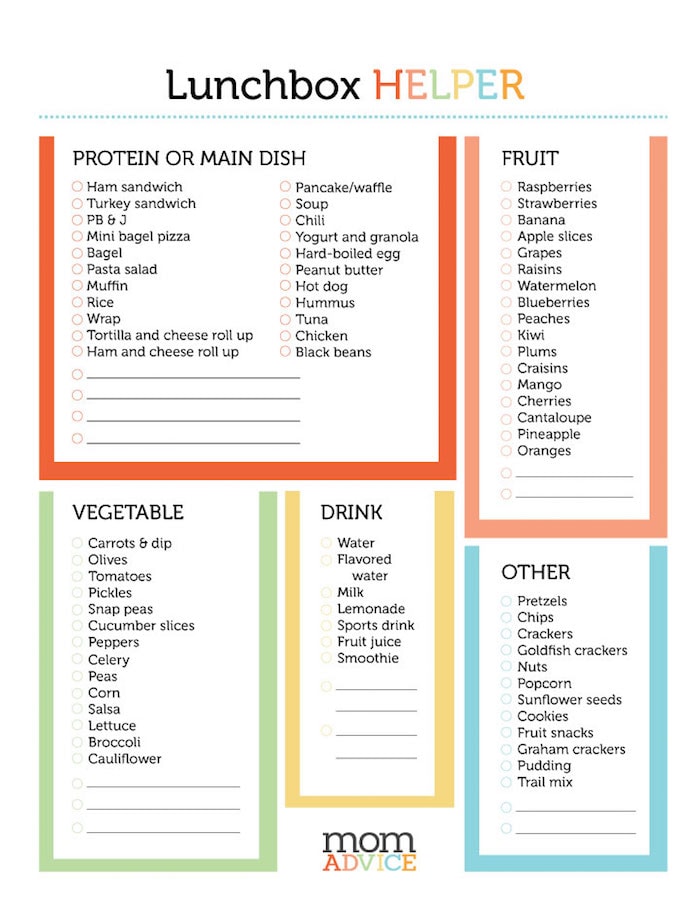
DOWNLOAD THE FREE LUNCHBOX HELPER PRINTABLE!
I hope you enjoyed these ways to make lunch easy and fun again!
I hope you also enjoy our free Lunchbox Helper sheet and be sure to read this fantastic post on how you can get your kids involved in helping take the hassle out of lunch preparations!
Thank you to Rubbermaid LunchBlox® for sponsoring today’s post!
Don’t miss these other great ideas from MomAdvice.com:
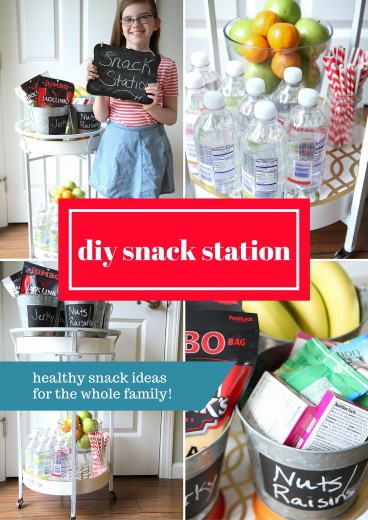
DIY Snack Station
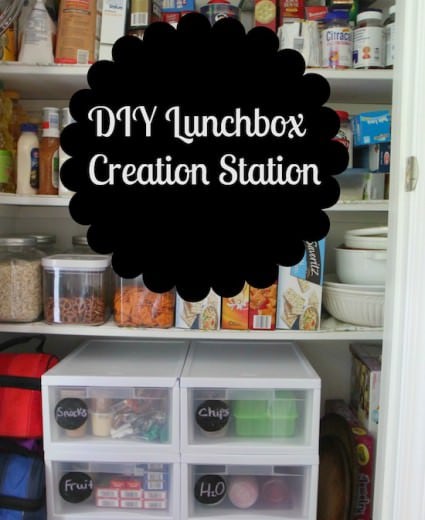
DIY Lunchbox Creation Station
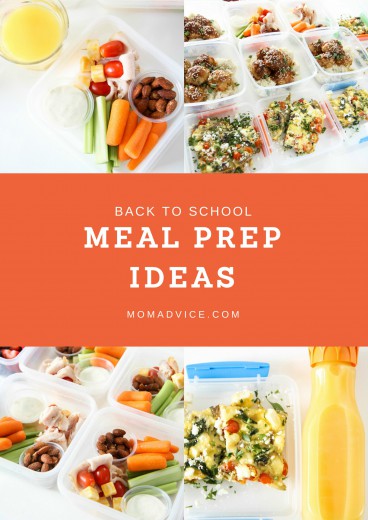
Back to School Meal Prep Ideas
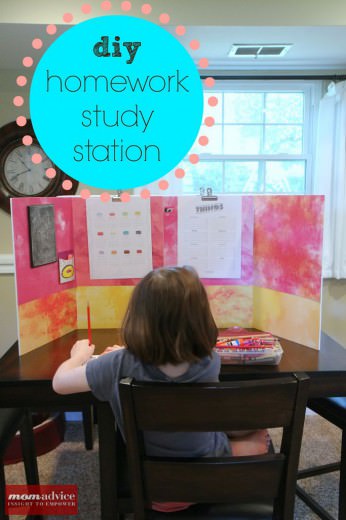
DIY Homework Study Station


