Archive for November, 2019

UPDATED: 2019 Black Friday and Cyber Week Sales

Friday, November 29th, 2019

2019 Black Friday and Cyber Week Deals

Don’t miss this carefully curated list of the best Black Friday and Cyber Monday Deals for 2019. This list shares the top deals on tech gadgets, toys, clothing, kitchen, and home items. Learn how you can get cash back on all your purchases for the holiday season from MomAdvice.com

Looking to score some great Black Friday and Cyber Week Sales? Lucky for us, many of the retailers have already rolled out major discounts to their customers so you can take advantage of the savings  before the holiday rush. 

I have went through all of the ads and curated the best deals that I’m seeing for our readers.

If I’m missing anything, please leave me a comment and I will add it to this week’s list.

This list will be updated as new deals pop up.

Just as a reminder, MomAdvice participates in various affiliate marketing programs and we are paid commissions through the links to retailer sites. Items purchased through our links are always greatly appreciated.

Don’t Forget- You Can Get Cash Back On Your Purchases!

If you are on a budget, I DO recommend that you sign up with Rakuten to do your shopping. This app gives you cash back on all your qualifying purchases (almost everything on today’s list will qualify!!).

If you want to read more about this shopping app, head here for an in-depth review of what Rakuten offers.

If you just want $25 and plan to get shopping, this should automatically deposit $25 in your account for your purchases(sorry- new customers only!).

I hope you can find some beautiful and personal gifts to give to your friends and family this year! More importantly, they will be useful, unique, AND affordable.


2019 Black Friday and Cyber Week Sales

UPDATES IN BOLD!!

Book Deals

Shop the Black Friday Book Steals

Get Your Kindle First Read FREE!!

Shop my daily deal book list

Spend $20 on eBooks, get $5 in eBook credits

Family Board Games

Settlers of Catan, $24.99 

Pandemic, $21.49 (we love this one!)

Carcassonne, $17.49 (we love this game!)

7 Wonders, $24.49

Ticket to Ride Europe, $26.99

Exploding Kittens, $12.99

Watch Ya Mouth, $10.39

On a Scale of One to T-Rex, $12.99

Unstable Unicorns, $12.99

50% off Hasbro Retro Games

Home Deals

Vitamix Blender– $259.95

Contigo Travel Mugs, $9.99

Macy’s Top Starter Glassware Sets $10

KitchenAid Artisan Mixer (47% off!!)

Ninja Blender (with Cup Set), $69.99

Bella Air Fryer– $14.99 (70% off)

PowerXL 7 Quart Air Fryer– $69.99 (57% off)

Instant Pot 6 Quart– $49

Instant Pot Stainless Steel (colors)  6 Quart– $54.99

Ninja Foodi 5-in-1– $169.99

13-piece Stainless Steel Cookware Set– $29.99 (regularly $119.99)

12 Pound Weighted Blankets– $30 if you use your RedCard

Coway Air Purifier– $116.32 (savings of $113.67)

6-Foot Pre-Lit Artificial Christmas Tree– $30 with your RedCard

Luggage– $39.99

Dyson Slim Ball Animal Upright Vacuum, $199.99 with your RedCard

12 Pound Weighted Blankets– $30 if you use your RedCard

Fun Frozen , Harry Potter, and Super Mario Weighted Blankets for Kids– $25

Phillips Sonic Rechargeable Toothbrush– $15.99 (use coupon code GIVETHANKS)

Etsy Cyber Week Sales

Sur la table– huge houseware discounts

Society6– 30% off plus free shipping

Get $15 in Kohl’s Cash for every $50 you spend

Apparel Deals

$5 Kids Christmas Pajama Sets (or snag the adult sets for just $10!)

$1 Cozy Socks (perfect stocking stuffer!)

HeatKeep Luxe Fleece Jackets– $12.74

Fleece Footed Pajamas– $7

HUGE Discounts on UGG Boots

32 Degrees  Women’s Cloudfill Maxi Puffer Coat– $34.99 (use coupon code BRAD35)

Style & Co Leggings (huge discounts!)

Matching Family Pajama Sets –huge discounts!

Women’s HeatKeep Packable Down Jacket– (use coupon code GIVETHANKS)

Hunter Boots– $99.90

Cuddl Duds Stretch Fleece Sleep Wrap

Floopi Women’s Indoor/Outdoor Slippers, $14.99 (regularly $100)

Old Navy– 50% off EVERYTHING!!

Ann Taylor– 50% off EVERYTHING!!

Eddie Bauer– 50% off EVERYTHING!!

J. Crew Factory– 60% off EVERYTHING and use coupon code YAYDEALS to get an EXTRA 50% off clearance

Gap– 50% off EVERYTHING!!

Banana Republic– 50% off EVERYTHING!!

Loft– 40% off EVERYTHING with coupon code BESTWEEK

UGG Toddler to Adults– Up to 60% off UGG for the whole family

Tech Gadgets

Get Hulu for just $1.99 a month (this is the lowest price of the year!!)

Relay Screenless Phone Walkie Talkie– $24.99 (50% off- perfect if you aren’t ready to transition to a phone yet)

Nintendo Switch Games– $29.99

Xbox One Star Wars Bundle– $199.99

DualShock 4 Wireless Controller for PlayStation– $38.99

Microsoft Wireless Controller for Xbox– $39.99

Apple iPad 5th Generation Refurbished– $199.99

Beats Solo3 Wireless On-Ear Headphones– $129.99 if you use your RedCard

Beats Powerbeats Wireless Headphones (refurbished)- $59

Toshiba Air Pro 2-Pack– $99.99

Roku Streaming Stick– $29.99

Fire Stick– $19.99

Cricut Explore Air 2 with Essentials Bundle– $229.00 (normally $419.44)

All-New Kindle– $59.99 (bonus $5 e-book credit)

Fire 7 Tablet– $29.99

43” Roku Smart TV- $200 off!!

Kindle Paperwhite– $84.99

3-Month Free Subscription to Pandora On-Demand Premium

Xbox Live 3 Month Gold Membership– $12.99 (use Coupon Code EMCUUVB32 to get $2 off)

MyQ Smart Garage Door Opener– $19.98

Google Home Mini– $25

Ultimate Ears Boom 2– $69.99 (this is HONESTLY one of our favorite things)

Lenovo Smart Clock with Google Assistant– $39.99

Miscellaneous Deals

Razor Scooters– Only $18!!

Revlon One Step Hair Dryer, $37.49 (this is the lowest price I’ve seen!)

Ergobaby 360 All Carry positions Ergonomic Baby Carrier, $79.99 with your RedCard

Ozark Trail 22-Piece Camping Combo– $79

Incredible Deals on Magazine Subscriptions

LEGO City  Great Vehicles Kayak Adventure 60240 Building Kit, $5.99

Huge Discounts on Basketball Hoops– up to 70% off

Smashbox Makeup Brushes (half off!!)

Fuji Instax Mini with Film & Sleeve– $35 for new customers (use coupon code NEW20)

Victrola Vintage Suitcase Turntable– $39.99 (55% off)

Just Dance 2020, $24.99

Looking for more great gift ideas? Check out this year’s gift guides!

100 Unique Stocking Stuffers Everyone Will Love 100 unique stocking stuffers for everyone on your list
Unique Gift Ideas for Kids of All Ages unique gift ideas for kids of all ages

Unique Gift Ideas for the Man Who Has Everything from MomAdvice.com unique gifts for the man who has everything

Unique Gift Ideas for Tweens & Teens unique gift ideas for tweens and teens

I hope that this inspires your gift-giving this year! Let me know if you got anything and what you thought!

Honest truth: I am always thankful to be a part of ANYONE’S holiday!

As an Amazon Associate I earn from qualifying purchases.

This post contains affiliate links from RewardStyle. Thank you for supporting our website through your purchases.

2019 Black Friday and Cyber Week Deals

Pin It

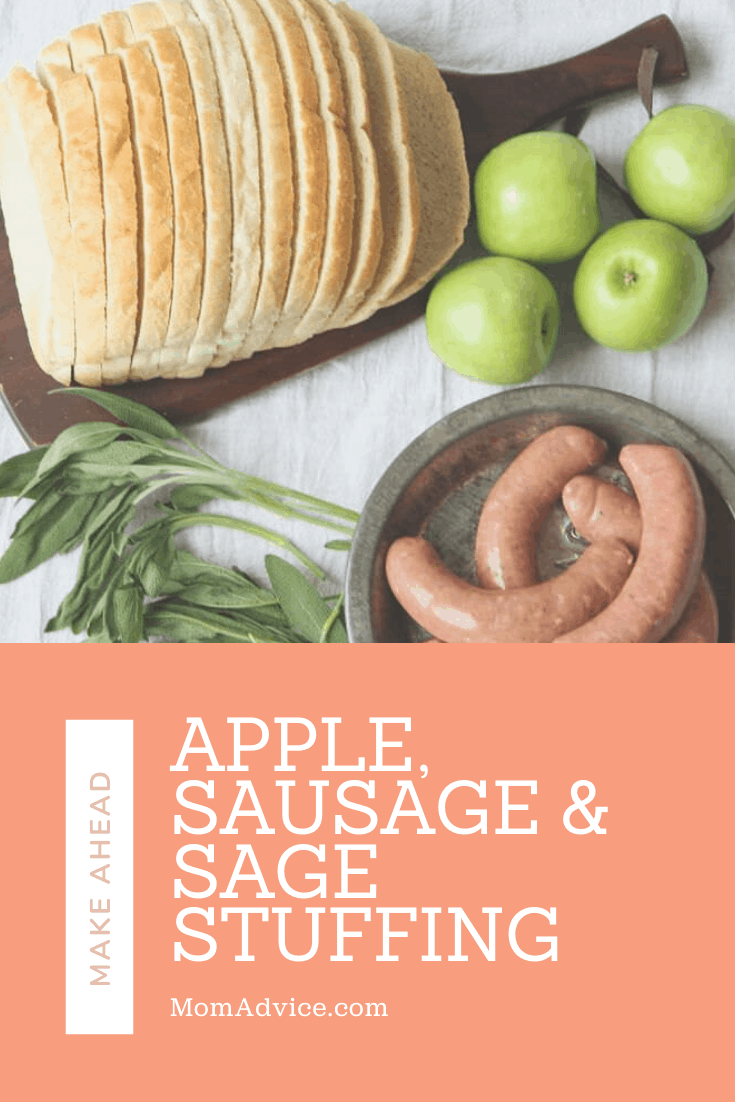
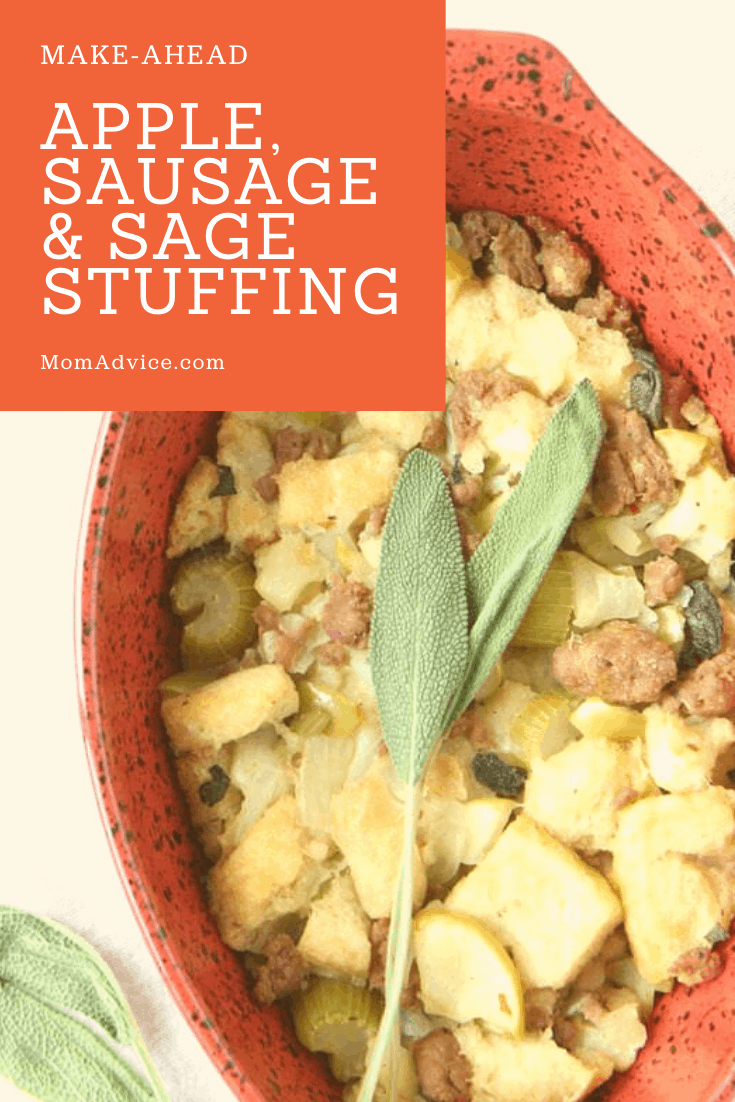
Make-Ahead Apple, Sausage, And Sage Sourdough Stuffing

Monday, November 25th, 2019

Make-Ahead Apple, Sausage, And Sage Sourdough Stuffing from MomAdvice.com.


I’m back again with another fun Thanksgiving make-ahead recipe.

Today’s recipe is an apple, sausage, and sage sourdough stuffing that tastes just as good as it sounds.

This recipe is easy to prepare and can be made-ahead and placed in your freezer for the big day, which means one less thing for you to worry about on the day of your big feast!

Make-Ahead Apple, Sausage, And Sage Sourdough Stuffing from MomAdvice.com.


Have you ever made your own stuffing?

It is one of the easiest and most rewarding dishes to create for the holiday season.

My grandma made a mean dressing when I was growing up, but stuffing was definitely something that came out of a box.  

I remember in sixth grade when we had to do a Thanksgiving play and I was supposed to pretend to make stuffing and had no idea what the teacher was talking about when he handed me a loaf of bread and celery.

What the heck was that for?

Being the true foodie I am,  I still don’t think the boxed stuff is that bad, and you can’t beat the ease of preparation.

It doesn’t hurt to gourmet things up a bit once in awhile though, especially when you can put this in your freezer and save it for the big day!


Make-Ahead Apple, Sausage, And Sage Sourdough Stuffing from MomAdvice.com.


The biggest challenge with stuffing is all of the dicing and chopping to get the ingredients prepared.

A handy food chopper can be your best friend when chopping up ingredients like onions or herbs.

Once the ingredients are chopped though, it is just a simple matter of mixing them up and then placing the stuffing in the pan for baking.


Make-Ahead Apple, Sausage, And Sage Sourdough Stuffing from MomAdvice.com.


I really love the ingredients in this recipe because they are the perfect balance of sweet and savory.

I used turkey sausage in this recipe, but you could certainly substitute with chicken sausage instead.

I love Granny Smith apples for baking because they maintain their texture and firmness in this dish.

Leave the skins on for a little added color to your stuffing (not to mention, a little fiber too!)


To prep this dish ahead, I purchased some inexpensive foil pans and to make sure that there is no leaking from the lid.

If you are preparing right away, you can just add the apple stuffing mixture to a casserole dish instead.


Make-Ahead Apple, Sausage, And Sage Sourdough Stuffing from MomAdvice.com.


I baked up a little dish for you to show you what this looks like when it is all done.

The top is crunchy and the inside is delicious and fluffy.

The apples add tartness while the onions, celery, and turkey sausage add a little savoriness to the stuffing.

When these ingredients are all baked together, it is like a little symphony in your mouth!

Reserve a few sprigs of sage to garnish the top of your dish!


Make-Ahead: Apple, Sausage, And Sage Sourdough Stuffing
 
Recipe Type: Side
Author: Adapted from Whole Foods
Prep time:
Cook time:
Total time:
Serves: 12-14
A little bit sweet, a little bit savory. This sourdough stuffing filled with apples, sausage, and onions is a a delicious crowd-pleaser that can be made ahead for the holiday season.
Ingredients
  • 1 loaf sourdough bread, cut into 1/2-inch cubes (about 11 cups)
  • 1 tablespoon olive oil
  • 3/4 pound fresh mild turkey or chicken sausage
  • 4 Granny Smith Apples
  • 3 stalks celery, thinly sliced
  • 1 large onion, diced
  • 2 tablespoons unsalted butter
  • 2 1/2 cups low-sodium chicken stock
  • 1 teaspoon poultry seasoning
  • 1/3 cup chopped fresh sage leaves
  • 3/4 teaspoon fine sea salt
  • 1/2 teaspoon ground black pepper
  • Reserved sage leaves (for garnish)
Instructions
  1. Preheat oven to 300°F. Spread bread cubes out on two large rimmed baking sheets and bake until dried but not browned, about 15 minutes. Transfer to a large bowl.
  2. In a large skillet, heat oil over medium-high heat. Remove the sausage from the casings, and add it to the skillet to cook, breaking up chunks with a spoon, until browned, about 6 minutes.
  3. Add apples, celery, onion and butter and cook, stirring occasionally, until apple and vegetables are softened, 8 to 10 minutes more. Add to toasted bread. Stir in broth, poultry seasoning, sage, salt and pepper.
  4. Add stuffing to a freezer-safe greased 9×13 foil pan. Place in the freezer (for up to four weeks). 1-3 days before, remove the stuffing from the freezer. Drizzle a 1/2 cup additional chicken stock over the top to moisten the stuffing. Heat oven to 350°F and bake until lightly browned and crisp on top, 50 to 60 minutes. This stuffing can also be stuffed in your turkey, just be sure that the stuffing has cooled before proceeding.
  5. Garnish with fresh sage leaves.


Apple, Sausage & Sage Stuffing MomAdvice.com


Are you following along in our make-ahead Thanksgiving series?

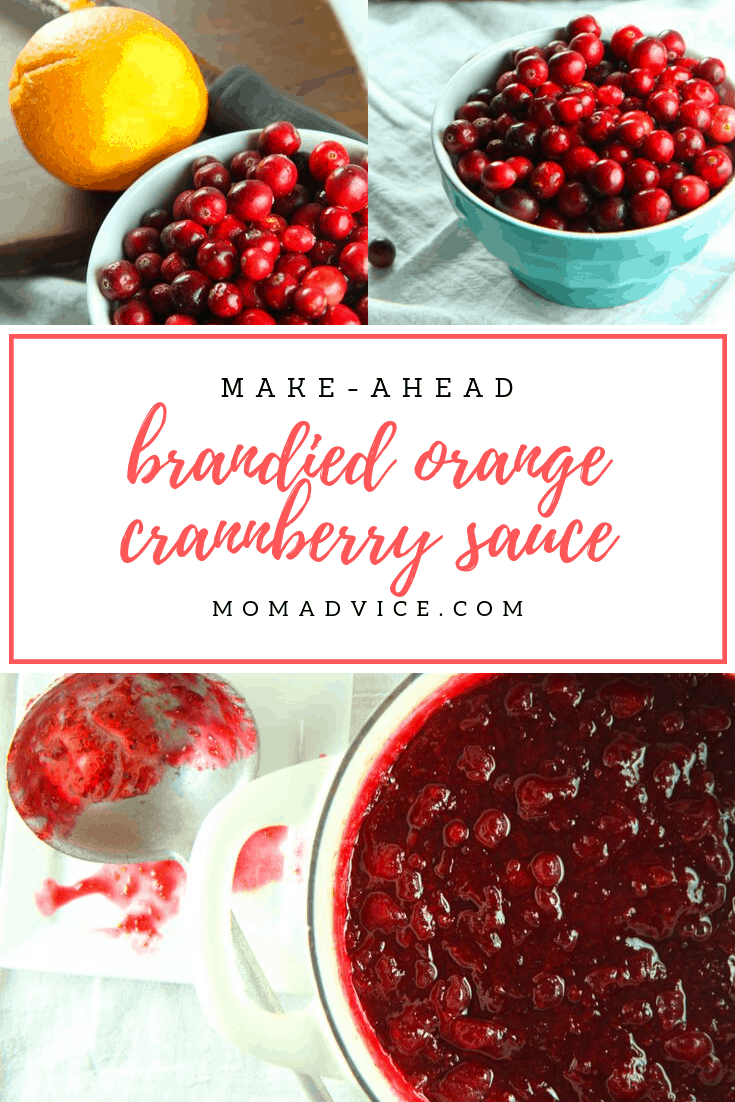
Be sure to check out our Brandied & Orange Cranberry Sauce


Make-Ahead Cranberry Sauce from MomAdvice.com


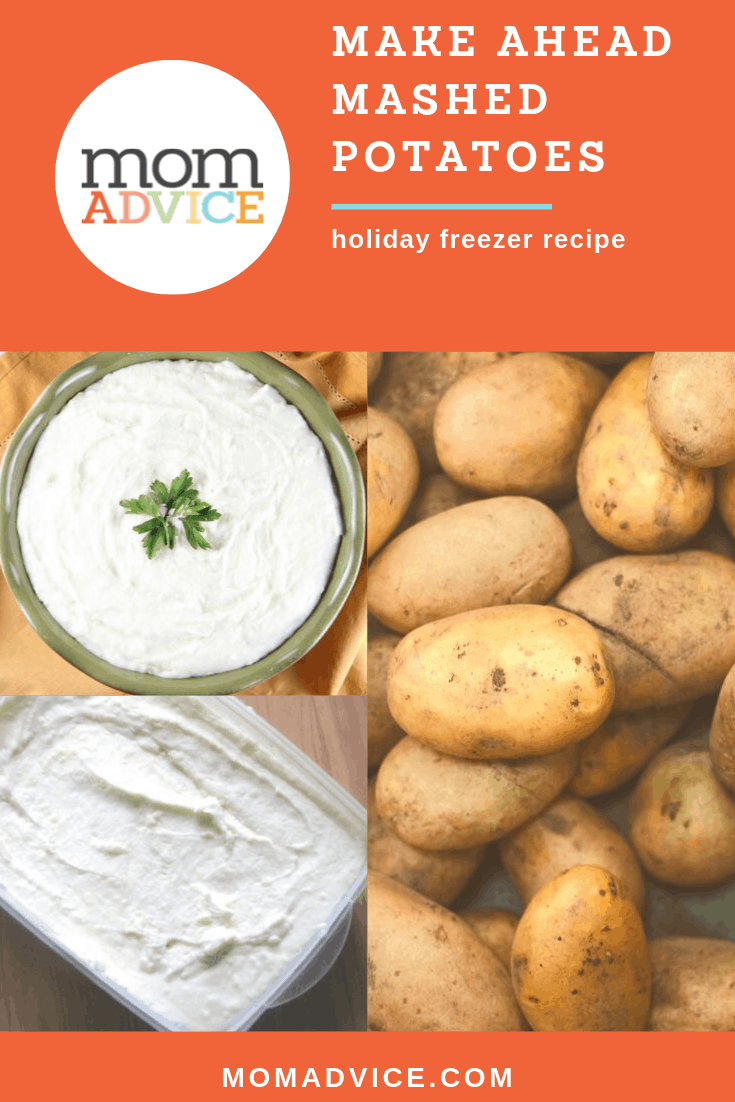
Mashed Potatoes


make-ahead holiday mashed potatoes from MomAdvice.com


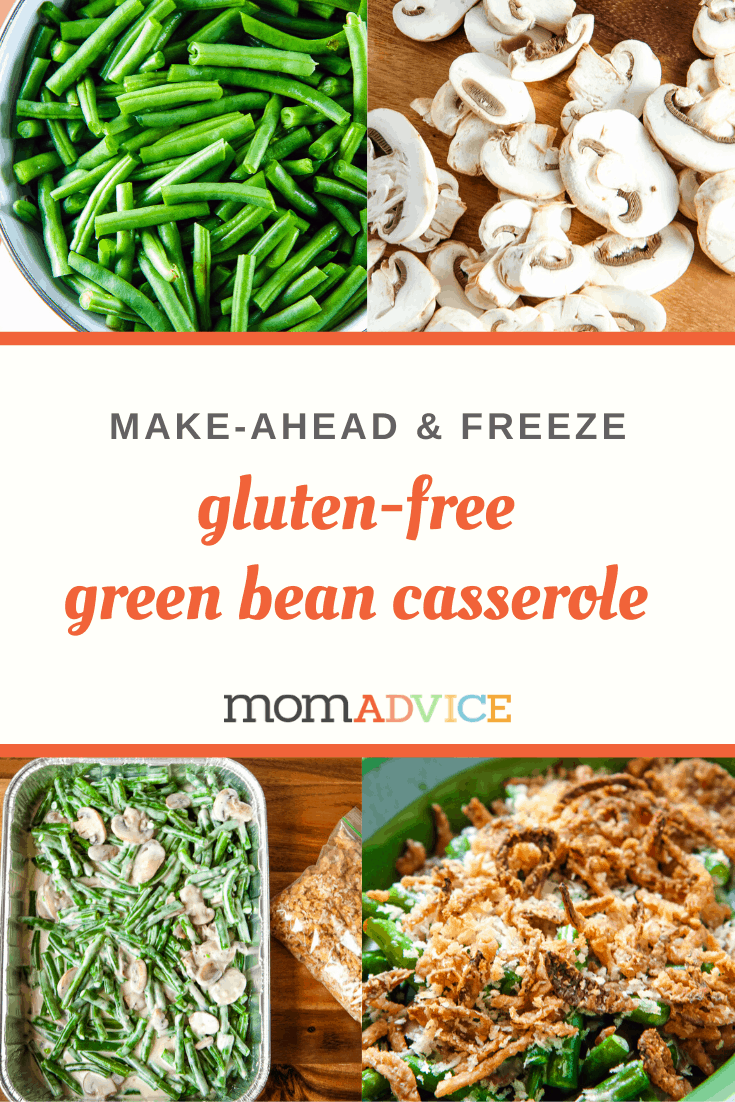
Green Bean Casserole


Make-Ahead Green Bean Casserole from MomAdvice.com


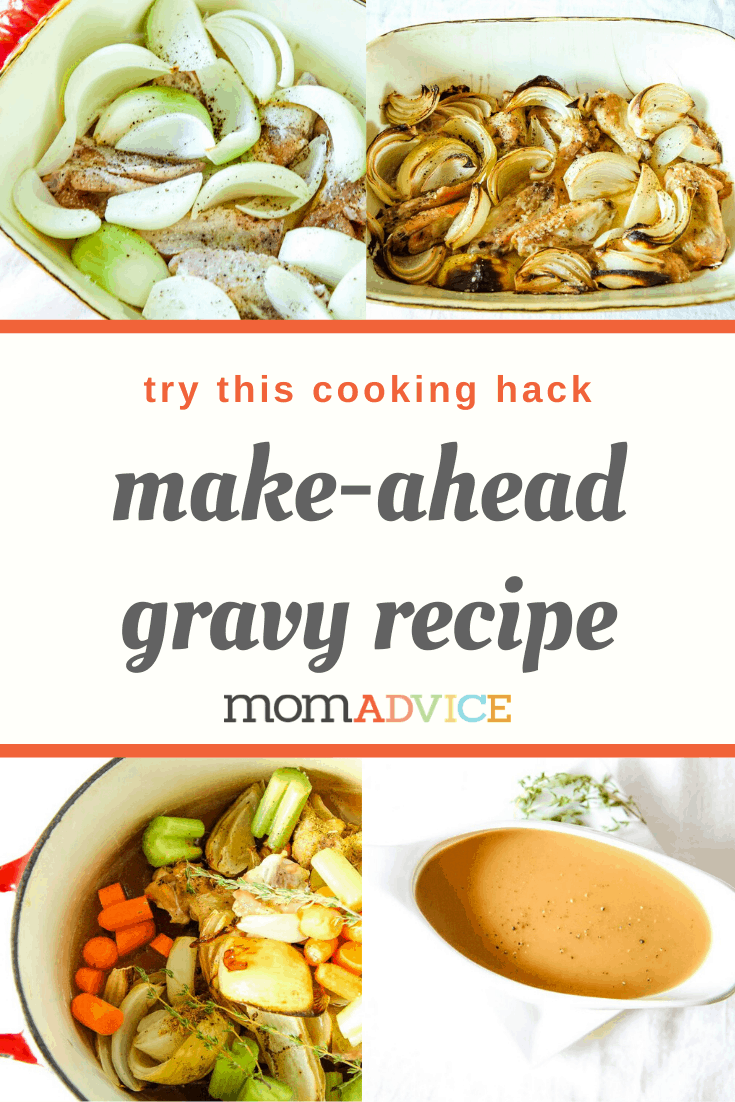
and Make-Ahead Gravy


Ultimate Make-Ahead Gravy Recipe from MomAdvice.com


Sign up for the MomAdvice newsletter


This post contains affiliate links. As an Amazon Associate I earn from qualifying purchases.


Don’t miss these other great Thanksgiving ideas from MomAdvice:


Fancy Up Store Bought Pies MomAdvice.com

Dress-Up Store Bought Pies


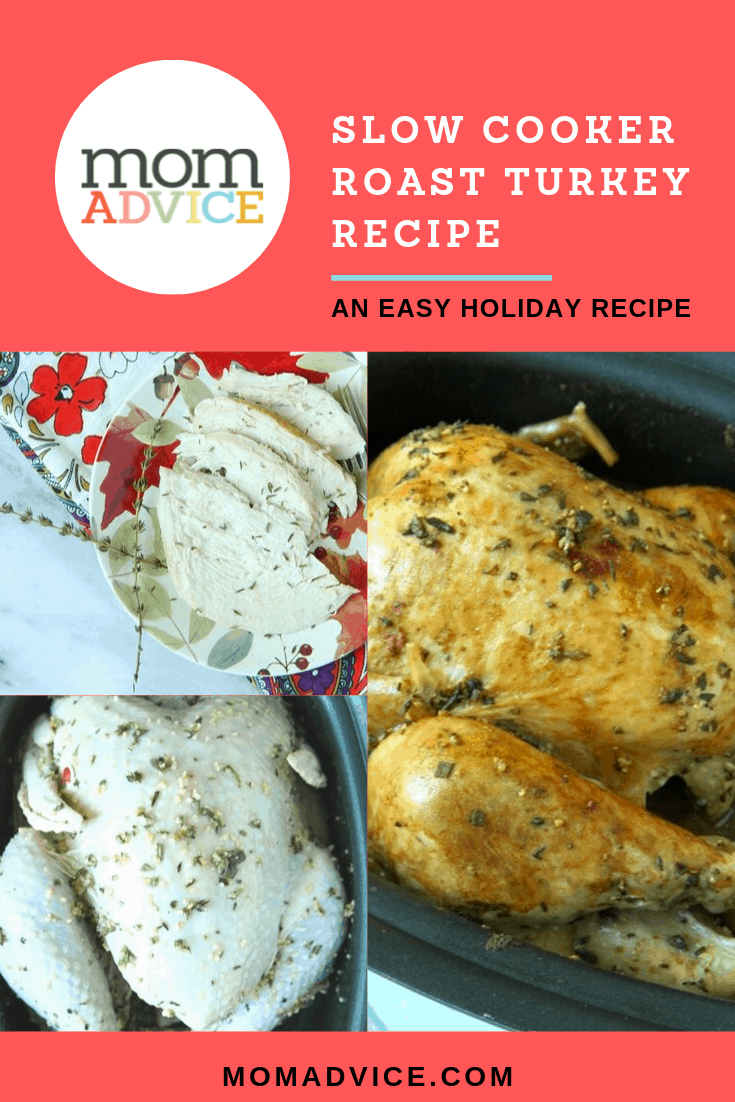
Slow Cooker Turkey Recipe from MomAdvice.com

Slow Cooker Roast Turkey


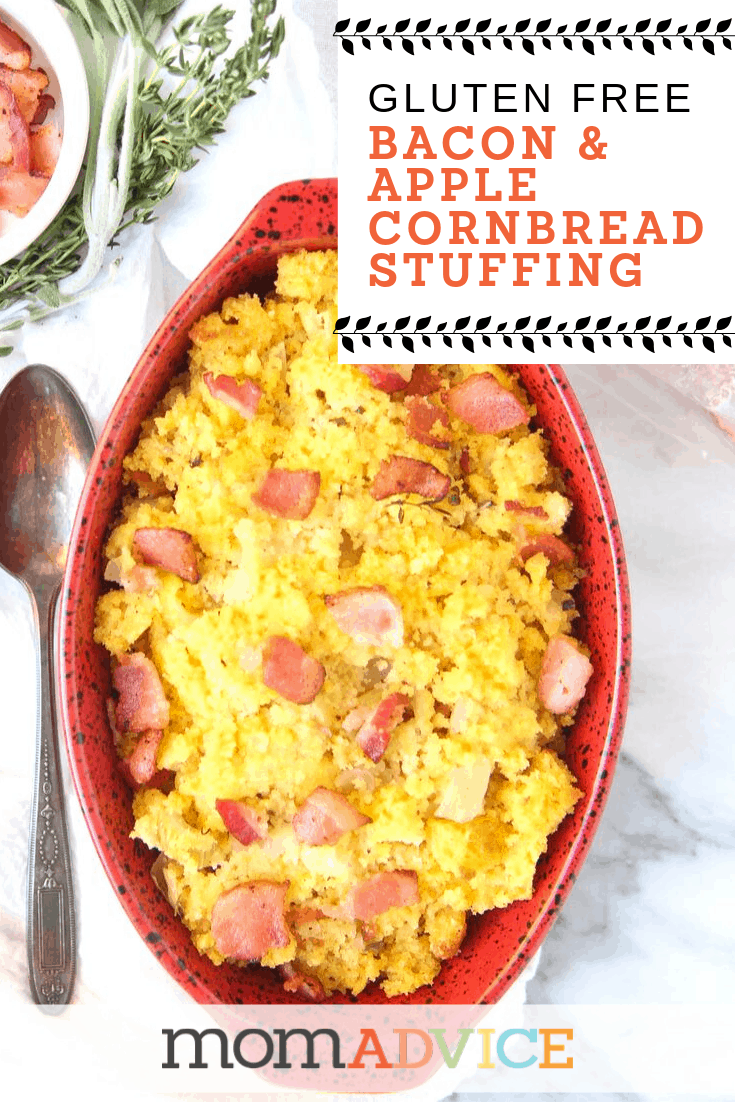
Bacon, Apple, and Cornbread Stuffing from MomAdvice.com

Gluten Free Bacon, Apple & Cornbread Stuffing


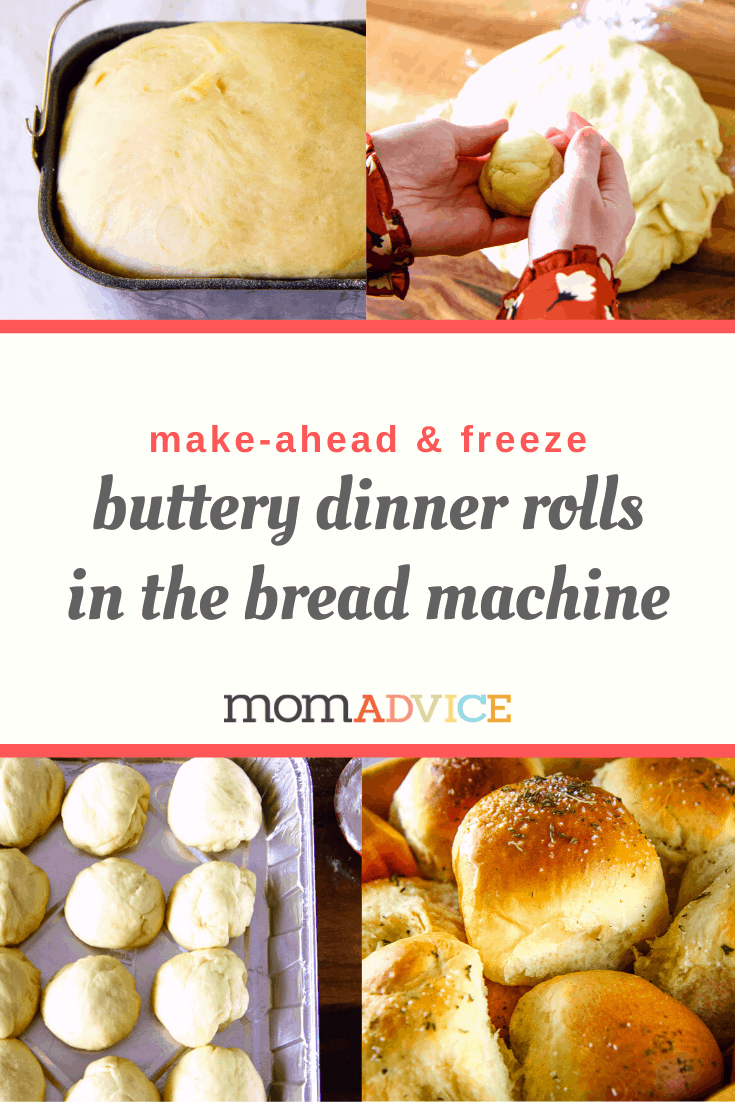
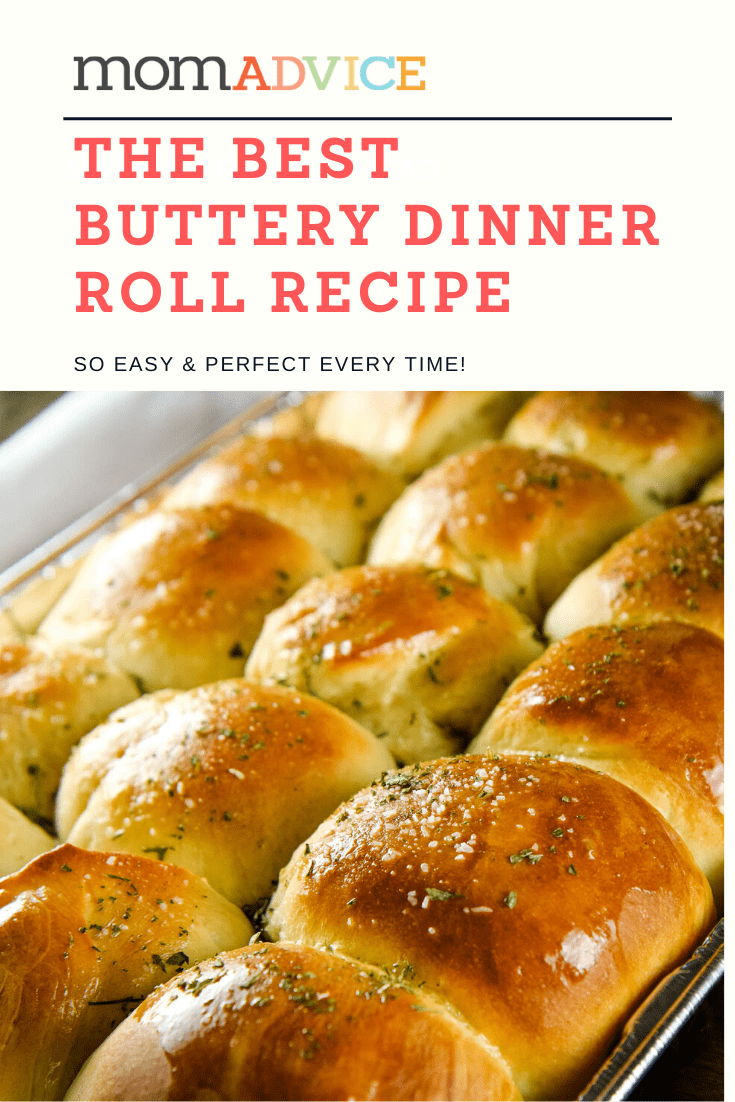
Buttery Dinner Rolls in the Bread Machine from MomAdvice.com

Make Ahead Buttery Dinner Rolls


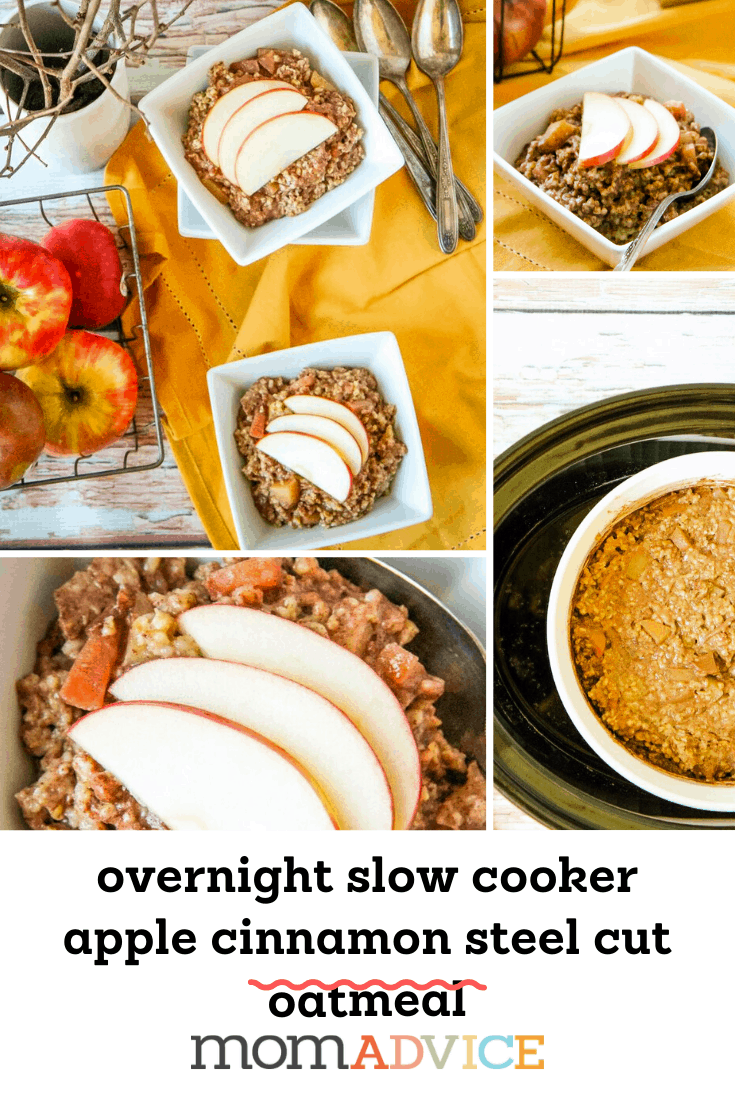
Overnight Slow Cooker Apple Cinnamon Steel Cut Oatmeal Header

Slow Cooker Oatmeal for Fall


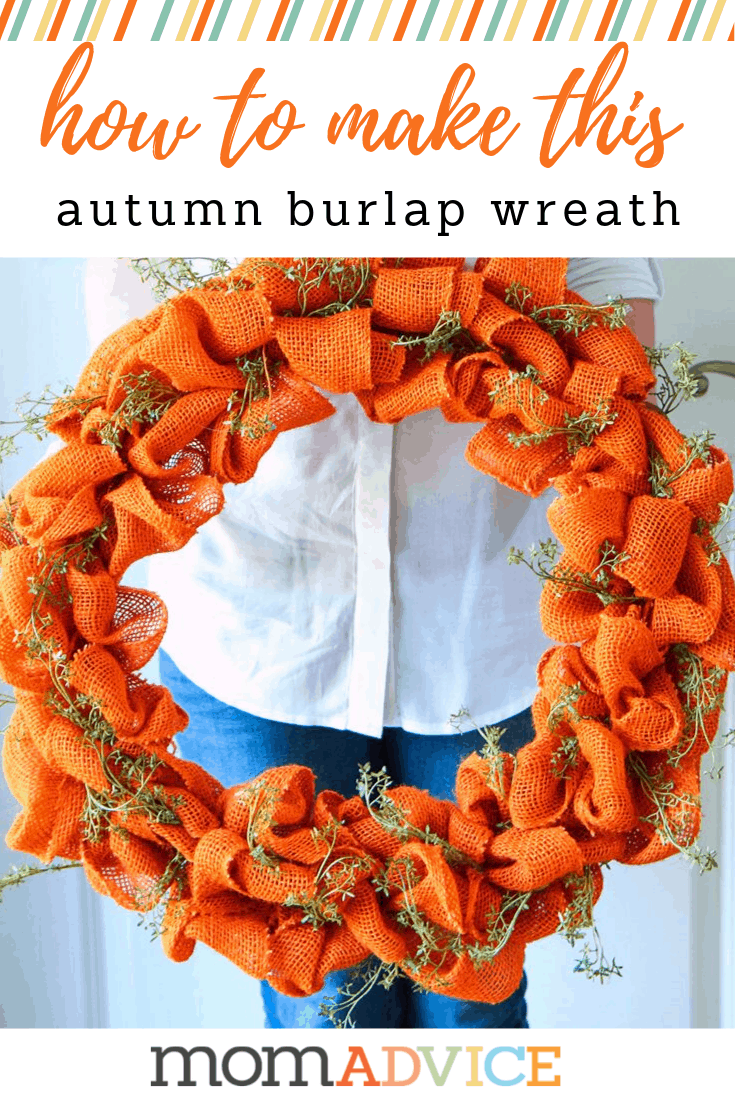
how to make an autumn burlap wreath from momadvice.com

DIY Autumn Burlap Wreath


Apple,Sausage & Sage Stuffing MomAdvice.com


Pin It

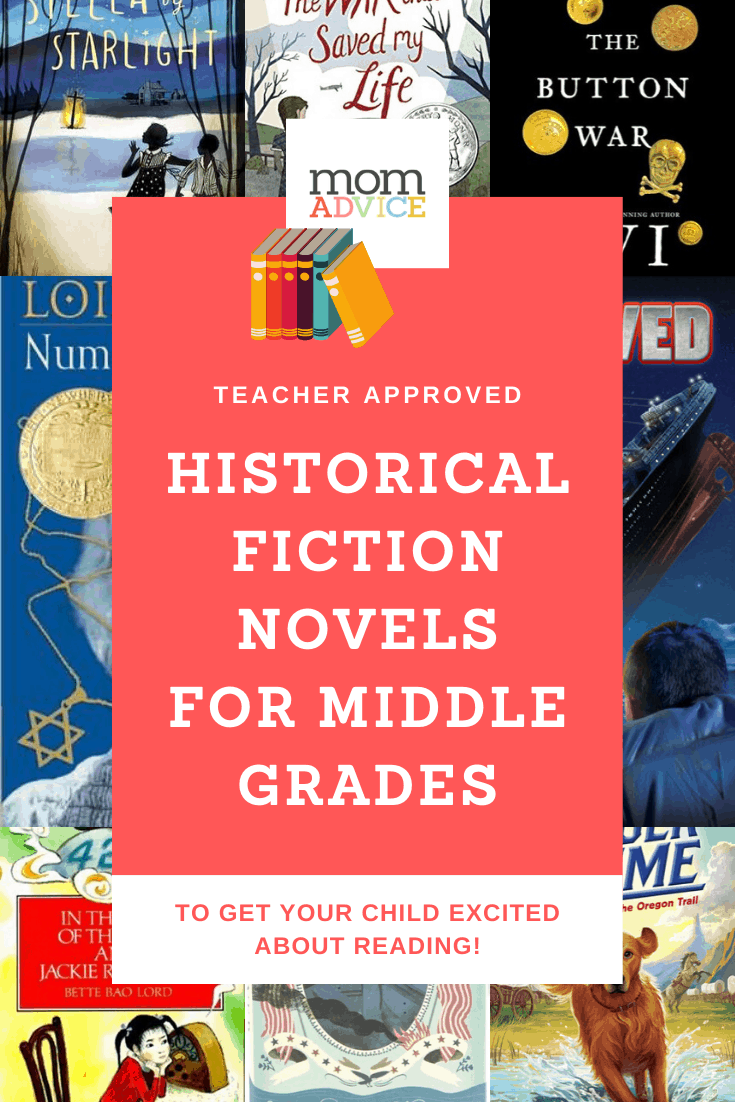
9 Historical Fiction Novels for Middle Grades

Monday, November 25th, 2019

Historical Fiction Novels for Middle Grades MomAdvice

Are you looking for the historical fiction books to get your middle grade reader excited about history? Check out these incredible historical fiction for kids recommended by one of our favorite teachers. These great chapter books will get your middle grade child reading and learning about history.

9 Historical Fiction Novels for Middle Grades

from our reading contributor for kids, Julie.

One of my favorite genres is Historical Fiction.

I love being able to learn new facts about a time period while also being pulled in by the story and characters.

Since this is one of my favorite genres, I love introducing students to historical fiction.

It is so fun to From the California Gold Rush to the Civil War to World War I, here are nine historical fiction novels I would recommend for your middle grade child.

As a word of caution, some historical fiction novels are more graphic than others so while a book may be recommended for children 10+, it may not be a good fit for your 10+ child.

You know your child best, so use your best judgement when suggesting books to them.

By the Great Horn Spoon

California Gold Rush

By the Great Horn Spoon  – Follow twelve-year-old Jack and his butler around the Great Horn Spoon on their way to California where they hope to strike it rich.

A book filled with adventure, laugh out loud moments, and information about the Gold Rush. Age: 8+

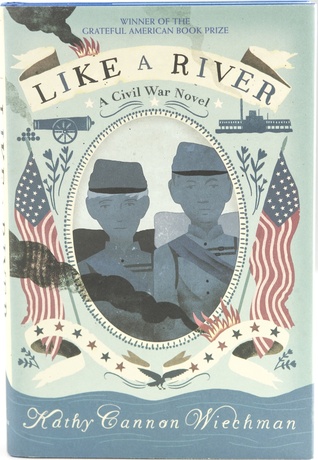
Like a River

Civil War

Like a River: A Civil War Novel – This is the story of two teenage soldiers in the Civil War and both of their stories have a surprising twist. Leander is underage when he enlists and Polly follows her father into war disguised as his son.

As their lives intersect they will face the harsh realities of war head-on and learn about courage, loyalty, family and love. Age: 12+

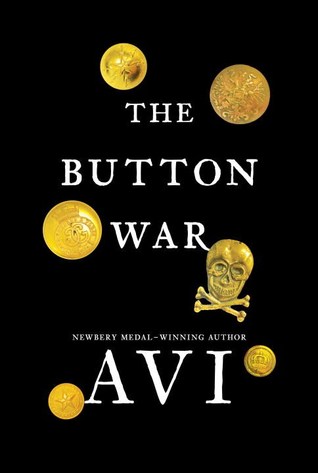
The Button War

World War 1

The Button War – Set in Poland in 1914, The Button War, follows a group of boys in a war-torn village in Poland.

When a simple dare is issued, the boys set out to prove they have enough courage to follow through with the dare and things quickly get out of control.

Told from the perspective of the boys, this book is quite appealing to boys. Age: 10+

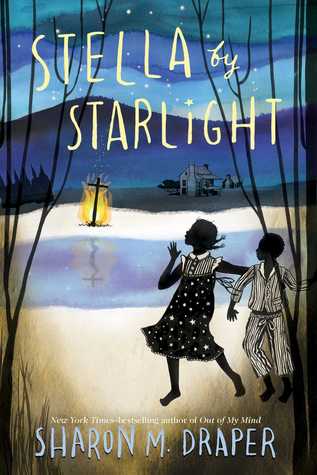
Stella by Starlight

The Great Depression

Stella by Starlight – Set in the segregated south, Stella by Starlight introduces us to Stella who lives in a time when Jim Crow laws were active.

Stella witnesses something not meant for her eyes when she heads out past her bedtime and then has to grapple with the implications and impact of this event.

A deep book with both sorrow and joy, this book will spark conversation about race relations. Age: 9+

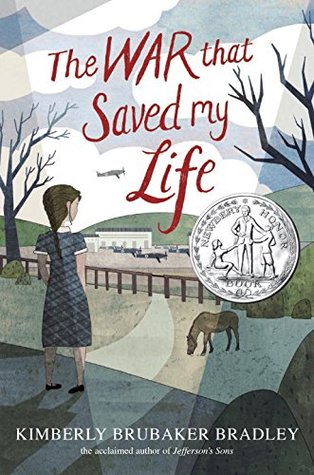
The War That Saved My Life

World War II

The War That Saved My Life – This book is so good I’d recommend it to adults right along with kids!

Set during the war, but about so much more than the war.

As you connect with Ada and follow her journey from being locked in the house to learning to accept the kindness of strangers, you’ll experience many emotions right along with Ava.

There is a sequel to this book if you want to continue with Ada and Jamie’s story. Age: 10+

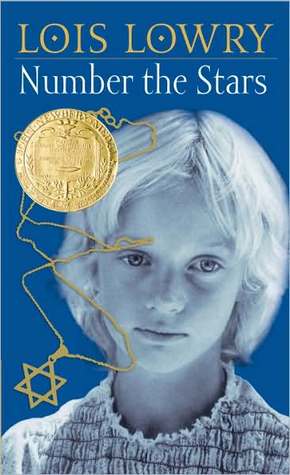
Number the Stars

Number the Stars – Set in a German-occupied Denmark, the story of how the Danish people smuggled thousands of Jews out of their country often goes untold, but it is a truly amazing story of courage and kindness.

The story follows Annemarie and Ellen and is a good way to introduce children to the Holocaust.

While not as graphic as many other World War II novels, it is still quite emotional. Age: 10+

Post-World War II

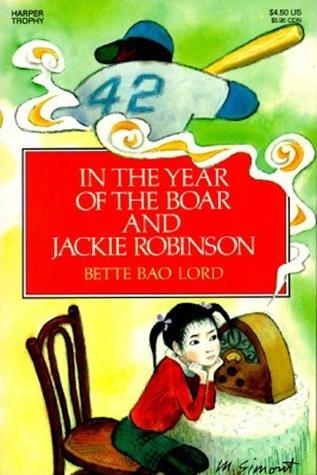
In The Year of the Boar and Jackie Robinson – This book tells the story of an immigrant experience in the United States during the mid-1940’s.

Shirley Temple Wong moves from China to America filled with many hopes and dreams, but the reality is more difficult than she expected.

Her unexpected connected with Jackie Robinson makes for a delightful story. Age: 8+

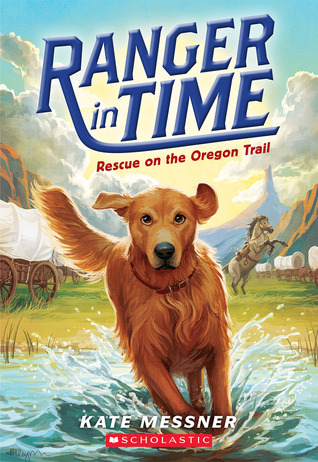
Ranger in Time

I Survived

Honorable Mentions

Ranger in Time & I Survived – This isn’t a recommendation for a single title, but for kids who are especially drawn to the historical fiction genre, these two series should definitely be on the list!

Historical Fiction Novels for Middle Grades MomAdvice

About Julie- 

Having taught in both California and Pennsylvania and everything from 3rd to 8th grade, this year Julie is teaching 3rd grade at an elementary school in Southern California. She enjoys helping her students fall in love with reading and reading during the school day is a big priority. Julie loves traveling in her free time and always makes time to pop into local bookshops when she travels. When she’s not reading or teaching, she loves running, cupcakes and Christmas.  You can find her blogging too over on her blog, Girl On the Move.

Sign up for the MomAdvice newsletter

This post contains affiliate links. As an Amazon Associate I earn from qualifying purchases.

Don’t miss these other great reads on MomAdvice:

8 Middle School Series Books to Get Your Child Excited About Reading from MomAdvice.com

Middle School Series Books

Books for Kids who Love Harry Potter MomAdvice.com

Books for Kids Who Love Harry Potter

53 historical fiction novels YOU can escape with


Historical Fiction Novels for Middle Grades MomAdvice

Ear Warmer Headband Knitting Pattern (VIDEO)

Sunday, November 24th, 2019

How to Cable: Knitted Ear Warmers For Those In Need from MomAdvice.com

Learn how to knit this chunky cable knit headband. This is the perfect beginner pattern to learn how to cable. The best part? No cable needles required! Use this free knitting pattern to make these gorgeous ear warmer headbands for women that can keep those ears warm in the fall and winter.

As a knitter, I am often intimidated by things that look too complex.

I find myself gravitating towards things that I think will be easier and not even considering things that I think will take me out of my knitting comfort zone.

Cabling was one of those things for many years. It looked far too complex and I can barely handle the basics of knitting.

Here’s the thing.

It is truly one of the easiest things you can do in knitting especially when you know a few of my favorite tricks for cabling quickly.

Today I want to show you how to cable and how this project can benefit someone in need.

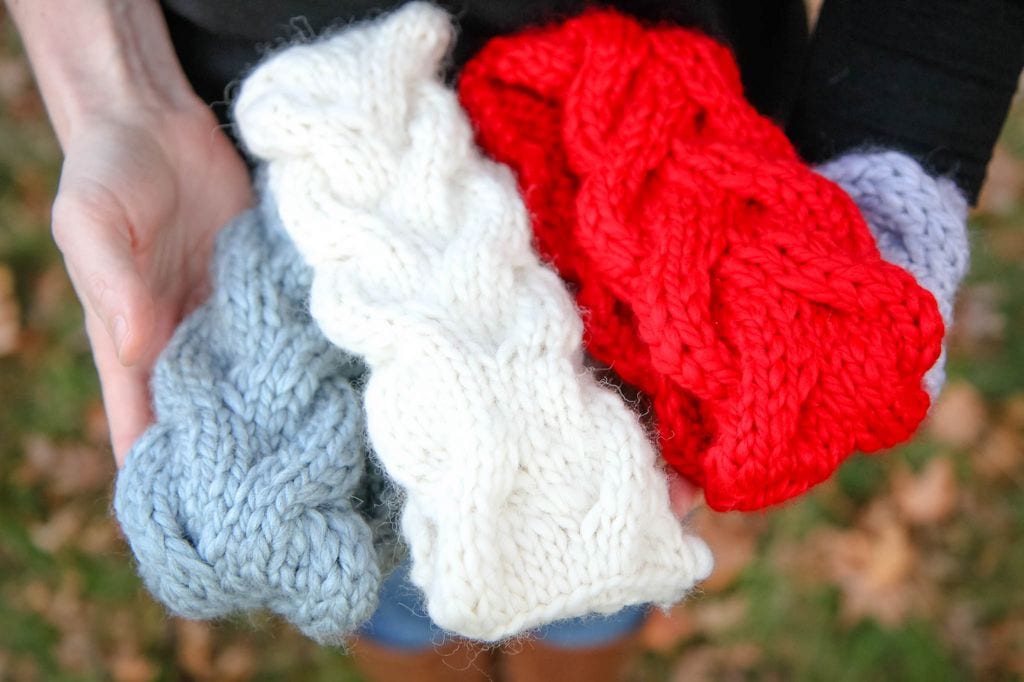
Ear Warmer Headband Knitting Pattern Close-Up Different Colors

This is the time of the year where the homeless and those in need really need us.

When the temperatures drop and you are in that cold-in-your-bones zone, you are welcomed by the warmth of your home, maybe a fire, and a hot drink to settle in with when you arrive home.

What if you had nowhere to escape?

Worse yet, imagine you were out in the cold without the warmth of a hat, gloves, or a scarf.

Let’s think of the children whose families can’t afford these simple luxuries of warmth.

You can’t knit a hat?

I get it!

Those double-pointed needles are a pain in the rear, aren’t they?

That is why I thought a simple knitted headband would be a great option for gift-giving and for a quick gift to share with those in need.

In fact,I highly recommend knitting a few of these for your homeless care packages to keep in your car.

Here are a few questions that I get asked a lot when it comes to knitting!

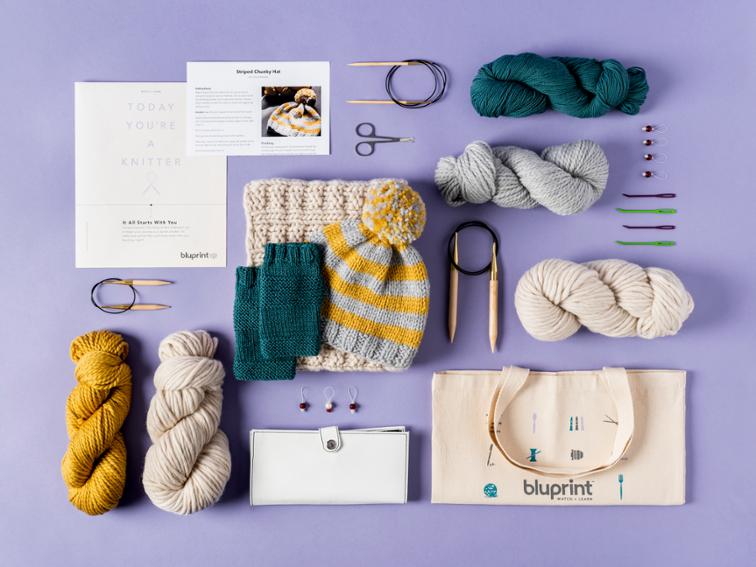
Bluprint Craft Box for Knitting

I Want to Learn to Knit. Where Can I Learn How to Knit?

Want to learn how I learned how to knit?

A good friend taught me.

She had all of her friends over that wanted to learn and I was one of the only ones that took this skill and has never stopped.

I am also pretty darn lucky because my mother-in-law is a knitter and has helped me through many of my more complex problems.

If I didn’t have these resources, I would take courses online that fit with my schedule.

Here are 5 of my recommendations on how to learn to knit. If you want to give your family a gift idea, consider asking for a gift card to cover your classes!

Skillshare

Honestly, this is going to be your most affordable option for knitting courses and I use my membership ALL THE TIME.

The best part is that you don’t have to be limited to just knitting.

This platform has classes for EVERYTHING. I have been taking an amazing weaving course through this that has helped me get started on my loom.

For business, I have been learning how to work on technical aspects of my site.

I can’t recommend it enough. In fact, this link should give you two months of free classes to get you started.

Bluprint Classes

I ask for Bluprint classes almost every Christmas (and for my birthday) and absolutely love them.

I have taken courses on knitting, cake decorating, and even food photography classes so I can do a better job showing food off for you here.

They are constantly running specials so it is easy to find an affordable class. If you like them, they also offer unlimited monthly class memberships too.

All Free Knitting

If you are on a budget, you can use this free resource to learn to knit. This is still set up as an organized course series, but costs you zero bucks.

YouTube always helps, as a great assistant, when using free online classes. I still pull up videos all the time to learn more complex stitches.

Bluprint Craft Box Subscription

Again, this is one of those fantastic gift ideas to ask for.

Bluprint (formerly Craftsy) curates incredible craft boxes that give you the supplies and everything you need to get started with a craft project.

They send you supplies, instructions, and everything you need to try a new craft. You get sent four boxes a year to learn new craft skills.

The best part?

It also includes a premium subscription so you can take unlimited online classes too.

How Do I Pick the Right Yarn for My Knitting Projects?

The yarn aisle can be very intimidating to new knitters. I can’t tell you how many times I have assisted fellow craft store shoppers with finding the right yarns for their projects.

Yarn can be light and delicate or super chunky and bulky (like the project that we are doing today).

Without getting TOO technical, the Craft Yarn Council assigns numbers to yarn that tell you what type of weight they are (you can see their detailed chart online) and these numbers can range from 0 (which would be perfect for knitting lace) all the way up to 7 (which would be used in a pattern like this chunky knit blanket I made).

At the top of the pattern, you should see what yarn weight category is recommended. While this pattern did call for 7, I felt like it became too wide and turban like (for my head) so I used a bulky weight of 5.

What is a Yarn Lot Number and Why Should I Care About It?

For small projects, you might not need to worry about this as much, but you can still end up with two balls of yarn with the same color name, but NOT be the same color.

Why?

Yarns with the same dye lot number were all dyed at the same time. Dying is a chemical reaction and that can make items dyed at different times turn out differently, even if the dye recipe was identical from one dyeing session to the next.

I could go into crazy details, but I don’t think it is important for this project.

What you should know is that it is almost impossible to get an exact match between yarns dyed in different dyeing sessions.

I am not talking about just pretty artisan yarn either, I’m talking about the big brands, like Lion Brand or Red Heart, can also have completely different dye jobs.

It happened to me once when I was whipping up a pom-pom wreath for the holidays.

Make sure that the yarn you get has the same lot number on the package (you can usually just find it by purchasing your yarn all at one store).

If you don’t, you could end up with unintended variations in your finished work.

I Have Arthritis and Hand Pain. What Can I Use to Minimize My Pain While Knitting?

If you are just stopping by from Pinterest, you might be unfamiliar with my story. I have chronic pain in my hands and elbows from a connective tissue disease.

For three years, I stopped knitting because I just couldn’t get my fingers to cooperate.

I am back to knitting (which I’m incredibly grateful for) and these are the tools that helped.

Curable– This app has been transformative for my pain. It uses cognitive behavioral therapy to help you retrain your brain and the pain signals it is sending. It has done more for me than anything else because I am learning to reroute the bad signals to my hands. This takes time and practice, but I’m thankful for a drug-free way to reduce my hand pain.

Oval Ring Splints– Oval rings can act as supporters to your fingers and are one of my most relied upon tools through hand pain. Since they are made from plastic, they can fit/not fit based on weather conditions and inflammation. I recommend one of these sets because it allows you to switch sizes based on the swelling in the joints.

Arthritis Compression Gloves– Compression is your BFF when you have chronic pain and compression gloves are so helpful for arthritis or for Raynaud’s Syndrome. I find that it restores warmth to the tips of my fingers and also feels very comforting to have them compressed.

Ergonomic Knitting Needles– While I haven’t made the investment in these (yet), I do think that this is one more thing you could explore to improve your comfort levels.

Take breaks, as needed, and be patient with yourself. I know how frustrated and sad I was about this. I hope these suggestions can help you as much as they have helped me.

Ear Warmer Headband Knitting Pattern

How to Cable: Free Knitted Ear Warmers Pattern from MomAdvice.com

Supplies Needed

Any Bulky Yarn (My top preferences for this project are the Lion Brand Hometown USA & Lion Brand Wool Ease Thick & Quick)

US 11 Bamboo Needles

US 10 Double-Pointed Needles (you just need one!)

Optional: Stitch Counter (to help you stay on pattern)

How to Cable: Free Knitted Ear Warmers Pattern from MomAdvice.com

(video below)

Trying to show you how to cable in a picture tutorial was a little impossible so today so I thought I would do a video.

I am so terrible at videos so please forgive me.

I’m off to a conference this week where I am hoping to learn more about doing these better for you all- it’s one of those work challenges I need to learn to tackle.

I know how helpful it can be to show these techniques in a video. Scroll to the end of this post to watch!

This cable is called a Shadow cable.

In this pattern, we will be bringing three stitches in front with our double-pointed needle and three stitchescabled laterbehind our work.

This cabling adds a double layer of warmth in this pattern and I’d love for you to scroll down to the bottom so that you can see how I do this.

How to Cable: Free Knitted Ear Warmers Pattern from MomAdvice.com

Cable needles look like this and I have a ton of them.

I hate them.

I usually lose my stitches and I find it difficult to transfer stitches especially when it comes to bulky yarn.

You can certainly buy them,but I recommend just doing a double-pointed needle one size down from the work to grab your stitches.

I am a big fan of bamboo because they grip the yarn so well especially when moving stitches around.

It’s the only type of needles I knit with!

Ear Warmer Headband Knitting Pattern from MomAdvice.com

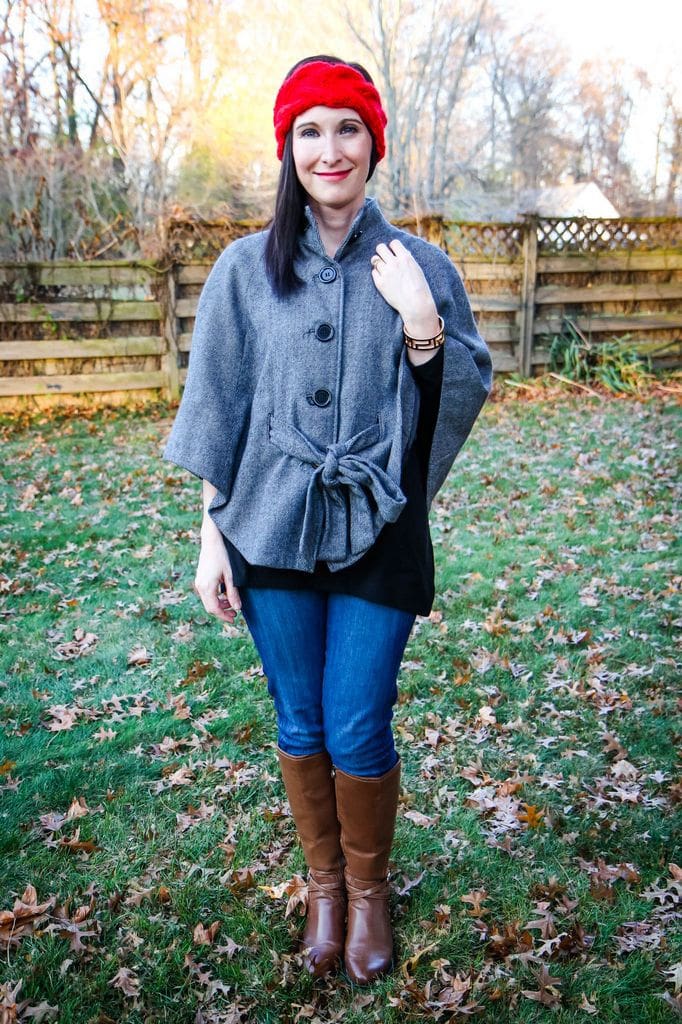
Ear Warmer Headband Knitting Pattern from MomAdvice.com in Red


Not only are these quick to knit (they shouldn’t take you more than two hours!), but I think they look pretty fashionable too. I have noticed that many stores are now carrying these in their hair accessories.

Can we also acknowledge how cute the girls have it these days with hair accessories?

The aisles are filled with gorgeous patterned headbands, head wraps, turban headbands, and hair clips.

It has been so fun seeing the revival, for my daughter, of those adorable scrunchies and wide headbands.

I bet your tween or teen girl would love this homemade gift!

For gals with long hair, ear warmers are a dream for keeping your locks in place.

For ponytail days, you can just pull your hair through a hair band and still have warm ears.

I gave them a test run on the most miserable weather day which is ALWAYS, ALWAYS Halloween.

My husband was freezing, but I was delightfully warm thanks to these cozy ear warmers.

The cabling really adds a double warmth to them.

For particularly rotten Indiana days (I know they are coming), you can layer this under your hat for extra ear protection.

Ear Warmer Headband Knitting Pattern from MomAdvice.com in Blue

Ear Warmer Headband Knitting Pattern from MomAdvice.com


Can you just imagine the warmth you can give this season to someone in need?

This little project is fast to memorize and easy to execute with a good audiobook (can I recommend our books section to you?) or with a great big Netflix binge (I’m sure you can find loads of recommendations on my 3 Little Things list).

Thank you to Nancy Ricci for sharing her beautiful Vanessa Headband Pattern for free with the Ravelry community- I am so honored to share her pattern with you today!

SCROLL TO THE BOTTOM FOR THE PATTERN AND TUTORIAL!

As an Amazon Associate I earn from qualifying purchases.

This post contains affiliate links.

Love this knitted gifted idea? Here are a few more posts I think you will love!

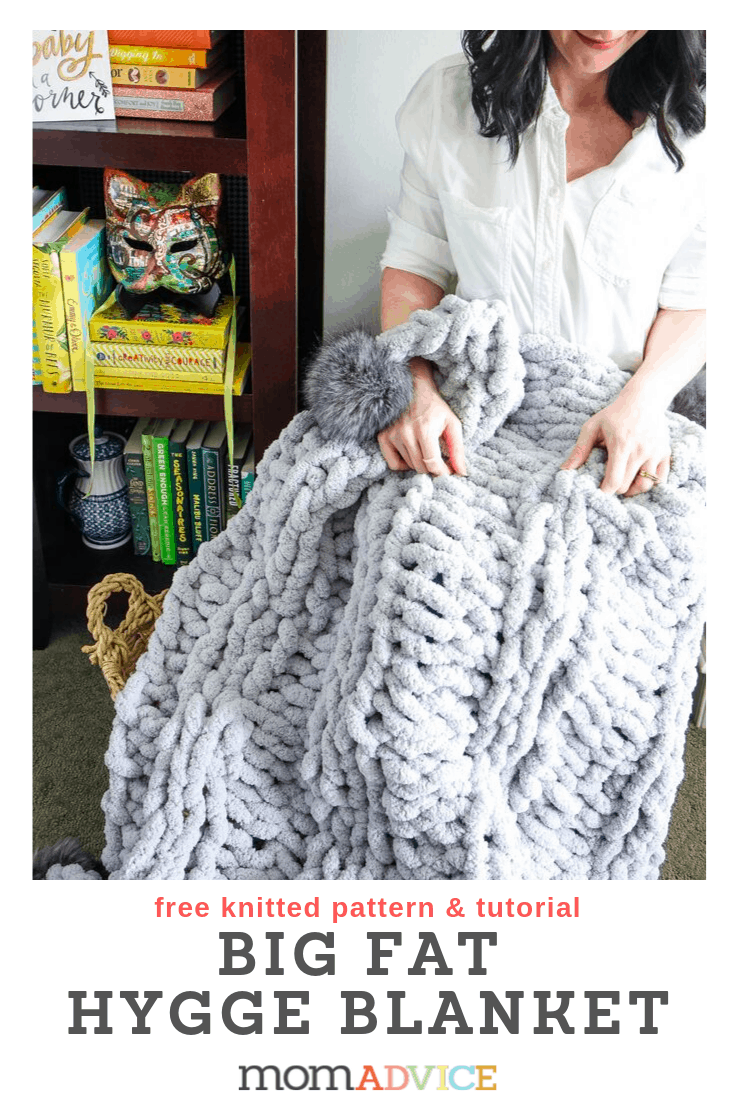
DIY Chunky Knit Hygge Blanket diy chunky knit blanket (big fat hygge free blanket pattern)

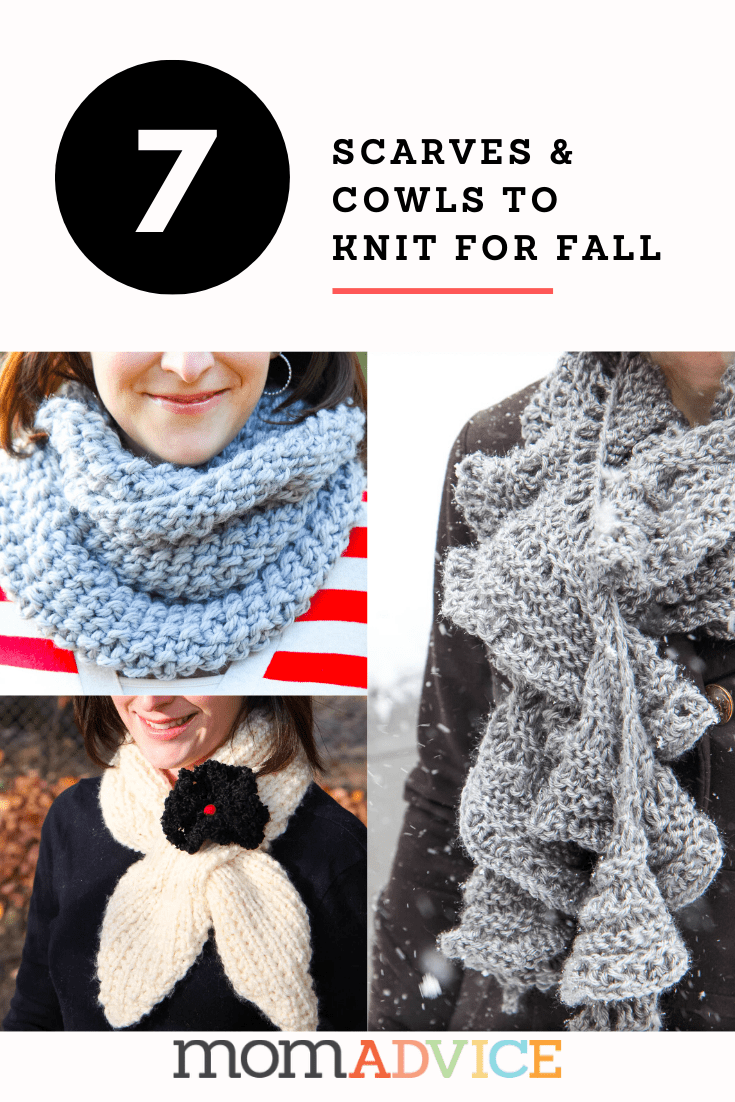
7 easy scarves and cowls to knit this fall 7 free patterns for scarves and cowls to knit this fall

How to Make Knitted Wine Hats & Scarves Wine Toppers how to knit wine bottle hats & scarves for hostess gifts (great way to use scrap yarn!)

knitted coffee cozy sweater tutorial how to make a knitted sweater coffee cozy (these make fun teacher gifts!)

Free Knitted Ear Warmer Pattern Download HERE:Vanessa Headband Pattern by Nancy Ricci

Check out my video below to see just how easy it is to cable with your double-pointed needle!

Visit our Knitting section for more great ideas and be sure to friend me on Ravelry! You can also pick up my beautiful knitted boot cuff kit in stores RIGHT NOW! Happy knitting!

Ear Warmer Headband Knitting Pattern from MomAdvice.com

Ear Warmer Headband Knitting Pattern from MomAdvice.com Header

 
Pin It

Best Advent Calendars for Kids (FREE Printable!!)

Sunday, November 24th, 2019

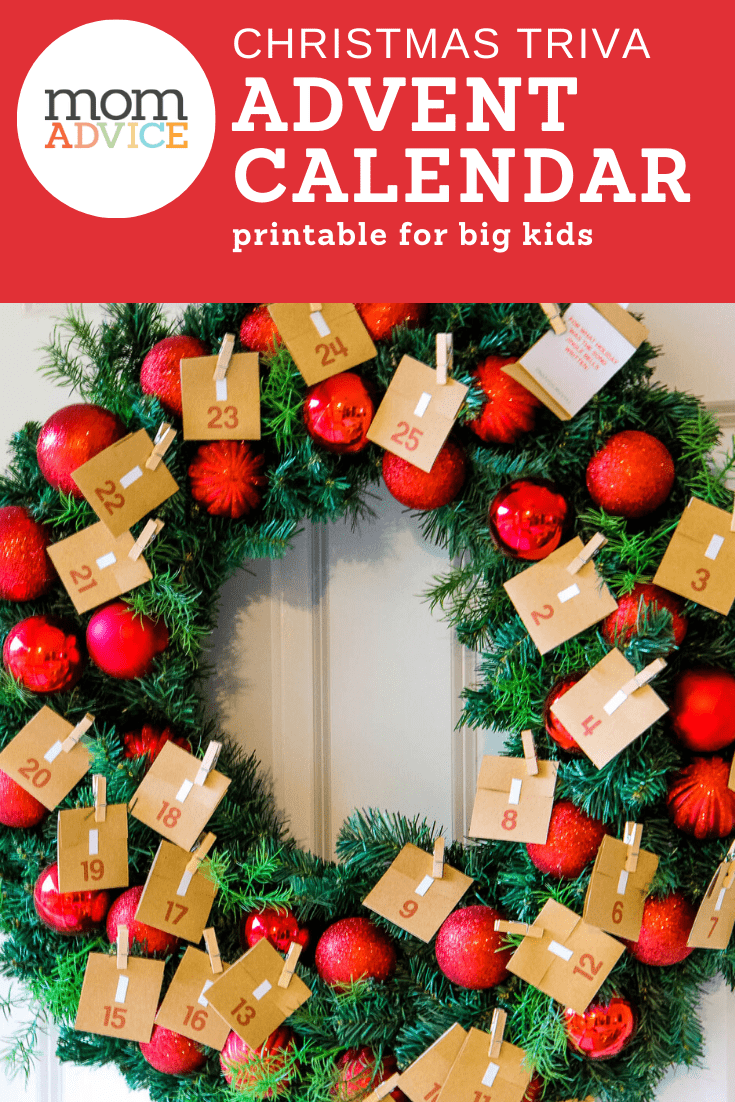
Best Advent Calendars For Kids from MomAdvice.com

Looking for advent calendar for kids. This free printable advent calendar includes fun Christmas themed trivia questions for the holiday season. Counting down to Christmas couldn’t be more fun (or more affordable!) Download our countdown to Christmas on the blog today!

I never did an advent calendar growing up so I, honestly, had to look up what the heck these were when other moms talked about them.

In honor of today’s trivia theme, do you know how the advent calendar originated?

As with many of our Christmas traditions, this one originated out of Germany. In the early 20th century, Gerhard Lang’s mother made him a calendar with 24 small candies attached to cardboard, one for each day before Christmas.

Lang grew up and opened Reichhold & Lang printing company where he printed the first Advent cardboard calendar with 24 little pictures. Then, just a few years later, the company printed the first calendar with the little doors that everyone loves to open. 

Just imagine what kind of craft celebrity Gerhard’s mom would have been on Pinterest.

That’s pretty much, an original viral project.

I am so excited to share this fun FREE printable advent calendar with you that our amazing contributor, M.J. designed for us!

Best Advent Calendars For Kids from MomAdvice.com

From our graphic designer, MJ at pars caeli

Advent calendars are just the cutest, right?

That is–until you have to fill/create/arrange them!

This year we’re going simple with our countdown to Christmas, and we want to make it easier for you, too, with a printable calendar.

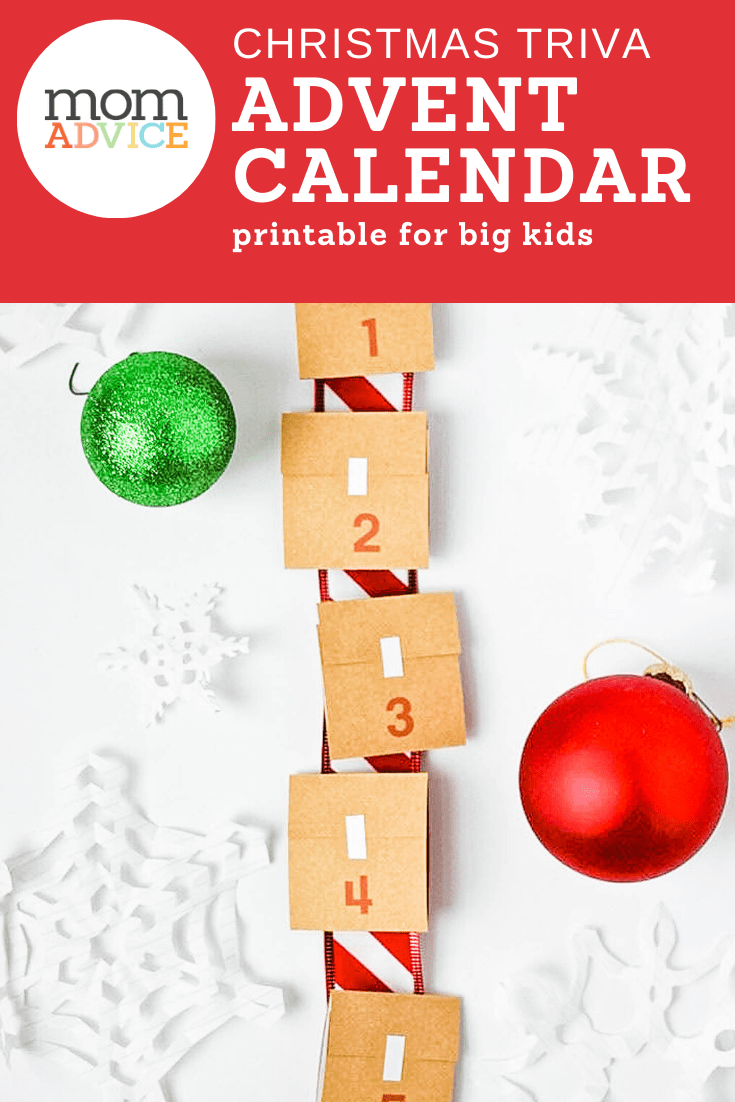
This Advent Calendar needs just to be cut, folded, and glued.

Fist bump.

You can even have the kids create it.

The days leading up to Christmas are both magical and hectic!

We have Christmas performances and charitable shopping, Santa’s gifting and work parties galore.

I didn’t want our Advent countdown to be another process on the list so we put together something light and fun.

How to Make a Christmas Trivia Advent Calendar for Big Kids

Best Advent Calendars For Kids from MomAdvice.com

How about Christmas trivia?!

We watch Jeopardy around our house (with three kids, twelve and under), and a countdown with trivia seemed like a natural way to learn more and to laugh together as we get nearer to the 25th.

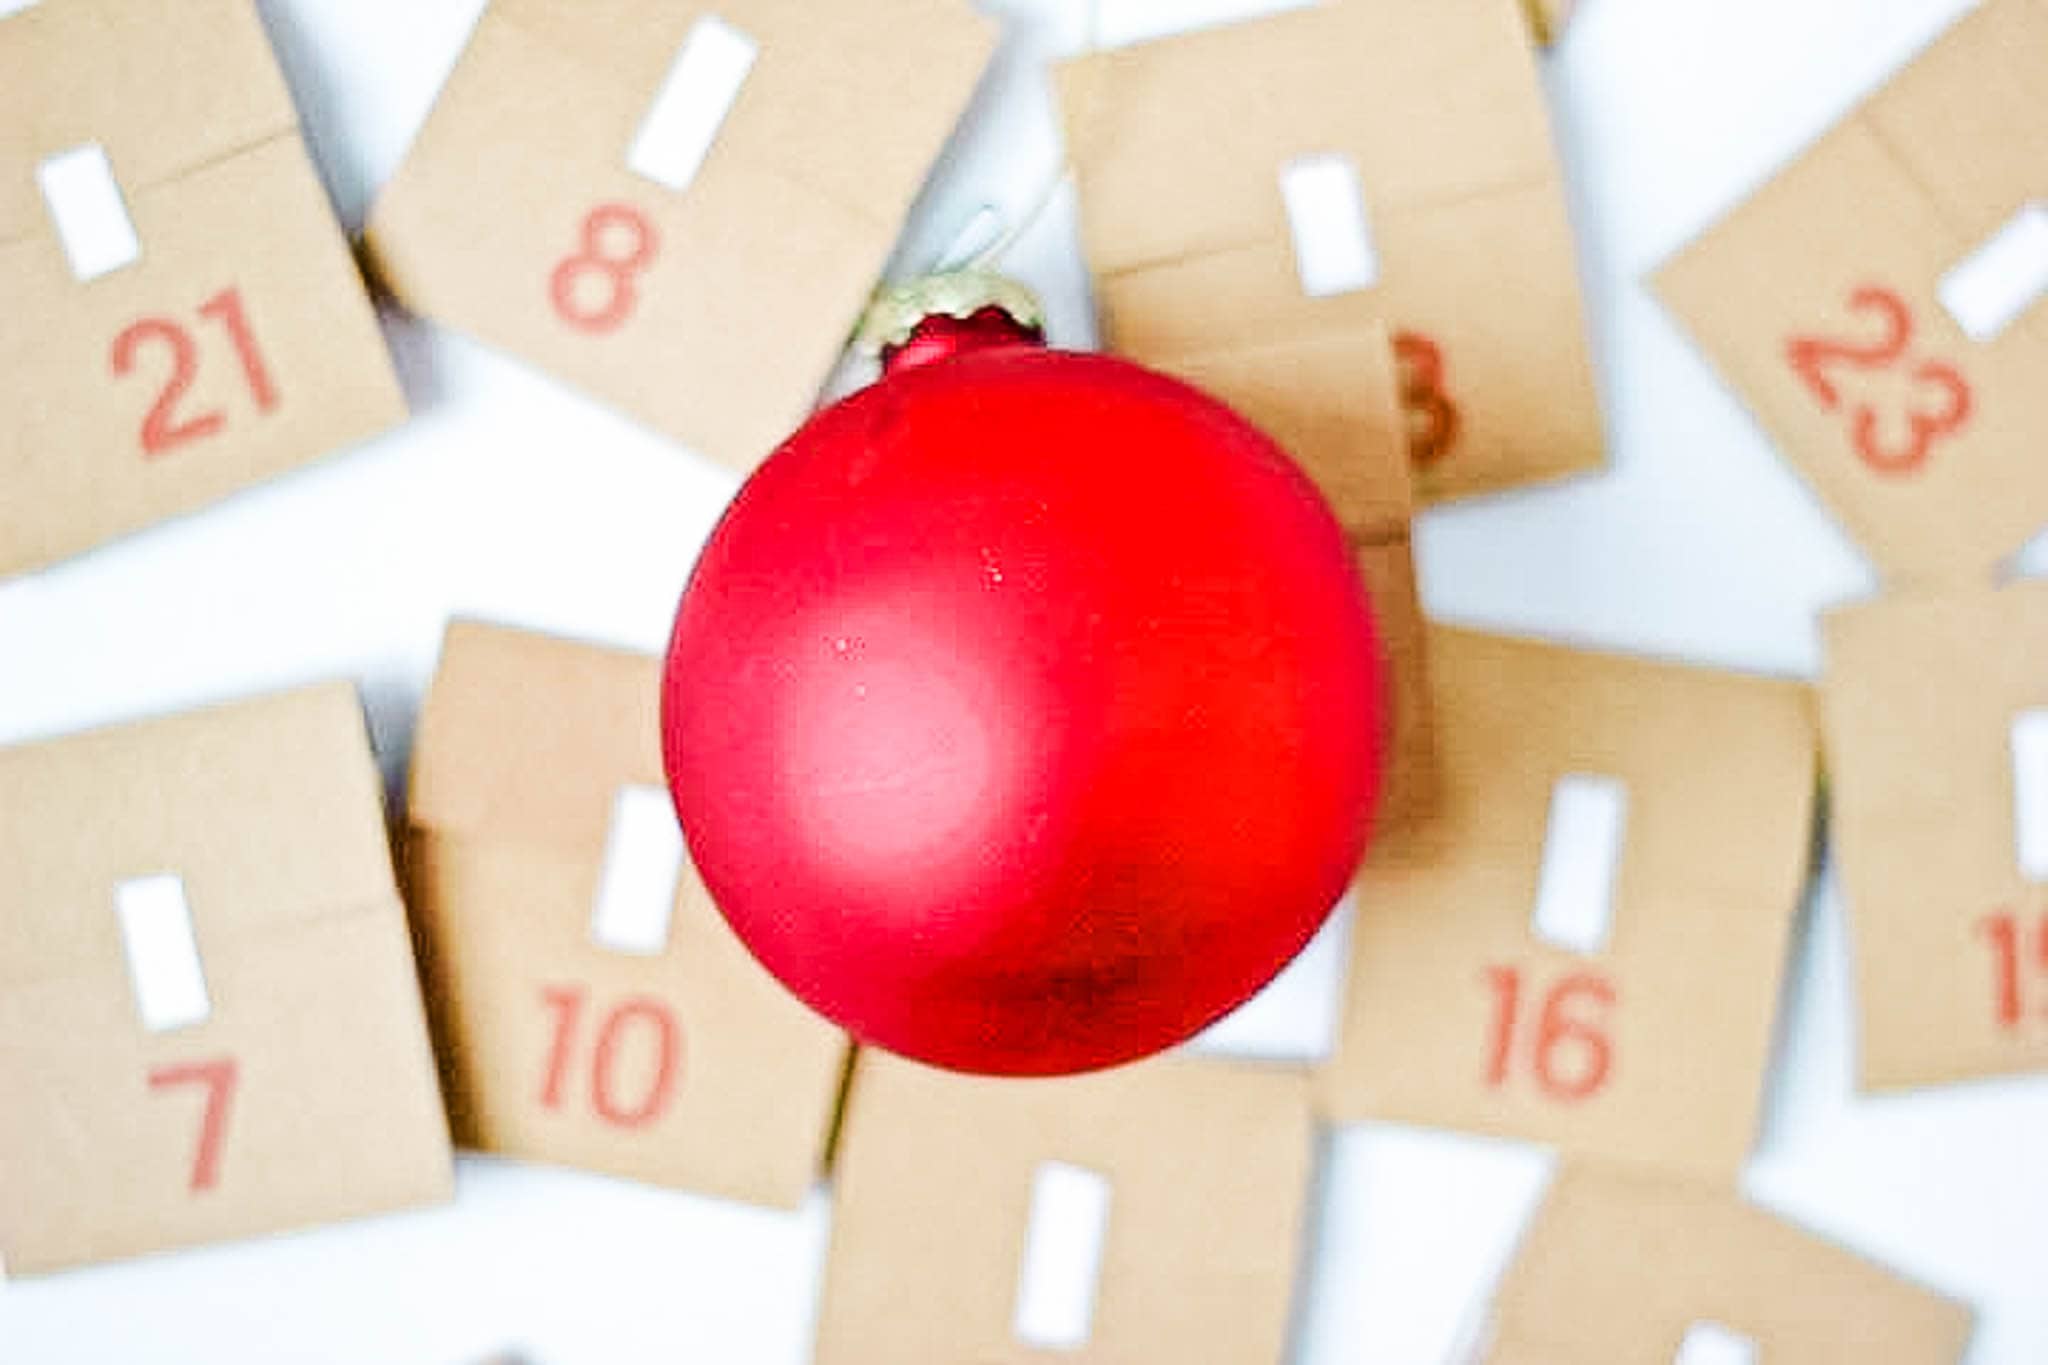
We put together twenty-five trivial (some are pretty ridiculous) questions about Christmas traditions, songs, and movies for the whole family.

In fact, this calendar would be great to put next to the coffee pot at work or as a runner across the dinner table.

My kids have been talking about these questions more than I imagined (“what’s your favorite Christmas song?” and “remember that time we saw…”).

Our holiday experiences can be easy entryways to new conversations and insights.

Let’s make an advent calendar together!


Supplies Needed

Craft paper 

Scissors

Tape

Glue stick

A straight edge or ruler

Our printable calendar 

Best Advent Calendars For Kids from MomAdvice.com

Directions for Your Free Printable Advent Calendar

STEP ONE:

Print out the numbers and trivia questions.

Set the trivia questions aside for now.

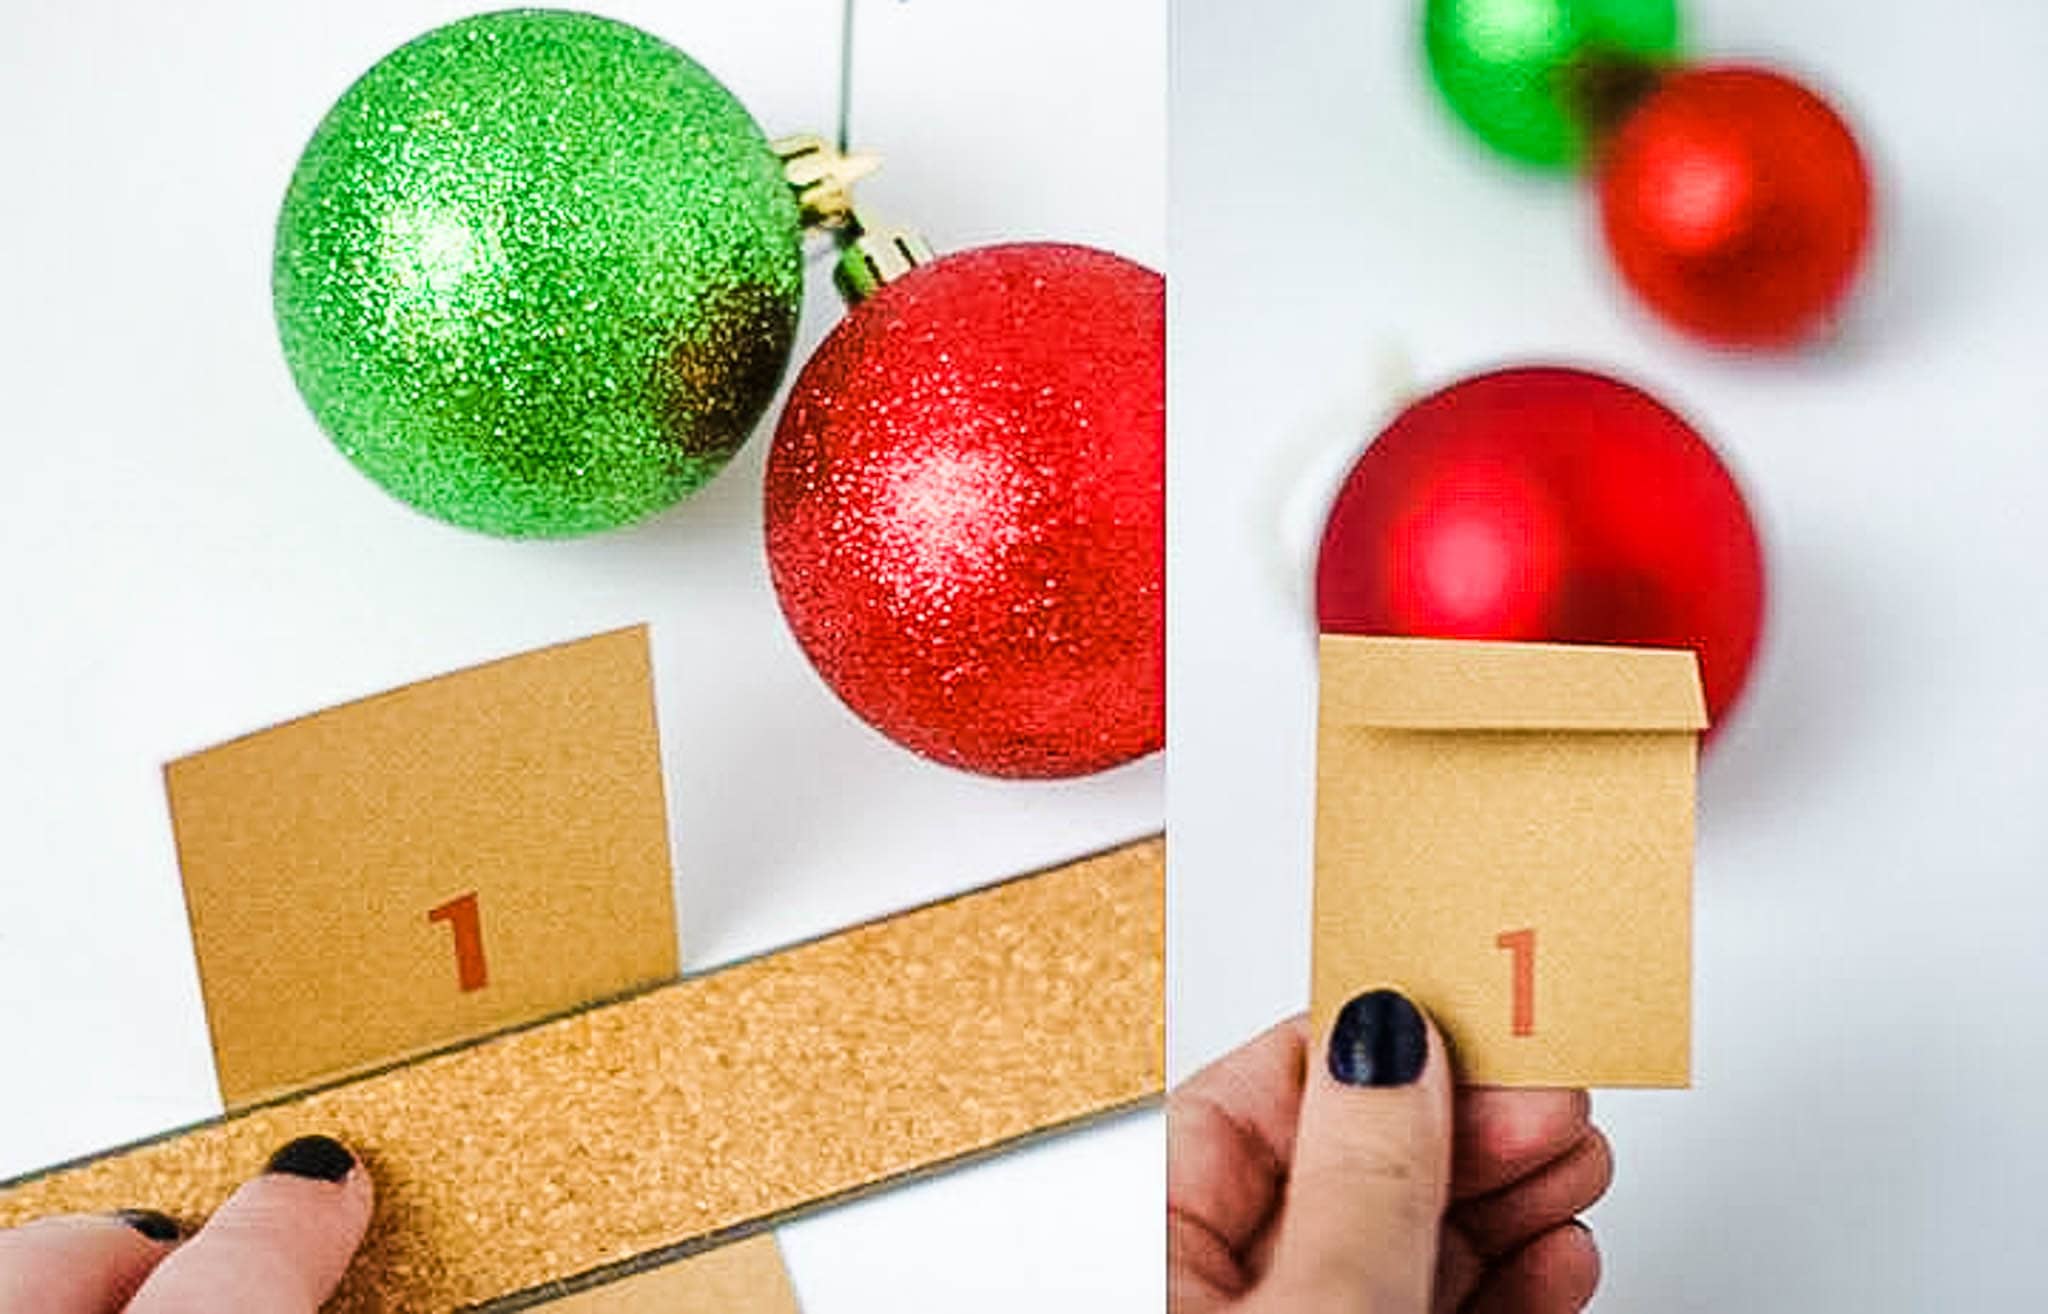
To cut your numbers, slice the page first vertically and then horizontally, creating four pieces.

You’ll then cut those four piece vertically, to make equal-sized pieces of paper.

STEP TWO:

Each number paper has light gray dotted lines to show where they should be folded.

With a ruler or straight edge, fold crisply along that line as indicated in two places.

Once you’ve made the folds, bend them the opposite direction to create a folded piece with the number on the front and a flap on the top.

STEP THREE:

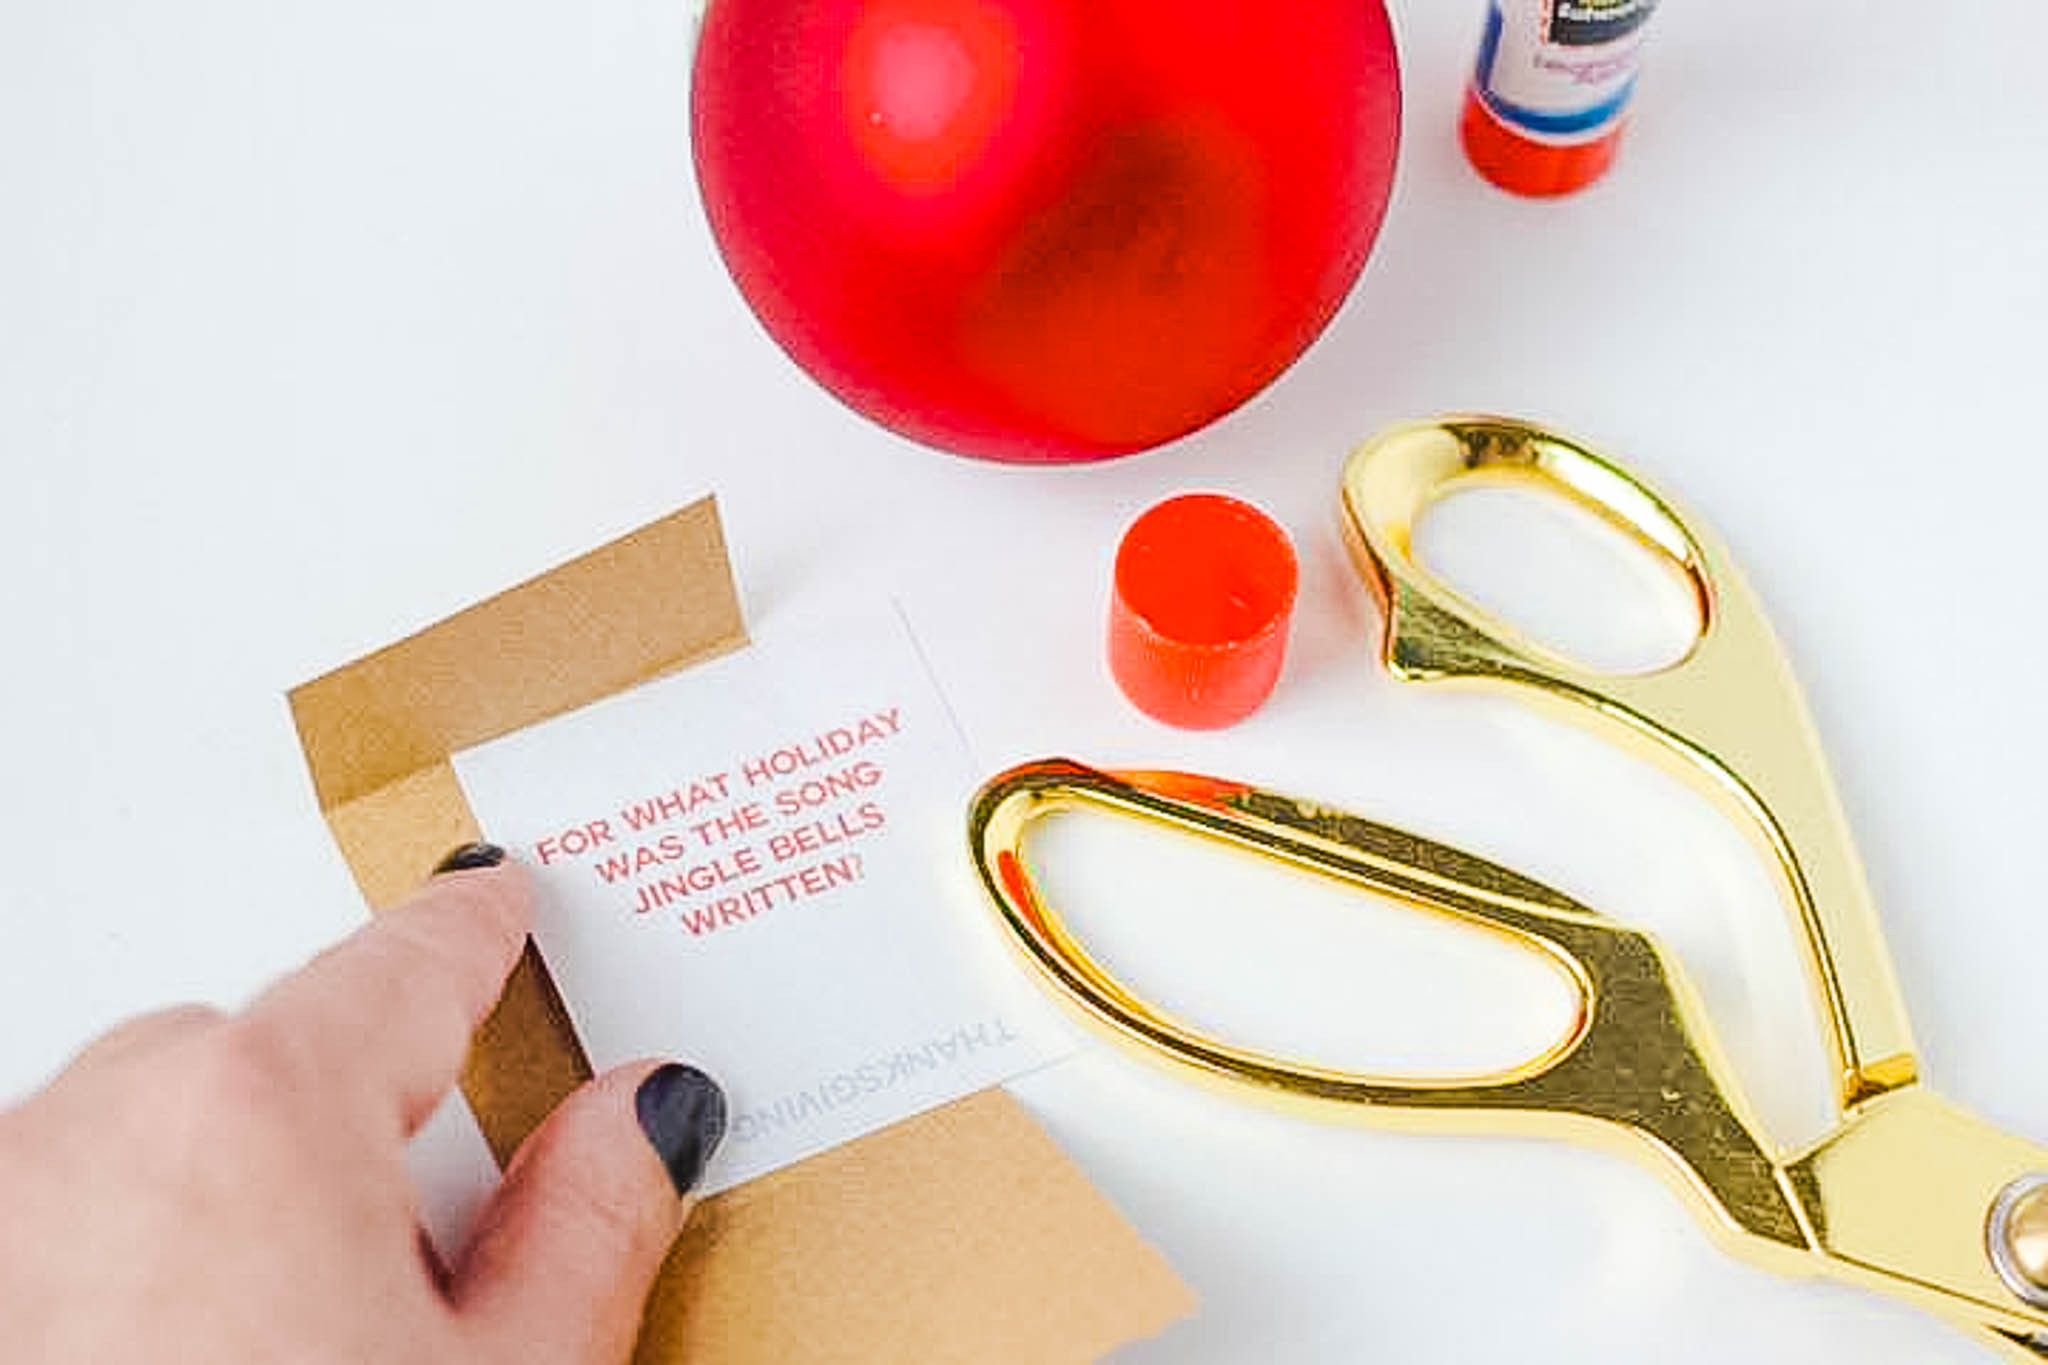
Take the trivia questions back out.

Cut those along the dotted edges. Glue the questions into the inside of the numbered papers.

These are not numbered so they can go in any day.

We put ours in randomly.

There’s a question for every day from December 1 through the 25.

STEP FOUR:

Refold the bottom and then the top flap of the numbered rectangle over top of the trivia question (we don’t want anyone peeking until the right day!).

You’ll want to seal the flap shut.

You can do this with glue or tape.

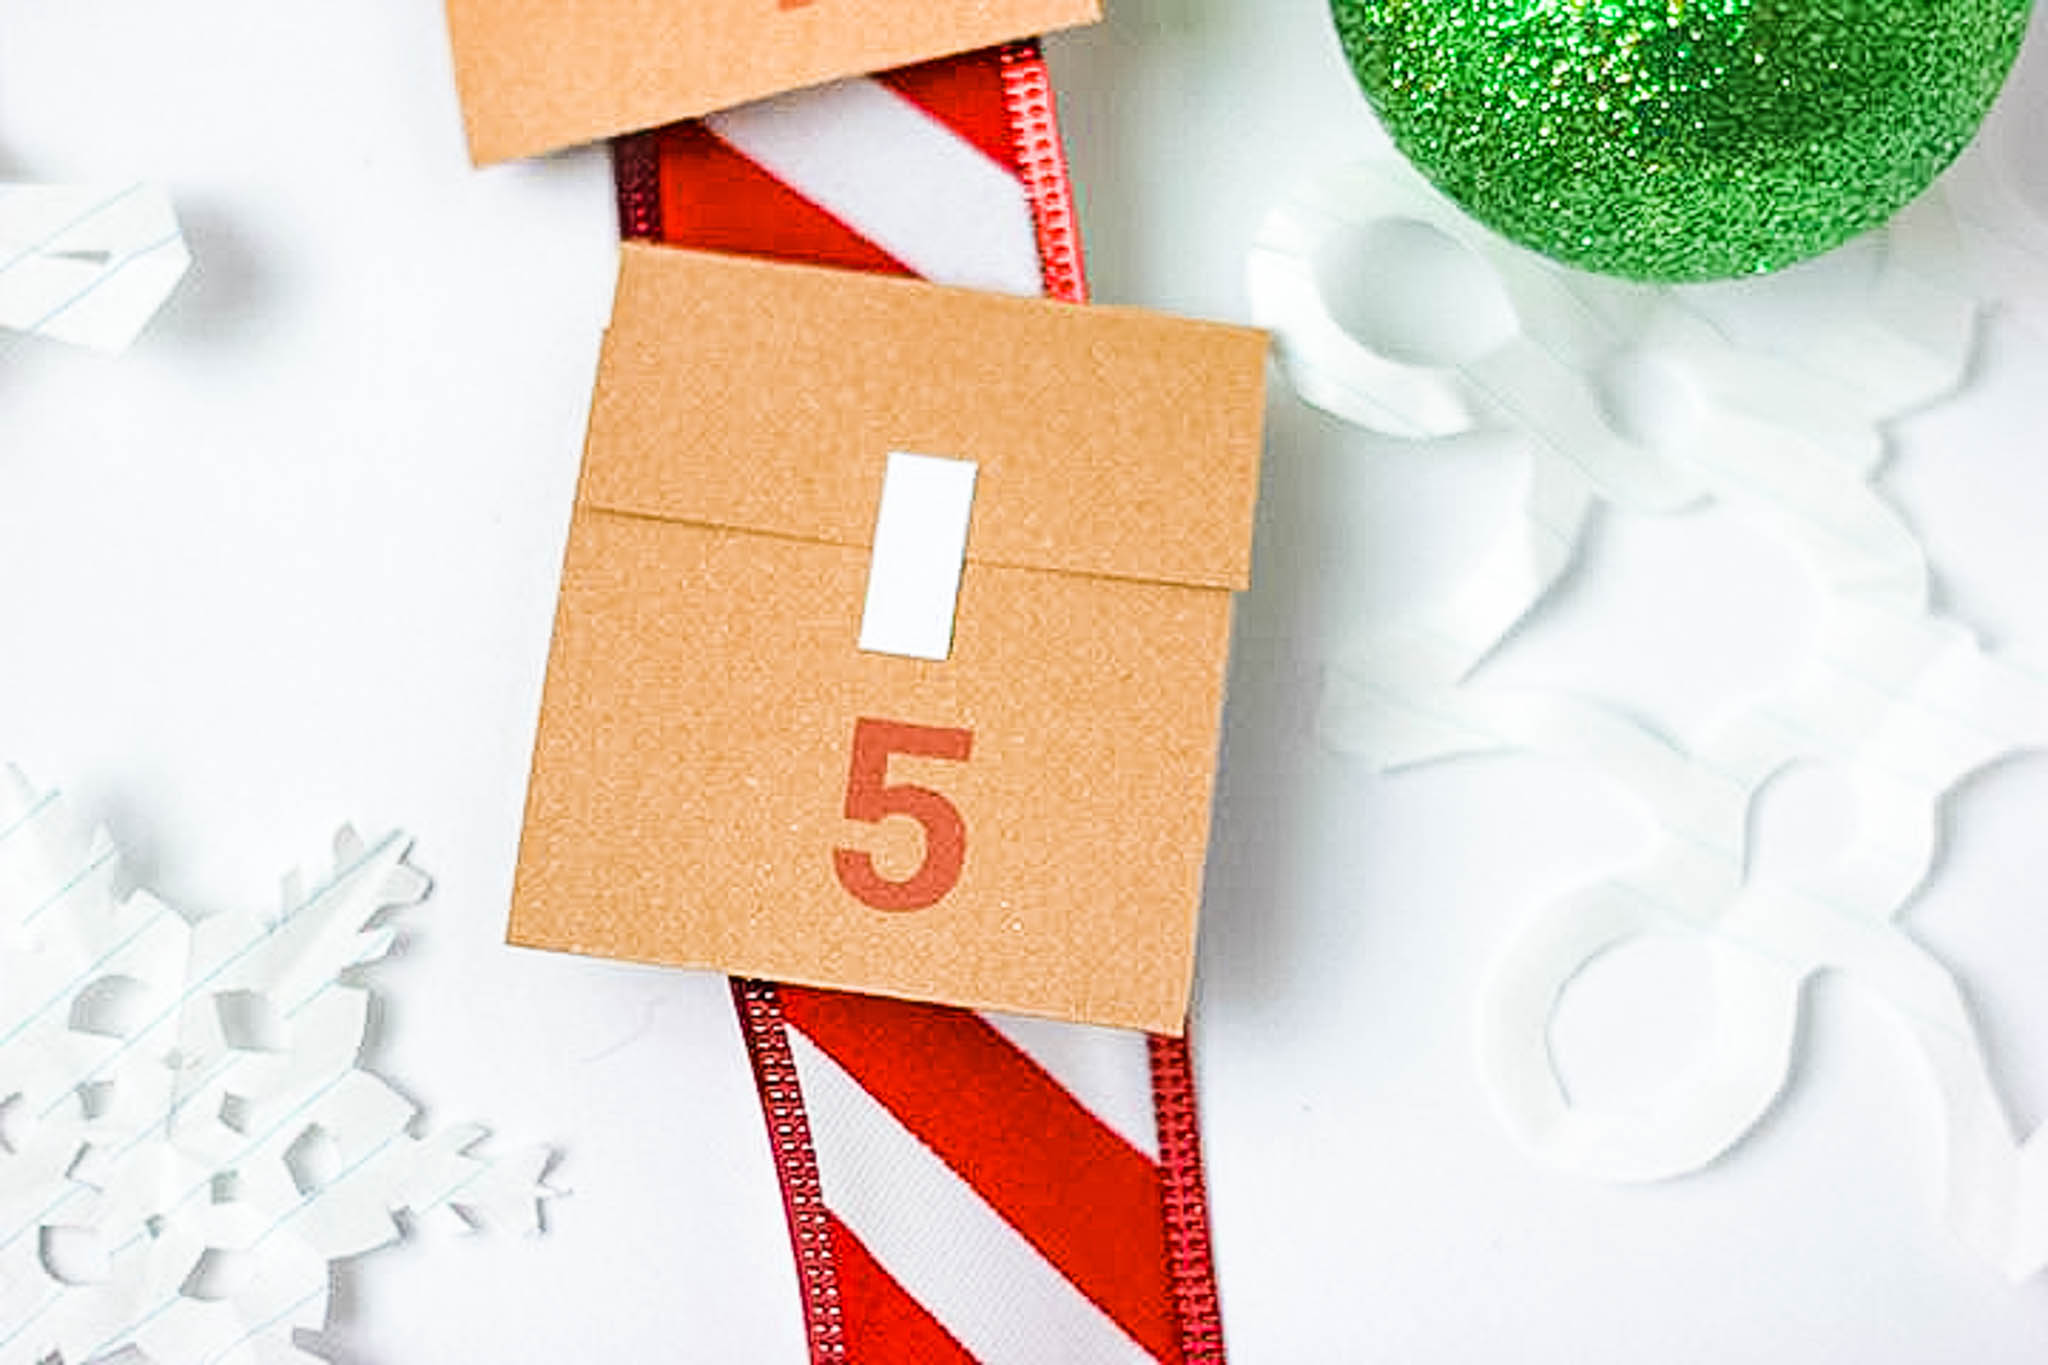
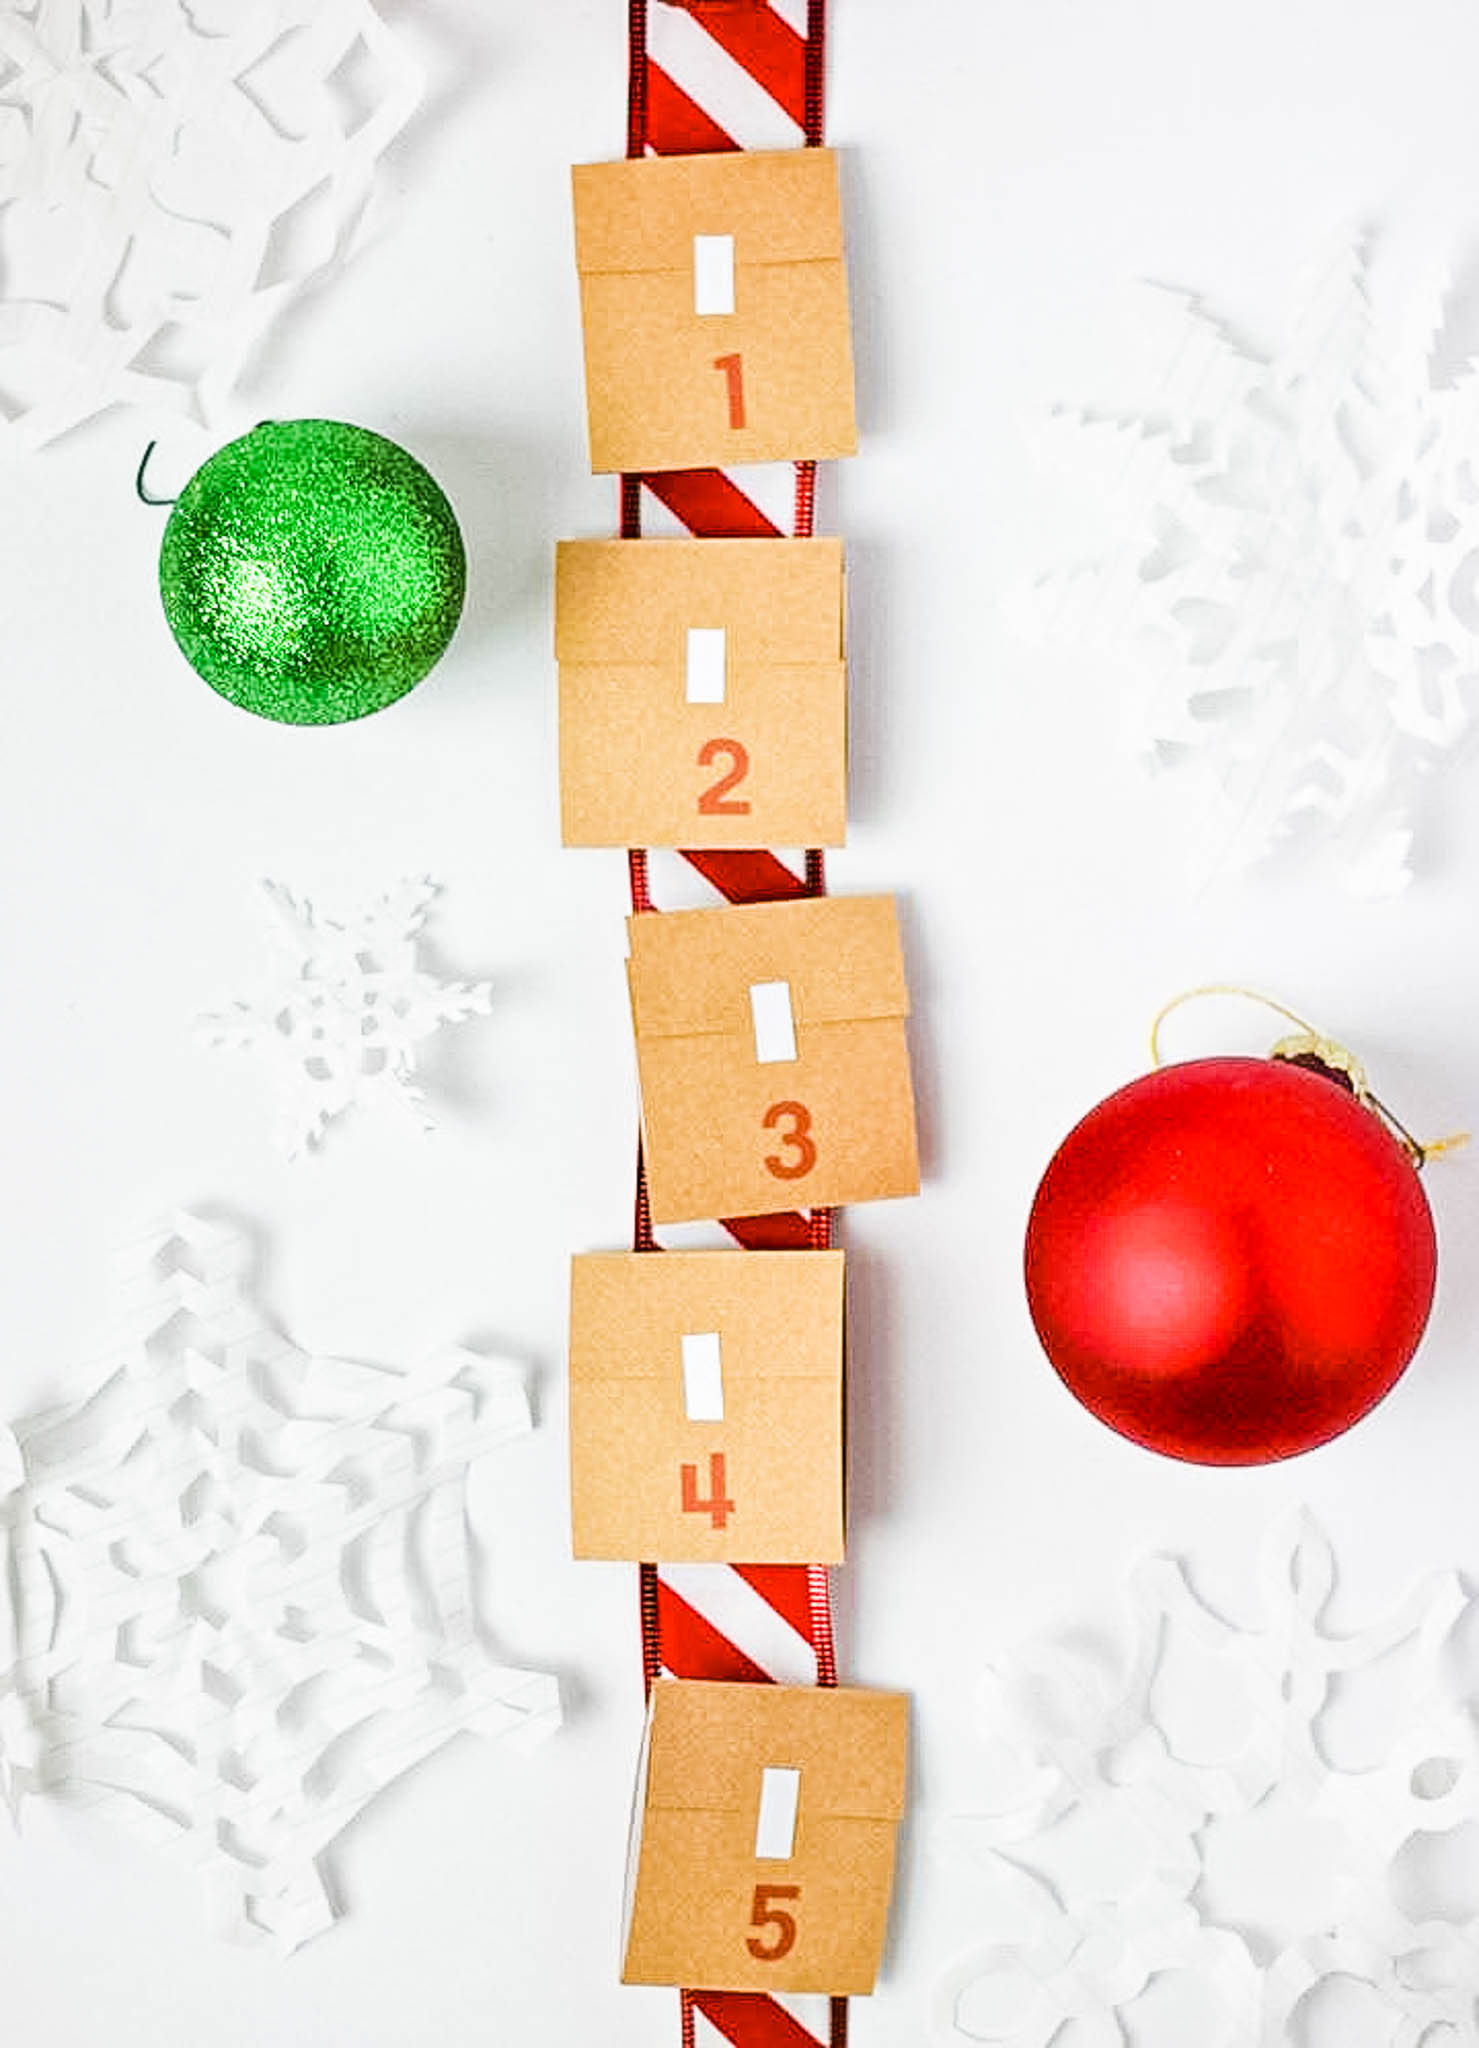
We opted to cut up some adhesive labels into tiny strips so that we could peel back the flaps without destroying the calendar.

Best Advent Calendars For Kids from MomAdvice.com

That’s it!

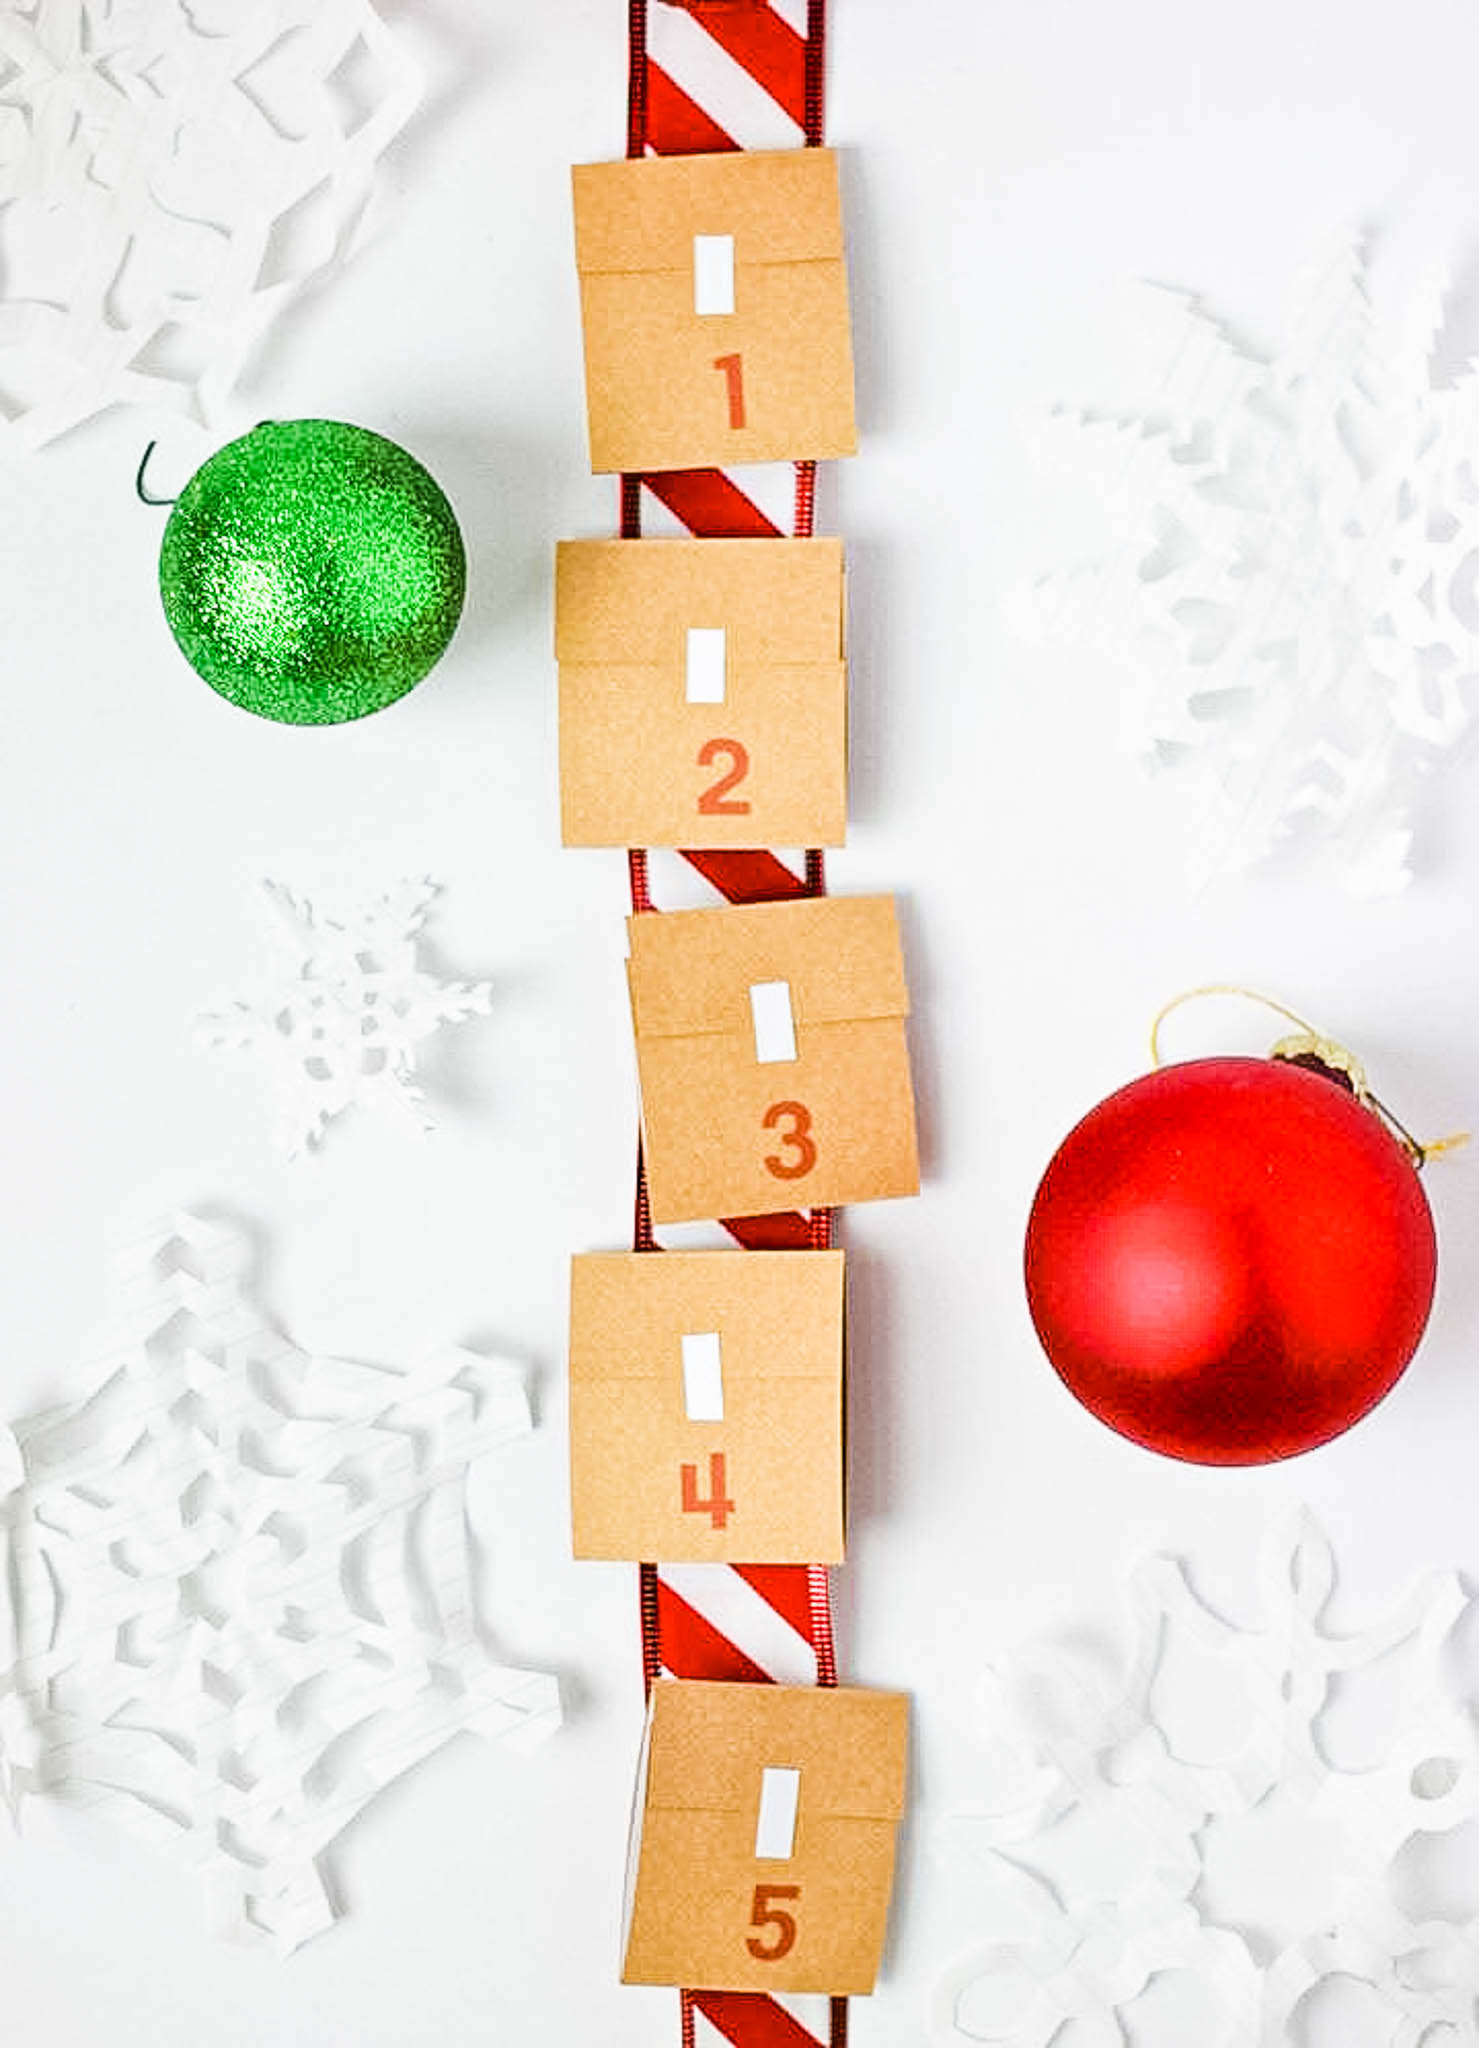
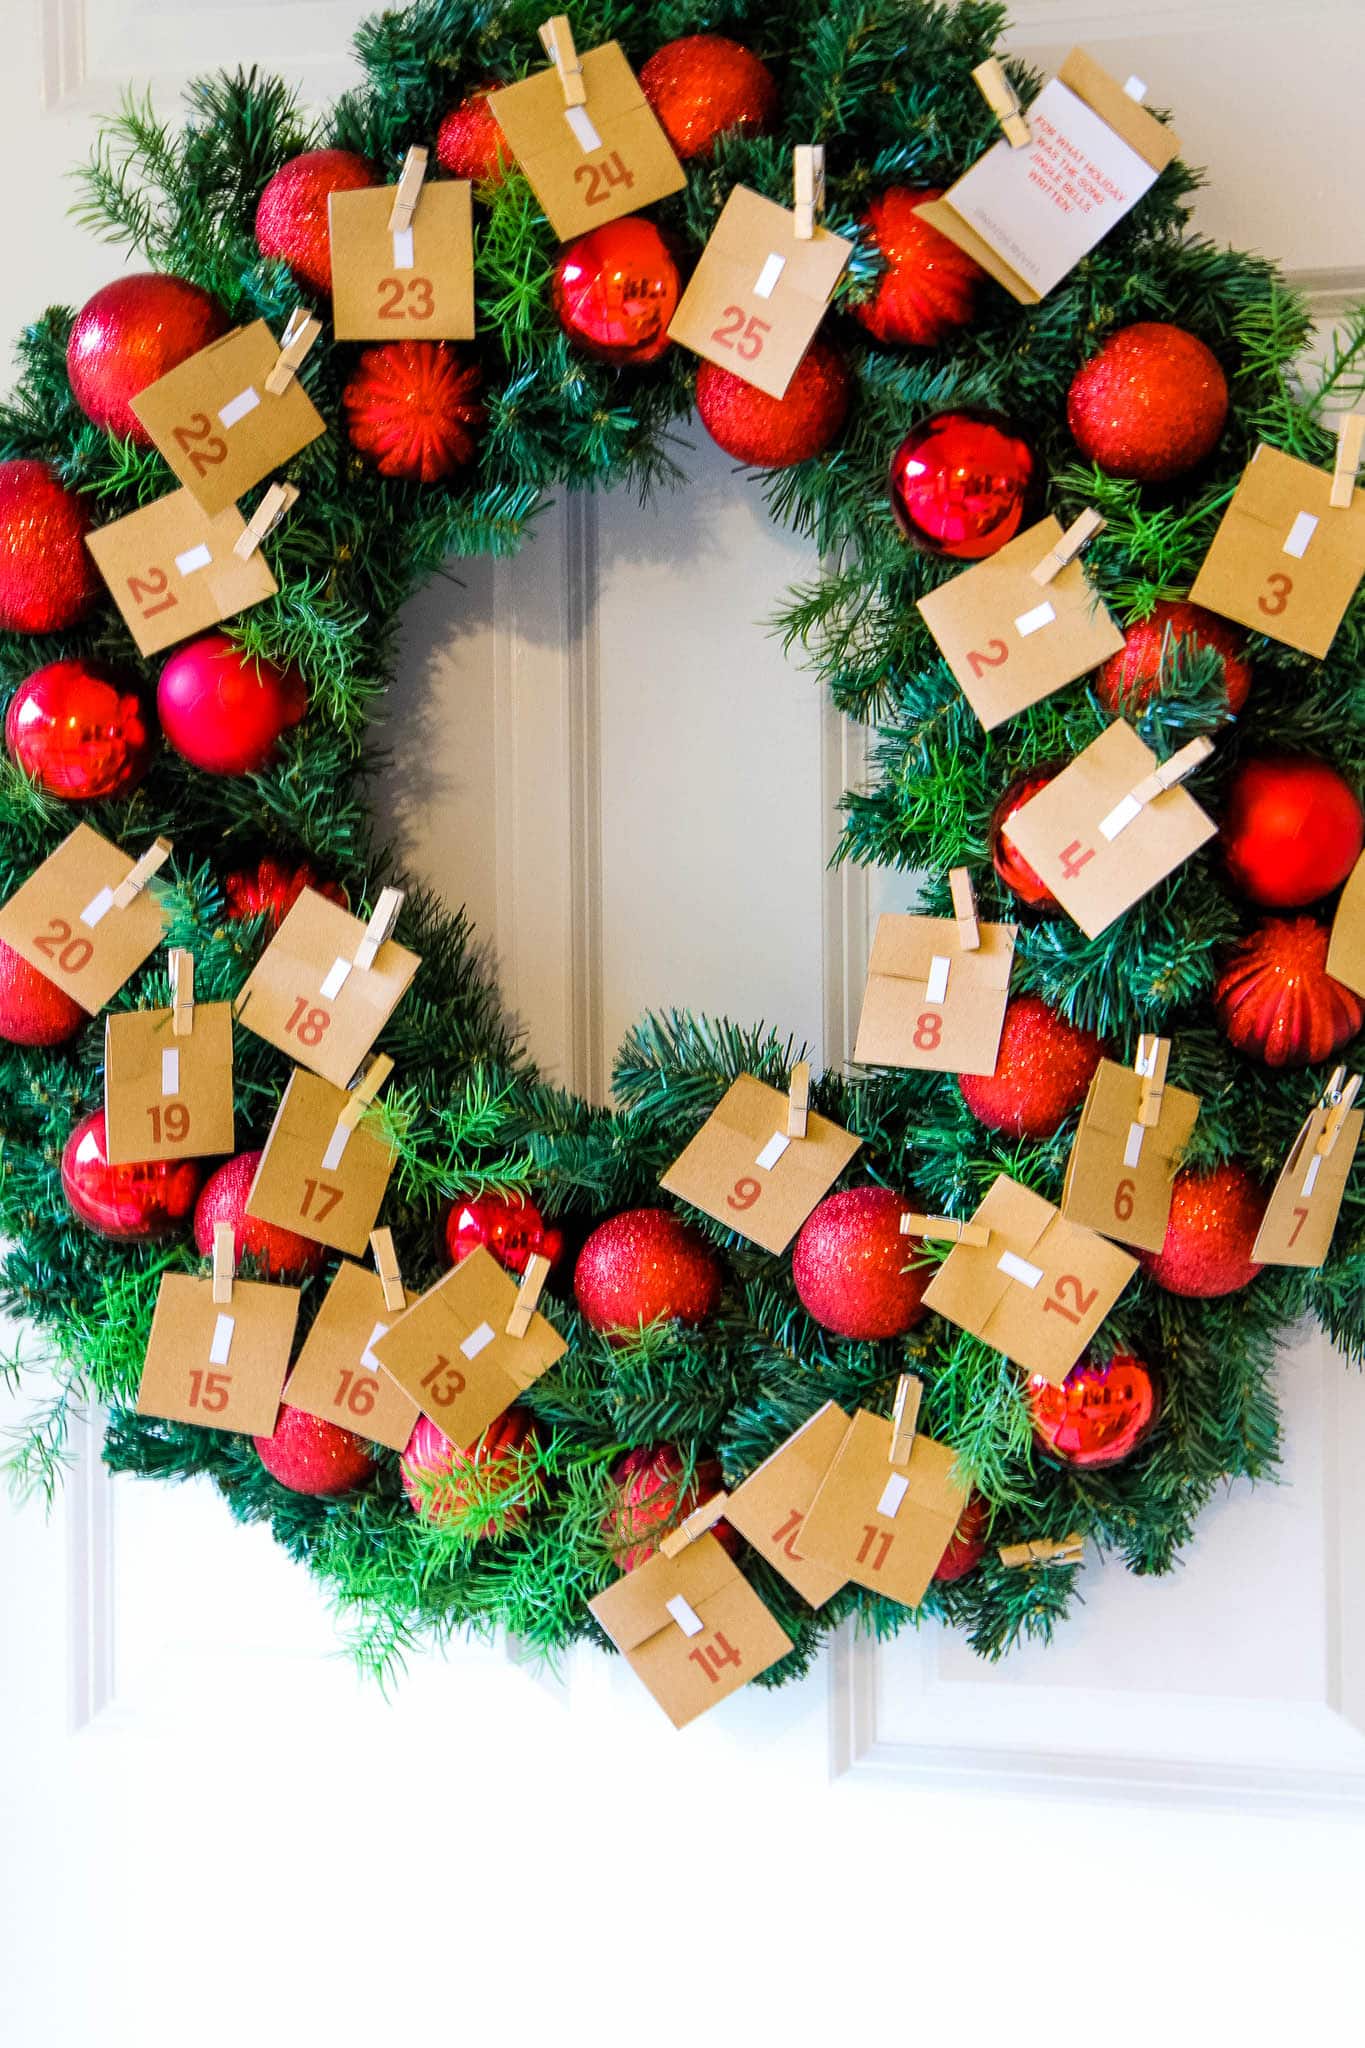
Attach the questions to a ribbon and hang on the side of your fridge.

Or tape them to a pantry door in the shape of a tree!

Or (super simple) keep calendar days in a bowl on your dinner table, and pull one out every day.

You might find yourselves amazed by how many presents you’d get if you received all of them from the 12 Days of Christmas or laughing about what the word mistletoe really means!!

(Oh, I’ve said too much. You have to wait to open that day!)

Happy Christmas countdown from our family to yours!!

Wishing you a simply joyful holiday.

Xoxo,

MJ

SCROLL ALL THE WAY DOWN TO ACCESS THE PRINTABLES!

Best Advent Calendars For Kids from MomAdvice.com

Best Advent Calendars For Kids from MomAdvice.com


Looking for more DIY Advent Calendar Ideas? Here are a few others that I’m loving!

Adorable Toilet Paper Roll Advent Calendar– This fun advent calendar is made from something everyone has on hand – toilet paper tubes! Fill it up with small toys, your favorite candy or cute socks! A fun way to upcycle and create fun memories at the same time!

Use What You Have Advent Calendar– Turn your muffin tins into creative advent calendars with this fun holiday bucket list idea.

Christmas Book Advent Calendar – Each book is wrapped with a number for the kids to open each night before bed. No need to purchase new books every year, only if the age out. Making reusable number gift tags to put on the books each year keeps this a great green alternative.

Christmas Tree Ornament Advent– This mini tree makes counting down super fun! Simply hang an ornament every day!

DIY Paper Advent Calendar– Create an easy DIY paper advent calendar with free printable templates for the boxes! This handmade advent calendar is a fun Christmas papercraft and lovely holiday gift idea for kids and teens.

No Time to DIY an Advent Calendar? Here are some of the Best Advent Calendars for Kids!

If you don’t have time to make an advent calendar, here are some MomAdvice Advent Calendar favorites!

Toy advent calendars can be so fun because they feature 24 fun things to look forward to as you welcome in the holiday.

So many advent calendars are featuring sets that include adorable fun trinkets, magnetic ornaments, or mini figures. Find a set with features and surprises that your kids will never expect.

Advent calendars are such a fun bonus surprise gift under the Christmas tree, aren’t they?

Little People Advent Calendar

Crayola Christmas Countdown

Paw Patrol Advent Calendar

LEGO Friends Advent Calendar

LEGO City Advent Calendar

Grab Your Free Advent Calendar Printables!

Click Here for Advent Numbers Printable

Click Here for Trivia Sheet Printable

Love this post? Here are some of my favorite Christmas posts on the site!

100 Unique Stocking Stuffers Everyone Will Love 100 unique stocking stuffers for everyone on your list

Unique Gift Ideas for Kids of All Ages unique gift ideas for kids of ALL ages

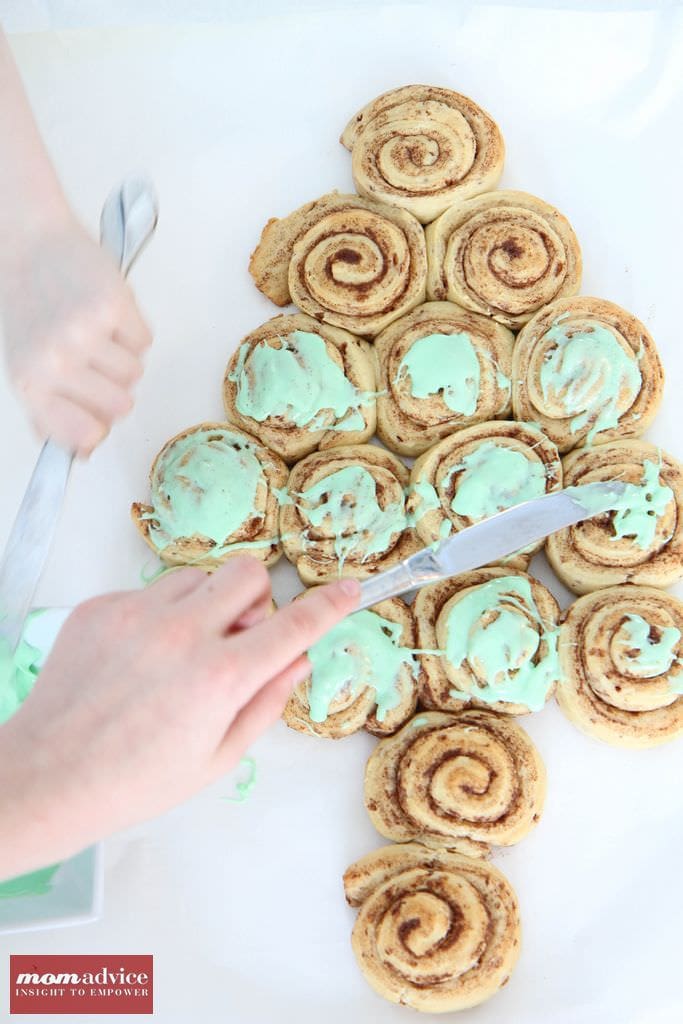
Easy Christmas Tree Cinnamon Rolls christmas tree cinnamon rolls for christmas morning

As an Amazon Associate I earn from qualifying purchases.


Pin It

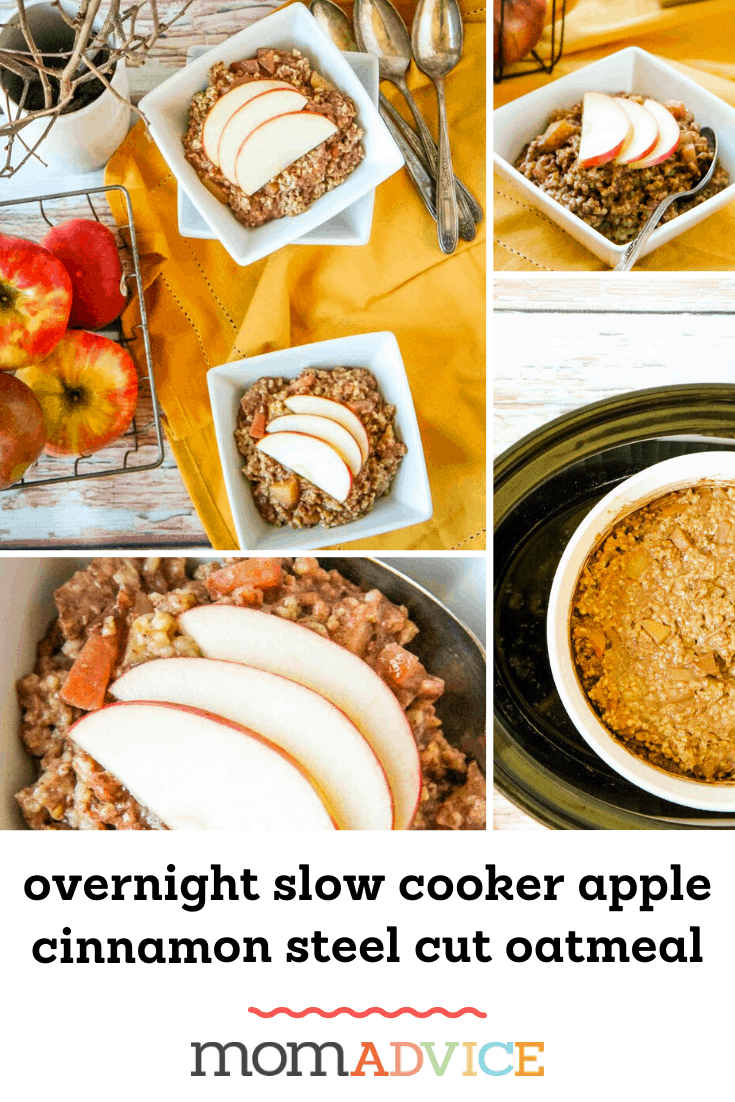
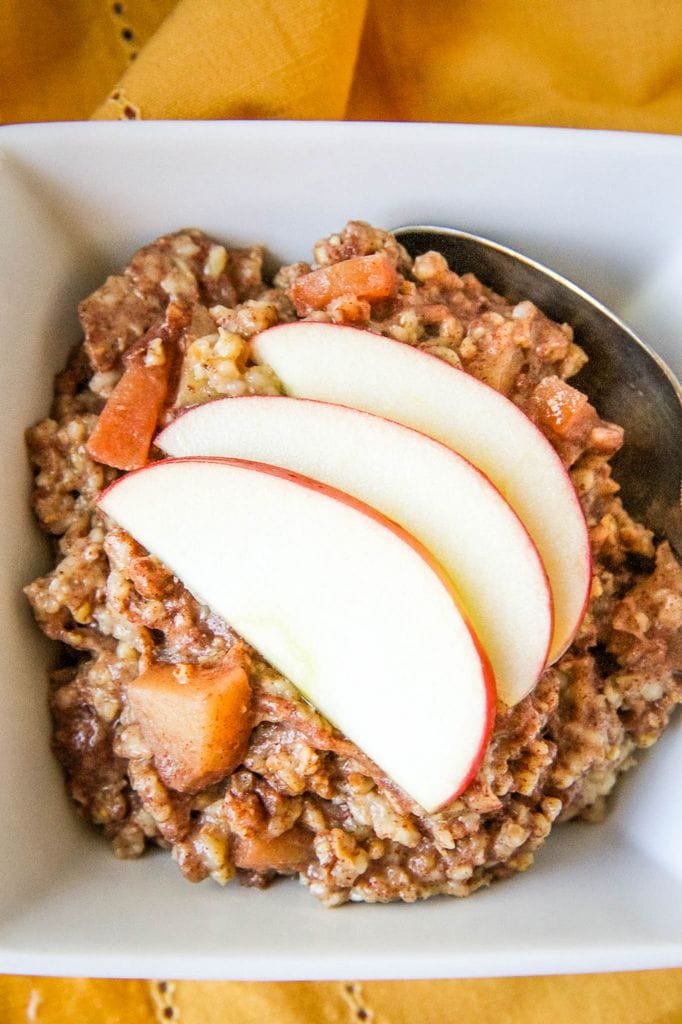
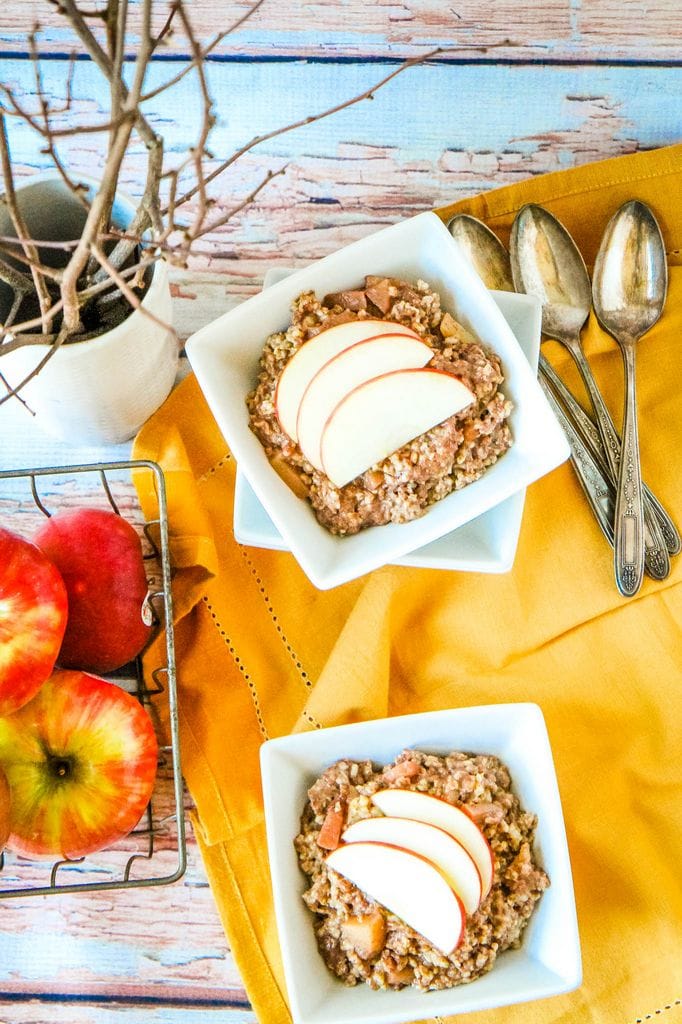
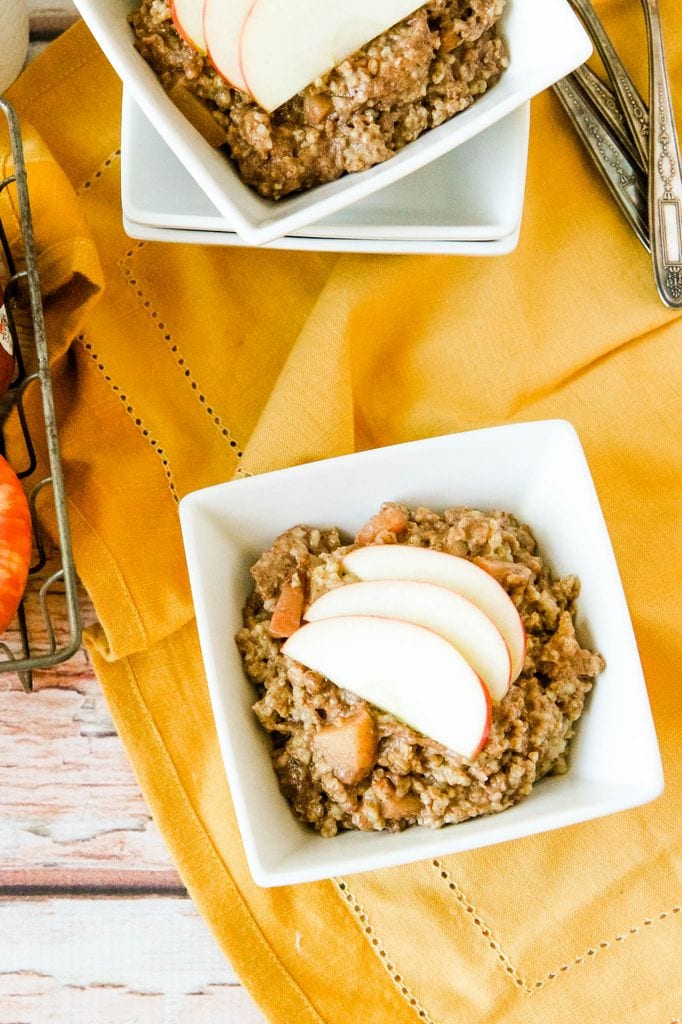
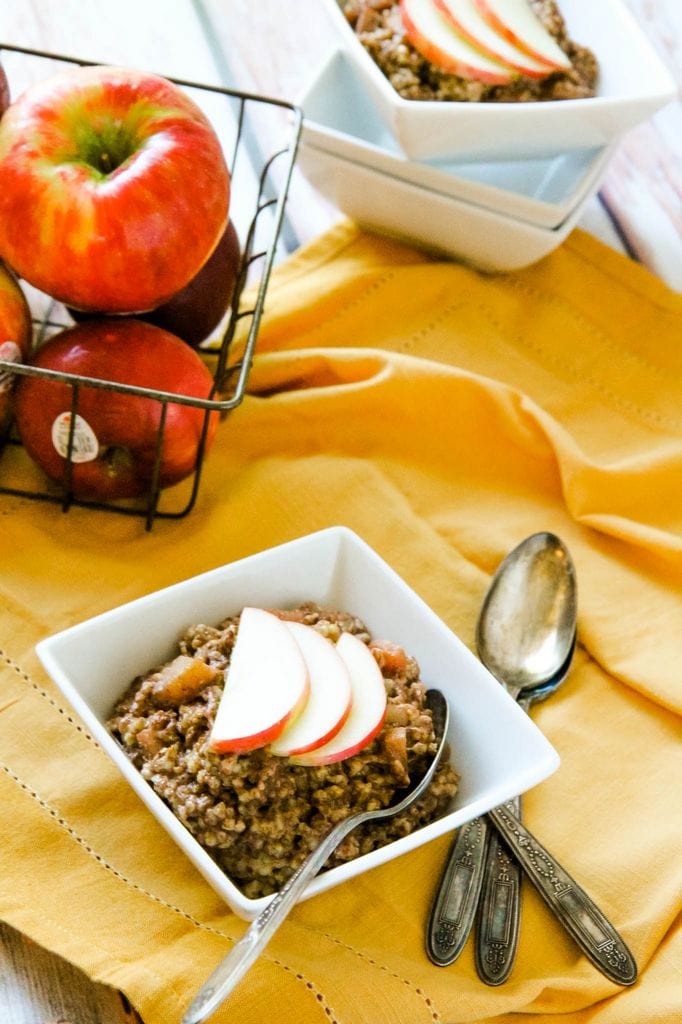
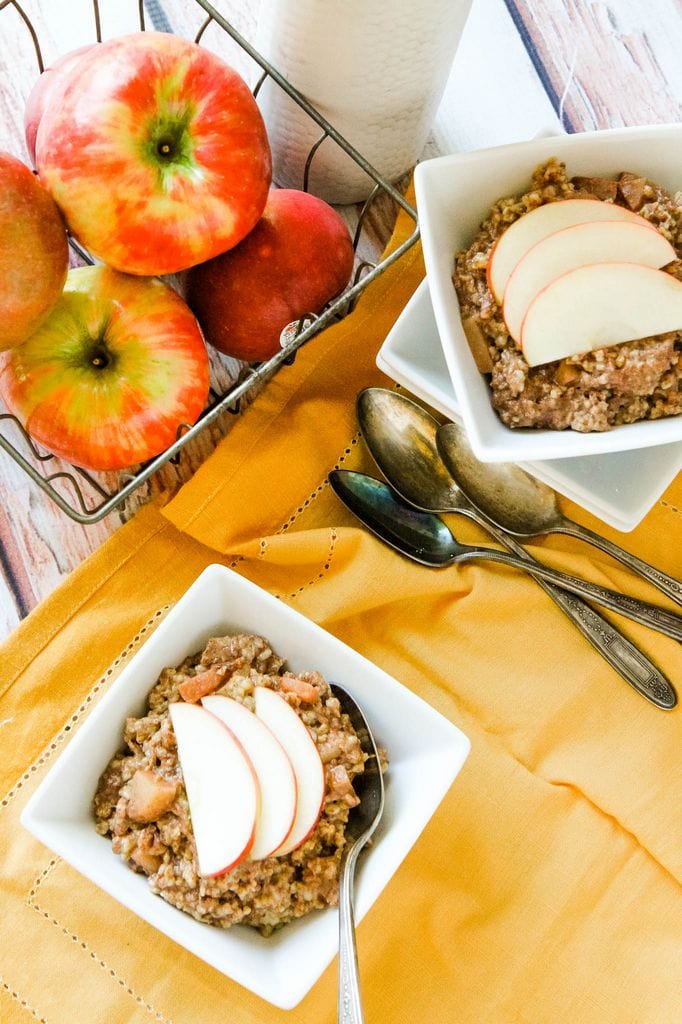
Overnight Slow Cooker Apple Cinnamon Steel Cut Oatmeal

Thursday, November 21st, 2019

Overnight Slow Cooker Apple Cinnamon Steel Cut Oatmeal from MomAdvice.com

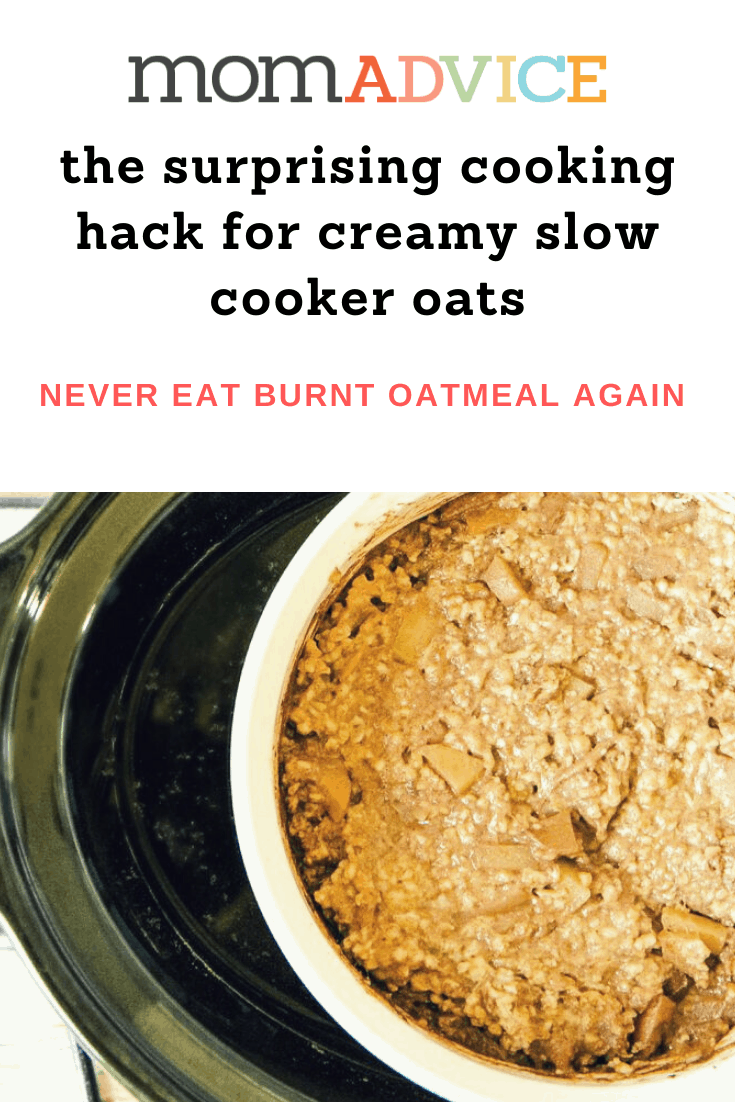
Apple season is one of my favorite produce seasons and one of my favorite snacks. Try this slow cooked honeycrisp apple oatmeal that you are going to love for a warm and satisfying breakfast on chilly fall mornings. The best part about all of this though, is my incredible tip for getting creamy oats that won’t burn or stick to your slow cooker.

Have you tried cooking steel cut oats in your slow cooker yet?

Today I wanted to share some tips for making the perfect overnight crock pot apple cinnamon oatmeal for the perfect fall breakfast for entertaining or just for a healthy way to start your day.

I love steel cut oatmeal, but it takes a LONG time to create steel cut oats. Not only that, oatmeal requires constant stirring over medium heat to achieve their best flavor and have a tendency to burn when not monitored.

Today I wanted to share some tips for making steel cut oatmeal in your slow cooker and the one SHOCKING tip for creamier slow cooked oats.

I promise, it’s a game changer.

How to Make Overnight Slow Cooker Apple Cinnamon Steel Cut Oatmeal

Overnight Slow Cooker Apple Cinnamon Steel Cut Oatmeal With Sliced Apples On Top

What’s the Difference Between Steel Cut Oats and Rolled Oats?

Rolled oats and steel cut oats come from the exact same whole cereal grain. The difference is really in how they are processed.

In whole form, they are known as “groats” and both types of oats are separated from their hard outer “hull” for our store shelves.

Here’s where those differences between the two types of oats really come into play. The rolled oats are steamed, to prevent cracking, and then they are rolled through the mill to be flattened.

Steel cut oats are, basically, chopped into pieces rather than going through that process of being flattened.

Overnight Slow Cooker Apple Cinnamon Steel Cut Oatmeal from MomAdvice.com

Are Steel Cut Oats Gluten-Free?

Many of our readers are pursuing that gluten-free life so I’m thrilled to tell you that steel cut oats ARE gluten-free…well, pretty much!

If you are celiac, oats can be processed in factories that are also processing wheat, barley, and rye.

If you are celiac, look for steel cut oatmeal that clearly discloses that on the label to be sure that you are not exposed to any of these allergy triggering ingredients.

Overnight Slow Cooker Apple Cinnamon Steel Cut Oatmeal from MomAdvice.com

Overnight Slow Cooker Apple Cinnamon Steel Cut Oatmeal from MomAdvice.com

Do Steel Cut Oats and Rolled Oats Have the Same Nutritional Value?

Did you guys know that I went to school for dietetics?

Questions like this are my love language.

Often, when it comes to discussing processed foods, we immediately have a knee-jerk reaction that it isn’t good for you.

Can we all blame the Whole30 and Paleo movement for this? Hahaha!

Seriously, in MOST cases, processing means that the food has lost its nutritional value, but that is not the case when it comes to steel cut oats and rolled oats.

In fact, steel cut oats, rolled oats, and quick oats all have the SAME nutritional value.

I do find that steel cut holds up better in an overnight dish, but am thankful quick oats offers the same benefits if I need a nutritious breakfast or lunch.

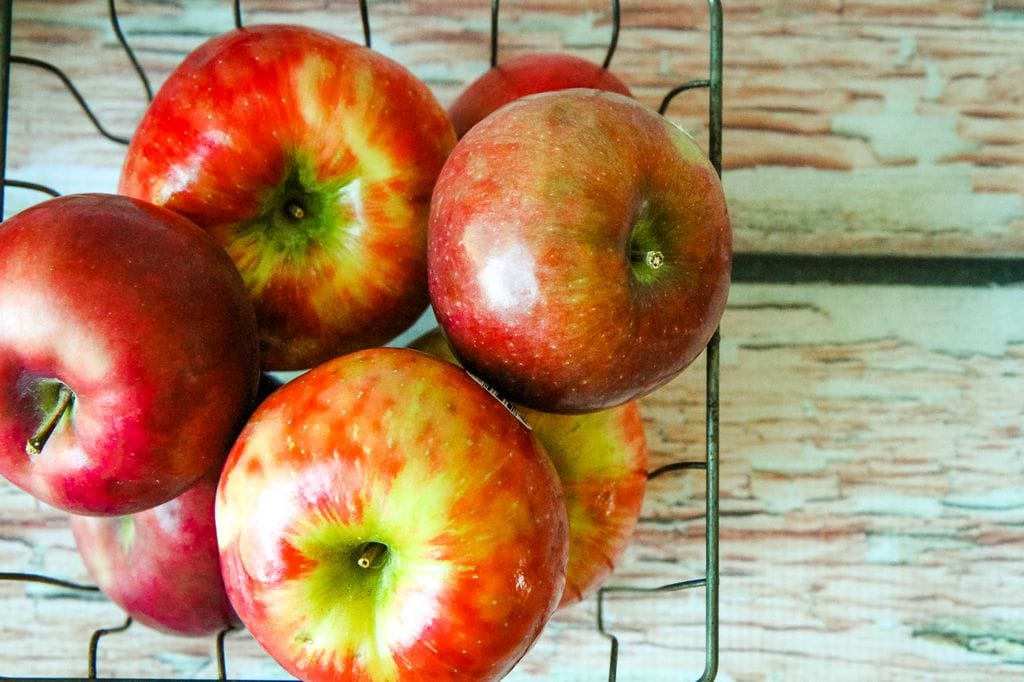
Honeycrisp Apples

What Types of Apples Should I Use For Overnight Oatmeal?

Often when it comes to baking, I reach for a Granny Smith apple.

When researching different varieties of apples that are best to bake with, I discovered that the Honeycrisp Apple and the McIntosh apple were both great varieties to choose when baking.

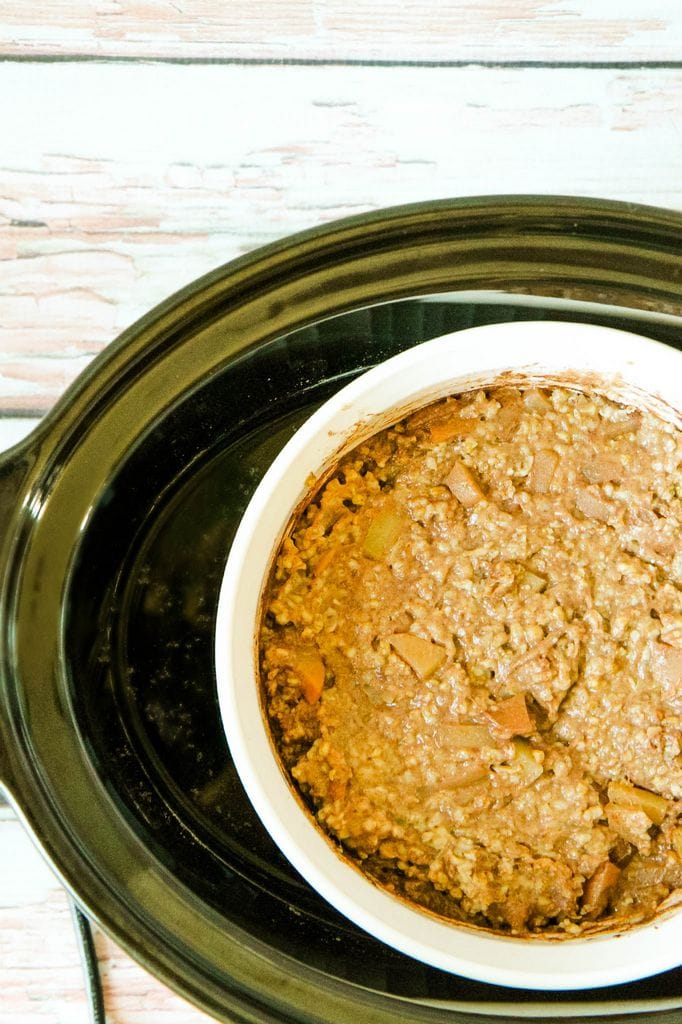
Overnight Slow Cooker Apple Cinnamon Steel Cut Oatmeal double-boiler method in slow cooker

How Do I Prevent My Slow Cooker Oatmeal From Getting Burnt or Overcooked?

I admit that I have never had good success with overnight oats.

The oats were usually burnt or overcooked and I always had a hard time getting my slow cooker clean after a batch.

That is why I am so excited to share with you this easy technique to create a double boiler right in your slow cooker:

  • Find a oven-proof dish that you can place inside of your slow cooker and spray it well with a little cooking spray.
  • Place your oatmeal ingredients right inside of the dish and then, using a liquid measuring cup, pour water around the dish to create a water bath. It doesn’t need to be really full, just an inch or so.
  • Set your slow cooker to LOW and you will have perfectly creamy oatmeal with no burnt spots every single time.

Overnight Slow Cooker Apple Cinnamon Steel Cut Oatmeal from MomAdvice.com

Once you try this tip, you won’t make your oatmeal ANY OTHER WAY.

I promise you that you will will yield a creamy pot of oats every time.

How Can I Prepare This Apple Cinnamon Steel Cut Oatmeal in My Instant Pot Instead?

I would recommend going to this recipe for details on making steel cut oats in your pressure cooker. I haven’t tested this one out yet, but I’m looking forward to giving it a try!

Slow Cooked Honey Crisp Apple Oatmeal
 
Author: MomAdvice.com
Prep time:
Cook time:
Total time:
Serves: 4
This recipe can be personalized according to your family’s dietary needs or what variety of apple is on sale at the grocery store. I loved preparing this one with almond milk! Try my technique for creating your own double-boiler to get a creamier oatmeal!
Ingredients
  • 1 cup steel cut oats (NO substitutions)
  • 3 1/2 cups milk (or milk substitute)
  • 1 Honeycrisp apple, diced
  • 2 tablespoons butter
  • 1 tablespoon ground cinnamon
  • 2 tablespoons brown sugar
  • 2 teaspoons vanilla extract
Instructions
  1. Spray your slow cooker with cooking spray or brush with melted coconut oil.
  2. Place the steel cut oats, milk, honeycrisp apple, butter, cinnamon, brown sugar, and vanilla extract into a slow cooker, and stir to combine and dissolve the sugar.
  3. Cover the cooker, set to Low, and allow to cook 6 to 7 hours (for firm oats) or 8 hours (for softer texture).
  4. Top with a little extra brown sugar, milk, or a drizzle of maple syrup.


As an Amazon Associate I earn from qualifying purchases.

This post contains affiliate links.

Looking for more great breakfast ideas? Check out these recipes to inspire your next morning meal!

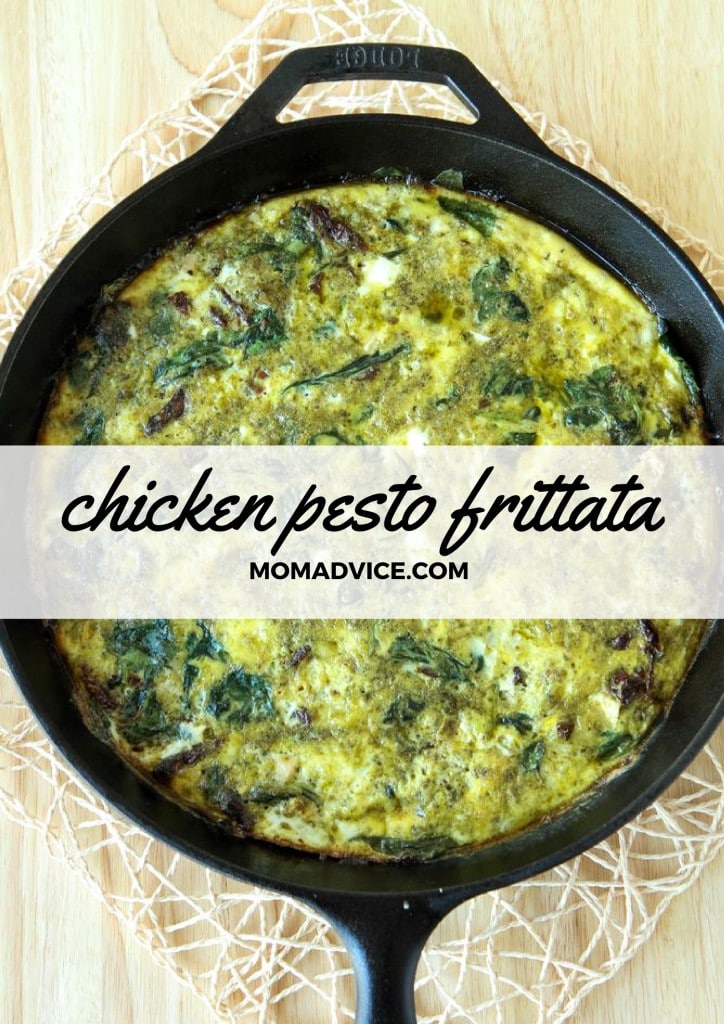
chicken pesto frittata recipe (so good to make ahead for a big crowd)

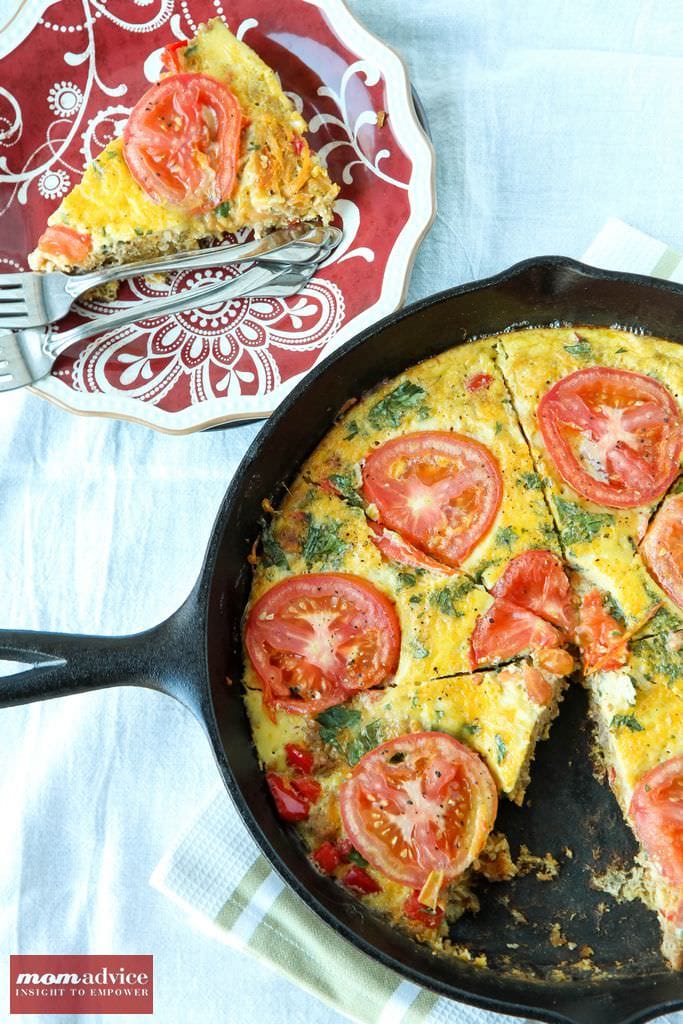
sausage & vegetable frittata( great for anyone on a more restricted diet) Easy Sausage & Vegetable Frittata-3

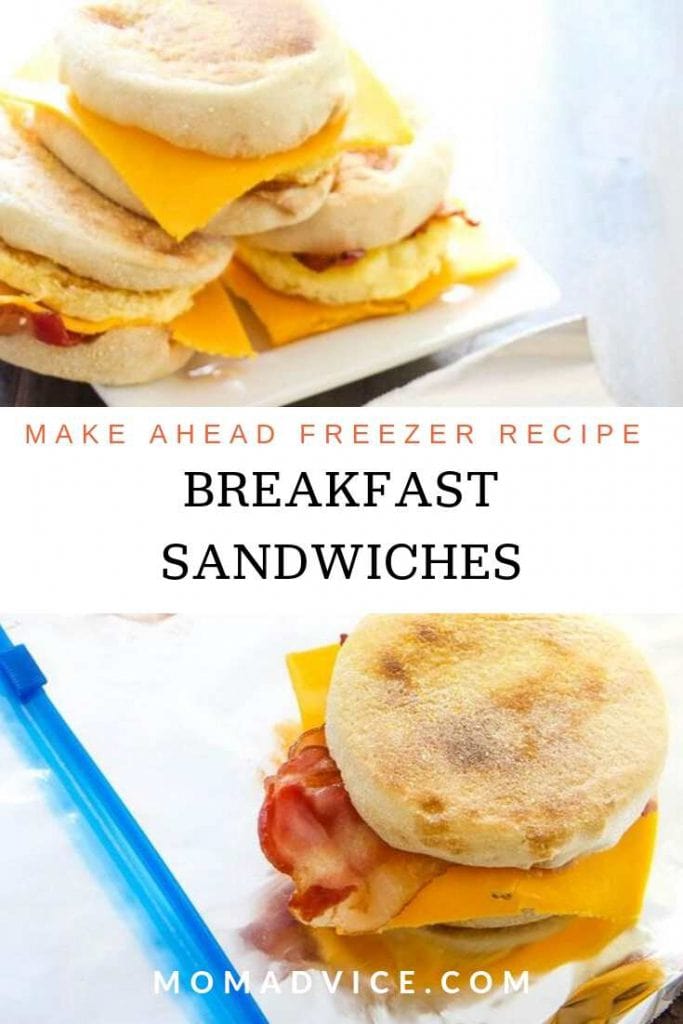
Meal Prep: Breakfast Sandwiches Recipe from MomAdvice.com meal prep these freezer breakfast sandwiches

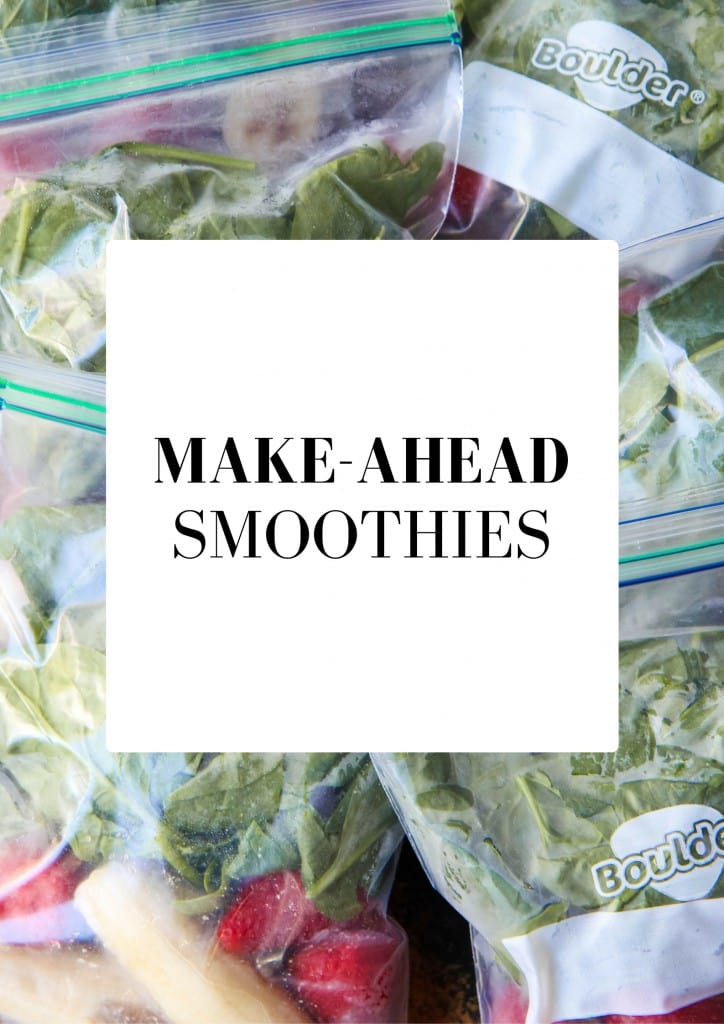
Make-Ahead Smoothie Packets from MomAdvice.com make these make-ahead smoothie packets for your freezer

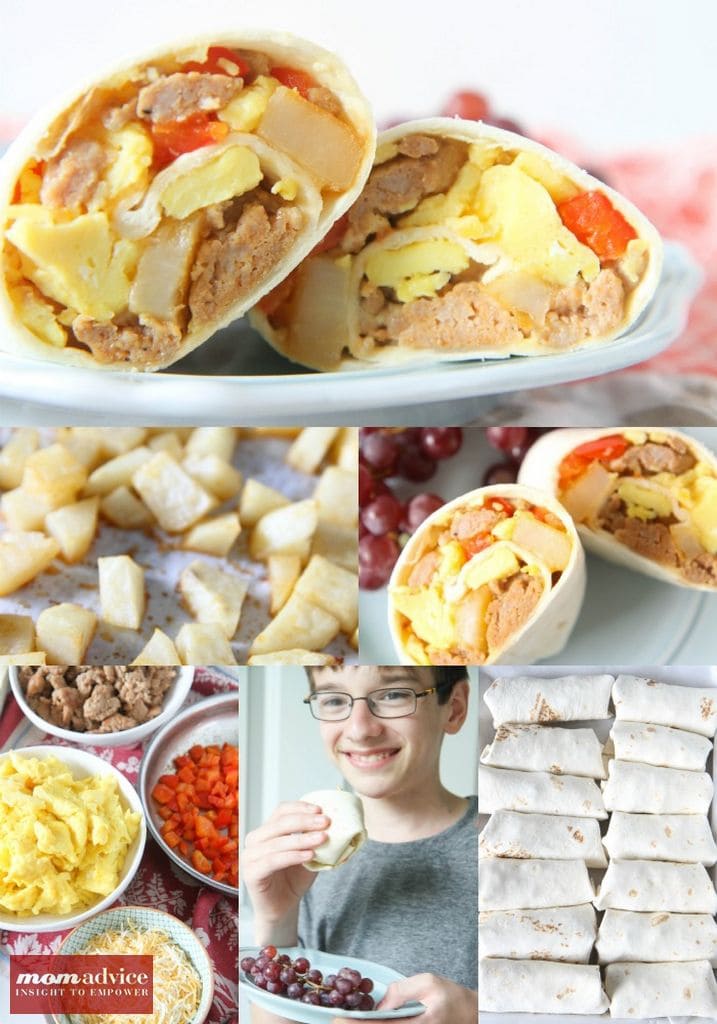
Make-Ahead Breakfast Burritos from MomAdvice.com make these breakfast burritos for your freezer

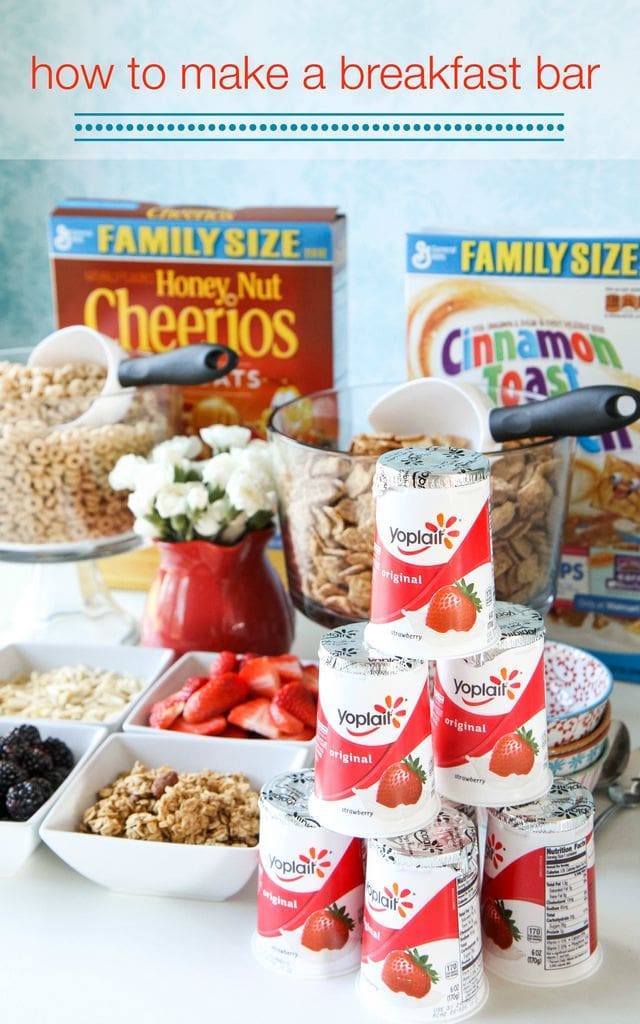
How to Make a Breakfast Bar from MomAdvice.com don’t want a cook? no biggie! try this hack for an easy breakfast bar

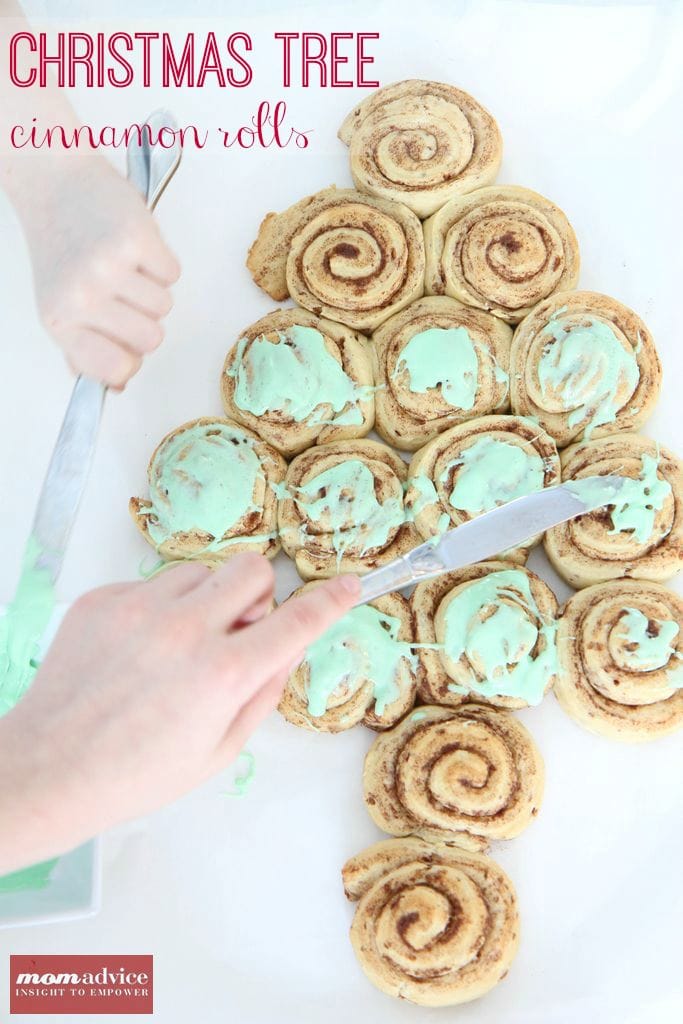
Christmas Tree Cinnamon Rolls or just bake a roll of cinnamon rolls and shape into a christmas tree. done.

What are your favorite holiday breakfasts to share with loved ones?

Overnight Slow Cooker Apple Cinnamon Steel Cut Oatmeal from MomAdvice.com

Overnight Slow Cooker Apple Cinnamon Steel Cut Oatmeal from MomAdvice.com

Pin It

DIY Holiday Yarn Trees

Wednesday, November 20th, 2019

DIY Holiday Yarn Trees from MomAdvice.com.

Bring the holidays to your mantle with these simple DIY Christmas trees! This holiday craft is so easy and inexpensive that you can make a few and display them together or give them as gorgeous hostess gifts. Make the DIY holiday yarn trees in Christmas colors or your favorites to add a festive touch to your Christmas decor!


What could be more fun than decorating for the holiday season?

For this month’s holiday decor project, I wanted to share with you a fun DIY project for creating festive yarn trees that you can create to decorate a ledge, table, or mantle in your home. 

You will only need a few affordable supplies from your craft shop to create this craft.

Don’t think of these as only a decoration for Christmas.

These are beautiful to display all holiday season long, especially in a nice warm neutral yarn!


DIY Holiday Yarn Trees

Supplies List

2-    3-7/8 x 8-7/8  inch  Styrofoam floral cones

2- 3-7/8 x 11-7/8 inch  Styrofoam floral cones

4 glass candlestick holders (optional)

2 skeins of inexpensive yarn (in your favorite yarn color)

Small & Large Clover Pom-Pom Makers (unless making pom-poms by hand)

Hot glue gun

Glue Sticks

Straight Pins

Scissors

3.75 mm straight yarn needles

2-4.00 mm double-pointed needles


DIY Holiday Yarn Trees


Instructions for Making Your Yarn Trees

1. For each of the smaller trees, you will need approximately 73-75 small pom poms. I am in love with my pom-pom maker for making these and have provided a picture tutorial above, if you would like to use these too.  Make sure to give your pom-poms a nice trim, to even up any uneven spots.


DIY Holiday Yarn Trees


2. Once you have made all of your pom-poms, it is time to assemble them to your tree-form. Grab your hot glue gun and apply a dab of glue in the center of the pom-pom (where you have tied the string to gather everything.  Apply the pom-poms to the tree, starting at the bottom of the cone and working your way around the tree. Try not to line these up all evenly, but stagger them in each row to make it look more like a real tree!


3. Continue adding pom-poms until you get to the top of the tree, making sure all of the tree-form is completely covered.


4. Make a large pom-pom in a contrasting color and secure it with hot glue, in the center again, and add it to the top of the tree as your star.


5. Finish by giving your tree a trim, especially at the top, to trim all of the yarn down to make it look more like a tree.


DIY Holiday Yarn Trees


6. For an easy yarn-wrapped tree, begin by adding a dab of hot glue to the top of your taller tree-forms. Begin by applying your yarn in a swirled motion at the top. Add one more dab of glue at the top and start wrapping your tree-form all the way around it until you are about a half-inch from the bottom.


7. Add one more dab of glue and then finish adding the yarn until you reach the bottom of the form. Clip the yarn and secure the end with a little hot glue.


8. Decorate this tree-form any way that you would like. If you are not a knitter, there are many varieties of ways you can decorate these yarn trees. You can top with a pom-pom in an alternating color, create a multi-colored pom-pom for topping, braid yarn to create a garland, or create some garland out of a contrasting color.


9. If you are a knitter, knit a 3-stitch i-cord using two 4.0 mm double-pointed needles  for a total of 32.5 inches. Using straight pins, secure the i-cord to the top of the tree and then wrap around and around, securing occasionally with pins, until the tree is completely wrapped in garland.


10. Top your tree with a simple knitted bow, if knitting an adornment. Using your 3.75 mm straight needles, cast on ten stitches. Knit the first row, then purl the next row. Repeat this pattern until it measures 6.5 inches in length. Cast the stitches off and then seam them in the center. Using more yarn, simply wrap the center of the bow and then knot the yarn behind. Secure the bow at the top with hot glue.


11. Attach all of the trees to inexpensive dollar-store candlestick holders. If you desire, you can spray paint these in your favorite color or just leave them plain, as I have shown.


DIY Holiday Yarn Trees from MomAdvice.com.


DIY Holiday Yarn Trees from MomAdvice.com.


DIY Holiday Yarn Trees from MomAdvice.com.


I hope you love these little yarn trees as much as I do! It is definitely an inexpensive and fun way to dress up a corner of your home for the holidays!


Sign up for the MomAdvice newsletter!


As an Amazon Associate I earn from qualifying purchases. This post contains affiliate links. I only recommend what I love!


DIY yarn holiday trees MomAdvice.com


Don’t miss these other great Holiday ideas from MomAdvice:


How to Make a Yarn Pom Pom Wreath from MomAdvice.com

How to Make Pom Pom Wreath 


The Easiest Burlap Wreath You Will Ever Make from MomAdvice.com

Easy Burlap Wreath


how to make a pom-pom and ornament garland MomAdvice

Ornament & Pom Pom Garland


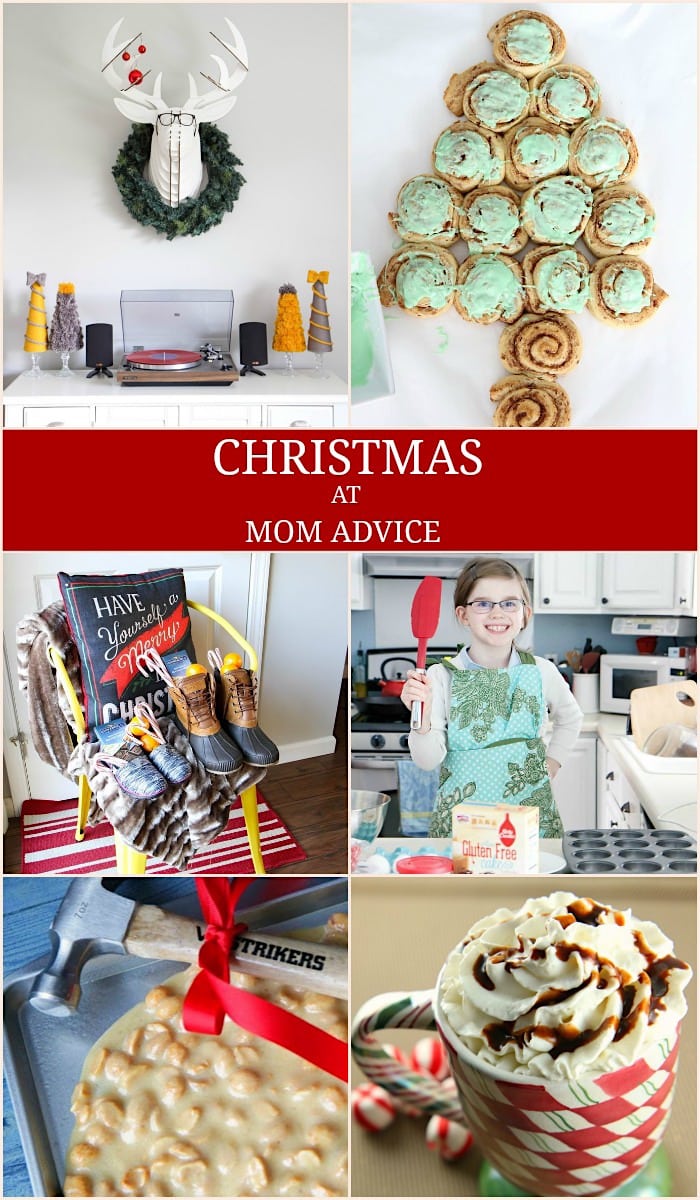
Christmas at Mom Advice-Traditions Decor and Food

Christmas at MomAdvice


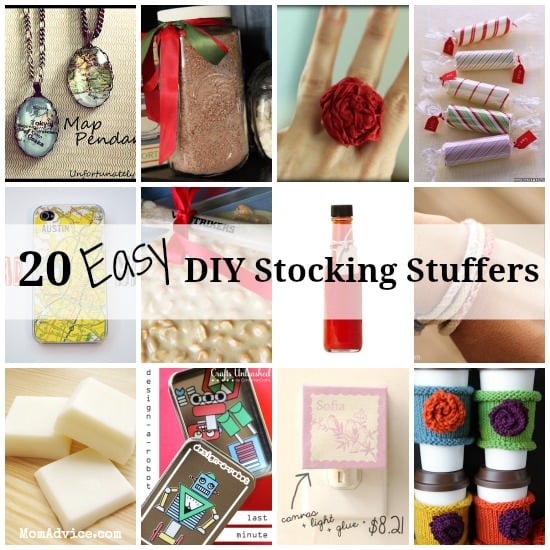
20 Easy DIY Stocking Stuffers - MomAdvice.com

DIY Stocking Stuffers


54 Handmade Gifts from MomAdvice

Homemade Gift Ideas


DIY Holiday yarn trees MomAdvice.com

Pin It

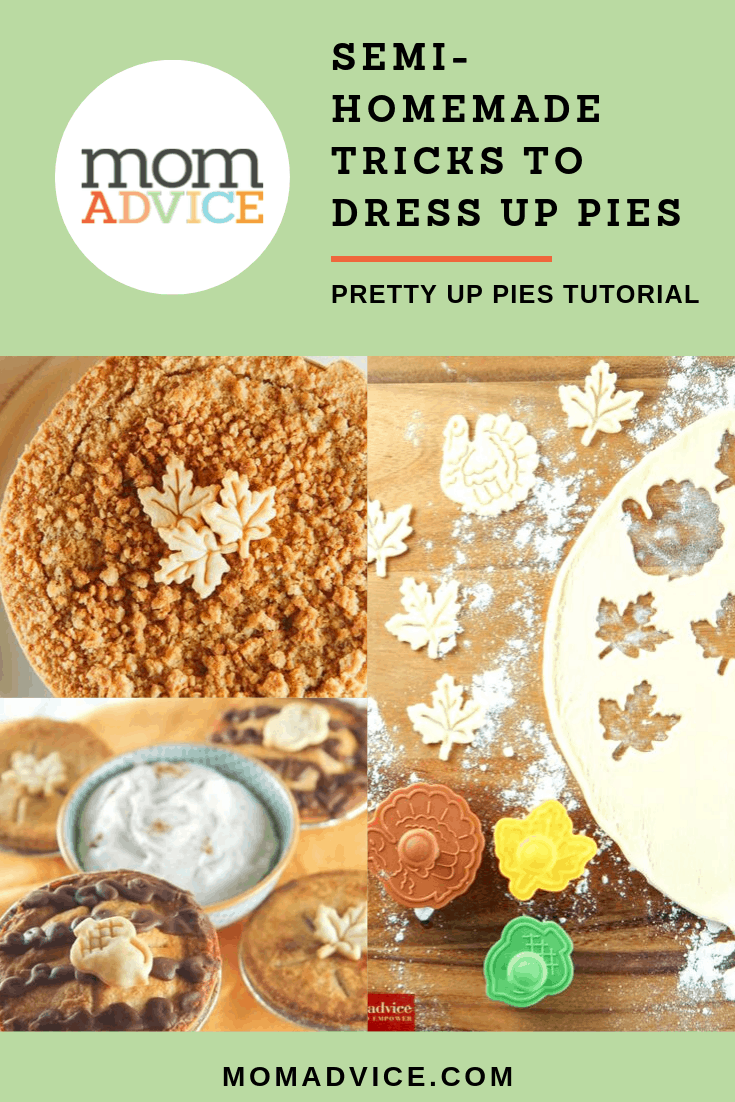
5 Ways to Decorate Store-Bought Pies

Tuesday, November 19th, 2019

5 Ways to Decorate Store-Bought Pies from MomAdvice.com.

Need a quick and easy dessert for your holiday dinner? Just pick up a store-bought pie and dress it up with these great and simple ideas! These small hacks will make your pie look and taste homemade!


The holiday preparation continues this week on the blog.

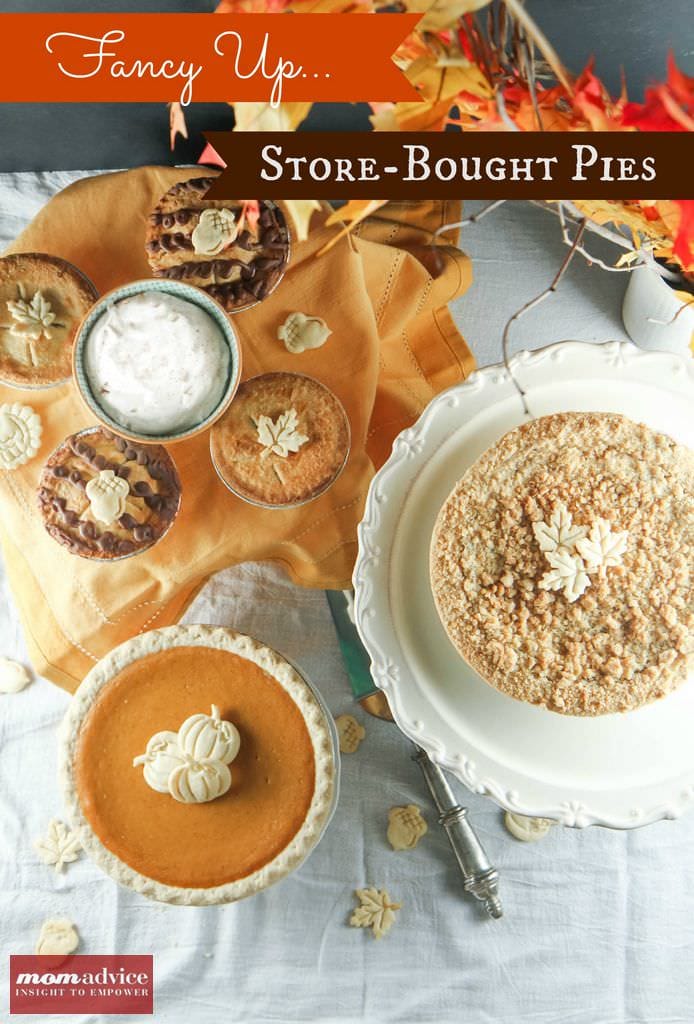
Today I want to showcase 5 easy ways to decorate store-bought pies for the holidays.

Supermarket pies can still look beautiful and will taste even better with my ideas for some fun toppings and additions.

Although we have a fantastic pumpkin pie recipe on here and even a step-by-step picture tutorial for making the perfect pie crust, I know that many of us just don’t have the desire to tackle pie baking.

This post is especially for you and I hope you can create a swoon-worthy dessert table that will leave people guessing if you made those pies or not.


Spiced Whipped Cream


Add a Delicious Homemade Topping

Although your pie may not be homemade, your toppings can really stand out with just a few simple ingredients that will add a lot of flavor to your pie.

One of my favorite toppings is a Spiced Whipped Cream that gets its hint of spices from ground cinnamon, ground ginger, and a little sugar. It is the perfect accompaniment to your store-bought pumpkin or pecan pies for the holidays.


Cranberry Crunch Pie Topping


Another idea for layering on the flavors is to add texture through a fun crunchy pie topping.

One of our favorites that I created for our pies last year was an easy Cranberry Crunch Pie Topping made from amaretto cookies and fresh cranberries.


5 Ways to Decorate Store-Bought Pies from MomAdvice.com.


Add Unique Details

One of the greatest tools that I got for my holiday baking this past year was a set of piecrust cutters that I found on Williams Sonoma.

Not only are these great tools to keep handy for masking any flaws on your homemade crusts, but they can double as a great detail to adorn store-bought pies.


5 Ways to Decorate Store-Bought Pies from MomAdvice.com.


Purchase pie crust from the refrigerated section of the store and then roll out on a lightly floured surface.

Dip your cutters in a little flour and then push down and press these cutters to create your shape.

Bake these adorable details in a 400 degree oven for 6-8 minutes on a parchment lined cookie sheet.

Allow these to cool and then decorate the tops of your pies with these.

These little details are also so pretty to sprinkle on your dessert table and add that extra festive touch.


5 Ways to Decorate Store-Bought Pies from MomAdvice.com.


5 Ways to Decorate Store-Bought Pies from MomAdvice.com.


Make a Mini Pie Spread

When I spotted these adorable mini pies in the bakery section of our local Walmart, I knew this would be another fun spin on pies to try for the holidays.

These mini pies are less than $1 each and come in a variety of flavors year-round.

For smaller families, these store-bought pies offer the perfect serving size and give everyone exactly what they love the most.

Adorn these with the smaller size pastry cutouts and add a bowl of spiced whipped cream in the center so that everyone can create their own pie experience.


5 Ways to Decorate Store-Bought Pies from MomAdvice.com.


5 Ways to Decorate Store-Bought Pies from MomAdvice.com.


5 Ways to Decorate Store-Bought Pies from MomAdvice.com.


Give the Gift of Pie

One of my favorite things to give as a hostess gift is a sweet treat for their hospitality.

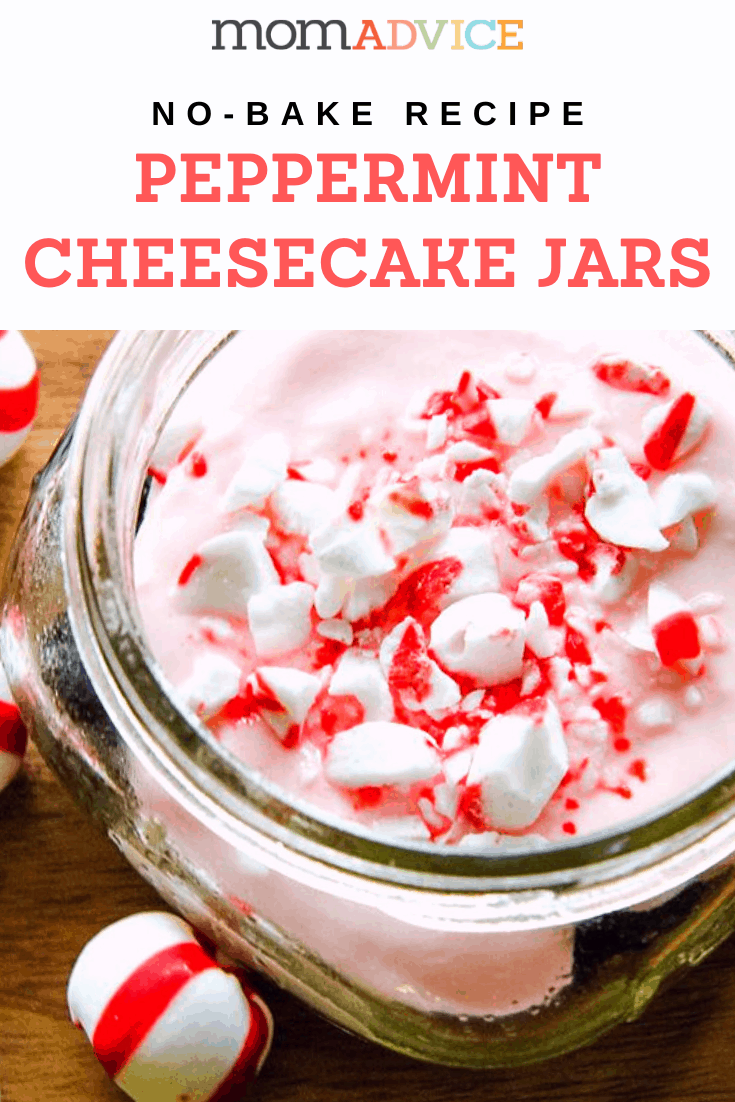
Nothing is sweeter than a little individual treat just for me after entertaining, at least that is my opinion, and one of my favorite gifts to give happens to be my little peppermint cheesecakes in a jar.

If you are short on time though, consider purchasing these mini pies as hostess gifts for the holidays.

Dress it simply in some festive ribbon and tie a bow around it to create a sweet little gift to give for the holidays.

At less than $1 each, these are a sweet way to say thank you without spending a lot.


5 Ways to Decorate Store-Bought Pies from MomAdvice.com.


Create a Beautiful Display

I love that when I posted a picture of this pie display on Instagram & Facebook that people were asking if this was even real.

I think it really goes to show that with a few easy details and staging, you can take store-bought pies to another level.

With this display I used mismatched cake stands in varying heights to create a display.

Don’t be afraid to drape a cloth napkin over a stand to make it cohesive or even create a stand out of a teacup and plate and cover it with the cloth napkin, if you are short on serving pieces.

If you have multiple dishes out, consider adding these cute chalkboard label frames to help people navigate the dessert table.

Sprinkle pastry cutouts along the tablecloth to decorate the display and pull in leaves, bare branches, or create a unique centerpiece like I did this year to add some color to the table.

I hope these ideas are inspiring and that you will find a new way to love store-bought pies this year with these creative details!

 Oh, and enjoy all that free time you have now that you aren’t baking this year.

Winning!


Don’t miss this series on how to make your Thanksgiving dinner ahead of time and freeze the meal!:


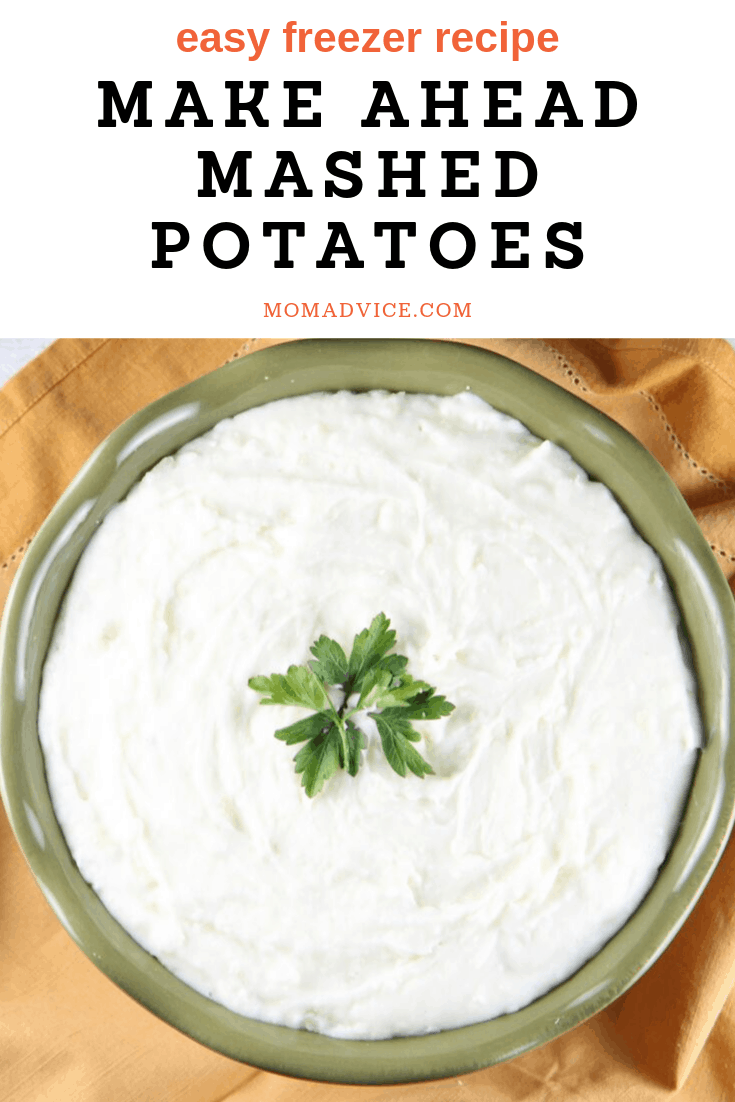
make-ahead mashed potatoes from MomAdvice.com

Make-Ahead Mashed Potatoes


Ultimate Make-Ahead Gravy Recipe from MomAdvice.com

Make-Ahead Gravy Recipe


Make-Ahead Cranberry Sauce from MomAdvice.com

Make-Ahead Brandied Orange Cranberry Sauce


Make-Ahead Green Bean Casserole from MomAdvice.com

Make-Ahead Gluten Free Green Bean Casserole


Bacon, Apple, and Cornbread Stuffing from MomAdvice.com

Make-Ahead Gluten Free Bacon & Apple Cornbread Stuffing


Buttery Dinner Rolls in the Bread Machine from MomAdvice.com

Buttery Bread Machine Dinner Rolls


Sign up for the MomAdvice Newsletter!


As an Amazon Associate I earn from qualifying purchases.
Dress Up Store Bought Pies MomAdvice.com


Other great Thanksgiving ideas from MomAdvice:


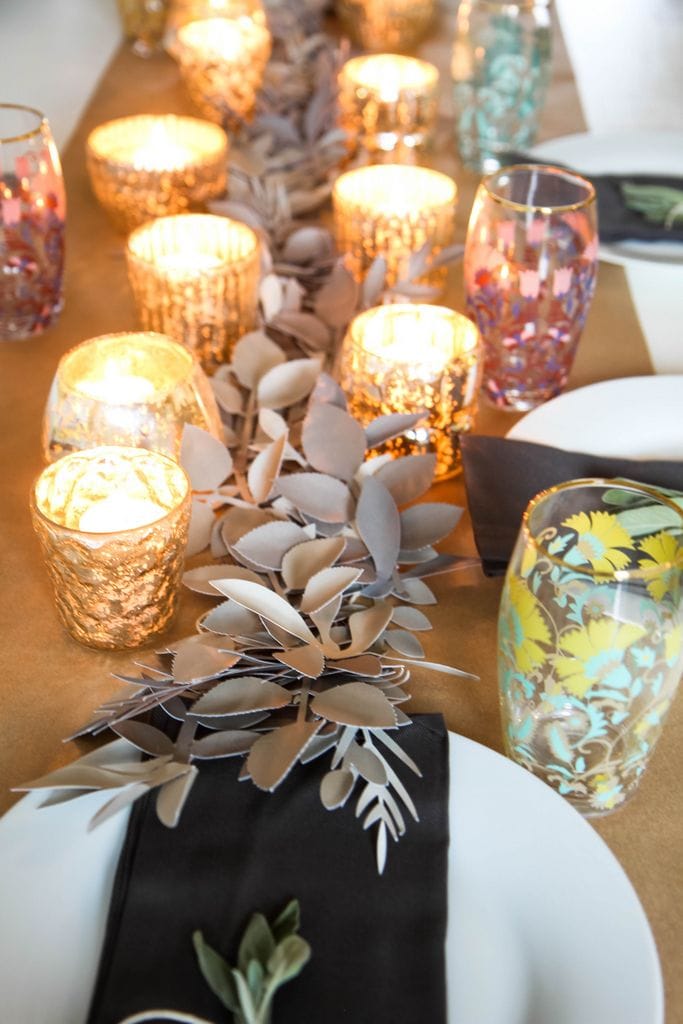
Centerpiece for all seasons MomAdvice.com

DIY Table Runner for All Seasons


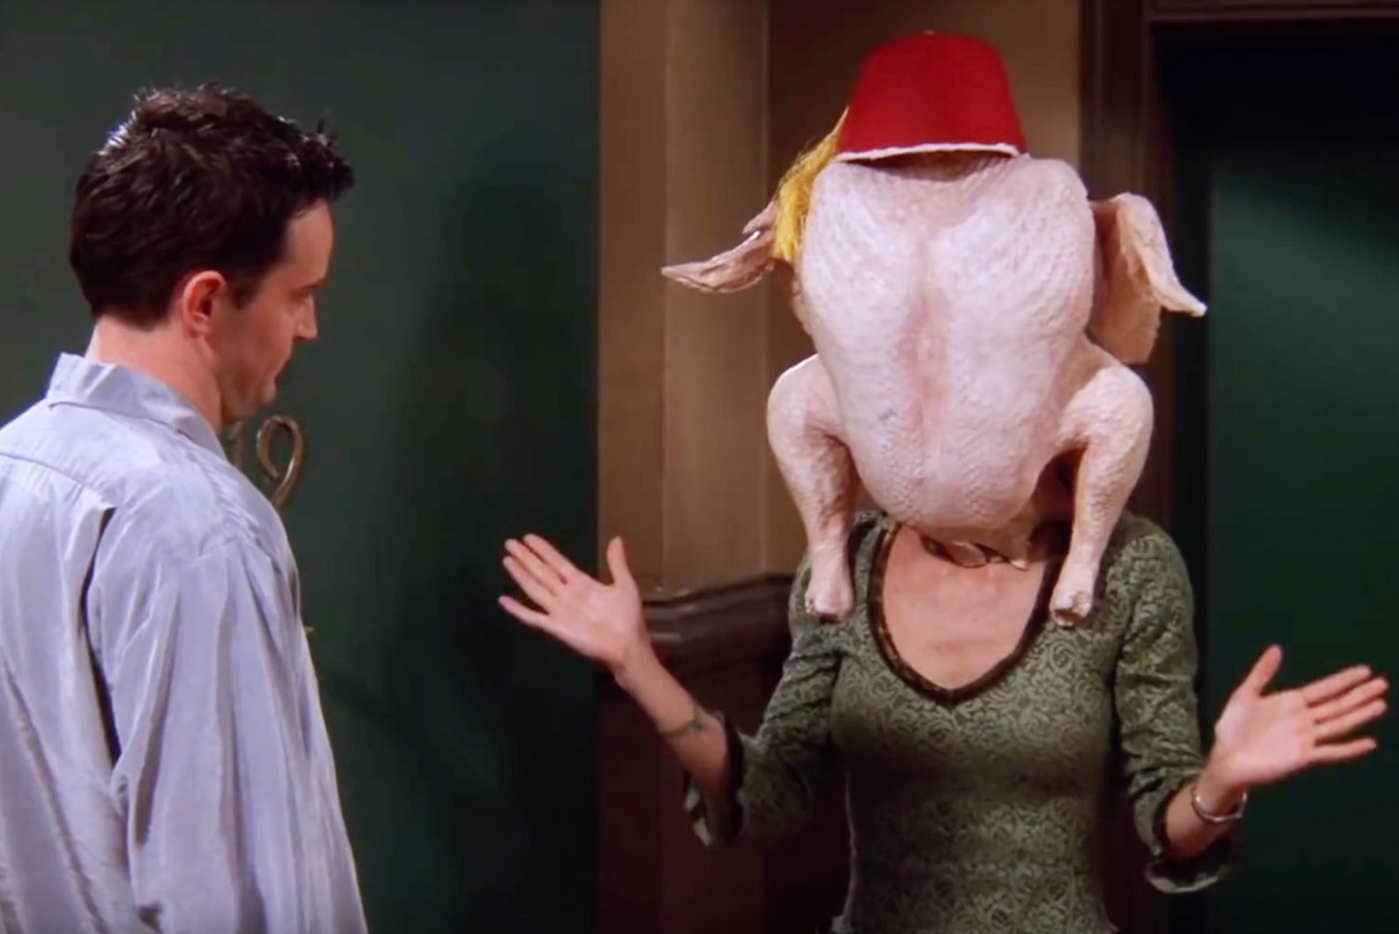
Thanksgiving TV Episodes MomAdvice.com

6 Sitcoms that Make Us Give Thanks


How to Make a Pumpkin Spice Latte from MomAdvice.com

How to Make a Pumpkin Spiced Latte


5 Ways to Date Your Husband in the Fall MomAdvice.com

5 Ways to Date Your Husband in the Fall


Dress up Store Bought Pies MomAdvice.com

Pin It

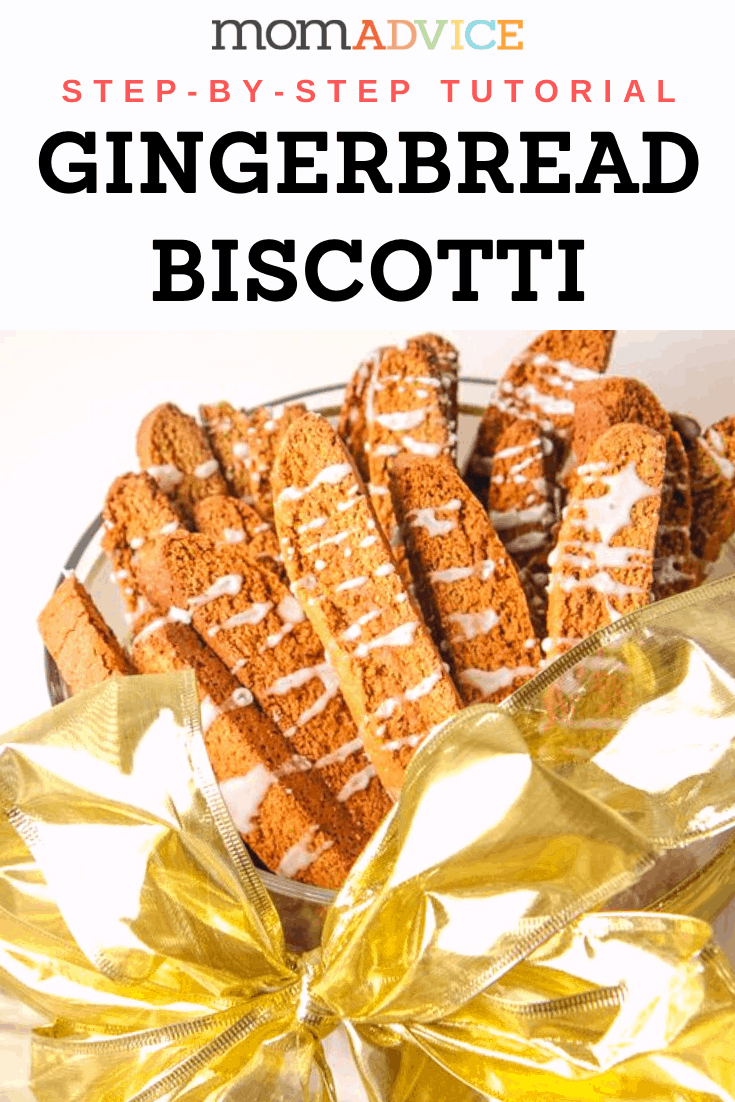
Gingerbread Biscotti Step-By-Step Tutorial

Monday, November 18th, 2019

Gingerbread Biscotti Recipe Step By Step Header

Did you know how easy it is to make biscotti? This great recipe shows you how to make this gingerbread biscotti treat that is perfect for dunking in a cup of coffee or hot chocolate. Get the step-by-step tutorial and printable recipe on the blog today!

One of my favorite gifts to give is homemade biscotti.

This gingerbread biscotti is the perfect gift to give for the holidays or to share in this year’s cookie exchange.

Biscotti seems like a really difficult treat to make, but it is just as easy as making a regular batch of cookies.

The biggest difference is that you bake these treats twice to get a cookie with crunch.

Gingerbread Biscotti with a Cup of Coffee

What Are Biscotti?

Biscotti are an Italian twice-baked cookie.

You begin by baking these tasty treats in a loaf, then slicing with a serrated knife, and finish them with a second round of baking.

This yields a dry, crunchy oblong cookie that is perfect for dunking!

Are Biscotti Gluten-Free?

Many of our readers need to eat gluten-free so this is one of our most commonly asked questions. Biscotti are made with flour (this recipe is made with all-purpose and wheat flour) so biscotti are NOT gluten-free.

How Can I Make Biscotti Gluten- Free?

Substitutions for all-purpose flour in this recipe can be made by using oat flour instead. Here is a recipe for gluten-free gingerbread biscotti that may cater to your dietary needs more.

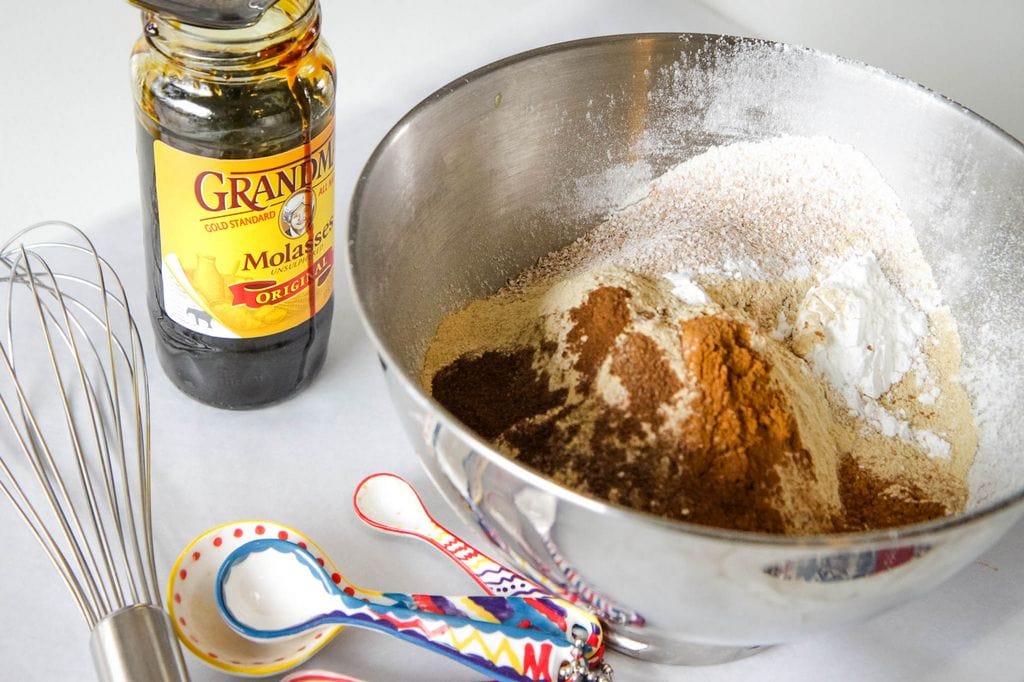
where to find molasses for gingerbread biscotti

Where Do I Find Molasses In My Grocery Store?

I can admit, the first time I started making gingerbread-flavored items, I had NO CLUE where to find molasses in my grocery store.

Is molasses in the cereal aisle with the pancake mixes or is it in the baking supplies aisle?

If you are lost too, I would suggest you check both aisles. While I have found it in my baking supplies aisle, some stores do carry it in their breakfast aisle.

Don’t think of it as only being stocked near the sugar either. This can be found randomly down by spices or even near the puddings.

Don’t want to hit your grocery store? Check here and order online instead.

How to Make Gingerbread Biscotti


This Gingerbread Biscotti is filled with all of the gingerbread flavors you love.

To achieve this flavor, we mix molasses, brown sugar, ginger, nutmeg, and cinnamon into our batter.

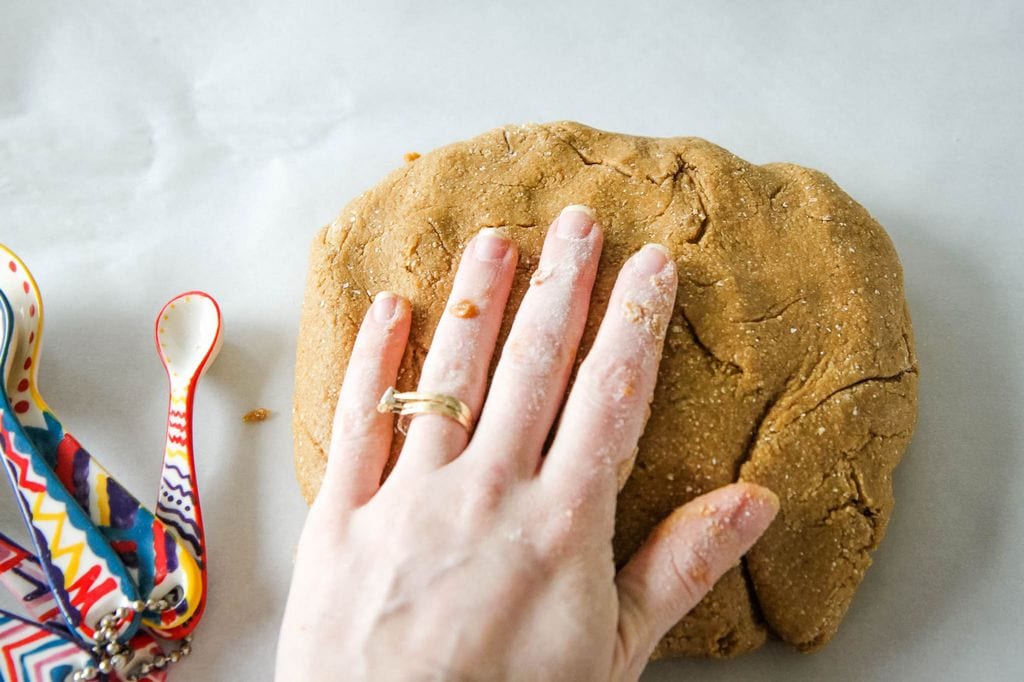
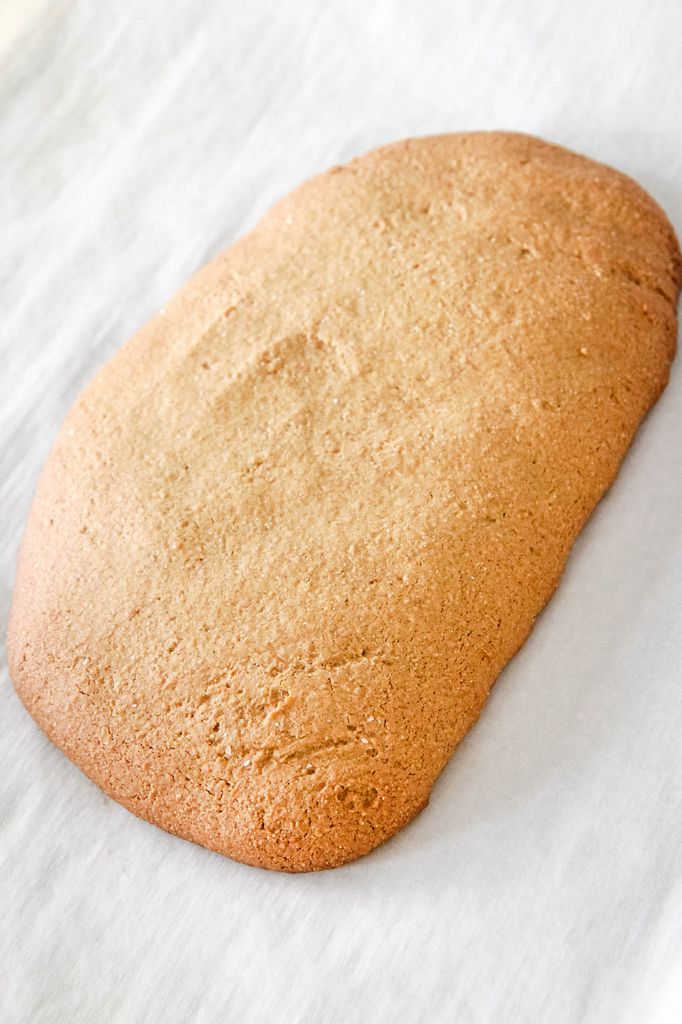
patting the gingerbread biscotti dough

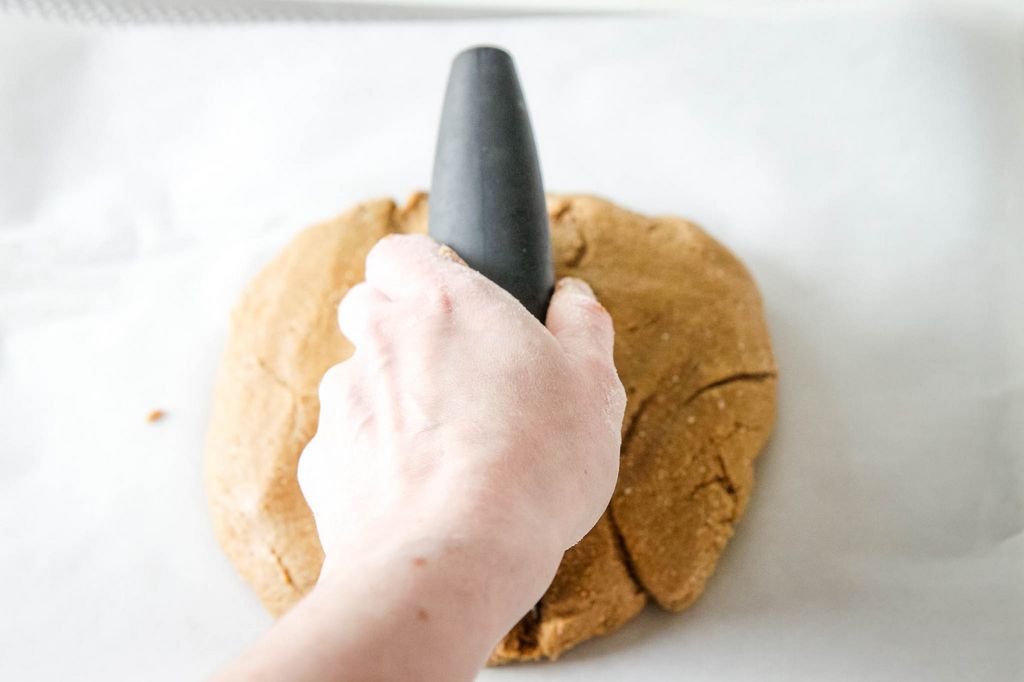
Splitting Gingerbread Biscotti Dough for a Second Bake

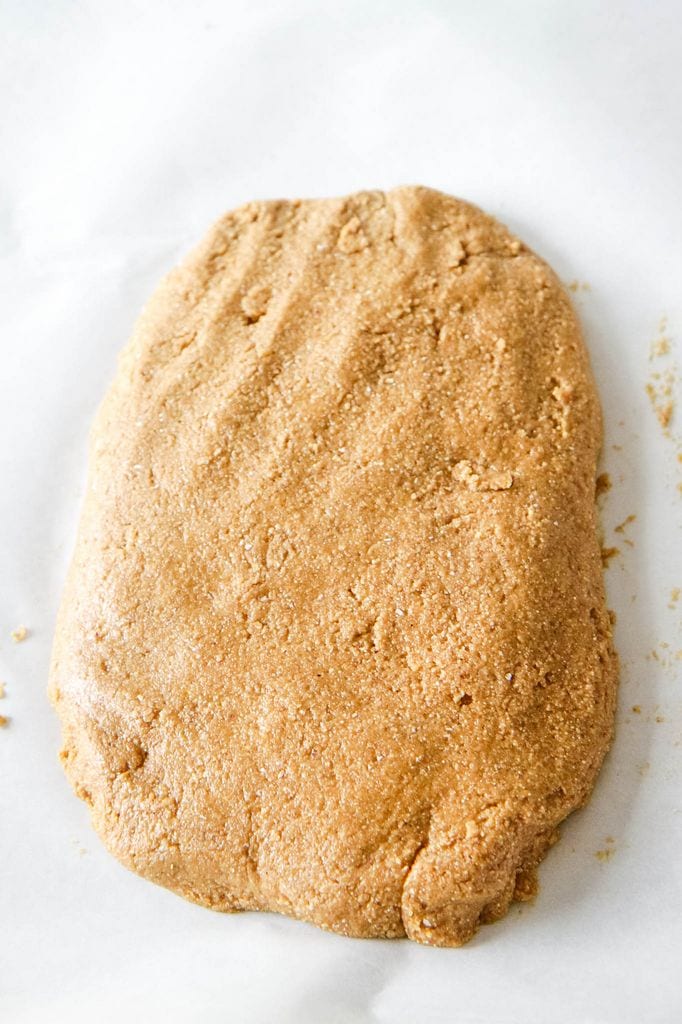
split gingerbread dough patted down

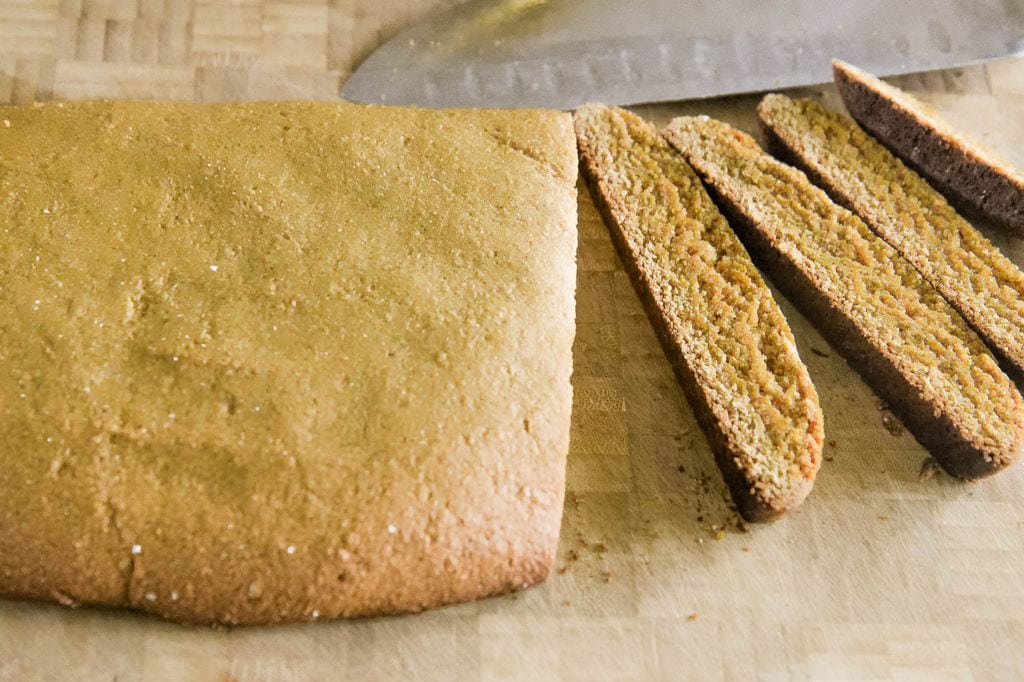
Gingerbread Biscotti Dough After First Bake

Cutting Biscotti for a Second Bake

The most important thing with this biscotti, I have found, it to keep an eye on it because it will go from done to burnt rather quickly!

Start checking these after twenty minutes (on your first bake time) and don’t leave them neglected after that point or you may have some burnt biscotti on your hands!

After baking these, for the first time, you will slice them with a sharp knife (serrated is a great option).

You should note that you start with a higher temperature, on the first baking, and then you reduce the oven temperature for the second round of baking.

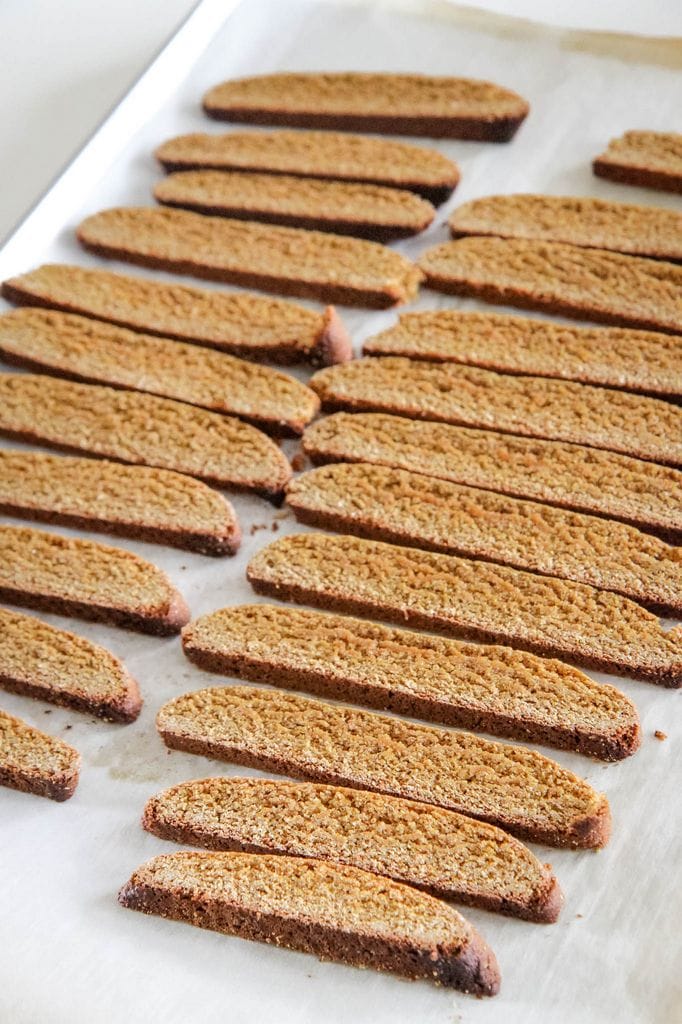
Gingerbread Biscotti Baked a Second Time

Once they are sliced, you will spread them out on a parchment paper lined cookie sheet. 

Bake them again.

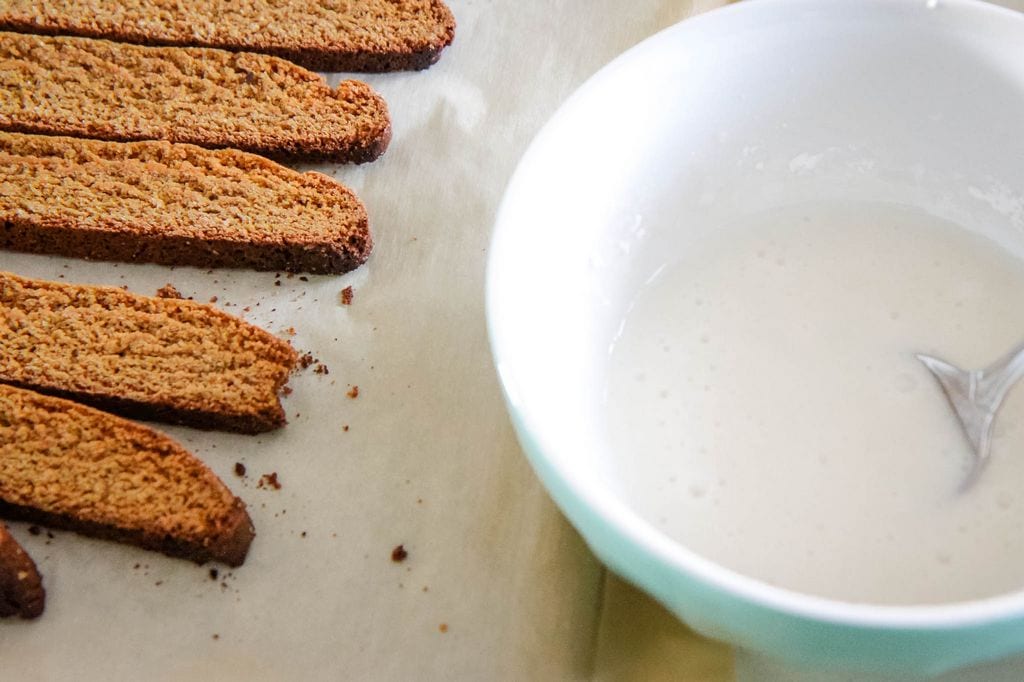
Gingerbread Biscotti Glaze

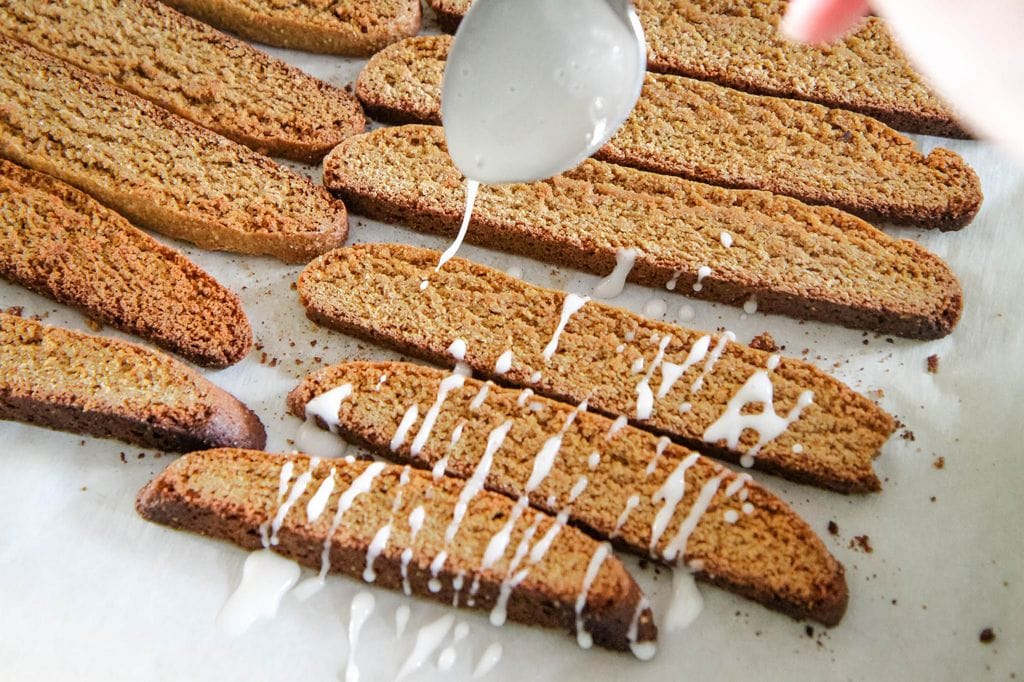
Drizzling Glaze on Gingerbread Biscotti

After finishing the second round of baking, allow these to cool completely on a wire rack before drizzling with glaze.

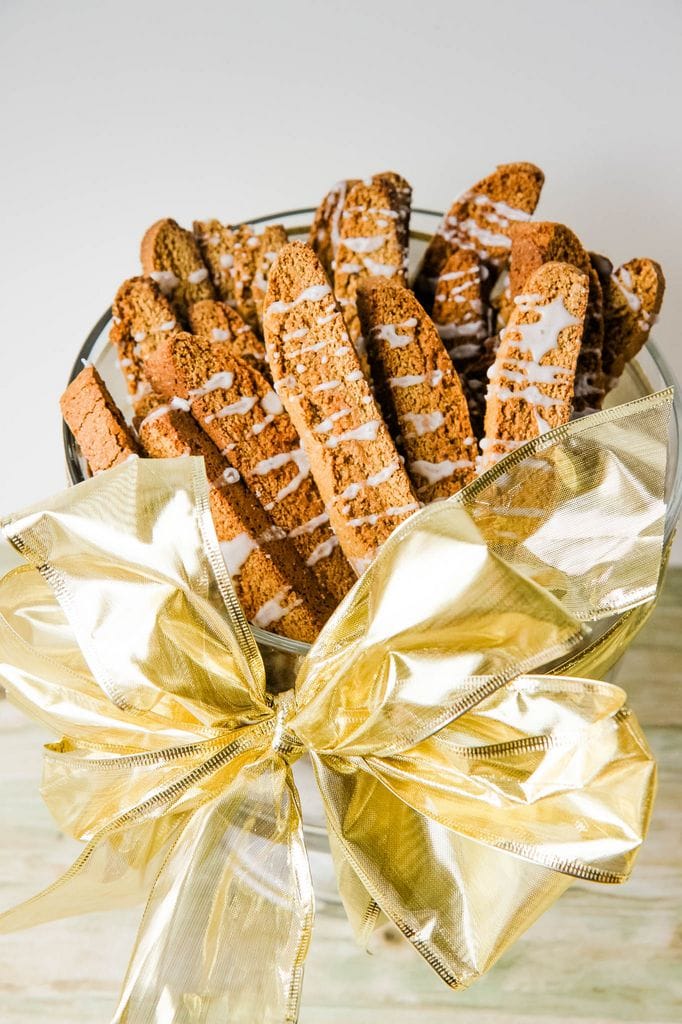
Packaged Gingerbread Biscotti

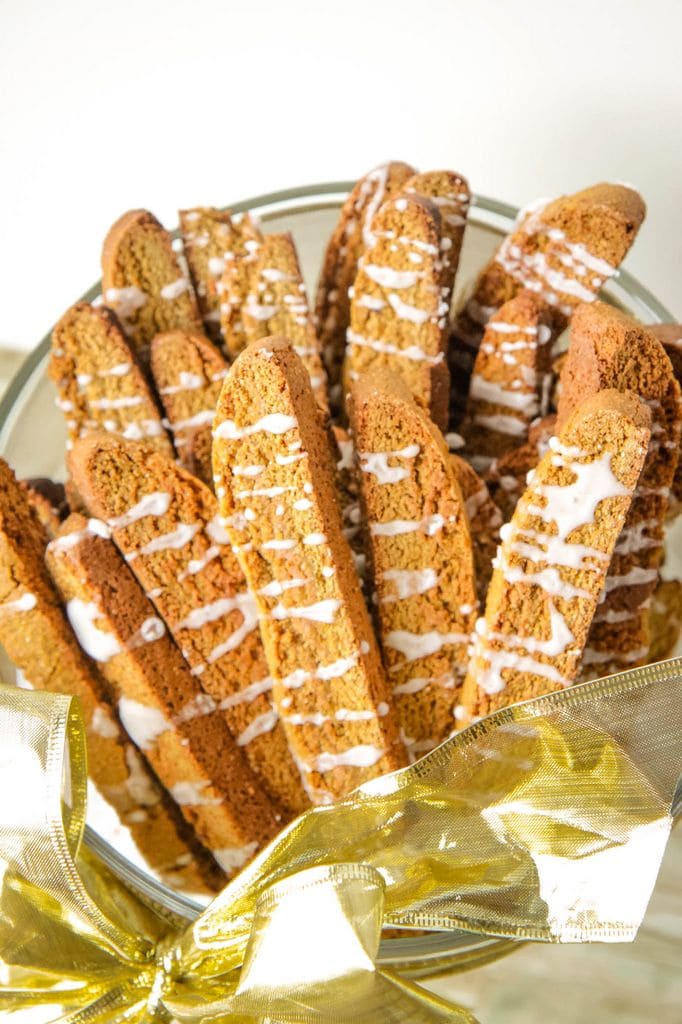
Close Up of Homemade Gingerbread Biscotti With Glaze

These can be packaged in festive treat bags with a little ribbon and would make a cute accompaniment to a favorite homemade drink mix, coffee, or the makings of a coffee gift basket with my homemade peppermint syrup or gingerbread syrup for easy homemade lattes.

However you package it, solo or in a basket, I guarantee that this recipe will be a hit for your holiday giving and baking!

Gingerbread Biscotti  
Recipe Type: Dessert
Author: Adapted from AlRecipes.com
Prep time: 25 mins
Cook time: 40 mins
Total time: 1 hour 5 mins
Serves: 4 dozen
A sweet and simple gingerbread biscotti recipe that is perfect for your holiday gift-giving!
Ingredients
  • 1/3 cup vegetable oil
  • 1 cup white sugar
  • 3 eggs
  • 1/4 cup molasses
  • 2 1/4 cups all-purpose flour
  • 1 cup whole wheat flour
  • 1 tablespoon baking powder
  • 1 1/2 tablespoons ground ginger
  • 3/4 tablespoon ground cinnamon
  • 1/2 tablespoon ground cloves
  • 1/4 teaspoon ground nutmeg
  • For Glaze: 1/2 cup confectioners sugar (icing or powdered sugar), sifted
  • 1/4 teaspoon pure vanilla extract
  • 2 – 3 tablespoons milk or light cream
Instructions
  1. Preheat your oven to 375 degrees F (190 degrees C). Line a cookie sheet with parchment paper.
  2. In a large bowl, mix together oil, sugar, eggs, and molasses. In another bowl, combine flours, baking powder, ginger, cinnamon, cloves, and nutmeg; mix into egg mixture to form a stiff dough (depending on your humidity, the dough may be sticky).
  3. Divide dough in half, and shape each half into a roll the length of the cookie.
  4. Place rolls on lined cookie sheet, and pat down to flatten the dough to ½ inch wide thickness.
  5. Bake in a preheated oven for 20-25 minutes. KEEP A VERY CLOSE EYE ON IT as it will go from done to burnt quickly.
  6. Remove from oven, and set aside to cool.
  7. When cool enough to touch, move over to a cutting board and cut into 1/2 inch thick diagonal slices.
  8. Place sliced biscotti on cookie sheet, and bake an additional 5 to 7 minutes on each side, or until toasted and crispy. If the biscotti already looks a little “too” crispy, you can decrease your oven temperature to 275 degrees and bake for 7-10 minutes instead.
  9. Let cool.
  10. In a small bowl mix together the confectioners sugar, vanilla extract and milk until it is incorporated. Using a small spoon, drizzle back and forth your glaze over the biscotti. Allow the icing to harden before packaging.

As an Amazon Associate I earn from qualifying purchases.

Looking for more great holiday hostess gift? Here are 3 other projects to check out!

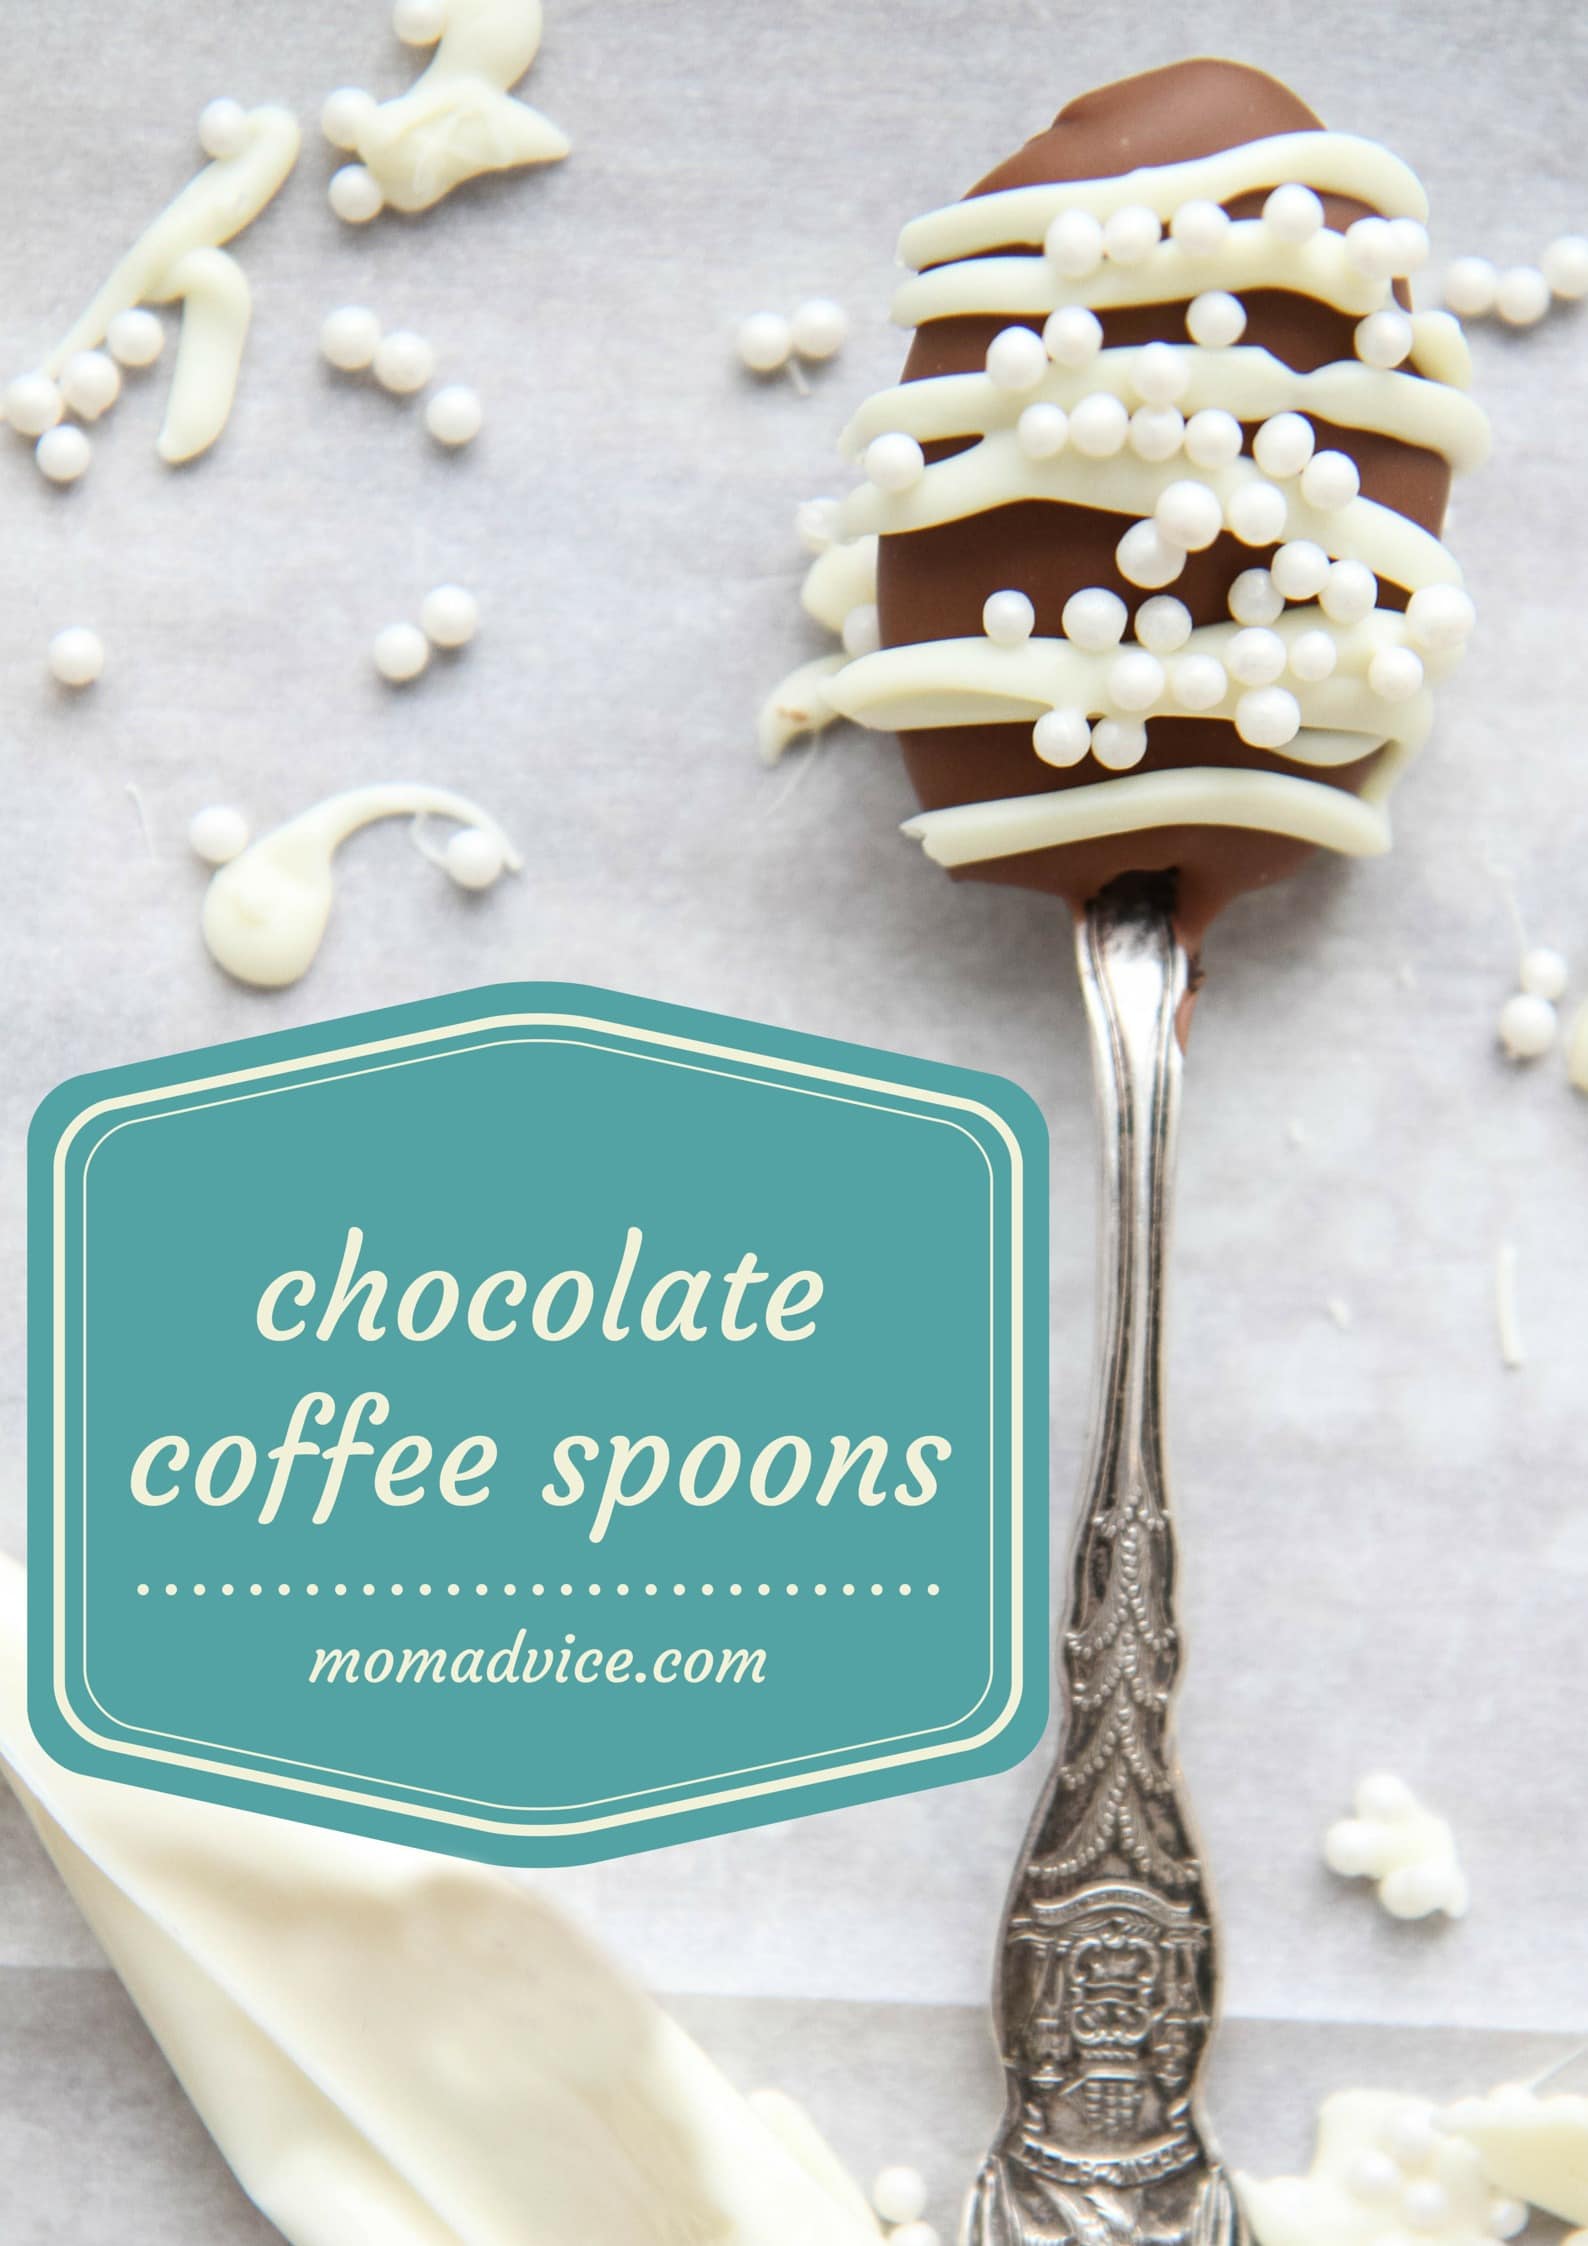
Chocolate Coffee Spoons from MomAdvice.com make some chocolate coffee spoons to pair with the biscotti

No-Bake Peppermint Cheesecake Jars from MomAdvice.com

no bake peppermint cheesecakes in a jar

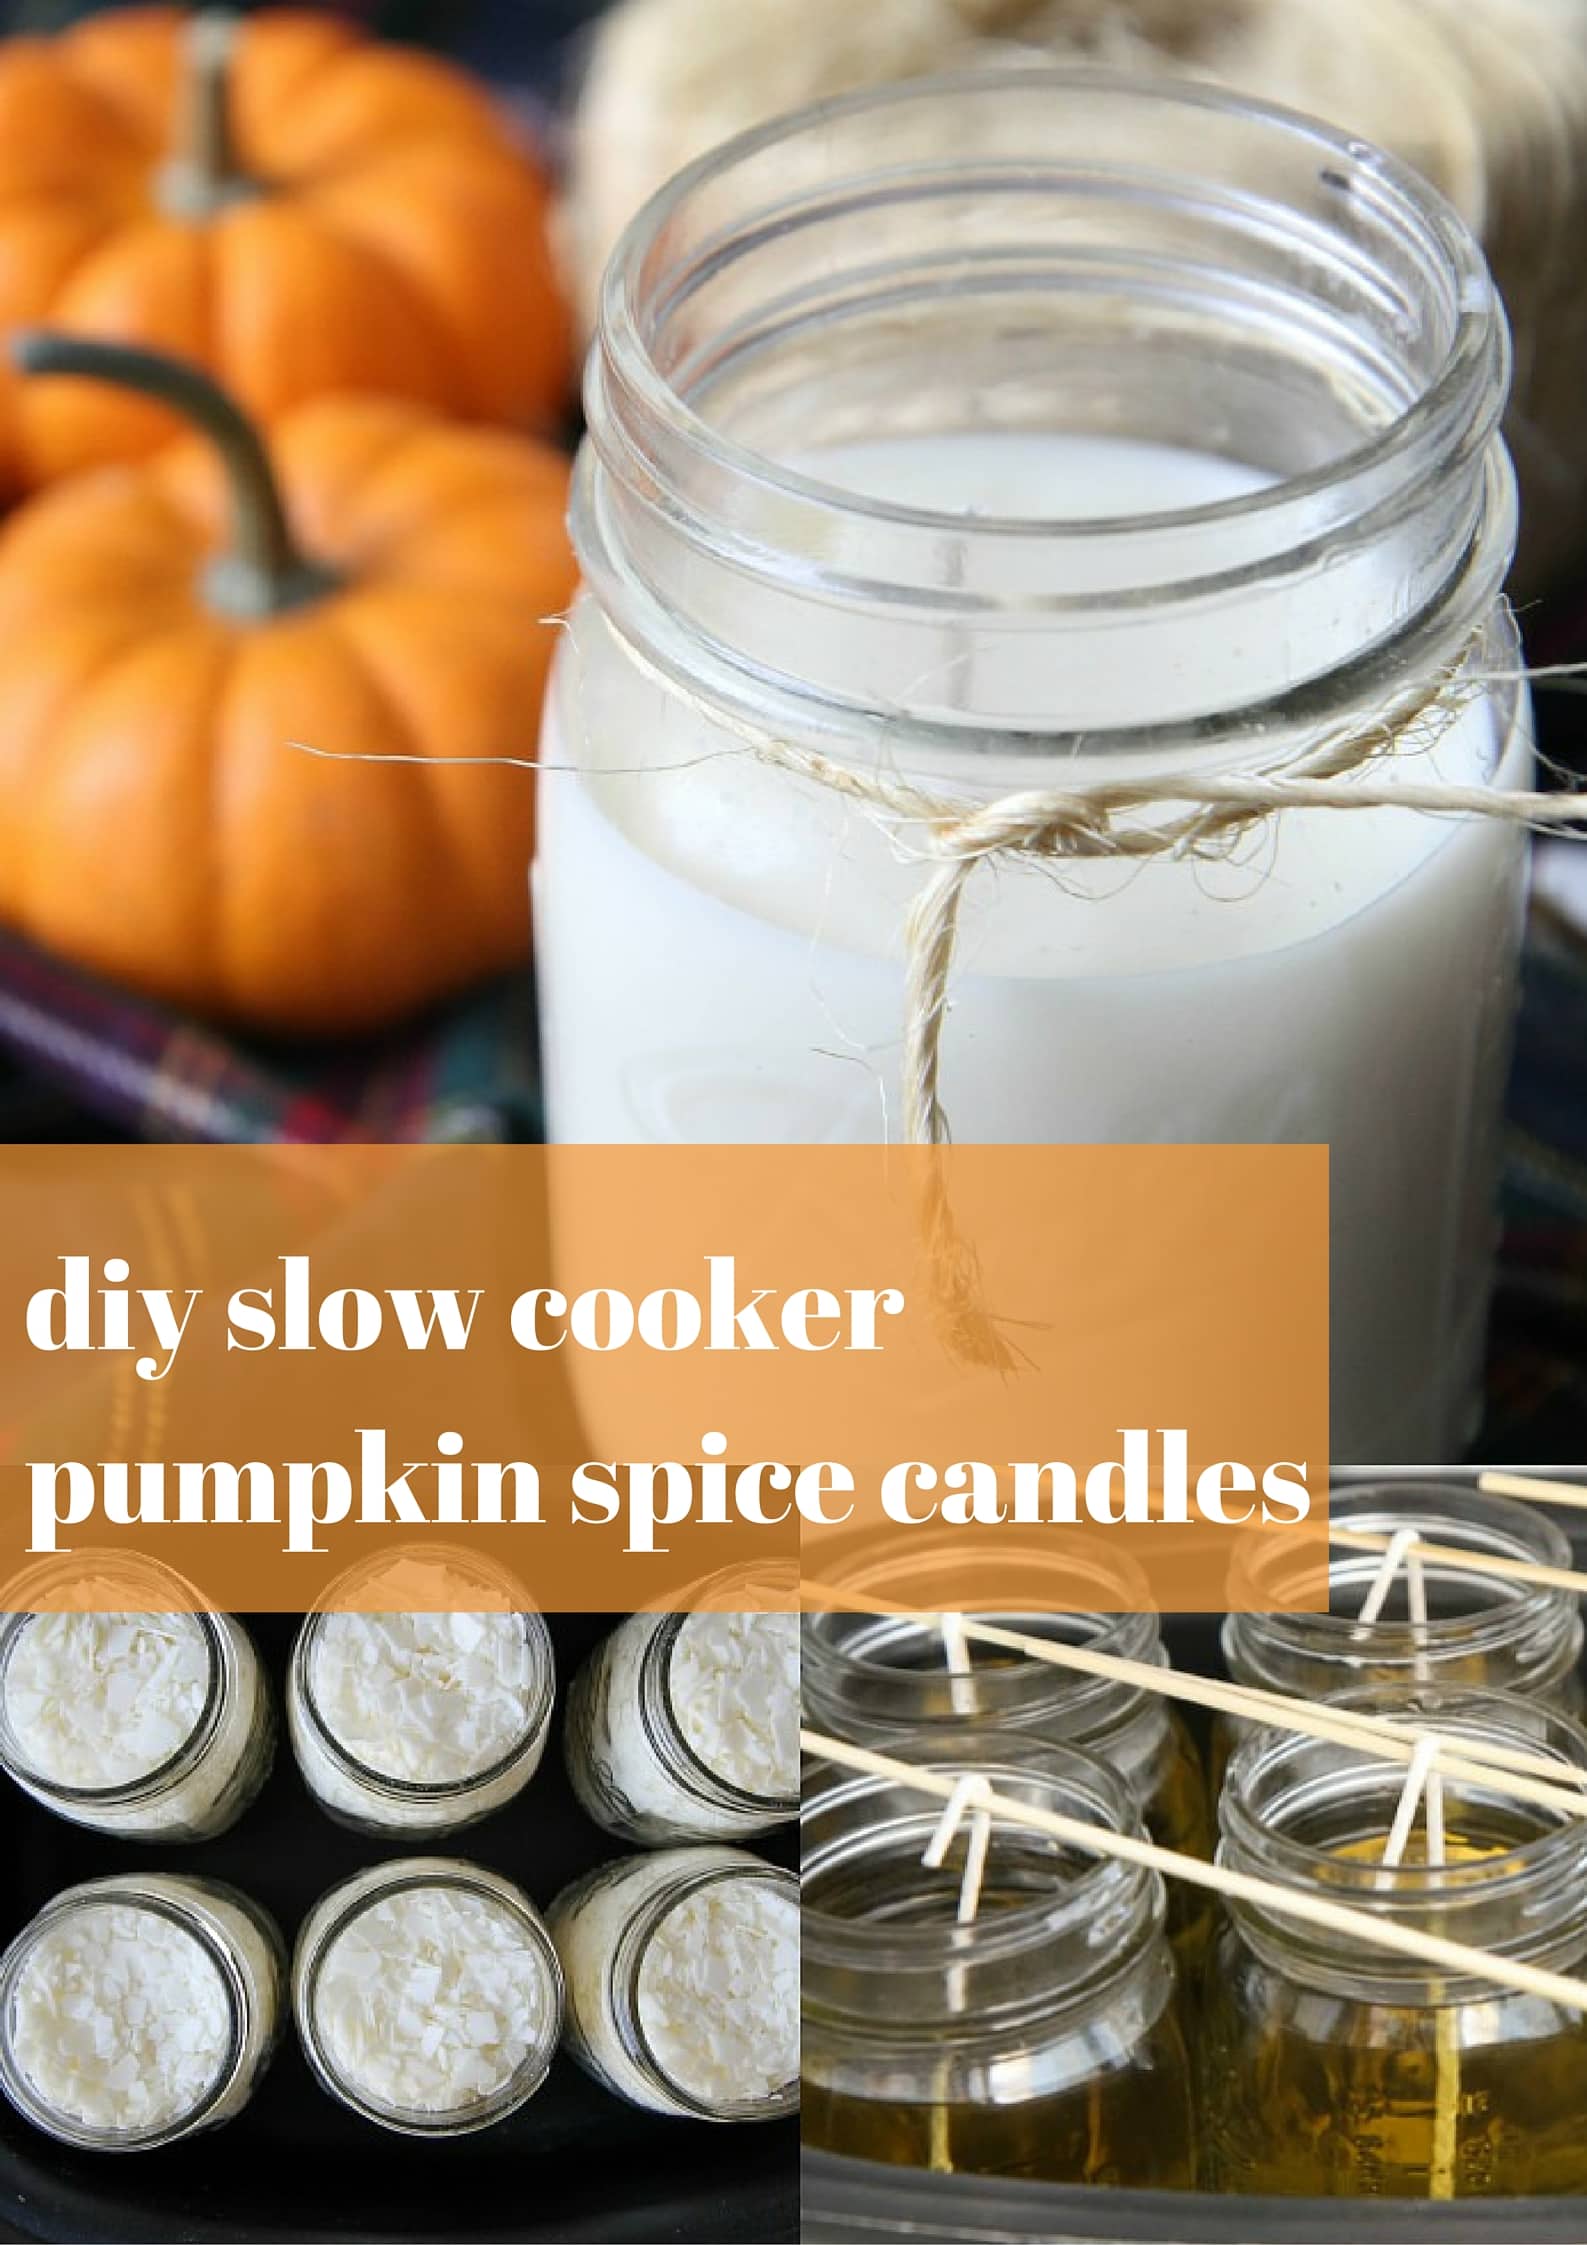
Slow Cooker Pumpkin Spice Candles slow cooker pumpkin spice candles (SO fun and easy!)

What fun treats are you baking this holiday season? Any great big batch recipes you might like to share?

Gingerbread Biscotti Recipe Step By Step Header

Pin It

Last Minute Thanksgiving Tablescape Ideas

Saturday, November 16th, 2019

Last Minute Thanksgiving Tablescape Ideas from MomAdvice.com I can’t believe that Thanksgiving is upon us!

This year I get to host both sides of my family at my home for the Thanksgiving holiday so I have been in full planning mode over the last couple of weeks.
 
As a hostess, I know that often our time is more focused on the food than the decorations, but you need not spend oodles of your time crafting or purchasing a lot to make your table beautiful.
 
In fact, this post shows you that that by shopping your very own home and adding a few inexpensive items from Goodwill, you are just minutes away from the perfect Thanksgiving table.
 
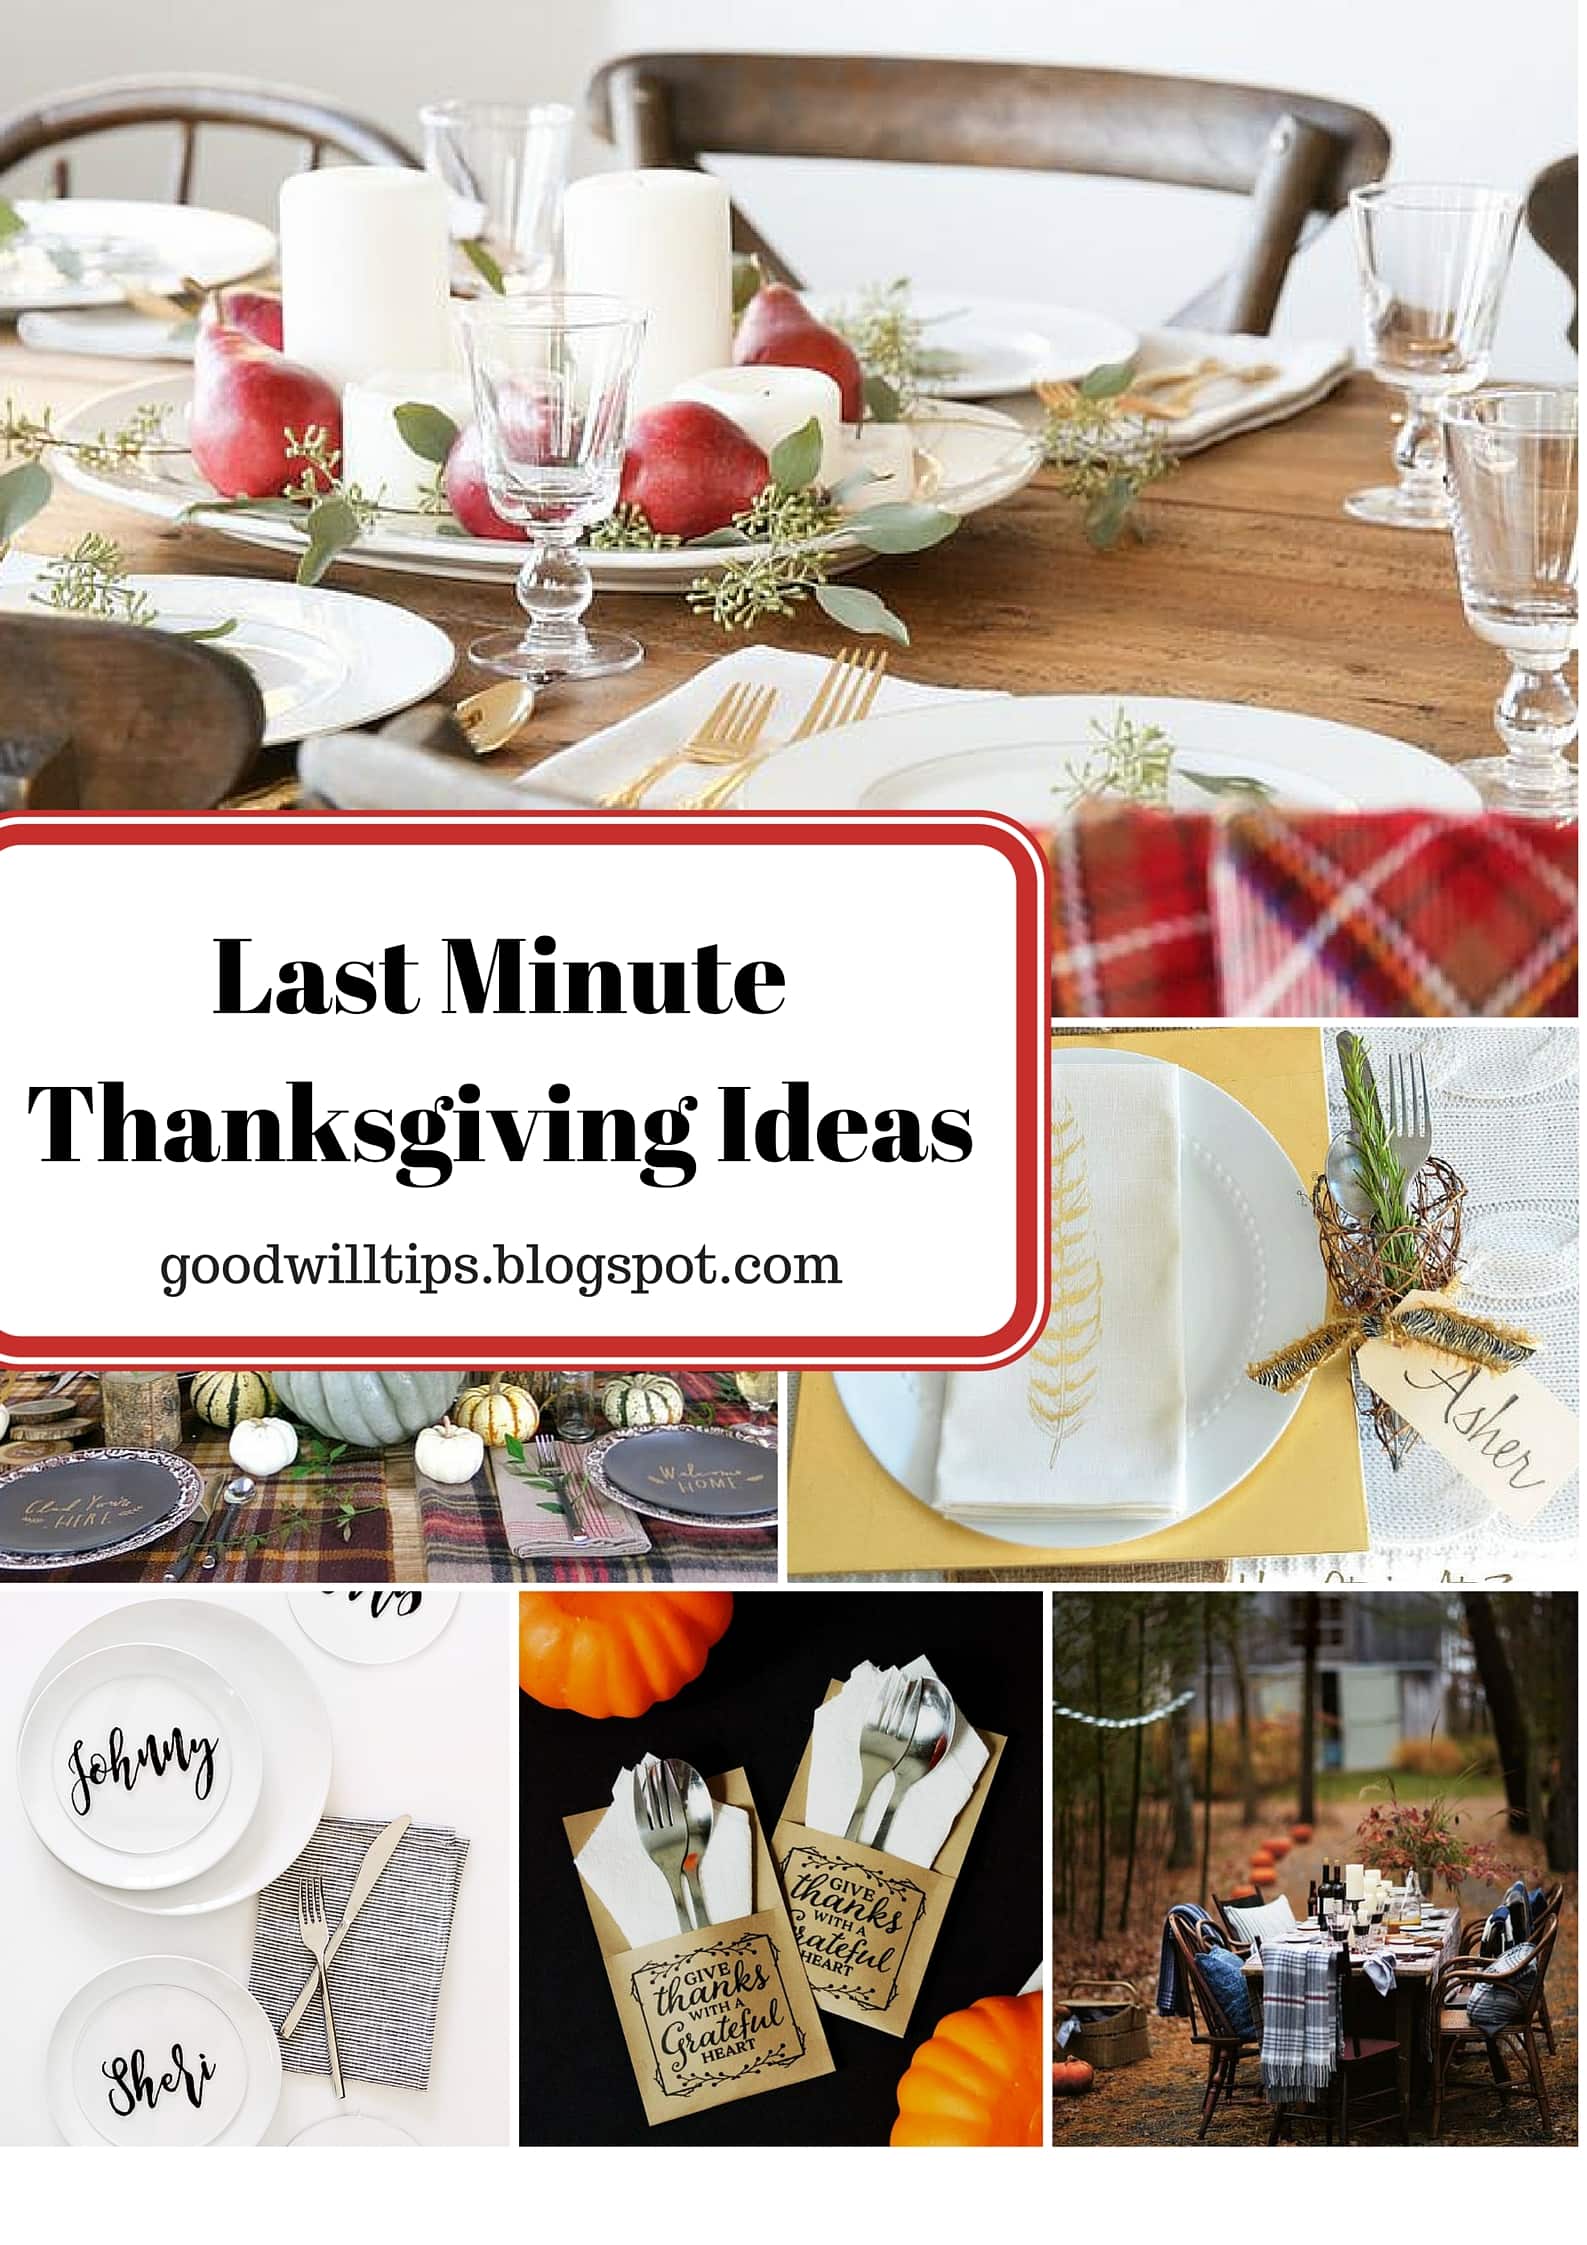
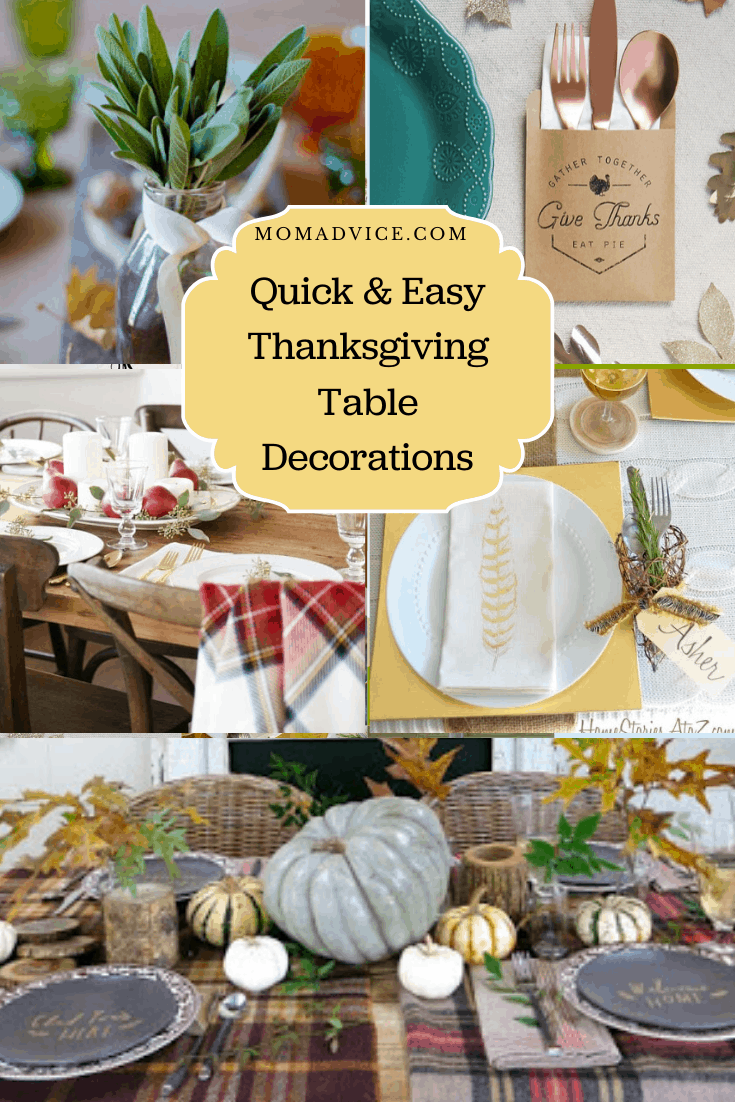
Here are six great last minute Thanksgiving ideas to pull together a beautiful time for your holiday feast.
 
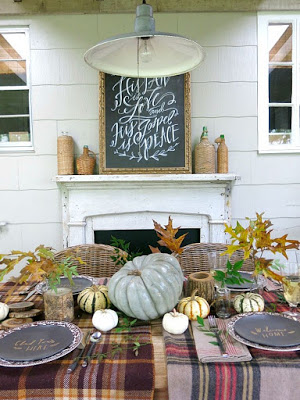
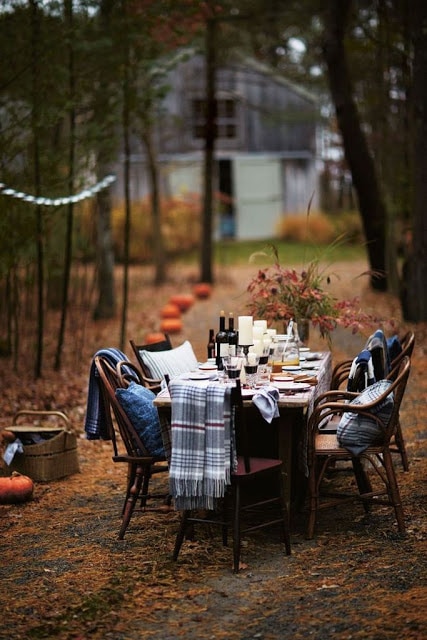
Thanksgiving tablescape
 

Add Thoughtful Layering

I am seeing so many beautiful layers this year for Thanksgiving decor.


Holly Mathis Interiors shows you a beautiful table that you can achieve easily by layering items from around your house or from Goodwill.

A couple of items to note in this shot, you can add backyard leaf branches in glass jars to add a rustic element, flannel throws add warmth to the table without a more formal tablecloth, pumpkins add another natural element, and you can mix and match your chairs or mix in chairs found from the store to create that homey detail that I love.

 
How pretty is that?
 
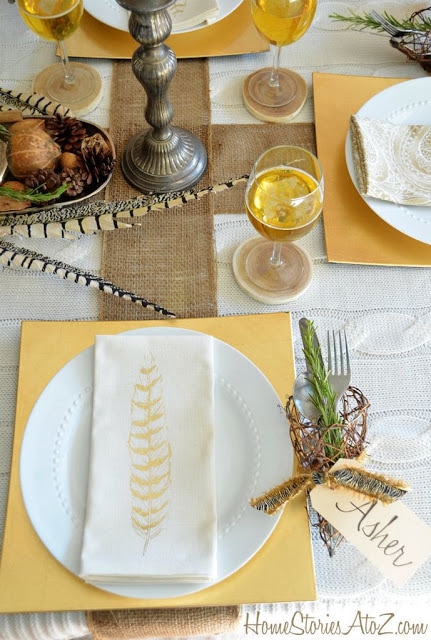
Thanksgiving tablescape
 

Add Unexpected Textures

Once again, I am seeing that people are pulling away from the traditional tablecloth and going for the unexpected texture on table.

 
In Home Stories A to Z, she has used a beautiful cabled throw to add warmth and texture to the table.
 

White linens can be stamped with gold (I love my friend Michael’s easy gold foil napkins tutorial for this!)

Check your favorite thrift store for pretty knit blanket throws or white linens for stamping.


You never know what treasures you can find in housewares until you go browse!

Additional details like pretty ribbon, personalized tags, and a few well-placed feathers never hurt either, do they?

 
Thanksgiving tablescape
 

Make Your Guests Feel Cozy


If I was going to design my perfect Thanksgiving table, it would look just like this.
 
 
Gatherings of friends in the crisp fall air with cozy blankets are such a beautiful and lovely way to celebrate the season.
 
 
Once again, we see how cozy the mismatched look can be.
 
 
From mismatched pillows to blankets to chairs, it all comes together beautifully when placed around a table.
 
 
A glass vase can hold a rustic bouquet from the backyard and pumpkins offer a beautiful detail leading up to the barn.
 
 
This is definitely my dream tablescape and can be achieved just by bringing a few of the items you have from inside your house to the great outdoors. (image source: Lexington Company)


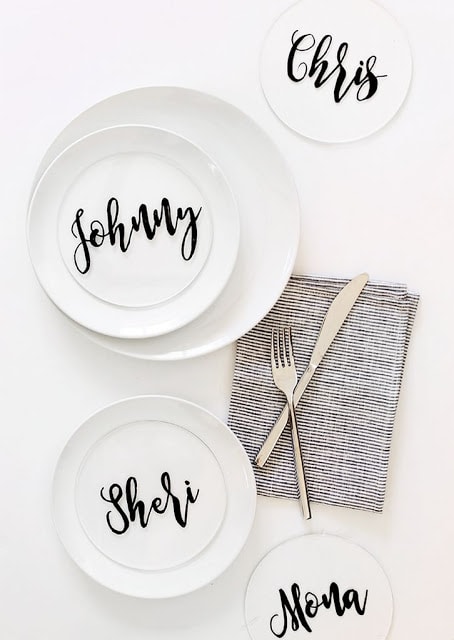
Thanksgiving Monogram plates


Personalize It

When something has my name on it, it immediately feels special to me.
 
I love this idea for taking a simple Plexiglas circle and adding a little calligraphy to it to personalize each table setting for your guests.
 
Is your handwriting as terrible as mine?
 
I sure hope not!
 
If it is though, Almost Makes Perfect provides the template you need to create your names and simply trace them, making this a beautiful and painless craft for the table.


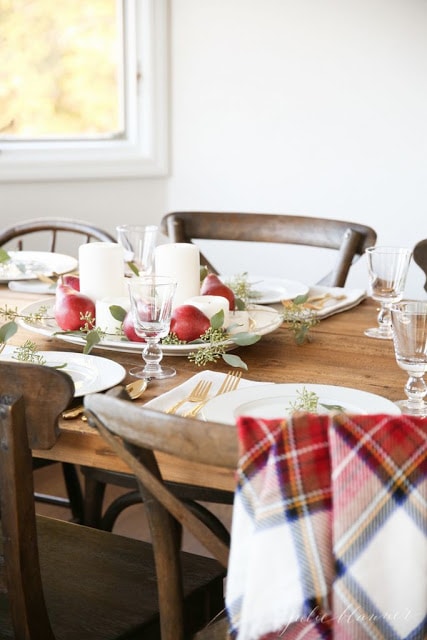
Thanksgiving tablescape


Add a 5-Minute Detail

Centerpieces can be pricey and feel tricky to pull together especially if you lack that designer instinct.
 
I have found that the simpler the centerpiece though, the easier it is to see and chat with my dinner guests.
 
My sweet friend, Julie Blanner, is the queen of beautiful and simple decor and she shares her easy 5-minute centerpiece for the holidays on her blog.
 
With a quick trip to the grocery store and a platter, you can add a little natural beauty in no time flat!
 
I also love these give thanks printables to tuck in your cutlery from Craftaholics Anonymous.
 
That is another 5-minute detail I feel confident that I could execute!


Thanksgiving utensils


Dress up your Utensils

 
Julie over at The Craft Patch has these adorable utensil pouches that will make any table a little more fun!
 
Wrap around the napkin with the knives and forks and your table is set and beautiful!


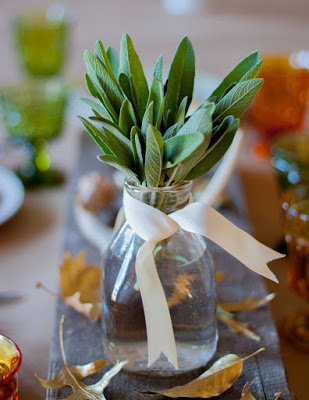
Herb centerpiece
 

Put the Leftover Herbs to Work

 
My kitchen is filled with sage for our favorite stuffing and herbed turkey that I have loved to serve over the years.
 
If you have any leftover, it can add a beautiful detail to your table.
 
Simply place the herbs in a glass jar and tie with a simple satin ribbon to finish.
 
Not only is this pretty to look at, but it also smells so good too! (image source: Buzzfeed)
 

Happy Thanksgiving to you and your family and I hope these easy last minute ideas inspire you for your holiday meal!


Sign up for the MomAdvice newsletter


Last Minute Thanksgiving Tablescape Ideas MomAdvice.com


As an Amazon Associate I earn from qualifying purchases. This post contains affiliate links.
 

Here are some more great Thanksgiving ideas from MomAdvice.com:

The Best of Fall, Halloween & Thanksgiving-49 Ideas for Decor, Crafts, Recipes, Costumes & More

Best of Fall, Halloween & Thanksgiving


Make Ahead & Freeze Thanksgiving Dinner MomAdvice.com

Make-Ahead & Freeze Your Thanksgiving Meal


DIY Thanksgiving Centerpiece MomAdvice.com

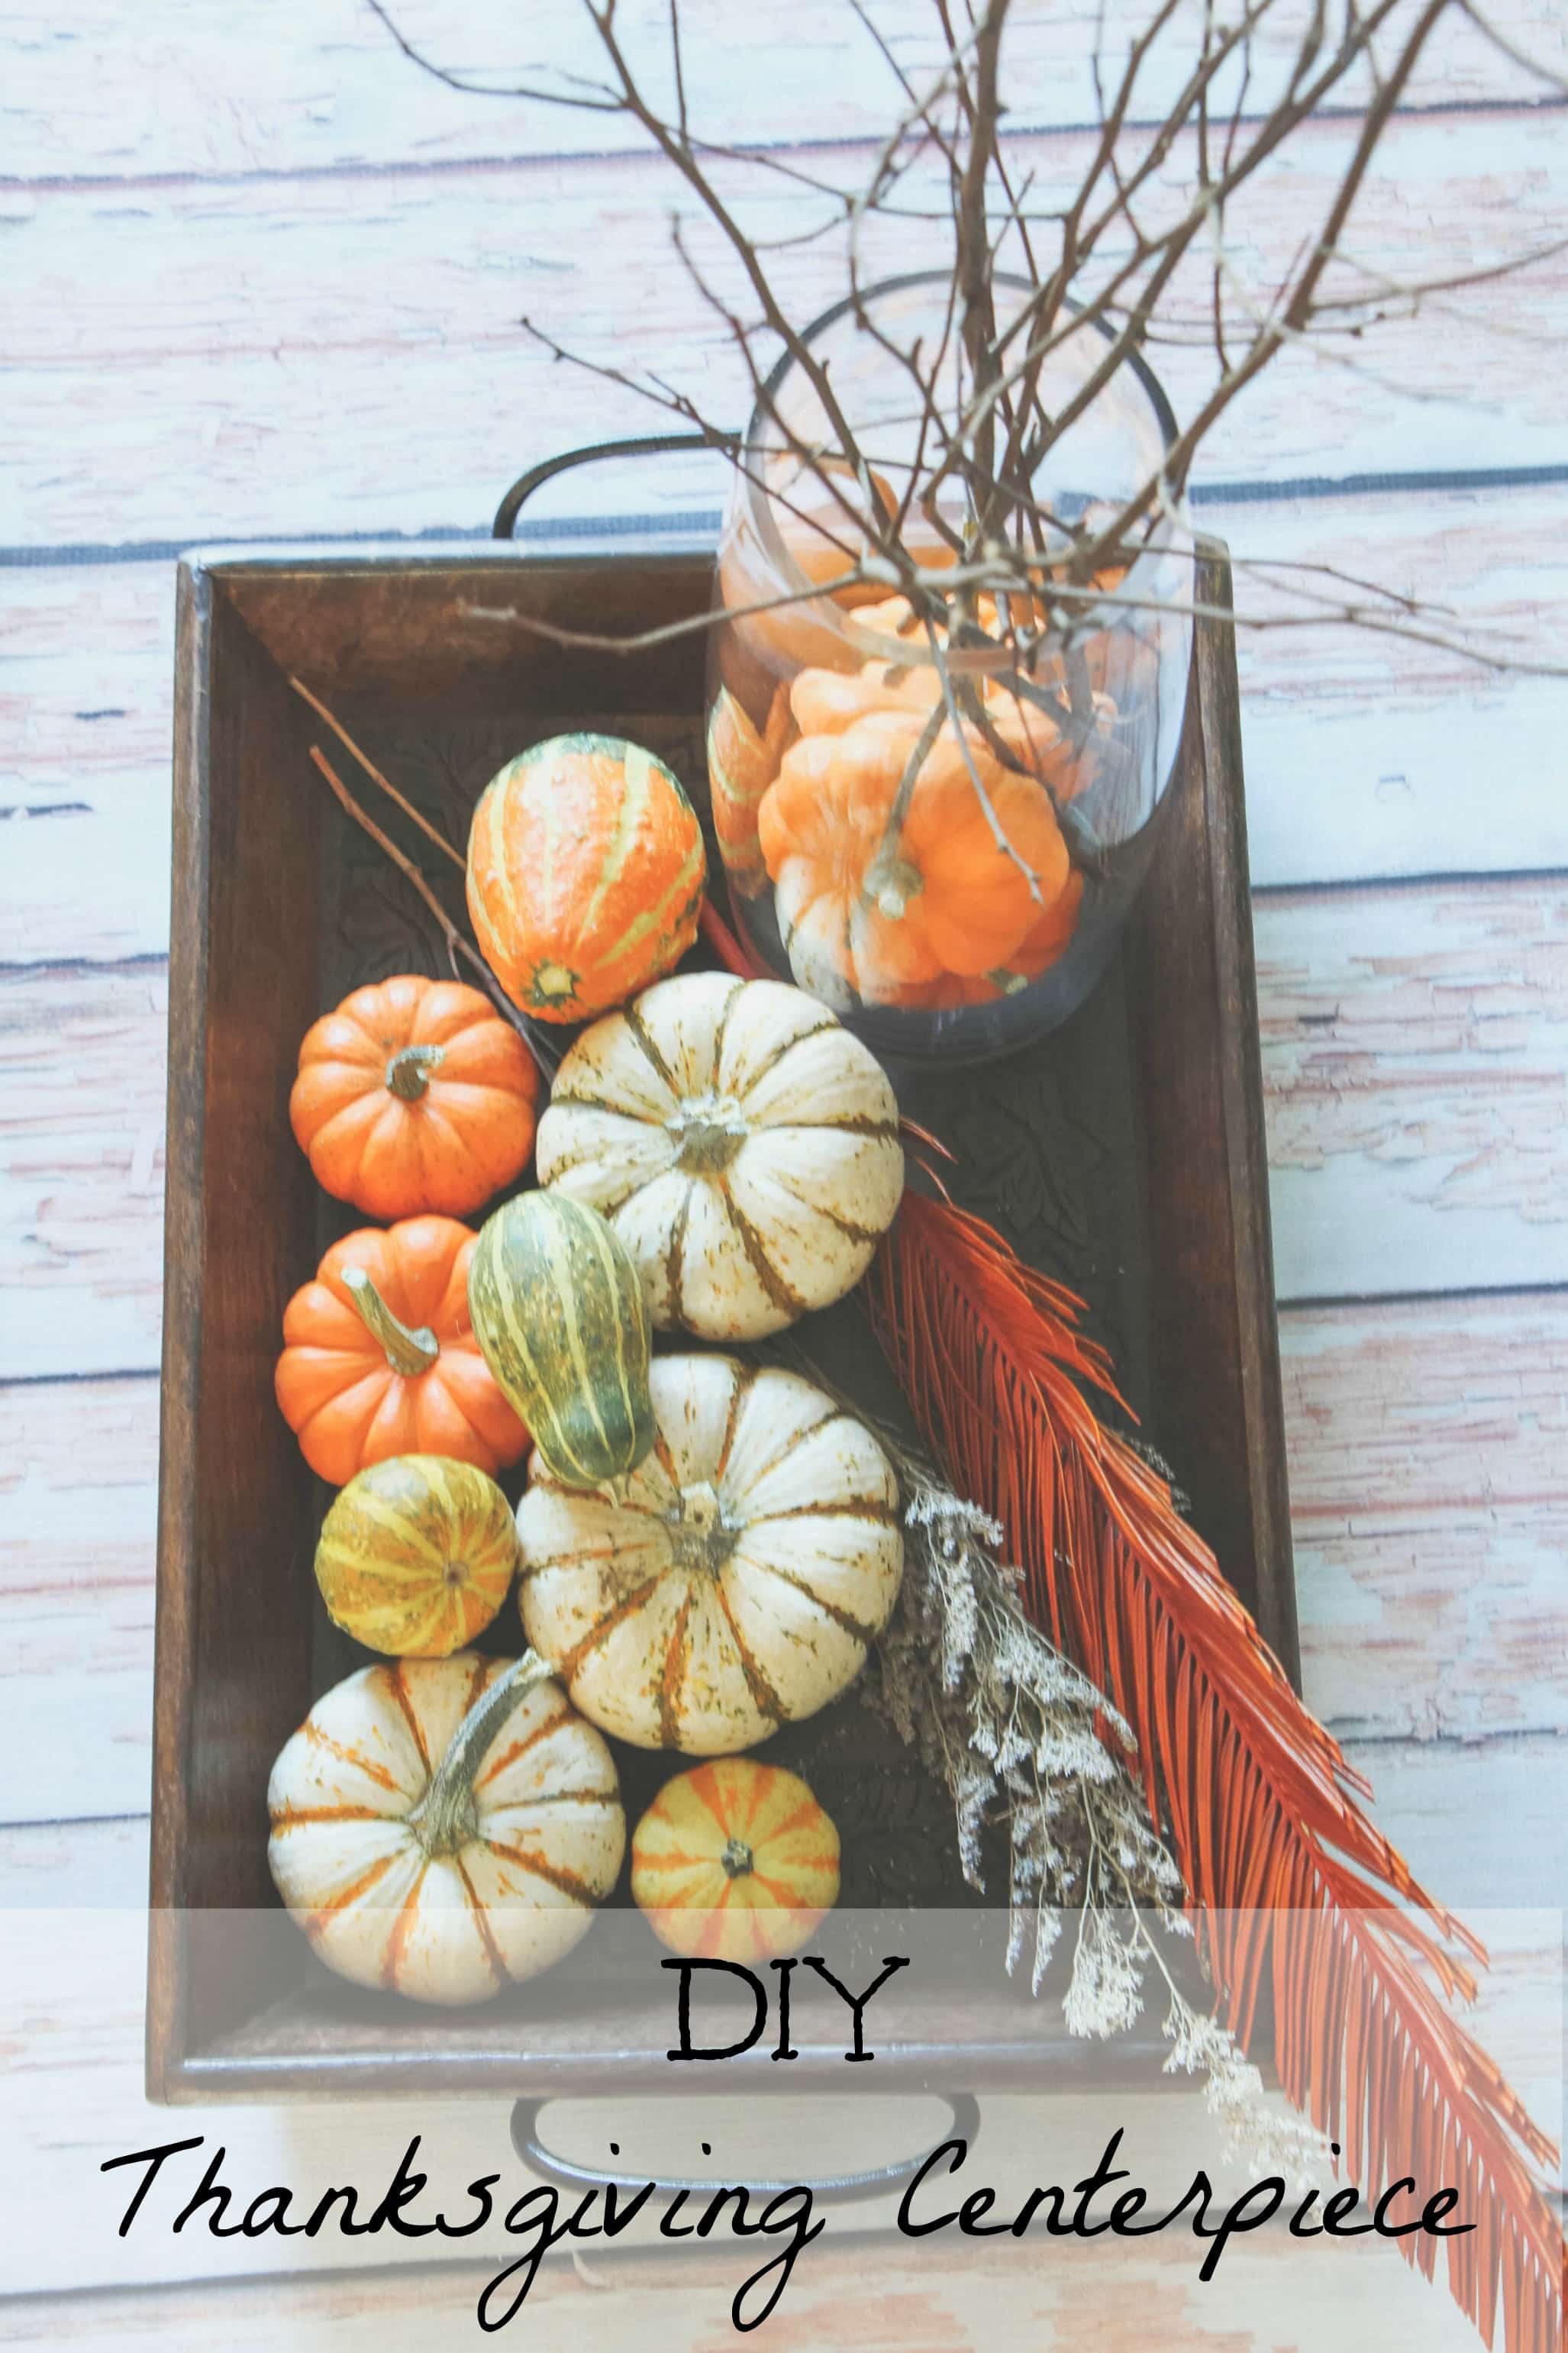
DIY Thanksgiving Centerpiece


DIY Thumbtack Pumpkins MomAdvice.com

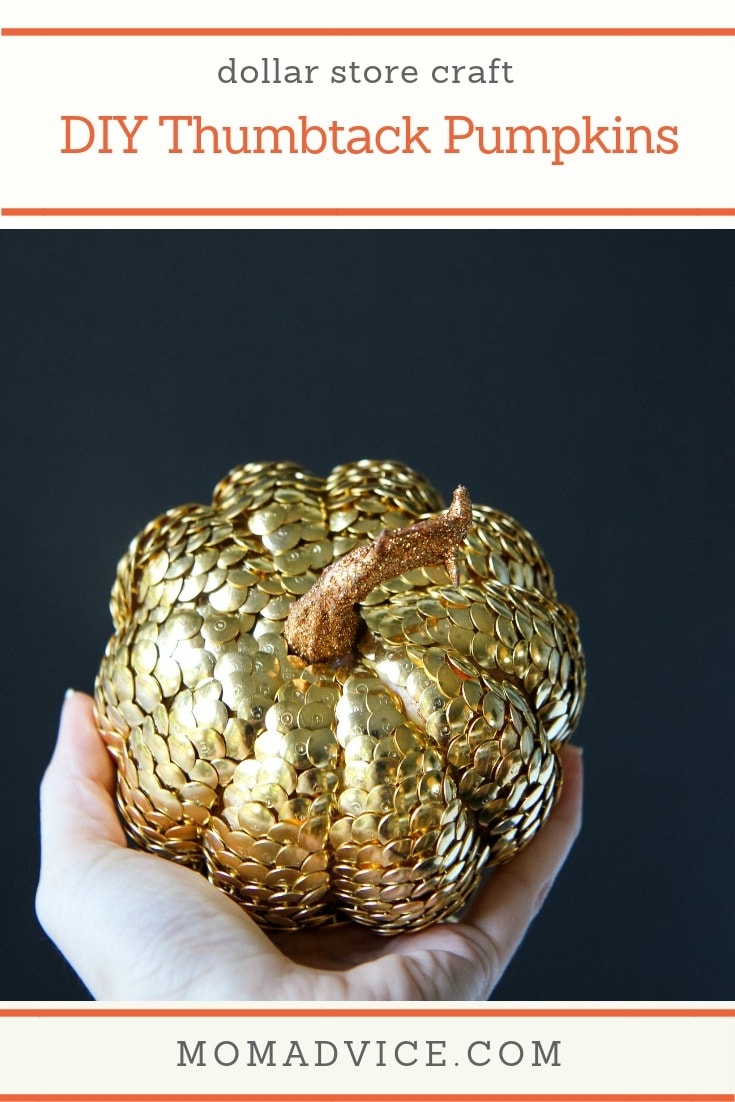
DIY Thumbtack Pumpkins


DIY Tablerunner for all seasons MomAdvice.com

DIY Table Runner for All Seasons


Last minute Thanksgiving tablescape ideas from MomAdvice.com