
If there is one craft material I love, it is t-shirt material.
If you have ever been in a Goodwill store, one thing you will notice is that there is an abundance and plethora of donated t-shirts in every size, style, variety, and color.
The next time you visit your local thrift store, don’t just visit the t-shirts in your own size for ideas.
Look in the Men’s section and in the larger sizes to find t-shirts that will offer you extra and a generous amount of craft material for the same amount of money as your smaller t-shirts.
Try to select t-shirts that are not as faded or that have fabric pills on them for optimal material for your projects.
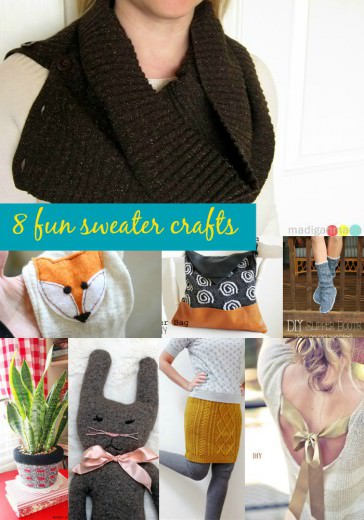
Today I wanted to share with you ten of my favorite projects that I have found to do with old t-shirts from some very amazing bloggers.
I love that all of these ideas are extremely unique and that most require no sewing skills at all.
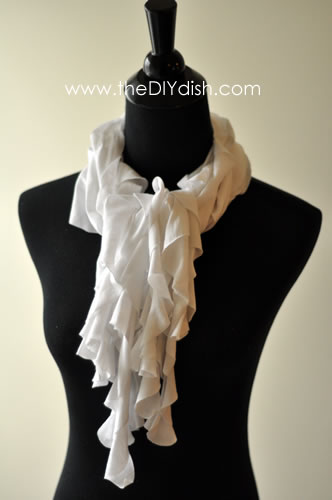
I have seen lots of varieties of t-shirt scarves on many different blogs, but I absolutely love this DIY Dish episode you can watch to discover three different varieties of scarves you can make from an old t-shirt.
My favorite is the one, pictured above, with a bright pom-pom trim.
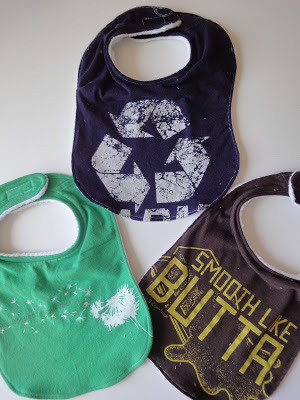
If you are looking for a fast sewing project that would make a fun baby gift, then these t-shirt bibs are the project for you.
For little boys, you could look for their dad’s favorite sports teams and for little girls you could look for a fun t-shirt with sparkly letters or flowers.
Don’t forget that these could also be embellished with rick-rack, ribbon trim, or an easy t-shirt rolled rosette flower.
There are many varieties of cute bracelets that I have seen using t-shirt materials, but this one has to be one of my favorites.
This twisted knot bracelet can be made from just a single t-shirt or it could be made with a mix of prints or a mix of solid colors.
I can’t wait to make some of these for myself and my daughter this summer.
Nothing could be cozier than a gently worn t-shirt bracelet on your arm!
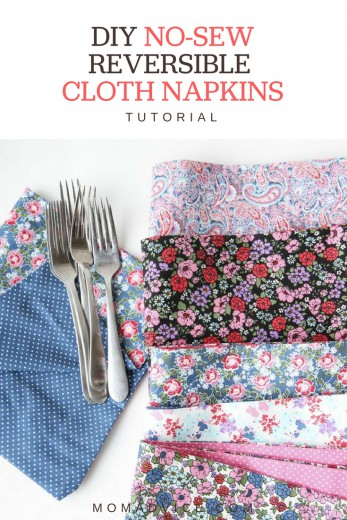
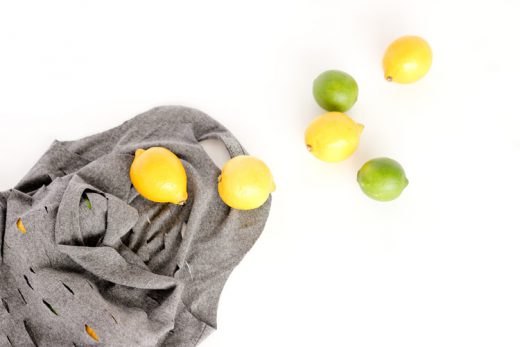
Nothing could be greener than carrying your groceries in a cloth grocery bag…until you start using recycled materials for your bag.
Even if you are a beginning sewer, this simple produce bag can easily be created for a visit to the grocery store of your local farmer’s market.
I think these would be fun to make in a variety of pastel colors or to give as a gift to someone special in your life.
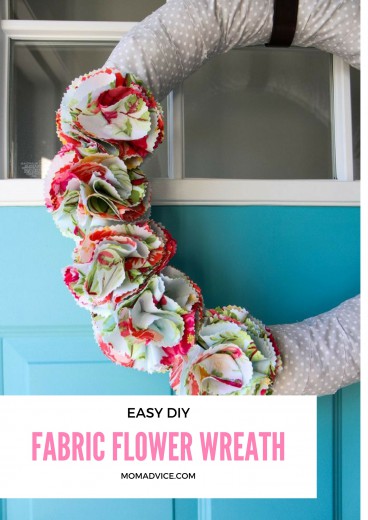
Looking for a fun way to dress up your home for the warmer months?
I absolutely love these adorable t-shirt pom poms for a fun way to add a pop of color to your mantle, as a fun adornment to a wreath, or hung in a gathering on a door handle or front door.
The best part about this project is that no sewing skills are required for this one!
I have seen many, many refashions of old t-shirts, but I think this Petal Tee is simply genius because the petal trim on this t-shirt is made from a variety of t-shirts, adding a cute pop of color for the Spring.
Visit your favorite thrift shop on their half off days and stock-up on a fun mixture of colors for a fun addition of color to your wardrobe.
If you are looking to add a little of the fluorescent color trend to your wardrobe, this would be a great way to do it without having to commit to an entire fluorescent piece!
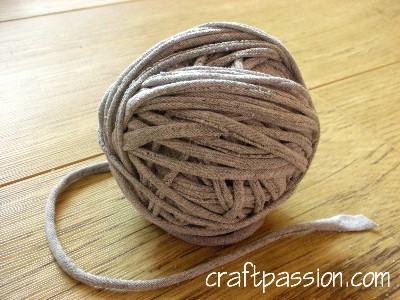
My favorite craft in the world is knitting and I love the idea of using t-shirts to create fun yarn for my projects.
This would be a fun gift to give to a friend that knits or crochets.
If you can use a pair of scissors and cut in a relatively straight line, then you can do this craft and use this yarn for a variety of projects!
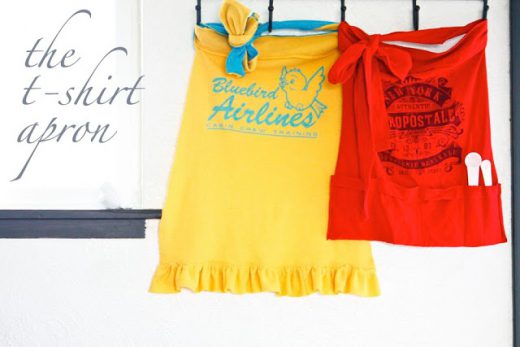
I have a true affection for aprons and have a little collection of my own thrifted aprons that I have acquired from Goodwill and antique shops.
I had never thought to use t-shirts to create aprons, but I think this t-shirt apron is the cutest thing I have ever seen.
This would be a cute craft to make for yourself or for your helpers in the kitchen.
The best part?
No ironing required and it can handle the messes that you might make in the kitchen.
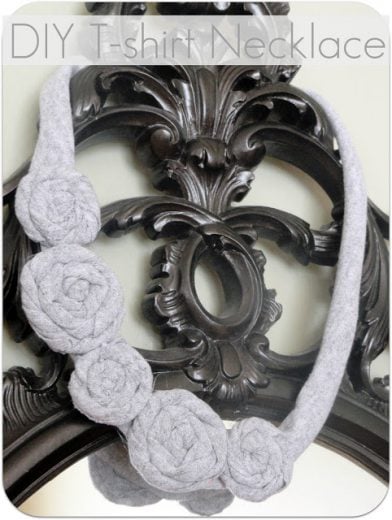
I love t-shirt necklaces for adding a splash of color to your neckline.
This rolled rosette t-shirt necklace is a fun way to add some feminine details to your outfit very inexpensively.
I think it would be cute to make the t-shirt bracelet in a coordinating color and one t-shirt should more than cover both of these cute projects.
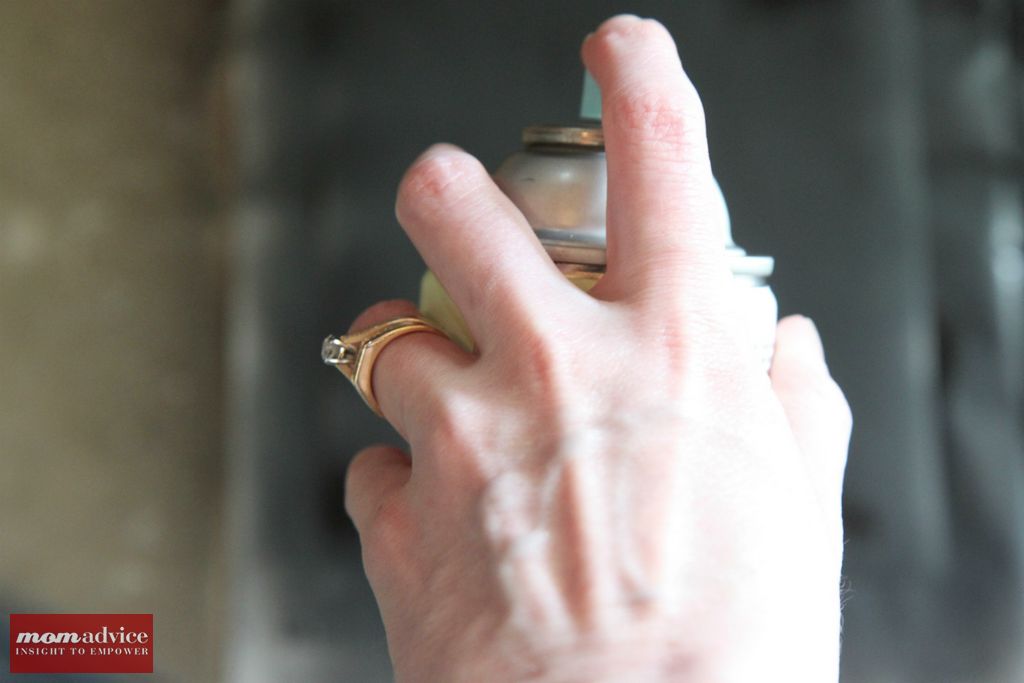
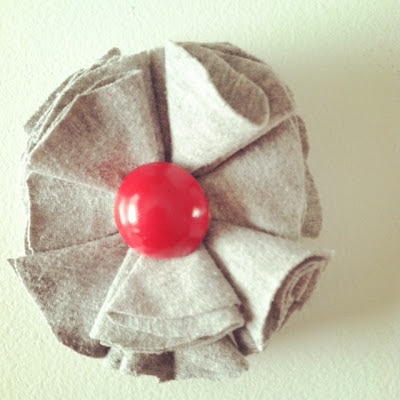
Our tenth project is actually a fun t-shirt project we did here on the MomAdvice blog.
Be sure to
visit my tutorial on creating a cute t-shirt flower pin made from an old t-shirt and spray painted clip-on earrings.
This is so cute and would be a fun addition to a Spring top or jacket.
What are your favorite craft projects to do with old t-shirt?
Don’t miss these craft ideas from MomAdvice.com:
Pin It

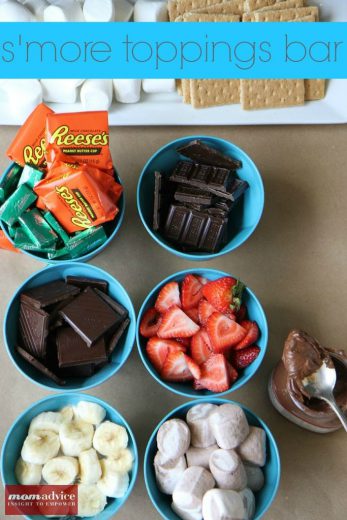
 Today Emily is demonstrating for us one of two ways that you can make your car s’mores. We have tried two different versions and both of them turn out wonderfully. With this version, kids can help assemble foil packets to be placed on a cookie sheet. Simply assemble your s’more ingredients (whatever your favorite ingredients might be) on a small piece of foil. Once your s’more is full assembled, wrap it up in the foil tightly, and place it on a cookie sheet.
 A really hot summer day, like this one, is the perfect place to cook your s’mores. Slide your cookie sheet onto the dash of your car and shut your car. Set your kitchen timer for 15-20 minutes. I highly recommend sipping some lemonade and enjoying the AC while they are cooking.
 Marvel in the fact that you completely blew their minds with your awesomeness. Remember, these are the stories they will tell their kids someday.
 Happy S’mores Day, friends!


