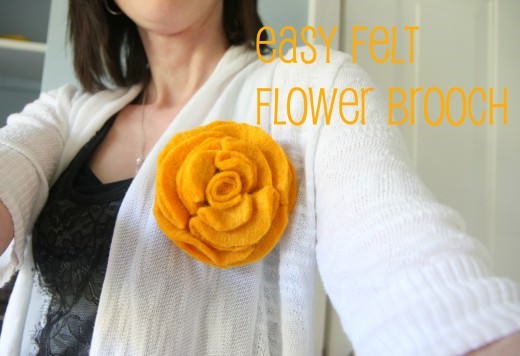
If there is one thing I love to do it is spend a little time with my glue gun and create something sweet for someone I love. I wanted to share with you a super cute and fun Spring craft you could create with just a few simple materials. This is a fantastic little craft to have in your back pocket for a sweet teacher gift or a fun Mother’s Day gift for a special mama in your life.
I am sharing this fun craft-a-long for our readers and all supplies can be found at your local Walmart store or can be ordered directly through the suppliers. Let’s get started!
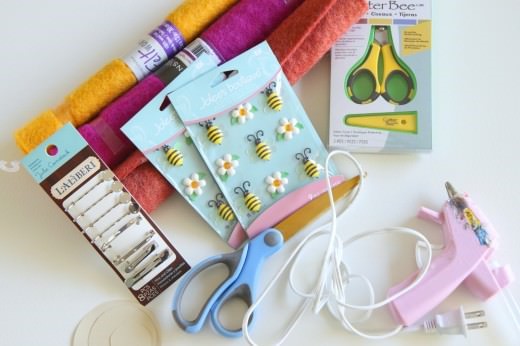 Supplies Needed (Available at Walmart or online)
Dimensions Wool Felt- any color
Cutter Bee Scissors (or any scissors you might have on hand)
Laliberi Pins and Clips Multi-pack
Hot Glue Gun & Glue Sticks
Jolee’s Bumble Bees Cabochons
Cardstock (to print our FREE flower template- see below)
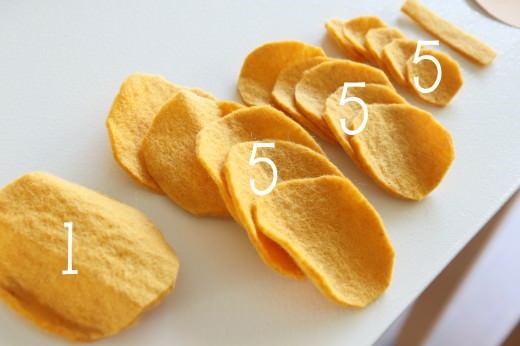 To begin, print out our free flower template to create this felt rose. Our template should be printed on heavy-duty card stock to help make it easy for tracing. We have put the numbers of how many to print in the center of each circle, but here is another picture of what you are doing. One piece of the Dimensions Wool Felt (12×12) will create one of these flowers. Save the scraps to create a center for your rose after you are done cutting all of your circles.
You will find the link for our flower template at the end of this post.
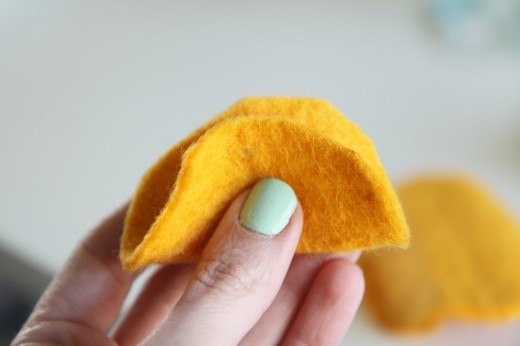
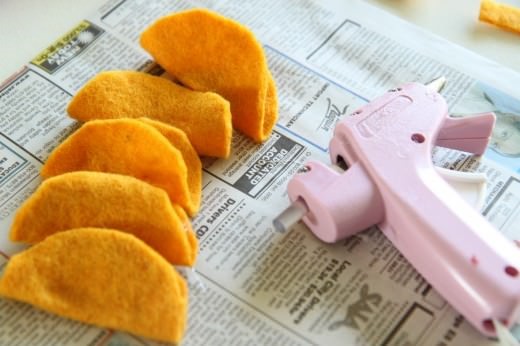 Set your largest circle aside- this will be the base for your flower. Now grab your other circles and your glue gun and let’s get gluing. Add a big dab of glue in the center of each of these circles and hold it steady for a minute. Repeat with every single circle, fifteen times in total, until your hands feel crampy and you are feeling the hot glue gun burn from trigger-holding forever. Feel the burn, baby!
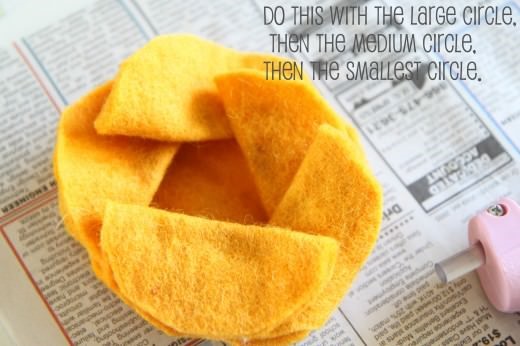 If I was an octopus I could have posted better pictures, but I hope that this picture will give you the visual you need for now. Begin placing your five large circles on top of your largest circle, attaching with a strip of hot glue on the back. Repeat this process with another layer on top. Repeat this process again with your baby circles. You will have a small hole in the center of the circle once everything is stacked.
If you use the Dimension Wool, this wool is very thick and you may be able to get away with just three circles on the two smaller circles so you can fit everything nicely on your flower. I would just use your best judgement, depending on the thickness of your felt and how big you like your flower.
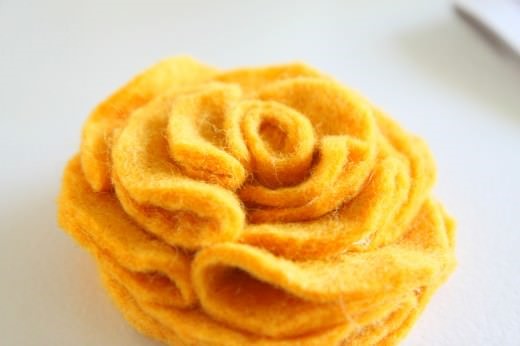
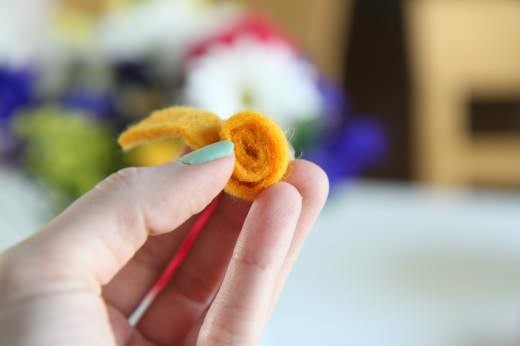 Taking a small scrap of felt and wrap it into a circle to create the center of your flower. Secure with a dab of hot glue. Position it in the center of your flower and cut it down (if needed) until it fits nicely in the center of your flower.
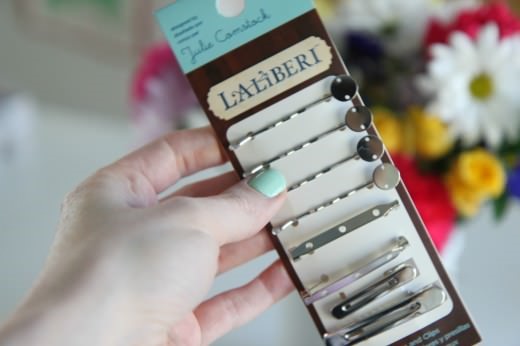
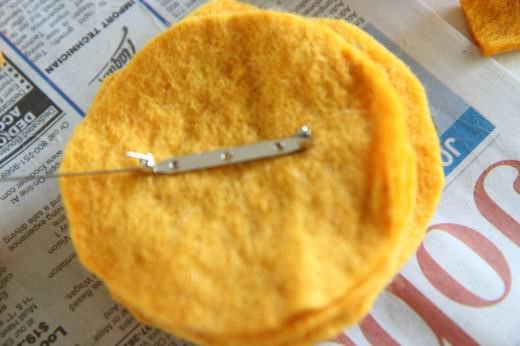 Grab your pin and secure it to the back of your felt flower brooch with more…you guessed it… hot glue!
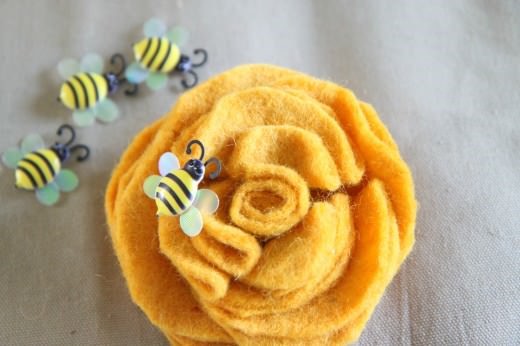
Add a little whimsy to it and glue a little bumblebee to your flower to make it even more Spring-y.
I am a part of the Walmart Moms program, and Walmart has provided me with compensation for these posts. My participation is voluntary and opinions are always my own.
Pin It