Learn how to paint laminate furniture without sanding! Whether you plan to paint Ikea laminate furniture or a fireplace like us- you need this easy tutorial!
Laminate furniture often has a reputation for looking cheap. Let’s be honest- that faux grain finish does not fool anyone!
However, a simple paint job can completely transform and elevate any piece in your home in a single day, and I would love to show you how.
Today’s painting tutorial is an excellent technique to try on new pieces.
Fresh paint can also cover up scratches, discoloration, and other imperfections on furniture you already own.
Painting pieces to match can make a room feel cohesive. And as our decorating styles evolve, we can choose any color or finish to match where you are at NOW with your style.
What has surprised me about this process is just how easy it is.
For today’s tutorial, we will paint the electric fireplace that I featured in this guide- The Best Electric Fireplaces With Heaters.
I’m excited to share with you how to make this laminate piece look more expensive than it is with a coat of paint- NO SANDING REQUIRED.
This comprehensive guide will walk you through the step-by-step process of painting laminate furniture without sanding, including the materials you’ll need and expert tips for achieving professional-looking results.
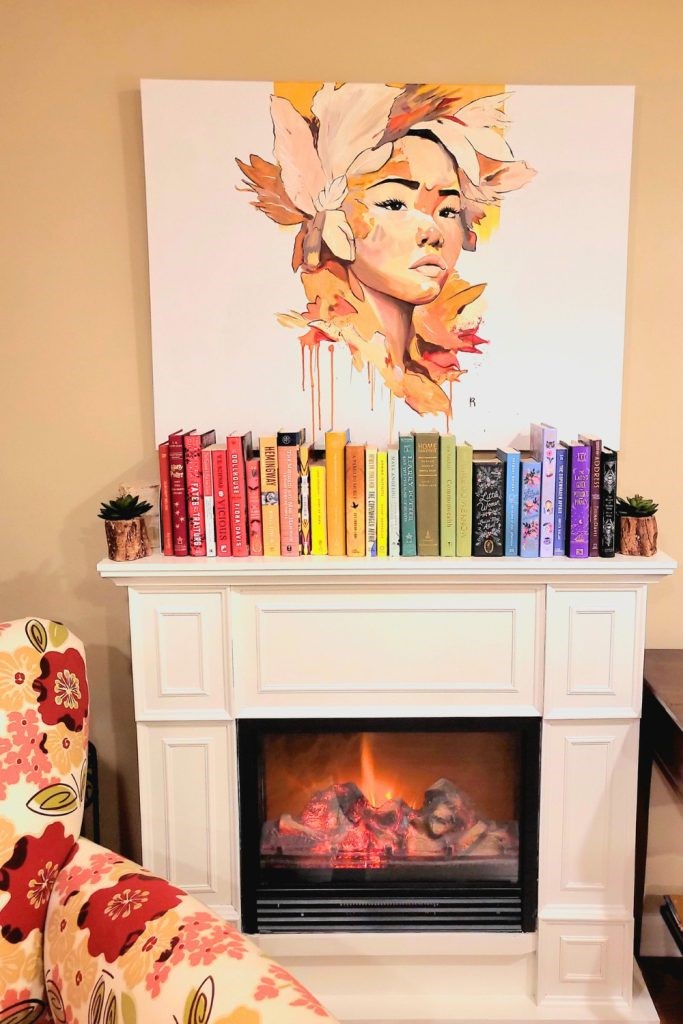
Here is a picture of our fireplace TEN YEARS after we painted it. There is no nick or chip in sight, so you are in wonderful hands today!
Understanding Laminate Furniture
Before diving into the painting process, it’s essential to understand what laminate furniture is and why it requires special preparation.
Laminate furniture is made of particleboard or MDF (medium-density fiberboard) covered with a thin layer of laminate. This synthetic material mimics the look of wood, stone, or other textures.
This laminate layer can challenge paint adhesion, as it is smooth, non-porous, and moisture-resistant.
To paint laminate furniture without sanding, you will need a special primer, latex paint, and water-based acrylic to finish. You can scroll down to see the complete step-by-step instructions.
FAQs on Painting Laminate Furniture Without Sanding:
What is Zinnser primer?
Zinsser primer is a shellac based primer that acts as a versatile base primer for various surfaces, including laminate furniture.
This primer sticks effectively to surfaces without sanding, making it an ideal choice for prepping laminate furniture for painting. This is a top coat for your project, but you may need more than one coat depending on your furniture piece.
What kind of paint do you use on laminate furniture?
It’s essential to use really high-quality paint when painting furniture.
Latex paint is recommended for laminate surface painting projects because of its durability and smooth finish, and we have had the best success with the Benjamin Moore brand.
Many of our projects have stood up to over a decade of use without any need for retouching.
Can This Tutorial Be Used With Chalk Paint?
Yes, you can use chalk paint on laminate furniture, but I have yet to do this personally and can only provide instructions on what I’ve read elsewhere. You may not achieve the glossy results that I’ve shared today.
Follow the same steps I’ve outlined.
Once your primer is dry, you can paint your laminate furniture with chalk paint.
Keep in mind this paint will offer a matte finish.
Be sure to add a protective topcoat to ensure durability, especially if the furniture will see regular use.
What Fireplace Paint Did You Use For This Project?
This color is Benjamin Moore White Owl, the white paint we use in our home’s trim and furniture pieces. This piece from Architectural Digest showcases the versatility of the color and why it has become such a go-to white paint color choice!
Do you have to sand laminate furniture before painting?
As we shared in this tutorial, using a product like Zinsser Primer eliminates the need to prime your laminate furniture. This bonding primer is designed for laminate furniture projects like this one and is a great option for Ikea furniture or painting laminate cabinets in your home.
Can I Use Oil-Based Acrylic On Laminate Furniture?
We learned the hard way that using an oil-based acrylic finish on white furniture can lead to undesirable yellowing over time.
Two dressers I had finished began to slowly turn yellow, a devastating DIY mistake that meant I had to repaint our pieces to restore the white color.
Oil-based acrylic finishes contain ingredients prone to oxidation, a chemical process that can cause the paint to develop a yellowish hue when exposed to light and air.
Additionally, oil-based acrylic finishes may take longer to cure and harden compared to water-based alternatives, leaving the furniture vulnerable to damage and staining during the curing process.
As a result, the finish may not provide adequate protection against everyday wear and tear, making the furniture more susceptible to scratches, stains, and other forms of damage.
I ALWAYS recommend a water-based acrylic finish or clear protective coating to prevent yellowing.
How to Paint Laminate Furniture Without Sanding: A Step-by-Step Guide
Materials Needed:
- Zinsser Primer
- Latex Paint
- Water Based Polycrylic in Clear Satin (no substitutions- this product will not yellow your furniture)
- Drop Cloth
- Foam Roller
- Paint Brush
Instructions:
- Apply Zinsser Primer:
- Clean the laminate surface thoroughly to remove any dirt or grease.
- Apply a coat of Zinsser Primer to the surface using a paintbrush or foam roller.
- Ensure even coverage and allow the primer to dry completely, usually within an hour or two of time.
- Apply Paint:
- Once the primer is dry, apply your chosen paint color (see the suggestion below for my favorite white paint option)
- Use a paintbrush or foam roller to apply the paint in thin, even coats.
- One coat may be sufficient, but additional coats may be needed for full coverage or touch-ups.
- Finish with Polycrylic:
- Once the paint is dry, apply two coats of Polycrylic in a Clear Satin finish, giving your piece a slick, smooth finish using a clean paintbrush or foam brush to apply evenly.
- Allow each coat of Polycrylic to dry for two hours before reapplying.
- After applying the final coat, allow the piece to dry overnight before using or moving it.
How Do I Keep Laminate Furniture Clean?
While painted laminate furniture can be durable, it must be treated carefully to prevent chipping, scratching, or other damage.
Avoid placing hot or heavy objects directly on the surface, and use coasters or protective pads as needed.
To clean painted laminate furniture, use a mild detergent, water solution, and a soft cloth or sponge. Avoid abrasive cleaners or scouring pads, which can damage the finish of your piece.
I can’t wait to hear how your first project goes!
Love this tutorial don’t miss these other fun painting and staining projects:
How to Paint a Kitchen Table– Revitalize your kitchen table with a coat of paint. Discover easy steps to give your dining area a new lease on life.
How to Spray Paint Furniture– Upgrade your furniture with a professional finish using spray paint. Follow simple instructions to achieve a flawless makeover for any piece.”
Stain Picnic Table Tutorial– Enhance outdoor gatherings by staining your picnic table with this tutorial. Explore the process to protect your outdoor wood furniture so you can use it year after year.
How to Stain Wood Furniture– Bring new life to your furniture by staining it. Follow these straightforward steps to add rich color and depth to your favorite pieces.
TELL ME: Did you have success with this painting project? What has been your experience painting laminate wood?
Pin It