![]()
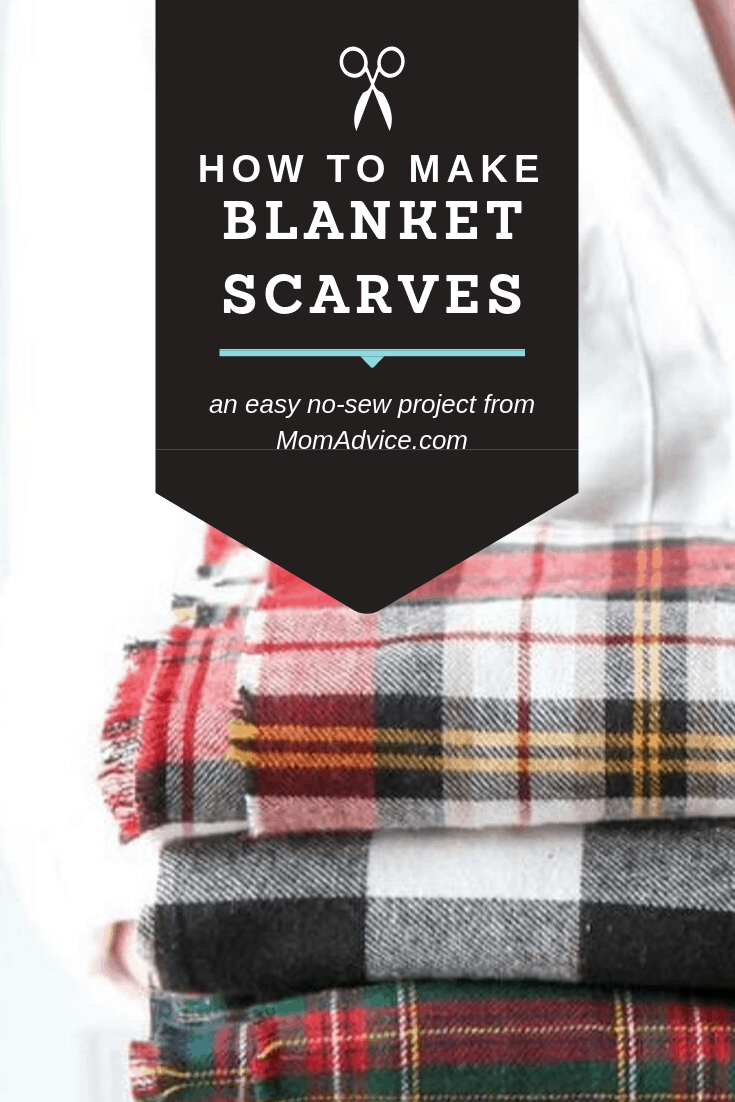
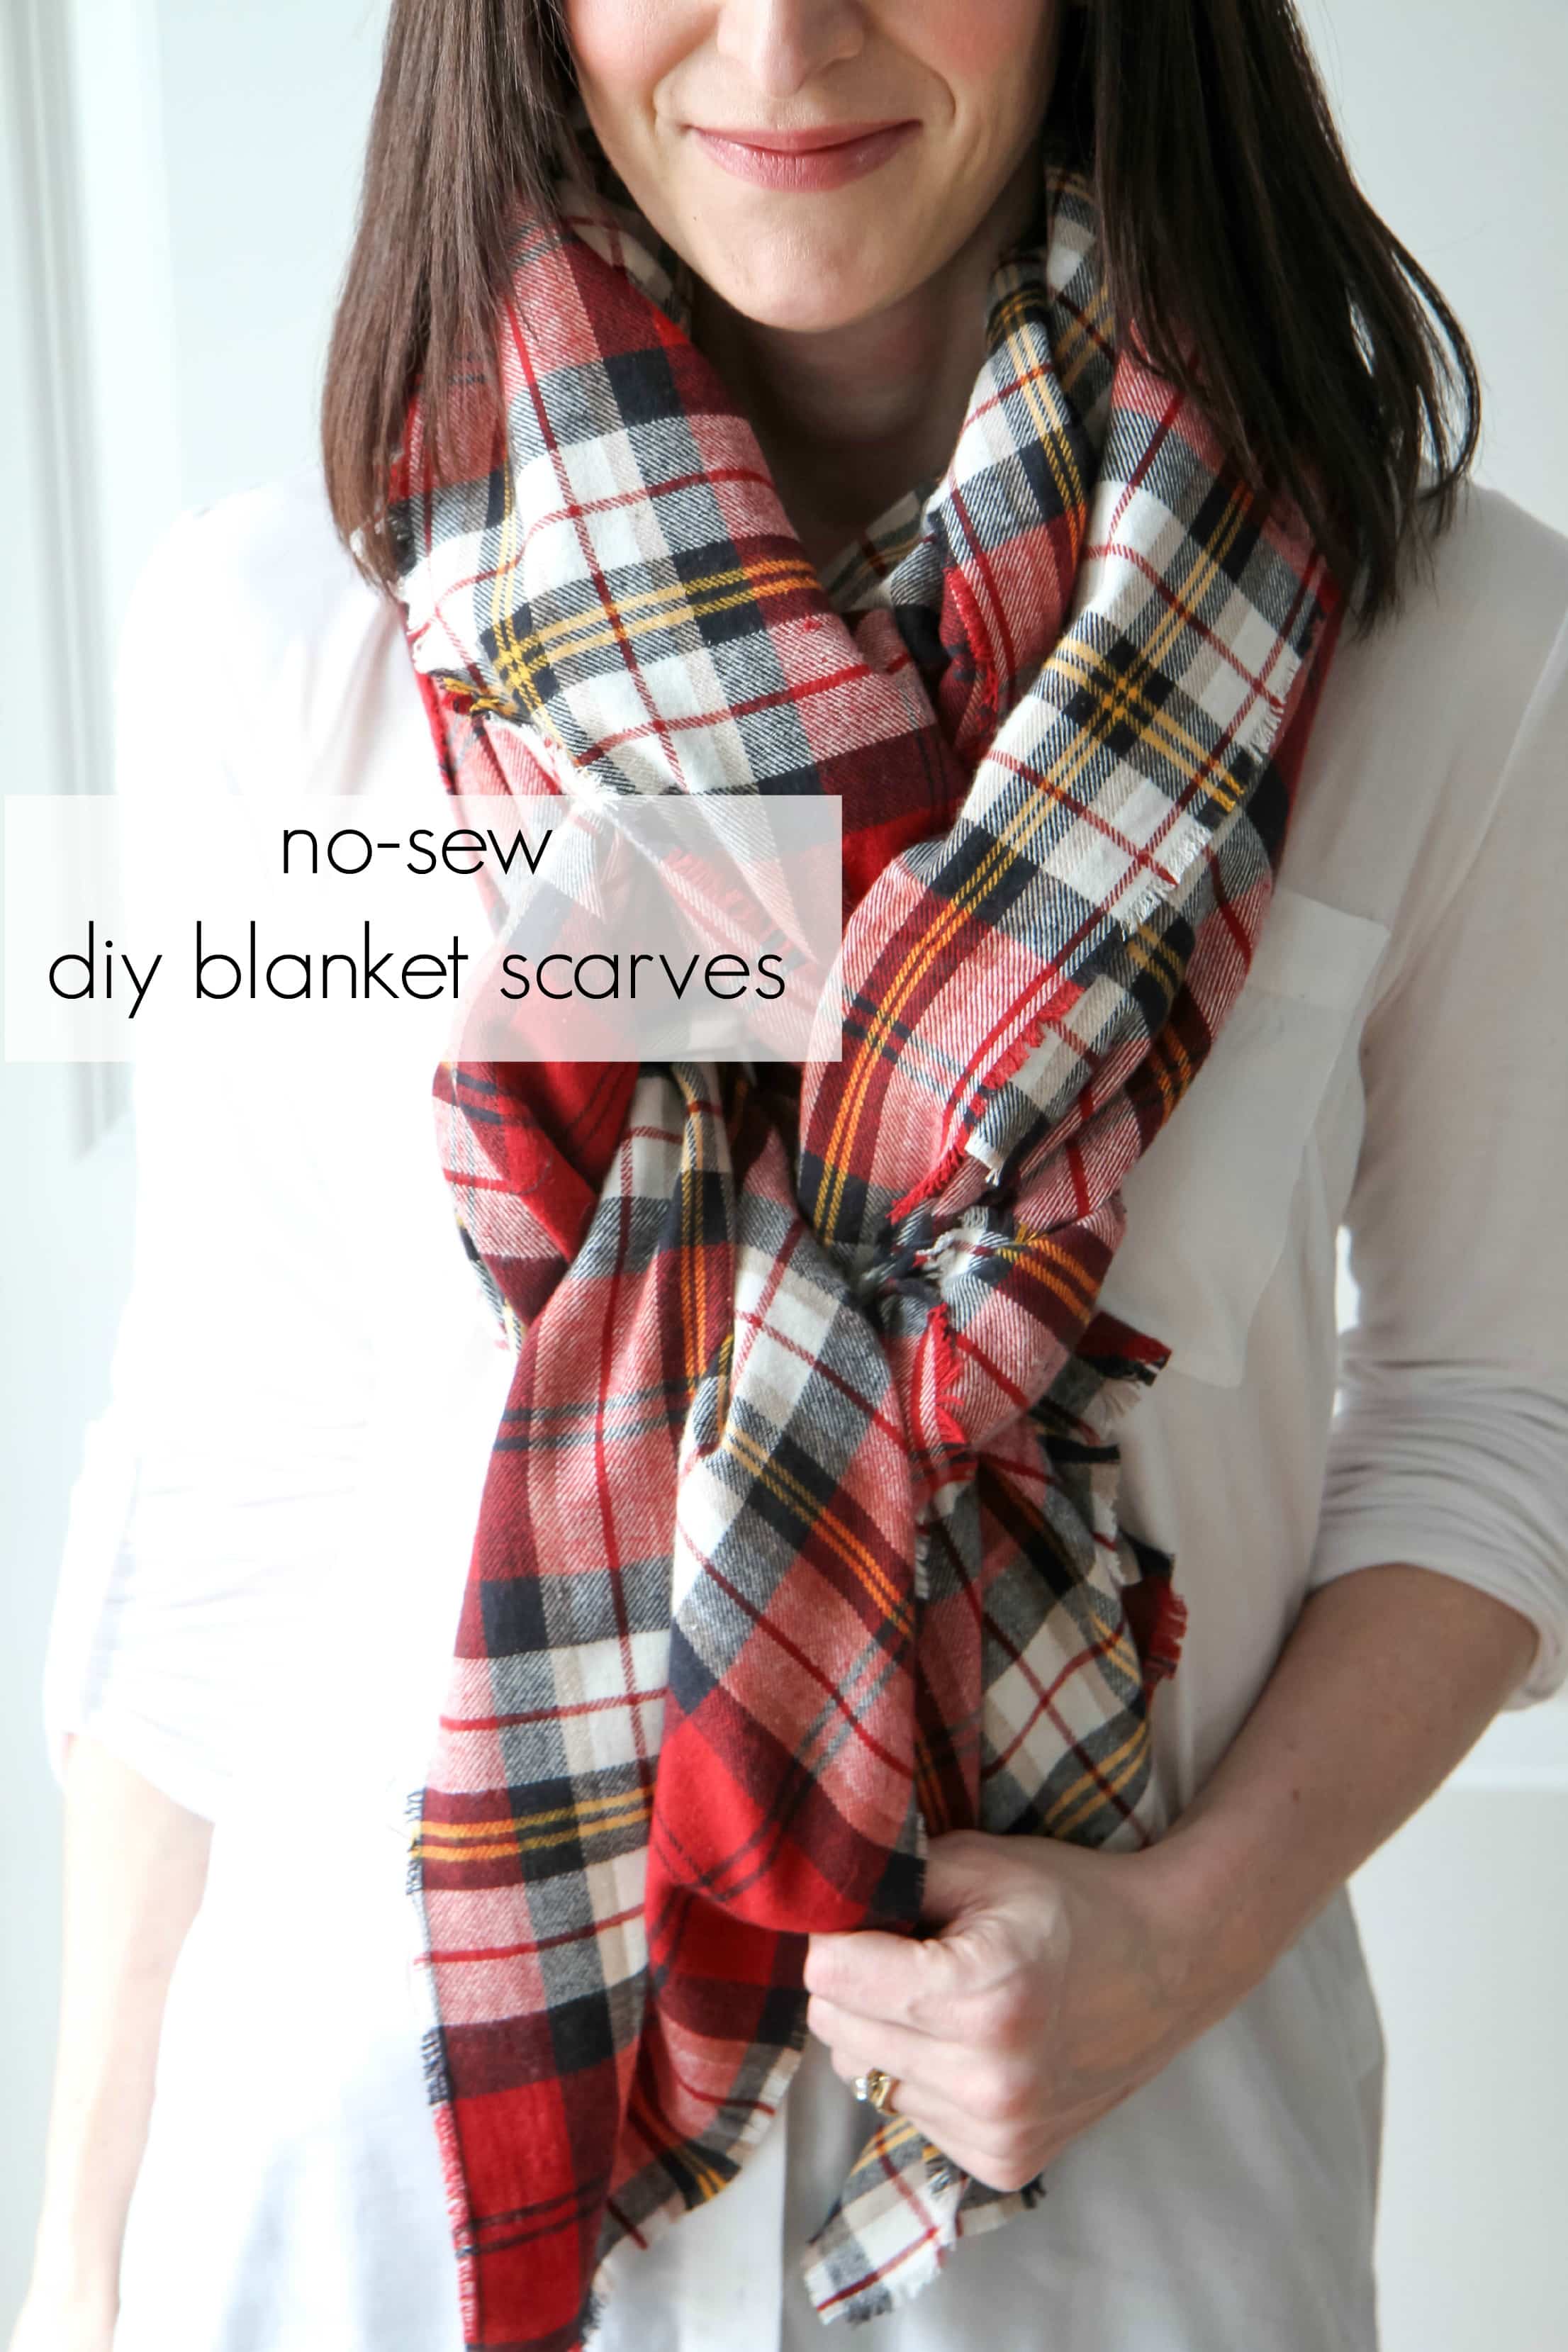
Blanket scarves are so trendy and an easy no-sew DIY to make for cold weather. Check out this diy blanket scarf tutorial and how to style your plaid blanket scarf with this easy tutorial. One trip to the fabric store for flannel plaid fabric and you will have everything you need to make a blanket scarf of your own…no sewing machine required!
I am madly in love with blanket scarves.
My obsession started as all good obsessions do.
It began on Pinterest, of course.
All of these fabulously fashionable women were rocking these gorgeous oversized scarves, but they were out of my price range or lacked the fullness & beauty that was captured online.
I mean, who couldn’t get behind the idea of wearing a blanket and calling it an oversized scarf?
Count Me In!
I decided I wanted to make some for my minimalist wardrobe because it would add so much. Did you know you can make a blanket scarf with no sewing skills required?
Let’s begin by taking a peek at the coveted $44 Zara scarf (that sells out in minutes, not kidding).
I want to zoom on in it so we can take a closer look.

Source: Style for the Seasons
The thing I want you to see is that the edges are frayed on their version too.
Guess what?
You can achieve that with a little flannel and pulling.
The best part is that this version will cost you quite a bit less than $44. I am going to make a big stack of them to show you and then I am going to show you some fun ways to tie them.

The first thing you will need to do is shop for your fabric which is so much fun. I went to a few shops to check out fabric and ended up finding it at Jo-Ann Fabrics.
Head over here to grab a coupon for your flannel fabric.
Want to know a pro-crafter shopping tip? Check out this app that I’m using to get a percentage back on my craft purchases.
If not, that same link will provide you a 40% off coupon. You will DEFINITELY want to use this because it makes these scarves budget-friendly. Don’t forget your coupons.
Head over the Fashion Flannel…at least that’s what they call it in Mishawaka (oh-la-la!).
Select your favorite patterns, tell them the amount you need, have them tell you they don’t have that much on a bolt, go grab another one, try again… Be annoyed.
Decide to do two sizes because you want you what you want, that’s why you brought it up there.
Got it?
I am going to show you what a 2 yard scarf looks like and then I am going to show you what a 2.5 yard scarf looks like below.
I love them both for different reasons and what you can do with them. The price (with no sales or coupons) is $8.99 per yard. That’s why it is great to see the two version (for cost-savings) and also really great to bring a coupon to save a bit on the fabric.
I wouldn’t recommend anything more than that or your scarf will choke you and you will die from scarf blanket suffocation.
It will be all over the headlines.
They will be laughing at you in those ridiculous segments on the radio where they try to shock you at the stupidity of Americans. Your family will miss you. It would all be very tragic.
If you would prefer to shop online, I love to check over here for flannel by the yard. SO MANY great choices!!

How to Make a Blanket Scarf
1. Purchase 2-2.5 yards of flannel fabric (make sure the flannel printing is on both sides).
2. Using the patterned flannel edge as a guide (on the edges of the fabric), trim the edges of each side of your scarf with a pair of sewing scissors (these are what I have) to expose the cut edges.
3. Pulling out the vertical threads, on the cut side of the fabric, begin fraying the edges of the scarf.
You will discover that pulling out threads really creates a beautiful finished edge
If you are struggling to grab a thread, don’t be afraid to use a seam ripper.
Keep doing this until there are no loose threads and you have a beautifully frayed edge. Repeat on each side of the scarf. DONE!

This is what TWO YARDS of fabric looks like.
You can see that it has a lot of fullness, but is not as long or as much to tie or knot around.
Do you want to see how to tie it to look like this?
Okay then.
How to Wear a Blanket Scarf
![]()
How to Style a Blanket Scarf

How to Tie Your Two Yard Blanket Scarf
1. Fold the scarf in half, lining the edges up evenly. This creates more of a square blanket scarf versus doing it on an angle.
2. Make sure one end is shorter than the other and tuck it up over your shoulder.
3. Loop around once with the long end (or possibly twice depending on your neck size!).
4. Fluff and puff. Fluff and puff.

Here is the same size, just not puffed up so much. Seriously, cute stuff!

How to Tie Your 2.5 Yard Blanket Scarf
No need to reinvent the wheel to tie a blanket scarf…I just headed online to figure out a couple of fun ways to tie these longer blanket scarves.
I tried this braided technique on Classy Sassy and really loved it.
It is a little more complex than the one above, but it adds a beautiful detail to the styling.

This half-tied technique couldn’t be easier and was a cinch to pull together and added just the right amount of fullness to the neckline.

Here are a few other blanket scarf tying techniques I am looking forward to trying!
This one is similar to the half-tied technique, but no tying, just tucking. I can do that!
This chunky scarf technique would work really well with a 2-yard scarf so you could let the ends hang.
The 2.5-yard one would look great as a poncho or even pulled together with a belt.
This poncho style leaves the scarf folded making a smaller poncho version.
I also love draping this scarf just around my shoulders during the cold winter months. It makes the perfect shawl!
Regardless of the way you tie it, I love pairing these scarves with puffy vests, long sleeve shirts, and my favorite fall boots. Flannel blanket scarves are the perfect addition to your fall wardrobe.

I’m Petite & Want to Make a Smaller Version- What Can I Do?
I’m pretty petite, but I know big scarves aren’t for everyone!
Shave 6-7 inches off the width on a 2 yard version to make a more petite version of this scarf with a little less bulk or experiment with your own sizing by creating your own custom version.
Just cut, try on, adjust.
There are no wrong or right lengths- it is what fits YOU or your recipient best!
Wear it a scarf or wear it as a blanket. The possibilities for this cozy project are endless.
Love this scarf tutorial? Here are a few other DIY projects I’m proud of!
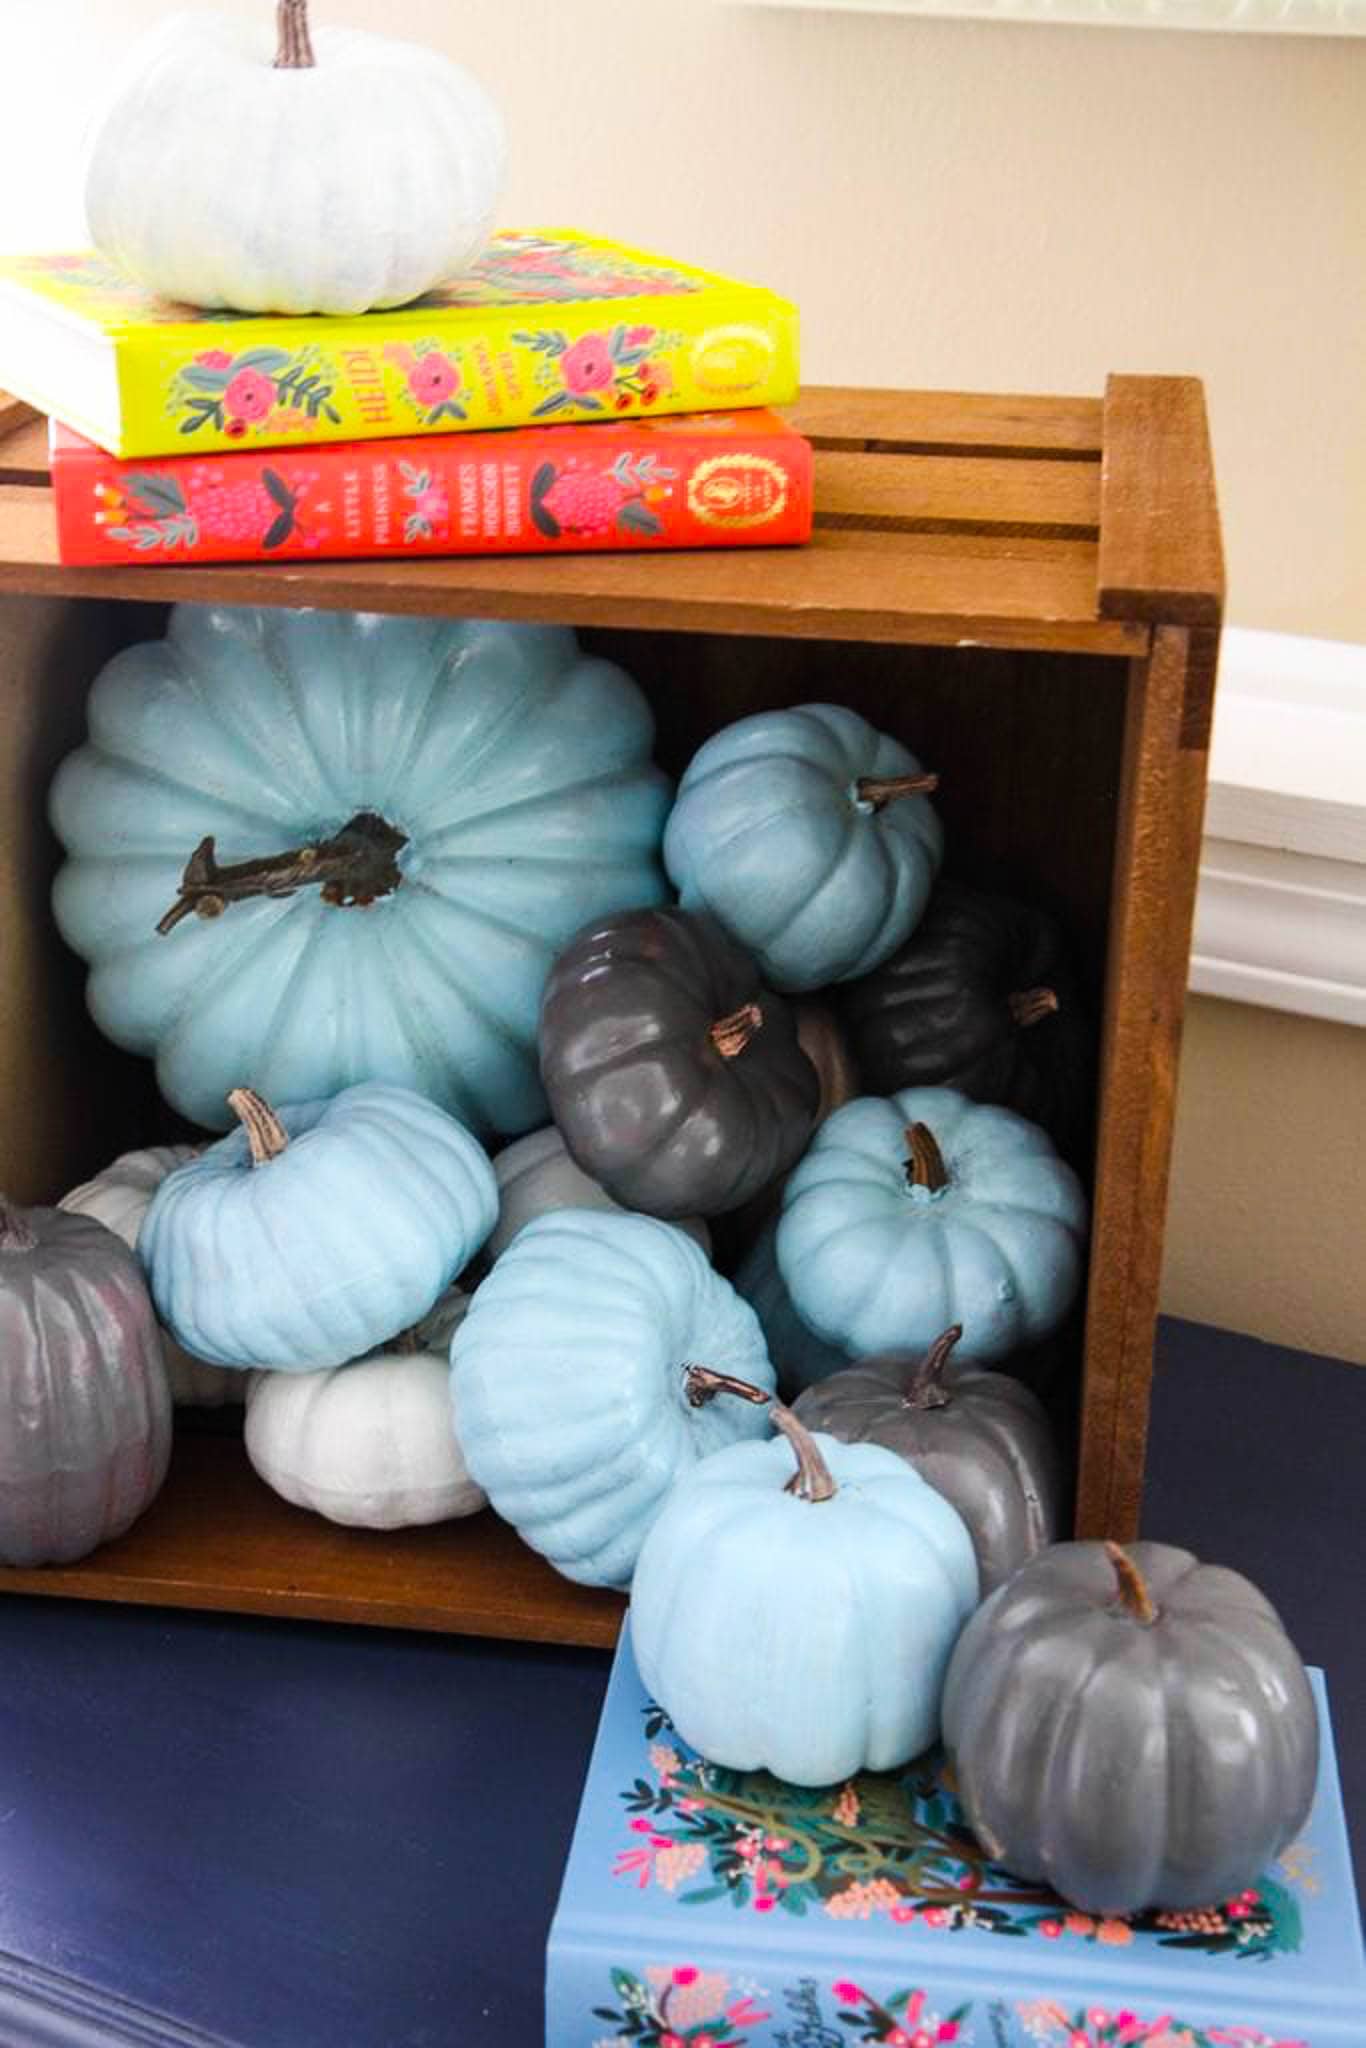
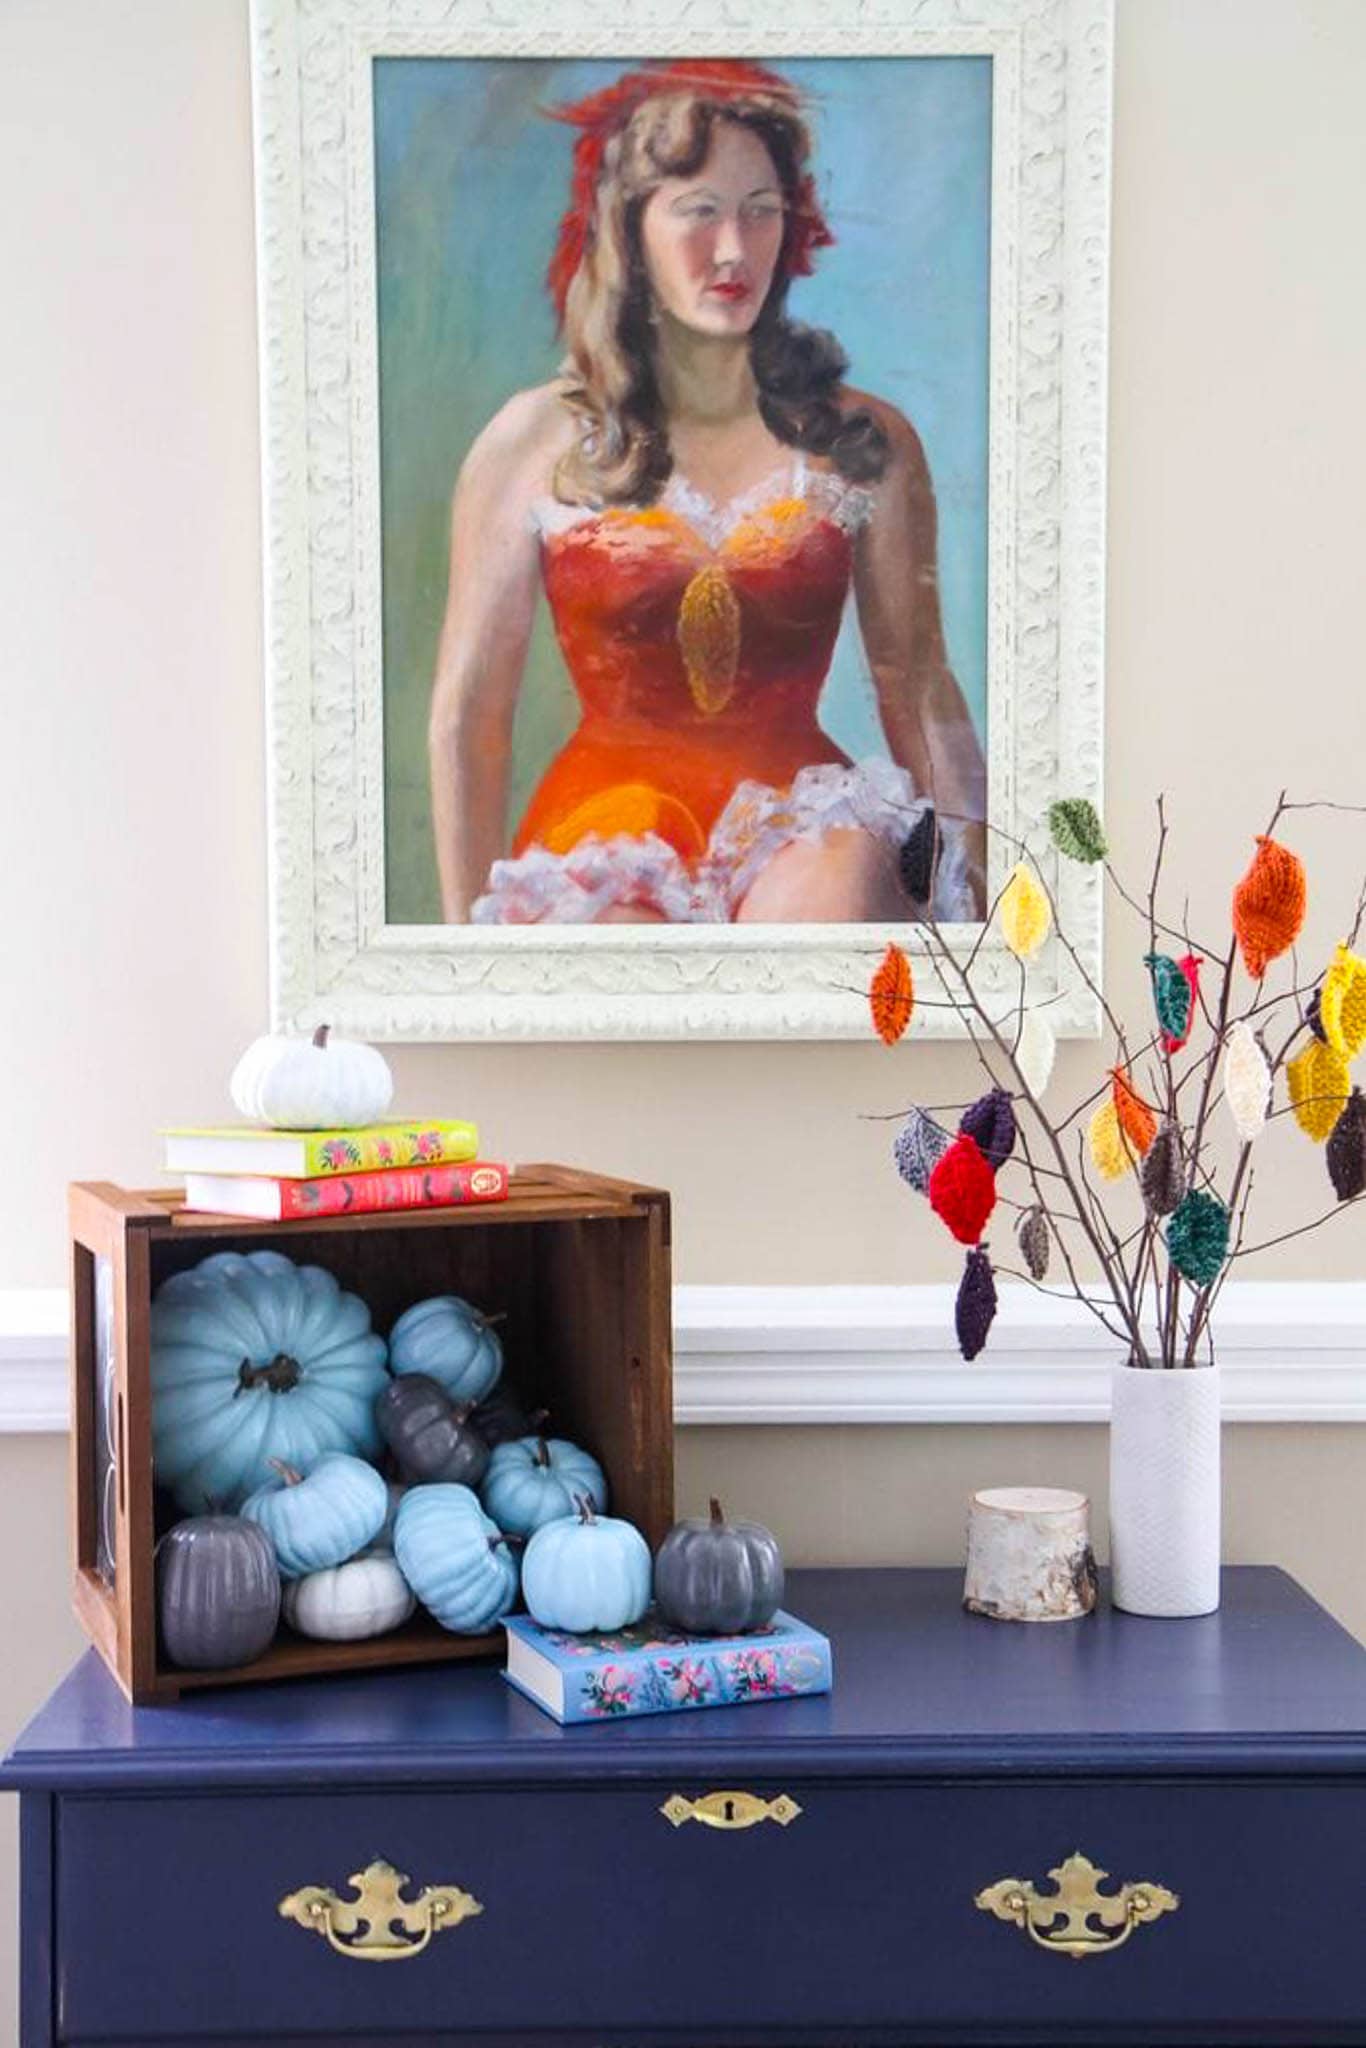
 no sew scarf with hidden pocket
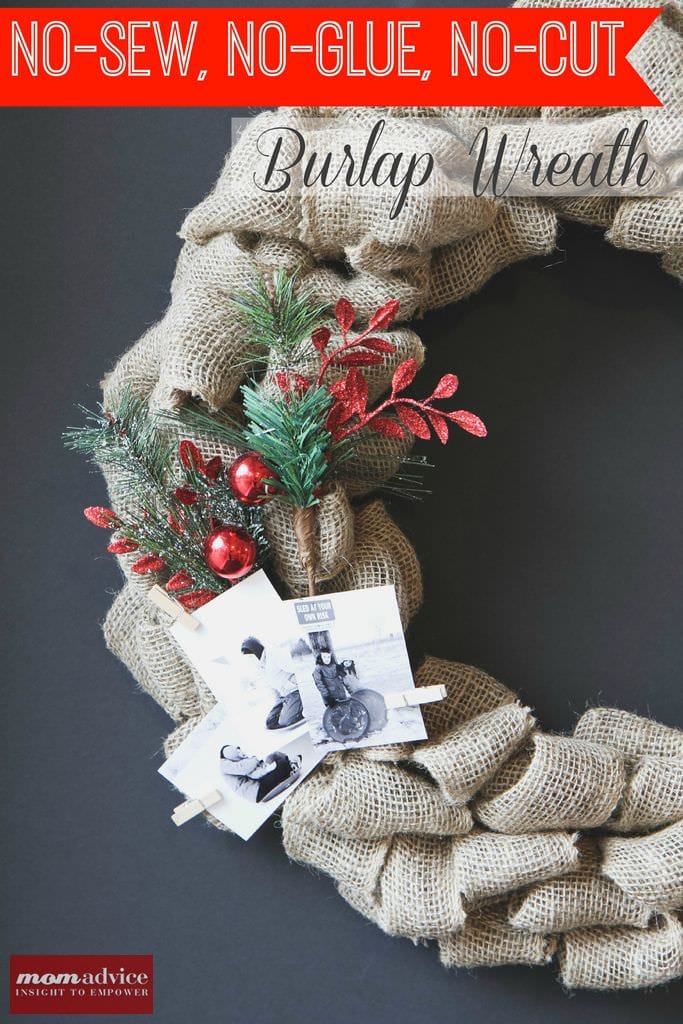
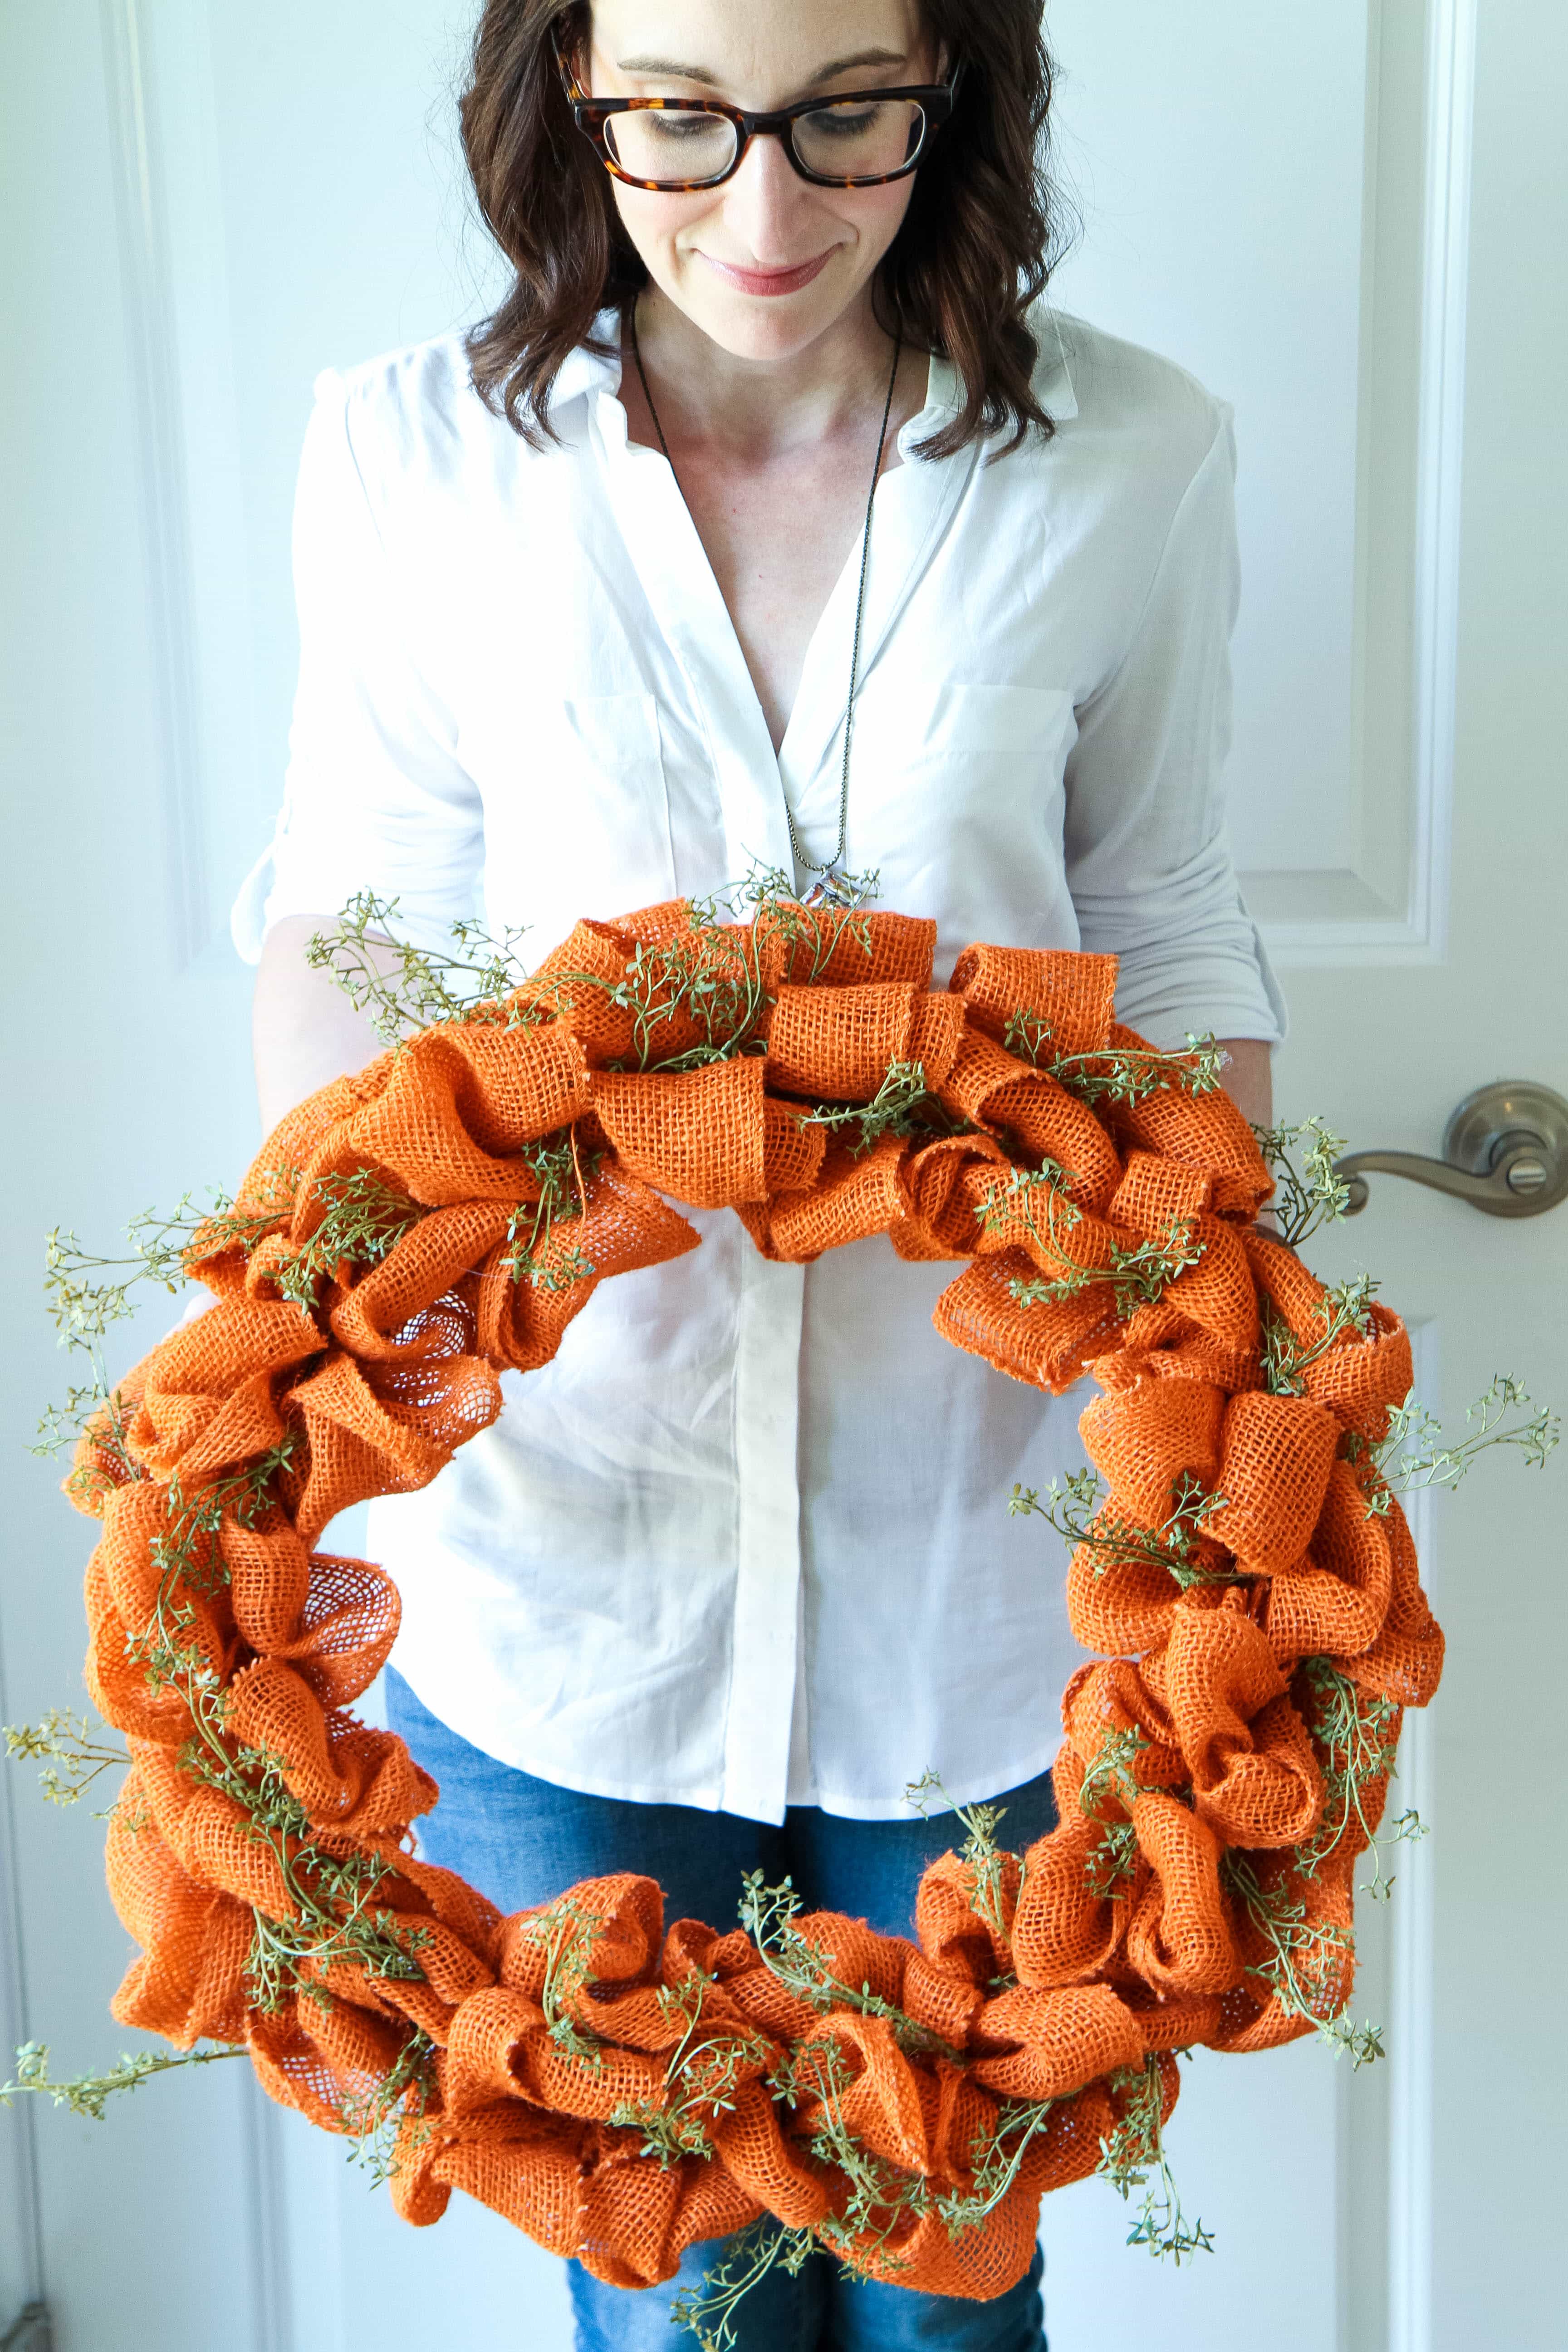
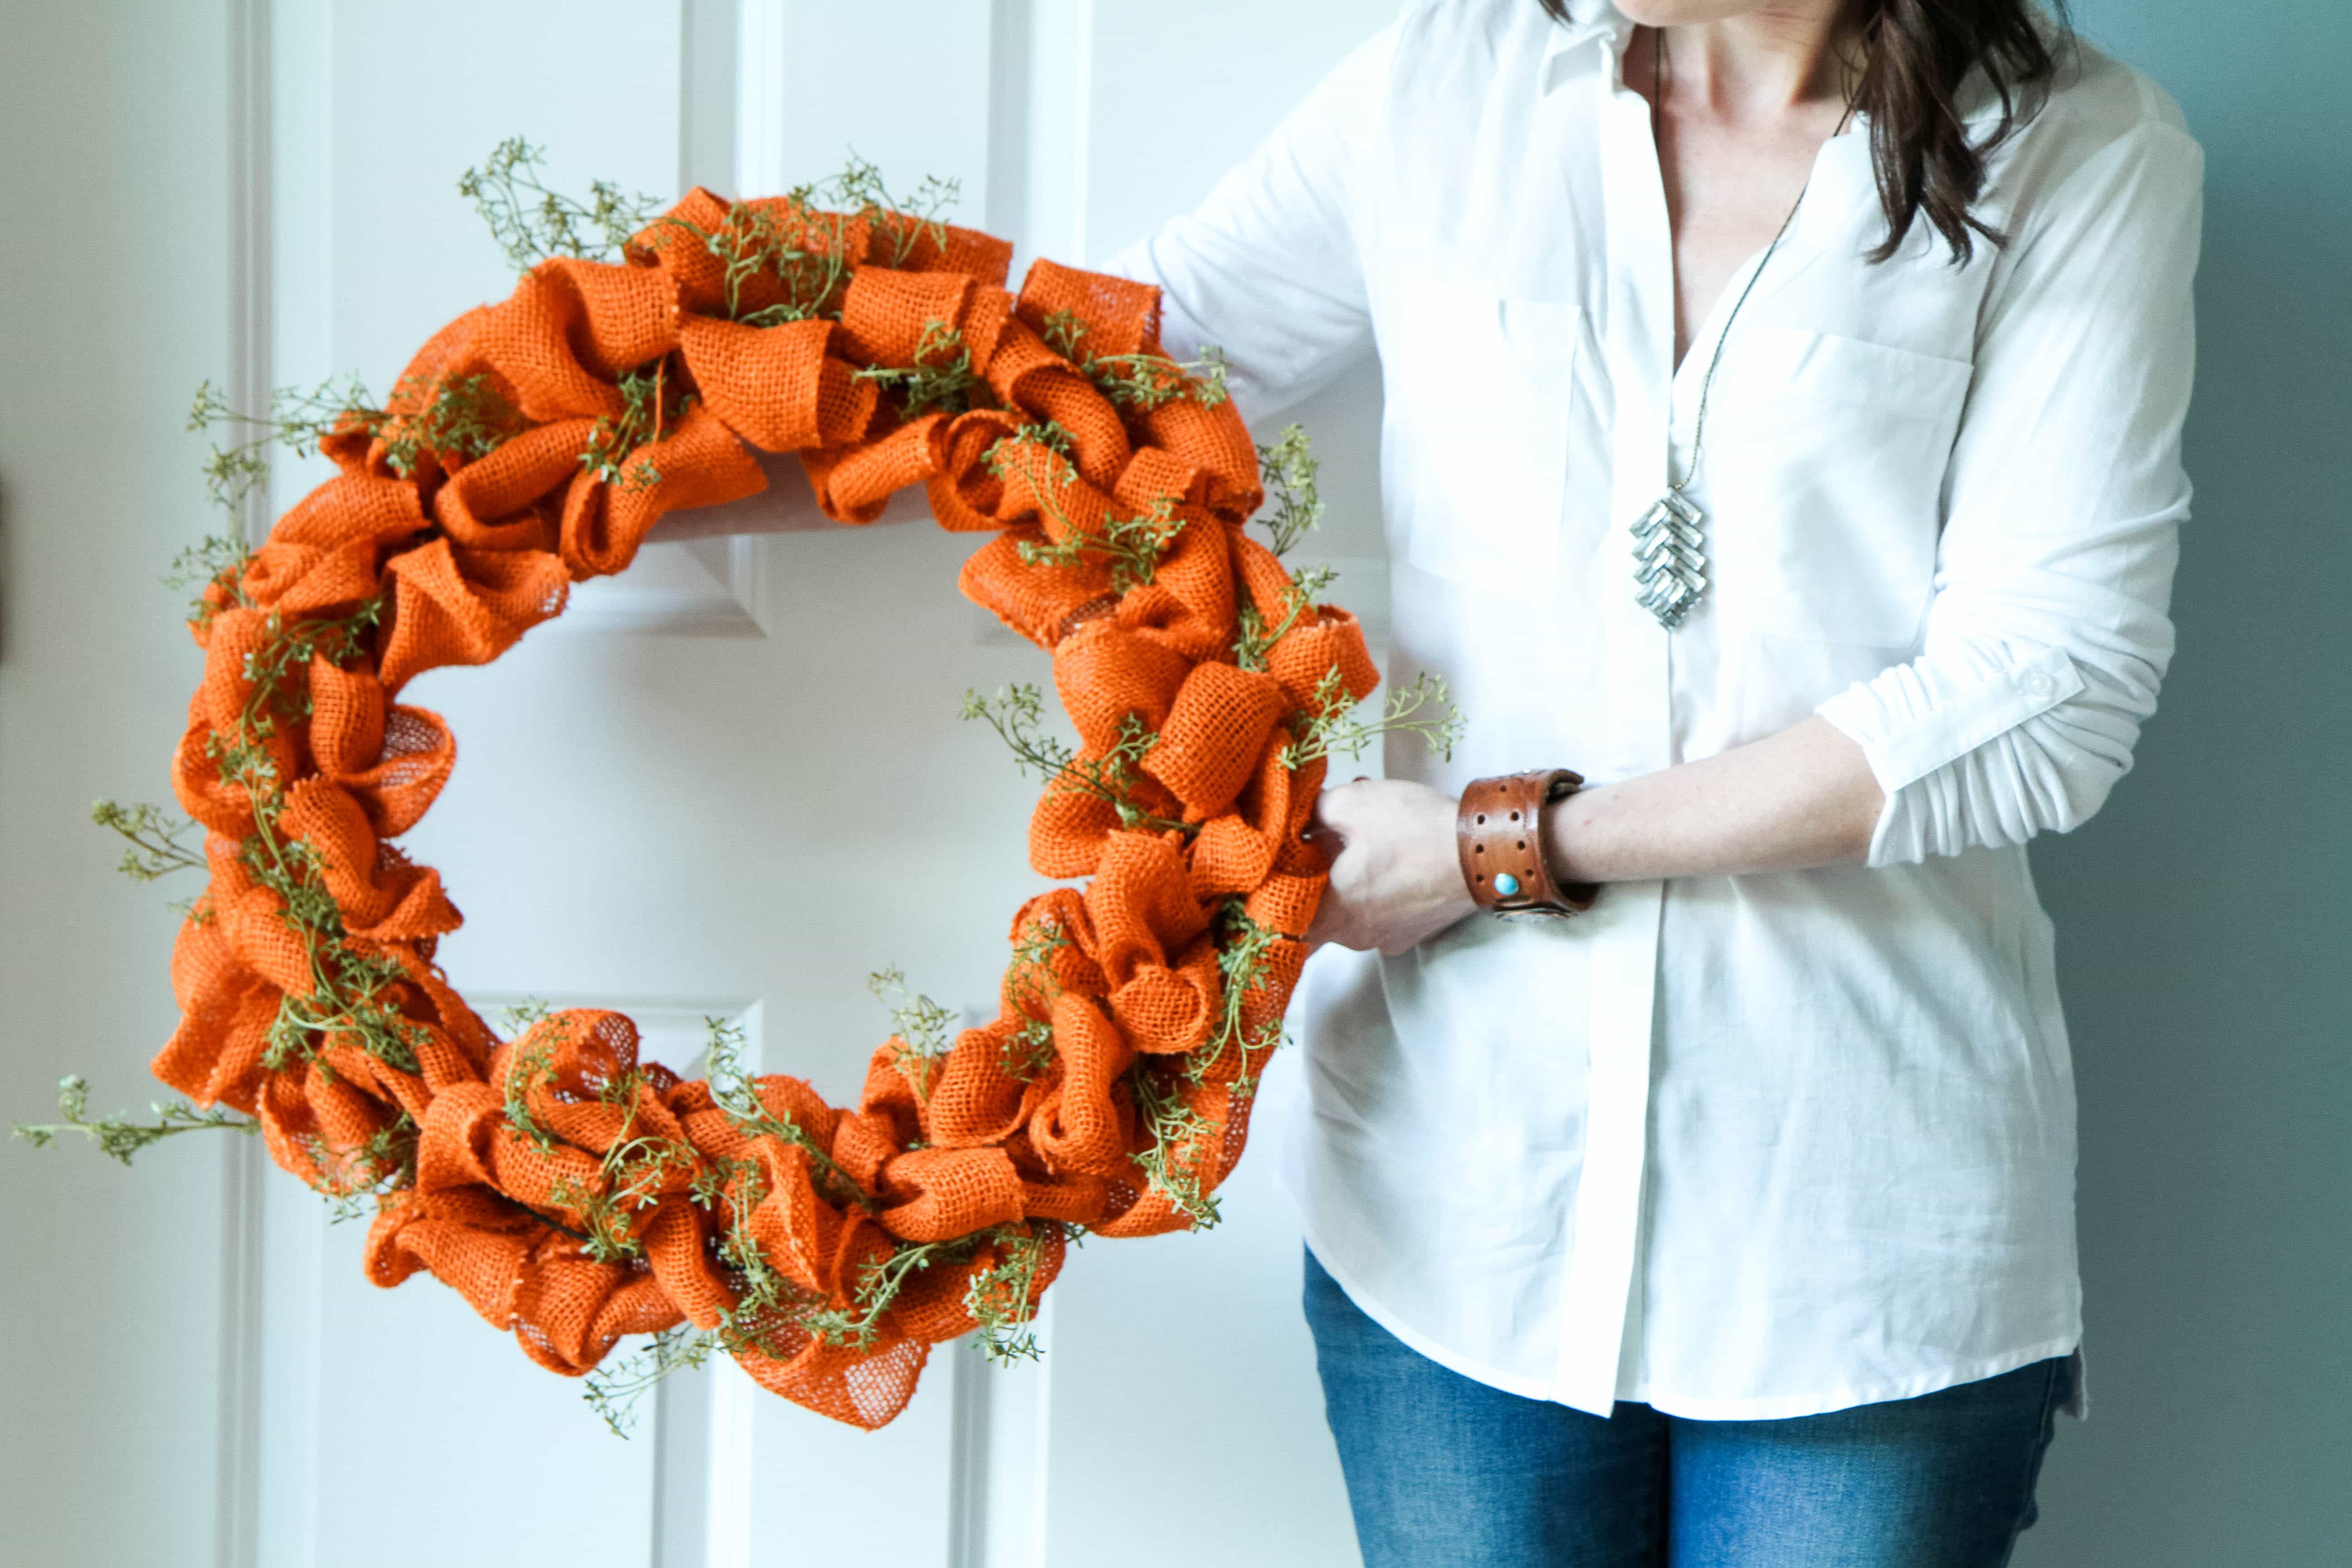
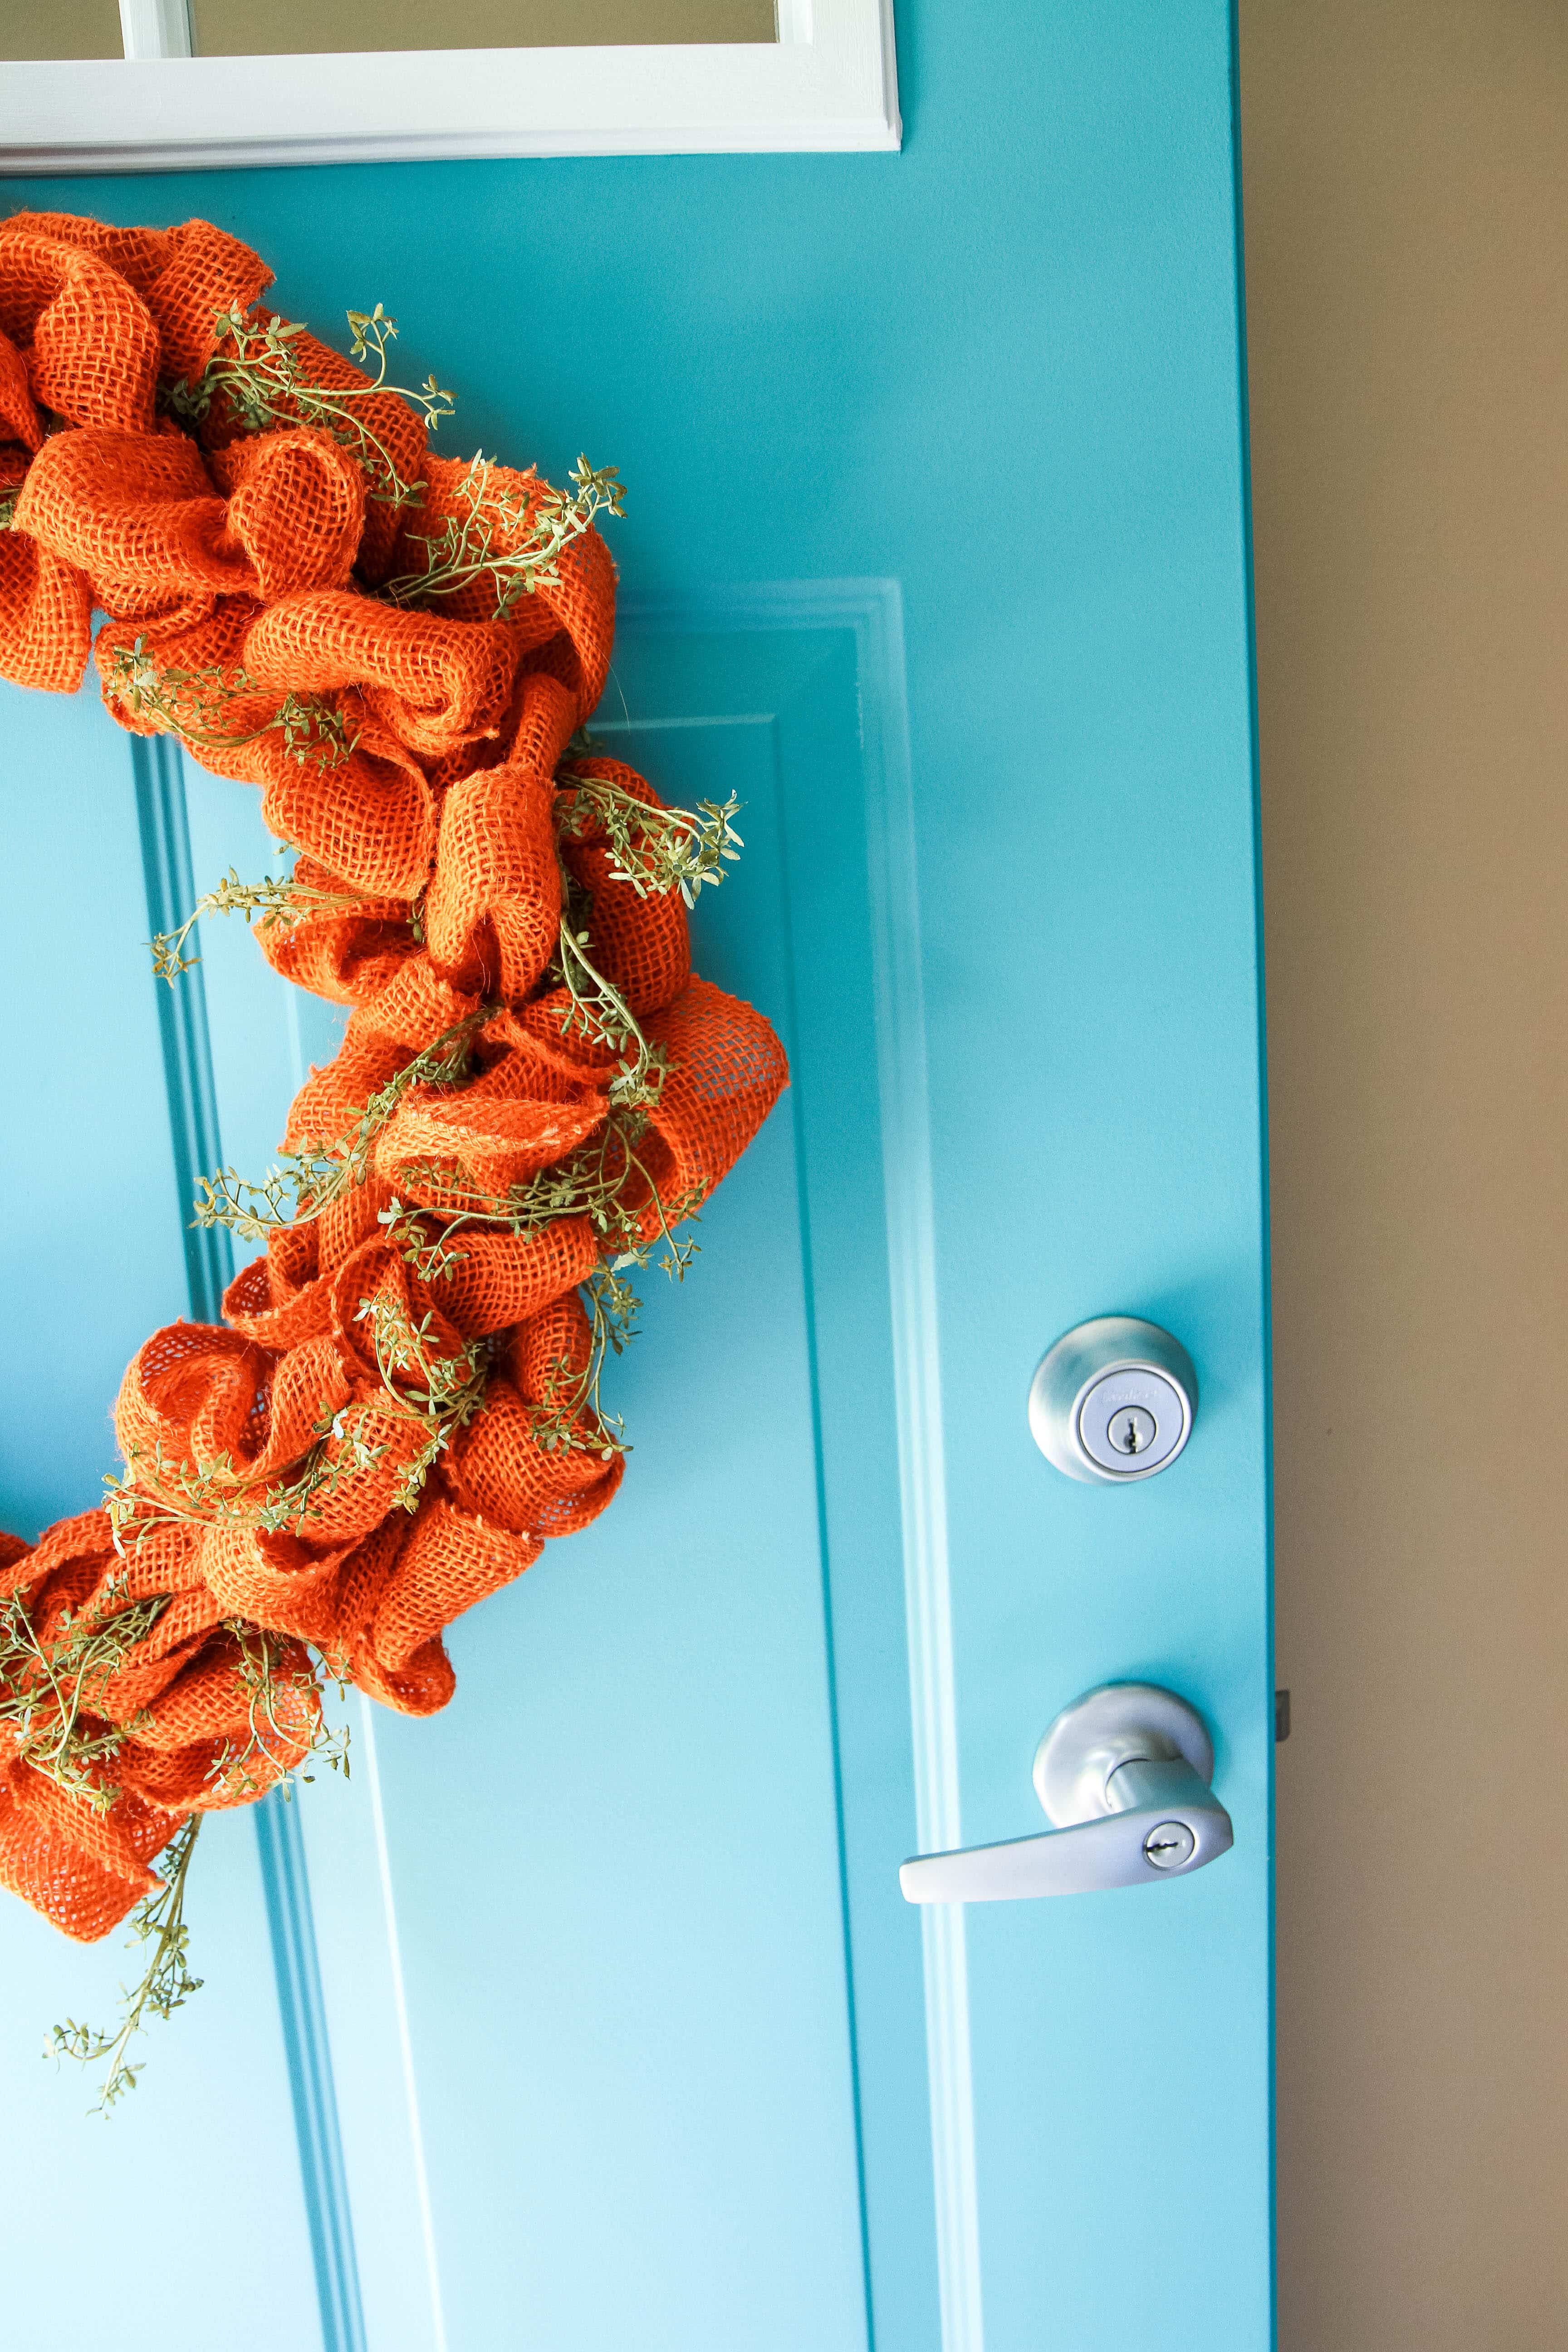
 fall burlap wreath
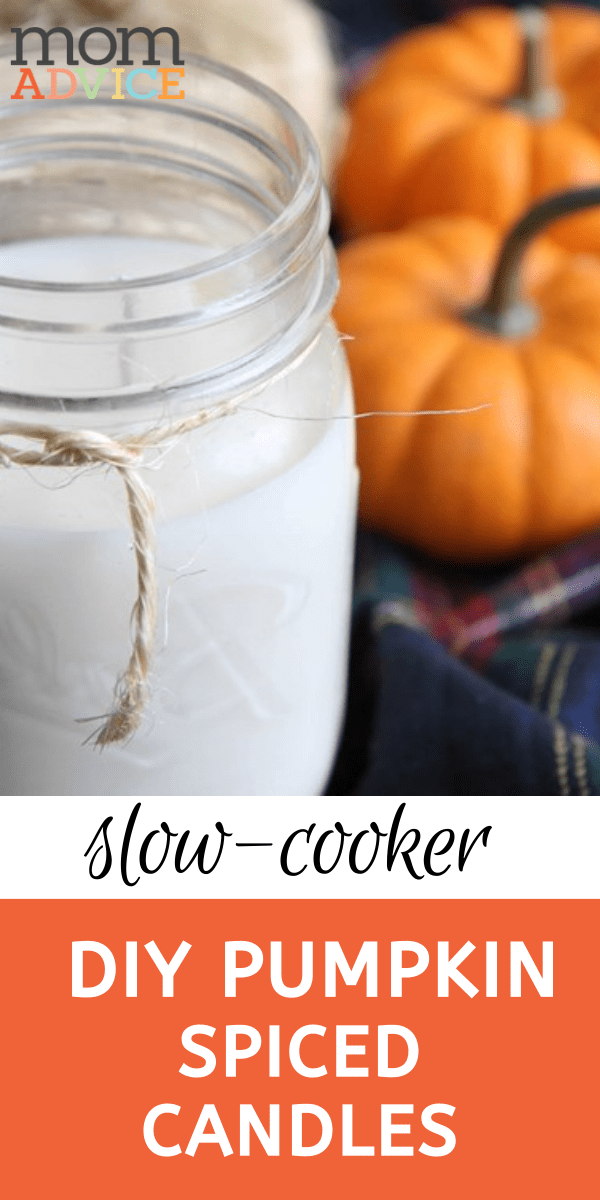
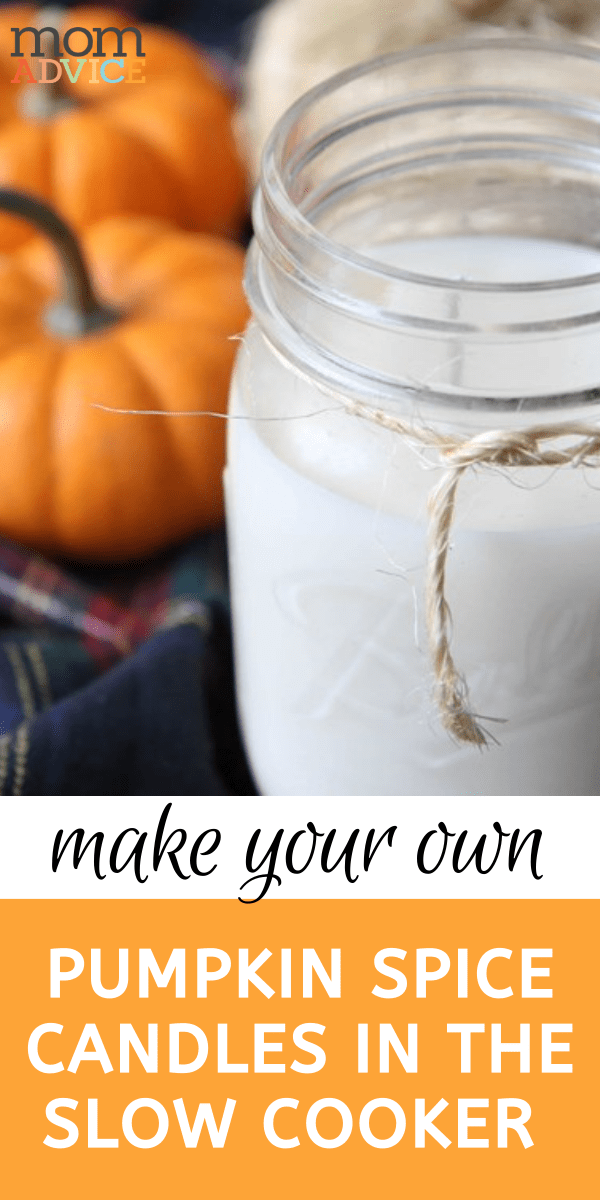
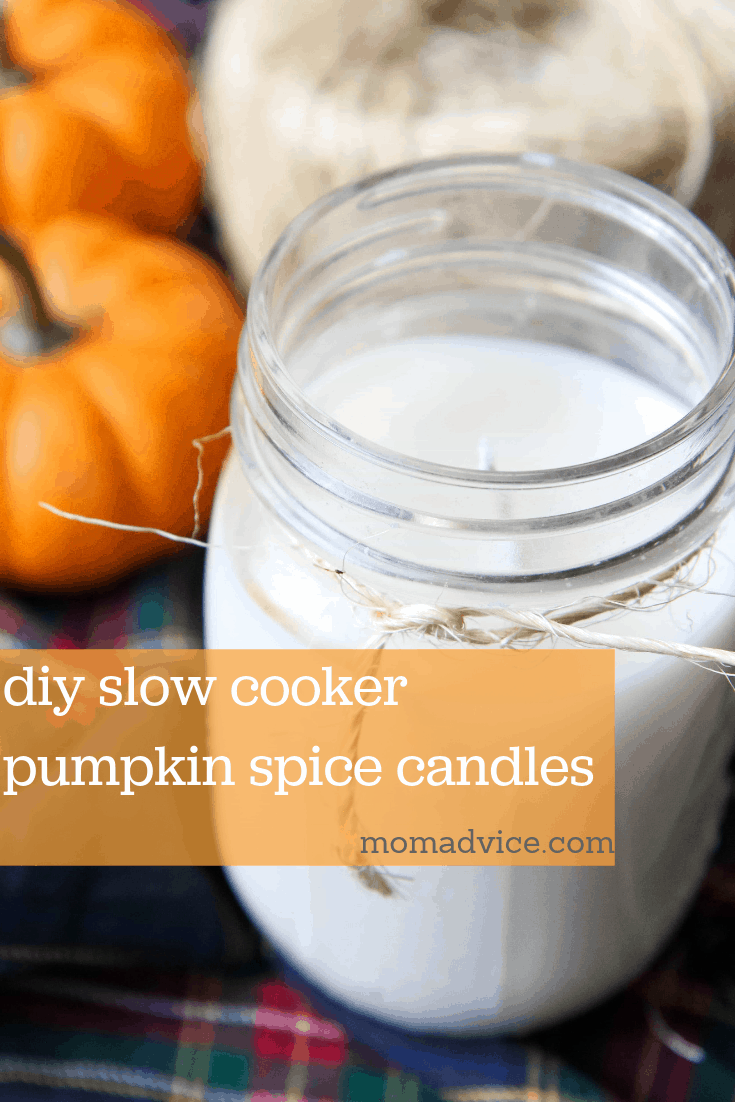
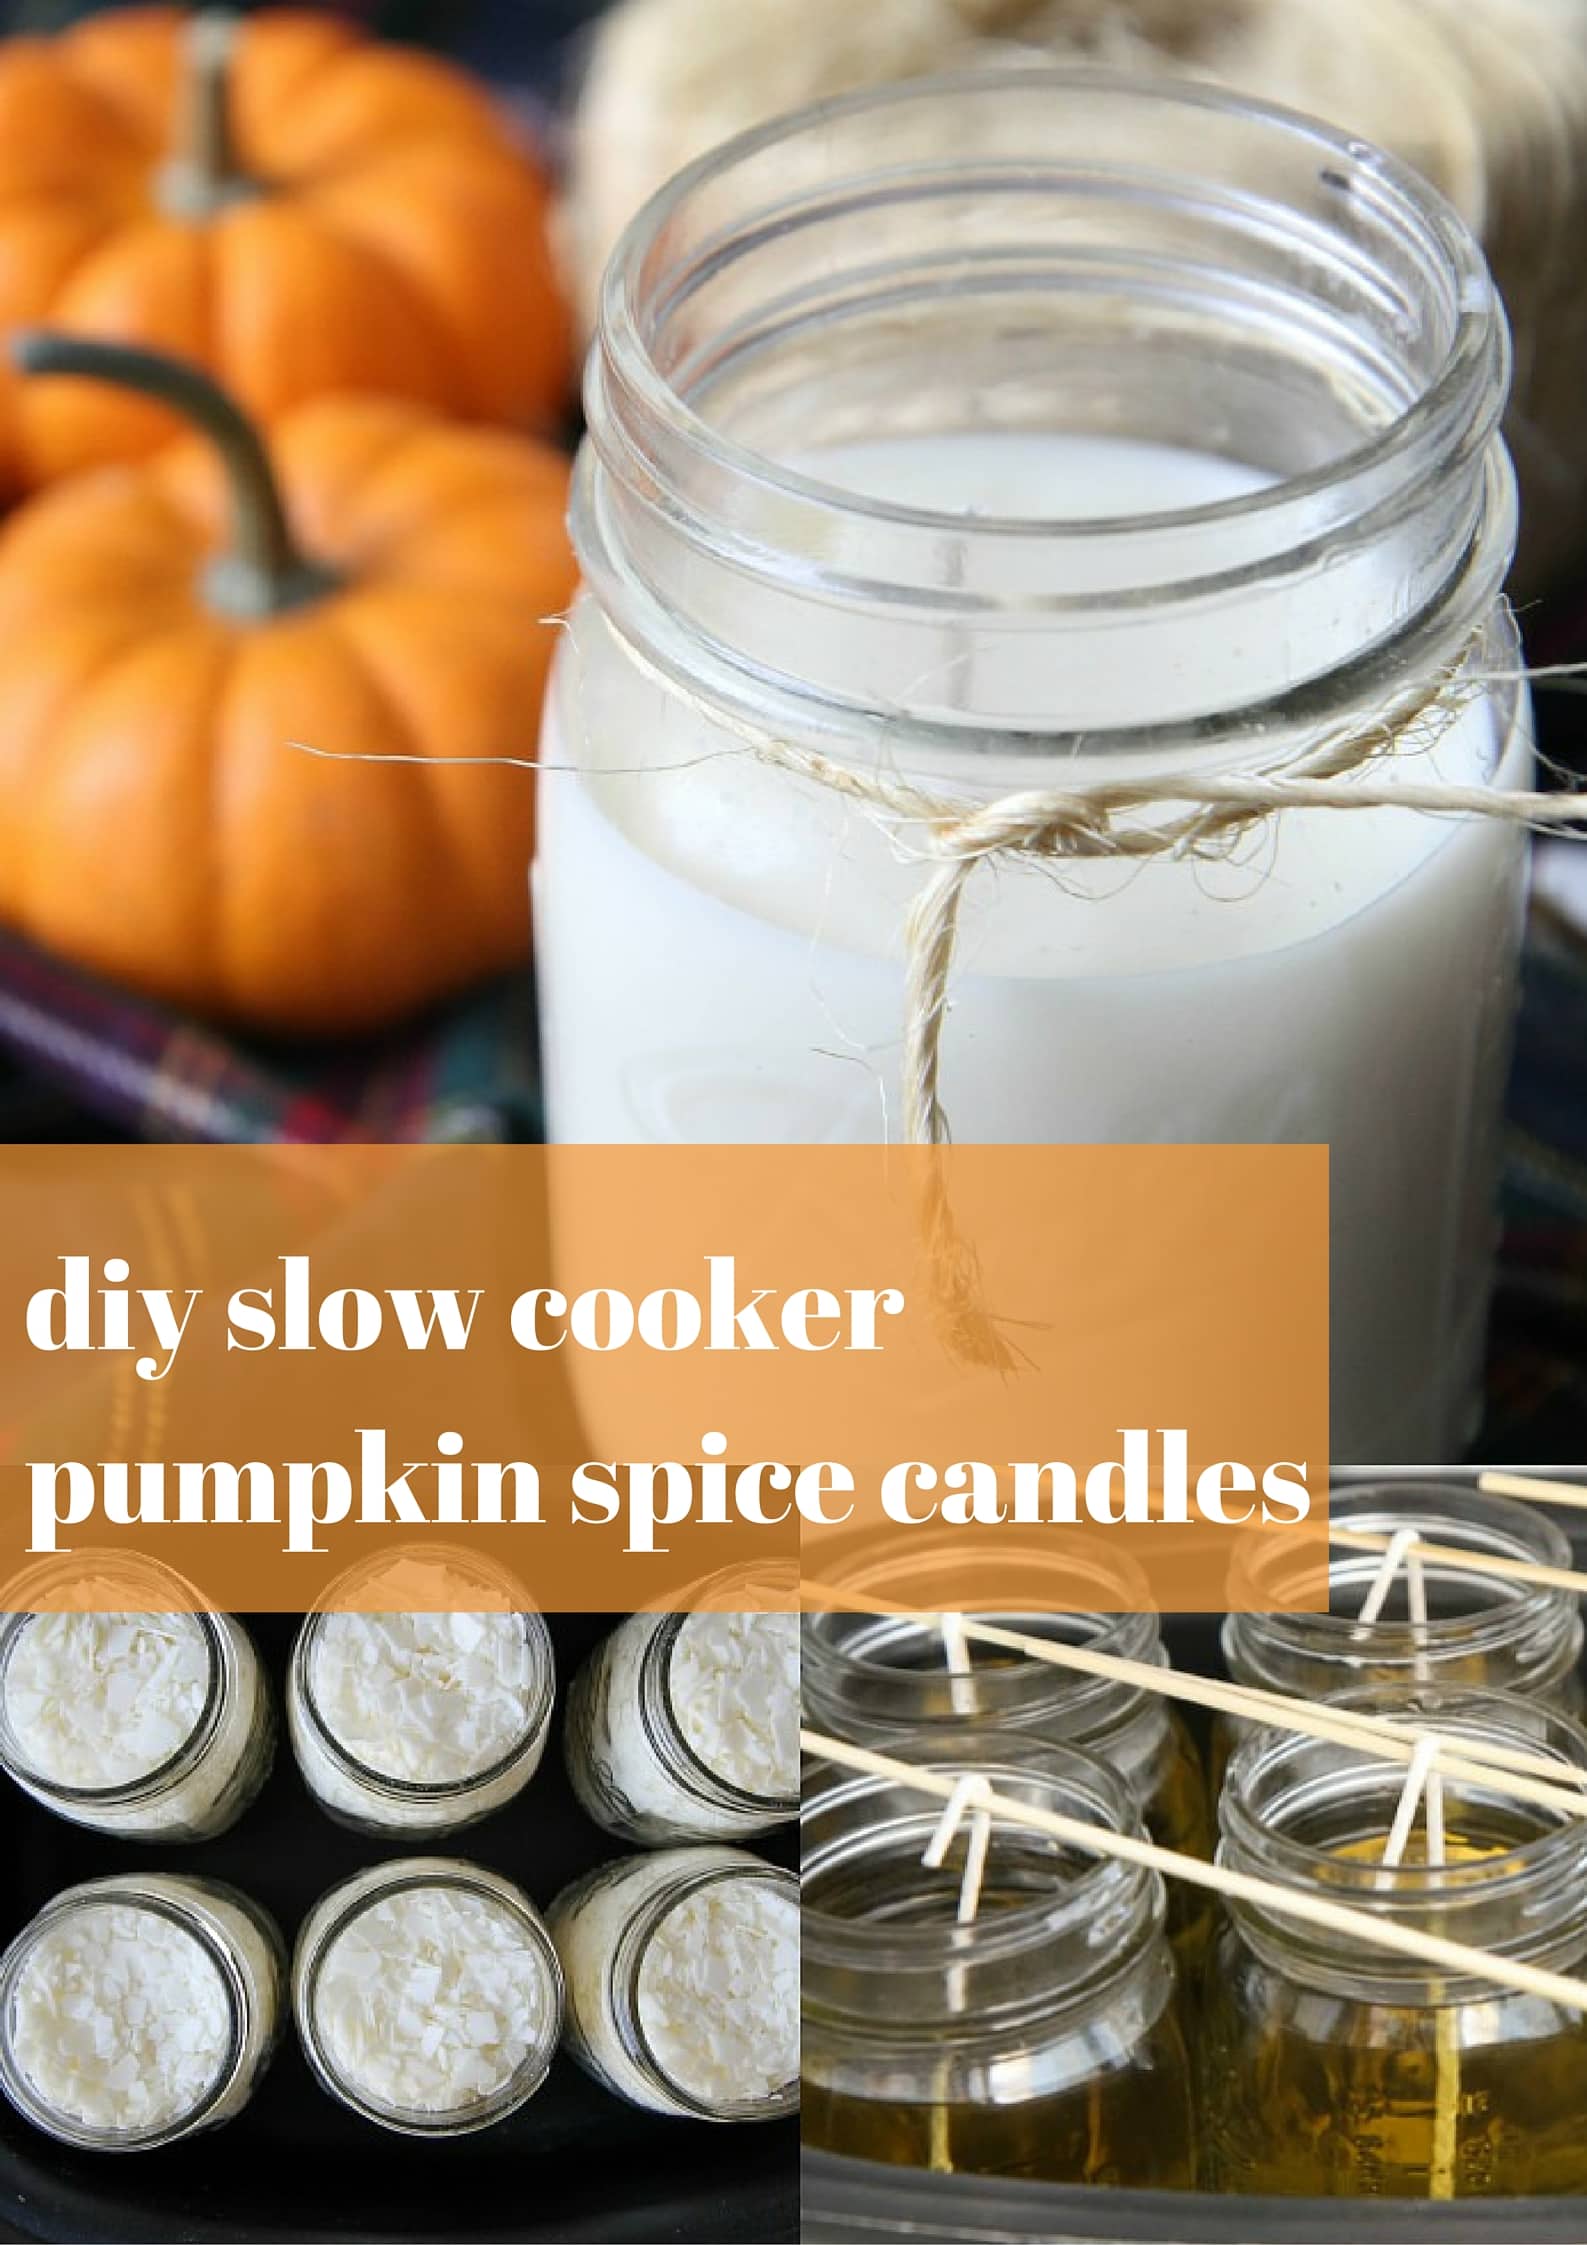
 slow cooker pumpkin spice candles
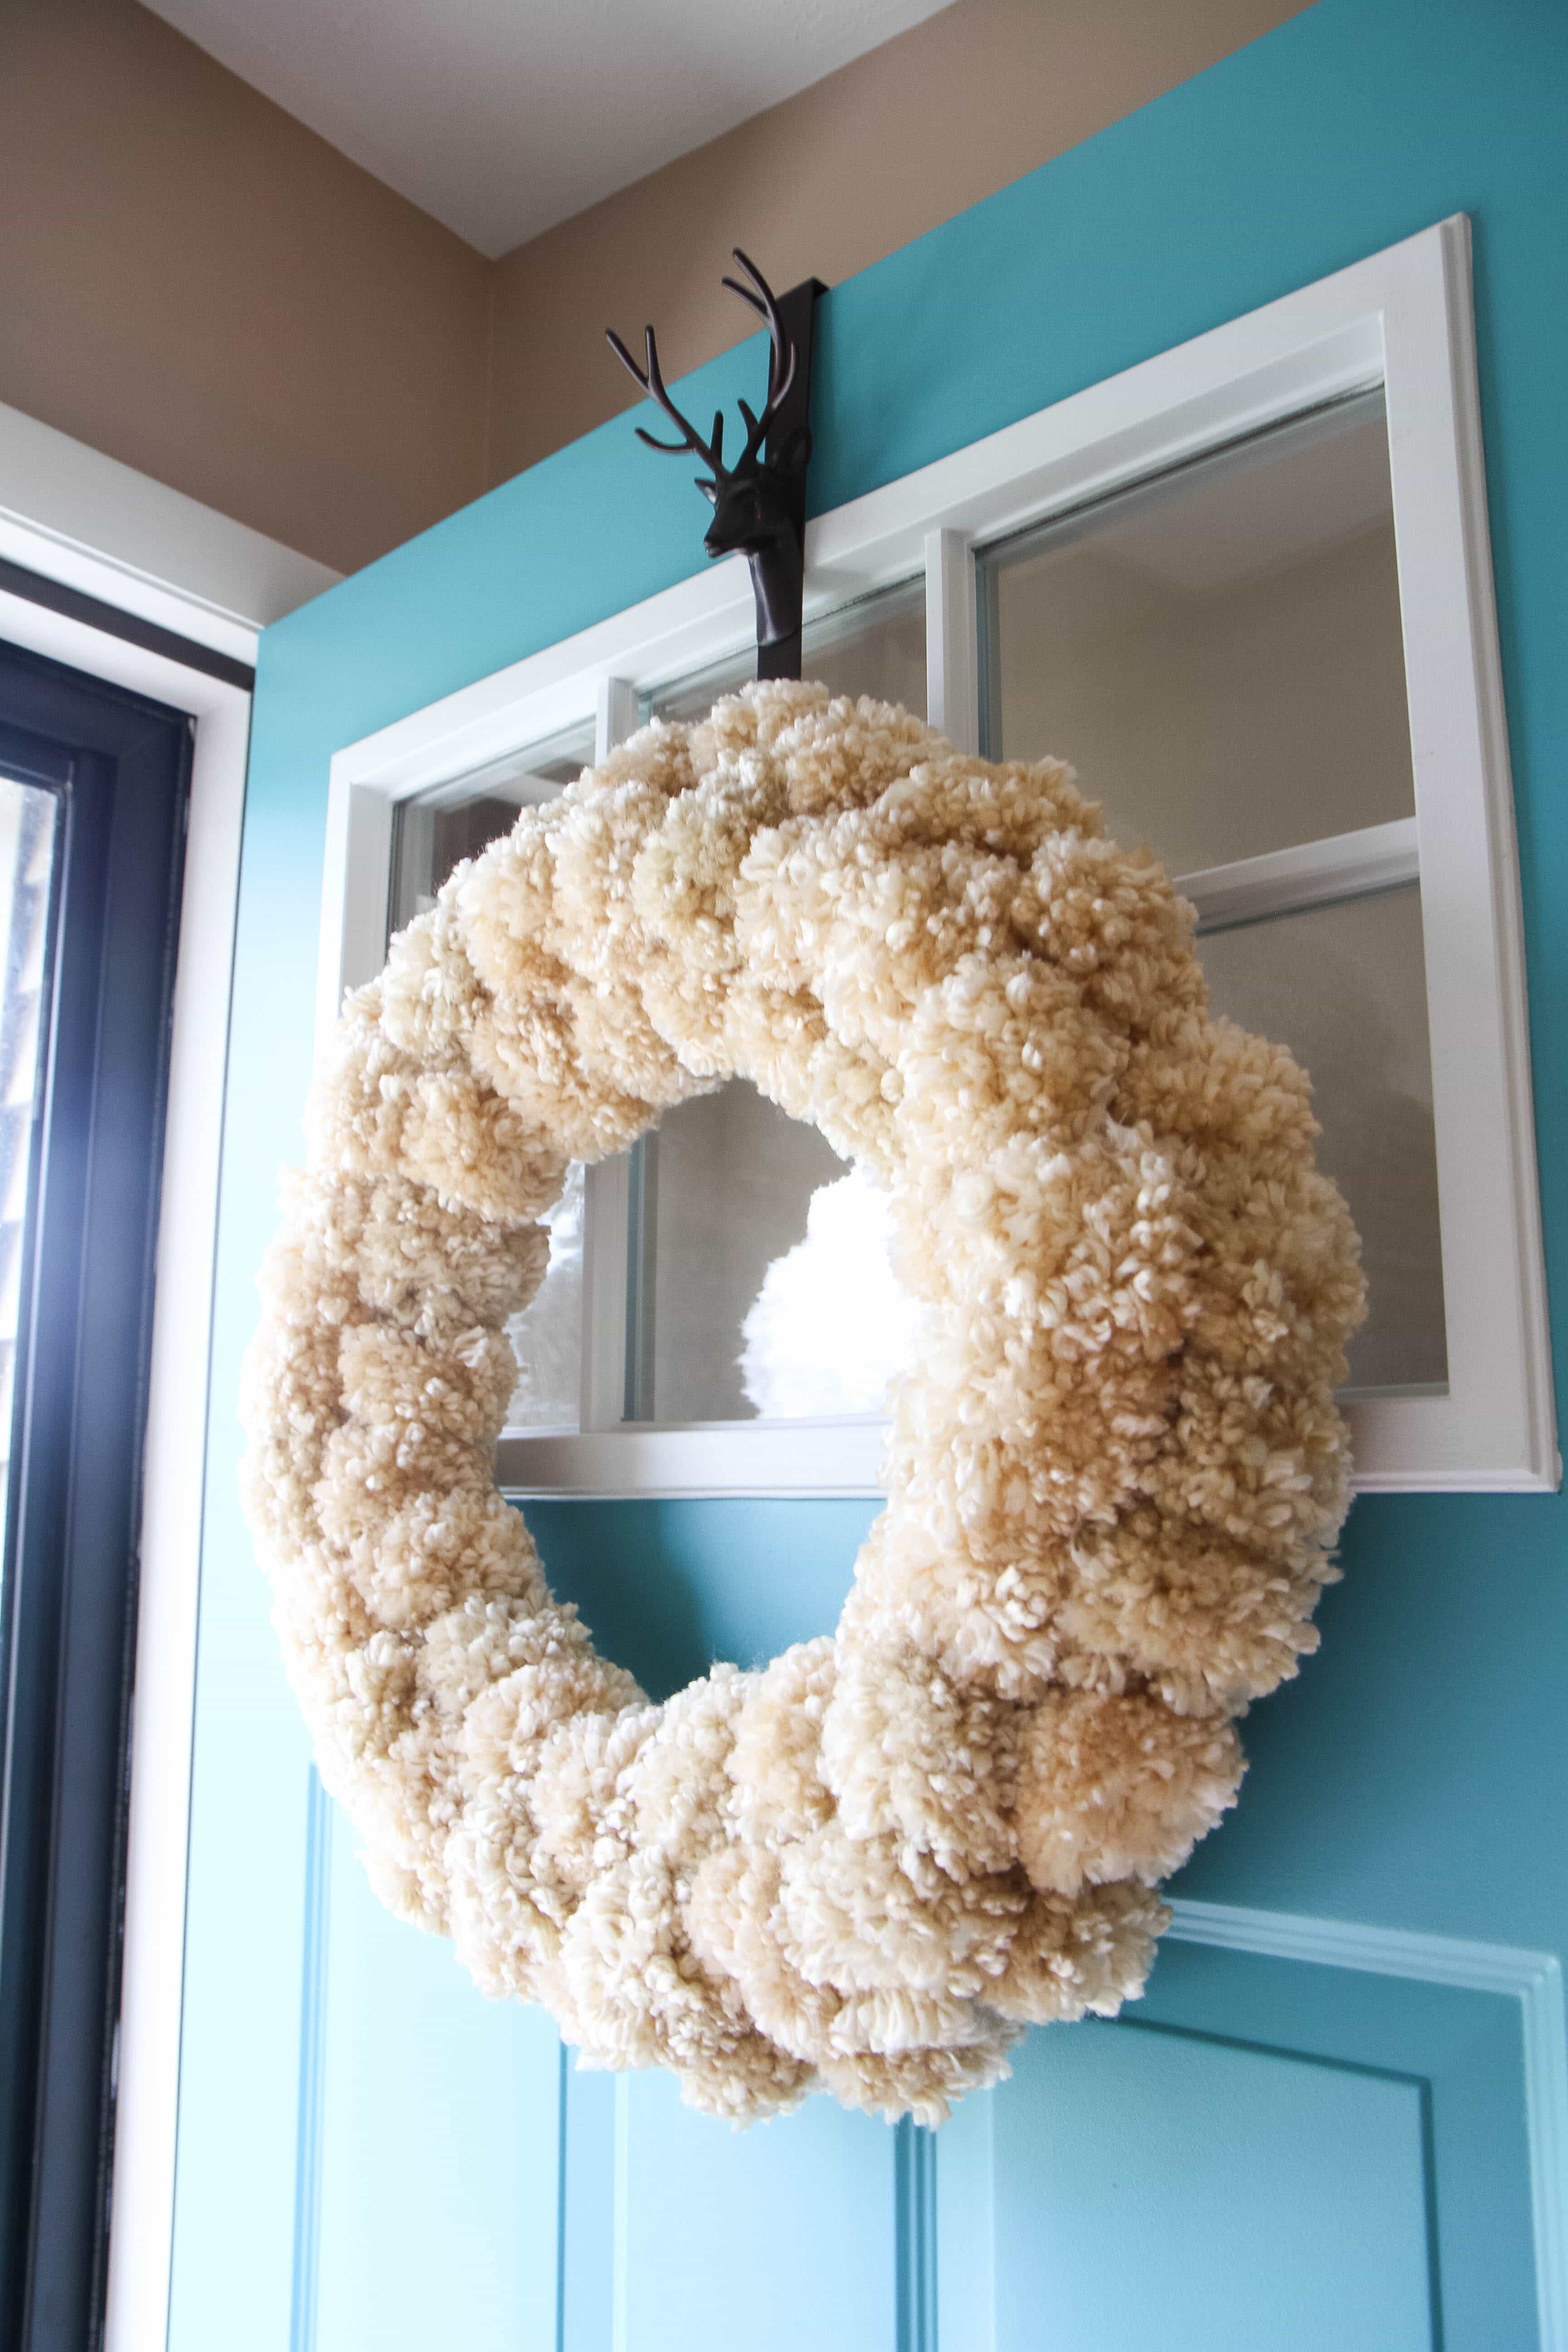
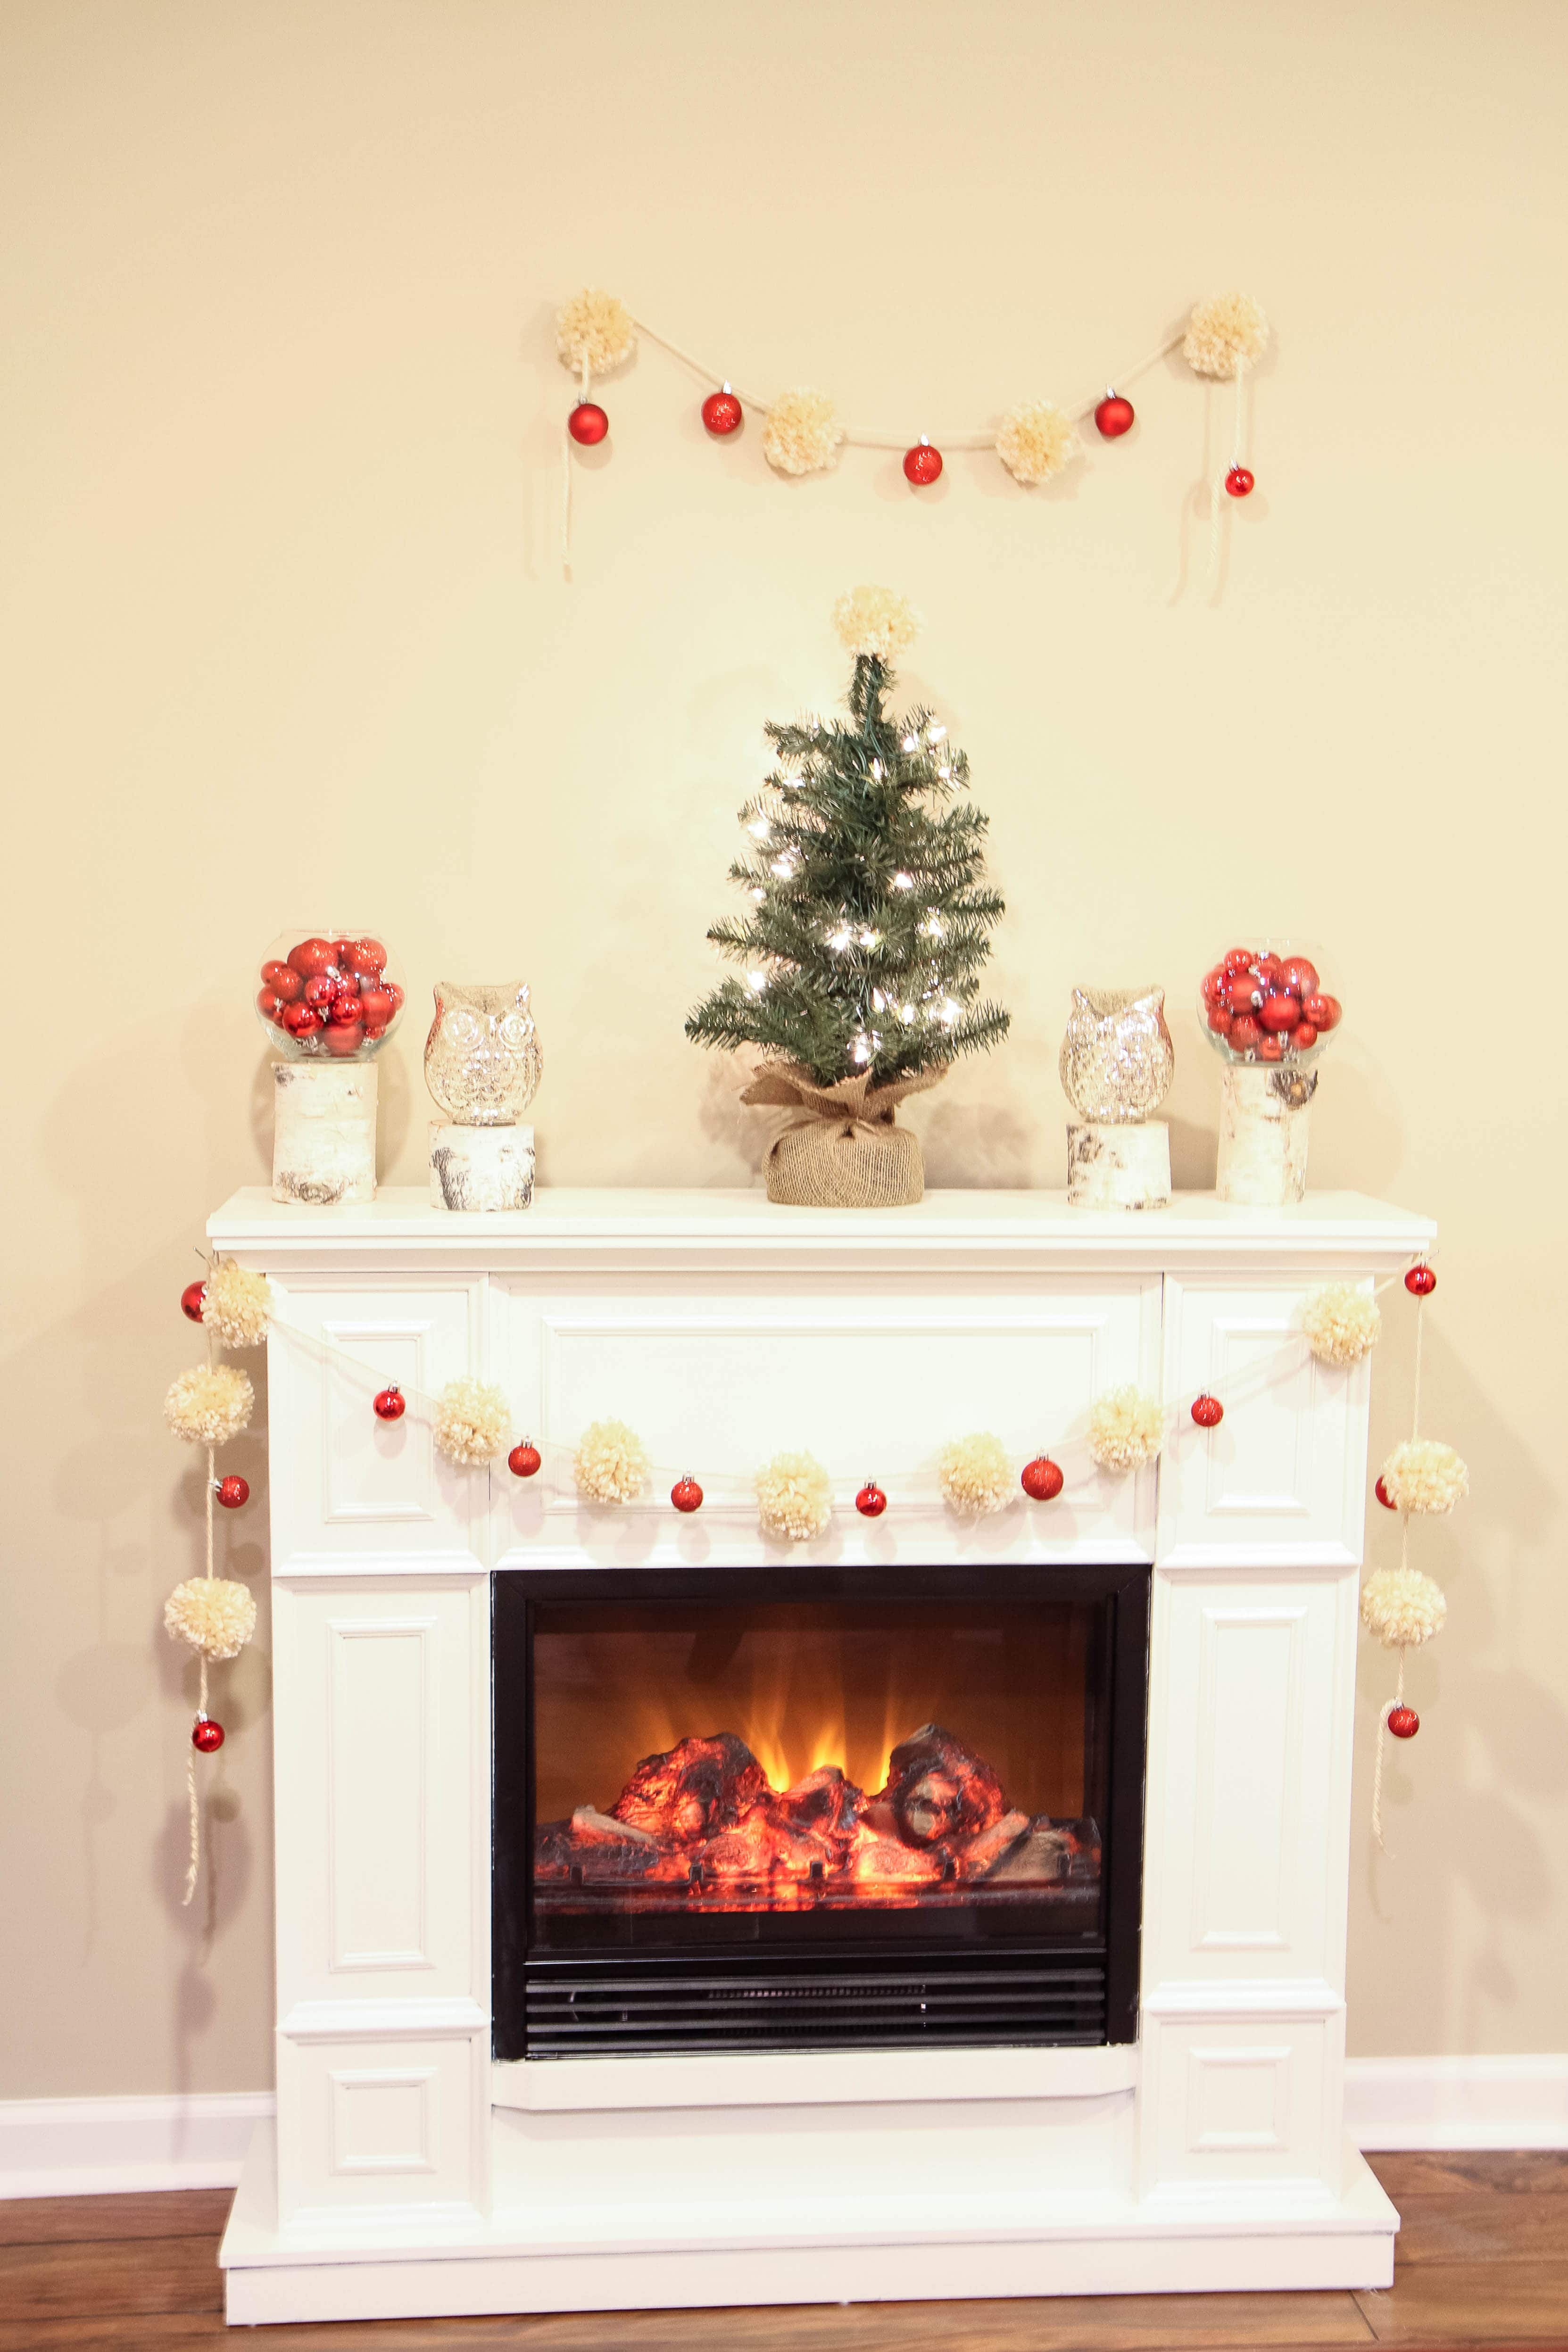
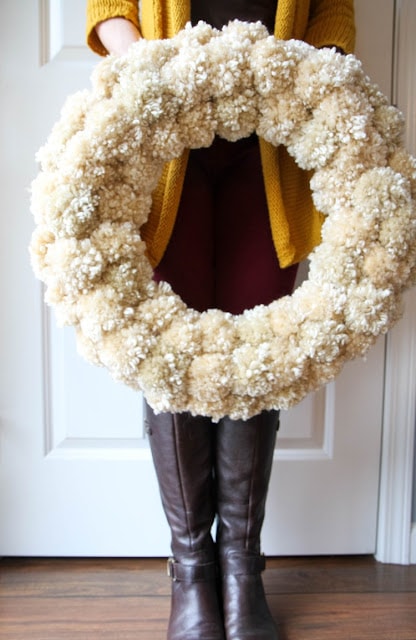
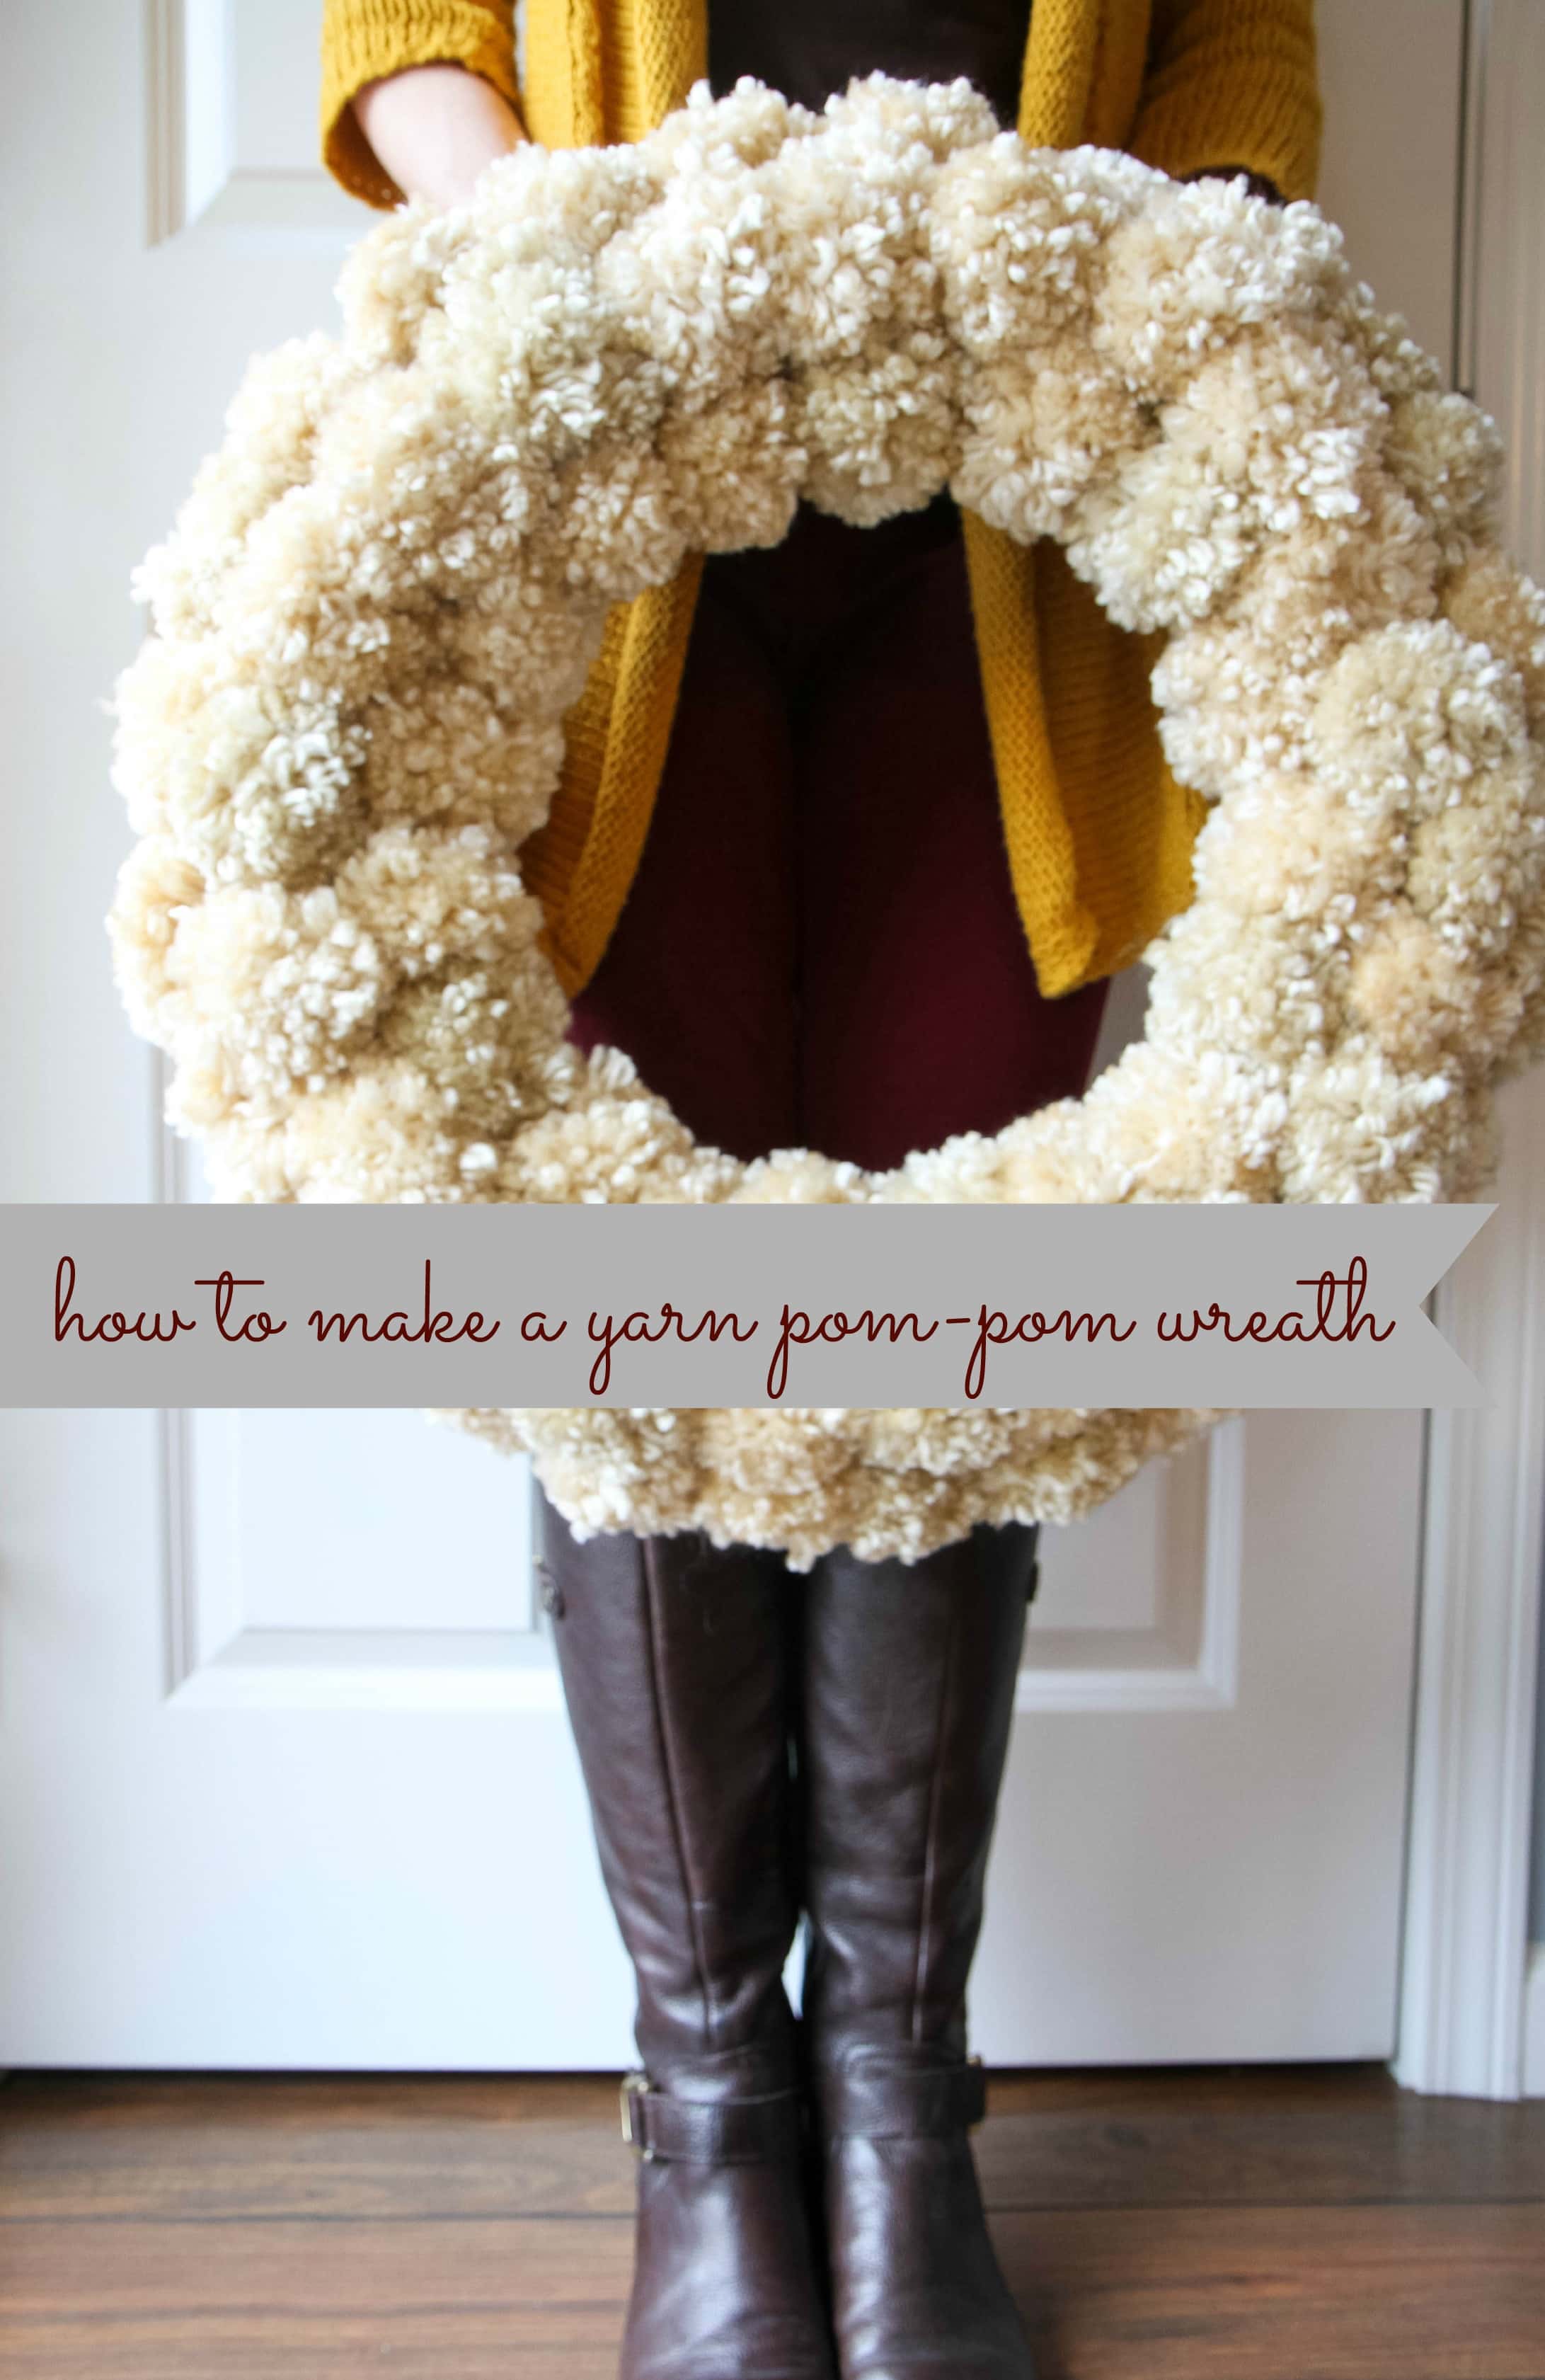
 yarn pom-pom wreath
 roll-up jigsaw puzzle mat
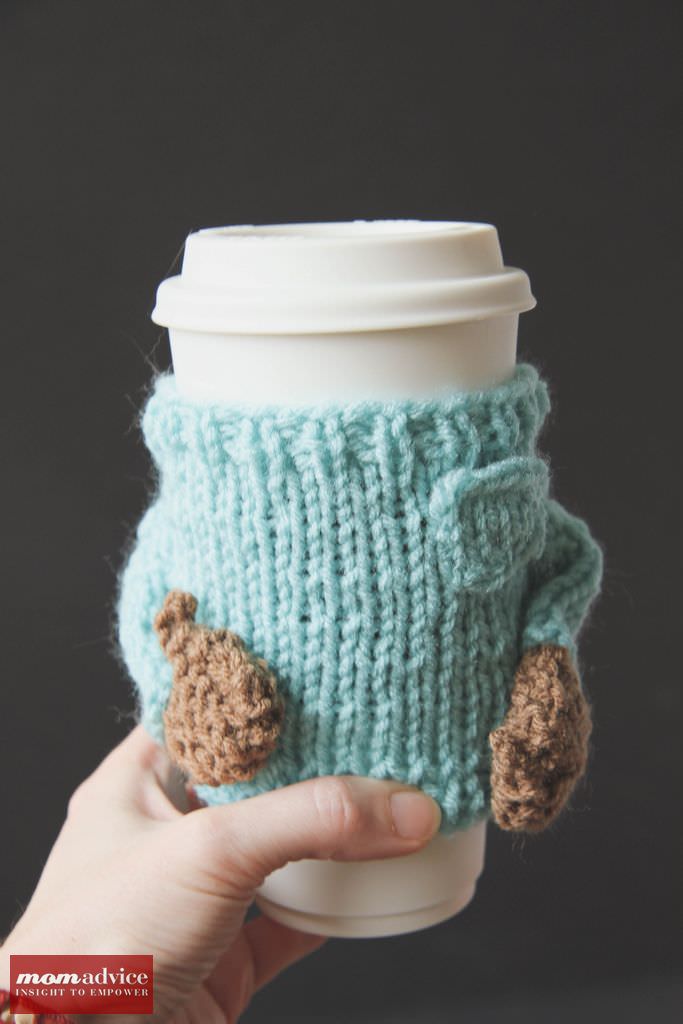
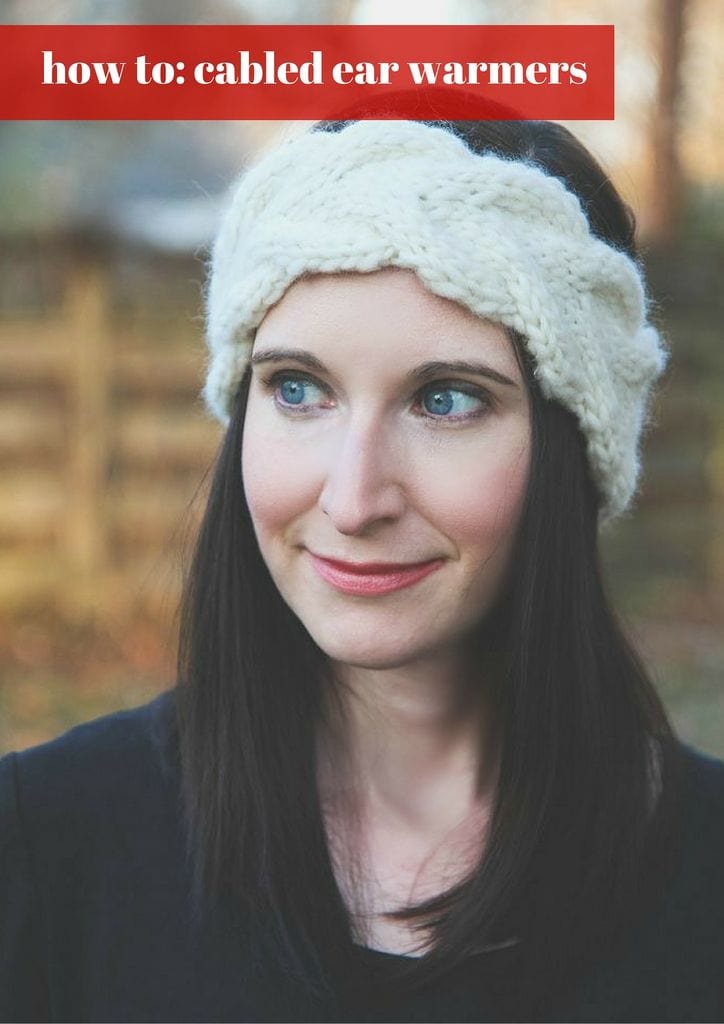
 no-sew hand warmers
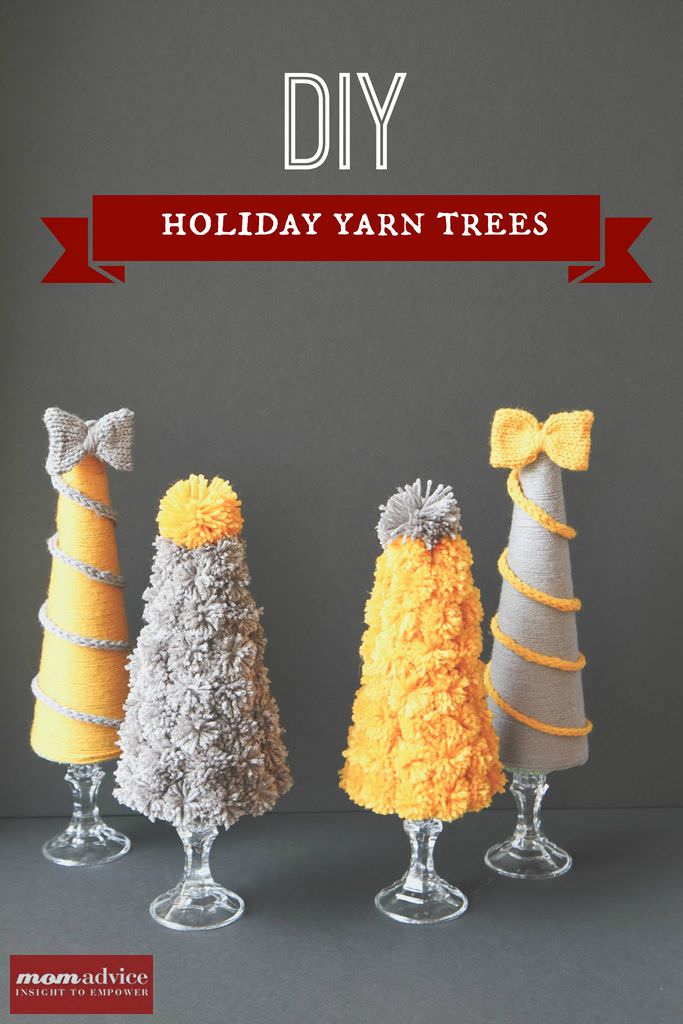
 yarn pom pom trees
 succulent terrariums
I hope you have a blast making these quick scarves for yourself or for holiday gift-giving. Check out this list of 54 handmade gifts you can make for the holiday season to inspire you even more! Happy crafting!
This post contains affiliate links.
![]()


