
These make-ahead holiday dishes are my favorites & I love that I can have our holiday feast prepped in our freezer. These recipes, decorating ideas, and hostess gift ideas are the perfect things you need in your arsenal for a perfect day!
It’s that time of year again where I show you how incredibly awesome it is to prepare your Thanksgiving meal ahead and pack it away in your freezer for the big upcoming feast.
Over the years I have tried so many recipes to share with you and today I want to show you my foolproof technique meal for creating a delicious meal right from your freezer and to your table that will taste like you cooked it that very day.
Before we dive into all the recipes, here are a few items I recommend having in your arsenal to make your meal preparation day easier and to actually create room for all of these delicious dishes.
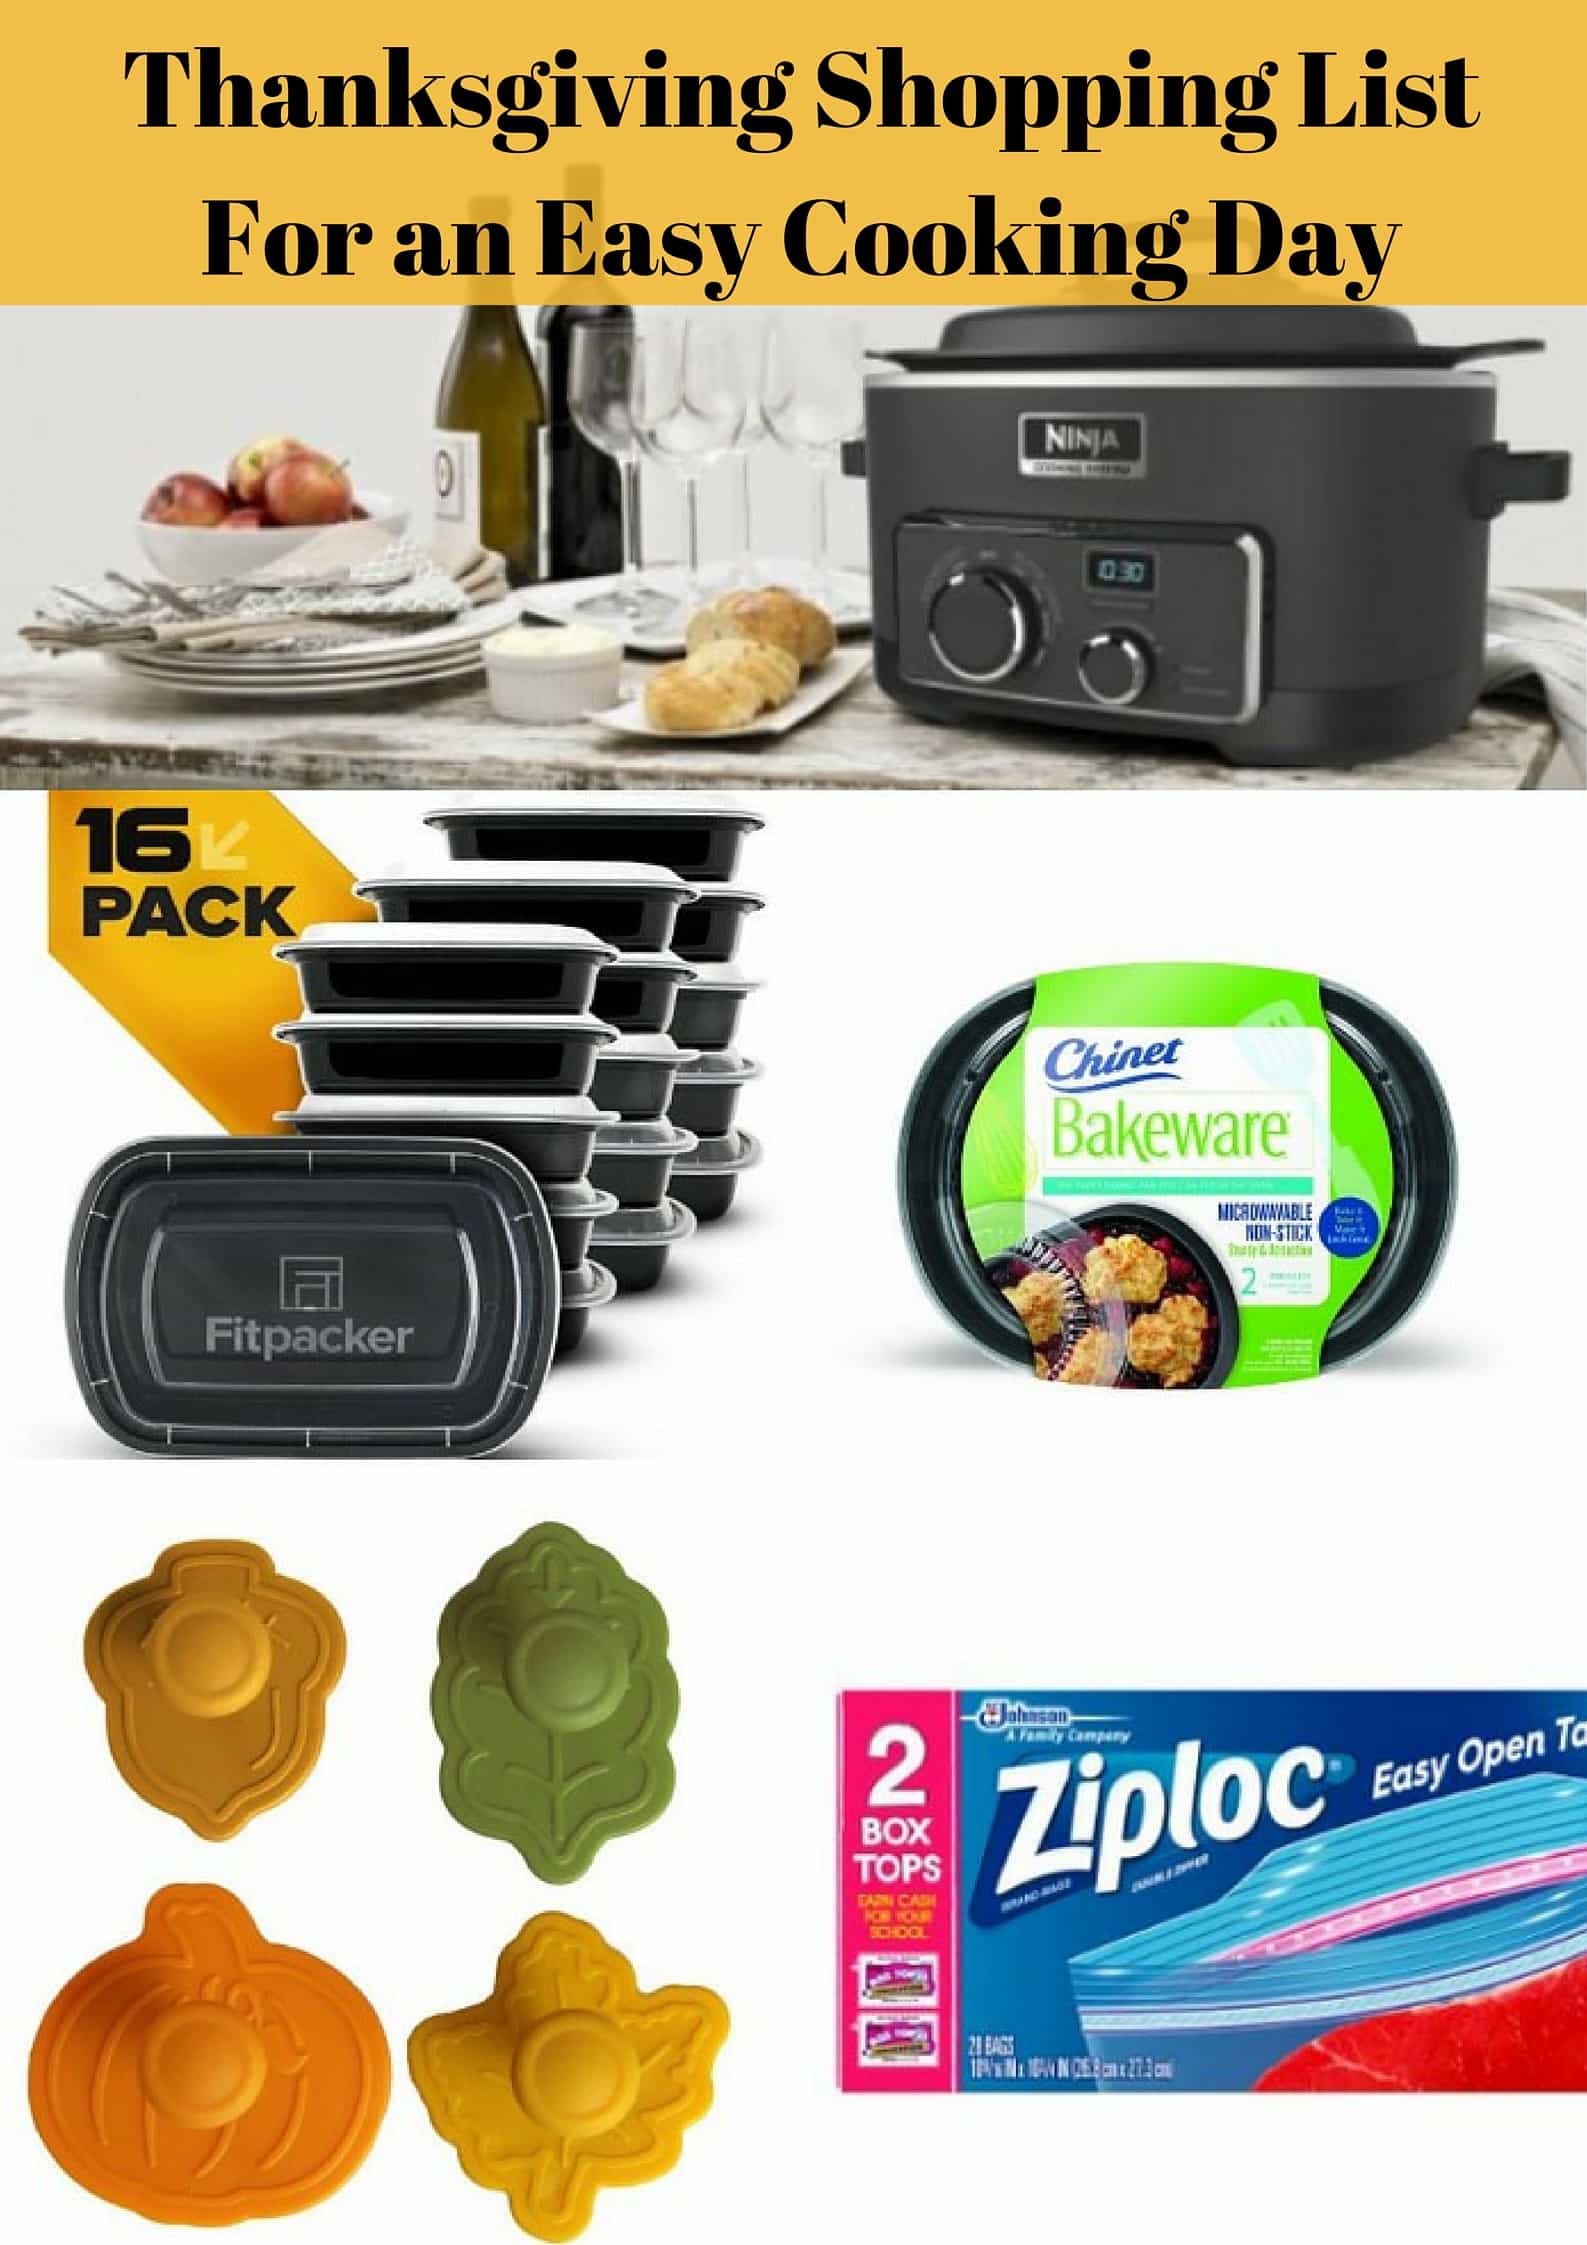
Ninja Cooker For Preparation & Buffet
This item is definitely a splurge item, but has paid for itself over and over again for me. The Ninja Cooker has two functions on it (Stovetop & Slow Cooker) that allow you to brown meat inside of it and then switch to slow cooking. It also has a Buffet setting that is perfect for using on Thanksgiving Day to keep your dishes warm.
I can’t recommend this gadget enough and consider it to be a smart holiday investment.
Did I mention it is nonstick?
DREAMY!
Ziploc Freezer Bags For Food Storage for the Big Day
I love, love, love Ziploc Freezer Bags for their stackability for storing our food for the big day.
I use these to package up my stuffing and casseroles to help me pack more in my freezer without taking up so much space like a disposable pan would.
Make sure you reach for the freezer bags and not the regular ones though to prevent freezer burn.
When in doubt if something will hold, always double bag!
Chinet Bakeware For An Elegant Freezer Meal Spread
Since I freeze my feast for Thanksgiving Day, I love the ease of stacking (and clean-up) when it comes to disposable pans.
Chinet makes ones that are nonstick and I have found them to be a bit more durable for transporting from oven to table.
Since they are made of paper, the first time I used them I was a little scared how my food would turn out, but I have had great success with these and find them to be an affordable alternative to foil pans for Thanksgiving Day.
If you want to keep things looking nice, these casserole baskets (less than $10 each) are a clever trick I use to disguise a disposable pan.
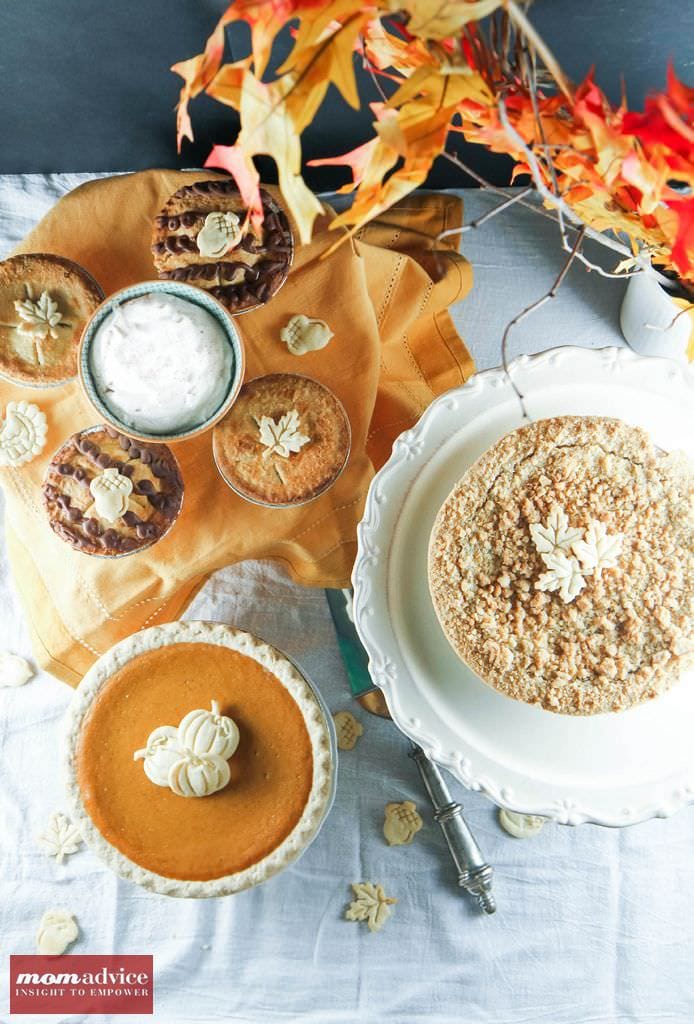
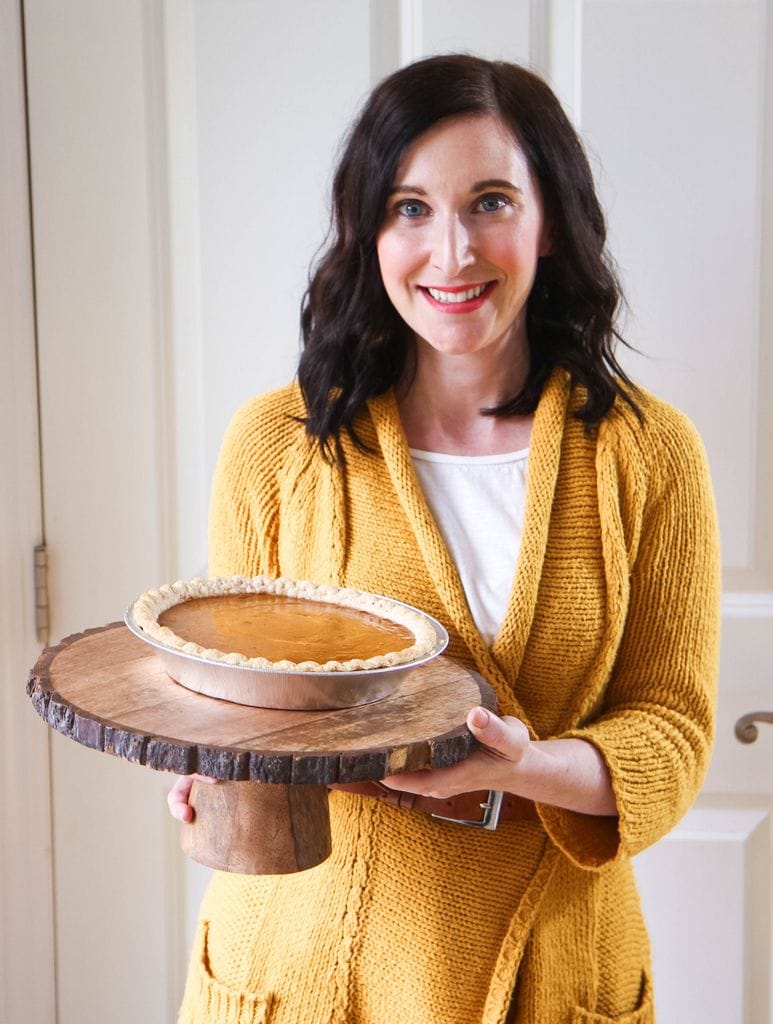
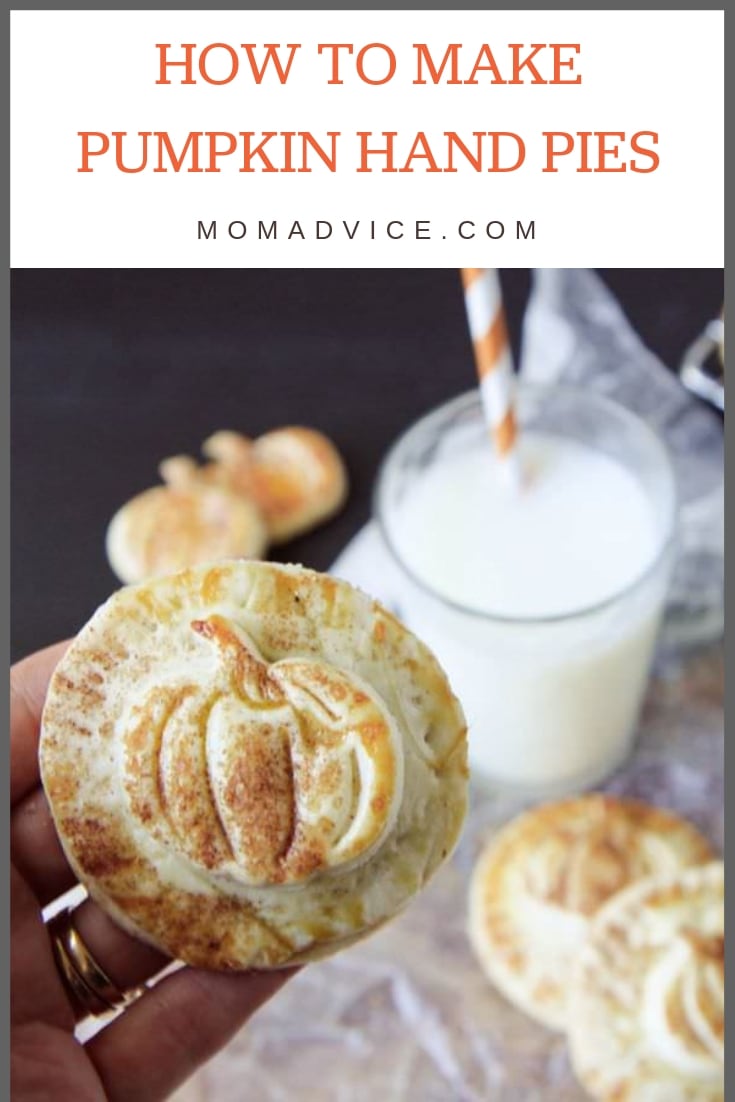
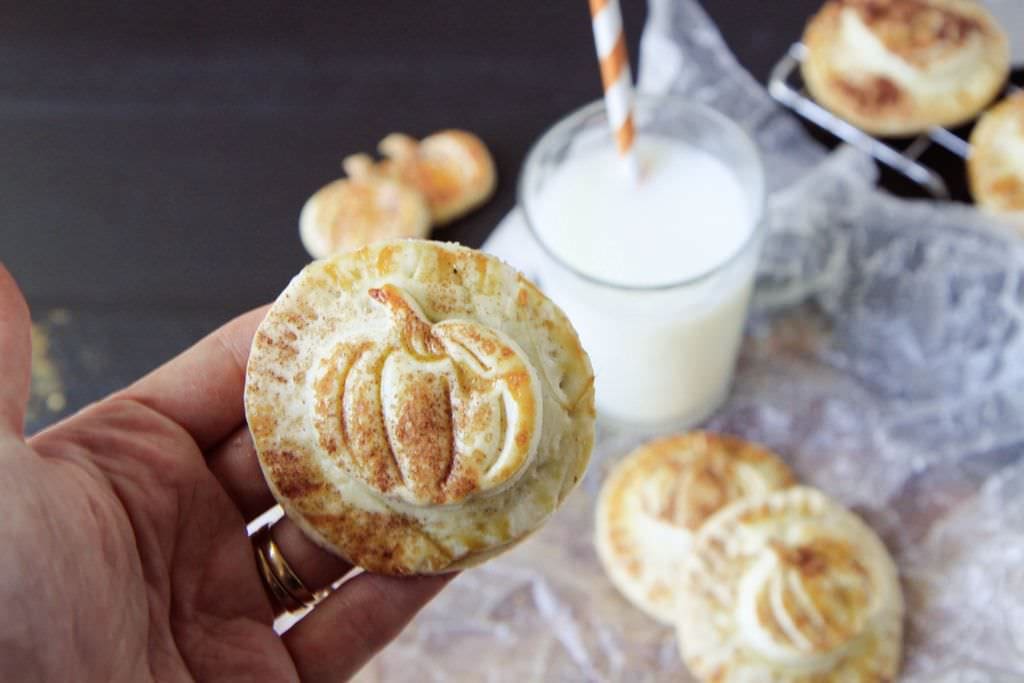
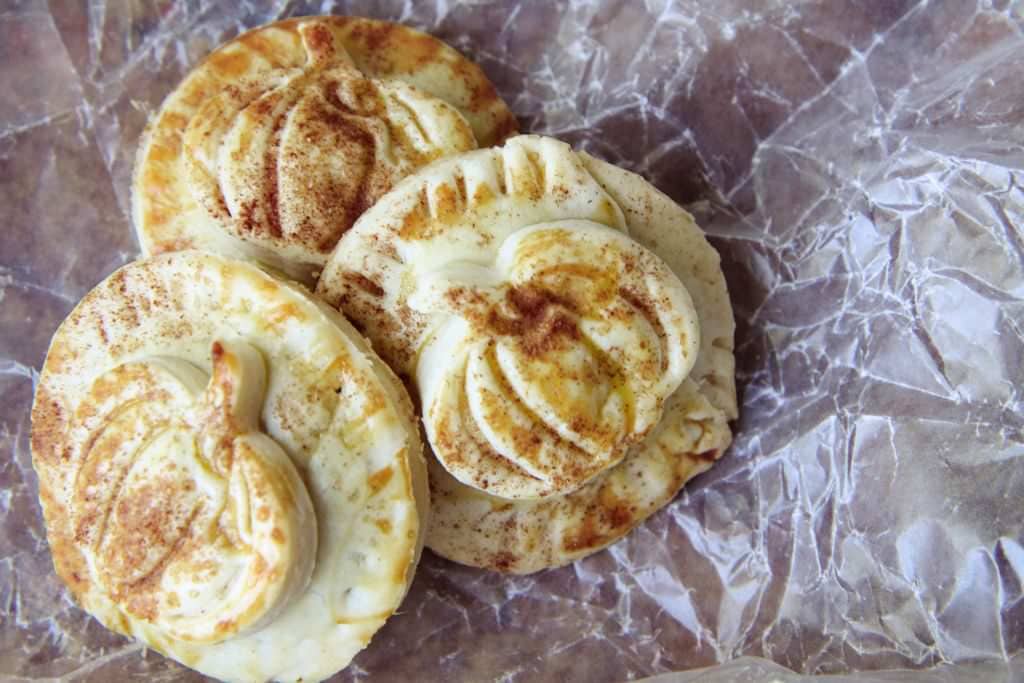
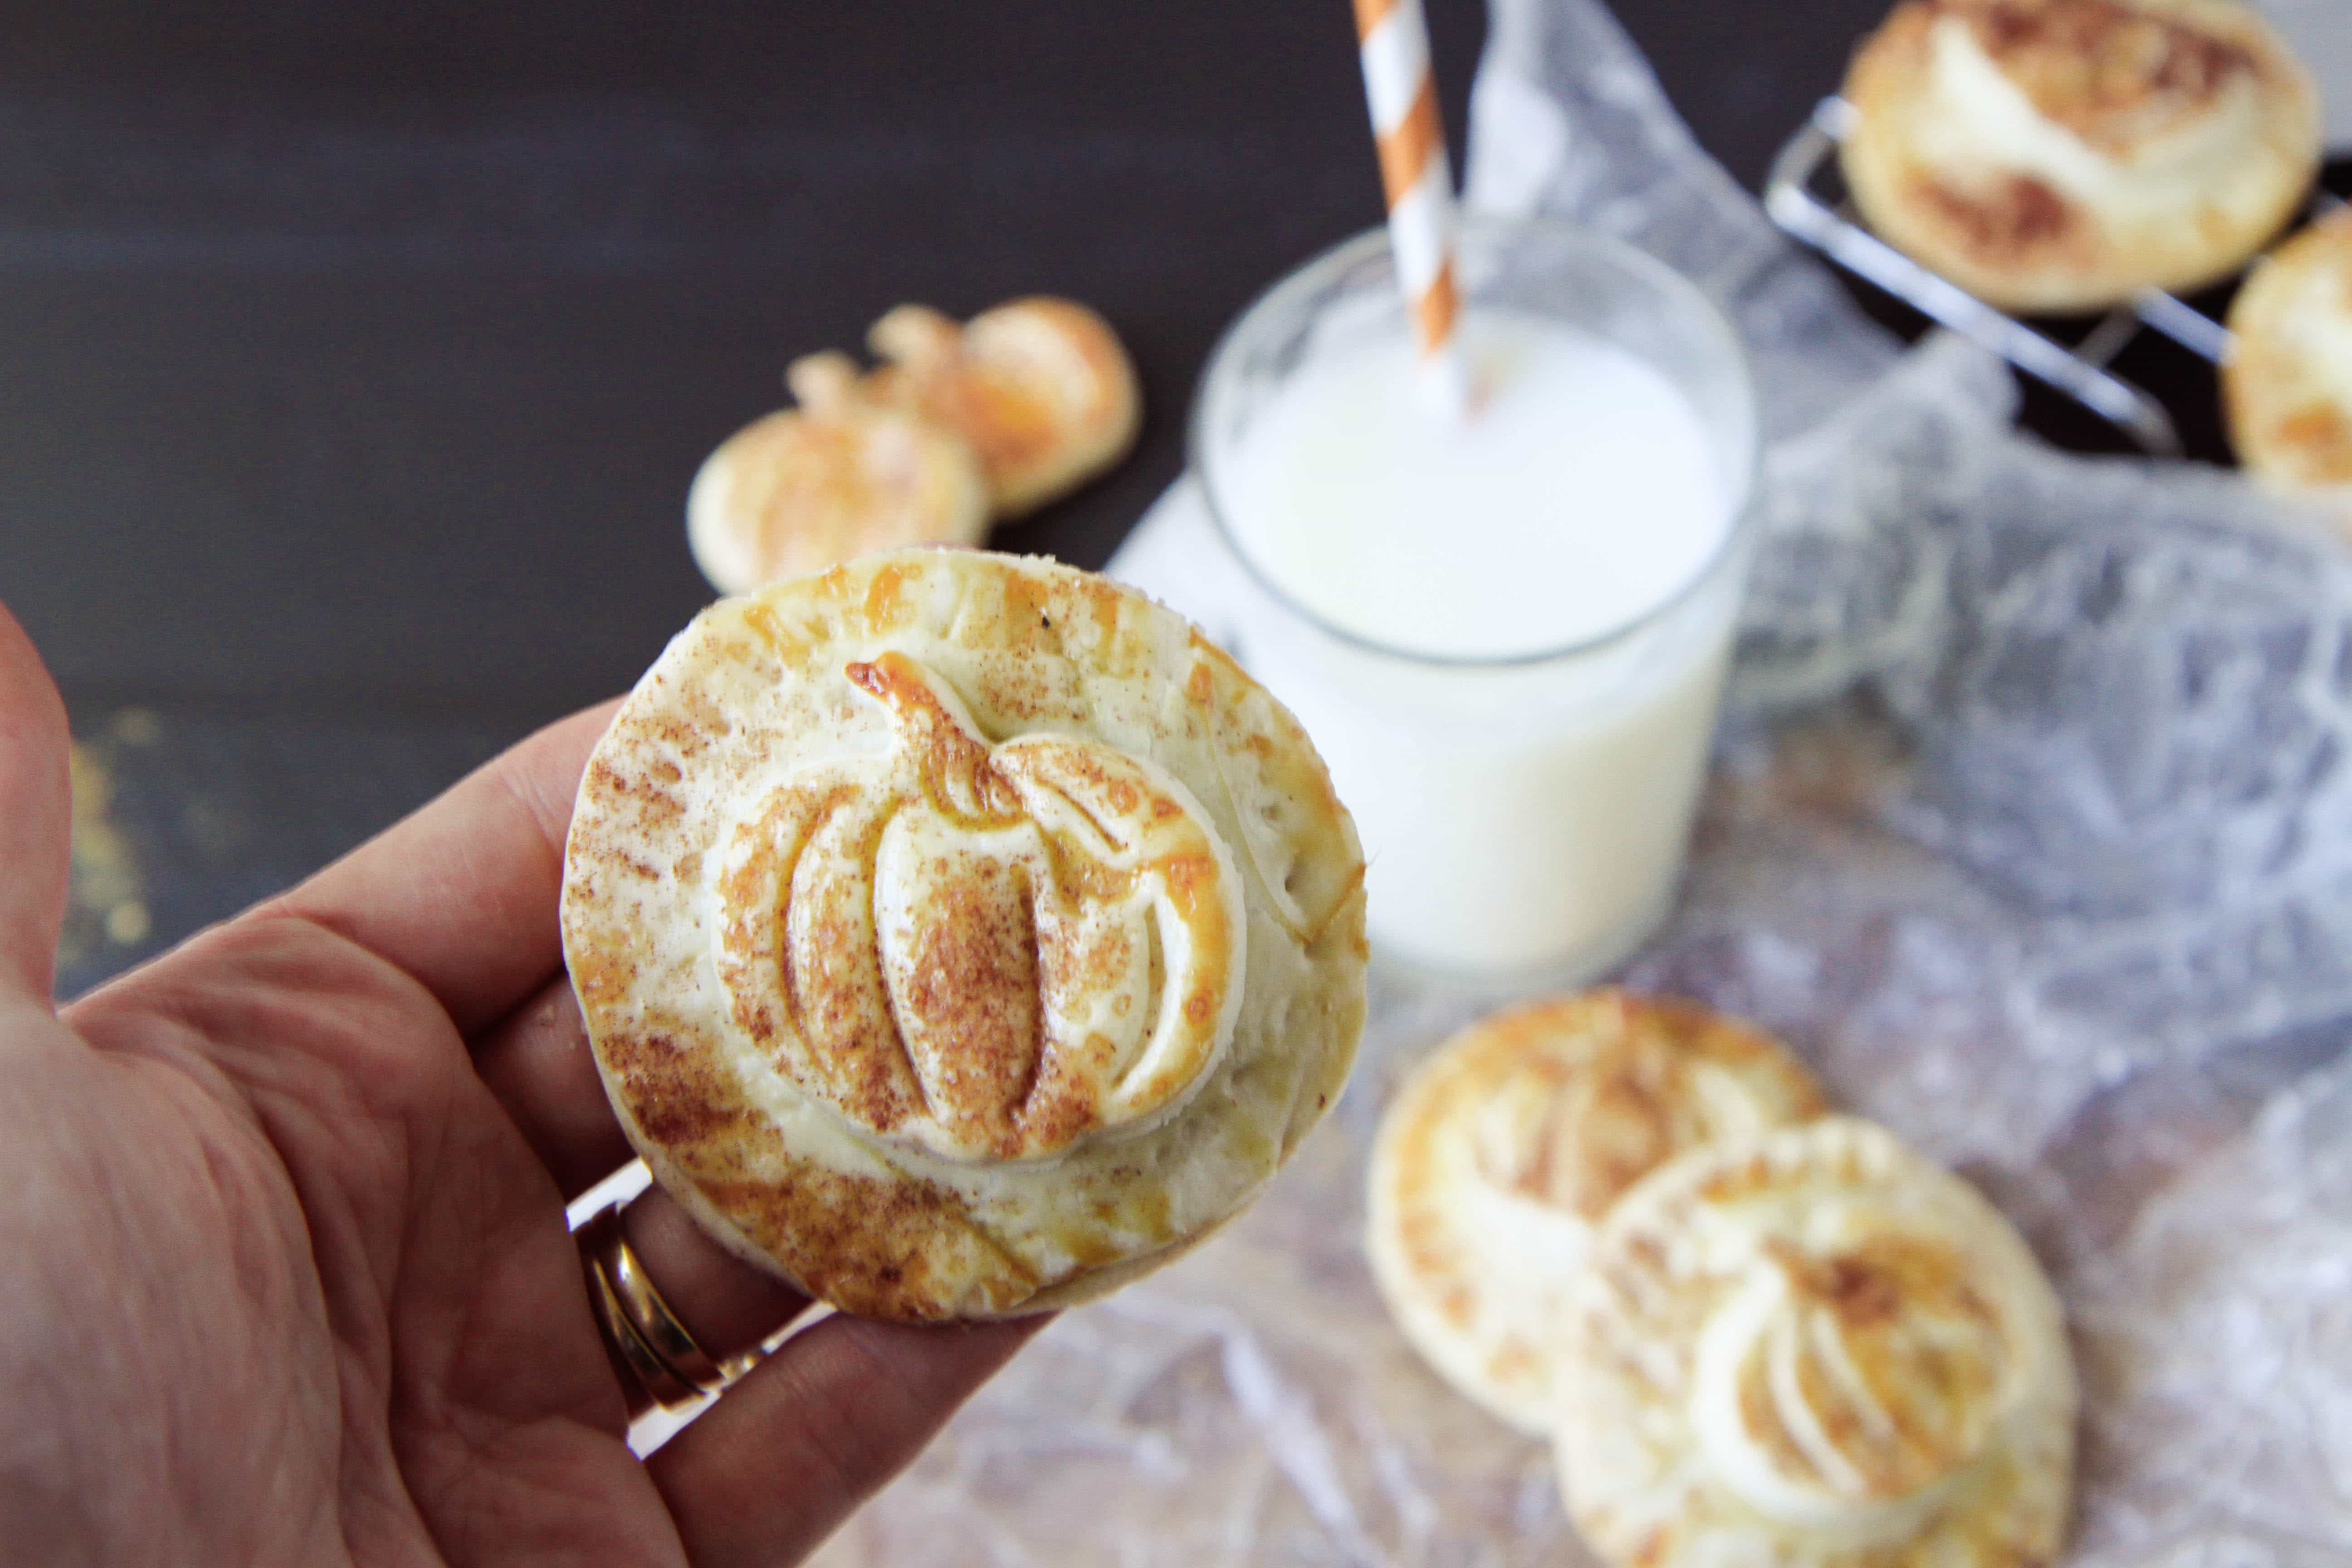
Pie Cutters For Glamming Up Store-Bought Pies
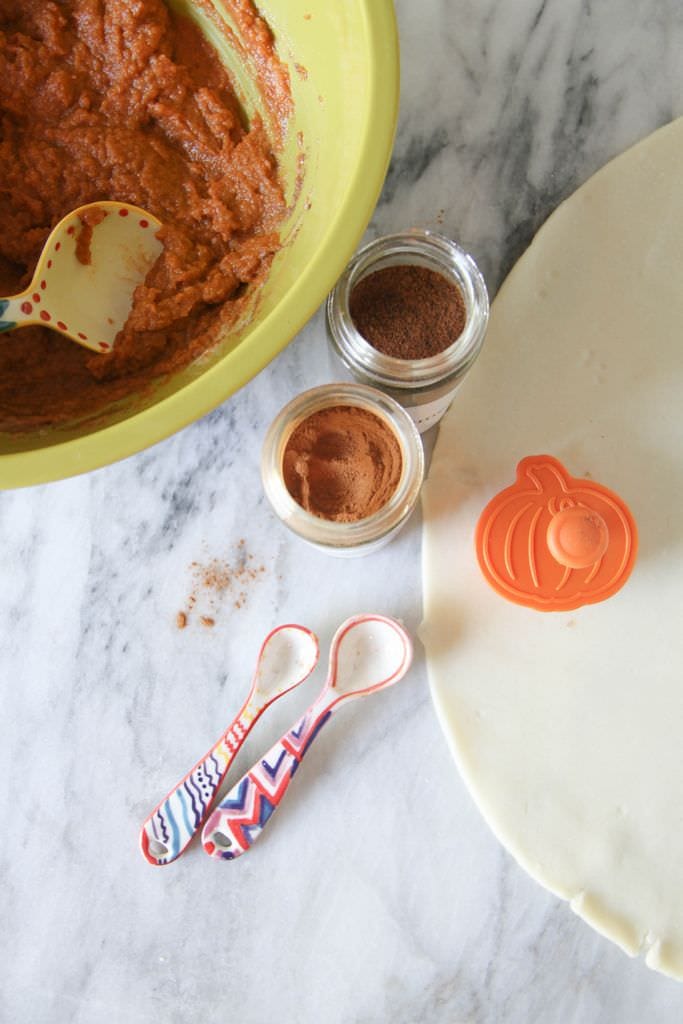
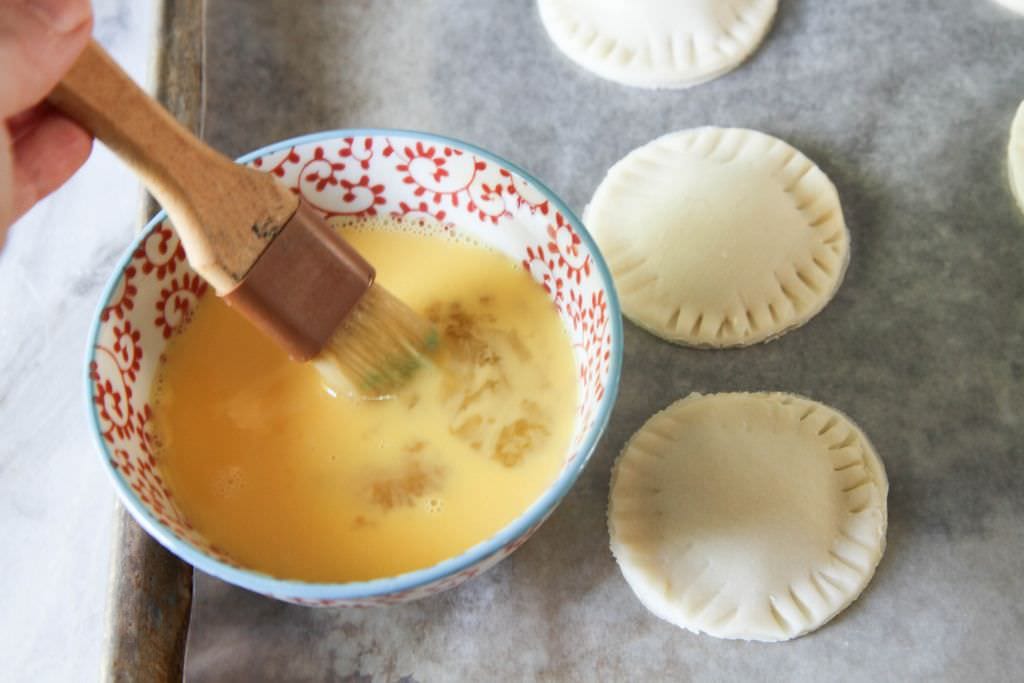
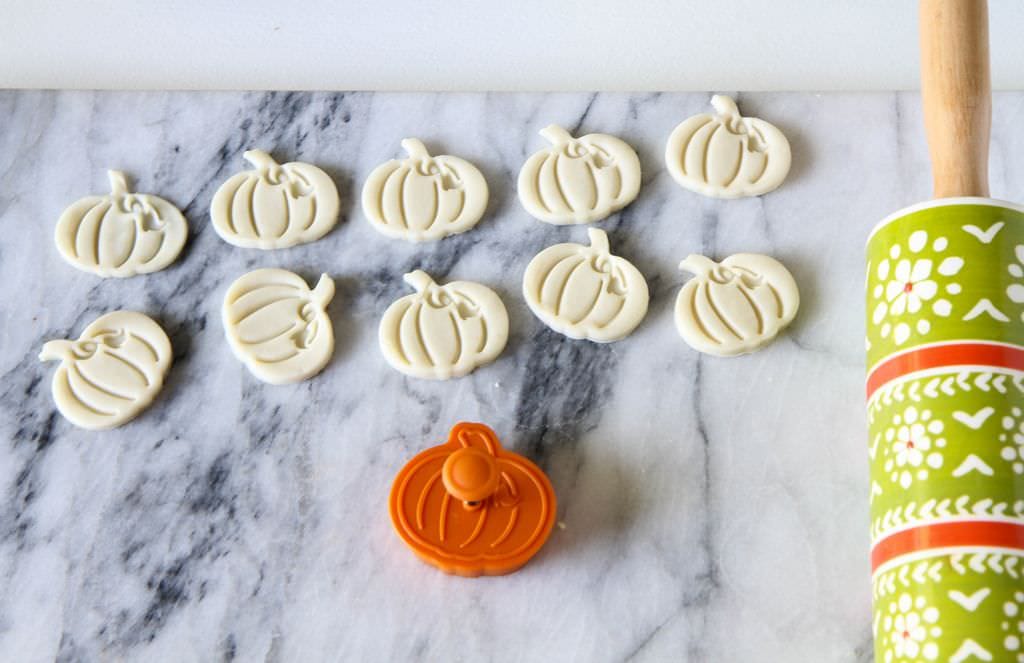
If baking pies isn’t your thing, consider buying a little pie dough and adding a personalized touch with an inexpensive set of decorative pie cutters.
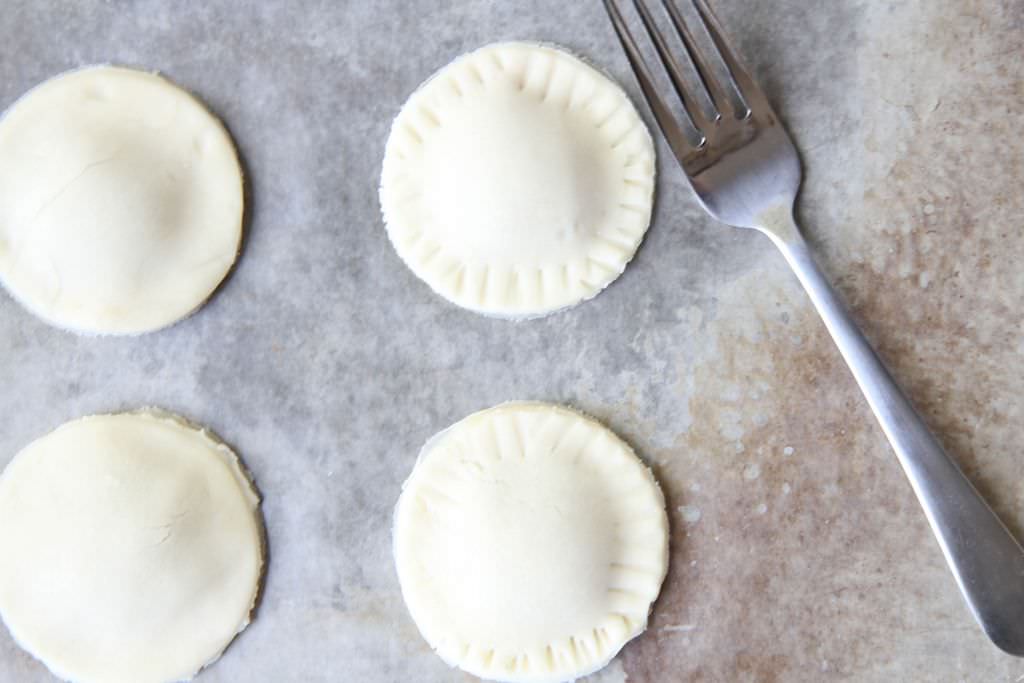
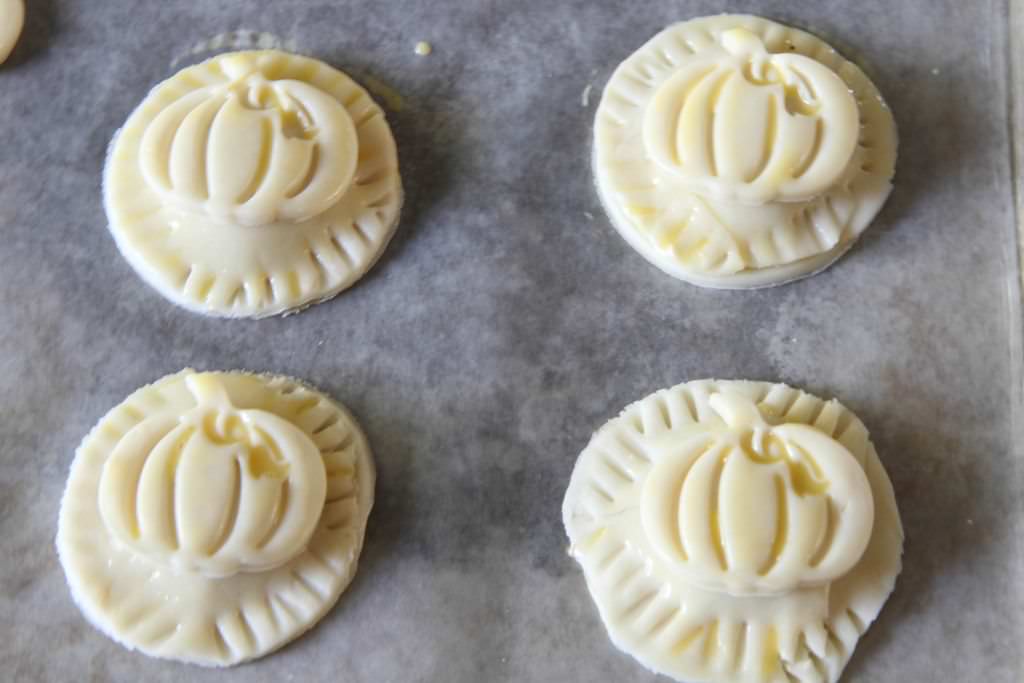
You simply roll out the pre-packaged dough, cut out a piece with the pie cutter and press to make a detailed impression on the top.
Transfer these delicate details to a parchment-lined cookie sheet and bake as directed.
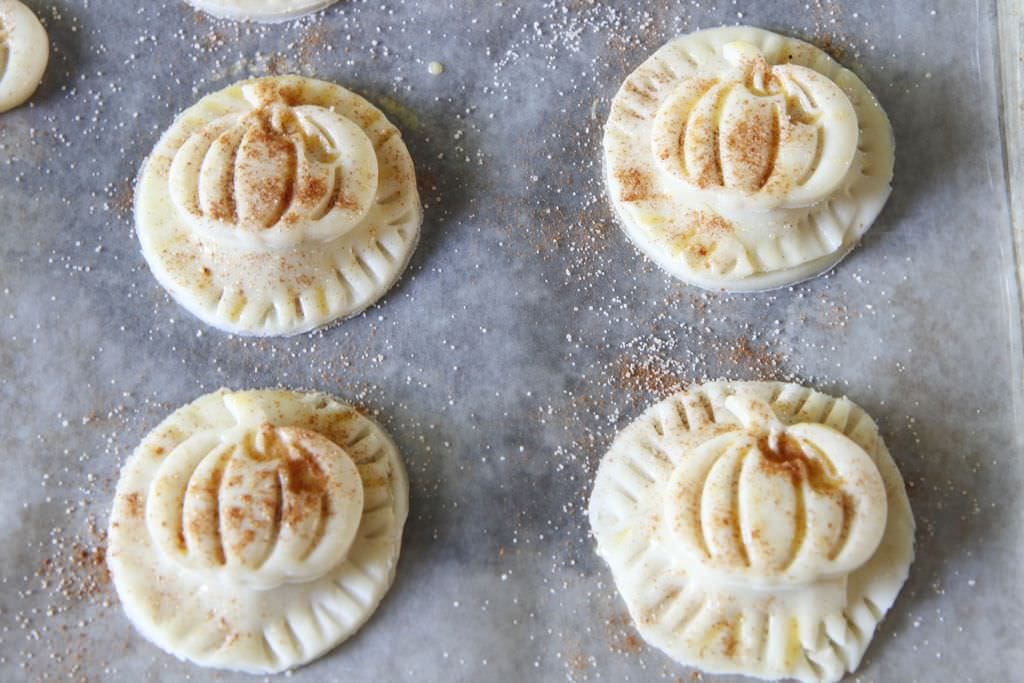
Add a glossy shine with a little egg or sprinkle sugar & cinnamon on top to add a little flavor.
Between this and a glammed up whip cream or quick topping, your store-bought pies will be a fabulous addition to the dinner table.
Carry-Out Dishes For Packing Leftovers
Sharing the leftovers is not only a nice gesture for your guests, but it makes sure that all the dishes get eaten.
I use my takeout pho containers when packaging food up for myself, but these Fitpacker containers would be lovely to share and let your guests take home food or to prepare a few lunches/dinners for your own family for the week so you can really put your feet up!
Make-Ahead Thanksgiving Dishes To Try
Appetizers
Bacon Ranch Cheeseball– Need I say more?
Spunky Spinach Dip– A delicious combination of spinach, salsa, & cream cheese. Serve with carrots and tortilla chips for dipping
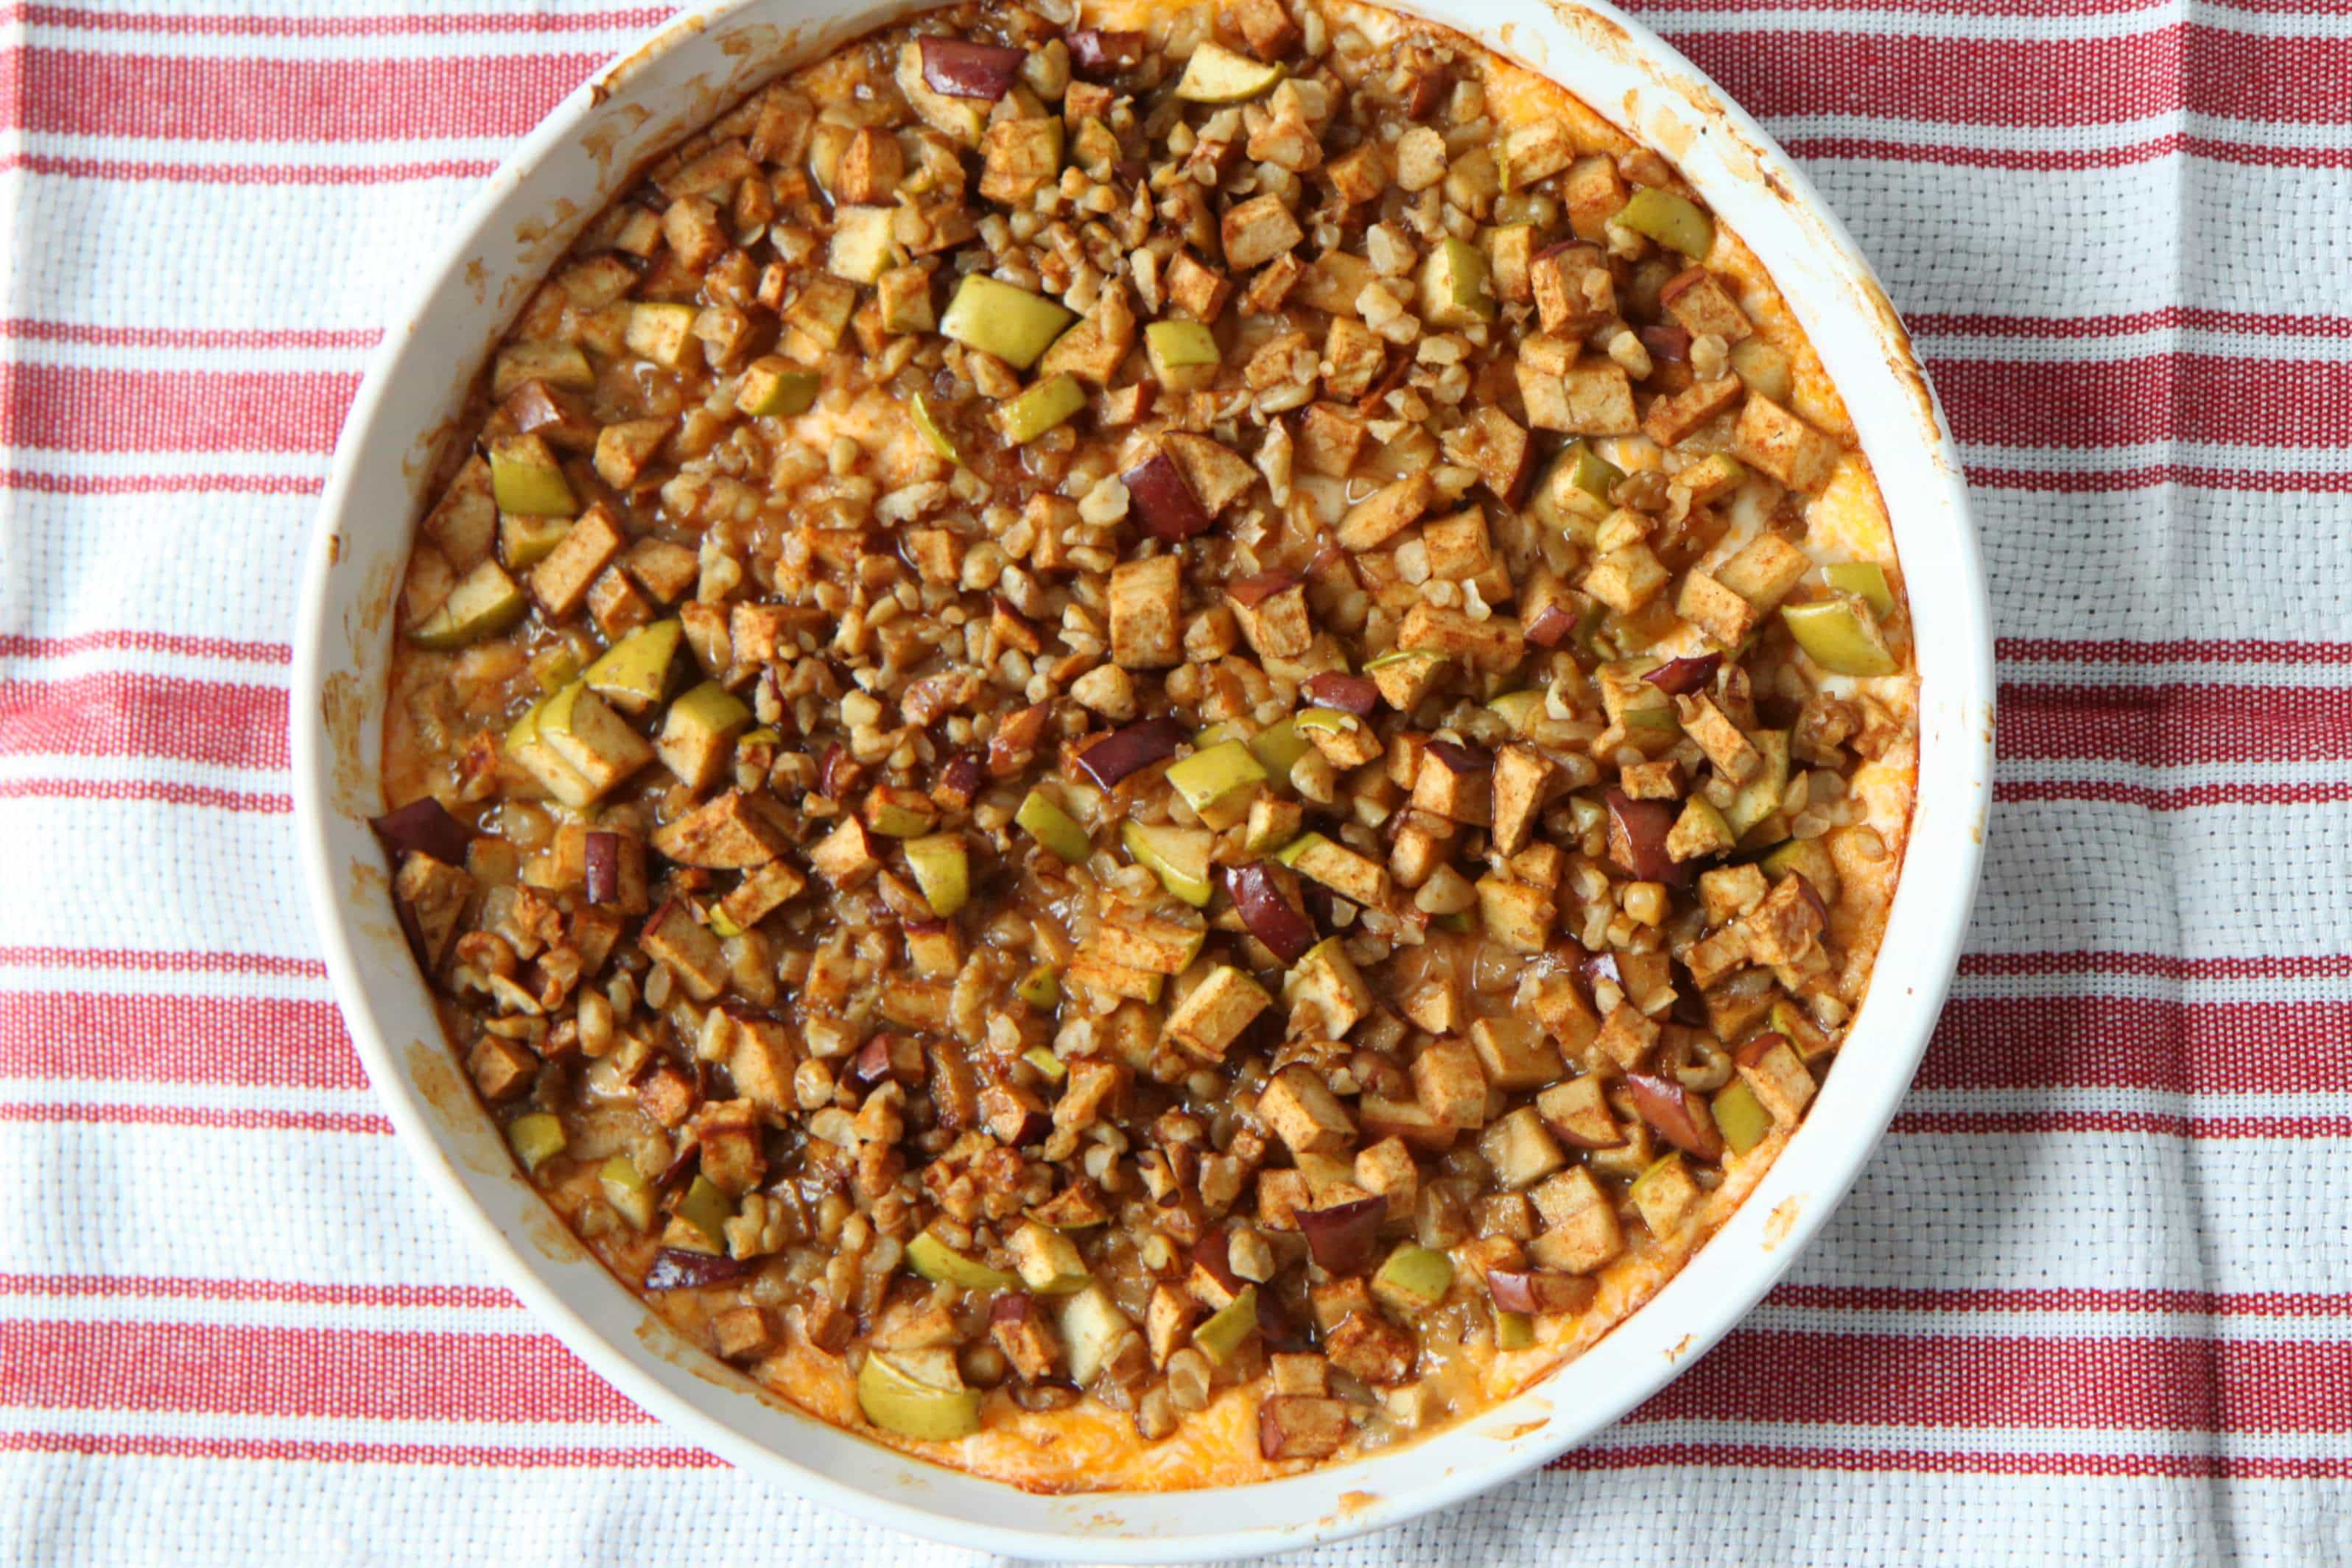
Cheddar Apple Pie Dip– Prepare until the point of baking. Freeze for the big day.
Chocolate Chip Cookie Dough Dip– AKA Crack Dip, as it is so lovingly referred to in our house.
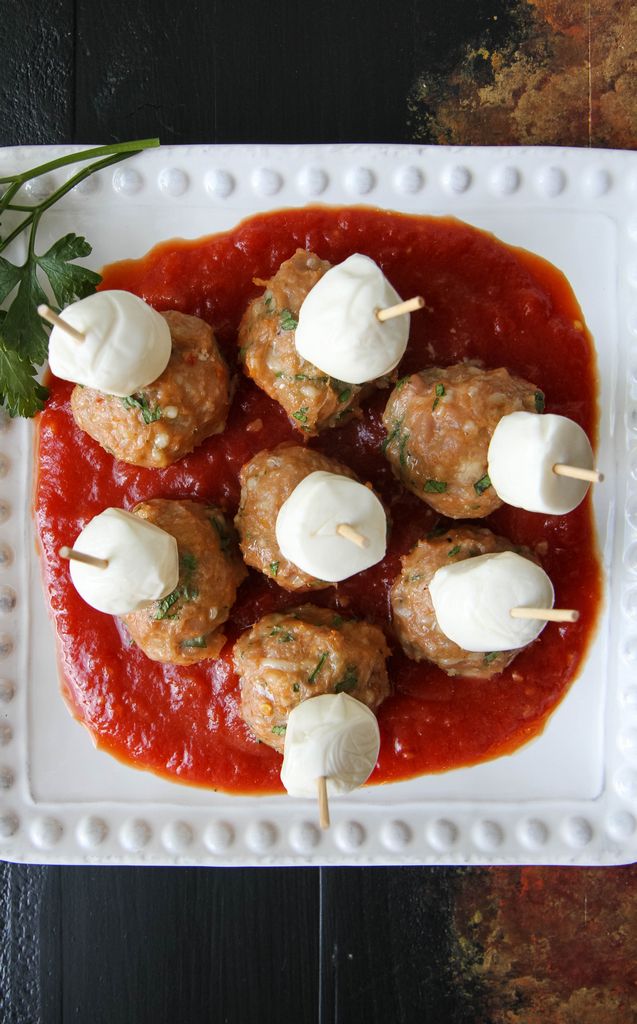
Gluten-Free Meatballs– Bake & prepare sauce. Freeze separately for the big day. Warm up on the stove top and then skewer with baby mozzarella balls.
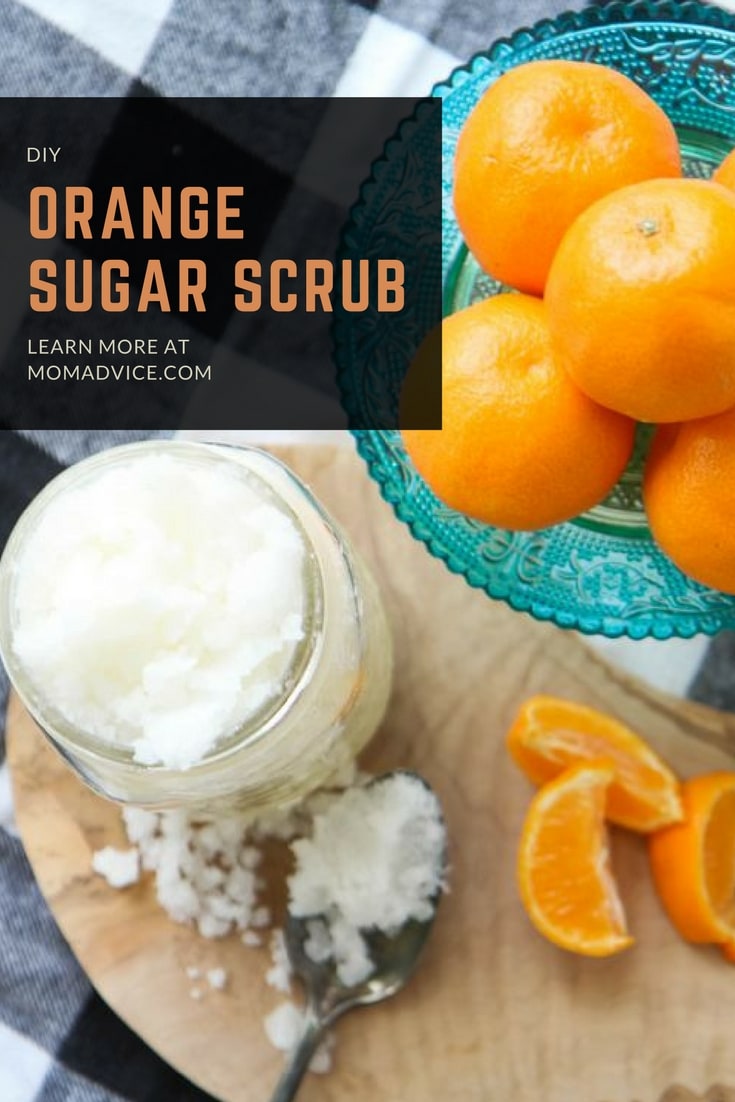
Sugar & Spice Nut Mix– Would also make a great hostess gift if you aren’t making the meal!
Cranberry Spread– Tangy and a delicious dip to pair with crackers.
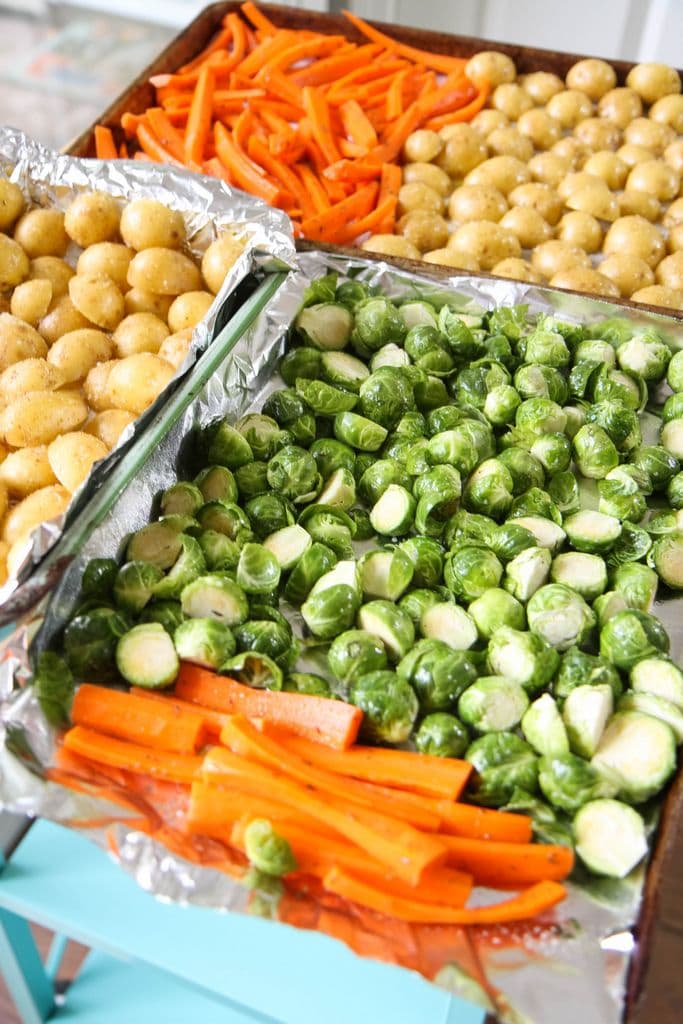
Sides
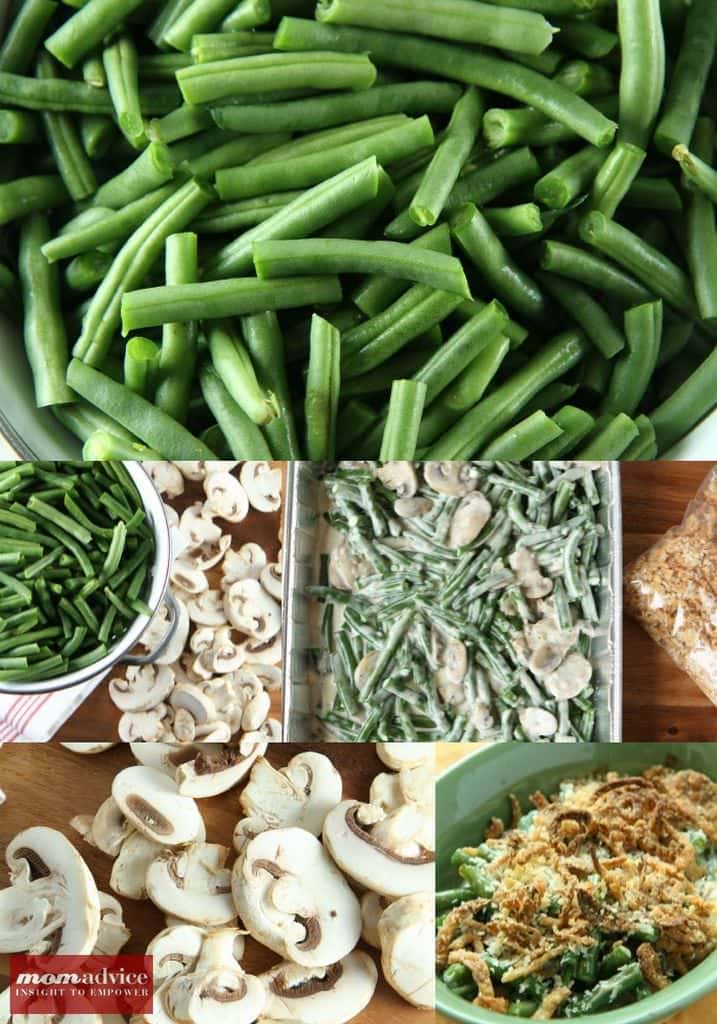
Green Bean Casserole– Panko with homemade mushroom cream sauce- it’s divine!
Make-Ahead Mashed Potatoes– I always double batch this recipe because these are the best mashed potatoes you will ever eat.
Brandied Orange & Cranberry Sauce– This is the best cranberry sauce I have ever eaten- truly!
Buttery Bread Machine Rolls– This foolproof recipe makes storing a bread machine worth it! Be sure to read this article for lots of bread machine tips!
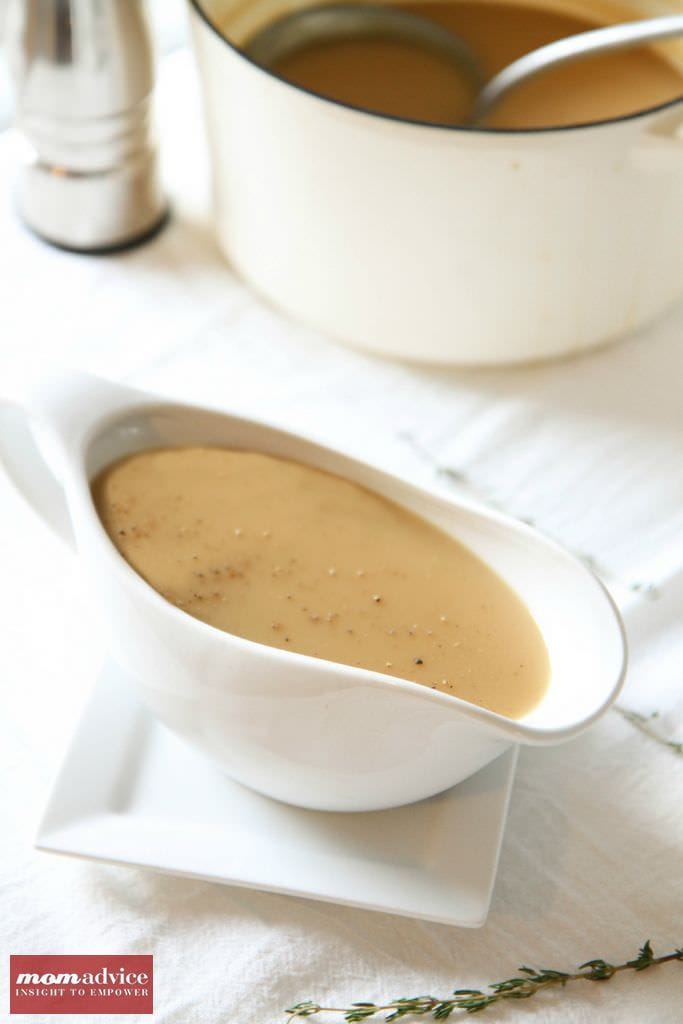
Make-Ahead Gravy Recipe– Finding out I could make this early last year saved me so much time in the kitchen on Thanksgiving.
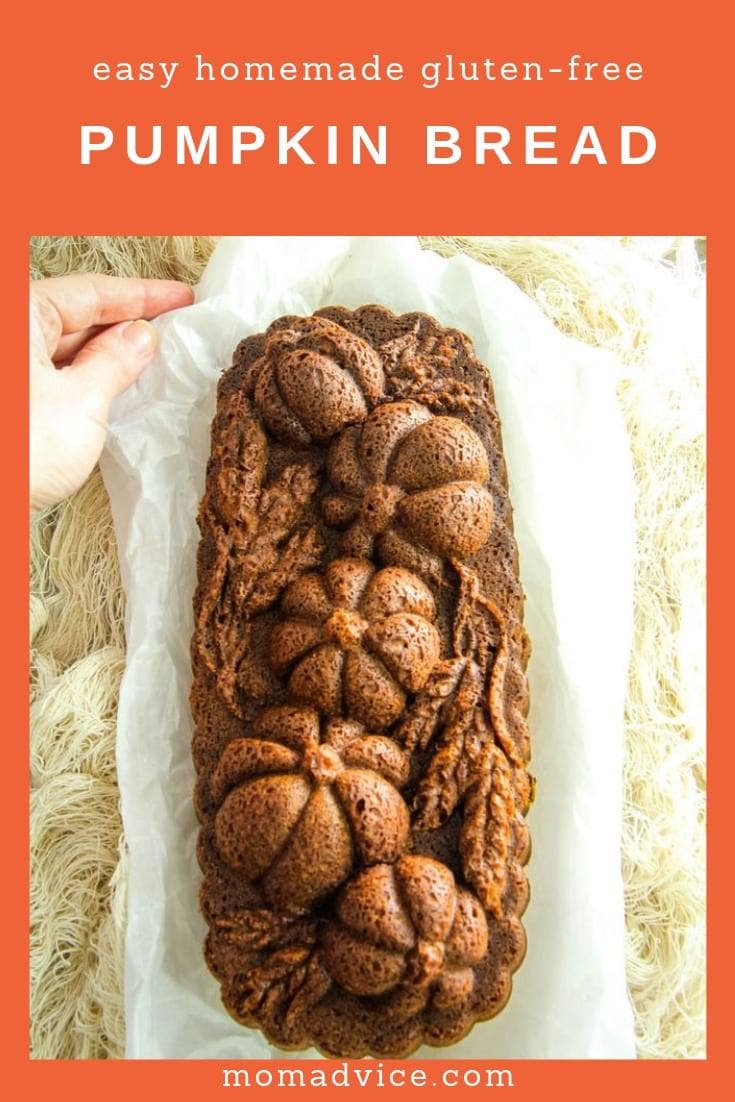
Pumpkin Cranberry Cornbread– Bake & freeze for the big day!
Make-Ahead Apple, Sausage, & Sage Sourdough Stuffing
Gluten-Free Bacon, Apple, & Cornbread Stuffing follow these directions for freezing!!
 Turkey
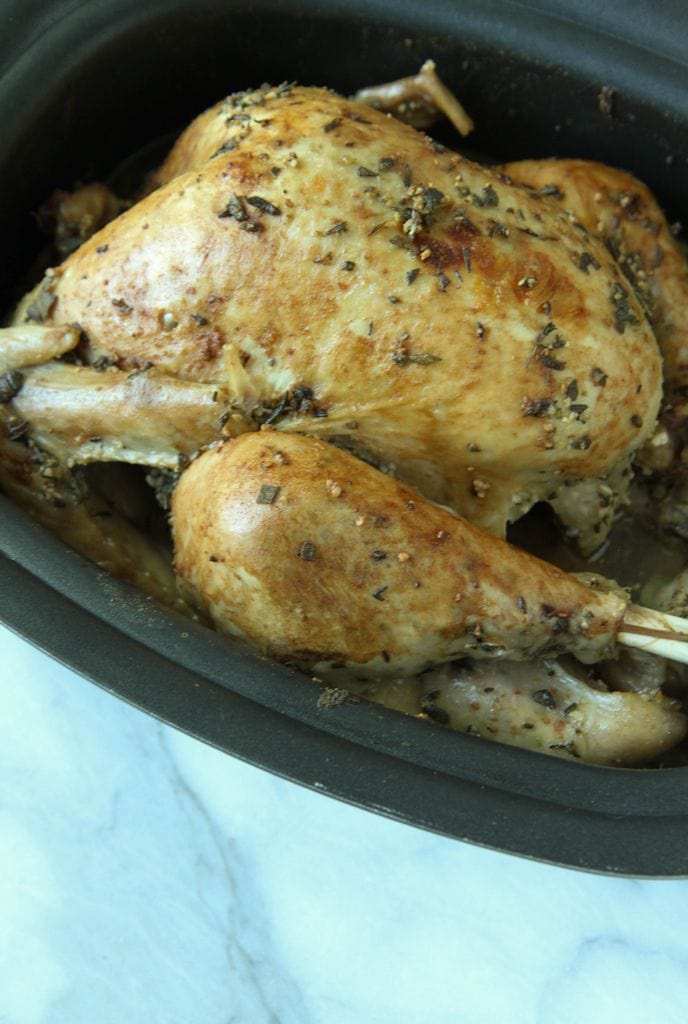
This turkey isn’t a make-ahead recipe BUT did you know you can cook it in your slow cooker?? Follow these instructions to save some space in your oven for the big day!
Not having a lot of guests? Give this easy method a spin. If you only like white meat, you can double or triple one of these for about the same price (and save the hassle of carving- boom!)

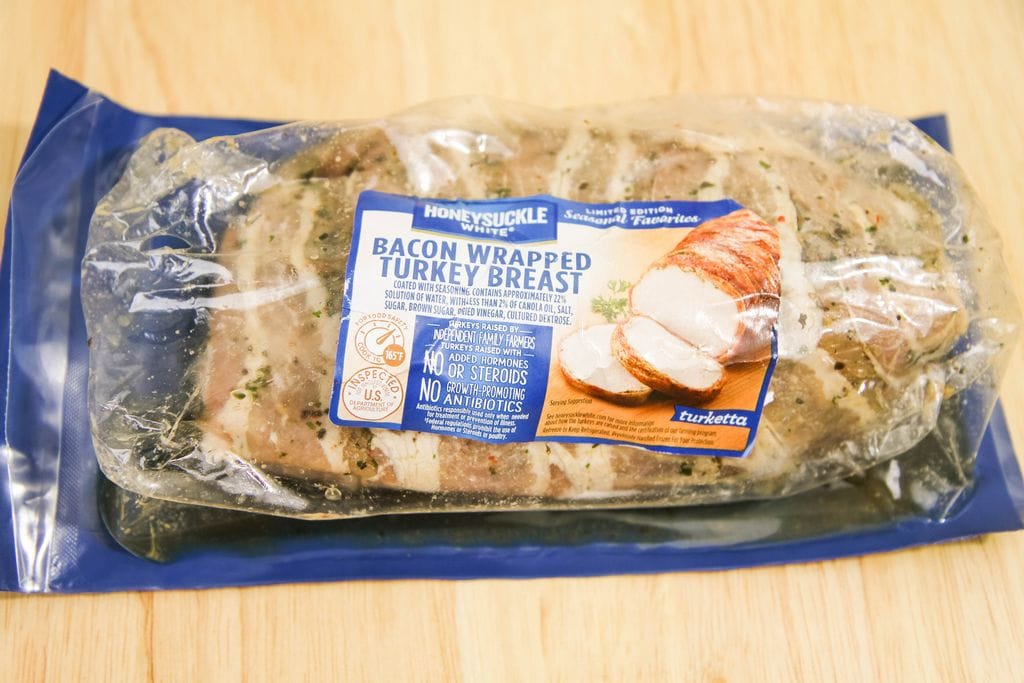
Not up for cooking the turkey? Check out this easy option you can have delivered to your doorstep from Amazon Prime!!

Desserts
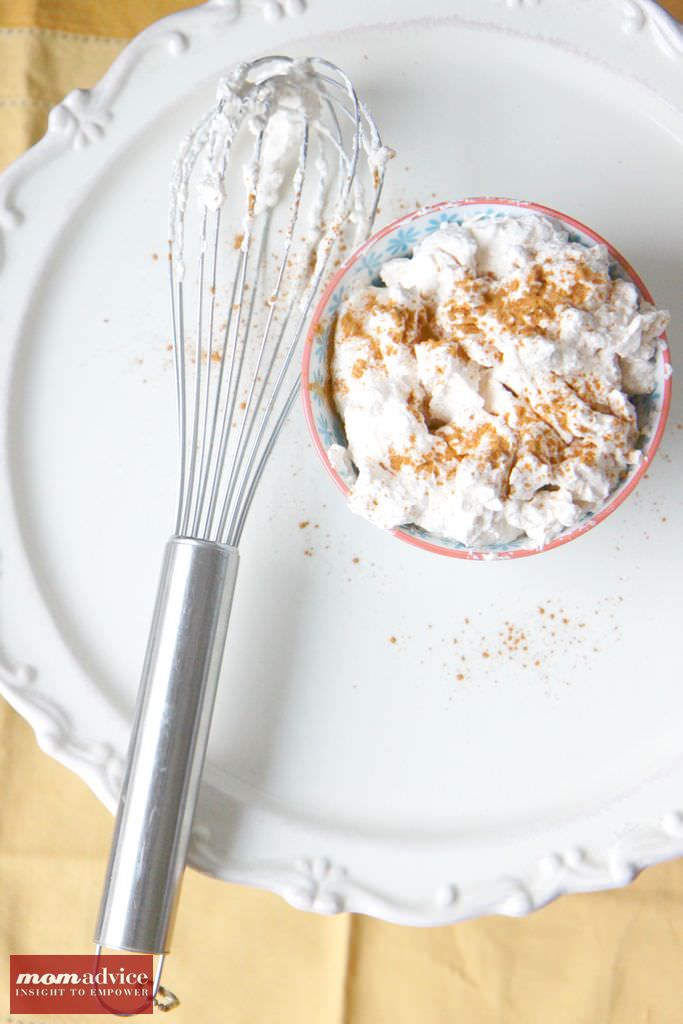
Store-Bought Pie Tricks– Wow, your guests with a few easy details
All-Butter Pie Crust– Prepare and freeze discs of dough
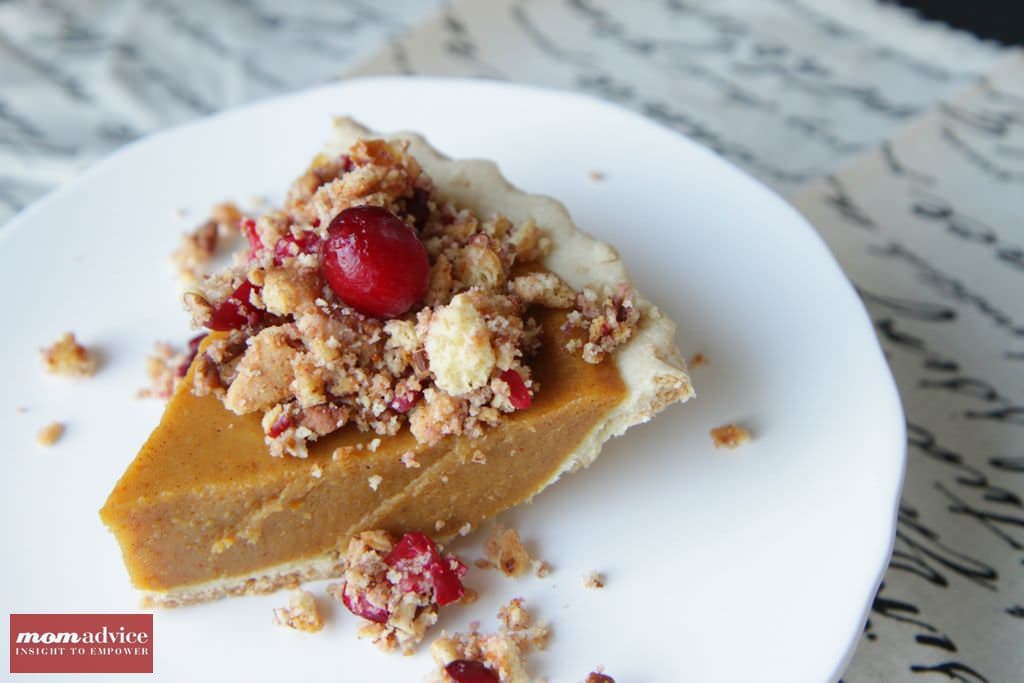
Cranberry Crunch Pie Topping– Store wet and dry ingredients separately for the big day
Spiced Whipped Cream– Make-ahead and store in the fridge for the big day

No-Bake Peppermint Cheesecakes– A promise of all the good treats to come this holiday season
Not cooking? Here are a few of my favorite hostess gifts

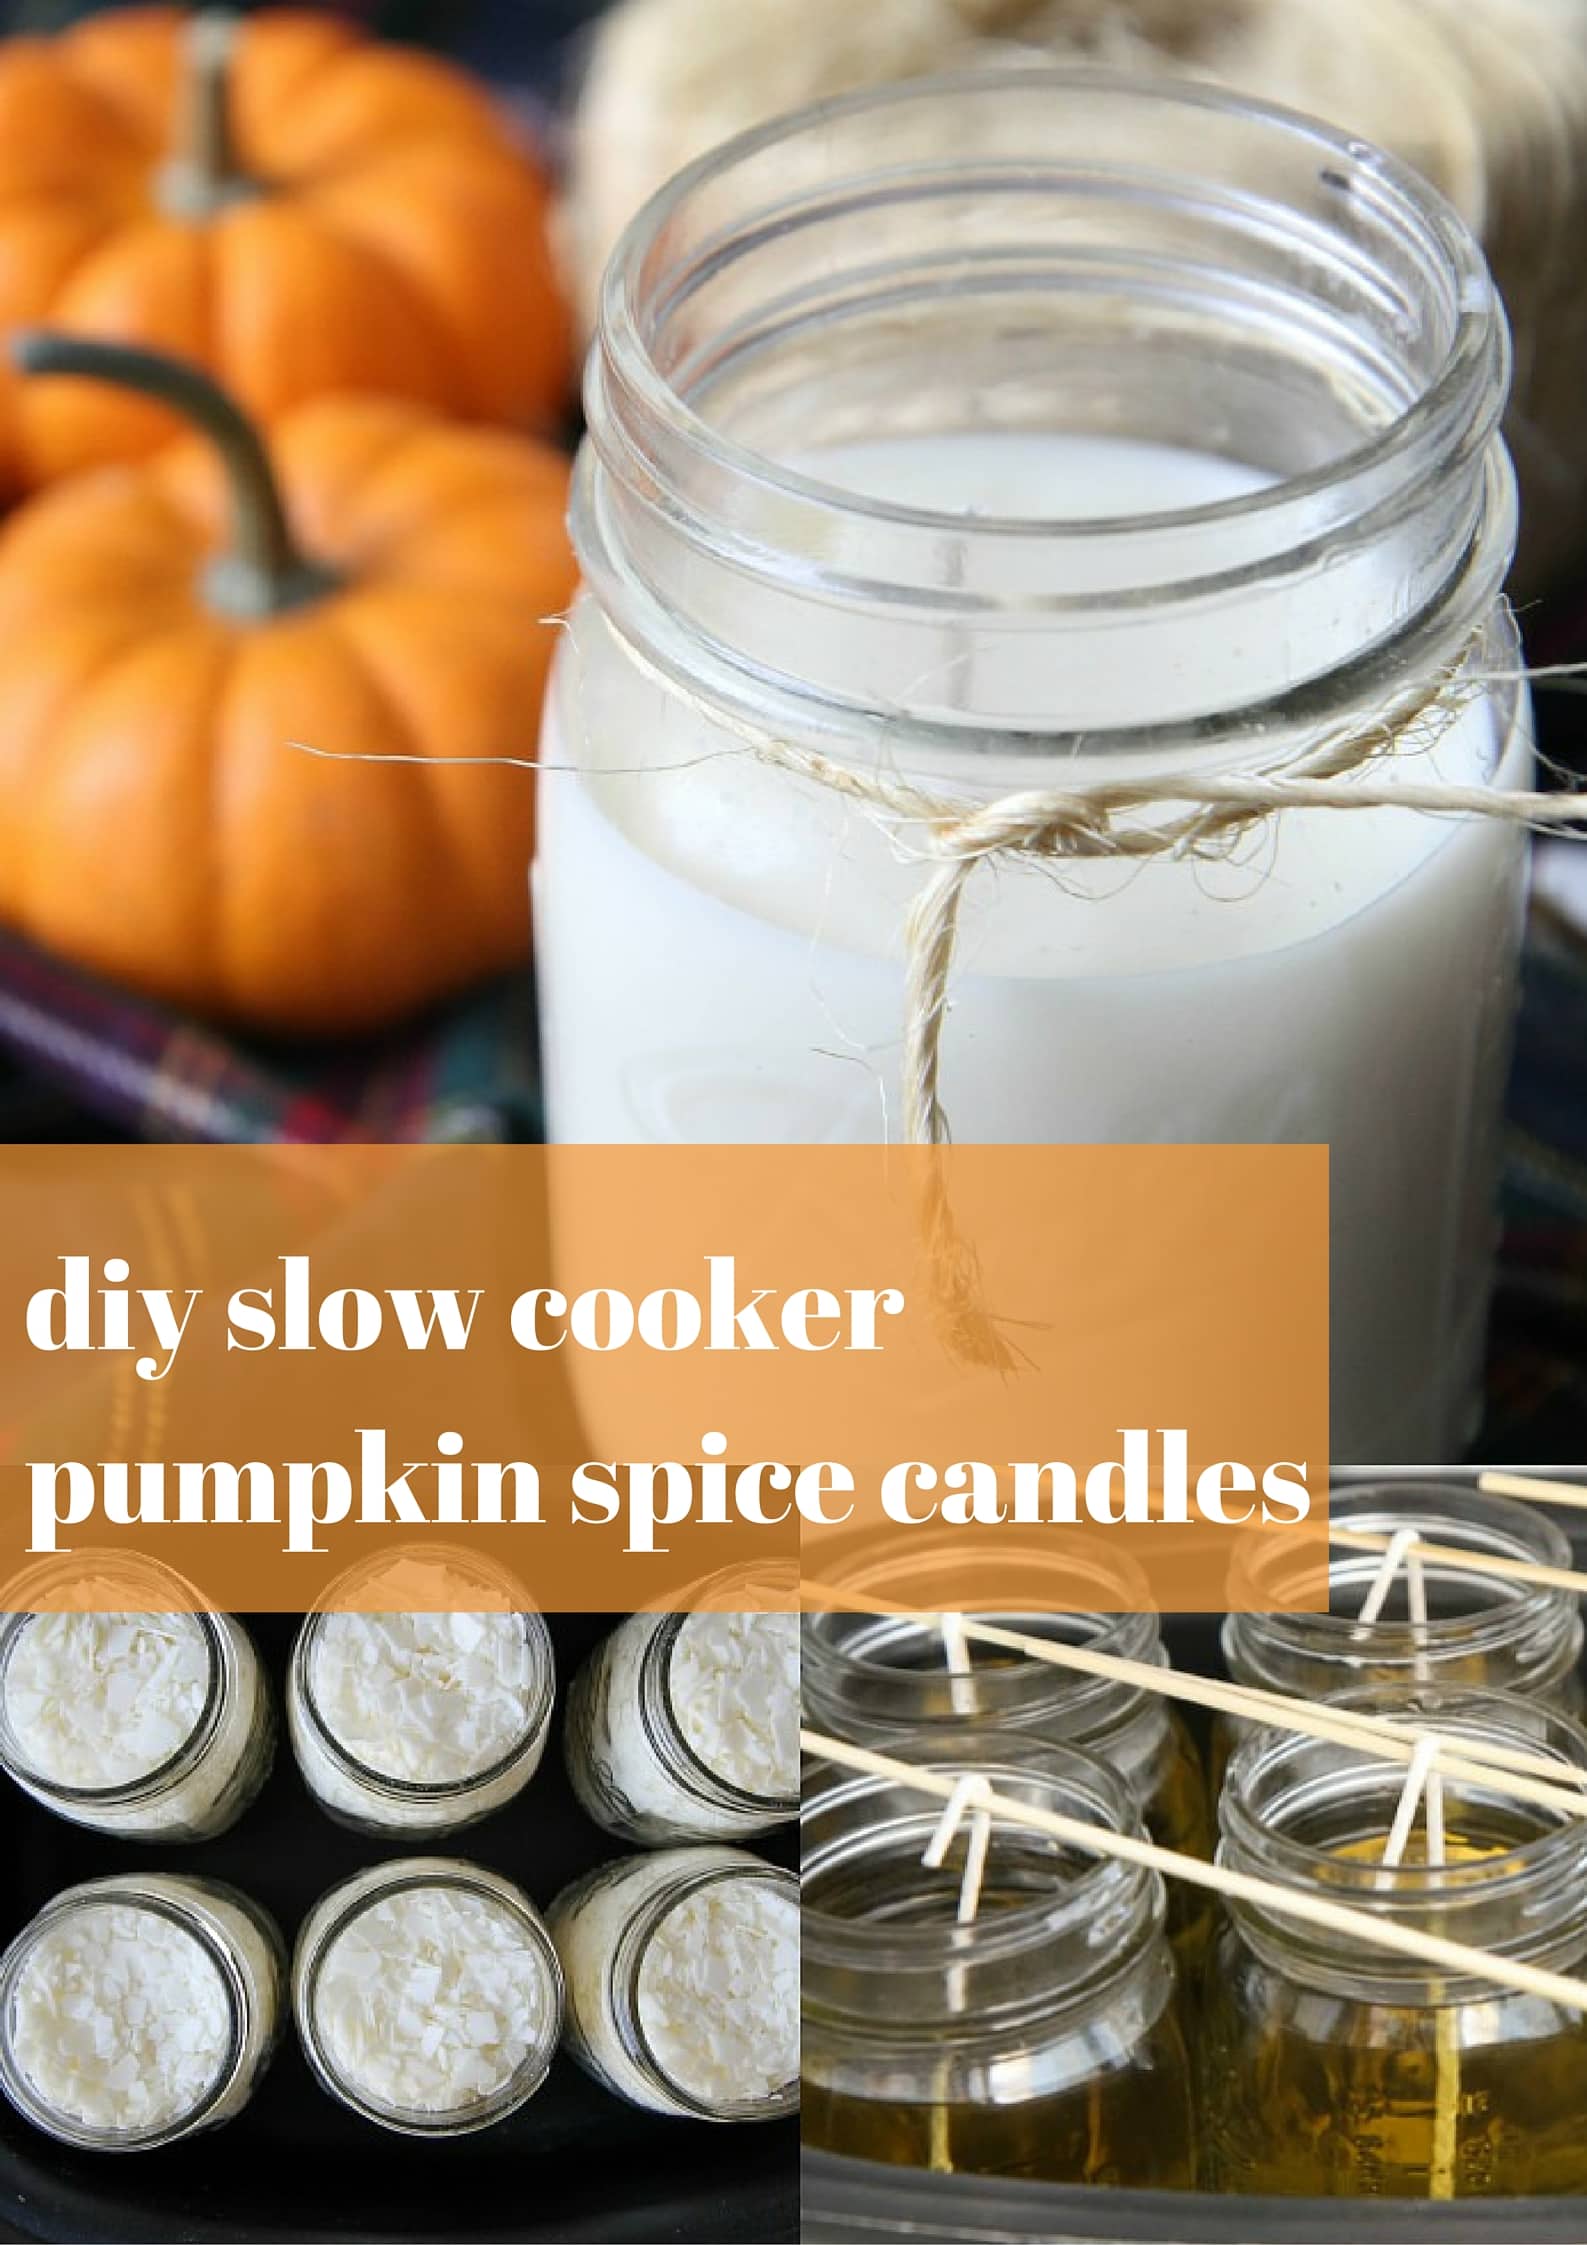
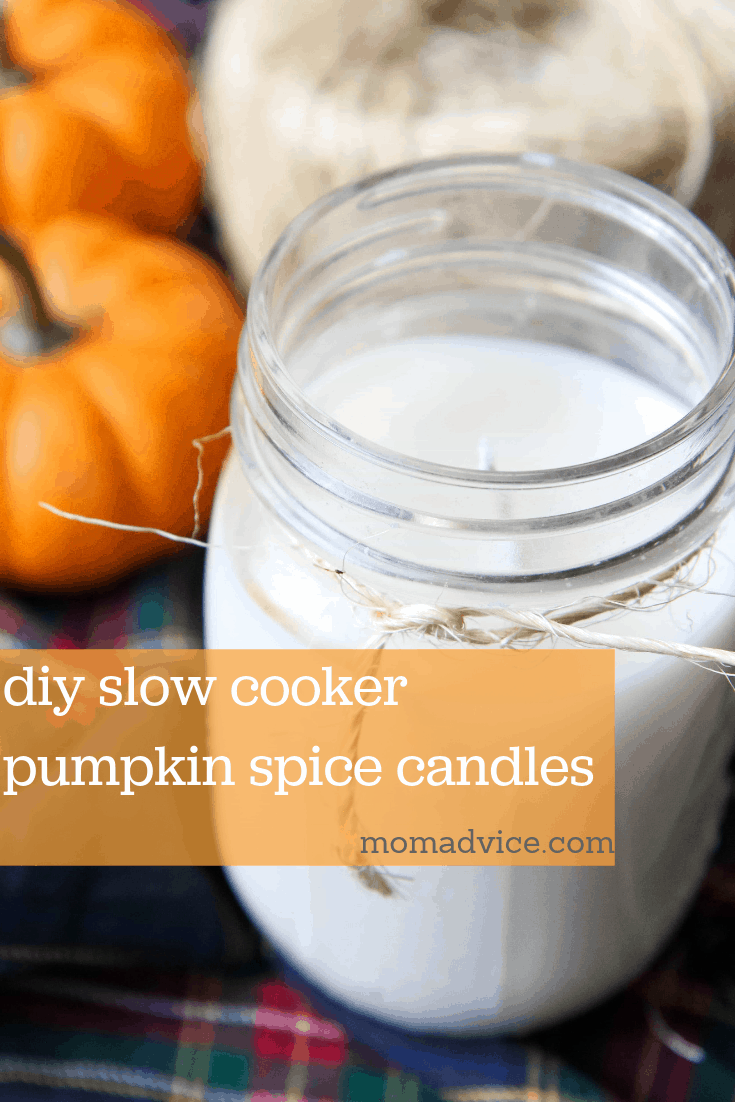
DIY Slow Cooker Pumpkin Candles
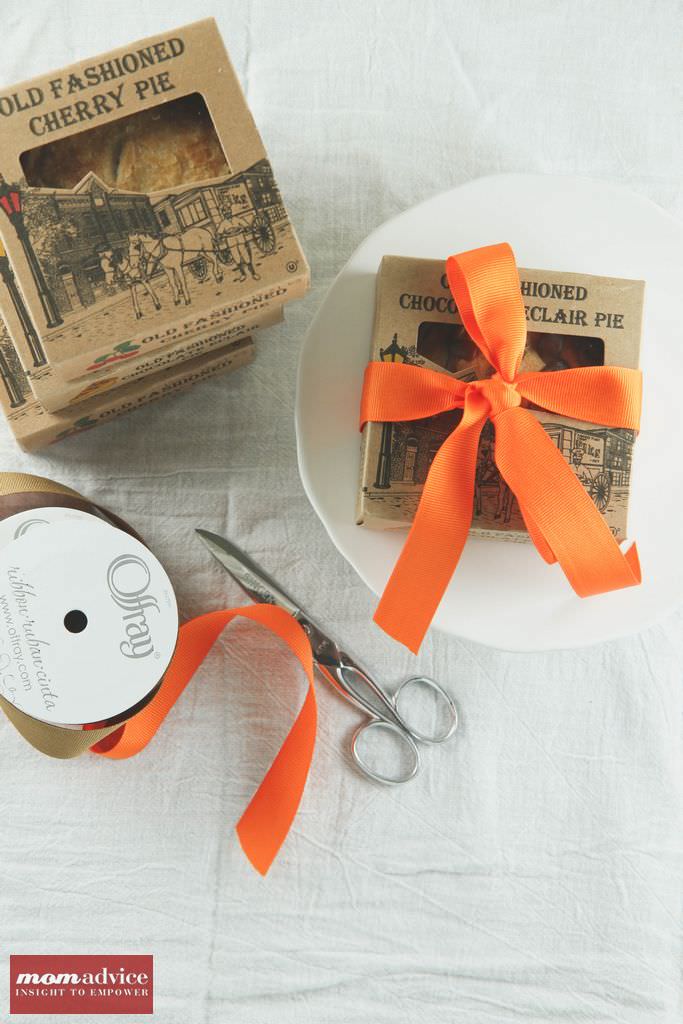
Mini Pie Gifts
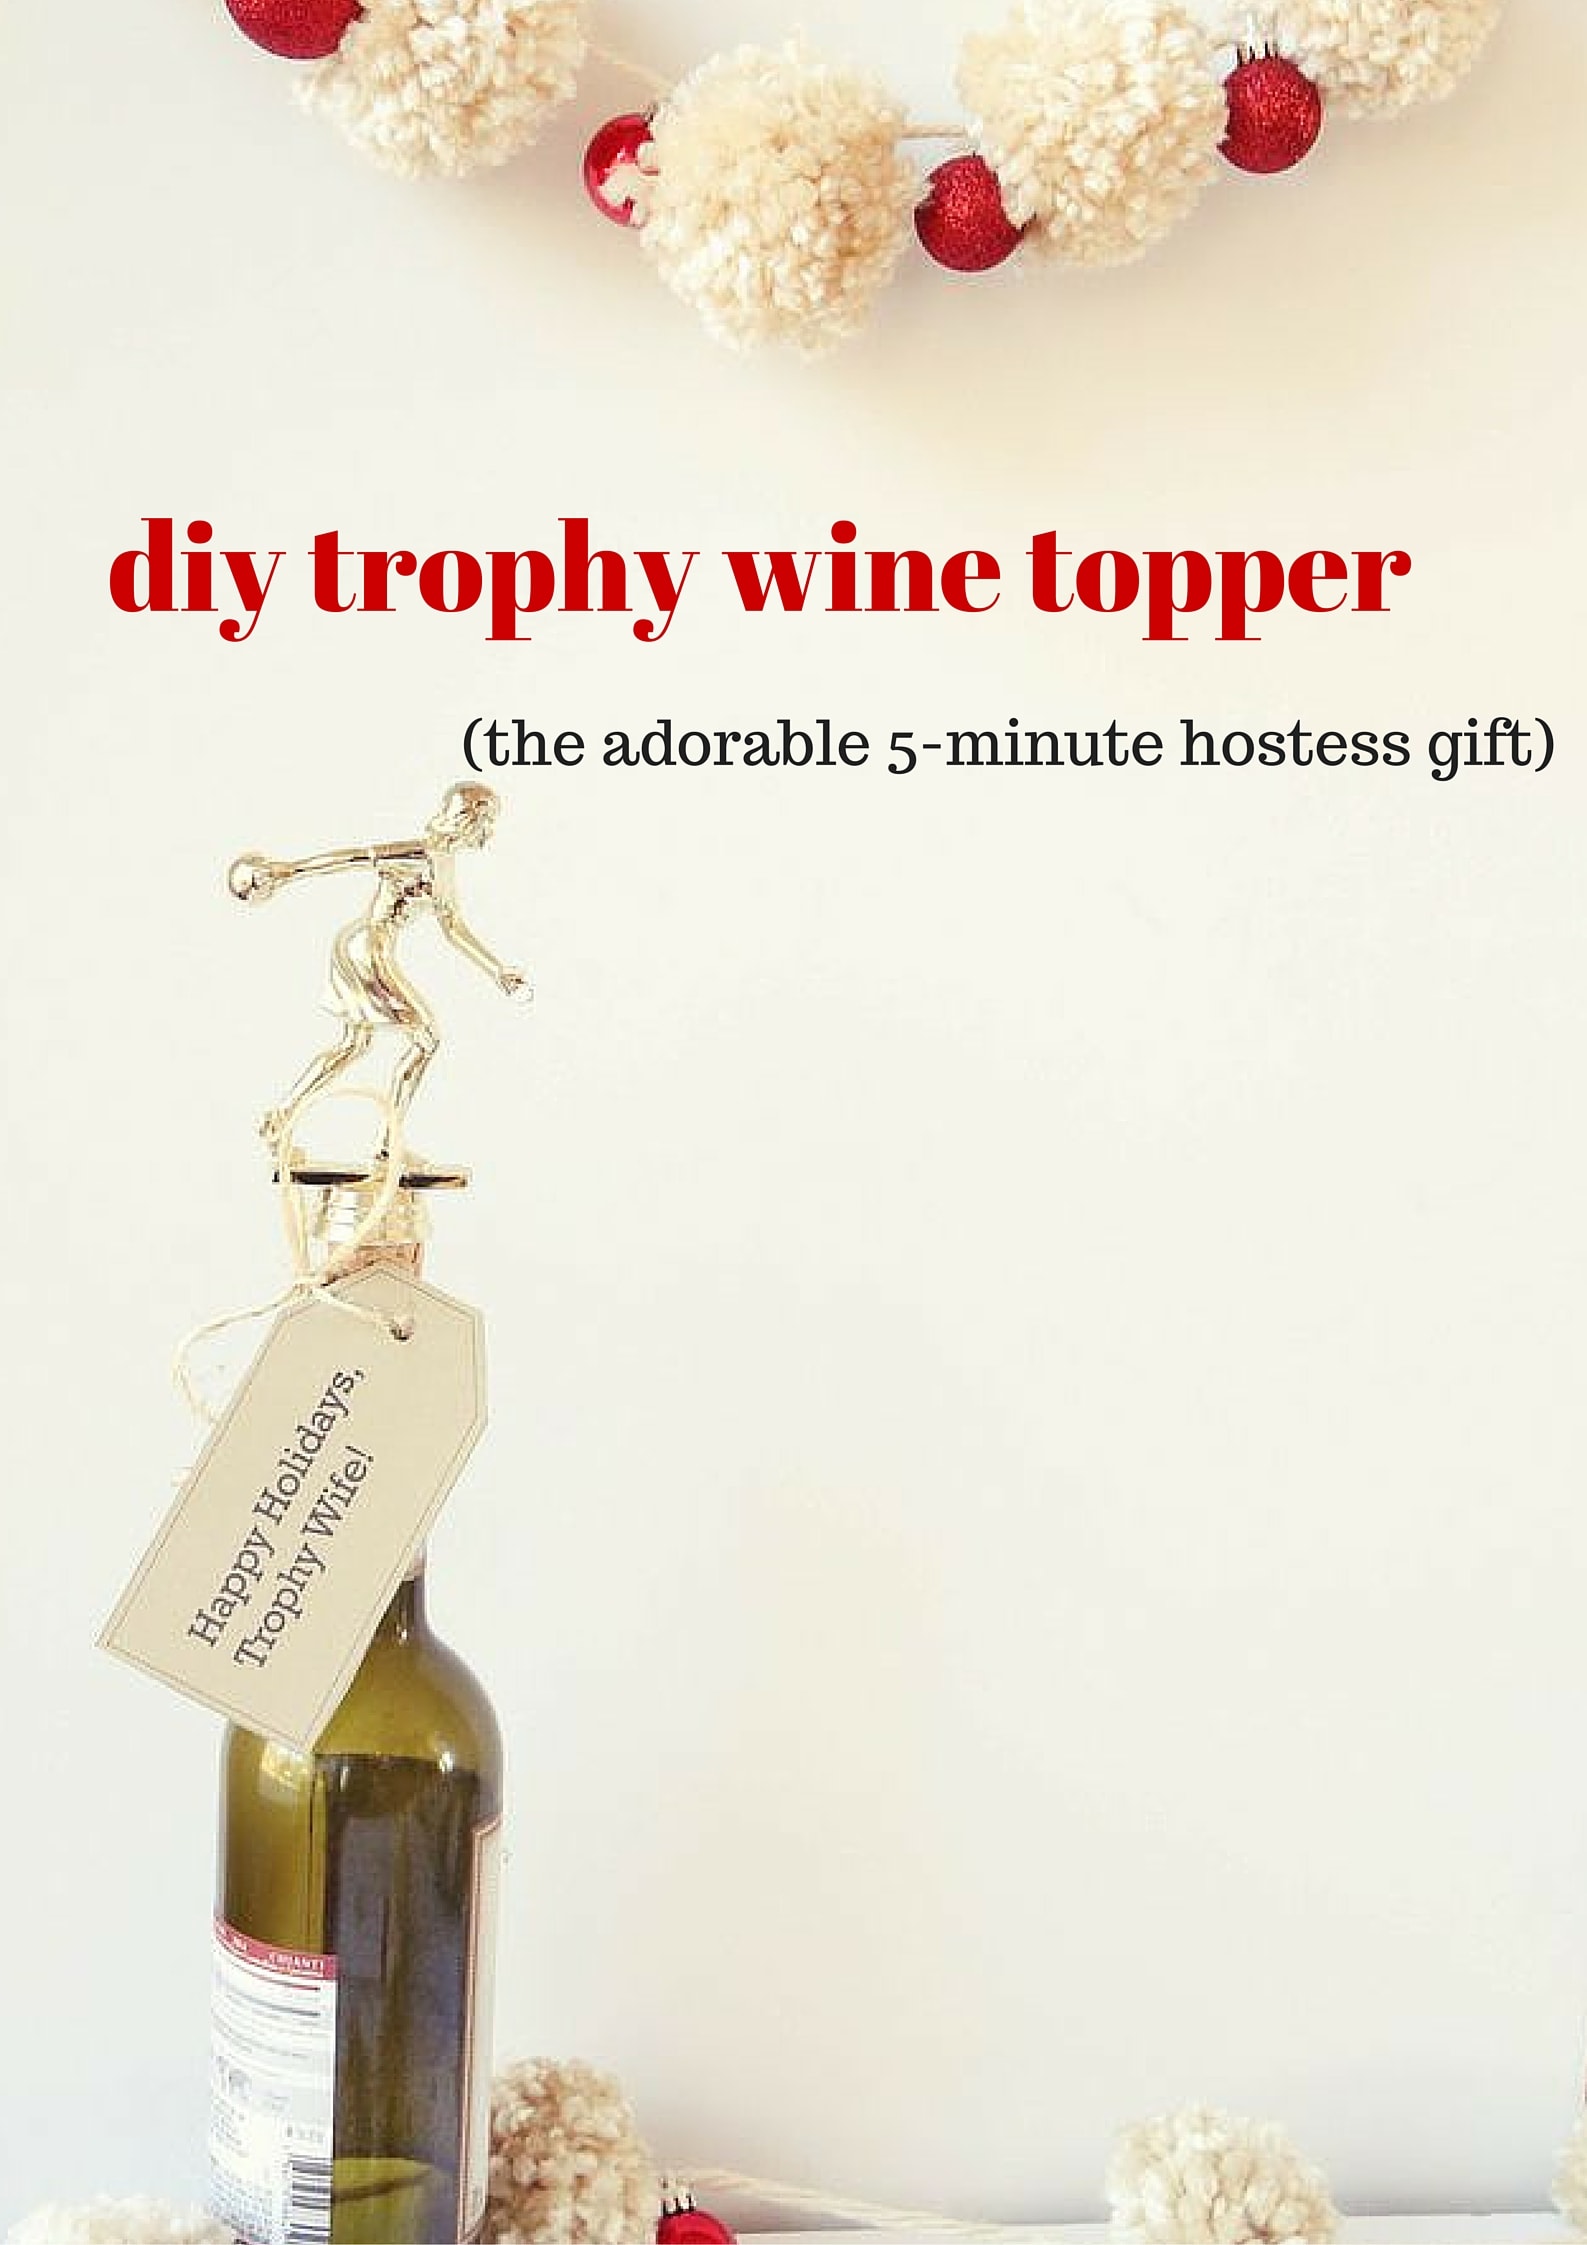 diy trophy toppers (free gift tag printables)
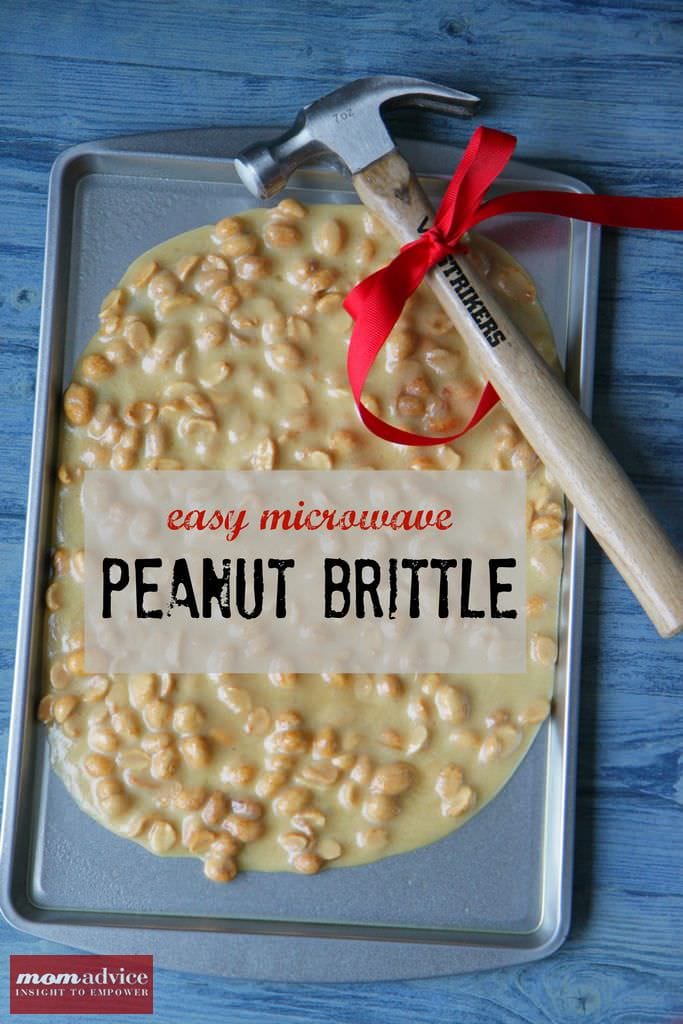
Easy Microwave Peanut Brittle
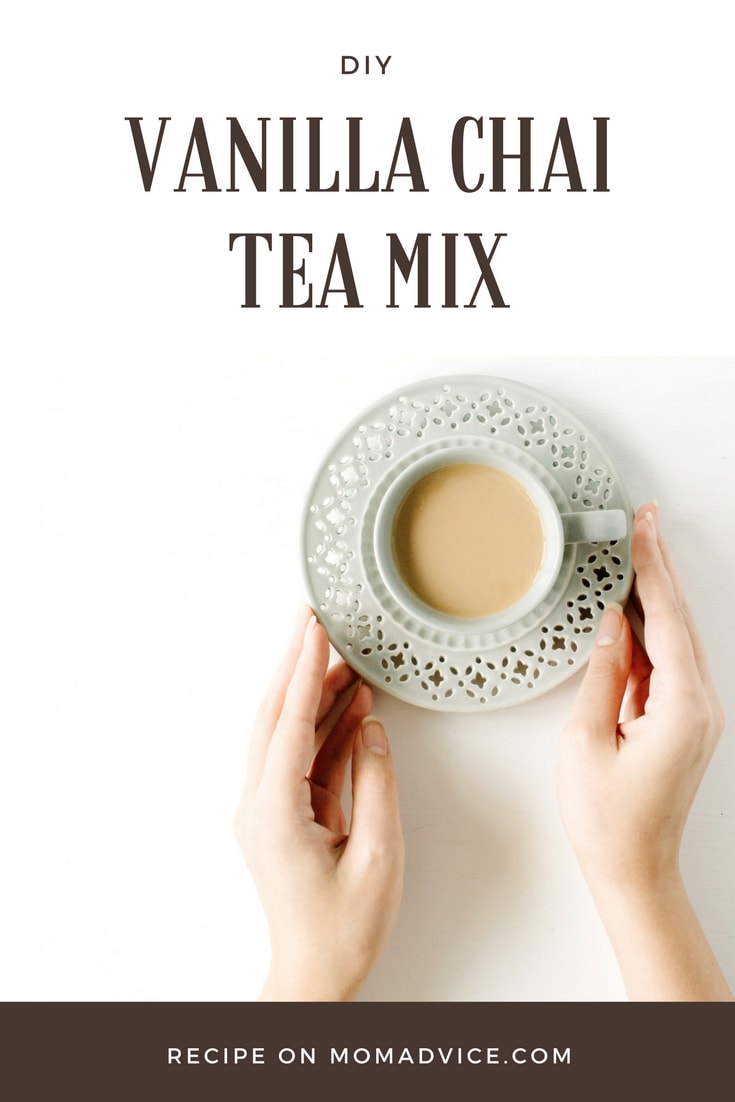
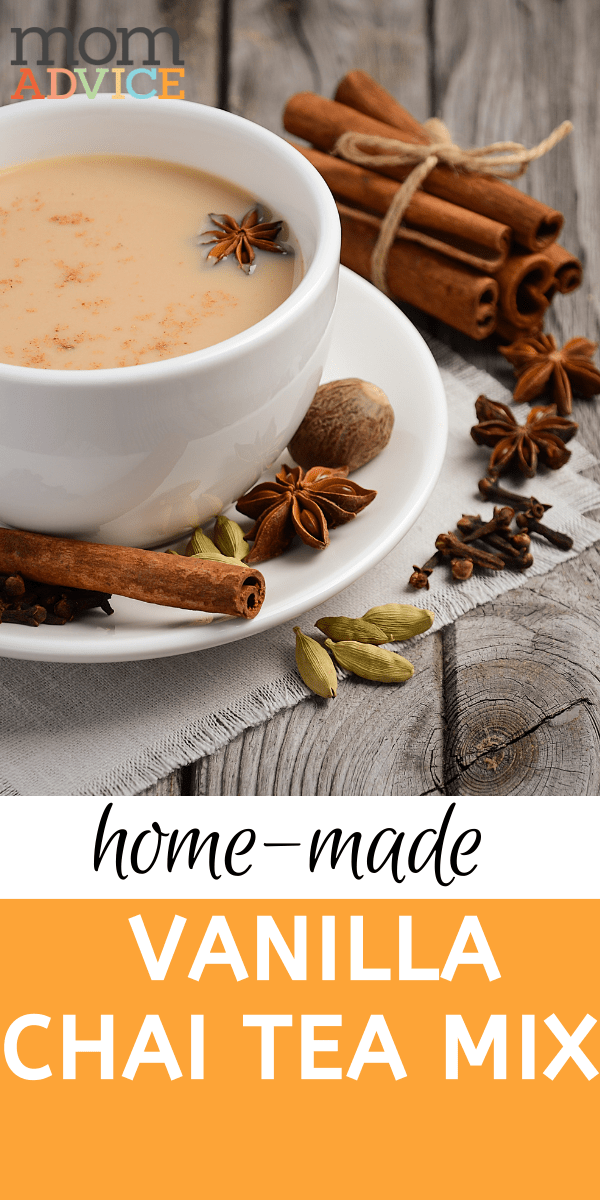
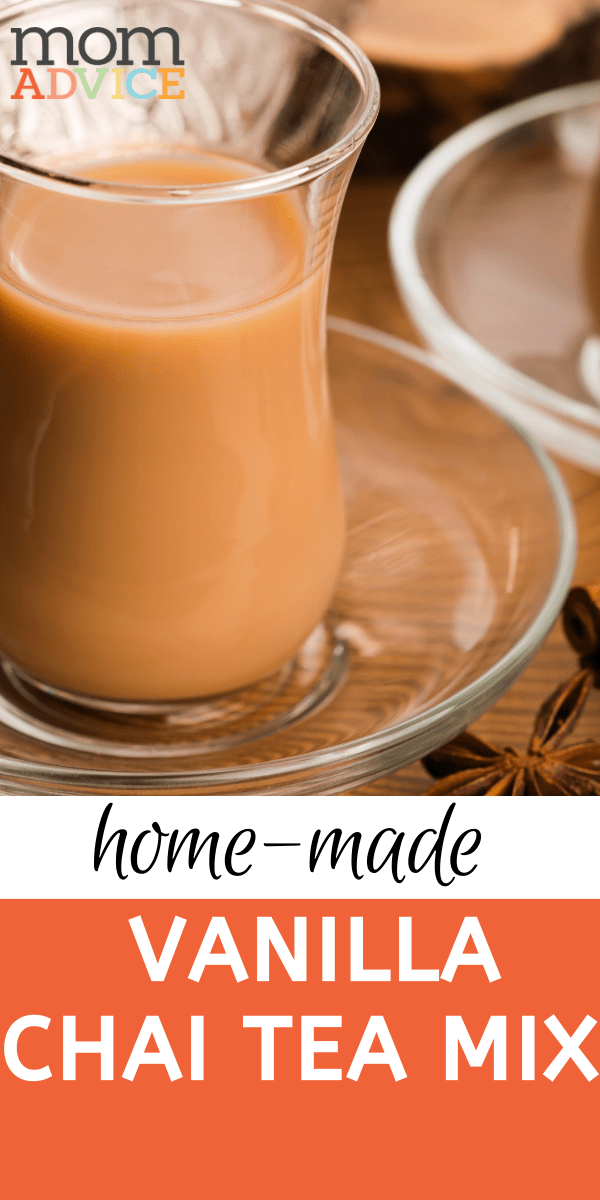
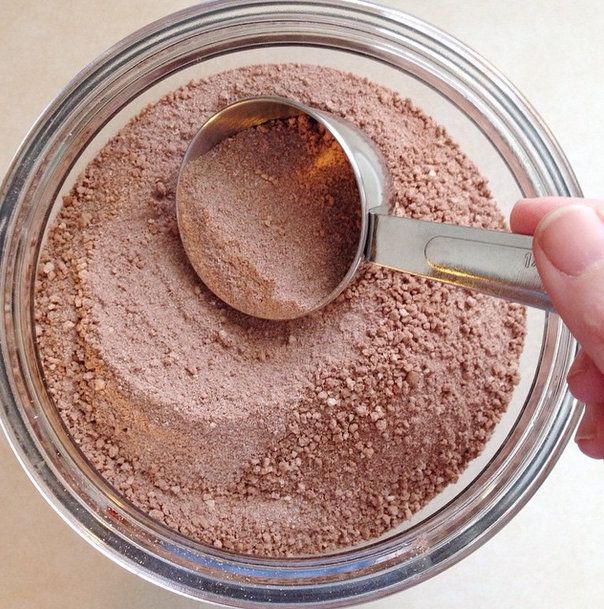
 diy vanilla chai tea mix
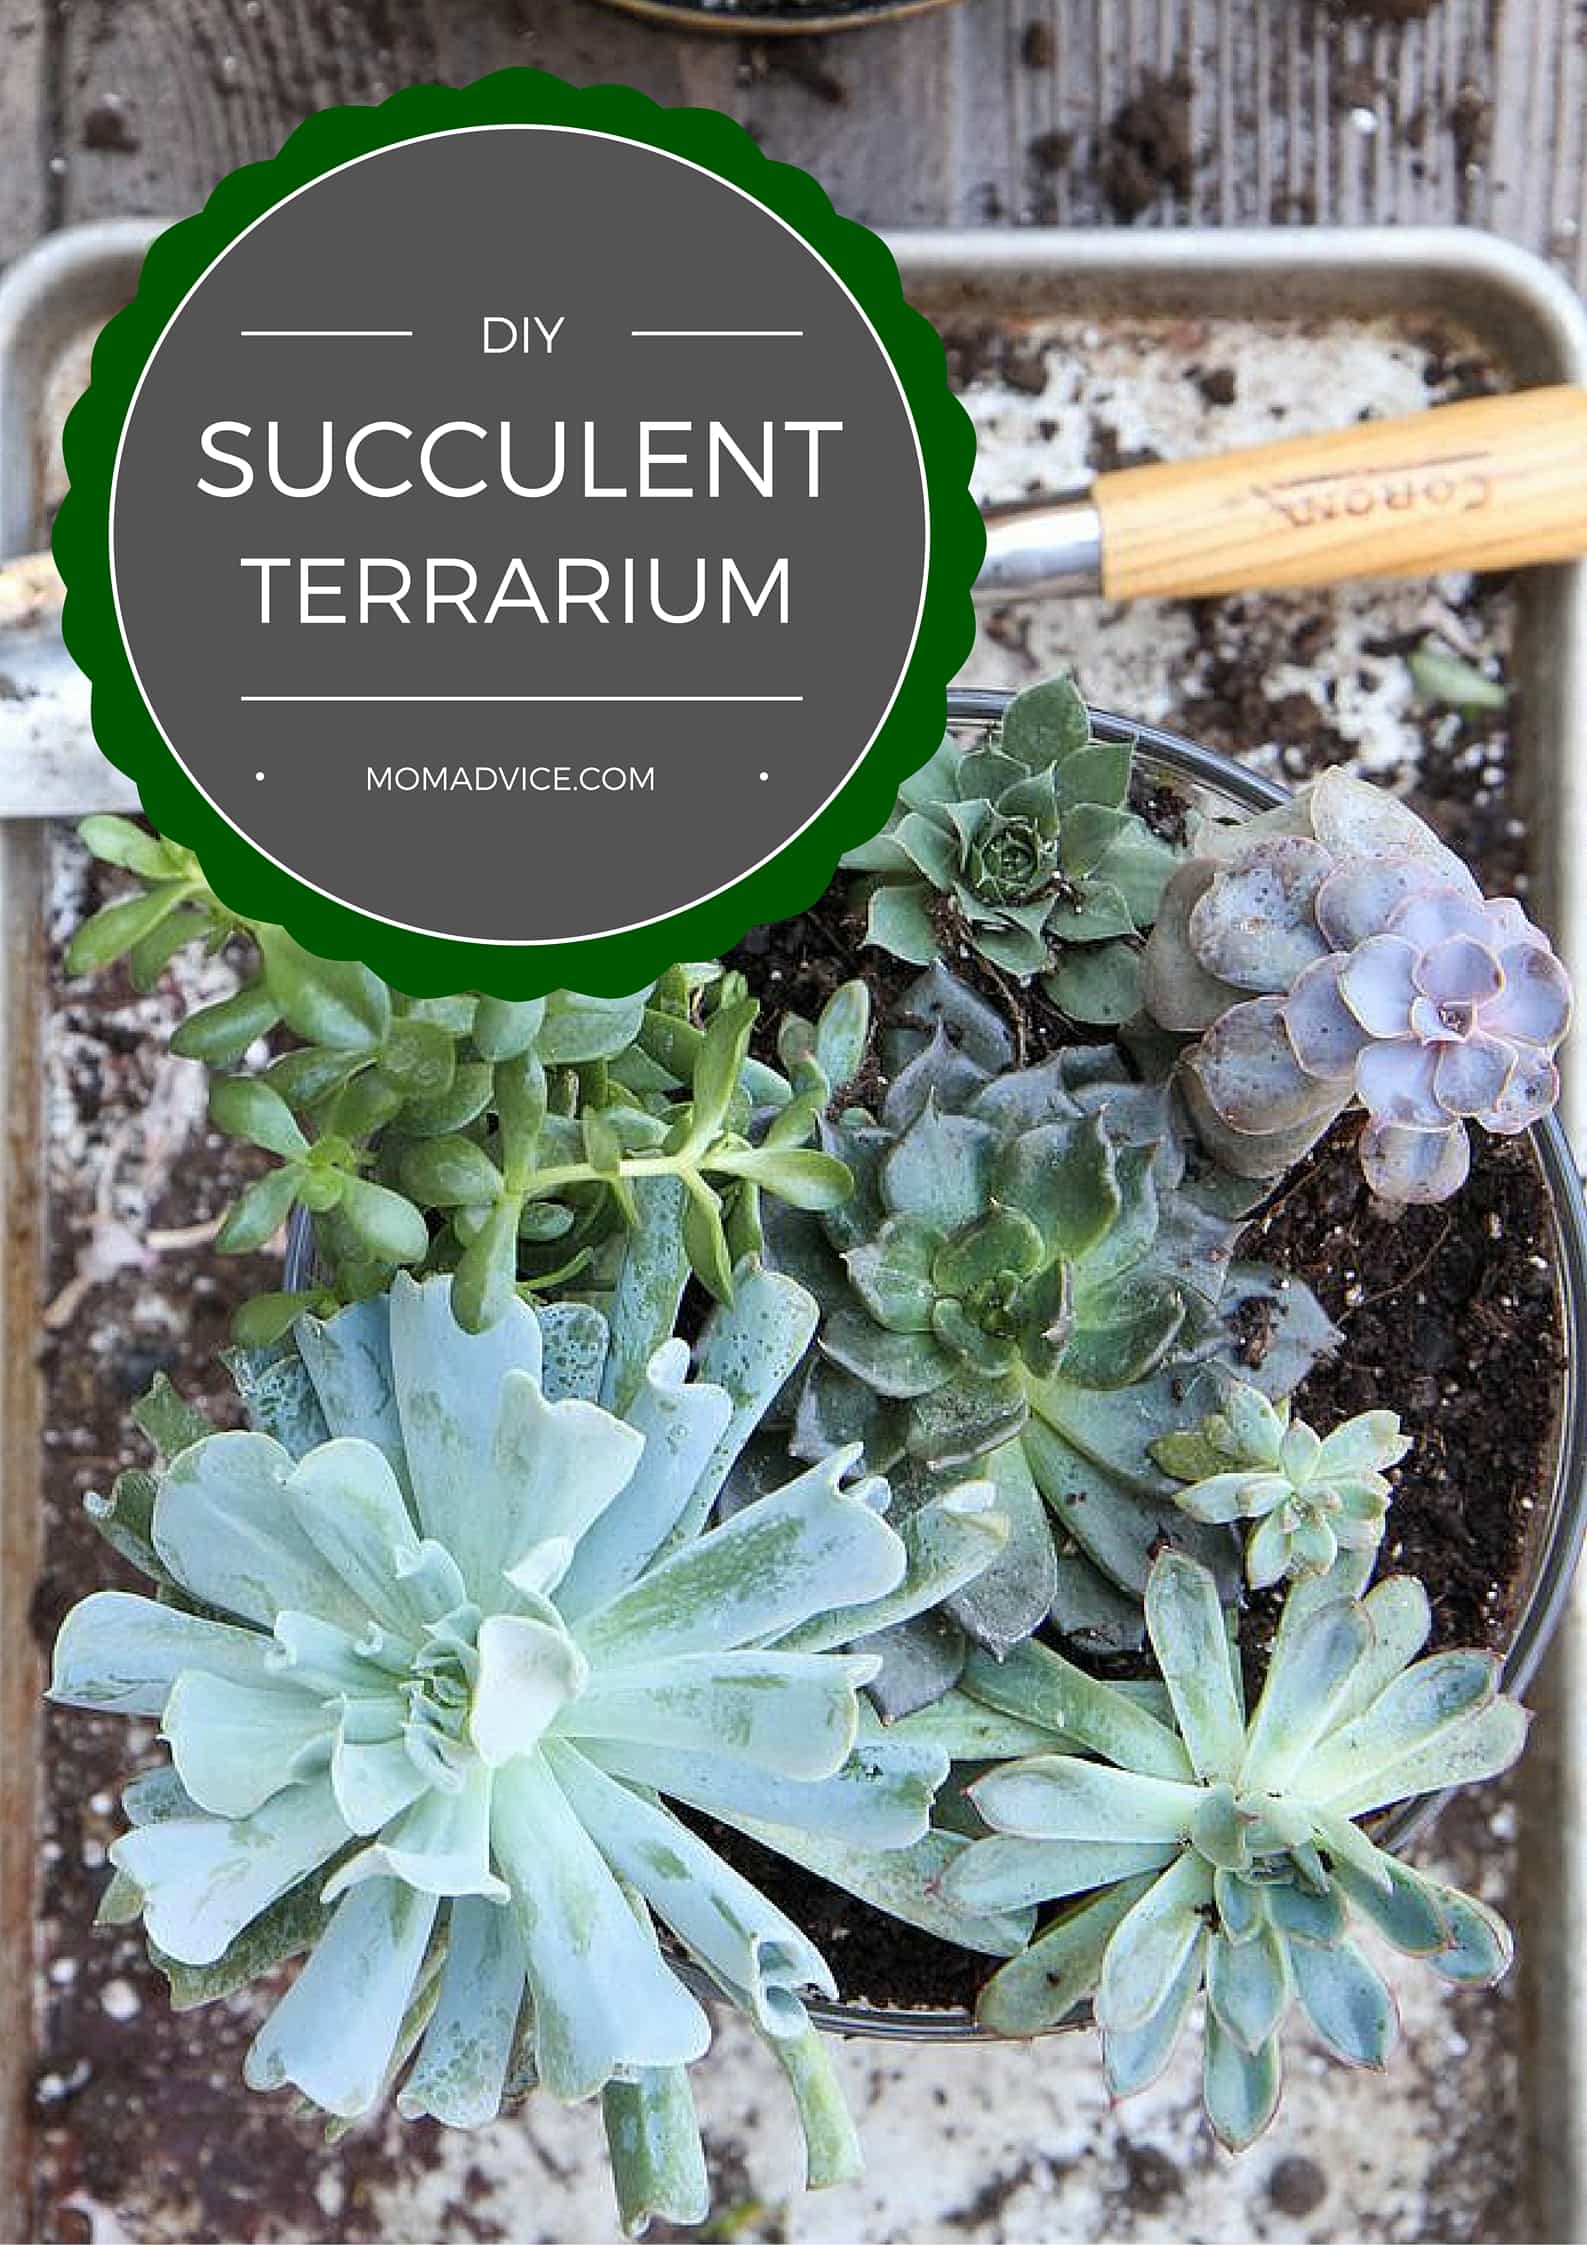 succulent terrariums (even a sweet small one in a thrifted tea cup!)
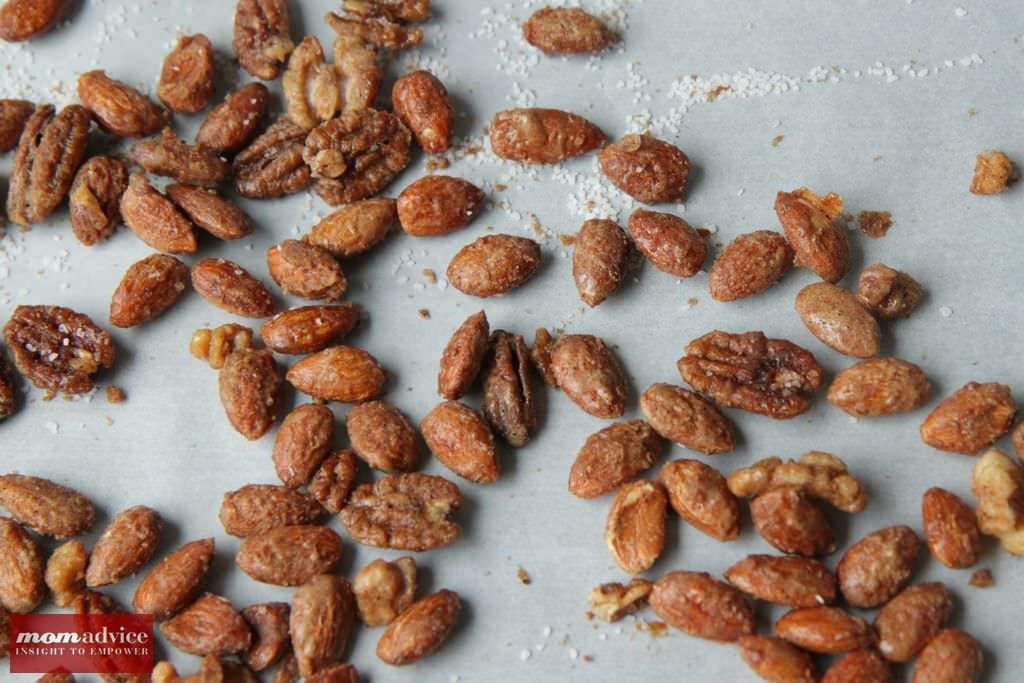
Sugar & Spice Nuts
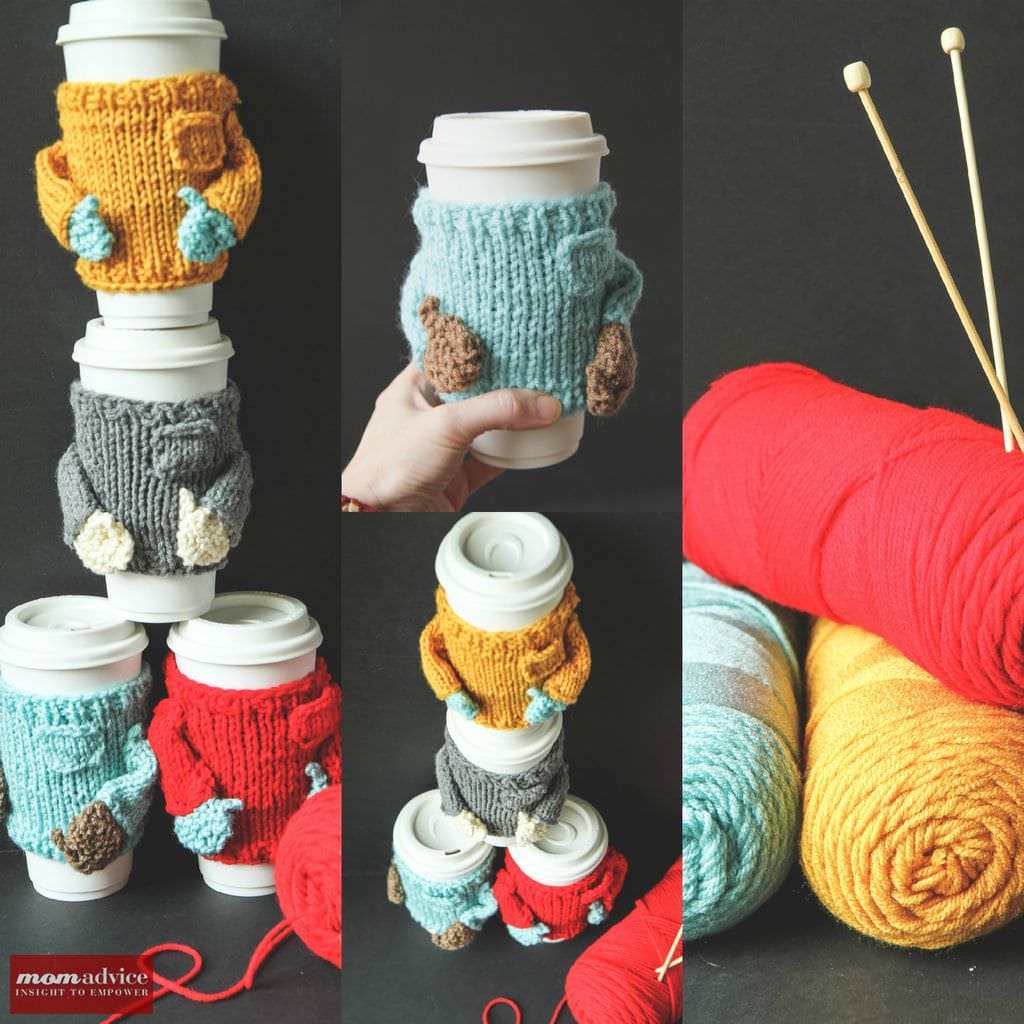
Knitted Sweater Coffee Cozies
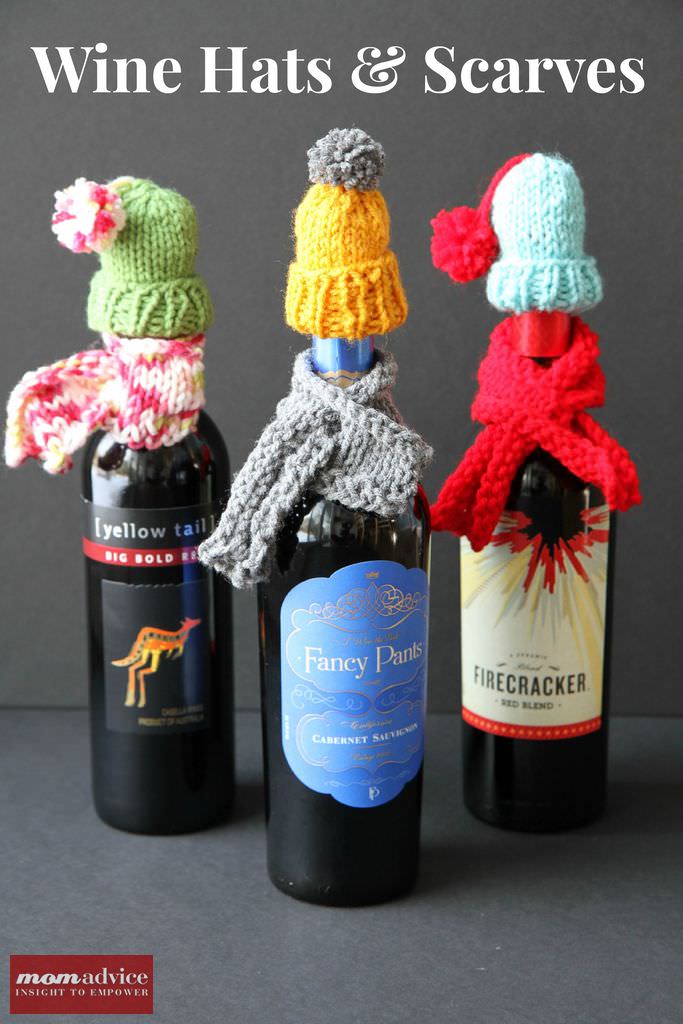
Wine Hats & Scarves

Paint-Dipped Spoon Sets

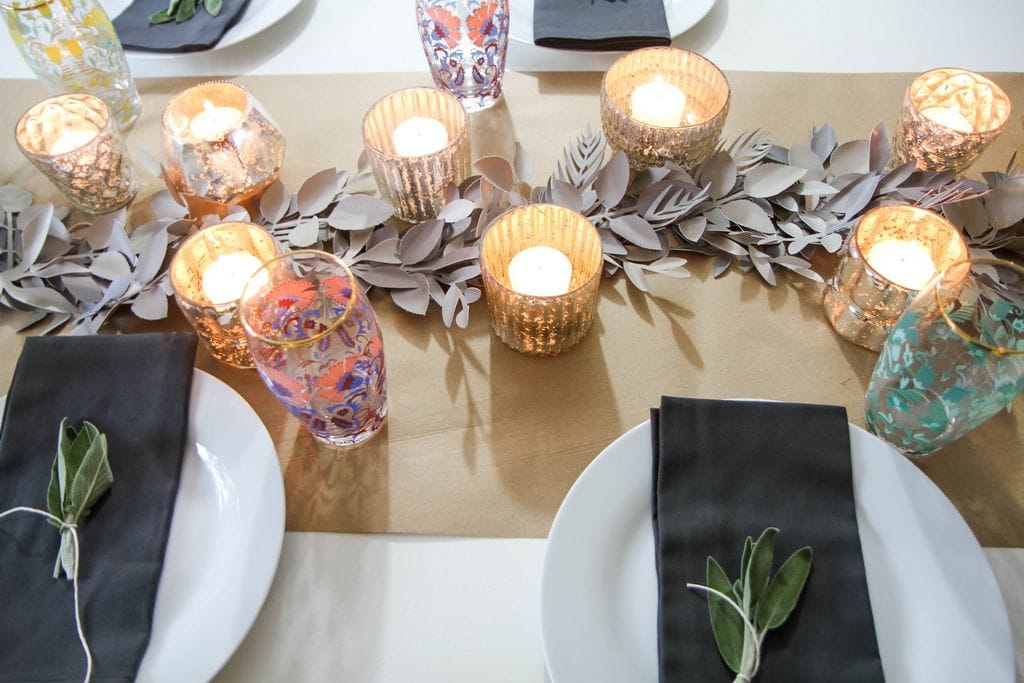
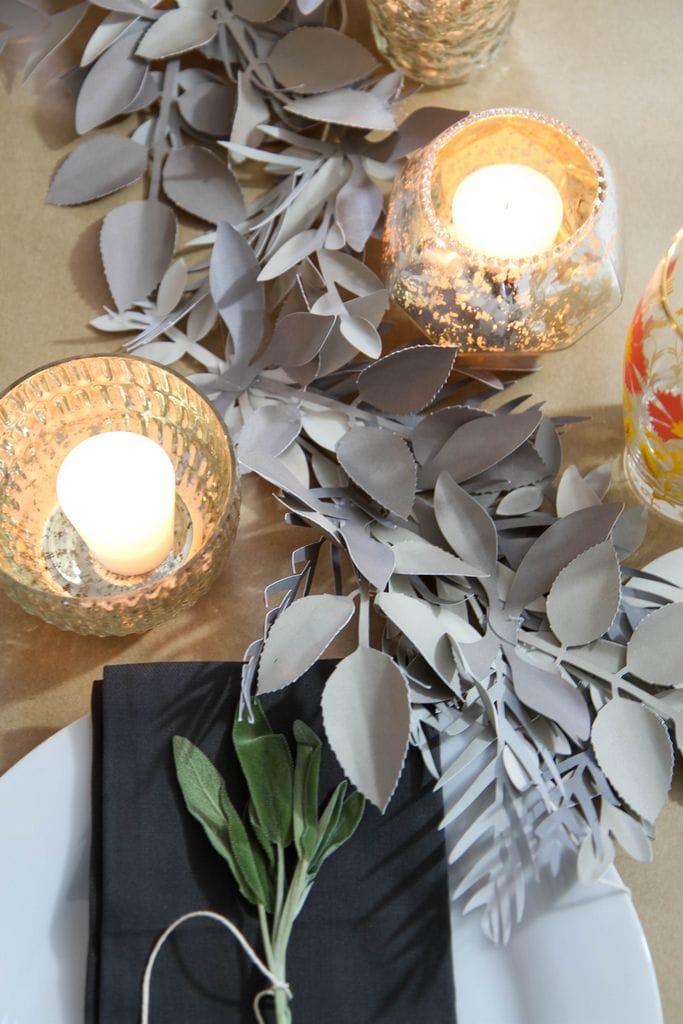
Thanksgiving Decor, Crafts & Entertaining
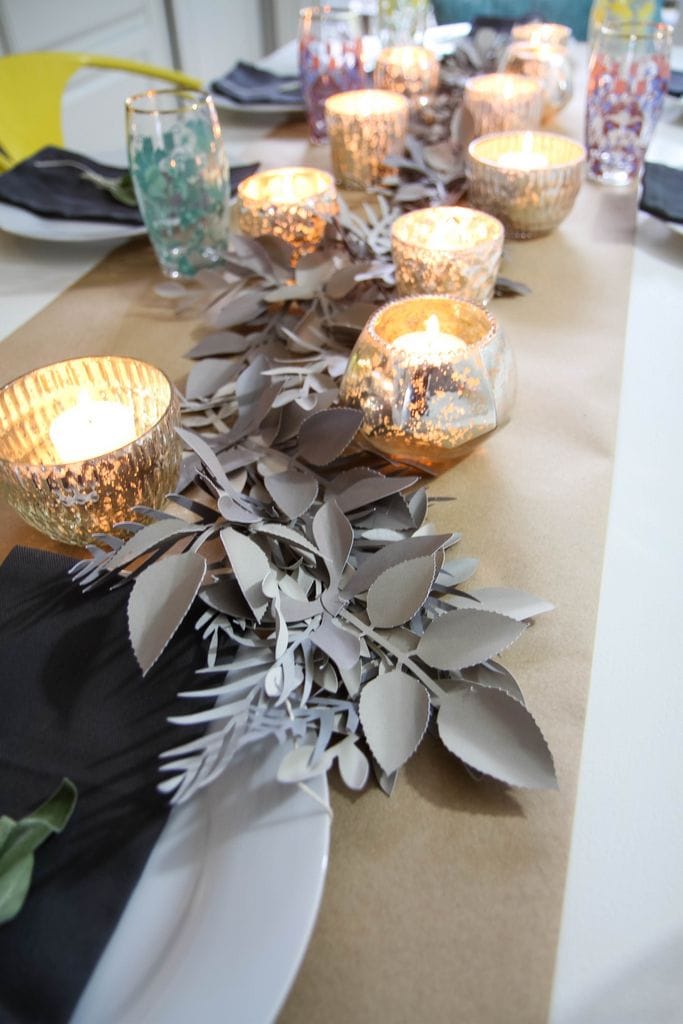
Woodland Thanksgiving Table + Free Printables
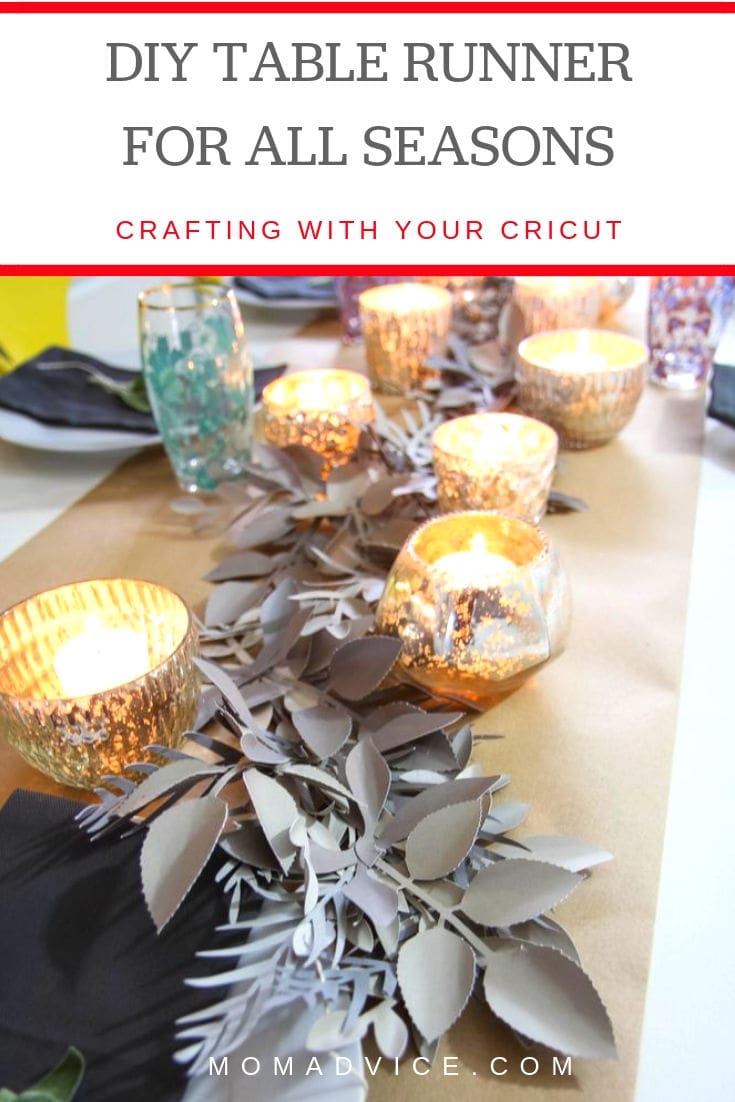
DIY Table Runner for All Seasons
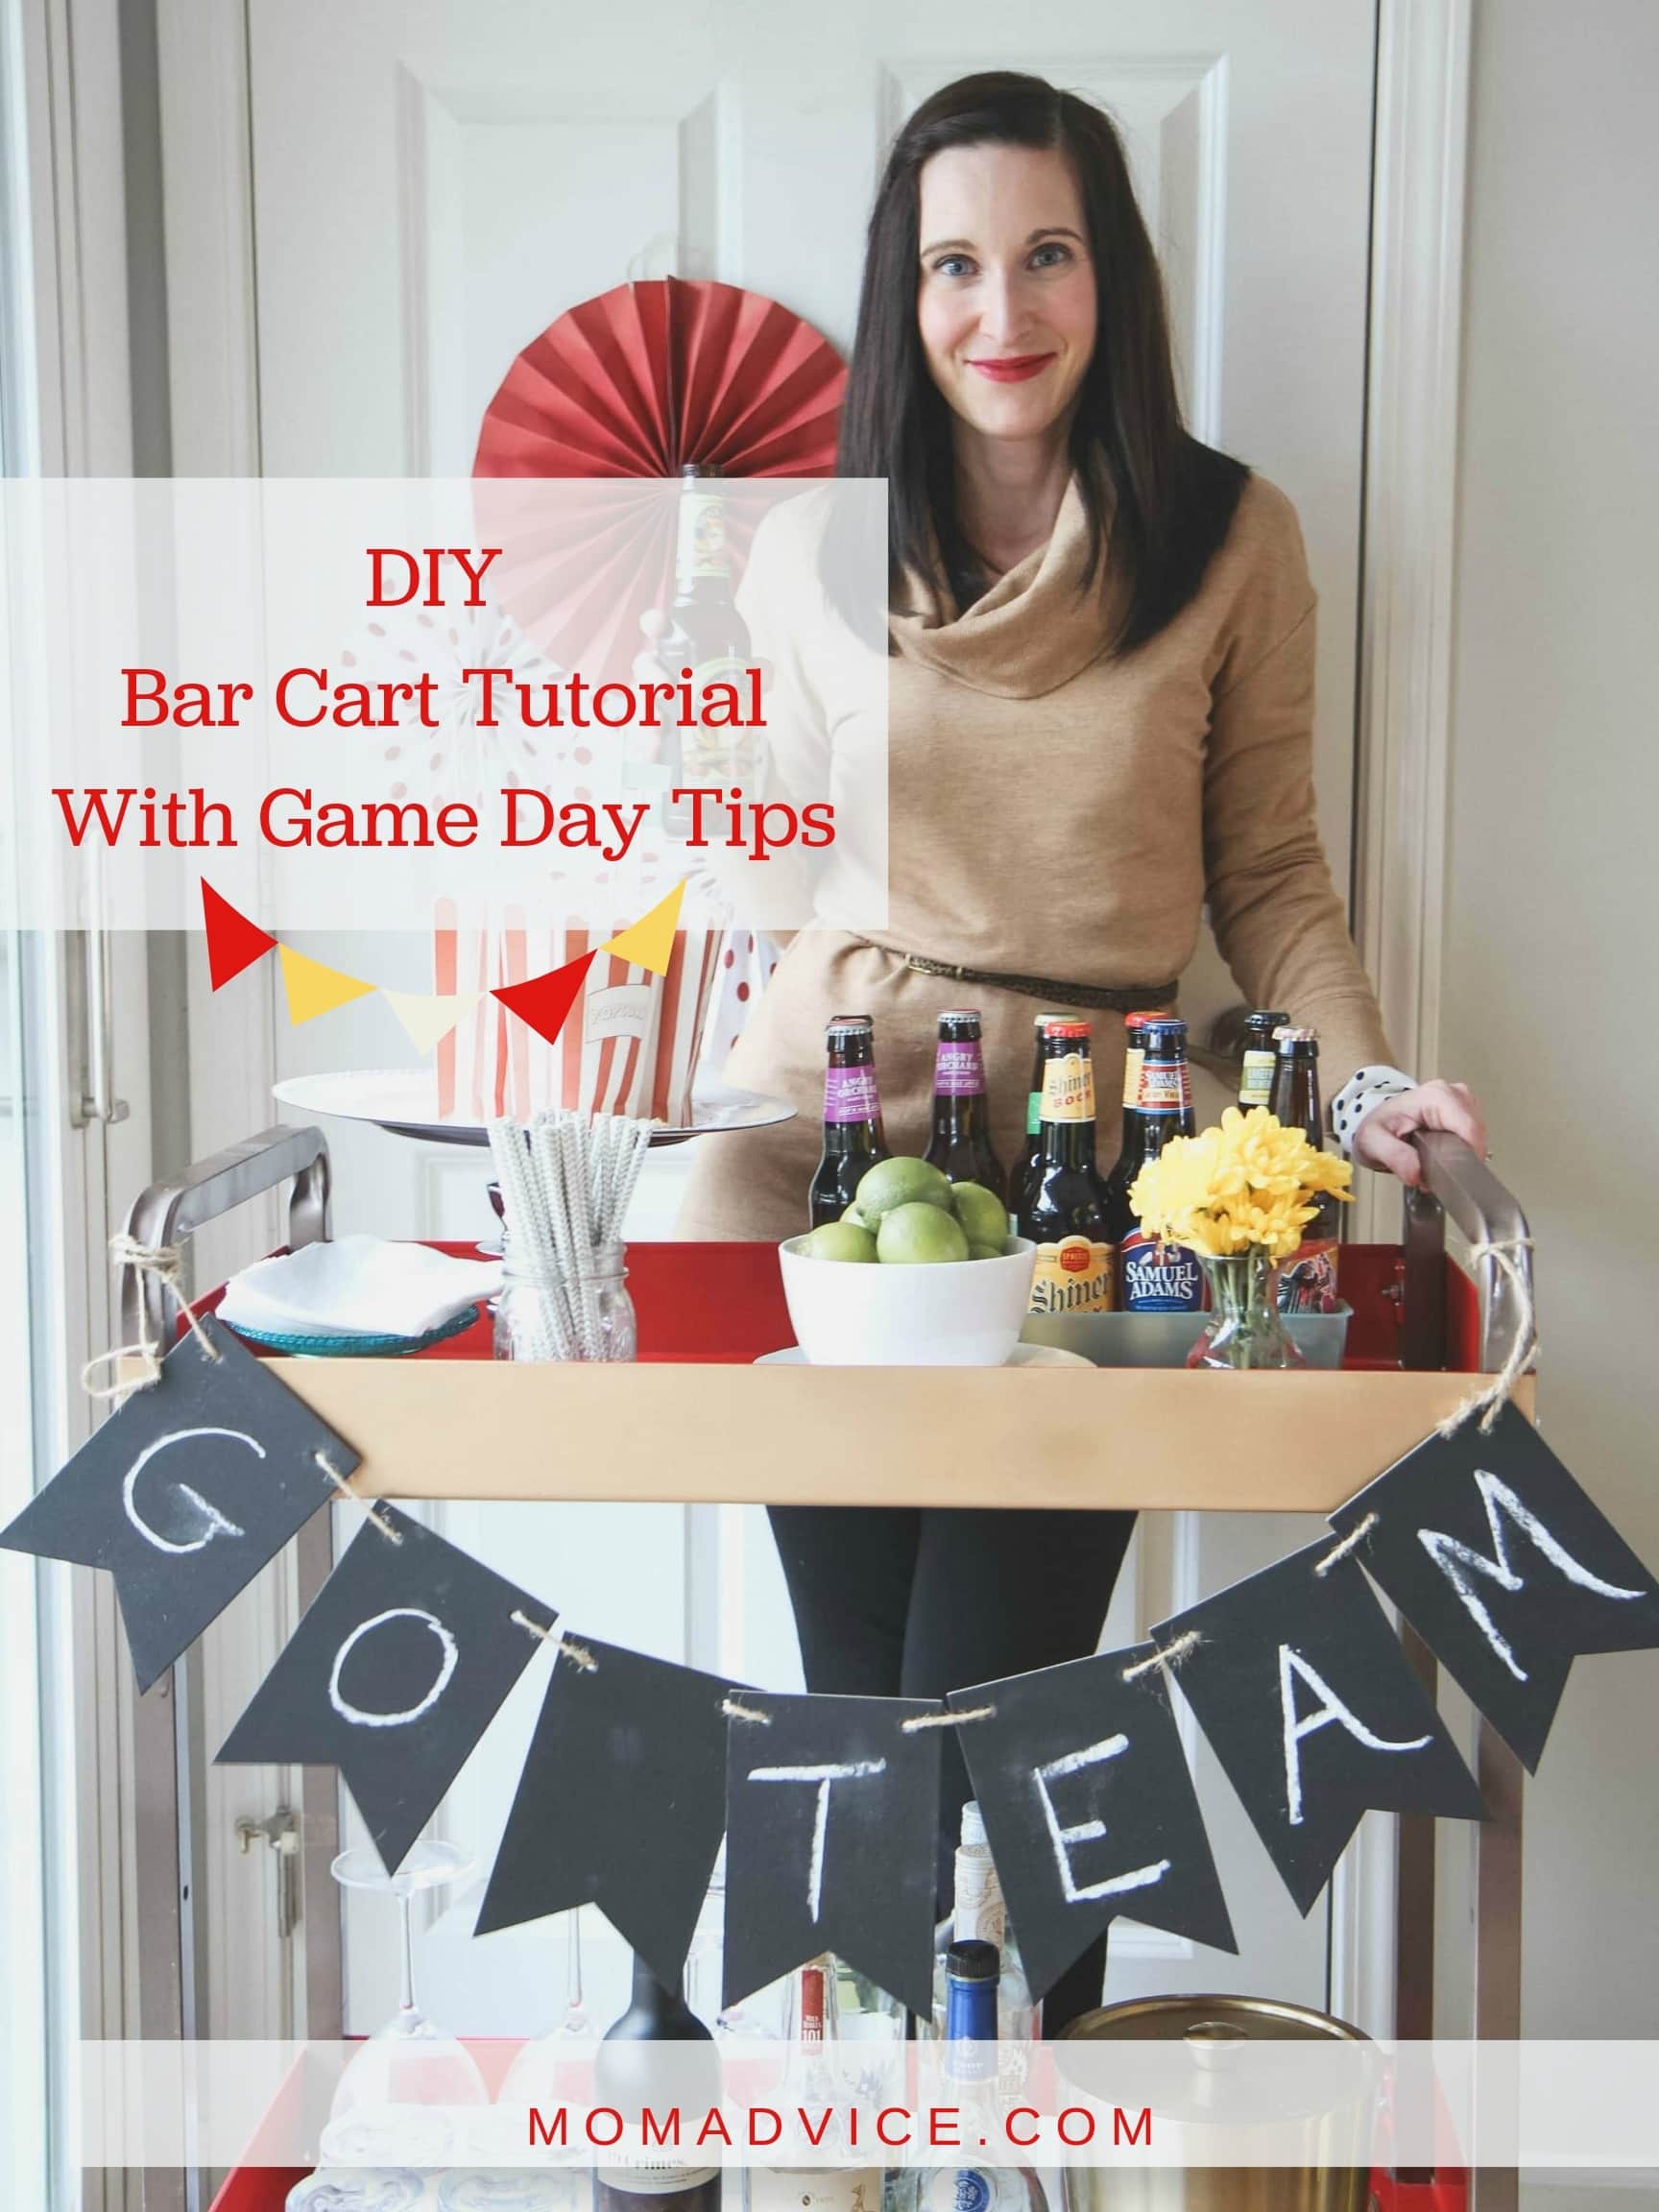
Decorating & Food Advice for the Perfect Friendsgiving
How to Entertain the Kids on Thanksgiving Day
How to Set the Perfect Thanksgiving Table
DIY Chalkboard Food Label Frames
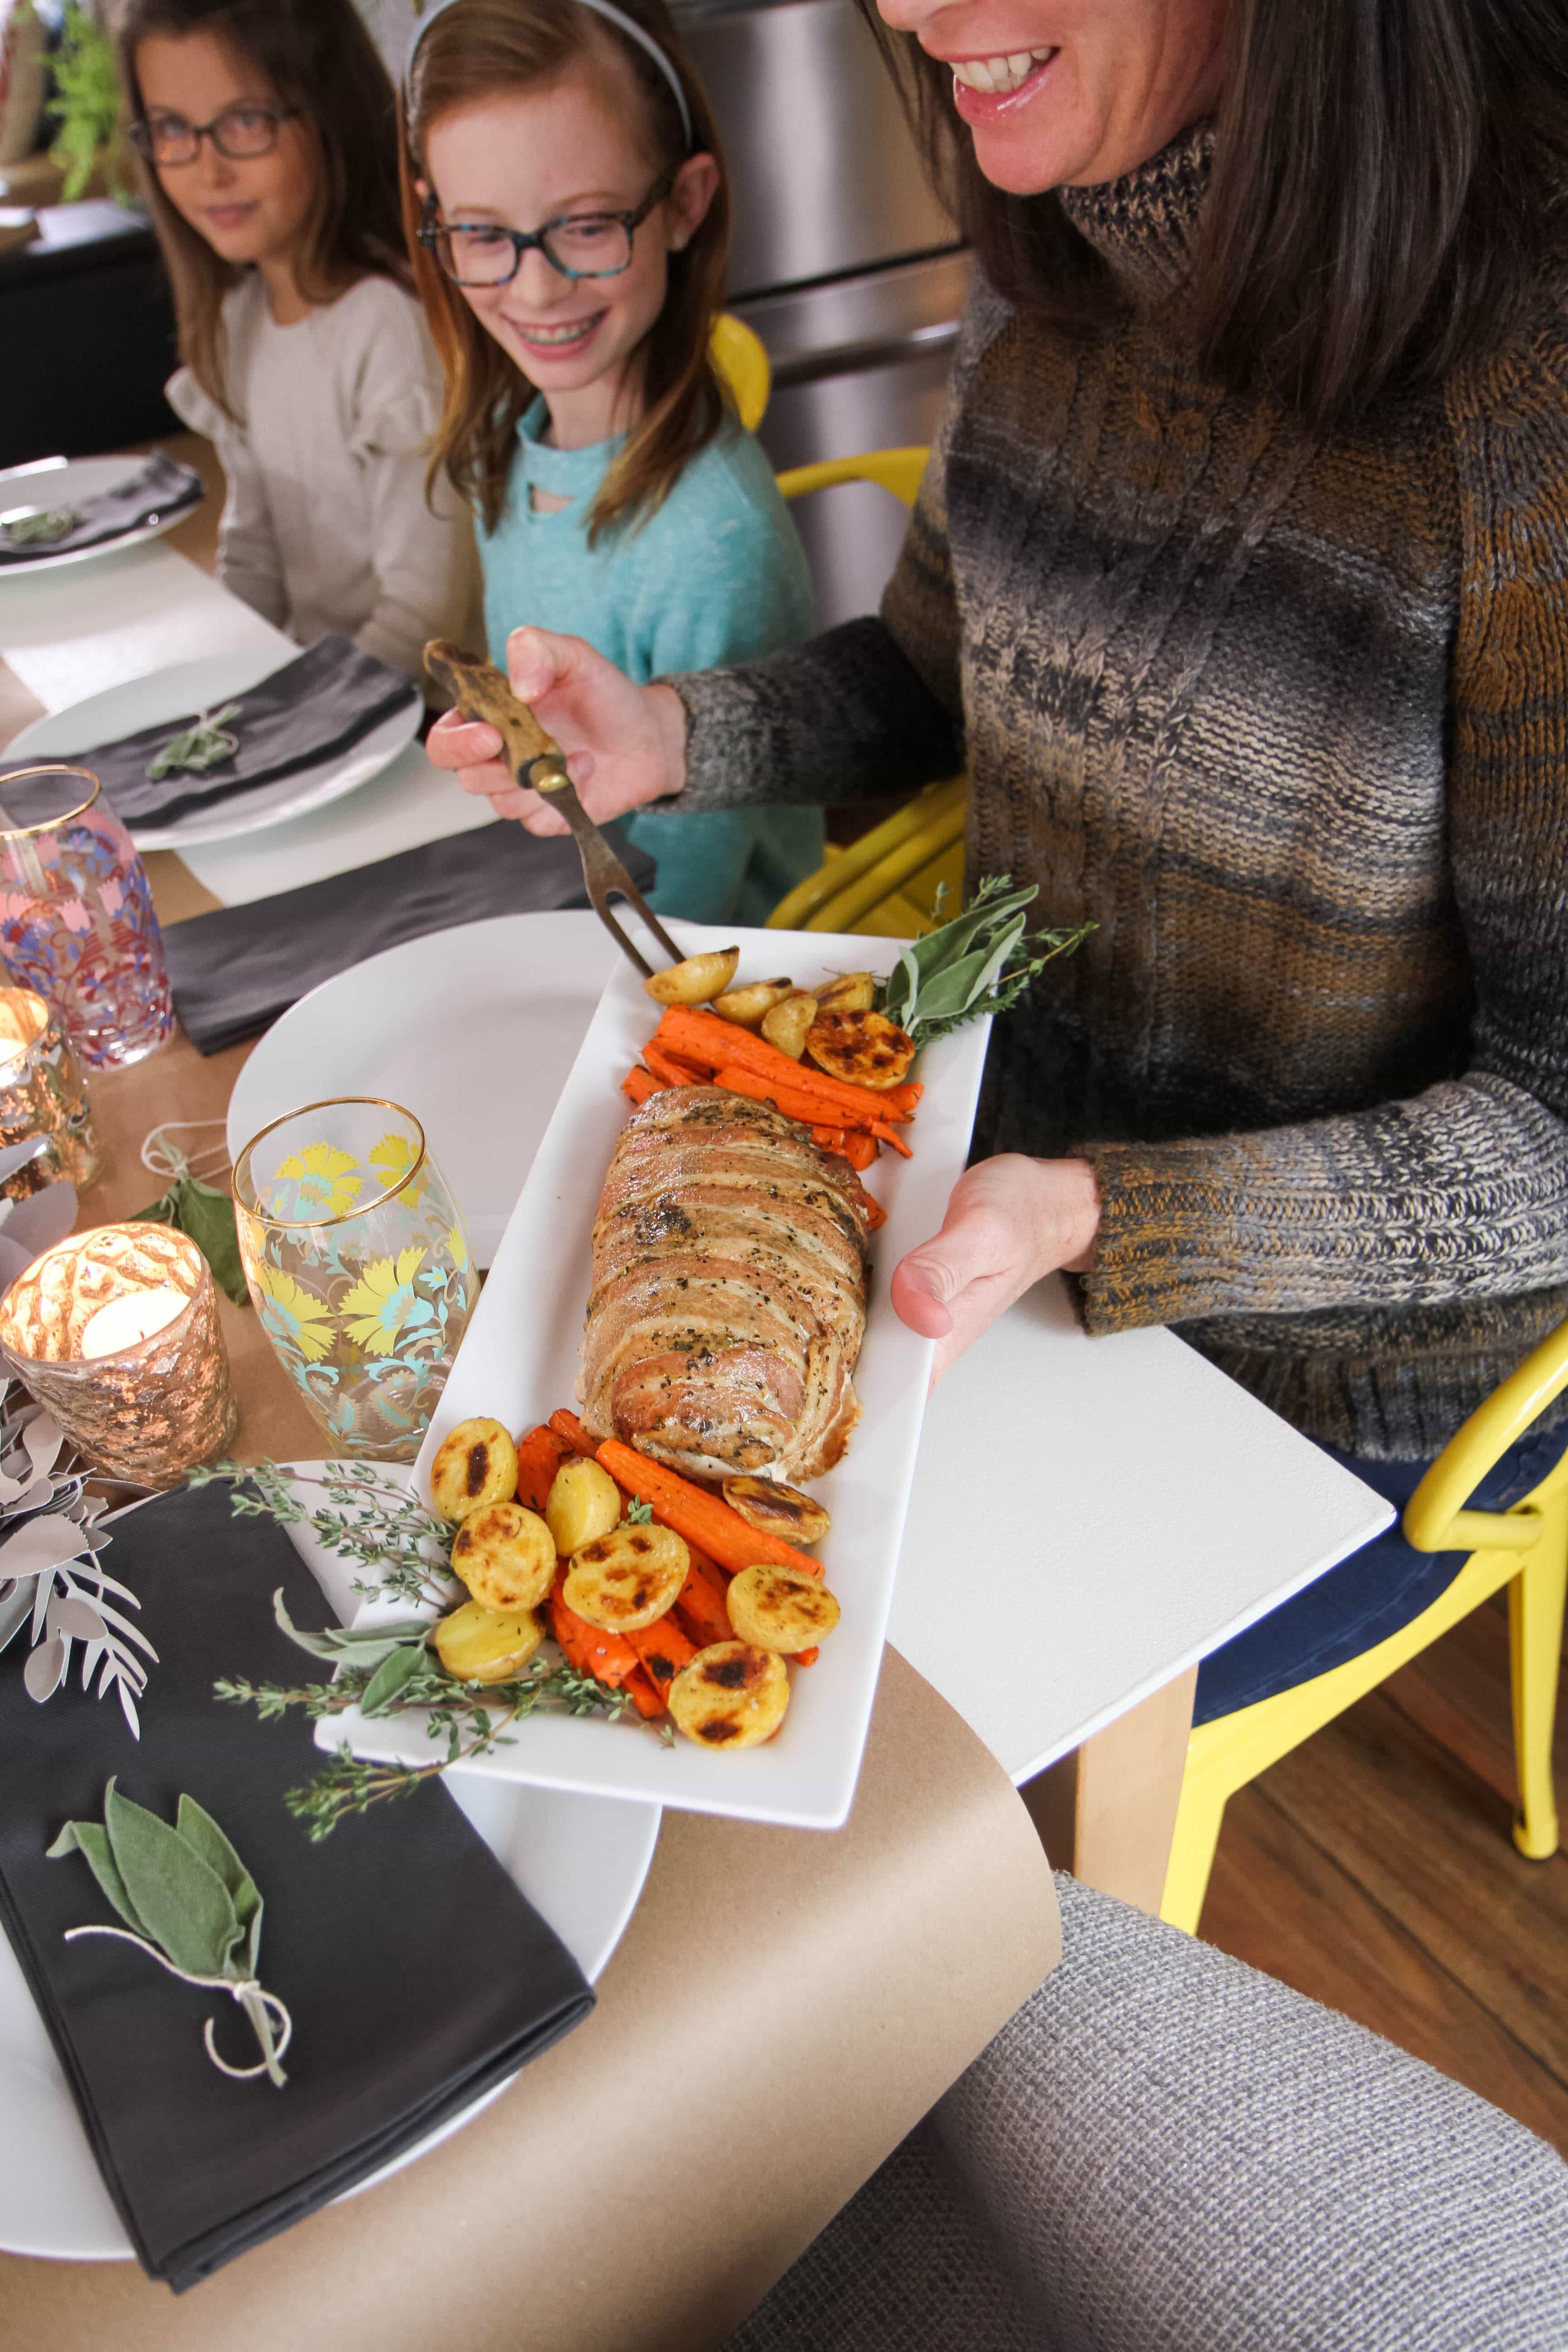
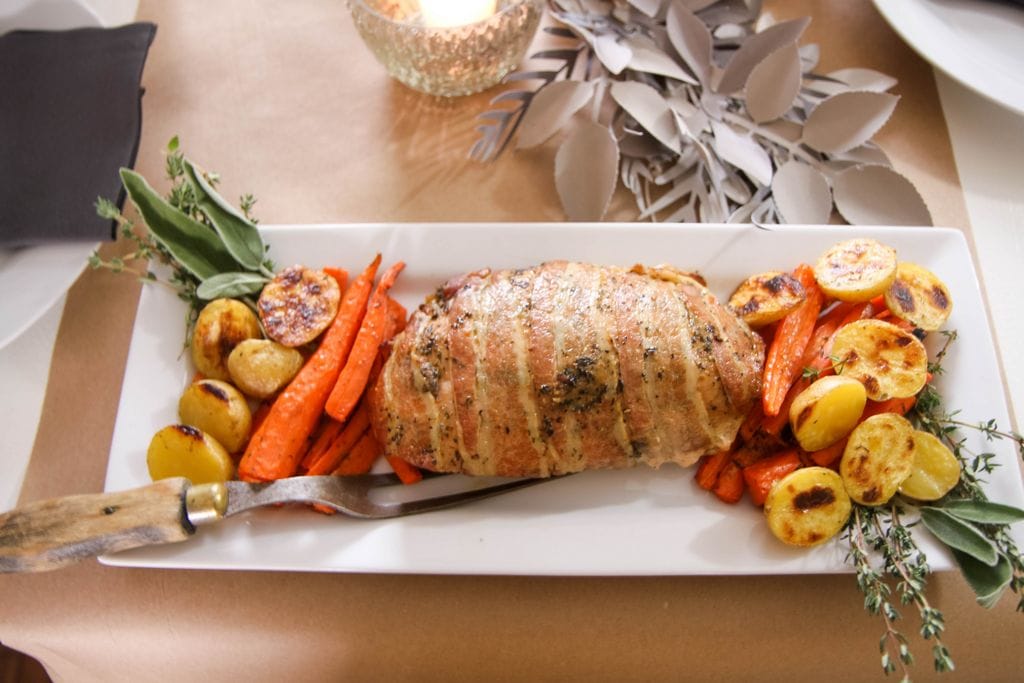
I hope these ideas inspire you! If you are looking for a great turkey recipe, be sure to check out this Herb-Roasted Turkey Breast or just use this simple technique for a small crowd to prepare a boneless breast! Happy holidays, friends! xo
*this post may contain affiliate links- I only recommend what I love though!
Pin It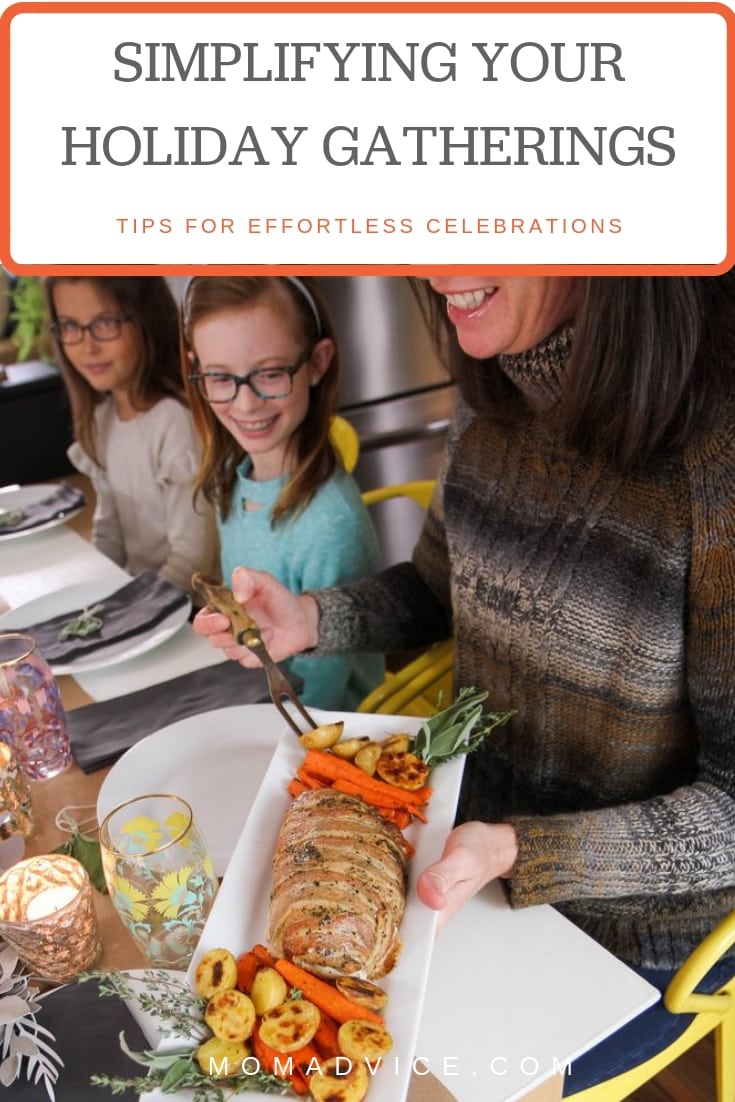


