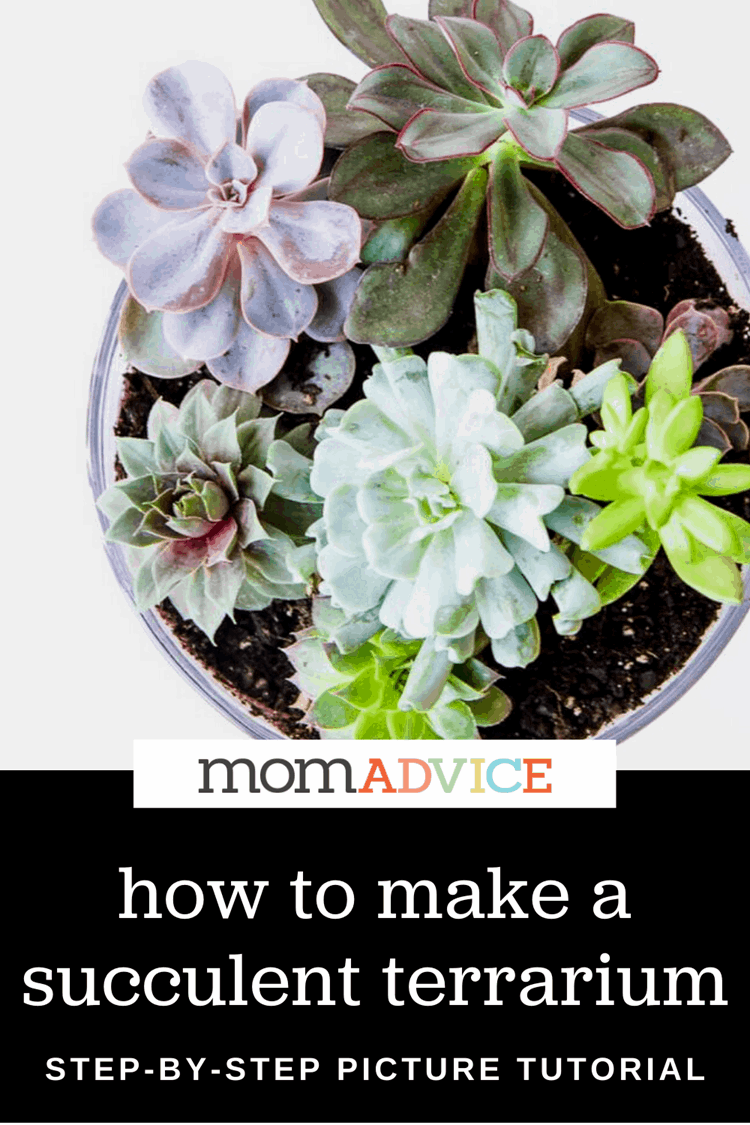
Looking for the perfect indoor gardening project? Today I’m sharing how to make your own succulent terrarium. This budget-friendly diy project has a picture tutorial to show you how to layer your soil and create that perfect humid environment for your plants.
As regular readers know, I have a black thumb.
I have never been successful at growing anything and my lawn can prove it.
Succulents are my kind of plants because they are so low maintenance and they don’t require a lot of water.
Today I want to show you how to make a succulent terrarium and how I made it as budget-friendly as possible.
Sweet!
First, here are a few answers to a couple of frequently asked questions about making your own indoor terrarium. These step by step directions should you walk you through this entire process.
Where Can I Get Fresh Succulents Delivered Online?
Before we begin this project, you may be wondering how to obtain the supplies you need for your projects.
Many of the garden and home improvement stores are offering curbside pick-up right now.
Many companies also these in bulk and a bulk order would be perfect for making a few special Mother’s Day gifts for someone in your life.
This is one of those plant purchases that require little upkeep and are enjoyed all year-long.
Here are a few other options for getting fresh succulents online.
How Can I Save Money on Making My DIY Terrarium?
- Fairy gardens are very popular right now. Ask your local nursery if they have smaller bags of pea gravel or moss available for purchase. I was able to get small bags of these items for a lot less.
- Look to see if there are any succulent arrangements that are already prepared and the pricing and compare it to individual succulents. At my nursery, succulents individually were $4 each, but for $20, I was able to get double the succulents AND it helped to know which ones worked and looked nice together.
- Thrift shops or Facebook Marketplace are two great places to look for containers. You also can shop your own house and see what serving pieces you have, that just might be gathering dust in your own home.

We are going to be making our succulent terrariums with a product called Ecoscraps.
I’m so excited to share about it because the company’s mission is so awesome and really aligns with our family values.
EcoScraps recycles food scraps and turns them into organic and sustainable lawn and garden products.
They recycle by collecting wasted food from from stores and restaurants andconvert it all into natural garden products.
Simple switches will do so much for our world.You can find out more on the EcoScraps website and find their products on Target shelves.
Now that you know the company’s mission, let’s make a succulent terrarium with their eco friendly potting soil!
How to Make a Succulent Terrarium
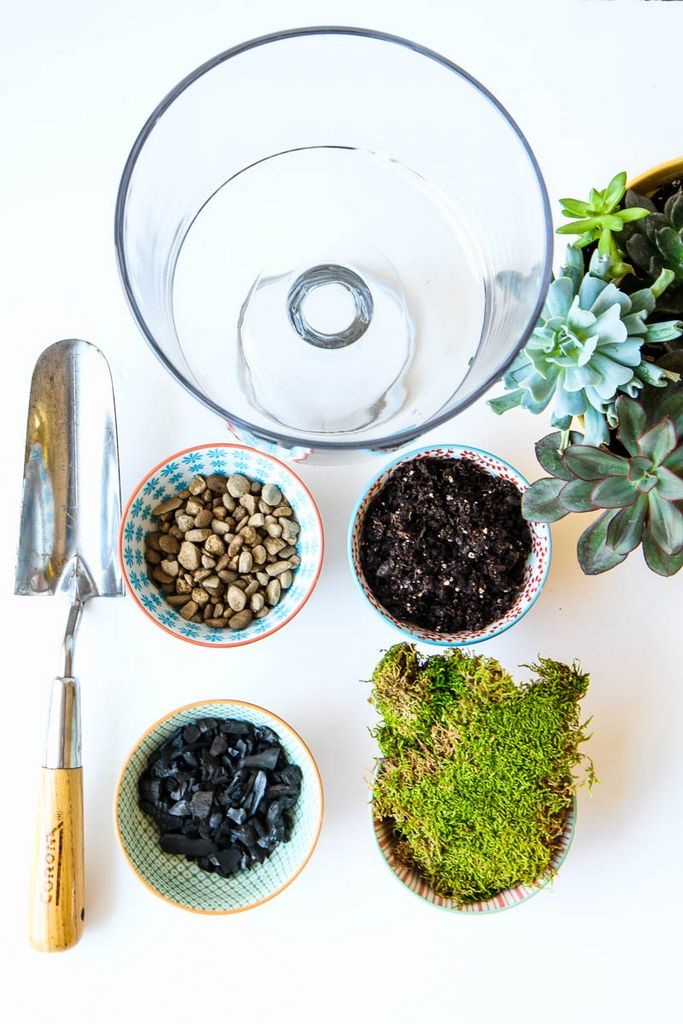
Supplies Needed
Glass Trifle Container
Pebbles
Charcoal or Perlite
Sphagnum Moss
EcoScraps Potting Soil (link is to Walmart, but you can also obtain this product on Target shelves too!)
Succulents (See Above for Sources)I like to choose an odd number for arranging. Mine had 7 of various sizes)
Garden Trowel

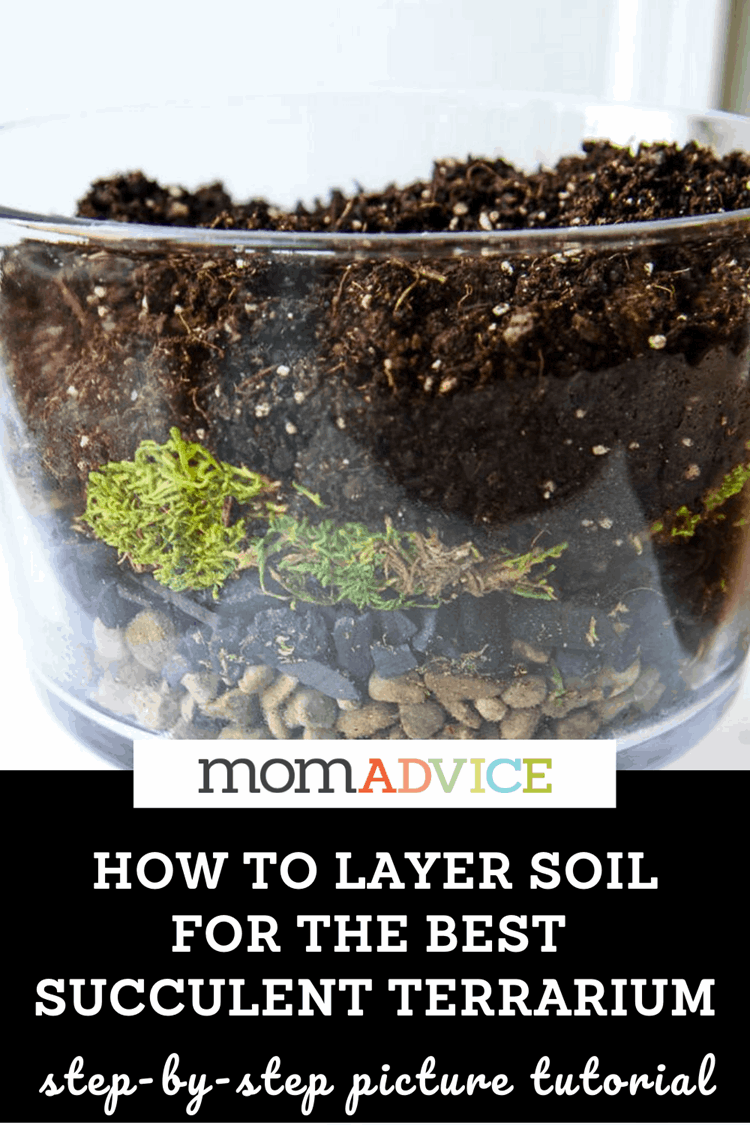
Creating a terrarium is a lot like creating a layered cake or trifle so that is why I thought this container was so fitting!
Directions
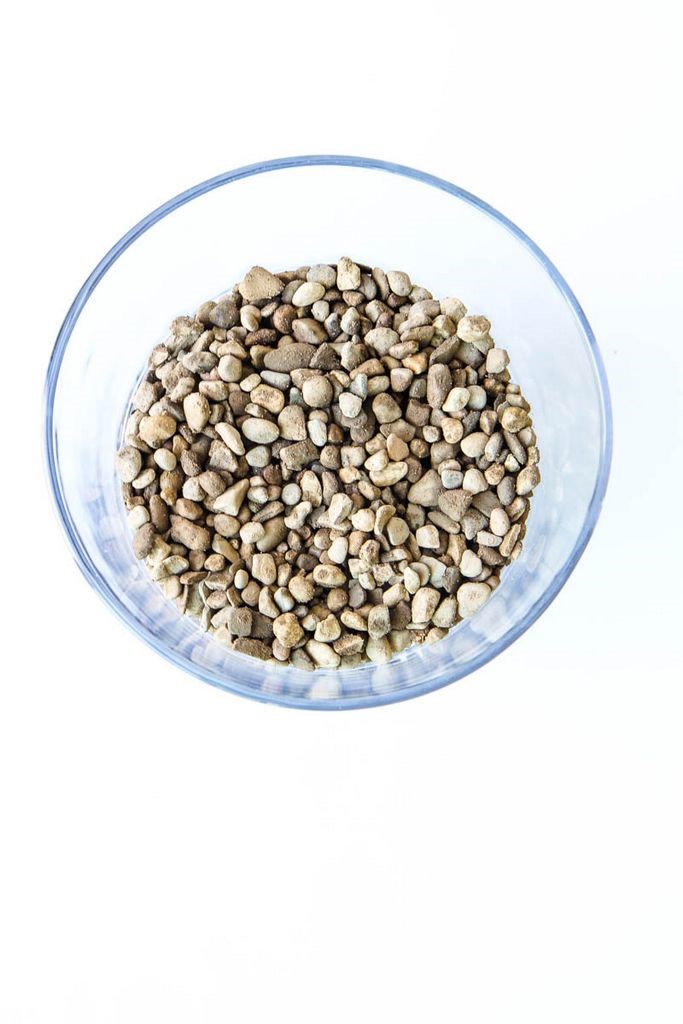
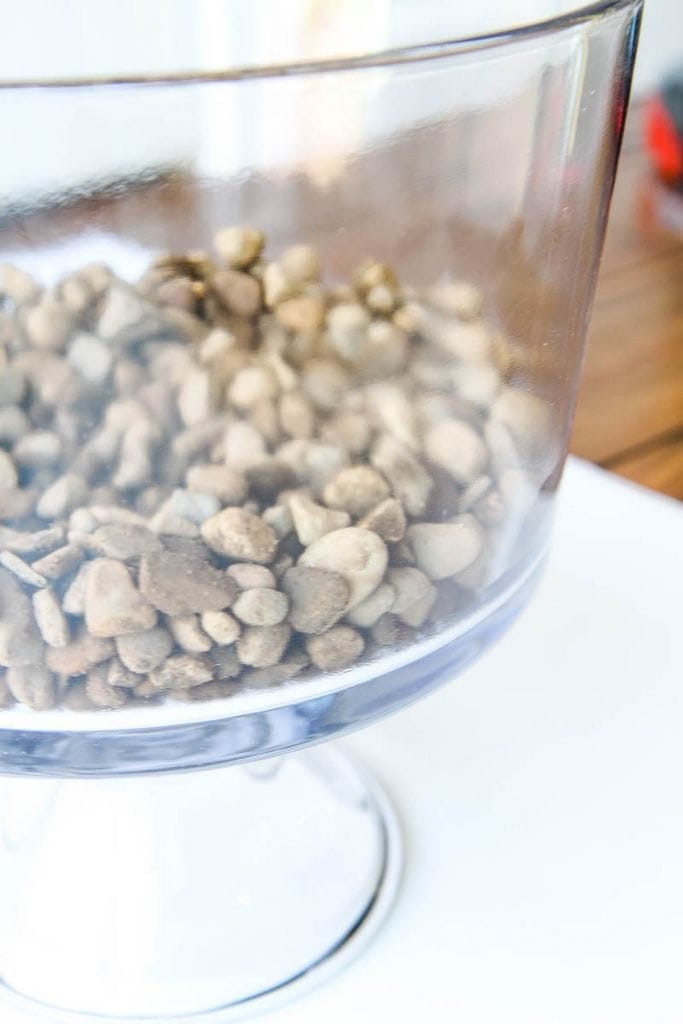
1. Begin by adding your pebbles to the bottom of your container. This is to create a false drainage layer so water can settle and not flood the plants. You will want to add one inch to two inches of stone, depending on the size of your container.
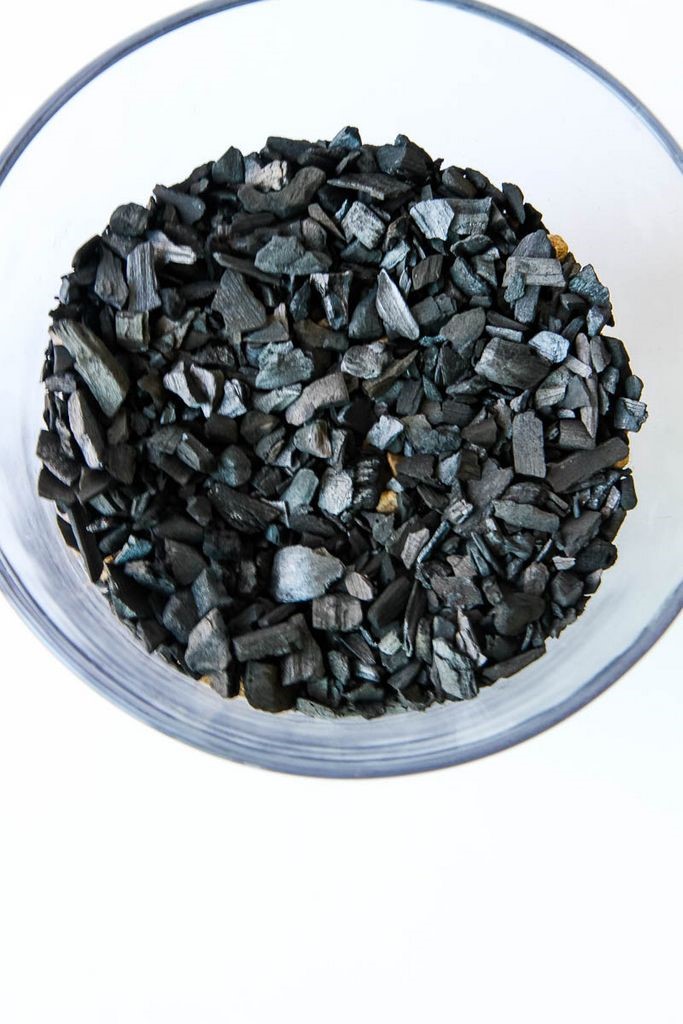
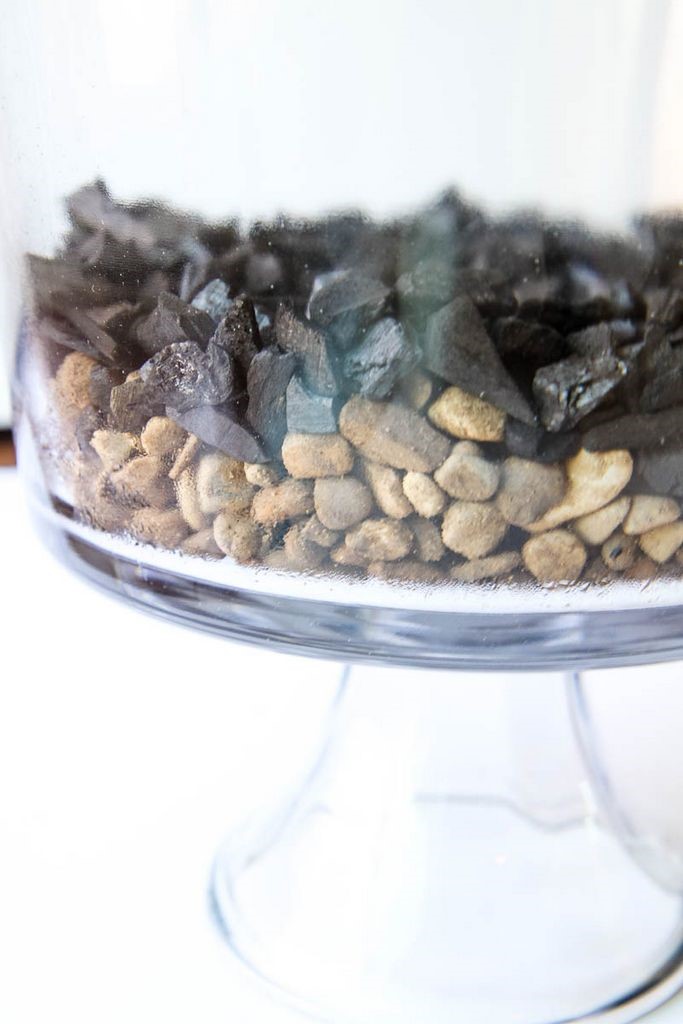
2. Next, we will layer our activated charcoal or perlite. The charcoal can come in granules or shards (the type I am using is shards). We will spread a layer of this over the rock to help reduce bacteria, fungus, and odors in our terrarium.
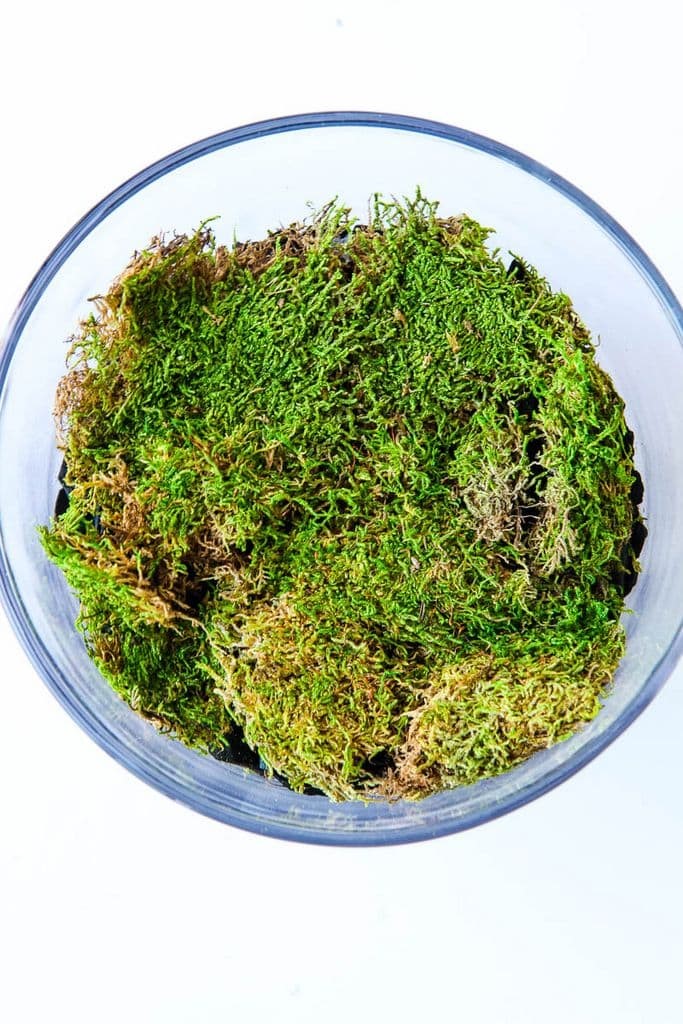
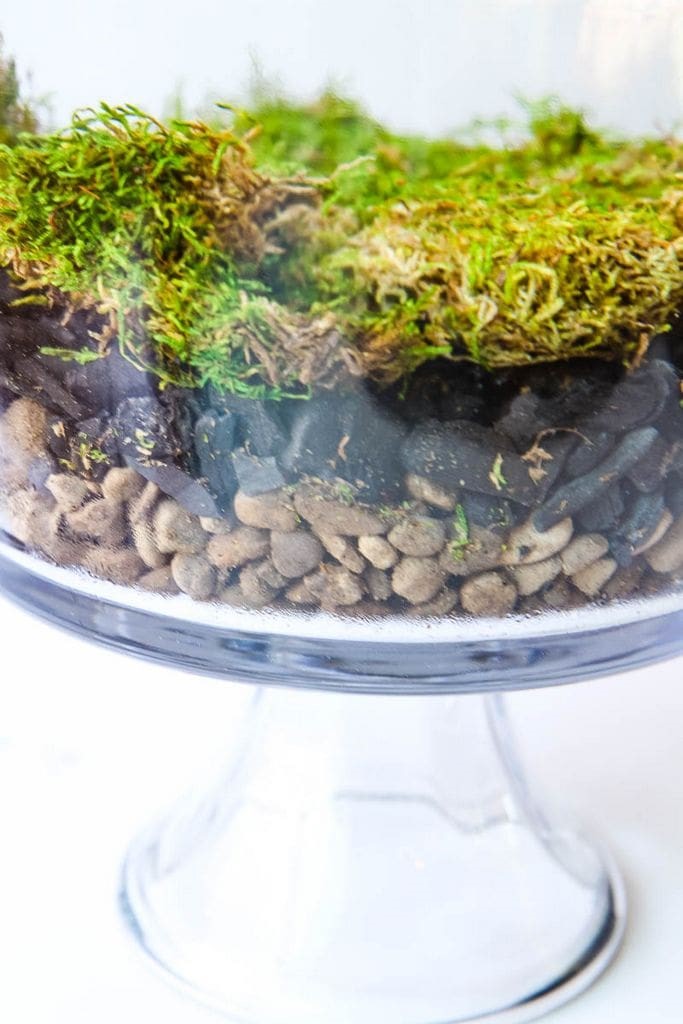
3. Next add a layer of moss to create a barrier between the potting soil and charcoal.
4. Prepare your plants for planting by removing them from their pots and loosening up the root ball and exposing the roots. If the roots are particularly long, you can trim them down a bit.
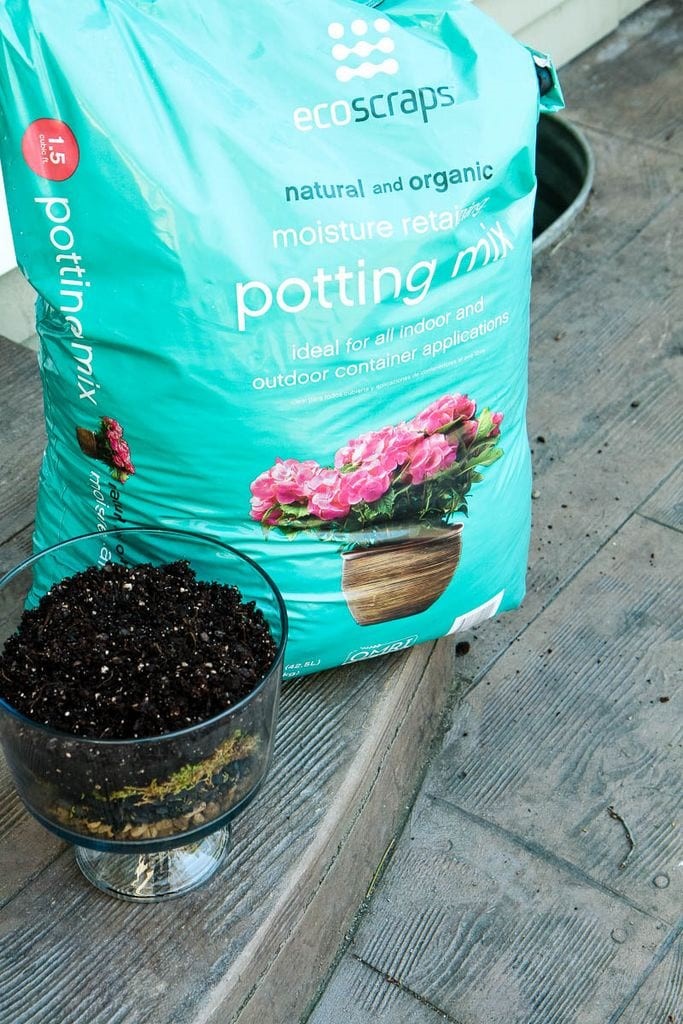
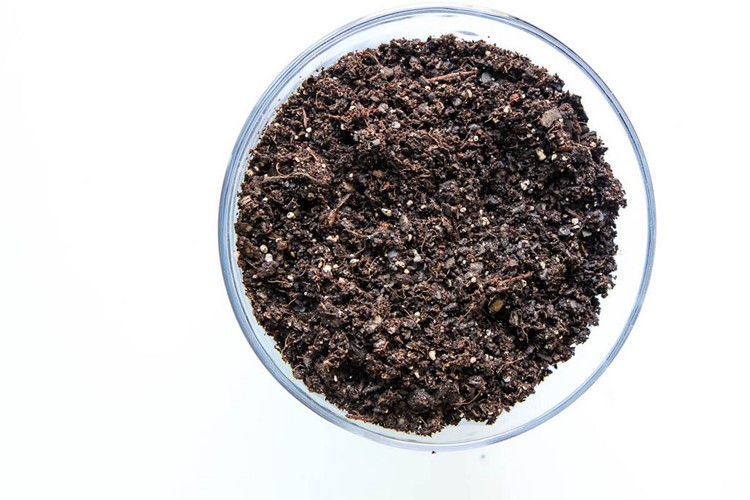
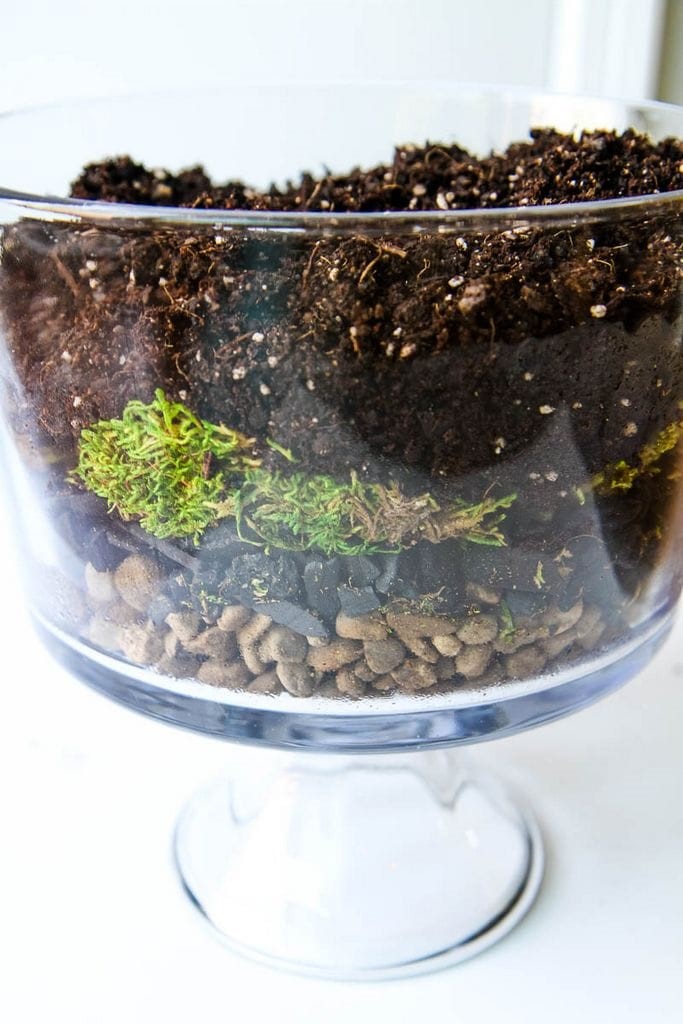
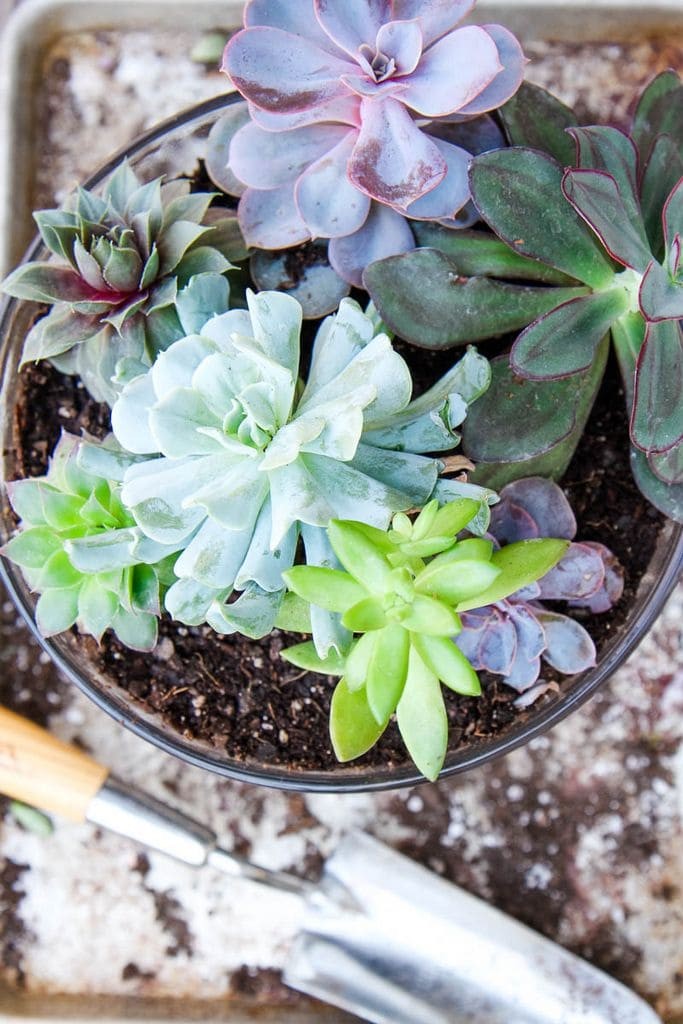
5. Add a layer of dirt to your terrarium. Gently place your plants inside and then top them off with a bit more dirt, using your hands to gather the dirt firmly into place around each of the plants. Be mindful where you are planting them, mixing up your plants of varying heights and foliage, to fill your jar.
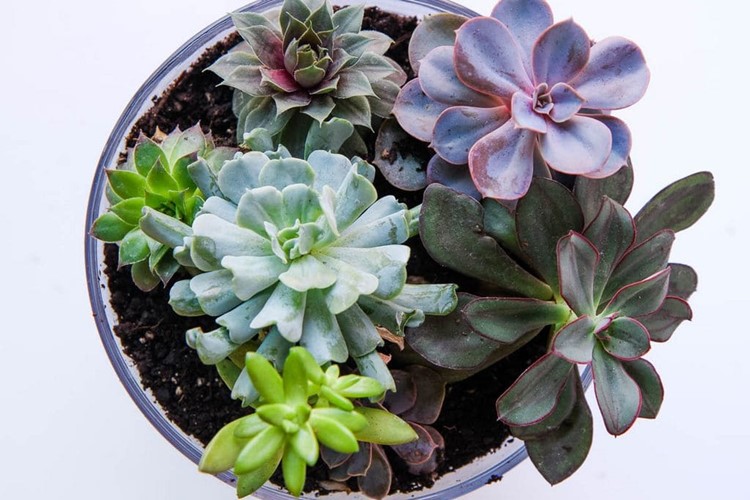
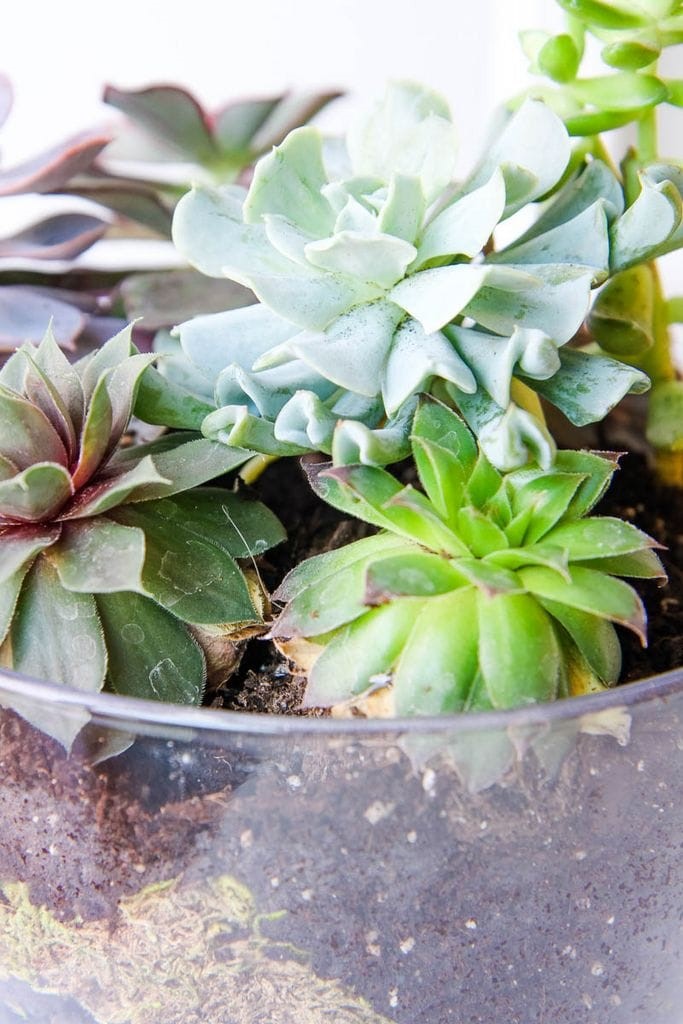
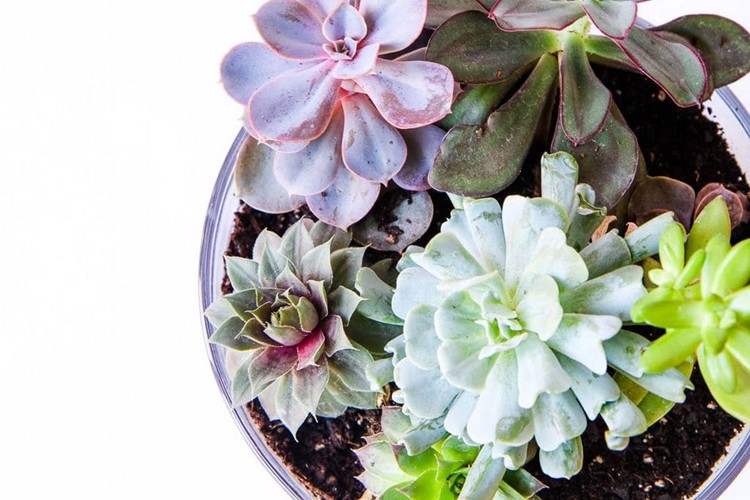
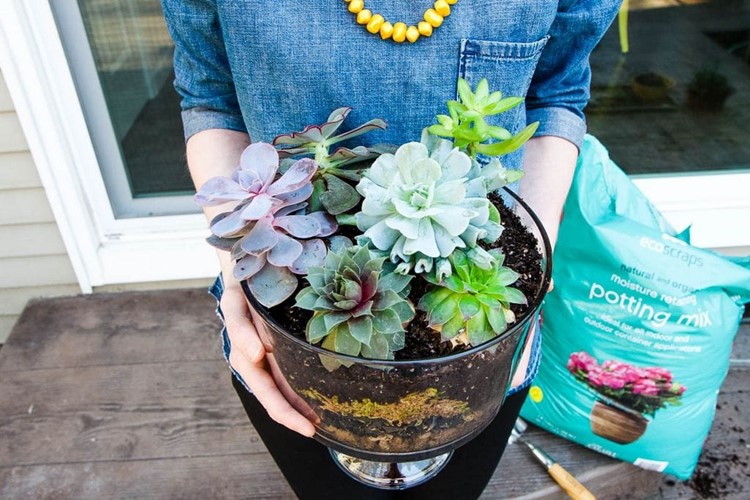

5. Finish by watering your terrarium lightly, being mindful not to overwater it because succulents do not like to be soggy. Caring for your terrarium is easy, especially if you are a terrible gardener like me. I’m so terrible, I put Siri in charge. Feel the soil weekly to see if it is dry and add water if it is.

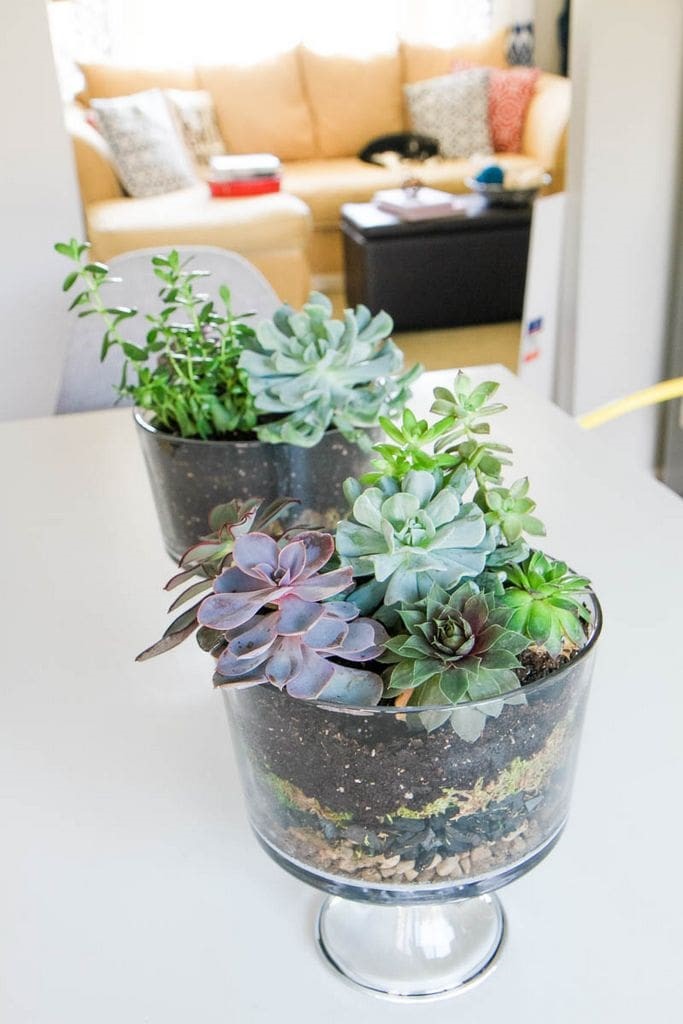
Here is another view of what our terrarium should look like from the side. Make sure to place it in a spot that gets a little sun on their beautiful leaves, but not scorching hot spot in your home.
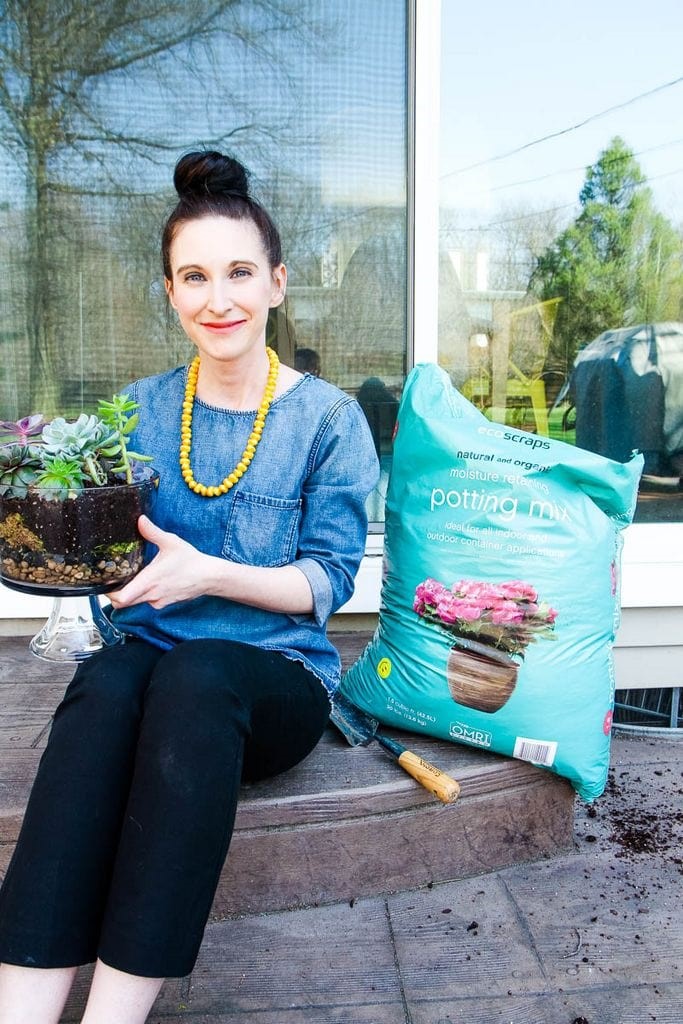
These are beautiful to keep or to give to someone special in your life.
Thank you, EcoScraps, for letting me share about your amazing mission to reduce food waste in a really wonderful way.
I hope you guys can try their products!
This post was sponsored by EcoScraps.Thank you for supporting the sponsors that help support our site!
This post contains affiliate links.
Don’t miss these other great spring project posts on MomAdvice.com:
Happy Gardening Friends!
Pin It