Archive for the ‘DIY’ Category

DIY Command Center (For Small Spaces)

Tuesday, January 29th, 2013

Small spaces often come with big organizational challenges. When you don’t have spare closets, only have minimal wall space, and struggle with tiny rooms, creating a DIY command center for your home can be a challenge. Today’s tutorial offers some quick ideas for creating your own DIY Command Center in your home.

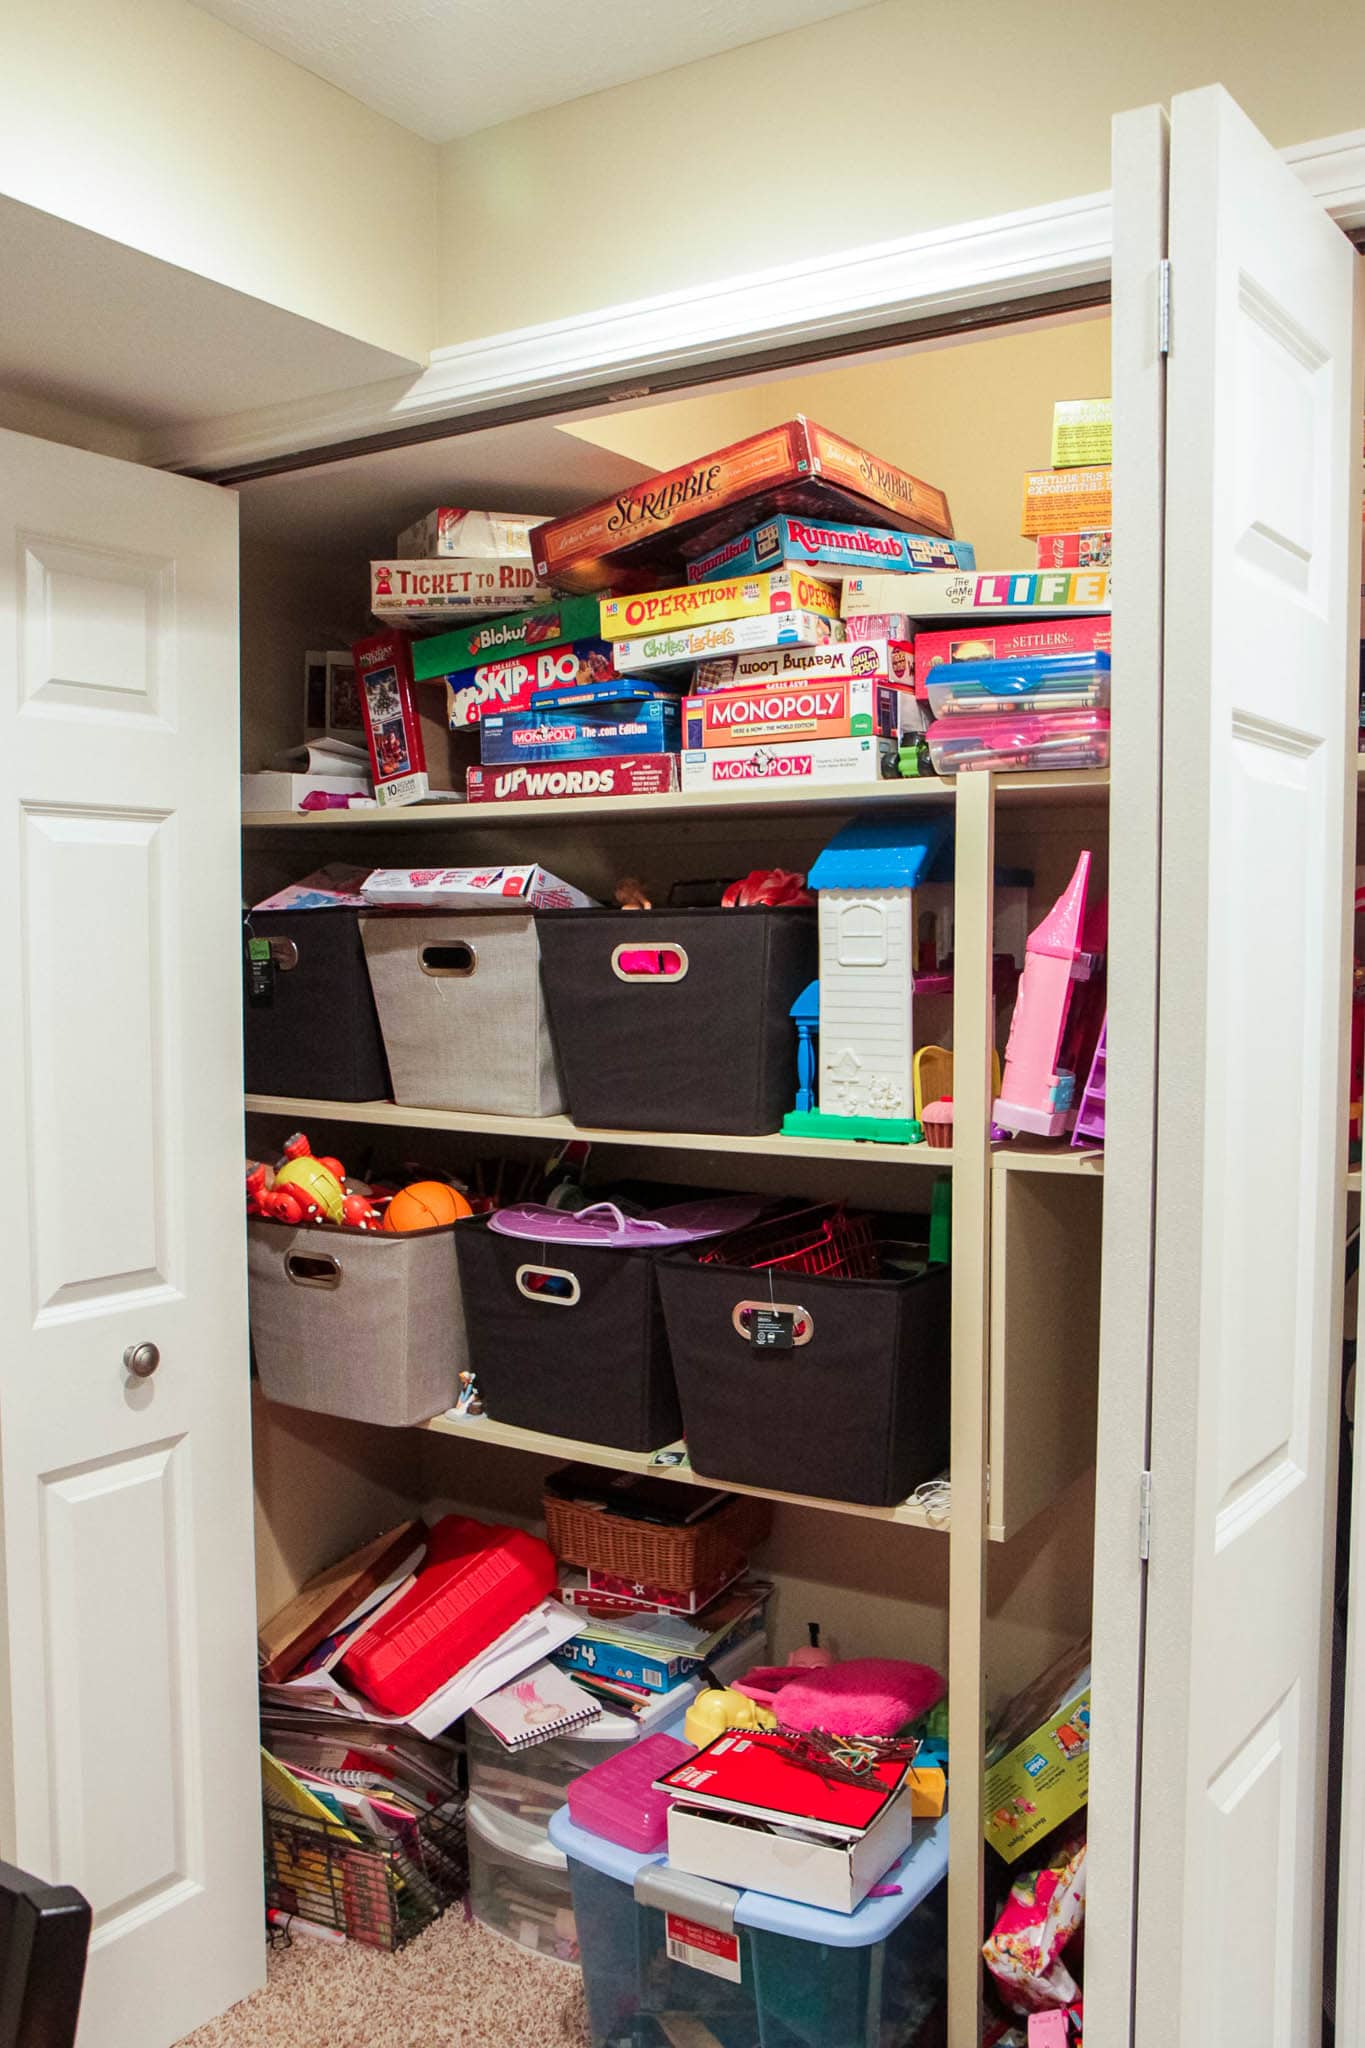
Here is what I have been struggling with in this corner of my home. The kids were driving me crazy when they came home from school because they would immediately dump everything in this corner and throw their papers all over my kitchen counter when they got home.

The real question is were they really driving me crazy or was it because they really didn’t have a place that they could call their own?

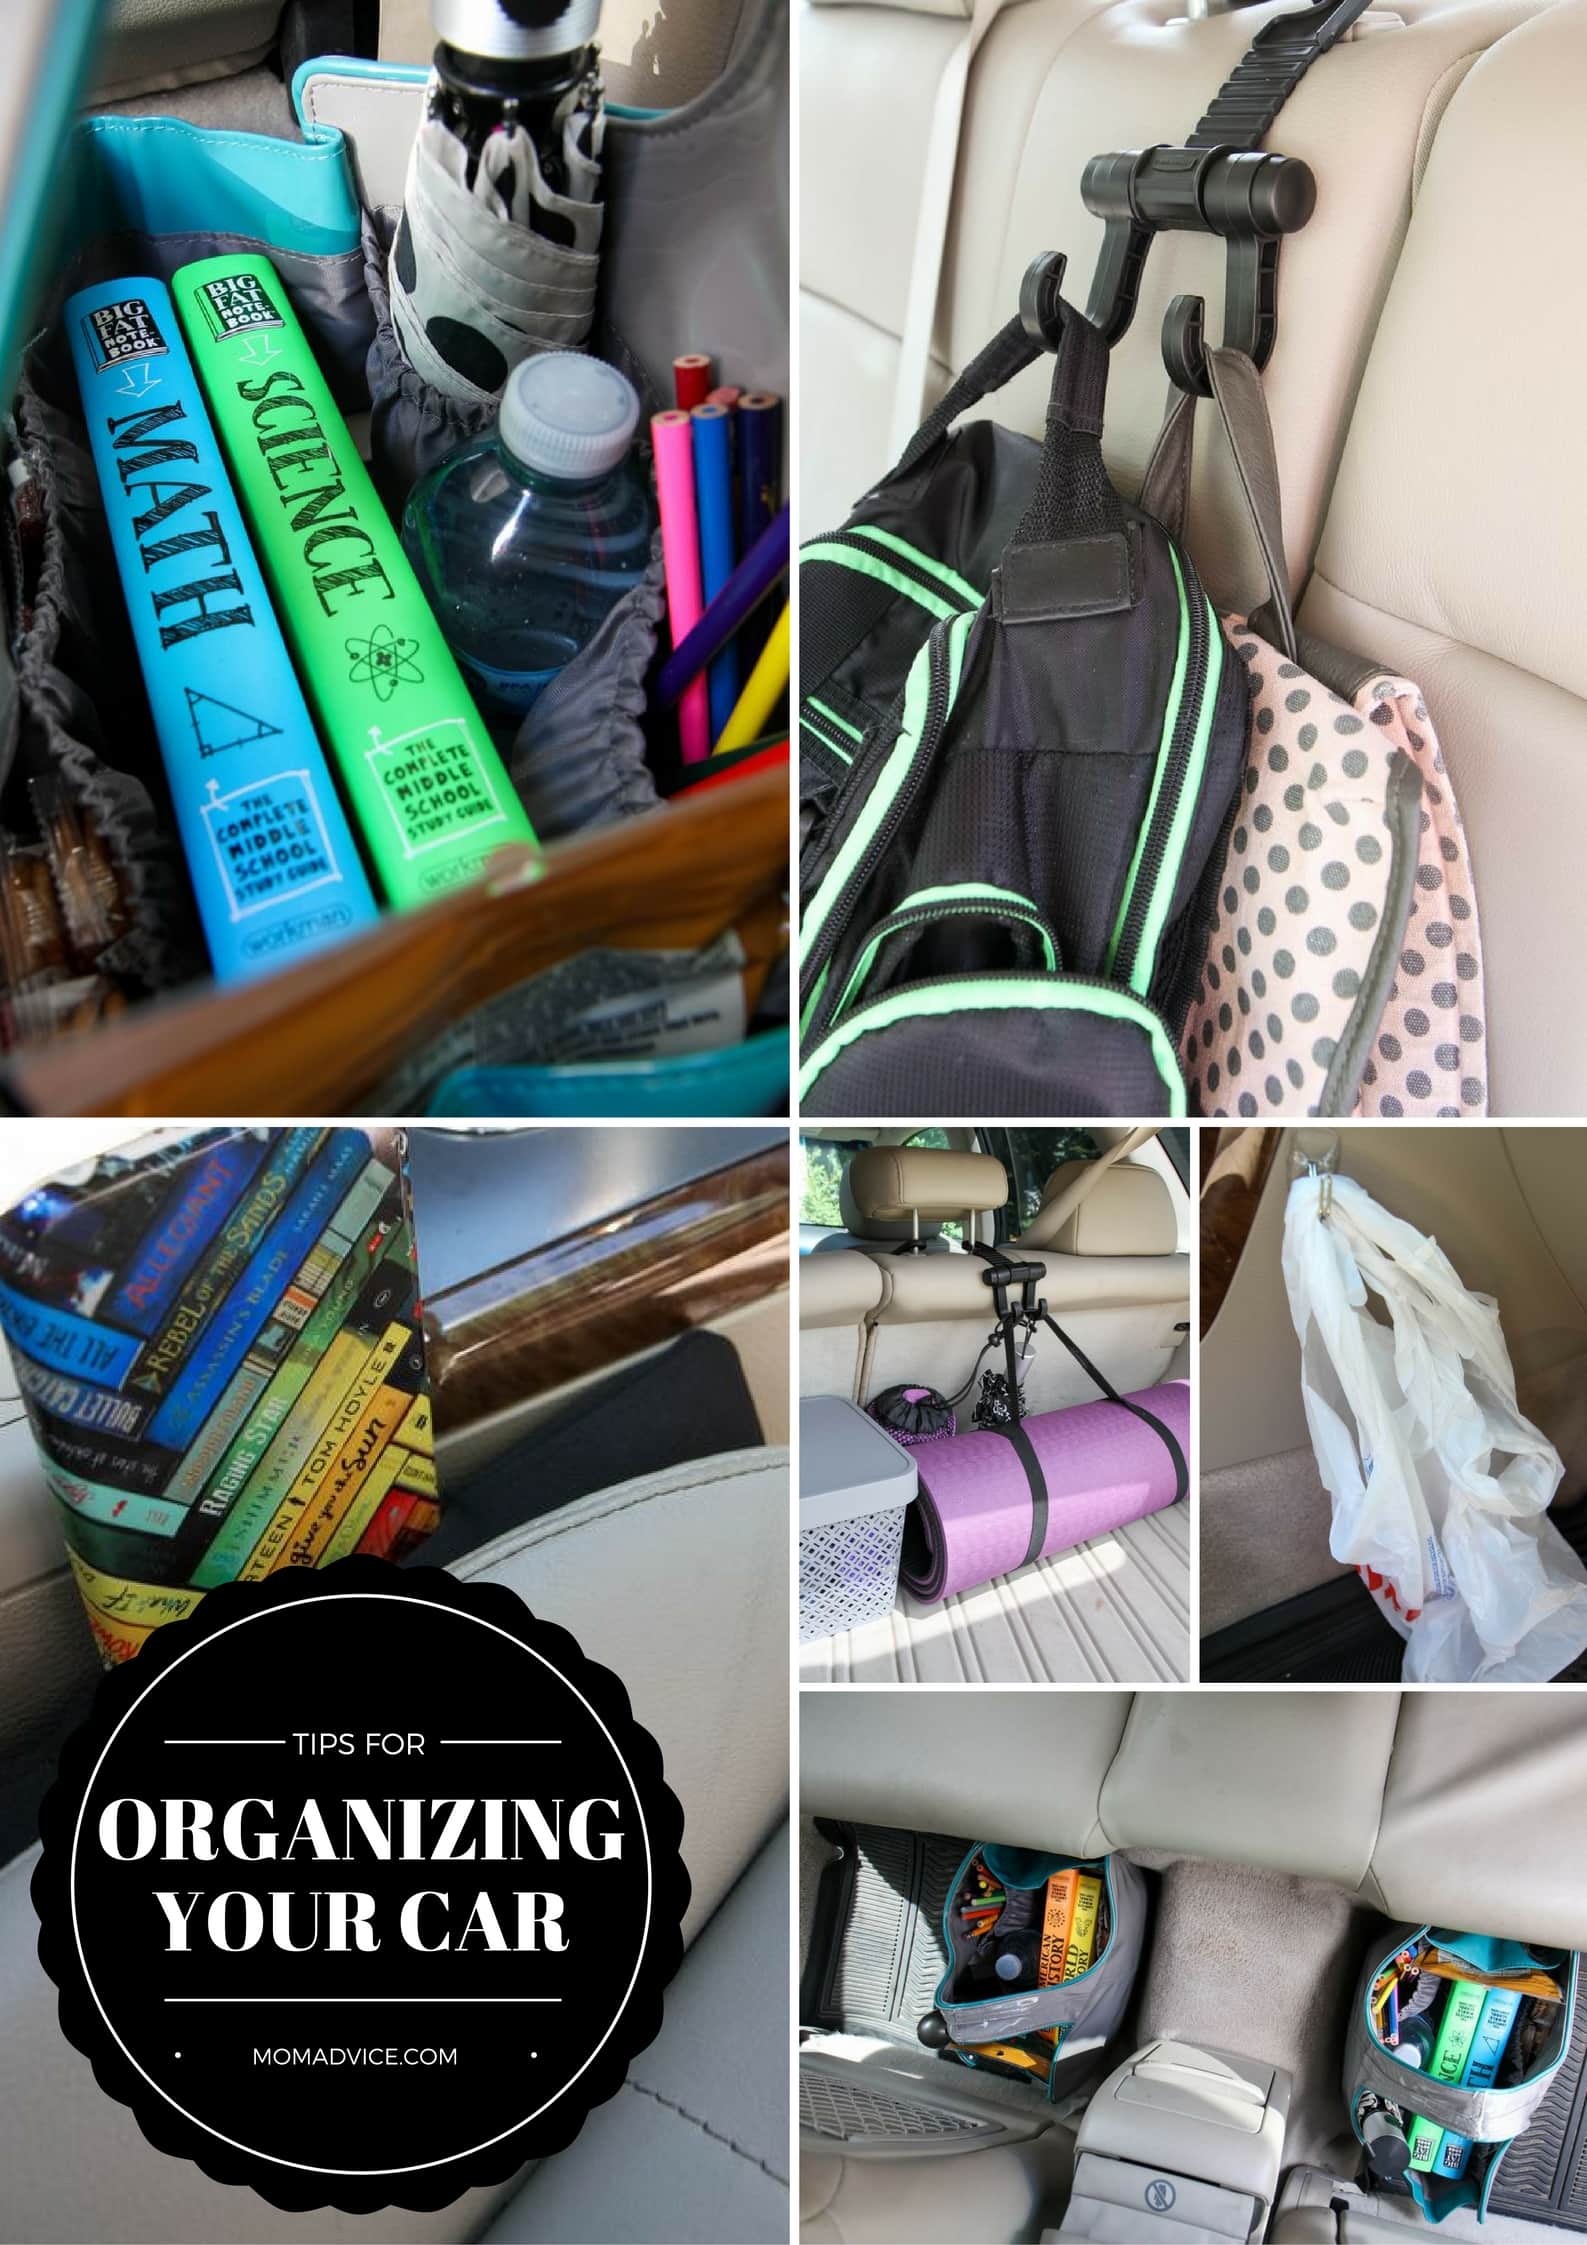
The coat rack in our entry was too high for them to reach, there was nowhere for their backpacks to go, and the paper situation needed a designated spot other than on top of my kitchen counter while I am trying to prepare the family dinner.

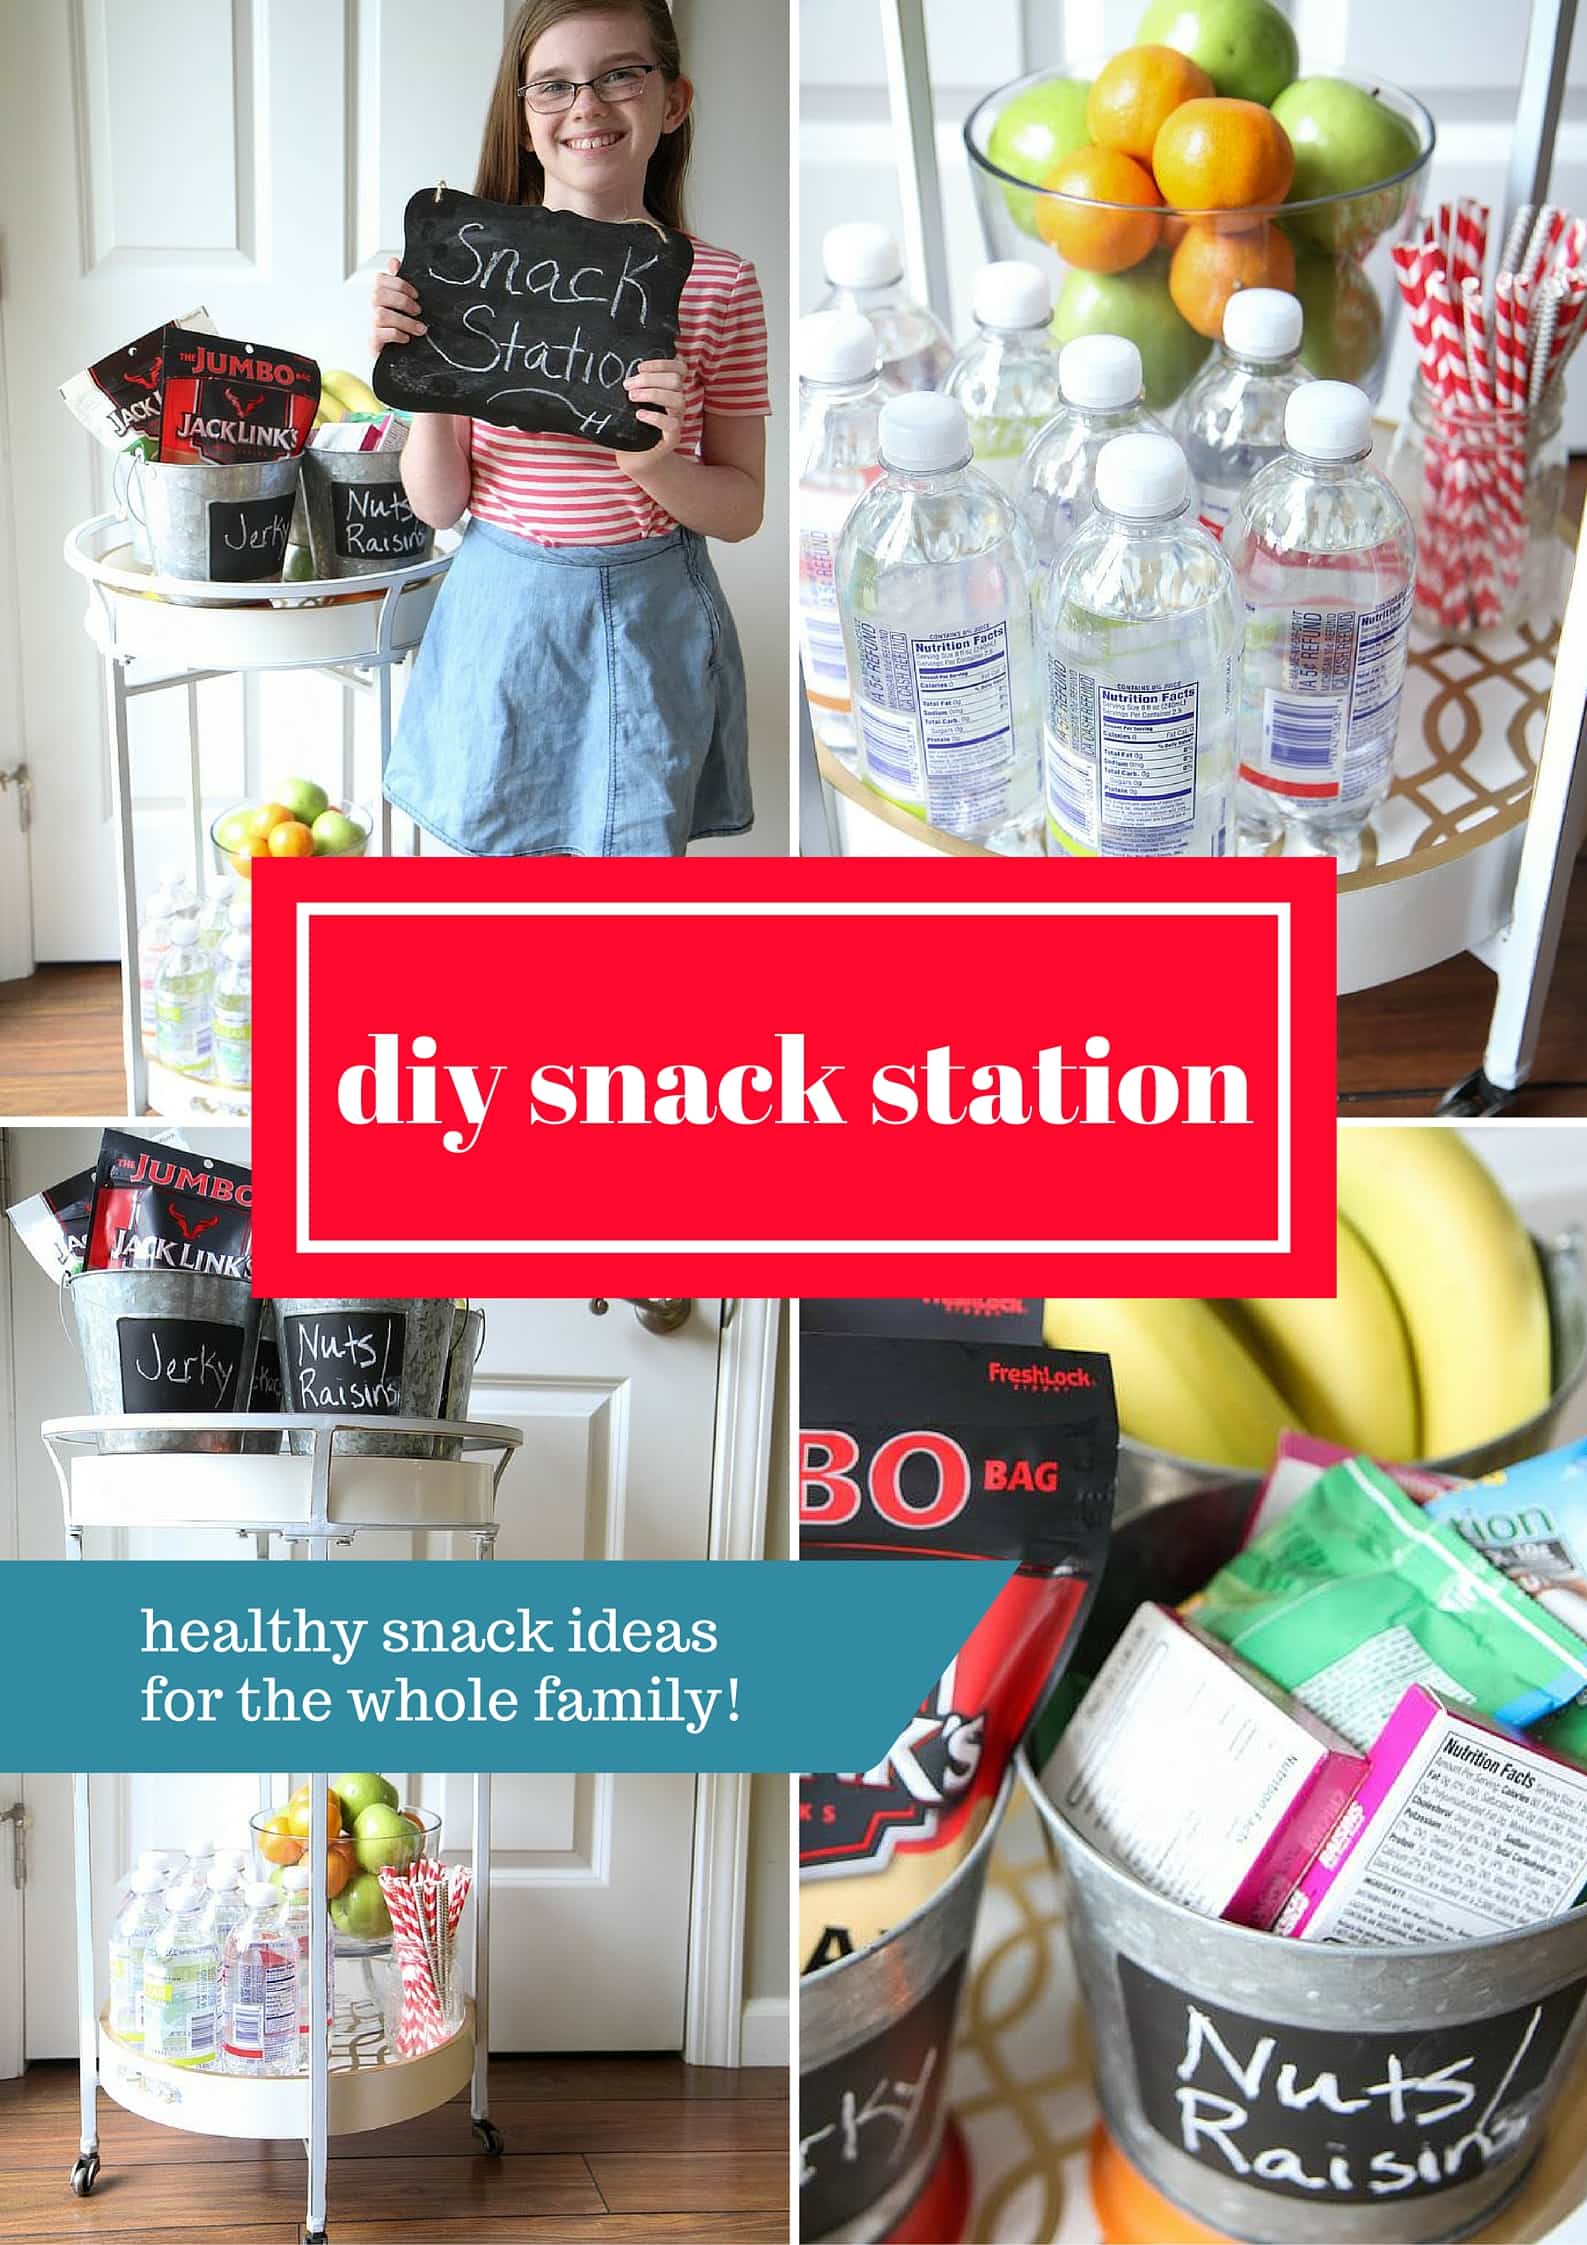
I headed to our local Walmart to see what organizational tools I could find and was excited to discover the perfect solution for our little corner. I found this Mainstays Pub Mirror ($22.96) for our kids to use for their coats over in the home decor section of the store. In the closet organization section, I found a Mainstays Seagrass Basket ($12.99) for storing our magazines and umbrellas.

A seldom used storage ottoman was moved underneath for housing the backpack and briefcase clutter and also offers one of my children an extra little boost to climb up and put her backpack away.

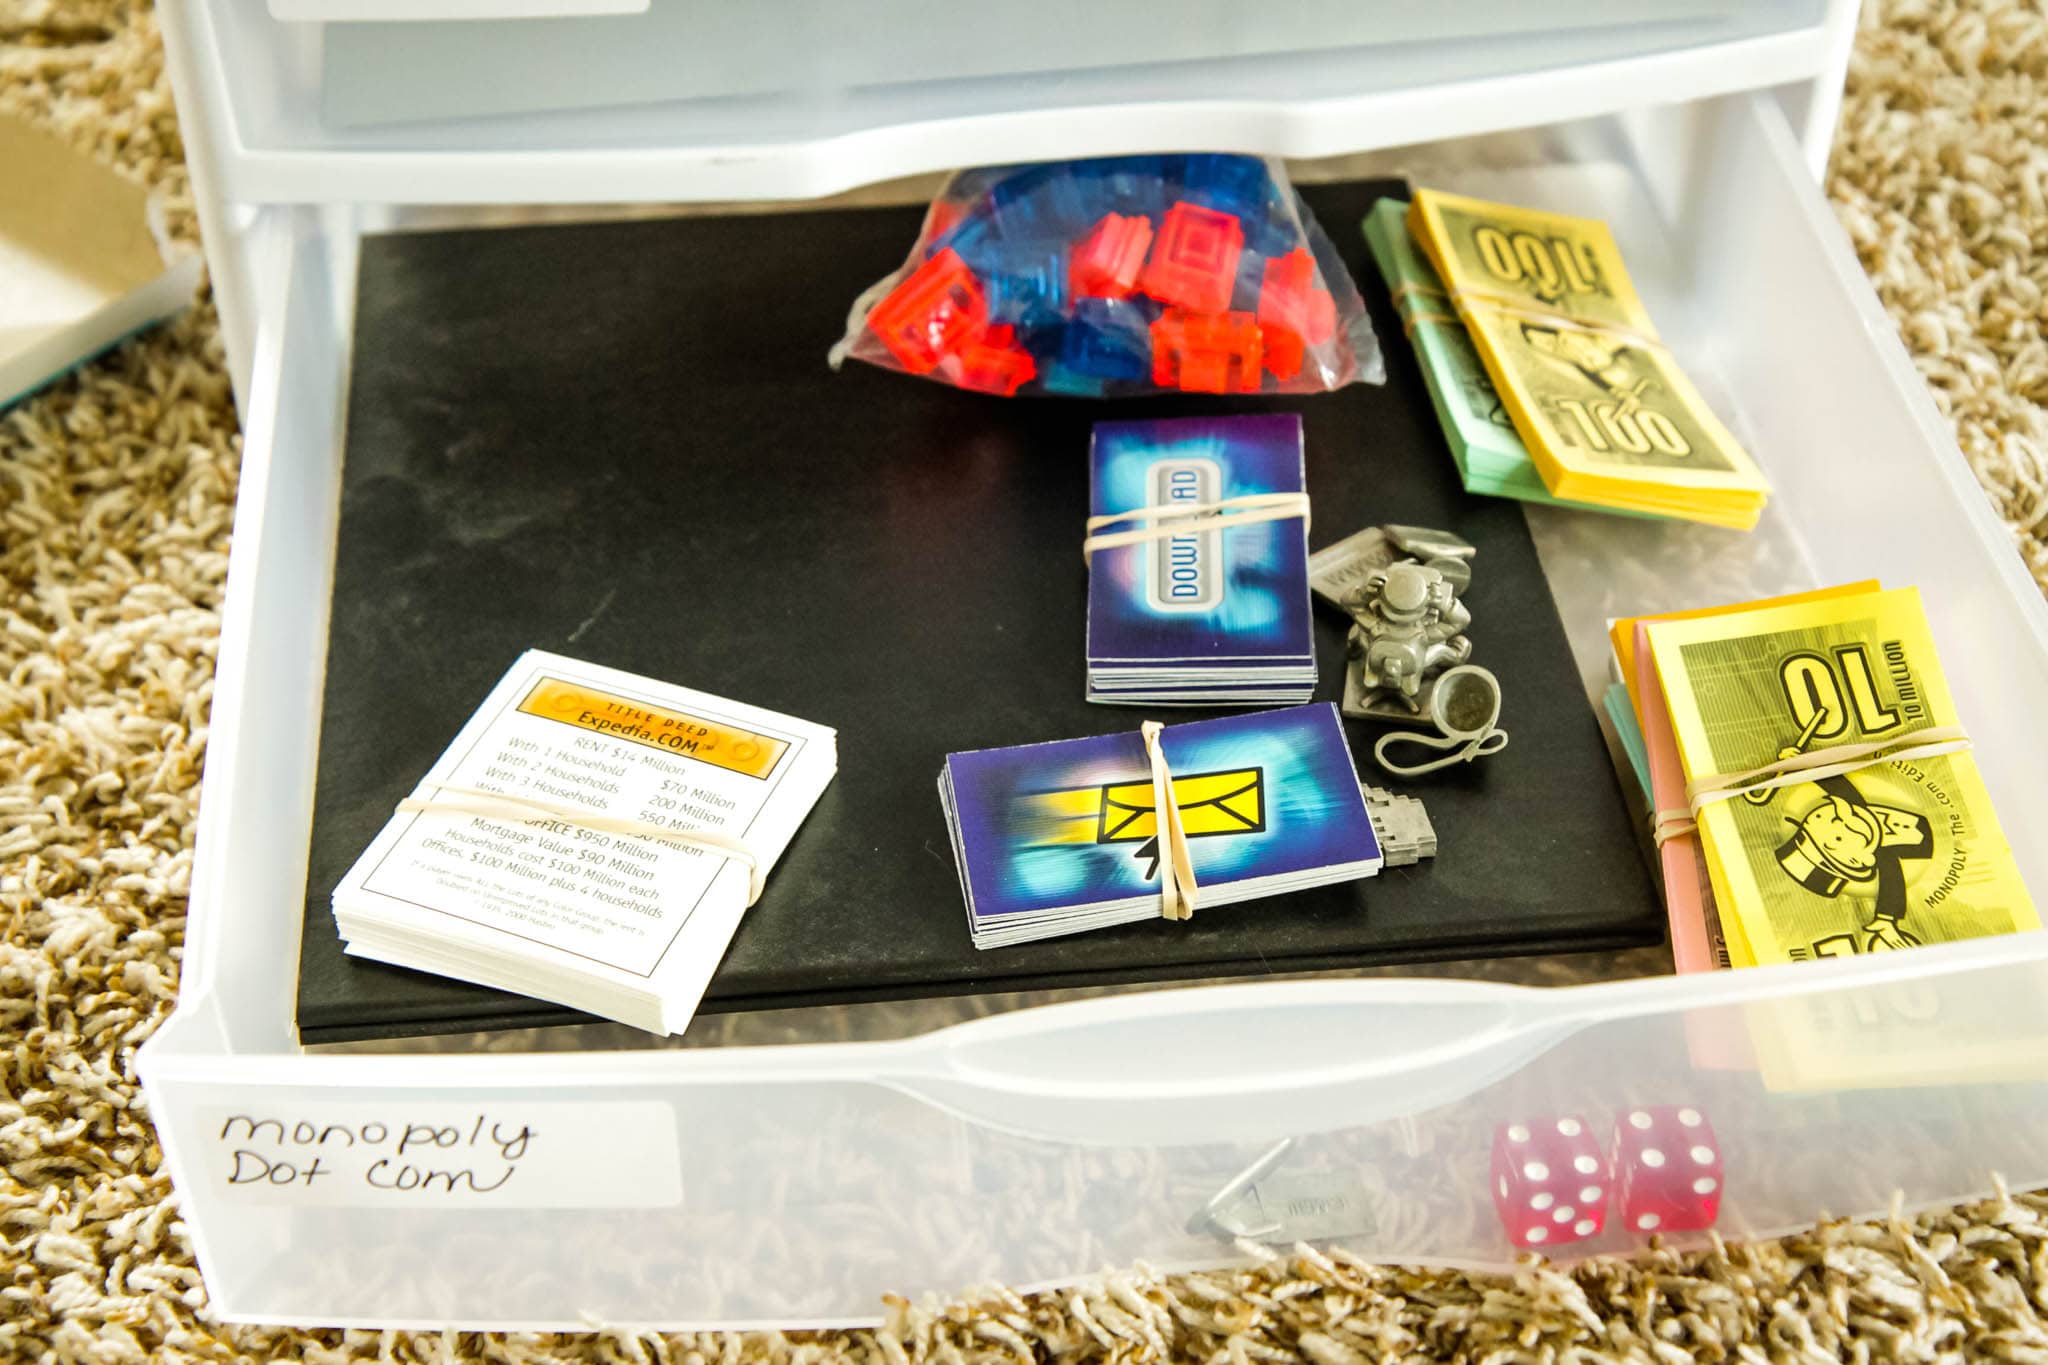
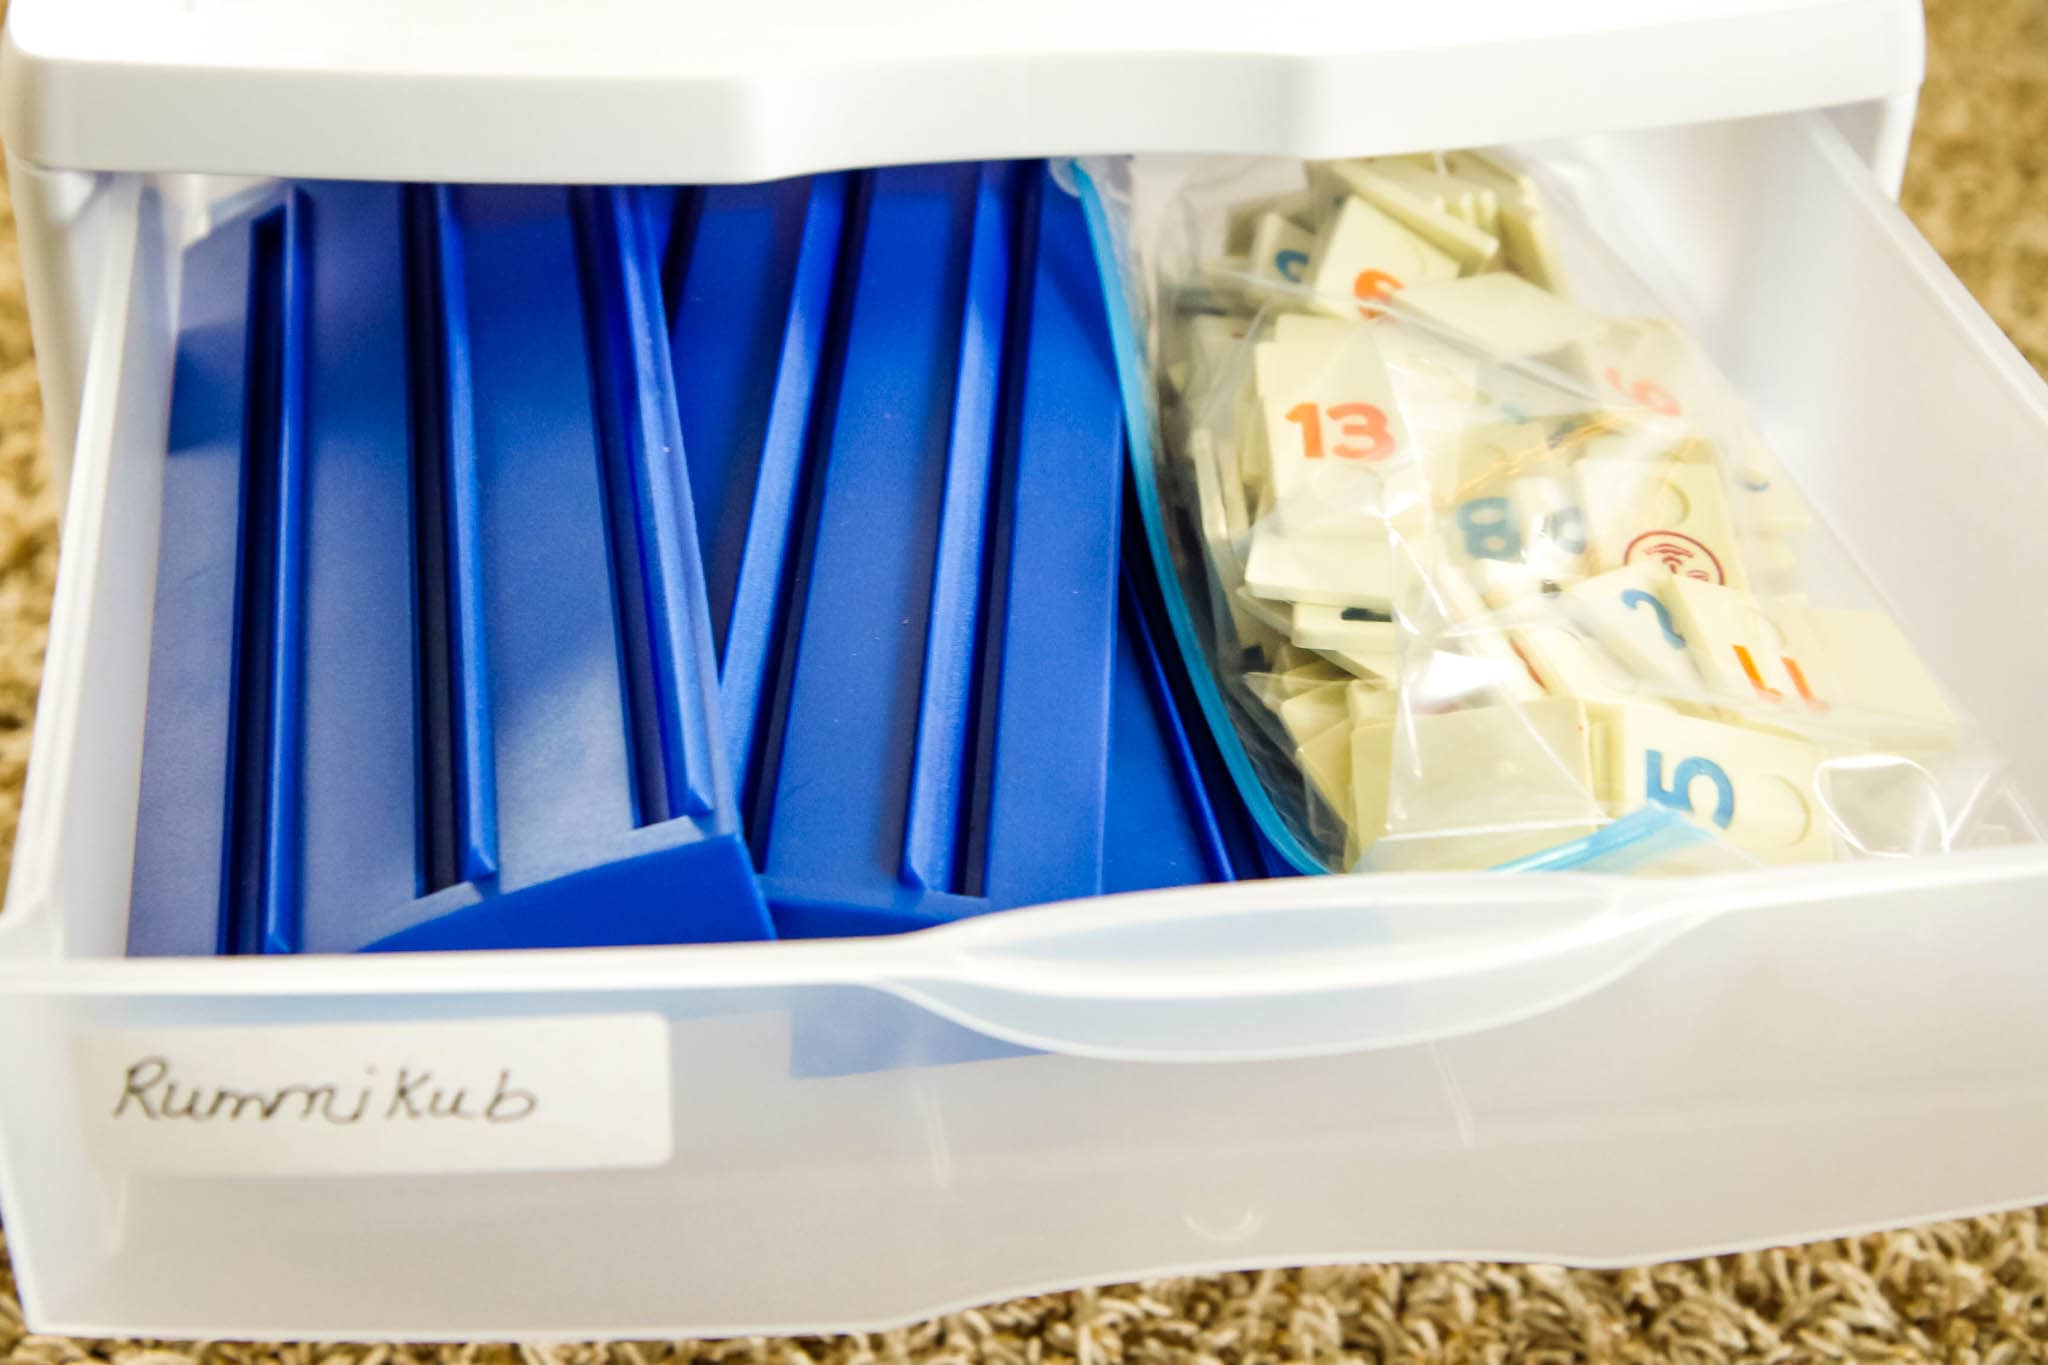
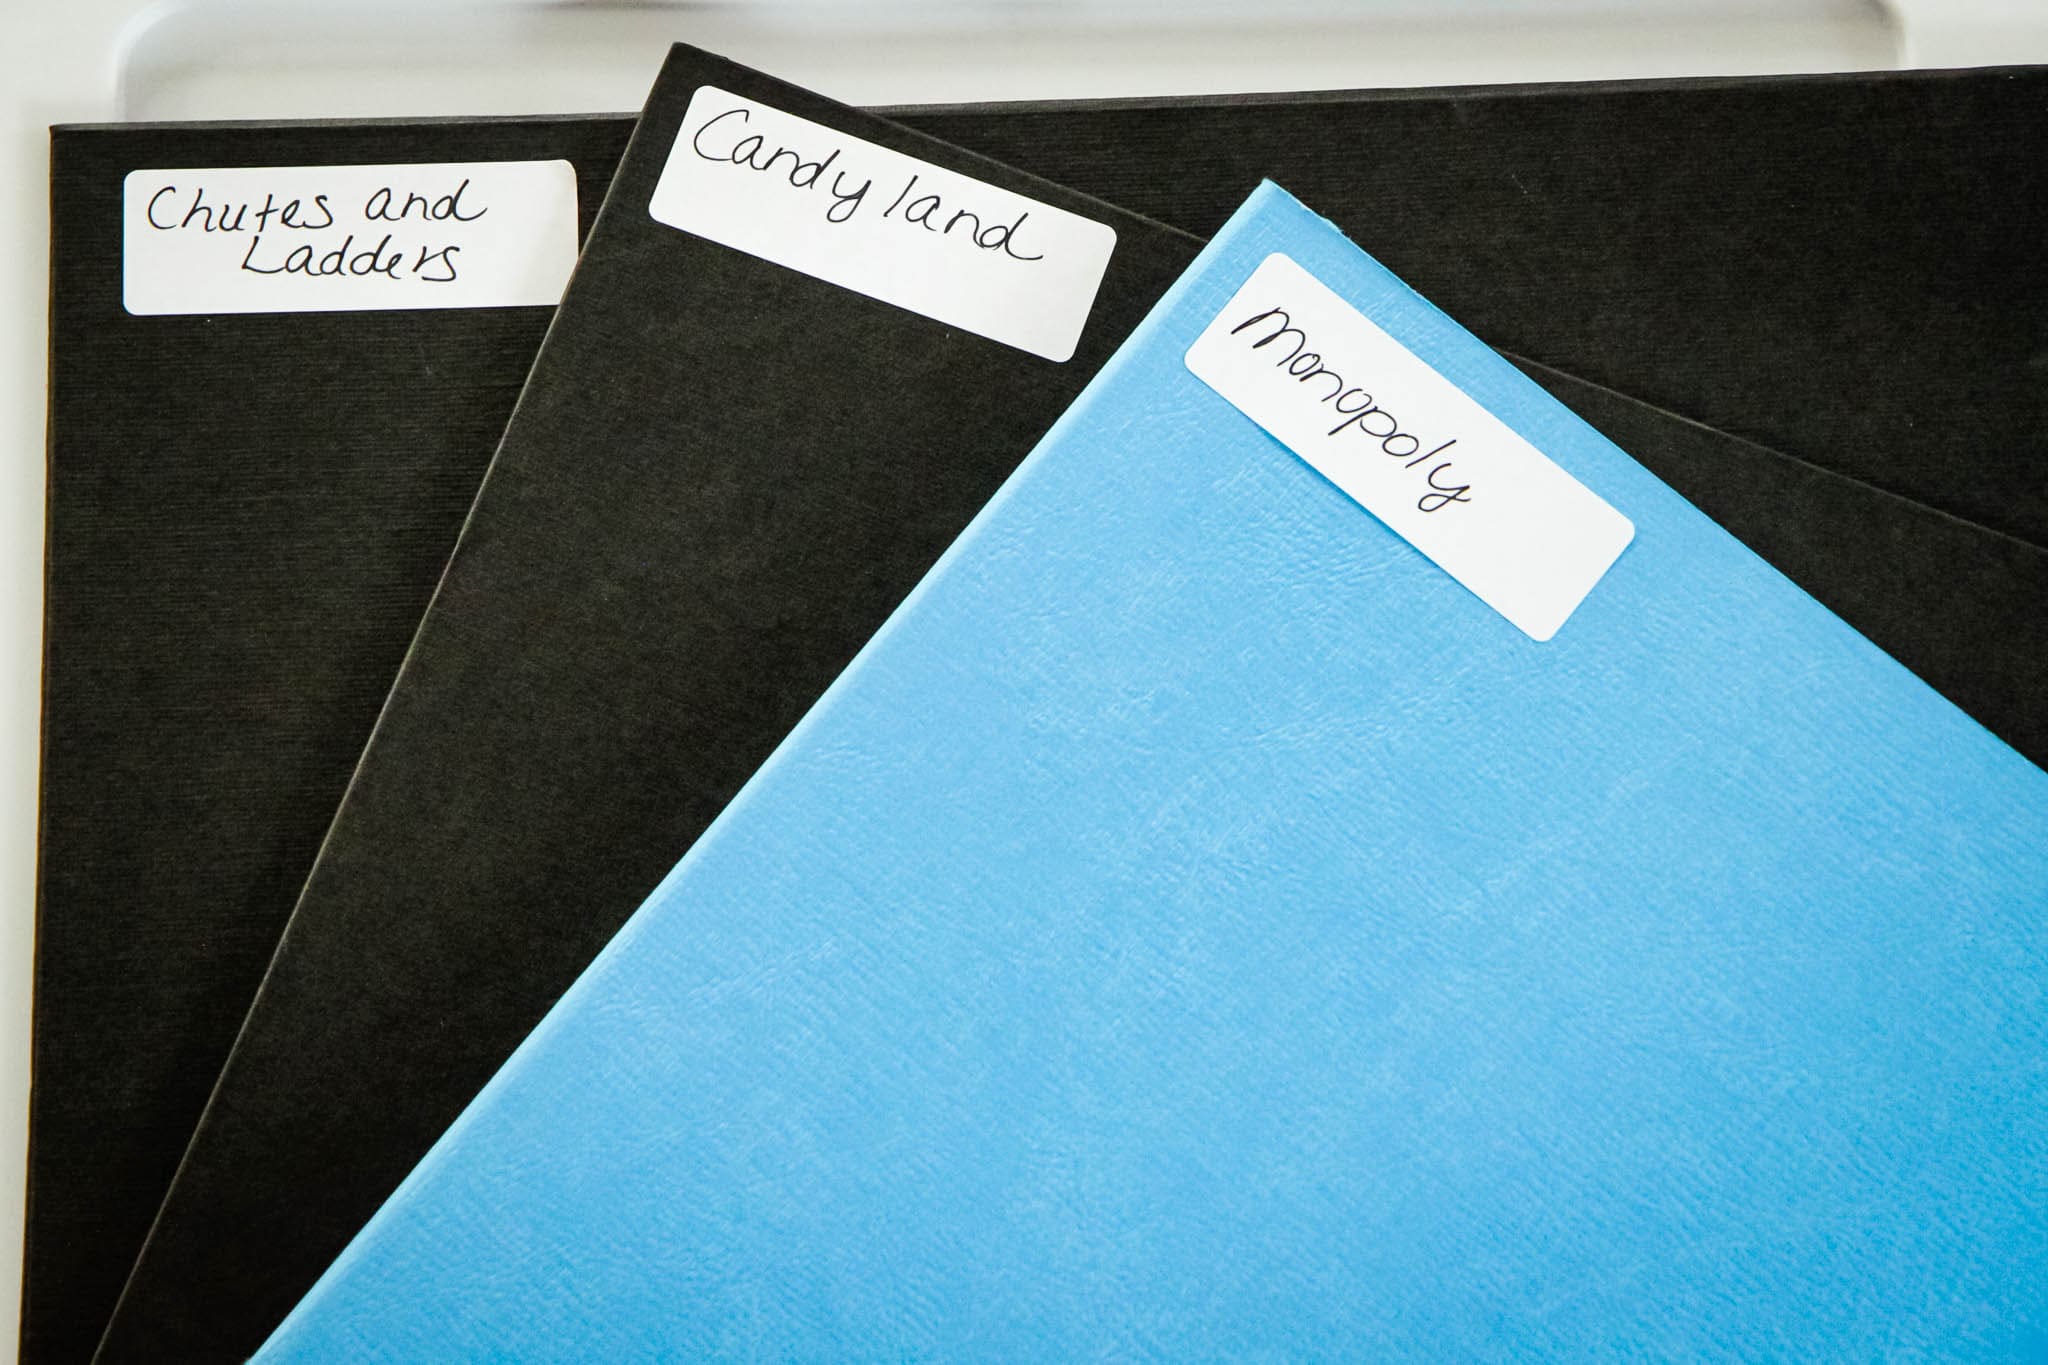
Since paper clutter was quickly becoming out of control, I found an upright file folder organizer and colorful file folders for organizing the whole family. The kids each now have an IN and OUT folder. If they need something signed, they put it in the IN folder for me for signatures and I give it back to them by putting those items in the OUT folder, that they can check before they leave for school. Special memorabilia that is worth saving still resides in their decorative boxes in their rooms.

This small compartment organizer for keys, sunglasses, and other things that seem to get misplaced rests on this half moon table for easy finding and grabbing in the morning. Above this table is our family calendar so we can keep track of important events. Just like every other family I know, the calendar is filled to the brim and we have a lot to keep track of these days.

We moved our clock to the other wall  and I decided to add a frame to this wall with some new art work. I found this awesome free printable (literally) over on the Funky Polkadot Giraffe. I printed it on cardstock at home (free) and then framed it in this Canopy picture frame that already included a matte.  I really love how this turned out and that it adds another fun decorating addition to our walls.

This room has been going through a bit of a transformation now that we are finally figuring out what we really love and are starting to get our own sense of style.  We gave our glider chair to our in-laws, sold our two checked chairs through a community Facebook group, and donated our old couch. We kept the same neutral color on the walls, but decided to update our accessories and add some much needed furniture back into this room.

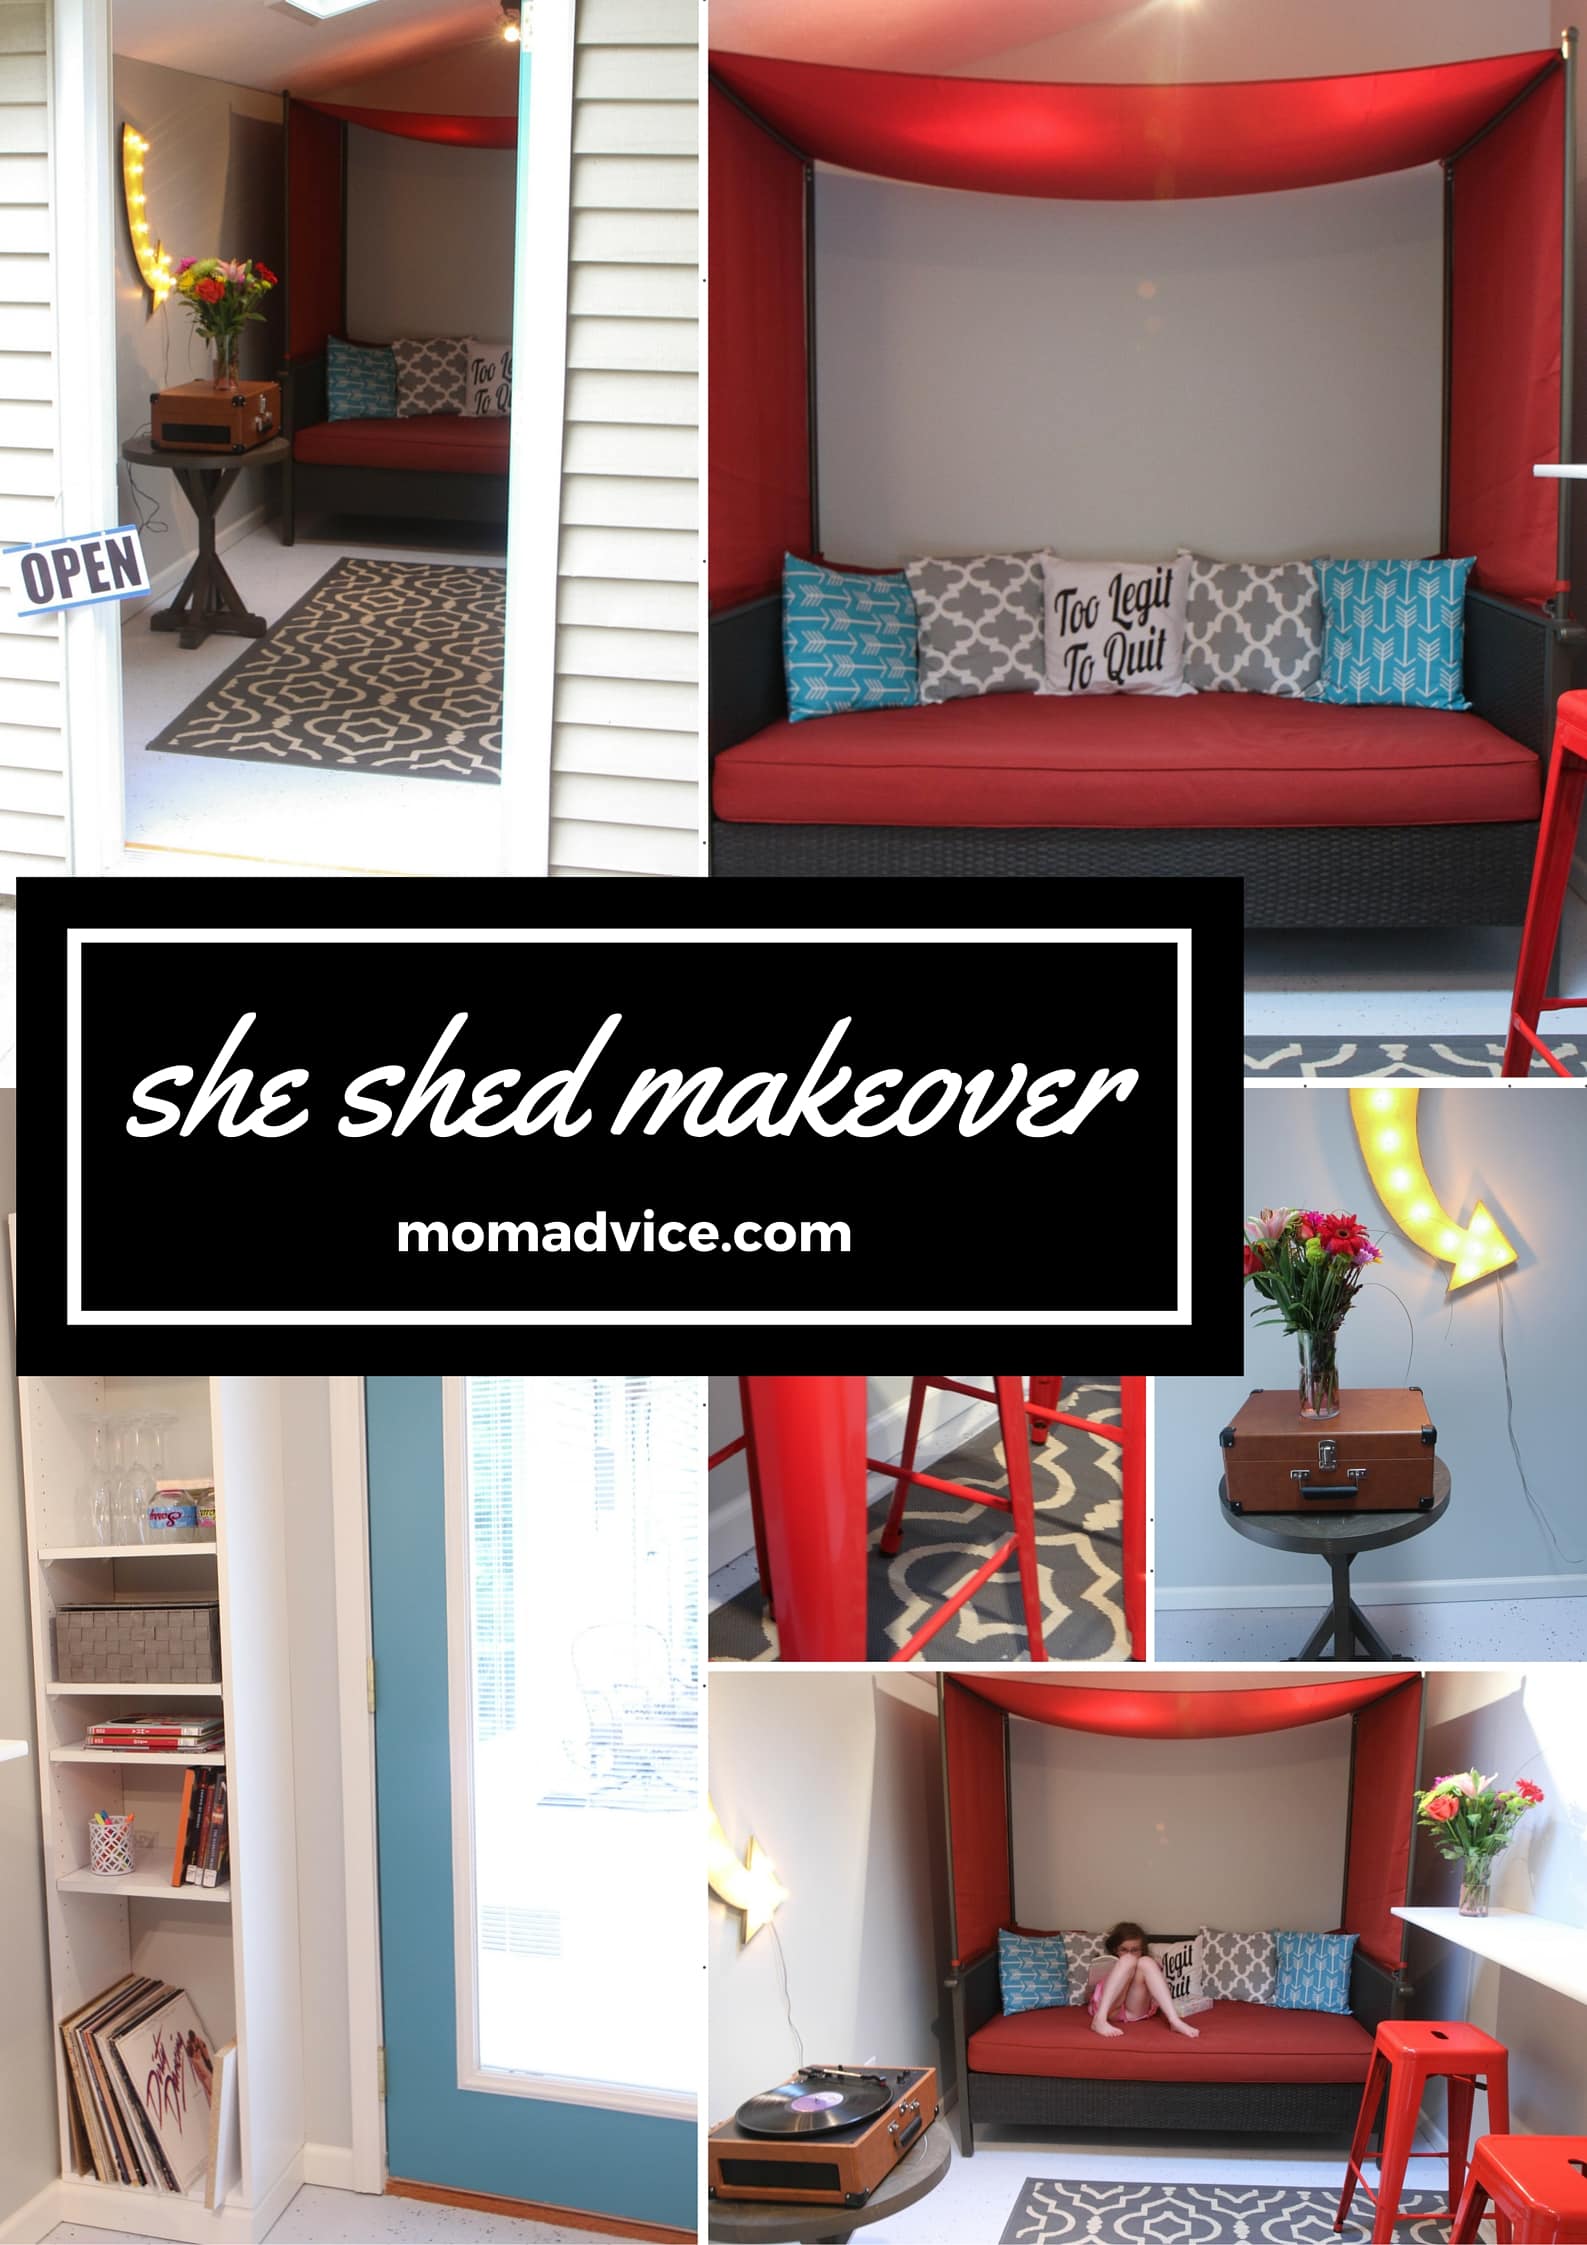
This is my absolute favorite room in our house. It has replaced my other favorite room in our house (our home office) thanks to the addition of the record player, the comfy chair that I found on deep clearance at a furniture store, and I just love the nautical feel of this room which makes me oh-so-happy!

Now that we have a Command Center, albeit a small one, this room now makes me even happier and renews my commitment that even if you have a small home, you can make any space a functional space for your family. As our reminder to our commitment to enjoy living small, I added this print to our wall. It makes me happy every time I come down the stairs and reminds me of what is important.

Small homes do come with challenges, but they also come with many rewards!

Do you have a command center in your home? How do you organize the after school chaos? Feel free to share here!


Pin It

DIY Rosette Bib Necklace Tutorial: Valentine’s Day Link-Up Party Fun

Monday, January 28th, 2013

Valentine’s Day is just around the corner and today I wanted to show you how to dress up a plain t-shirt with a DIY Rosette Bib Necklace. This tutorial for a DIY Rosette Bib Necklace will help you make a pretty piece of inexpensive jewelry that you can wear year after year to spice up an item you already have in your wardrobe for Valentine’s Day.

Supplies Needed

A simple chain or bead necklace (in the jewelry supplies)

Jewelry cutting tools (if needed to trim the sizing of your chain)
Fabric (you can use scrap fabric or buy inexpensive fabric quarters)
Felt
Hot Glue Gun & Glue Sticks
Scissors
Blow Dryer
Tweezers

Editor’s Note:I found my supplies at Walmart because I was already at that store shopping and they cost approximately $5 (if you don’t count buying jewelry cutting/shaping tools, hot glue gun, or scissors which I already owned).

1. Begin by measuring and cutting 5 strips of fabric into 1 1/2″ strips. The length can be determined by you. I used the length of the fabric quarters that I bought for this size rosette, but you can adjust to the sizing of your choice. I chose two different fabric prints for mine, but you can certainly do all the same color, if you prefer!

2. Add a knot to the end of your fabric to begin the start of your rolled rosette.

3. Begin twisting your fabric, adding small dabs of hot glue to hold the twisted rosette in place. Keep twisting and dabbing with glue until you get almost to the end of your fabric or until you reach your desired sizing.

4. With the end flap of your fabric, add a dot of hot glue to the back of your rosette, and then fold it behind to secure it in place.

5. If you have any gobs of hot glue (which is very easy to see with plain fabrics), use your blow dryer on a low setting to get rid of any hot glue strings or to slowly melt the glue a bit to pull it off with tweezers.

6. Glue your rosettes, in the center,  onto your piece of felt in a necklace arrangement. Make sure you leave the edges of the felt loose to tuck your chain behind it.

7. Use your scissors to trim the felt around the flower. Secure the flowers with a little more hot glue between them to help hold them together into one piece.

8. Secure your chain with hot glue between the layer of the rosette and the felt.

9. Trim your chain to the desired length and add the ends to your chain, if needed.

You can begin wearing your beautiful handmade necklace immediately! I wore mine for our annual Valentine’s Day Bunco night with a black top and red patent leather belt! It’s such a fun way to spice up items you already have in your wardrobe and could be made in a variety of colors, depending on your holiday occasion!

I do love Valentine’s Day around here and here are a few other fun Valentine’s Day projects you can spy on MomAdvice! Tomorrow I will be sharing an elegant Valentine’s dinner you can share on a budget!

DIY Tissue Paper Pom Poms
Red Velvet Cake With Cream Cheese Frosting
Red Velvet Cake Batter Ice Cream
Valentine’s Day Yarn Wreath
DIY Coffee Filter Flowers
Rolled Rosette Rings (to match your necklace)
Peppermint Marshmallows (cut them in hearts!)
Be Mine Fluffy Cake Doughnuts

Today I also happen to be  helping host the 2nd Annual Valentine Week Party! Last year’s week long event ended in a great party with 275 Valentine’s Day projects added!

This is really HUGE my friends! You can add your Valentine’s projects on any of the blogs and be seen on ALL 9 of them! That’s over 100,000 readers that will see your projects!


Meet your hostesses…

Now, it’s your turn to showcase your Valentine’s Day Ideas to the Party, simply click on the little blue button where it says “add your link” and your posts will show up on ALL NINE BLOGS! How cool is that? I can’t wait to see what projects you have been working on for Valentine’s Day!!


Pin It

Valentine’s Day DIY Projects

Monday, January 21st, 2013

Valentine’s Day is just around the corner and today I wanted to showcase some fun ways to add a little Valentine’s fun to your house using items you can often find at your local thrift shop.

The best part about these projects is that the are inexpensive and oh-so-easy to create!


If snow globes are your thing, I adore these sweet little Snow Globe Jars that you can create for Valentine’s Day.

I also love that they are inspired by one of my favorite out-of-my-budget shops, Anthropolgie (@ whiperberry)


Tunnel Of Love Art

Free printables abound and can be a fun way to dress up a wall, table, or mantle without spending a lot of money for holiday occasions.

Spray paint a Goodwill frame a bold red and insert this adorable free printable in your frame for a fun nod to the holiday that sits perfectly in your budget!  (@ Flamingo Toes)


Crochet Heart Garland

If you have the talent for crochet, this adorable Crochet Heart Garland is a fun project to create to decorate a mantle or to drape over a window.

Check your favorite thrift store for items like yarn and crochet needles in the craft supplies section of your store. (@ design sponge)


Valentine’s Day Wreath

Wreaths are often donated to thrift stores and can easily be updated with a few homemade additions.

This tutorial for loopy felt flowers and rosettes are the perfect way to dress up a wreath in bright Valentine’s Day colors with just a few dollars in felt (@ The Motherload)


Yarn Wrapped Letters

Yarn projects are one of my favorites because they are so inexpensive to create and, frankly, I’ve got a lot of yarn in this house of mine!

These yarn wrapped letters are a fun way to repurpose a ball of yarn in your home and can be created with a variety of sweet phrases for the holiday. (@ Family Chic)


Valentine’s Day Bunting

Buntings can be created from a variety of inexpensive or recycled items.

I love to use large pieces like a sheet, tablecloth, or curtain material to create my fabric projects because they offer so much fabric for your money.

Hunt for fun prints in pinks & reds to create a simple fabric bunting to dress up your mantle. (@ It’s My Story)


Fabric Painted Hearts

Fabric painting is a fun way to spice up a shirt or a bag for the Valentine’s Day season.

This sweet and easy tutorial for a fabric painted heart would be a fun craft project to try on a white t-shirt for yourself or for your kids (@ V and Co.)

What are some of your favorite Valentine’s Day projects to do with your family?


Don’t miss these great posts from MomAdvice.com:


Beautifully Frugal Valentine’s Day Projects


DIY Rosette Bib Necklace Tutorial


Red Velvet Cake with Cream Cheese Frosting


DIY Vanilla Chai Tea Mix


Sign up for the MomAdvice newsletter

Pin It

The Best Paper Snowflake Templates on the Web

Friday, January 4th, 2013

Winter days can be long with kids, but paper crafts can be a fun way to keep little hands busy with items you already have. Today I want to showcase the best snowflake tutorials we found on the web as a fun winter craft to break up those long winter days. Good old-fashioned paper snowflakes don’t have to be old-fashioned. In fact, there are so many fun snowflake tutorials with current fun characters that, I bet, you will have a hard time choosing where to start.

How to Make Basic Snowflakes

Step 1: Fold your  paper in half diagonally to make a triangle.

Step 2: Now, fold the triangle in half so the pointy corners meet.

Steps 3 and 4: Fold your triangle in thirds.

Step 5: Cut across the bottom of your paper so it is straight.

Step 6: Cut your folded paper so it looks like the triangle above. Then unfold it very gently. Be careful, these tear easily!  Decorate, embellish, and make your snowflake stand out. After all, no two snowflakes should look alike!

(If you are looking for a printable you can use, I like this design-your-own snowflake printable)

If you are looking for a template to create snowflakes, here are a few of our favorites: 

Snowflakes for Little Kids (but don’t tell her that!)

Little hands will benefit from less complex designs that will help them feel more accomplished with snowflake cutting. Mom & Dad may have to help guide the cutting process through the layers, but little ones can help to accessorize their snowflakes with a little sparkle, glitter glue, or crayons/markers, even if they aren’t able to cut them all by themselves. Cutting skills can be challenging with kids and I find this activity to be one that helps challenge them, but also can be fun at the same time.

Happy Dots Snowflake (Pictured Above)

Simply Snow Snowflake Pattern

Cork Stamped Snowflakes

Coffee Filter Snowflakes (a thinner medium for small hands)

Snowflakes for Big Kids (Rock On, With Your Bad Selves!)

Even if your kids are big, cut-outs in the center of the designs can be tricky even for the most skilled adults. I use my self-healing cutting mat and a utility knife to try to cut out eyes and mouths on these super cool snowflakes. As you can see, there is nothing old-school about these snowflakes!

Angry Birds Snowflakes (Pictured Above)

Star Wars Snowflakes (Pictured Above)

More Star Wars Snowflakes

Classic Snow Crystal

3-D Snowflakes

Thanks so much to Walmart for challenging me to craft up some snowflakes with my kids. It turned into a morning of smiles and delight  as watched our snowflake creations unfold.

Happy snowflake-making, friends!

I am a part of the Walmart Moms program, and Walmart has provided me with compensation for these posts  My participation is voluntary and opinions are always my own.

What is your favorite winter craft to do with your kids?

Pin It

Our Top 12 Posts of 2012

Wednesday, January 2nd, 2013

What a wonderful year 2012 was for our site and our family. MomAdvice continues to grow & I can’t wait to share with your our best posts of this year.  Today I wanted to highlight our top 12 posts from 2012.

Do I thank you enough around here? I never feel like my thanks is sufficient enough for all of your love and support for us. 

Thank you for sharing our site with others.

Thank you for your continued support.

Thank you for your comments.

I can’t tell you what they mean to me.

Here are the top 12 posts that happened on MomAdvice this year:

1. How to Dye A Faded Pair Of Jeans

Our top post this year, by a LONG shot, was my tutorial on how to dye your old jeans. With over 205,000 views, this one went viral and that box of Rit fabric dye was, perhaps, the best purchase of the entire year! Not only did I get a “new” pair of jeans, but this post grabbed the attention of a lot of new readers that were looking for some ways to freshen up a few tired pieces in their closet. This tutorial explains a variety of methods of dying your clothing and the comment stream continues to grow as readers share their own success stories with fabric dying.

2. How To Be a Pinterest Superstar

I am so excited to see that my guidance on growing your blogs through Pinterest proved to be valuable information to other bloggers. In this article, I share everything I have learned about getting your content and readership to grow through Pinterest. If your New Year’s goal is to harness the power of Pinterest, I can’t recommend this article enough for growing your audience. 

3. Rainbow Cake in a Jar With Cloud Frosting

Anything in a jar, to me, is absolutely delightful and delicious. For the St. Patrick’s Day holiday, I share a recipe for making beautiful little rainbow cakes in a jar and my recipe for a perfectly fluffy cloud of frosting to top these festive little cakes. The best part is that  these can be made from items you already have lurking in your pantry!

4. The Good Life For Less

Well, the excitement around here must be contagious because our 4th most popular page this year is for my first book, “The Good Life For Less.” I’m so excited to share that it is now available on store shelves! I would be, of course, be honored if you bought a copy and I am so excited that this was one of your top destinations this year on the site!

5. How to Ditch Your Cable Bill

Oh, we were a radical bunch this year as we said goodbye to our family’s astronomical satellite television bill. Apparently, I’m not the only one who wanted to say goodbye to it because this was a frequently visited article for many of our readers. After a year without cable, I can’t tell you how much happier we are. We are especially enjoying the savings we are experiencing by changing the way we watch television.

6. The World’s Greatest Homemade Bubbles Recipe

If there is one thing my kid’s love, it is this homemade bubble recipe. Neighbor kids flock to our home in awe of their super awesomeness and moms will be begging for your secret. This super easy recipe was a popular one on the site and replicated in many a home!

7. Slow Cooker Stuffed Green Pepper Soup

This recipe was created and has been devoured in my home weekly since its development. If you crave a thick & hearty soup filled with brown rice, veggies, and a tomato broth, then this soup is the one for you! This was a popular one for many of our readers with food allergies and I am excited that we were able to cater to that need a bit this year.

8. How To Make Glow-In-The-Dark JELL-O Jars

Science project plus edible treat? This is a win-win situation, people! This post got so much love that JELL-O even featured it on their site (which thrilled me to no end!) My kids got a kick out of making this treat for Halloween and we loved sharing the science behind their spooky glow.

9. The Best Books Read in 2012


I absolutely love sharing my reading lists each year and I can’t wait to continue sharing book reviews with you in the upcoming year. I take this list so seriously that it keeps me up at night the night before, worrying that I made the wrong picks for you guys. I have been getting oodles of messages though, from many of you, sharing how much you have already been enjoying off of this reading list. I am already tackling the next round of books, as we speak, for another “best of” list for next year!

10. Homemade Enchilada Sauce

Who wants to buy stuff you can make? That is why you come here, of course! My homemade enchilada sauce recipe is one of my favorite DIY creations in the kitchen. Once you make this enchilada sauce, you will never buy that jarred stuff again!  If you haven’t tried this recipe yet, I highly recommend it!

11. How to Knit Great Chemo Caps for Charity

I have, sadly, knitted far more chemo caps for people I know than I would have ever wanted to this year. If you are a knitter and looking for some tips on making really great chemo caps (that will actually be worn) than this post is just the post you will need to get started. I share everything I have learned from selecting the right yarns, to selecting the right patterns, to adding a little “sparkle” to your hats. I am so happy to see that this was a post that you have been referencing!

12. How to Make a Homeless Care Package


Last, but certainly not least, our Homeless Care Package post was our final top post of the year. We were so excited to be able to create these homeless care packages for those in need in our area and we shared a free printable list of supplies as well as a local resources sheet that other families could use to replicate our giving this year. Our family made giving to charity one of our top priorities this year and we look forward to giving back more to those in need in 2013.


What would you like to see featured in 2013 on our site? I would love to hear your ideas for posts as I begin planning my editorial calendar for the year!

Pin It

How to Organize Board Games

Monday, December 31st, 2012

How to Organize Board Games from MomAdvice.com

Organize your board games with these easy solutions for your family.  This has been one organizing strategy in our home that has stood the test of time over the years. You won’t believe the before & after!

Trying to get organized again?

Yeah, me too.

One area in our home that always needs attention is our disorganized board game collection.

Organizing your board games  and card games is easier than you think, it just requires a few organizing tools, a little patience, and the ability to let go of the things that are taking up valuable space to make space for the good stuff in your home.

How to Organize Board Games

How to Organize Board Games from MomAdvice.com

How to Organize Board Games from MomAdvice.com

In full disclosure, here is my SCARY before picture.

This was supposed to be a beautiful little closet for my kid’s toys, our games, and our art supplies.

Each time the closet was open, I covered my head.

I am a very petite woman so when I would reach for a game, I would find a leaning tower of games attacking me and often found myself in an avalanche of games and toys. 

I decided to do some research to see if I could find some ideas from other bloggers on how to rectify this situation.

Although there were a lot of great magazine ideas, I didn’t find very many real family solutions until I happened upon this great post on board game organization from Raising Lemons.

I used that as a template to get started and then headed to my store to create my own solutions for our problematic areas.

How to Organize Board Games from MomAdvice.com

How to Organize Board Games from MomAdvice.com

How to Organize Board Games from MomAdvice.com


Supplies Needed:

Sterlite Large Three Drawer Units 

Sterlite Medium Three Drawer Units

Document Boxes

Avery Labels

Rubber Bands

Snap-It Storage Container

Ziploc Freezer Bags

All games were removed from their boxes and then each game went into a designated drawer.

Larger games that had a lot of parts to it (like Blokus, Rummikub, or Monopoly) fit well into the large Sterlite drawers.

Smaller kid’s games fit easily into the medium Sterlite drawers as well as games where the board would not fit into either container (more on that soon).

For really small games like Memory or Rush Hour, we found one drawer could fit two or three games, which helped to maximize this storage solution.

For larger board games, I labeled boards that we wouldn’t easily be able to figure out what they were, and set those to the side along with a couple of those irregularly shaped games (like Operation, our deluxe Scrabble, and our Hungry, Hungry Hippos).

By removing the useless boxes, this tiny little pile of boards really doesn’t take up very much of our space.

How to Organize Board Games from MomAdvice.com

How to Organize Board Games from MomAdvice.com

How to Organize Board Games from MomAdvice.com


We had oodles of card games, many that were dusty and had been forgotten on that top shelf, so I used two Document Boxes that I found over in the office supplies to create storage for these games.

This was a great place to not only store these games neatly, but I also dedicated a little section to the odds & ends pieces that we might need for future games.

The odds & ends spot houses marbles, a few extra game pieces, decks of cards, and several dice.

Large games like Apples to Apples had to use two spots, but it still beats having the boxes.

I like that all of these odds and ends are concealed neatly, and it will make taking a box of games a lot more fun since there are several in just one box!

Our puzzle collection had also gotten out of control.

I found a Snap-It organizer (over by the drawers/plastic bins) that has a handy handle and it all snaps together for easy toting.

We divided our puzzles into two categories (holiday & other).

It will make finding our Christmas collection a little easier. I cut the front of the boxes and labeled heavy-duty freezer bags with the puzzle name or description so we could locate them easily.

How to Organize Board Games from MomAdvice.com

How to Organize Board Games from MomAdvice.com

Since I was on a roll in that closet, I decided to get the rest of the kid’s stuff organized.

I whittled their toy collection down to half and organized their art supplies into the same drawer organizers (these were all things we already owned). I had old-fashioned labels in my craft supplies so I hung fresh labels with a little bakers twine and labeled our canvas bins so the kids knew exactly what they were pulling down.

Each child now has their own coloring book drawer and all of the random boxes of markers, crayons, and pencils were all condensed into one drawer organizer.

After losing countless library books because they are mixed in with their own books, we now have one basket designated.

The other books were moved down to our downstairs game cabinet because (you won’t believe this!) all of the games from our downstairs cabinet all fit in our upstairs cabinet so I could turn the other cabinet into a spot for all of their books.

That is a huge storage bonus for us!

How to Organize Board Games from MomAdvice.com

It feels like Christmas all over here again. We have loads of fun things to do, we can find them, and (in my son’s words) “We don’t have to move so many things around to get to the good stuff.”

You know it, kid!

The big question is, “Do you miss the boxes?”

I can’t say I do!

For the games we travel with to our friend’s house (Ticket to Ride, Settlers of Catan, etc..) we have a couple of boxes stored in the basement. The rest of the games stay at home and this solution is so ideal for our space and offers oodles of visual appeal. 

Looking for more great organizing advice? Check out these posts!

organization tips for easier mornings

DIY Lunchbox Creation Station :: MomAdvice.com diy lunchbox creation station

back to school meal prep ideas

she shed makeover

tips for organizing your car

diy snack station


Have any tips for organizing your game collection or toy closet? I would love to hear them!

How to Organize Board Games from MomAdvice.com

How to Organize Board Games from MomAdvice.com


Pin It

DIY Monogrammed Wine Glasses

Tuesday, December 4th, 2012

I wanted to continue our theme of easy DIY gifts and these DIY Monogrammed Wine Glasses are an absolutely easy gift to give for the holidays and require zero craft skills. You won’t believe how quick and easy these diy monogrammed wine glasses are to create and, if you are anything like me your girlfriends are anything like mine, they will use this personalized wine glass every night (*ahem*).

The thing that really makes these glasses special are the glittered monogrammed stems. My daughter Emily would call this oh-la-la fancy or Frenchie fancy (we talk a lot about Fancy Nancy and Paris around here).

Supplies Needed

Wine Glasses

Martha Stewart Stencils (these are the ones I used for this)

Martha Stewart Gloss Paint (any color)

Martha Stewart Glittered Paint (any color)

How to Stencil Your Glassware

1. Clean your glasses with soap and water, then rub with rubbing alcohol to remove any remaining residue on the glass.

2. Apply the reusable adhesive larger stenciled letters for the monogram on the glass and then apply the smaller letters on the stems of your glasses.

3. Pour a small amount of gloss paint on a disposable plate and on another plate pour a small amount of glitter paint . Using your brush, apply a thin layer of gloss paint to your wine glass, doing your best to stay within the stencil. If needed, apply a second coat.

4. While your paint is still wet, carefully peel off stencil.

5. Using your glitter paint and an inexpensive foam brush, apply a thin layer of glitter paint on your wine stem. Travel the paint as high as you want it (the entire stem, just the base, or wherever feels like a good ending point for you).

6. While your glitter paint is still wet, carefully peel off your stencil.

7. Allow the paint to dry for one hour and then place the glasses on a cookie sheet.  Set the glasses in a cool oven.  Set oven to 350°F and bake for 30 minutes.  Glass must heat gradually with the oven to avoid breakage.  Do NOT place glass in a hot oven.  After 30 minutes, turn the oven off.  Allow glass to cool completely in oven.  Wait 72 hours before using.

8. Clean all stencils, brushes, and tools immediately after using them, before the paint has dried. You can use a stencil cleaner to clean. Let dry. Attach backing to stencils and then store for another use.

Looking for more inexpensive gifts to give this holiday season? Check out our Knitted Coffee Cozies Tutorial and check out our list of 36 handmade gifts to give this holiday season!


Pin It

“Use What You Have” DIY Advent Calendar

Monday, November 26th, 2012


It is that time of year again and that means another Advent season.  You don’t have to have a fancy advent calendar to celebrate the advent season, in fact, I have a DIY Advent Calendar made from items you already have in your home. This free DIY Advent Calendar is the perfect way to celebrate the holiday season without breaking the bank.

Today I wanted to share with you a “use what you have” Advent calendar that we created last year. It was such a hit that I plan to make another one for this year! This requires no pricey materials and is based around what the holiday season should be all about… being together!

In the years past, we have always had a Christmas Jar of activities. Each day we would randomly draw from a set number of activities and enjoy a holiday activity together as a family. This year, our life with our two children has become increasingly busy and scheduled. We have two school schedules, extracurricular activities, homework, holiday programs, holiday family events, and so much more going on. Our life of leisure seems to have taken a detour and I have had to be more thoughtful in our approach towards carving time out for what we would hope to accomplish this year.

I wanted to create our own countdown to Christmas in a creative way, but I didn’t want to spend any money on it. I decided to use what I had to create our homemade Advent filled with fun activities and wanted to share with you what we created!


Homemade Advent Calendar

Supplies needed:

A large circle punch (in scrapbook supplies at craft store) or a jar or glass for tracing
Tape
Scrapbook or festive holiday gift wrap
Ribbon
Marker
2 Muffin Tins
A picture frame stand or a place to prop your finished tins


I began this project by punching out 48 circles. On half of these write the numbers 1-24 and on the other half you can write fun activities to do with your children in anticipation of the big day.

Stick your holiday activity folded up inside of each muffin tin and then attach the numbered circles to each individual muffin tin. Secure with tape on both sides to hold your activities in securely.

Break out your trusty calendar and jot down the activities for each day to remind yourself what you need to plan for and what supplies will need to be purchased to accomplish the activities.

Add a little festive ribbon to the top of your muffin tin. Display the muffin tin by using a picture frame stand or finding a sturdy wall to prop it up with. Have your child draw an activity each morning to complete as a family.


Here are 24 Ideas for Advent Activities

1. Decorate the Christmas tree.
2. Big bubble baths with holiday music playing.
3. Go to the library to pick out holiday books.
4. Special popcorn and hot cocoa snack with a holiday movie.
5. Head to a holiday concert.
6. Decorate gingerbread houses.
7. Make Christmas cards for your special friends.
8. Watch a holiday movie.
9. Color a holiday coloring page.
10. Bake Christmas cookies.
11. Go see holiday lights.
12. Go see Santa in your local downtown.
13. Write a letter to Santa.
14. Pop popcorn & play a board game together.
15. Host an ornament decorating party.
16. Make gingerbread waffles or gingerbread donuts for breakfast.
17. Wrap holiday gifts while listening to holiday music together.
18. Go to the dollar theater and see a movie.
19. Go see the Christmas lights in your pajamas.
20. Deliver holiday treats to your friends & the firefighters in town.
21. Watch your favorite holiday movie.
22. Open one gift early.
23. Go caroling.
24. Do a holiday puzzle together

Total cost for this project was zero and very little money will be spent to do these activities together. The memories I hope to create with my children though, I hope those will be priceless!

Do you do an Advent calendar or have a special way your family celebrates the countdown to Christmas? I would love to hear your ideas!

Pin It

Creatively Wrapping Gifts With Goodwill Items

Friday, November 16th, 2012

Christmas is quickly approaching and this is the holiday where the crafter in me rejoices not only for the Christmas crafts I get the opportunity to create, but the opportunity to package those gifts beautifully under our tree.

A thrift store can be a great place to check for, not only your gifts, but also items to creatively package those gifts in a unique way.

Yarn Embellishments

It is rare to stop at a thrift store and not see craft supplies that have been donated.

Yarn is one of those inexpensive craft supplies that I love to use when packaging my gifts.

Whether it is a yarn pom pom in lieu of a bow, multiple colors of yarn that have been woven together to create a unique packaging detail, or even knitted or crocheted embellishments can make beautiful gift toppers. (Image Source:Persia Lou)


Gift Card Snow Globes

Gift cards can often feel impersonal, but are often just what the recipient has asked for or needs.

Package those gift cards creatively by hunting for jars that can be used to create your very own gift card snow globes.

Little ones can participate in the fun in creating these adorable craft.

Look for small items to decorate the inside of your snow globe and spray paint those thrift store lids with a festive green or red spray paint to spruce it up. (Source: Hip2Save)


Fabric Flowers

Visit your local thrift on the half-off days or select items that are on sale that week to find material from clothing items that can be used to creatively embellish your gifts.

Cut scraps of fabric to create homespun bows or cut the fabric into easy circles and create a fabric flower that can be personalized with unique buttons or costume jewelry for creatively topping them.

Even items like t-shirts can be used to make elegant flowers for a unique addition to boxes or kraft paper gift bags. (Source: MomAdvice)


Book Page Rosettes

Book pages are the ultimate in frugal craft materials and are a fantastic resource for creating your very own gift toppers.

With a simple pair of scissors and a little glue, you can top your gifts beautifully and inexpensively with rosettes made from book pages. (Source: Under the Table & Dreaming)


Beauty Gift Additions

Gifts of beauty items like sugar scrubs or bath salts can be a fun and thoughtful gift to give and made with materials in your pantry.

I love to add a simple addition of a vintage spoon and package these items in a mason jar.

Find a jar you love, but can’t find a lid?

Simple bands and jar lids can be found at your local discount store and freshen up a jar with a tired lid or be the perfect topper for a jar that might be missing one. (Source: MomAdvice)


Salt & Cinnamon Dough Toppers

Remember making simple salt dough ornaments or cinnamon-filled dough ornaments for the holidays?

These are still a fun way to top gifts and can be made from some simple ingredients in your pantry.

Grab a salt dough recipe here or look for the cinnamon dough recipe over here. Tie these on with scraps of fabric.

The best part about these toppers is that they later can be used as an ornament to adorn your tree. (Source: The Cheese Thief)

What are some creative ways you love to package your gifts? I would love to hear from you!

This post contains affiliate links.


Don’t miss more great ideas from MomAdvice.com:

DIY Mojito Bath Salts


Washi Tape Christmas Tree Card Holder


DIY Holiday Yarn Trees


Free Printable Advent Calendar


Sign up for the MomAdvice newsletter


Pin It

How to Set the Perfect Thanksgiving Table

Tuesday, November 6th, 2012

Setting a great Thanksgiving table is something anyone can do with the right tools in their entertaining supplies, a few new additions, and a little bit of thriftiness. Today’s perfect Thanksgiving tables is particularly important to me because today I am sharing with you a way that you can make your table and earn money for your favorite charities in the process.

This month I am partnering with Pure Charity to share about their incredible mission to give back to charities through the holiday shopping that you already happening to be doing. 

What is Pure Charity?

Pure Charity is a simple, but awesome concept for giving back to those causes you care most about. Basically, you install a simple toolbar into your web browser and then it alerts you with a small banner at the top when a store you are shopping with has a partnership with Pure Charity. Click on that little button and you are making a percentage deposit into your Giving Fund. Your Giving Fund can then be applied to the charities that are important to you and that you have a desire to support.

Pure Charity asked me to show everyone what could be done via their partners and gave me a small budget to get started. This month I am sharing ideas for setting the perfect Thanksgiving table, to sharing Thanksgiving recipes with you, and showcasing some fun ideas for keeping the kids entertained. All supplies were ordered through their partners and I have created a Giving Fund for the charities that are most important to our family. At the end of this series, I will share with you just how much I was able to earn through this spending.

How to Set the Perfect Thanksgiving Table

Mix Texture and Color Into Your Basics- I have always had a fondness for my white dishes simply because they match everything that you want to layer on top of them.  (West Elm Napkins)

Spice up your basics with a bold colored napkin in a fresh autumn shade. I love to mix texture in by tying napkins off with scraps of burlap instead of buying napkin holders. If you don’t have any burlap, a piece of twine or yarn would be just as lovely. 

Mix in One New Element to the Tableware- In a perfect world, we would have loads of storage and dishes for every season. Most families just don’t have this type of limitless space in their kitchen. Instead of buying new dishes for each holiday, focus on adding one new element each year to the existing pieces you already have.

My white dinnerware is perfectly paired with these elegant Thanksgiving dessert plates (West Elm Dessert Plates) as a nod to the season and they take up far less room than an entire set of dishes.

Have Your Kids Create the Centerpiece- My kids love helping me in the kitchen and one way they can assist with the Thanksgiving table is to help create the centerpiece.

I have been dying to have a chalkboard in my kitchen and using this as a centerpiece for our table was the perfect excuse for the purchase. Center this chalkboard (Pottery Barn Small Chalkboard) on your table and then give your kids the assignment to fill this with all of the things that they are thankful for.

Once Thanksgiving is over, this will be proudly hanging in our kitchen for all of our family announcements!

Decorate With Nature- Right now there might not be a lot blooming, but if your yard is anything like ours, there are plenty of rustic and beautiful elements that could be added to your table.

I pruned one of my flowering bushes and used the clippings as a filler for three vases.  (West Elm Vases). I love how these branches add dimension to my table and skip the expensive vase fillers.

Add Your Own Personal Touch- Everyone has their own personal touch that they can add to their centerpieces. For you, it might be your mad spray painting skills. For me, it is the ability to knit yarn into leaves and flowers. It might not sound like a very useful skill, but it certainly helps when it comes to fall centerpieces. I relied upon this knitted leaf pattern and these easy garter stitch flowers for knitted embellishments to my sticks.  It will take me awhile to knit all of this, but I promise to share more once it is done!

My husband may or may not have made fun of me when I said the branches needed “whimsical leaves,” but even he agreed that they looked pretty sweet once I finished this project.

After these purchases to dress up my Thanksgiving table, I was able to bank $7.22 in my Giving Fund for my favorite charities through Pure Charity

I hope you love these ideas for setting the perfect Thanksgiving table and I look forward to sharing more about my partnership with Pure Charity in the coming weeks.

I am working with Pure Charity, and Pure Charity has provided me with compensation for these posts. My participation is voluntary and opinions are always my own.

Pin It