Author Archive

Guest Post: Peppermint Candy Cane Ice Cream

Tuesday, January 22nd, 2013

The holidays seem like so long ago already.  The Christmas lights are down, the ornaments packed away, and we’re charging ahead into the new year.  If you’re like us, the only remnants are a handful of candy canes leftover from the too many boxes we bought in a fit of holiday spirit.

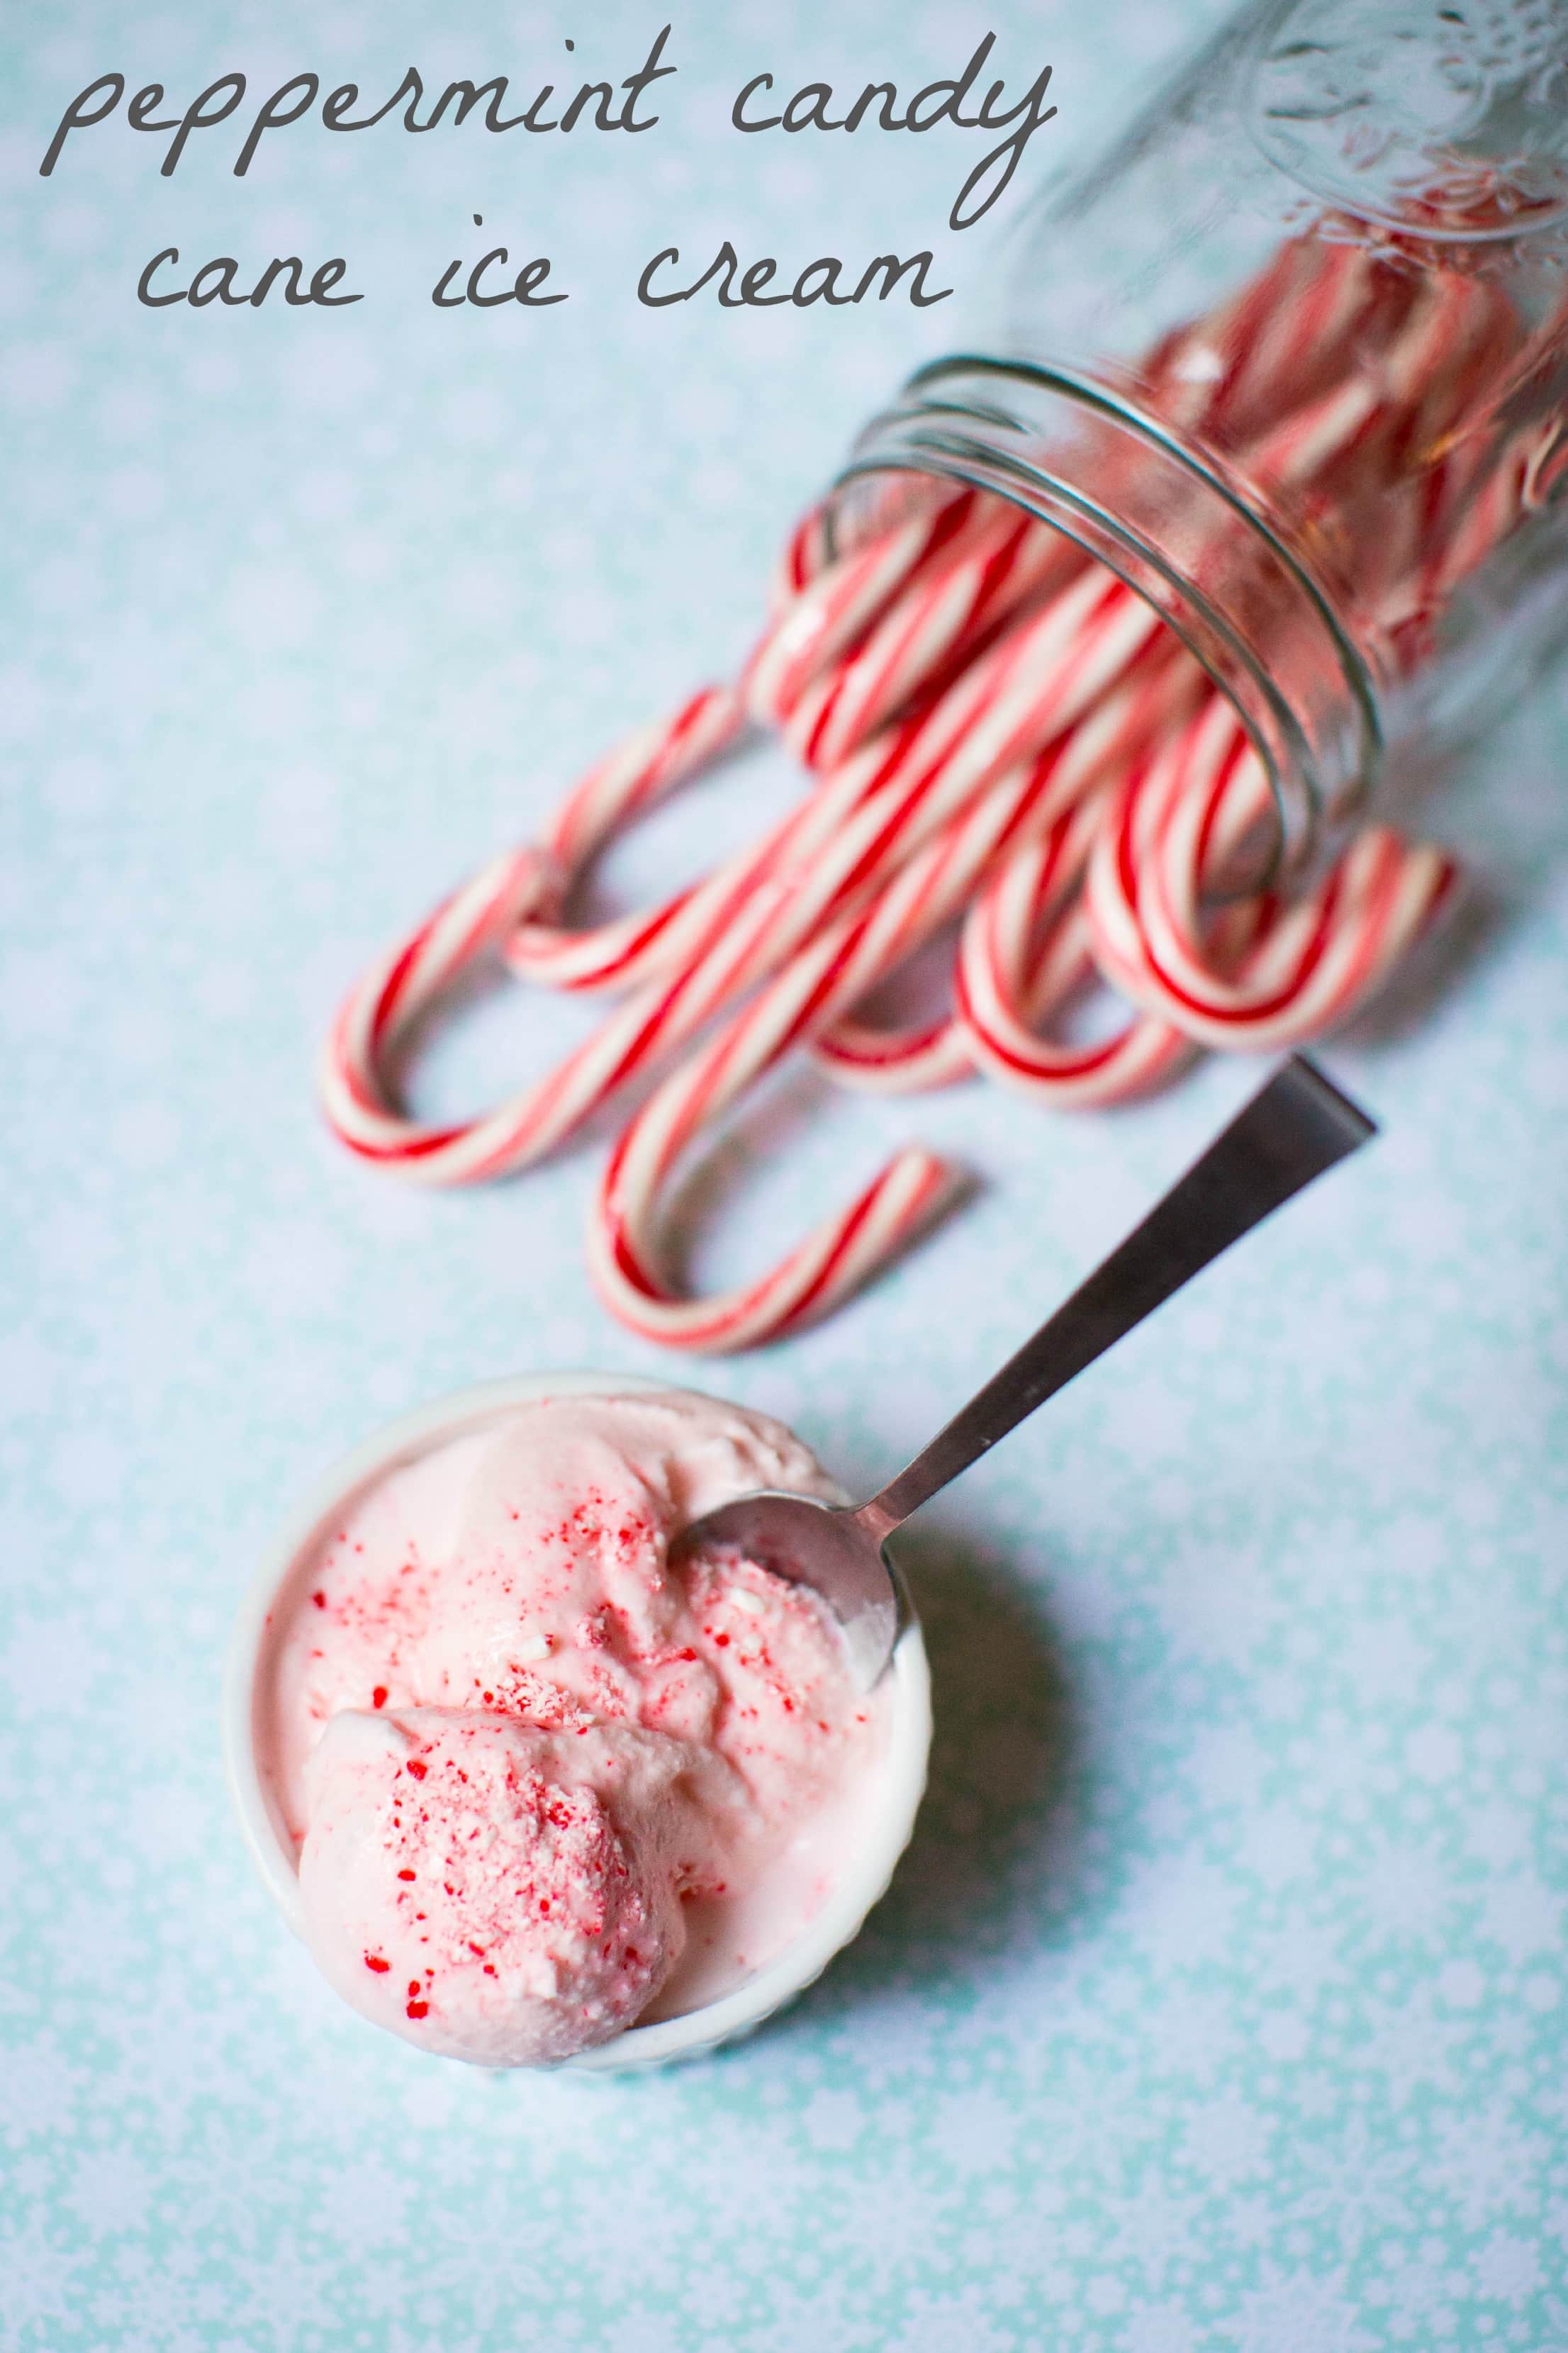
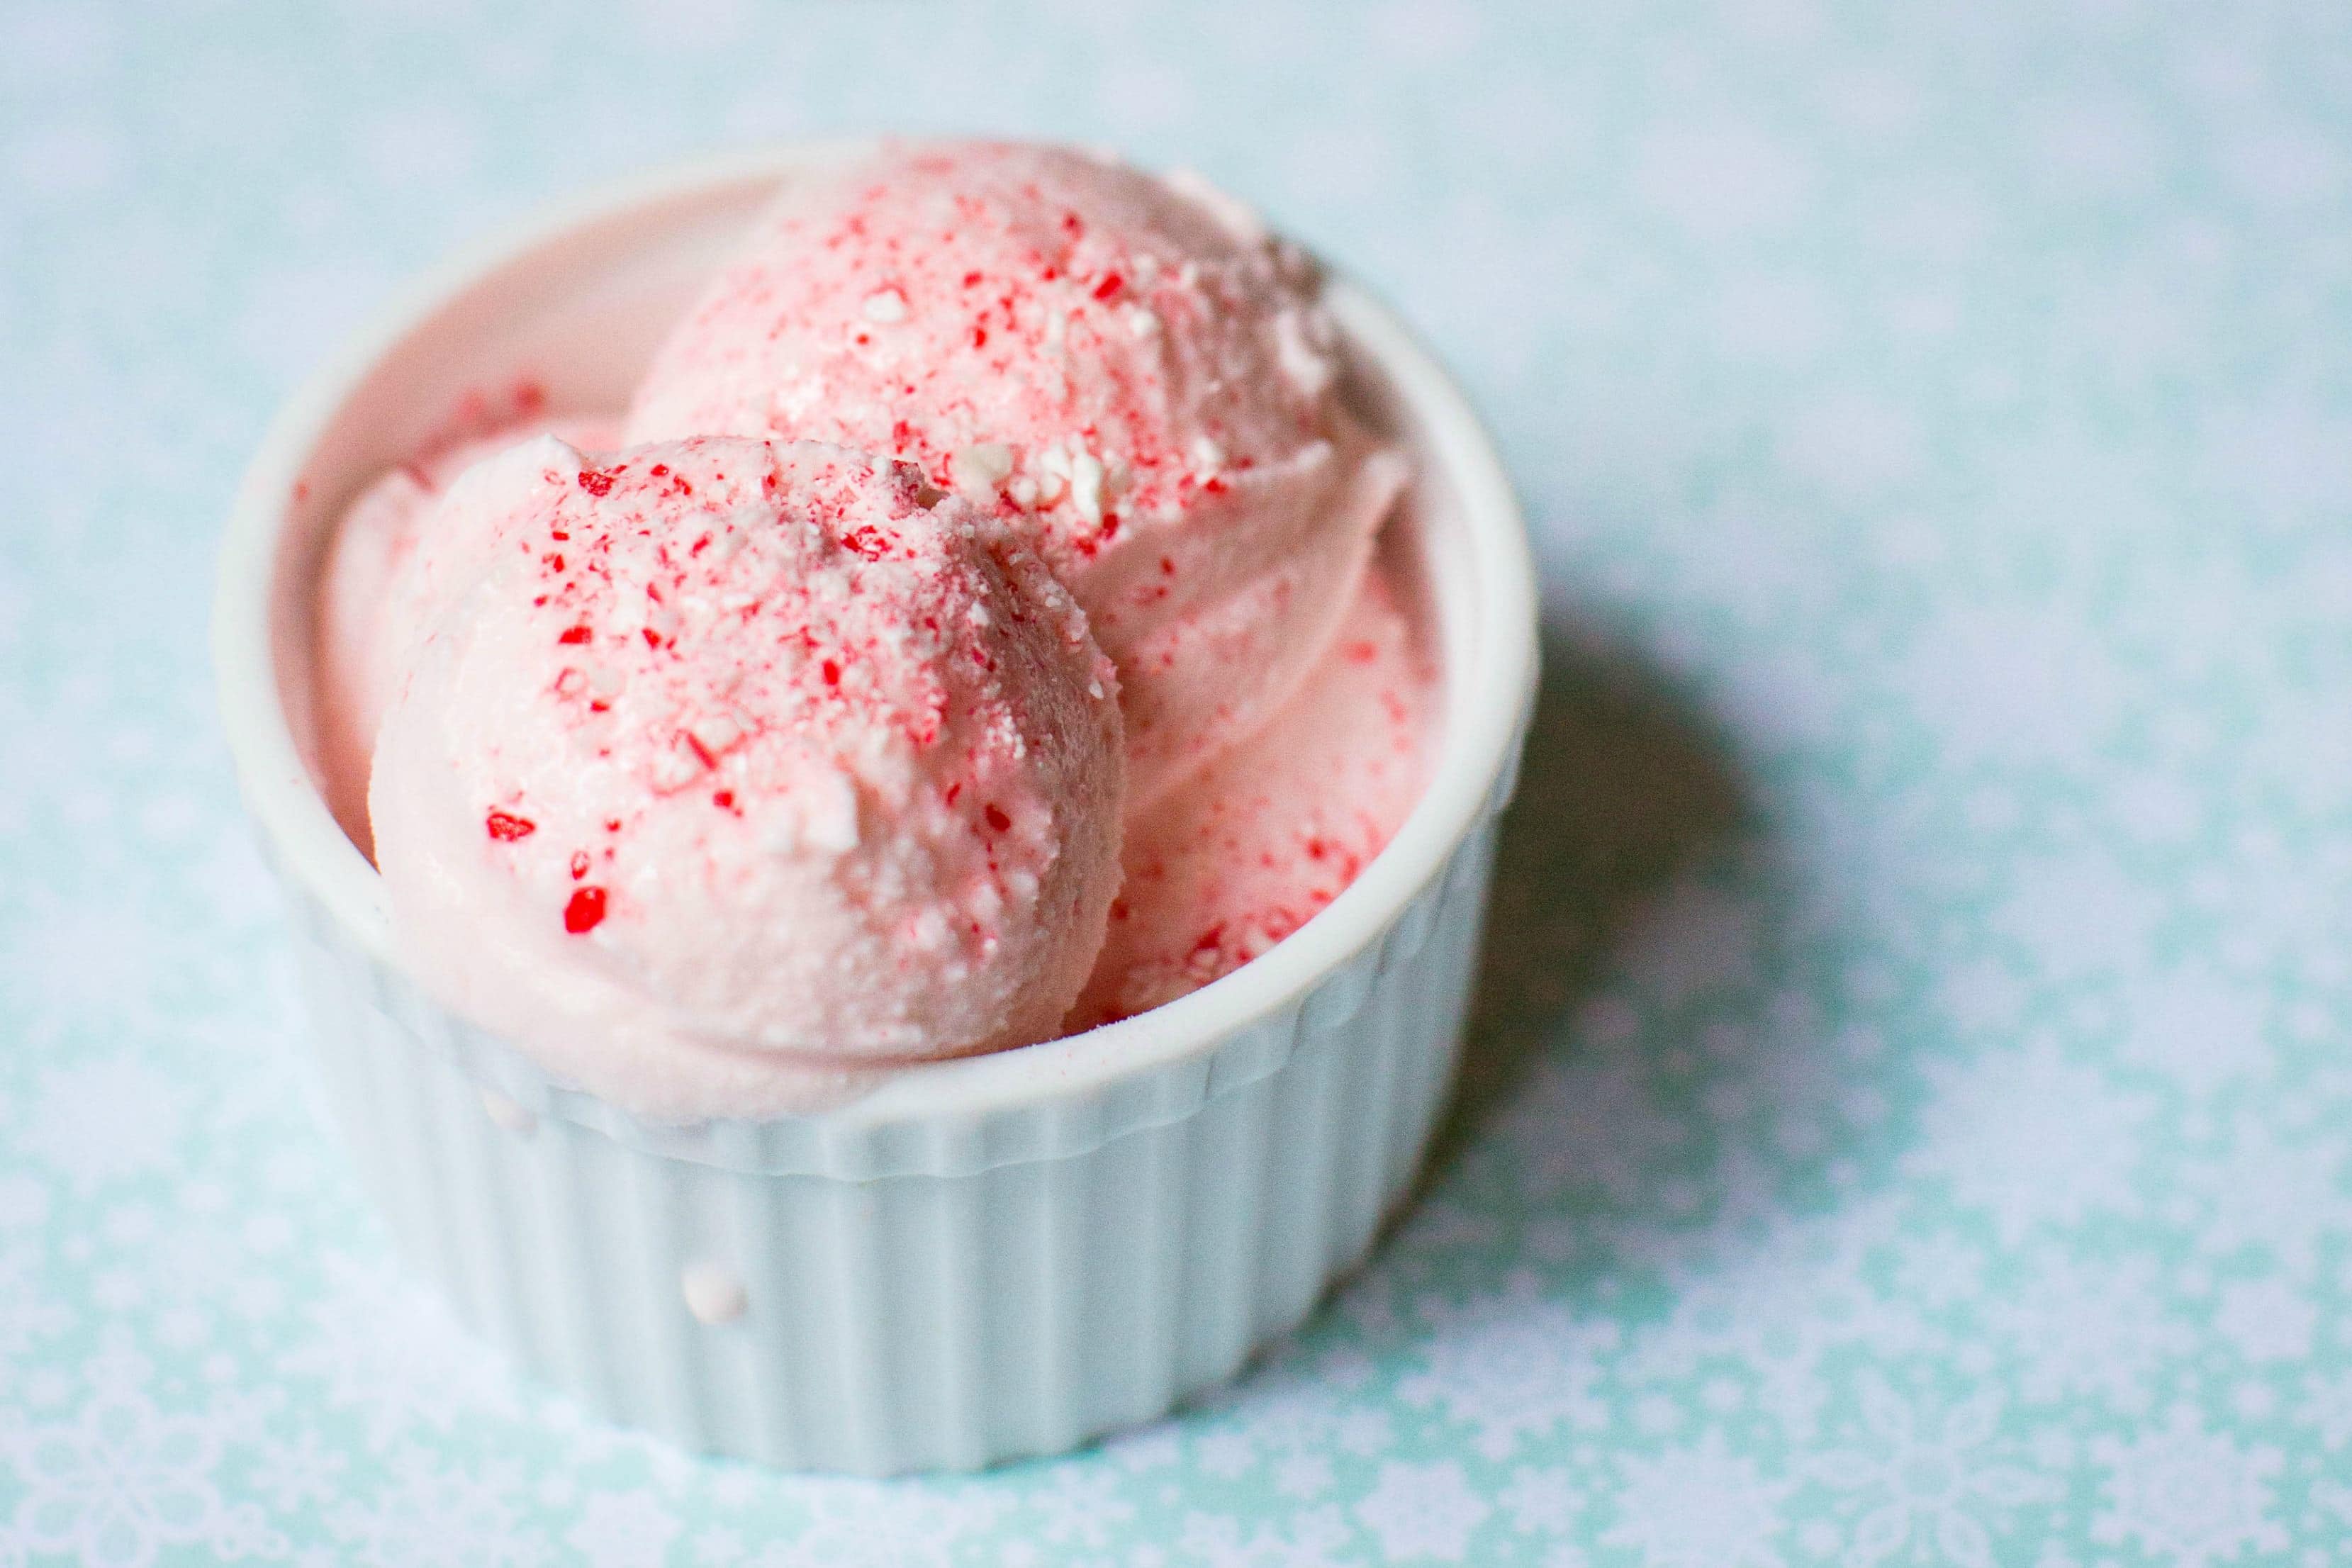
In hindsight, the candy cane excess was the best decision ever made because it led to what may be the tastiest homemade treat I’ve made all winter:  Peppermint Candy Cane Ice Cream.

Super minty and winter fresh, this ice cream is the stuff Frosty the Snowman’s dreams are made of.  It is downright delicious.  You may even find yourself clearing out the boxes of candy canes left at the store just to make more batches of this ice cream.  Good move!  They’re probably on sale!  You win at life.

This recipe starts with Jeni’s Splendid Ice Cream Base – a tried and true method that may seem slightly unconventional, but results in creamy dreaminess.  Jeni’s method for making her famous scoop shop ice cream at home uses a bit of cream cheese and cornstarch rather than egg yolks to achieve a wonderfully dense and creamy texture.  Best of all, it doesn’t require the fuss of making a custard base with all that tempering, and careful heating, and straining.  Less time fussing, more time ice cream eating.  Words to live by.

To our sweet cream blank canvas, all that’s left to do is add a few teaspoons of peppermint extract and crushed candy canes, and wait for that ice cream maker to do its thing.

Prepare to be quite pleased with yourself.  This Peppermint Ice Cream will become a perennial favorite.  Here’s what I’m dying to do…are you ready?  I can’t wait to try topping a mug of hot chocolate with a scoop of this stuff!

Full of sweet cream and minty winter freshness, this peppermint ice cream is the perfect way to polish off those candy canes.  It is so good, I guarantee it will become a perennial favorite, holiday season or not.
Peppermint Candy Cane Ice Cream
Recipe Type: Dessert
Author: Adapted from Jeni’s Splendid Ice Creams at Home by Jeni Britton Bauer
Prep time: 5 mins
Cook time: 25 mins
Total time: 30 mins
Serves: 1 quart
Don’t throw out those leftover candy canes after the holidays! Reinvent those candy canes into a fun frozen treat that the whole family will love!
Ingredients
  • 2 cups whole milk
  • 1 tablespoon plus 1 teaspoon cornstarch
  • 1 1/2 ounces cream cheese, softened/room temperature
  • 1/8 teaspoon fine sea salt
  • 1 1/4 cup heavy cream
  • 2/3 cups sugar
  • 2 tablespoons light corn syrup
  • 2 teaspoons peppermint extract
  • 4 crushed candy canes (pulse in a food processor)
Instructions
  1. IMPORTANT NOTE: 24 hours (or more) BEFORE you want to make the ice cream, make sure to wash the canister, dry it well, and place it in the coldest part of the freezer. Do not remove it until you are ready to pour the chilled ice cream mixture into it.
  2. In a small bowl, mix about 2 tablespoons of the milk with the cornstarch to make a smooth slurry.
  3. In a large bowl, add the salt and room-temperature cream cheese and whip until smooth.
  4. Make an ice bath (heavy on the ice) and set aside.
  5. Pour the cream, sugar, corn syrup, and remaining milk into a 4-quart saucepan. Bring to a rolling boil over medium-high heat, set a timer for precisely 4 minutes and boil for exactly 4 minutes—the timing is critical. Remove from the heat and gradually whisk in the cornstarch slurry. Return the mixture to a boil over medium-high heat and cook, stirring until the mixture is slightly thickened, about 1 minute. Remove from the heat.
  6. Gradually whisk the hot milk mixture into the cream cheese until smooth. Do this a little bit at a time so that you can whip out any lumps of cream cheese. Mix in the peppermint extract.
  7. Pour the mixture into a 1-gallon Ziploc freezer bag, seal, and submerge the bag in the ice bath. Let stand, adding more ice as necessary, until very cold, about 30 minutes.
  8. Set up your ice cream maker and pour the chilled base into the frozen canister. About 10 to 15 minutes into the churning process, sprinkle in half of the crushed candy canes. They will mostly dissolve, turning your ice cream a pretty pink color. The ice cream is finished when the machine isn’t freezing the ice cream anymore; the ice cream will begin to pull away cleanly from the sides (about 25 minutes).
  9. Eat right away, sprinkling the remaining candy cane bits on top of your scoop – there are few things better than freshly churned ice cream – or if you’re storing for later, press a piece of parchment paper directly against the surface and seal in an airtight, freezer-safe container. When you remove the ice cream from the freezer, let it sit and relax until it is scoopable. Once you’ve scooped it, be sure to return any remaining ice cream to the freezer. If the ice cream has melted too much at room temperature, refreezing it will result in an ice cream that is too icy.

Adapted from Jeni’s Splendid Ice Creams at Home, by Jeni Britton Bauer

I would like to say thank you to my fabulous guest blogger, Stephanie Hua,  today for sharing this fantastic guest blog entry with our readers! You really must head right over to see Stephanie’s blog.  I am SO darn proud of my friend because she is out there pursuing her dream to start culinary school and kicking butt at it already. Read about her first day at culinary school and visit Lick My Spoon for fresh takes on delicious & healthy dishes. She even has t-shirts!! I wear mine proudly and my husband can attest that this is one of my favorite shirts to wear!

Now hurry over to her blog! 
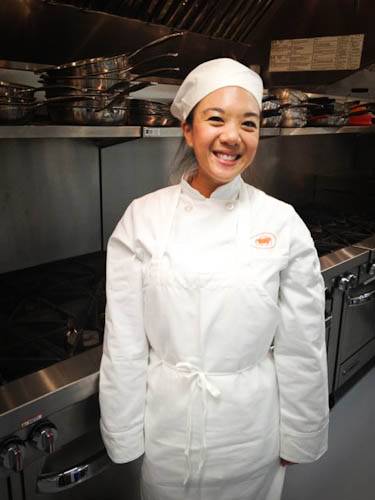
Stephanie Hua is the creator of Lick My Spoon, a place for all things delicious. So far she has learned that she very much enjoys salted caramel anything, a good soup dumpling is worth a scalded tongue, and a barrel of cheese balls never ends well.  Follow her on Facebook and @lickmyspoon.
Pin It

An Apron Full of Giveaways 02.22.13

Tuesday, January 22nd, 2013

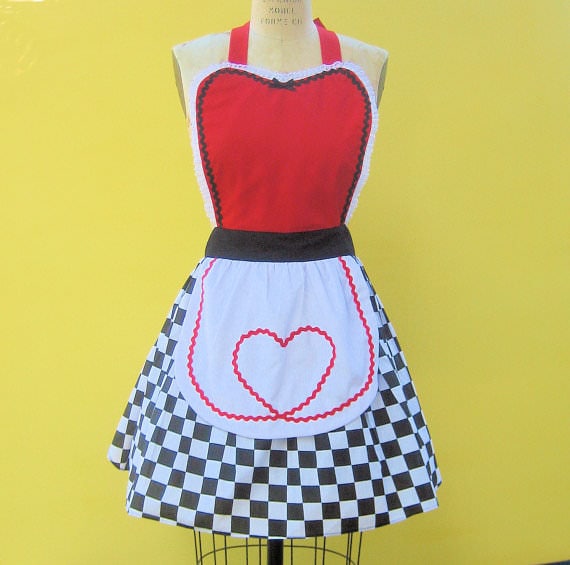
Source: lover dovers clothing, $29.99

Welcome to our Apron Full of Giveaways! I hope everyone is having a great week this week! As we do each week, here is our round-up of giveaways for our readers. We hope that this is beneficial to you and your family! Please let us know if you guys win anything- I love to hear the success stories!

Below are the contest links-if you are hosting a contest please link it up below. Sorry, we are not giving away the aprons just showcasing them! Please put your site name and then what type of contest you are hosting. For example, “MomAdvice (Kid’s Movies).”

Good luck to each of you!

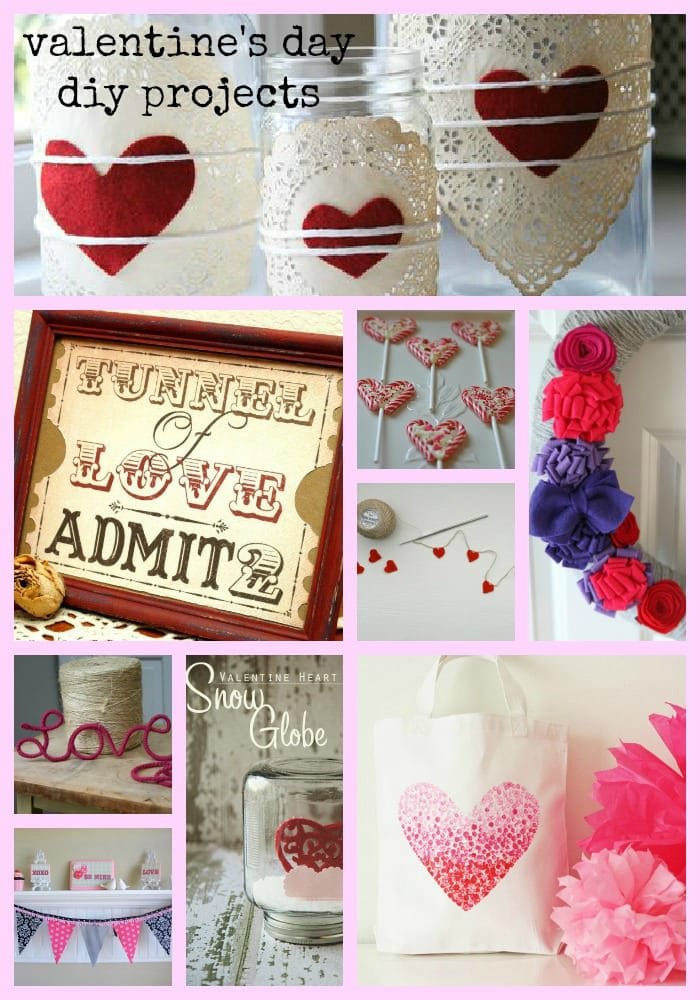
Valentine’s Day DIY Projects

Monday, January 21st, 2013

Valentine’s Day is just around the corner and today I wanted to showcase some fun ways to add a little Valentine’s fun to your house using items you can often find at your local thrift shop.

The best part about these projects is that the are inexpensive and oh-so-easy to create!


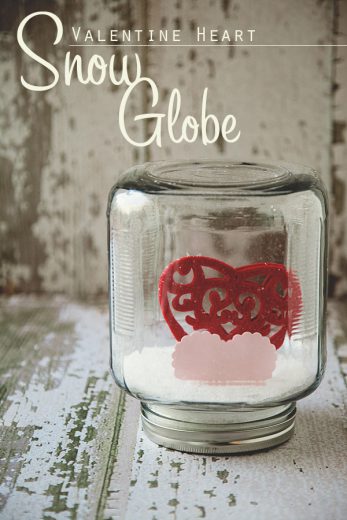
If snow globes are your thing, I adore these sweet little Snow Globe Jars that you can create for Valentine’s Day.

I also love that they are inspired by one of my favorite out-of-my-budget shops, Anthropolgie (@ whiperberry)


Tunnel Of Love Art

Free printables abound and can be a fun way to dress up a wall, table, or mantle without spending a lot of money for holiday occasions.

Spray paint a Goodwill frame a bold red and insert this adorable free printable in your frame for a fun nod to the holiday that sits perfectly in your budget!  (@ Flamingo Toes)


Crochet Heart Garland

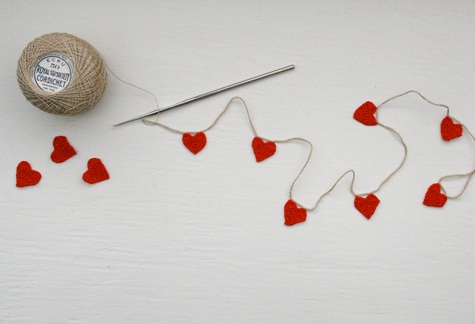
If you have the talent for crochet, this adorable Crochet Heart Garland is a fun project to create to decorate a mantle or to drape over a window.

Check your favorite thrift store for items like yarn and crochet needles in the craft supplies section of your store. (@ design sponge)


Valentine’s Day Wreath

Wreaths are often donated to thrift stores and can easily be updated with a few homemade additions.

This tutorial for loopy felt flowers and rosettes are the perfect way to dress up a wreath in bright Valentine’s Day colors with just a few dollars in felt (@ The Motherload)


Yarn Wrapped Letters

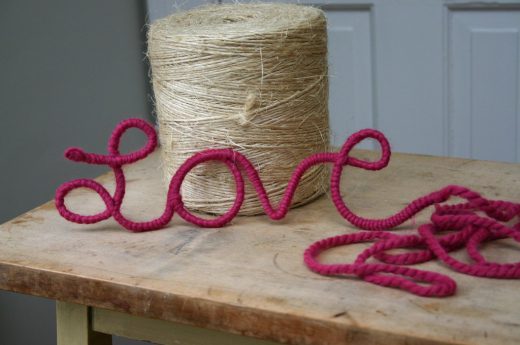
Yarn projects are one of my favorites because they are so inexpensive to create and, frankly, I’ve got a lot of yarn in this house of mine!

These yarn wrapped letters are a fun way to repurpose a ball of yarn in your home and can be created with a variety of sweet phrases for the holiday. (@ Family Chic)


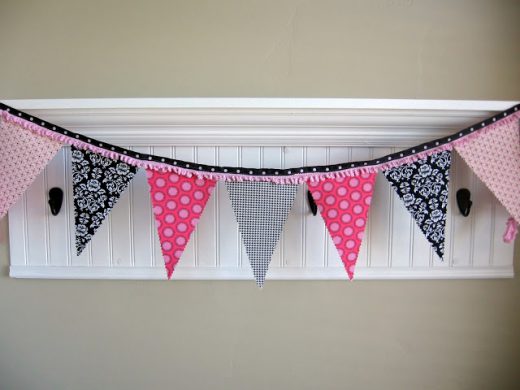
Valentine’s Day Bunting

Buntings can be created from a variety of inexpensive or recycled items.

I love to use large pieces like a sheet, tablecloth, or curtain material to create my fabric projects because they offer so much fabric for your money.

Hunt for fun prints in pinks & reds to create a simple fabric bunting to dress up your mantle. (@ It’s My Story)


Fabric Painted Hearts

Fabric painting is a fun way to spice up a shirt or a bag for the Valentine’s Day season.
This sweet and easy tutorial for a fabric painted heart would be a fun craft project to try on a white t-shirt for yourself or for your kids (@ V and Co.)

What are some of your favorite Valentine’s Day projects to do with your family?


Don’t miss these great posts from MomAdvice.com:


Beautifully Frugal Valentine’s Day Projects


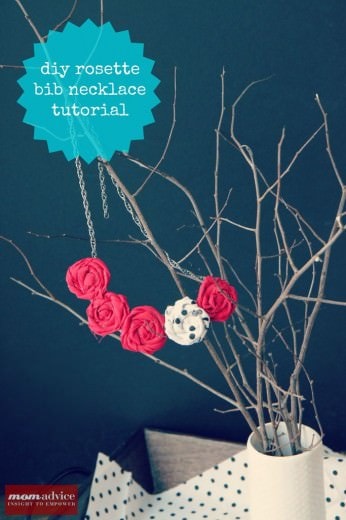
DIY Rosette Bib Necklace Tutorial


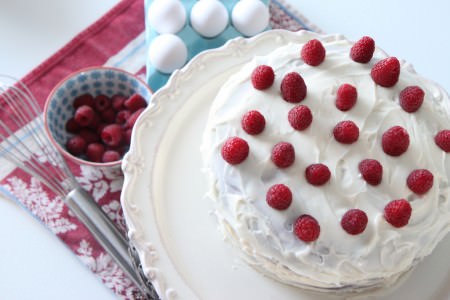
Red Velvet Cake with Cream Cheese Frosting


DIY Vanilla Chai Tea Mix


Sign up for the MomAdvice newsletter

Pin It

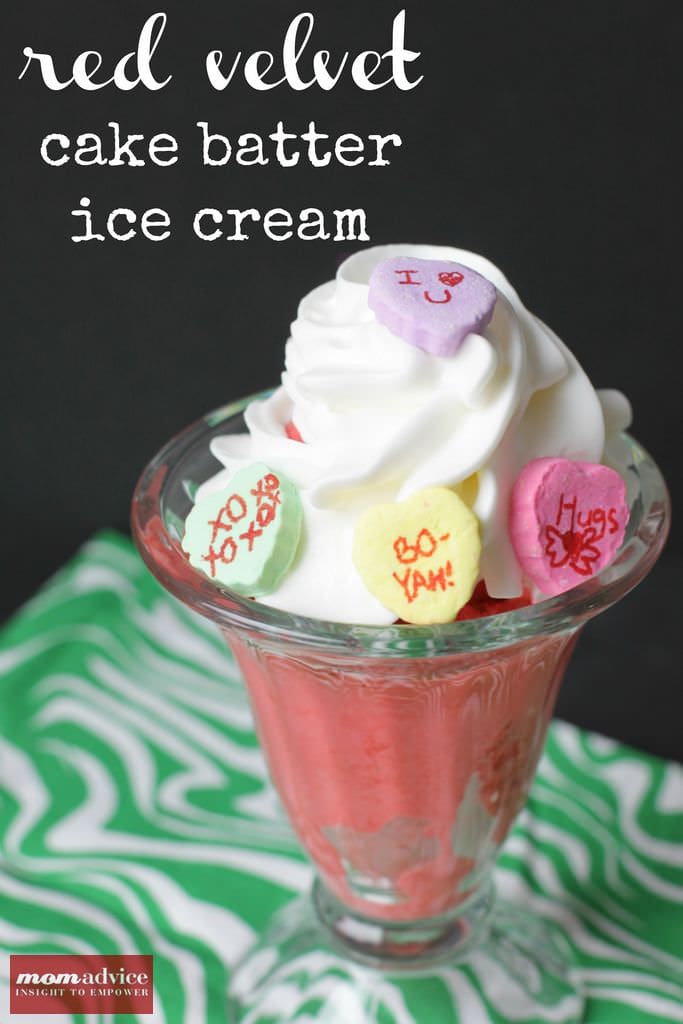
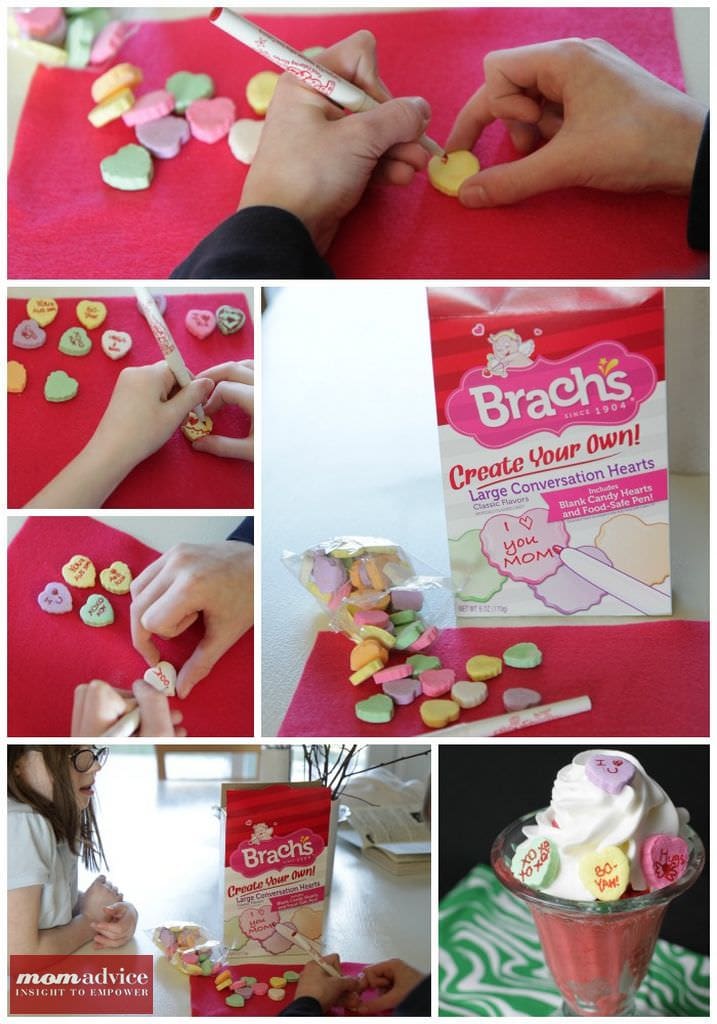
Red Velvet Cake Batter Ice Cream With DIY Conversation Heart Toppers

Monday, January 21st, 2013

If there is anything better than a beautiful homemade red velvet cake, than it is that same red velvet cake flavor turned red velvet cake ice cream. Red velvet cake batter ice cream is an easy treat to whip up and is a fun one to enjoy for Valentine’s Day.

If you haven’t tried my cake batter ice cream before, this is a recipe worthy of a repeat with all new flavorings. This ice cream recipe is, by far, my favorite recipe for ice cream. There is no cooking of ingredients required, I usually have all of the ingredients on hand in my refrigerator, and the cake mix can be your own favorite variety or a cake mix that you need to use up in your cupboard. It is so rich and creamy and tastes just like your favorite ice cream shop, without the hefty price tag!

To make this ice cream more festive, we topped it with the new Brach’s Create Your Own Conversation Hearts. If you haven’t seen these, they are absolutely adorable and a fun way for kids to practice their writing. Have you children write their favorite messages on their hearts with a food-safe pen or draw tiny Valentine’s Day pictures to decorate them. They would make a fun addition, not only to a fun ice cream treat, but would be a sweet personalized addition to your valentines for your child’s classmates. These little hearts are sold exclusively at Walmart!

Since I couldn’t partake in the red velvet cake batter ice cream goodness this year, I spent some time browsing the grocery aisles to see if I could find any dairy-free options for a birthday treat at the store. Lucky for me, Walmart does offer several varieties of Häagen Dazs sorbets (I tried the raspberry & melon) as well as So Delicious Dairy-Free Creamy Vanilla. They were all so delicious! With sweet treats like this, I didn’t even miss the ice cream this year for my birthday. I’m looking forward to making sorbets and dairy-free ice cream alternatives in my kitchen this year!

In the meantime, enjoy this easy and delicious Red Velvet Cake Batter Ice Cream for a sweet treat with your favorite little valentines!

Red Velvet Cake Batter Ice Cream With DIY Conversation Heart Toppers
Recipe Type: Dessert
Author: Amy Allen Clark
Prep time: 5 mins
Cook time: 25 mins
Total time: 30 mins
Serves: 5
A rich and decadent ice cream treat perfect to share with your favorite little valentines!
Ingredients
  • 1 cup skim milk, well chilled
  • 3/4 cup granulated sugar
  • 2 cups heavy cream, well chilled
  • 2 teaspoons pure vanilla extract
  • 2/3 cup red velvet cake mix
Instructions
  1. Place freezer bowl of ice cream maker into the freezer. Chill the freezer bowl for a minimum of 24 hours.
  2. In a medium bowl, whisk the milk and granulated sugar until the sugar is dissolved.
  3. Stir in the heavy cream and vanilla.
  4. Whisk in cake mix, making sure there are no lumps.
  5. Pour mixture into the freezer bowl and let mix until it has thickened (about 25-30 minutes). Remove ice cream from freezer bowl and place into a separate freezer-safe container.
  6. Place freezer bowl and the ice cream into the freezer to further harden (at least three hours).
  7. Serve with your favorite sundae toppings.

I am a part of the Walmart Moms program, and Walmart has provided me with compensation for these posts  My participation is voluntary and opinions are always my own.
 

Pin It

Come See What the Fuss Is All About (Or How the Surprise Was On Me!)

Friday, January 18th, 2013

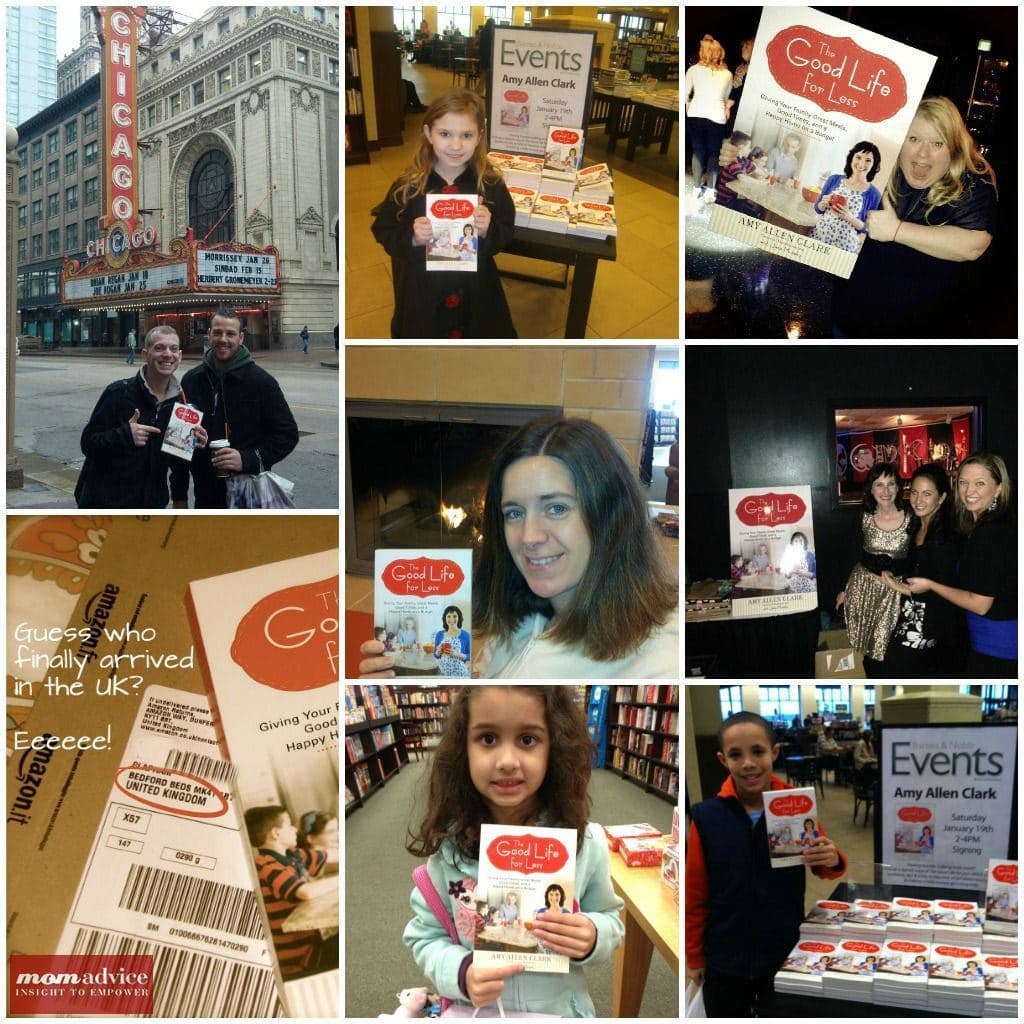
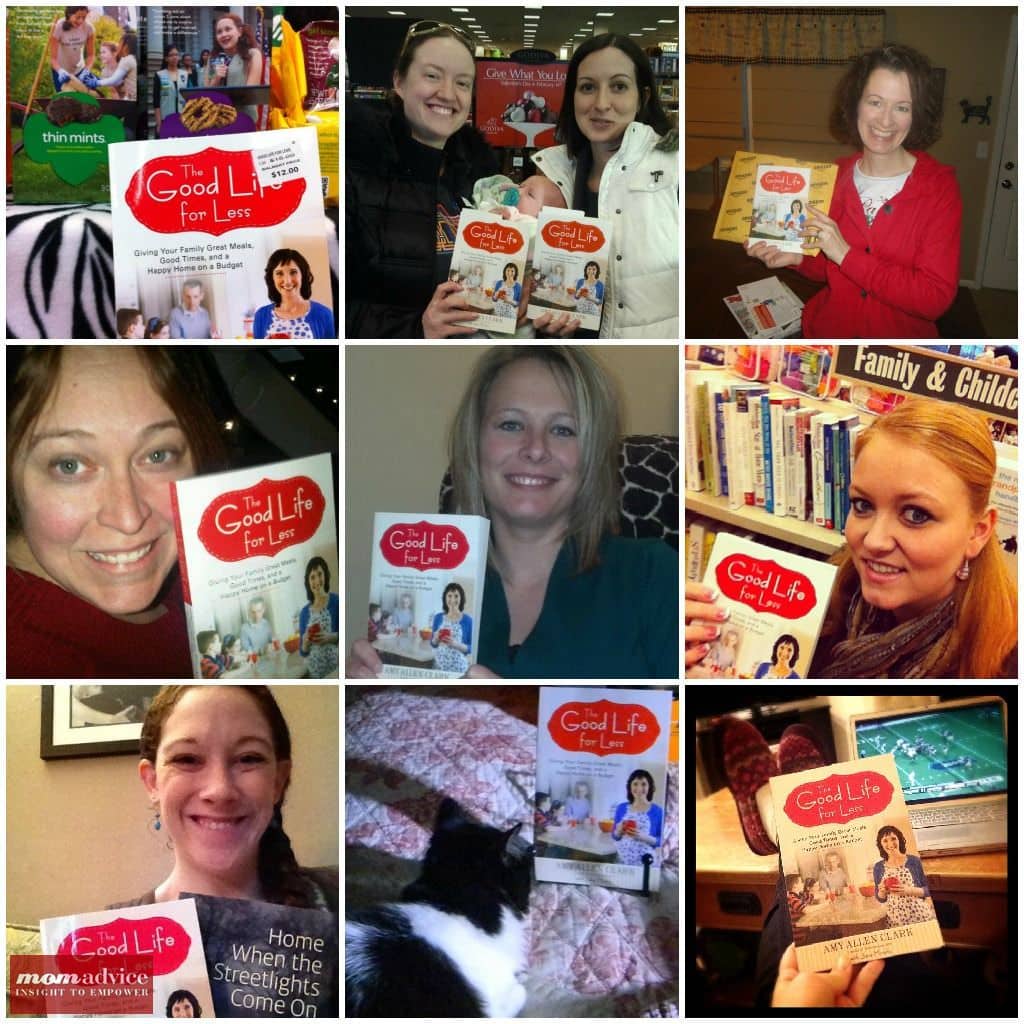
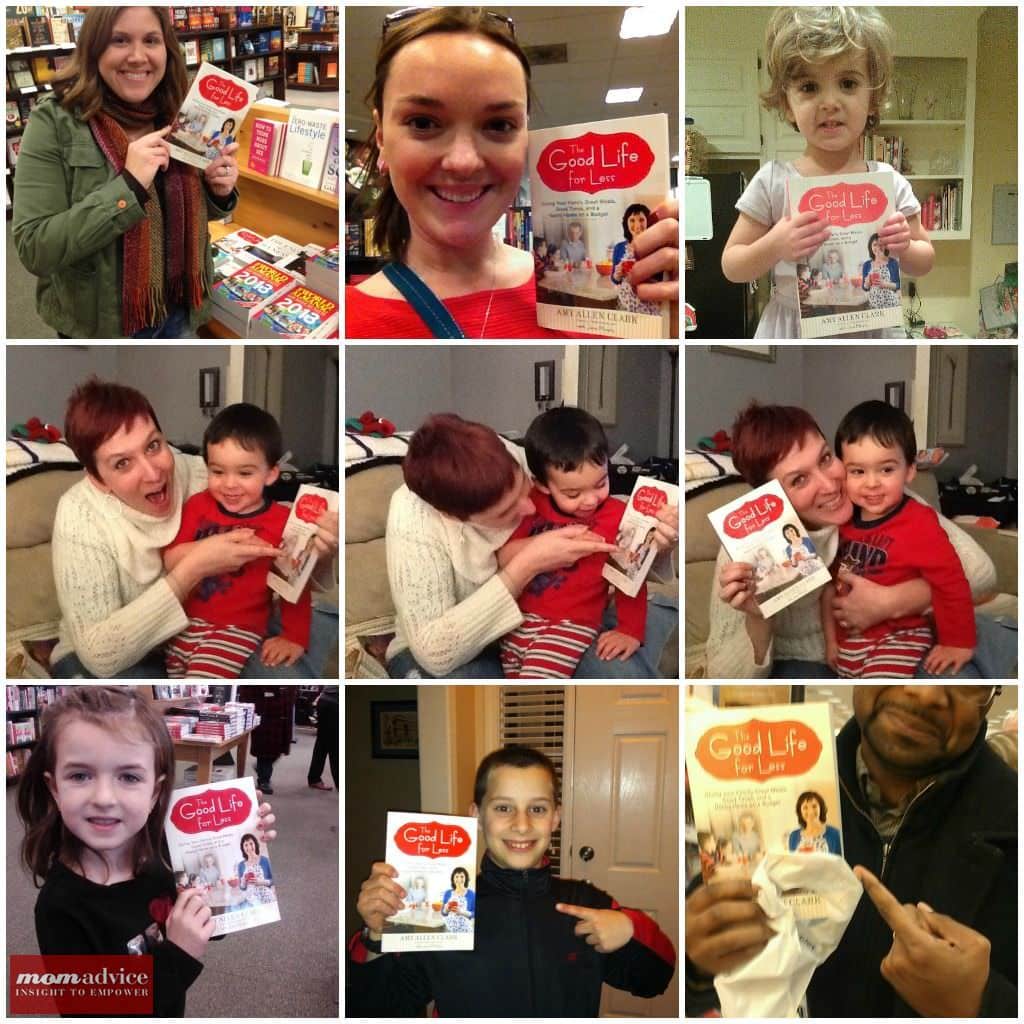
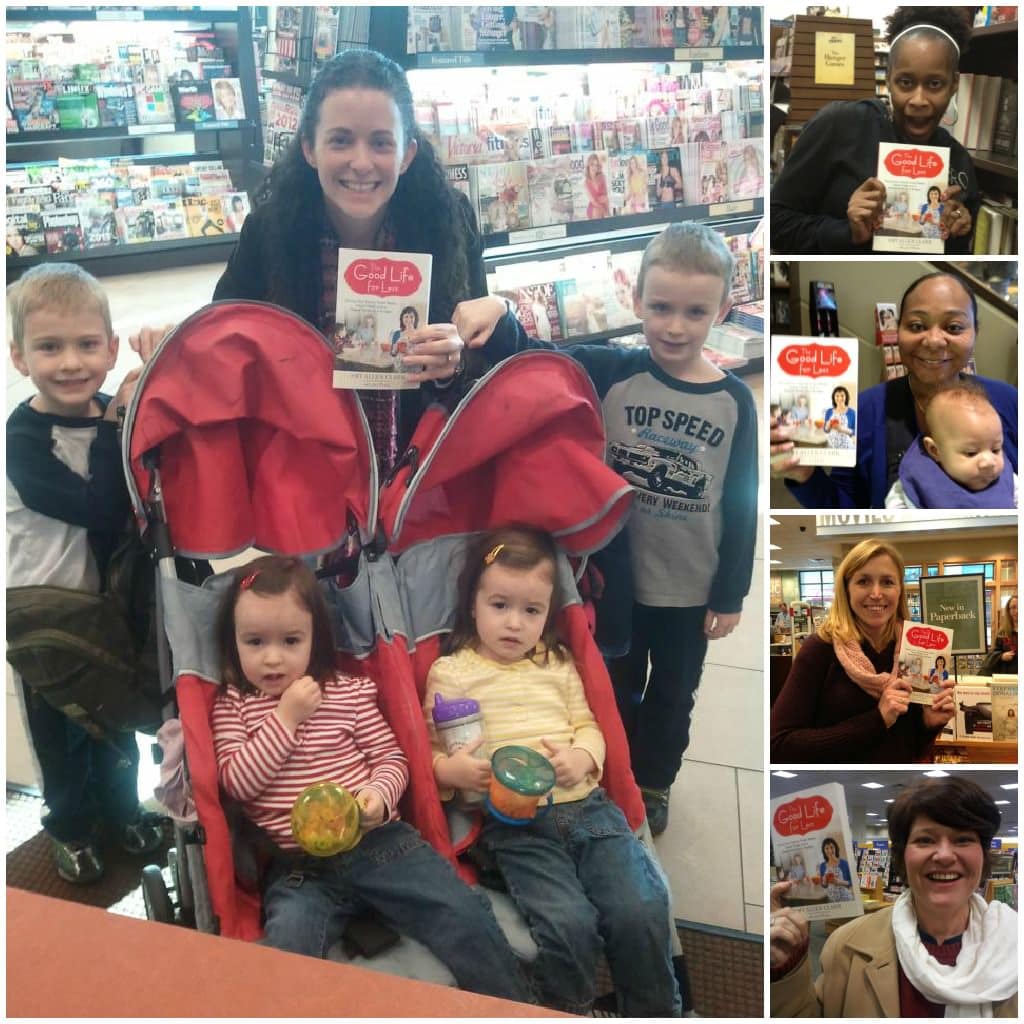
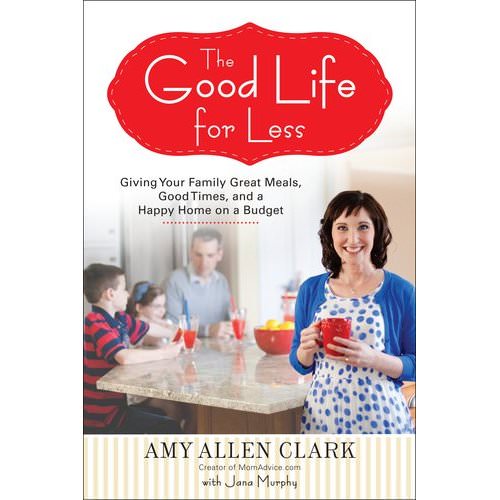
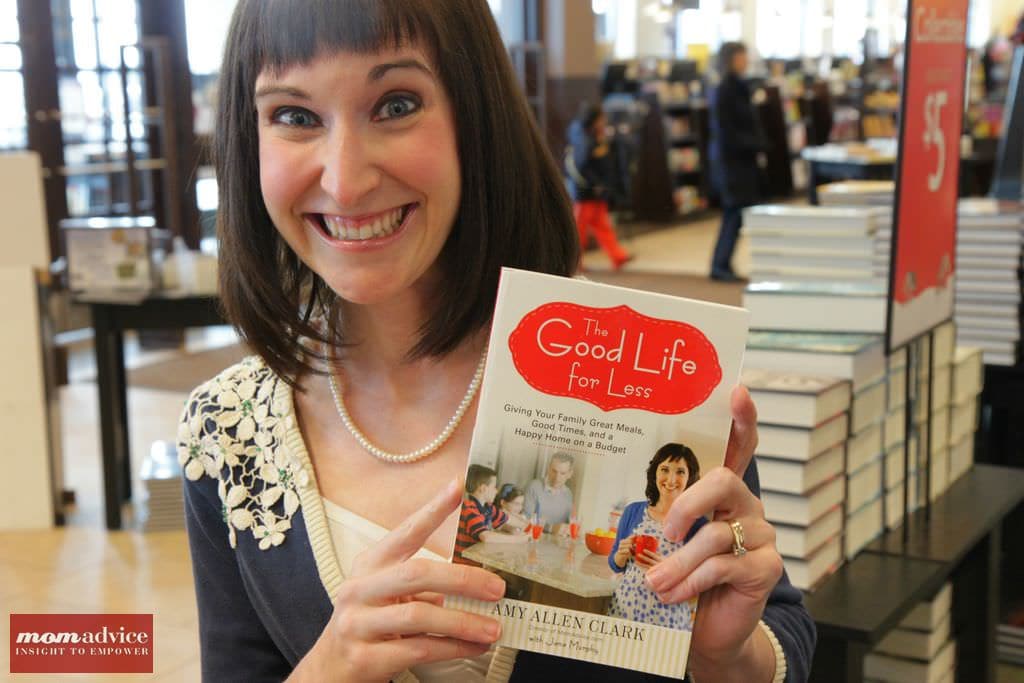
Well, it’s official, The Good Life For Less is out in the world now! I have been so enjoying all of the photos that people have been tagging me in on Facebook with their copies of it! Can you believe all these amazing celebrities that are posing with my book? I can’t believe it myself!

I loved seeing these pictures being posted and then the comment threads that followed that got other people out there buying the book. That is truly the power of social media! I can’t imagine what it would be like to write a book and not get to see my friends with their copies of the book. It has been making my whole life.
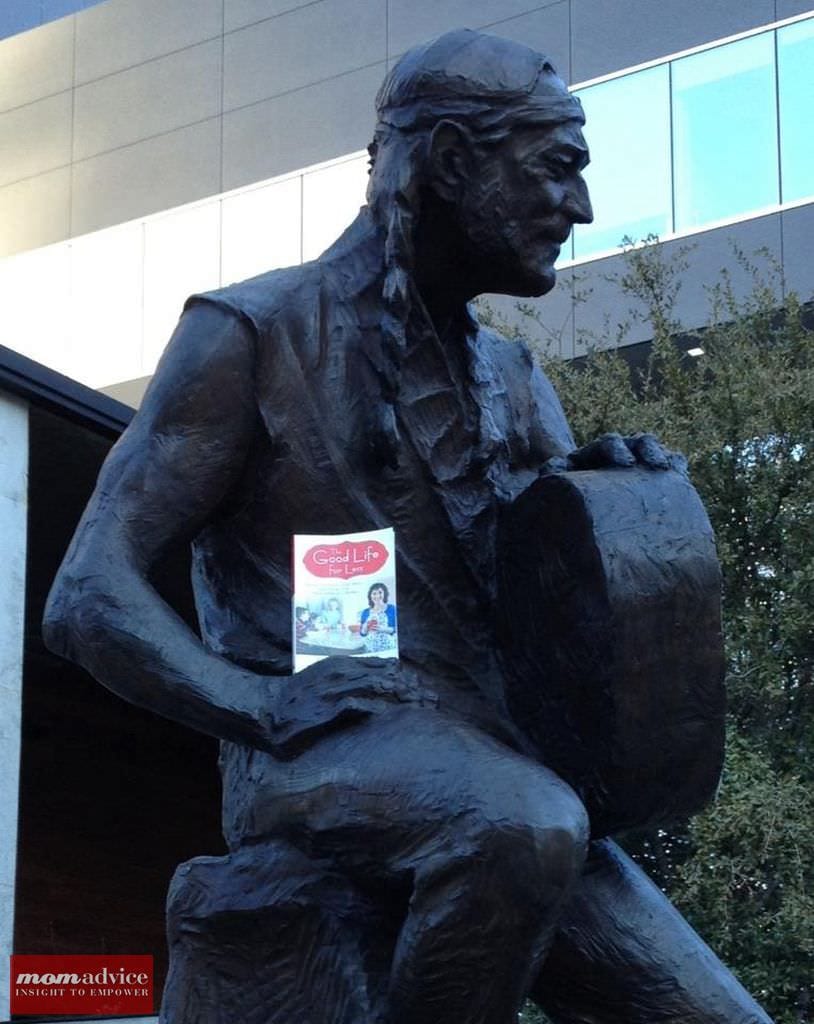
My favorite siting yet was from two of my favorite bloggers, Claire & Lauren, over at TX M.I.L.K. It turns out even Willie Nelson likes my book… now I know that I have arrived.

The reviews have been rolling in on the book, which is so awesome to see!  I get so excited when I see the reviews being shared on Amazon & GoodReads from readers and my blogger friends have all been so generous to share about this book. Here are some of my favorite reviews so far!

Simplifying Meal Time (@ Dine & Dish)

The Good Life for Less Review (Hoosier Homemade)

Taking a Page Out of the Good Life for Less (Extraordinary Mommy)

Book Review: The Good Life for Less (This Full House)

The Good Life for Less (The Centsible Life)

The Good Life for Less (The Simple Moms)

The Good Life for Less (Beth’s Book-Nook Blog)

Review: The Good Life for Less (Northern Cheapskate)

The Good Life for Less: A Happiness Upgrade (Baby Toolkit)

The Good Life for Less (Hormone-Colored Days)

Review: The Good Life for Less (Mom’s Favorite Stuff)

Must Read: The Good Life for Less (Mom Generations)

I was over the moon with happiness and life was so darn good…and then I got the world’s worst stomach flu. I have not been this sick in years. Flat on my back, so dehydrated your eyes feel like sandpaper sick, the I’m cold, now I’m hot, now I’m shivering again sick. SO SICK. For an entire week.

I was dying and my husband was in a sheer panic about my sickness, but couldn’t let on how worried he was. Unbeknownst to me, he had been working for seven months with my best friend on the surprise party of all surprise parties to celebrate the launch of my first book and my 35th birthday.

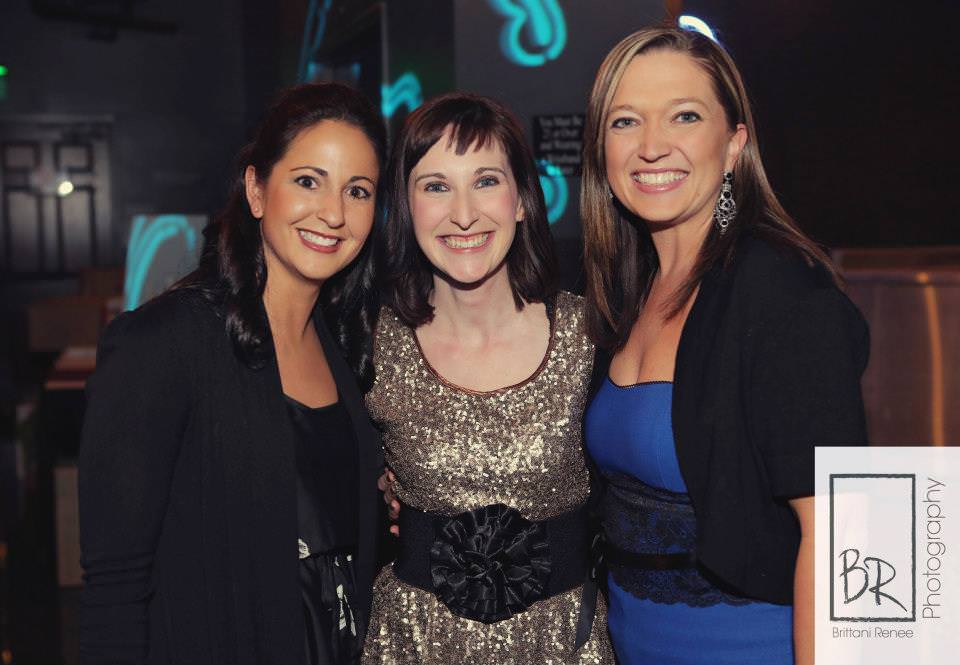
We had a double date planned with my best friend and her husband for, what I believed to be, a silent auction. As my husband pushed me into the room, he whispered, “This is how much I love you.” Standing in the room were over 40 of our closest friends and family there to celebrate.

I have never had a celebration like that ever in my whole life. They rented a room at Legends for the big night, who catered all of the food for the event. He had been working with my publicist to have posters of my book made up for the evening, and the night of surprises wasn’t over.

1.)  He flew my brother in to be with me for the evening from New Orleans. I hadn’t seen him since last spring and I was beside myself with joy to have him there. This was a gift, not just for me, but for our entire family because we have missed him so much. He’s currently living out in New Orleans pursuing his dreams in the art world, and it was so special to have him there.

If you are into art or happen to live in New Orleans, please check out his Facebook page to find out how to commission a piece of art! It’s the Dark & Twisty Art of John Allen.

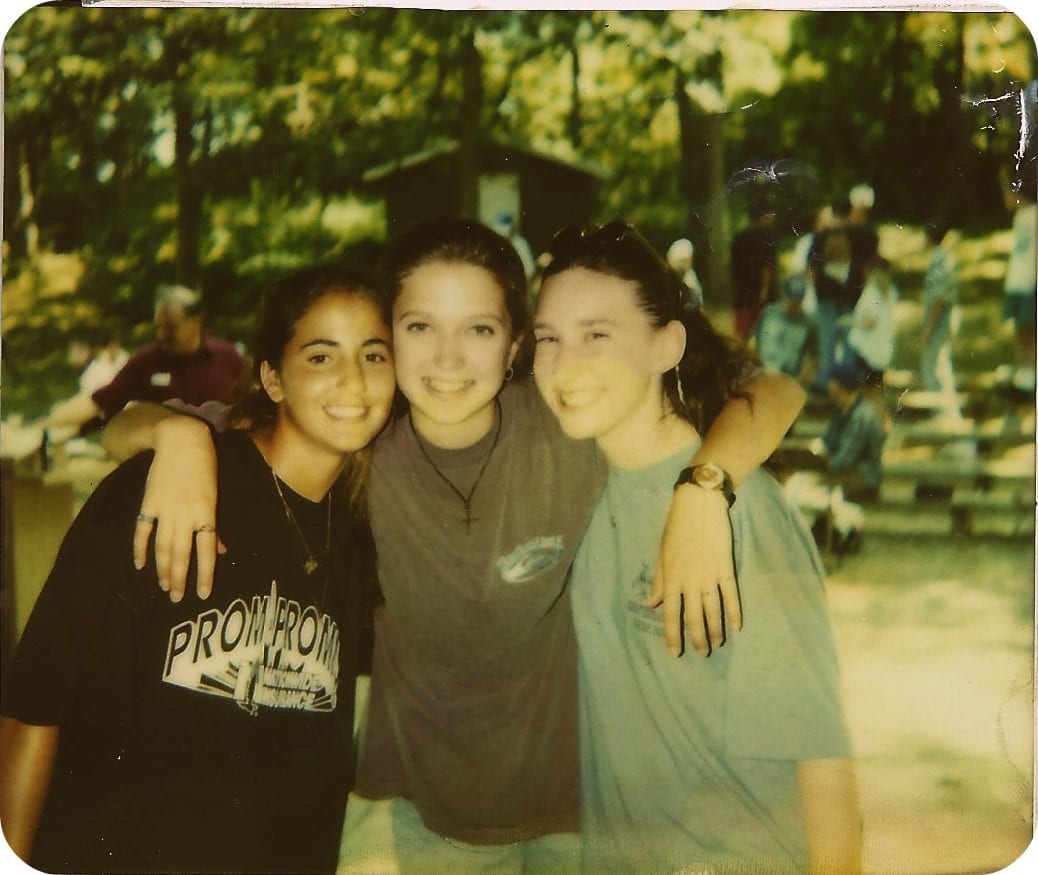
2) He managed to get my two childhood best friends to come in for the party. We are three busy women and it takes a near miracle to get the three of us together. I almost fell over when I saw them both there for the evening. Not many people can say that they have been friends since they were ten years-old and are still friends. These were my two best friends from church camp and we spent many a summer together that I will forever treasure in my heart.

3) Perhaps, the most amazing gift and demonstration of love ever given to me, my husband had been working since June, to teach himself how to DJ so he could be the DJ for my party.

We have been together since high school and I was infamous for making him a million mix tapes of songs for him and “ghetto mixes” once I became too “hood” for a traditional mix. Those mixed tapes were the inspiration for him to surprise me.

Ryan took all the music and those memories and managed to make that into the ultimate mix for me for my birthday, for a night of dancing with my girlfriends. It might sound a little corny to you, but I fell in love with him all over again. When you have been together since you were kids, it becomes hard to surprise each other anymore. To pull off three surprises? Unheard of.

In lieu of gifts, my friends remembered how important the Faith Mission Homeless Shelter was to our family. If you recall, a few years ago, we hosted a Big Give for the shelter. A wish list from the director of the shelter was given, and everyone worked on gathering donations to share with the women & children of that shelter. This was one of my favorite surprises of the night since caring for the homeless is such an important thing to our family. I can’t tell you how happy these gifts made me!

Behind every good man is a good woman. My best friend had been working tirelessly on throwing this amazing party for me with my husband. I am the luckiest girl in the world to have a friend like that and I try to never take it for granted. I am still shocked she could keep this a secret from me for that long when we talk for hours on the phone daily. She is my other “sister,” and I can’t imagine my life without her.

Of course, my friends wanted to spoil me a little bit and all had pitched in for a gift that I had been dreaming about for years and years. I now have the most beautiful and epic sounding record player and they gathered a record collection to get me started. The morning after the party, I sat in my favorite chair and listened to my Simon & Garfunkel record…weeping uncontrollably.

In the words of my mom, most people never know what they mean to people. It is usually at their funerals, that they say what a special person you are or what you have meant to them. Few people get such a demonstration during their life while they are still around.  

I remember when my husband’s grandma passed away and the way my mother-in-law’s friends orchestrated this amazing feast for all of us and took care of her in such a difficult time. As we climbed in the car to head home that day, I cried and said how happy I was that she had friends like that. The kind of friends that would just drop everything for you and take care of you like that. What would that even be like?

I know now. God put the perfect people in my life and gave me the most incredible friends in the world. They know and understand my heart, they have no jealousy for these major career milestones, they are so proud of what I do, and they are the first to say, “What do you need? What can we do to help?” when things go wrong.

More importantly, I am reminded how loved I am by my husband and by our family. I had stars in my eyes all night for my husband and what he did for me.

I am the luckiest girl in the whole world.

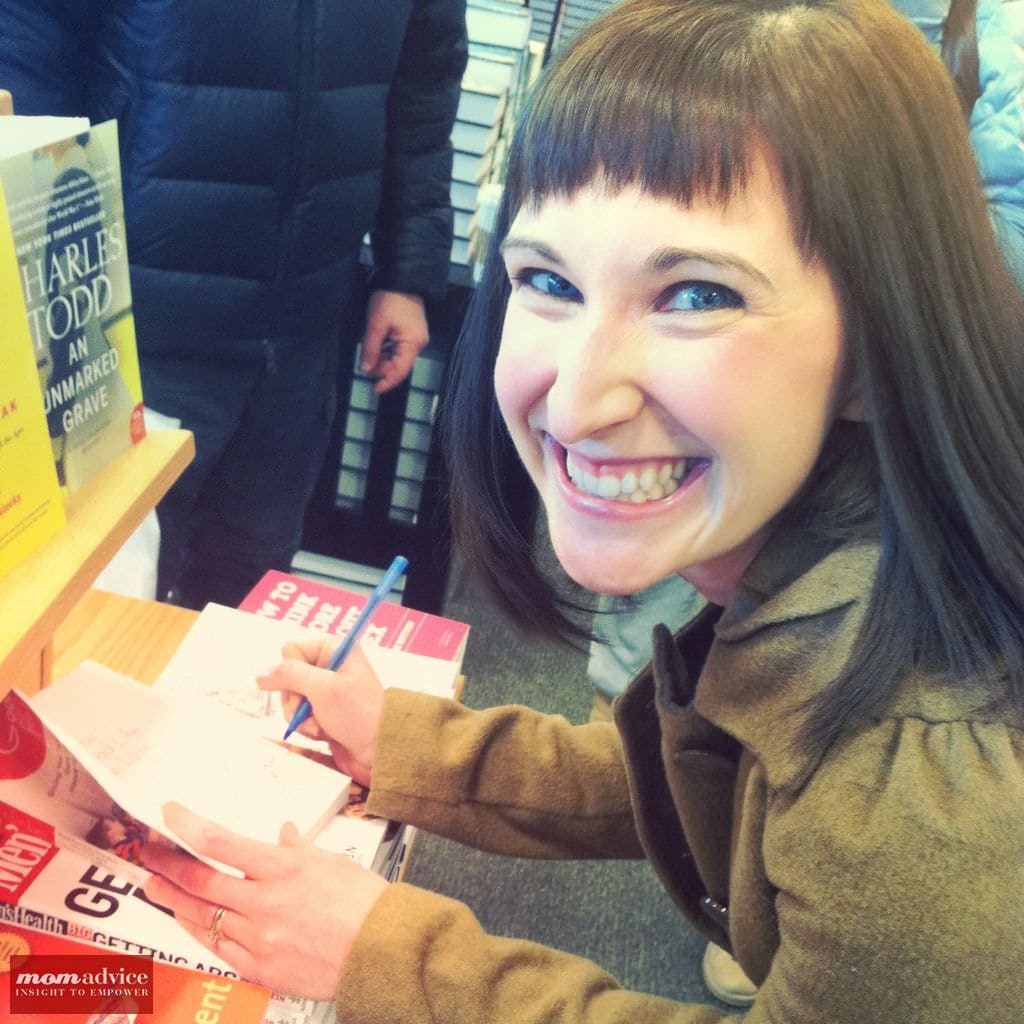
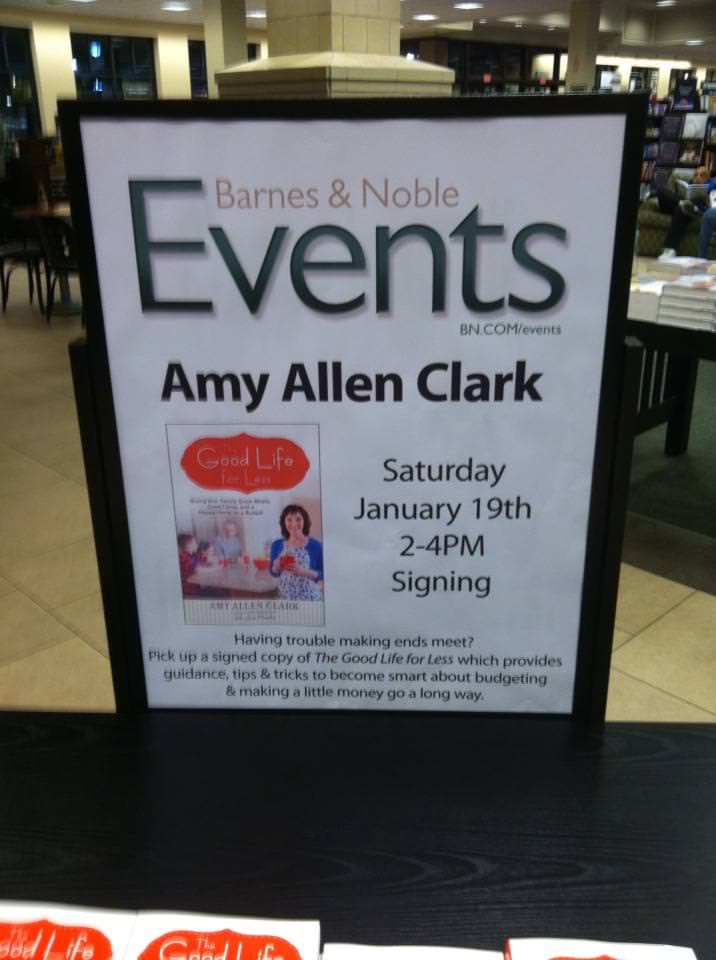
Tomorrow I have my first book signing at the Mishawaka Barnes & Noble. I’m so excited that my friends are even coming in from Chicago & Indy for this special day. I hope you will accept my heartfelt invitation to join me at this signing. I want to hug and thank every single person that has supported us over the years. It would mean so much to have you there! I hope I see you tomorrow from 2-4PM at Barnes & Noble in UP Mall (Mishawaka, IN).

As you can see, life has gotten a bit chaotic. I promise to try to get back in the swing of things soon, but in the meantime, I hope you will pick up my book to read our family’s story and get inspired to get your finances back on track! I know you are missing some features here so I wanted to update you and let you know that I am just having a little trouble juggling it all by myself. I hope this helps explain things a bit more.

Thank you for your love and support!!

(Party Photography: Brittani Renee Photography. Party Dress: Flourish Boutique)


Dairy-Free Crustless Quiche

Monday, January 7th, 2013

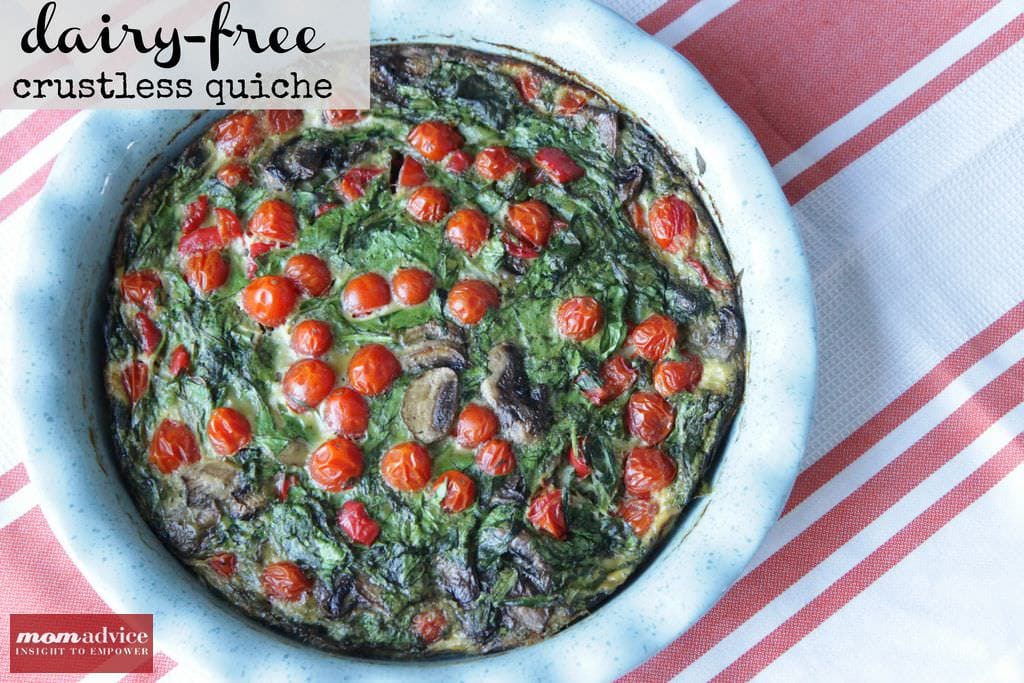
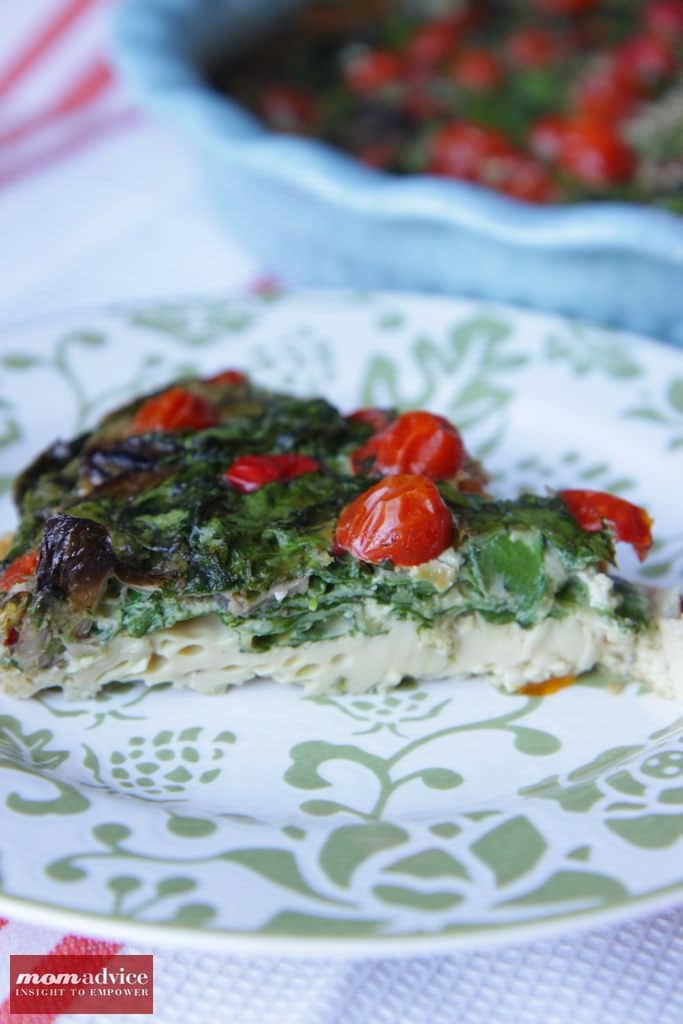
One of the hardest things I did this year was to start eating a dairy-free diet. This dairy-free crustless quiche recipe got me through many cheesy-filled get holiday togethers and was created just for myself for Christmas morning this year. You won’t believe how decadent this dairy-free crustless quiche tastes and, I highly doubt, you will even miss the milk or cheese.

Dairy-free doesn’t mean egg-free for me, but it did mean giving up the cheese and milk in my life. I made an easy transition into drinking almond milk (remember those infamous milk allergy mugs), but other transitions were a little more challenging. Our weekly pizza night now has a special alternative-cheese section for me, tacos and enchiladas also have an alternative-cheese section, creamy & decadent main dishes have been abandoned for now,  and I have had to learn some new ways of snacking. Although it has been challenging, the rewards have been so worth it for my stomach.

Although a round of allergy testing proved, I am not allergic to milk, my body’s response to it is to attack itself for three days straight if I have any dairy. As I get older, I want to deal with that less and less. Who has time to be sick for three days?  Luckily for me, there are many great dairy-free options at the supermarket and natural food stores to keep me full and happy.

What I love about this quiche is that it offers the perfect balance of layers of delicious veggies with an egg mixture mixed with a little spice and the mild flavor of rice milk.

Although many times you need to go to natural food stores to stock up on dairy-free alternatives, this dish can be created with supplies bought at your local Walmart stores. The rice milk is available with a couple of other milk alternative options over by the coffee/tea section of our store. I am becoming a fan of rice milk for cooking and I think you will too!

Don’t feel limited to the vegetable options I am sharing though, the beauty of a quiche is that it can be created from whatever you might need to use up in your vegetable drawer of your refrigerator!

Dairy-Free Crustless Quiche
Recipe Type: Main
Author: Amy Allen Clark
Prep time: 10 mins
Cook time: 45 mins
Total time: 55 mins
Serves: 6
A dairy-free crustless quiche that is healthy, packed with veggies, and loaded with flavor.
Ingredients
  • Dairy-Free Crustless Quiche
  • 1 Tbsp. olive oil
  • 1 teaspoon minced garlic
  • 3 handfuls fresh baby spinach, roughly chopped if desired
  • 1 red bell pepper, diced
  • 2 cups fresh mushrooms
  • 1 pint cherry mushrooms, sliced in half
  • 6 eggs
  • 3/4 cup plain rice milk
  • 3 Tbsp. all-purpose flour
  • 1/2 tsp. baking powder
  • 1/2 tsp. salt
  • 1/2 tsp. sweet paprika
  • 1/8 tsp. black pepper
Instructions
  1. Preheat your oven to 350 degrees.
  2. Heat oil in a large saute pan over medium-high heat. Add minced garlic and heat for one minute.
  3. Toss in chopped bell peppers and mushrooms and cook for five minutes.
  4. Remove from the heat.
  5. In a separate large bowl, whisk together eggs, flour, baking powder, rice or almond milk, salt, paprika, and black pepper.
  6. Stir in the sauteed vegetables and fresh spinach, and stir until well combined.
  7. Pour mixture into a greased pie pan.
  8. Place the sliced cherry tomatoes on top, cut side down.
  9. Bake at 350 degrees for 45-50 minutes, or until a toothpick inserted comes out clean.
  10. Remove from the oven and allow the quiche to set up for at least five minutes.
  11. Cut and then serve immediately.

What healthy eating plans do you have for the New Year? Any advice for someone who is trying to go dairy-free with their diet? I would love to hear your ideas!

I am a part of the Walmart Moms program, and Walmart has provided me with compensation for these posts  My participation is voluntary and opinions are always my own.

Pin It

The Best Paper Snowflake Templates on the Web

Friday, January 4th, 2013

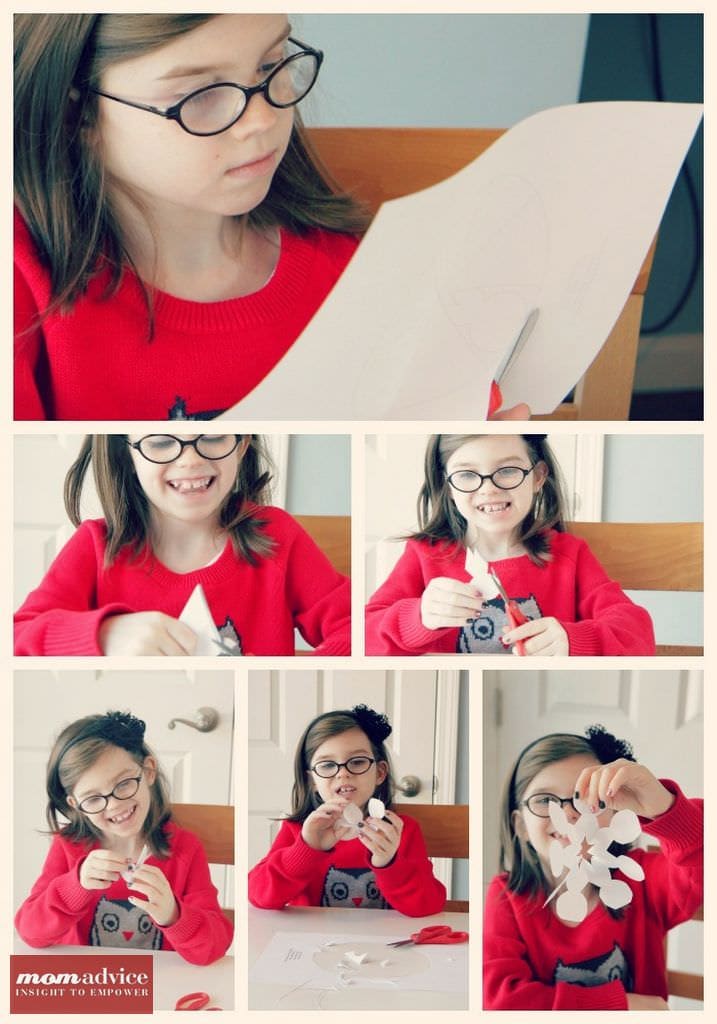
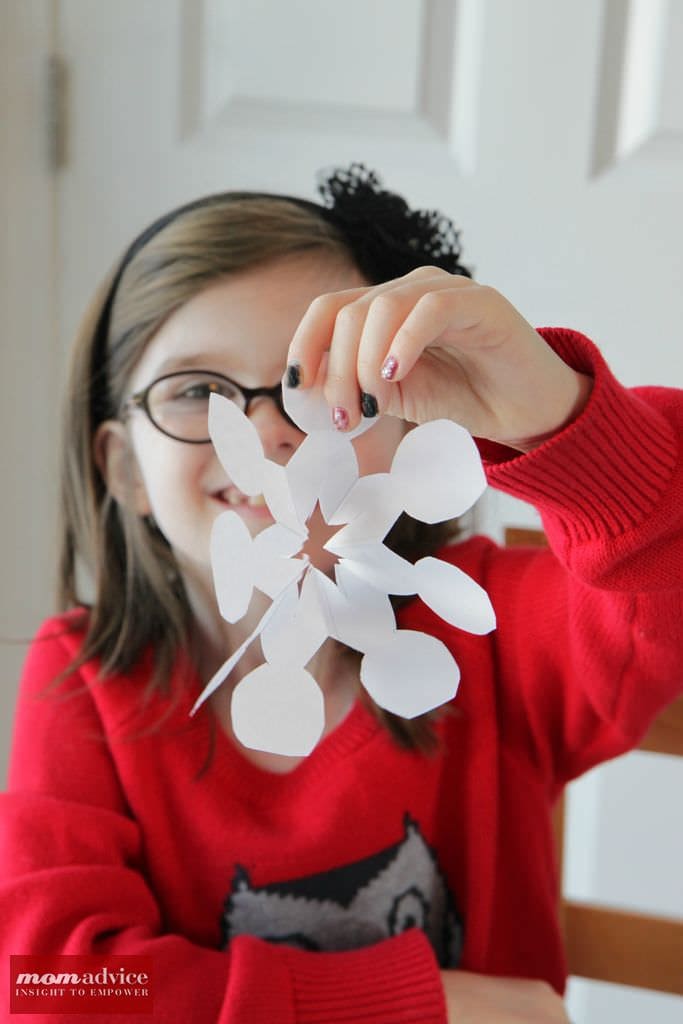
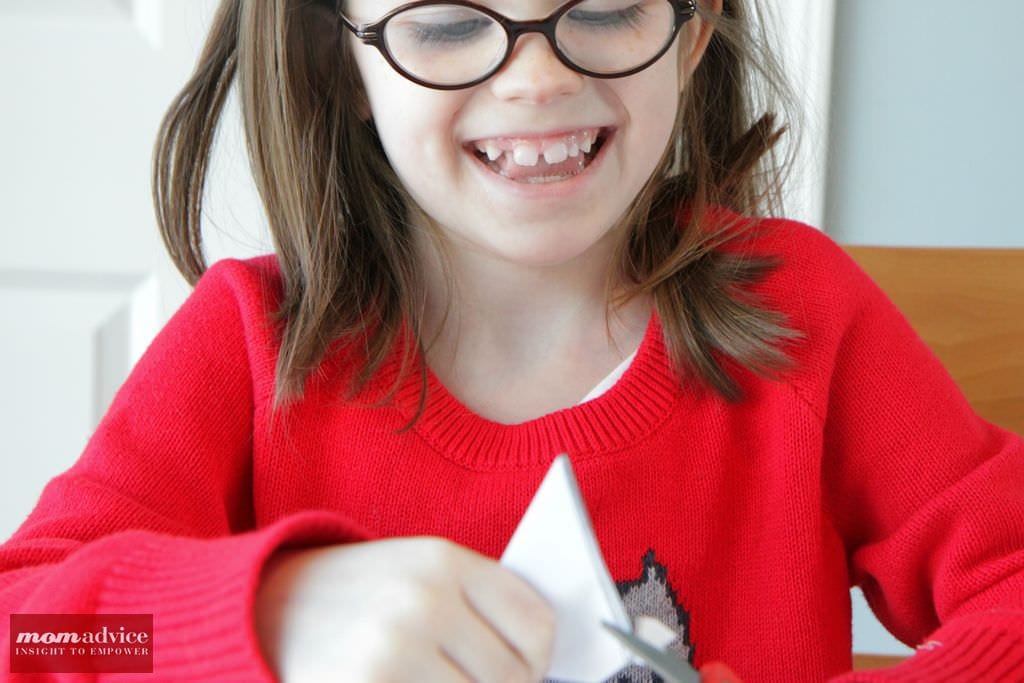
Winter days can be long with kids, but paper crafts can be a fun way to keep little hands busy with items you already have. Today I want to showcase the best snowflake tutorials we found on the web as a fun winter craft to break up those long winter days. Good old-fashioned paper snowflakes don’t have to be old-fashioned. In fact, there are so many fun snowflake tutorials with current fun characters that, I bet, you will have a hard time choosing where to start.

How to Make Basic Snowflakes

Step 1: Fold your  paper in half diagonally to make a triangle.

Step 2: Now, fold the triangle in half so the pointy corners meet.

Steps 3 and 4: Fold your triangle in thirds.

Step 5: Cut across the bottom of your paper so it is straight.

Step 6: Cut your folded paper so it looks like the triangle above. Then unfold it very gently. Be careful, these tear easily!  Decorate, embellish, and make your snowflake stand out. After all, no two snowflakes should look alike!

(If you are looking for a printable you can use, I like this design-your-own snowflake printable)

If you are looking for a template to create snowflakes, here are a few of our favorites: 

Snowflakes for Little Kids (but don’t tell her that!)

Little hands will benefit from less complex designs that will help them feel more accomplished with snowflake cutting. Mom & Dad may have to help guide the cutting process through the layers, but little ones can help to accessorize their snowflakes with a little sparkle, glitter glue, or crayons/markers, even if they aren’t able to cut them all by themselves. Cutting skills can be challenging with kids and I find this activity to be one that helps challenge them, but also can be fun at the same time.

Happy Dots Snowflake (Pictured Above)

Simply Snow Snowflake Pattern

Cork Stamped Snowflakes

Coffee Filter Snowflakes (a thinner medium for small hands)

Snowflakes for Big Kids (Rock On, With Your Bad Selves!)

Even if your kids are big, cut-outs in the center of the designs can be tricky even for the most skilled adults. I use my self-healing cutting mat and a utility knife to try to cut out eyes and mouths on these super cool snowflakes. As you can see, there is nothing old-school about these snowflakes!

Angry Birds Snowflakes (Pictured Above)

Star Wars Snowflakes (Pictured Above)

More Star Wars Snowflakes

Classic Snow Crystal

3-D Snowflakes

Thanks so much to Walmart for challenging me to craft up some snowflakes with my kids. It turned into a morning of smiles and delight  as watched our snowflake creations unfold.

Happy snowflake-making, friends!

I am a part of the Walmart Moms program, and Walmart has provided me with compensation for these posts  My participation is voluntary and opinions are always my own.

What is your favorite winter craft to do with your kids?

Pin It

The Good Life For Less #GNO Twitter Party (Tuesday 01/08)

Thursday, January 3rd, 2013

I am so excited to get to be participating in my first Twitter Party with Mom It Forward to promote my new book, “The Good Life For Less.” As you can see, I am not happy about it  at all (ahem).

This virtual party will be hosted on January 8th from 9-10 PM ET and will give you the chance to participate in a great chat on frugality and how to truly achieve the good life for less with CELEBRITIES. Yes, I said it, the celebrities in my life happen to be the superstars in the frugal world.

I was asked to pick a few friends to help assist me with my talk. It wasn’t hard to think up a fantastic dream team panel, but to expect them to spend a Tuesday night on Twitter with me seemed impossible. Of course, you know you have awesome friends when they agree to do this for you to help promote your project. I want to give each of them a shout-out because ALL of their blogs should be on your must-read lists!

Savings Lifestyle (Andrea Deckard)

With a motto like, “Save on what you need. Spend on what you want,” you know that you are in for a real treat! Stay up-to-date on coupons, savings at the grocery store, take advantage of great freebies, and learn to achieve a beautiful life for less. Andrea is an all-around fantastic person and I am so lucky to call her my friend!

Hoosier Homemade (Liz Latham)

If you aren’t following the Hoosier Homemade you are missing out on a real treat..and I mean treat. She is famous for her cupcake skills, but is also an all around jack-of-all-trades when it comes to making a beautiful home for less. You will absolutely love this site and did I mention that she is a fellow Hoosier girl?

Deal Seeking Mom (Tara Kuczykowski)

If you coupon, you know my friend, Tara! Tara has a fantastic coupon site filled with just about every deal on the internet. It is a site I reference frequently when making my purchases and I highly recommend you do too. The best part? She is one of the sweetest people I know.

Frugal Upstate (Jenn Fowler)

If you are looking for a blog that truly gets back to the basics of frugality and achieving the good life for your family for less, you will definitely want to visit Jenn’s blog. It has everything you need from menu planning advice, great recipes to share around the table, and fantastic DIY projects. Jenn knows a lot about a frugality and is a trusted frugal resource for me!

The Happy Housewife (Toni Anderson)

If you want to know anything about anything, than I am sure you are familiar with my friend Toni and her site, “The Happy Housewife.” This website has everything from how to manage your home, how to manage your family budget,  how to feed your family, how to score the best deals at the grocery store, and even advice on homeschooling your kids. I guarantee that once you start browsing this site, that you will lose many hours in your day just soaking all of that knowledge in. I adore Toni and am so thankful to call her my friend!

Party Topic

Join Amy Allen Clark (that’s me!)  who is the author of The Good Life for Less@MomItForward, and our panel of experts as we chat about frugal living. The party will be held on Tuesday, January 8 from 9-10 p.m. ET (8CT, 7MT, 6PT)Click here to see details about the giveaway and enter for a chance to win.

Party Details

Jot down some questions that you would like to ask us and be prepared for a fun night on frugality. I am so excited to be giving away more books and also would love to acquaint you with our new Book Landing Page where you can grab all the information you need about my book, sign up for our new newsletter, and find out where I am headed for book signings! 

I’m also excited to share that Mom It Forwardwill be covering ideas from, “The Good Life for Less,” in a four part series! How cool is that? Visit the site to learn more about our frugal journey and what you will find in the book!

I never made it out of my pajamas yesterday because I just sat at my computer in complete awe at the stir that all of you created with this book. Pictures were being posted all over IG and Facebook of you running out to buy your copies at your local bookstores, the shares from my family’s big day at the bookstore went completely viral, and the words from people who had already read it… There are just no words to how overwhelmed with emotion we were.I am just a gal, in a small town in Indiana, preaching a little message about simple living and I never dreamed that we would be experiencing a moment like this. Thank you all for your love and support of this project! I could not do it without you! The Amazon sales rocked my world yesterday as well as all of those beautiful pictures of you heading to your stores to make my dreams come true! Thank you from the bottom of my heart!

Looking forward to chatting more at the Twitter party!

Pin It

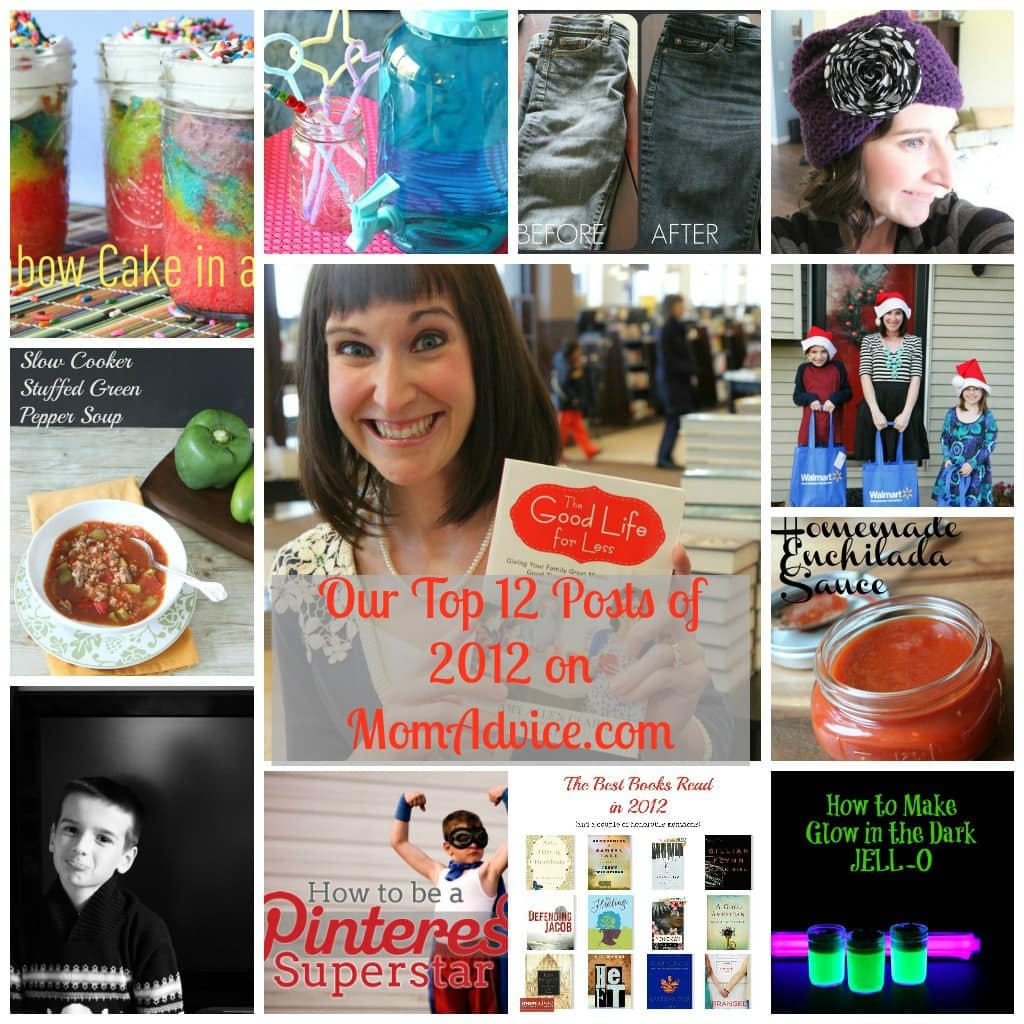
Our Top 12 Posts of 2012

Wednesday, January 2nd, 2013

What a wonderful year 2012 was for our site and our family. MomAdvice continues to grow & I can’t wait to share with your our best posts of this year.  Today I wanted to highlight our top 12 posts from 2012.

Do I thank you enough around here? I never feel like my thanks is sufficient enough for all of your love and support for us. 

Thank you for sharing our site with others.

Thank you for your continued support.

Thank you for your comments.

I can’t tell you what they mean to me.

Here are the top 12 posts that happened on MomAdvice this year:

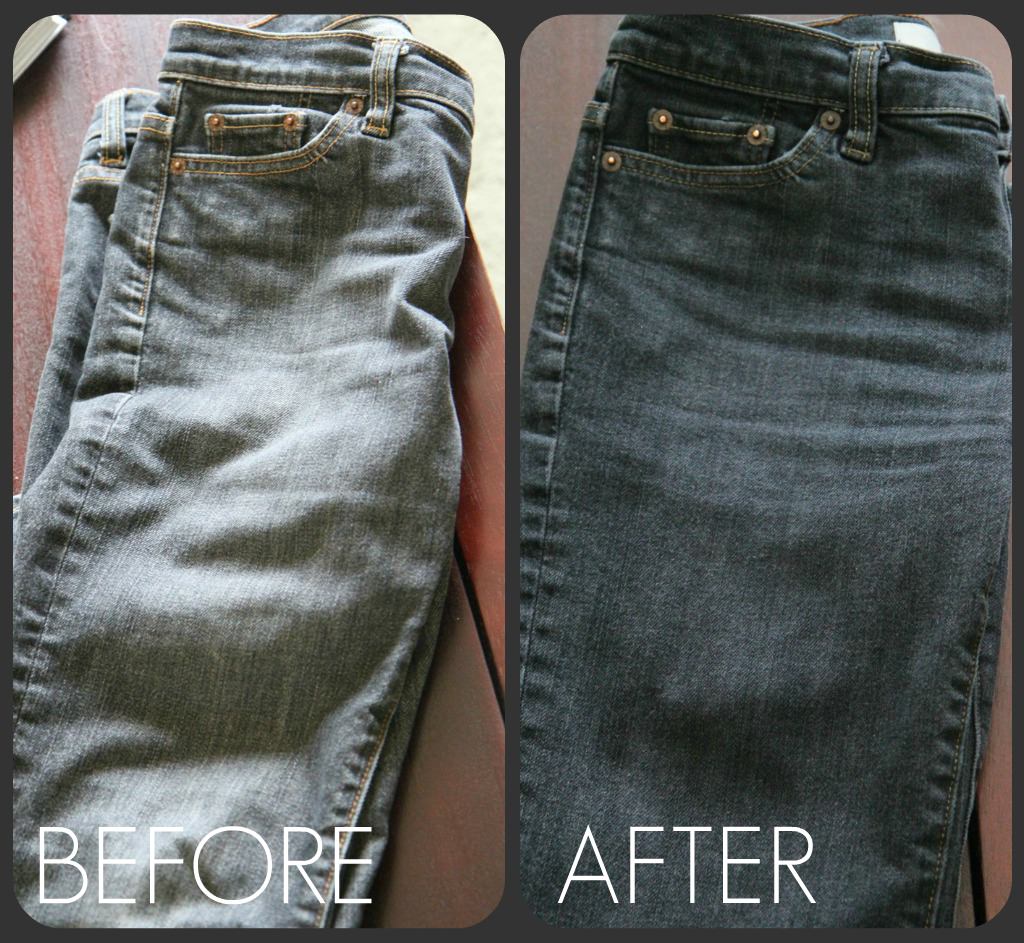
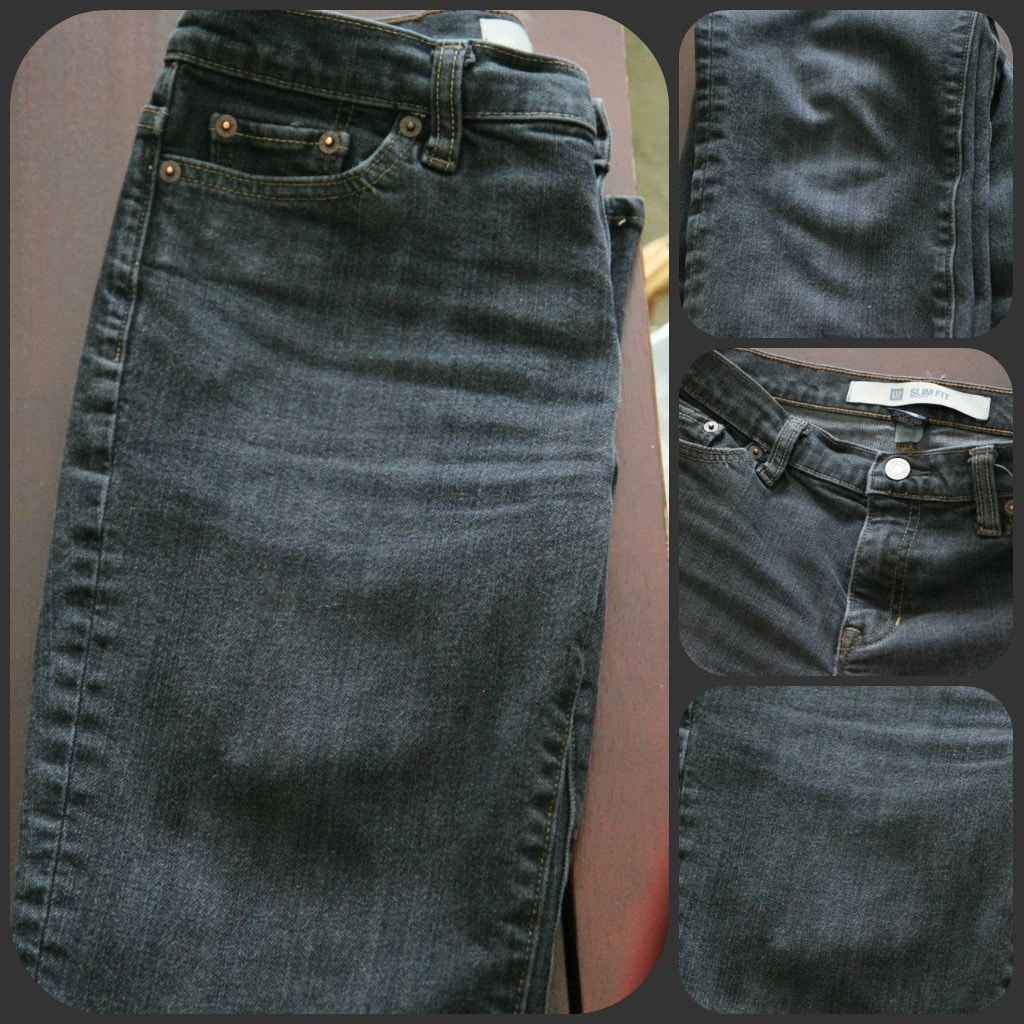
1. How to Dye A Faded Pair Of Jeans

Our top post this year, by a LONG shot, was my tutorial on how to dye your old jeans. With over 205,000 views, this one went viral and that box of Rit fabric dye was, perhaps, the best purchase of the entire year! Not only did I get a “new” pair of jeans, but this post grabbed the attention of a lot of new readers that were looking for some ways to freshen up a few tired pieces in their closet. This tutorial explains a variety of methods of dying your clothing and the comment stream continues to grow as readers share their own success stories with fabric dying.

2. How To Be a Pinterest Superstar

I am so excited to see that my guidance on growing your blogs through Pinterest proved to be valuable information to other bloggers. In this article, I share everything I have learned about getting your content and readership to grow through Pinterest. If your New Year’s goal is to harness the power of Pinterest, I can’t recommend this article enough for growing your audience. 

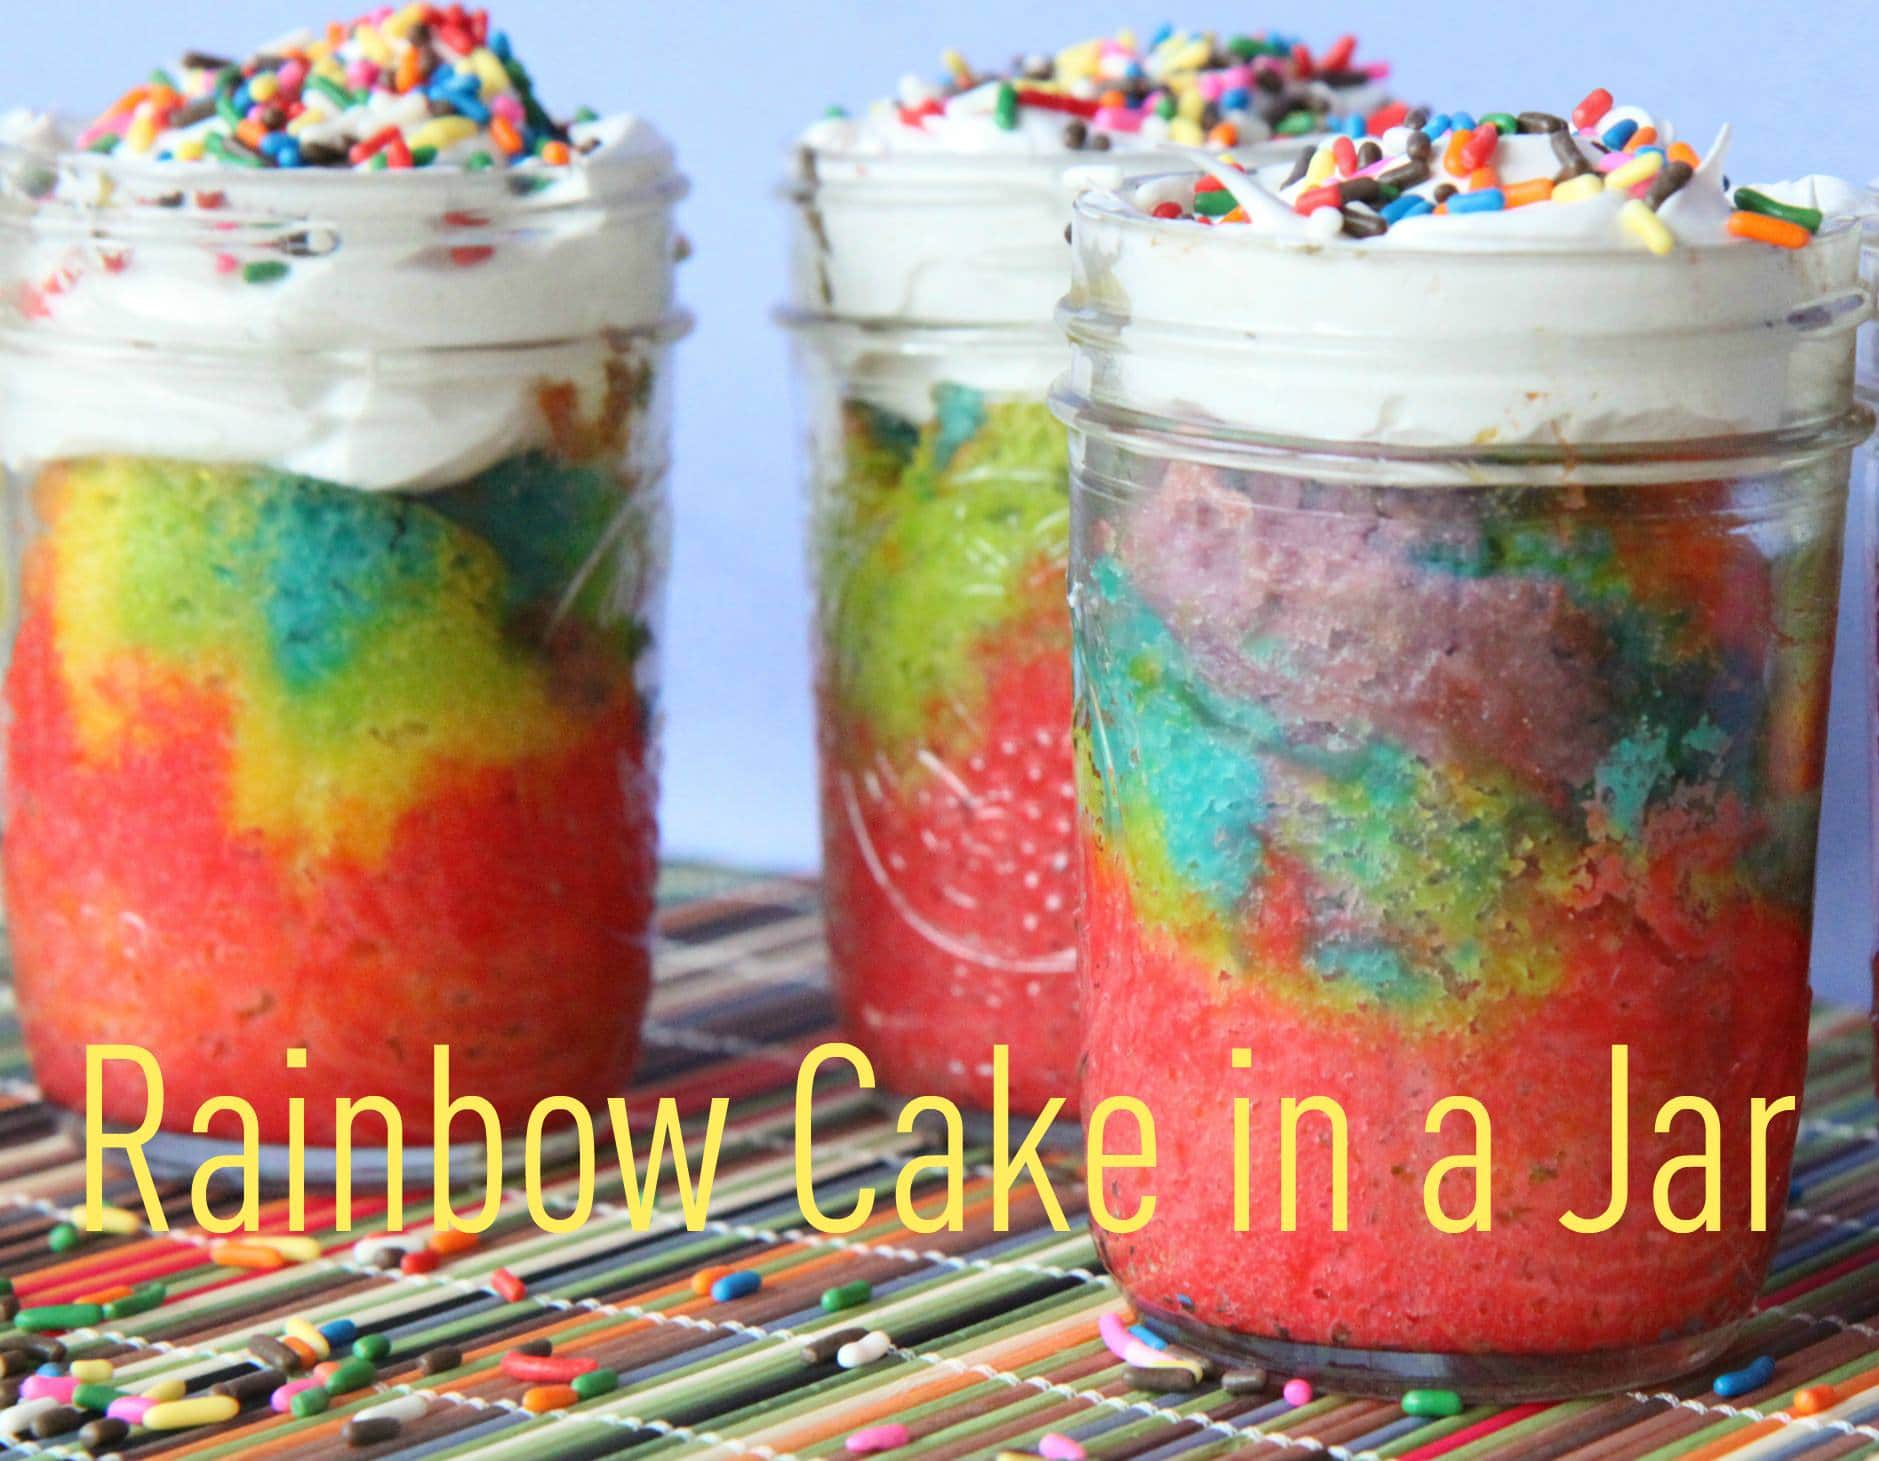
3. Rainbow Cake in a Jar With Cloud Frosting

Anything in a jar, to me, is absolutely delightful and delicious. For the St. Patrick’s Day holiday, I share a recipe for making beautiful little rainbow cakes in a jar and my recipe for a perfectly fluffy cloud of frosting to top these festive little cakes. The best part is that  these can be made from items you already have lurking in your pantry!

4. The Good Life For Less

Well, the excitement around here must be contagious because our 4th most popular page this year is for my first book, “The Good Life For Less.” I’m so excited to share that it is now available on store shelves! I would be, of course, be honored if you bought a copy and I am so excited that this was one of your top destinations this year on the site!

5. How to Ditch Your Cable Bill

Oh, we were a radical bunch this year as we said goodbye to our family’s astronomical satellite television bill. Apparently, I’m not the only one who wanted to say goodbye to it because this was a frequently visited article for many of our readers. After a year without cable, I can’t tell you how much happier we are. We are especially enjoying the savings we are experiencing by changing the way we watch television.

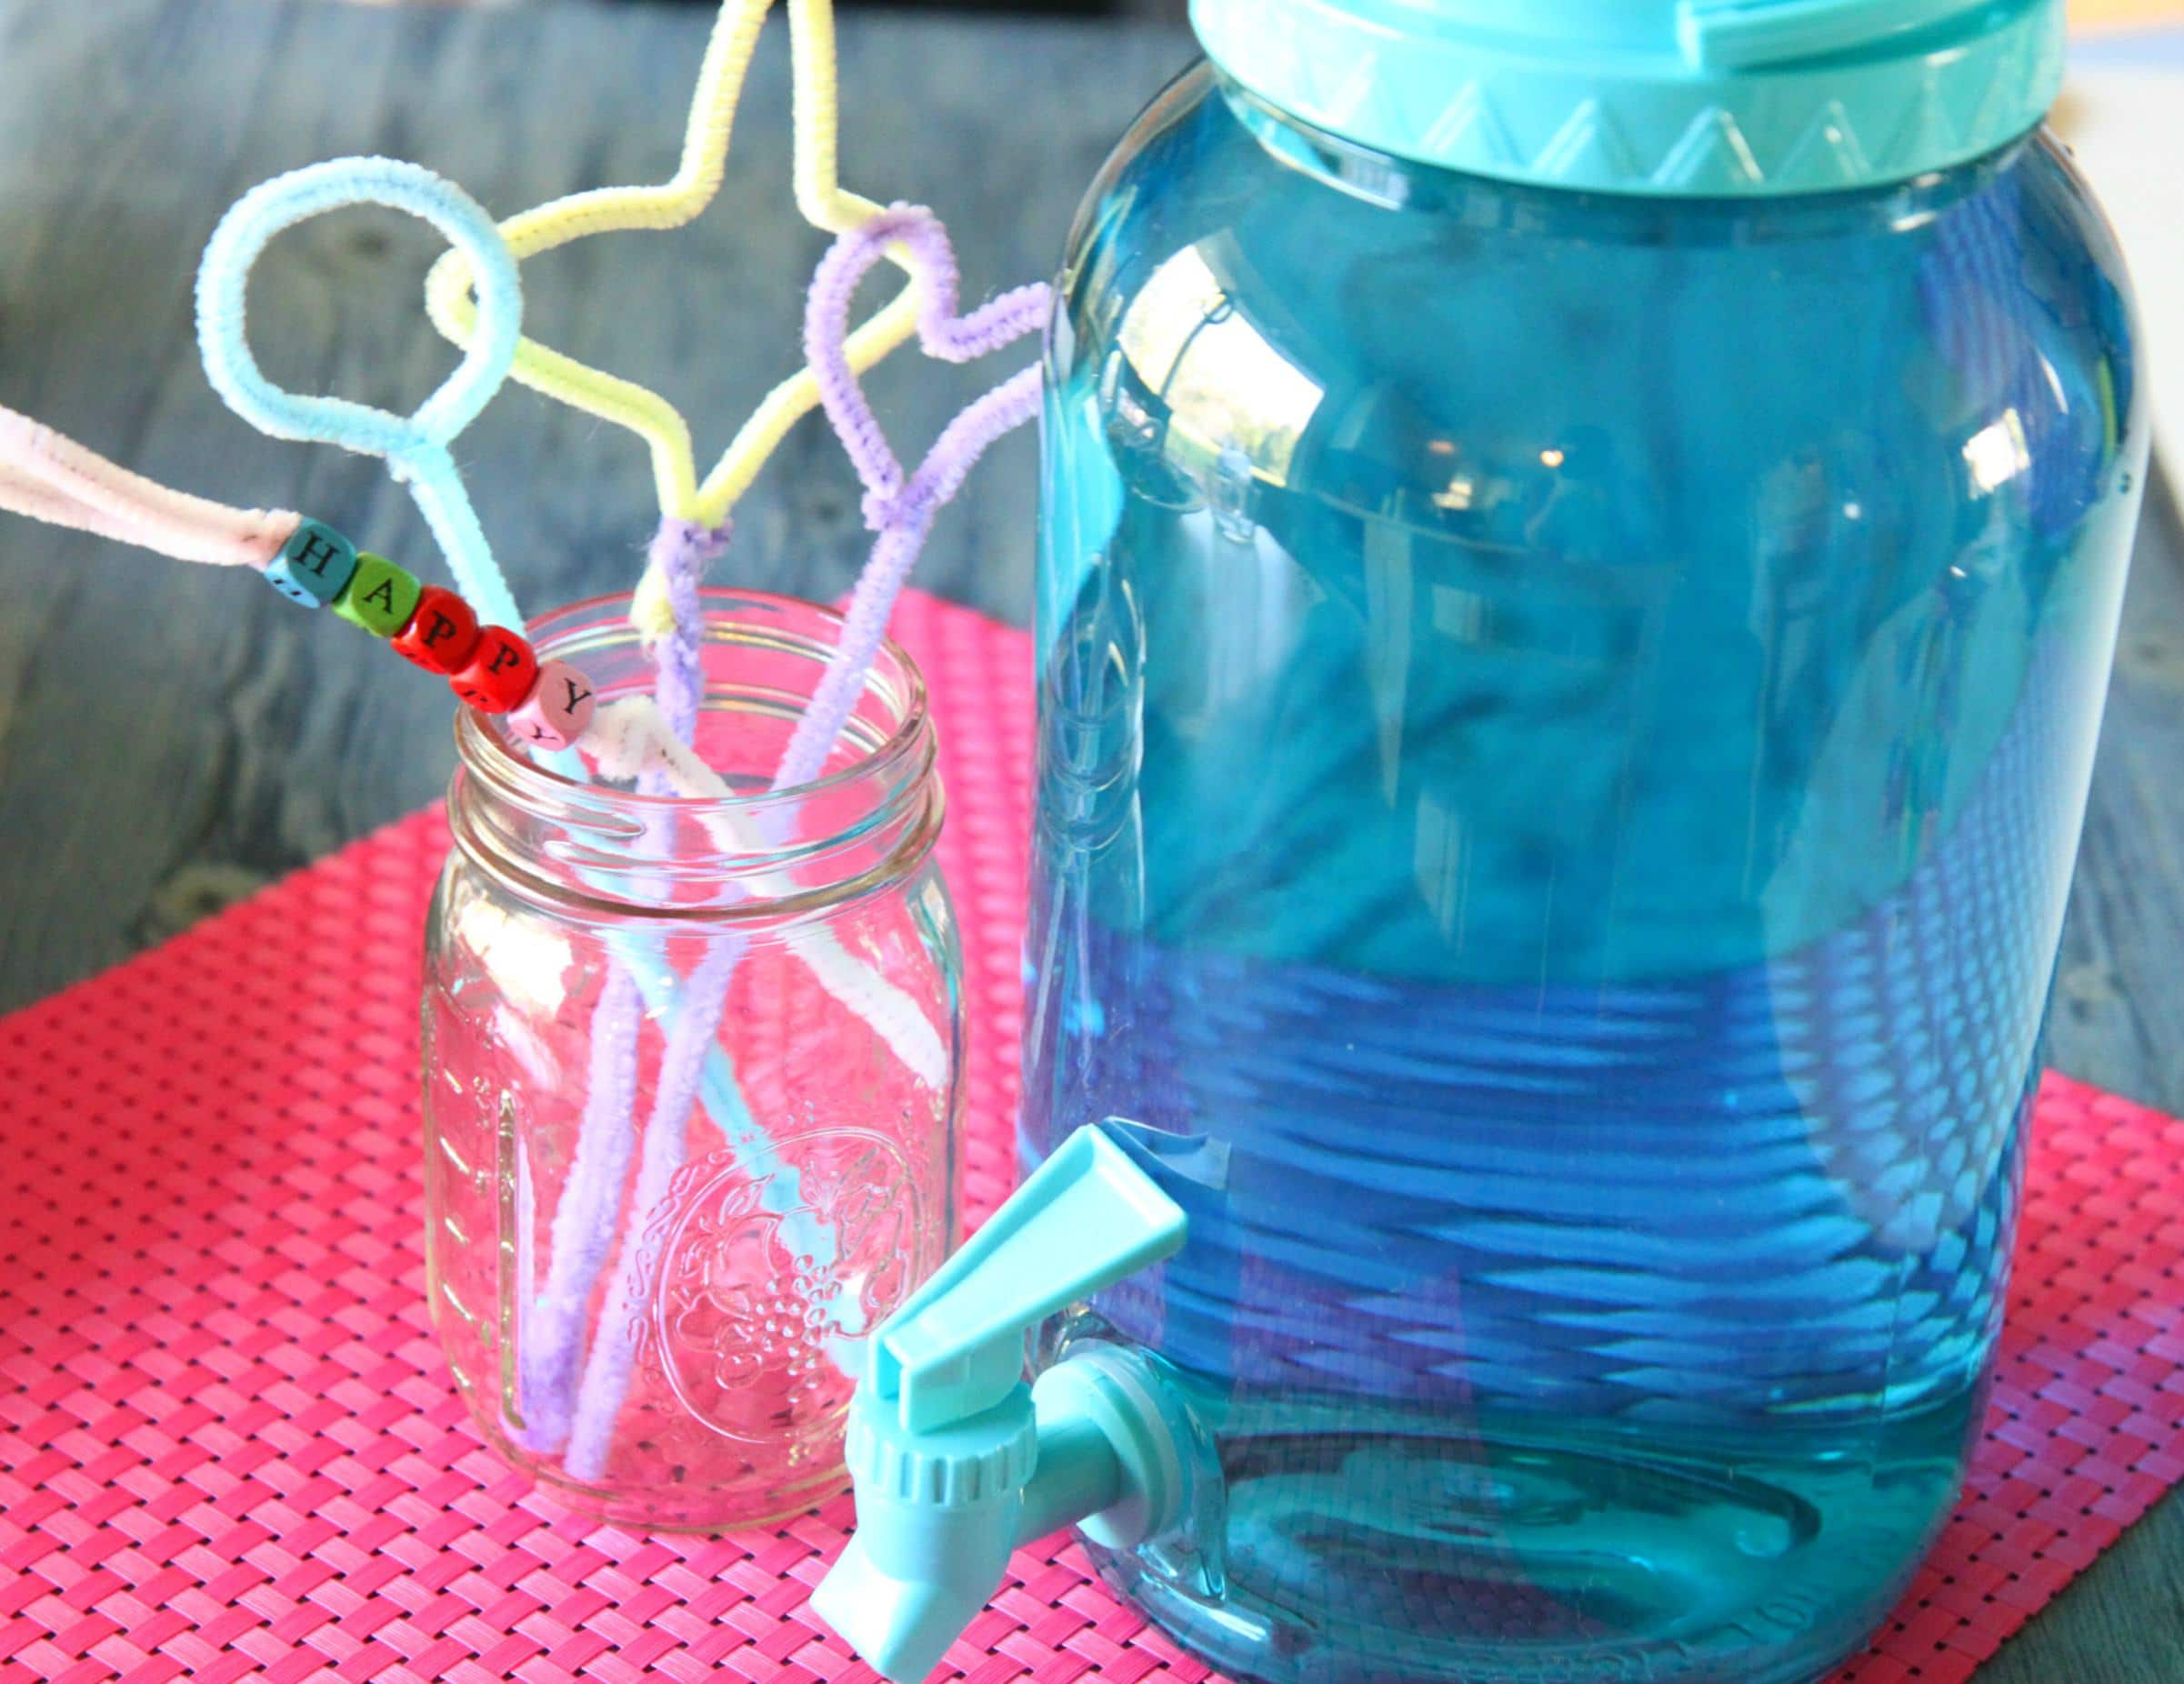
6. The World’s Greatest Homemade Bubbles Recipe

If there is one thing my kid’s love, it is this homemade bubble recipe. Neighbor kids flock to our home in awe of their super awesomeness and moms will be begging for your secret. This super easy recipe was a popular one on the site and replicated in many a home!

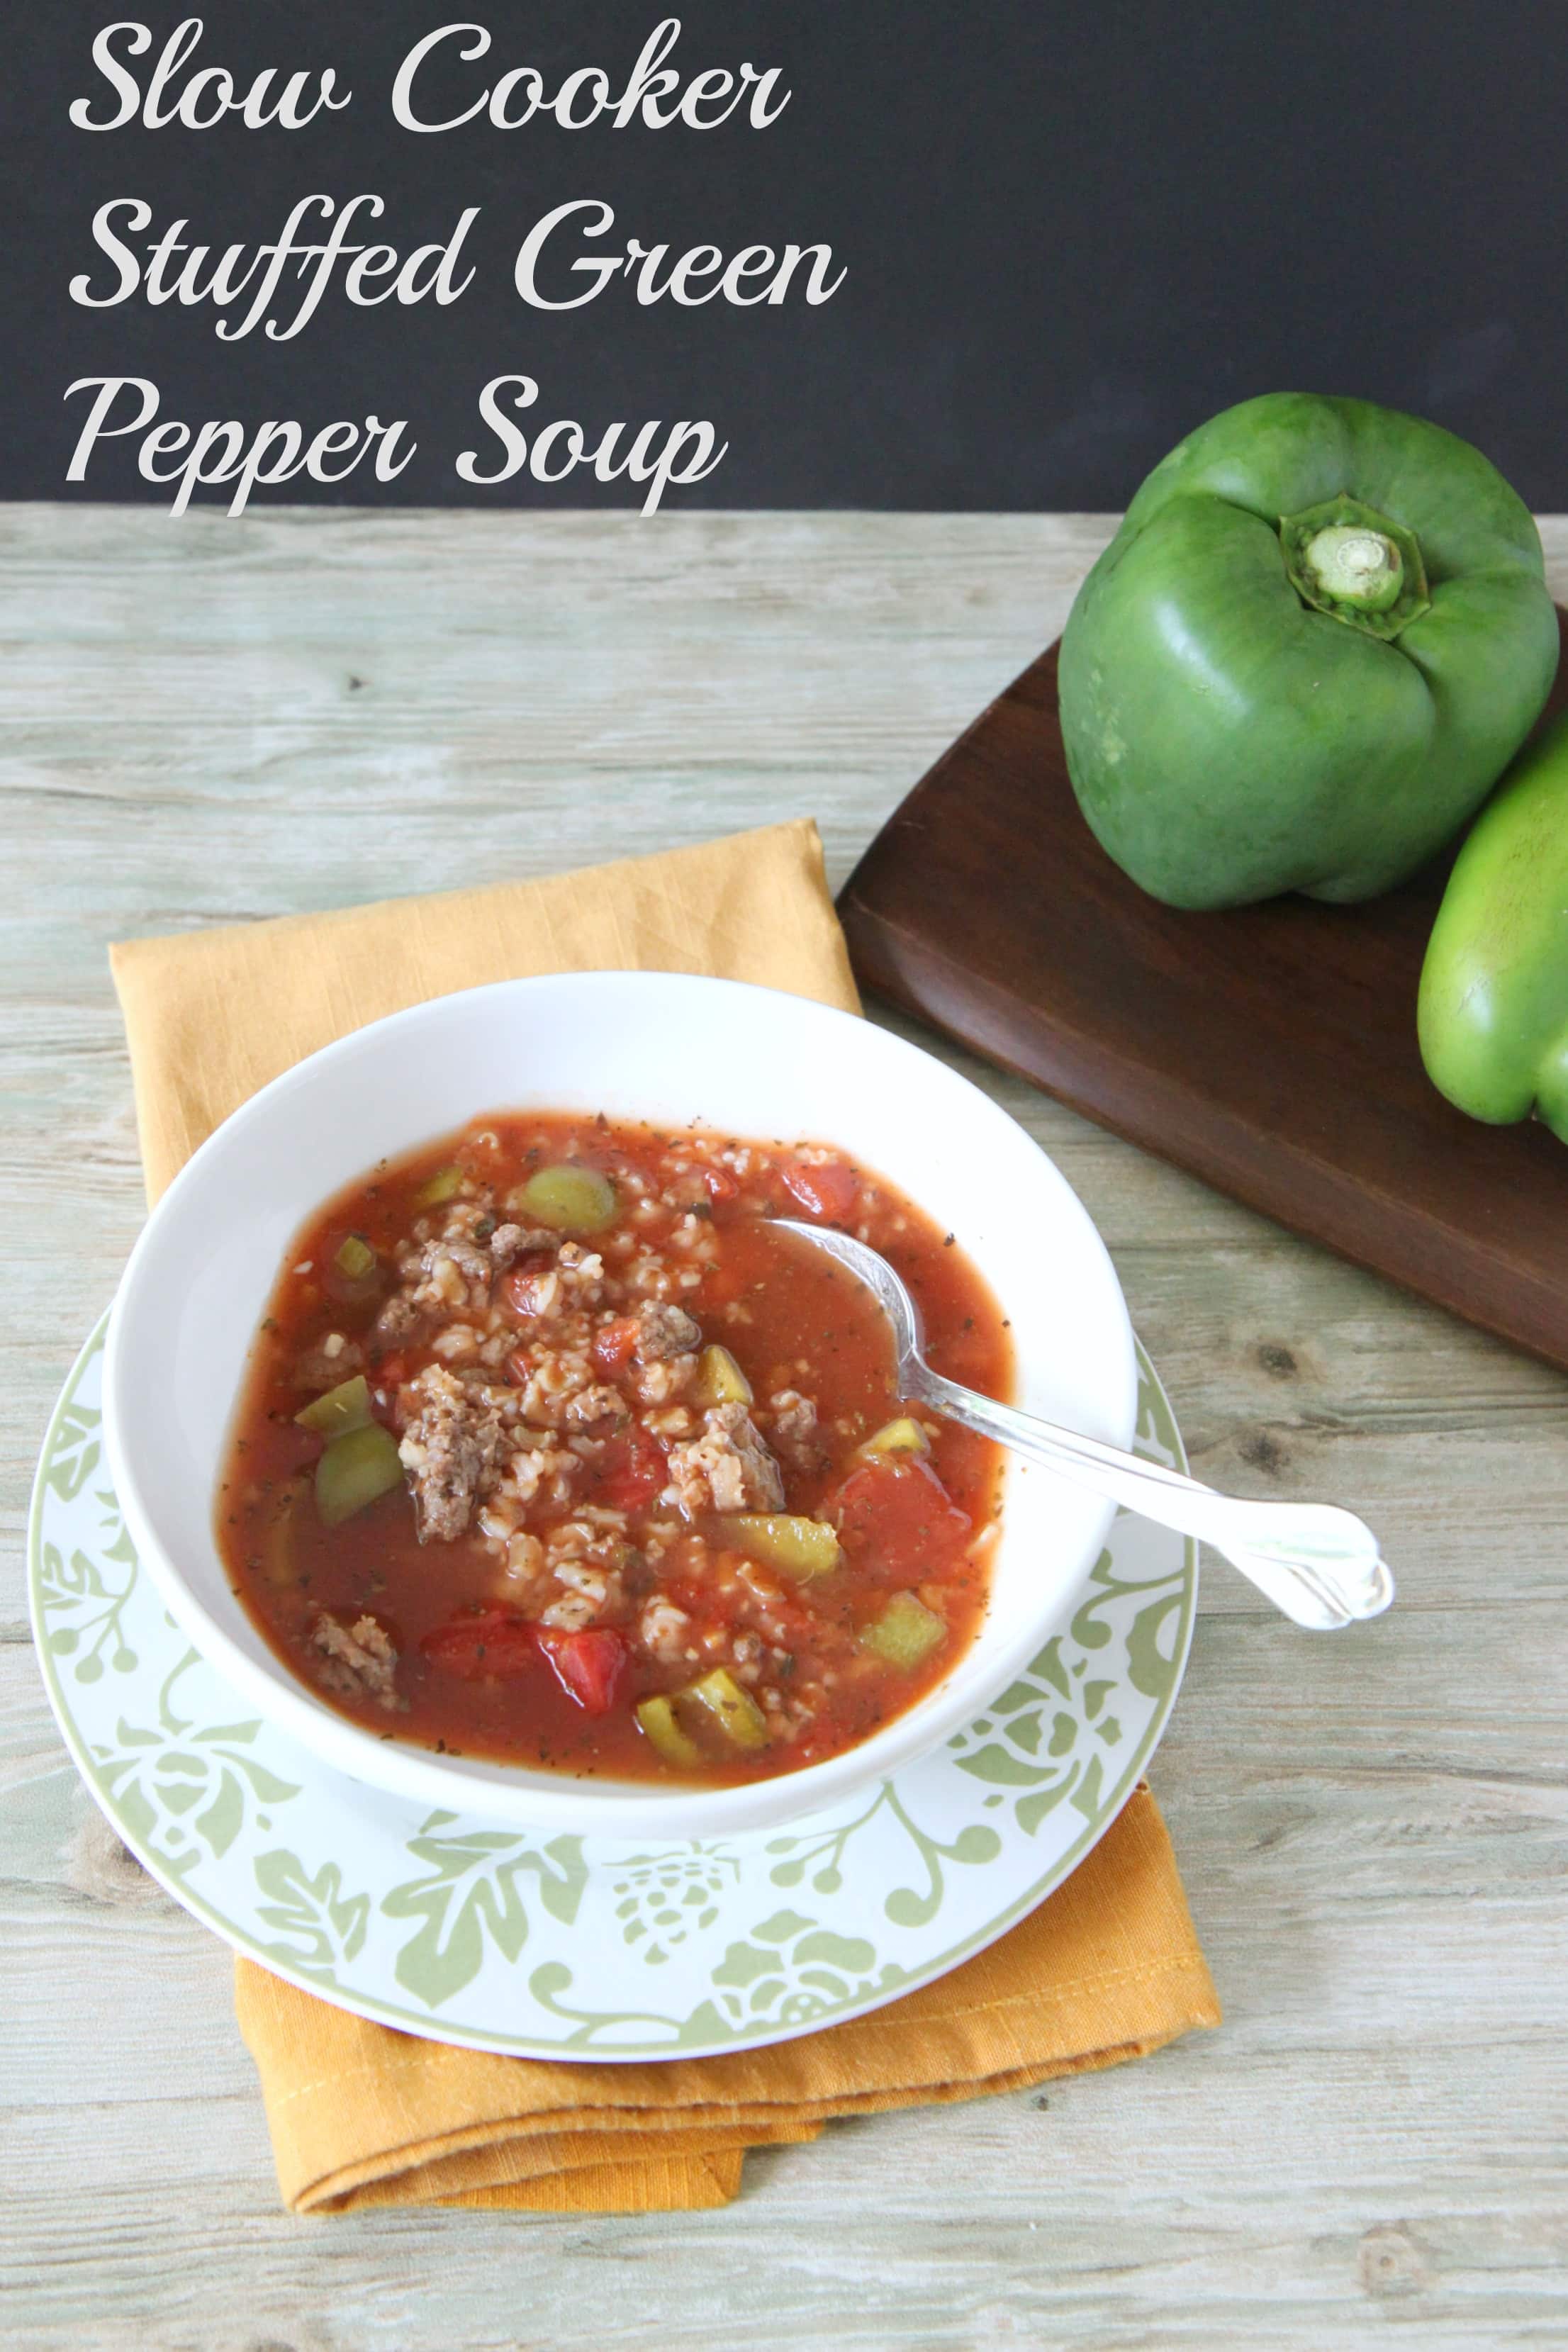
7. Slow Cooker Stuffed Green Pepper Soup

This recipe was created and has been devoured in my home weekly since its development. If you crave a thick & hearty soup filled with brown rice, veggies, and a tomato broth, then this soup is the one for you! This was a popular one for many of our readers with food allergies and I am excited that we were able to cater to that need a bit this year.

8. How To Make Glow-In-The-Dark JELL-O Jars

Science project plus edible treat? This is a win-win situation, people! This post got so much love that JELL-O even featured it on their site (which thrilled me to no end!) My kids got a kick out of making this treat for Halloween and we loved sharing the science behind their spooky glow.

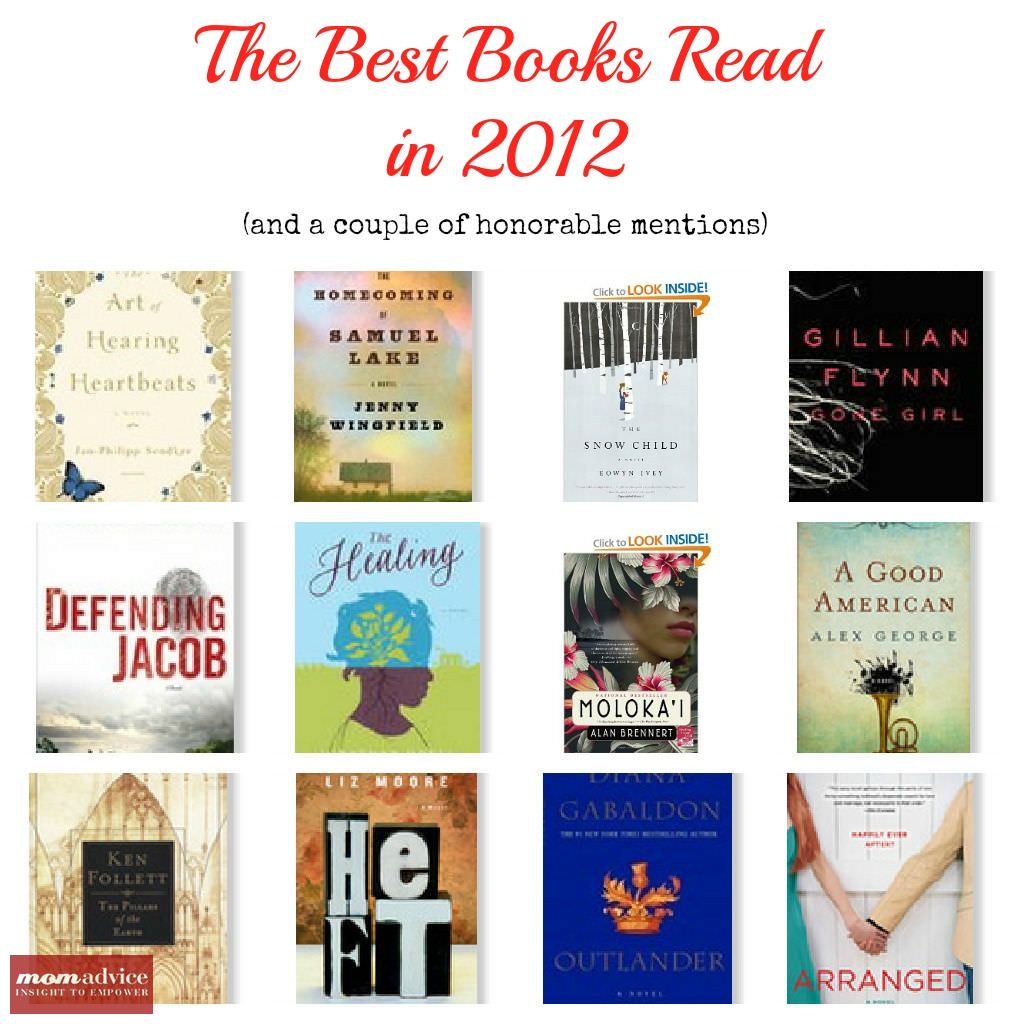
9. The Best Books Read in 2012


I absolutely love sharing my reading lists each year and I can’t wait to continue sharing book reviews with you in the upcoming year. I take this list so seriously that it keeps me up at night the night before, worrying that I made the wrong picks for you guys. I have been getting oodles of messages though, from many of you, sharing how much you have already been enjoying off of this reading list. I am already tackling the next round of books, as we speak, for another “best of” list for next year!

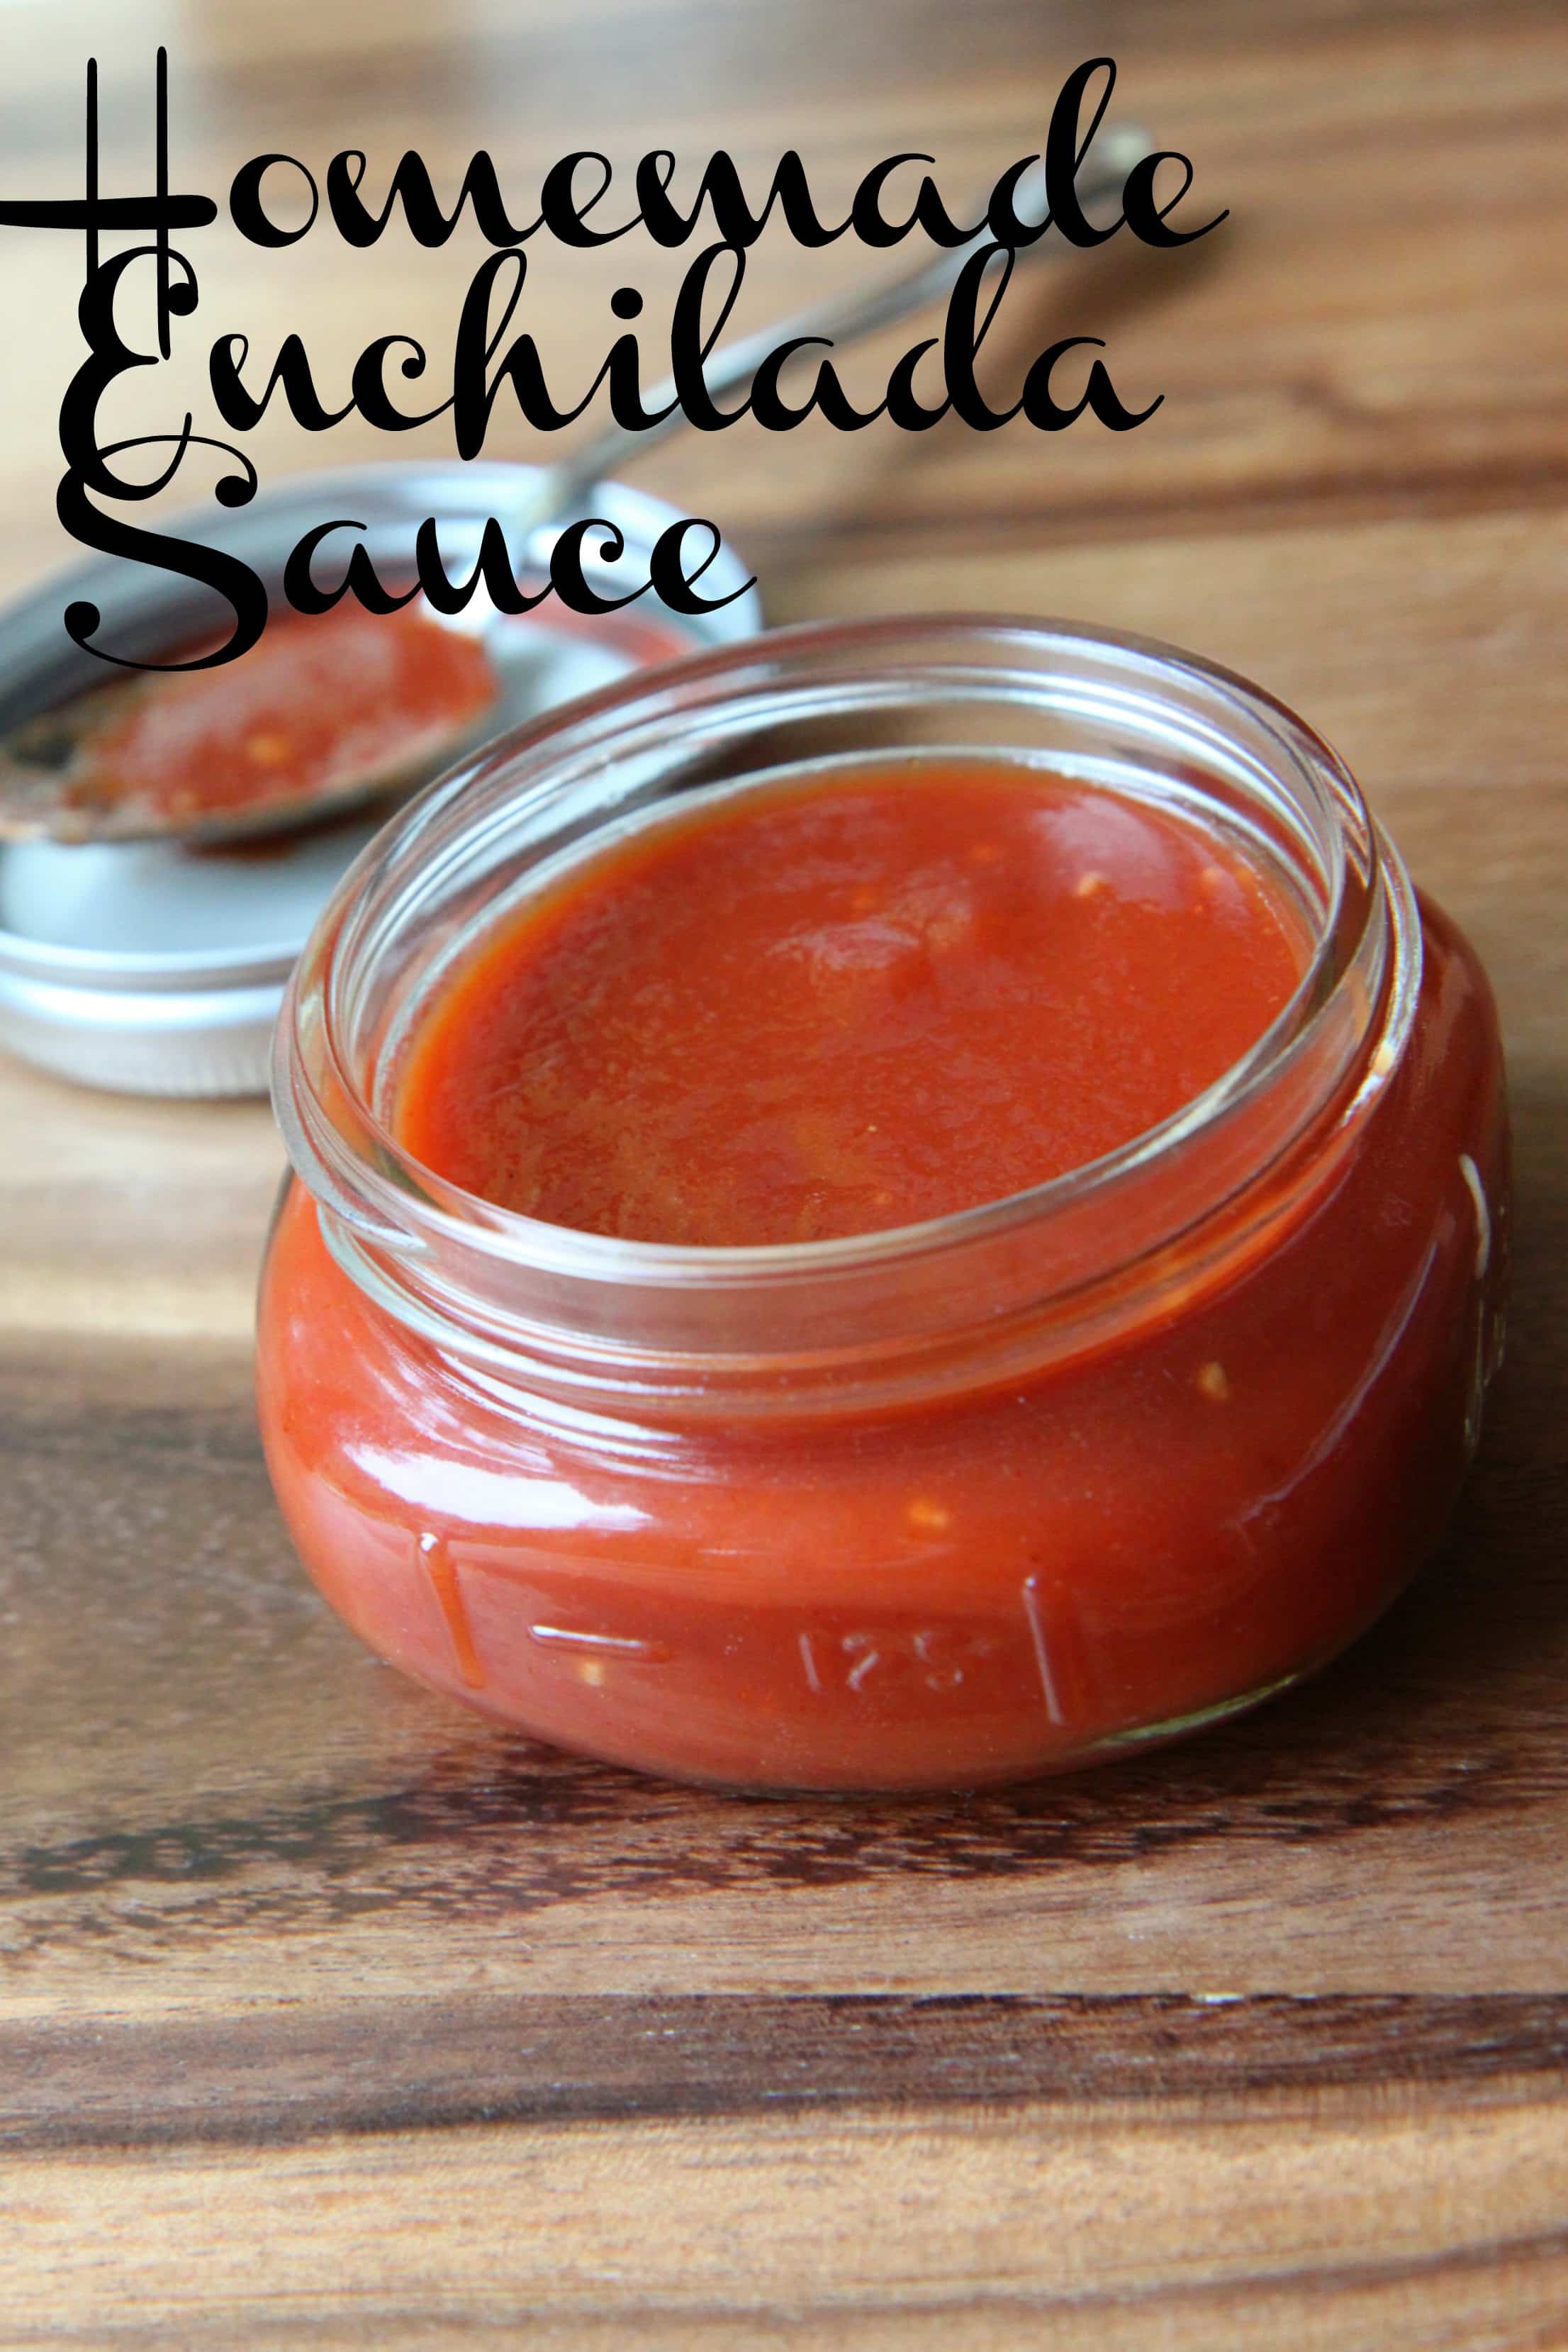
10. Homemade Enchilada Sauce

Who wants to buy stuff you can make? That is why you come here, of course! My homemade enchilada sauce recipe is one of my favorite DIY creations in the kitchen. Once you make this enchilada sauce, you will never buy that jarred stuff again!  If you haven’t tried this recipe yet, I highly recommend it!

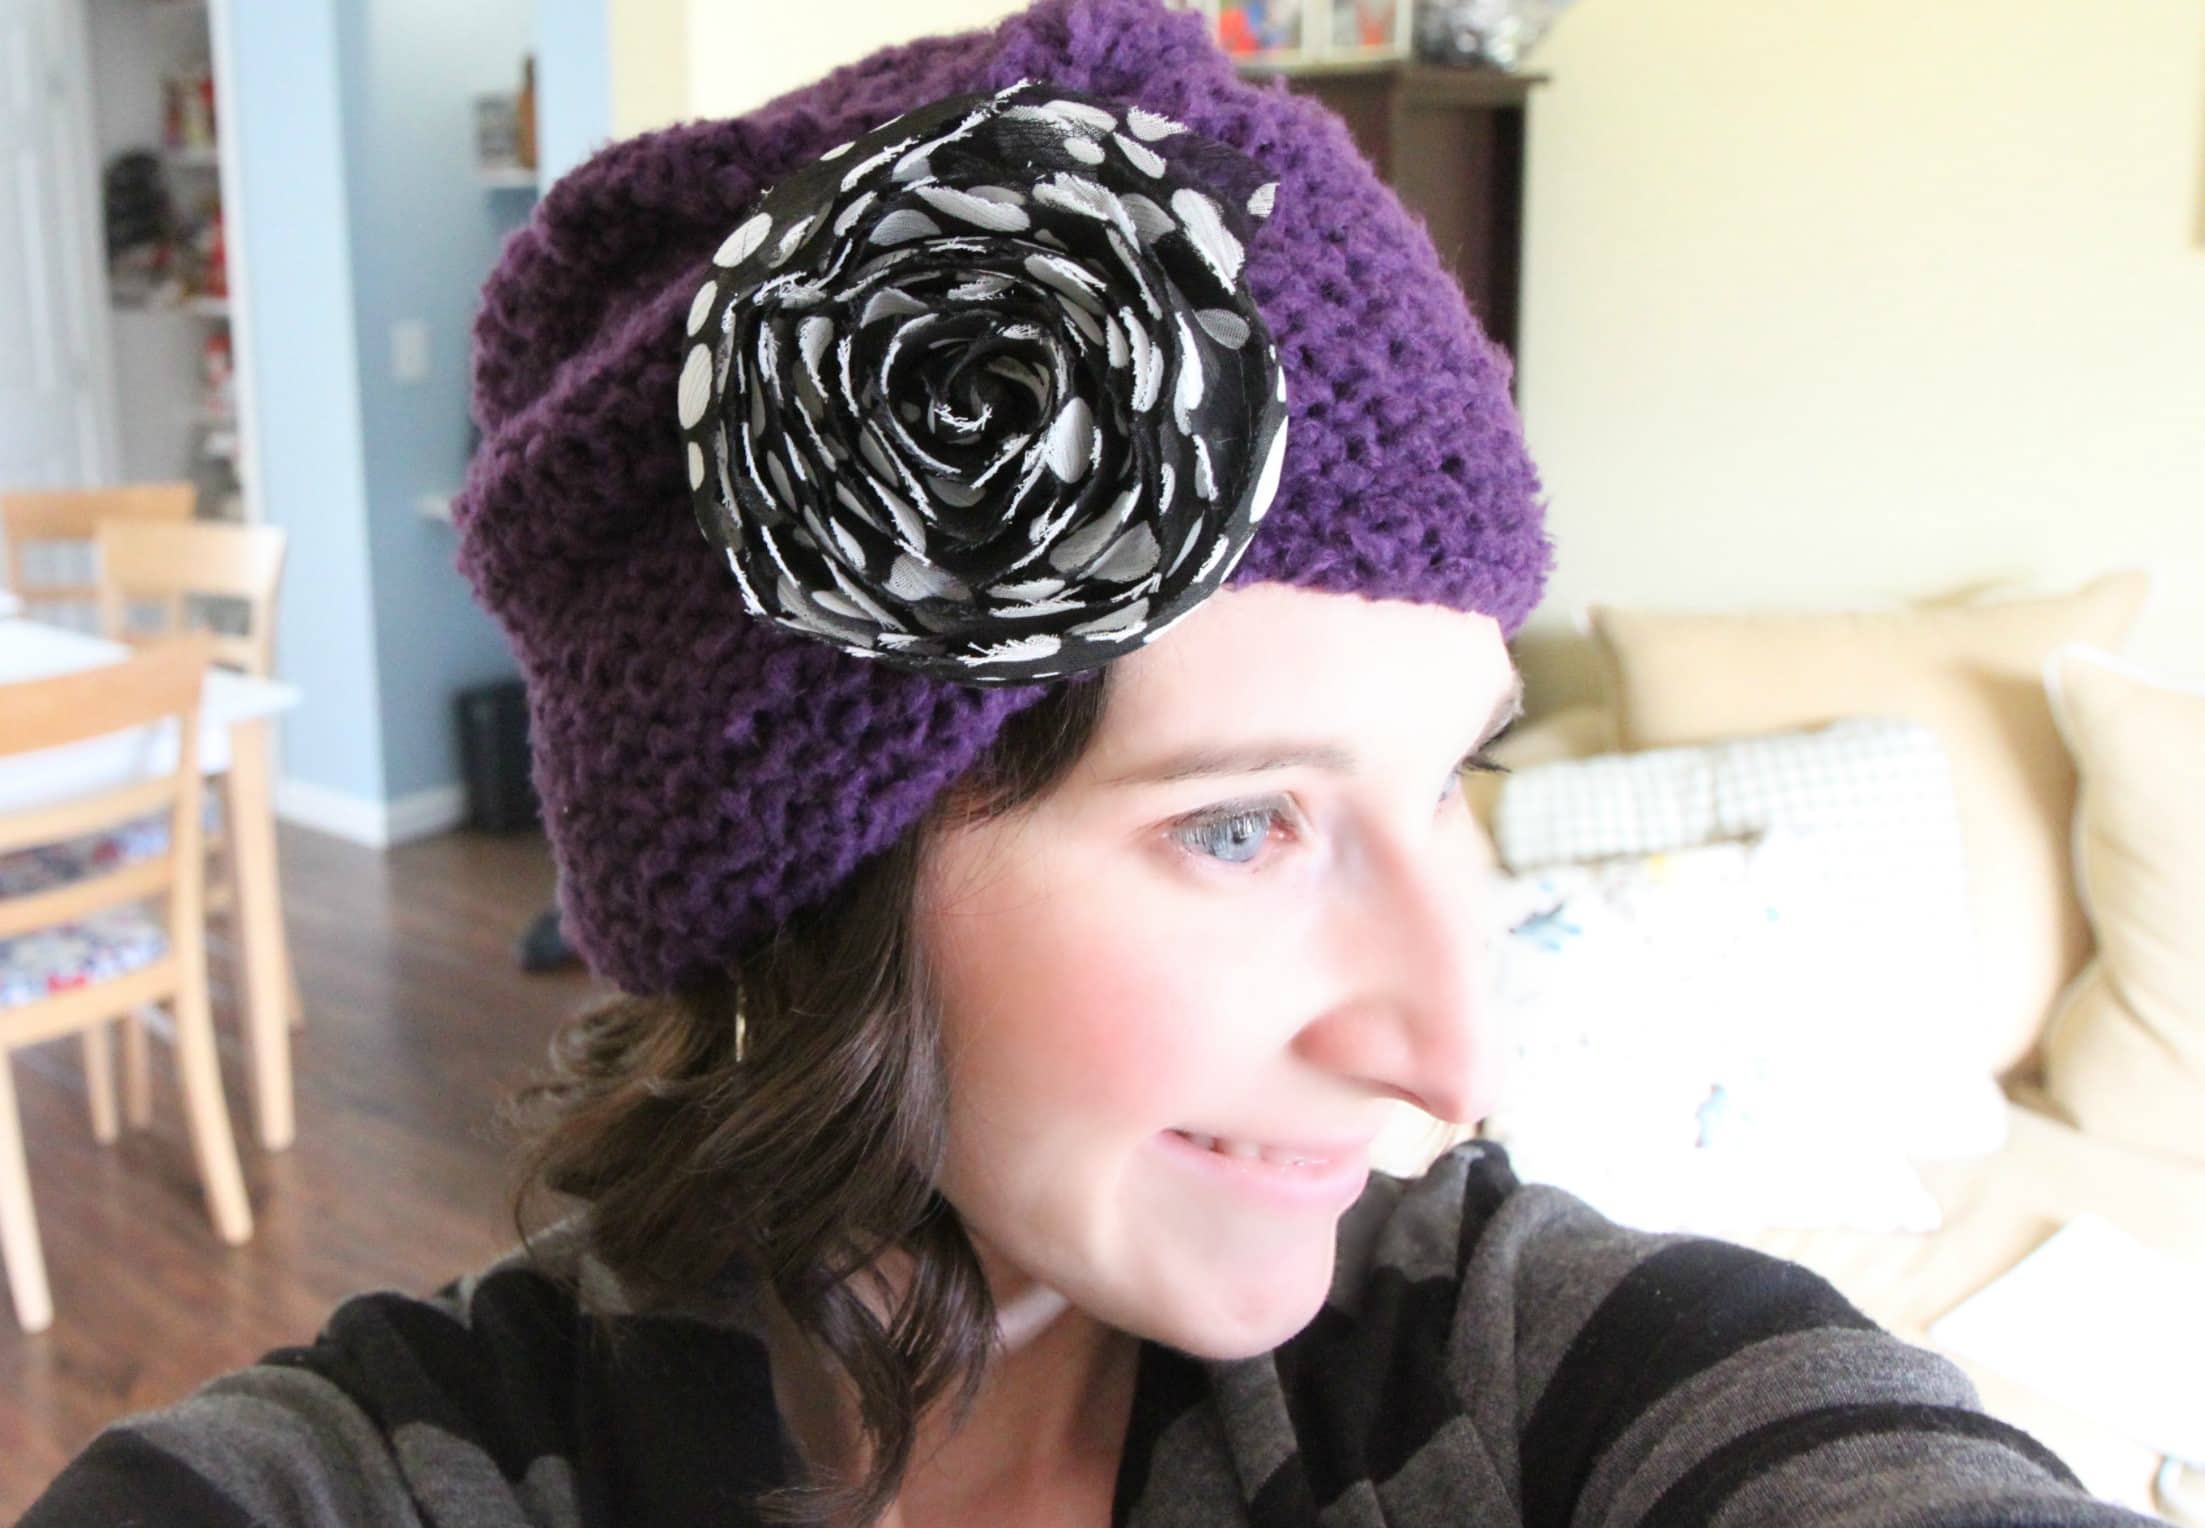
11. How to Knit Great Chemo Caps for Charity

I have, sadly, knitted far more chemo caps for people I know than I would have ever wanted to this year. If you are a knitter and looking for some tips on making really great chemo caps (that will actually be worn) than this post is just the post you will need to get started. I share everything I have learned from selecting the right yarns, to selecting the right patterns, to adding a little “sparkle” to your hats. I am so happy to see that this was a post that you have been referencing!

12. How to Make a Homeless Care Package


Last, but certainly not least, our Homeless Care Package post was our final top post of the year. We were so excited to be able to create these homeless care packages for those in need in our area and we shared a free printable list of supplies as well as a local resources sheet that other families could use to replicate our giving this year. Our family made giving to charity one of our top priorities this year and we look forward to giving back more to those in need in 2013.


What would you like to see featured in 2013 on our site? I would love to hear your ideas for posts as I begin planning my editorial calendar for the year!

Pin It

The Good Life For Less Hits Store Shelves

Tuesday, January 1st, 2013

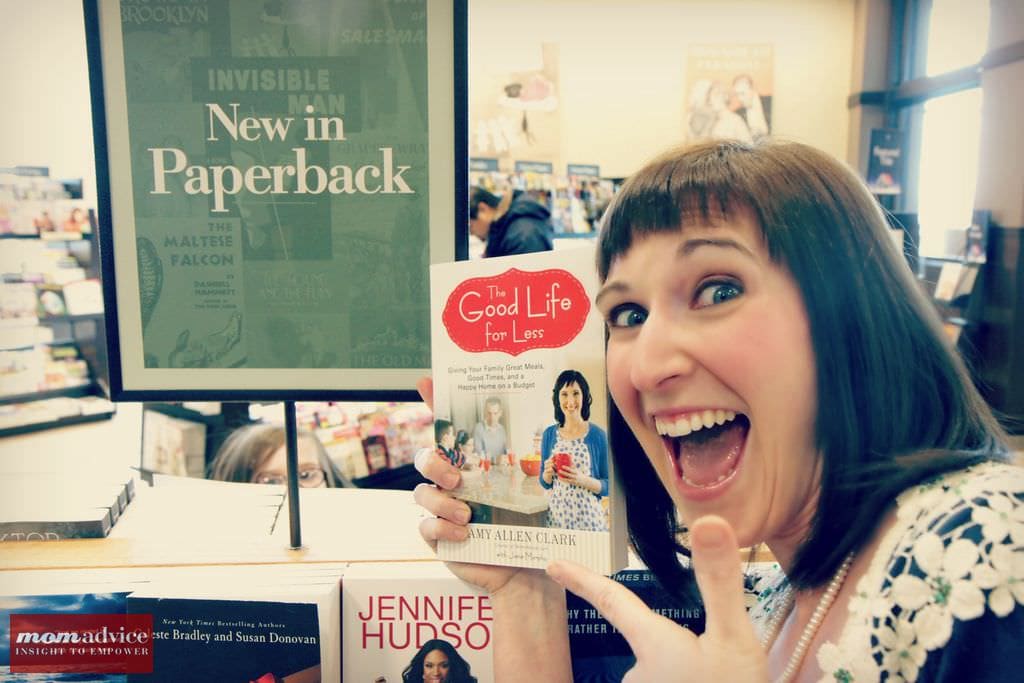
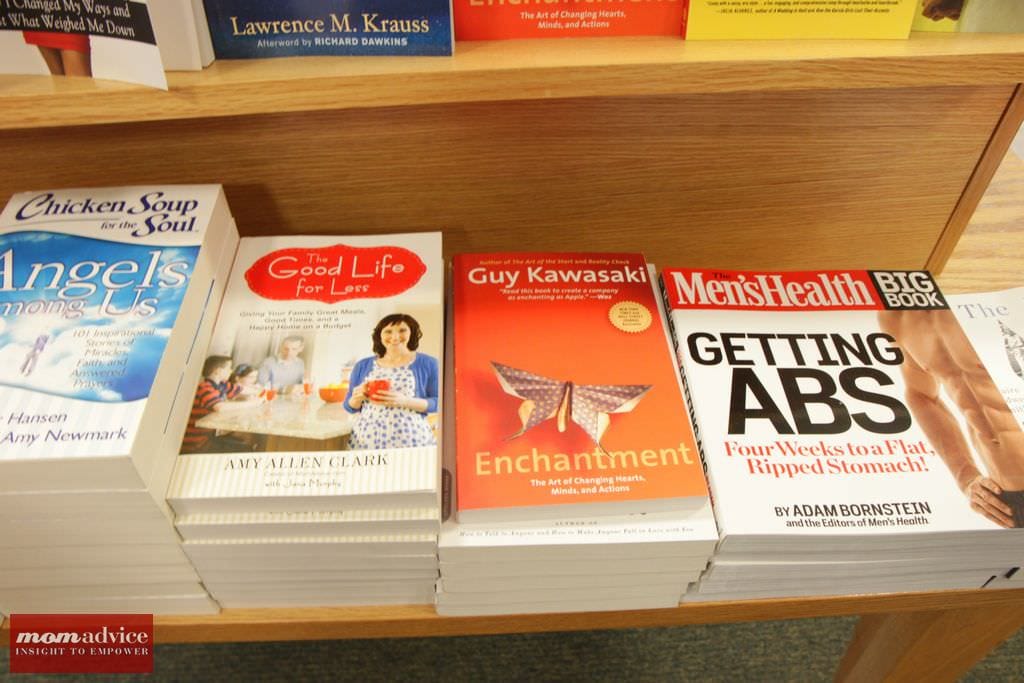
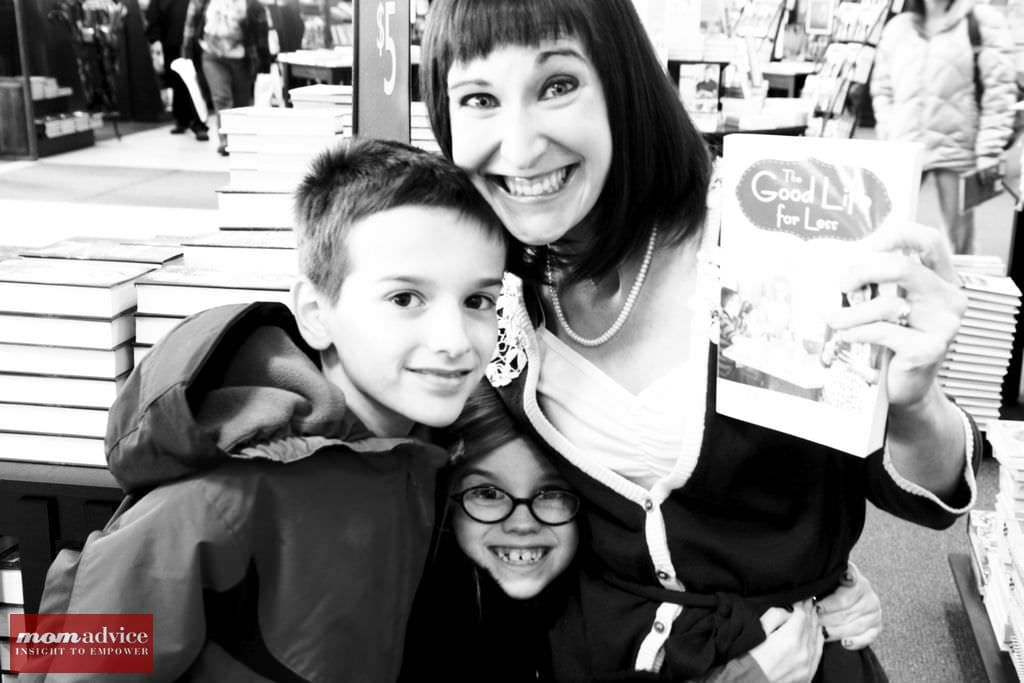
I can think of no better way to start the New Year than to see your very own book sitting on a bookshelf. We made a family field trip over to our local Barnes & Noble to take a peek at my book on the shelves. It is both exciting and completely surreal at the same time. In all my life, I never imagined this moment would ever happen. We are simply OVER THE MOON with excitement.

We created enough of a scene with our shutter happiness that another couple headed to the checkout counter with one of my books in their hand and tracked me down to sign their book.

Chad & Angie, if you happen to see this picture, know that this made the moment even more special for our family.

One of us may have been a little confused about what exactly we were celebrating. Emily insisted on wearing her fabulous NYE accessories for our outing. I felt like I was with a real life Ramona Quimby as she stomped her feet and tooted her New Year’s horn all through the Barnes & Noble parking lot and screamed…

“MY MOMMY’S AN AUTHOR!!!!!”

Who could ever refuse a joyful noise like that?

Many more details soon on some exciting booking signings and events happening (maybe in your area!) Be sure to head over to this week’s giveaway where we are giving away 5 signed copies of THE GOOD LIFE FOR LESS.


Pin It