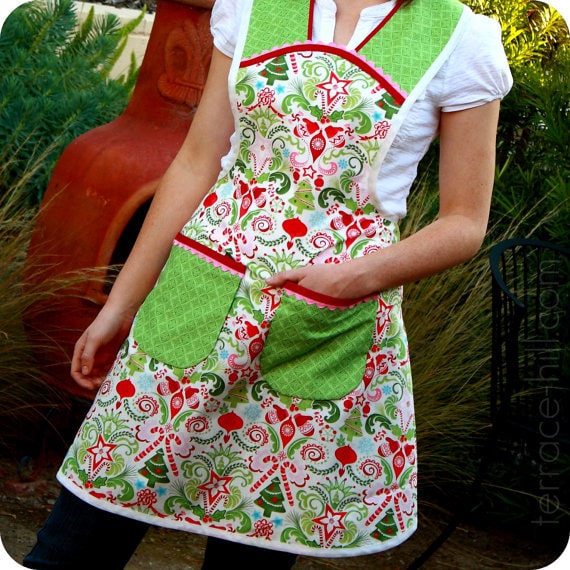
Welcome to our Apron Full of Giveaways! I hope everyone is having a great week this week! As we do each week, here is our round-up of giveaways for our readers. We hope that this is beneficial to you and your family! Please let us know if you guys win anything- I love to hear the success stories!
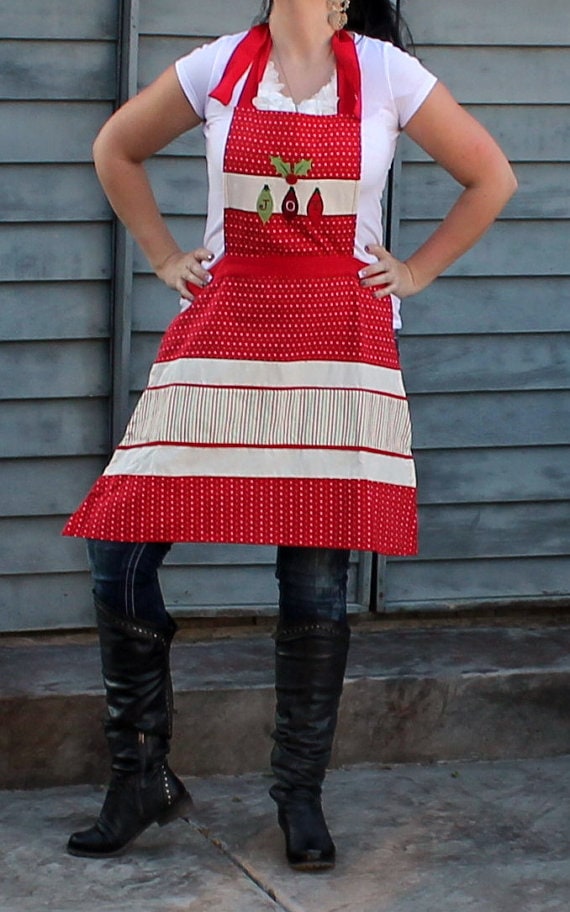
Below are the contest links-if you are hosting a contest please link it up below. Sorry, we aren’t giving away the aprons just showcasing them! Please put your site name and then what type of contest you are hosting. For example, “MomAdvice (Kid’s Movies).”
Please let me know if you have any questions and good luck to each of you!
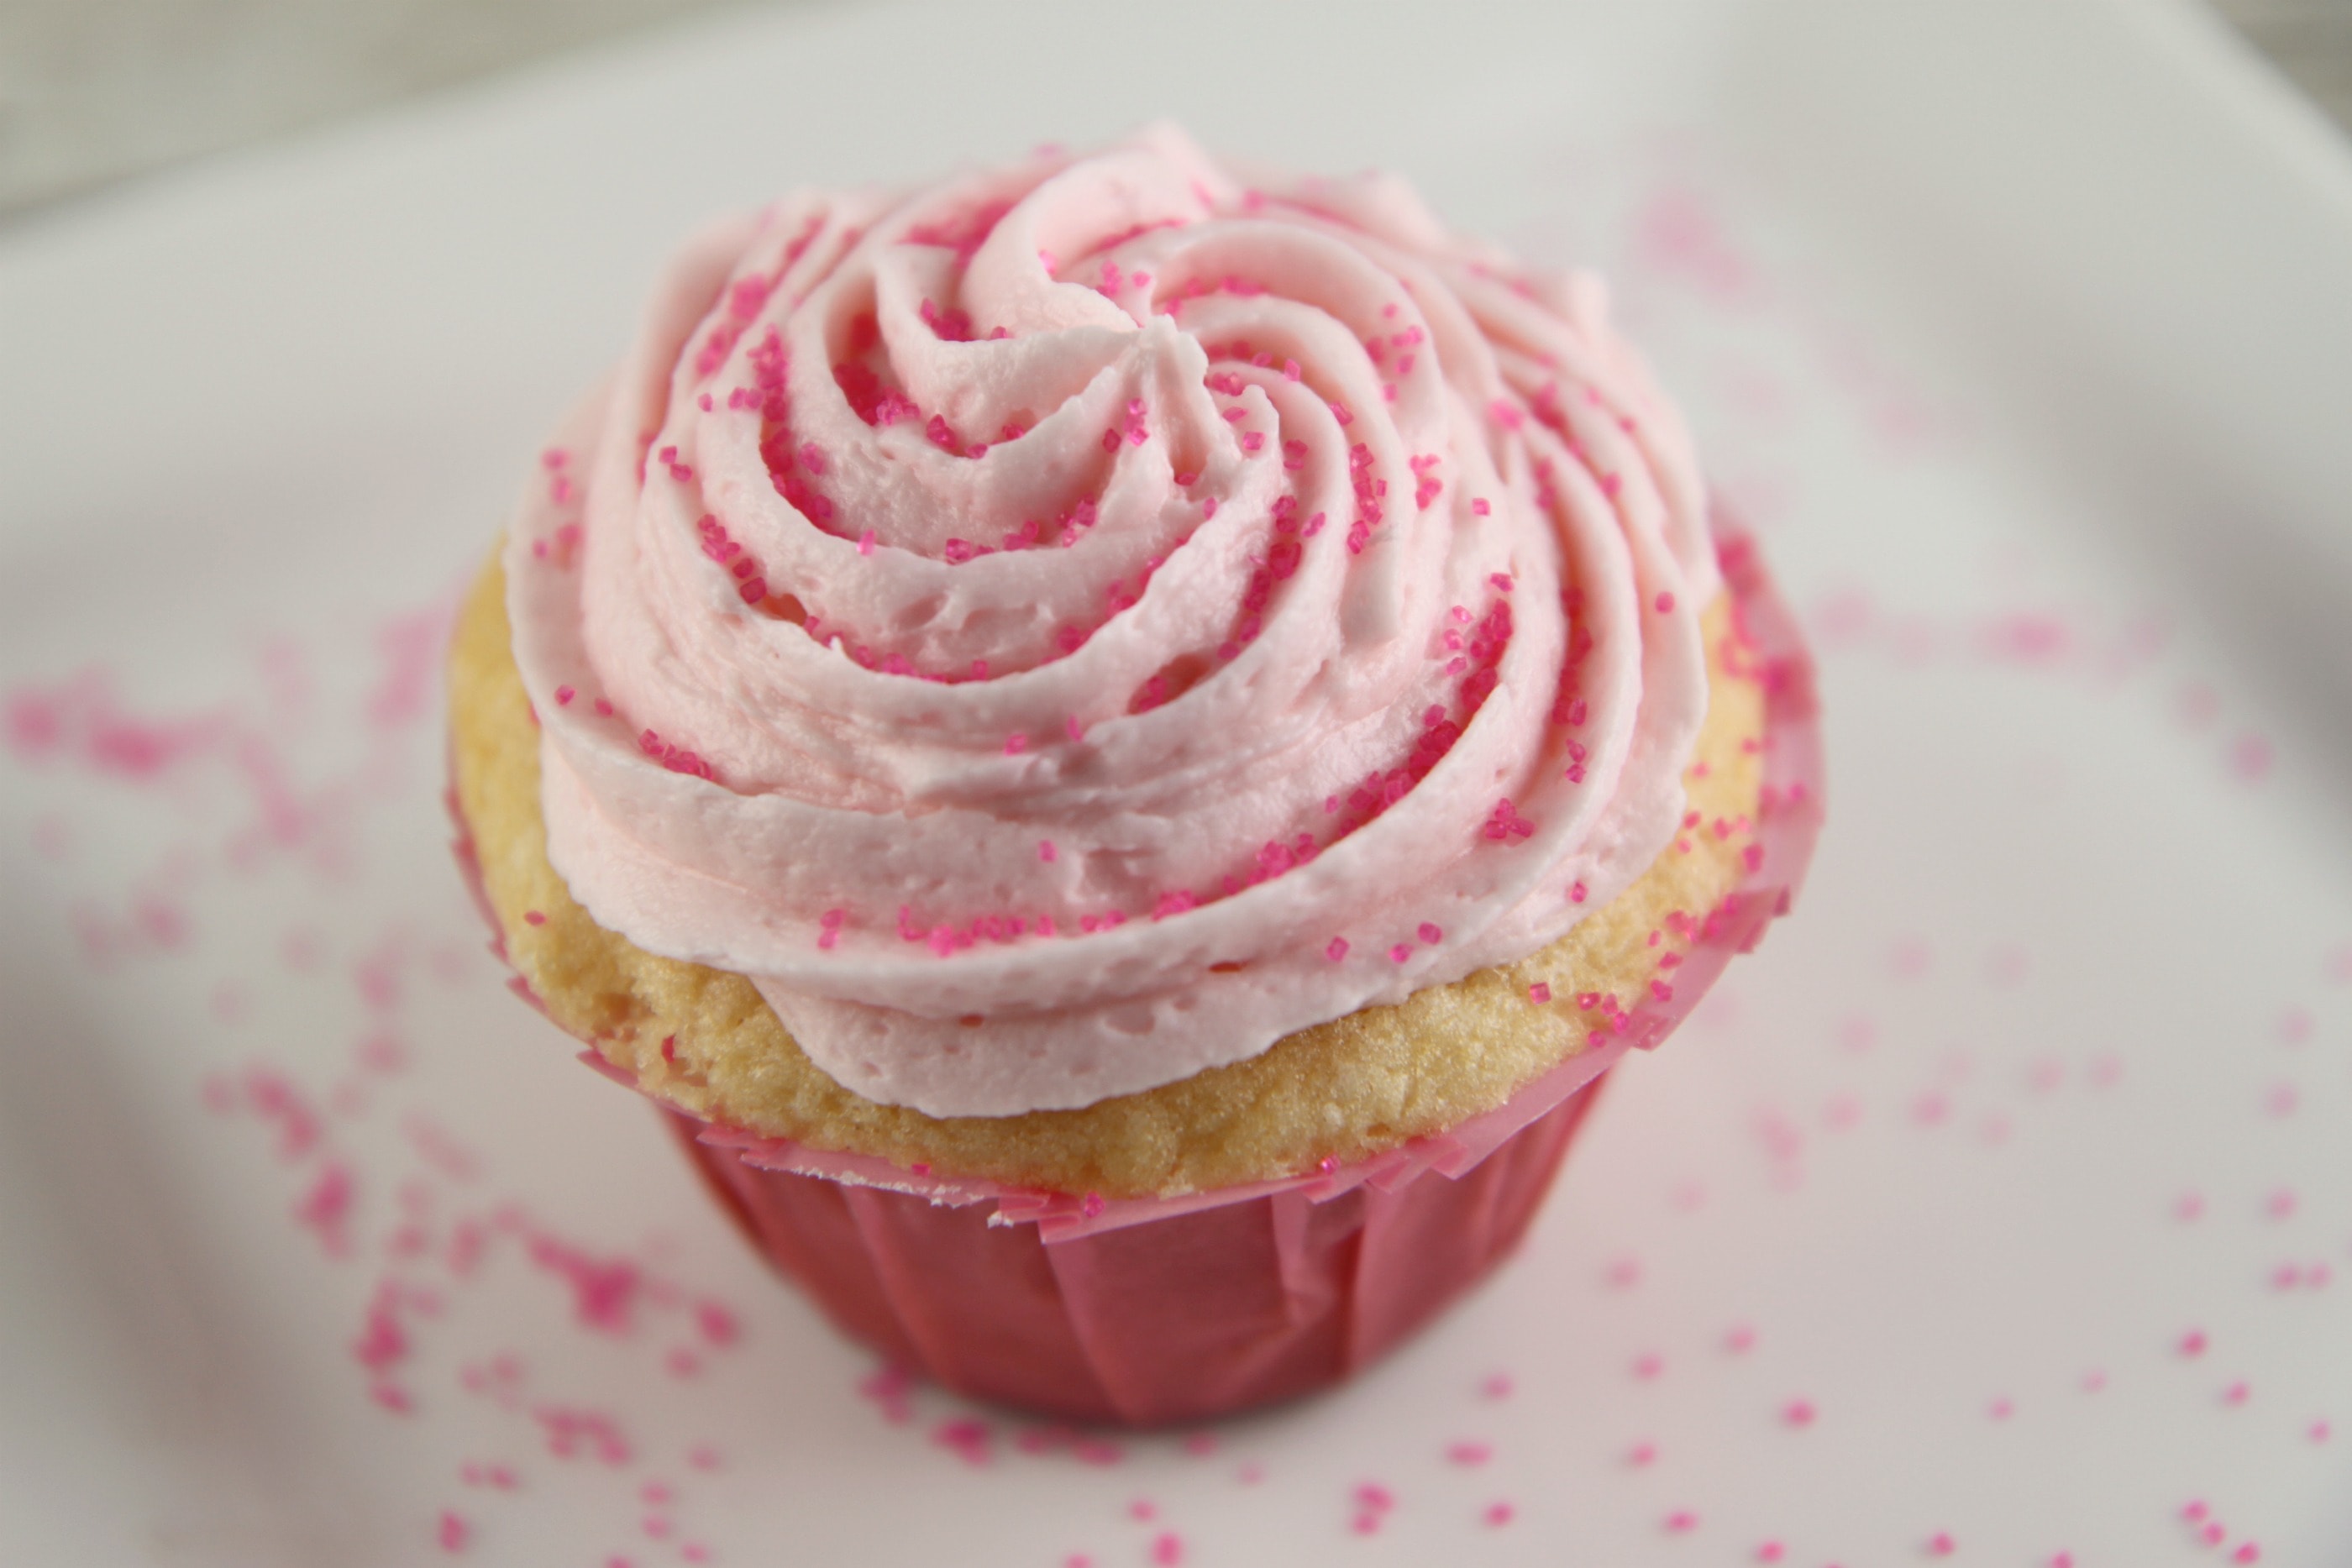
If there is one thing that I love it is cupcakes. Not just any cupcake though, it has to be a perfect balance of flavors for me. In my opinion, the word’s most perfect vanilla cupcake resides at Magnolia Bakery and no other cupcake could top it. While I was preparing to celebrate my daughter’s birthday, I decided to make this recipe for Magnolia Cupcakes for her birthday girl treat. Being a little girl of sophisticated taste, I knew she would absolutely love these cupcakes for her birthday. I was right.
While I was in New York for BlogHer ’10, with my best blogging gal pal Jamie, I ended up walking right by Magnolia Bakery and just had to stop to sample the cupcakes. Sadly, there are no pictures of the actual cupcakes as I rushed right back to my hotel room and ate three of them. I have never eaten three cupcakes in a row in my life. I also had never watched Jersey Shore. Bad things happened in that hotel room. I laid in my bed clutching my stomach with a bed full of crumbs as my brain turned quietly to mush. I don’t think I will do either of those things again.
These vanilla cupcakes from Magnolia Bakery are divine and the buttercream icing is absolute perfection for piping and for eating. The icing hardens to add a bit of crunch texture to the top, while the vanilla cake itself remains moist and delicious.
Line 2 (1/2 cup-12 capacity) muffin tins with cupcake papers.
In a small bowl, combine the flours. Set aside.
In a large bowl, on the medium speed of an electric mixer, cream the butter until smooth. Add the sugar gradually and beat until fluffy, about 3 minutes. Add the eggs, 1 at a time, beating well after each addition. Add the dry ingredients in 3 parts, alternating with the milk and vanilla. With each addition, beat until the ingredients are incorporated but do not over beat. Using a rubber spatula, scrape down the batter in the bowl to make sure the ingredients are well blended. Carefully spoon the batter into the cupcake liners, filling them about 3/4 full. Bake for 20 to 25 minutes, or until a cake tester inserted into the center of the cupcake comes out clean.
Cool the cupcakes in tins for 15 minutes. Remove from the tins and cool completely on a wire rack before icing.
Vanilla Buttercream:
The vanilla buttercream we use at the bakery is technically not a buttercream but actually an old-fashioned confectioners’ sugar and butter frosting. Be sure to beat the icing for the amount of time called for in the recipe to achieve the desired creamy texture.
1 cup (2 sticks) unsalted butter, softened
6 to 8 cups confectioners’ sugar
1/2 cup milk
2 teaspoons vanilla extract
Place the butter in a large mixing bowl. Add 4 cups of the sugar and then the milk and vanilla. On the medium speed of an electric mixer, beat until smooth and creamy, about 3 to 5 minutes. Gradually add the remaining sugar, 1 cup at a time, beating well after each addition (about 2 minutes), until the icing is thick enough to be of good spreading consistency. You may not need to add all of the sugar. If desired, add a few drops of food coloring and mix thoroughly. (Use and store the icing at room temperature because icing will set if chilled.) Icing can be stored in an airtight container for up to 3 days.
Homemade marshmallows have been on my cooking bucket list for three years now. Making peppermint flavored marshmallows sounded far more intimidating that the process actually was and after making my first batch with great success, I can’t wait to try a few other flavors in my kitchen.
This year I vowed I would not talk myself out of marshmallow making. With my big girl set to celebrate her sixth birthday, I thought I would make these for cocoa fun for her birthday party. Once I bought all the supplies, there was no turning back.
I was so nervous that I didn’t take a single picture while I made them.
What if I messed the whole thing up?
What if my marshmallows reached 241 degrees and the whole batch failed?
I followed the God of Cooking (also known as Alton Brown) and did everything exactly as instructed. Surprisingly, my stand mixer did the brunt of the work while I tidied the kitchen. Who knew that marshmallow making was so darn easy? The taste? Better than any marshmallow I have ever tasted.
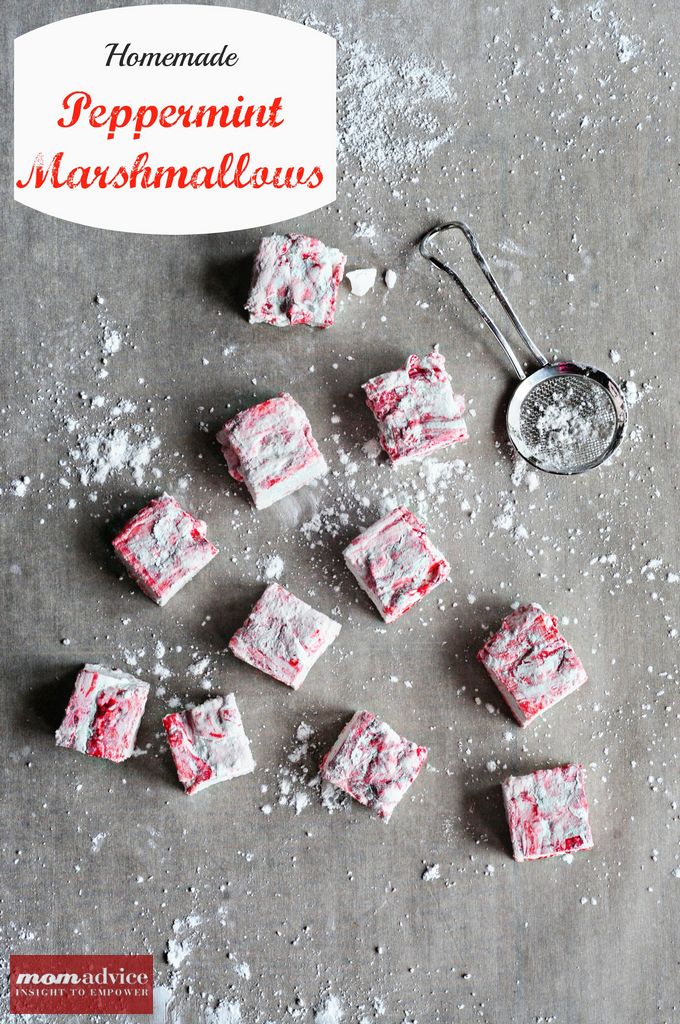
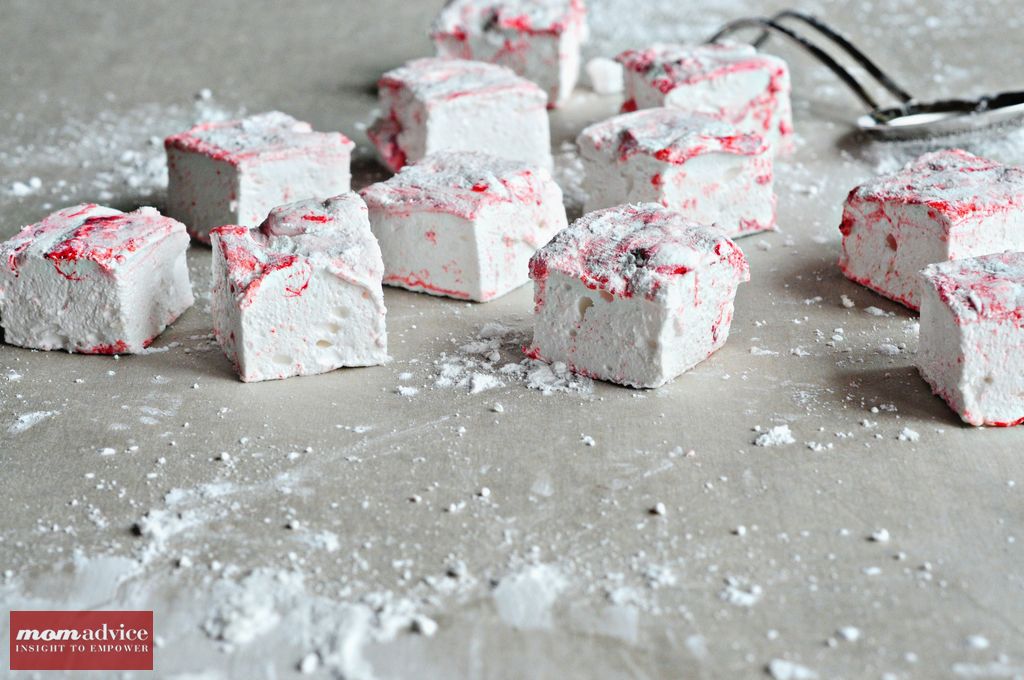
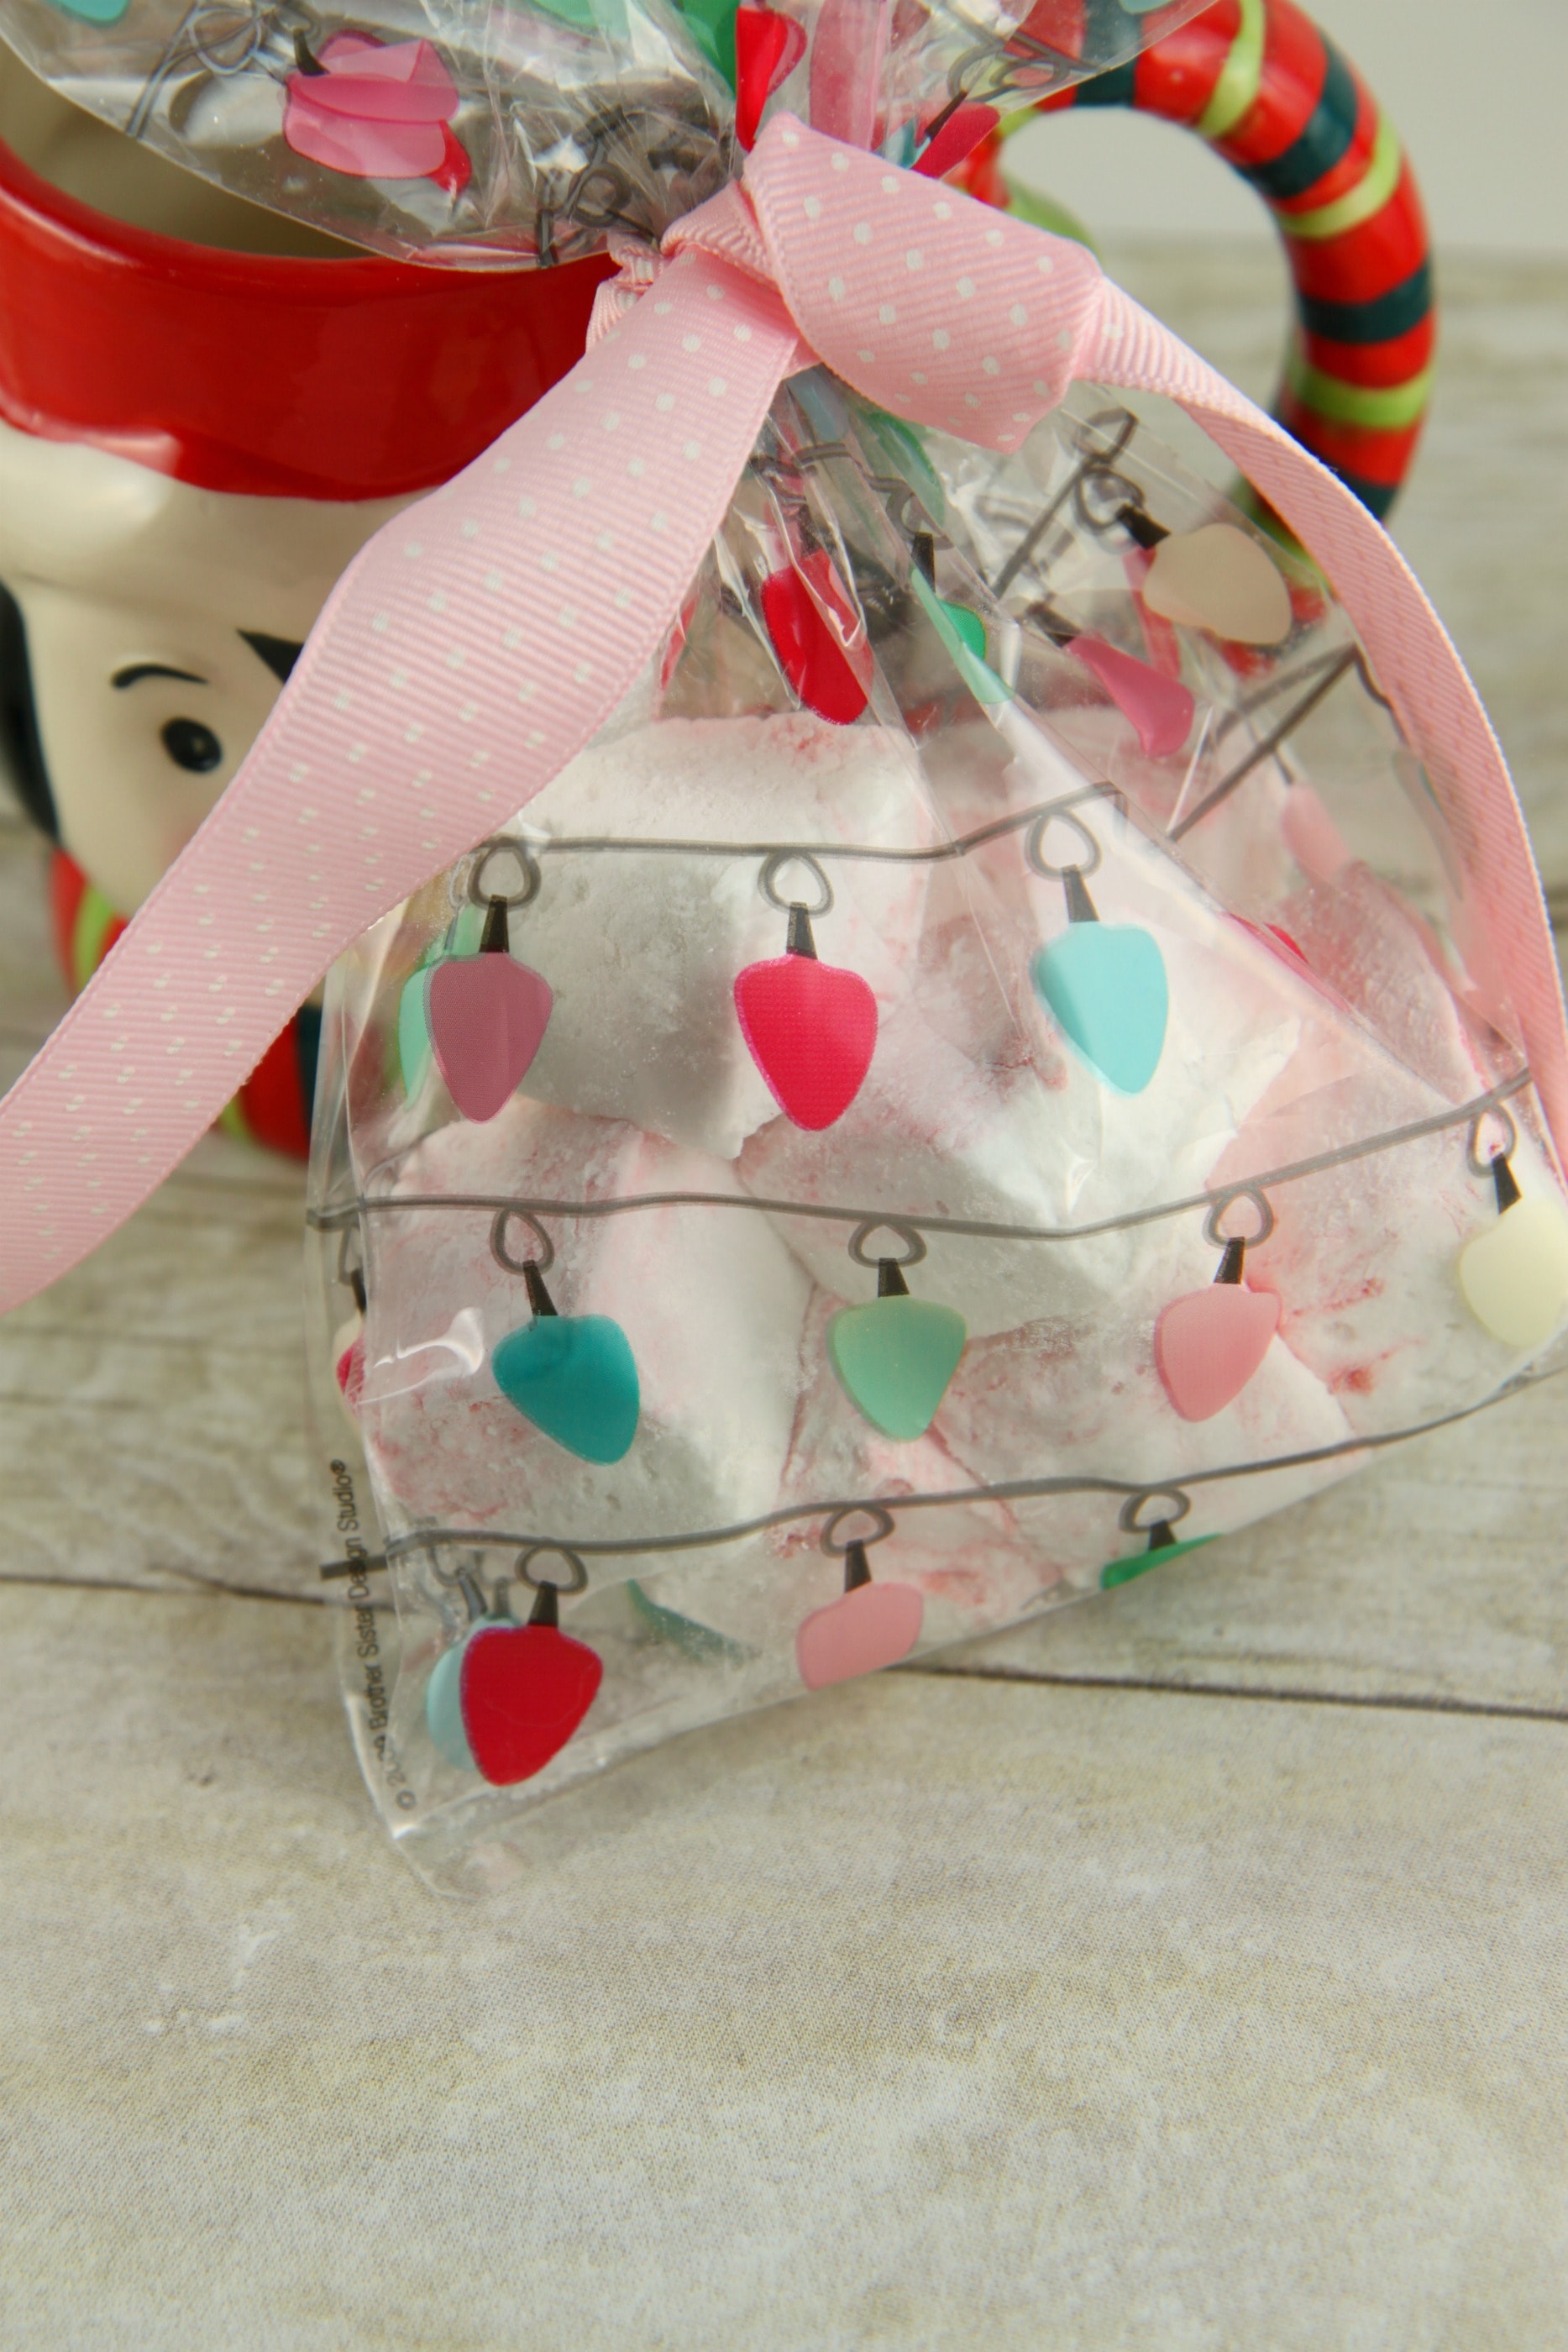
I did pretty pink swirls through the marshmallows and added my peppermint extract to the batch to add a fun pink peppermint touch to our marshmallows.
The hardest part was waiting the four hours before I could cut them. With cornstarch and powdered sugar mixed together in a bowl next to my board, I just used my pizza cutter (dusted with the sugar mixture) and cut my marshmallows in squares. Each one was lightly dusted with more of the sugar mixture and I stored them in a plastic container. You know…for storing….or for eating.
And eating.
And eating.
And eating.
I confess, I think I have a new food addiction.
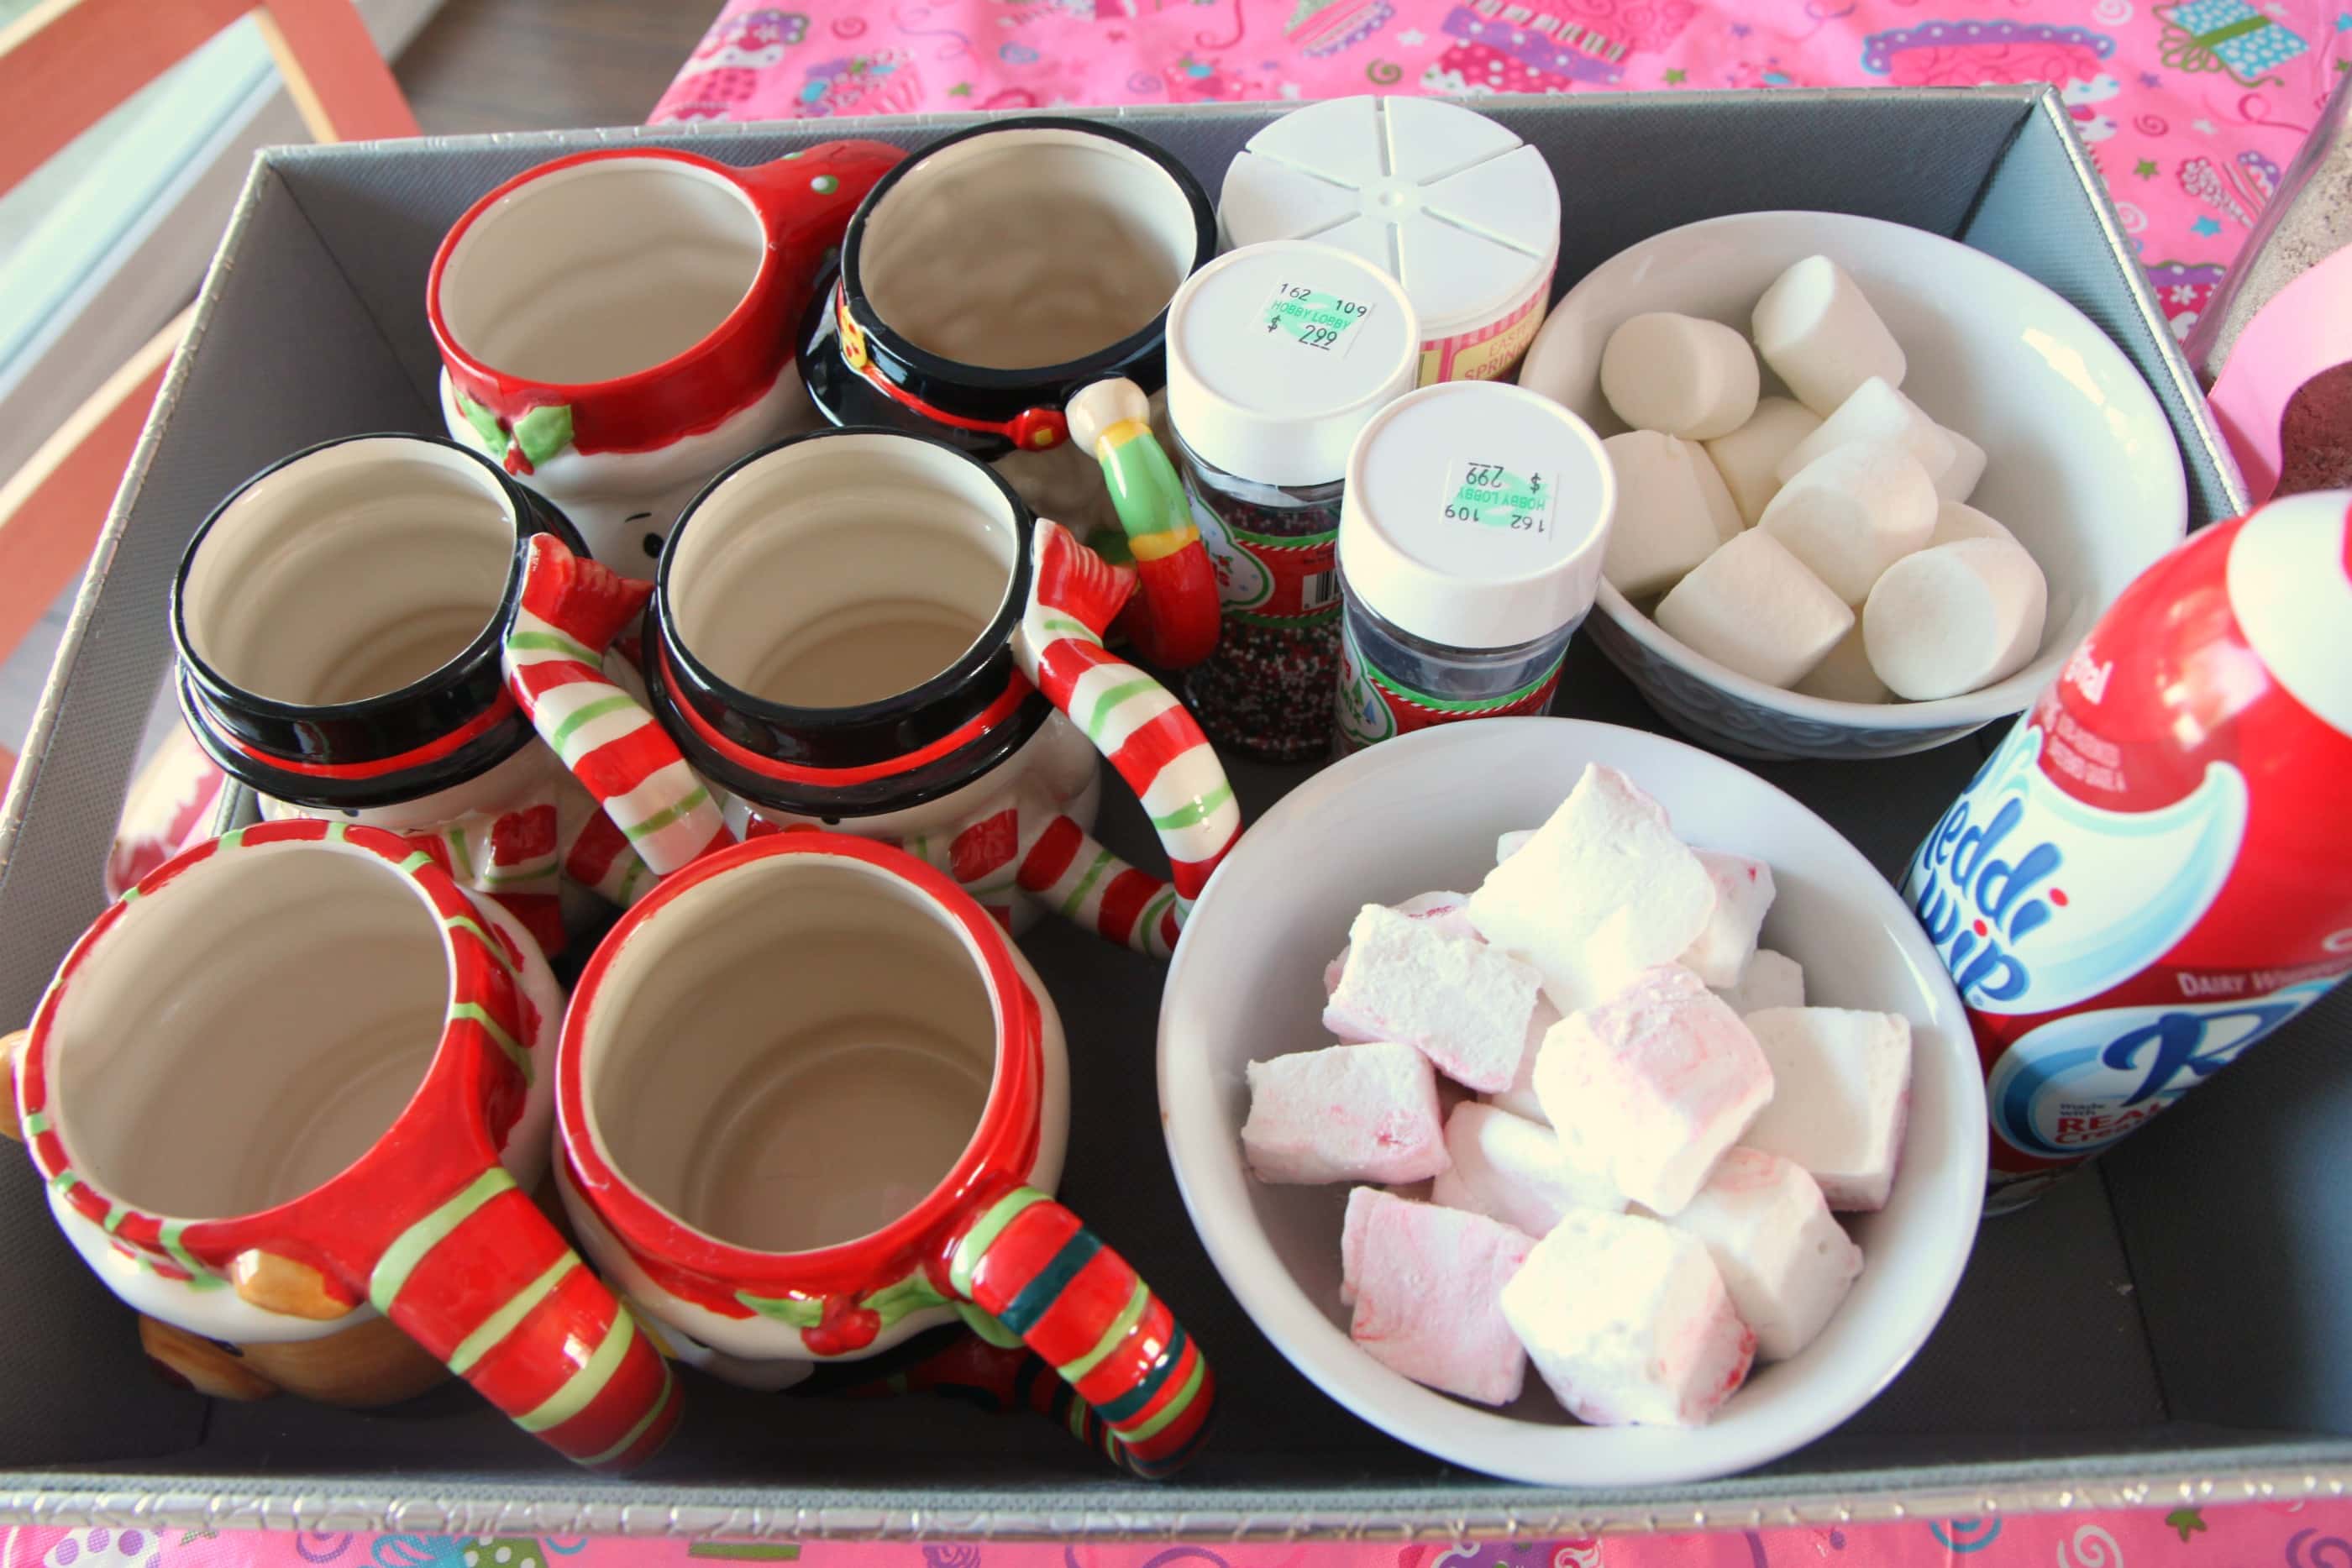
These are fabulous, easy, and delicious. They would make a fantastic gift to give this holiday season with a little of my favorite cocoa mix or served up with a fancy little hot cocoa bar like I did for my daughter’s birthday party.
Homemade Peppermint Marshmallows
#ratingval# from #reviews# reviews
Print
Recipe Type: Dessert
Author: Alton Brown
Prep time: 10 mins
Cook time: 8 mins
Total time: 18 mins
Serves: 9 dozen
One of the easiest and most impressive gifts to give this holiday season.
Ingredients
3 packages unflavored gelatin
1 cup ice cold water, divided
12 ounces granulated sugar, approximately 1 1/2 cups
1 cup light corn syrup
1/4 tsp kosher salt
3/4 tsp peppermint extract
1/4 cup powdered sugar
1/4 cup cornstarch
Nonstick spray
4 drops red food coloring
Instructions
Place the gelatin into the bowl of a stand mixer along with 1/2 cup of the water. Have the whisk attachment standing by.
In a small saucepan combine the remaining 1/2 cup water, granulated sugar, corn syrup and salt. Place over medium high heat, cover and allow to cook for 3 to 4 minutes. Uncover, clip a candy thermometer onto the side of the pan and continue to cook until the mixture reaches 240 degrees F, approximately 7 to 8 minutes. Once the mixture reaches this temperature, immediately remove from the heat.
Turn the mixer on low speed and, while running, slowly pour the sugar syrup down the side of the bowl into the gelatin mixture. Once you have added all of the syrup, increase the speed to high. Continue to whip until the mixture becomes very thick and is lukewarm, approximately 12 to 15 minutes. Add the peppermint extract during the last minute of whipping. While the mixture is whipping prepare the pans as follows.
Combine the confectioners’ sugar and cornstarch in a small bowl. Lightly spray a 13 by 9-inch metal baking pan with nonstick cooking spray. Add the sugar and cornstarch mixture and move around to completely coat the bottom and sides of the pan. Return the remaining mixture to the bowl for later use.
When ready, pour the mixture into the prepared pan, using a lightly oiled spatula for spreading evenly into the pan. Drop red food coloring onto marshmallows and use a toothpick to swirl the food coloring into the marshmallows. Dust the top with enough of the remaining sugar and cornstarch mixture to lightly cover. Reserve the rest for later. Allow the marshmallows to sit uncovered for at least 4 hours and up to overnight.
Turn the marshmallows out onto a cutting board and cut into 1-inch squares using a pizza wheel dusted with the confectioners’ sugar mixture. Once cut, lightly dust all sides of each marshmallow with the remaining mixture, using additional if necessary. Store in an airtight container for up to 3 weeks.
Special thanks to Kristen at Dine & Dish for sharing her photographs of these marshmallows with MomAdvice! What a wonderful friend!
What is something that you discovered was surprisingly easy to create in the kitchen that you always thought was intimidating? Feel free to share your kitchen adventures!
Welcome to our Apron Full of Giveaways! I hope everyone is having a great week this week! As we do each week, here is our round-up of giveaways for our readers. We hope that this is beneficial to you and your family! Please let us know if you guys win anything- I love to hear the success stories!
Below are the contest links-if you are hosting a contest please link it up below. Sorry, we aren’t giving away the aprons just showcasing them! Please put your site name and then what type of contest you are hosting. For example, “MomAdvice (Kid’s Movies).”
Please let me know if you have any questions and good luck to each of you!
With the holidays in full swing, I am always looking for dishes that can help keep things simple when entertaining.
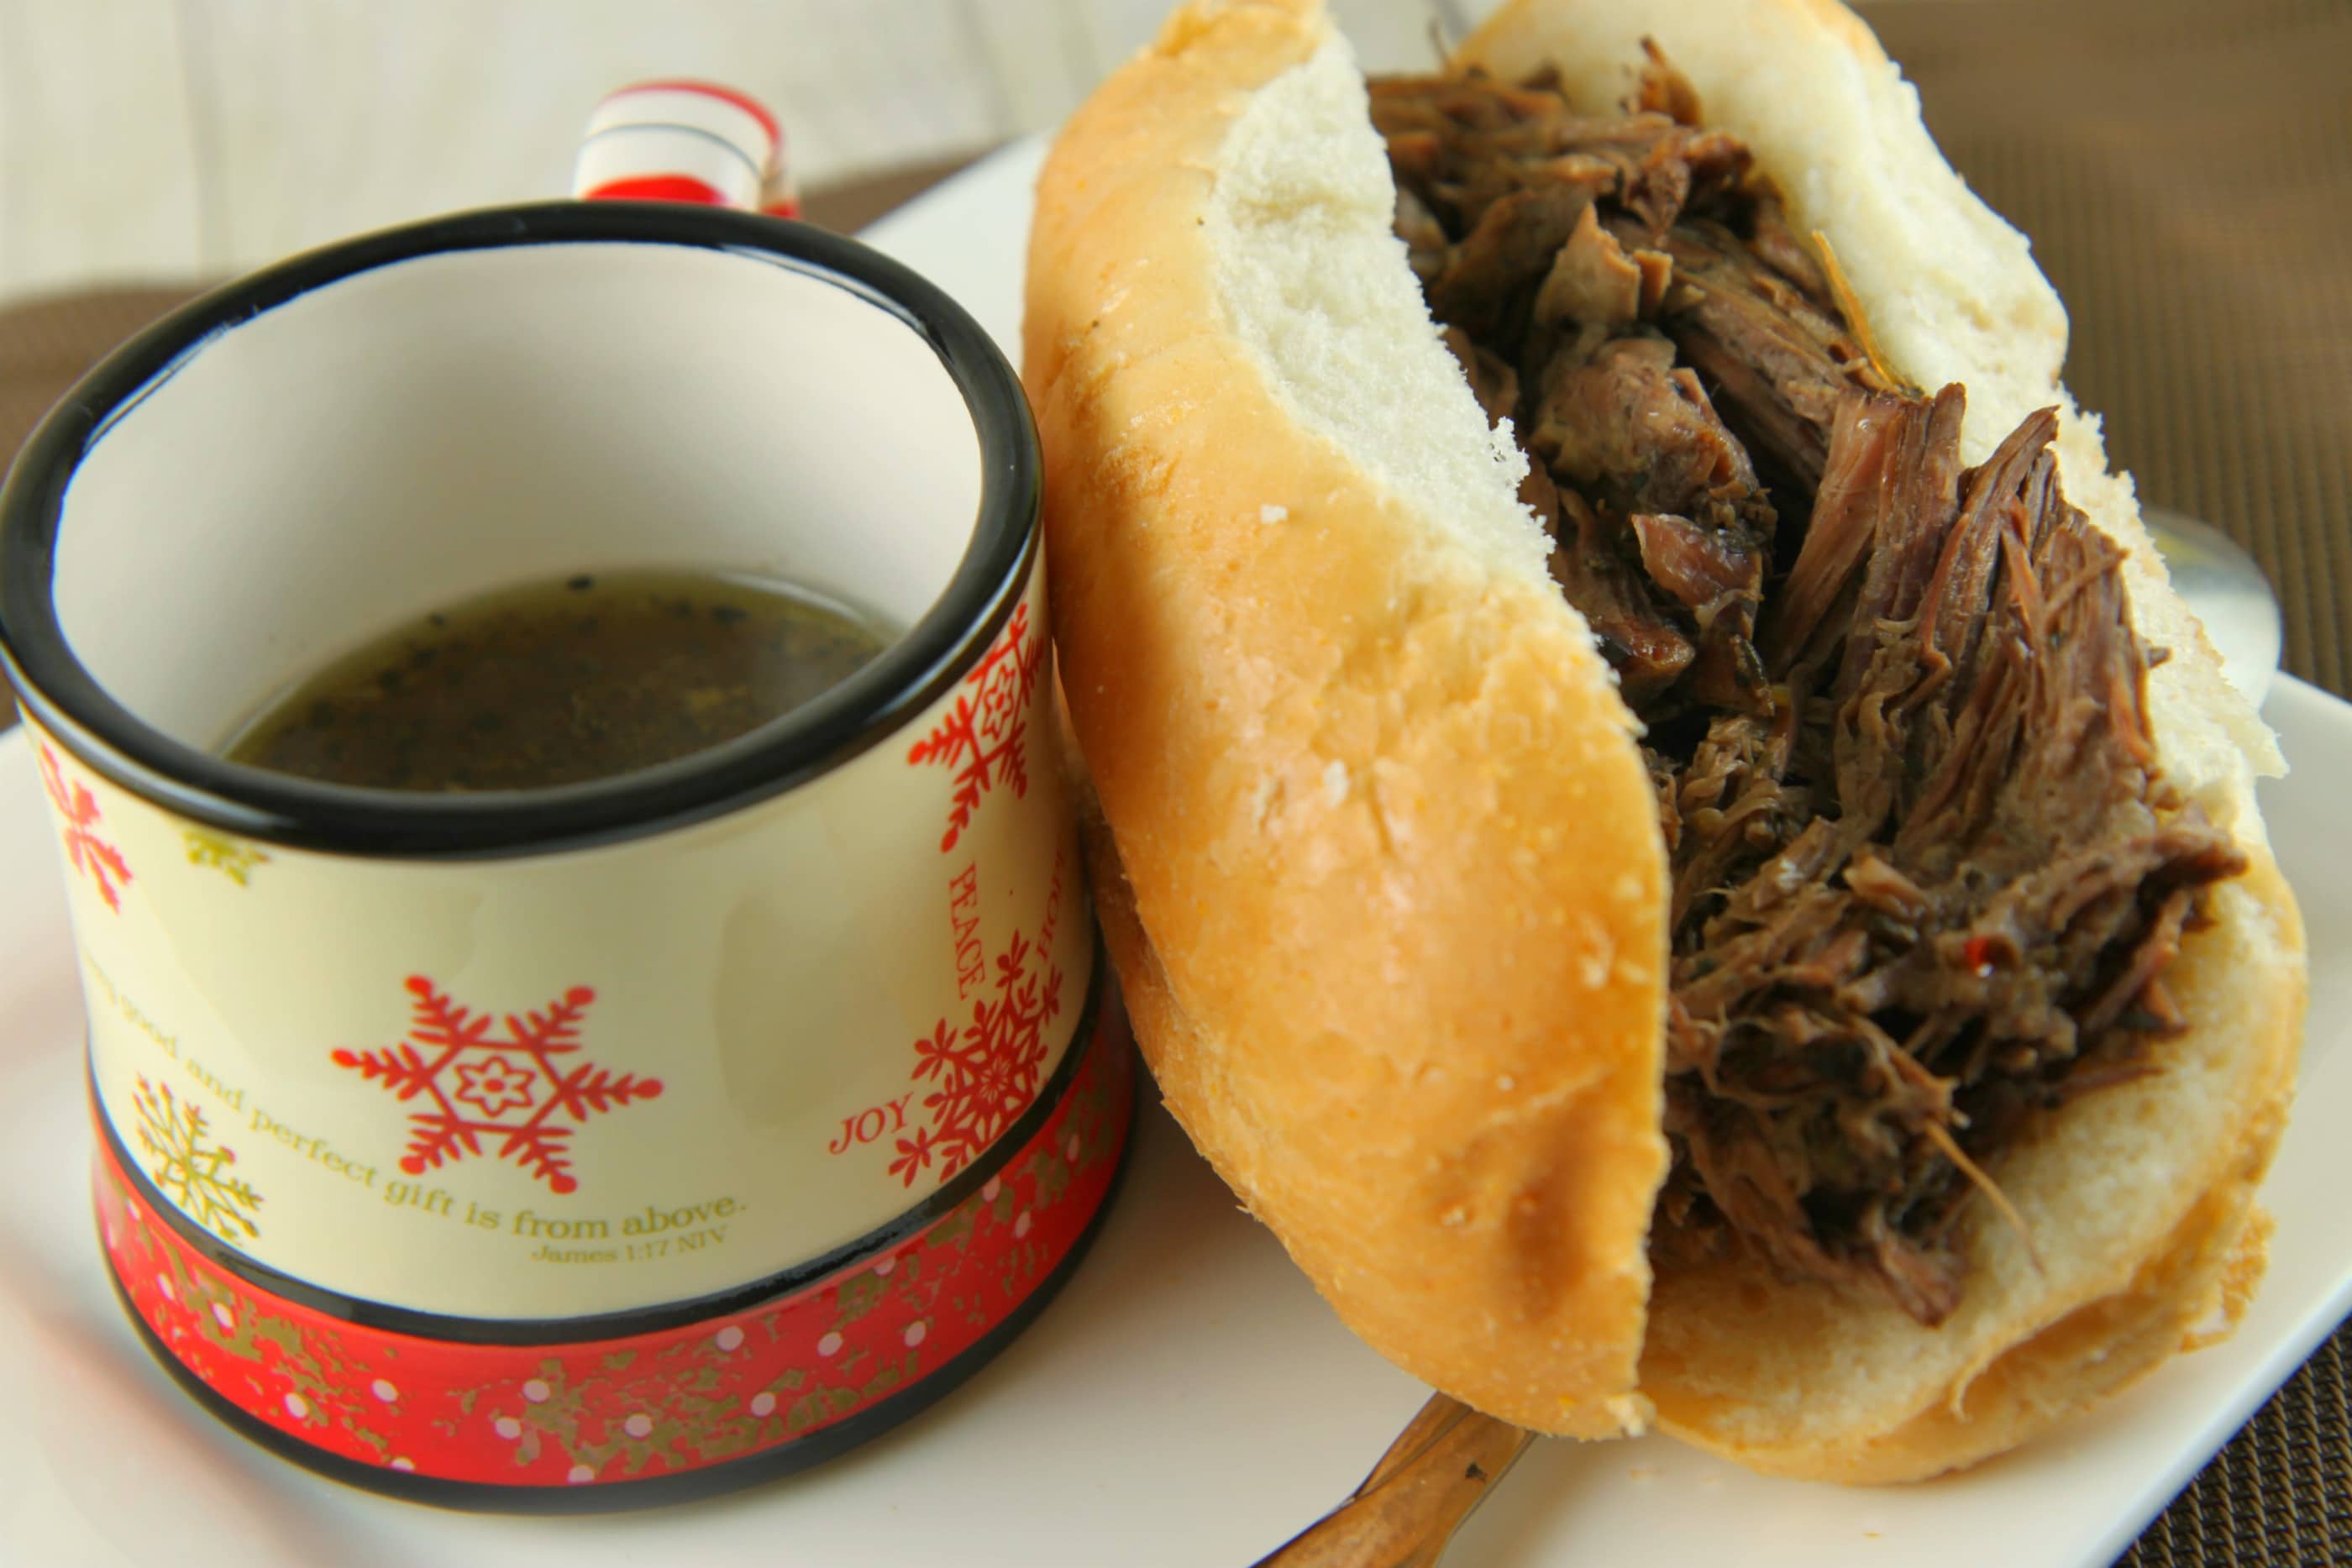
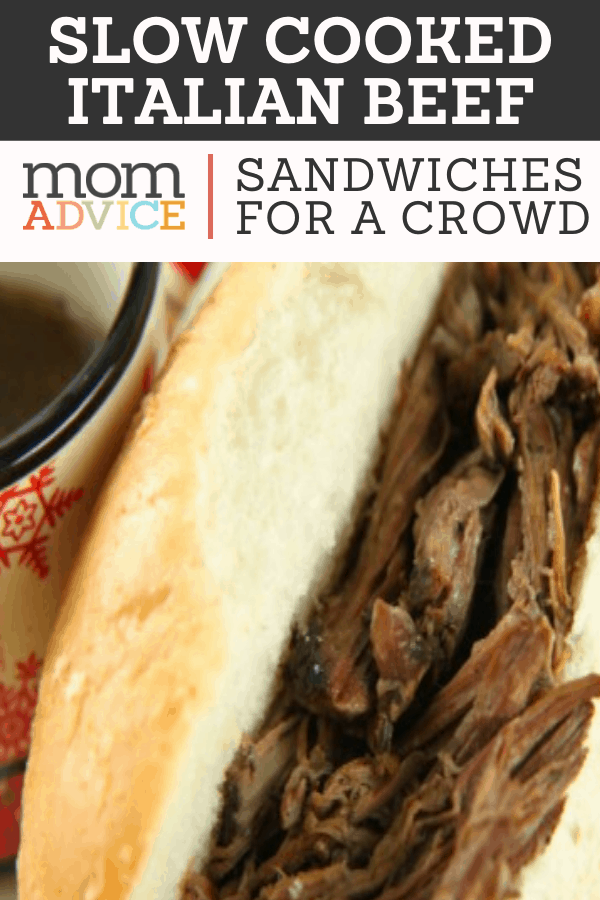
Anything involving my slow cooker is a surefire entertaining winner and these Italian Beef Sandwiches are an absolute hit whenever I make them for friends and family.
The best part about these is that they require very little preparation, but reap delicious rewards after simmering away in the slow cooker all day.
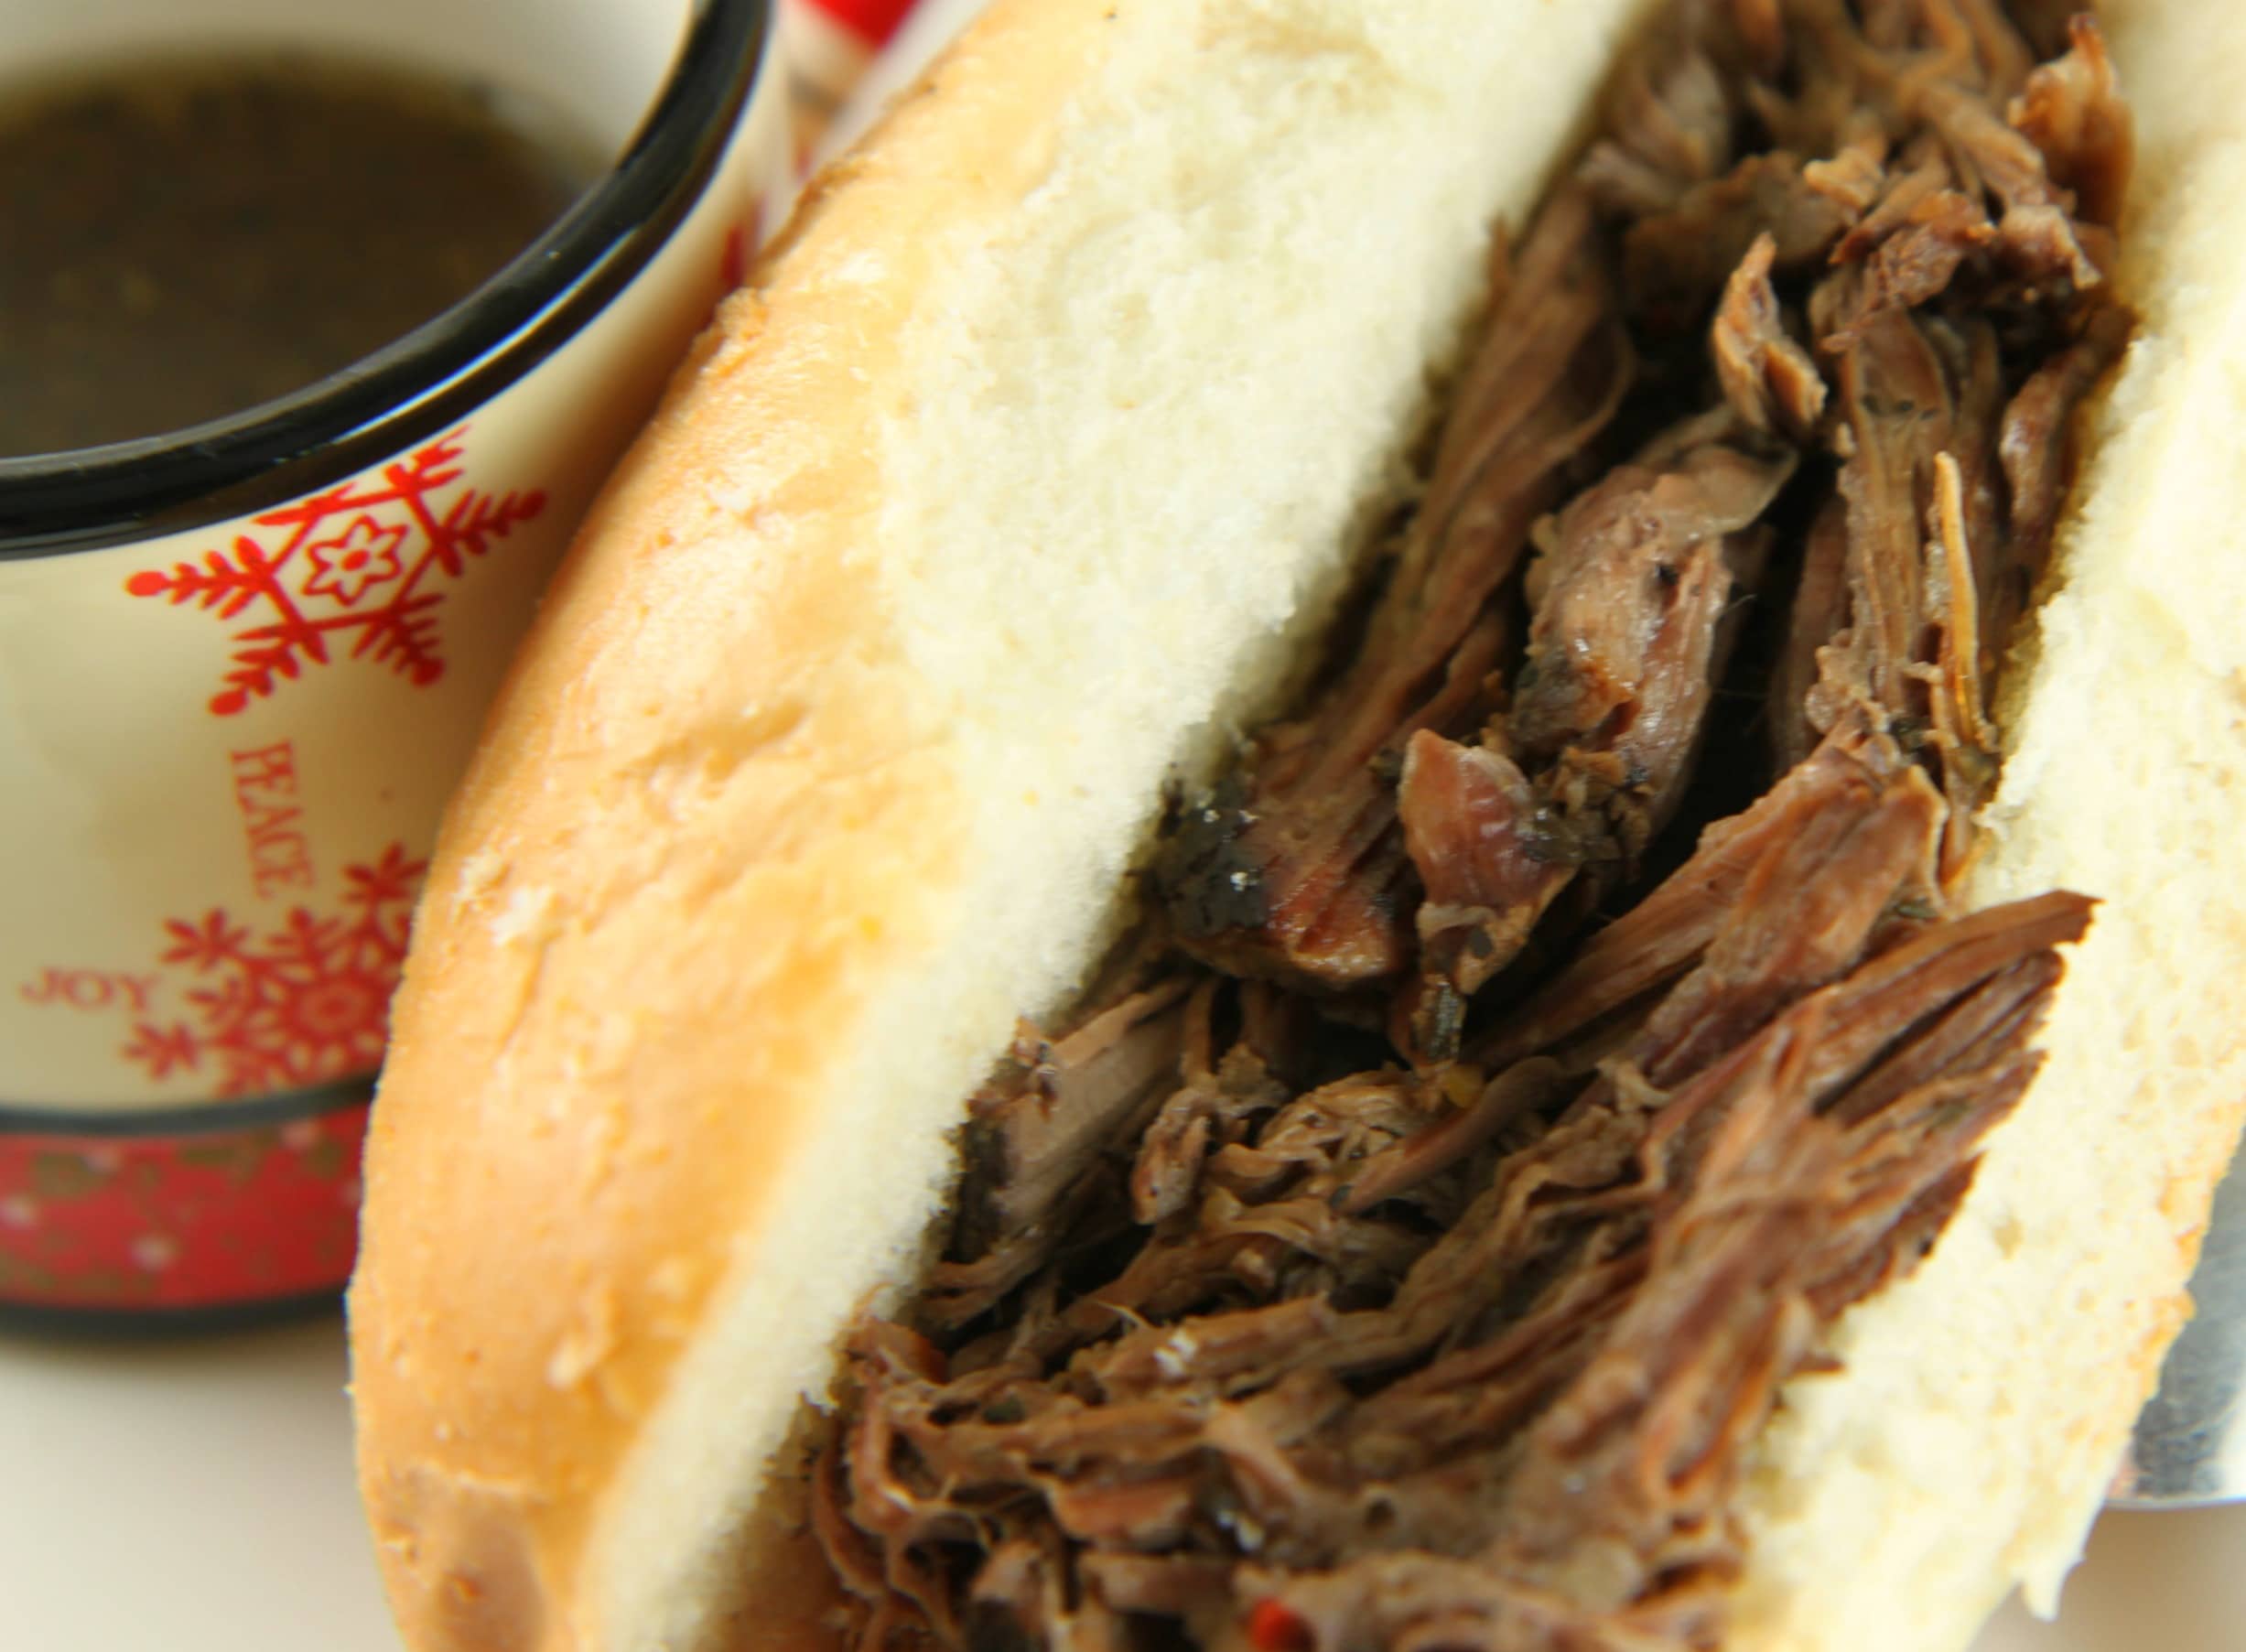
The beef is so flavorful as it simmers in these delicious spices all day.
After you shred the meat, you can place it back in and ladle a bit of the juice in small cups or ramekins for dipping for your guests.
The juices have a kick from the red wine vinegar and Worcestershire sauce which help to brighten the muted flavors of the dried spices.
We love to serve these sandwiches with my bacon ranch cheese ball, a tray of fresh veggies, and a batch of spinach dip with pita chips for dipping for simple and delicious entertaining.
Keep the entertaining simple this year and make these sandwiches in your slow cooker for your next holiday party!
Trim excess fat from roast. Place roast in the slow cooker. Mix water with all seasonings and pour over roast. Mix vinegar and Worcestershire and pour over all. Cover and cook on low 8-10 hours. Remove meat, allow to cool slightly and shred, discarding any fat. Return shredded meat to broth in the slow cooker and cook on high until heated through, 15 minutes to 1/2 hour.
Our family spent our Thanksgiving holiday in Florida this year. It was our first real family trip and our first time heading to the Magic Kingdom. I am a Disney newbie although I had the incredible opportunity to see many Florida sites with the Orlando Visitor’s Bureau with my son last year as a trip for just the two of us.
I will admit it, I was nervous about it all. I wanted to surprise them, I wanted the day to be magical, I wanted the weather to cooperate, I wanted the crowds to be minimal, I wanted us all to have the best time of our life.
Is that too much to ask?
Lucky for us, all of these things really did happen and we had a magical day at the Magic Kingdom.
Accommodations were provided by the grandparents as well as a cooler filled with drinks and snacks for us to take on the road and a few to nestle in a bag that I carried with me. The truth is, we went into it knowing it was going to be an expensive day. We also went into it prepared financially for this day and I worked some extra freelance jobs to cover the expense.
Here is what we learned from our experience at Disney:
Preparation is Key
Financial Preparation– Whenever our family is tackling a big financial project, we set aside money into a separate savings account to prepare for whatever that financial goal might be. Consider talking with your bank about opening accounts for your Disney trip. Have an automatic transfer made for $25 or more each month put into this account all year long and then you will have the money saved when it is time to make your family trip.
Savings can be had when booking your travel through places like AAA and additional savings can be found while visiting in Orlando by printing a free Orlando Magicard to take with you when visiting restaurants and attractions while you are in Orlando.
Safety Preparation– I don’t need to tell you that Disney is a big place and safety is very important when visiting theme parks. Each child was assigned a buddy to be their partner throughout the days and they were to hold their buddy’s hand while we were there. We took additional safety precautions by printing out recent pictures of our children to keep in our wallet and bags just in case something should happen and they were separated from us. With a handy Sharpie, I wrote my cell phone number on their arms so if they were separated from us, someone could call us and reunite us quickly.
Meal Preparation- You can bring snacks and drinks into the park with no problems. We packed fruit snacks, granola bars, and bottles of water for our day in a bag with no objections. Rely on these snacks and bottles of water to help cut some of the costs. I recommend visiting this MouseSavers page to find the best cheap eats while you are at the parks. We did get table service for the evening, but you want to call ahead since reservations can be made up to 180 days in advance of your vacation. Since we called the reservation number that morning when we arrived, we ended up at the Plaza. The table service was about twelve dollars more than the fast food service in the park and quite a bit better with a lot more food included with our meal. If you want to explore the menus before you go, you can view all the menus for the parks here.
Souvenir Preparation– Souvenirs are a big expense and children can be plagued with horrible cases of what our family lovingly calls, “a case of the gimmies.” At the same time, I remember the amazing souvenir ears I got and how much I wanted those items when I went to Disney. I hit the Disney store for t-shirts and small toys which were a third of the price as they were in the shops and a girlfriend recommended picking up ears at a local party store (only $5.99 each). The kids were thrilled with their ears and shirts which they wore throughout the park and they did not even ask for anything while we walked through thanks to this little bit of preparation.
Navigation Preparation– When you pick up your tickets, you can pick up a handy map of the park. Thanks to my iPhone I was able to get some reinforcement on the map with Disney’s Magic Kingdom Tour Guide GPS+ from CXI Gaming (cost was $1.99) and helped us navigate the parks easily and find what we needed quickly. We also had everything in our GPS before we left for getting to the park and how to get back to where we were lodging.
Getting the Most Out of Your Ride Time
Make a Plan of Attack– Along with your Navigation Preparation, discuss as a family what rides are most important to you and order them in a list of importance. The rides with the longest wait times we rode first so that we could make sure that we got those out of the way before the crowds and wait times got really long. If you aren’t’ sure what rides would be best for the age group of your kids, I do recommend buying the Disney’s Magic Kingdom Tour Guide GPS+ from CXI Gaming (cost was $1.99) because this actually gave you a plan for your day based upon your age group. They have tour plans for adults & teens, parents of preschool children, parents with children ages 4-8, and senior Disney lovers. It gave us a great starting point for deciding how to make the most of our day.
Use FASTPASS to Make the Most of Your Day-FASTPASS isn’t anything you need to sign up for, it is simply a way to place a reservation on rides with long wait times. On your map that you receive when you come in, it will have a FASTPASS icon next to the rides that you can FASTPASS. In the Magic Kingdom, Space Mountain, Splash Mountain, Big Thunder Mountain, Buzz Lightyear’s Space Ranger Spin, Jungle Cruise, Many Adventures of Winnie the Pooh, & Peter Pan’s Flight are the rides you can FASTPASS. Head to those rides and a machine will be available to insert your ticket and a receipt will print out when you can come back to the ride with a one hour window that you can cash in on. Head to other rides with shorter wait times and then come back at the designated time to go through a faster line.
Add a free Wait Time App to Your Mobile Phone– No need to invest in a pricey Wait Time App, just the free Disney World Wait Times app will work perfectly since all wait time information is user generated. Check the wait times on the rides and use that to help decide which rides you want to go on.
Capturing the Magic
It is the most magical day of our kid’s lives and the last thing I wanted was terrible pictures that didn’t showcase just how amazing our day was. My parents have this great picture of me when I was a little girl wearing my mouse ears, posing with the characters, sunburned and freckled cheeks, grinning with the biggest toothless grin at five that is still one of my favorite pictures from my childhood.
Capture Their View- When Emily saw the castle for the first time…well, I could start bawling just thinking about it. I wanted to see that moment over and over so I captured her first gaze at the castle and then got to her eye level and took a picture at her level at exactly what she was seeing. Having pictures both of them seeing this magical beauty and the magical beauty itself are captures that your family will never forget.
Capture the Movement- How can you capture the hilarious and dizzy feeling of some of those rides without movement in the picture. Capturing motion in photography is so much fun especially when riding on the teacups. I focused on the bag in this picture as we spun around and and around. I recommend this article if you are looking for more tips on how to capture motion blur in your pictures.
Take Fun Pictures on the Go- My camera equipment can get awfully heavy so we took turns with the big camera and I relied on my mobile phone when I wanted to capture details quickly and easily. I love Camera+ and Instagram for sharing fun pictures on the go. It is such a fun way to take a quick photo, add an effect, and send it to family and friends to keep them updated on how your day is going.
Get a Family Photo– I will admit that I looked for someone who had a camera like ours to take our family picture. If you have a point-and-shoot, finding someone to snap a picture should be really easy.
When I handed off my camera I switched it to Aperture Mode (Av on my Canon) and changed the Aperture to f/7.1. I was really worried we would be out of focus and Disney is a very busy place. I then used Picnik to crop as many of the background people out of our picture.
They have people all over the parks taking pictures and you can have them snap your picture for their portrait and then ask them to take one with your camera too. They know the best spots with good lighting and backgrounds for your family photos. Best of all, they know how to work cameras.
Capture the Nighttime Magic- Nighttime magic was tricky to photograph and may require a little research on your part. When I took pictures of the castle I was so disappointed. The colors were off and lights were blurry. It was not the magical pictures I had hoped for.
Over dinner, I went on this Disney Photography Blog and found this information how to capture the nighttime parade. I took test shots after our dinner until I was happy with the lighting and able to capture some of the nighttime beauty at Disney.
What are your best tips for doing Disney on a budget? Do you have any tips for making the most of your time at the parks? Please share!
**********************************************
Below is our big reveal to our children when we told them they were heading to Disney. It was the thrill of a lifetime to get to surprise them with the news that they would be seeing the Magic Kingdom for the very first time. It still brings tears to my eyes that we got to have such an incredibly magical day with them!
Happy Holidays, friends! Welcome to our Apron Full of Giveaways! As we do each week, here is our round-up of giveaways for our readers. We hope that this is beneficial to you and your family! Please let us know if you guys win anything- I love to hear the success stories!
Below are the contest links-if you are hosting a contest please link it up below. Sorry, we aren’t giving away the aprons just showcasing them! Please put your site name and then what type of contest you are hosting. For example, “MomAdvice (Kid’s Movies).”
Please let me know if you have any questions and good luck to each of you!
I absolutely love anything that has gingerbread flavors in it and I had a reader request that I share a recipe for their favorite Starbuck’s treat, the delicious Gingerbread Latte. Always up for a challenge, I went on a search for a recipe for this yummy Gingerbread Latte treat to create at home.
This drink tastes like gingerbread itself and is filled with ginger, molasses, and cinnamon within the gingerbread syrup you create for your latte. I found that if I mixed the latte together with the syrup and let it sit for a minute or two and then stirred it again, that the flavors came together more fully than if I drank it right away as the spices seemed to blend in better.
This gingerbread coffee syrup does not look like the usual simple syrup gingerbread coffee syrup that I had originally thought I would create. To me, the most important flavor is the molasses in the gingerbread though and without it, I don’t think it would taste like a true gingerbread treat. If you are looking for a simple syrup version though, I found this Gingerbread Coffee Syrup that would fit the bill beautifully.
So this holiday season whether you are sipping a Peppermint Mocha, a Salted Caramel Mocha, a Pumpkin Spice Latte, or this little version of a Gingerbread Latte, I hope you enjoy saving a little extra cash and can enjoy these homemade treats to unwind with during this busy time of year.
Recipe:
Homemade Gingerbread Latte
Ingredients:
1 cup milk, steamed
1 cup very strong coffee (4 tablespoons coffee grounds to 1 cup of hot water, I prepared this in my French Press, but you can brew a strong drip pot if you prefer)
1 tablespoon white sugar (can omit if you prefer a drink that is less sweet)
1 tablespoon gingerbread syrup (you can use the recipe provided below)
Whipped cream (optional)
Ground Cloves (sprinkled for topping, optional) or Festive Sprinkles (sprinkled for topping, these just aren’t optional)
Directions:
Prepare your hot water in a kettle. Add four tablespoons of your favorite coffee grounds to your French Press. Pour 1 cup of hot water over them and allow the coffee to steep for four minutes while you prepare the other ingredients.
In a pot, heat up one cup of milk until it is steaming. Froth the milk with a wire whisk or an immersion blender until it is nice and foamy.
In your coffee cup, add your coffee syrup and white sugar. Pour your coffee over the gingerbread syrup & sugar and then stir well with a spoon until the gingerbread syrup dissolves and the spices are incorporated well. Pour the milk foam over the top of the coffee/mocha mixture and stir again to incorporate. Allow it to merry together for a minute or two and then mix once more. Top with whipped cream and festive sprinkles or a dusting of ground cloves.
Drink.
Be Merry.
Note- This is just a base recipe that can be played with to your own tastes and preferences. It is meant to be personalized depending on how you like your latte!
Prep Time: 5 minutes
Total Time: 5 minutes
Serving Size: 1
This Gingerbread Syrup is thicker than a traditional simple syrup so this can be stored in a jar rather than a pour spout container. The molasses combined with the brown sugar, ginger, and cinnamon make it a rich and decadent treat to add to your latte.
This Gingerbread Syrup would make a fantastic gift to give to a friend or loved one. Place this syrup in a jar and tie with festive ribbon. In a basket add your syrup, coffee, and a shaker of festive sprinkles, along with this recipe. So easy and a great way to start anyone’s day.
Recipe:
Homemade Gingerbread Coffee Syrup
Ingredients:
1/2 cup molasses
1/4 cup brown sugar
1/2 teaspoon baking soda
1 teaspoon ground ginger
3/4 teaspoon ground cinnamon
Directions:
In a jar, mix together your molasses, brown sugar, baking soda, ground ginger, and ground cinnamon until well incorporated. You can store this mixture in a jar in the refrigerator for two to three weeks.
Prep Time: 5 minutes
Total Time: 5 minutes
Serving Size: 8-10 drinks
Recipe Source: Latte courtesy of MomAdvice, Gingerbread Syrup from AllRecipes.com
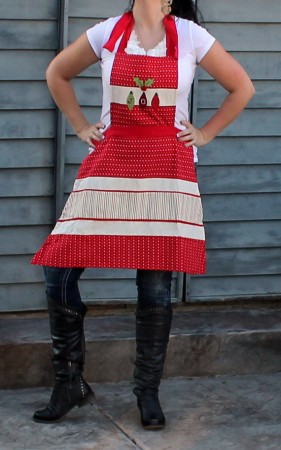 Lemon Spice, $25