Archive for the ‘Home & Organization’ Category

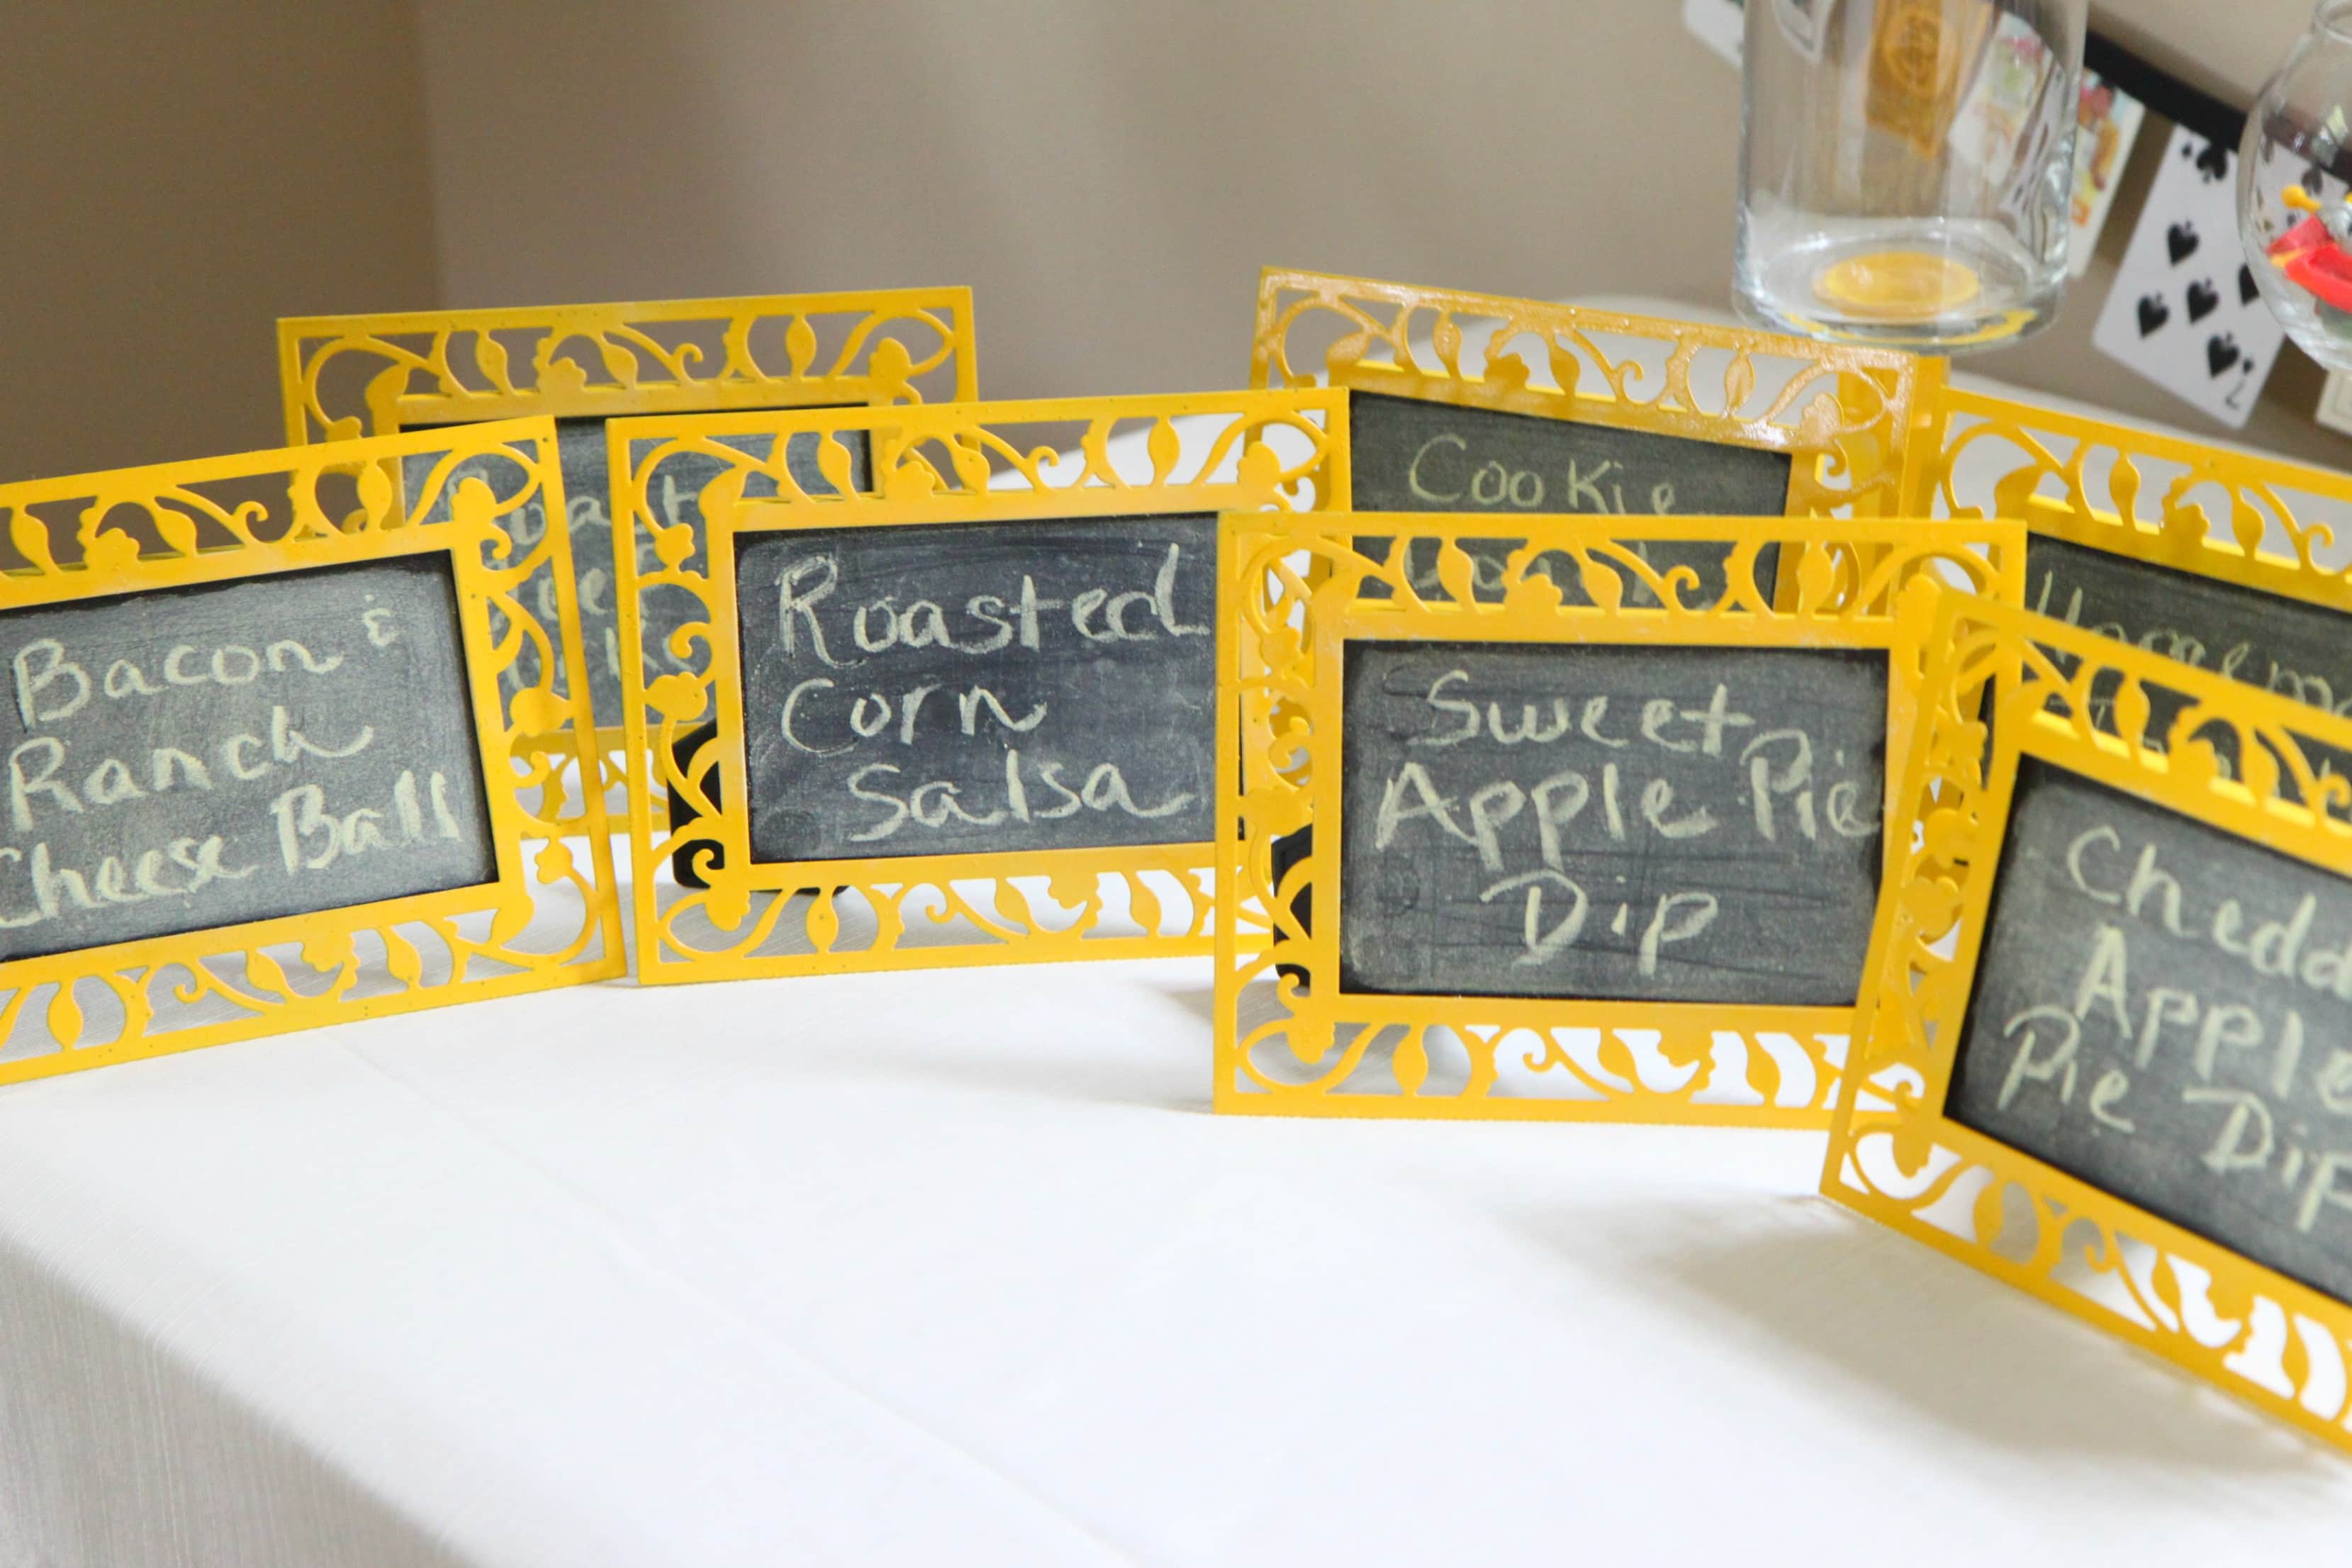
Dollar Store Craft: DIY Chalkboard Food Label Frames

Wednesday, September 5th, 2012

If you are a regular reader here, you may have been following my obsession with chalkboard spray paint for crafting on the blog. Today I wanted to show you how I used chalkboard spray paint to transform dollar store frames into DIY chalkboard food labels for parties and entertaining.

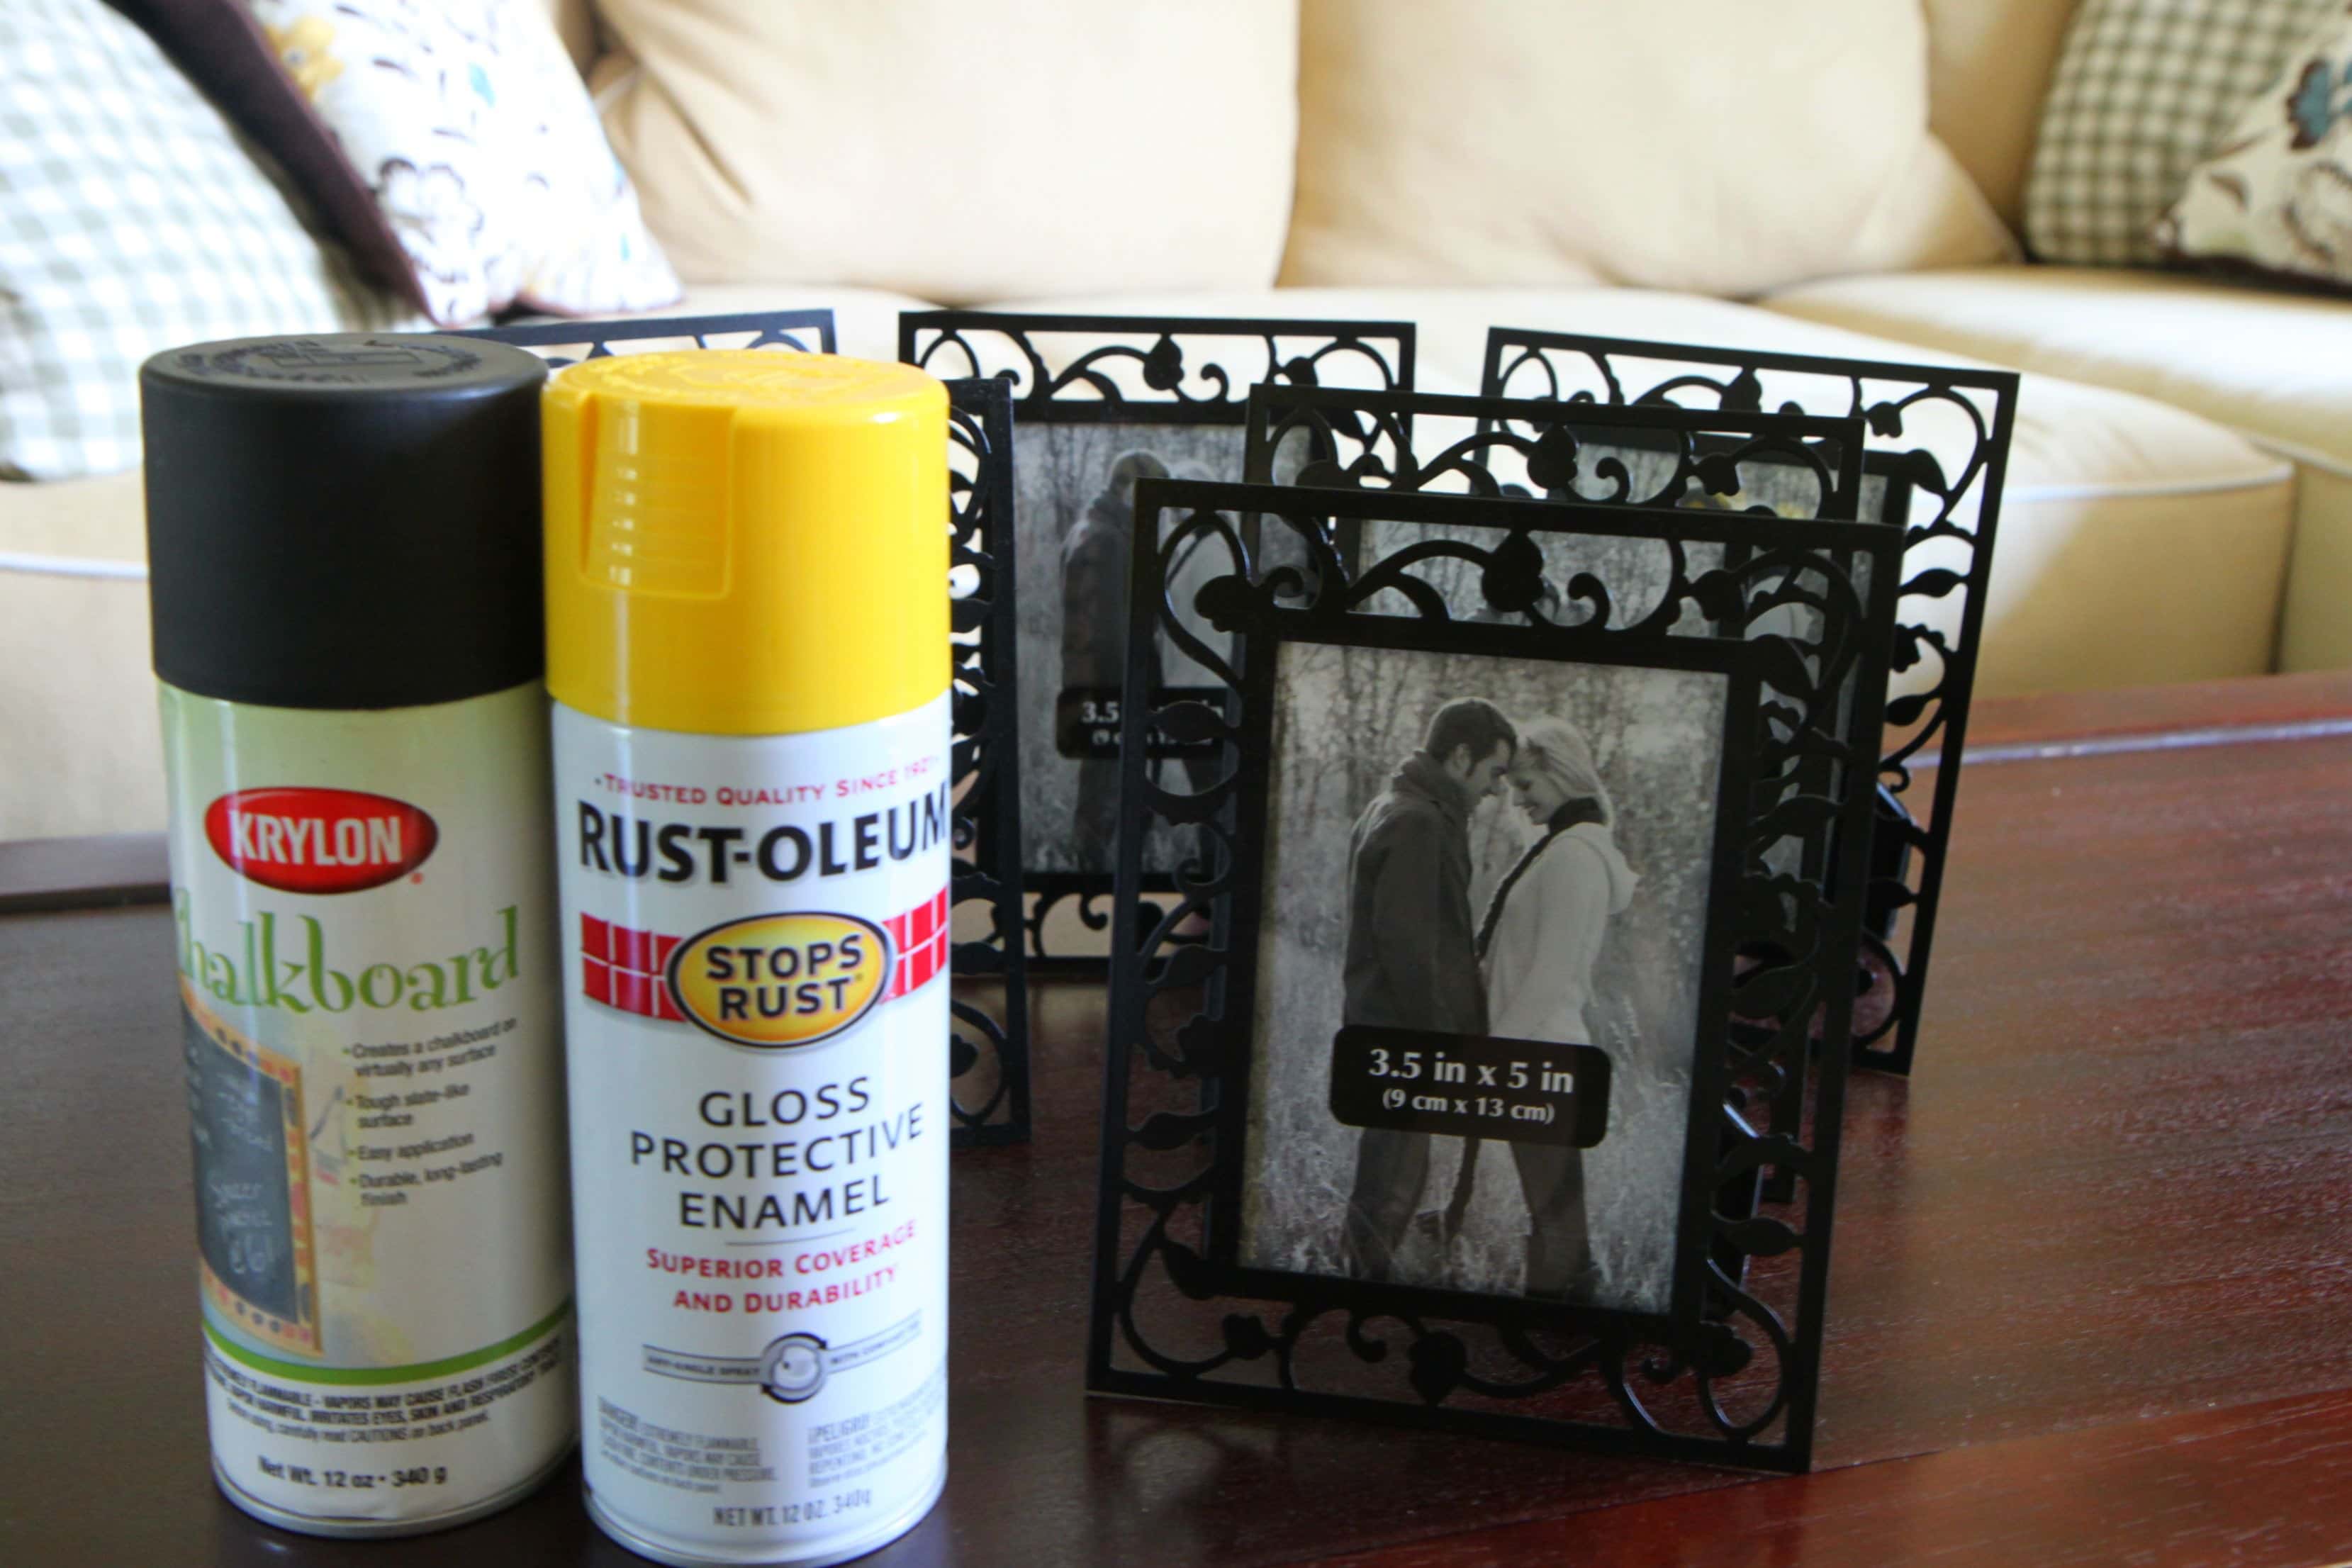
For this craft you will need one can of spray paint in your favorite color, 3.5 in x 5 in frames (I got ten of these), and a can of chalkboard spray paint. I actually am using the same spray paint that I used for our lunchbox creation station labels and my conversation bubble cookie jars that I created this summer. One bottle will really go a long way!

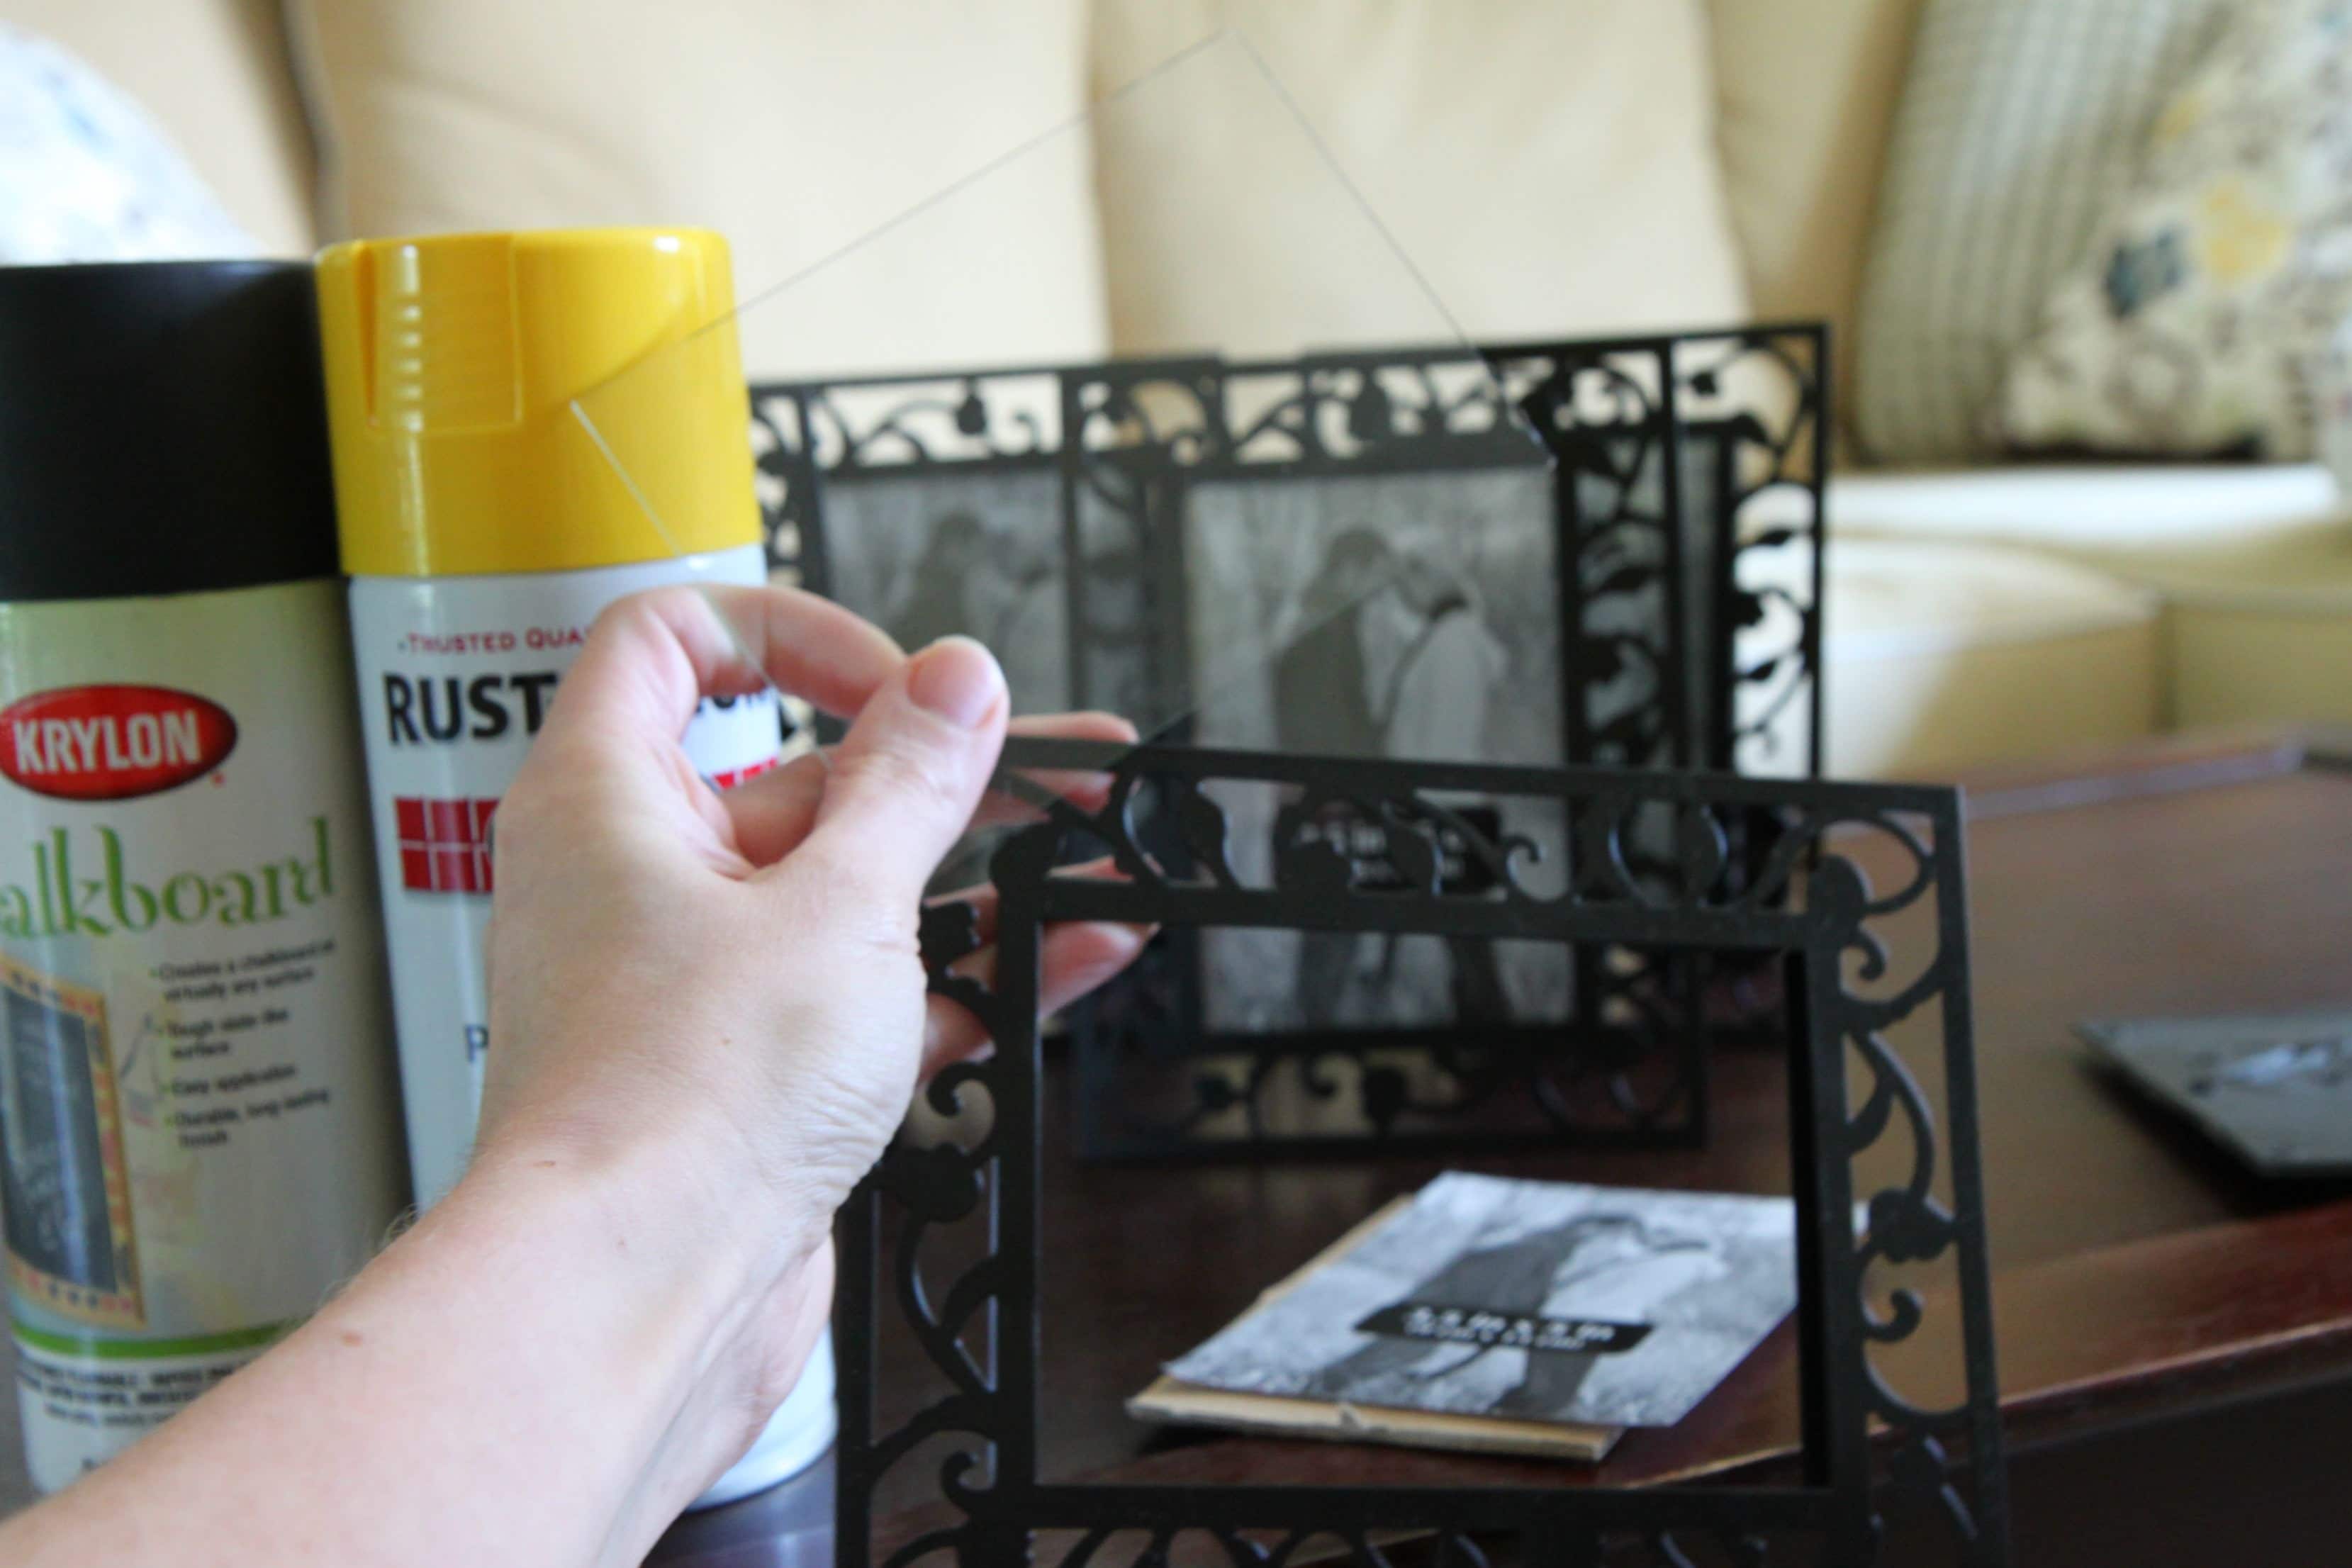
Take the frames apart and lay them on a drop cloth to spray paint. For the best spray paint results, shake the can for one to two minutes and during use.

For the frame itself: Hold your can 8 inches away from your surface and spray in a sweeping motion side to side with a slight overlap. It has always been my experience to go thin with the paint, allow it to dry, and then to add another layer for the best results and minimal drip. Allow the paint to dry for one hour. Flip the frames and then repeat the process on the back of the frame. Allow it to dry for another hour.

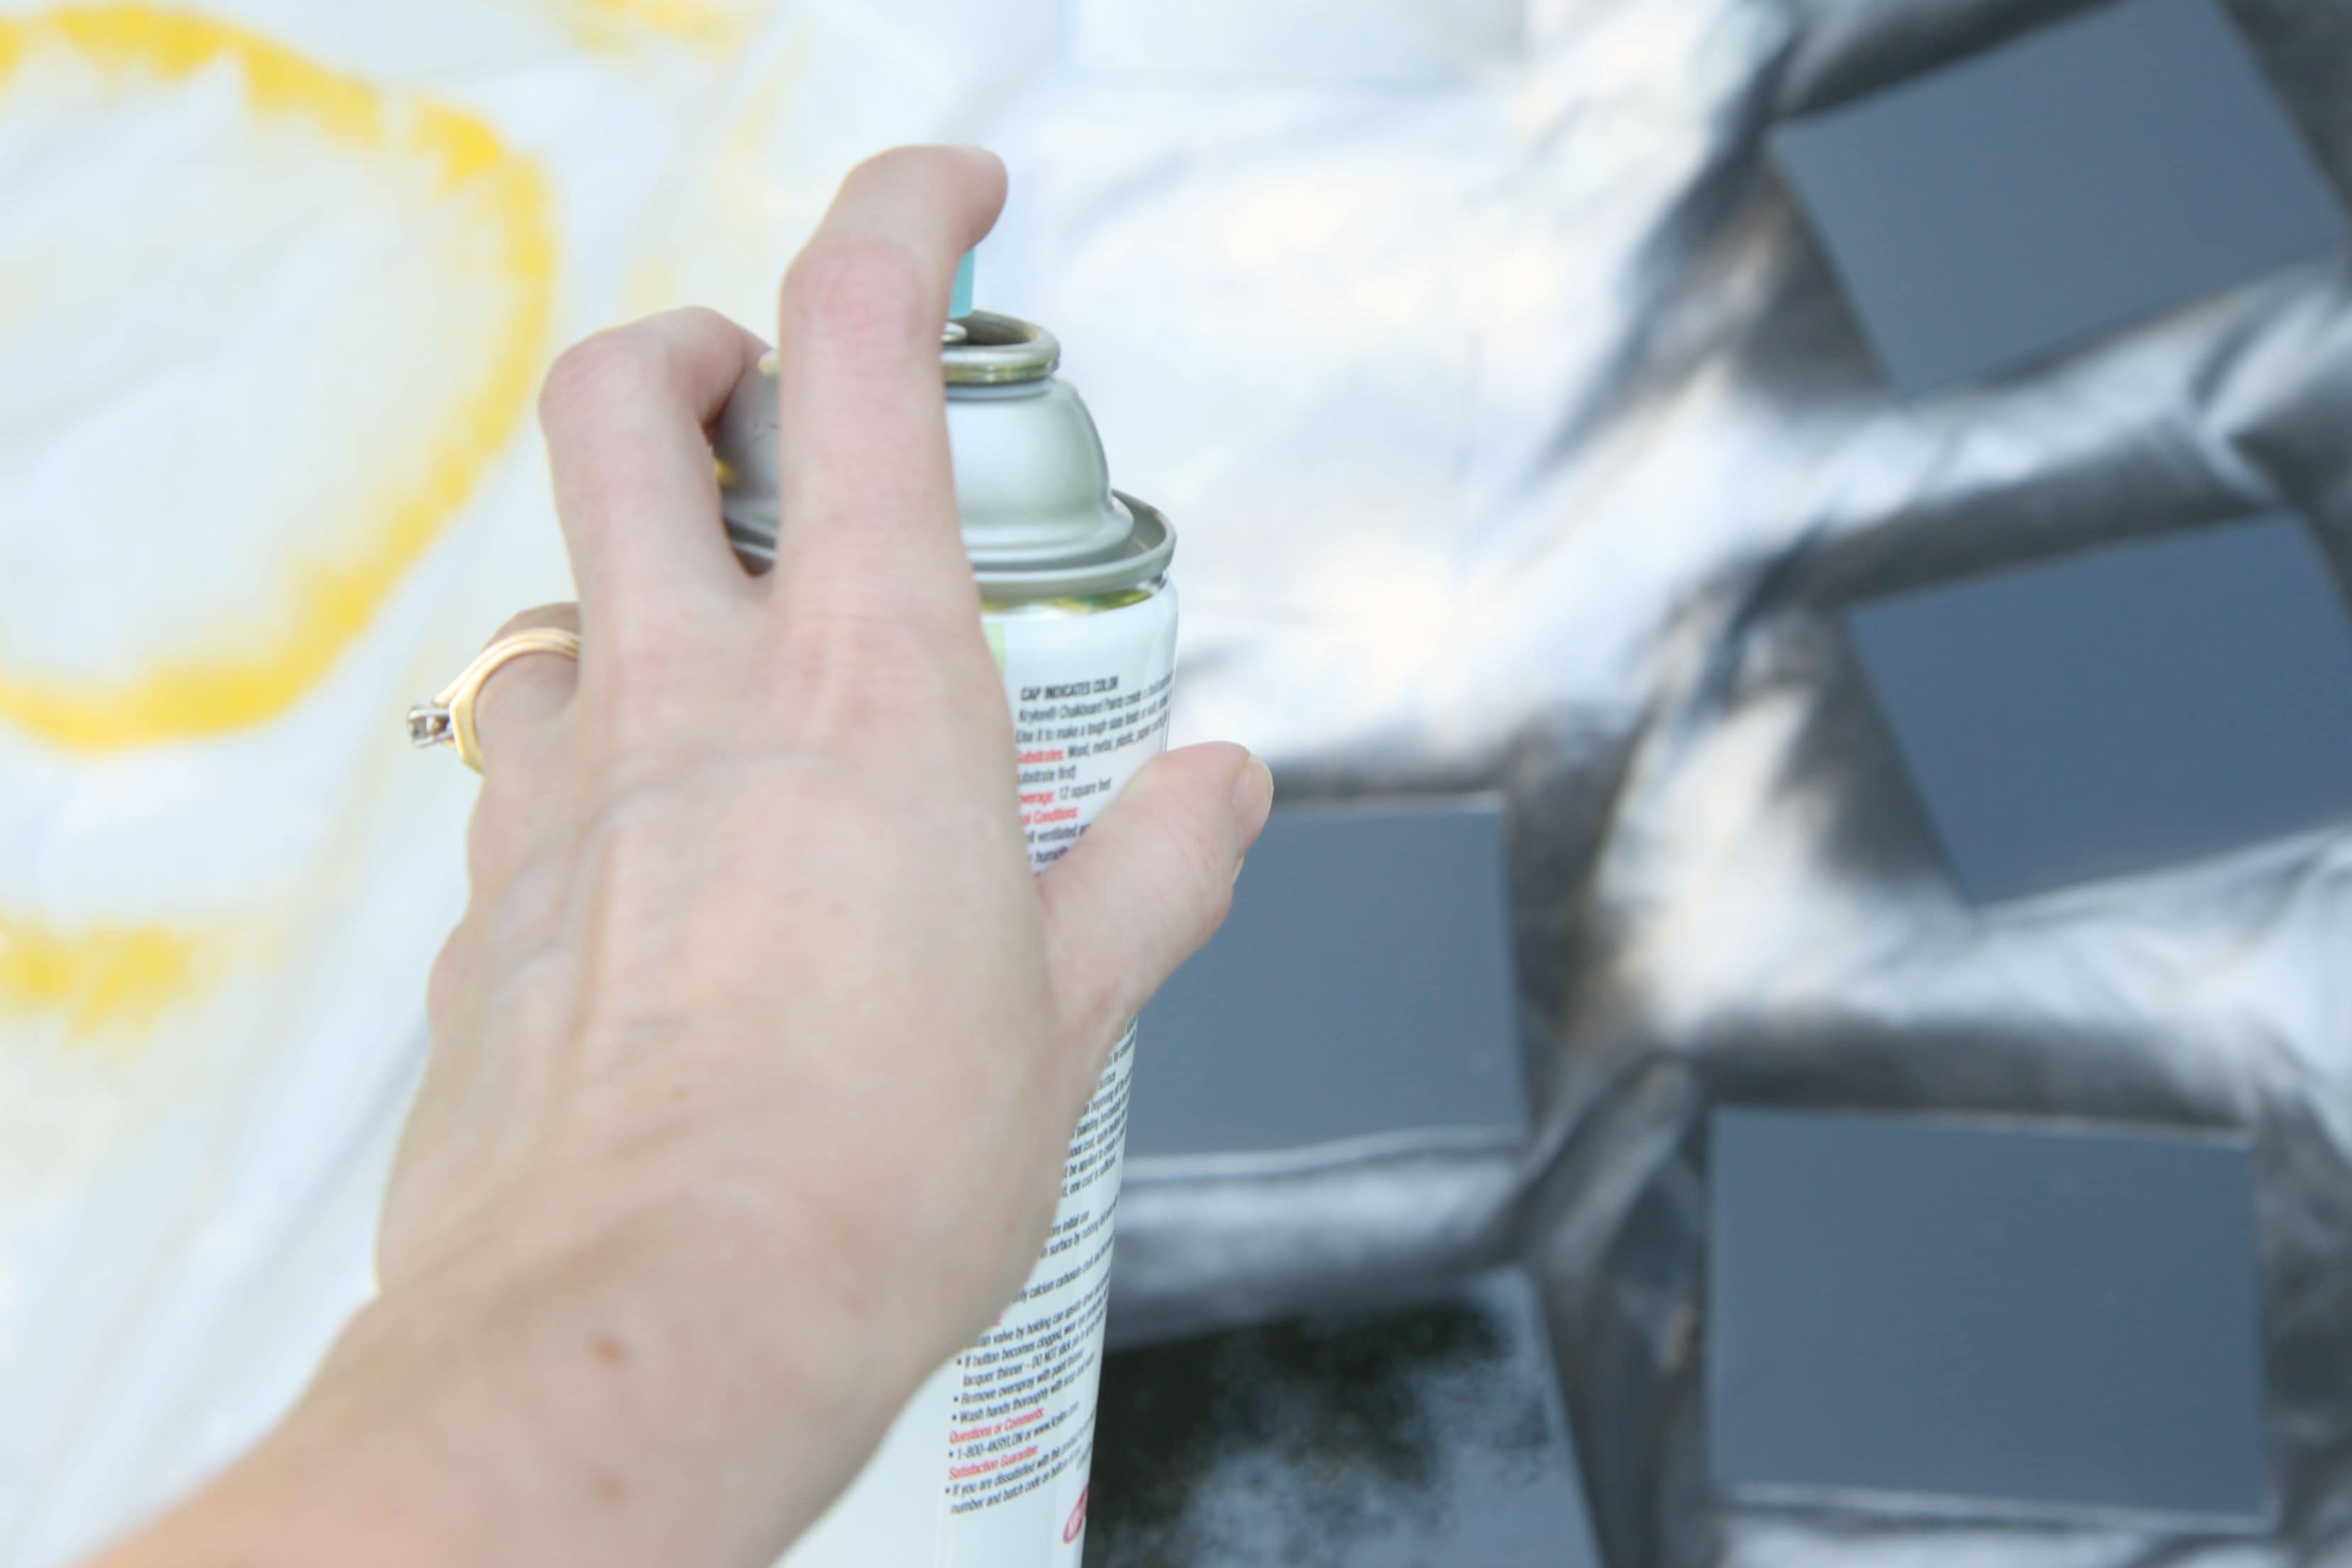
For the glass inside: Shake the chalkboard paint can vigorously for two minutes. Hold can 10-14 inches away from your project and begin spraying. Spray a thin coat in a sweeping motion beginning off the surface and continuing off the other side. Follow this pattern horizontally and then vertically. Wait fifteen minutes or so and then apply another coat. You need two coats to create your chalkboard surface.

Most importantly though, do not use any chalk on this for 24 hours! The chalkboard paint will need to harden and will not be ready until then. If you try it before it is ready (as I promptly did), it will just scratch the paint through, creating marks and exposing the glass of the frame.

Once everything has dried, you can put it back together. Now it is time to prep your mini chalkboards.

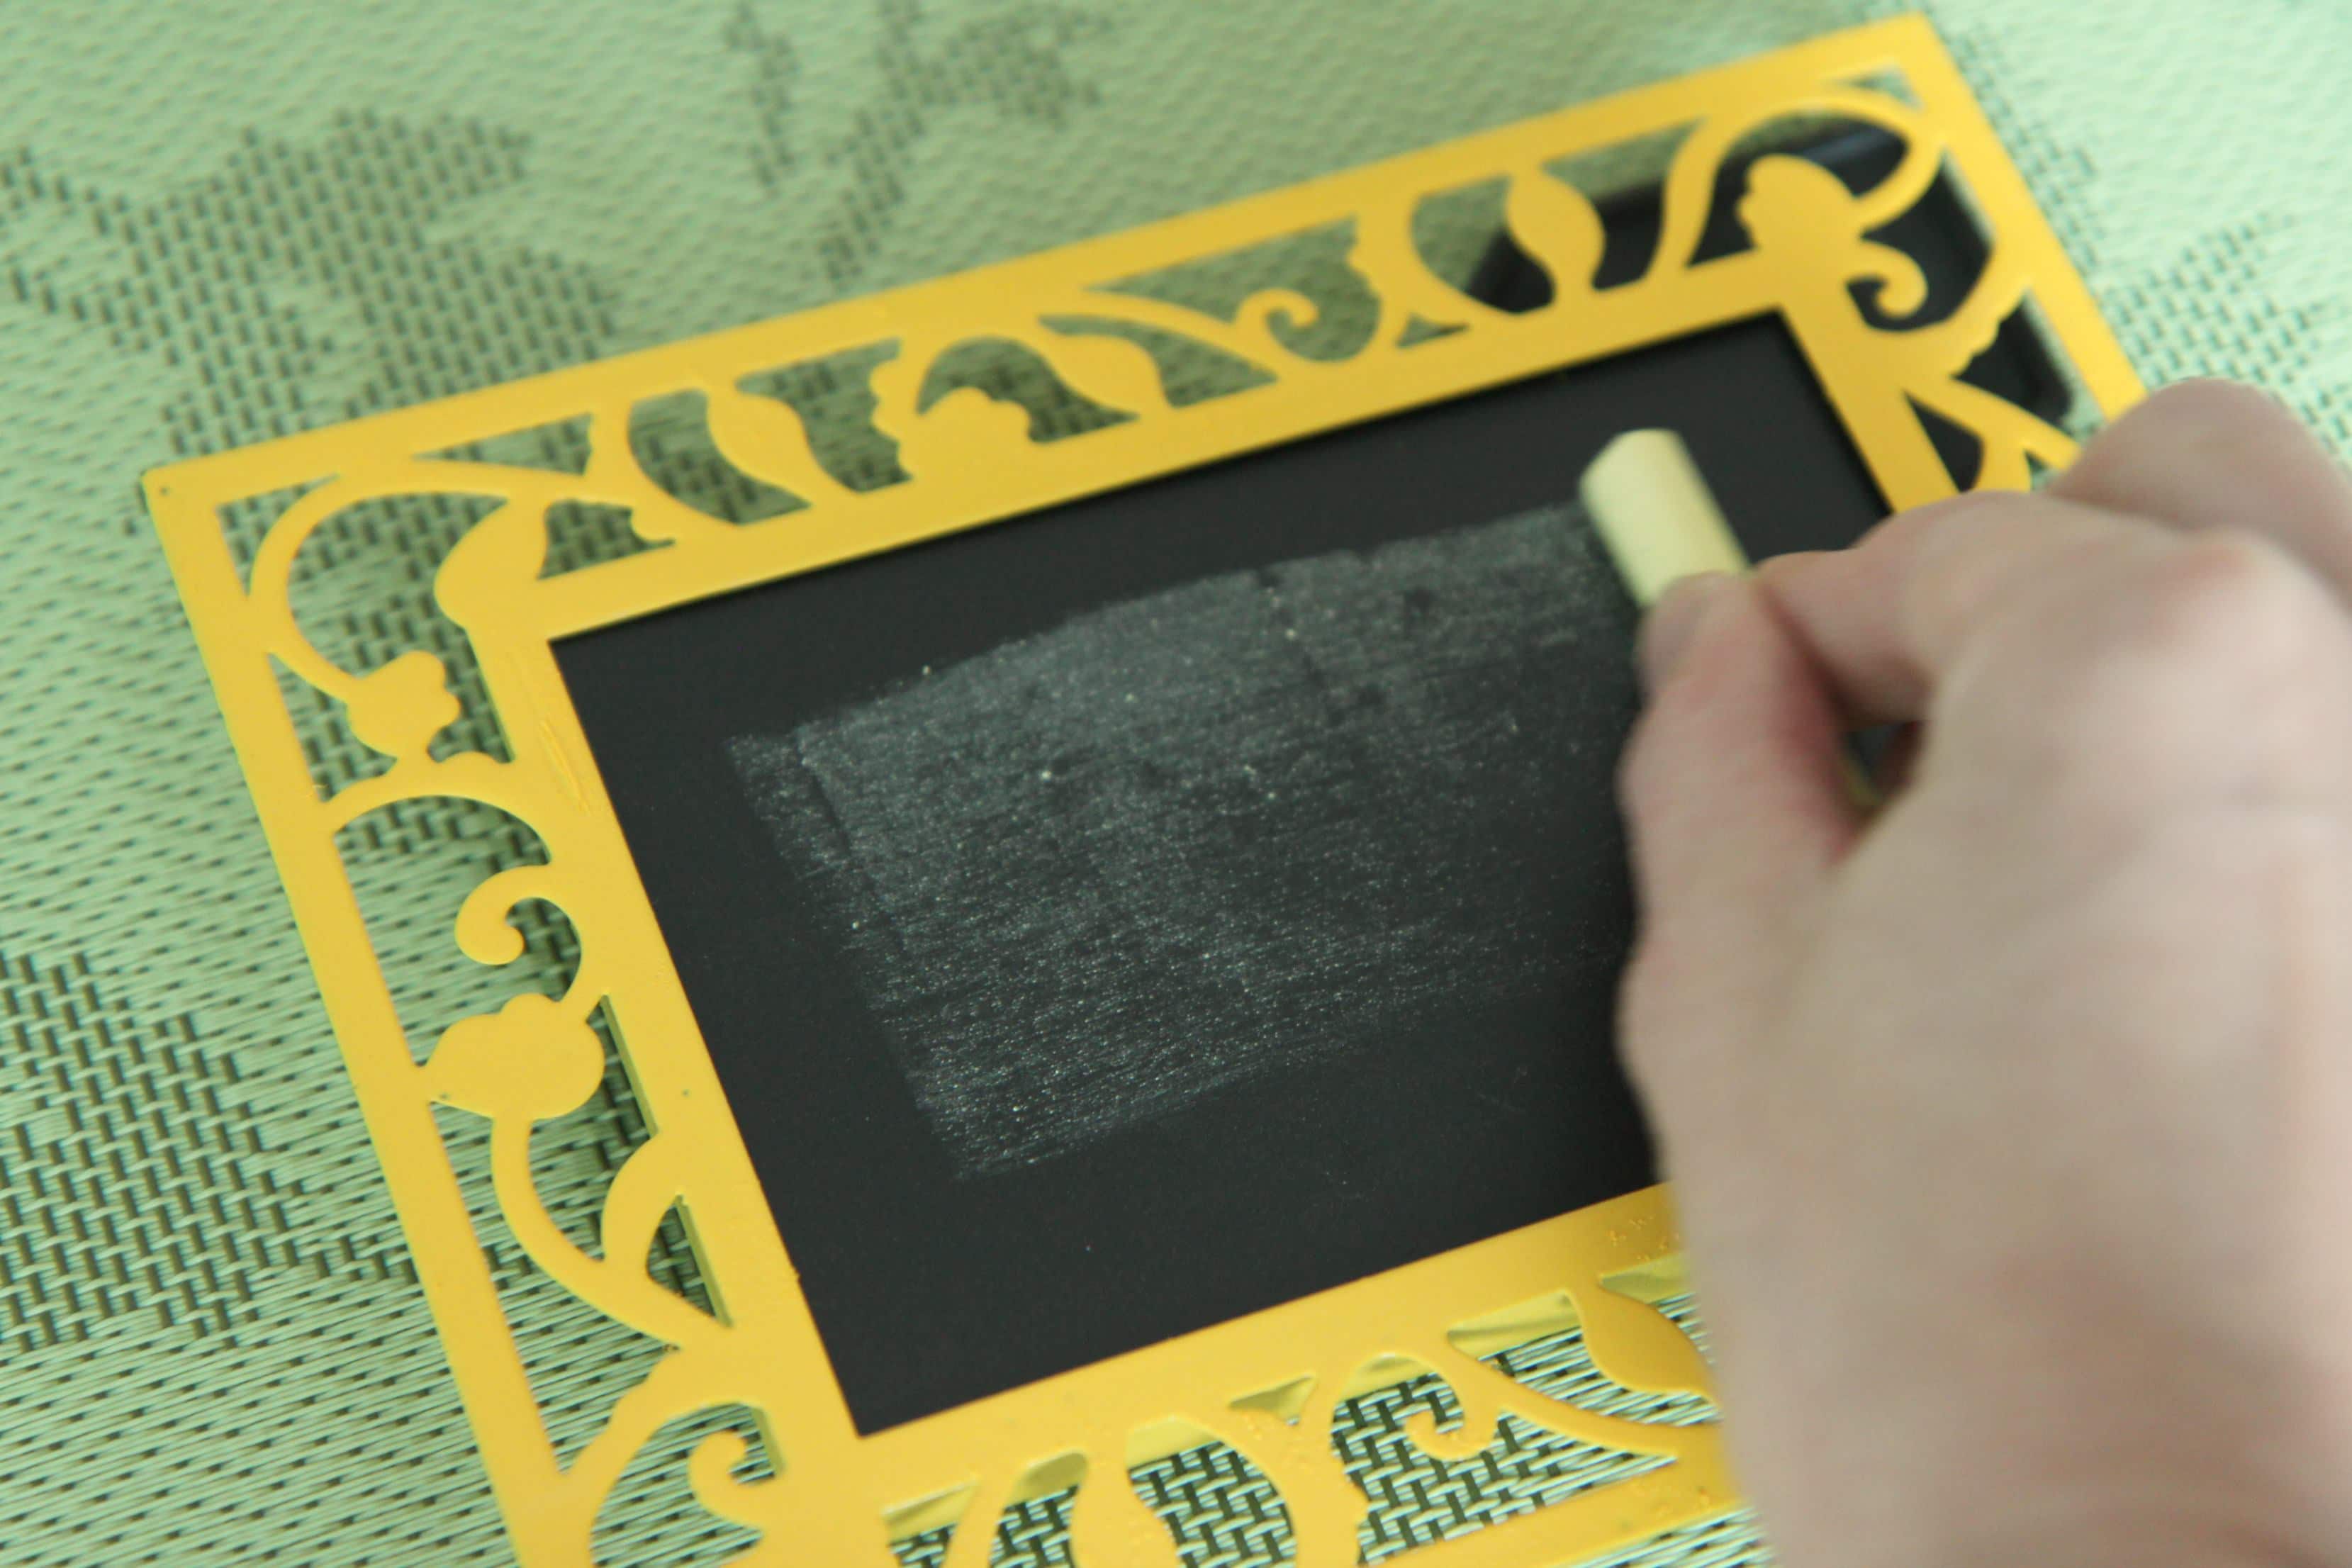
Rub a piece of chalk from side to side and then up and down to prepare your chalkboard surface. Now it is ready for your food labeling at your next party, tailgating event, or holiday feast!

Showcase how you now write like a first grader because you no longer write anything and only type. Jealous?

Tomorrow I will share with you some of these yummy recipes that I have been working on for the tailgating season! In the meantime, happy crafting with this fun dollar store craft!

Pin It

Back From Vacation Cleaning & Organizing

Friday, August 10th, 2012

Our family has just returned from a trip to Gatlinburg for a special family reunion for my husband’s side of the family. We had the incredible opportunity to climb Clingmans Dome with Ryan’s grandma to check climbing this mountain off her bucket list for her 80th birthday. We climbed this mountain in honor of his grandfather who recently passed away from cancer as a symbol of his motto to, “live strong.”  It was a very special moment for us all and I am so proud of my two kids who RAN the entire mountain for their great grandma & grandpa. There are no words for this moment!

We are still in recovery mode from being gone for the week. Unfortunately, there were many projects awaiting me upon my return. This week on the Kenmore Genius Blog you will find me sharing a few of the strategies I am working on to get my home back on track before the kids head back to school. Be sure to read this post for strategies on back from vacation cleaning and organizing.

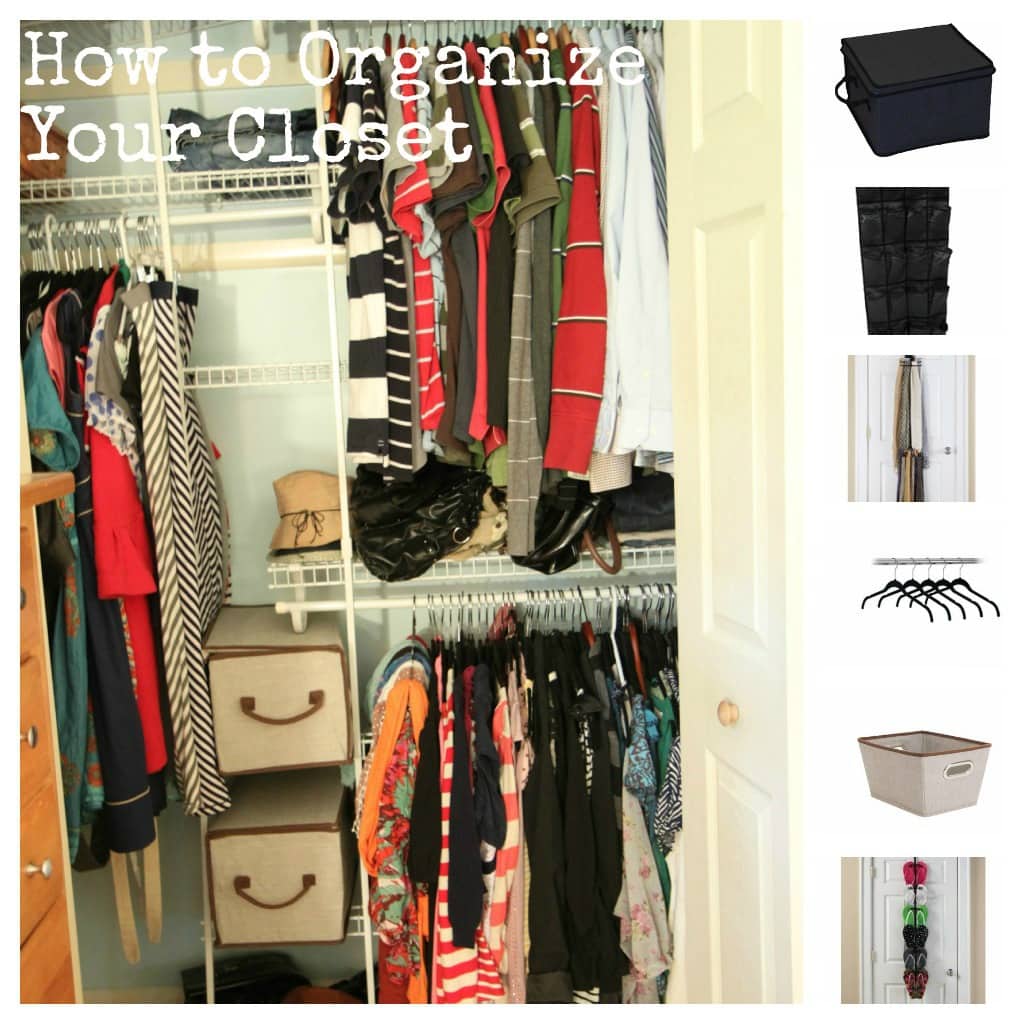
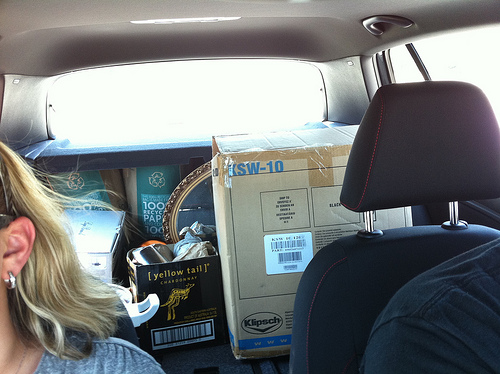
I am also sharing my tips and strategies for organizing my closets this week! My car is fully loaded for a trip to Goodwill to donate items from our closet. It will be nice to start the Fall with a freshly organized space.


Pin It

Tips & Tools for Affordably Organizing Your Closet

Friday, August 10th, 2012

As we transition into Fall, now is a great time to evaluate what is in your closet and establish organization so you can begin preparing to add your fall wardrobes into your closet. Today I wanted to share with you some tips & strategies for reestablishing order in your closet and offer a few great organizing solutions from a store that just might surprise you.

I always lament that I don’t have a Container Store near me and I just know that if I had access to a store like that, my closets and drawers would look so much better. Who knew that Walmart offers great closet organizers and storage solutions for my cluttered life? Walmart gave me the chance to get my cluttered room organized and today I wanted to show you how I transformed my small disorganized closet into a thing of beauty.

Let’s start with a glance into my problem areas in my drawers and room. Perhaps, these are areas you are struggling with too!

Organize the Unmentionables-

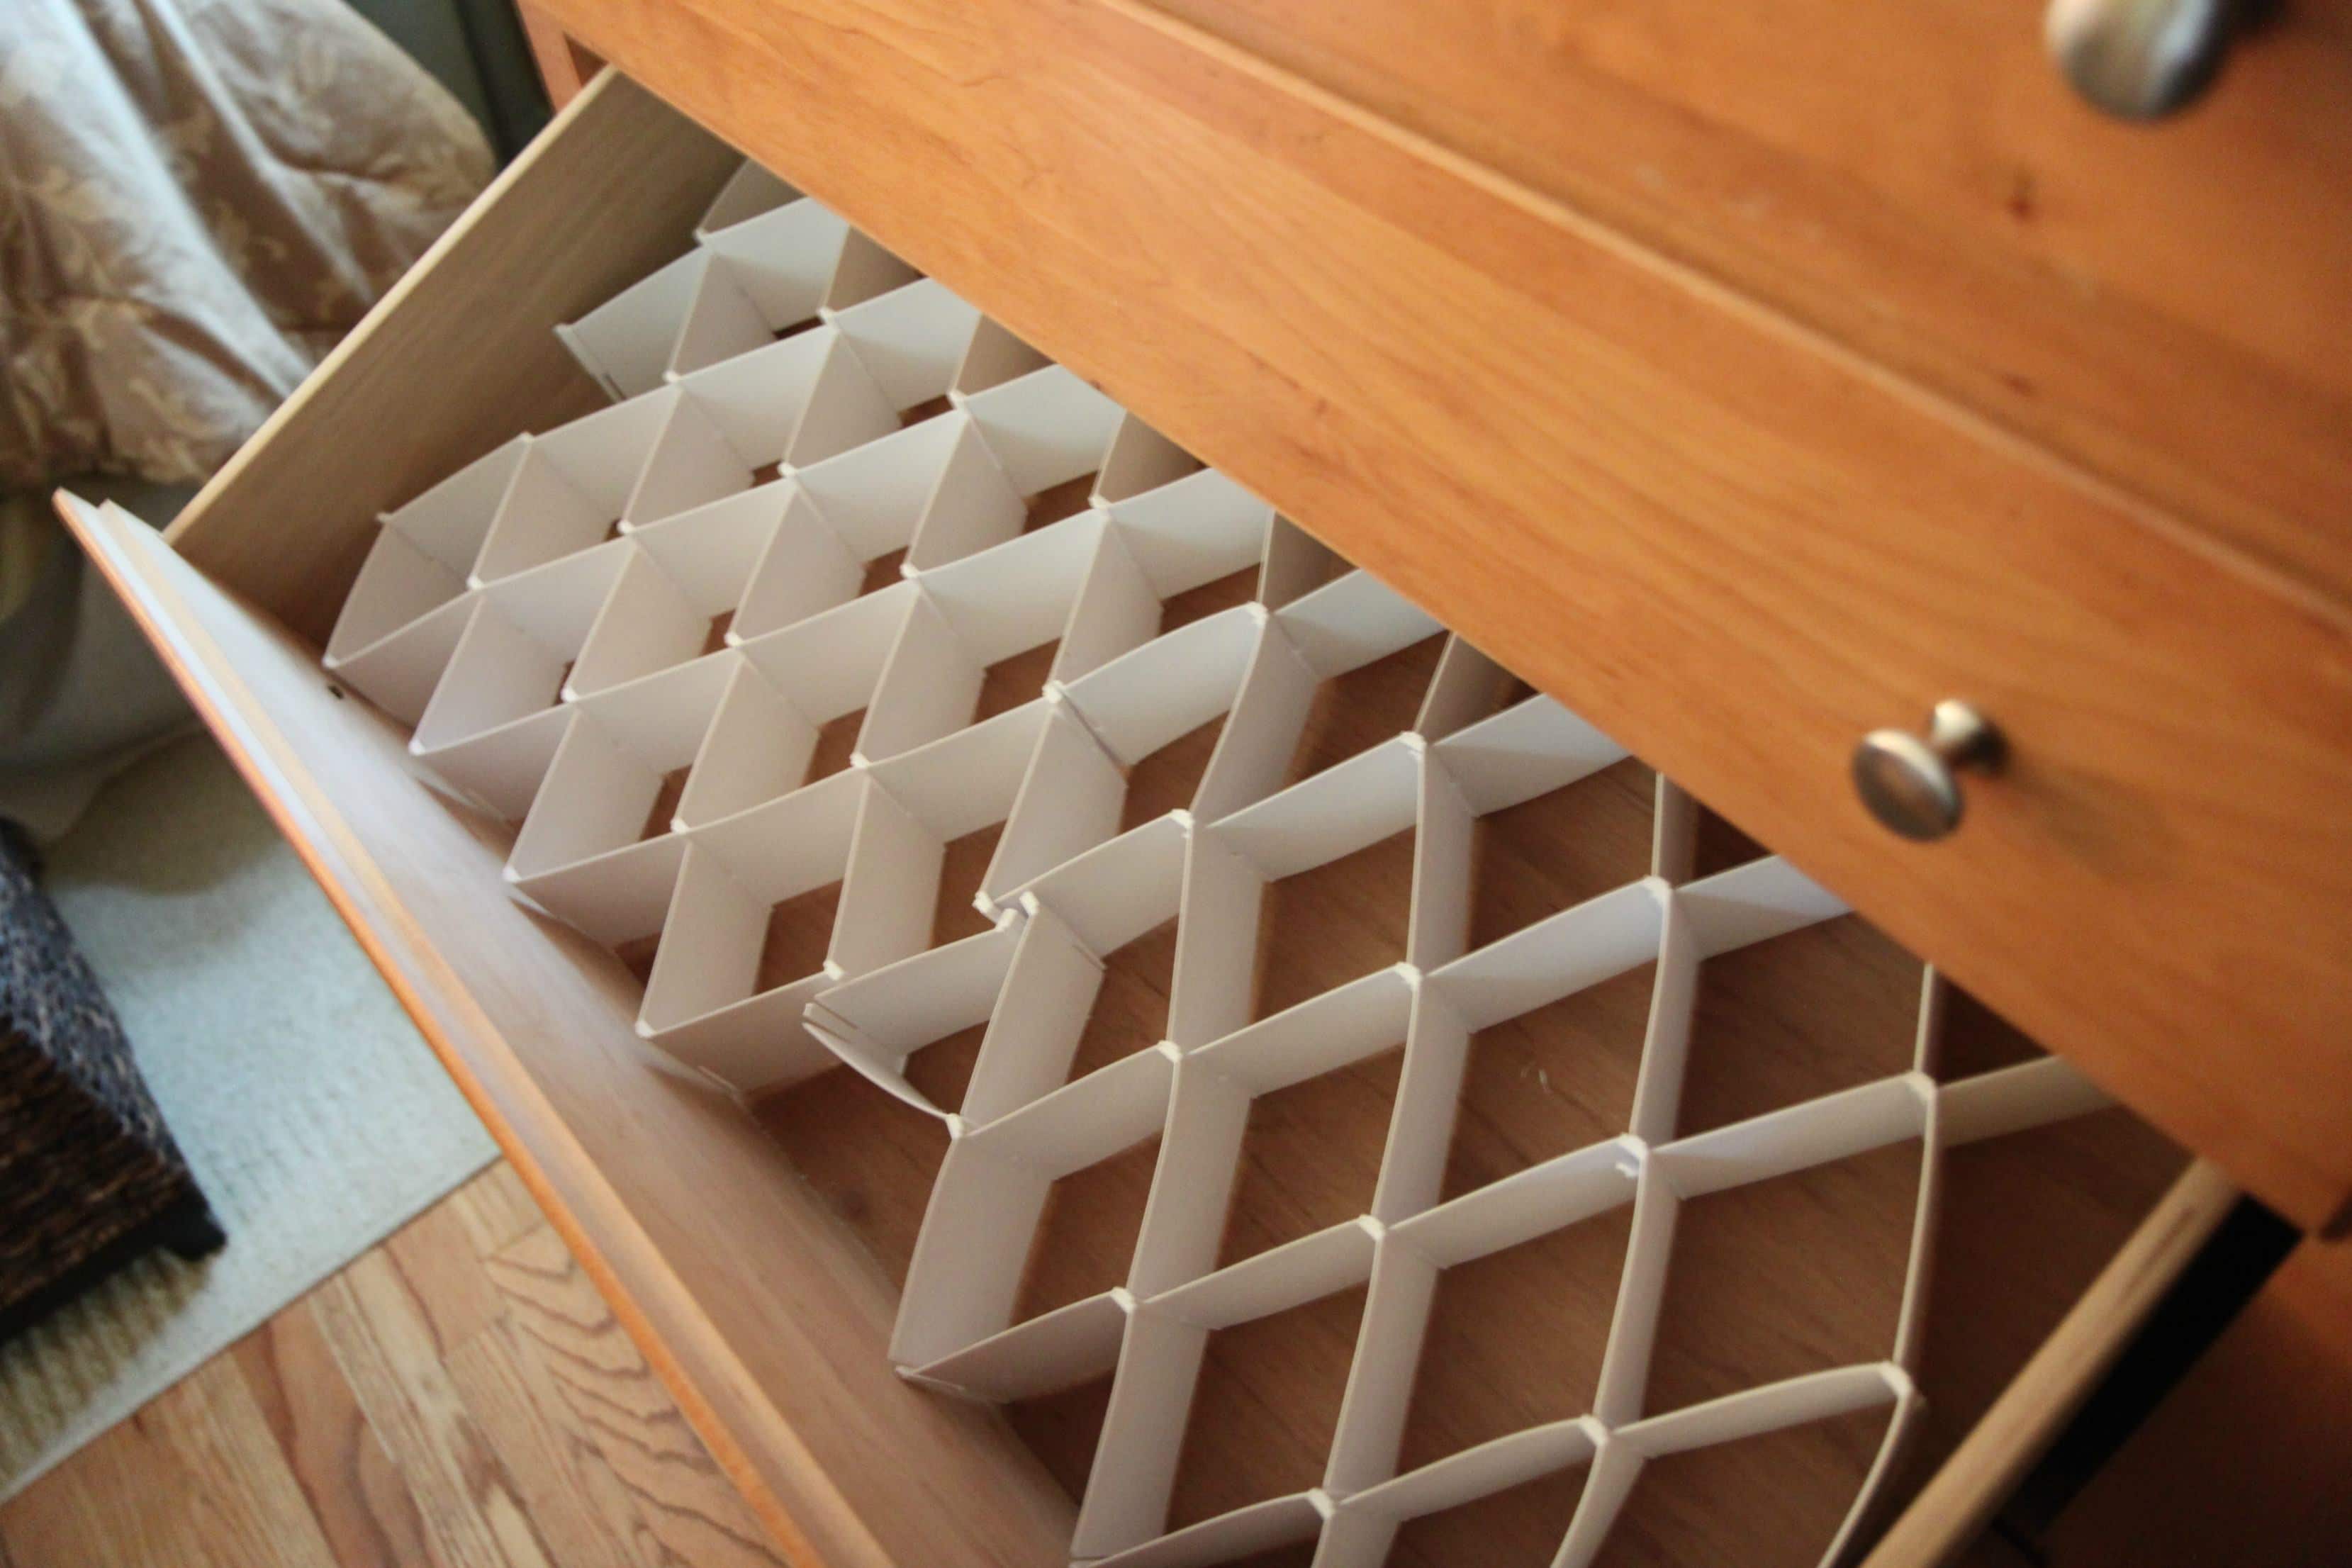
Let’s start with my drawer of unmentionables and my sock bin (pictured above) as an example of a cluttered area that could be improved upon. I can never find what I need because everything is in complete disorder. There are many items that don’t fit or don’t have a match, but I have been to busy to organize this space.

With a simple compartment drawer organizer, I now know exactly where everything is. I organized socks to the right and unmentionables to the left. It took only minutes to assemble and I now feel like I am shopping my very own store in this drawer. I repeated the same process with my kid’s drawers and my husband’s drawer.  It makes this drawer feel surprisingly spacious and, at a quick glance, I know exactly where everything is.

Organize the Scarf Collection-

I have a slight obsession with scarves. They are such a fun and inexpensive fashion accessory to add to all of my outfits. Unfortunately, my collection had gotten out of hand and I had scarves tucked into my sock bins, draped over shelves in our closet and draped over hangers. I couldn’t find the accessories I needed and had run out of room in our closet for more baskets.

With one over rod scarf organizer, I was able to to put my scarf collection all in one place and have everything organized the way that I wanted it. This same simple organizing solution would be perfect for your tights or for a tie collection for men.

Maximize Your Space-

Since we have a small closet, it is always a challenge to make this space functional and to keep our wardrobes pared down so we have enough space to move everything around. Switching the types of hangers you use can be a quick and easy solution to double or triple the space in your closet. These bulky wooden hangers were hindering my husband from hanging up his entire wardrobe and I kept finding items draped over other shelves or piled on the floor of the closet.

Isn’t it incredible how the hanger switch out can make all the difference with your space? I am a big believer that these hangers can instantly transform closets and make things spacious within minutes!

  Get Vertical With Storage-

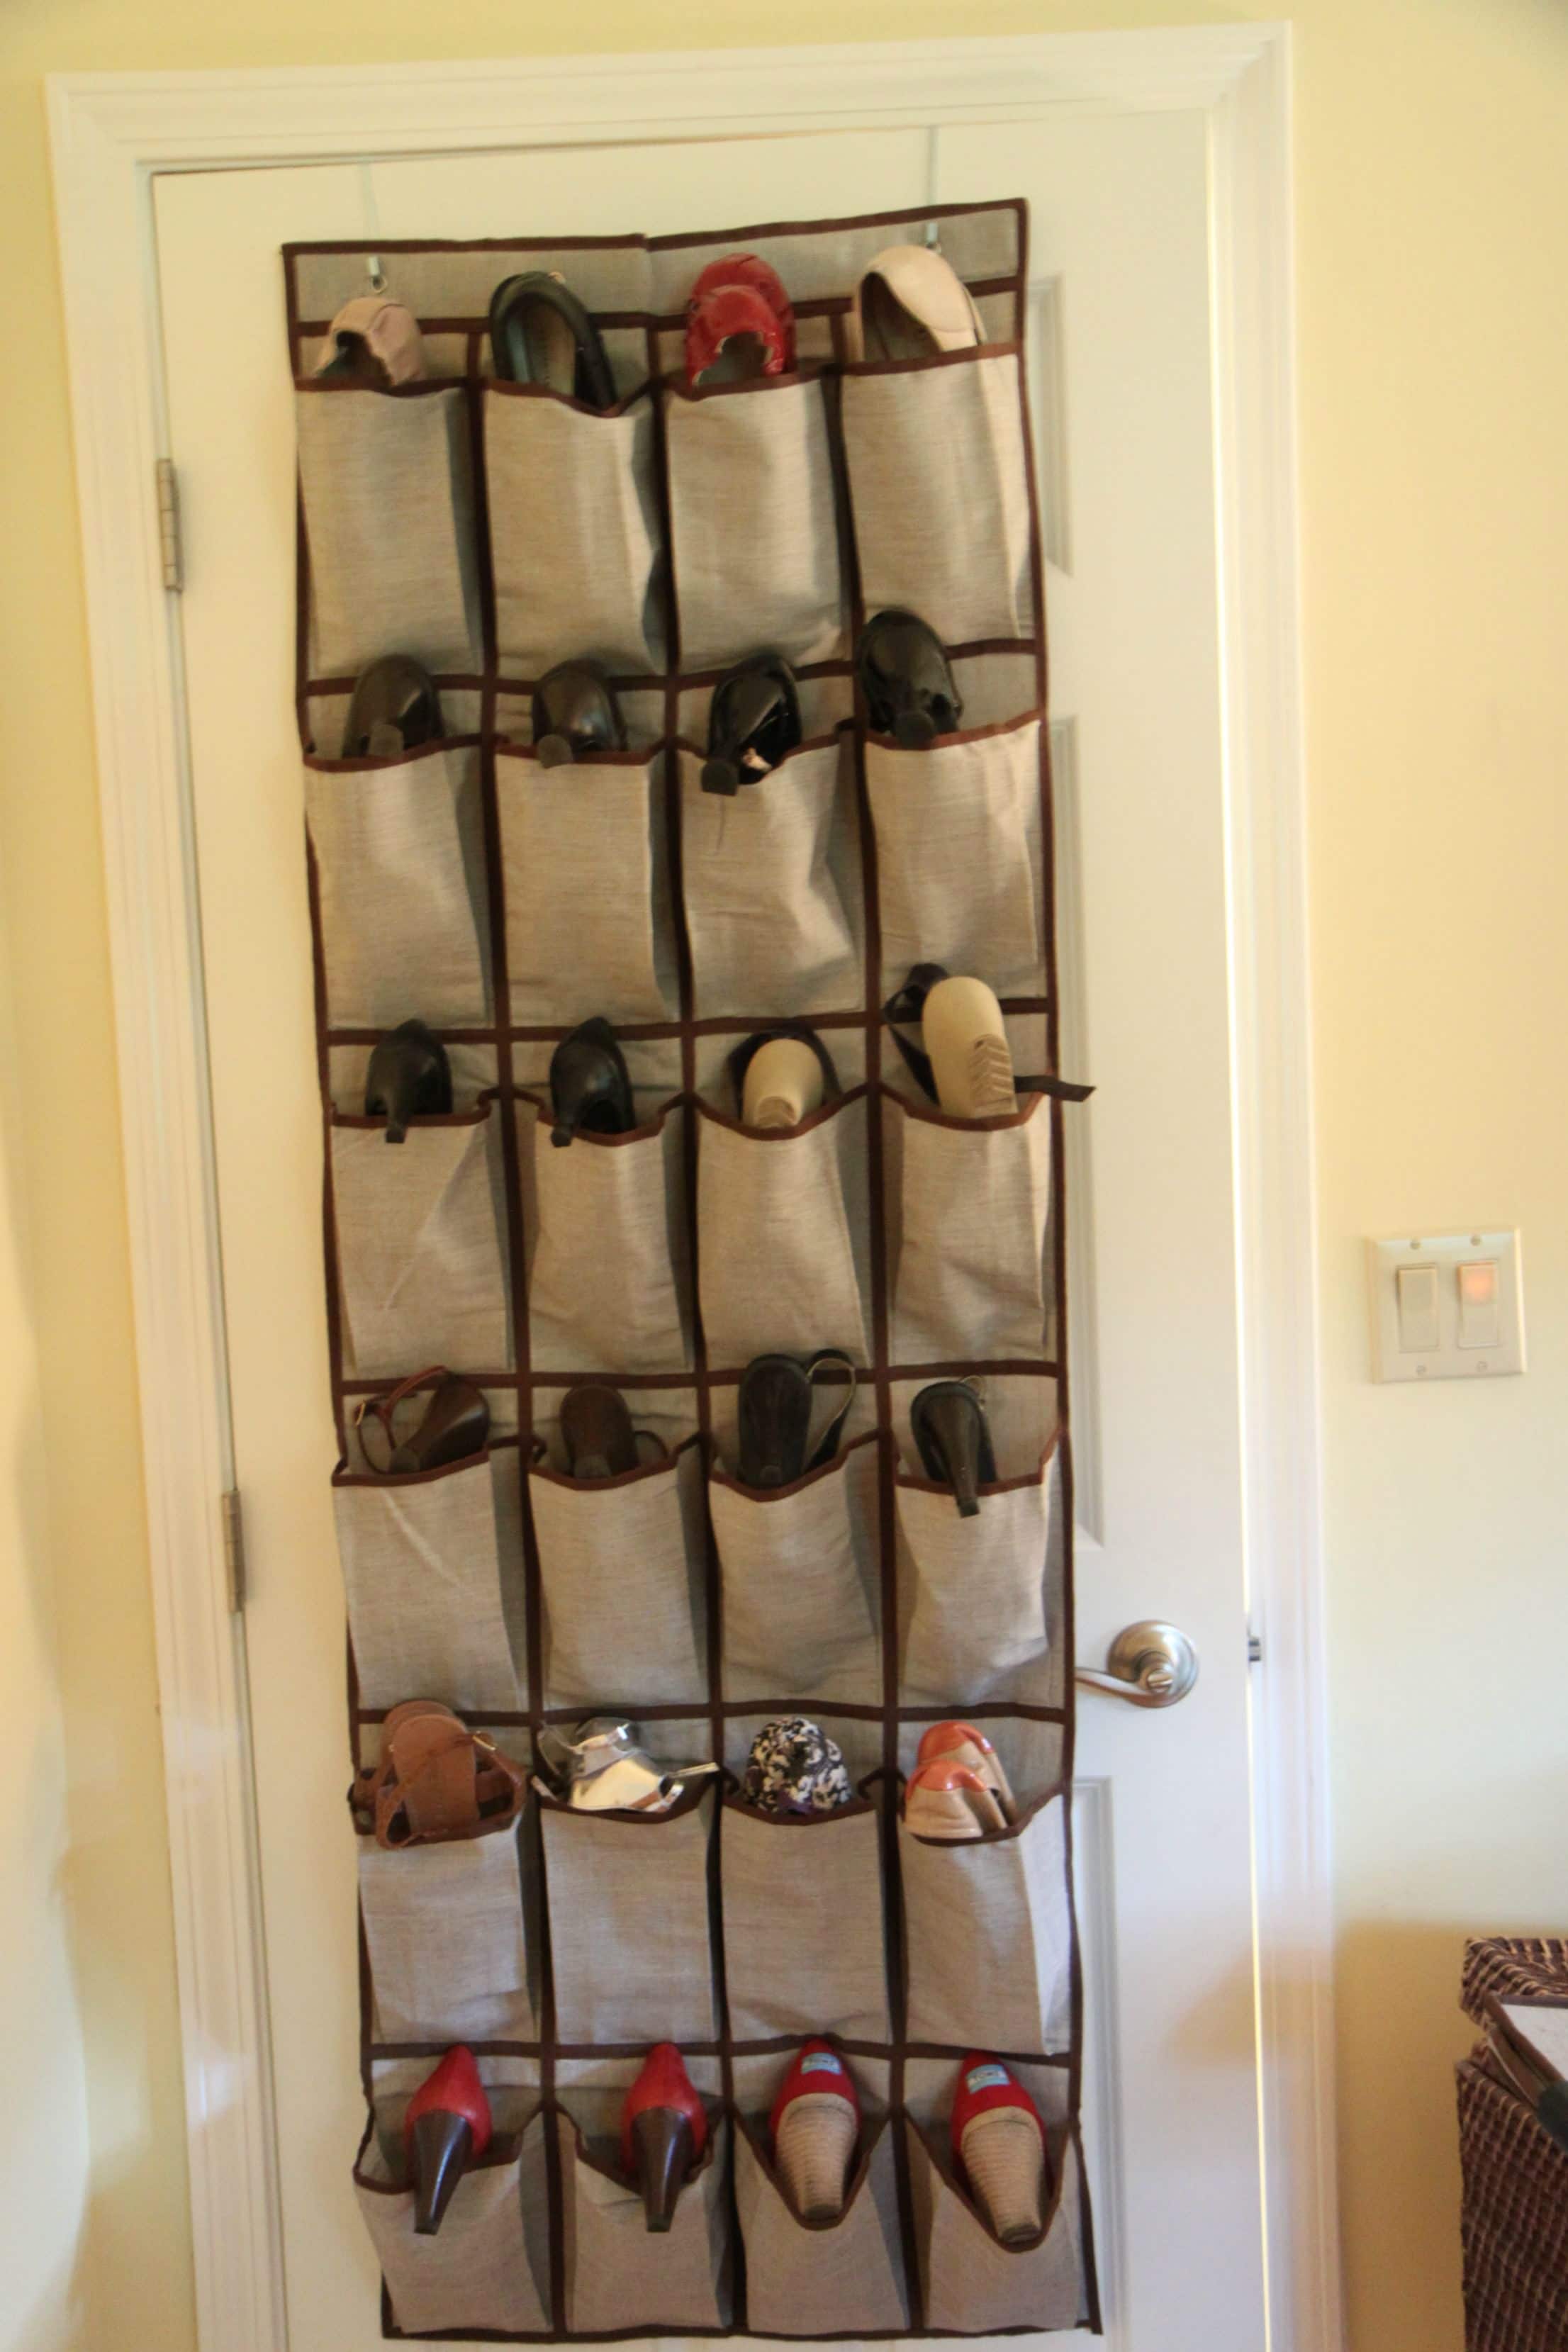
You might be surprised to know that this is my entire shoe collection. Can you believe my husband says that I don’t need anymore shoes? Me either! I had a lidded basket in our room where I would throw all of my shoes. They were definitely out of sight, but it was difficult to find what I needed when I had somewhere to be.

Over-the-door shoe organizers have come a long way and I absolutely love this organizer  for my shoe storage. The pockets were generous enough that ballet flats and sandals could slide into one compartment, allowing me to fit my entire shoe collection on the back of our door. Vertical storage makes sense, especially when you want to free up space on your closet floors!

Make Sock Storage Make Sense-

A long time ago, I purchased these organizers for our socks. Don’t they look organized? These bins drive me crazy and are not ideal storage for socks, but we had run out of drawer space in our dresser.  By whittling my sock collection down, I was able to put everything in the drawer organizer. My husband has an extensive sock collection though and many days are spent trying to find the perfect socks for the perfect occasion.

I divided my husband’s sock collection into two piles (whites and darks) and then put them in these handy collapsible covered storage bins. They were the perfect solution and got our sock collection off of the floor so that we had space for shoe storage.

Create Hidden Storage-

Other items like belts, ties, hats, and even flip flops can take up valuable storage space. Our collections of said items, may have been all over our closet floor and not easily found. With my new shoe organizer though, my door was already in use.

The backs of my bi-fold doors to my closet were the perfect spot to hide additional storage. One side now houses my belt collection. The other side now hides hat storage for my husband. Our flip flops are neatly organized and hanging by our back door outside. I would have never thought to use the backs of these doors for anything, but this was the perfect spot for these items!

What a transformation from where we started. This is my closet after sorting and organizing our space.  I feel like I got a brand new closet and I don’t have to be embarrassed about this space anymore.

Looking to organize your closet space? Here are a few of my favorite tools from Walmart that I used to organize my space! Visit your own store or shop online to find some of these organizing solutions for your own closet!

Canopy Velvet Hangers

Canopy Storage Bins (Small)

Canopy Collection Lidded Boxes (Small)

Mainstay Scarf & Tie Organizer (used for belts)

Honey Can Do 32 Compartment Drawer Organizer (set of two)

Household Essentials Revolving Shoe Tree

Mainstays Organize & Store Baseball Caps

Mainstays Flip Flop & Sandal Organizer

Canopy Handwoven Willow Laundry Basket

Canopy 3 Bin Sorter

Canopy Medium Storage Container

Mainstays Scarf Holder (Chrome)

Looking for more tips on closet organization? Be sure to visit this post for more ideas for organizing closets in your home along with a video on how to organize your closet in under 30 minutes!


I am a part of the Walmart Moms program, and Walmart has provided me with compensation for these posts. My participation is voluntary and opinions are always my own.

Pin It

DIY Salad Bar For Summer

Tuesday, June 12th, 2012

Healthy eating should always be a priority, but making it a priority in the summer seems to be more challenging because we seem to always be eating on the go. I decided to create an easy DIY salad bar that you can create on your grocery day and enjoy all week long. This DIY salad bar can be on hand in your fridge and I wanted to show off an easy way you can enjoy this DIY salad bar on the go too!

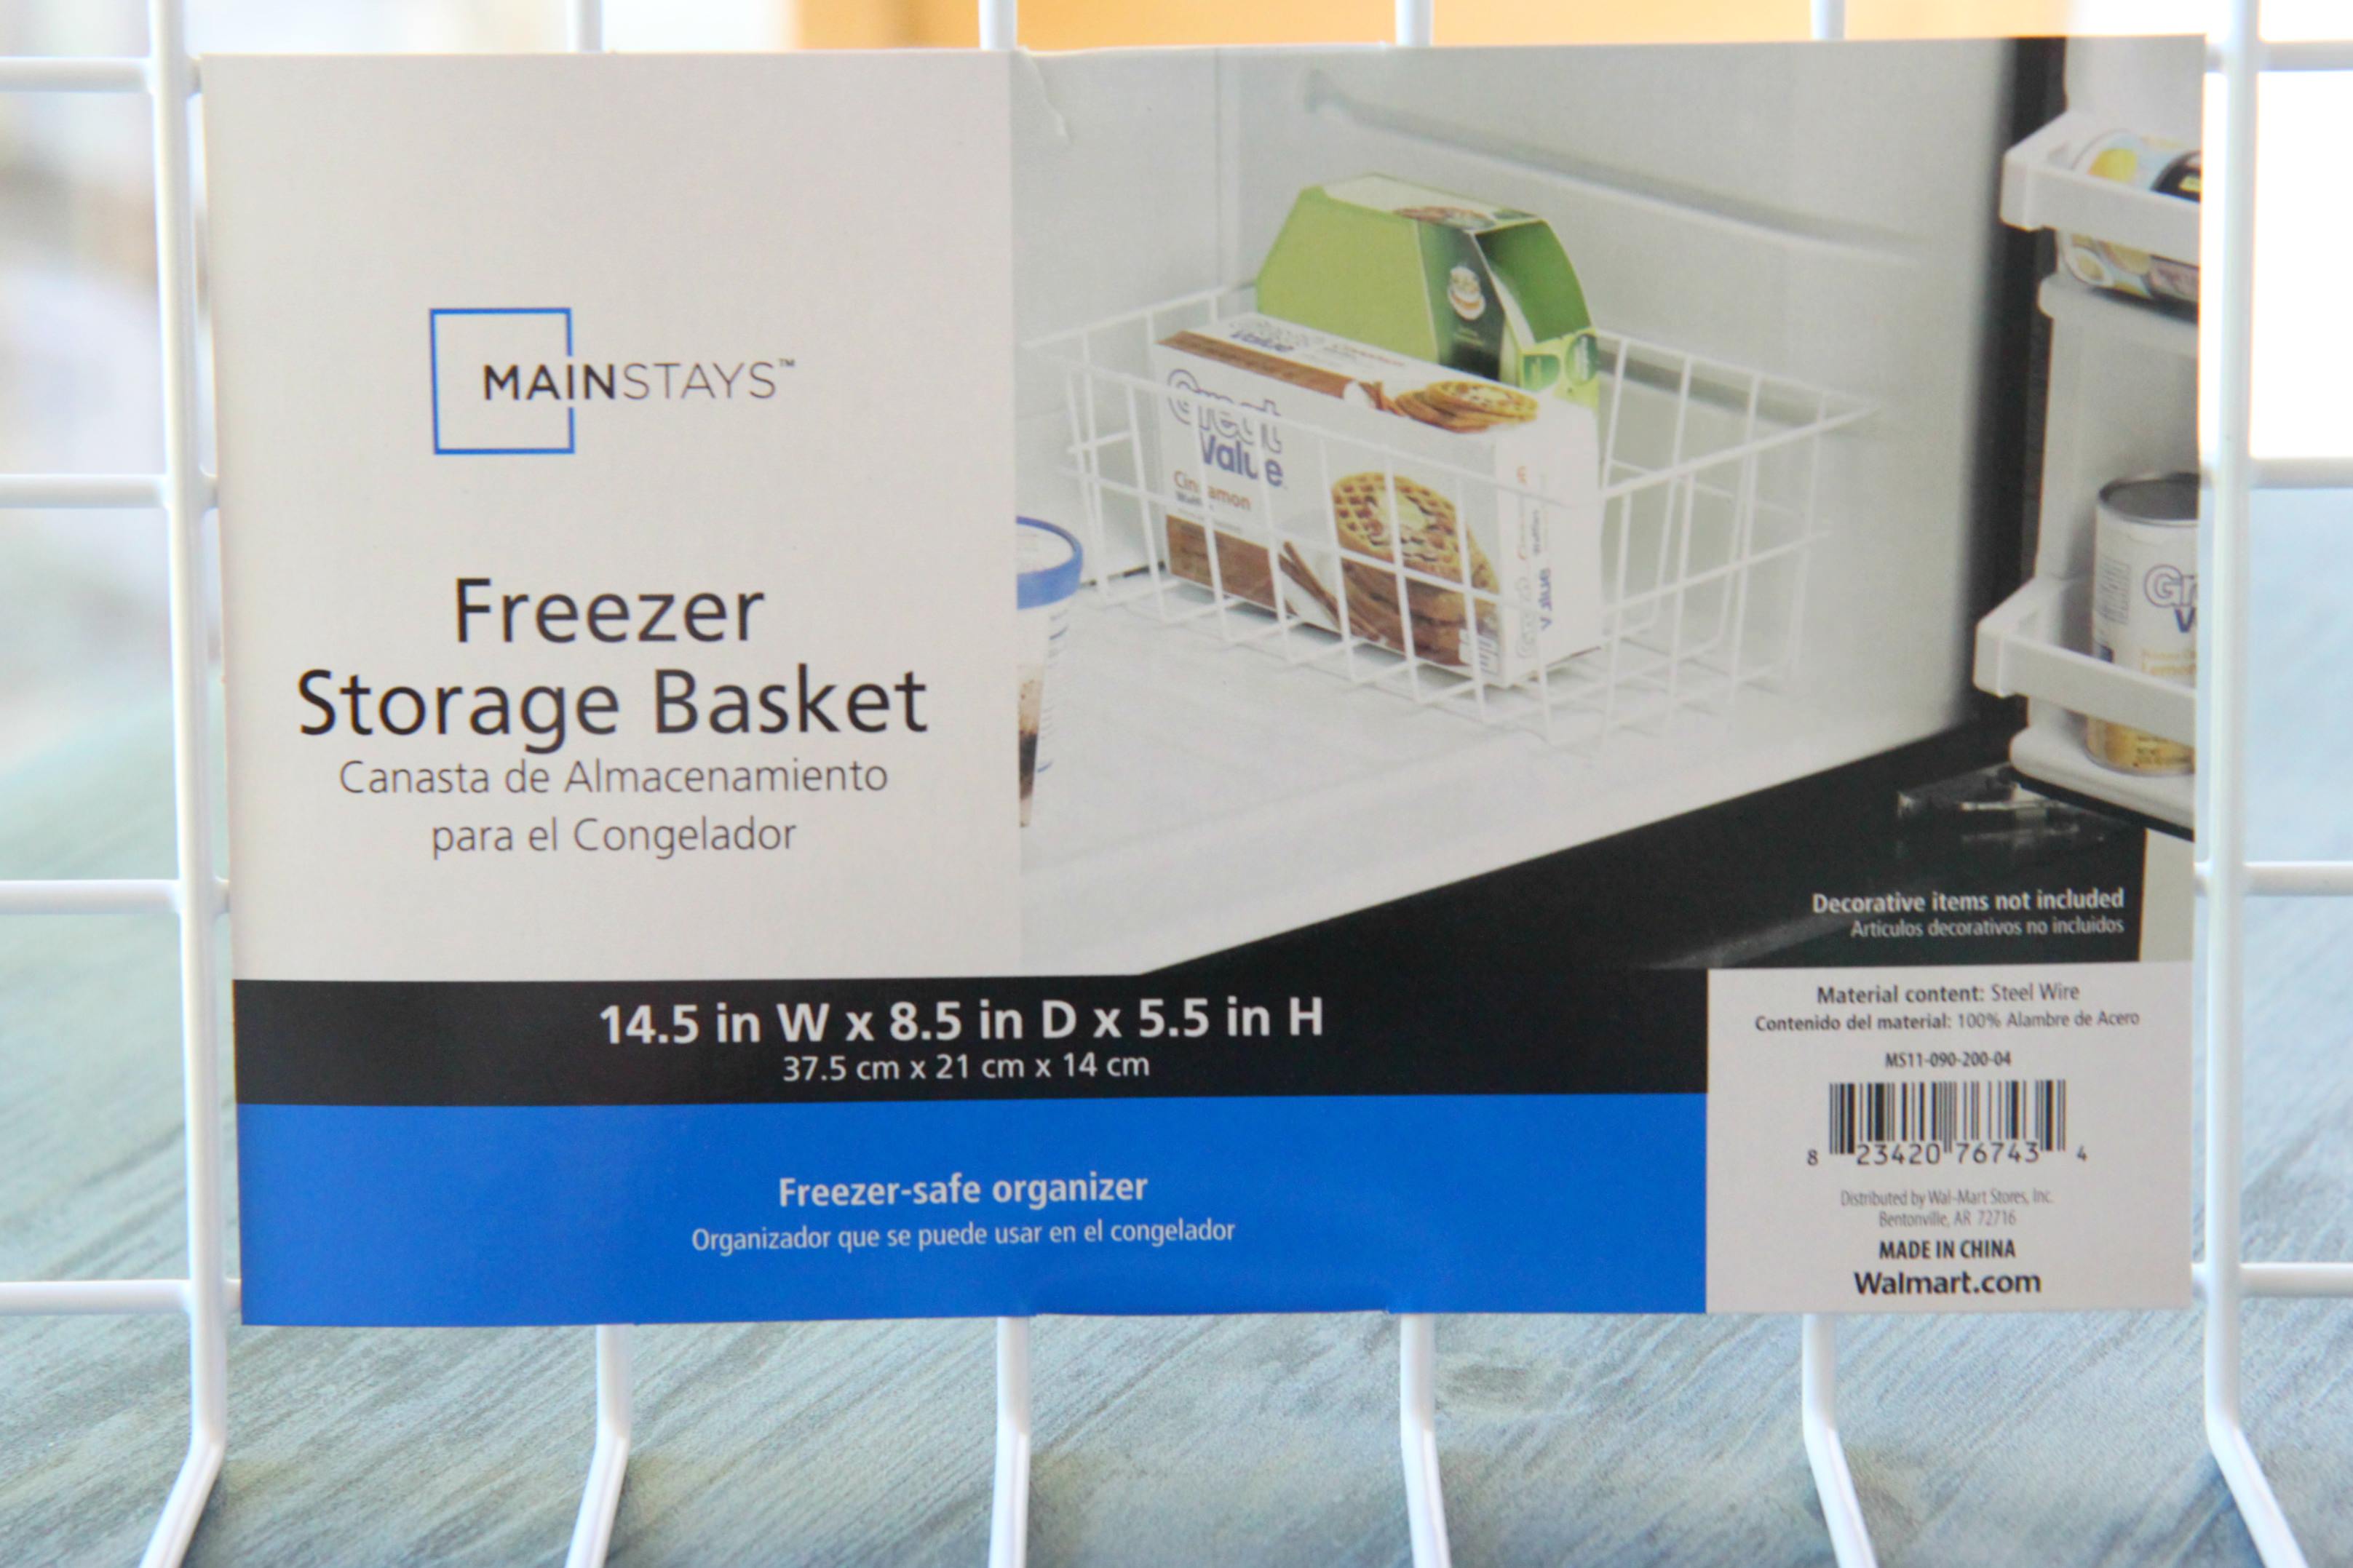
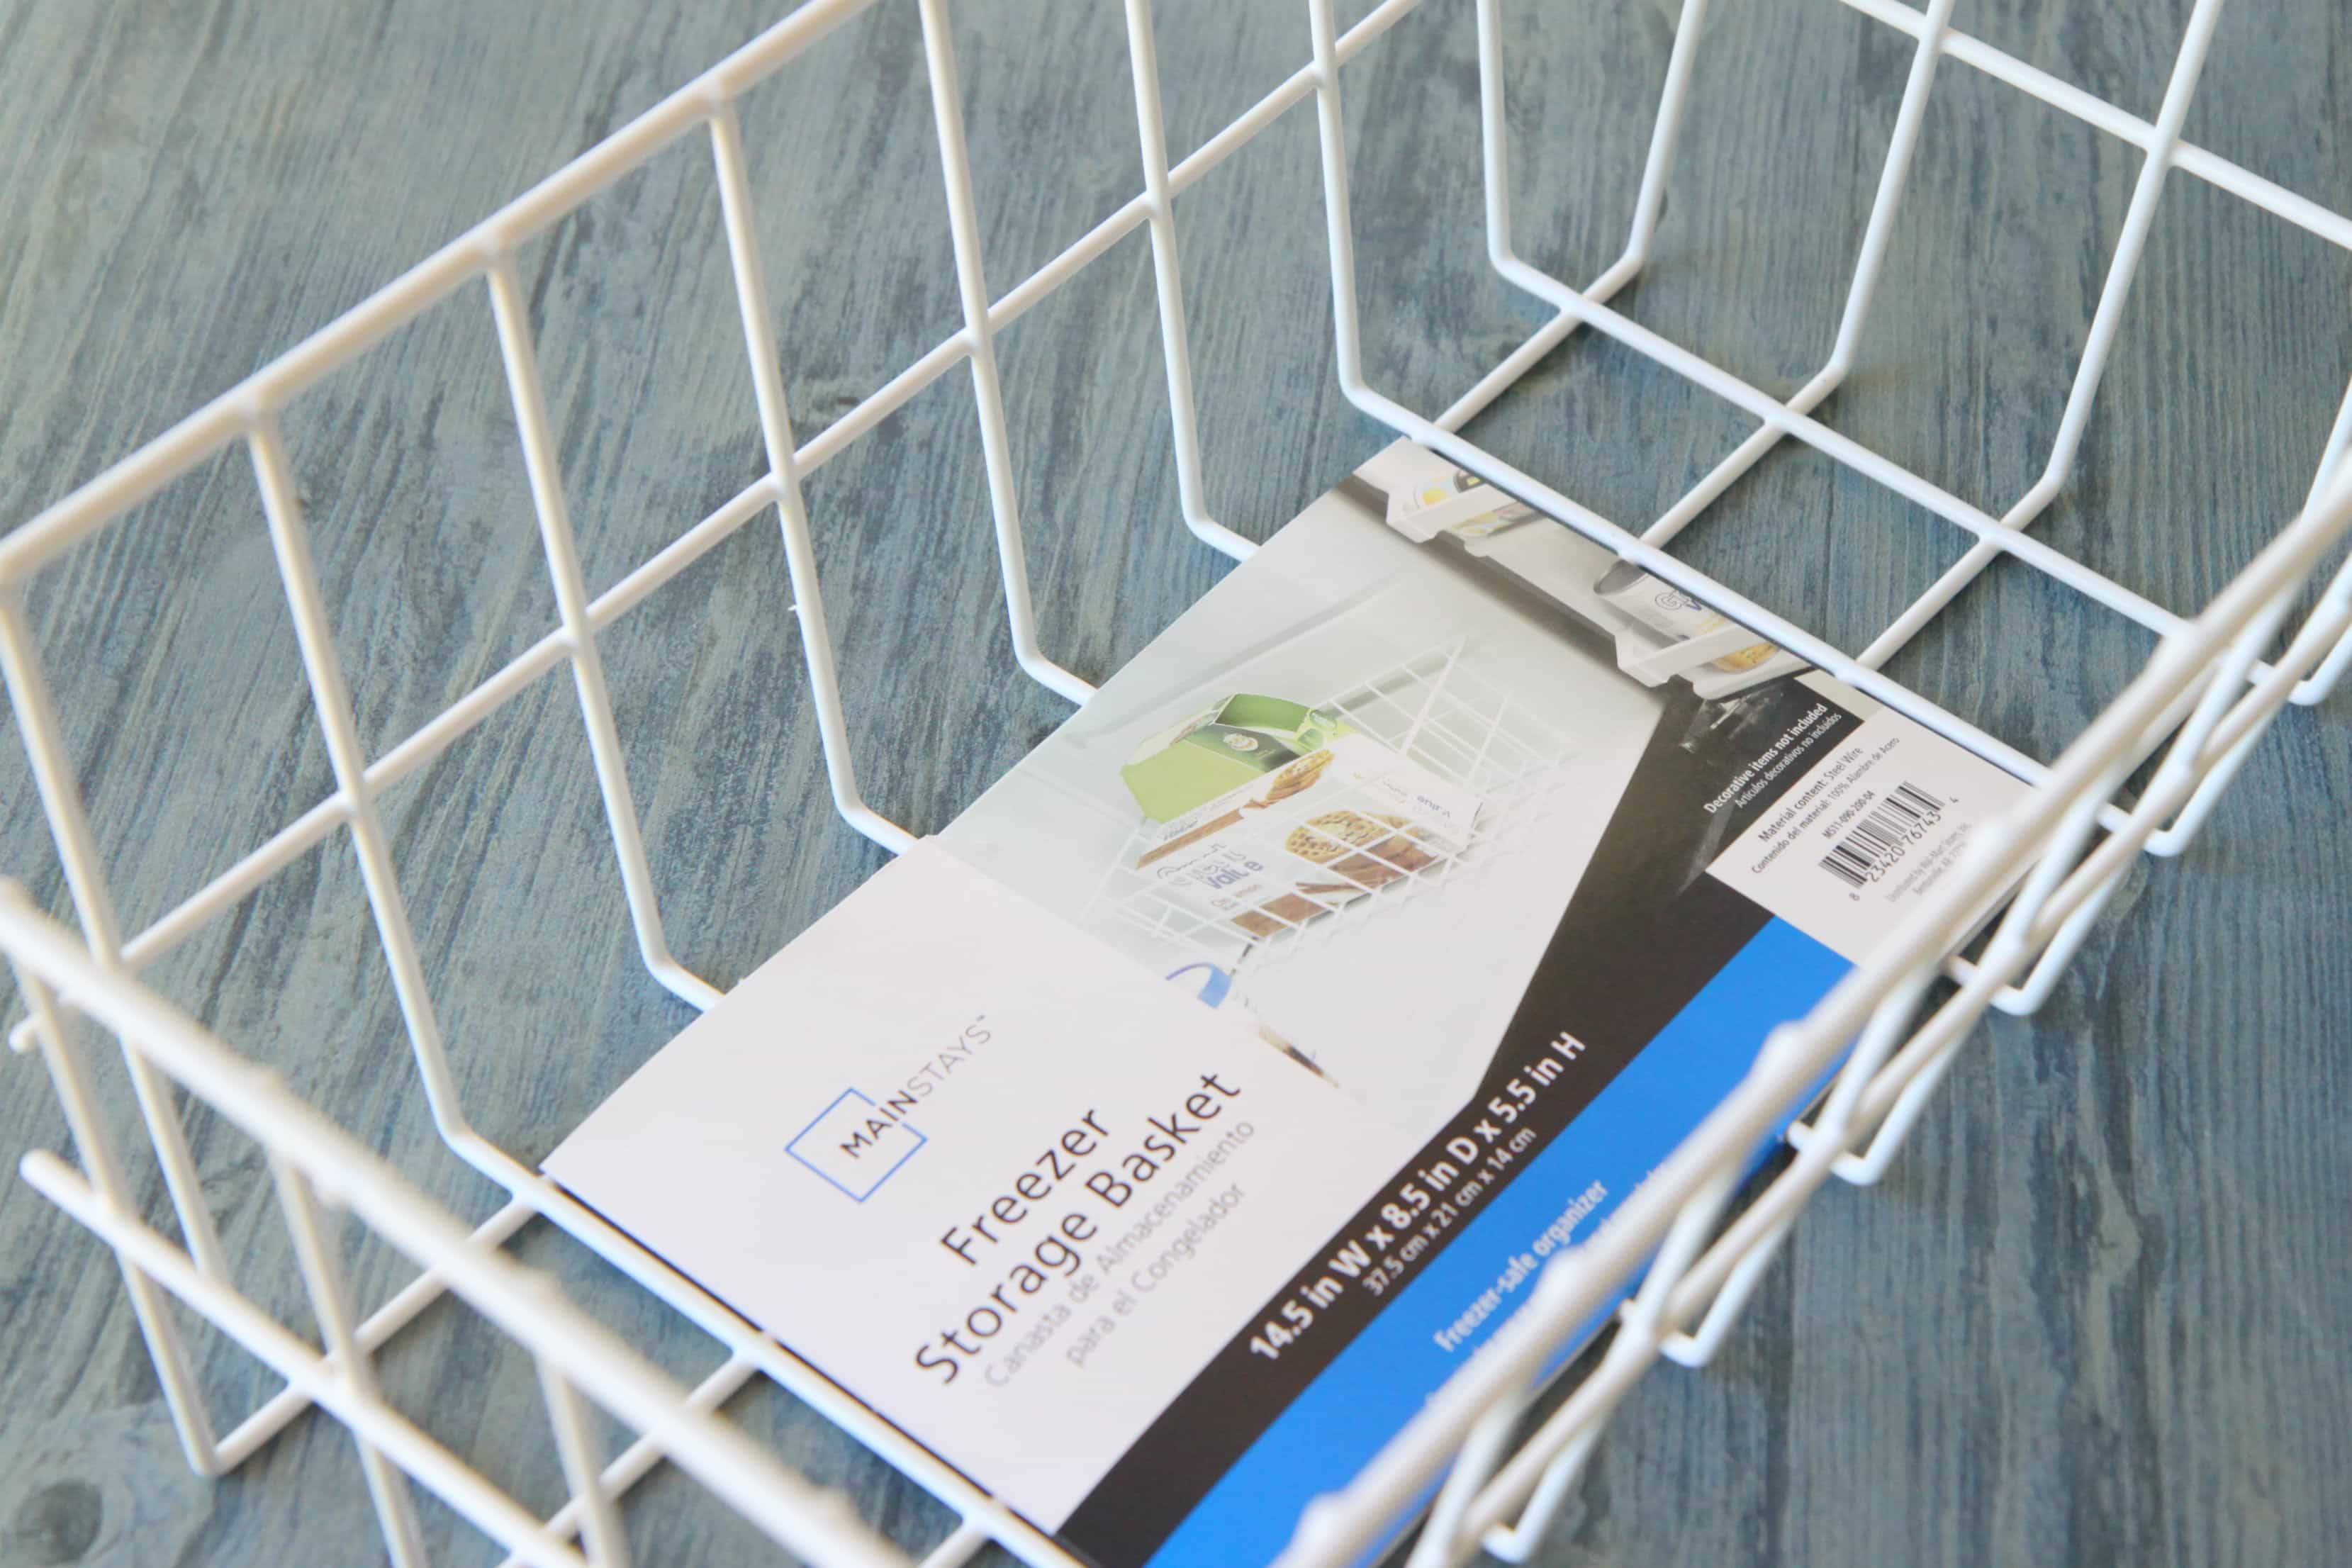
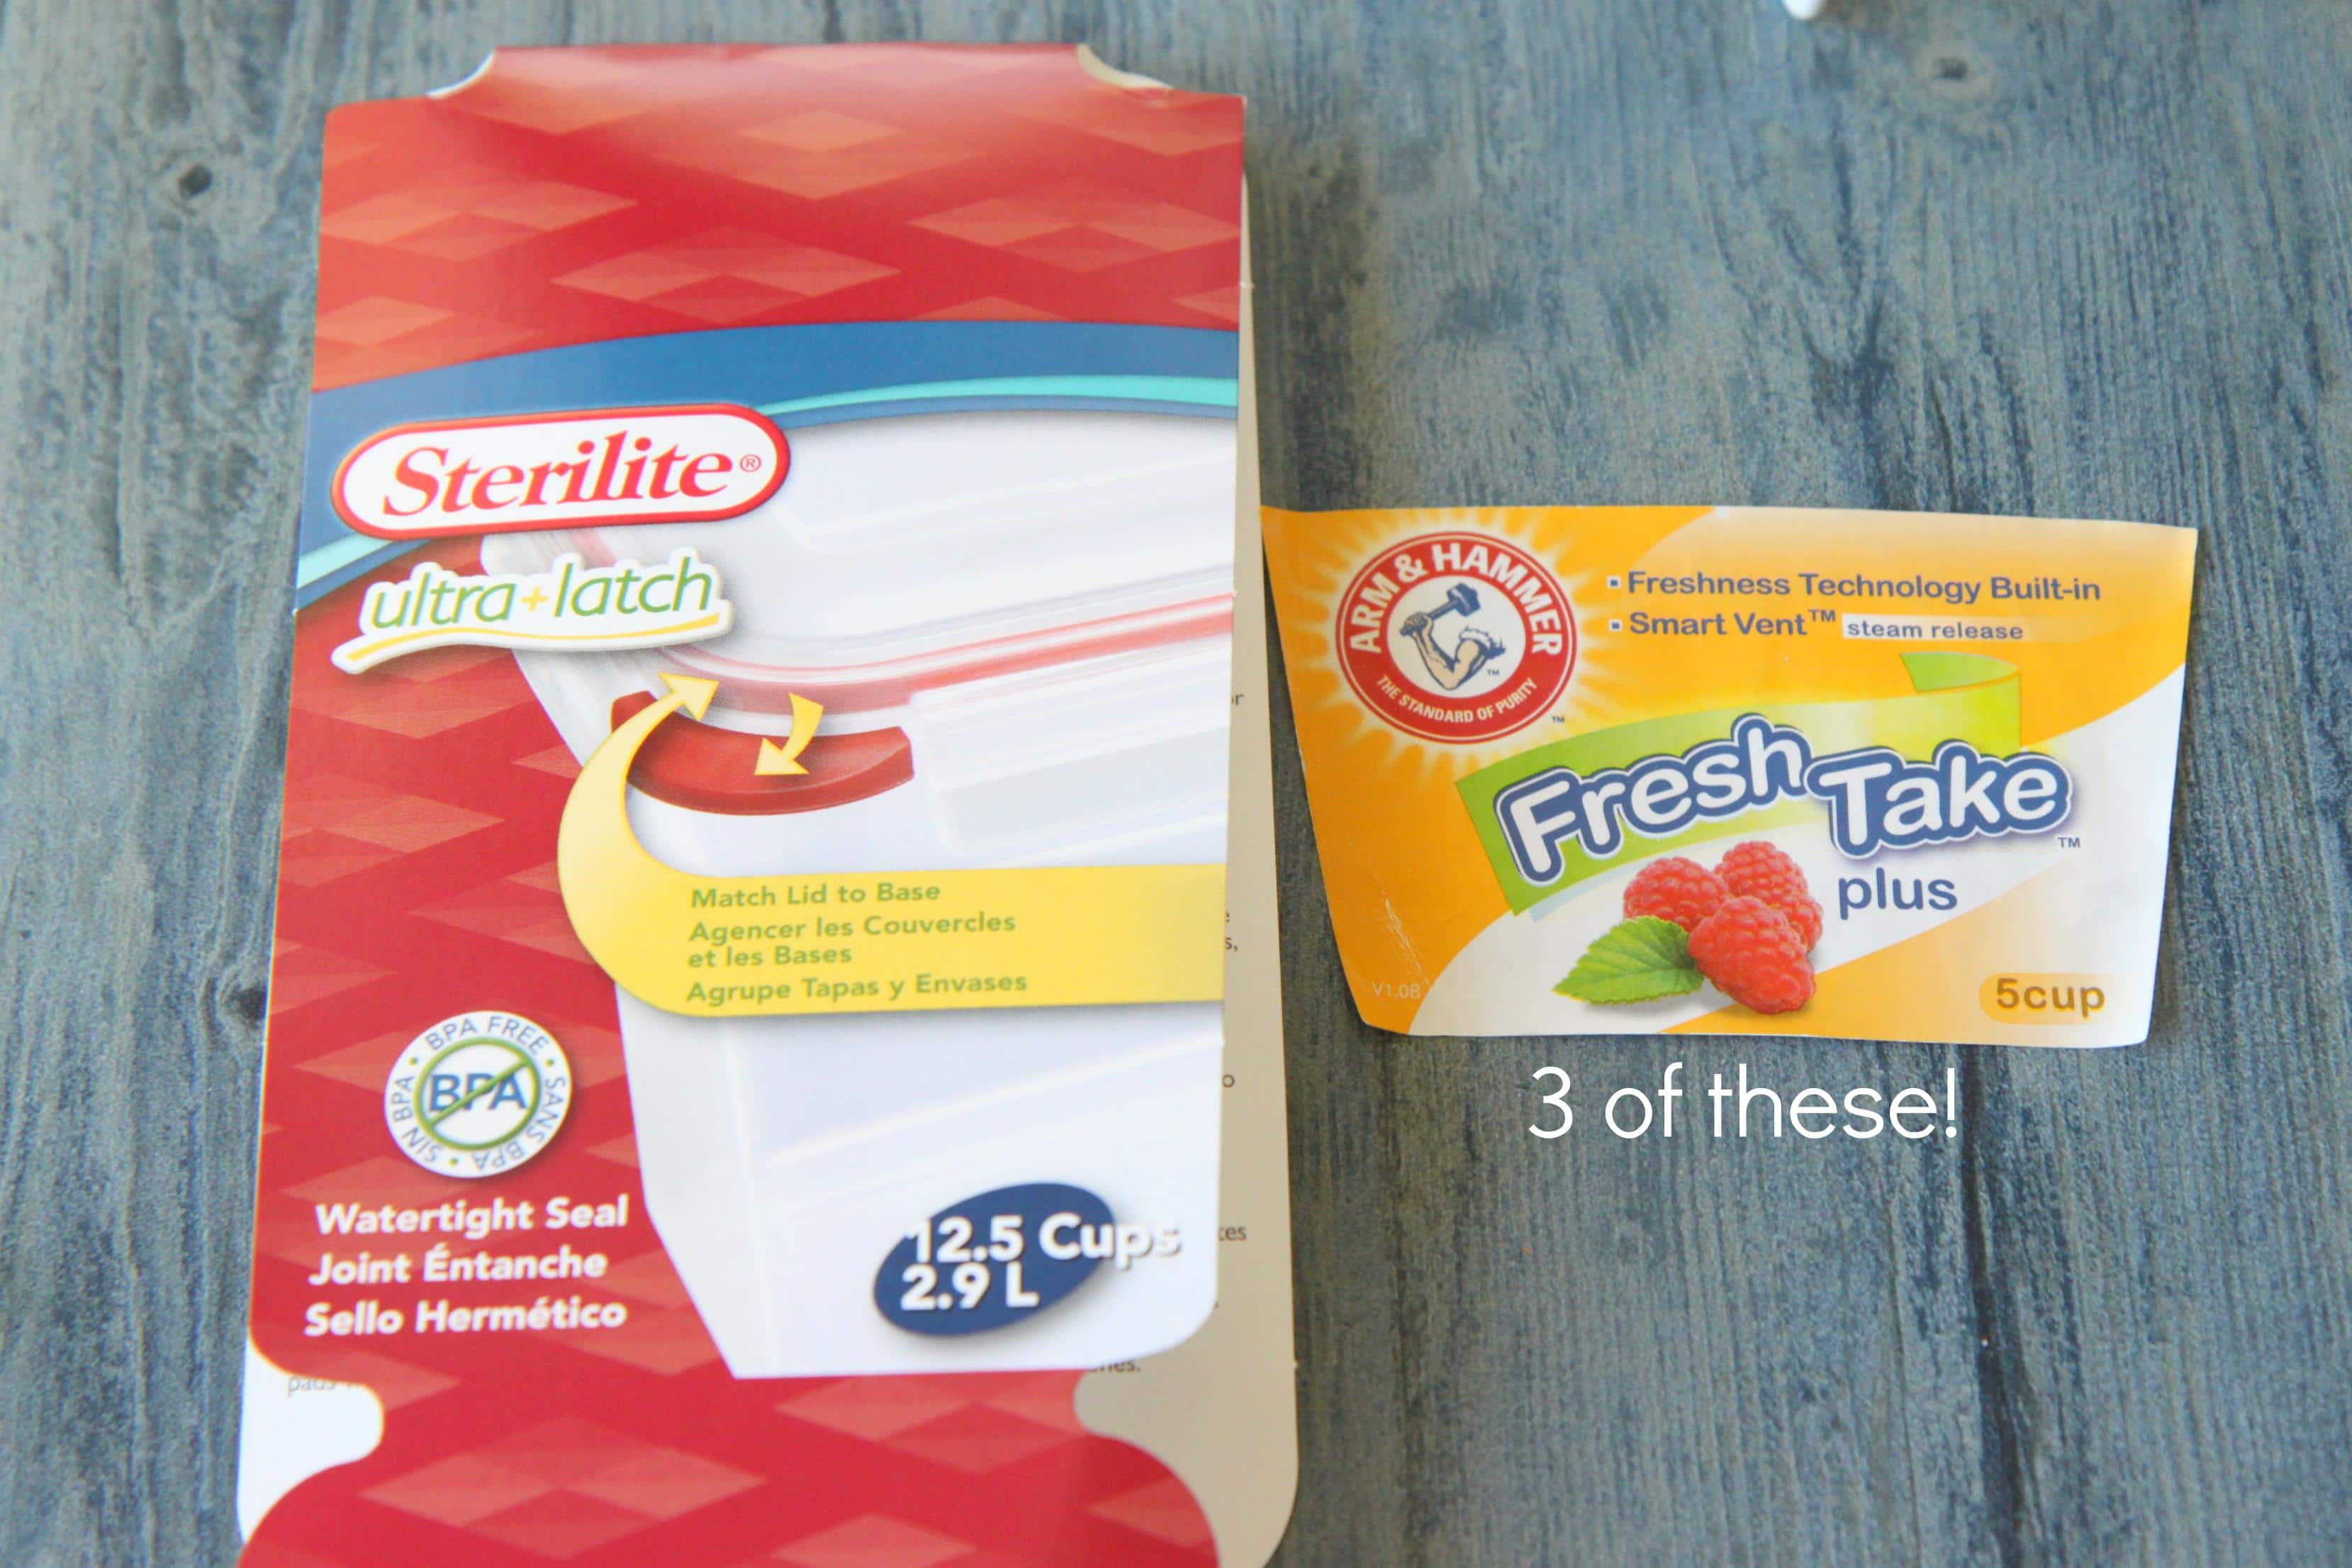
All of the supplies can be found at your local Walmart store. You will need a Freezer Storage Basket (found in the same aisle as the plastic containers in the housewares section of the store, $5.97), three Fresh Take Arm & Hammer 5 cup containers ($2.87), and 1 Sterlite Ultra Latch 12.5 cups container ($5.47).

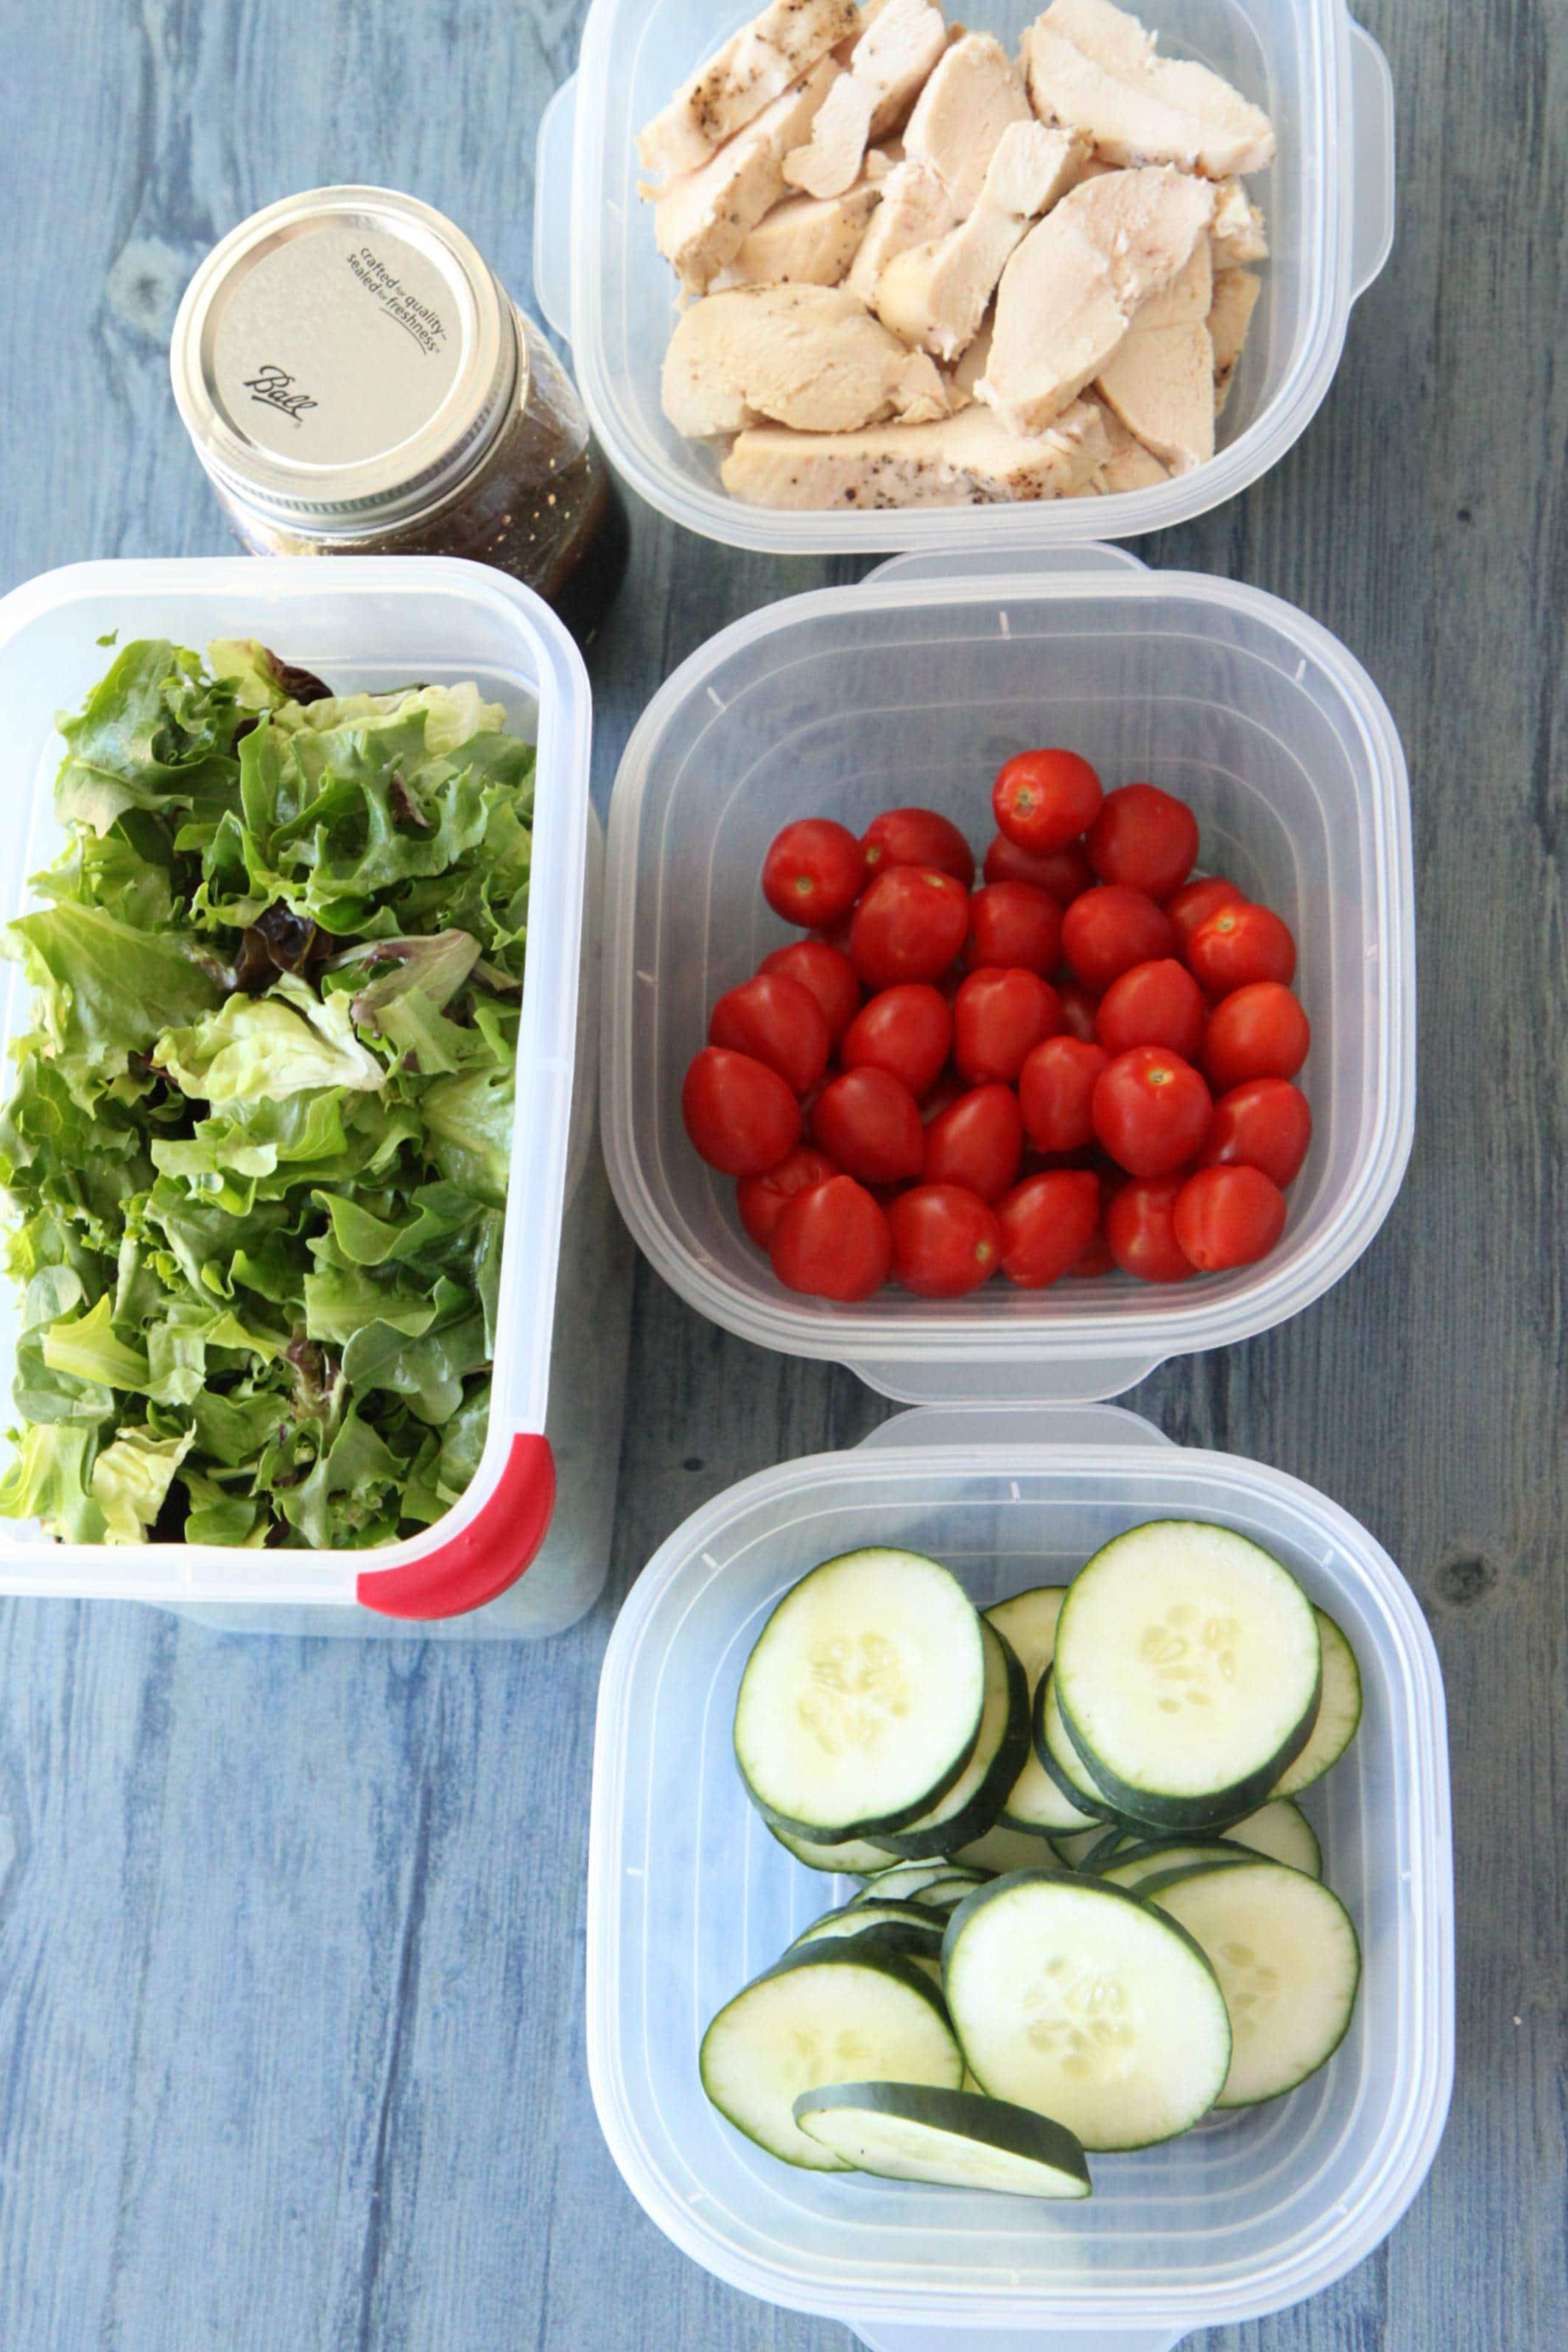
Chop up your favorite salad ingredients and organize them in your containers like this. The largest container does not sit firmly flat, but it still wedges in there nicely so that you can place all of these neatly in this wire organizer.

Don’t you just love summer? I love having such fresh ingredients on hand to choose form and creating a salad bar couldn’t be easier with the fantastic selection we have of fresh fruits and vegetables. Pictured here are just a few of the basics I love in my salad. You could definitely fill your produce drawer up with a few other great salad add-ins!

Ingredients for a Great Salad Bar

Lettuce
Spinach
Kale
Egg
Tomato
Cucumber
Bell pepper
Sunflower Seeds
Croutons
Cheese
Mushrooms
Carrots
Corn Kernels
Onions (none for me please!)
Beans
Artichoke Hearts
Apples
Avocado
Broccoli
Shrimp
Steak
Homemade Dressings

One ingredient I always have on hand in the summer for quick summer salads and wraps is roasted chicken. I don’t keep a lot of fresh chicken around and prefer to buy the frozen chicken breasts instead. There is money to be saved in buying and preparing whole chickens, but my family only likes white meat  so for convenience sake (and to get them to eat it), we stick to the chicken breasts.

I buy the 3 pound bag of chicken  cook and slice all of the chicken for the week. The chicken is then ready to go to be made into wrap sandwiches, fast paninis, a protein addition to my salads for lunch, and it helps me save a step for our dinners for the week.

It is a matter of preference how you like to cook your chicken, but I will share my favorite way that I do weekly!

Roasted Chicken Breasts for Bulk Cooking

Preheat the oven for 375 degrees. Spread the frozen chicken breasts out over one or two cookie sheets. Drizzle a little olive oil over the chicken breasts and then sprinkle with kosher salt and fresh black pepper. Bake for 45-50 minutes or until the chicken is cooked through. Allow the chicken to rest ten to fifteen minutes (to allow the juices to redistribute within the meat). Dice, slice, or shred for your recipes for the week.

Here is my beautiful salad bar on full display! Isn’t she pretty? It makes me really happy to have all of our fruit and vegetables chopped and ready to go for our week. It is something I vow to try to do regularly for our family so that we can, literally, enjoy the fruits of our labor all summer long.

Since we are a family on the go, I wanted to show you a fun way to enjoy your salads while you are out and about.

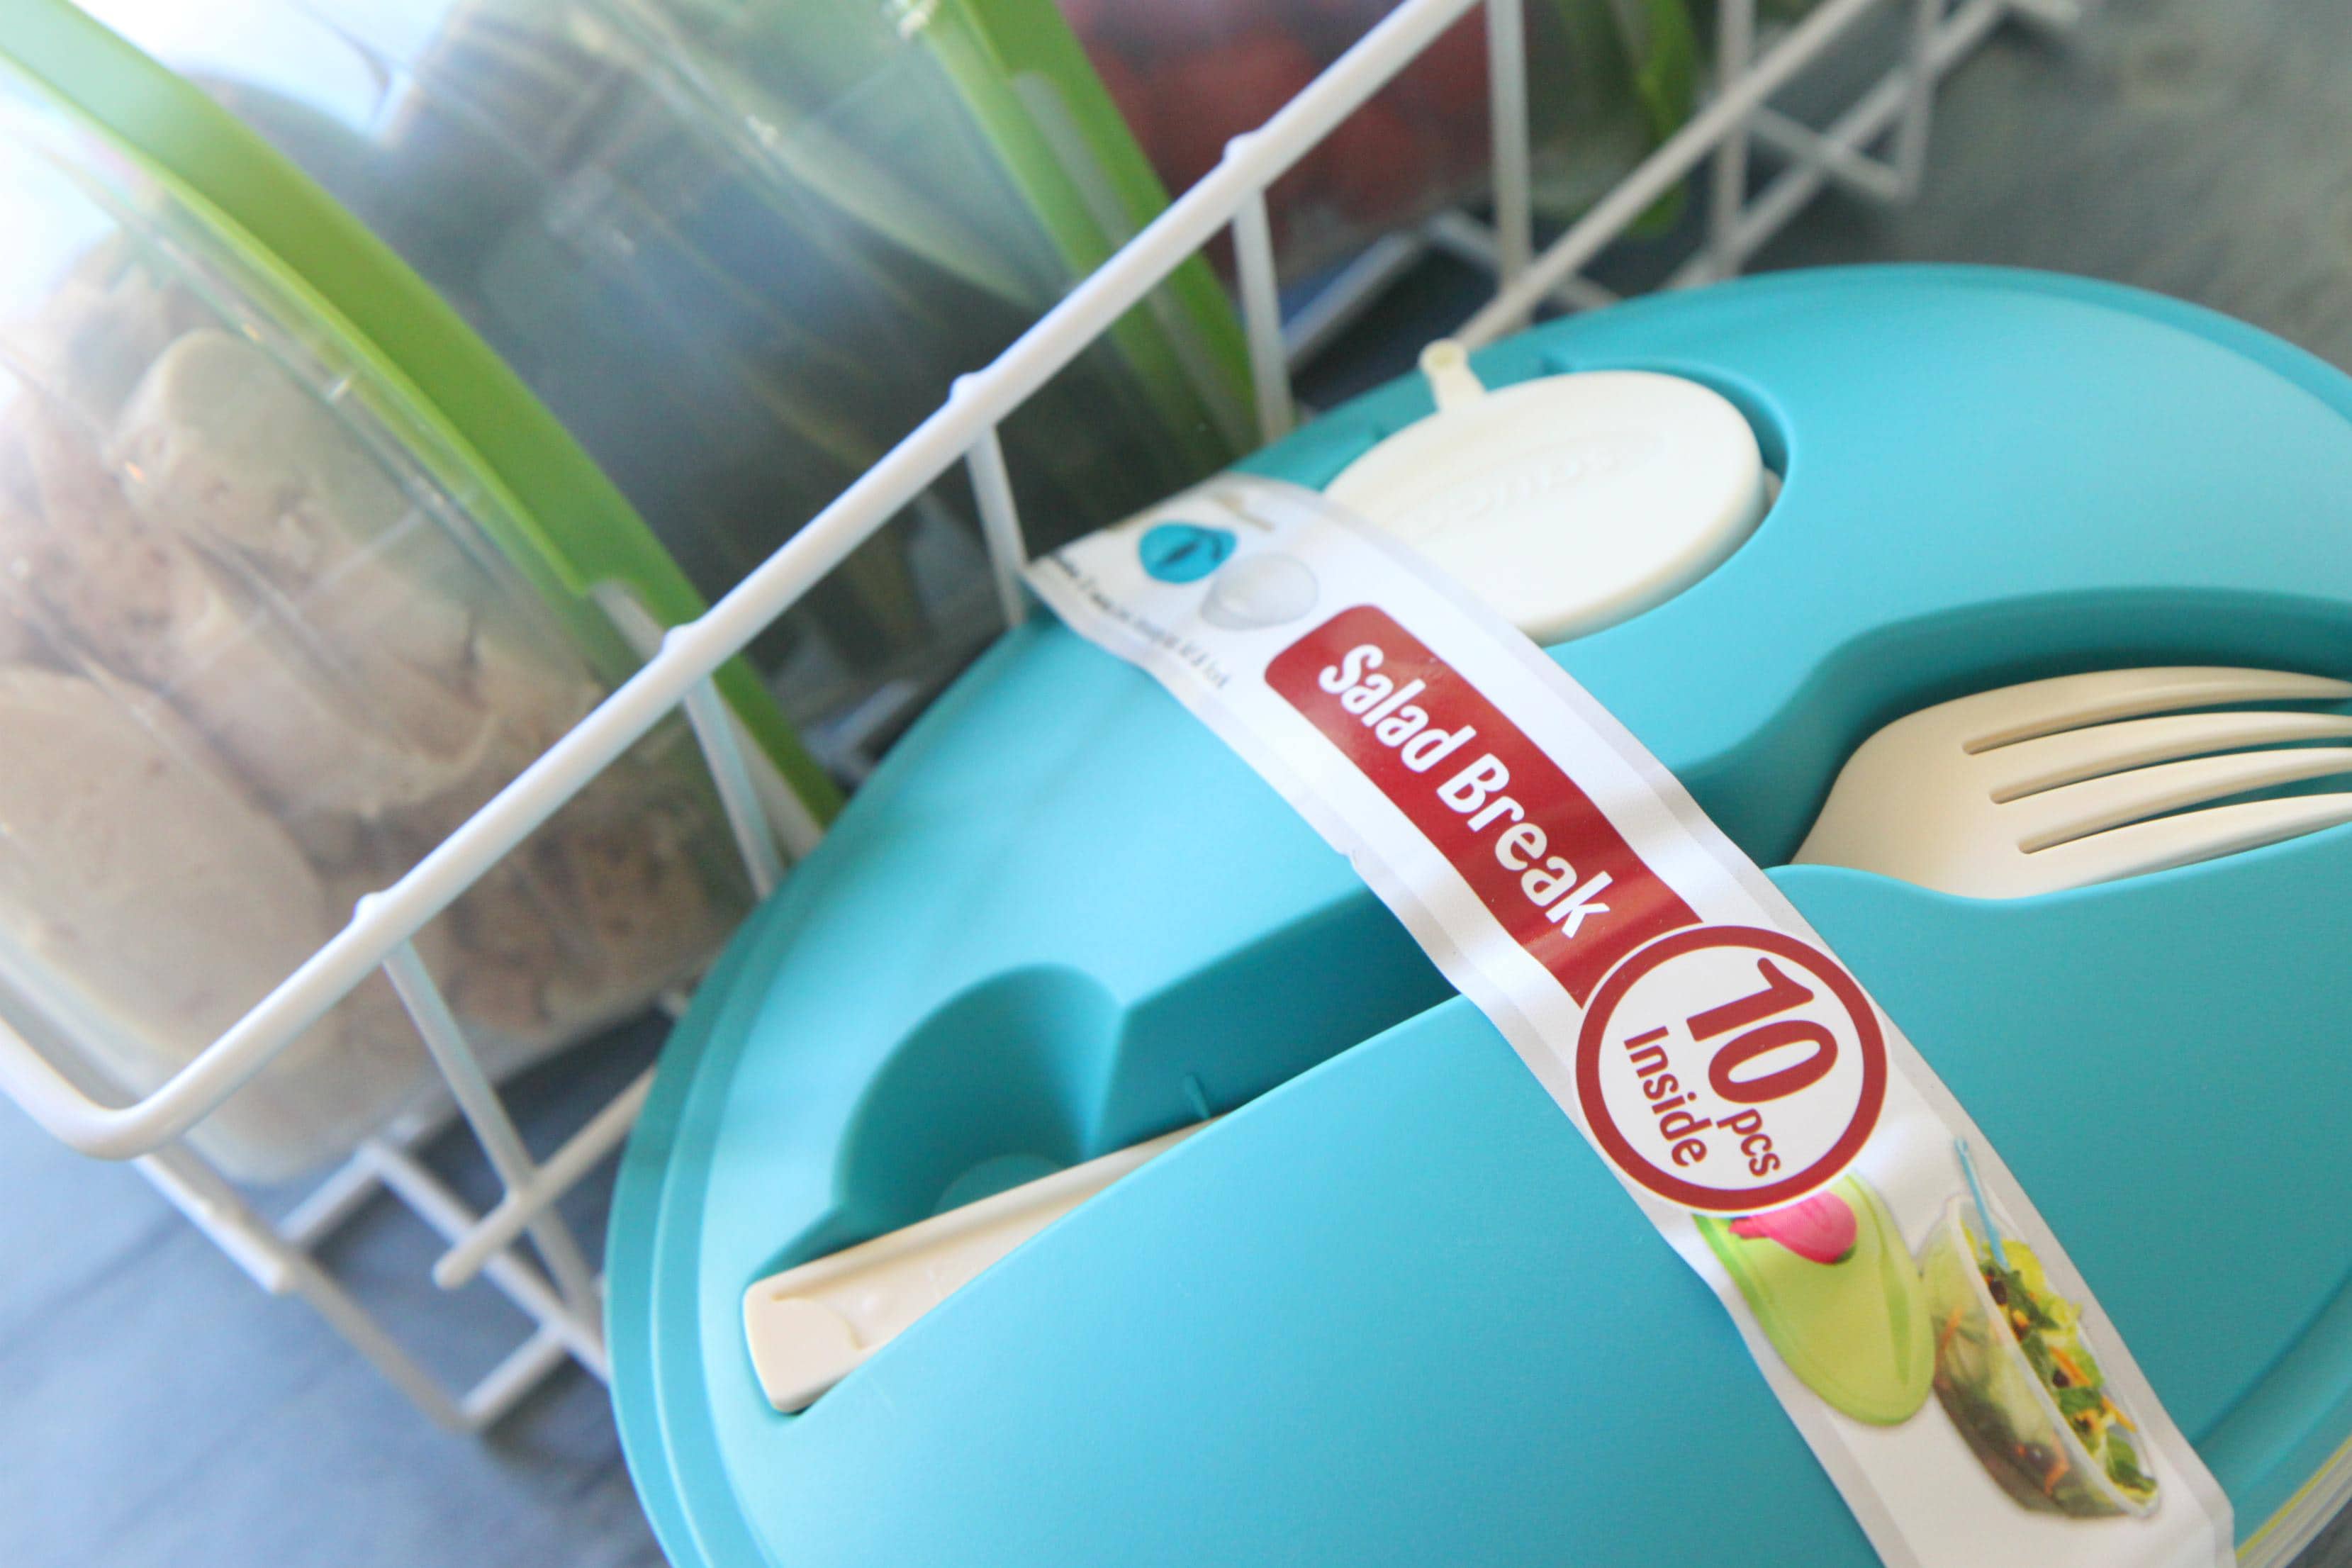
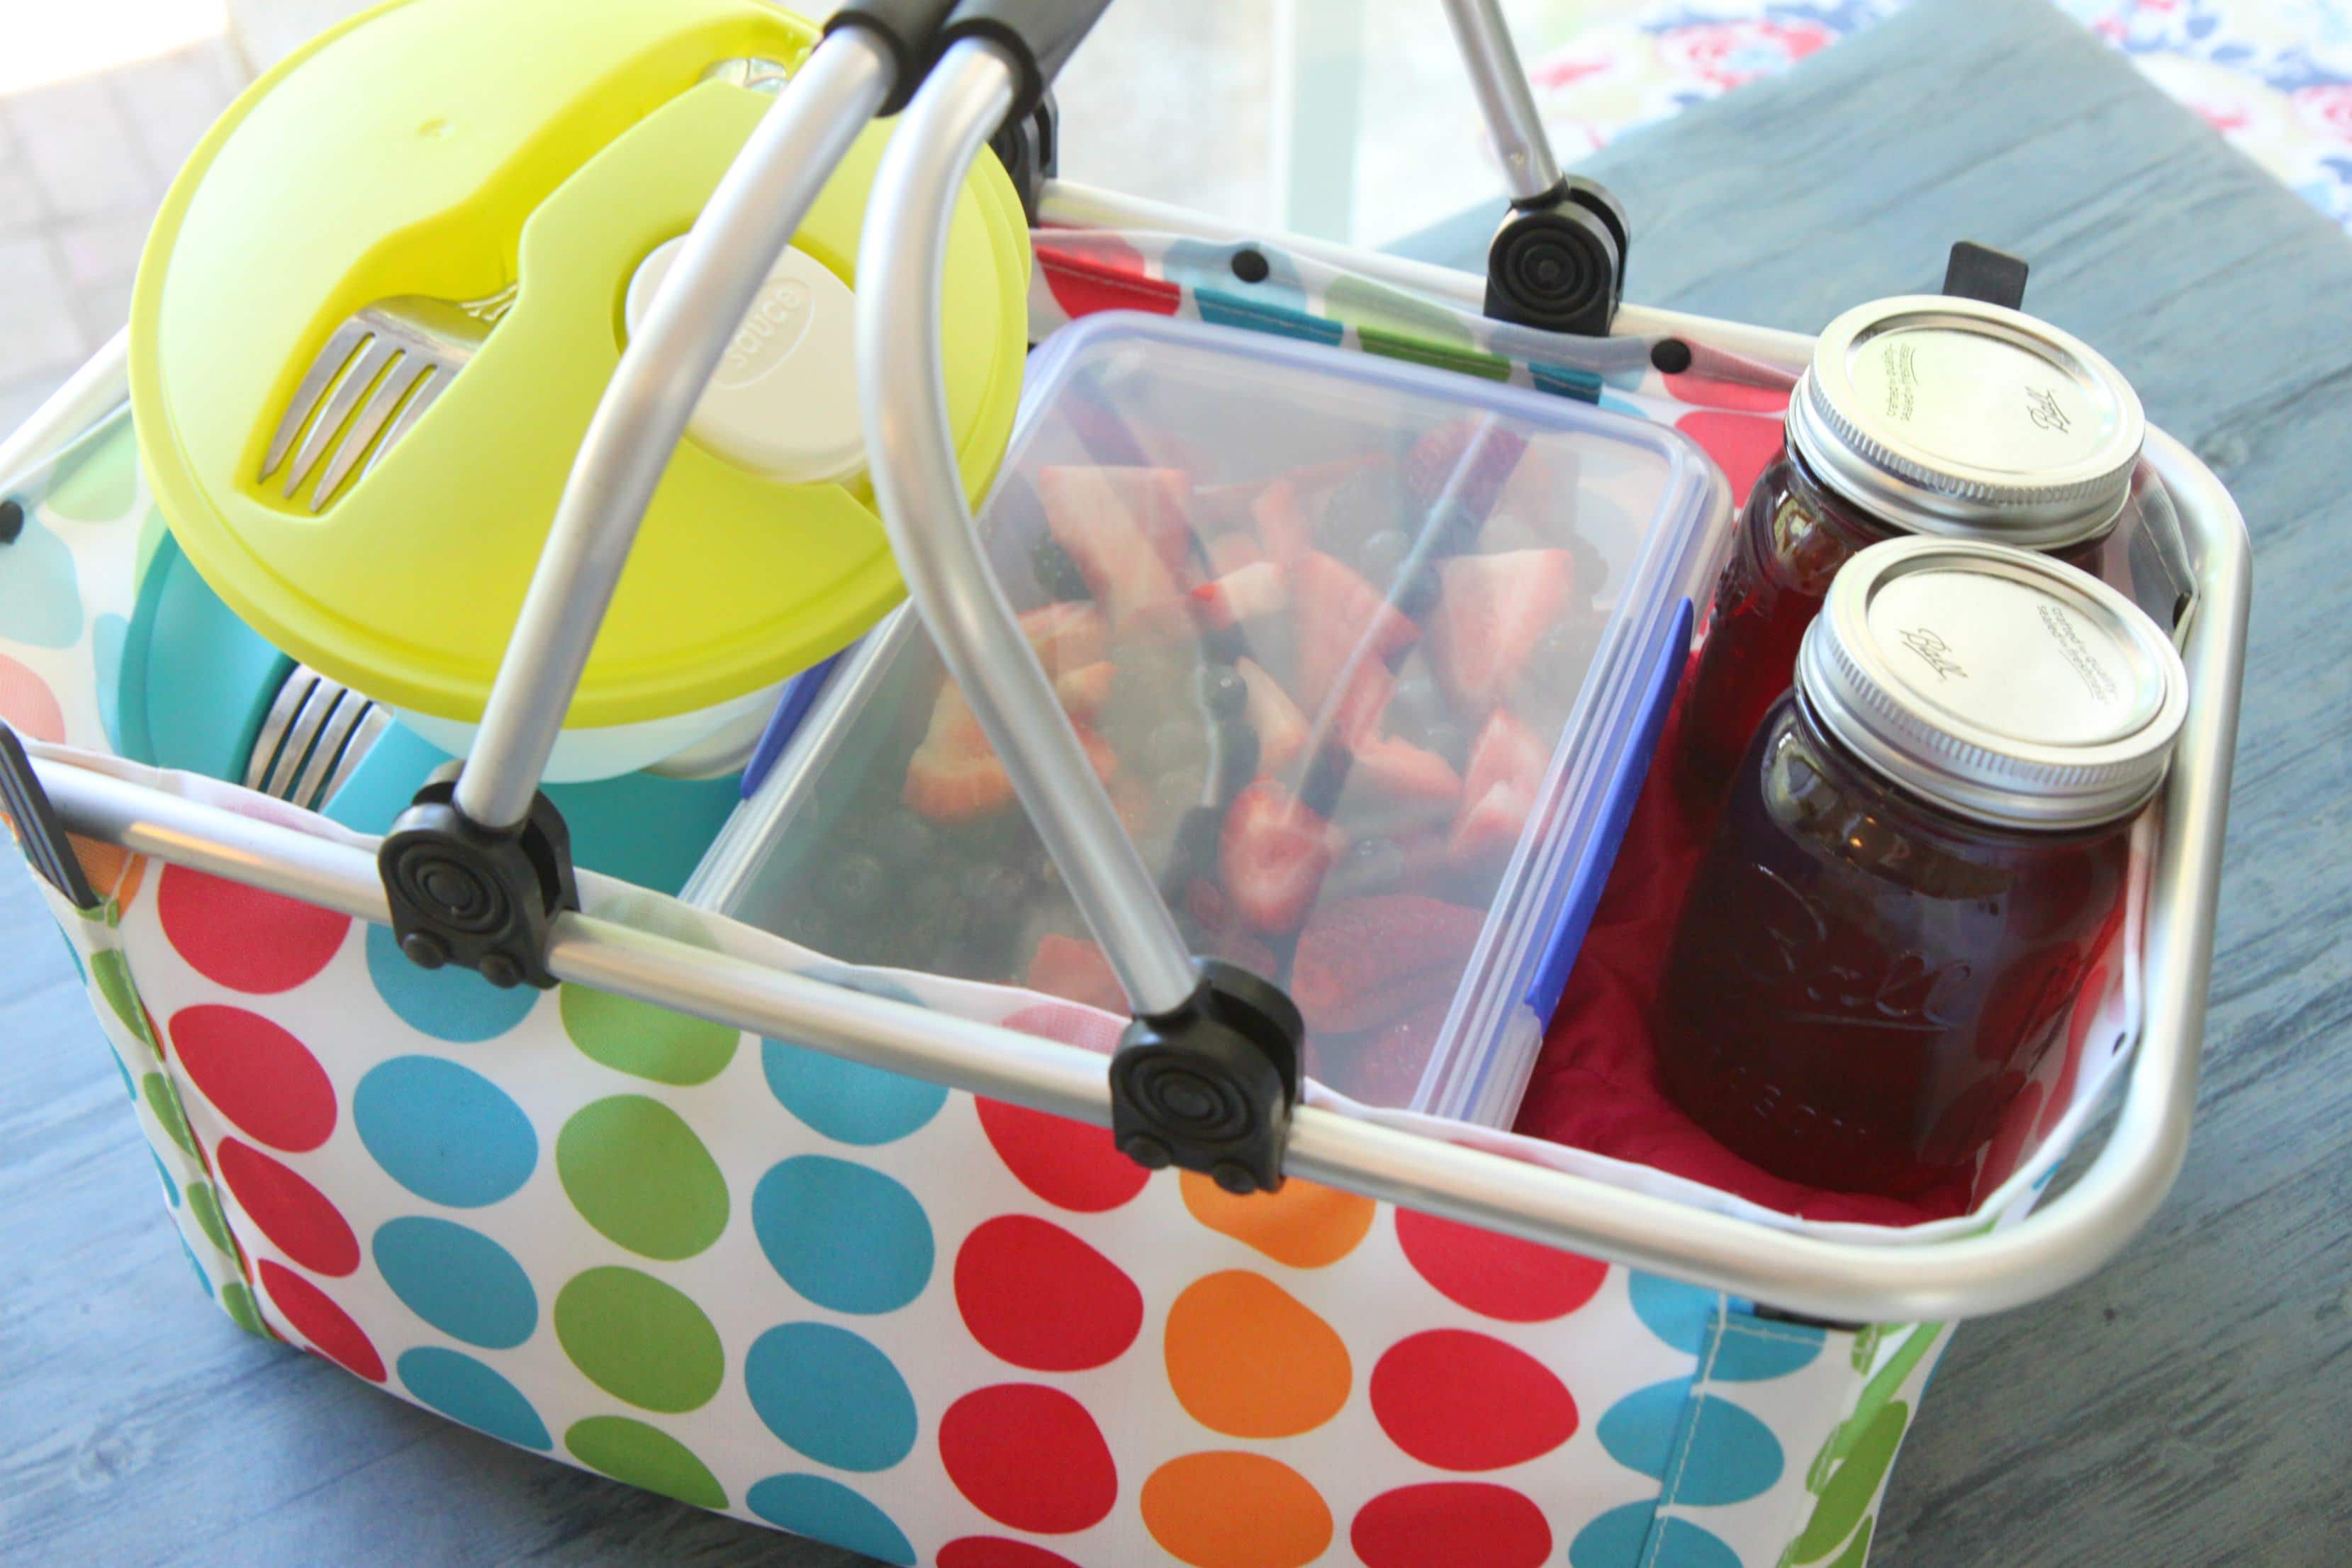
Over by the other food storage containers were these cute Salad Break Bowls. The set came with two complete sets and cost $3.97 total! I picked up this collapsible basket (in the same aisle) for $6.97. Inside I placed our outdoor blanket, salads, fresh cut fruit, and homemade iced tea for an afternoon picnic. I plan to use these a lot this summer and think it will be a great way to encourage healthy eating wherever we might be.

I am a part of the Walmart Moms program, and Walmart has provided me with compensation for these posts. My participation is voluntary and opinions are always my own.


I hope this inspires you to make healthy eating a family priority this summer and would love to hear what summer shortcuts you use to achieve healthy in the summer months in your house?

Pin It

10 Unique Ideas for Projects To Do With Goodwill T-Shirts

Friday, April 13th, 2012

If there is one craft material I love, it is t-shirt material.

If you have ever been in a Goodwill store, one thing you will notice is that there is an abundance and plethora of donated t-shirts in every size, style, variety, and color.
The next time you visit your local thrift store, don’t just visit the t-shirts in your own size for ideas.
Look in the Men’s section and in the larger sizes to find t-shirts that will offer you extra and a generous amount of craft material for the same amount of money as your smaller t-shirts.
Try to select t-shirts that are not as faded or that have fabric pills on them for optimal material for your projects.
Today I wanted to share with you ten of my favorite projects that I have found to do with old t-shirts from some very amazing bloggers.
I love that all of these ideas are extremely unique and that most require no sewing skills at all.

T-Shirt Scarves

I have seen lots of varieties of t-shirt scarves on many different blogs, but I absolutely love this DIY Dish episode you can watch to discover three different varieties of scarves you can make from an old t-shirt.
My favorite is the one, pictured above, with a bright pom-pom trim.

T-Shirt Bibs

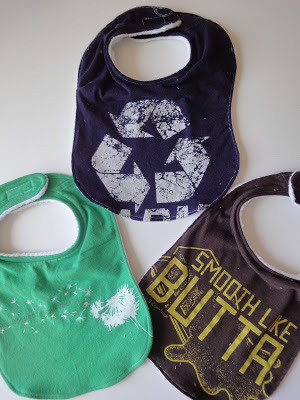
If you are looking for a fast sewing project that would make a fun baby gift, then these t-shirt bibs are the project for you.
For little boys, you could look for their dad’s favorite sports teams and for little girls you could look for a fun t-shirt with sparkly letters or flowers.
Don’t forget that these could also be embellished with rick-rack, ribbon trim, or an easy t-shirt rolled rosette flower.

T-Shirt Bracelets

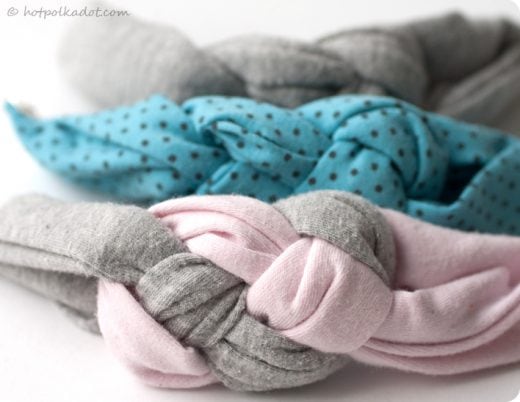
There are many varieties of cute bracelets that I have seen using t-shirt materials, but this one has to be one of my favorites.
This twisted knot bracelet can be made from just a single t-shirt or it could be made with a mix of prints or a mix of solid colors.
I can’t wait to make some of these for myself and my daughter this summer.
Nothing could be cozier than a gently worn t-shirt bracelet on your arm!

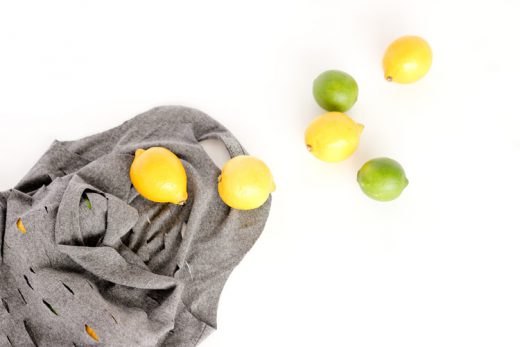
T-Shirt Produce Bag

Nothing could be greener than carrying your groceries in a cloth grocery bag…until you start using recycled materials for your bag.
Even if you are a beginning sewer, this simple produce bag can easily be created for a visit to the grocery store of your local farmer’s market.
I think these would be fun to make in a variety of pastel colors or to give as a gift to someone special in your life.

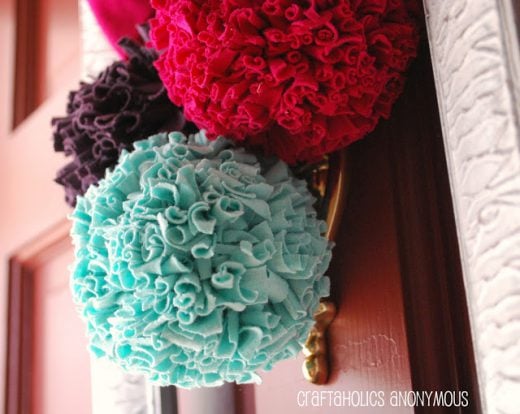
T-Shirt Pom Poms

Looking for a fun way to dress up your home for the warmer months?
I absolutely love these adorable t-shirt pom poms for a fun way to add a pop of color to your mantle, as a fun adornment to a wreath, or hung in a gathering on a door handle or front door.
The best part about this project is that no sewing skills are required for this one!

Petal Tees

I have seen many, many refashions of old t-shirts, but I think this Petal Tee is simply genius because the petal trim on this t-shirt is made from a variety of t-shirts, adding a cute pop of color for the Spring.
Visit your favorite thrift shop on their half off days and stock-up on a fun mixture of colors for a fun addition of color to your wardrobe.
If you are looking to add a little of the fluorescent color trend to your wardrobe, this would be a great way to do it without having to commit to an entire fluorescent piece!

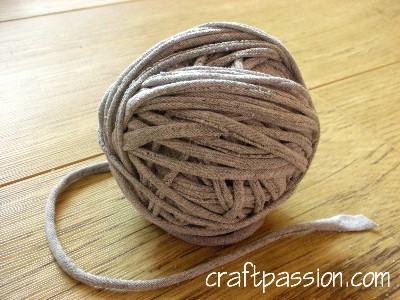
T-Shirt Yarn

My favorite craft in the world is knitting and I love the idea of using t-shirts to create fun yarn for my projects.
This would be a fun gift to give to a friend that knits or crochets.
If you can use a pair of scissors and cut in a relatively straight line, then you can do this craft and use this yarn for a variety of projects!

T-Shirt Aprons

I have a true affection for aprons and have a little collection of my own thrifted aprons that I have acquired from Goodwill and antique shops.
I had never thought to use t-shirts to create aprons, but I think this t-shirt apron is the cutest thing I have ever seen.
This would be a cute craft to make for yourself or for your helpers in the kitchen.
The best part?
No ironing required and it can handle the messes that you might make in the kitchen.

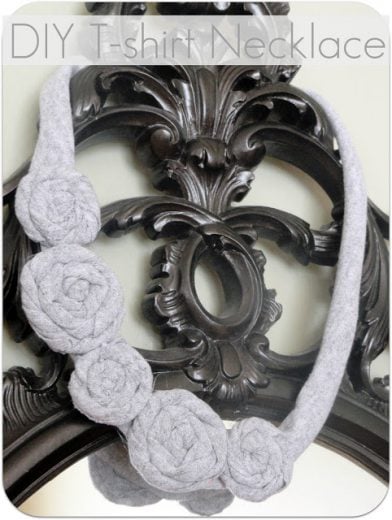
T-Shirt Necklaces

I love t-shirt necklaces for adding a splash of color to your neckline.
This rolled rosette t-shirt necklace is a fun way to add some feminine details to your outfit very inexpensively.
I think it would be cute to make the t-shirt bracelet in a coordinating color and one t-shirt should more than cover both of these cute projects.

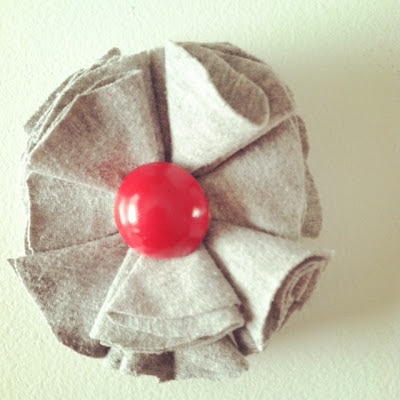
T-Shirt Flower Pin

Our tenth project is actually a fun t-shirt project we did here on the MomAdvice blog.
Be sure to visit my tutorial on creating a cute t-shirt flower pin made from an old t-shirt and spray painted clip-on earrings.
This is so cute and would be a fun addition to a Spring top or jacket.

What are your favorite craft projects to do with old t-shirt?

Don’t miss these craft ideas from MomAdvice.com:


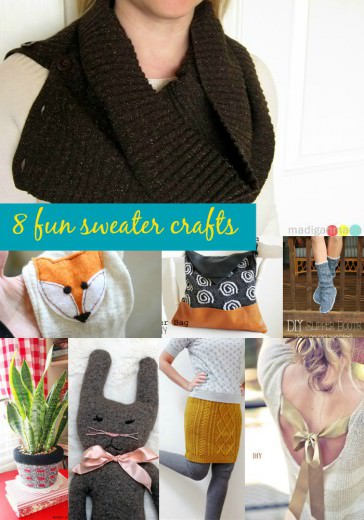
8 Fun Sweater Crafts


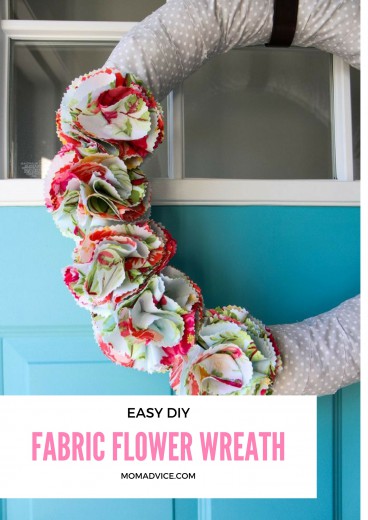
Easy DIY Fabric Flower Wreath


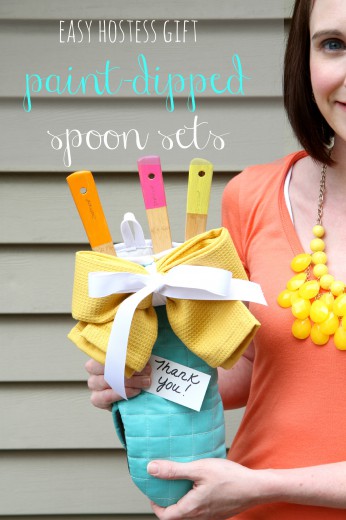
Easy Paint-Dipped Spoon Sets


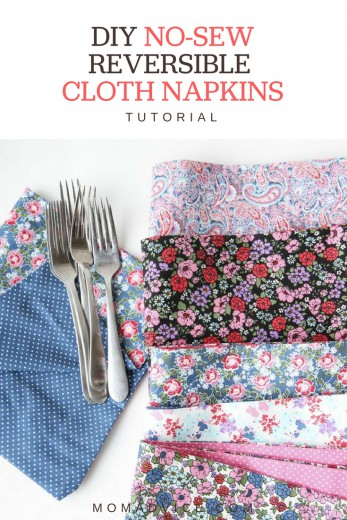
DIY No-Sew Reversible Cloth Napkins


Sign up for the MomAdvice newsletter


Pin It

How to Clean Your Grill While You Sleep

Tuesday, March 27th, 2012

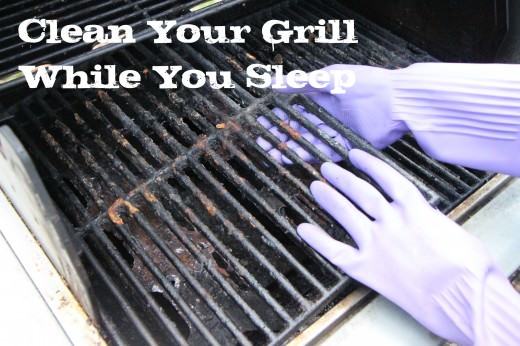
Clean your grill while you sleep from MomAdvice.com


It had been unseasonably warm in Indiana the past couple of weeks.

Nothing says warm weather fun like dinner on the grill. I opened my grill for the season and, holy cow, the grill was disgusting.

I am lazy about cleaning my grill though so I wanted to share with you my lazy and easy way to clean your grill while you sleep.

Yes, I said it…clean your grill while you sleep.

For this task you do need an oven with a self-cleaning cycle, a scrub brush, and a small handheld vacuum.


The first step is to simply put your grill grates in your oven on the racks.

Both my oven and my grill were pretty disgusting so they both were in need of a little help for this grilling season.


Select the Clean cycle on your oven.


Once you start the Cleaning cycle on your oven, head to bed.

There are a couple of things to note about what may occur in the night.

First, it may get really, really hot.

Be sure that you have your AC on.

The second is that if your grill is as disgusting as mine, you will have one smoky house.

If you are sleeping though, you might not notice it…unless it causes your fire alarms to go off.

You have been warned.


When you roll out of bed, your oven will look like this.

As you can see, the oven and the grill grates had a lot of gunk built up on them.

All of that gunk has burnt off into ash and is now at the bottom of your oven.

Don’t worry though, we will be able to get this clean, quickly and easily!


Pull your grill grates out of your oven first.

Next, grab your vacuum (it can be a handheld quick vac or just attach the attachment on your vacuum) and let’s suck up all of the ash that is on the bottom of your oven.

Using the vacuum will help this get clean quickly.


Rinse your grill grates off and use a scrub brush to brush off any of the ash that is lingering on your grill grates.


Finish your clean up by wiping down the interior of your oven with a damp paper towel.


Bask in your glory…part one and part two. It is worthy of two rounds of glory basking, I promise!

Tips for my friends without a self-cleaning oven:

If you do not have a self-cleaning oven, this task may require a little more effort on your part, but it can still be done easily.

Upon removing any lava rocks in the bottom of the grill, spray the interior of the grill with a no-heat oven cleaner, shut the grill, and go about your day.

The following day, hose down the interior of the grill and use a metal wire brush to remove any stuck on gunk from your grill.


Now that you know how to get your grill clean, it is time to use it!  I decided to start a Pinterest Get Your Grill On board where I am sharing my MomAdvice grilling favorites as well as great grilling tips, tricks, and recipes for making the most of your grilling season.

Be sure to friend me on Pinterest and follow my Get Your Grill On board for some fun and unique ideas for ways to put that freshly cleaned grill to work.

What is your favorite food to throw on the grill? Have any tips or tricks for keeping that grill sparkly clean? I would love to hear them!


Check out these delicious grill recipes:


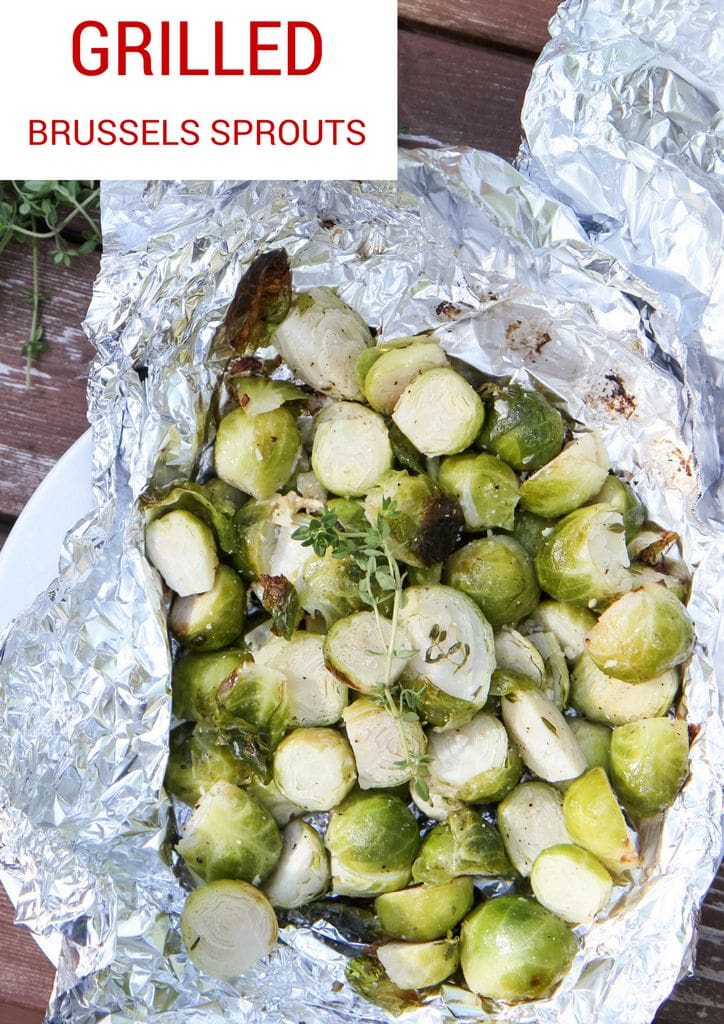
Grilled Brussel Sprouts from MomAdvice.com

Grilled Brussel Sprouts


Grilled Tomato Bread with Prosciutto from MomAdvice.com

Grilled Tomato Bread with Prosciutto


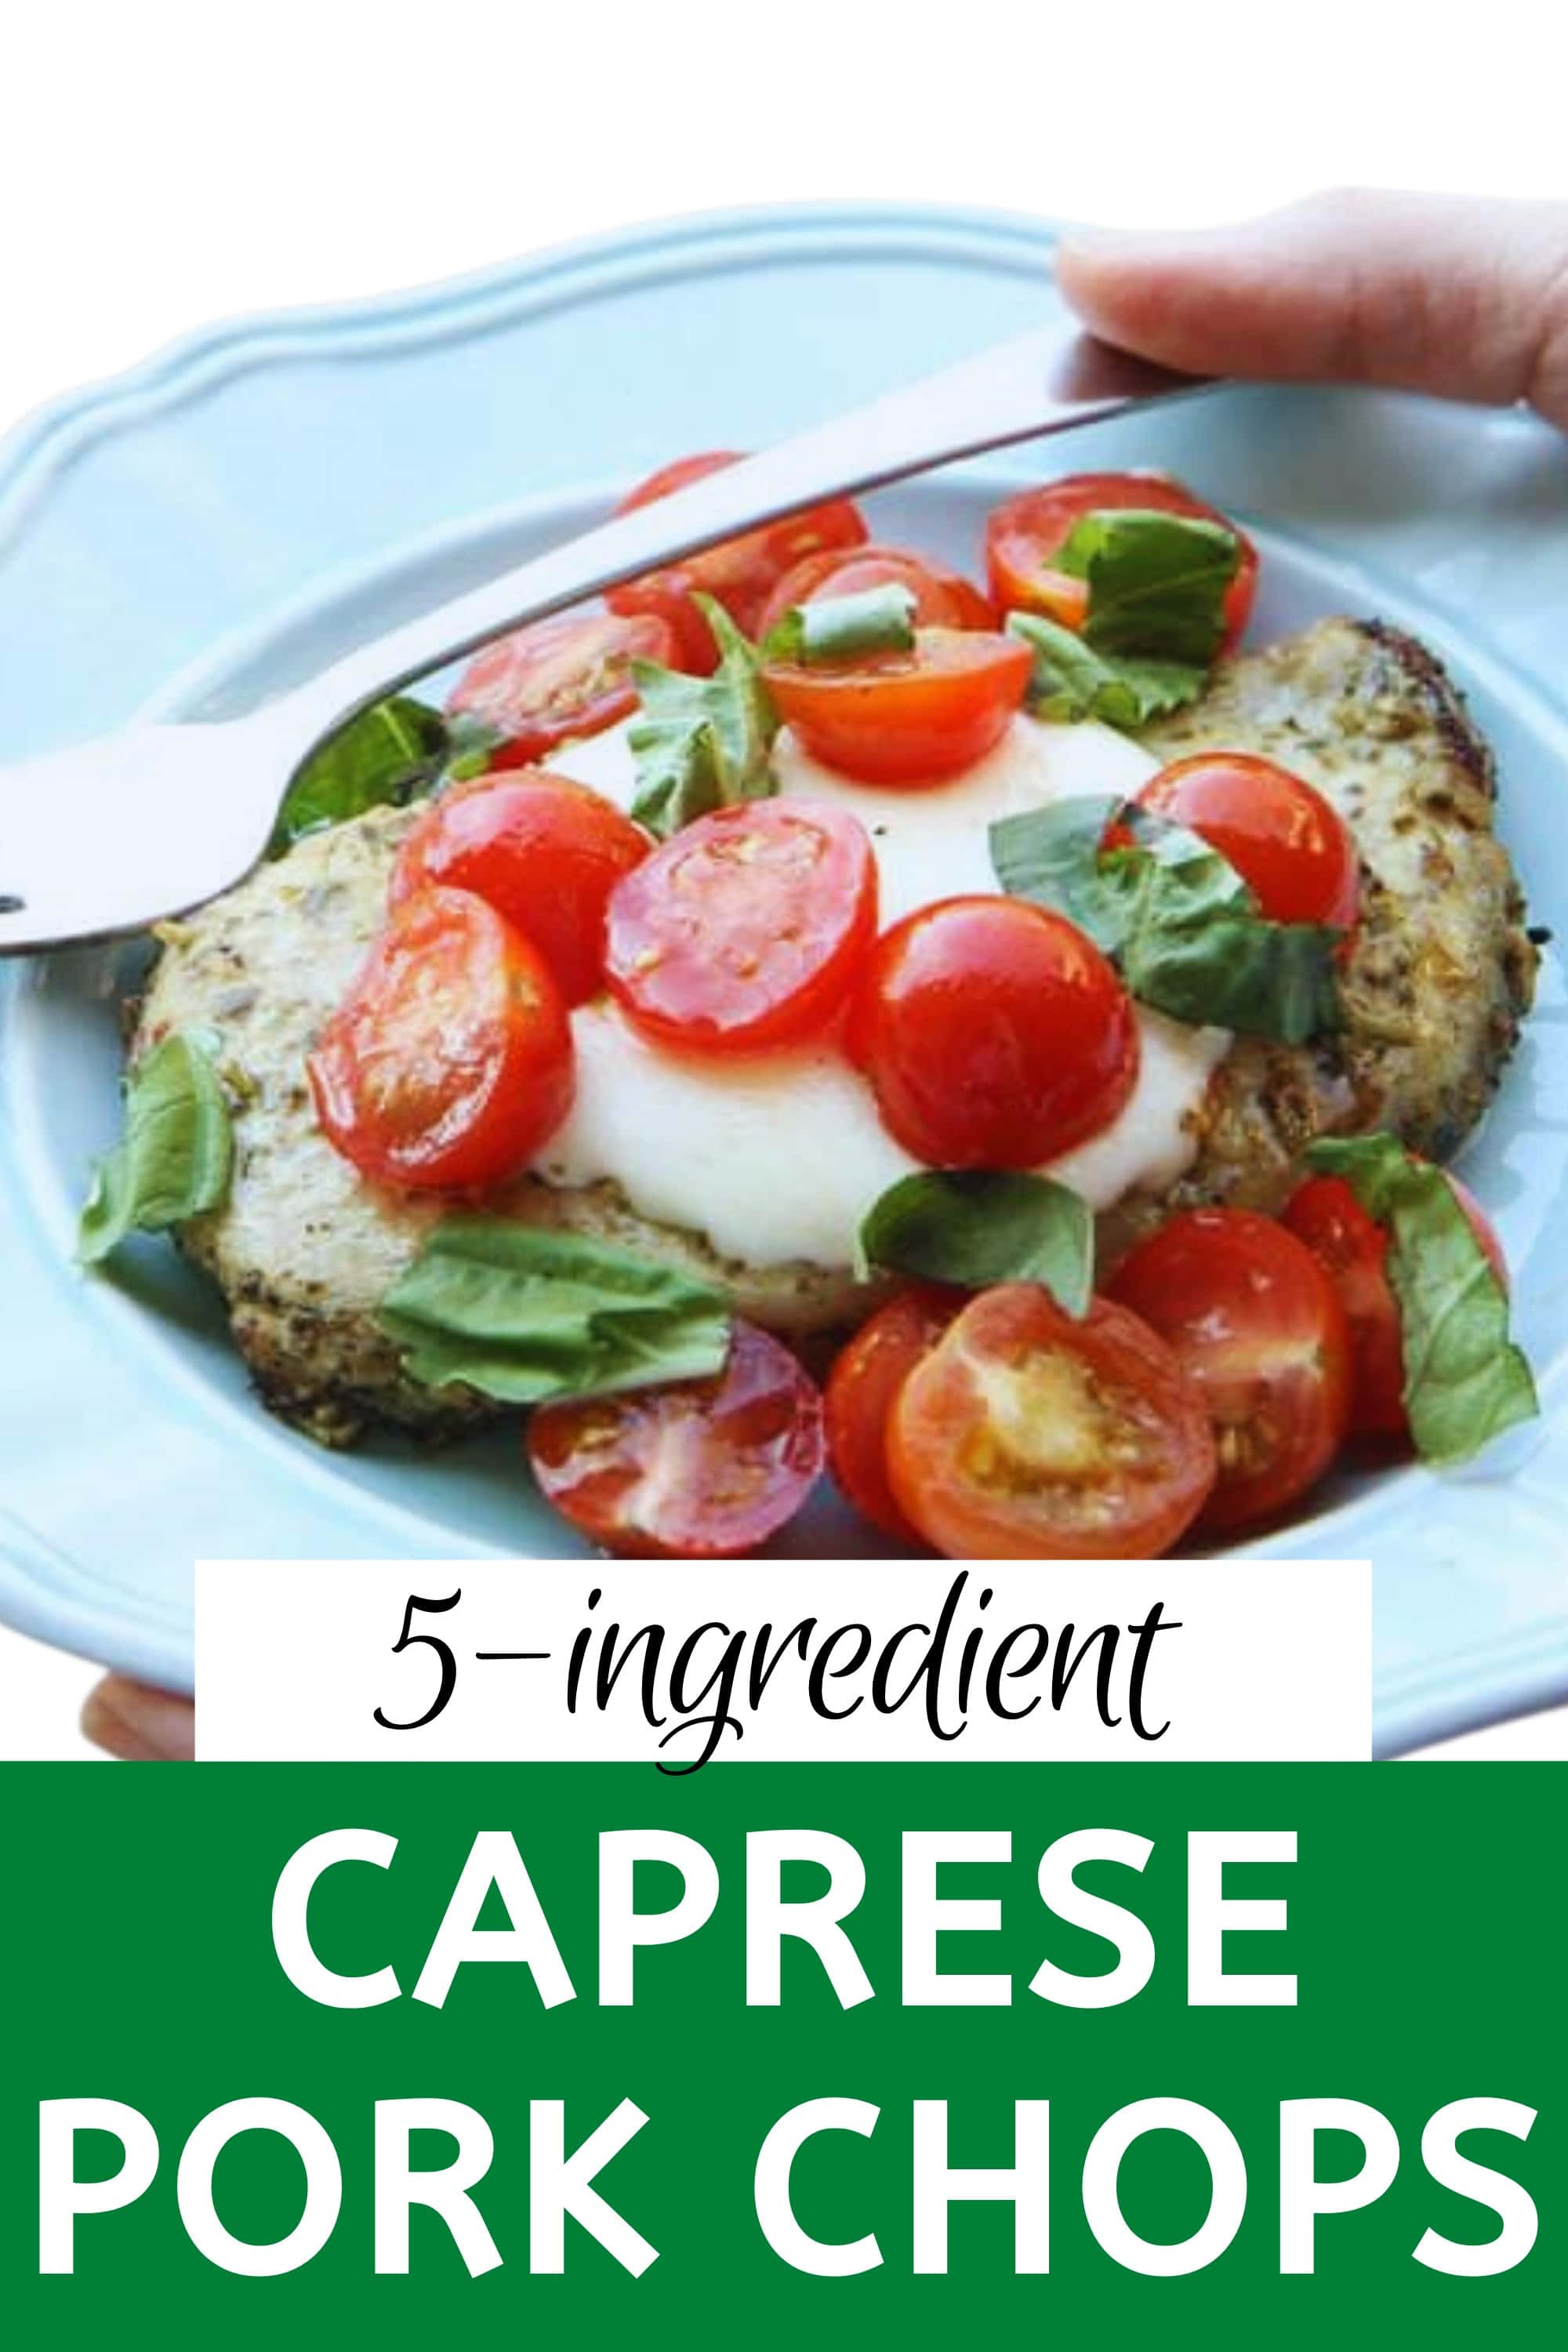
Caprese Pork Chops from MomAdvice.com

Caprese Pork Chops

Pin It

Spring Cleaning with Goodwill

Saturday, March 17th, 2012

vacuuming dirt off a green carpet

It is that time of year again when we all have the urge to get rid of the useless items , reclaim our garages, and restore order in our home.

I used to try to do spring cleaning in one week, but with endless activities on our calendar, it makes it difficult to devote a week’s worth of my time to just cleaning.

Who really has time for that?

Instead of doing one deep cleaning try “spring cleaning” all year long rather than trying to set aside a specific time to do this.
By simply incorporating smaller scale spring cleaning projects into your daily routine, you can accomplish the same tasks on your limited schedule.


Make a Checklist
Begin by making a checklist of everything that you would normally do during your spring cleaning.
Tasks like washing all the linens and drapes, wiping down baseboards, washing windows inside and out, cleaning out your pantry, washing your shower curtains, organizing your linen cabinets, wiping down walls, and cleaning doorknobs and light fixtures are items that are typically on a spring cleaning checklist.

Take Inventory of Your Supplies
Take inventory of your cleaners and the tools that you will need in order to accomplish all of the necessary cleaning.
Nothing is worse than getting ready to do your task and then finding out that you are missing that one component needed to complete your task.
Put the items that you will need on your shopping list and get these items on the day that you perform all of your errands.

Add Just One Hour
Continue doing your normal daily routine, but add an extra hour each week towards accomplishing just one of these tasks on your list.
Check off the items that you accomplish and press on to the next one.
By just devoting one hour a week towards your spring cleaning goals you will have a more manageable deep cleaning routine.
Reclaim Your Home
Clear out as much clutter as you can.
Make a box for trash and a box for your Goodwill donations and fill these with all of the unnecessary clutter in your home.
By donating these items to Goodwill your items continue to help Goodwill’s mission to provide jobs, training and placement services for people with barriers to employment.
Not only will someone who needs these items more benefit from your donation, but you can receive a tax break and reclaim space in your own home.
If you don’t like to dust it, don’t love the item, and want an organized home – donate it!!
Make Cleaning Convenient
Keep a caddy of cleaning supplies on each floor. I find it much easier to clean my house when I know that the tools that I need to accomplish my task are just a few steps away.
Keep your checklist either in one of your caddies or somewhere that is accessible so that you can always stay on track with your deep cleaning.

As an aside, I also encourage you to do your cleaning when it is convenient for you.
Some people work better during morning hours while others of us would rather be snoozing and do better in the evening.
Take advantage of the times that you work best. If you would rather break the hour into smaller increments that is totally up to you.
The idea behind all of this is to make it as easy as possible so fit it in wherever and whenever you can.
Get the Kids Involved
Enlist your helpers to help you on these tasks.
Your children and your husband can be active participants in getting your home organized just like they help to contribute to the clutter.
Schedule dad for clearing out the garage, taking inventory of the tools you will need to do your gardening, cleaning out the basement, weeding through the family electronics, or other tasks inside and outside of the home.
Children can aid in cleaning their own rooms by helping to remove some of the clutter in the house.
Involving your family can be beneficial in showing them all that you do to keep your house running smoothly.
Make it Fun
Whatever you do, try to make the experience a fun one.
Turn on some great music, watch television while polishing tables, do whatever you can to make getting your home clean easier and more enjoyable.
What are your best tips for Spring Cleaning?
We would love to hear how you accomplish the Spring Cleaning in your home!
Please click on the above pictures for photo credit and to access the photographer information for each image.


Don’t miss these other great ideas from MomAdvice.com:


Knitted Dishcloths and Homemade Cleaning Supplies


Cleaning & Stocking Your Refrigerator


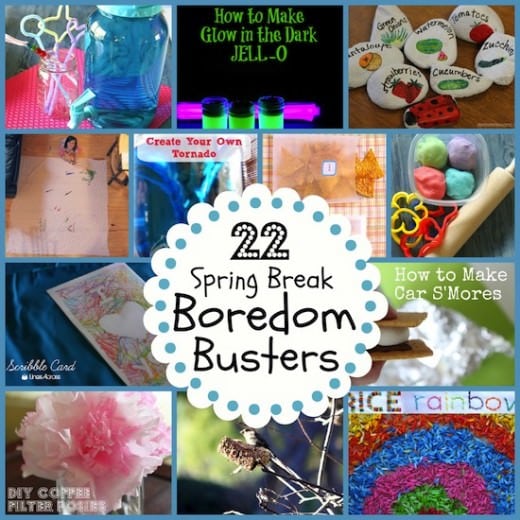
Spring Break Boredom Busters


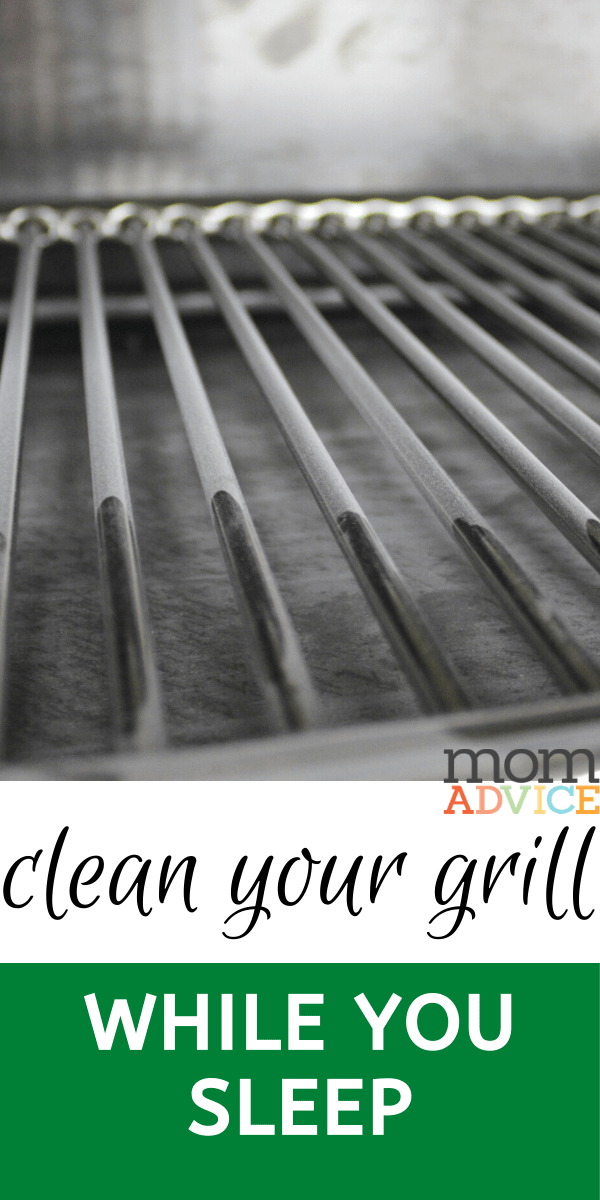
Clean Your Grill While You Sleep


Sign up for the MomAdvice newsletter


How to Ditch Your Cable Bill

Tuesday, March 6th, 2012

A few months ago our family made the radical decision to turn off of our cable television. It might not seem like a radical decision to you, but for a family of self-proclaimed television junkies, it felt bold to call our television provider and tell them that we were ready to turn off our channels.

With so many fantastic options available to families, it is so much easier to say no to the cable bill thanks to online television and innovative ways to indulge in your favorite shows. It might surprise you that this article is not about getting rid of your television and singing Kumbaya because our life is so much better without TV.  No, we still love our television and I wanted to share with you how to get your fix for less and how to slash your cable expenses for good.

I will fully admit that there was a bit of bribery involved to get my family on board with the decision to turn off our cable.  We found an Xbox for less than half price on Craigslist from a family that was looking to downsize their electronics and gave this to ourselves for our family Christmas present. This gaming system was my ticket to get everyone on board with my decision to let our cable bill go.

If you are looking for ideas for how to get around your cable bill, here are a few of our own family’s favorite options to maximize your family’s entertainment budget.

Players

Roku Player (starting at $49.99)

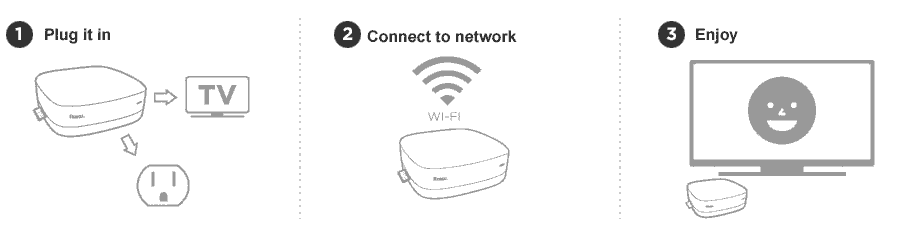
For families that don’t have a gaming system to view television through (like the Xbox, Wii, or Playstation) this little box can be a wonderful option. Your Roku hooks up to your television and allows you to play through subscription-based programs like Netflix, Hulu, HBO Go, and Amazon Instant Video on your television. Your Roku player can hook up to your home entertainment system and give your entire family the opportunity to watch something together on the couch rather than sitting at your laptop.

The only downfall with the product is that you really do need to have a high speed internet connection, as are most streaming options. If you have a DSL connection we found that the viewing can be a little bit like watching something on You Tube.

The Roku Player is surprisingly easy to use and simple to integrate into any home entertainment system. The interface is extremely clear and hook up took literally a couple of minutes. For homes with wireless Internet connectivity, the player is Wi-Fi enabled and offers the ultimate in placement flexibility. With the player’s accompanying remote control, members can browse and make selections right on the TV screen and also have the option to pause, rewind or play your favorite shows anytime just like a DVD.

There are no monthly fees attached to the Roku Player, but it enables you to watch your shows and online subscriptions in one place.

This is the player that we use in our own home and we have no complaints with this fabulous option. There are other similar products on the market like the Apple TV and the Boxxee Box, but I love the affordability of the Roku Player and what viewing options are available on it.

Game Consoles ($149-300)
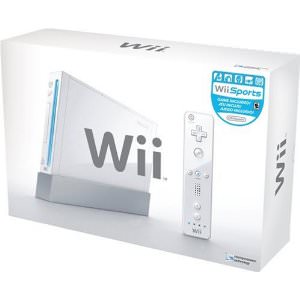
Game consoles can be a wonderful bang for your buck because they offer unlimited entertainment through gaming as well as a platform for you to watch your favorite shows and movies. It is important to make the right investment for your family when choosing whether you want the Wii, the Playstation 3 or the Xbox 360 based on your own family’s entertainment needs. It is also important to understand what is included with each game console and what are extra expenses you may have later down the line.

Below is a basic price breakdown on what is included with your gaming system, what the costs of games might be, and the graphics quality for each gaming console (found on Amazon).
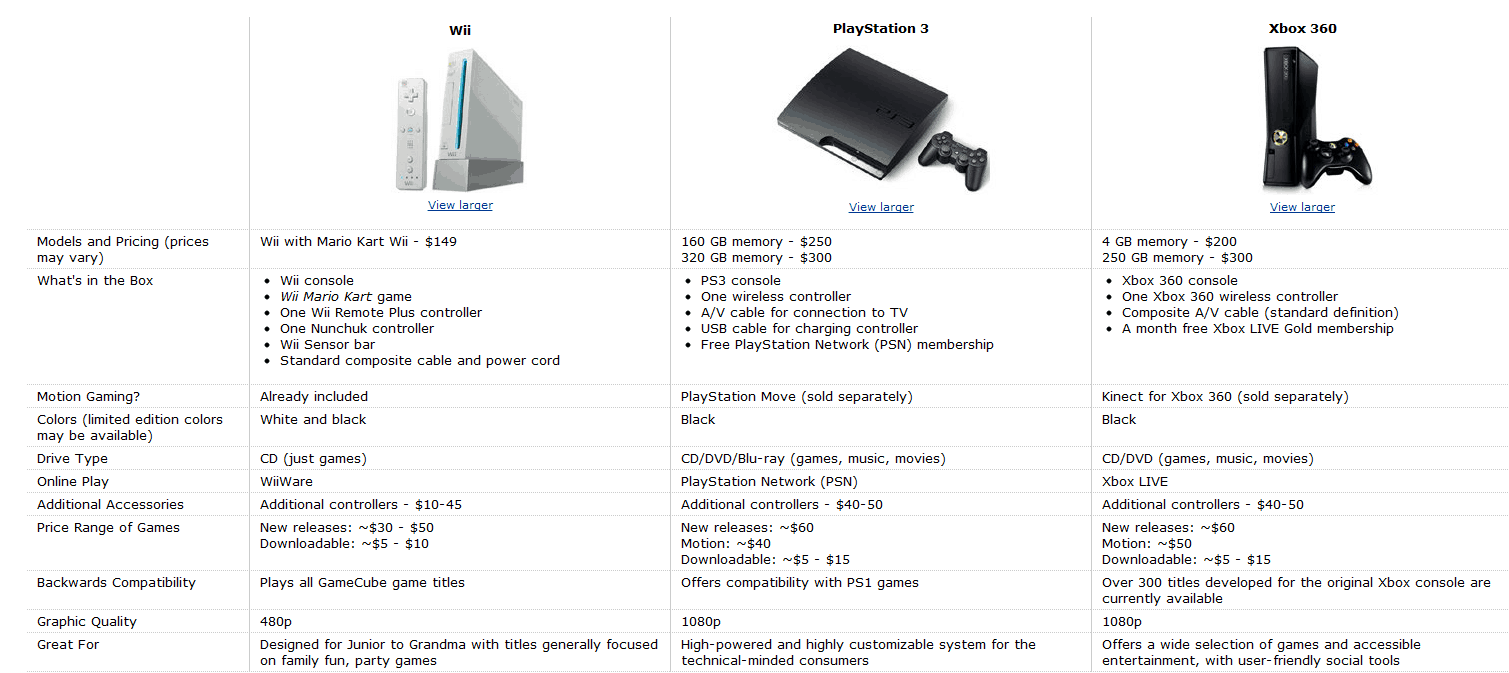
(click to expand)


Our family loves playing games together and having a gaming system has been a great way for us to spend time together. We have never bought a full price gaming system though and have had great success finding used consoles for half the price of retail price. Not only have we found our consoles for less, but when we have found these units on Craigslist, the sellers are usually getting rid of their games, controllers, and accessories that go along with them and will sell them to us for a fraction of the retail price.

We use both our Wii and our Xbox 360 for streaming Netflix and watching Hulu Plus. Both of them are fantastic for this purpose as well as fun weekend entertainment for us as a family.


Channel & Movie Subscription Options


Play On ($29.99 annually or $4.99 a month)

Play On is an easy way for you to watch your favorite videos, shows, and movies from websites such as Netflix, Hulu, YouTube and more on your TV using your Wii, Xbox 360, or Playstation 3 over your home internet connection. PlayOn also works on your iPhone or Android phone.

When we turned off our cable, we were missing some of our favorite shows on some of the channels we watched. Play On is almost like having a cable subscription without the outrageous price since they offer many channels that would have to get with a premium cable package. Hulu Plus offers many of the same networks, but not necessarily the same shows that are available on the network.

My children love to watch PBS and Nick. We have found many of their favorite shows that they love through Play On and the cost is an affordable one for less than $30 a year (or a fraction of one month of your cable television).

Hulu Plus ($7.99 per month)

The majority of our TV-watching is now done through Hulu Plus and we absolutely love it. We have beautiful HD television, something we couldn’t afford with our cable bill, and almost all of our favorite shows are available through Hulu Plus.

Hulu Plus lets you watch hit current and back season TV shows and acclaimed movies anytime in HD for $7.99/month with limited advertising. For many popular shows on their service, Hulu Plus offers every episode of the current season, not just a handful of recent episodes.

Hulu Plus can be viewed on multiple devices, including your laptop, the Apple iPad and iPhone, PlayStation® 3, Roku, and TVs and Blu-ray players from Sony, Samsung and Vizio.

You can watch shows for free through Hulu and not buy the Hulu Plus membership. The main difference between your free television experience and the paid subscription is how you view it. With Hulu Plus you can take advantage of the multiple viewing devices, but with the free membership, your viewing is limited to your PC.

Netflix ($7.99 a month)

The other streaming membership that gets a workout in our family is our Netflix membership. Although I feel that the quality of the movies and shows available on Netflix has been deteriorating in the past few months, we still get our money’s worth from this membership.

For $7.99 a month, Netflix members in the Americas, United Kingdom and Ireland can instantly watch unlimited movies and TV episodes streamed over the Internet to PCs, Macs and TVs. Among the large and expanding base of devices streaming from Netflix are: Microsoft’s Xbox 360, Nintendo’s Wii and Sony’s PS3 consoles; an array of Blu-ray disc players, Internet-connected TVs, home theater systems, digital video recorders and Internet video players; Apple’s iPhone, iPad and iPod touch; Android and Windows tablets and phones; and Apple TV and Google TV. In all, more than 700 devices that stream from Netflix are available.

Our family relies on this for our weekend family nights. My husband and I use this for our documentary fix while the kid’s enjoy many of their favorite seasons of Disney & Nick Jr. shows through this membership.

We are hopeful that Netflix will have more viewing options available, but what we can’t get through Netflix we supplement with our Redbox rentals and our fantastic library system.

Digital Antenna ($12-50)
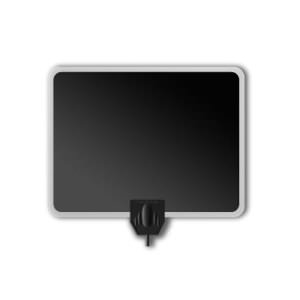
When I say the word antenna, do you think of those giant rabbit ears? I did too. You won’t believe how far those rabbit ears have come and how elegant your antenna can now look. This Paper Thin Leaf Indoor HDTV Antenna ($39.19)  is just one example of how streamlined the antenna has become. Your friends will never know that you are one of “those people” watching television on their rabbit ears.

With a good digital antenna it is possible to get dozens of local channels in HD with this small investment. It is worth it to make a good investment in your digital antenna if you are relying upon this for your television because a better quality one is able to pick up a wider range of channels in your area.

We found our digital antenna for less on eBay and we use this for watching things like the Super Bowl and other shows we prefer to watch live. I am always so impressed at the quality of the television we can get through this and I love that we no longer have to pay The Man for our local channels.

Clicker– (FREE)

Finding all of your favorite shows can be hard when you are watching from multiple options. I am in love with clicker because it offers a one-stop directory to see if something you love is available online. I think of it as a TV Guide for streaming television.

This site catalogs all broadcast programming online, along with TV-quality Web originals, from these silos and delivers them in one seamless, organized experience so you can easily discover what’s available to watch (and what isn’t) online, where to watch it, and what’s worth watching.

If you are looking to make the leap from cable to online television, check here and see if any of your favorite shows are available for free streaming to decide if you can make the plunge or not.

For Our Canadian Readers-


We had a fabulous comment from one of our readers, Leatitia, on our MomAdvice Facebook Page sharing what streaming options are available in Canada.

“What I use to watch TV for ‘free’ in Canada (50$/month internet bill)

Live TV many channels (including TVA): http://fr.wwitv.com/tv/b2514.htm
HGTV: http://www.hgtv.ca/video/
CTV: http://watch.ctv.ca/
Global: http://www.globaltv.com/video/index.html#video
MTV: http://www.mtv.ca/tvshows/
Radio-Canada shows: http://www.tou.tv/
Radio-Canada live: http://www.radio-canada.ca/audio-video/pop.shtml#urlMedia=http://www.radio-canada.ca/util/endirect/MontrealTV.asx

With those links, I can watch Star Académie, Grey’s Anatomy season 7 in French and season 8 in English, House, Modern Family, Glee, Teen Mom (MTV), Consumed (HGTV), the news, etc, etc….

I’d pay for internet anyway, so I just boost my internet bandwidth to 50G a month and I use about 40G-45G a month. I receive emails when 75% of my bandwidth had been used, as well as 90% and 95% I think. So I’m sure I don’t use more than I’m allowed to!

I don’t miss my cable bill!!”

Thank you so much to Leatitia for sharing her experience with all of us!
After three months of being without our cable, I can honestly admit to you that there are definitely moments that I do miss. I miss my Food Network, I miss HGTV, I miss the convenience of our DVR taping endless shows for me, I miss my Cupcake Wars marathons with my daughter on Sunday afternoons.

There are also things I don’t miss. I don’t miss feeling like I needed to be a slave to my television to make the most of our dollars, I don’t miss paying nearly a hundred dollars a month, I don’t miss paying for something so darn useless.

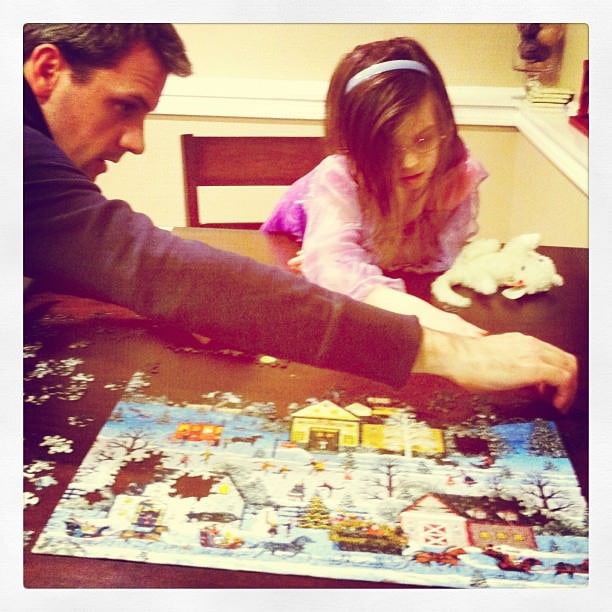
Life does feel a little bit richer. Now that we don’t have a DVR we have to catch up on we are spending more evenings together playing games, doing puzzles, going on outings together, and just focusing on being with each other a little more.

Instead of watching Cupcake Wars we are baking our own cupcakes. Maybe turning the cable off really is radical. It feels that way.

The money that has been freed gives us the chance to put an allowance towards other things we might want to do. We can put the earnings towards a movie outing, getting a season pass to an activity we love, or we can just enjoy the pleasure in the savings.

We still love our television. We just love it in a different way than before.


How do you save on your television watching? How does your family watch television now? What are ways you save on your cable bill?

Disclosure: The links to some of these items are affiliate links and are provided so you can locate what you need quickly and easily. Feel free to order your supplies elsewhere, but we always try to highlight the best deals when we see them.


Pin It
How To Be a Pinterest Superstar

Tuesday, January 31st, 2012

It seems that everyone I know is crazy for Pinterest. In fact, my friends who may have never read a blog a day in their lives are now pinning fools.  From a business perspective, Pinterest is one of the best things that has ever happened to our website. Since starting to use it in April, we have had a steady growth of traffic averaging around 100,000 page views each month.  What is the secret to the traffic growth through Pinterest? I think it is a combination of many things that I have been working on and refining since I started using this tool for my site.

I wanted to share with you a few ideas for growing your web traffic using Pinterest and how to help your own site or blog grow. Anyone can be a Pinterest superstar, but you may need to make small changes in the way you blog to truly gain the traffic you desire.


Get Visual- For those that aren’t familiar with Pinterest, it is a basically a visual way to bookmark and categorize great things that you see on the web. Instead of a list of text bookmarks, it provides a bulletin board where you can visually see all the great projects, recipes, tips, and techniques all in one pretty space.

Since the bookmarks are visual, pictures are what get people pinning. If you have a wall of text and no pictures, no one will ever pin your content because they will have no images to grab. Of course, the prettier the picture, the more likely you will have pins and repins to your blog.  The best advice I can give you is to focus on developing your camera skills so that you can capture images that will capture the hearts of Pinterest users.

Next month I want to share with you some more photography tips, but feel free to browse our other photography tutorials that we offer on here for now.


Make Pinning Simple– Although I am not a huge fan of text on my photos, adding text into your pictures will make pinning from your site easier.

When a user grabs images from your site, they can add a few words describing why they are pinning that image. More often than not, people skip this step and just pin the image of the item. By adding text right into your pictures that describes the item and it helps that image to go a little bit further.  Perhaps this wreath picture would be fine on it’s own, but the Loopy Flower Valentine’s Day Yarn Wreath really lets the reader know that they are going to learn how to make it for the holidays.

Let me illustrate why text in pictures can be so important…


A picture of this Salted Caramel Mocha does not move me to repin this if the original pinner does not have a description. What is this? Why would I want to repin it?


A picture that clearly states that this is a Salted Caramel Mocha coffee drink? Heck ya! Let me repin that for you.


Source Yourself– Not sure what is being pinned on Pinterest from your site?  It is simple to see what your users are pinning on Pinterest.  I just go to http://pinterest.com/source/momadvice.com/ to see the pins from my site. You can do the same thing by simply replacing the last part of that URL with your own web address.

What happens when you source yourself? You can see exactly what people love on your site and it helps to guide the content on your site in a direction that can help with your traffic grow. It was through seeing the pins from my own site that I could see what people wanted more of. When I witnessed a wall of coffee pins, for example, I knew that I should create more fun coffee drink creations. As I created more of the content our readers loved, I created more pins and, in turn, created more readers.

Make Archives Accessible & Visual– It always surprises and makes me happy when an old post starts gaining traction on Pinterest. I understand that my readers don’t have time to sift through eight years of content to find the gems. I don’t have time like that to devote to my own site so that is why it is important that you make those archives accessible and visual for your readers.

Try adding a plugin like Link Within or Outbrain that will create pictures with links at the end of your post guiding readers to dig deeper into the site. This will get people clicking and pinning into your site without the necessity of creating even more content. Make sure that you are checking Pinterest so that you can see what old posts are being dusted off and pinned.

My photography was terrible when I started the site and so I do cringe often when I see old pictures going up on Pinterest. If you have the time to switch the pictures to freshen them up, I encourage you to do that to attract more pins. Once again, getting familiar with your camera and your camera manual is one of the best things you can do for your blog and will pay you back over and over again if you invest the time in it.


Jump on What is Trending- I like to visit the Popular link on Pinterest to see what the most popular pins are on Pinterest and to help me brainstorm content for the site. Jot down the ideas and themes that you see are popular and try to create your own unique spin on popular topics.

When I saw Mustaches were trending on the Popular section, we developed Mustache printables & Mustache Mug Templates that our readers could use. Mustaches weren’t necessarily a topic that I had planned to explore, but it worked out for us when the mustache fun hit Pinterest and attracted new readers to the site.

I do think that Pinterest has impacted our content in a positive way. Niche blogs benefit greatly from Pinterest, but any blogger can find ways to weave in content that can attract Pinterest users while sticking to the core content themes of their blog. Don’t be afraid to get creative or step out of your usual content box.

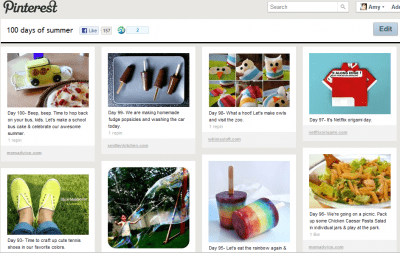
Create a Unique Pinterest Board to Engage Readers- Our readers may remember our 100 Days of Summer Pinterest board that I created at the beginning of last summer. I wanted to create an activity board of 100 activities you could do with your kids to keep them busy over the summer. Instead of sitting at my computer all summer, I switched my posting schedule and used Instagram to document the activities we completed off of the list.

Creating a unique Pinterest Board that could attract new readers is a fun way to interact with your community and bring more traffic to your site. If you run a blog on organizing, for example, you could create a 30 day organizational challenge and pin ideas from other bloggers and weave in a few pins from your own site on how readers could take on a challenge like this.

Install a Pinterest Plugin To Your Site– If you want to make pinning even easier for your readers, consider adding a Pinterest plugin to your blog. We recently added the Pin It On Pinterest plugin to inspire you to pin from our site. With this plugin, I am able to select the pictures that I would like people to pin from the post and even fill in a description of the pin so our readers can simply click and have the pin ready for them, making it easier to spread your content quickly.

Pin Yourself– You can absolutely pin yourself on Pinterest and I encourage you to do that! I like to treat Pinterest just like I treat all of my other social media outlets I belong to.  I try to pin lots of other great bloggers and pin myself every ten pins or so. I don’t want people to think I am only about self-promotion so I concentrate on the things that I think those that follow my boards would really like from our site.

Pin Wisely– Just as I have shared about other aspects of my career, I treat Pinterest with the same professional manner I treat my Twitter stream and Facebook stream. While I may find certain things funny on Pinterest, I have to remember what my readers may think is funny might not be the same as my idea of funny. More importantly, working for other brands also keeps me conscious that I am pinning things that reflect well for my job with them. Hopefully one day Pinterest will have private boards where I can muck it up a bit, but for now I try to keep my pins family-friendly and brand-friendly.

Just Get Pinning- It’s time to get pinning and build your presence. Don’t be afraid to set up your own network of bloggers to help promote each other on Pinterest. Just like all things in blogging, the beauty is in the community that you surround yourself with and sharing the traffic love!

I hope you will follow me on Pinterest because I  love new friends.

I really, really do.

Let’s talk about using Pinterest for your business! What has helped you build your presence on Pinterest? What tips do you have for other bloggers? Do you have any questions for me about how I use Pinterest? Have any Pinterest tutorials you would like to share? Feel free to link them up below!
Pin It

Valentine’s Day Yarn Wreath

Tuesday, January 24th, 2012

Since Valentine’s Day is just around the corner, I thought it would be fun to decorate my little yarn wreath for one of my favorite holidays. Today I wanted to share with you another fun way to decorate that wreath of yours and some fun creations you can make with a simple piece or two of felt.

You may recognize this yarn wreath that I made this Fall to decorate our front door. This wreath was created because of the limited amount of storage in our house. I created this wreath to transition with the seasons and figured out a way to create accessories that could easily be removed and switched out with the holidays. Say goodbye to this old Fall look and let’s brighten things up with some Valentine’s Day fun today!


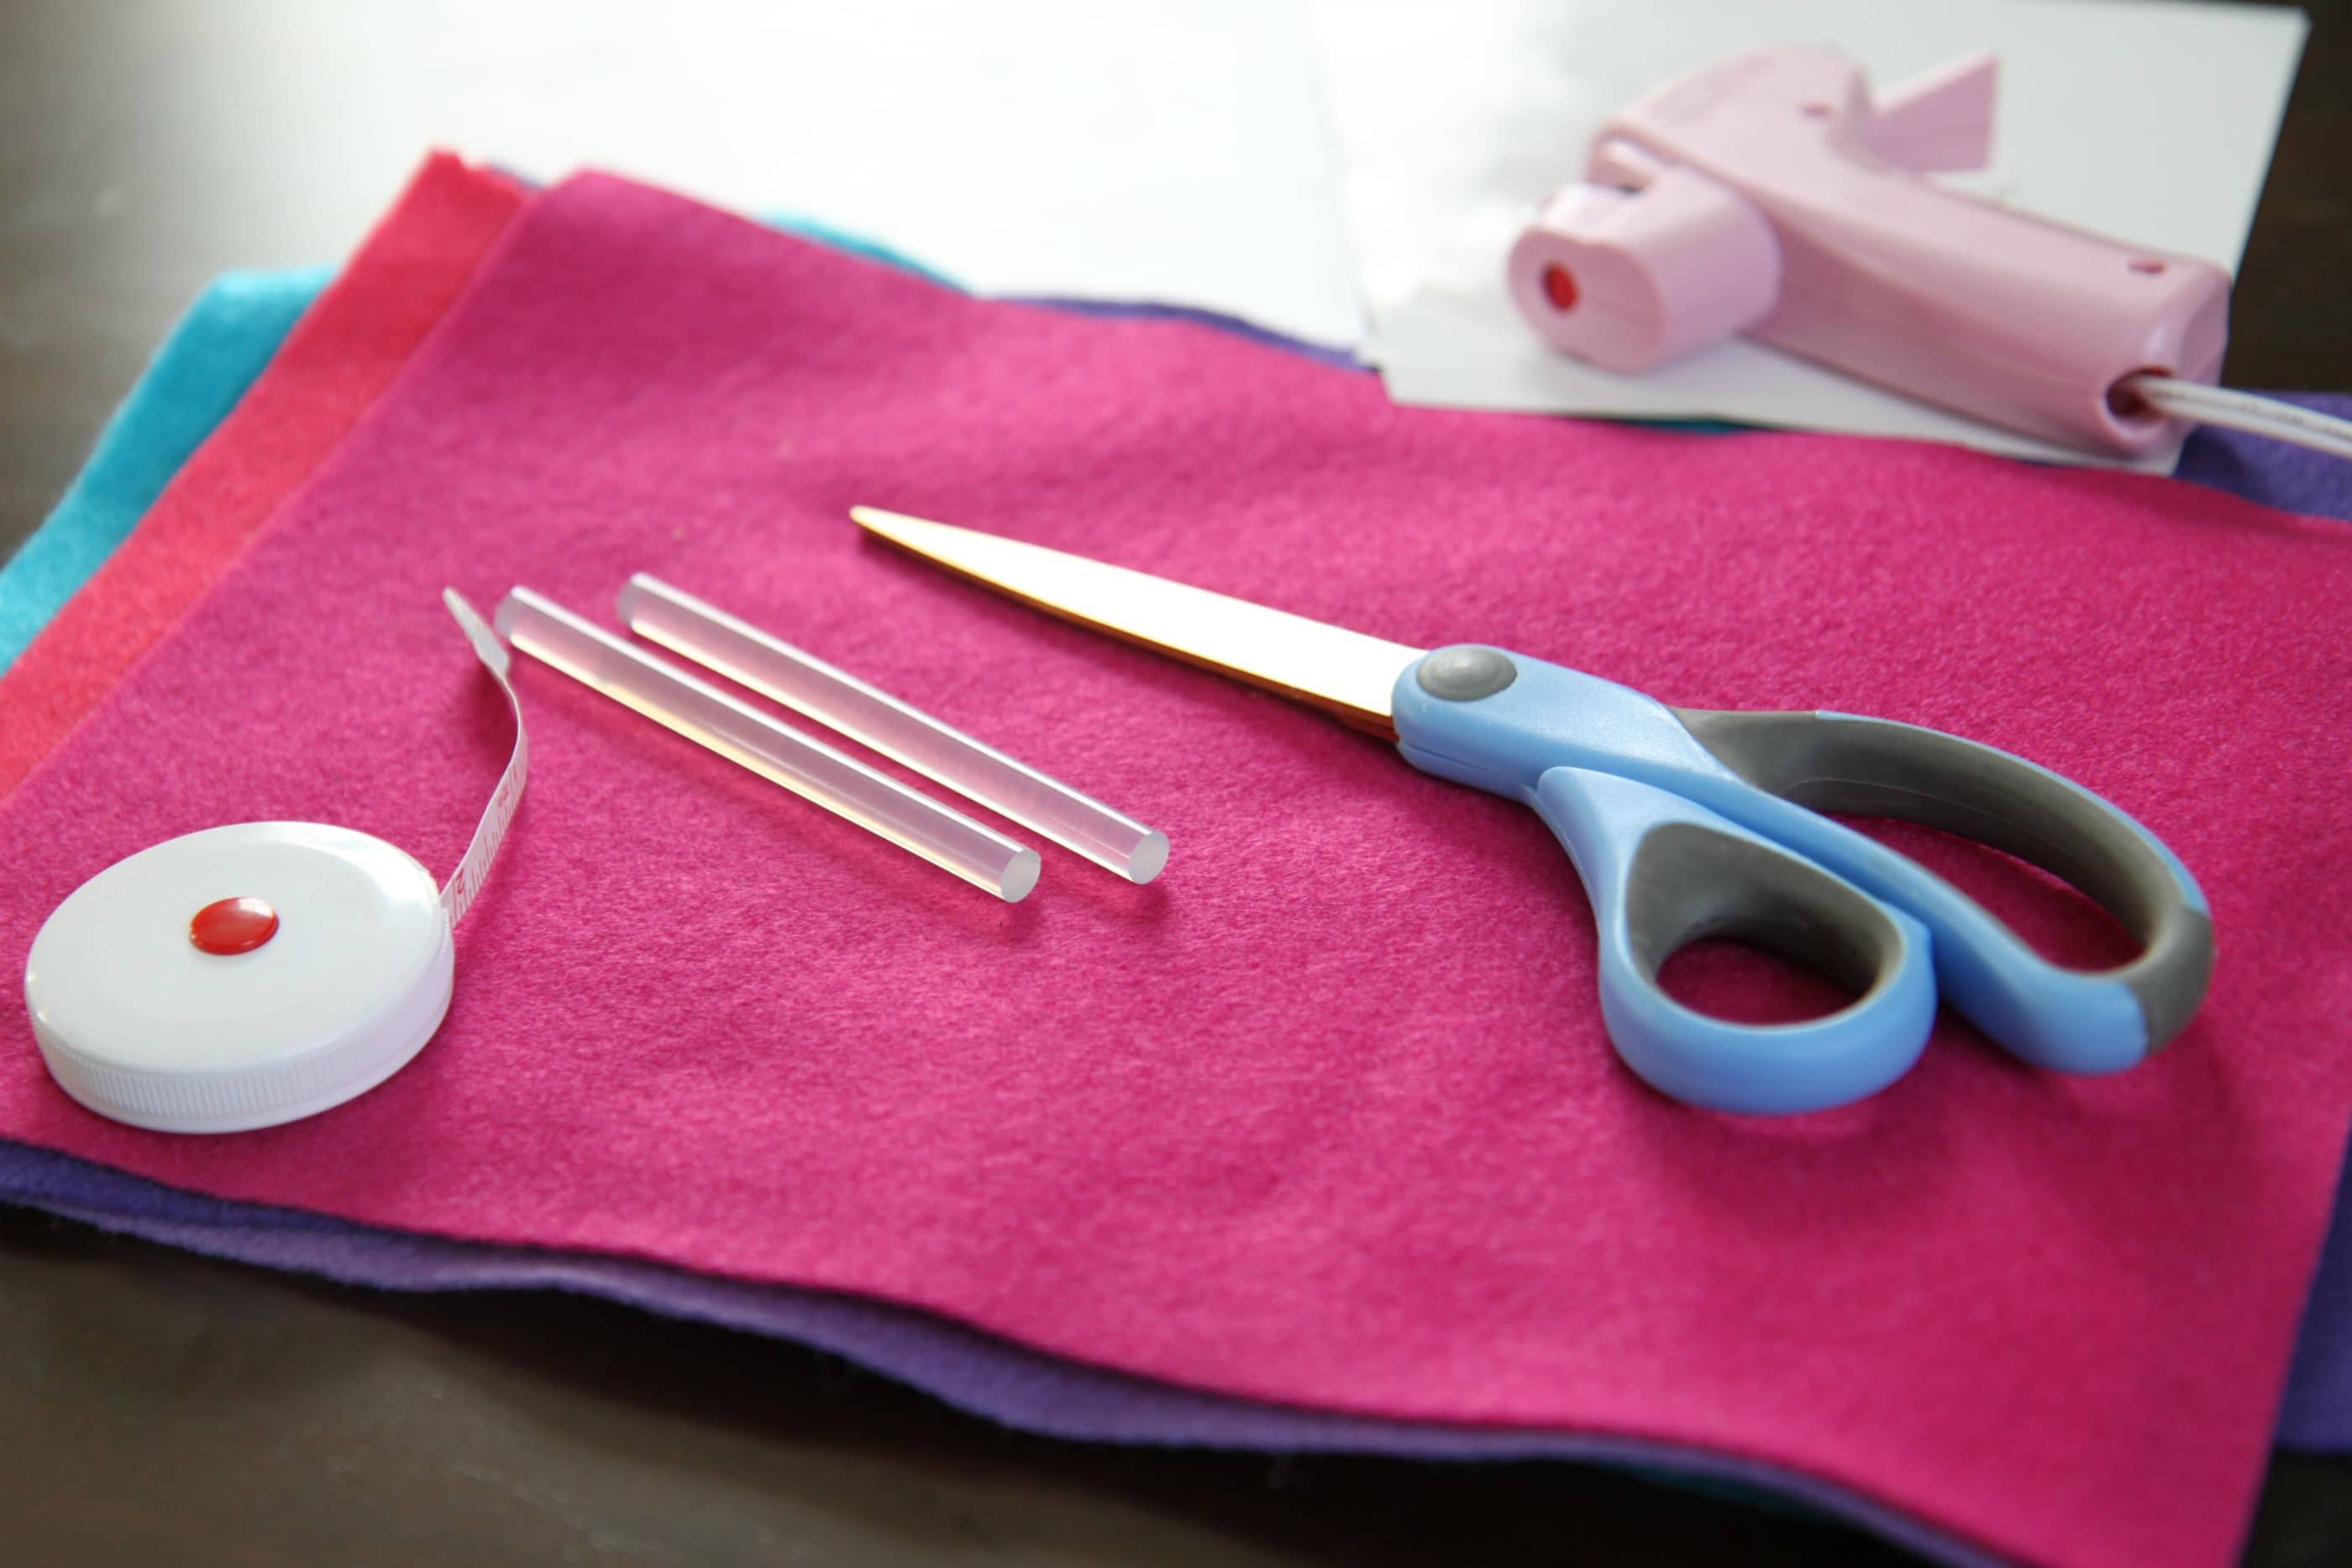
For this wreath, I wanted to create some loopy flowers in pinks and purples for my wreath.  I found a multi-pack of fun felt colors at Walmart over by the craft supplies with my Valentine’s Day colors in it.  You will also need a hot glue gun, glue sticks, scissors, a tape measure, and your choice of a clip (like I have shown here) or a jewelry pin (you can find those in the jewelry-making supplies).

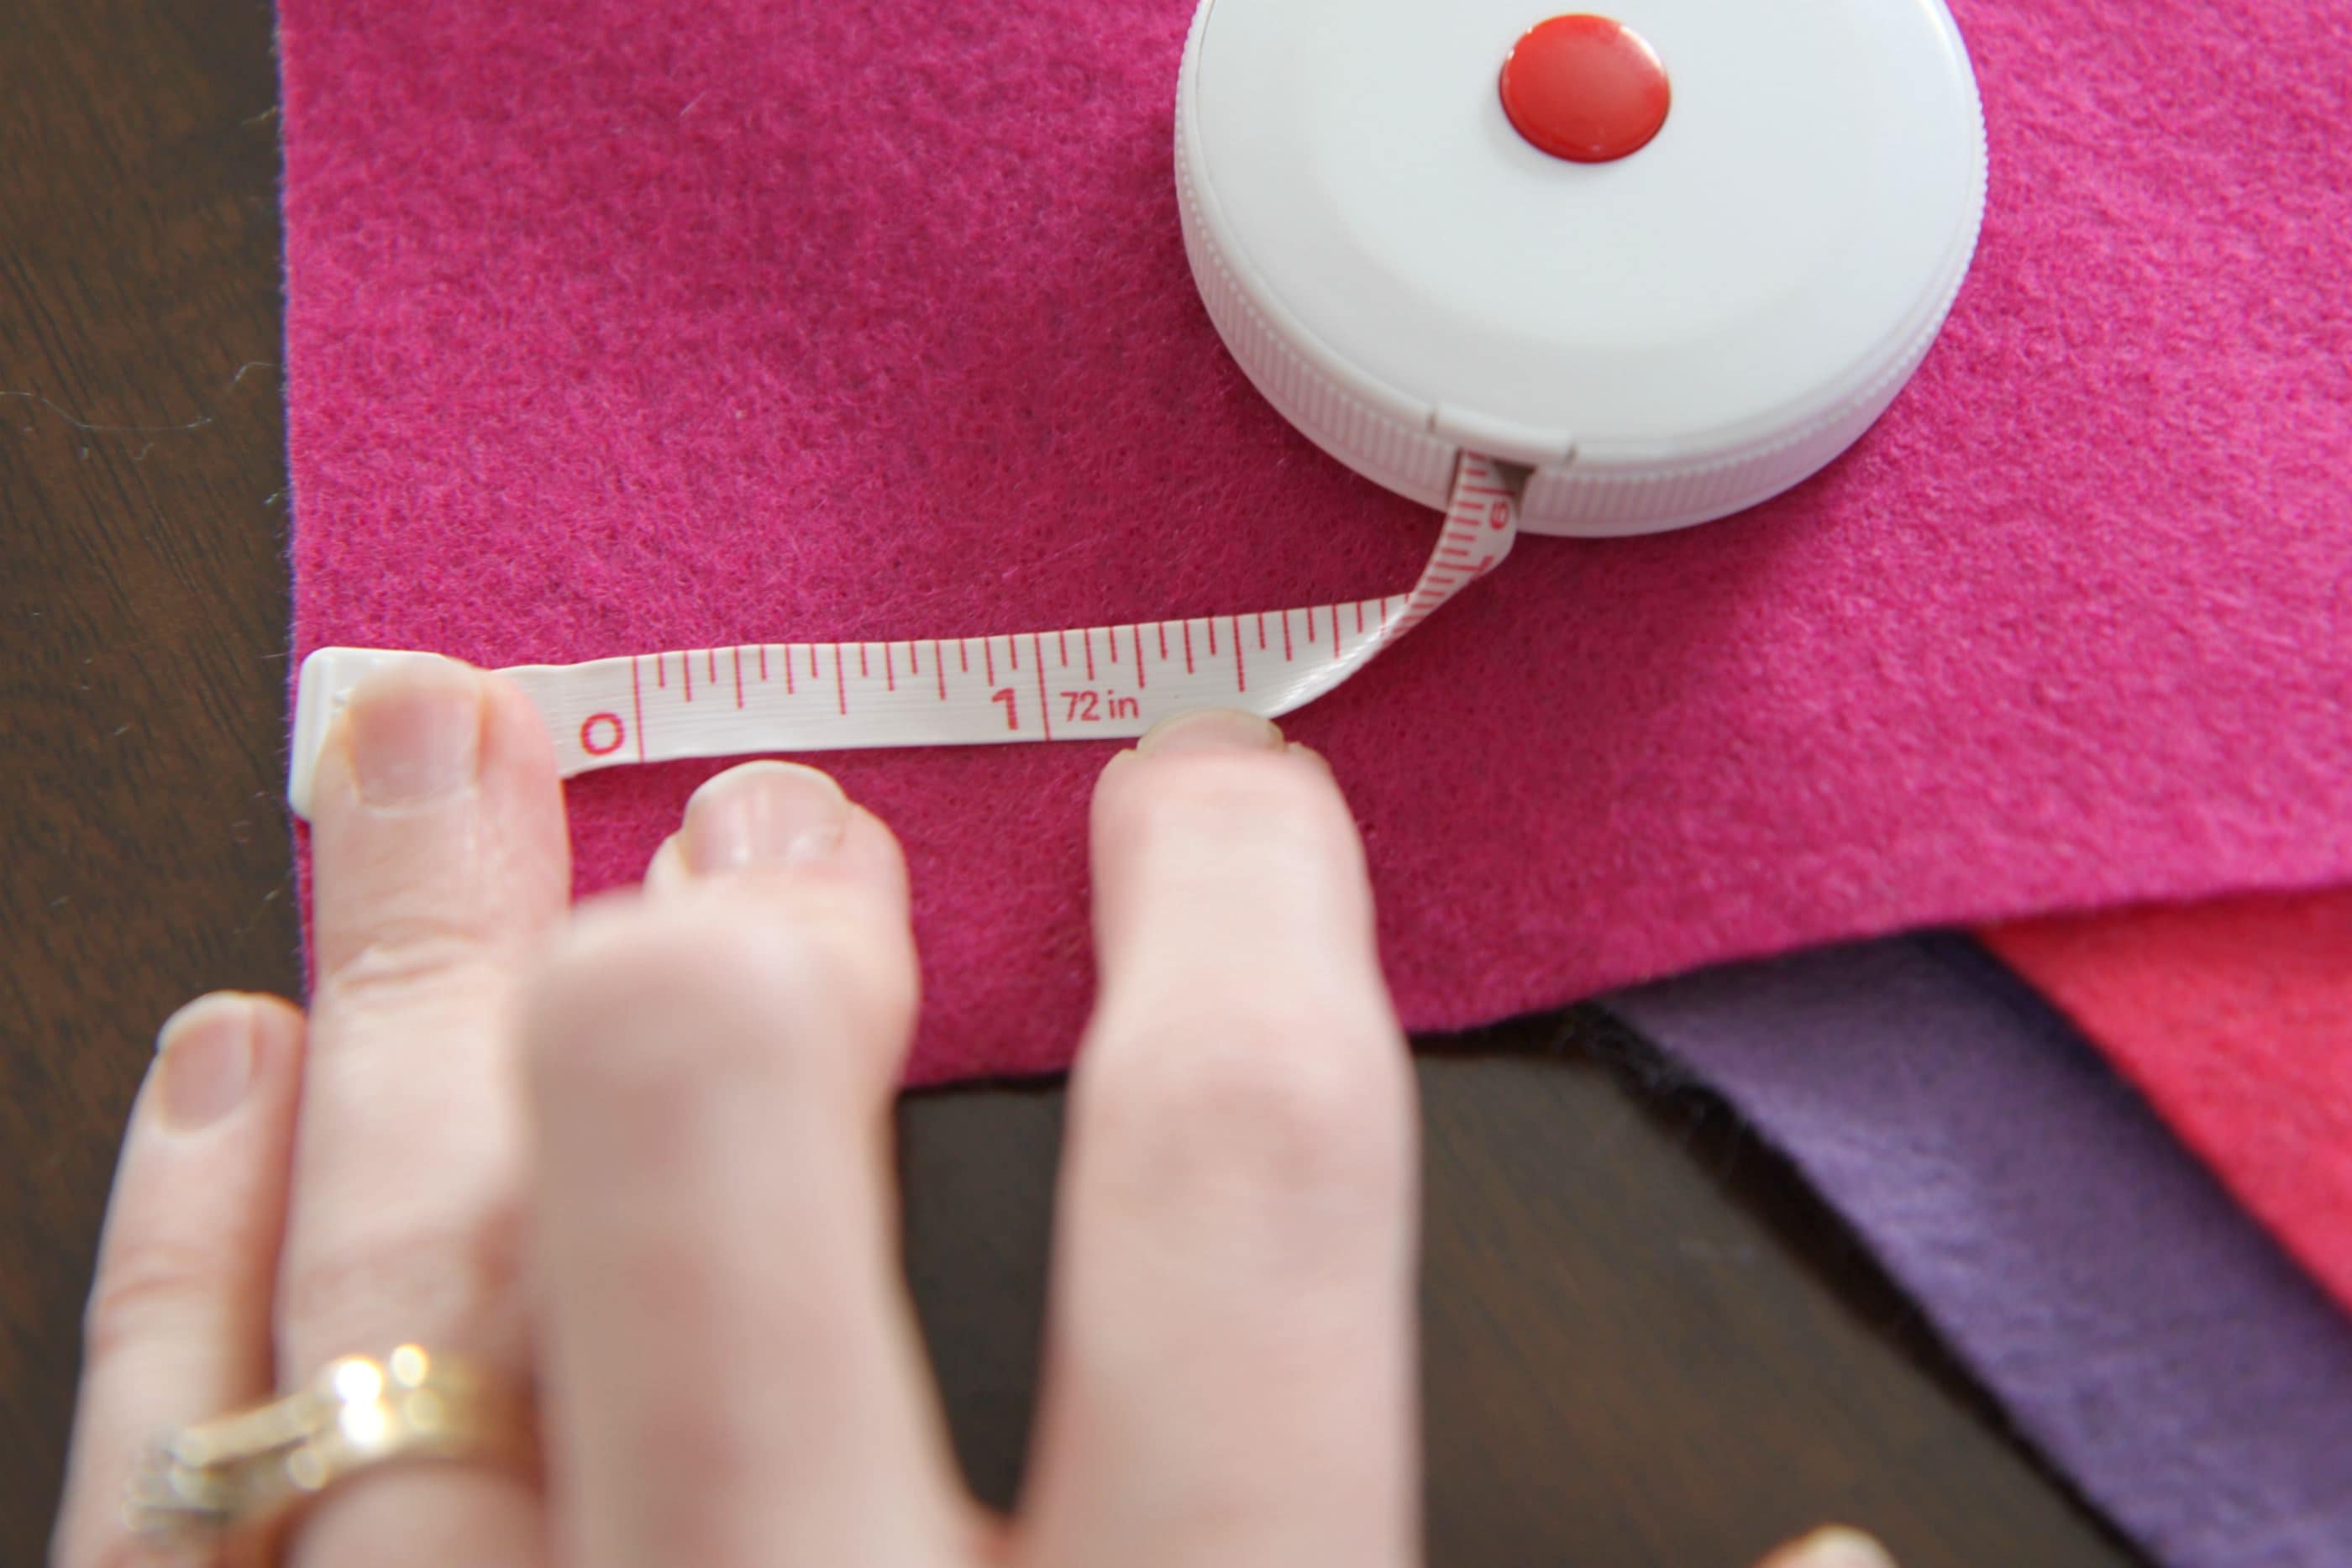
Taking your felt square (which is roughly the size of a sheet of paper), measure 1 1/2 inches width. You will cut a strip 1 1/2 inches wide along the long edge of your piece of felt. Repeat one more time so that you have two of these strips for your loopy flower.

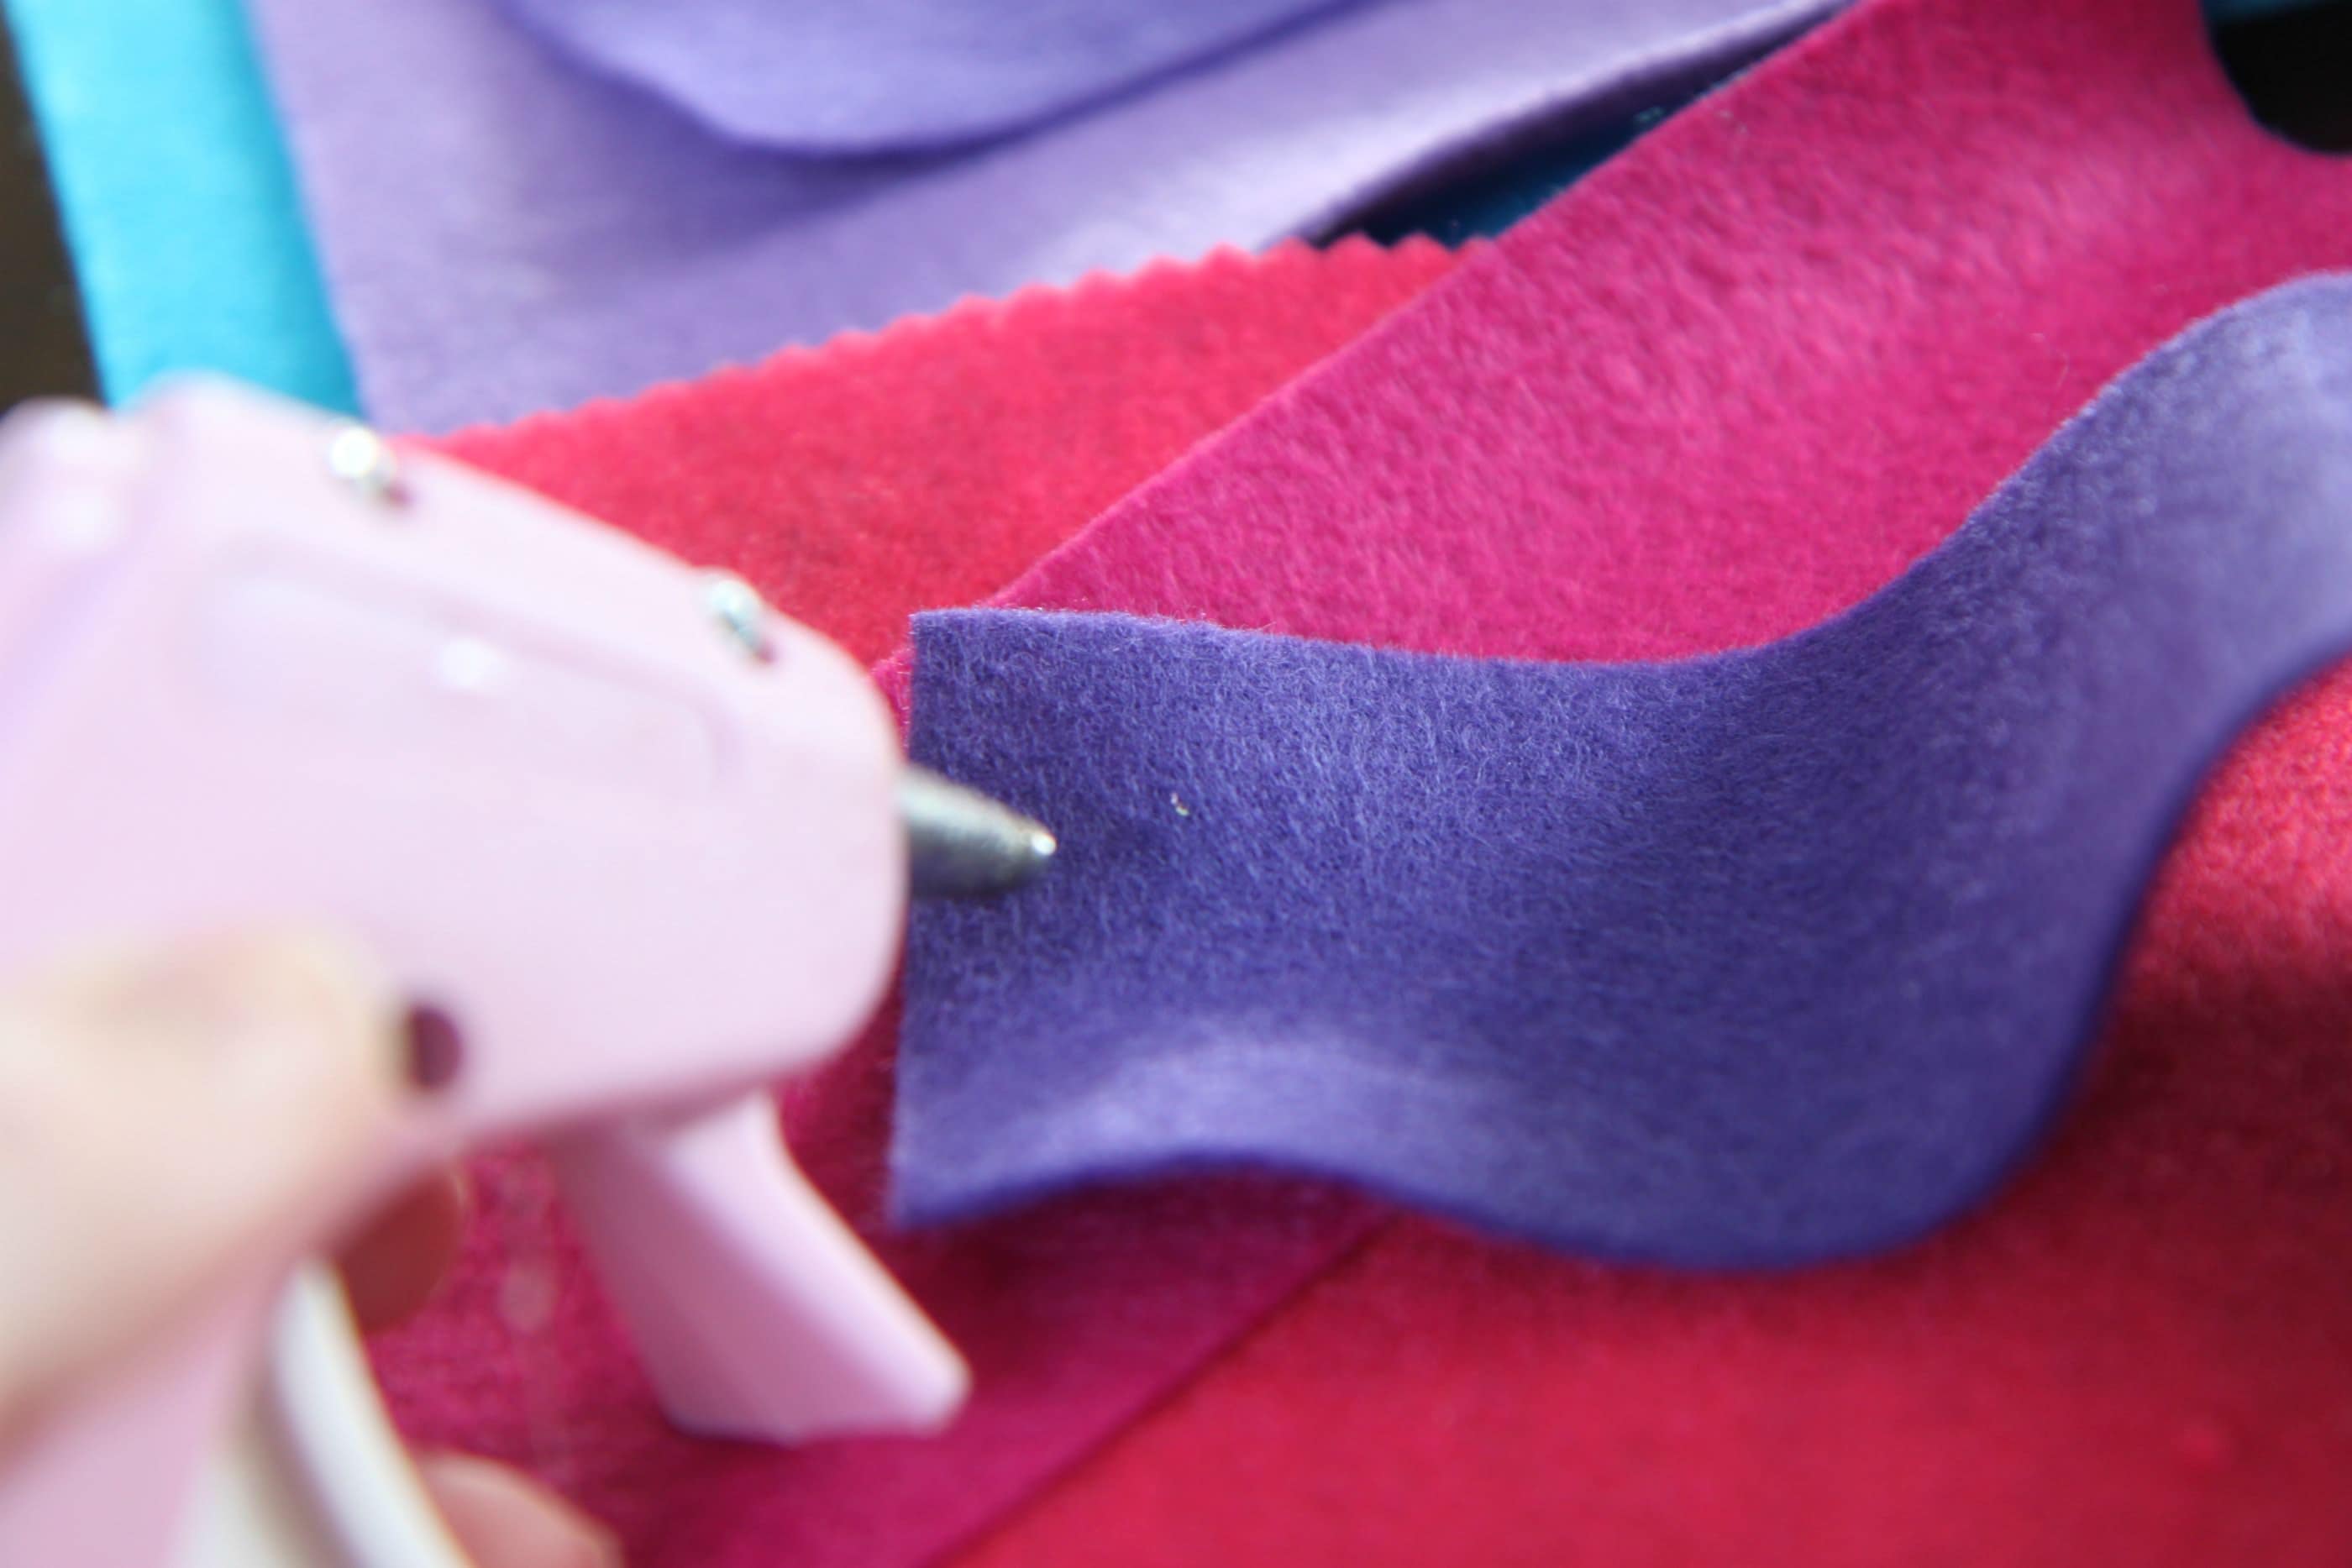
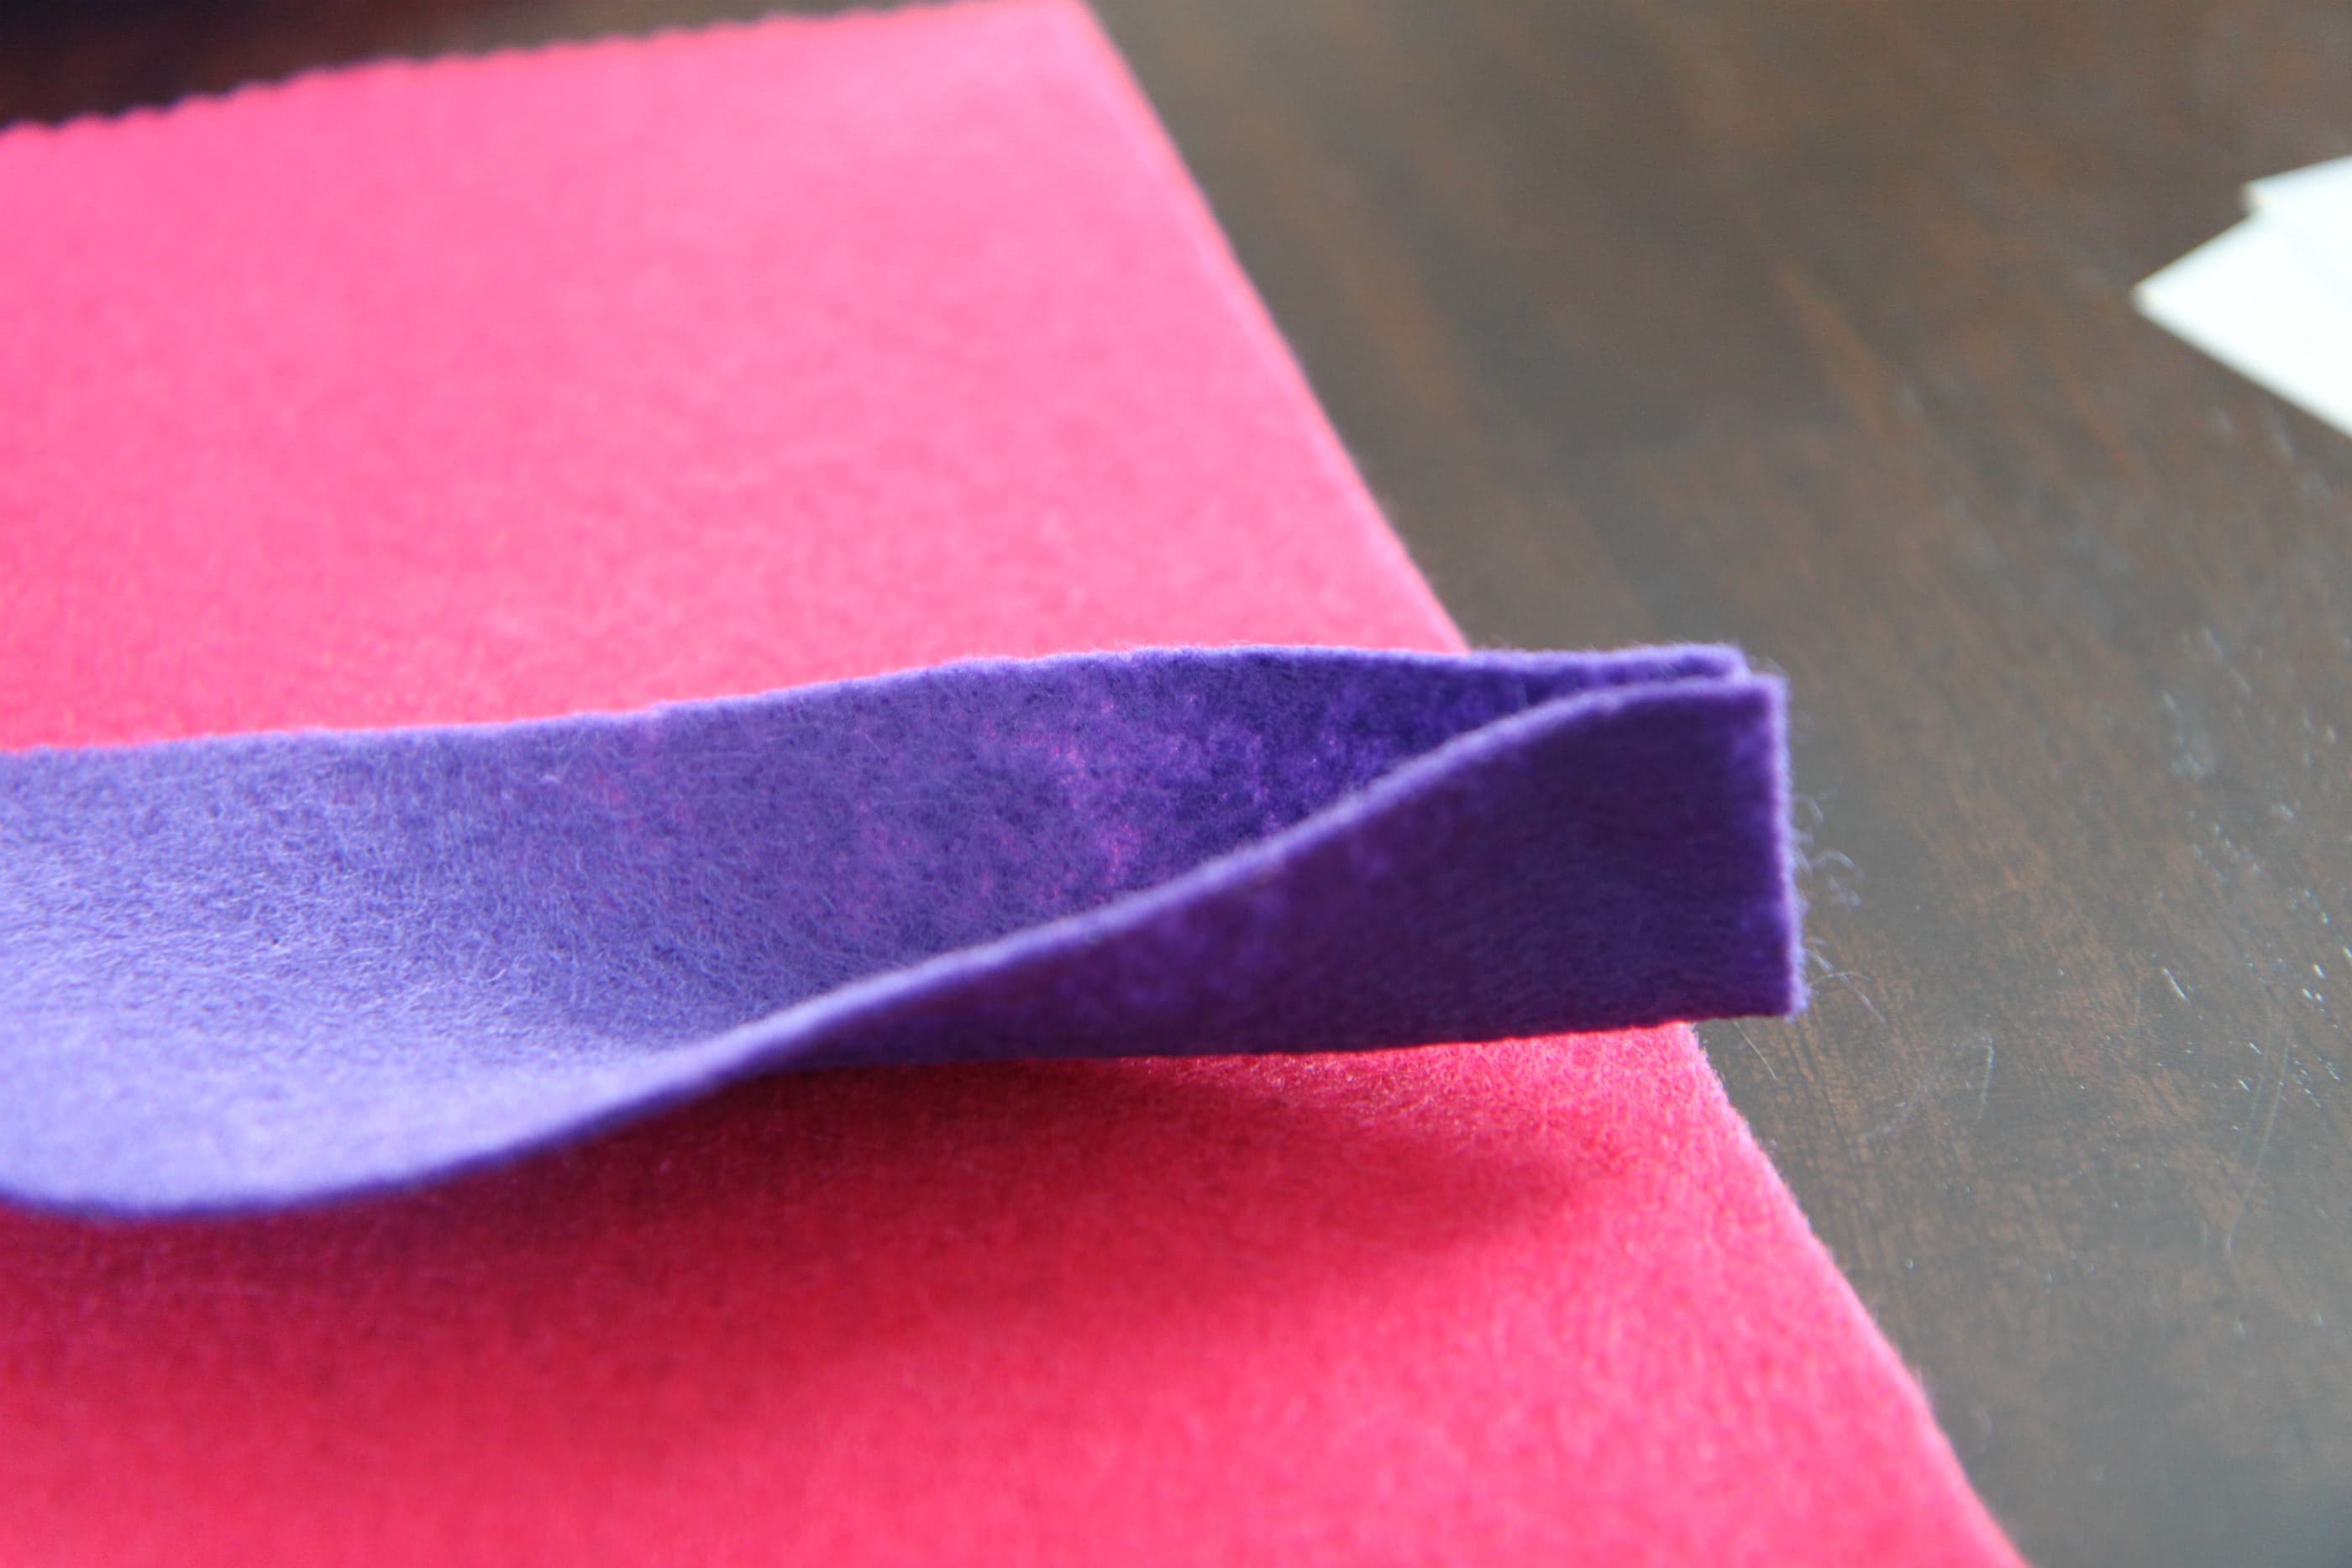
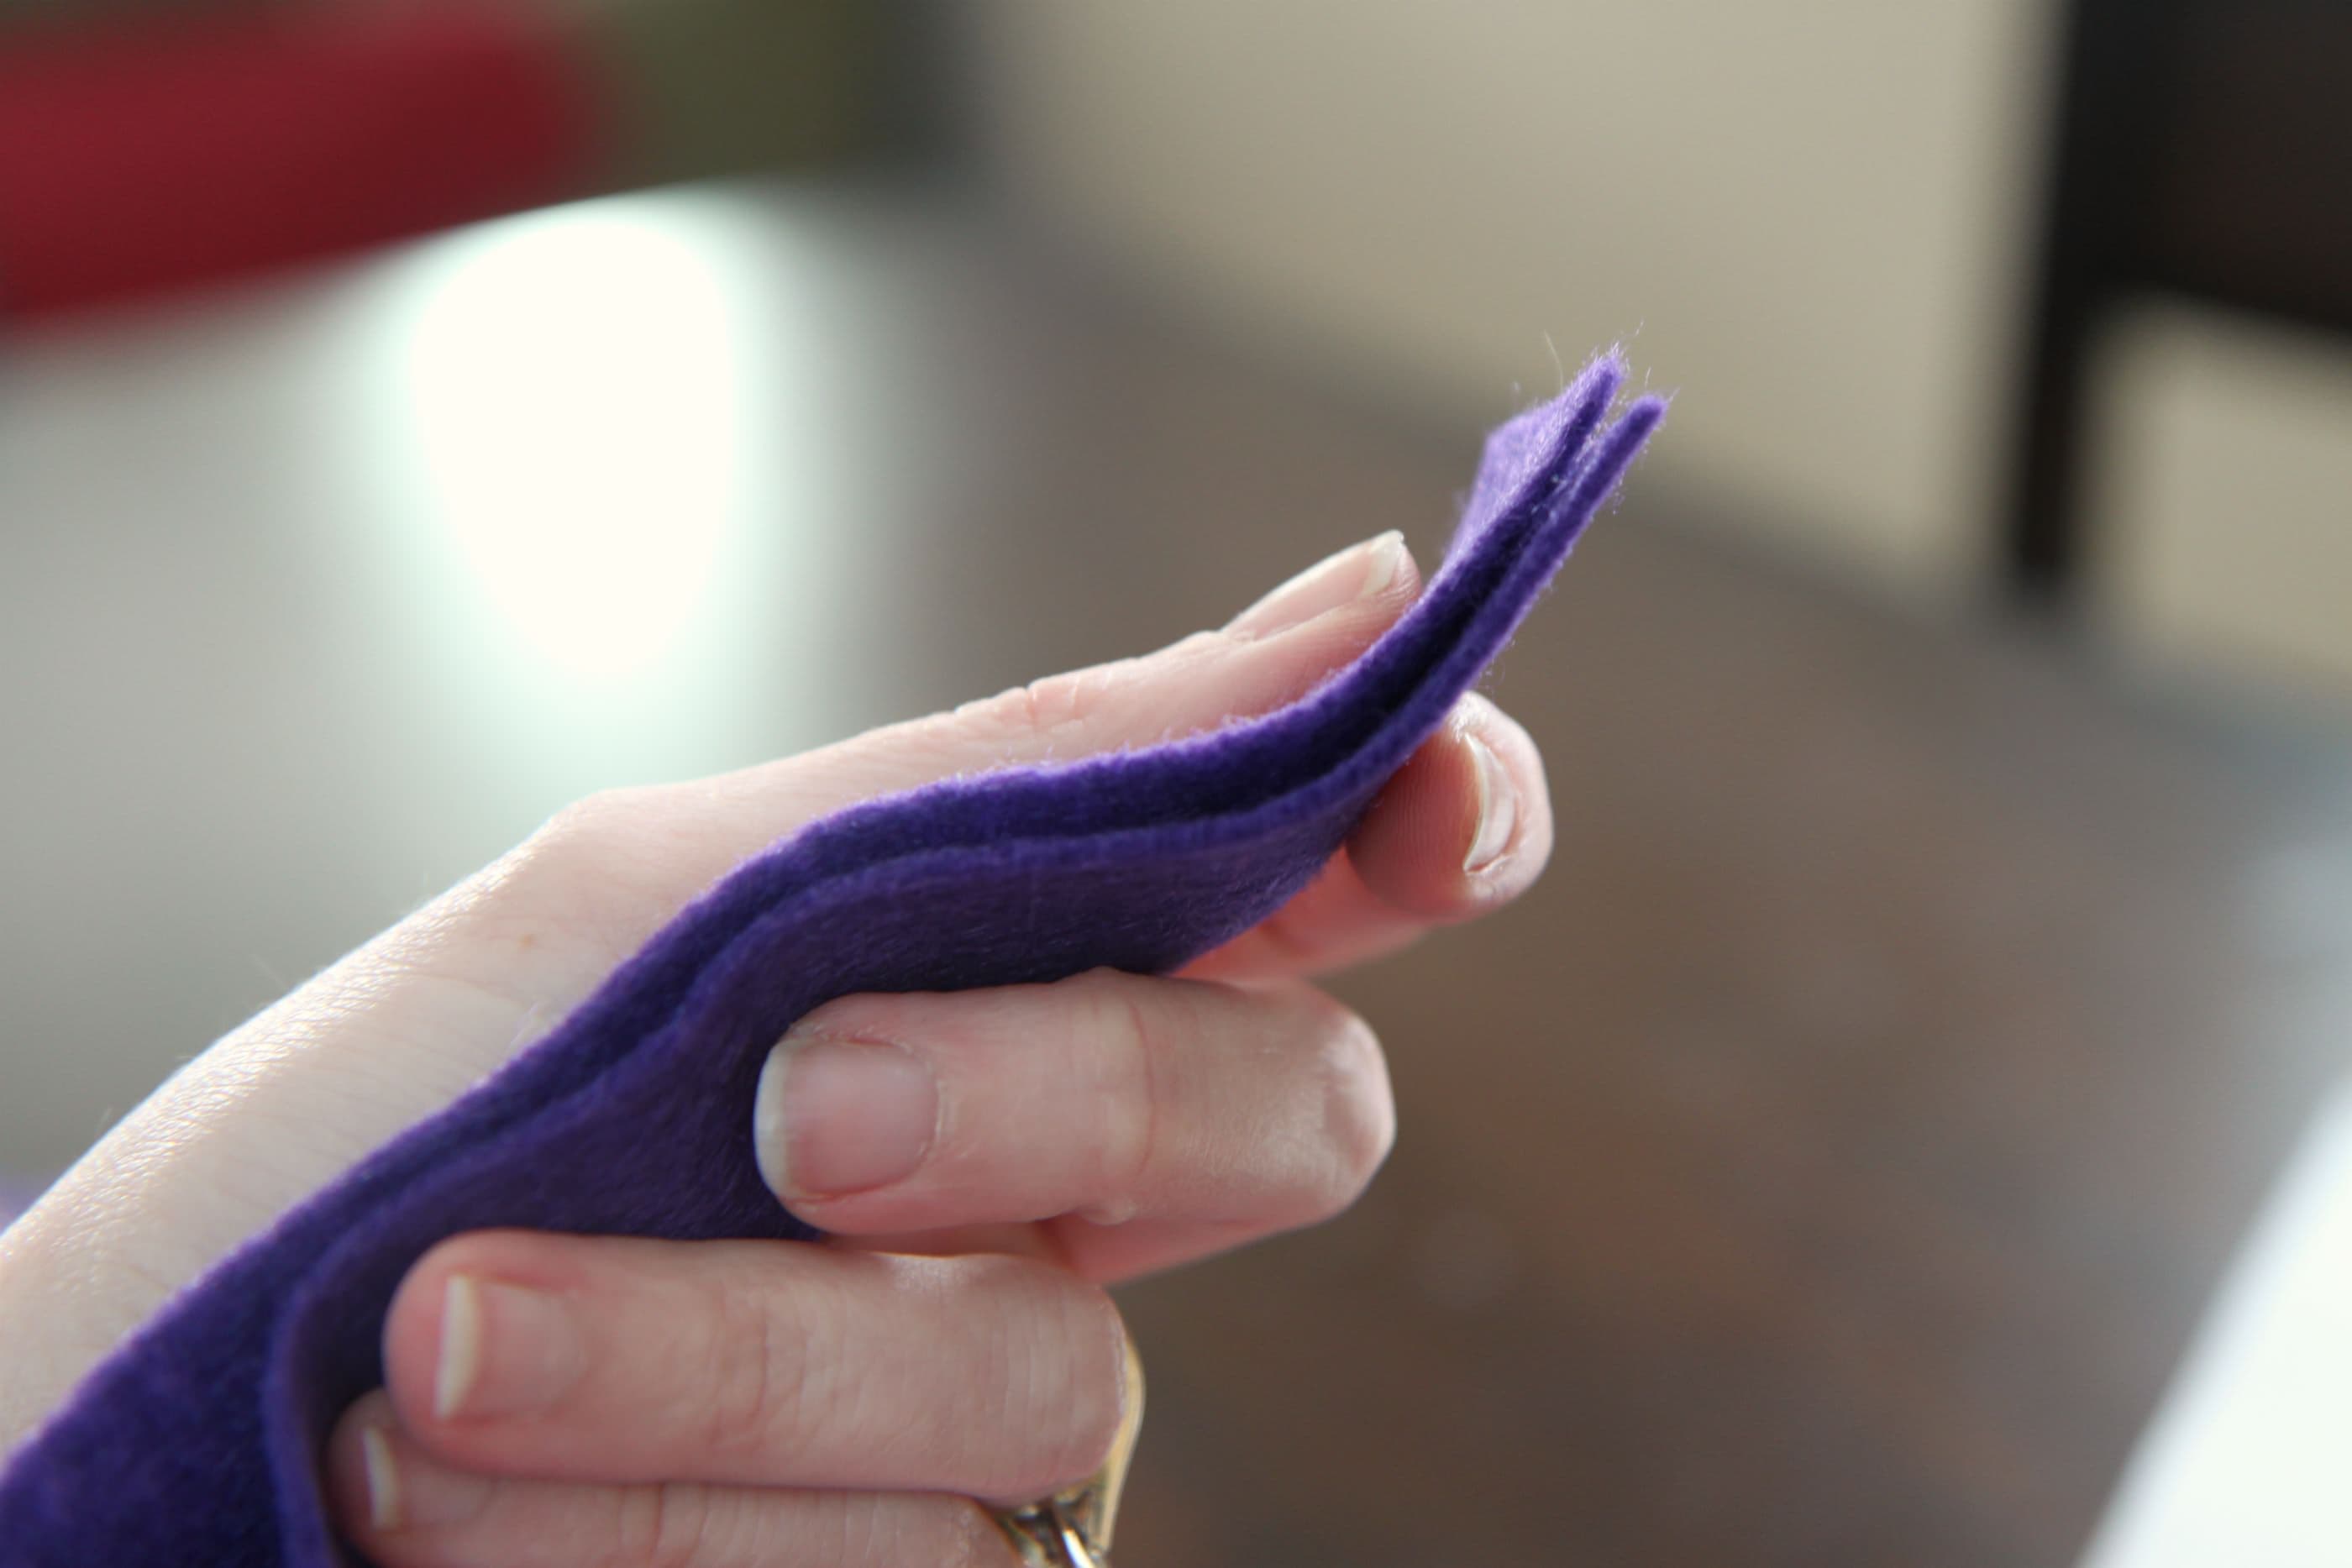
Dab a little hot glue on each end of the piece of felt and fold in half. I also like to make sure it is a little secure in the middle with one more dab of glue, but you can judge for yourself how secure you like it.

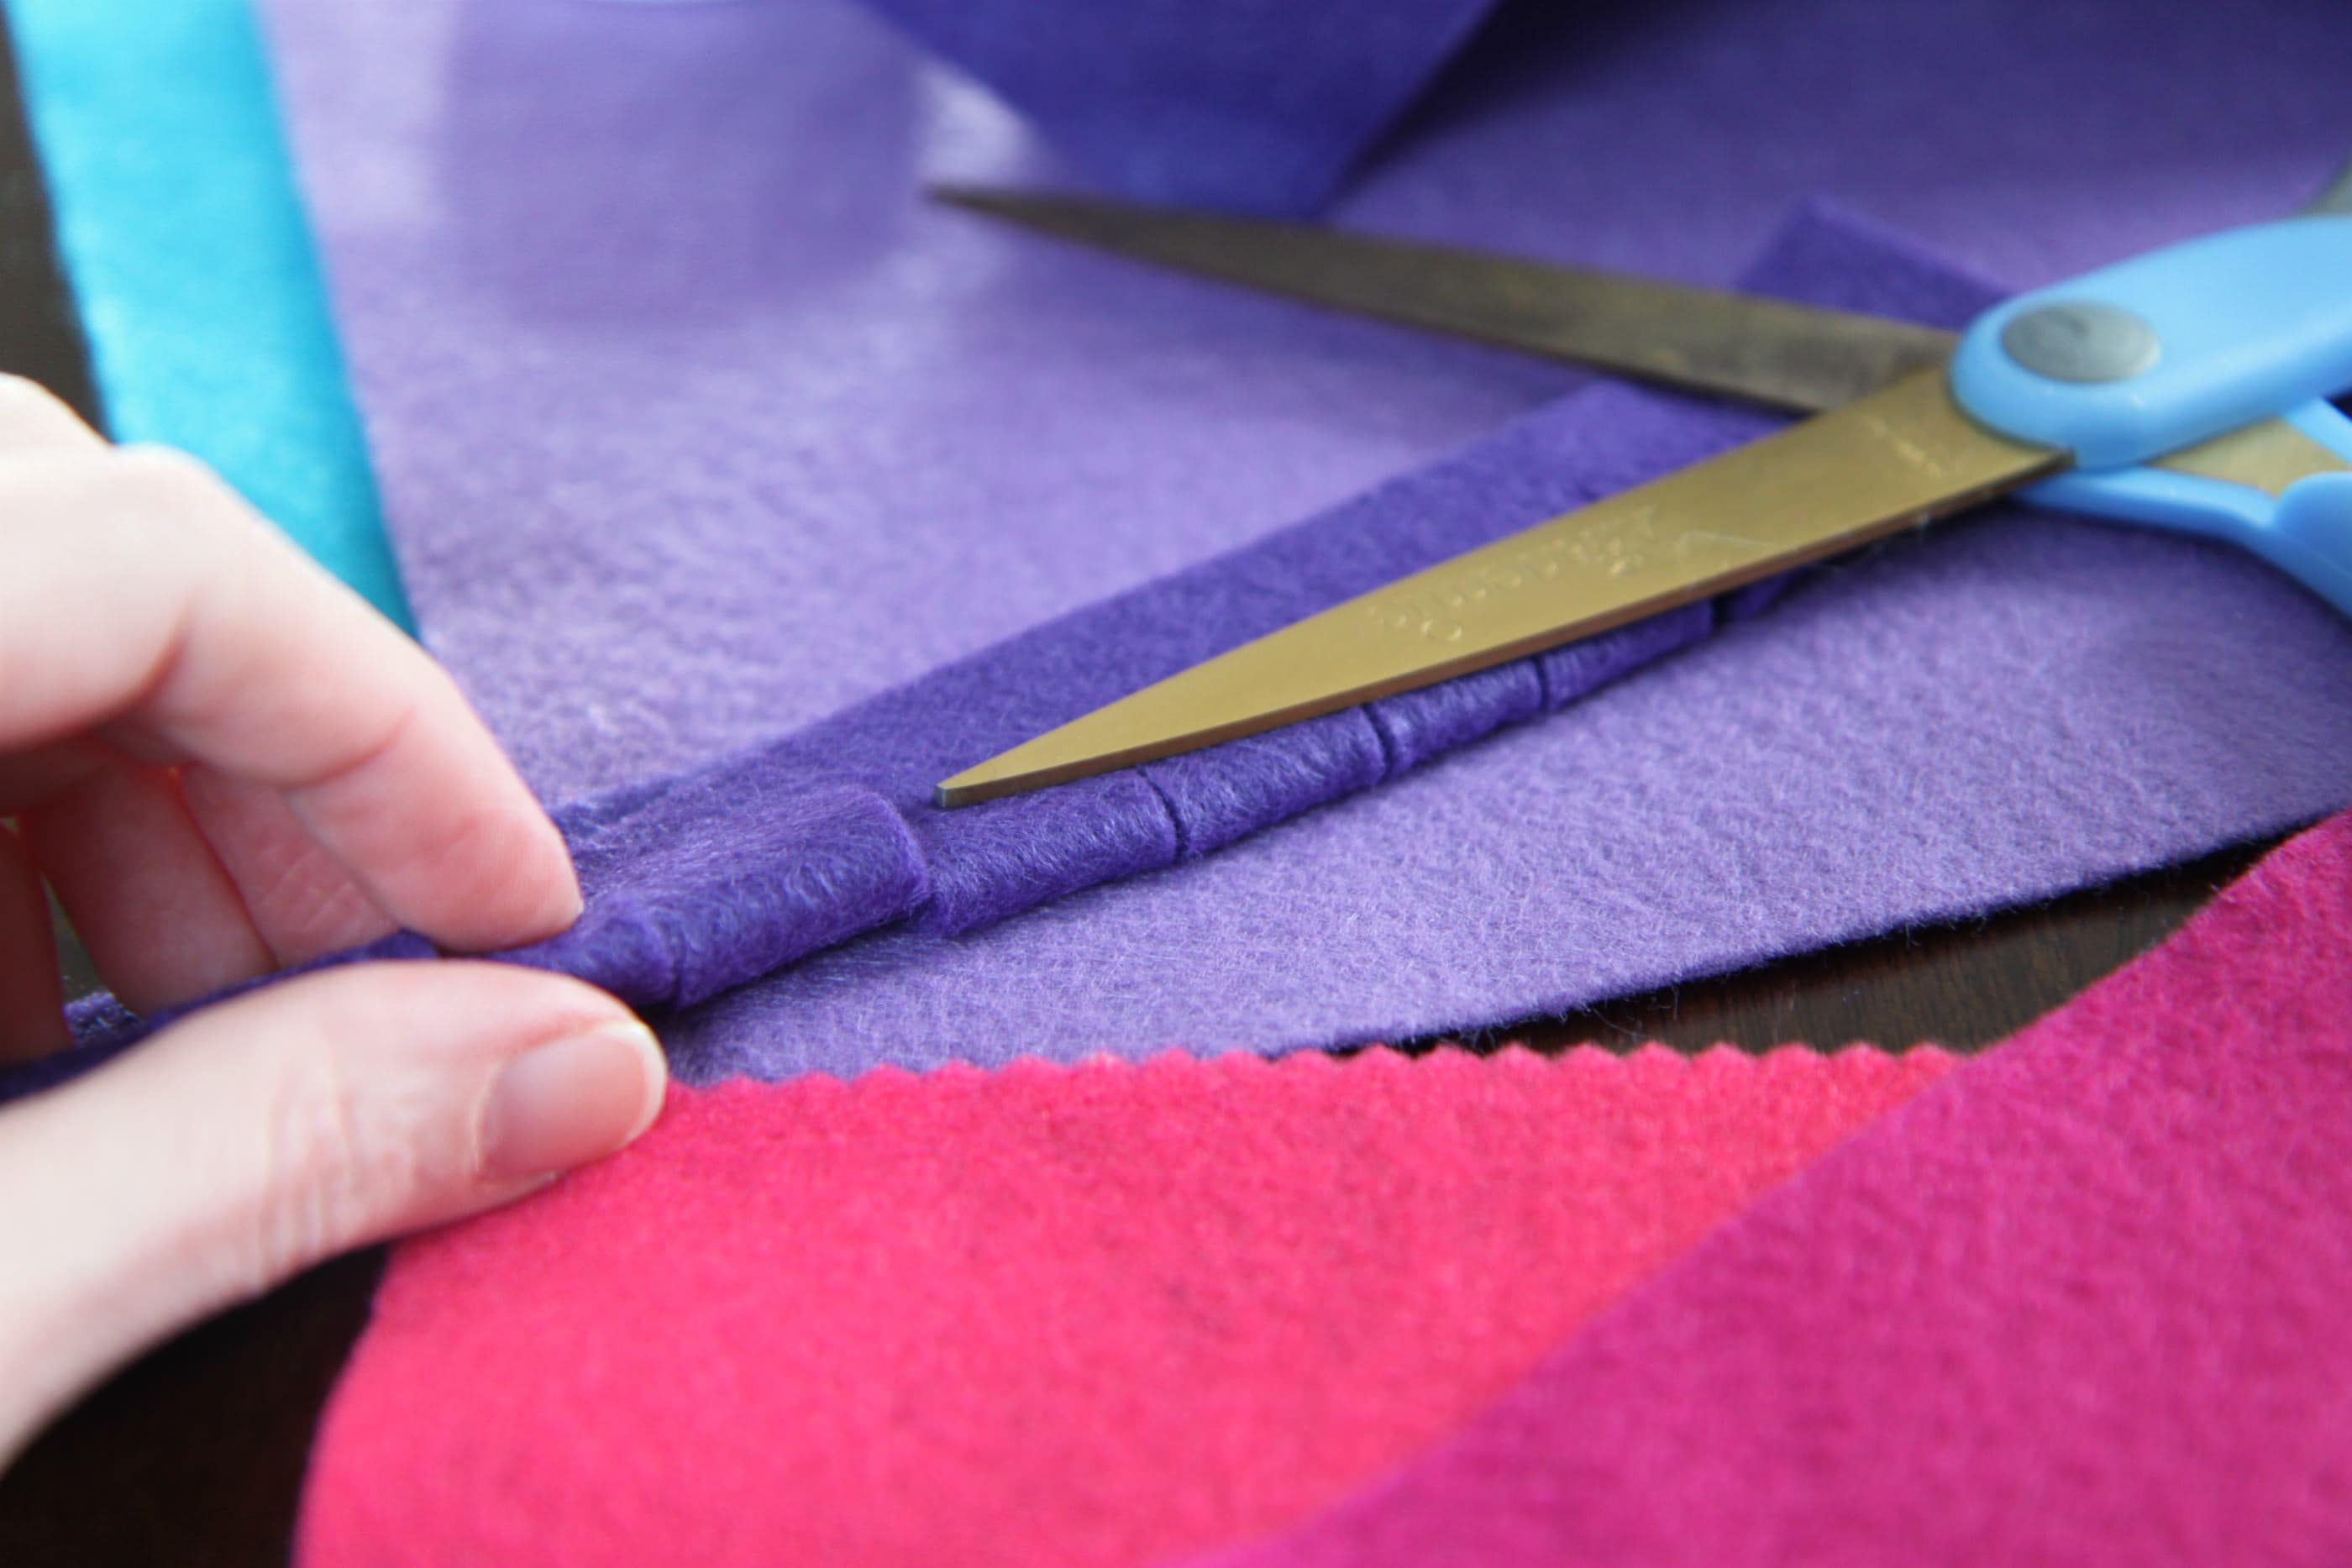
Cut slits down the side that is not glued.  You can make them fat or thin depending on what type of look you are going for. You can cut them straight or cut them on an angle. Basically, anything goes with the cutting!

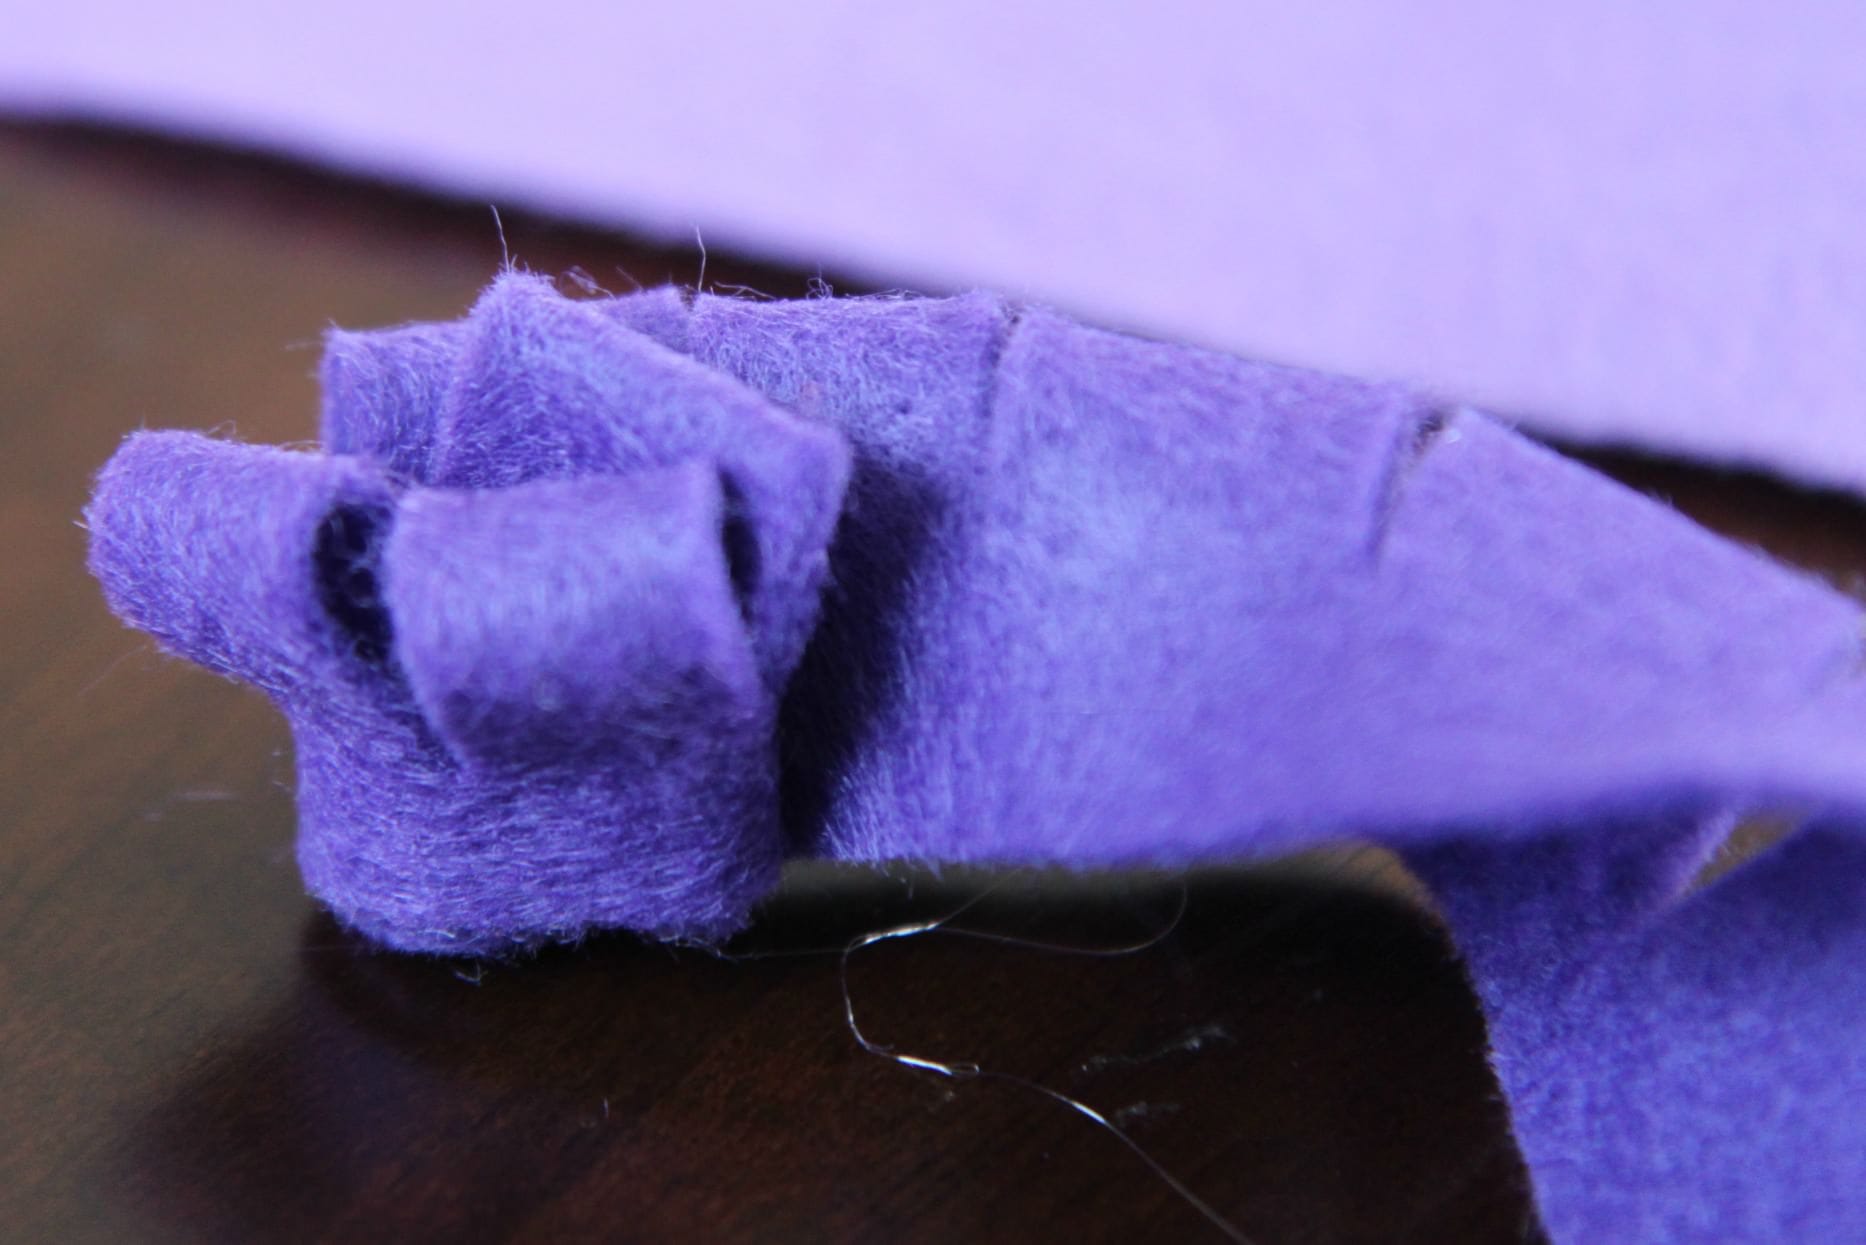
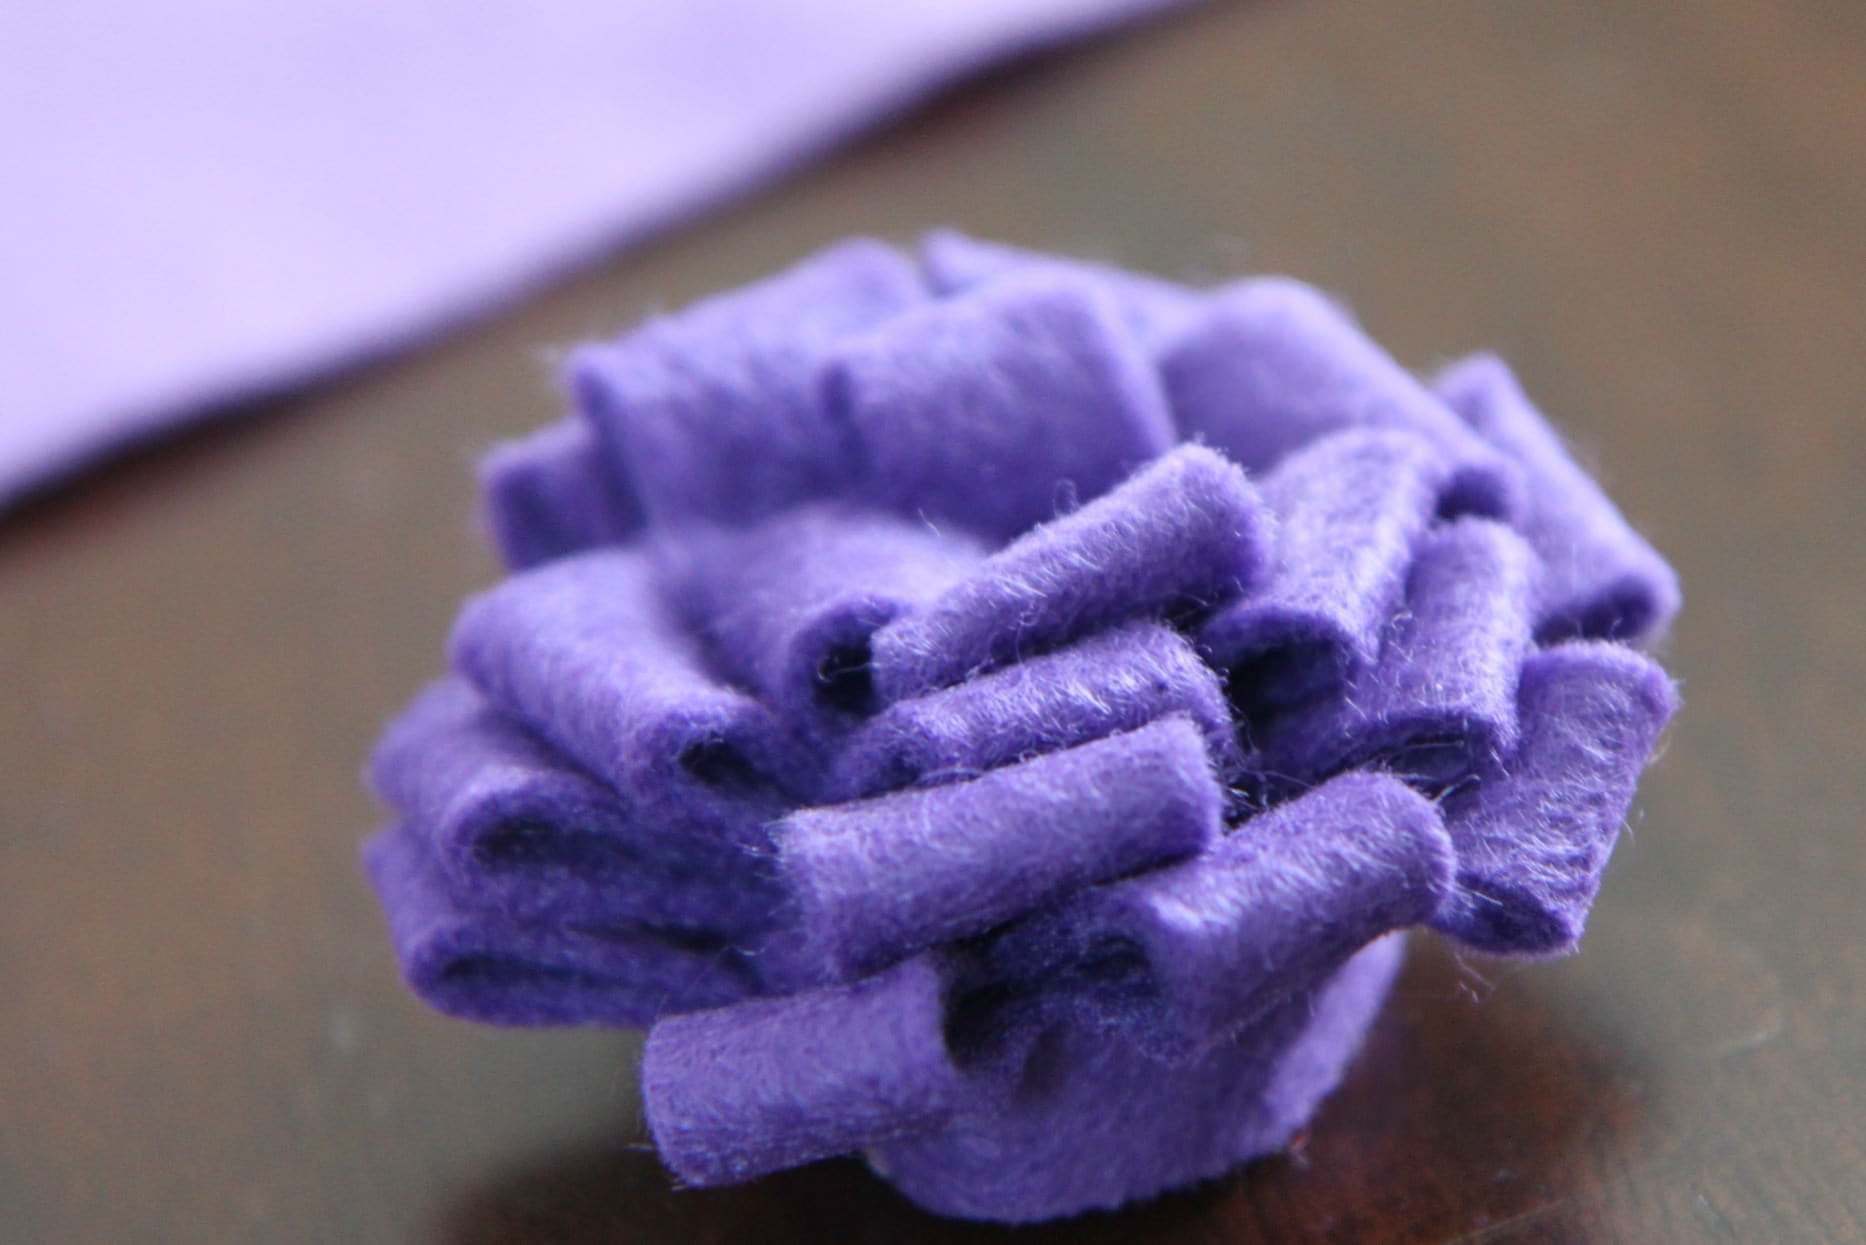
Now start rolling your little loopy flower up and add a dab of hot glue here and there to make sure it all holds secure.

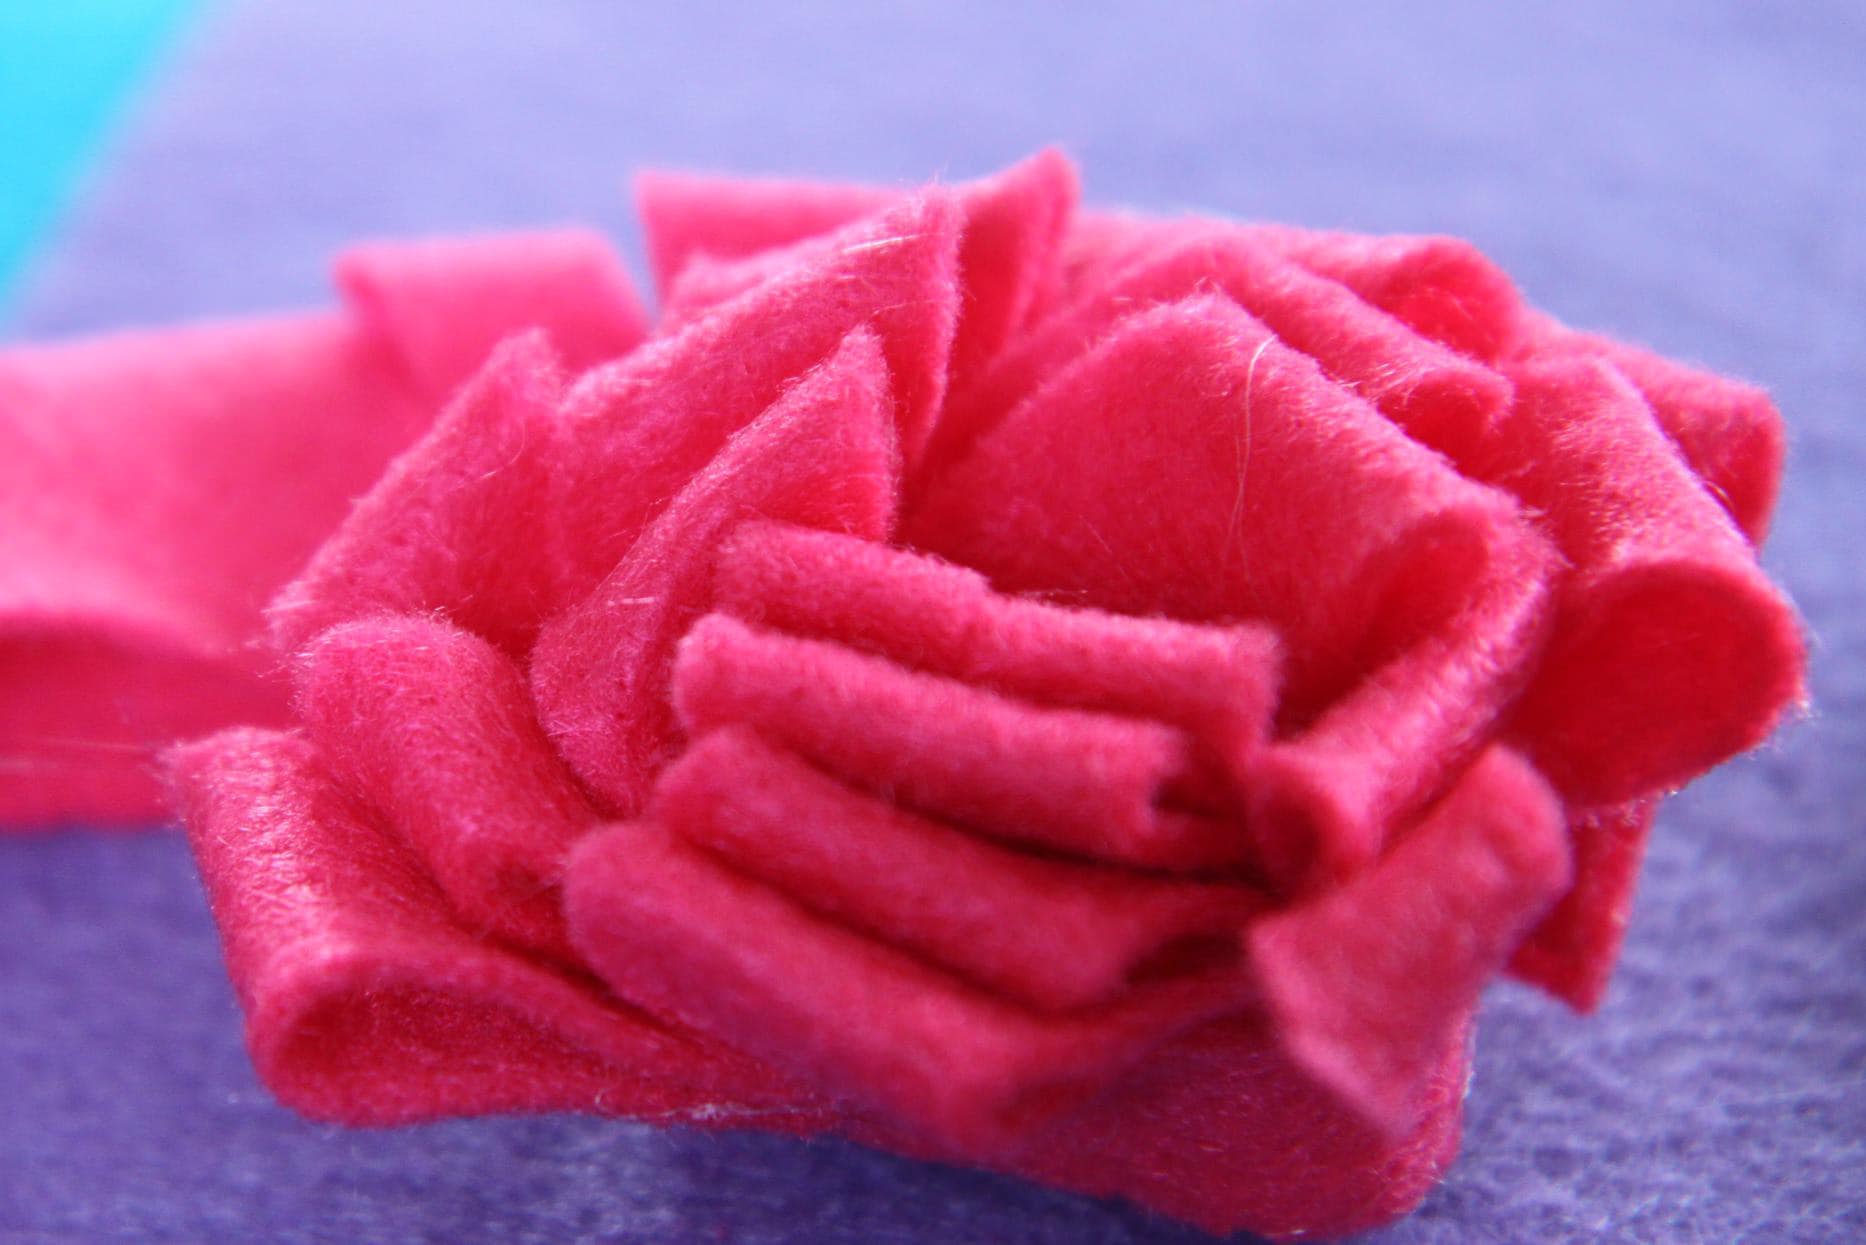
So pretty! You can leave it like this for a small loopy flower or you can use that other strip of felt you cut and start cutting it up just like the last one.

Once you have that second piece of felt cut, you can start wrapping it around the outside of your loopy flower you started, picking up where you left off with the last piece of felt. You can do two different colors of felt or keep it sweet and simple with the same color. Apologies for switching colors on you, my pictures from the first flower didn’t turn out as good.

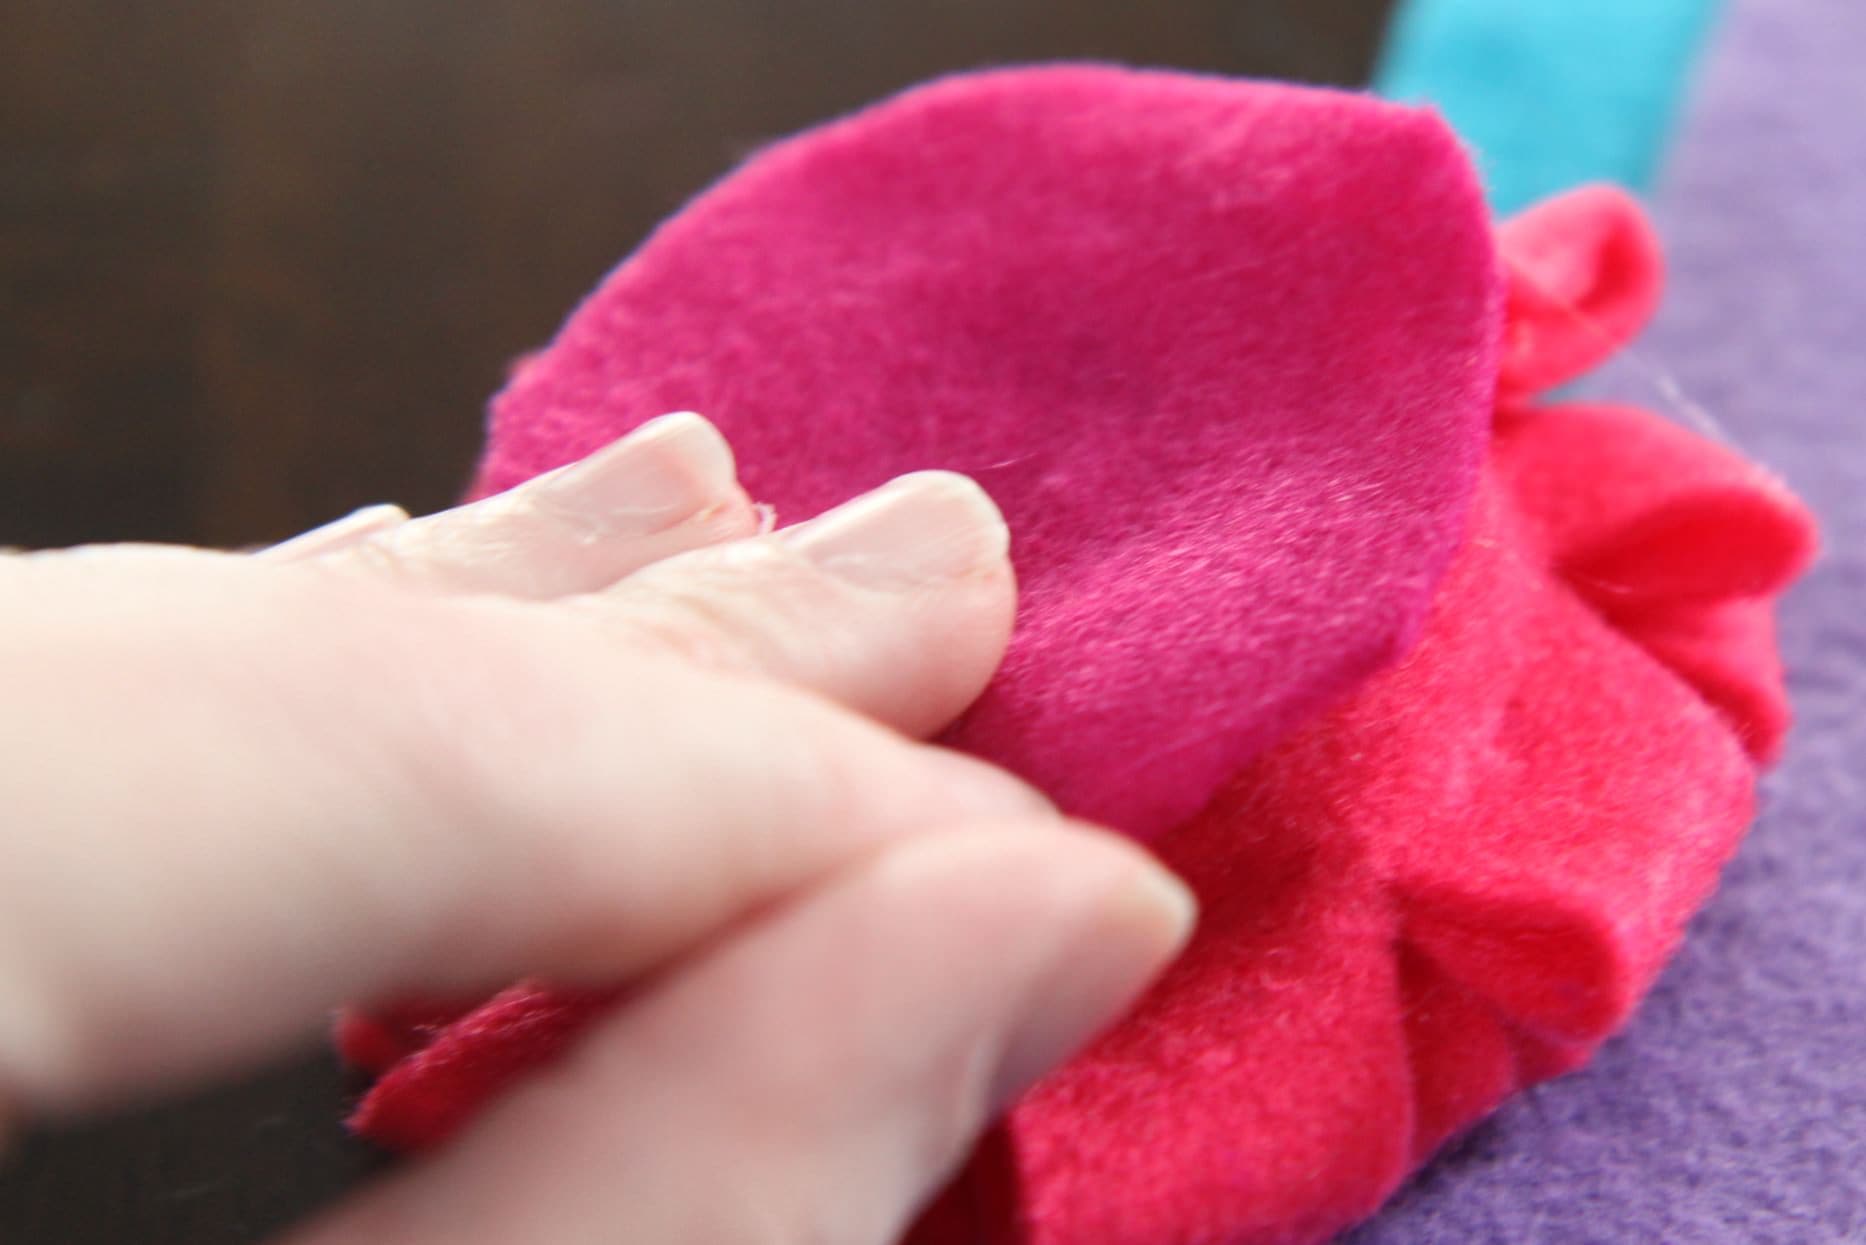
Hot glue a small circle of felt to the back of your loopy flower to hold it all together. Add your pin or clip to attach the flowers to your wreath.

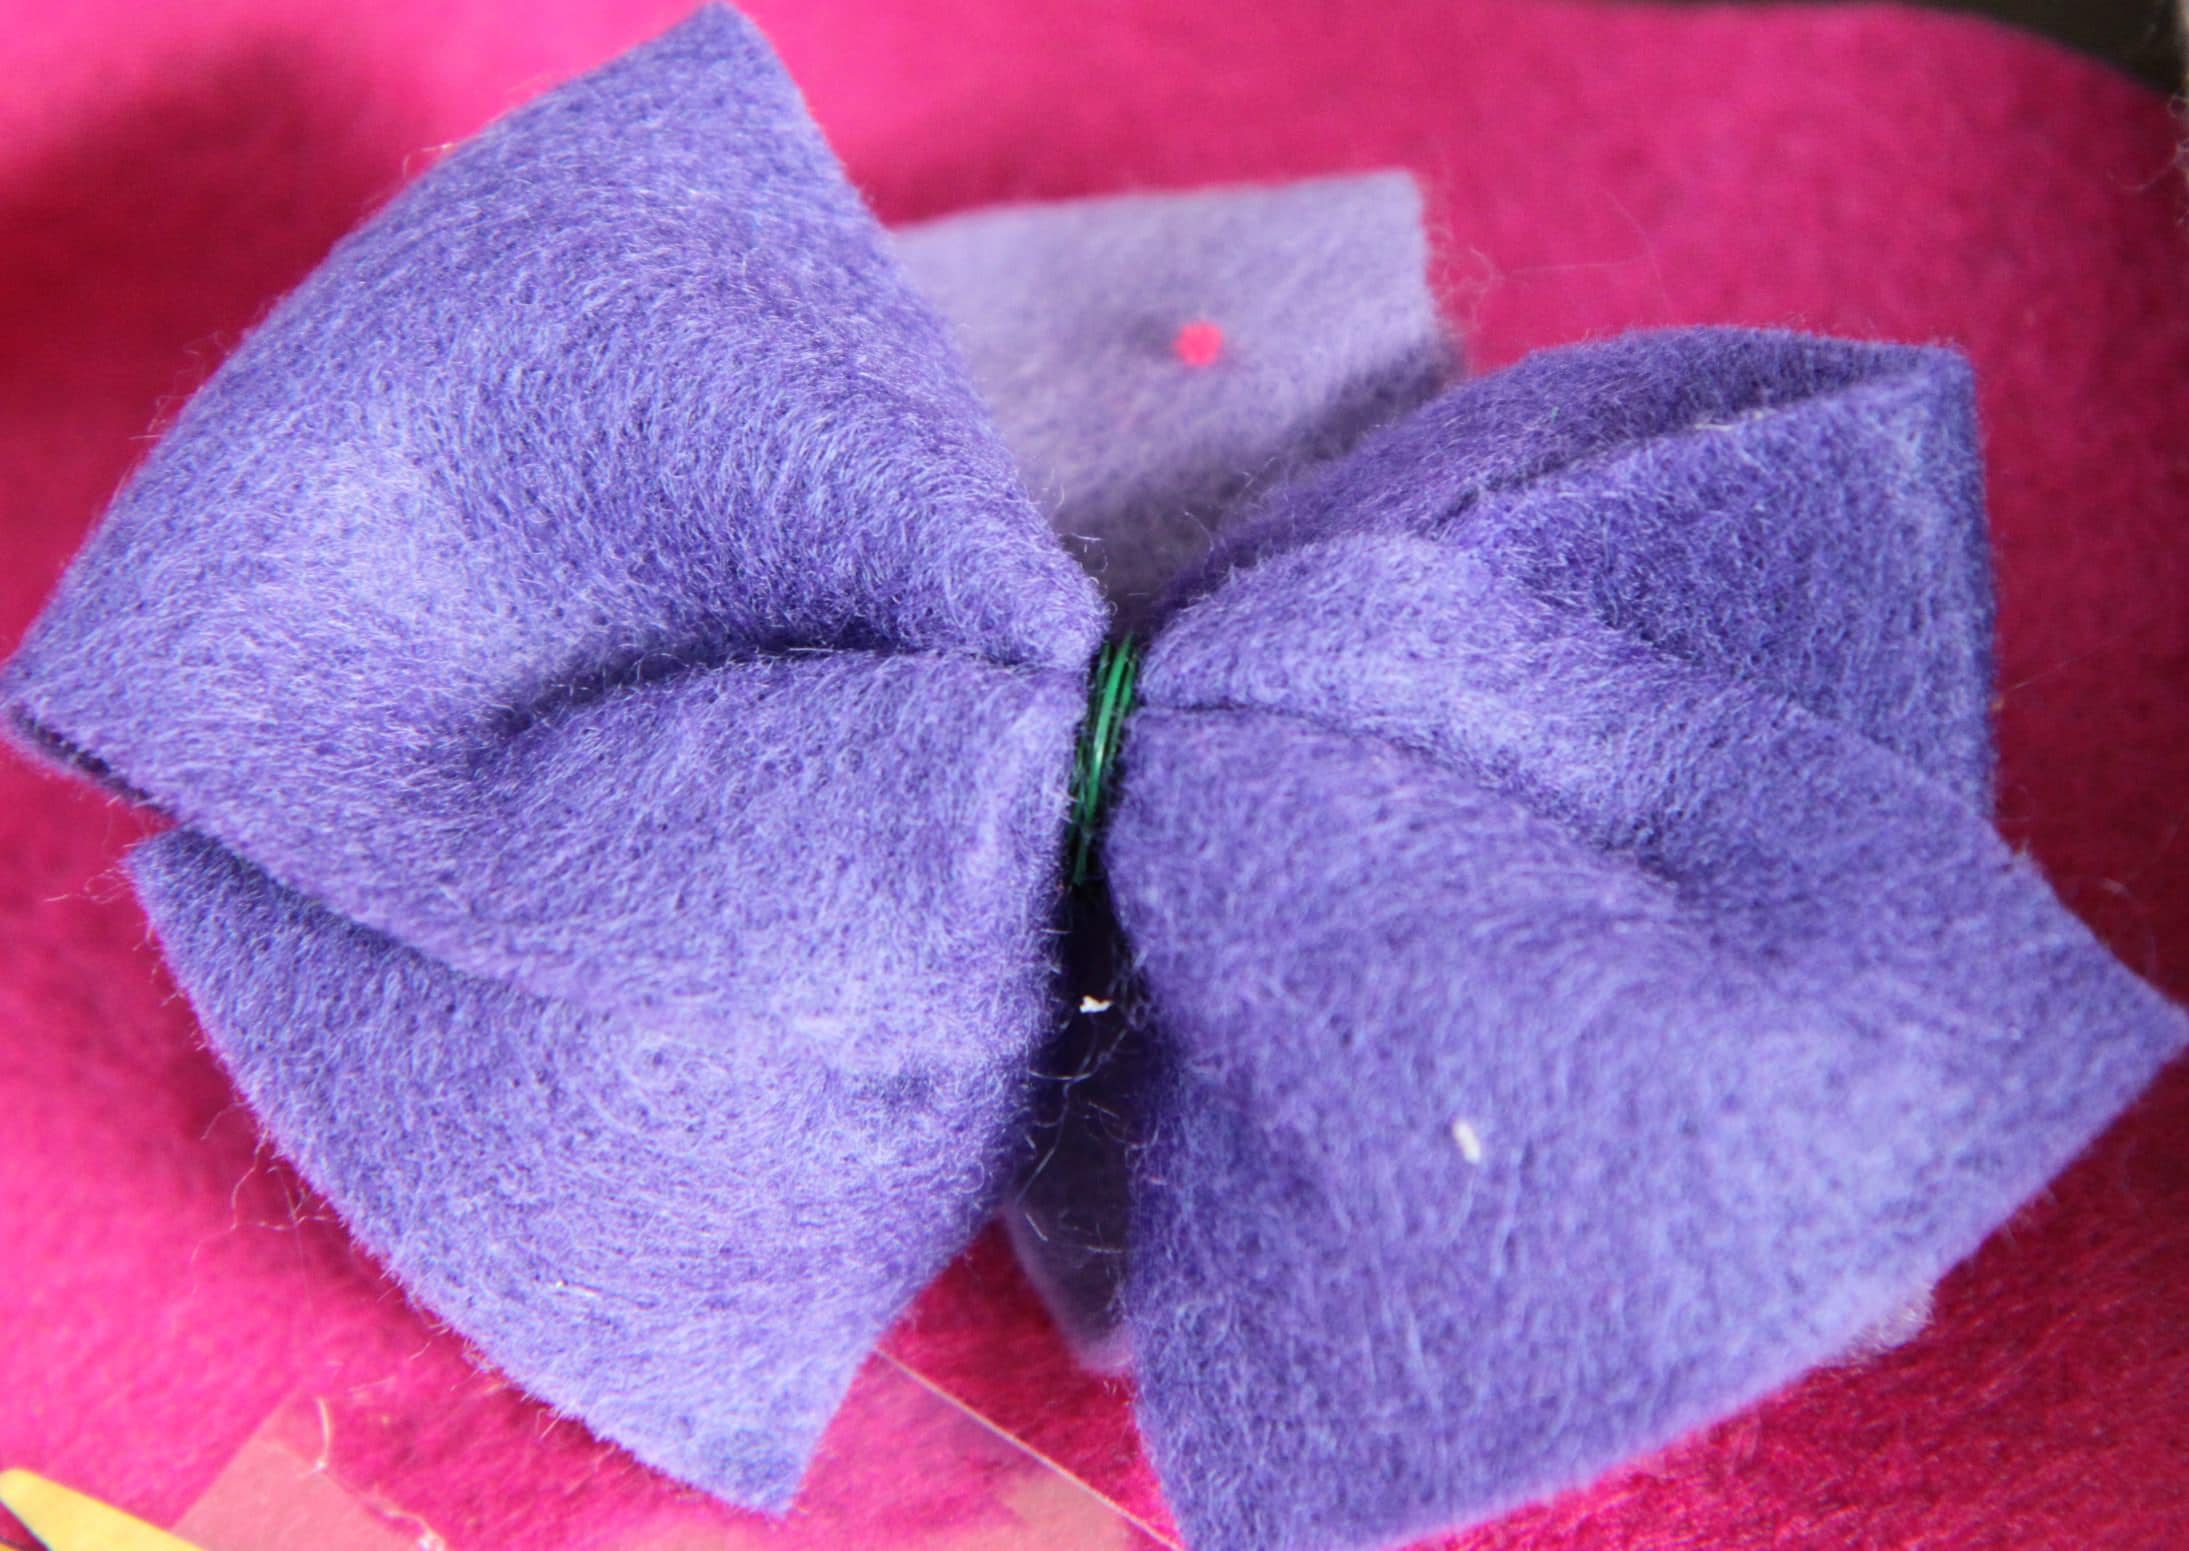
If you have any stray strips of felt, you can transform them into bows. I just fashioned this one into a bow shape and then secured it with a little floral wire in the center. Cover your wire with another little scrap of felt and you have another fun element to your wreath.

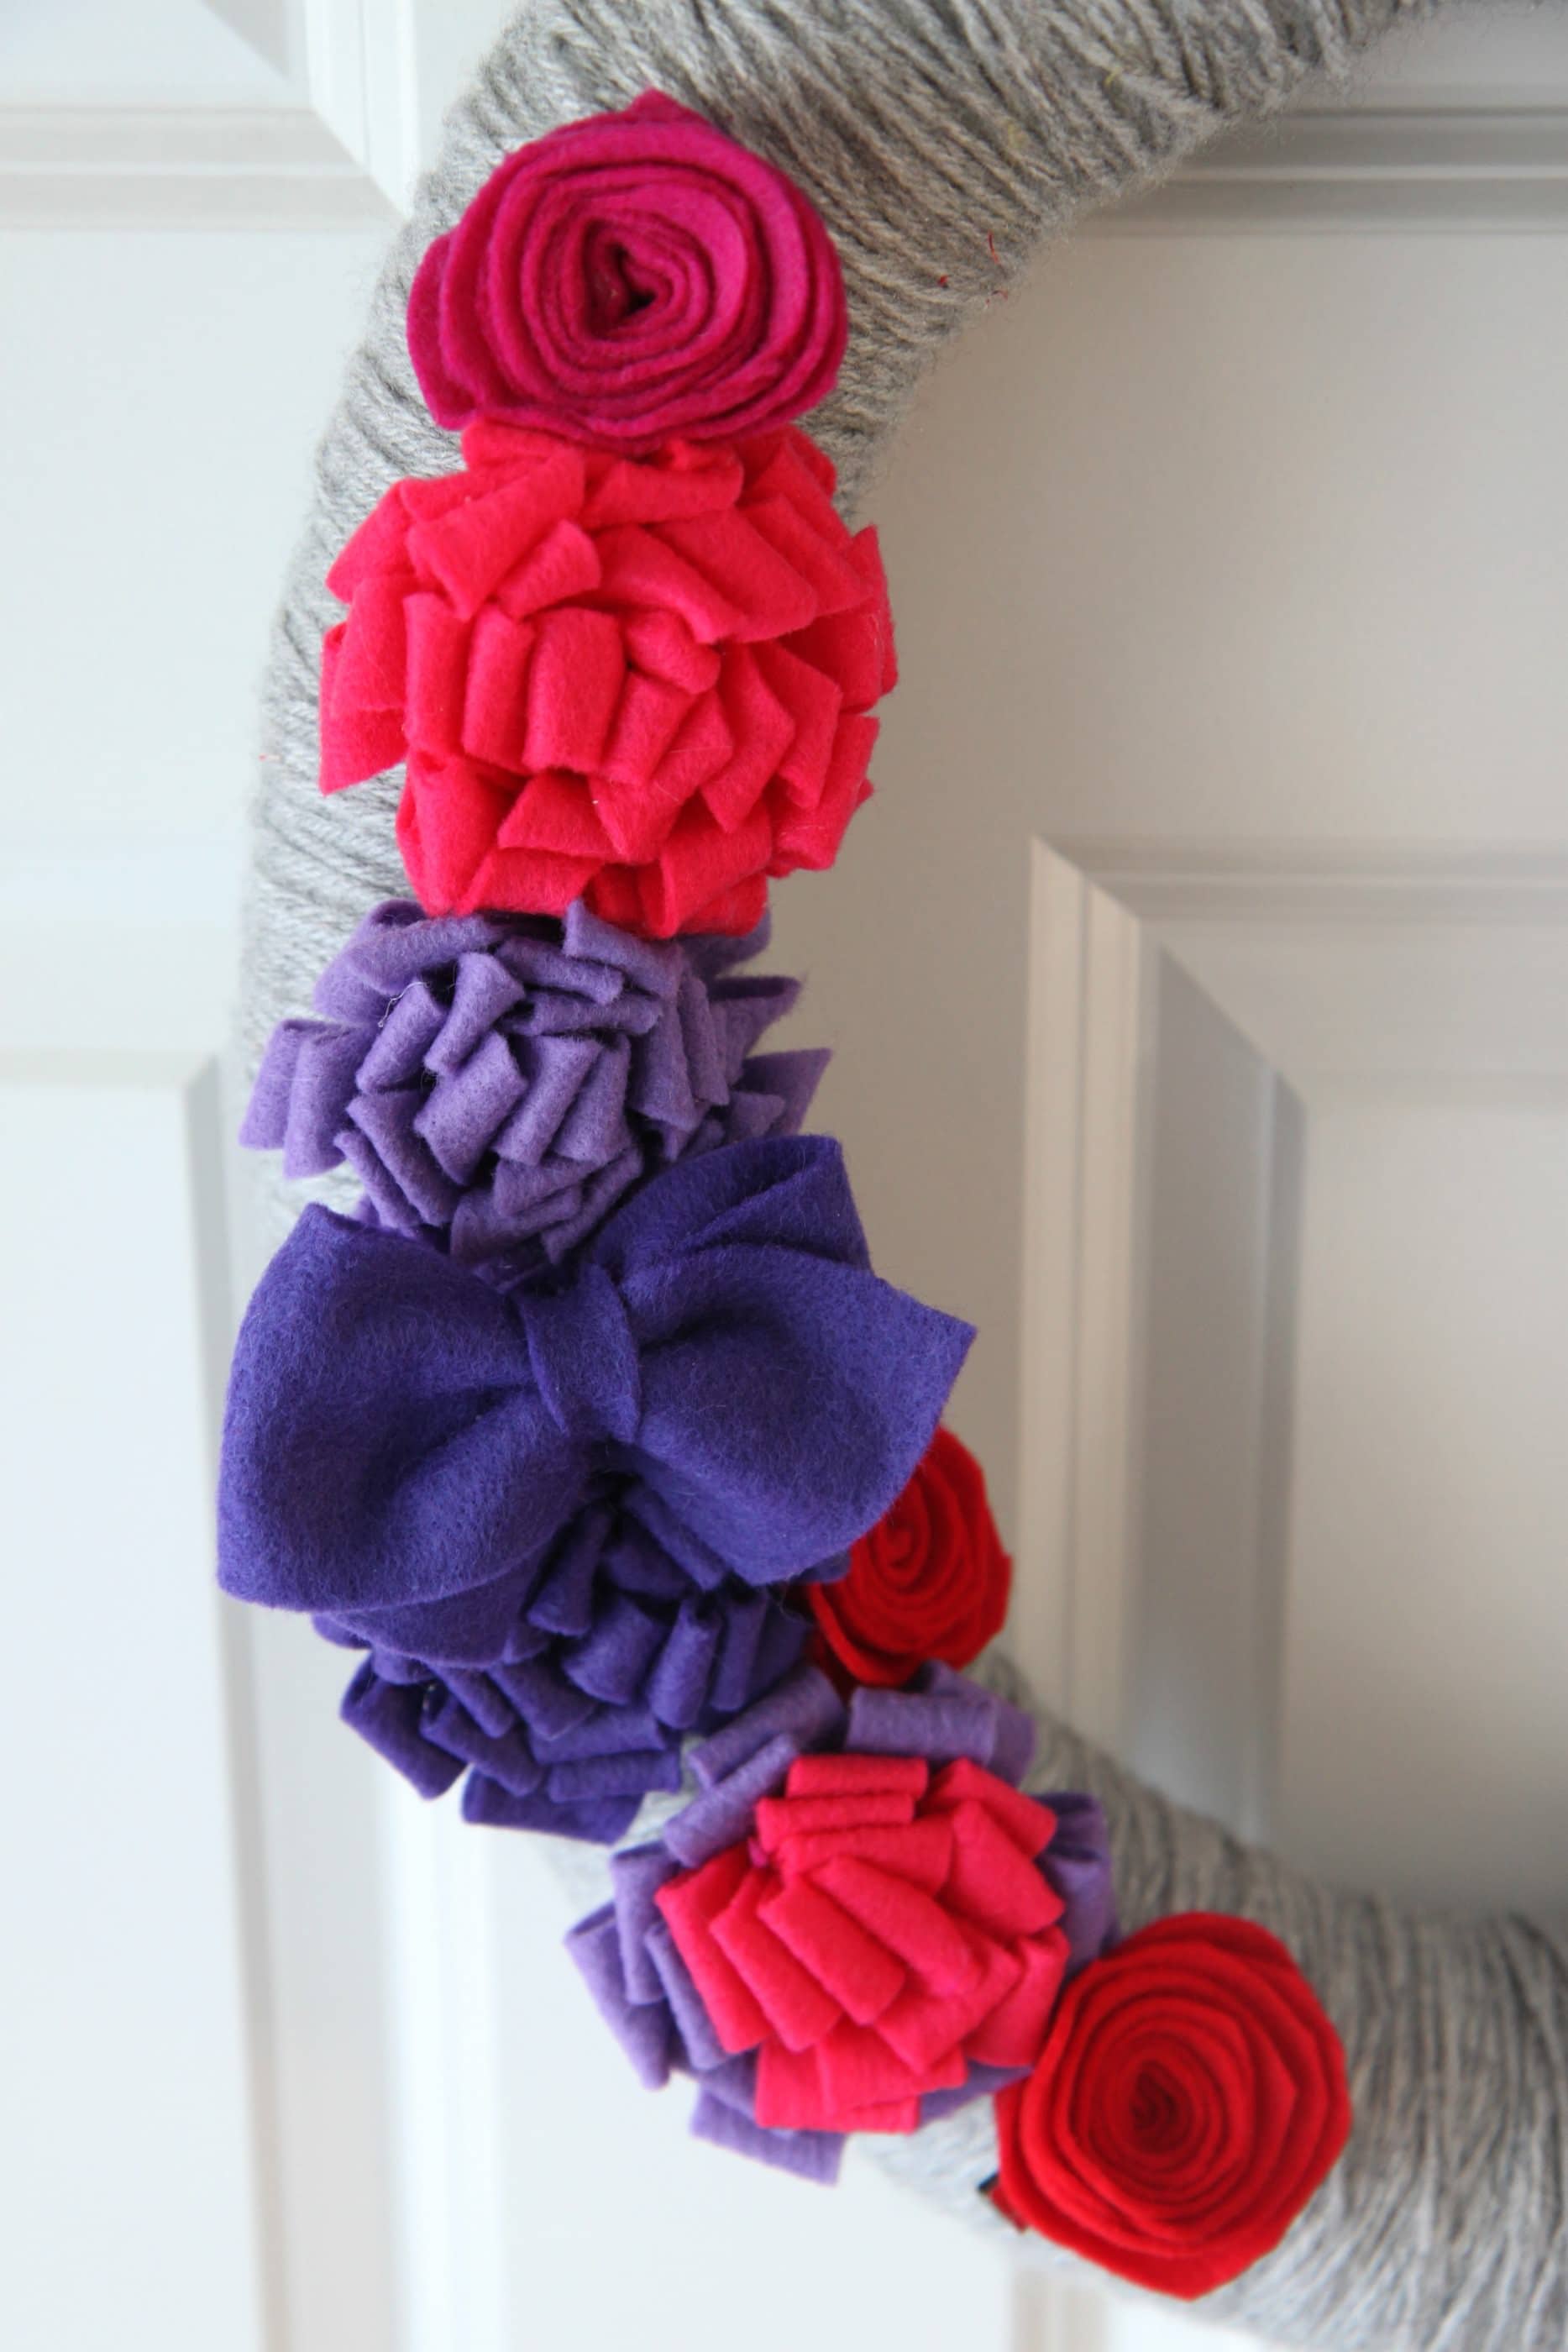
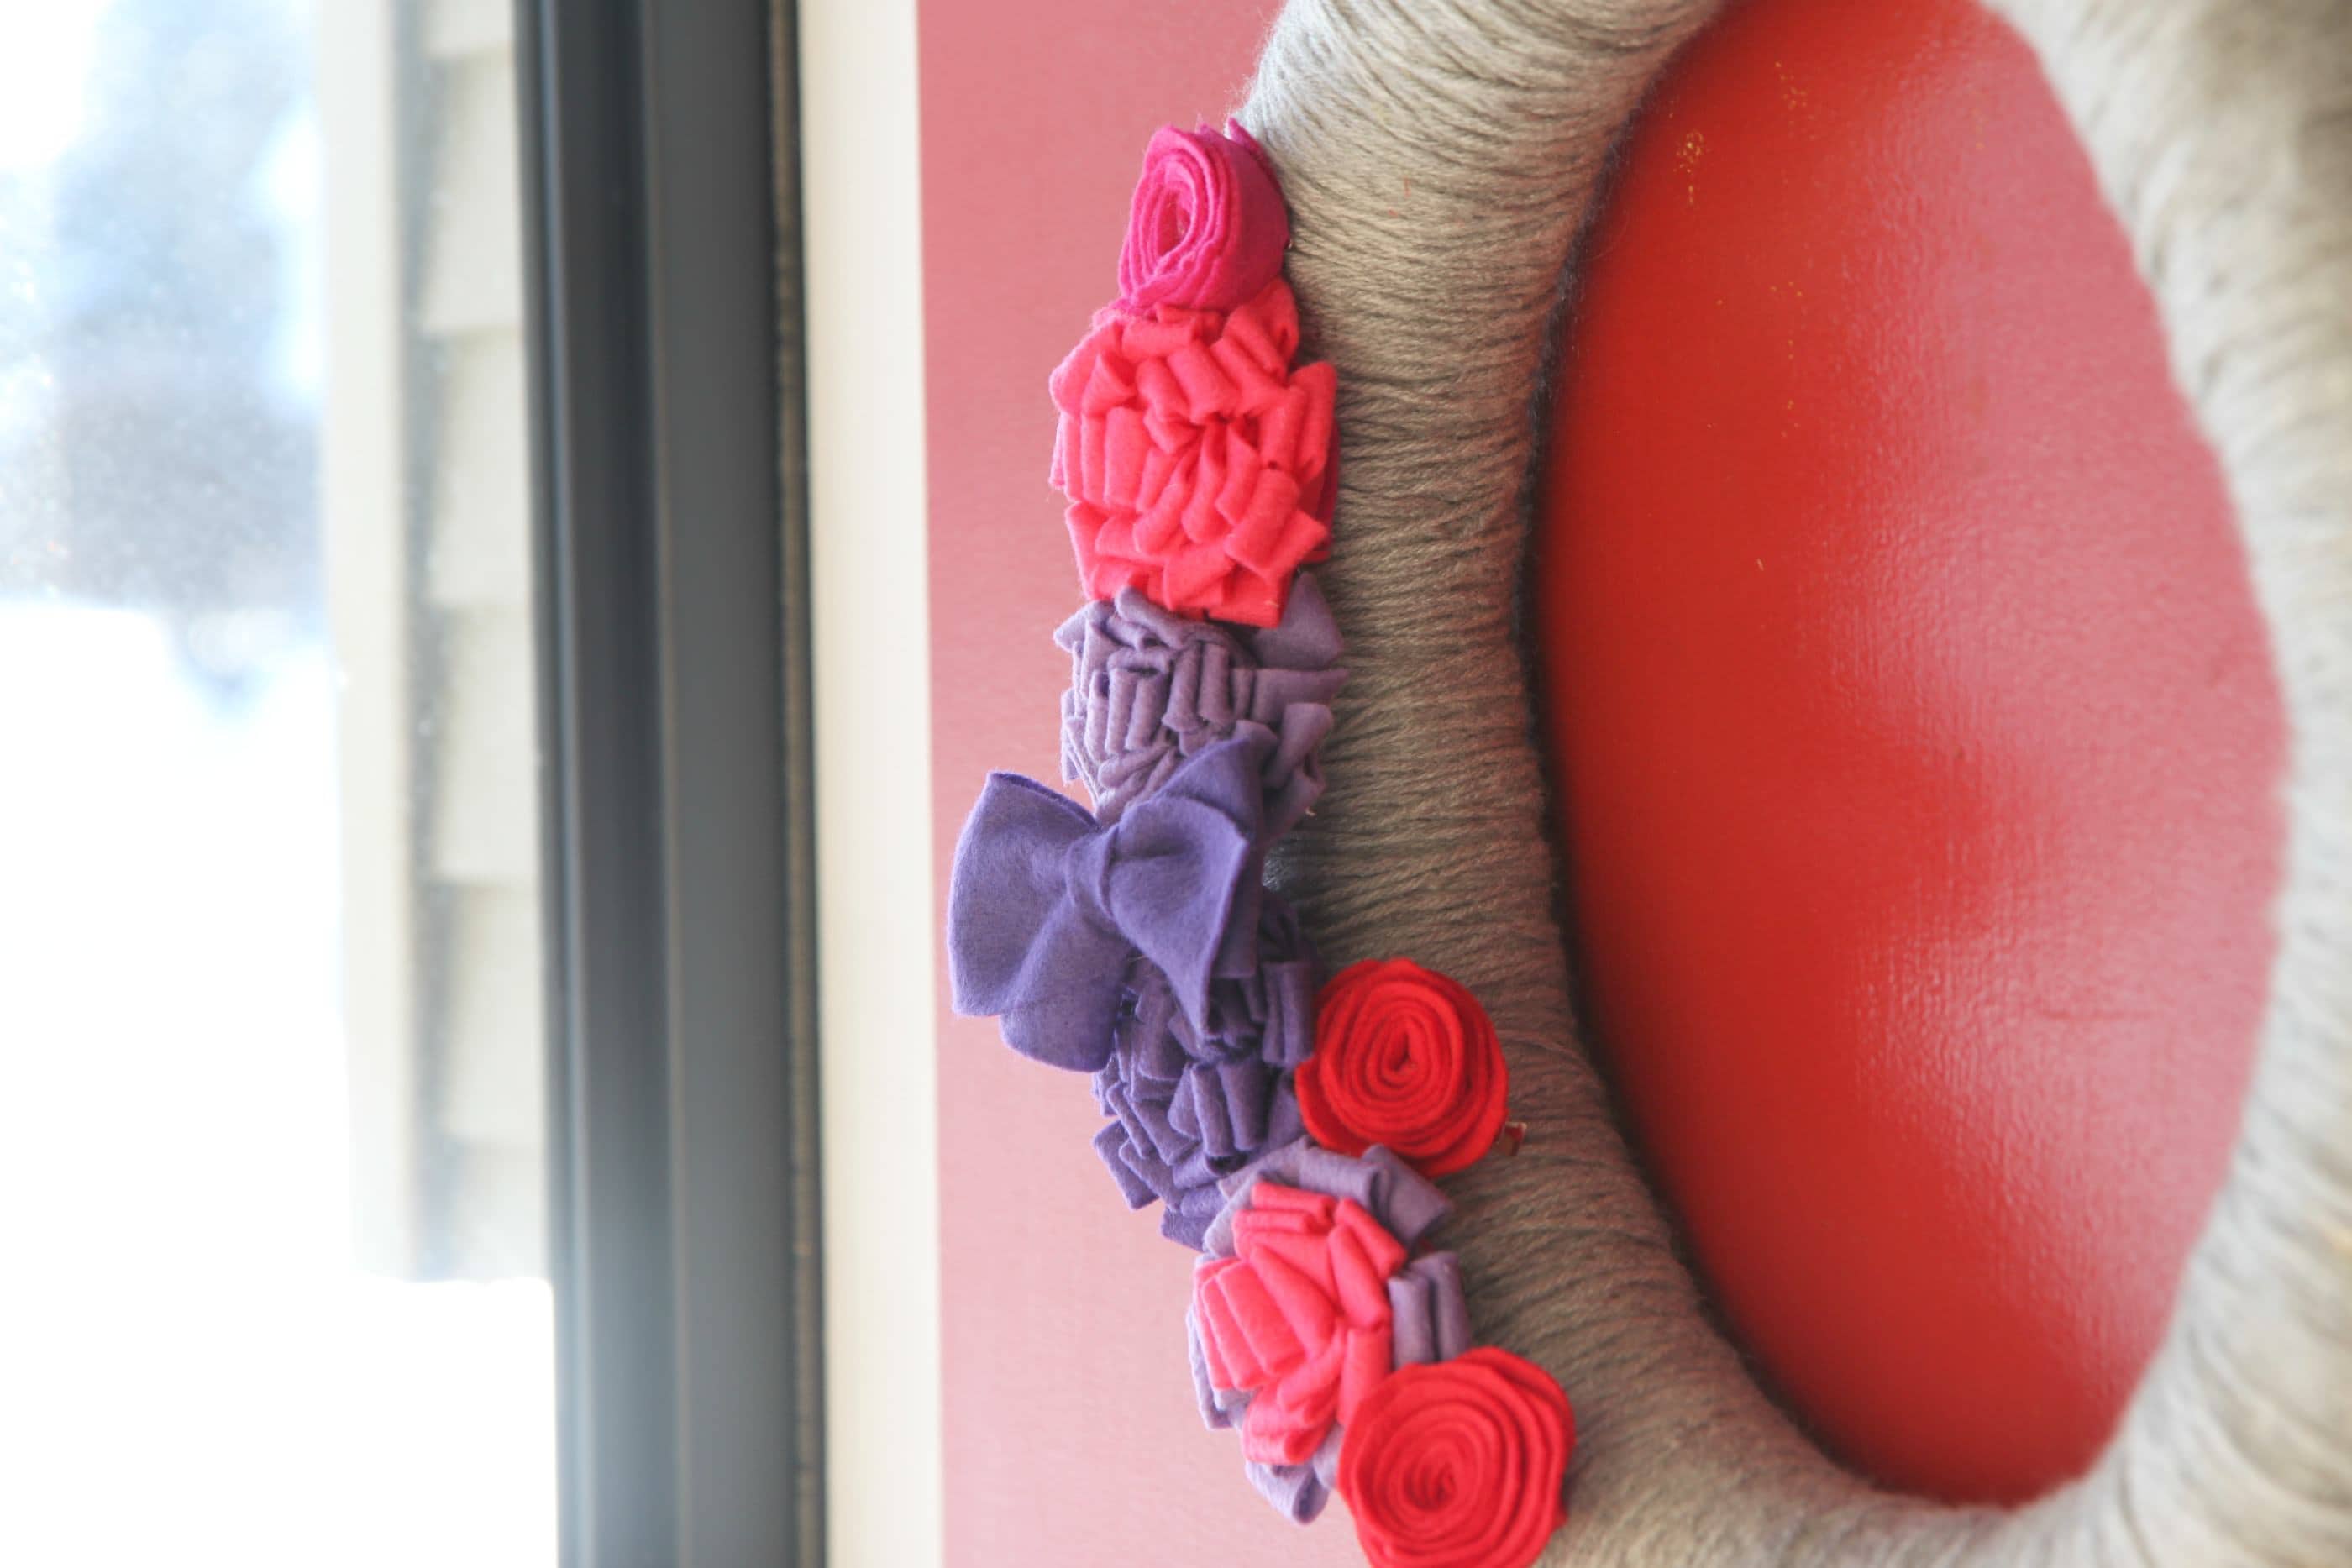
Here are all of my fun Valentine’s Day accessories on my wreath. I made these felt roses, several of these loopy flowers, and a bow in the middle clipped to the top. You could also add some cute fabric flowers, if you like, in other fun Valentine’s Day shades.

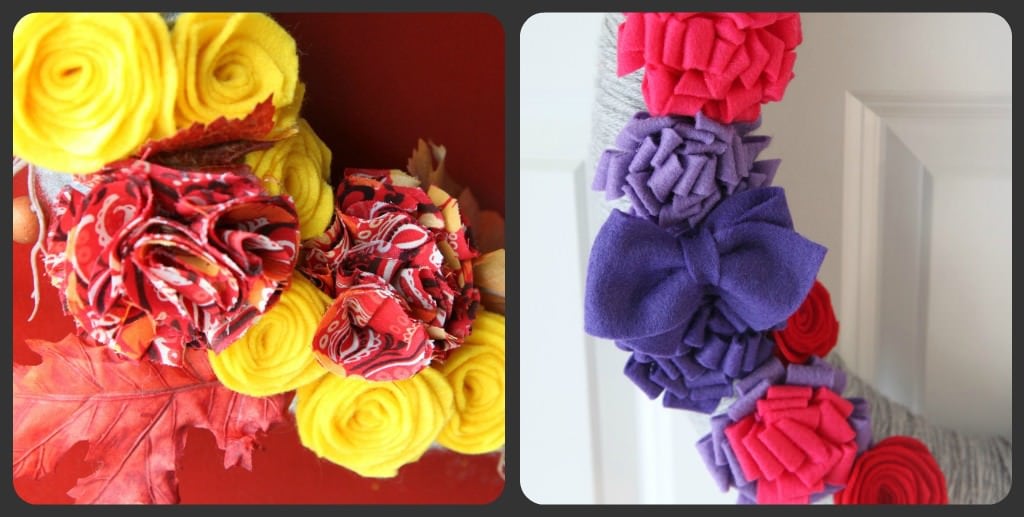
Same exact wreath.

Totally different look.

I saved all of my accessories (that my daughter did not run away to accessorize her room) and I can just reapply those fall accessories next year.

It is much easier to store a box of accessories than a million wreaths in my basement.

What special traditions have you created for your family for Valentine’s Day in your house? Do you have any special crafts you do together or any special food traditions? I would love to hear your ideas!

Pin It