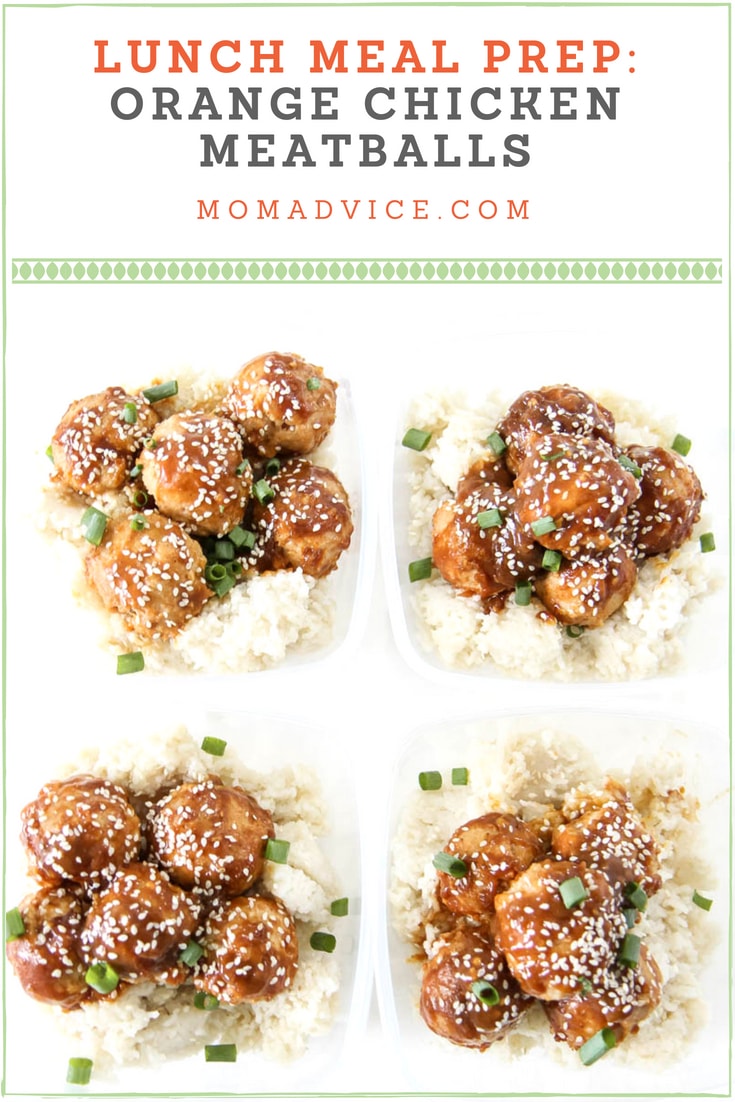
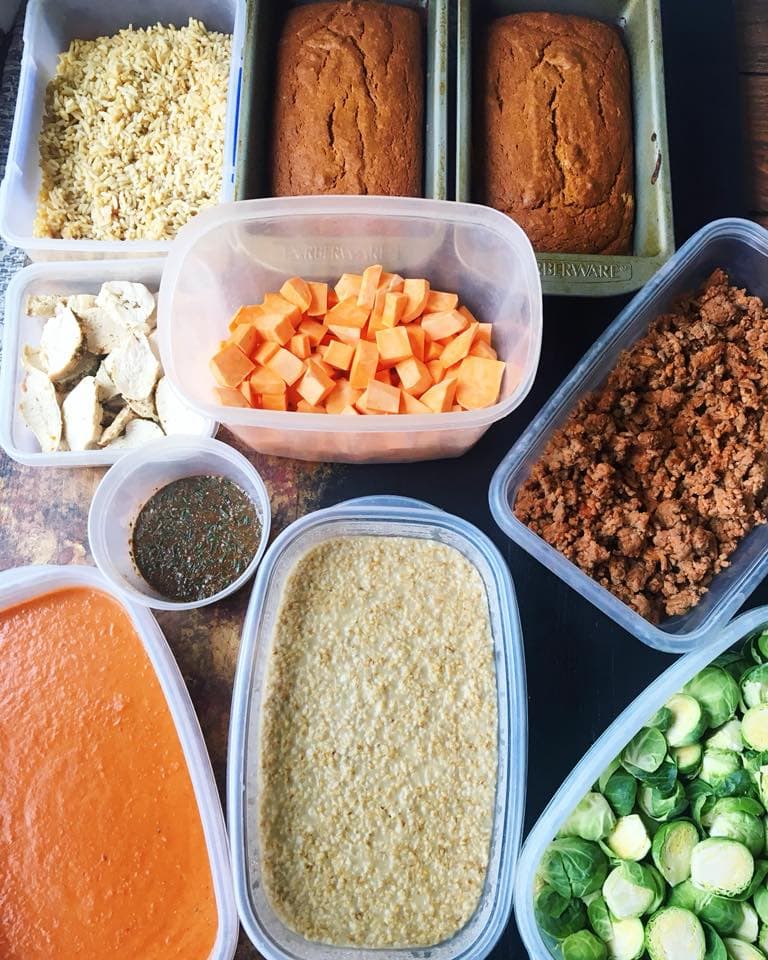
Eating well throughout the week can be made a heck of a lot easier with smart meal prep ideas. Today I am sharing a fresh spin on a takeout classic with this recipe for Orange Chicken Meatballs that can easily be baked in the oven and prepared for a busy week. Add this easy gluten-free recipe to your weekly rotation and I guarantee it will be the perfect way to enjoy your favorite takeout dish without breaking the bank.
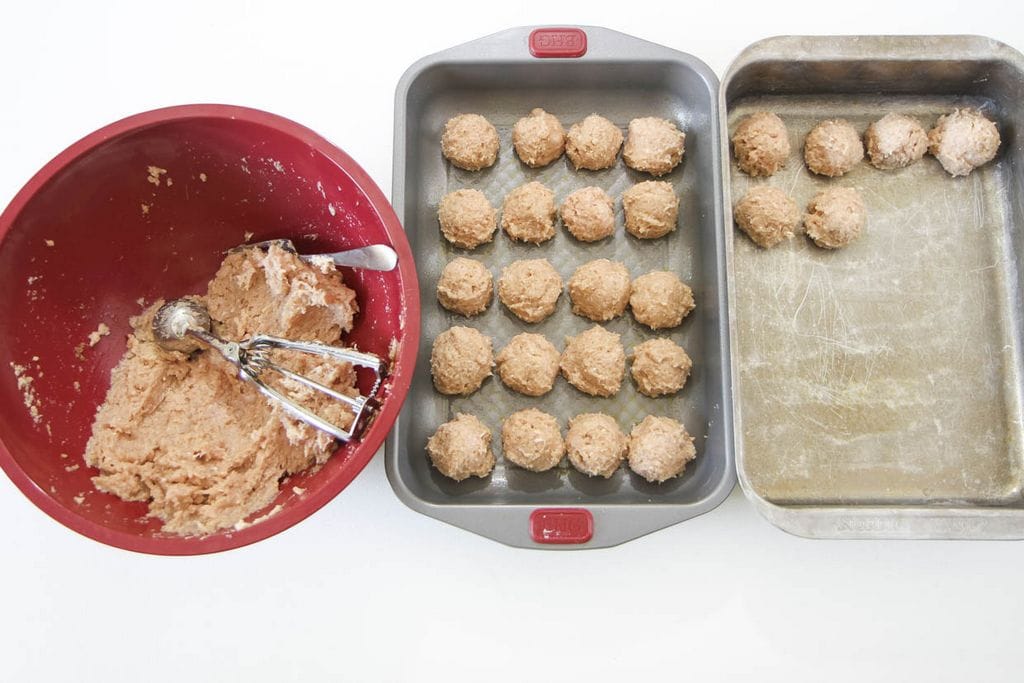
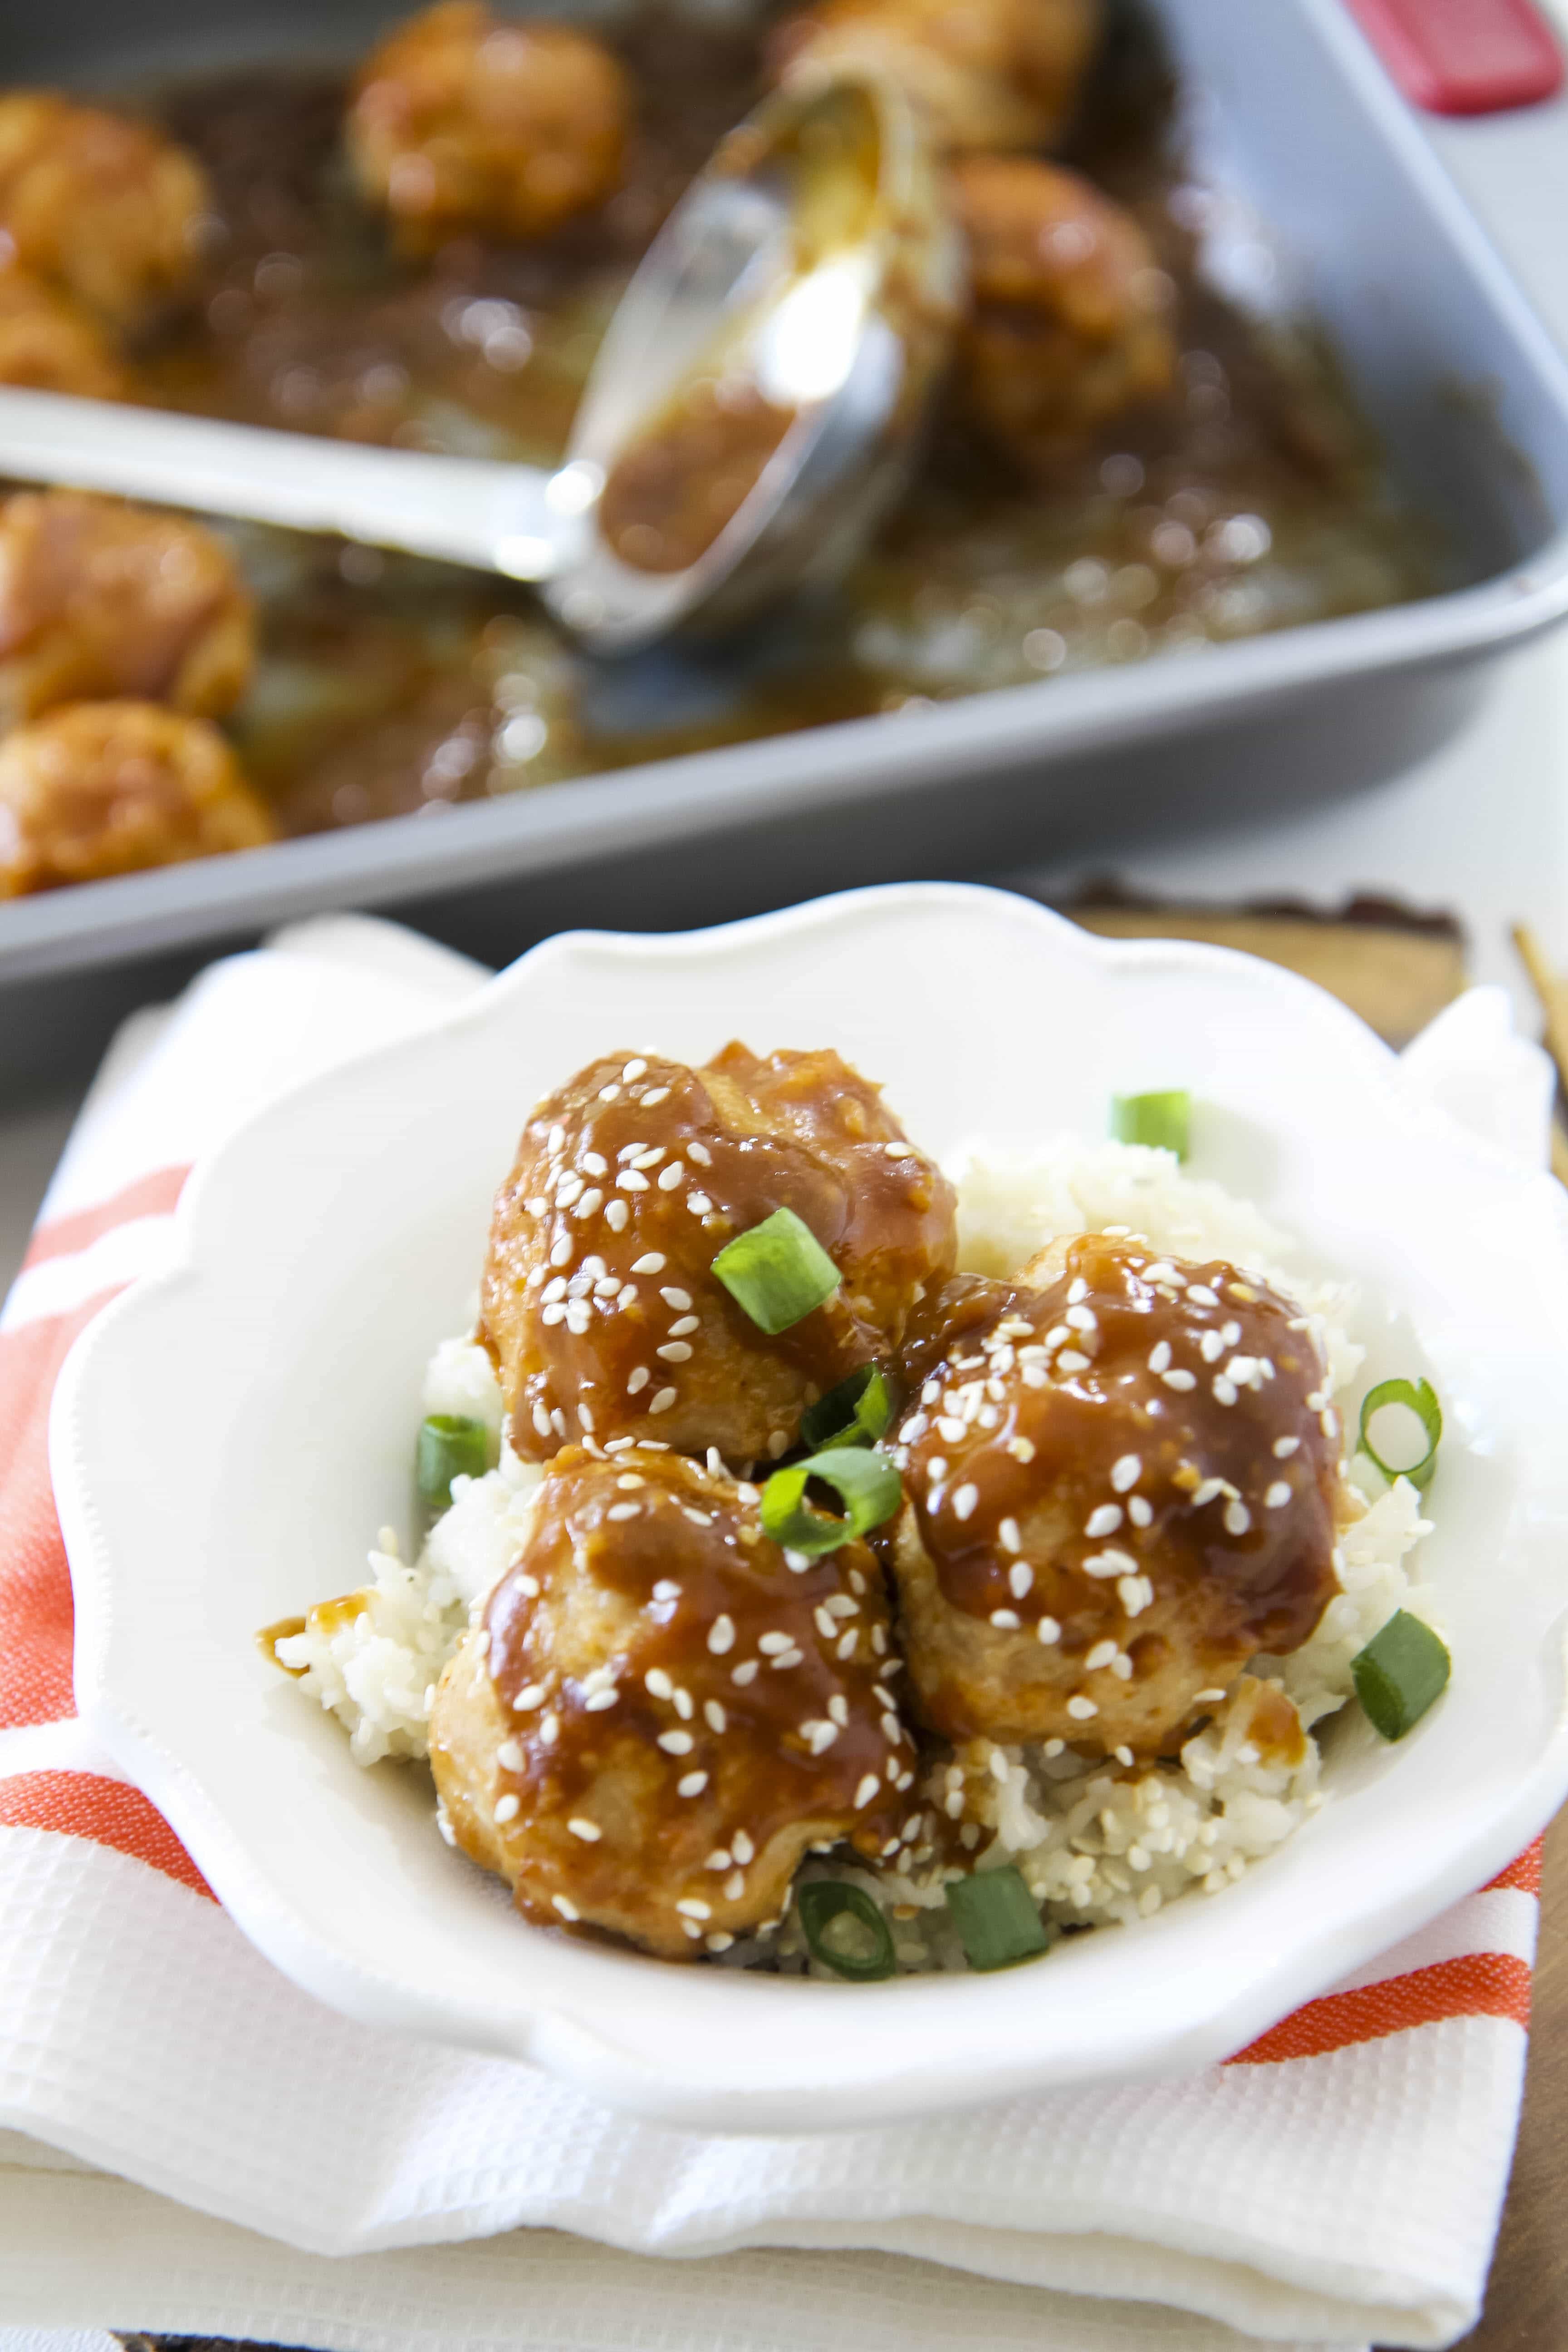
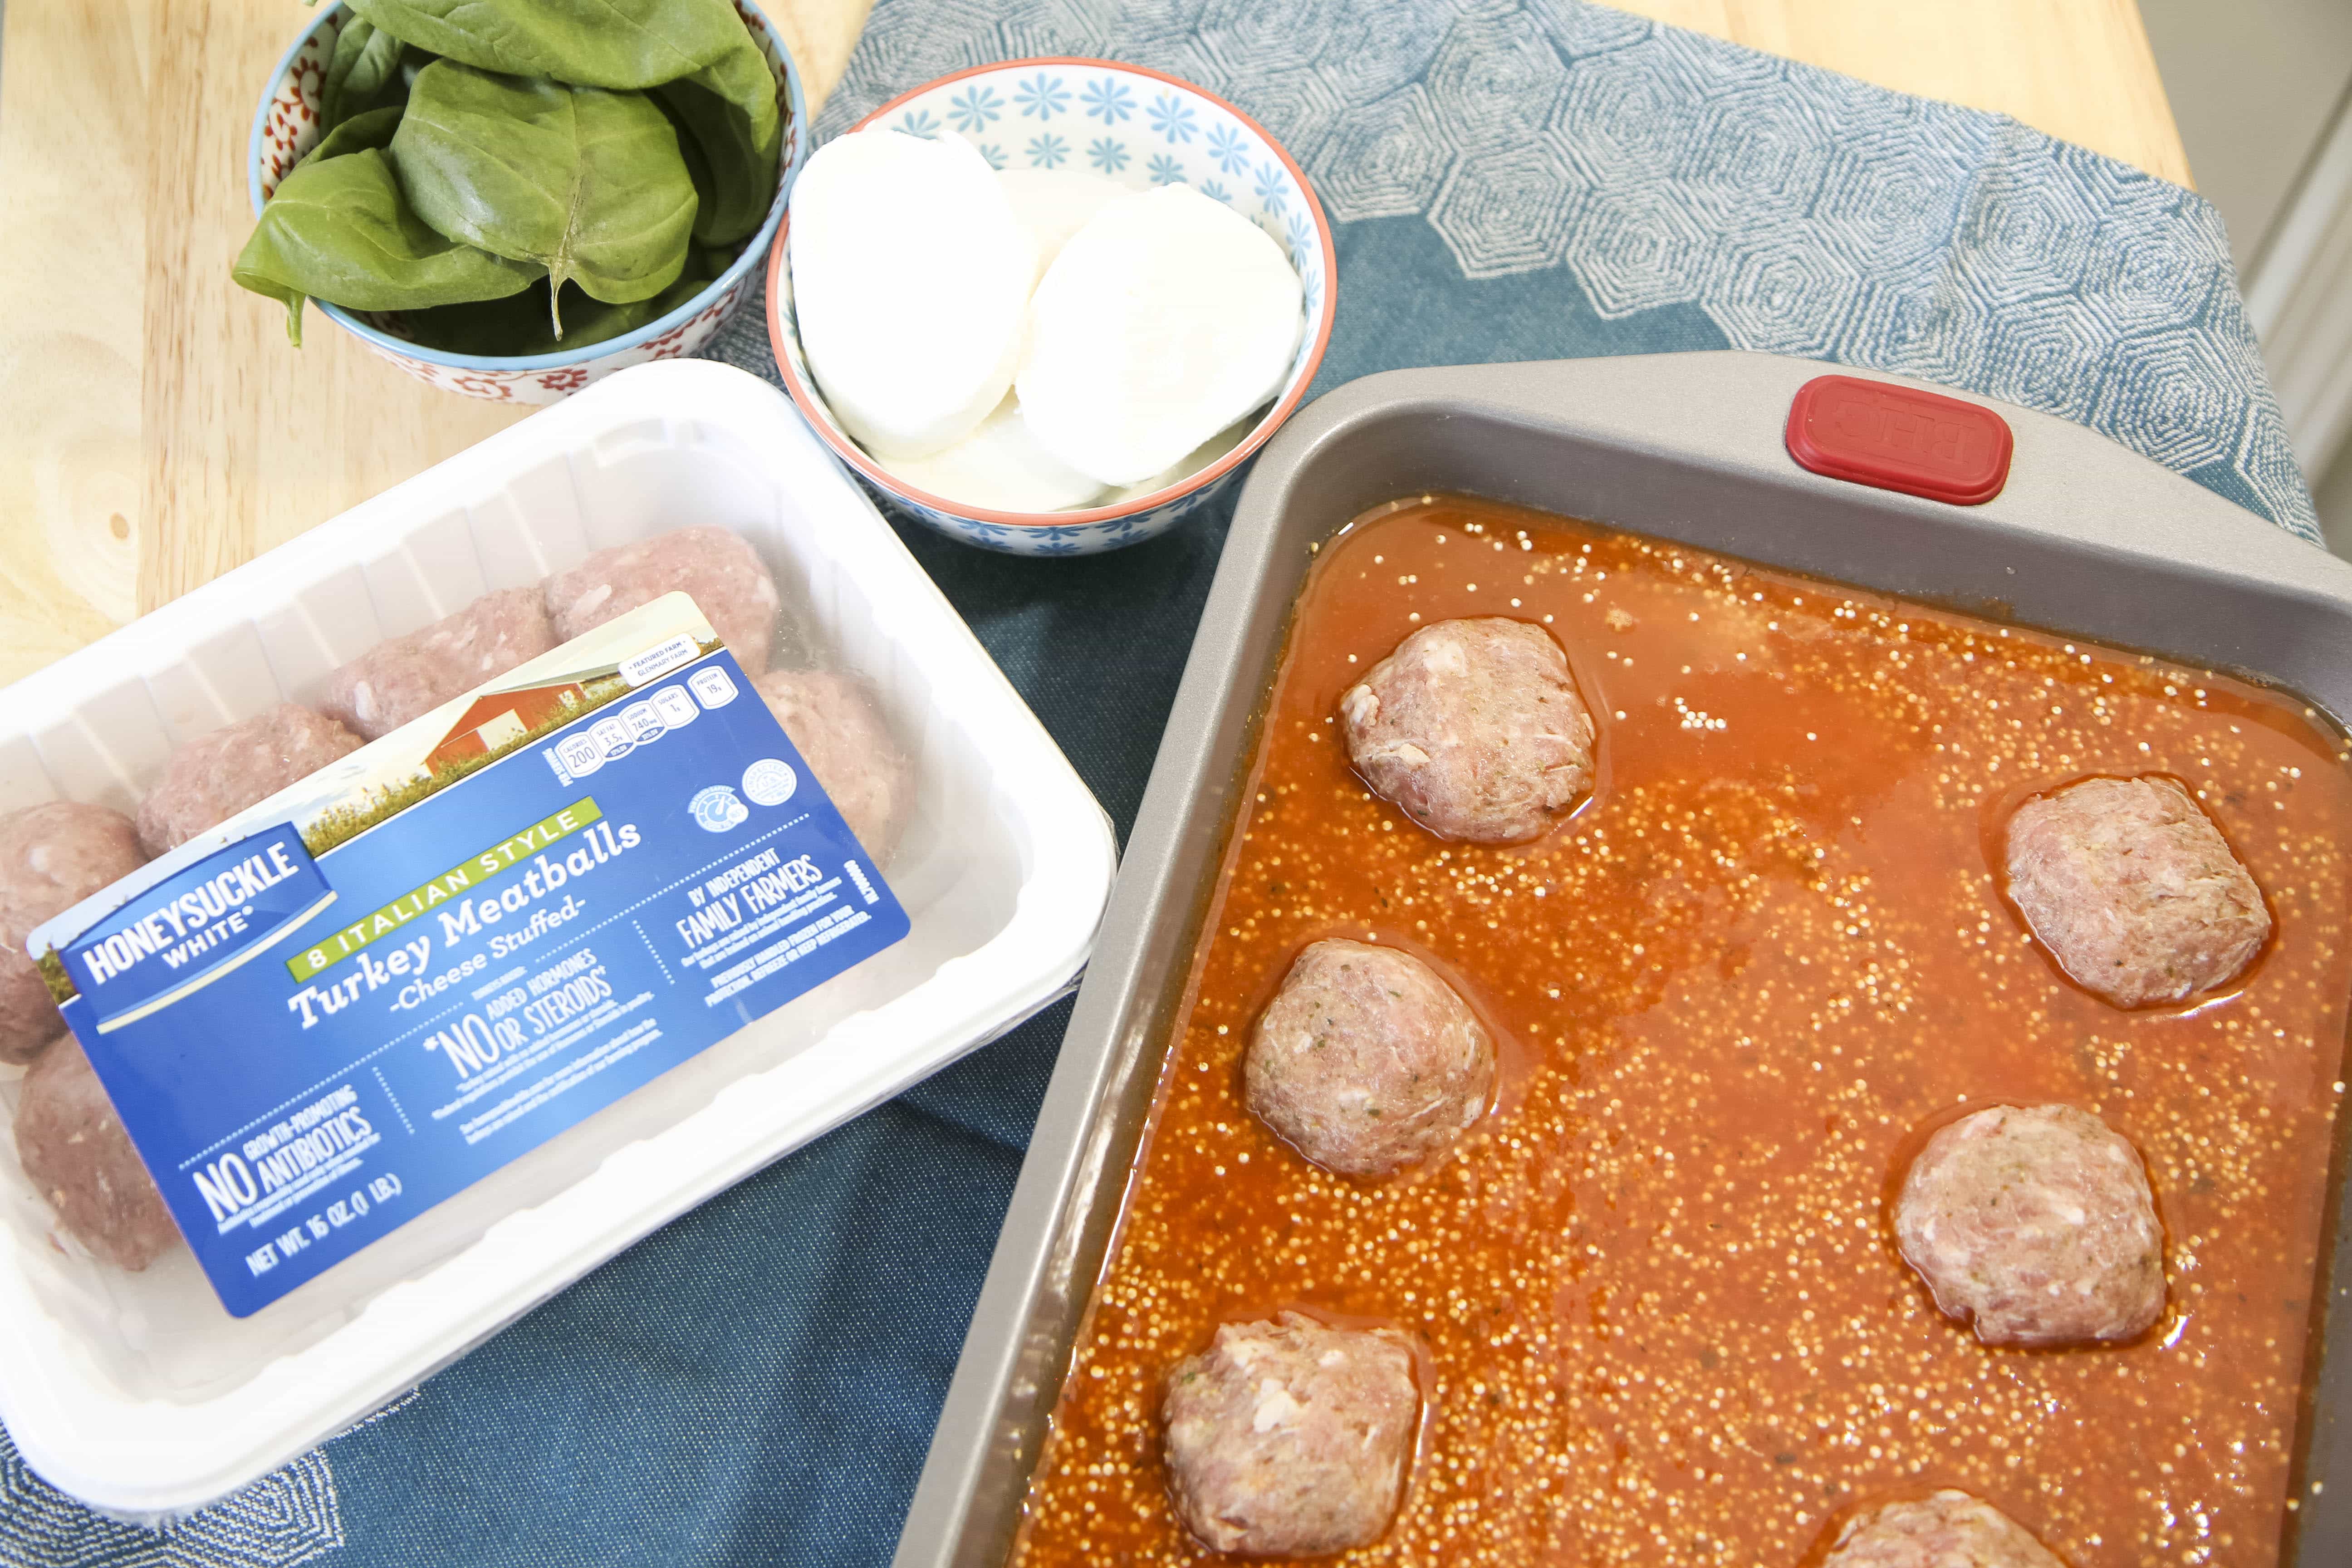
My preferred method of making meatballs is baking them. I usually spread them on cookie sheets, but today we will be saucing these meatballs in an orange chicken glaze so we will be preparing these in baking pans instead.
Haven’t made meatballs before? No problem! I have found that one of these is a great item to keep on hand in the kitchen for making quick work of shaping those meatballs into uniform sizes. Since these meatballs are more delicate, this also helps from having to handle them too much.
Once you get the hang of it, you will love this version and these are the perfect tailgate snack.
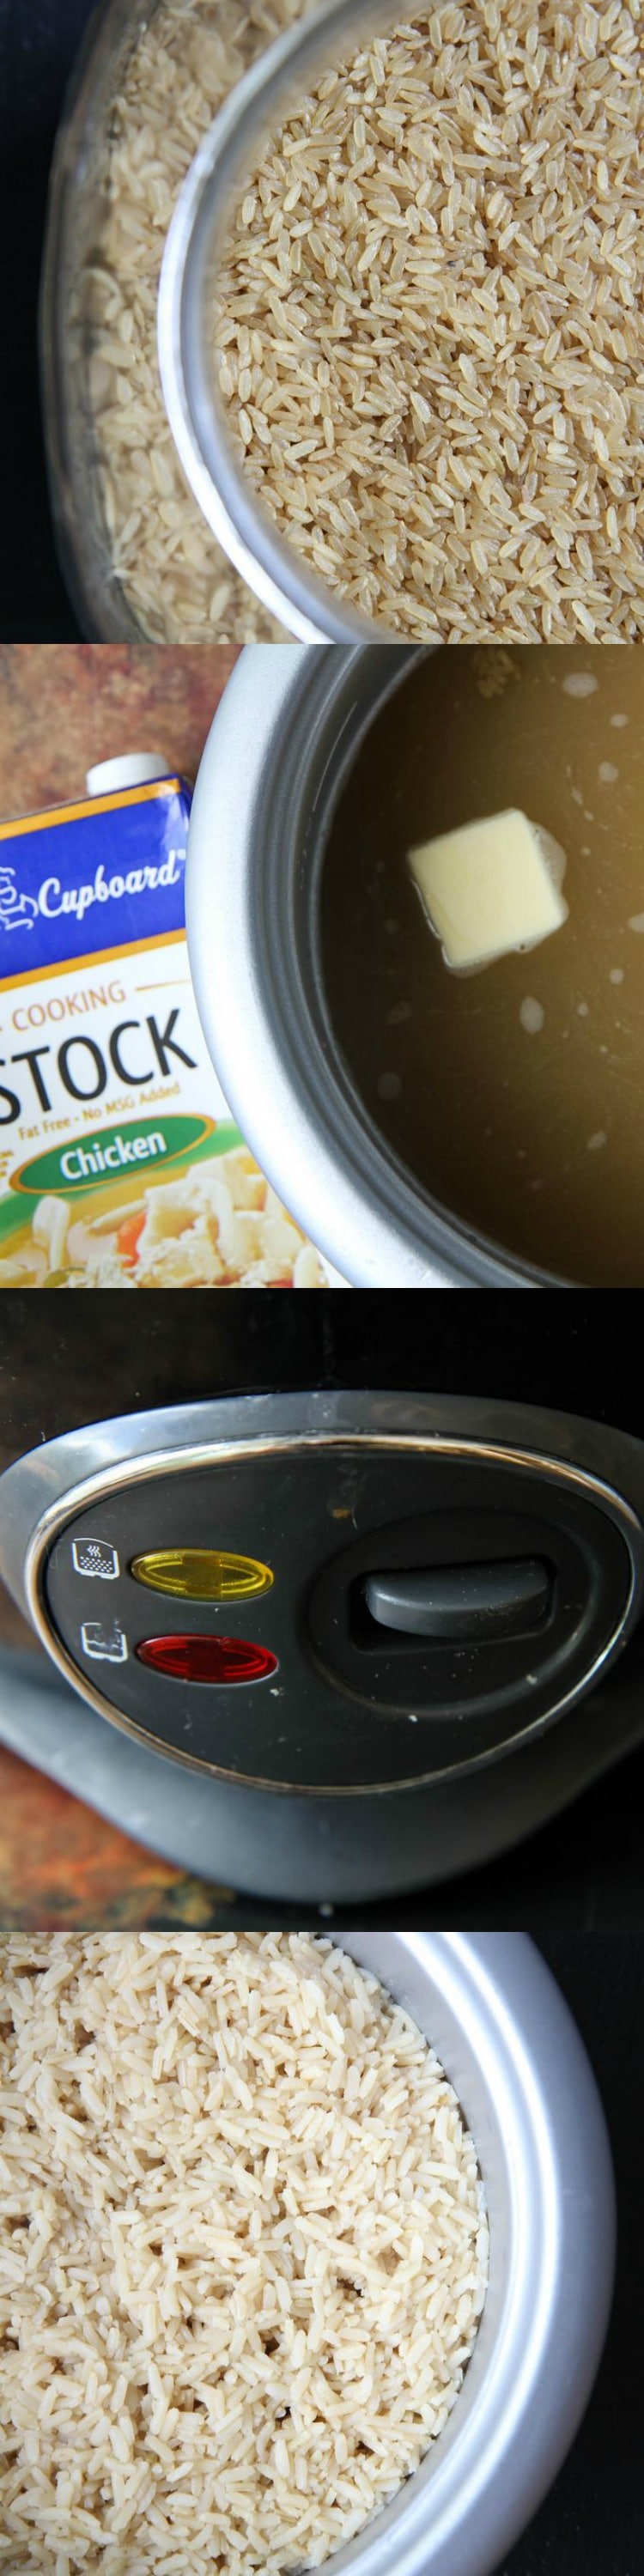
You can serve these as a standalone with your favorite steamed veggies or you can spoon them on top of rice or quinoa. If you haven’t purchased one of these, you are in for a real treat for your meal prep days. You can read my method for making the perfect brown rice or you can use my foolproof method for making quinoa in it too.
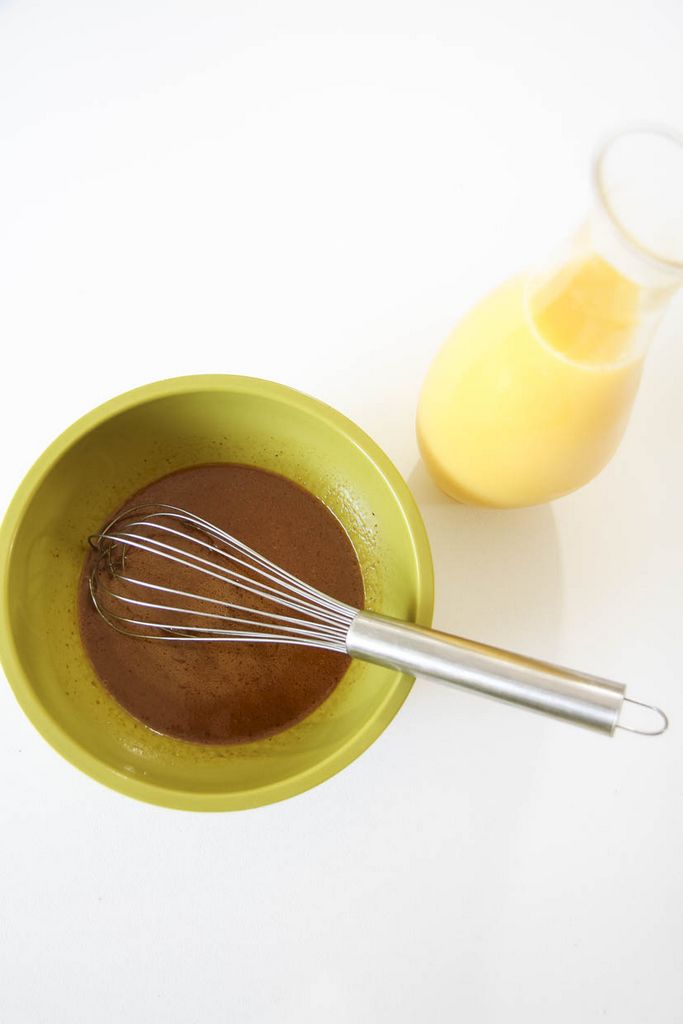
My Gluten-Free Orange Chicken was the inspiration for today’s dish because it has been such a popular one on the site. Although I had hoped to use the original sauce, I needed a thicker glaze that would hug the meatball a little better. Thanks to a little hoisin sauce (be sure to check your label if the product is gluten-free or you can easily purchase something like this online) and cornstarch, this sauce is perfectly huggable and delicious. It also gets its bright citrus flavor from orange juice and a little kick from fresh ginger.
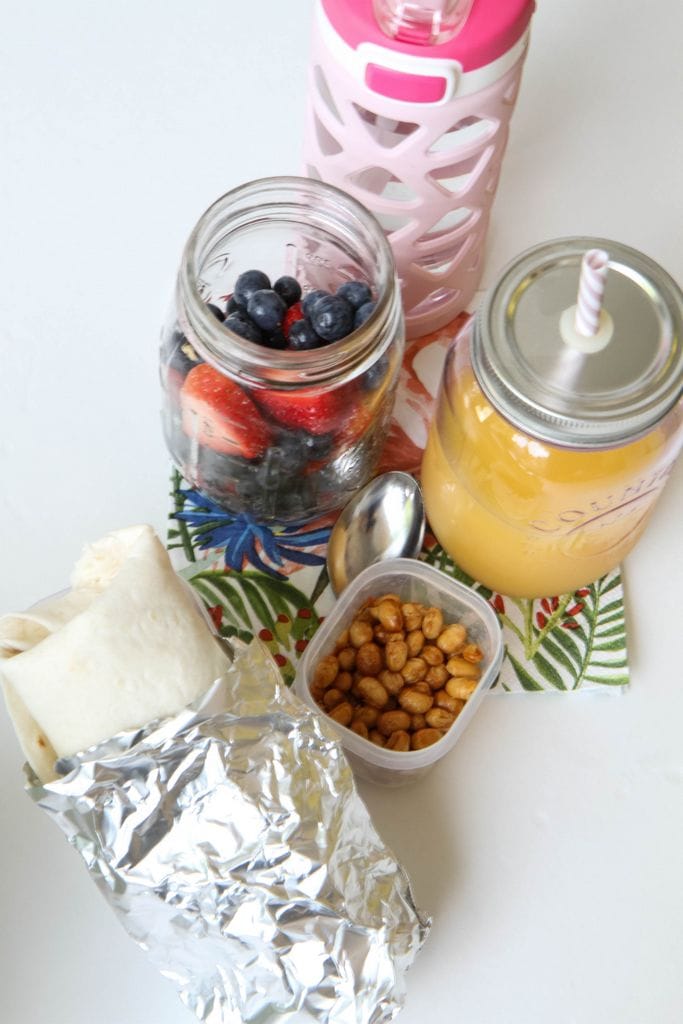
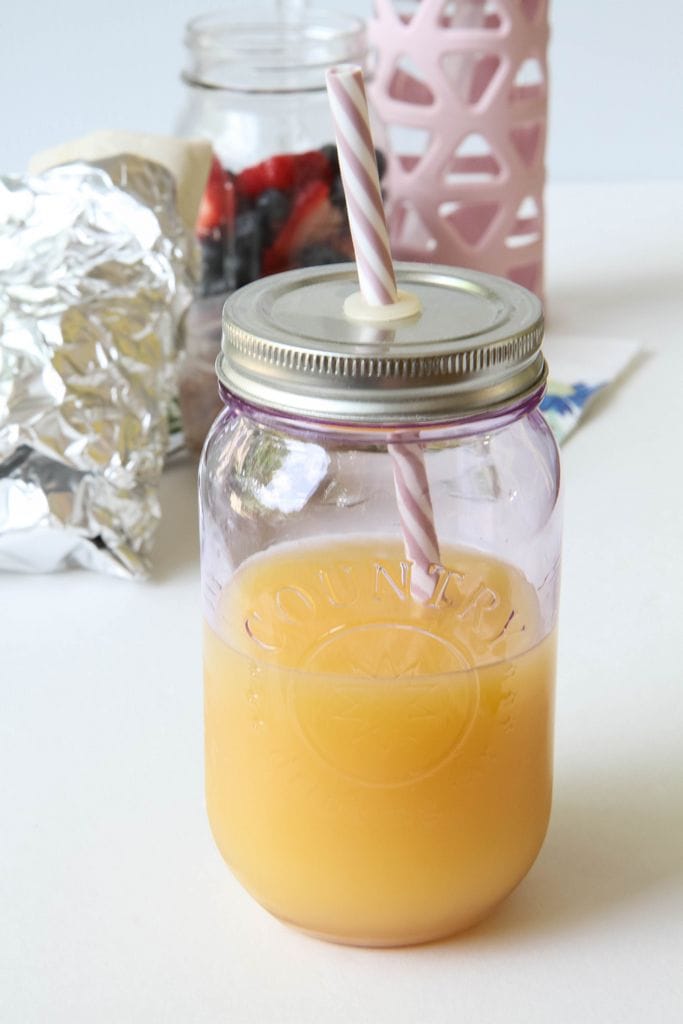
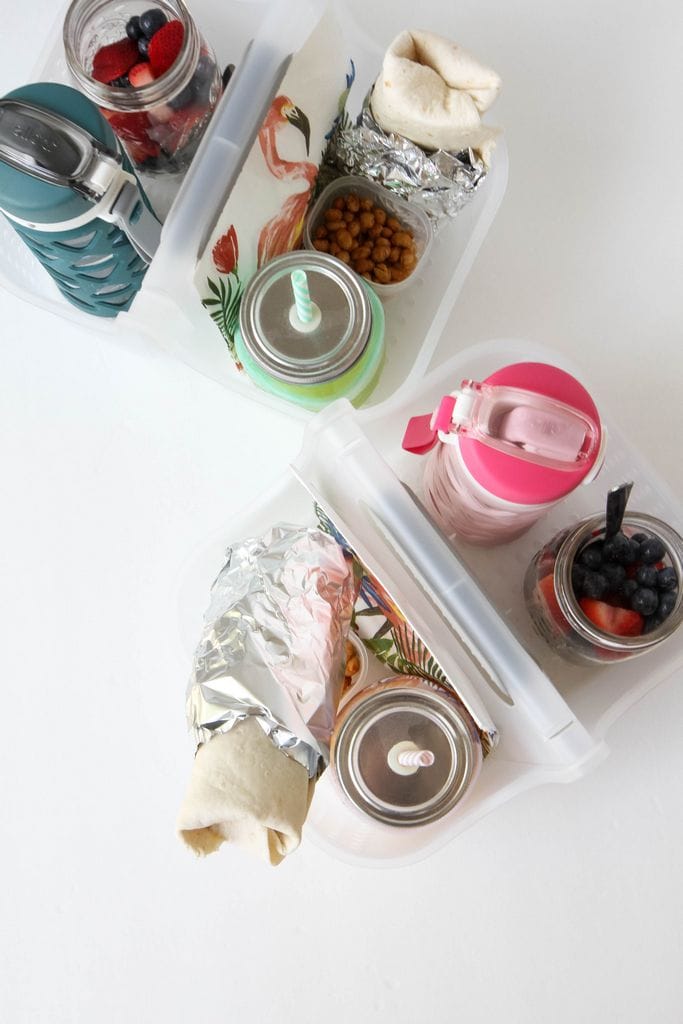
Speaking of orange juice, be sure to swing by the blog tomorrow to get the scoop on more meal prep ideas with my back-to-school partner, Florida Orange Juice. I’ve got several smart lunch hacks that you won’t want to miss!
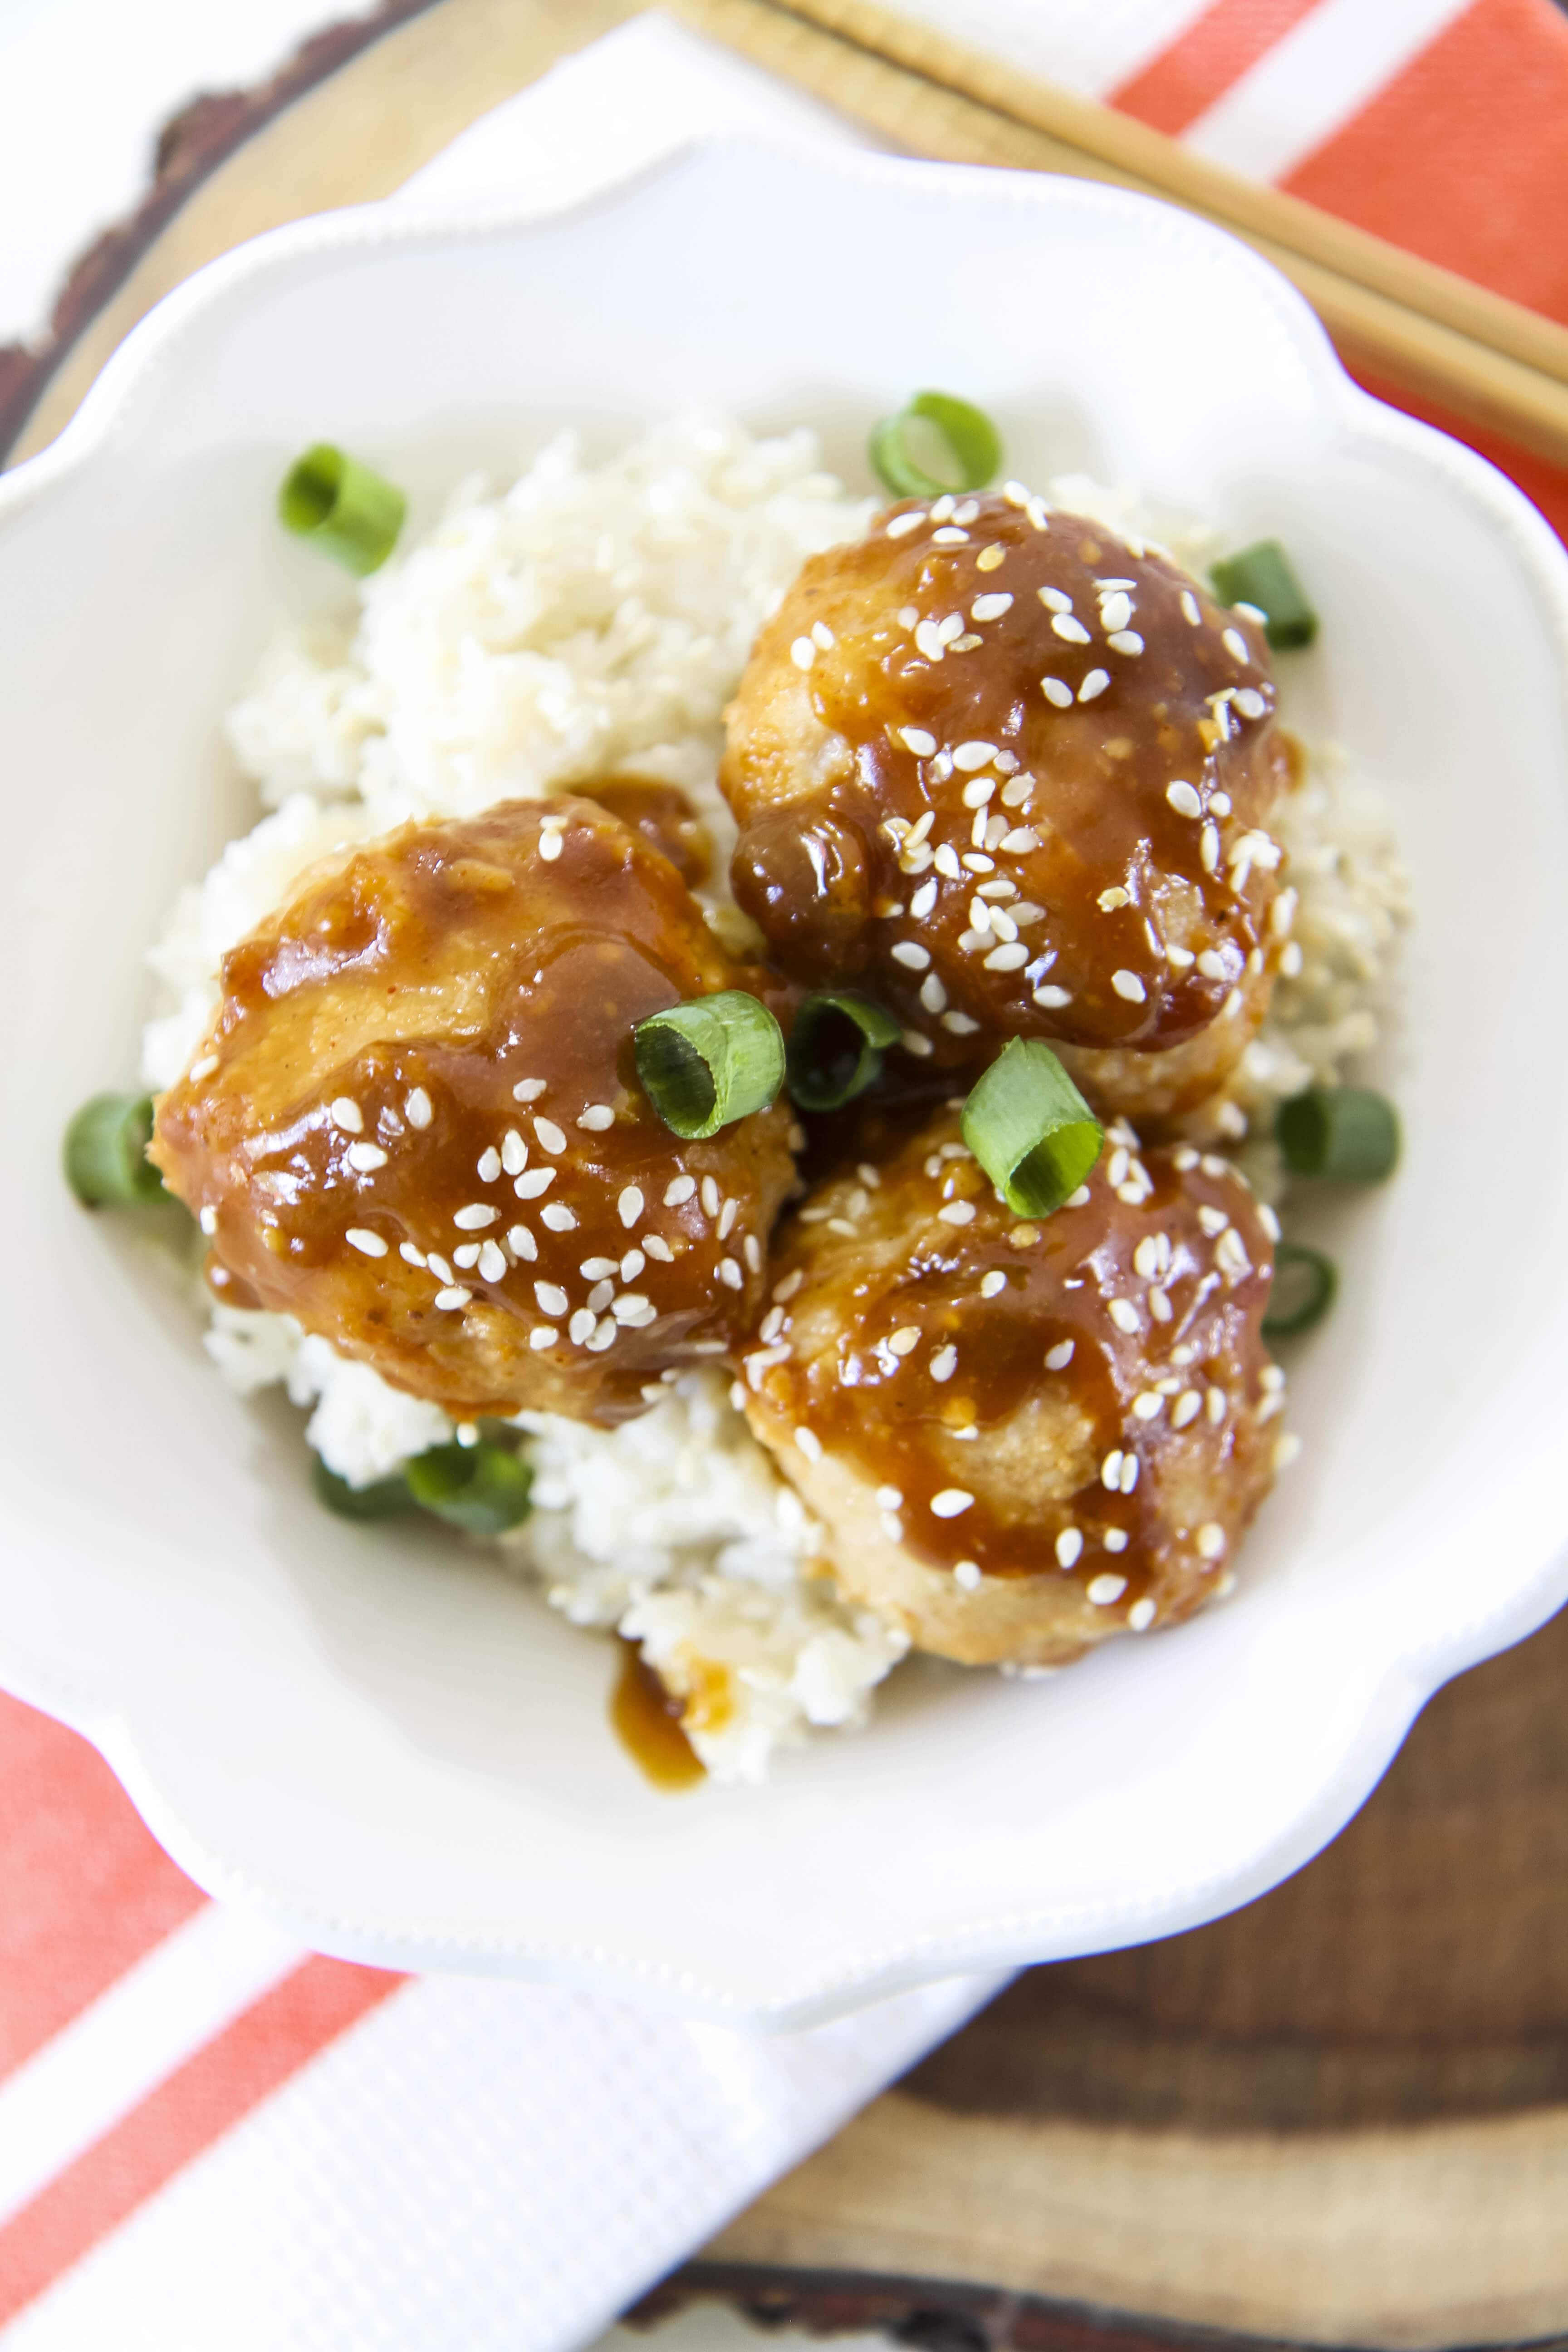
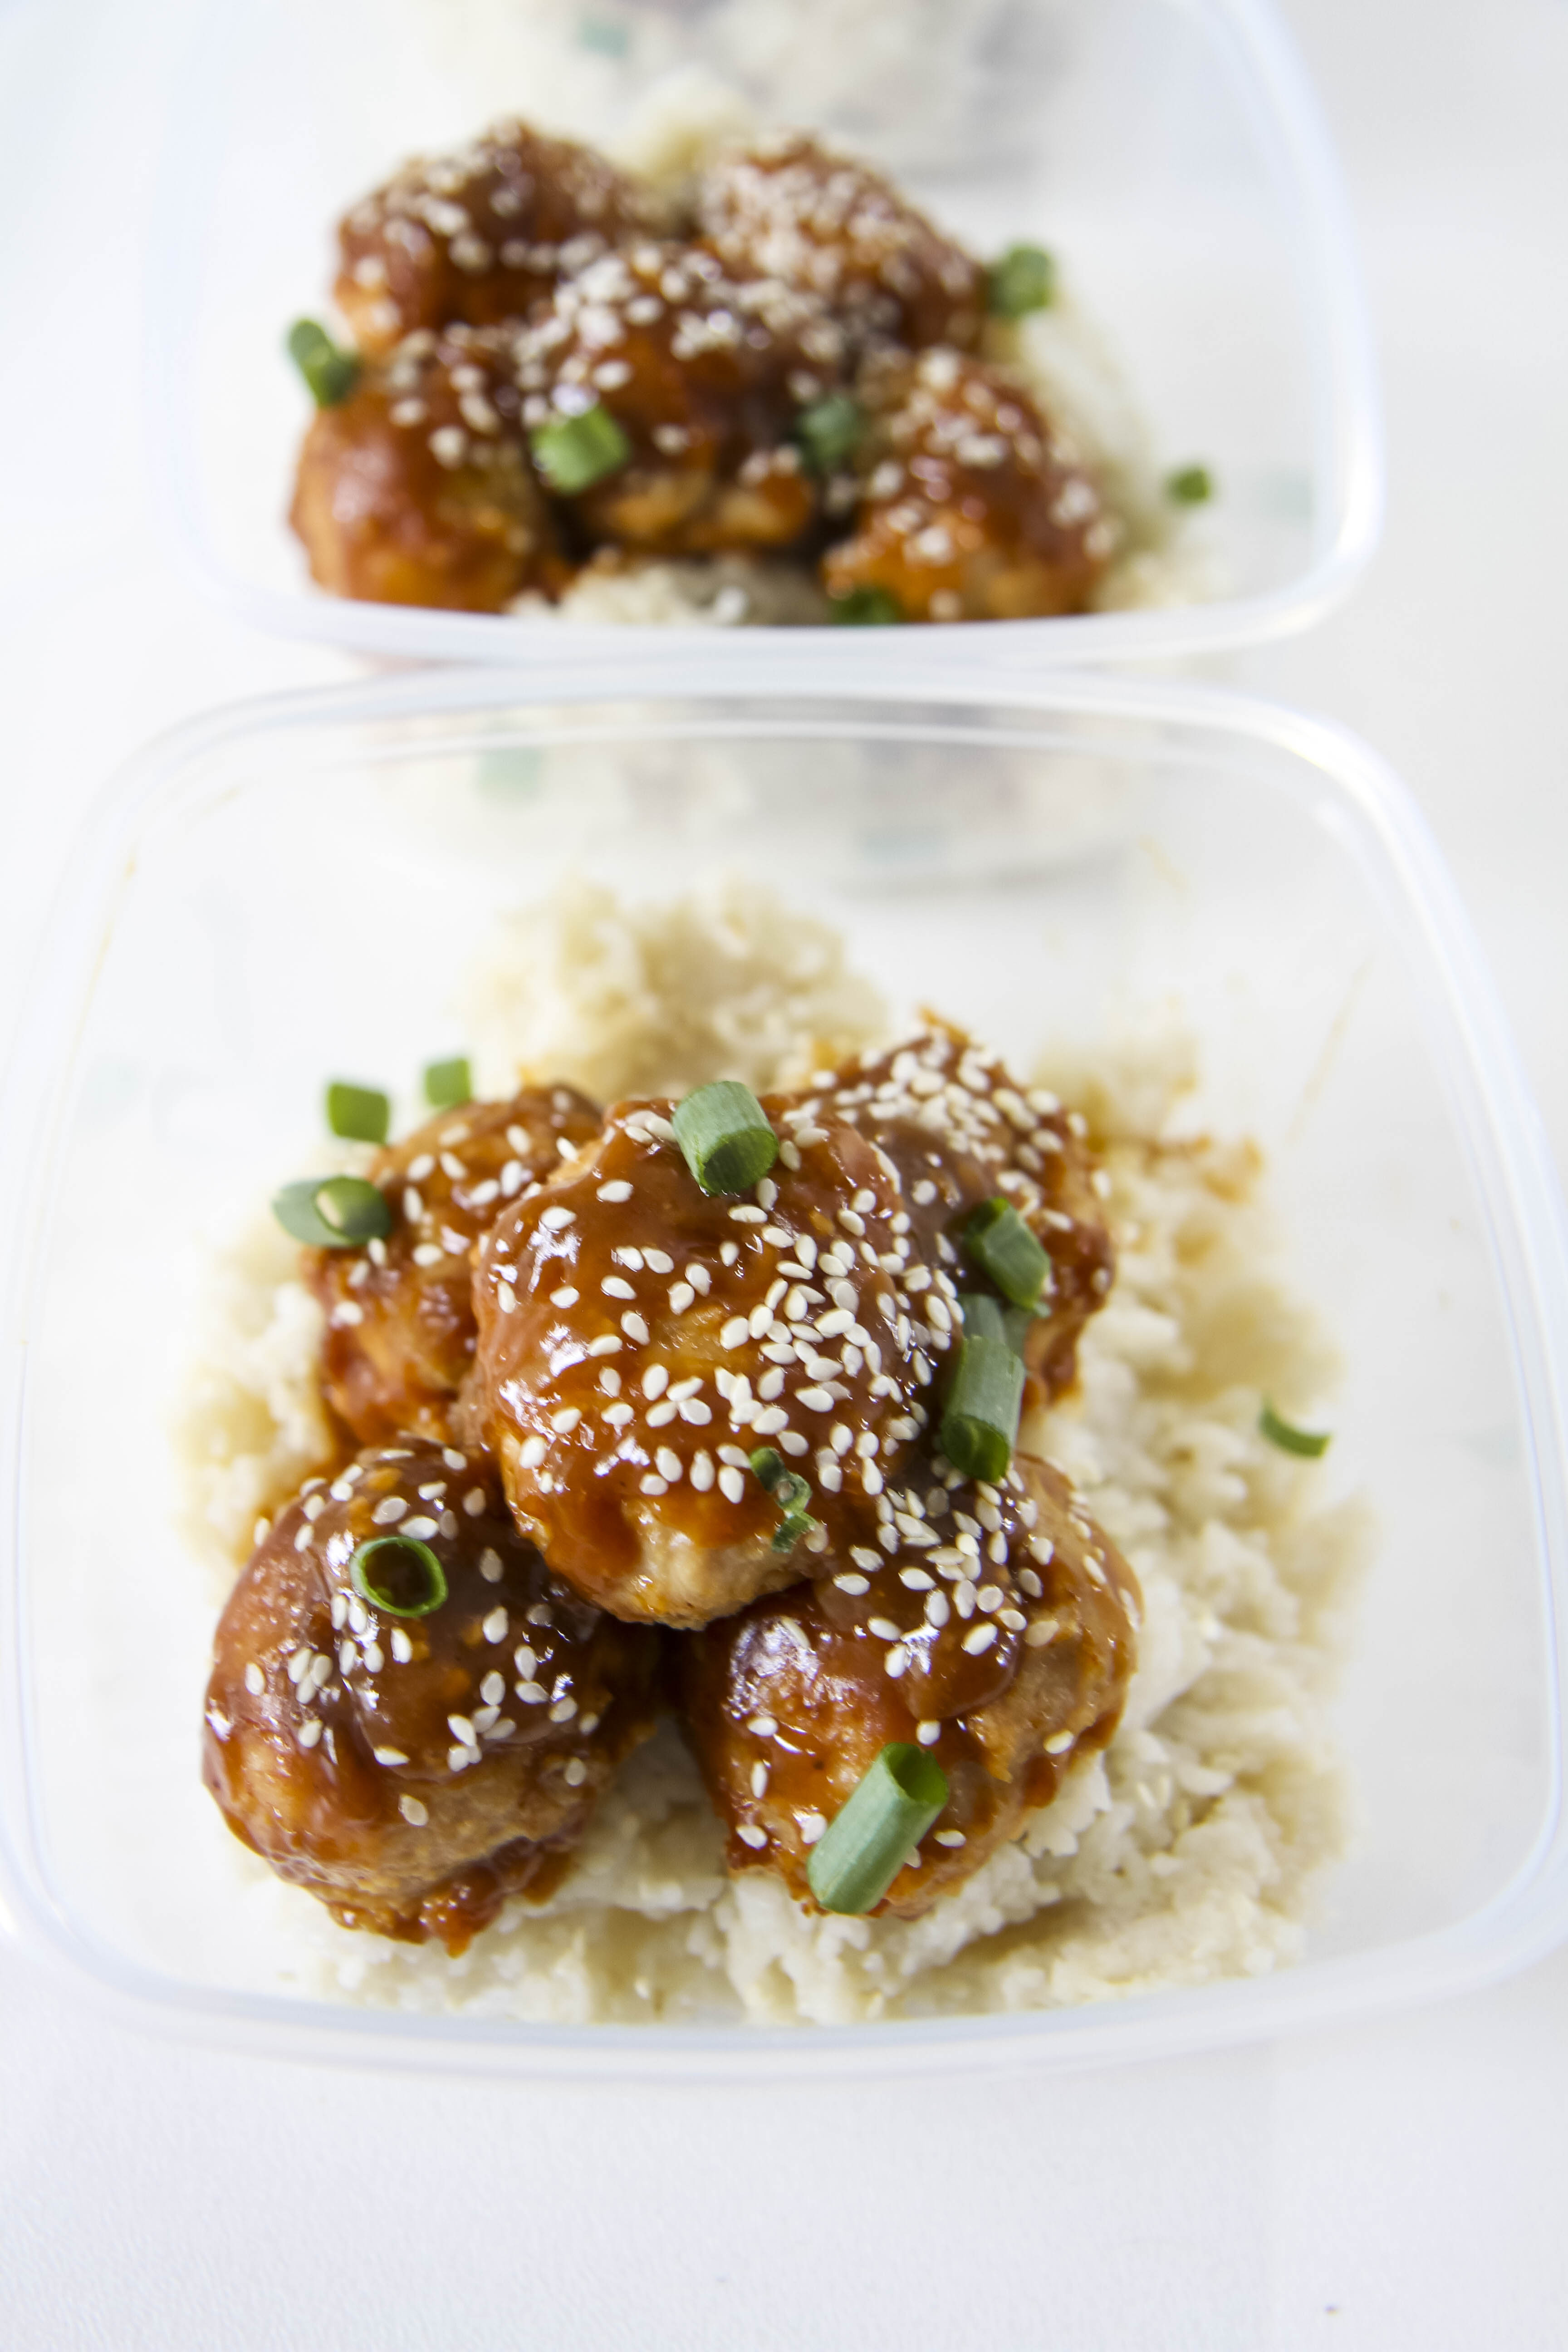
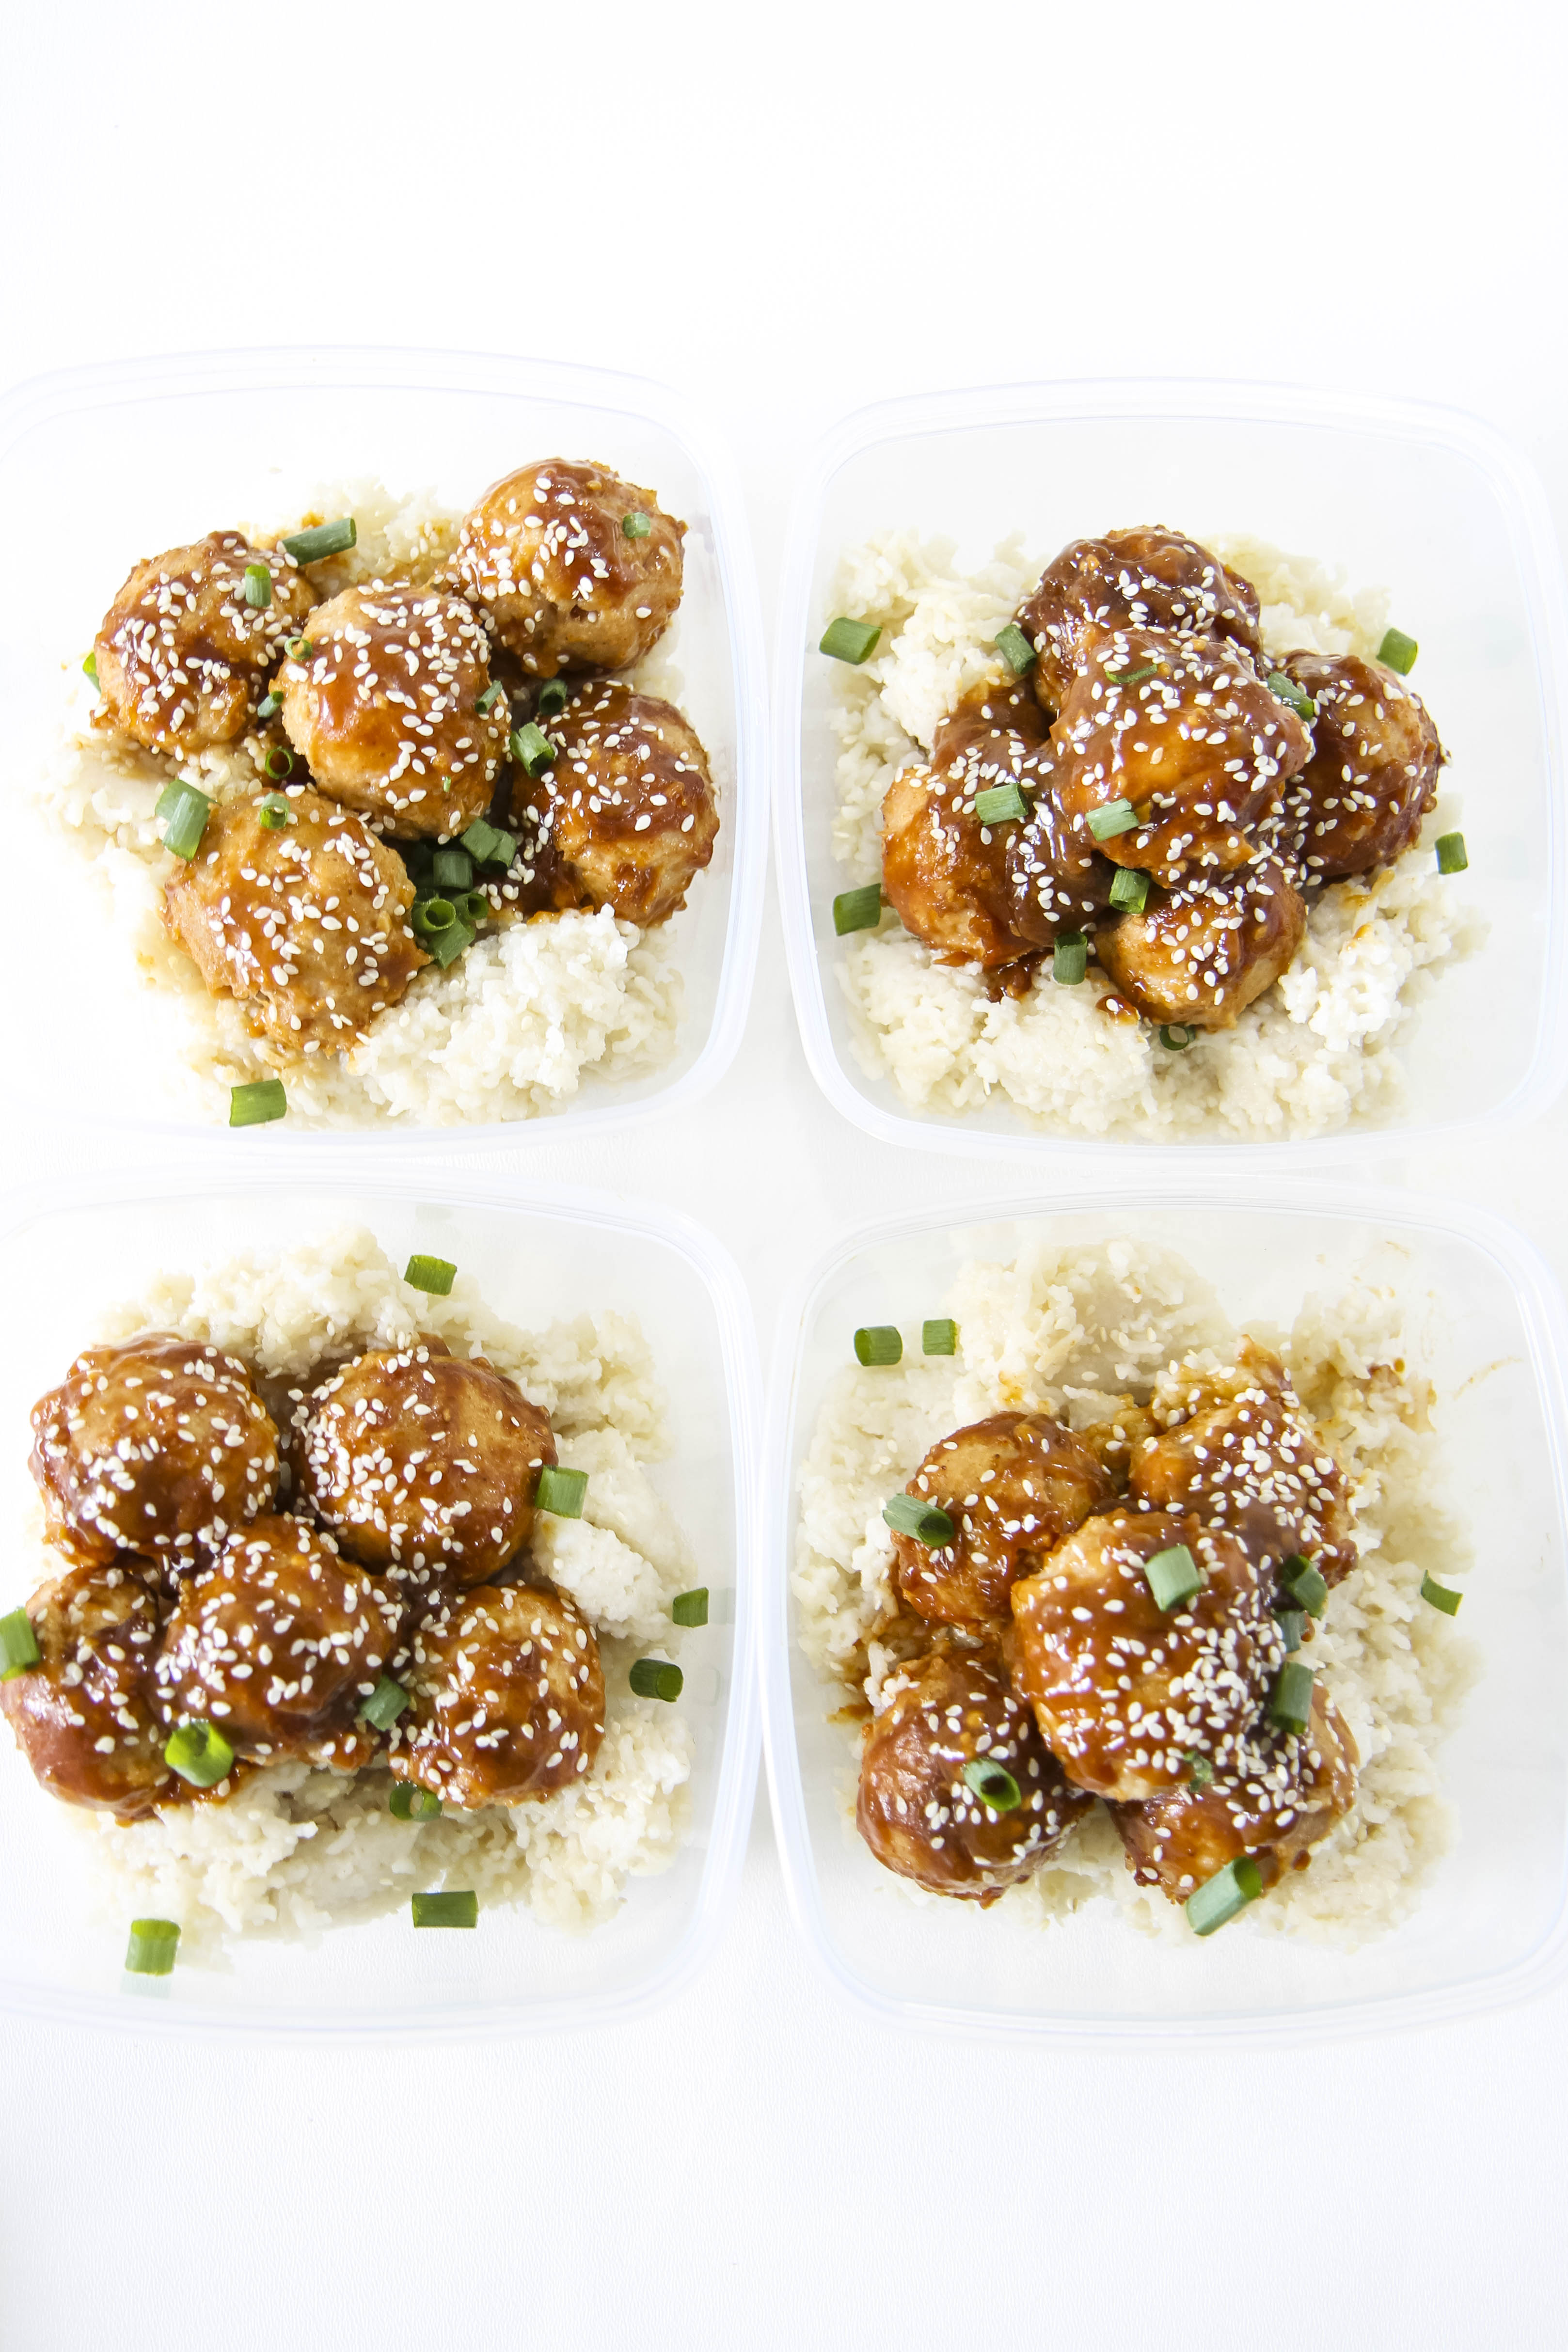
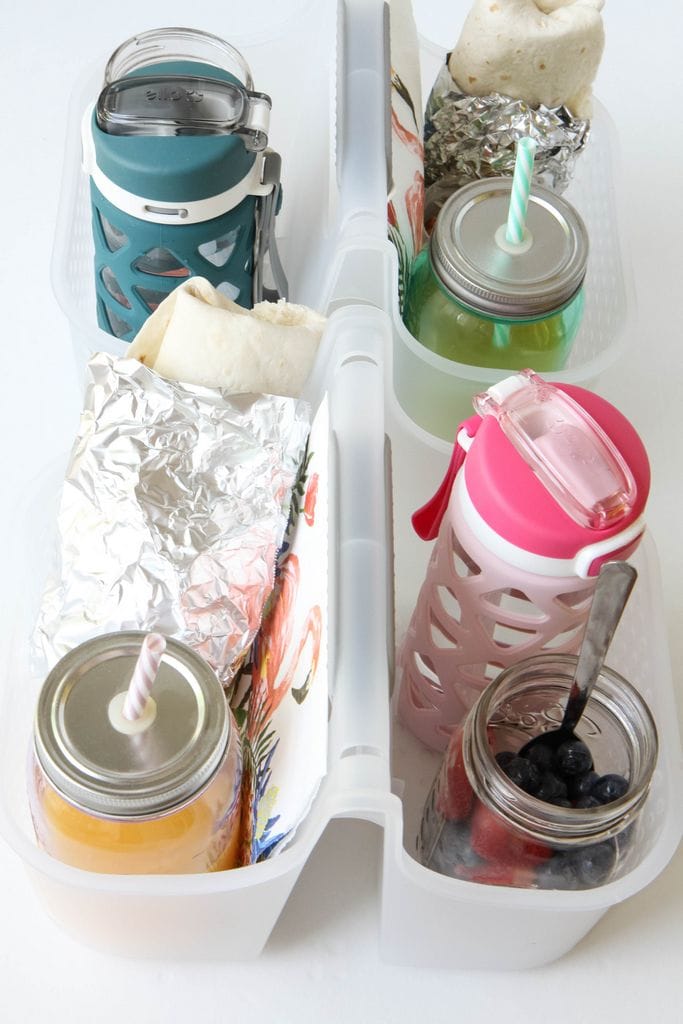
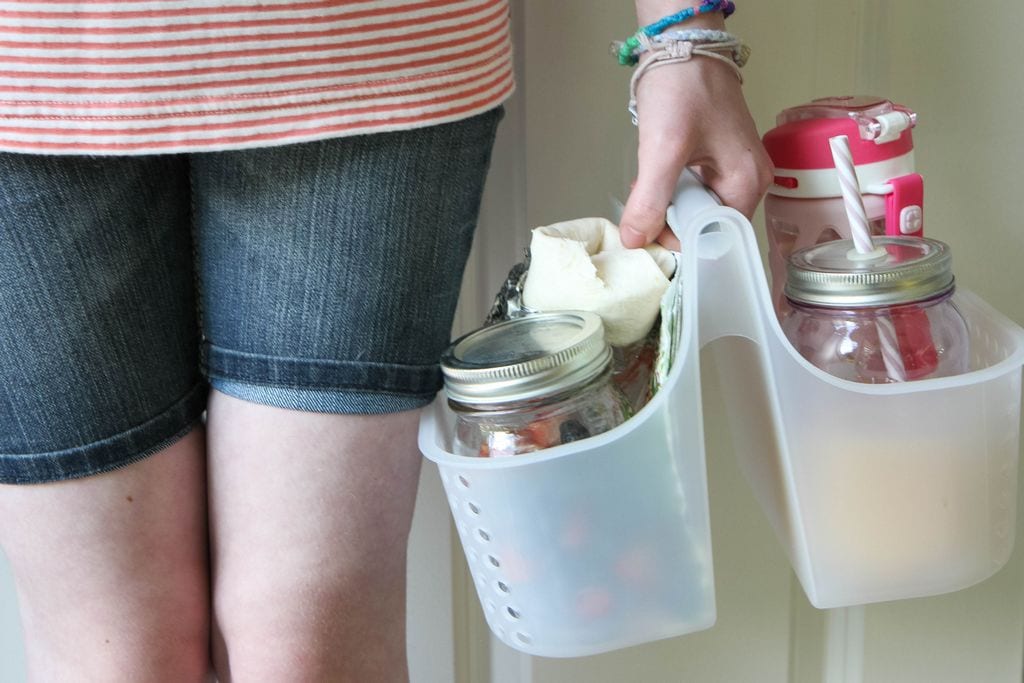
You can finish these beauties with a shake of sesame seeds and a few chopped scallions. Distribute these dishes in your favorite lunch containers (these are my absolute favorite and what our dish is pictured in today) and enjoy a week of stress-free eating.
- 3 pounds ground chicken
- 1/2 cup gluten-free breadcrumbs
- 3 tablespoons gluten-free soy sauce
- 2 teaspoons minced fresh ginger (I love the refrigerated tubes for ease)
- 4 minced garlic cloves
- 2 teaspoons salt
- Optional, but fun: scallions & sesame seeds for garnish
- For Sauce: 3 teaspoons sesame oil
- 1/2 cup gluten-free hoisin sauce
- 2 teaspoons fresh ginger
- 2 cloves minced garlic
- 1 1/4 cup orange juice
- salt to taste
- 2 tablespoons cornstarch
- 2 tablespoons water
- Preheat your oven to 400 degrees. Grease two baking pans for meatballs.
- In a large mixing bowl, mix together your ground chicken, breadcrumbs, soy sauce, minced ginger, minced garlic, and salt.
- In prepared pans, scoop or shape with hands your chicken meatballs. These are delicate and sticky, but will bake up light and lovely.
- Once all your meatballs are shaped, slide these into the oven to bake for ten minutes.
- In a small bowl, mix together your orange juice, hoisin sauce, sesame oil, minced garlic, minced ginger, and salt with a whisk.
- In another separate small bowl, mix together two tablespoons cornstarch with two tablespoons water. Mix until there are no clumps and it is well mixed.
- Add the cornstarch mixture to the sauce and whisk it all together.
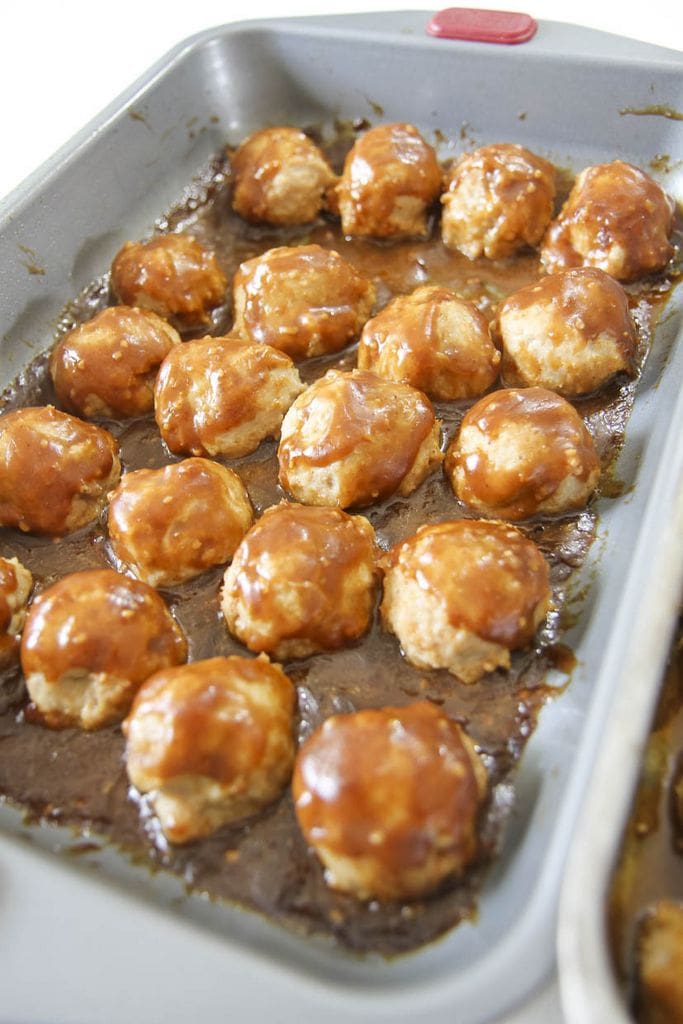
- Once the meatballs have baked for ten minutes, evenly pour your sauce over the meatballs. Slide these bake into the oven for another 5-7 minutes or until the sauce is thick and bubbly and the meatballs are cooked through.
- Spoon these, with the sauce, on top of [url href=”http://https://www.momadvice.com/post/make-ahead-tutorial-how-to-make-perfect-brown-rice-in-your-rice-cooker” target=”_blank”]rice[/url] or [url href=”http://https://www.momadvice.com/post/how-to-make-quinoa-in-the-rice-cooker” target=”_blank”]quinoa[/url] or serve plain with your favorite veggies. Garnish with scallions and sesame seeds.
Looking for more great meal ideas?
Here are a few of my favorites for this time of year!
 gluten-free orange chicken
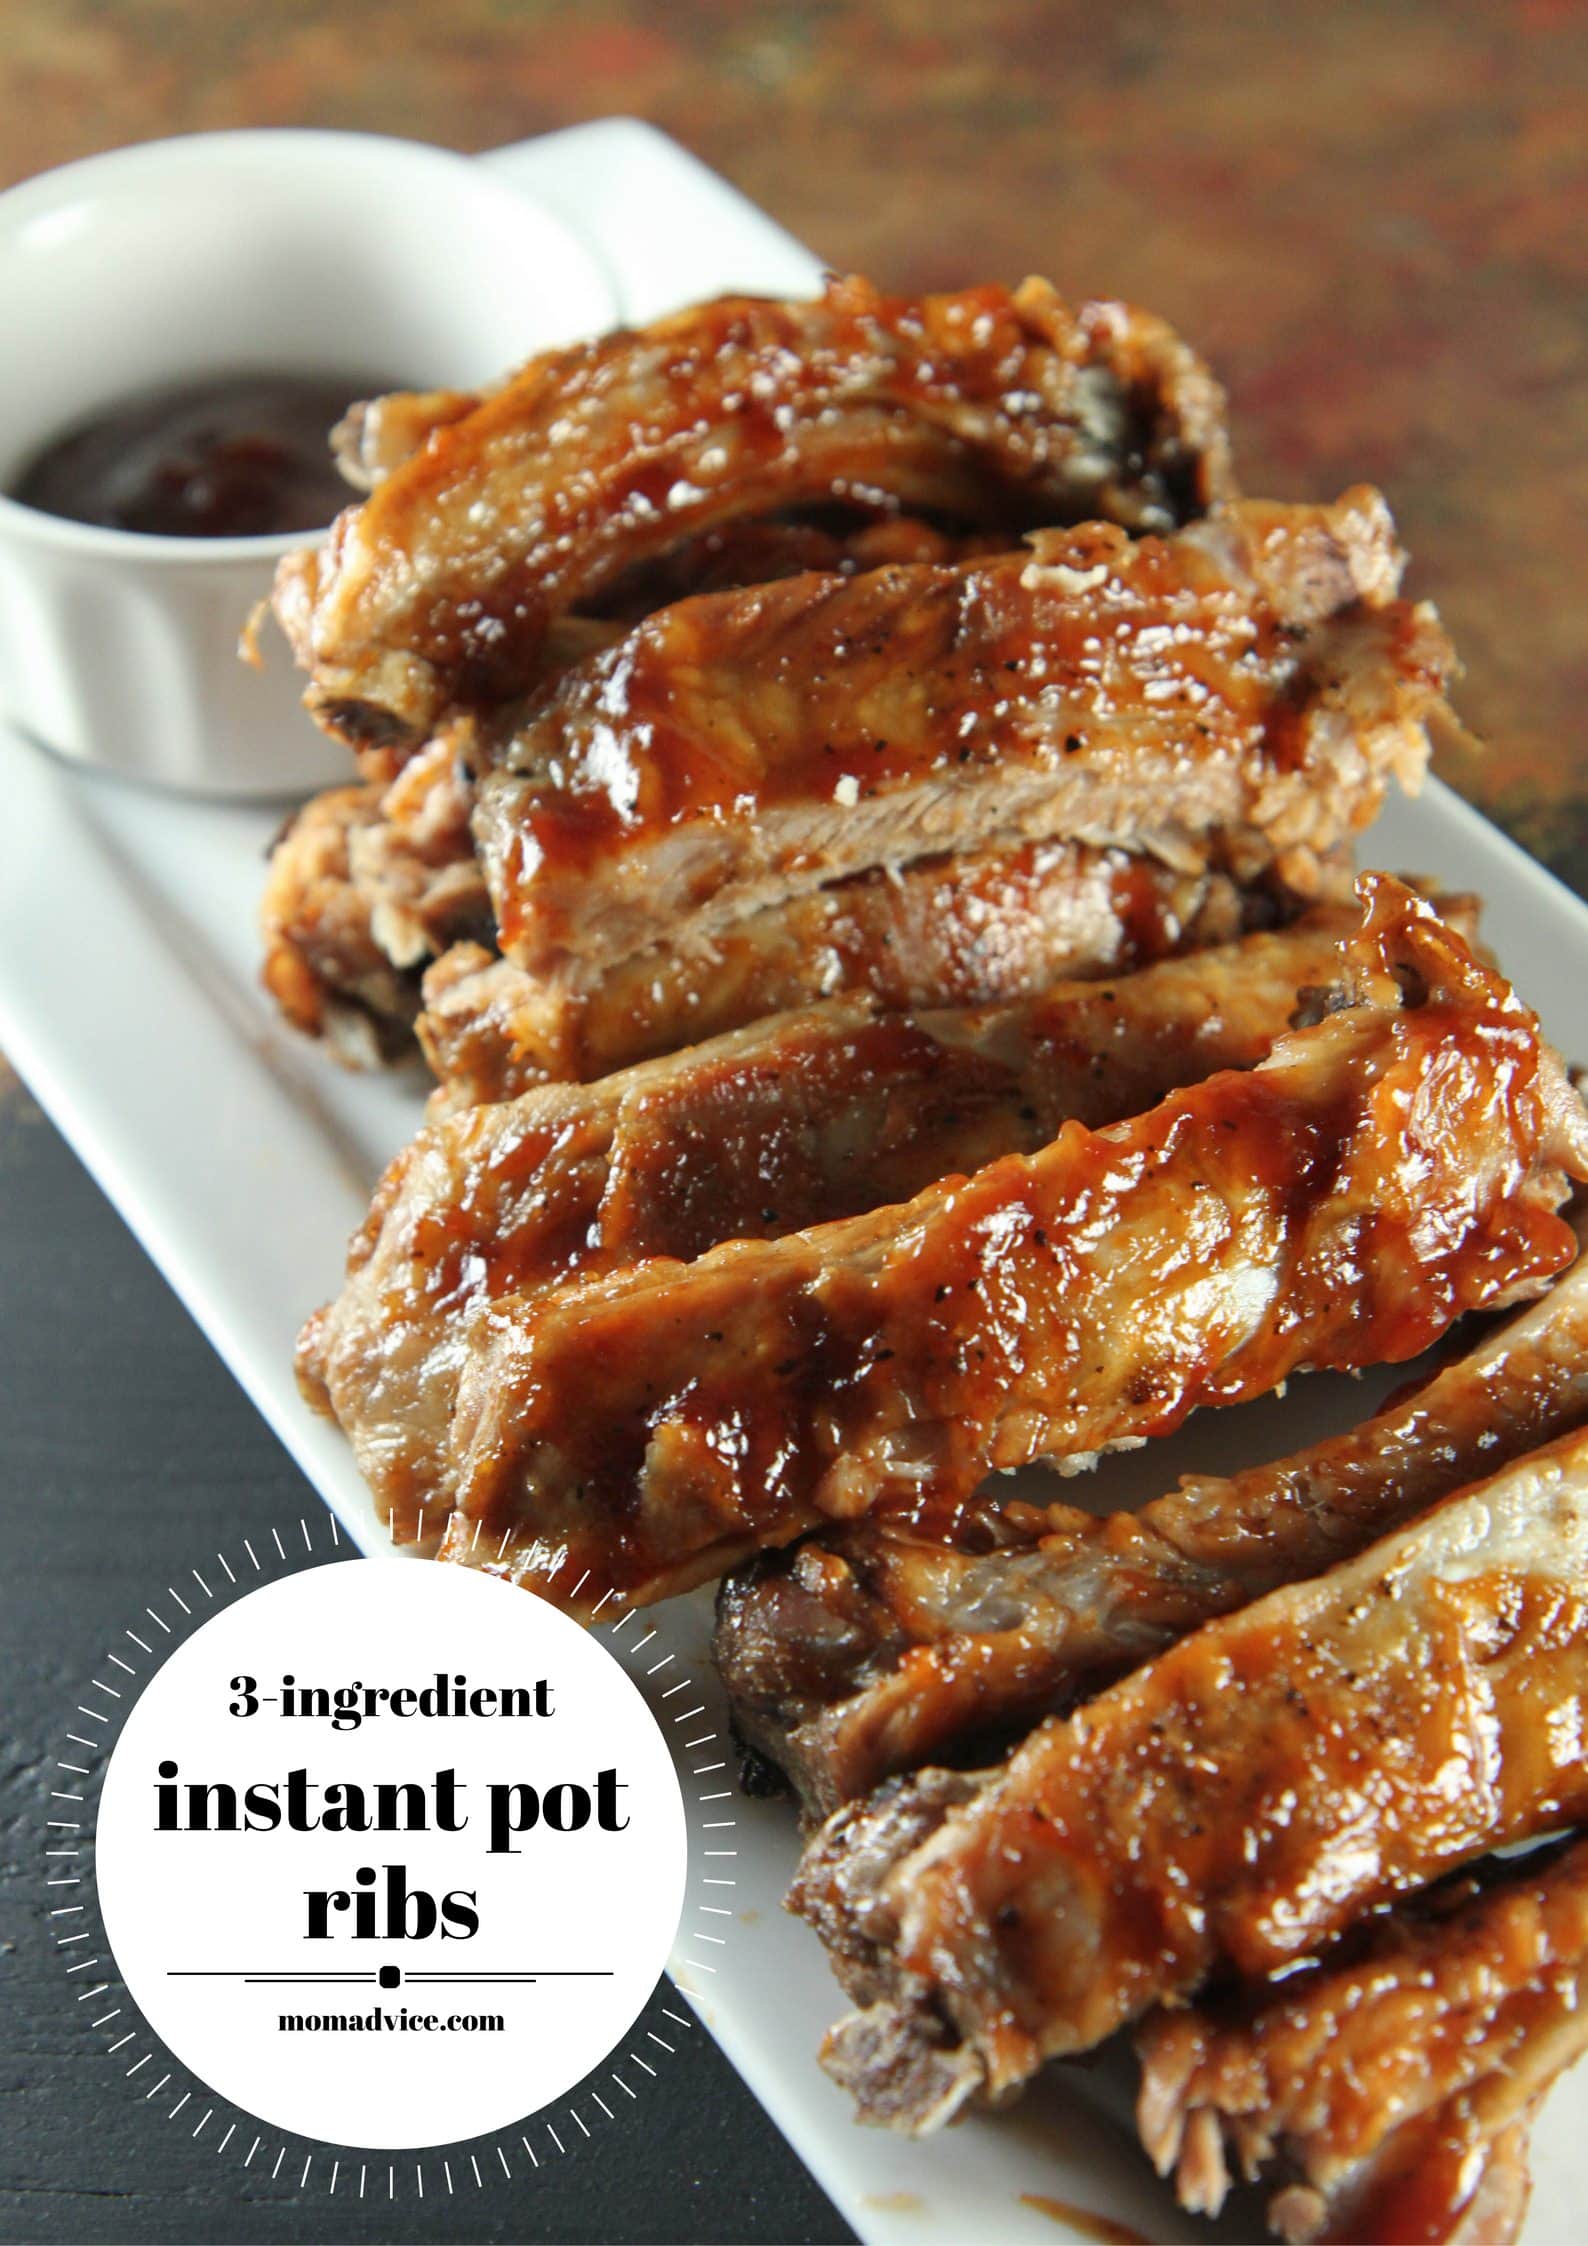 3-ingredient instant pot ribs
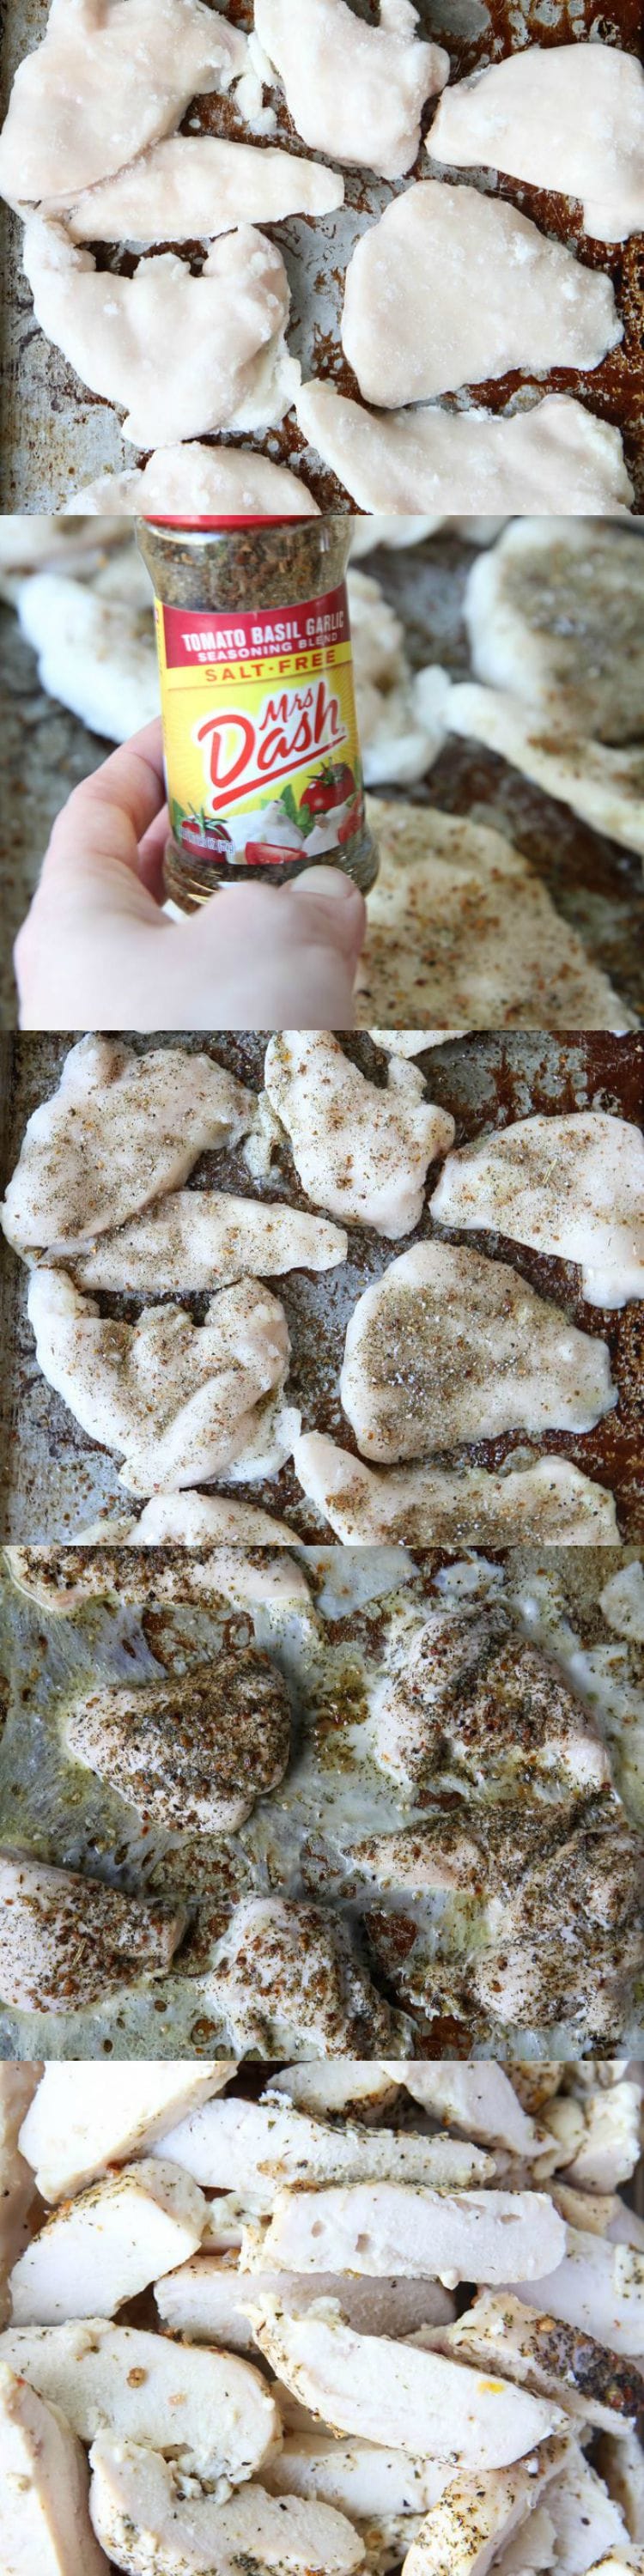
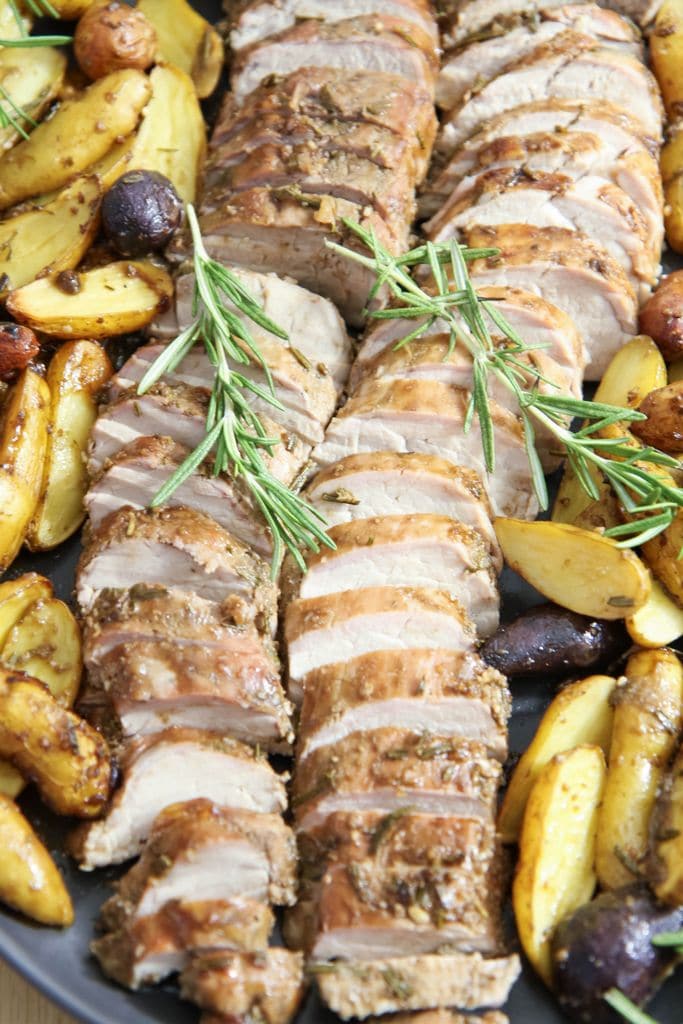
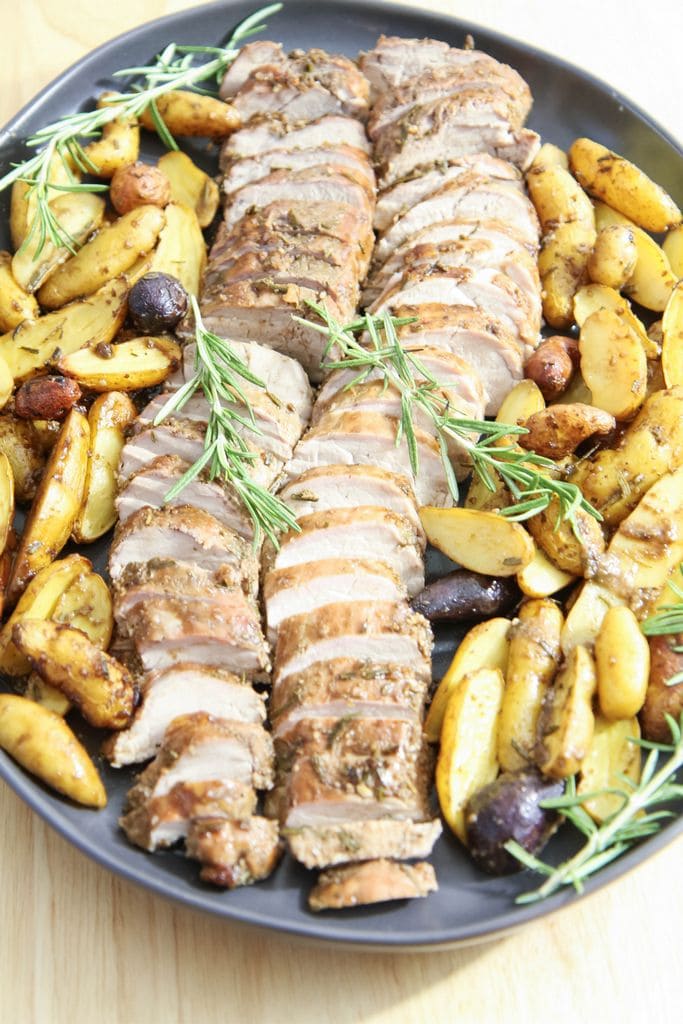
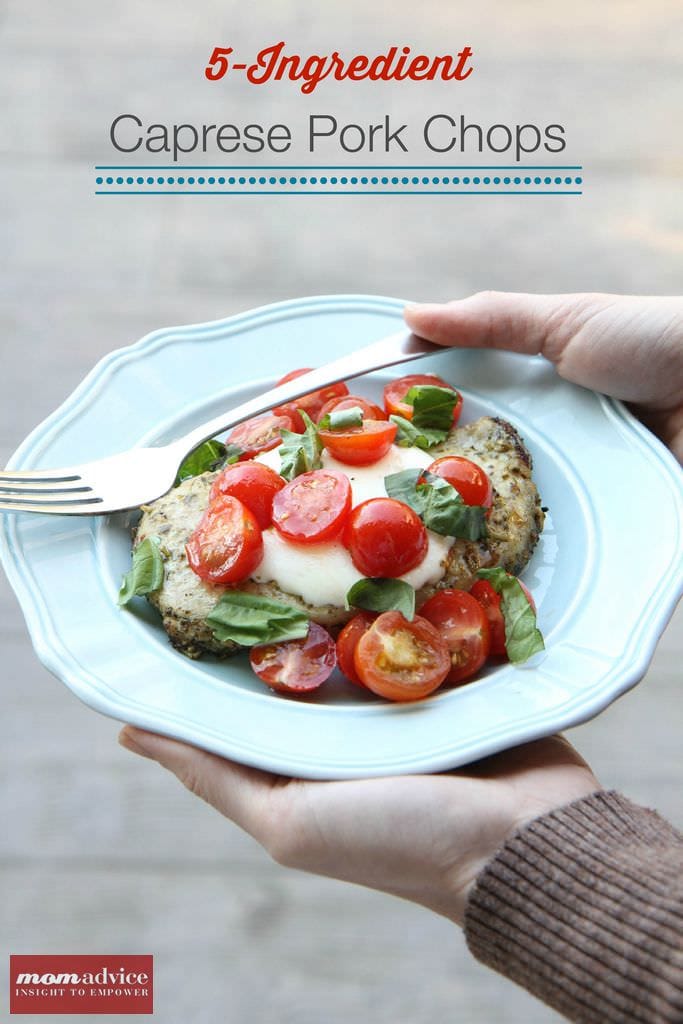 5-ingredient caprese pork chops
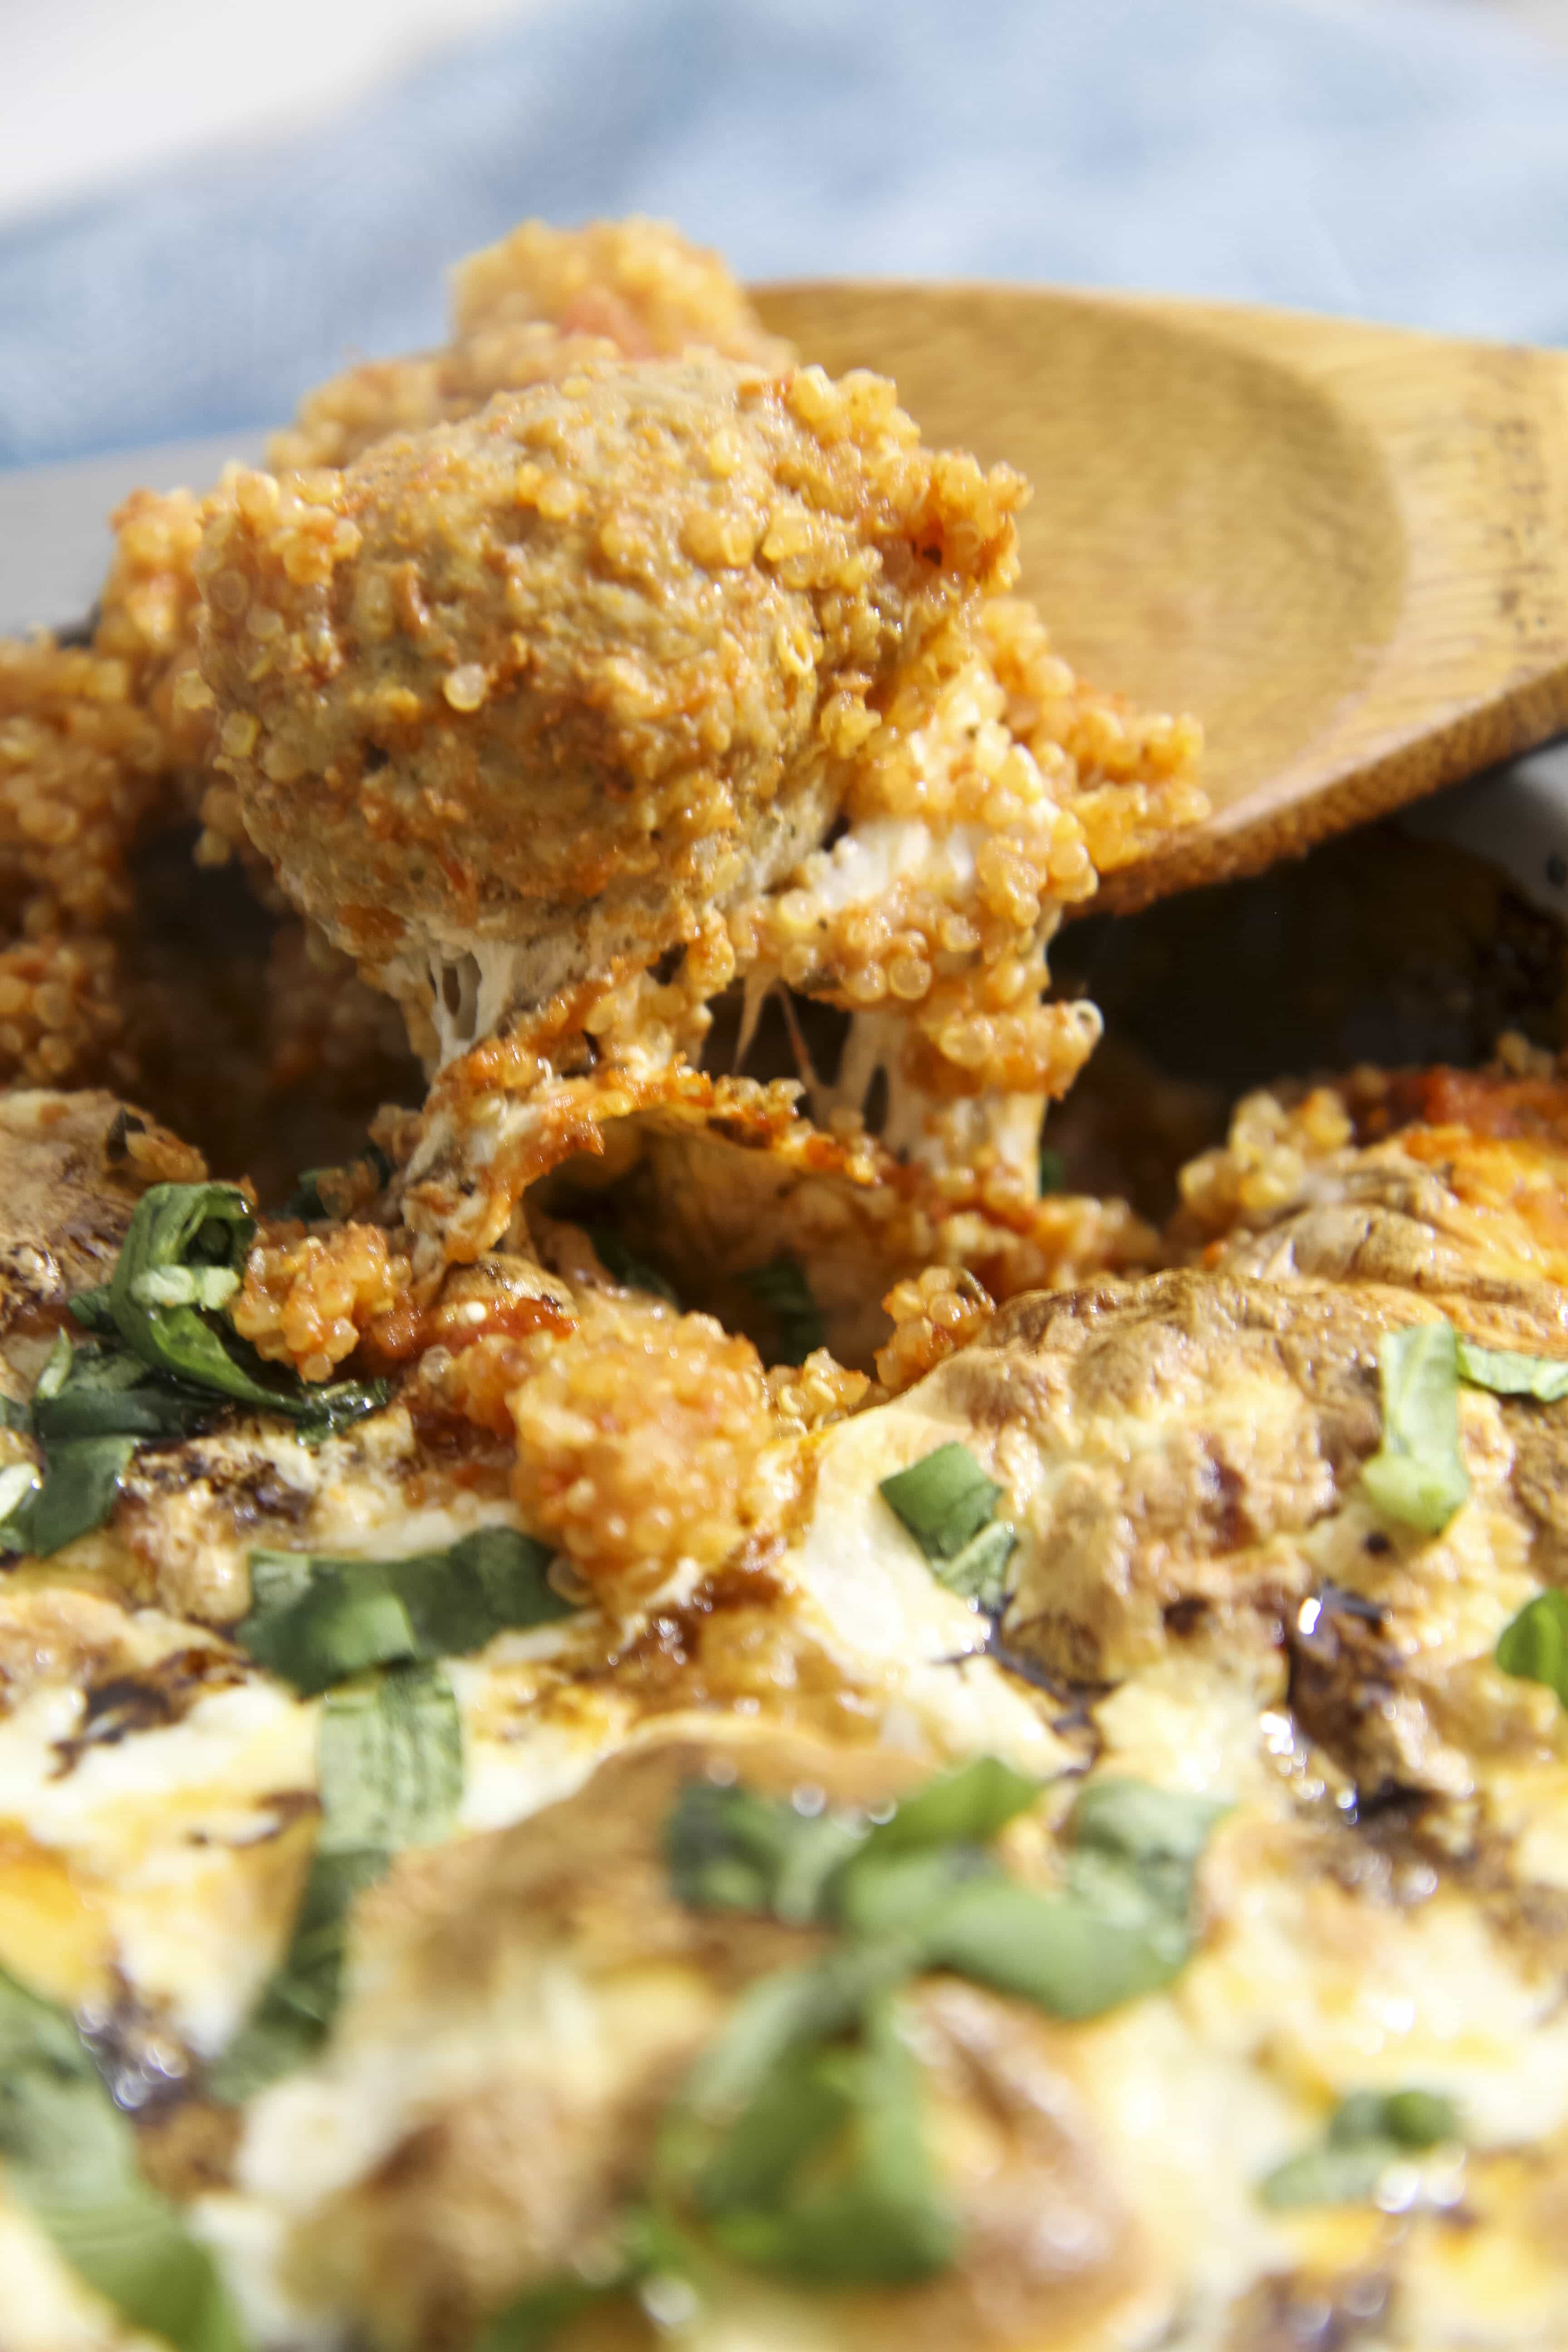
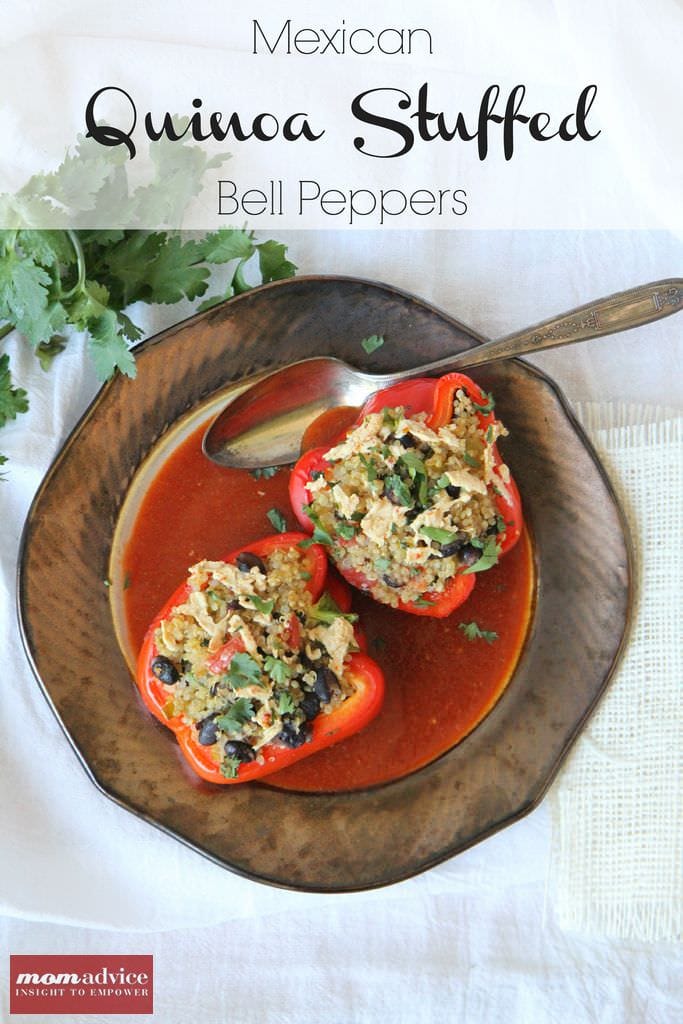 mexican quinoa stuffed peppers
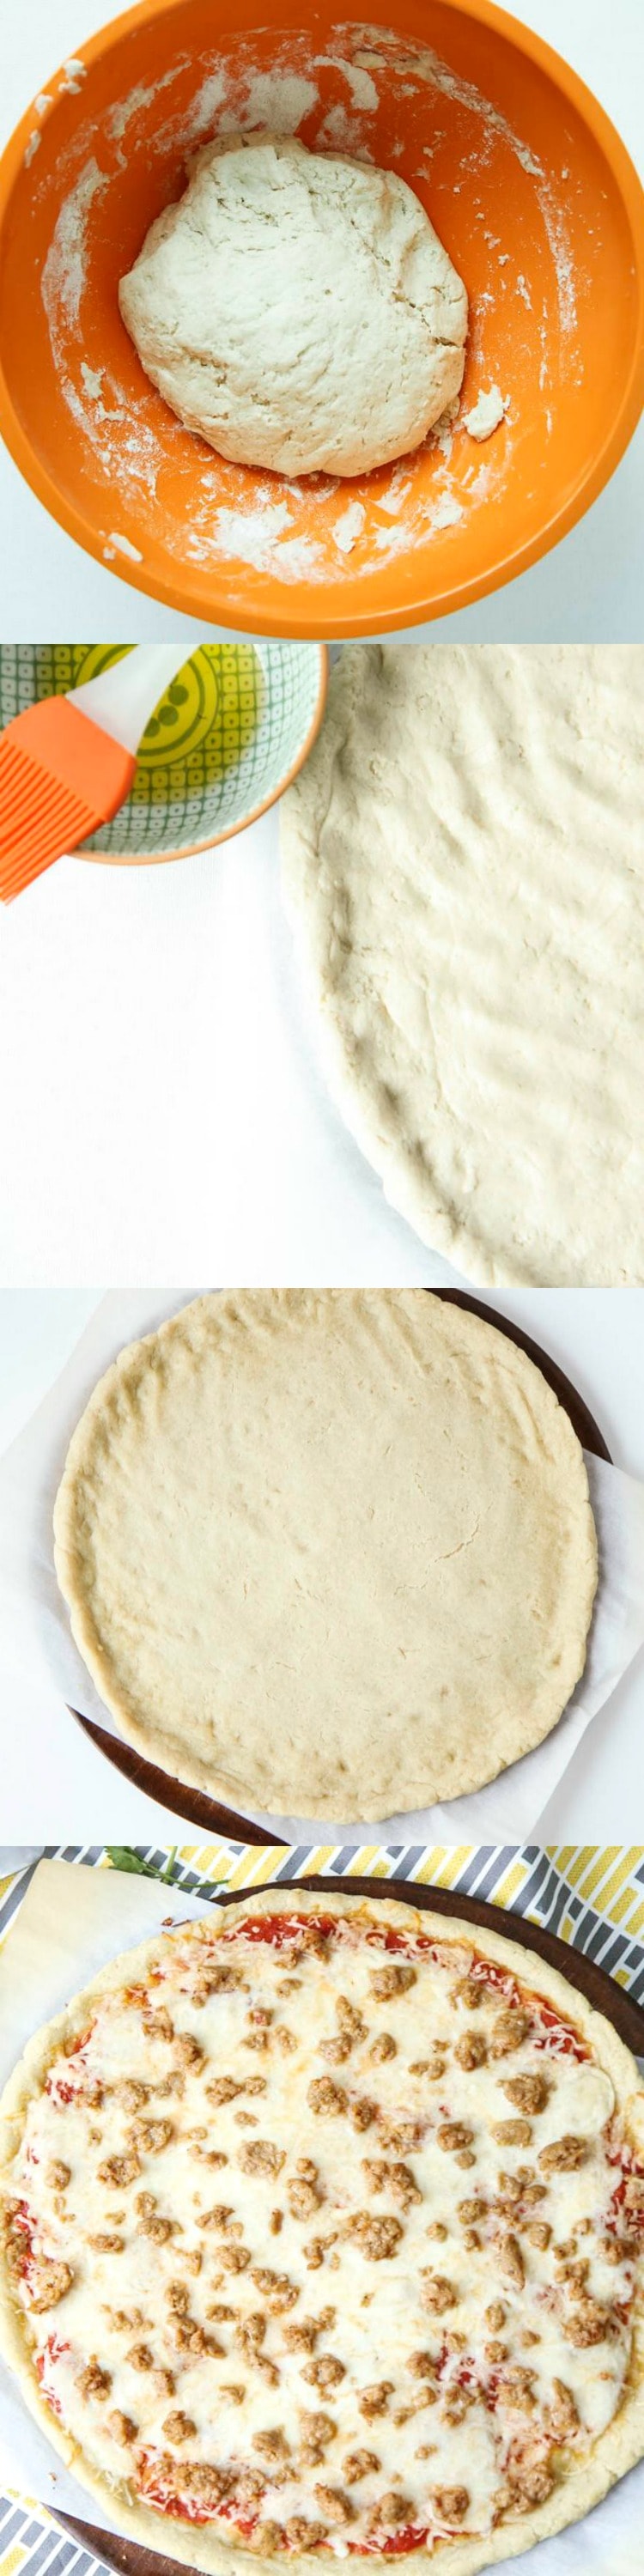
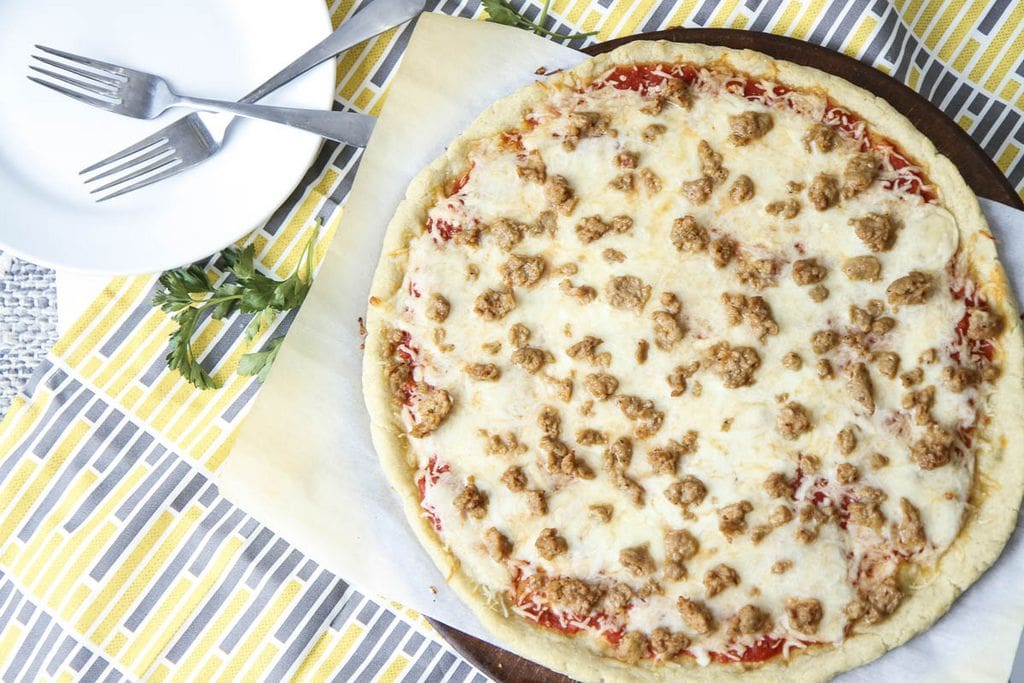
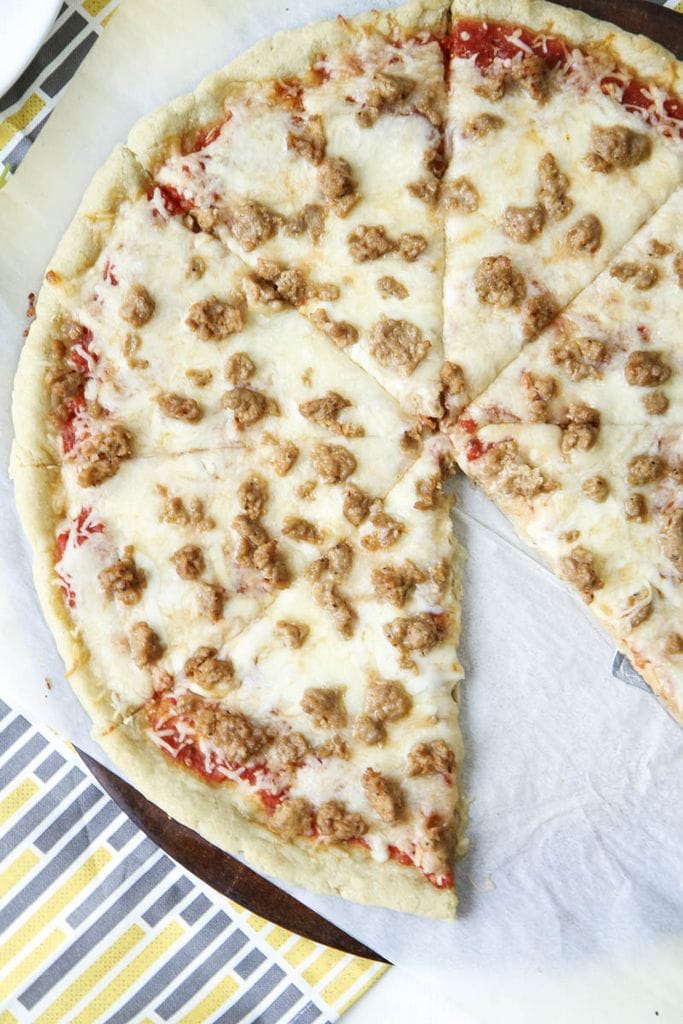
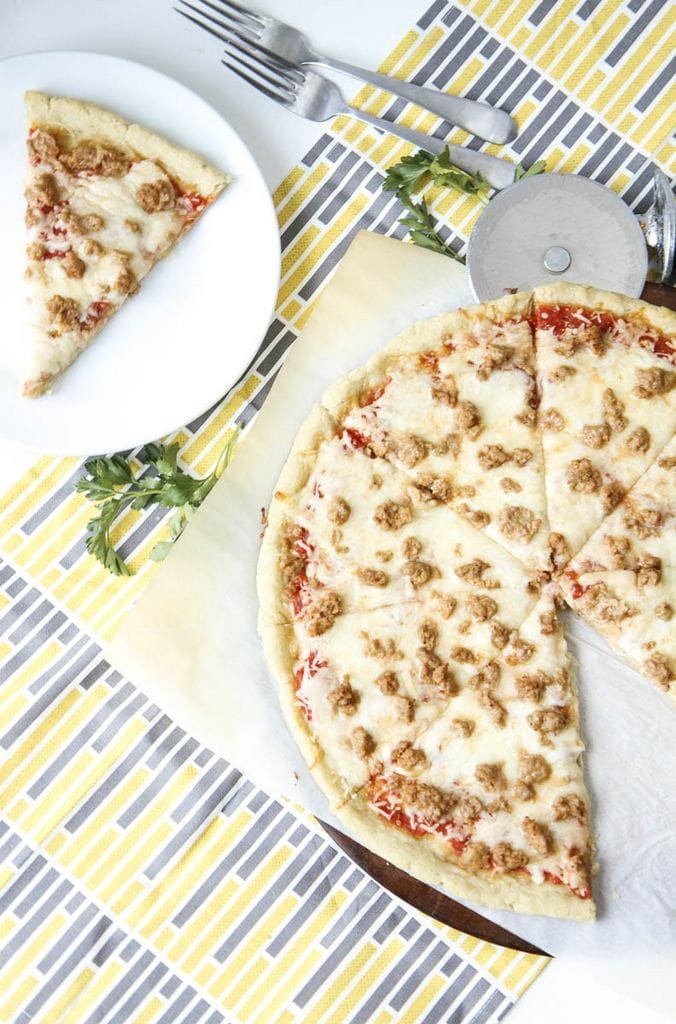
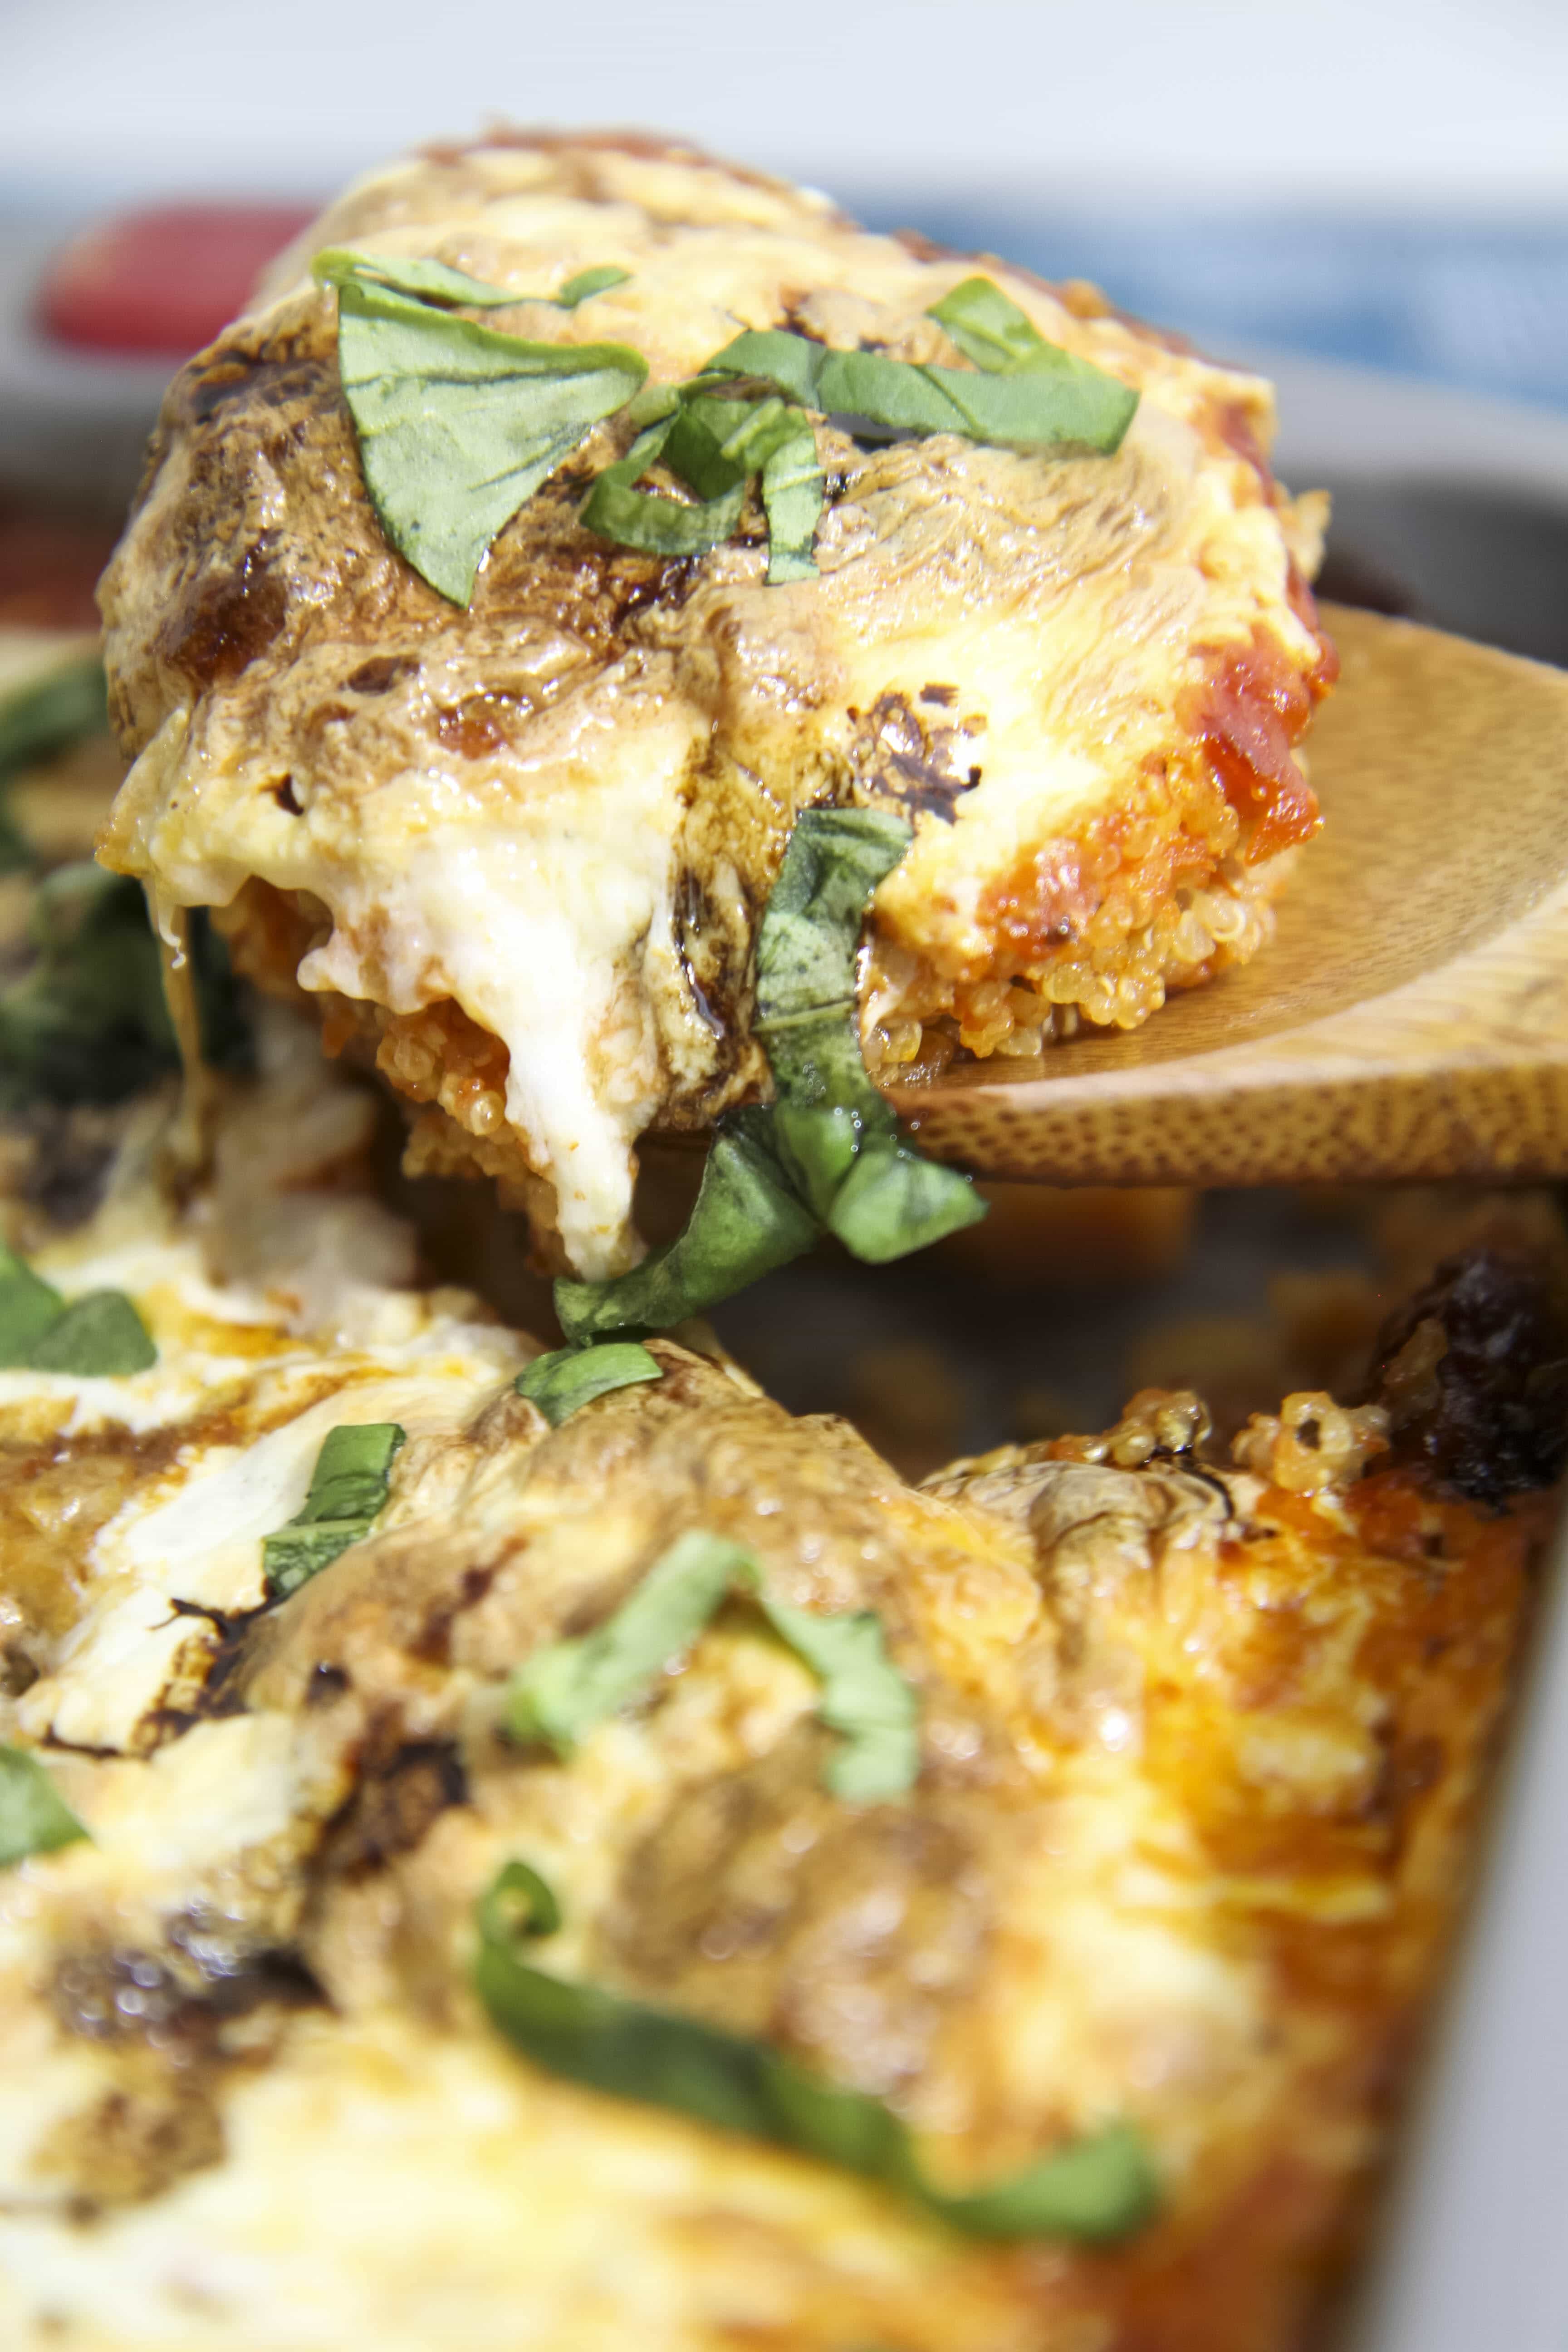
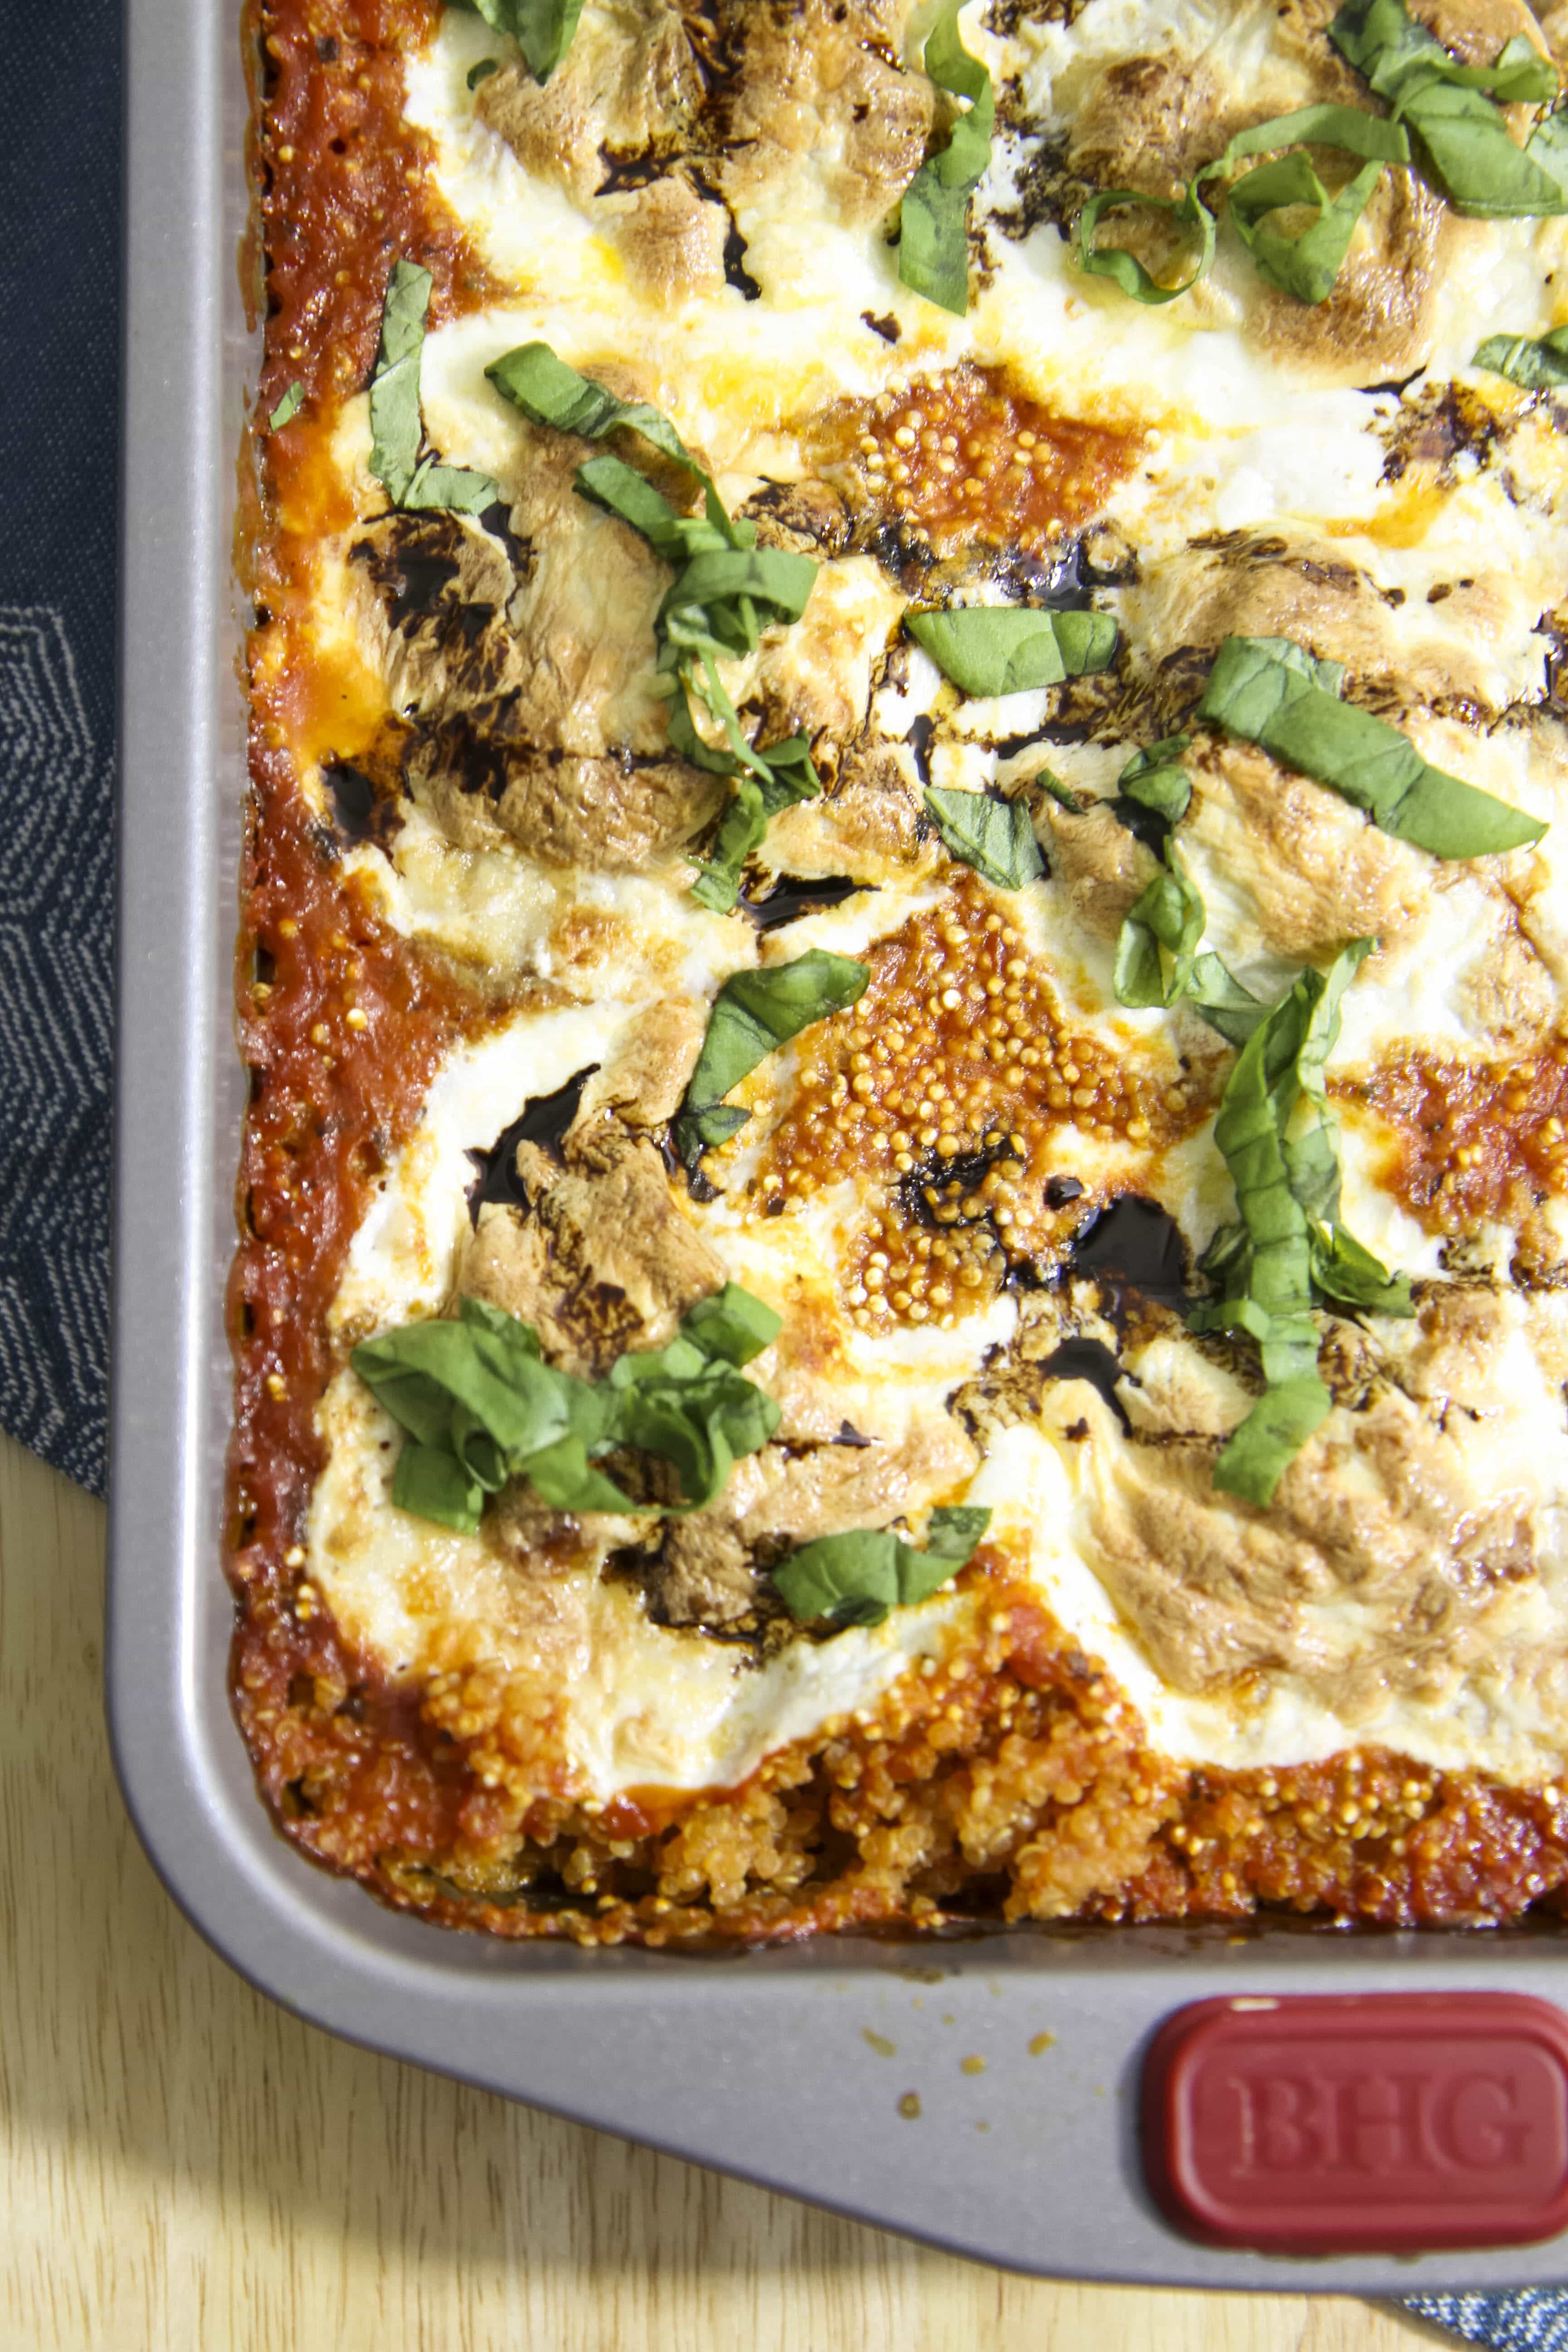
 5-ingredient gluten-free pizza crust
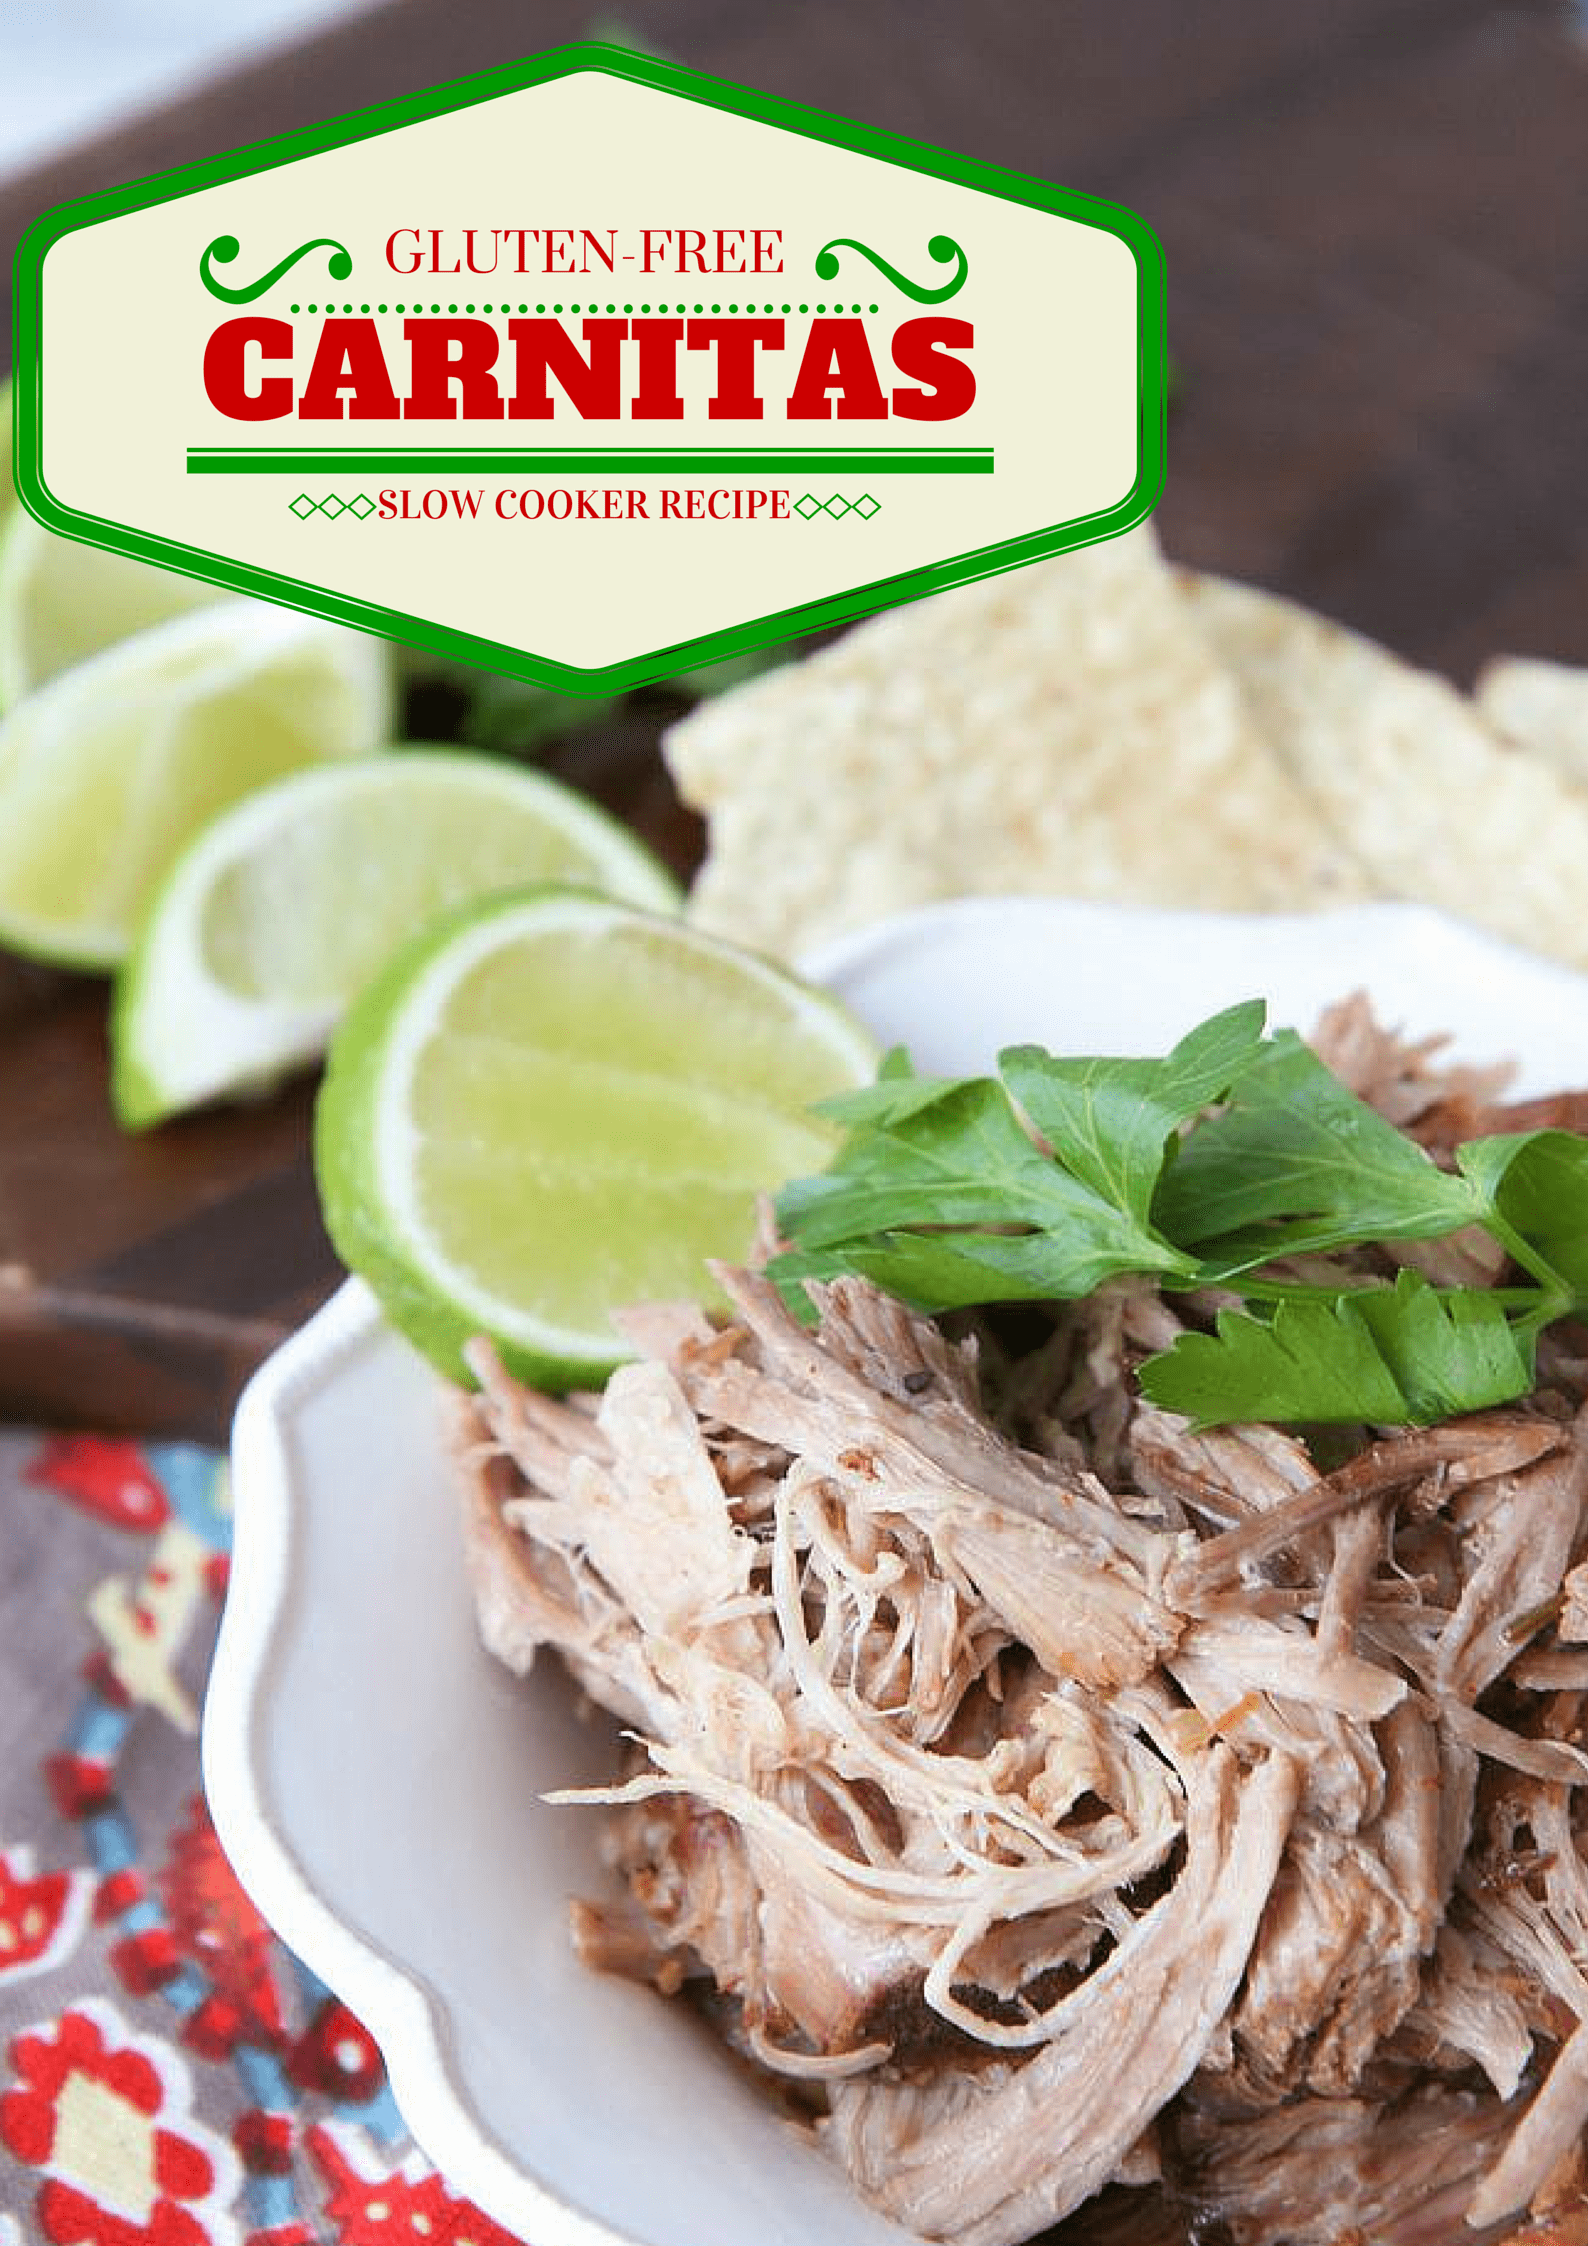 slow cooker carnitas
 gluten-free meatloaf recipe
Check out all our main dishes on the site for more dinner inspiration!
this post contains affiliate links


