Archive for the ‘Food & Recipes’ Category

Simple Oatmeal & Chocolate Chip Muffins

Monday, May 12th, 2008

I have been looking for a heartier muffin recipe for the kids. My children just love muffins and I love making these fast little treats for snacks and the occasional breakfast. I have had this recipe in my to-be-tried pile for far too long so I decided to break it out this week.

These muffins are hearty, but the chocolate chips make them a little bit sweet too. I was surprised that they had so much oatmeal in them, but the soaking process made the chewiness of the oats disappear. The muffin was still light, although you could tell it was a little denser than the traditional muffin.

My kids absolutely loved these and I did too. I think I will be making these with some butterscotch chips or peanut butter chips next time, just to switch it up a bit!

Simple Oatmeal & Chocolate Chip Muffins
1 1/4 cups quick cooking oats
1 1/4 cups milk
1 egg
1/2 cup vegetable oil
3/4 cup packed brown sugar
3/4 cup semisweet chocolate chips
1 cup chopped pecans
1 1/4 cups all-purpose flour
4 teaspoons baking powder
1 teaspoon salt

Combine oats and milk (I used prepared powdered milk) and allow to stand for 15 minutes. Preheat oven to 400 degrees F (205 degrees C). Grease each cup of one 12-cup muffin tin. Stir egg, oil, 1/2 cup of the brown sugar, chocolate chips and 1/2 cup of the pecans into the oat and milk mixture. Combine flour, baking powder and salt. Add oat mixture to flour mixture, stirring until just moist. Fill each cup of one 12-cup muffin tin 2/3 full. Sprinkle tops with the remaining brown sugar and pecans. Bake at 400 degrees F (205 degrees C) for 20 to 25 minutes. Amy’s Notes: I added a 1/2 teaspoon of cinnamon and 1 teaspoon of vanilla to the muffins. I omitted the pecans and instead I topped the muffins with this crumb topping recipe.

Sound Off: Do you have any hearty or healthy muffin recipes that I could try? I am looking for some new ideas for breakfast and would love any suggestions you might have!

Yummy Jerk Chicken

Thursday, May 8th, 2008

We tried a new marinade for Caribbean Jerk Chicken this week and it was delicious! This spice mix has the perfect balance of spices and coats the chicken beautifully. I marinated the chicken for a few hours and we had planned to grill it outside. The weather didn’t end up cooperating so I ended up baking this for 350 degrees for about forty-five minutes, and it was absolutely perfect.

We served the chicken with rice and some corn to complete the dinner!

Yummy Jerk Chicken

1 envelope Italian salad dressing mix
2 tablespoons brown sugar
2 tablespoons olive oil
2 tablespoons soy sauce
1/2 teaspoon cinnamon
1 teaspoon thyme
1/2 teaspoon ground red pepper
2 1/2 lbs chicken pieces

Mix the marinade ingredients into a bowl and then pour over the chicken pieces. Allow this to marinate for a minimum of one hour or overnight. Grill your meat until it is done.

Key Lime Pie With a Graham Cracker & Oatmeal Crust

Sunday, April 13th, 2008

For my brother’s birthday, he requested his favorite pie… Key Lime! I had never made this type of pie before, but was up for the challenge after hunting around on Recipezaar.com for the perfect recipe.

I used this recipe for the crust which contained the graham crackers and oatmeal, instead of just the plain oatmeal crust. It turned out perfect and made the crust a little heartier and a tad less sweet, which balanced the citrus wonderfully.

I don’t have any pictures of the pie because we gobbled it up too fast, but it turned out wonderful. I used this recipe for the filling and the only thing I didn’t like about it was that I thought I should have doubled the filling for these pies. I had a lot of crust and a little filling, which made it look more like a tart with too much crust. Regardless, everyone seemed to really enjoy it and I was proud to get to help with the celebration!

I look forward to making more of these this summer. Lucky for me, it is the only pie my husband will eat so I am glad to have found a recipe that he liked.


Those Bodacious Blueberry Muffins

Monday, March 31st, 2008

This weekend I made Emily’s, from the wonderful Loria Family Dialogues, Bodacious Blueberry Muffins for a snack. I happened to have some of my crumb topping in the freezer so I added a sprinkle of that on top of each of these.

Wow! These were delicious! I think I might mix up some of the dry ingredients, just like I do for my dinners in a bag, for a quick snack to take to playgroups or potlucks.

With the crumb topping, they tasted like a yummy Blueberry Buckle- delicious! I hope you can try these and a big thanks to Emily for such a wonderful recipe! Now I just need to convince my children and husband that blueberry muffins are delicious (weird people!)

Sloppy Joes & Oven Fries

Monday, March 3rd, 2008

I always love to try out new recipes and wanted to give a new recipe for Sloppy Joes a shot. These sandwiches were absolutely delicious. I have made this recipe twice and adjusted the ratios to our liking. This ground beef mixture has just a little bit of tang, with a whole lot of tomato-y goodness.

I served these on my homemade hamburger buns, with a side of these Seasoned Baked Potato Wedges, that I had been dying to try (from Tammy’s Recipes)

The potato wedges were equally delicious and a perfect balance of spices. They were crispy and not soggy, which I find to be quite important in an order of fries. Best of all, they were a hit with the whole family!

Yummy Sloppy Joes (adapted from Recipezaar)

1 lb ground beef
1 cup chopped onions (I omitted these because I don’t like onions)
1 cup ketchup

1 tablespoon mustard
2 tablespoons red wine vinegar

1 teaspoon salt

2 teaspoons Worcestershire sauce

In a large skillet, brown beef with onions (make sure to drain or rinse your meat after this step). Mix the rest of the ingredients together. Add to beef and onions. Cook for 1 hour over medium heat, stirring occasionally. Serve on warm hamburger buns.

Saturday Morning Treat: Homemade Cinnamon Rolls

Monday, February 25th, 2008

Growing up, one of my favorite Saturday treats was a Pillsbury Cinnamon Roll. My mom would make these for us on Saturdays and we always fought over the ones that had the most frosting. Sadly, it was such a thrill when my dad worked in the mornings because that meant that there would be two extra rolls for us to fight over. Who could resist those rolls and the simple pleasure of having a sweet treat once a week?

I still love those cinnamon rolls, but at $1.69 a roll, they are an unnecessary addition to the grocery budget. What I do have though is flour and sugar, purchased in bulk, and a bread machine that can turn out cinnamon roll dough like nobody’s business. I figured I was on to something and decided to give it a shot and figure out if I could replicate my Saturday morning experience. It took a couple of Saturdays to tweak this recipe, but I finally am satisfied with the results. Lucky for me, my family didn’t mind being the guinea pigs so I have gotten this down pat for your dining pleasure!

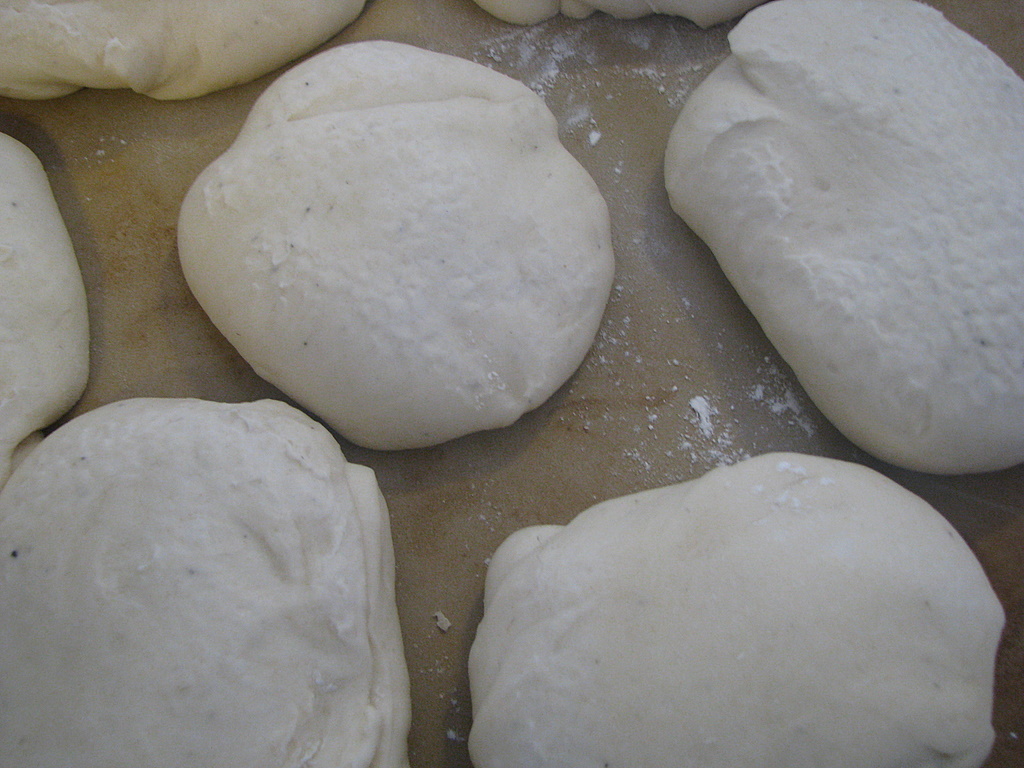
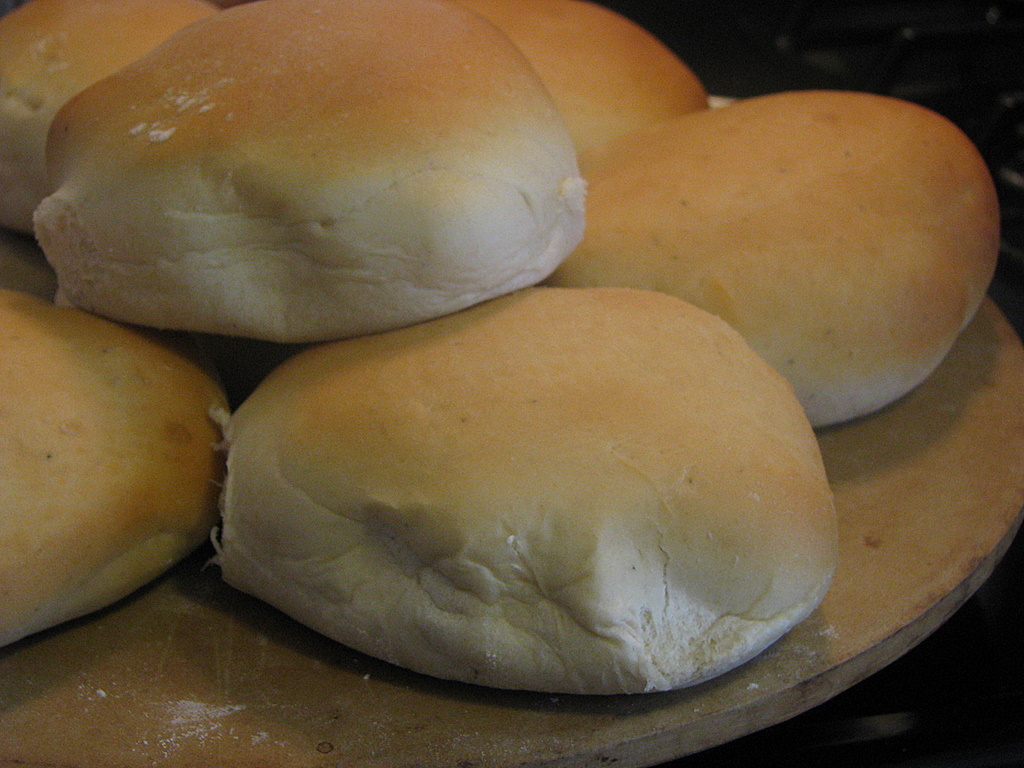
To make my dough, I used the recipe from the homemade hamburger buns, except that I increased the sugar to 1/3 cup. I ran the dough cycle on my bread machine and when it beeped, I had the perfect dough for rolling.

I rolled the dough out into a 12×15 rectangle and then spread it with the following filling:

Cinnamon Roll Filling

1/3 cup butter, softened to room temperature
1/2 cup brown sugar
1 tablespoon cinnamon

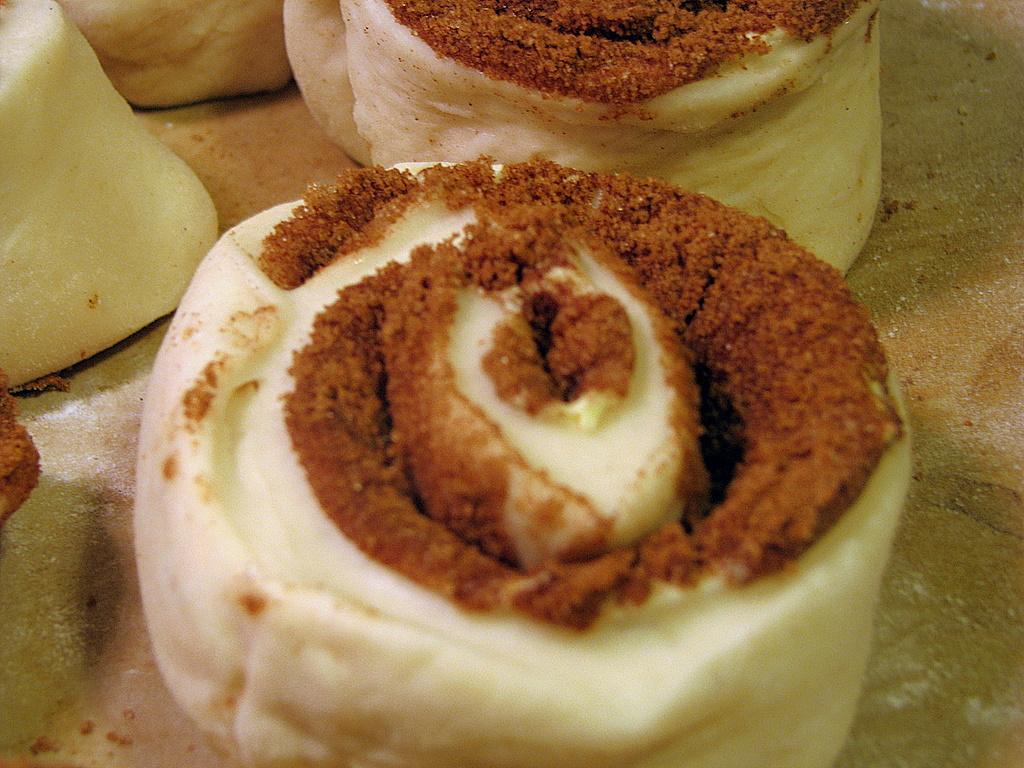
Spread the softened butter all over the dough. In a small bowl, mix together the brown sugar and cinnamon. Sprinkle this all over the dough and then use your hands to gently press the filling in. Take the edge of the dough and begin rolling it up. Roll it tightly and slowly, being careful to keep all the filling inside. At this point you should have a long log that you can cut your rolls from. You can wrap the dough with plastic and store in the fridge overnight or you can slice your rolls (should make ten large rolls) and put them on your cookie sheet or pizza stone. Store in the fridge overnight.

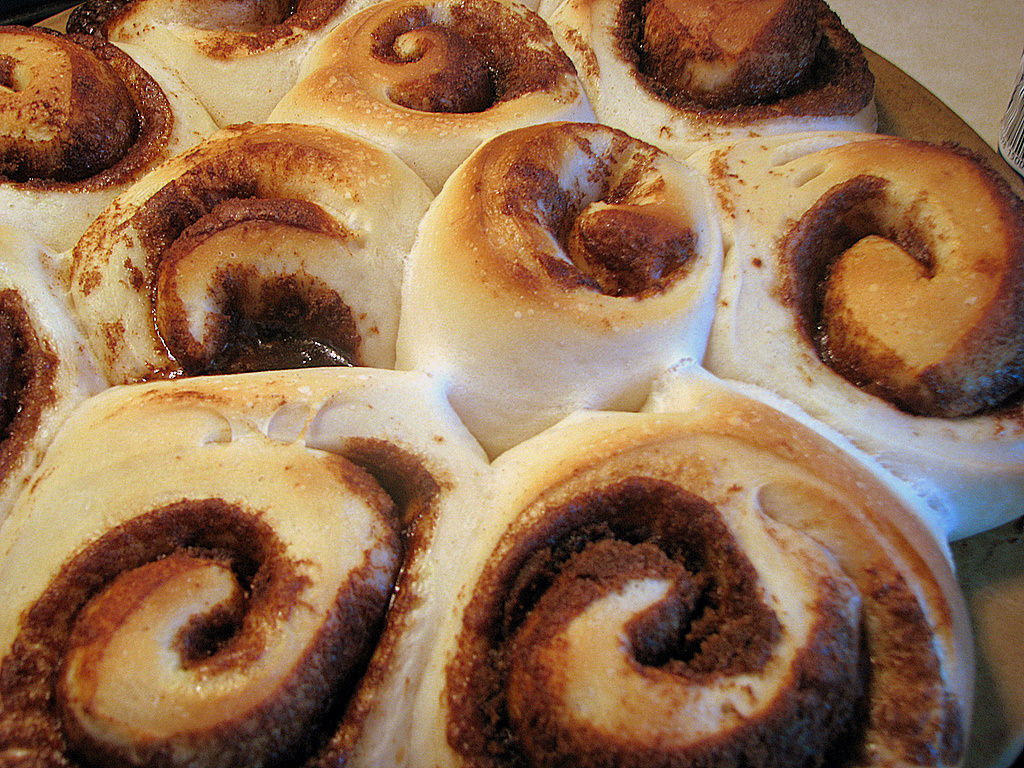
In the morning, pull the rolls out and preheat your oven to 400 degrees. When the oven reaches 400 degrees, immediately drop the temperature to 375 degrees and put the rolls in the oven. Cook these for approximately 13-15 minutes, or until golden brown.

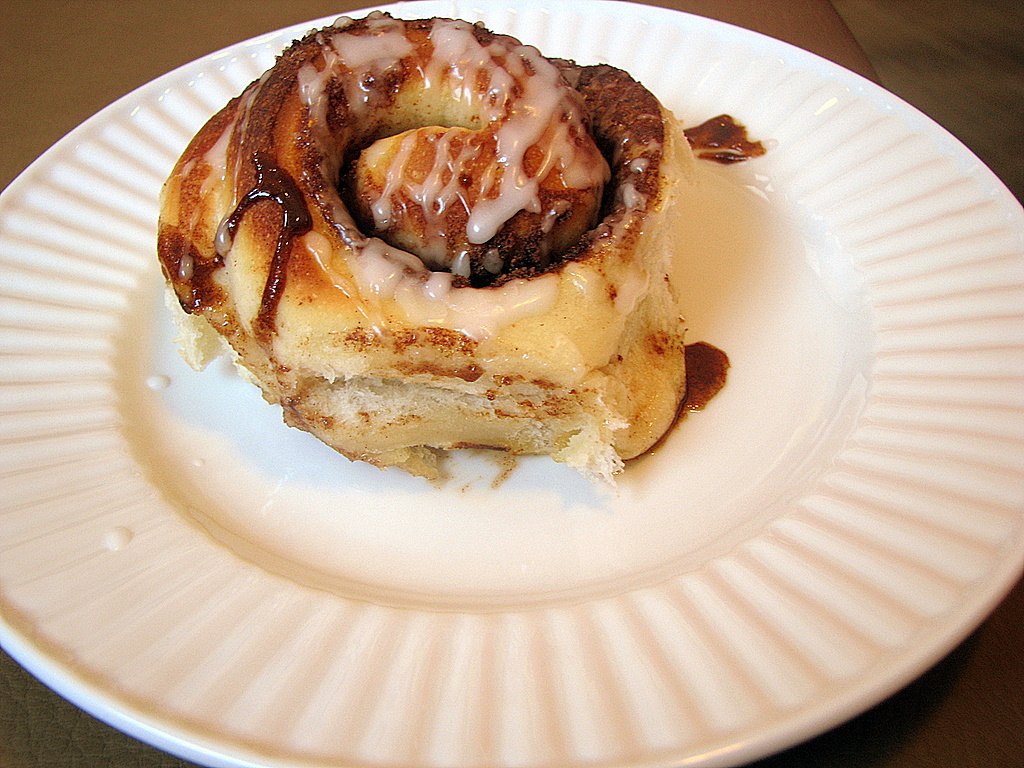
While the rolls are cooking, I just make a frosting out of powdered sugar and water (I don’t measure this, but approximately 1/2 cup powdered sugar to 1-2 tablespoons water mixed together should do ya!) When the rolls are done, drizzle your frosting over the rolls and serve them warm or room temperature (although they are best warm)

Amy’s Notes-

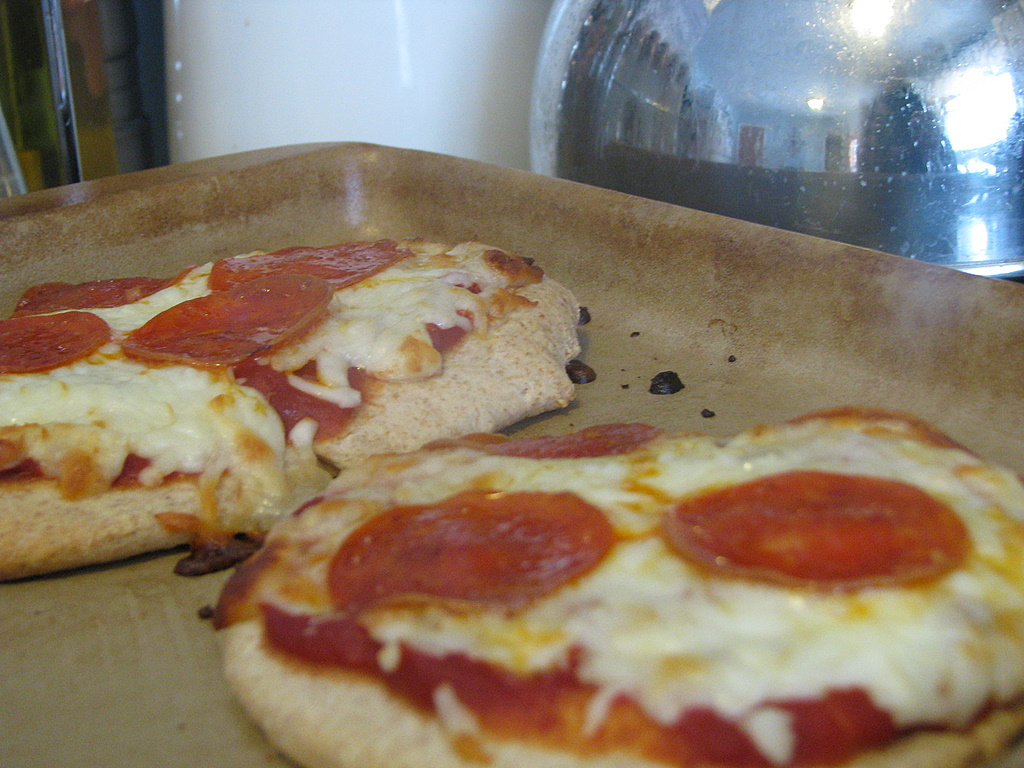
– The first time I made these, I put them on a pizza stone and they cooked very evenly. The second time, I popped them in a 9×13″ pan and only the ones on the outside got done. I would recommend placing these either on a cookie sheet (with a nice lip) or on a pizza stone.

– When you slice the cinnamon rolls, you can slice them with a knife or you can use dental floss and cut them that way. I find the dental floss to be a little more tedious so I stuck to slicing with the knife and reshaping the dough afterwards.

– The best part about making these cinnamon rolls is that you can vary the sizes and I can make mini-versions of the rolls for the little kids and tuck these in the center of the batch so that they don’t get overdone. The kids love these mini versions and I control the amount of sugar they are getting. Just give them a teeny drizzle of frosting and they will be set!

– You can reheat these in the microwave for a nice snack in the evening or for breakfast the next day. Place on a microwave-safe plate and zap for about twenty seconds. Makes a great mommy snack with a cup of coffee!

Sound Off: What is a favorite Saturday morning treat in your house?

******************************************
Don’t forget to enter our Ann Taylor LOFT Giveaway on The Motherloot! One lucky winner will win a beautiful maternity outfit of her choice. Please enter our giveaway by letting us know what your favorite outfit is by Monday, March 3rd at 8PM. Make sure that you provide a valid email address so you can be contacted. Much luck to everyone!
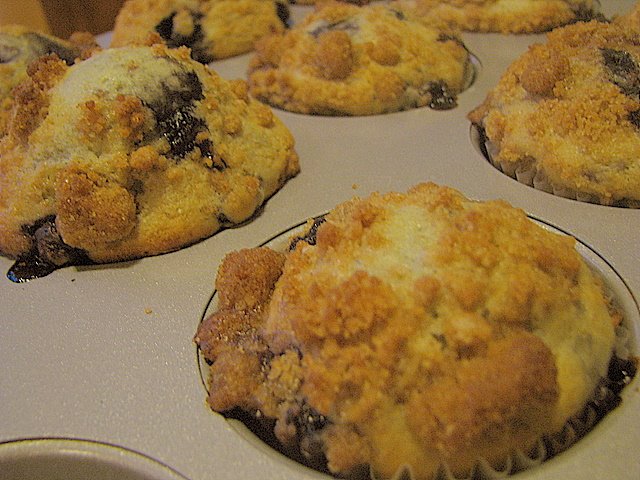
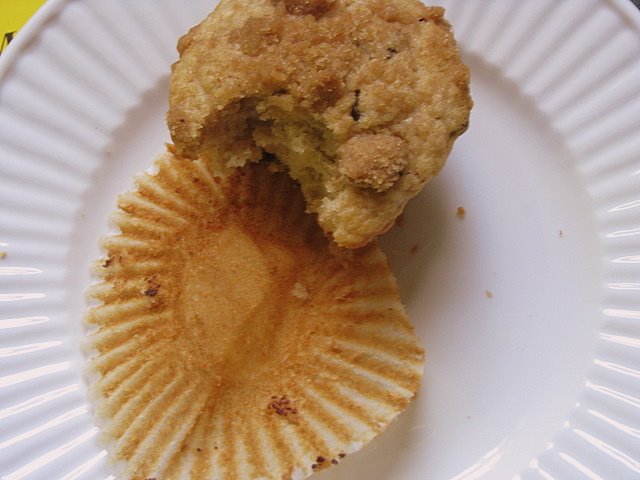
Homemade Hamburger Buns

Monday, February 18th, 2008

Can you tell that I give my bread machine a workout? Today I wanted to share this amazing recipe for making your own hamburger buns. Sometimes frugality comes from necessity, and this was one of those times. The snow was coming down and Emily needed a nap desperately. I thought I had hamburger rolls in the freezer, but my trip to the freezer turned up empty. There was no way I was taking a tired toddler out in the brutal snowstorm for a package of buns.

I headed to my computer and remembered I had a recipe bookmarked to make my own rolls. This recipe not only can make your hamburger buns, but it can make hot dog buns too! I had high hopes for this recipe and it totally delivered.

This dough is extremely easy to work with and the rolls puffed up beautifully as the dough did its rising. The buns were soft and squishy, but easy to split for filling them with whatever you like.

The buns stayed soft for about three days after being made. I kept them in a food storage bag and they tasted great for several days.

Hot Dog/Hamburger Buns/Rolls/Cinnamon Buns Dough Cycle (Courtesy of Recipezaar)

1 1/4 cups skim milk
1/3 cup vegetable oil or canola oil
1/4-1/3 cup sugar (I use a 1/4 cup measure)
1 teaspoon salt
3 3/4 cups all-purpose flour
2 1/4 teaspoons bread machine yeast

1. Place all ingredients in order recommended by your bread machine manufacturer.

2. Select dough cycle and start machine.

3. I preheat my oven to 100°F and turn off.

4. When dough cycle is complete remove from machine and proceed.

5. I roll into a long log and cut into 12 pieces for hot dog buns or 9 pieces for large hamburger buns. For Hot Dog Buns, I roll out till they look like long skinny wieners. Hamburger Buns, I flatten with my palm till about the thickness of a pancake. They rise beautifully and look as nicely shaped as store bought ones. Put on parchment-lined baking sheet so sides are almost touching (Amy’s Note- I just put them on my pizza stone).

6. Cover with cloth and put in the warm oven for 45-60 minutes to rise.

7. When doubled remove from oven.

8. Turn oven to 400°F and when you put the buns in the oven, reduce temperature immediately to 375° and bake hot dog buns 15 minutes and hamburger buns 17 minutes. (Amy’s Note- I checked around 12 minutes and they were golden)

9. CINNAMON BUNS. Use 1/3 cup sugar in recipe. Made 10 large buns.

10. Roll out to about 12 x 15″ and spread with butter or margarine. Sprinkle cinnamon-sugar mixture over all and roll up tightly. Cut into as many buns as you want. I make 10.

11. Set oven to 400° and turn down to 375° when you put buns inches Bake 20 minutes. (Amy’s Note: These take more like 12 minutes)

Retro Eats

Sunday, February 17th, 2008

Meredith, at Like Merchant Ships, is embarking on a fun adventure. She is following a 1950’s budget menu plan for her family this week.

I am looking forward to reading all of her thrifty tips and discoveries through her journey. Considering how fun our Iron Chef Moms Challenge was, I am sure that this is going to be a great read and an inspiration in my kitchen.

I also am on the hunt for retro foods since I will be hosting our Bunco group in April. I picked a Retro Housewife theme and everyone has to wear their apron and bring a retro dish. I will have to bookmark some of her ideas for our night together.

New Article: A Frugal Mom’s Guide to Good Coffee

Thursday, February 14th, 2008

The long awaited and much anticipated article is finally here! You can read my guide to good coffee and get your coffee fix for cheap!

Coffee talk is a hot topic on here and people are always searching for coffee recipes. I hope these tips and tricks will help you save some money on your latte factors this year.

Be sure to try the recipes listed at the bottom of the article. I make all of these regularly in our house and it has saved me a lot of money (particularly that creamer recipe!)

Enjoy this article with a fabulous cup of coffee and let me know what you think or if you have ideas for future articles- just leave a comment!

What to Do With Leftover Pitas?

Monday, February 11th, 2008

We had pitas leftover from our dinner,but they didn’t last long. Most of them got turned into little personal pan pizzas for lunches this week.

I topped them with some of my homemade sauce, a little cheese, and some pepperoni. The kids gobbled them up and ever since we ate these, Emily keeps pointing to the stove and saying, “Pizza? Pizza?”

These might be a fun variation on our pizza nights at home especially since everyone can pick their own favorite toppings!

Sound Off: What do you do with leftover pitas? Do you have a favorite topping or way to stuff them that is a hit with your family?