Q: What is your experience and advice on planning a standing weekly dinner menu rather than planning out a month of meals? To save time, you pick either a meal or theme for each night of the week, and repeat it for the most part each week. This way you always know what you need to buy (in general) at the grocery store without spending much time planning each week. I would like to set one up for my family and right now we have Sunday – Something New, Monday – Mexican Fiesta Night, Tuesday – Leftovers, Wednesday – Italian Feast, Thursday – Leftovers, Friday – Breakfast for Dinner, Saturday – Homemade Pizza Night. I’m just playing with this idea and have only partially implemented it. I’d love to hear your thoughts on this topic.
A: Menu planning, although it is a huge chore, is something that I really enjoy doing in our house. I really find a lot of pleasure in trying and implementing new dishes in our house. Sometimes the dishes are a roaring success, other times we find that a cold bowl of cereal would taste a lot better than my experiment.
Over the years, my menu plans have changed a lot depending on the needs of our family. Here are some ways that we have made our menu plans work for us and have saved our family a lot of money in the process.
1. Menu plan according to your family style- This might sound like a strange phrase, but I will try to explain. Generally, you probably have a style to your homemaking or the kind the of parenting that you do in your house. For example, some people live by a fly-by-the-seat of their pants mentality and may parent even in a similar way. For a family like this, expecting them to keep a rigid schedule would be awfully difficult because it just doesn’t fit with their general personality. Likewise, a person who cleans the floors on Monday, recycles on Tuesday, changes sheets on Wednesday, etc… will find going without a menu plan would be extremely difficult.
I am one of those weird people that falls somewhere in between. I would love to be more rigid with the things we do in our house and set up more days of scheduled activities, but I am laid back and constantly trying to fight the clutter over here. I like to menu plan and enjoy knowing what I am going to eat throughout the week, but I hate to feel like I have to do exactly what is planned because I often give into my cravings. That is where my menu planning style comes into play. I just plan out a month’s worth of meals and then pick from my twenty or so choices so that I always feel like I have lots of options. This gives me a game plan, but not a detailed game plan that I must stick to or else.
Think about your personality and what works best for you, but having a plan in mind will truly save your family a lot of cash. It is time-consuming, but it is only as time-consuming as you want to make it. If your family has simple tastes, don’t feel like you have to be a gourmet chef.
2. Get creative with your planning- I love to be creative with my menu plans and have found lots of great recipes to add to my collection by spending lots of time researching new recipes and constantly being open to trying new things. I utilize websites like Recipezaar, All Recipes, and Food Network.
I also love to check out cookbooks and magazines from our local library to help inspire me in the kitchen. Many times I don’t necessarily want to make exactly what is in the book, but I can flip through the cookbooks and get general ideas for recipes I can search for on the internet.
One other place I love to hunt for ideas is by saving take-out menus from our favorite restaurants and using these to do my planning off of that. Since eating out was such a temptation for me, I could take those menu plans and use those to build a menu off of them. Let’s say that my favorite take-out food in the world is Chicken Lo Mein (which it truly is!) then I can take that menu description or dish idea and try and replicate it through a site like Recipezaar or Food Network.
When I began doing this something very strange started happening. I began to replace my cravings for food out with my own version. In a way it is really great because there are very few places that I really love to go out to eat at anymore, but in some twisted way it is a little disappointing because I don’t enjoy dining out anymore. I just have to keep in mind all of the money that we are saving and then it all seems worth it!
3. Theme it up- Themes are definitely a great way to being menu planning and I loved the theme ideas in this question. Themes make planning a lot easier for families because it takes some of the work out of the planning.
One way to make themes easier to implement in your house is by arranging your recipes by your theme night. My recipes are in a giant Word file and are set up by my themed days. My theme was a Brunch Sunday, Slow Cooker Monday, Chicken Tuesday, Italian Night Wednesday, Casserole/Comfort Food Thursday, Kid Food Night Friday (usually pizza, but they have other options too), & Seafood Saturday. Sunday night is also Seek-And-Ye-Shall-Find Night. This is just a fancy way of saying, “Momma ain’t cookin’.”
You can pick from any variety of themes and you can go to town with your theme or just keep it a general night. You can make it special or keep it super simple. What I hope my children walk away with isn’t just that their mom is the best darn cook in the world, but that they have fond memories of our family sitting around the dinner table being together.
4. Involve your children- Things just seem to go better if the family has some input into the week’s meals. My son is five now and he is at the stage where he loves to express his opinion and feel like he is contributing towards the family.
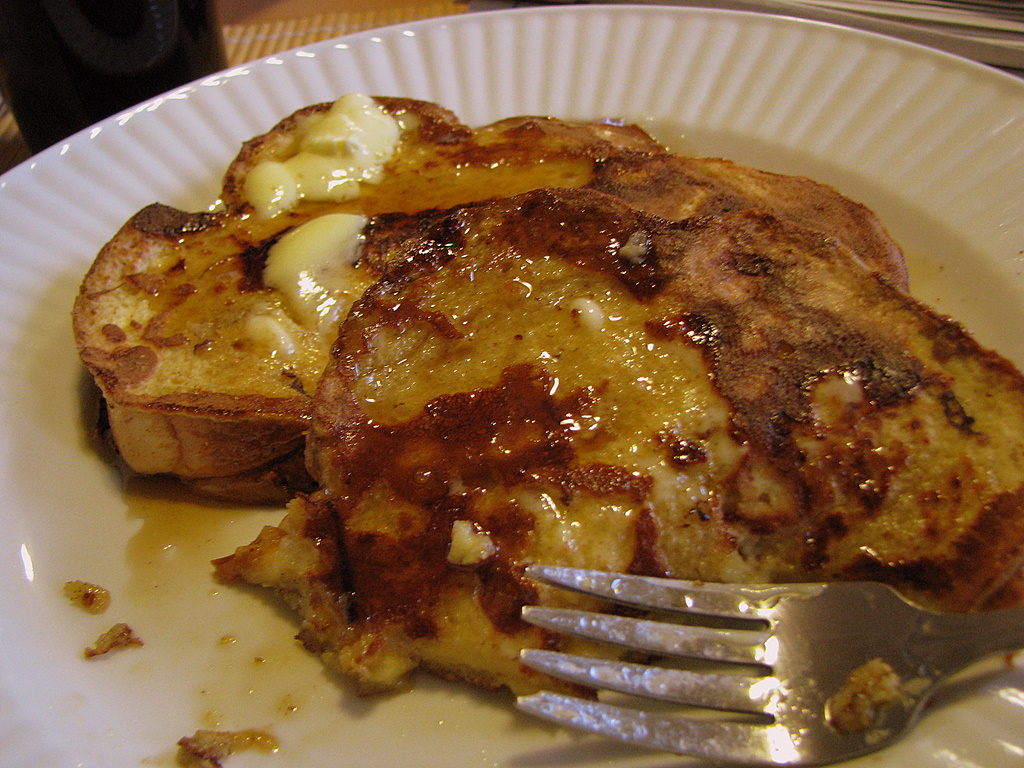
That is why each Friday is his day to pick what he wants and I try to come up with a few ideas for things we can eat. Pancakes, waffles, calzones, pizza- those are just a few of the options that I offer. We usually watch a movie with them and have a special snack like popcorn or hot cocoa to make the night completely about them. He looks forward to this evening a lot and we look forward to indulging in some of our favorite foods too.
He doesn’t get to pick the rest of the week, but I have made it a rule to only introduce one new thing at a time so that we can avoid the fights over the dinner table. I will always offer one thing that he is familiar with and likes, but I might introduce one new food in with the meal. My son is big on the routine and to hand him a plate of food that he doesn’t recognize can make for a really stressful dinner hour. I try to always plan the meals with them in mind, but also like to indulge in trying new dishes. This is a happy compromise that we can all live with.
5. Remember it doesn’t have to be all about the menu plan- There are so many elements to making the dinner hour enjoyable in your home. Is the kitchen table not cleared? Are you eating off of paper plates parked in front of the television? Is the baby is crying through the entire meal? I can picture all of these scenarios happening in our house at one point or another. Heck, it might even happen tonight.
Try and make the dinner hour at home fun because it curbs the temptation to want to go out to dinner. If you have an enjoyable dinner hour at home, there is just no need to go out and brave the crowds.
Now it doesn’t have t
o be all fine dining and elegant candlelight, but keeping the dinner table clear for eating can be a great start. My ideal dinner hour has nice dishes and soft music and no children crying or whining at the table. It doesn’t happen all of the time, but I try to make an effort so that we all want to be at our table instead of Steak & Shake’s table.
6. Visualize your choices- I feel very accomplished when I have our menu plans hanging on our refrigerator and it makes me feel good to see all of our choices neatly typed up and ready to go. If I prepare a dish from the list, I take a highlighter and swipe a line through it. Seeing all of the things we ate all neatly highlighted also proves to me that I did not go out to eat. It makes you feel good and it also gives you ideas for food you can look forward to in the coming weeks.
7. Grocery shop according to your family style- Just as I mentioned in the first part, you need to grocery shop according to your family style or finances. I love, love, love to menu plan, but I hate, hate, hate to grocery shop. This is why menu planning once for the entire month works best for me. It keeps me out of the place I hate and I only have to sit down once a month to do my plans and grocery list.
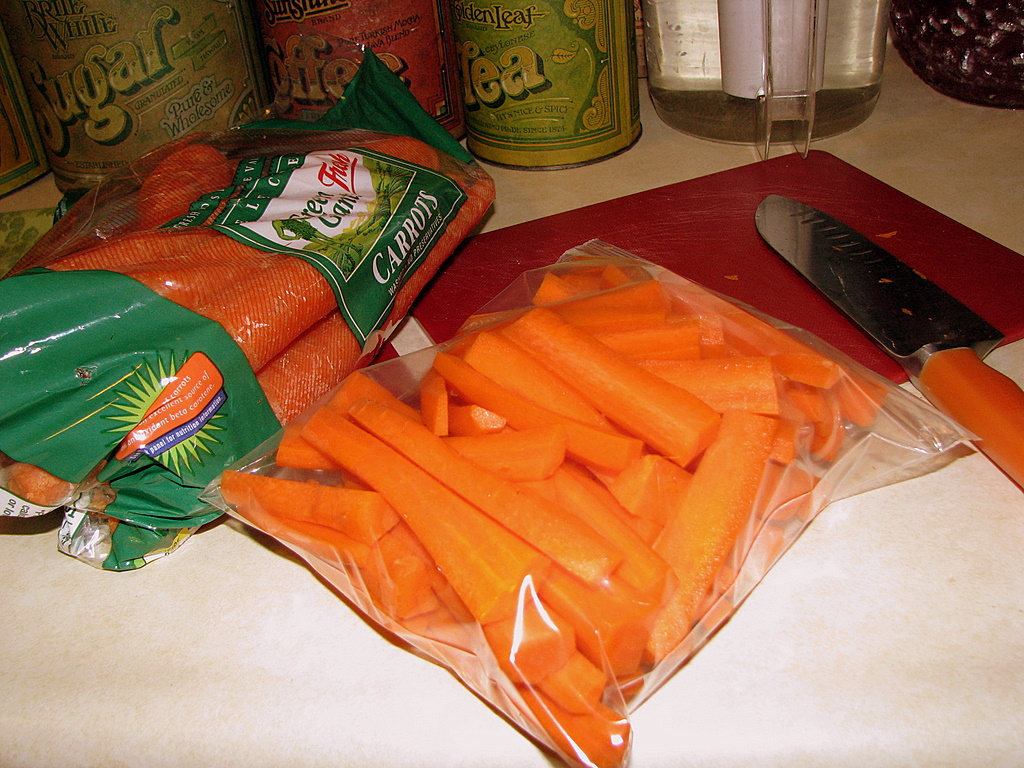
If you only want to eat fresh produce all week long, then you will need to go weekly or bi-weekly to make that happen. Whereas my style is to rely heavily on canned applesauce, frozen veggies, and potatoes towards the end of the month. I sacrifice the fresh stuff in favor of shopping once a month.
Family finances can also have an impact on when you do your shopping. When my husband was paid bi-weekly I was able to visit the grocery store twice a month. Now that we are working with a monthly check, I find that shopping once a month makes it easier for me to manage our family finances and also keeps me out of the grocery store so often.
8. Save your plans & rotate them- One of the best ways that I have found to save us time is to just keep copies of my past menu plans so that I can rotate them. If you come up with two month’s worth of meals, you can reuse those and rotate those dishes to make new planners for the future weeks. I do all of my plans on the computer and then save them so that I can look back on past ideas for inspiration.
I hope this gives you some more ideas on how we do the planning in our family! If you have a question you would like to ask me, just shoot me an email (amy@momadvice.com) and put in the subject line, “Ask Frugal Momma.” I love to get your questions and it makes me feel like I am providing some truly useful content!
Some Related Readings:
Iron Chef Mom Challenge
Don’t Throw Out Those Take-Out Menus!
Saving on Groceries
Pretty Menu Plans
Ding-Dong: Did Someone Order Groceries?
Become a Coupon Queen or Not
Milking the Milk Budget
Aldi Fall/Winter Planner
One Month of Slow Cooking
Aldi Menu Planner
Grocery Shopping on a Budget
More Aldi Menu Planners & Grocery Lists (Click on titles to expand)
Latest Menu Plans
Sound Off: How do you do your menu plans and keep that family grocery budget on track?
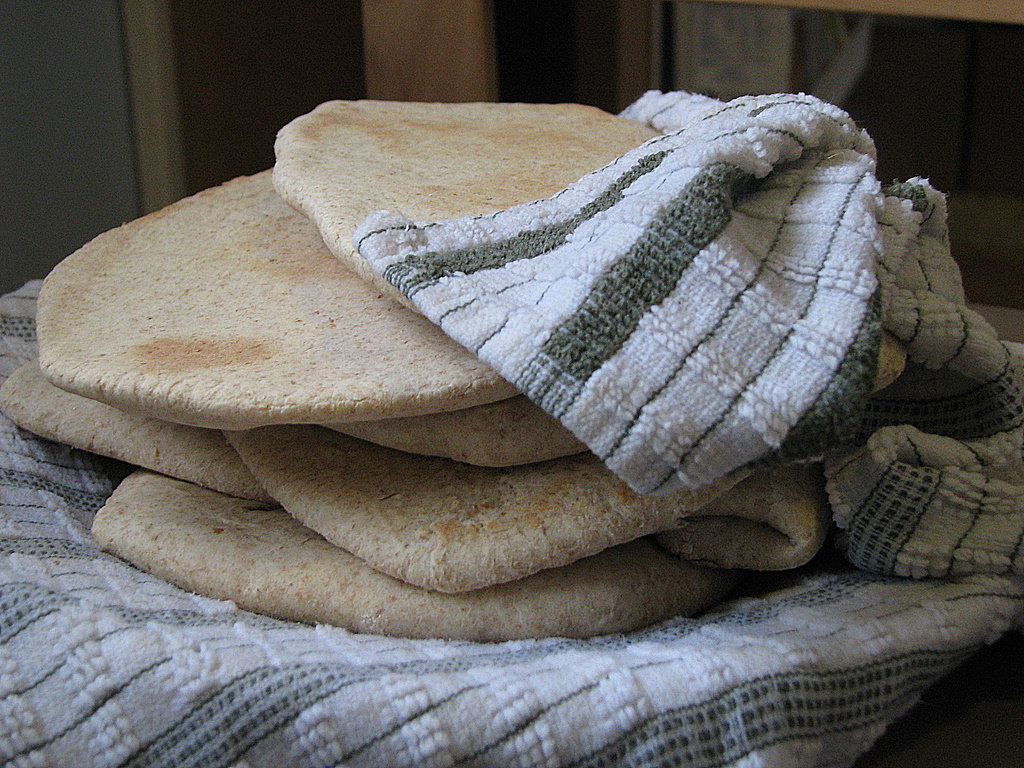 If you would have asked me I thought I could whip up some pitas for my family a few years ago, I would have told you no. I have had this recipe in my collection for so long that I don’t even know where it originated from, but I decided to dust off the old recipe collection and see if these could come together for me. After all, if it was a complete failure…well, at least I tried!
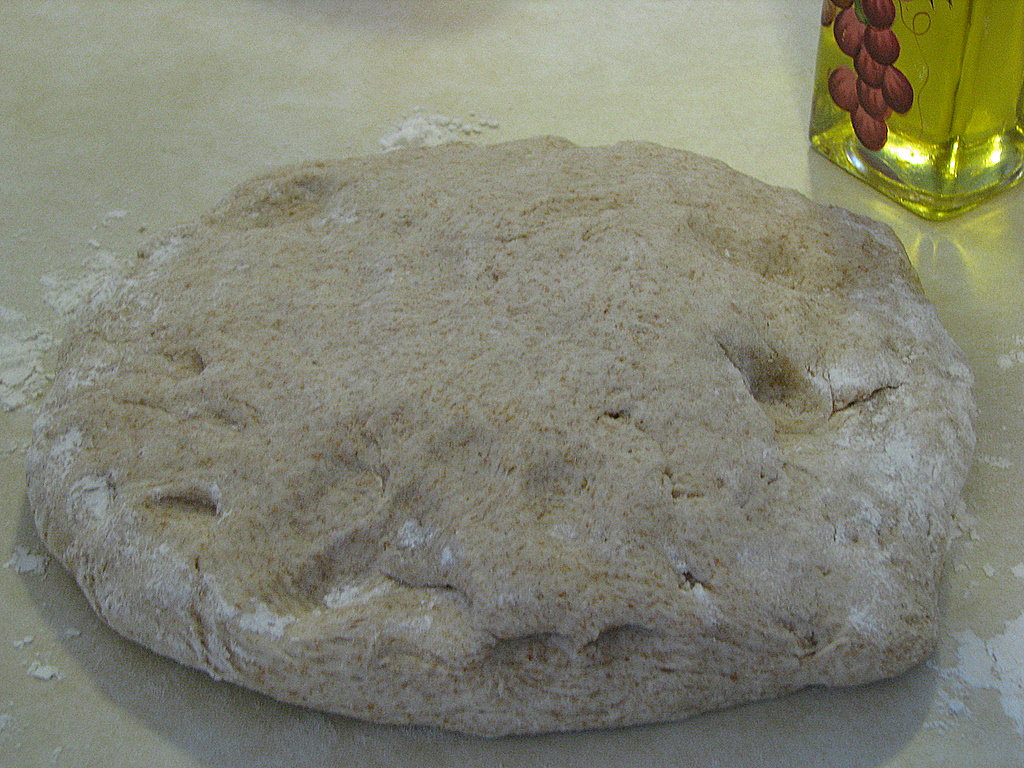 Put ingredients into the bread machine in order listed. Run the dough cycle on your machine. When the bread machine beeps, pull the dough out of the bread machine and divide the dough into ten pieces. Roll each piece into a six inch circle. Place these on a baking sheet (or your pizza stones) and let them rise for twenty minutes (I can fit about four rounds per pizza stone or three pitas per baking sheet). Bake at 500 degrees for three minutes. Using a spatula, flip the pitas and cook for another three to four minutes on the flip side.