Archive for the ‘Food & Recipes’ Category

Back To School Free Menu Planner

Tuesday, August 12th, 2008


Menu planning has been neglected this summer in favor of spontaneous grilling out and going with the lazy summer flow. School begins for us this week though and I need to get back in my menu-planning groove. Since I was working on our own planner, I wanted to share it with you so you could see what we have planned for this month. I hope it will inspire you for your own family meals this month.

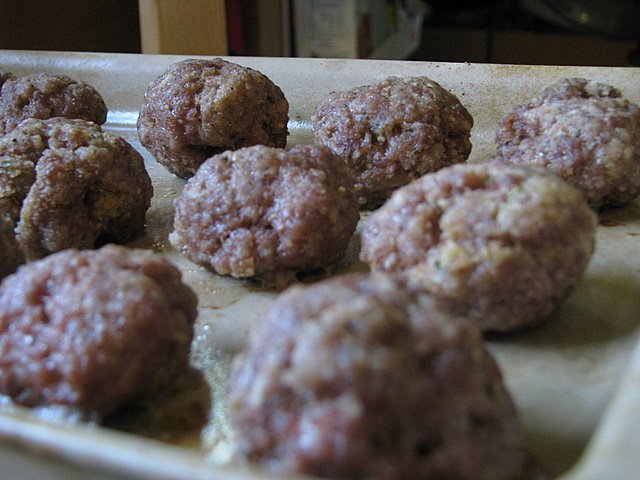
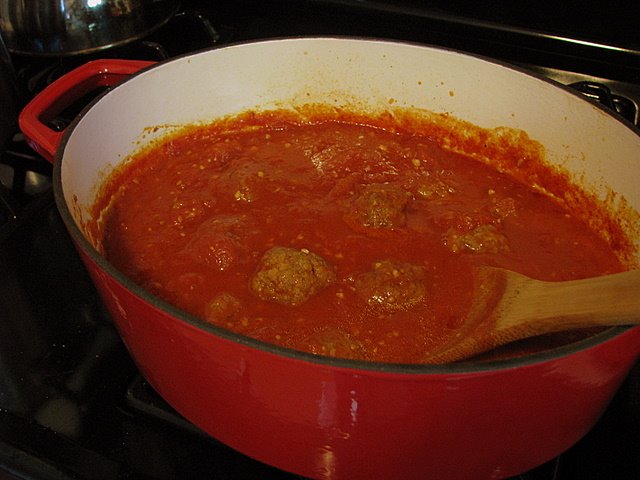
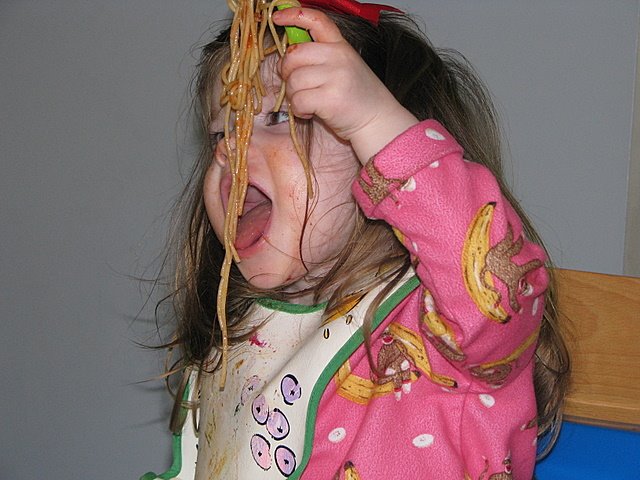
1. Old-Fashioned Spaghetti & Meatballs (Make double batch of meatballs for later in the month)
2. Sloppy Joes & Seasoned Baked Potato Wedges
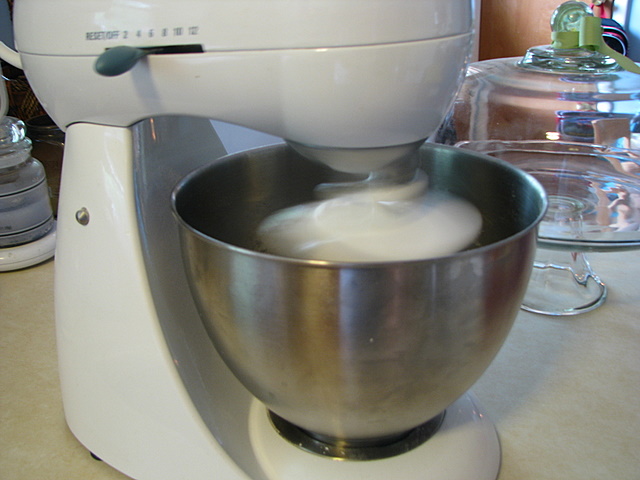
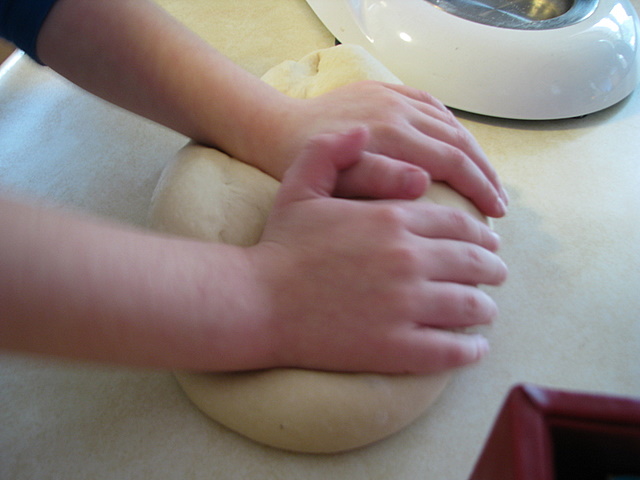
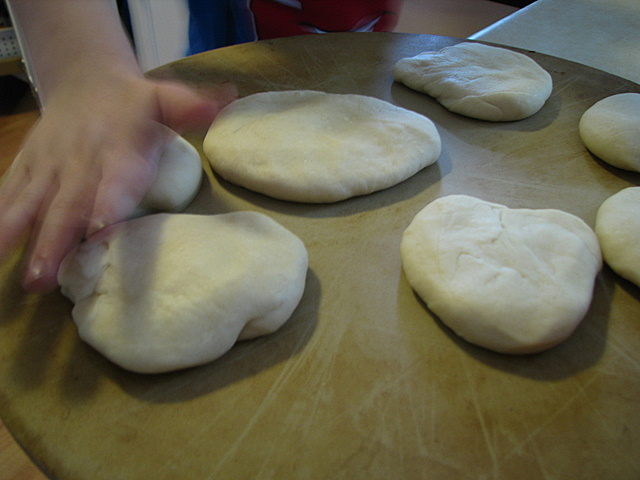
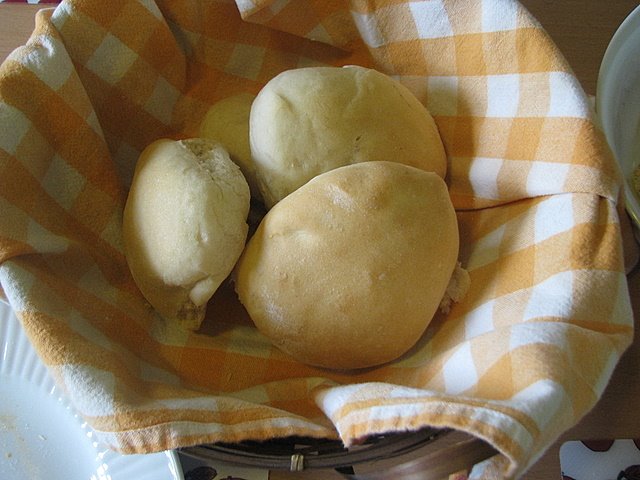
3. Caesar Chicken Pasta Salad With Homemade Pitas
4. Pita Pizzas (made from leftover pitas) & Salad
5. Parmesan Chicken Drumsticks, Steamed Broccoli, & Rice
6. Oatmeal Waffles with homemade syrup & orange juice
7. Leftovers Night
8. Chicken Broccoli Lo Mein with Rice
9. Herb Baked Tilapia, Chicken-Flavored Rice, & Microwave Corn in Butter Sauce
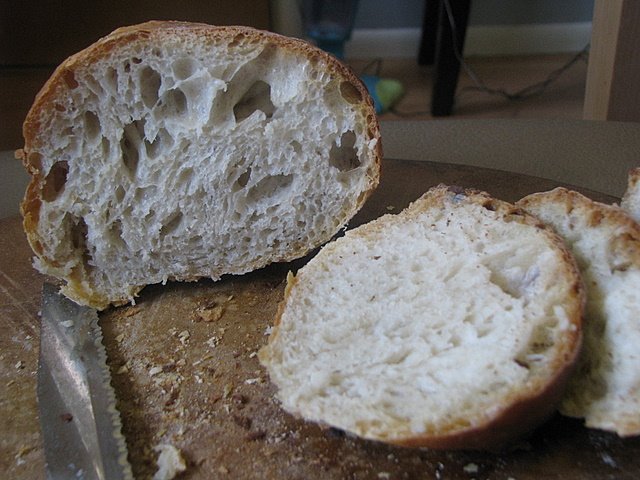
10. Meatball Subs on Homemade Rolls (meatballs from freezer)
11. Jerk Chicken, Mashed Potatoes, & Baby Peas
12. Homemade Pizza Night
13. Slow Cooker Lemon Chicken, Rice, & Steamed Broccoli
14. Leftovers Night
15. French Toast with homemade syrup & orange juice
16. Italian Pork Chops over Spaghetti
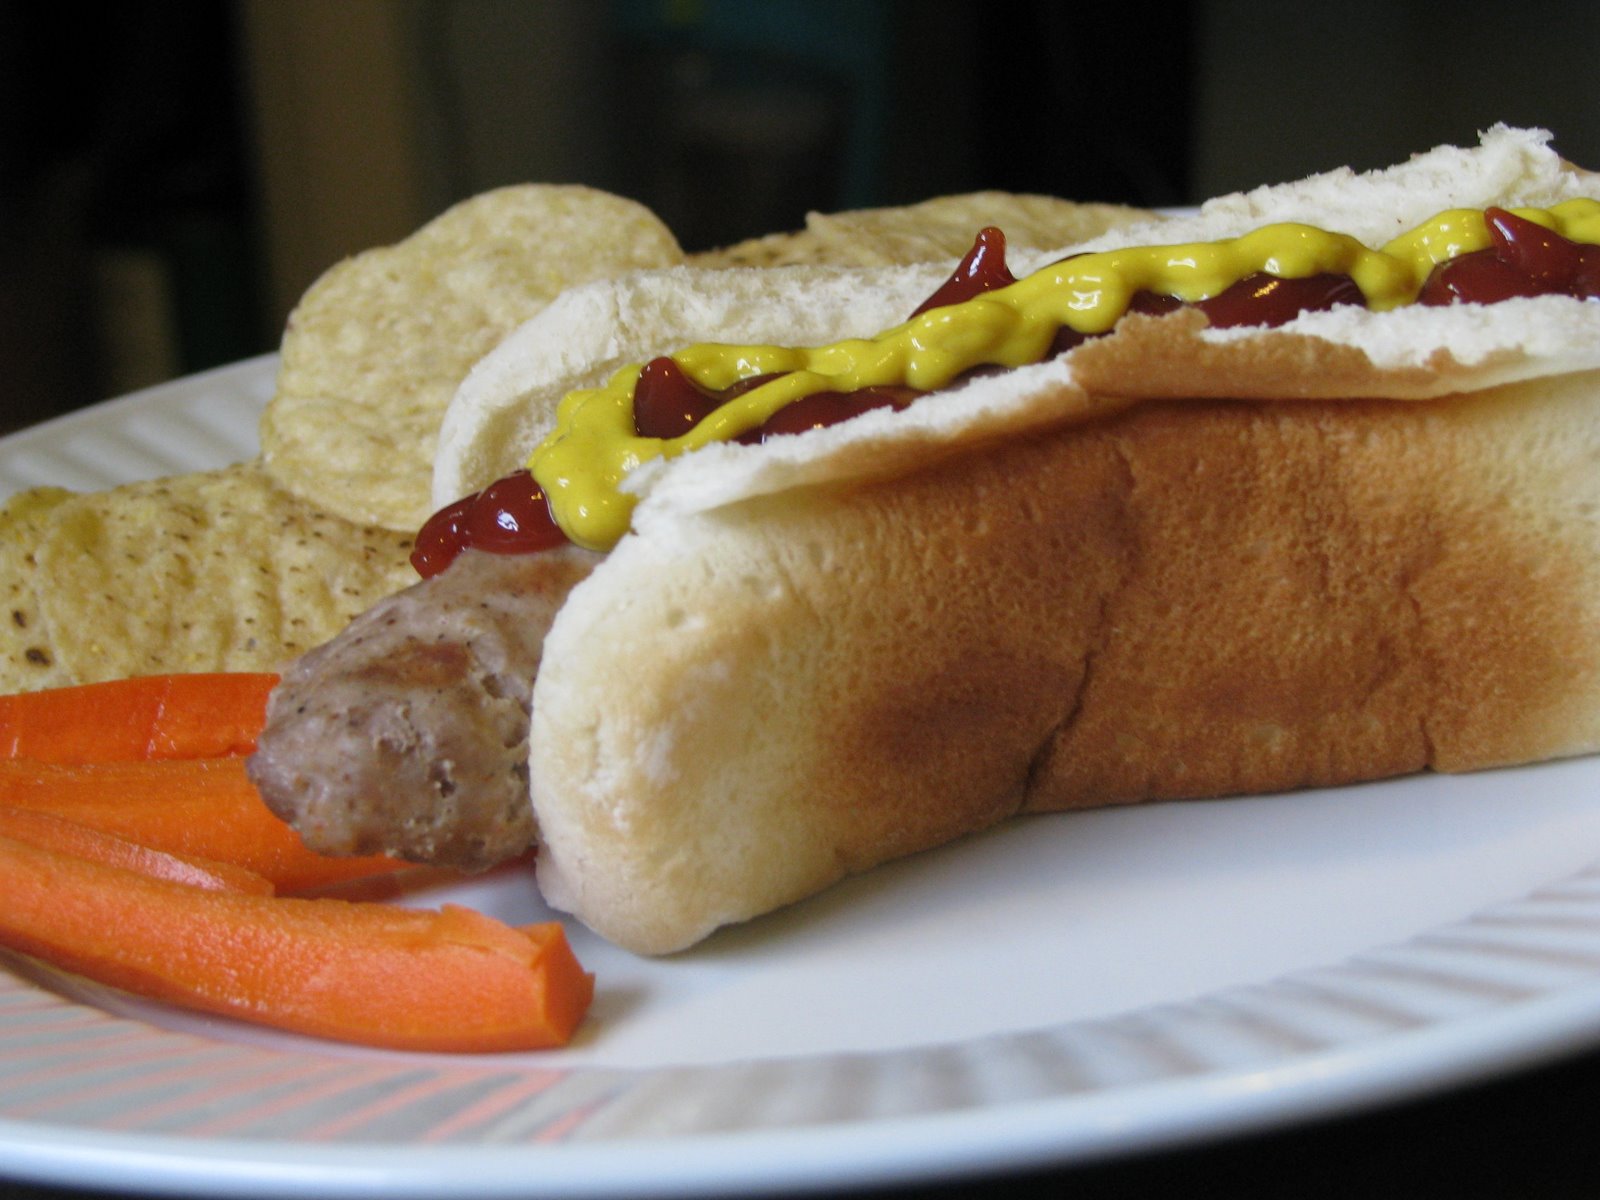
17. Chicken BBQ with Pretzels & Carrot Sticks
18. Salmon Pockets, Rice, & Baby Peas
19. Chicken Pasta Milano with Salad & Bread
20. Homemade Pizza Night
21. Leftovers Night
22. Yeast Waffles with homemade syrup & orange juice
23. Chicken Tacos with Tortilla Chips
24. Sarah’s Tilapia, Rice, & Corn
25. “Roasted” Chicken, Mashed Potatoes, & Baby Peas (save & shred leftover chicken)
26. Chicken Salad Sandwiches (from leftover chicken), Pretzels & Carrot Sticks
27. Bread Machine Calzones With Dipping Sauce
28. Leftovers

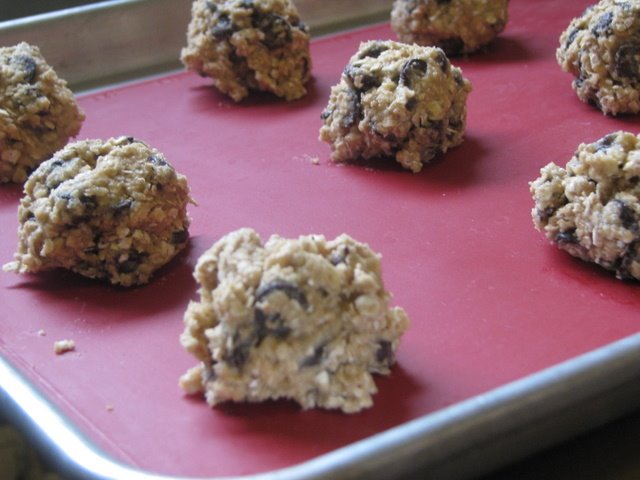
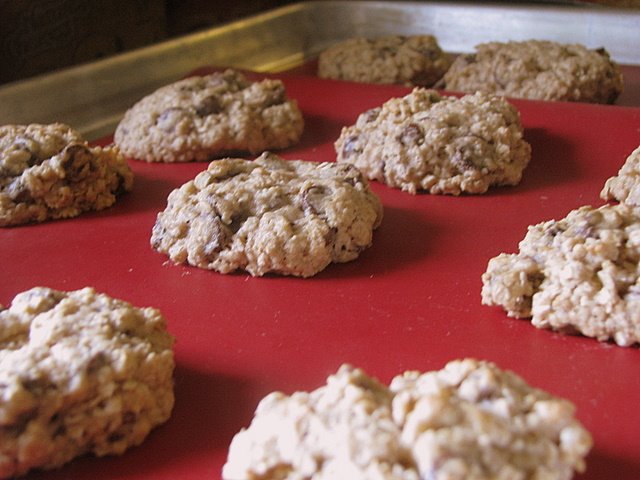
Snacks: Banana Bread, Chewy Granola Bars, Cinnamon Muffins, Air Popped Popcorn, Rice Krispie Treats, Oatmeal & Chocolate Chip Muffins

I also made a printable version of my planner and am making it available for you here:

Back To School Menu Planner

I hit the grocery store and accomplished all of our grocery shopping (including food for breakfast & lunches) for one month for $175. That leaves us an extra $25 in the budget for our milk and anything else that comes up. Our budget has gone up a lot with the grocery prices, but it also gone up because I have not been planning as well. I am hopeful that we can stay on track this month.

Looking for more tips on menu planning? Be sure to check out my article on how I do my menu plans! It offers an overview on some ways you can start menu planning and find the right style of planners for your family!

With grocery prices rising, what is your grocery budget for your family? What style of menu planning works for you (planning weekly, planning monthly, no plan at all)?


Me On You Tube: Choosing a Coffee Maker

Tuesday, August 5th, 2008

One of our most popular articles on our site is the Frugal Mom’s Guide to Coffee so I thought it would be great to do a segment on coffee as a You Tube clip. This segment breaks down the cost comparison between a drip coffee maker and a pod brew system. I tried to share some of the features that I love on my coffee maker and how to care for your coffee maker so you always have a fresh cup.

If you are in the market for a new coffee maker, I did find the best price on my Cuisinart Brew Central Coffee Maker at Sam’s Club. My local price is listed as $54.86. In the departments stores I have seen this model range between $80-129, but if you know of anywhere else that carries it cheaper, please leave a comment!

I got the opportunity to plug my experience with my coffee maker for an article in Woman’s World Magazine. The article is set to hit the newsstands on August 18th with a cover date of August 25th. They found me when looking for a frugal mom who was a self-confessed coffee fanatic and I guess they thought I fit that bill perfectly!

As I had discussed before, I will be working with Wal-Mart to provide content for a new You Tube channel. I wanted to include a list of the participants because they are all so great and I am excited to see what each of them comes up with! I look forward to working with each of them and please check their sites out for more money-saving tips!

GeekMommy’s WebLife
The Domestic Diva
Jessica Knows
Classy Mommy
Being Frugal
Deal Seeking Mom
Frugal Upstate
Keeping the Kingdom First
Coupon Cravings
The “Cent”sible Sawyer

How many coffee drinkers are in your family and what coffee maker works well for you?


Me on You Tube: Getting To Know Your Dishwasher

Thursday, July 31st, 2008

I have to say that I am QUITE nervous about all of this, but wanted to share with you the latest project that I am working on. Wal-Mart is partnering with You Tube and will be offering a new feature on their site, sharing video footage of how moms save money. They did some research and picked a handful of bloggers to help them kick this new feature off and sent us Flip Video cameras to document ways that we have found to save our family money.

I am very excited to be included and will be sharing more ways that moms can save through this feature. I do want to be honest with you and let you know that I am not being paid by their company at all and that I am under no obligation to promote Wal-Mart, Wal-Mart products, or am asked to say anything in my segments. The payoff for me will hopefully be getting our website name out there to other people and to have the opportunity to make our community here larger and stronger. It also is a great way to build stronger relationships with the other participants and collaborate together on projects.

Working in this format is new for me so please be patient. I tried to do a fun intro and I am looking forward to your feedback. What would you like me to cover? Is there something you would like to see in my house or in my kitchen? Please let me know and I will try to include the things that will appeal to you guys!

I really appreciate all your support and feel very blessed to have such great readers!

Happiness Is… Haircuts Alfresco

Wednesday, July 9th, 2008

Beer Poached Italian Brats

Monday, June 2nd, 2008

Last week we decided to dine on Italian Brats cooked on our grill. To be honest, the only kind I have ever had were prepared by someone else or were the pre-cooked variety that you find next to the hot dogs.

I had a lot of beer leftover from my Retro Housewife Bunco night though and thought why not poach the brats in some beer before we threw them on the grill?

They turned out delicious! I used this recipe (scaled down for 1 pound of brats and minus the onion because of personal preference) and served these with some tortilla chips and carrot sticks.

I took advantage of the Memorial Day cookout sales that were going on at the store and stocked the freezer with some yummy goodies to throw on the grill this summer. These brats were on sale for $2.50 per pound, which made them both economical and a delicious choice for summer.

Sound Off: What is your favorite grilling recipe for the summer? I am looking for some suggestions to add to our mix this summer!

Notebook Experiments: Oatmeal, Chocolate Chip, & Pecan Cookies

Thursday, May 29th, 2008

Experiment: Will Oatmeal, Chocolate Chip, & Pecan Cookies satisfy my sweet tooth?

Experiment Taken From: Notebook Entry 11.14.07

Materials Needed: Please see Smitten Kitchen for specific directions on how to complete this experiment. We did omit a couple of ingredients in the recipe because of our personal taste. The recipe called for two cups of pecans, but my family doesn’t like pecans so we left those out. The batter was pretty wet without this addition though so I added an extra cup of the quick cooking oats to firm the dough up. I also omitted the orange zest because I had no oranges here.

Results: With the addition of the extra cup of oatmeal (minus the pecans), these turned out delicious. The dough was very easy to work with, in fact, I could mold the balls in my hands without sticking.

The first batch was a tad too crispy because the cookies did not look done and I left them in for an extra two minutes. This was a mistake. The next batch was perfect at 12 minutes at 350 degrees. Don’t make the same mistake and it should yield a cookie that is chewy, but also soft. The edges should be a light brown and don’t worry so much about the tops!

Conclusion: These cookies were absolutely delicious and the hint of cinnamon in them gave them that extra something special. By omitting the pecans and replacing this ingredient with oatmeal, it helped to keep the cost low on making this treat and yielded delicious results. Thank you, Smitten Kitchen, for generously sharing your recipes with the public!

Adventures in Bread Making: Fiddlin’ With Temperatures

Tuesday, May 27th, 2008

My first batch of bread yielded a gummy texture on the inside of my loaf which was commented on by all of the culinary critics in our house. I really loved the ease of this bread though and wasn’t willing to give up just yet. These next two loaves were cooked at 475 degrees for forty minutes.

The exterior ended up being a tad too crunchy, but the interior was gosh darn perfection. These loaves were not gummy at all and the bread sang to me when I opened the oven with that beautiful golden crust. I think we will try it again at 475 for 35 minutes and see if we hit the ultimate perfection.

As we dined on roasted chicken salad sandwiches on this amazing bread, I looked across the table and said to my husband, “You realize that no one else does this, right?” In spite of his full mouth, he grinned and said, “I know, I know.”

Sometimes I feel like I am running the America’s Test Kitchen show over here and I fear that if something should ever happen to me, my husband’s next wife will have one ridiculous act to follow.

Adventures in Bread Making: Artisan Bread in 5

Monday, May 26th, 2008

After our discussion on my old school baking day, I had lots of great ideas for how I could get around actually buying a bread machine. One of our readers, named Noreen, suggested that I check out a book called, “Artisan Bread in Five Minutes a Day” which would help me get around the whole bread machine process and required no kneading.

As soon as I read her comment, I put a hold on it at our library and picked it up the next day. With a cup of iced coffee in hand, I read through the entire process and what I would need to complete it.

For copyright reasons, I will refrain from going into the recipes themselves, but I will explain the process of this method so that you can decide if this something you could/would do to make bread for your family. The master mix recipe I am using is actually located here so you could attempt the first recipe without even getting the book.

There are lots of different recipes in the book and then different ways of shaping the dough recipes. I attempted the master recipe which included just the basics- water, yeast, flour, and salt.

The difference between making this dough and the traditional dough is that you literally dump the ingredients in (no need to even proof the yeast) and use a wooden spoon to just mix everything together. The dough is very wet and easy to stir and you don’t even have to break out the mixer.

You cover the dough and let it rise for two hours and then you stick it in the fridge for a minimum of three hours and up to fourteen days. Yes, that’s right..fourteen days! According to the authors, the dough will taste better and better the longer the dough sits in there and you can even use some of your old dough as a starter for a new dough, much like the process of making a sour dough starter.
The first picture shows what this dough looks like when it is just incorporated- stringy and yucky looking. This second picture shows what the dough looks like after it rises. This master recipe was enough for four loaves so that is why it looks like there is so much. They have bigger recipes than this, but this is the amount of fridge space I could spare for the week.

I let this dough sit for two days before I made my first loaf. When you make your first loaf, you just “cloak the dough,” (sprinkle the dough on top with some flour) and then cut off a grapefruit section of the dough for your first loaf. Without any kneading or any real handling of the dough, you tuck the corners of the dough underneath and put it on a pizza peel (I used my extra pizza stone) that has been sprinkled with a little cornmeal. Now you let it rise and preheat your oven for 450 degrees. They suggested twenty minutes, comments on Amazon suggested preheating the entire forty minutes that the dough is rising to help achieve the best crust.

It should look something like the picture above. It is relatively smooth on top, but the corners are all tucked underneath. After you have shaped it like this and let it rise, you can slice the top two or three times.

You now slide the loaf (very awkwardly if you have no pizza peel) and then you fill a boiler tray with one cup of hot water and put it in the oven to help steam the oven up to give you a nice crisp crust. Don’t ever open the door and let it cook for thirty minutes.

When I took it out, it looked like this. Now remember, this is my first loaf so I am sure I will get better at it, but I am pretty impressed with how this first loaf looks. Next time I will score it a little more and I will probably make more than one loaf at a time. The exterior of this loaf is nice and golden, and it is solid and crusty on the outside. Perfection!

The interior was a bit gummy though so I may cook it for another ten minutes or raise the temperature. This will just require some tweaking on my part, but our family still thought it tasted pretty darn good.

Now that I have made this first loaf, I am so excited to try the other loaves in the book. The entire process took very little of my time and I had very little clean-up (my least favorite part of making bread) so it is a great solution for a busy mom who wants to make homemade bread, but doesn’t have the tools or time to make bread from scratch.

Let’s also talk about the cost savings too. In our town, our local market has artisan breads for sale that cost about $4 a loaf. I buy my ingredients in bulk at Sam’s Club and I am estimating that this loaf of bread costs me about forty cents or less. What a savings and how elegant is this to bring to parties and when entertaining? You just can’t beat it!

A big thank you to Noreen for the suggestion and I hope you can try this recipe and tell me what you think! I have a demonstration from the authors posted below- this might help explain the process further.

Old School Baking Day

Tuesday, May 20th, 2008

My sweet little bread machine kicked the can last week after two years of hard work in our family. I used my bread machine two to three times a week so it does a lot of work for us and I am missing it terribly. I got mine at a garage sale and I just can’t see paying for it retail, but my husband is insisting that we just buy one new this time. I don’t know though… I think I might check the thrift store a few times before buying one.

In the meantime, we are using our trusty stand mixer fitted with the dough hook to do the bread. It has been so long since I have made bread this way that I feared that my attempt might fail miserably.

Ethan happened to watch Sesame Street though and they showed the process of making bread so he asked me if we could do this together. Since we were having sandwiches that night, I told him he could help me make the hamburger buns for our dinner.

We let the stand mixer do the mixing for us and then we pulled the dough out to do the kneading. This dough reminds me of play dough so it is the perfect dough to use with kids. It is not sticky and doesn’t even require a floured surface. Ethan mastered the art of kneading and enjoyed working his frustrations out on the dough. Pound, pound, pound, knead, knead, knead…

I cut the dough into nine pieces and then Ethan shaped them and put them on the stone. We talked about how the bread needs to rise and rest while we tidied the house up before dinner. After a little rising, I slid the stone into the oven for fifteen minutes of cooking.


Despite being really out of practice, the rolls turned out beautifully. Ethan pronounced the dinner, “The best dinner in the entire world.”

A successful mission completed!

Old-Fashioned Spaghetti & Meatballs (And How to Eat It)

Monday, May 19th, 2008

With my grocery dollars screaming for mercy right now, I am trying to focus more on eating more budget-friendly fare. My grocery lists have shifted from what we want to eat to what is on sale and what is going to give us the best bang for our buck. A manager’s special on a meatloaf mix of meat dictated what we would be dining on this week…a good old fashioned plate of spaghetti and meatballs.

I really love my spaghetti and meatballs recipe, but I saw a recipe for spaghetti and meatballs in an AllRecipes Dinner Tonight Cookbook (picked up at our local thrift store for $2) and knew that I had to try this recipe.

I followed all of the directions except that I prefer to bake my meatballs rather than fry them. It is easier clean-up for me and healthier for our family. You can bake the meatballs in a preheated oven at 400 degrees for fifteen minutes and then I gave them a little dip in the sauce to take on some of those flavors.

This dish is perfection. I still prefer my meatball recipe over this one, but the sauce recipe wins hands down. This made a large batch of sauce (enough for approximately six to eight servings) and cost about $2.33 to make the sauce. The meatloaf mix was on sale for $2.09 and I used a box of pasta that I had purchased on sale for $.89. Total cost of the meal $5.31 or approximately $.89 per serving (if serving six generous portions).

I made a double batch of the meatballs and we will be having meatball subs on homemade sub rolls this week and leftovers another day. I just love food that can be served over and over again!

Italian Spaghetti Sauce With Meatballs

1# lean ground beef (ground turkey, meatloaf mix, or turkey sausage)
1 cup fresh breadcrumbs
1 tablespoon dried parsley
1 tablespoon Parmesan cheese
1/4 teaspoon ground black pepper
1/8 teaspoon garlic powder
1 egg, lightly beaten
2 tablespoons olive oil (omit if you are baking these)
3/4 cup chopped onion (we omitted because we don’t like onions)
5 cloves garlic, minced
1/4 cup olive oil
2 (28 ounce) cans whole peeled tomatoes, undrained
2 teaspoons salt
1 teaspoon white sugar
1 bay leaf (I omitted because we didn’t have any)
1 (6 ounce) can tomato paste
3/4 teaspoon dried basil
1/2 teaspoon black pepper

To make the meatballs, in a large bowl, combine ground beef, breadcrumbs, parsley, Parmesan, 1/4 teaspoon black pepper, garlic powder, and egg. Mix well and form into 30 balls. In a large skillet, cook meatballs in two tablespoons hot oil over medium-high heat seven minutes or until browned; remove from skillet and drain.

To make sauce, saute onion and garlic in 1/4 cup olive oil until onion is translucent. Stir in tomatoes, salt, sugar, and bay leaf. Cover, reduce heat to medium-low and simmer one hour and thirty minutes. Stir in tomato paste basil, 1/2 teaspoon pepper, and meatballs and simmer thirty more minutes. Discard bay leaf. Serve over spaghetti.

Spaghetti and meatballs is a family favorite in our house. Now let us show you how to eat it properly and our sweet little Emily will demonstrate.

Emily just loves to eat this, but she likes to have the long noodles for slurping, not short and stumpy noodles. I can understand this, but… She usually ends up looking like this.

Then we have to hold our noodles and balance them at the very top of our head in our hair. Is it sufficiently rubbed into our forehead and hair yet? If you can complete this trick, you can move on to the next step.

Be sure to get your entire face in there so it looks like this.
And don’t let the face outshine your toes. After all, eating like a monkey is the Clark way.

Dinner and a show! Two for the price of one!