Archive for the ‘Food & Recipes’ Category

Healthy Banana Blueberry Muffins

Monday, August 8th, 2011

It is that time of year again where I begin to gather ideas for baked treats to stick in my kid’s lunchboxes and for after school snacks.  I always wanted to be that mom that packed an amazing lunch filled with homemade goodness, handwritten notes, and power foods that would get my child’s day started right. Sometimes I am that mom. Sometimes I am not.

It isn’t because I want to be superior over other mothers, but simply because I just know how good I feel when I have the right snacks in my corner for the day.

I want that for them too.

They deserve a little of that.

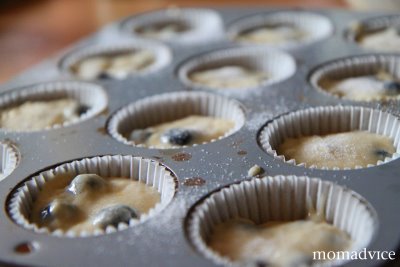
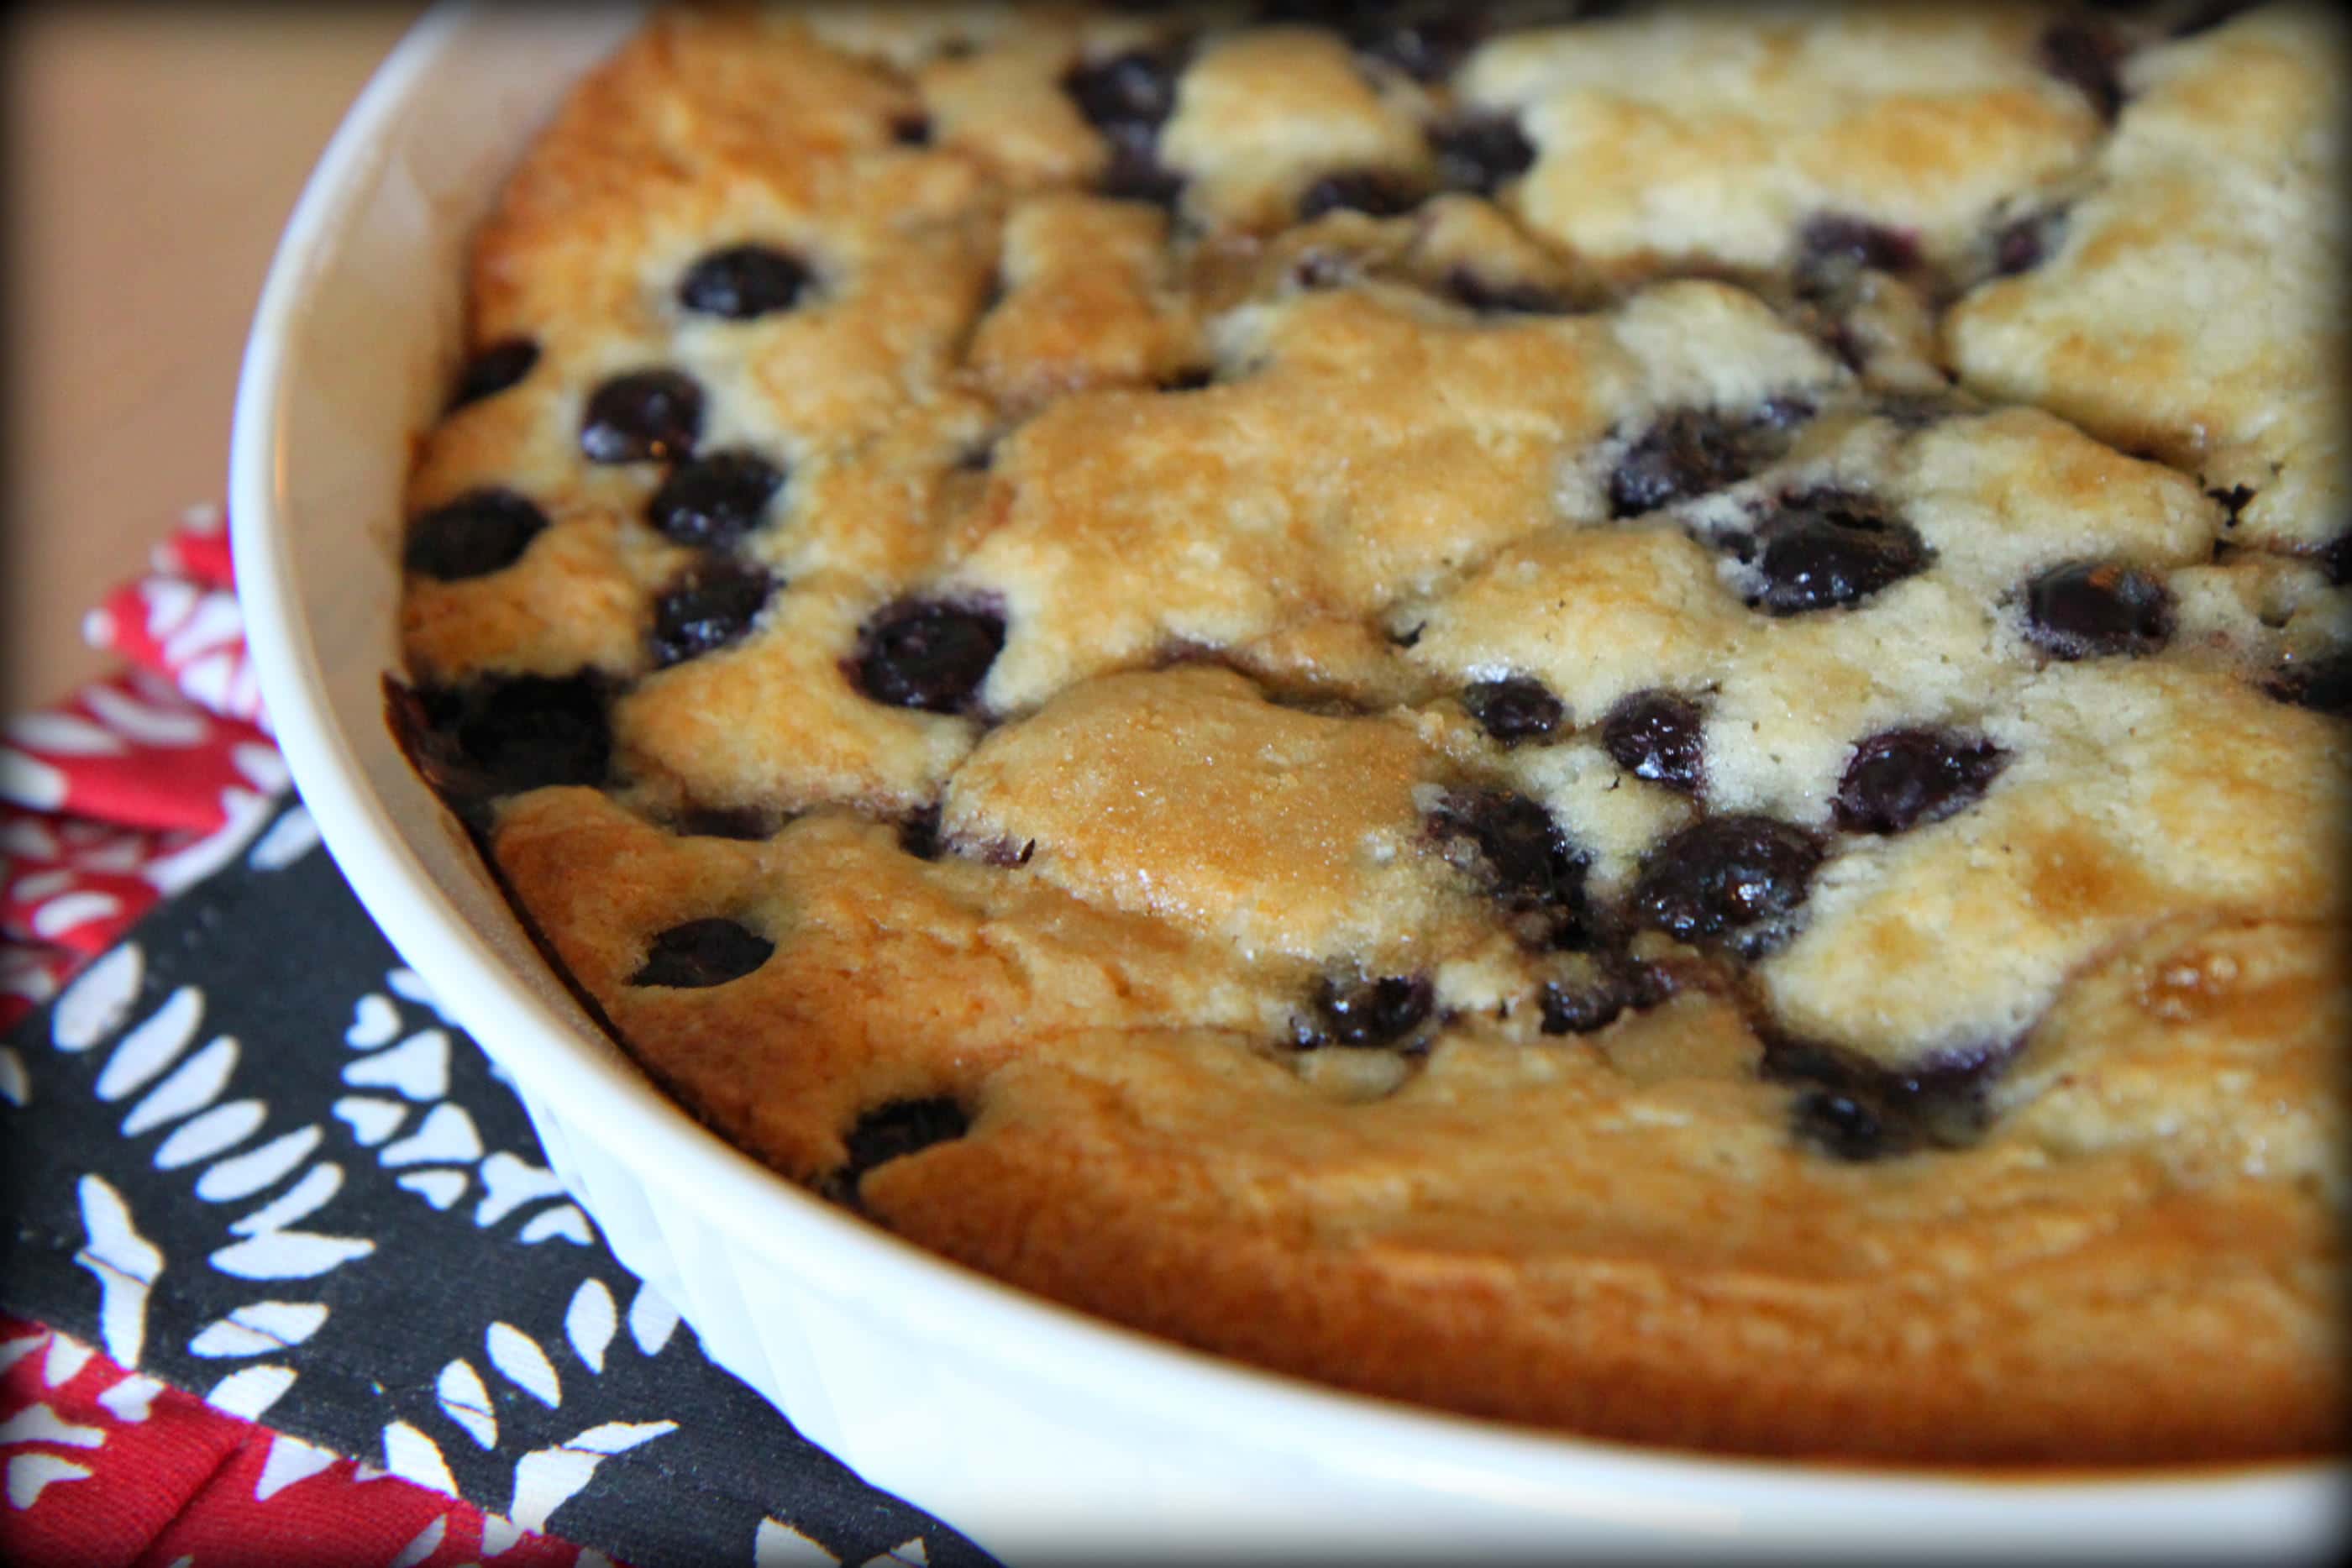
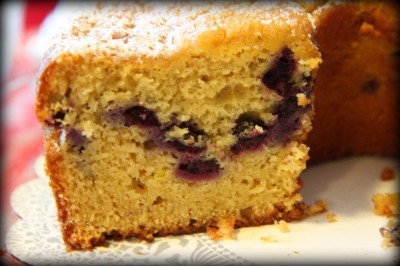
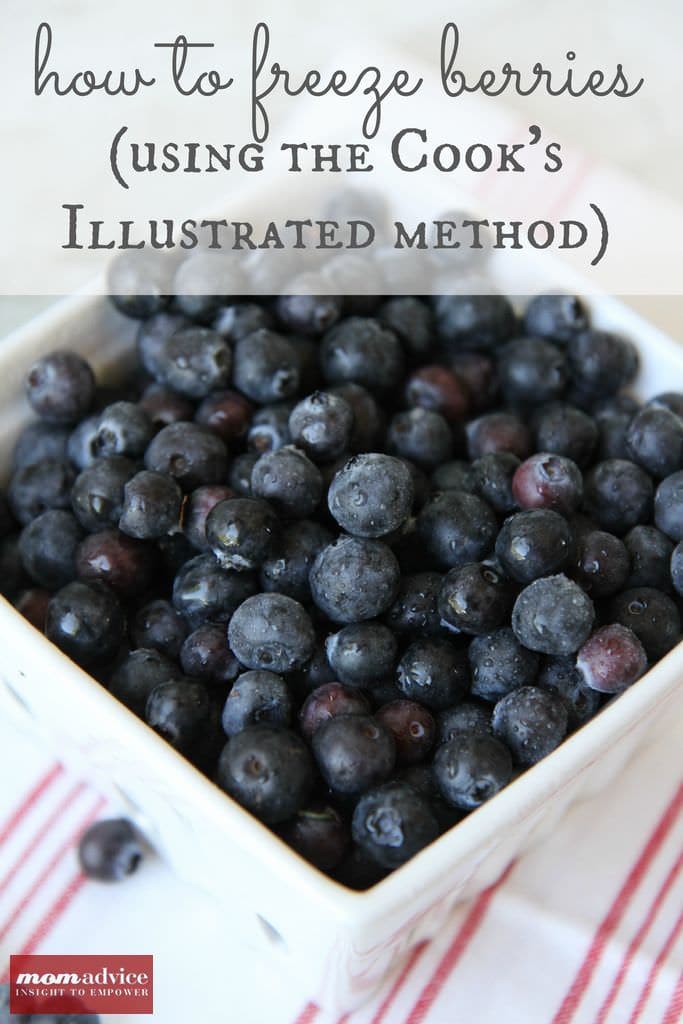
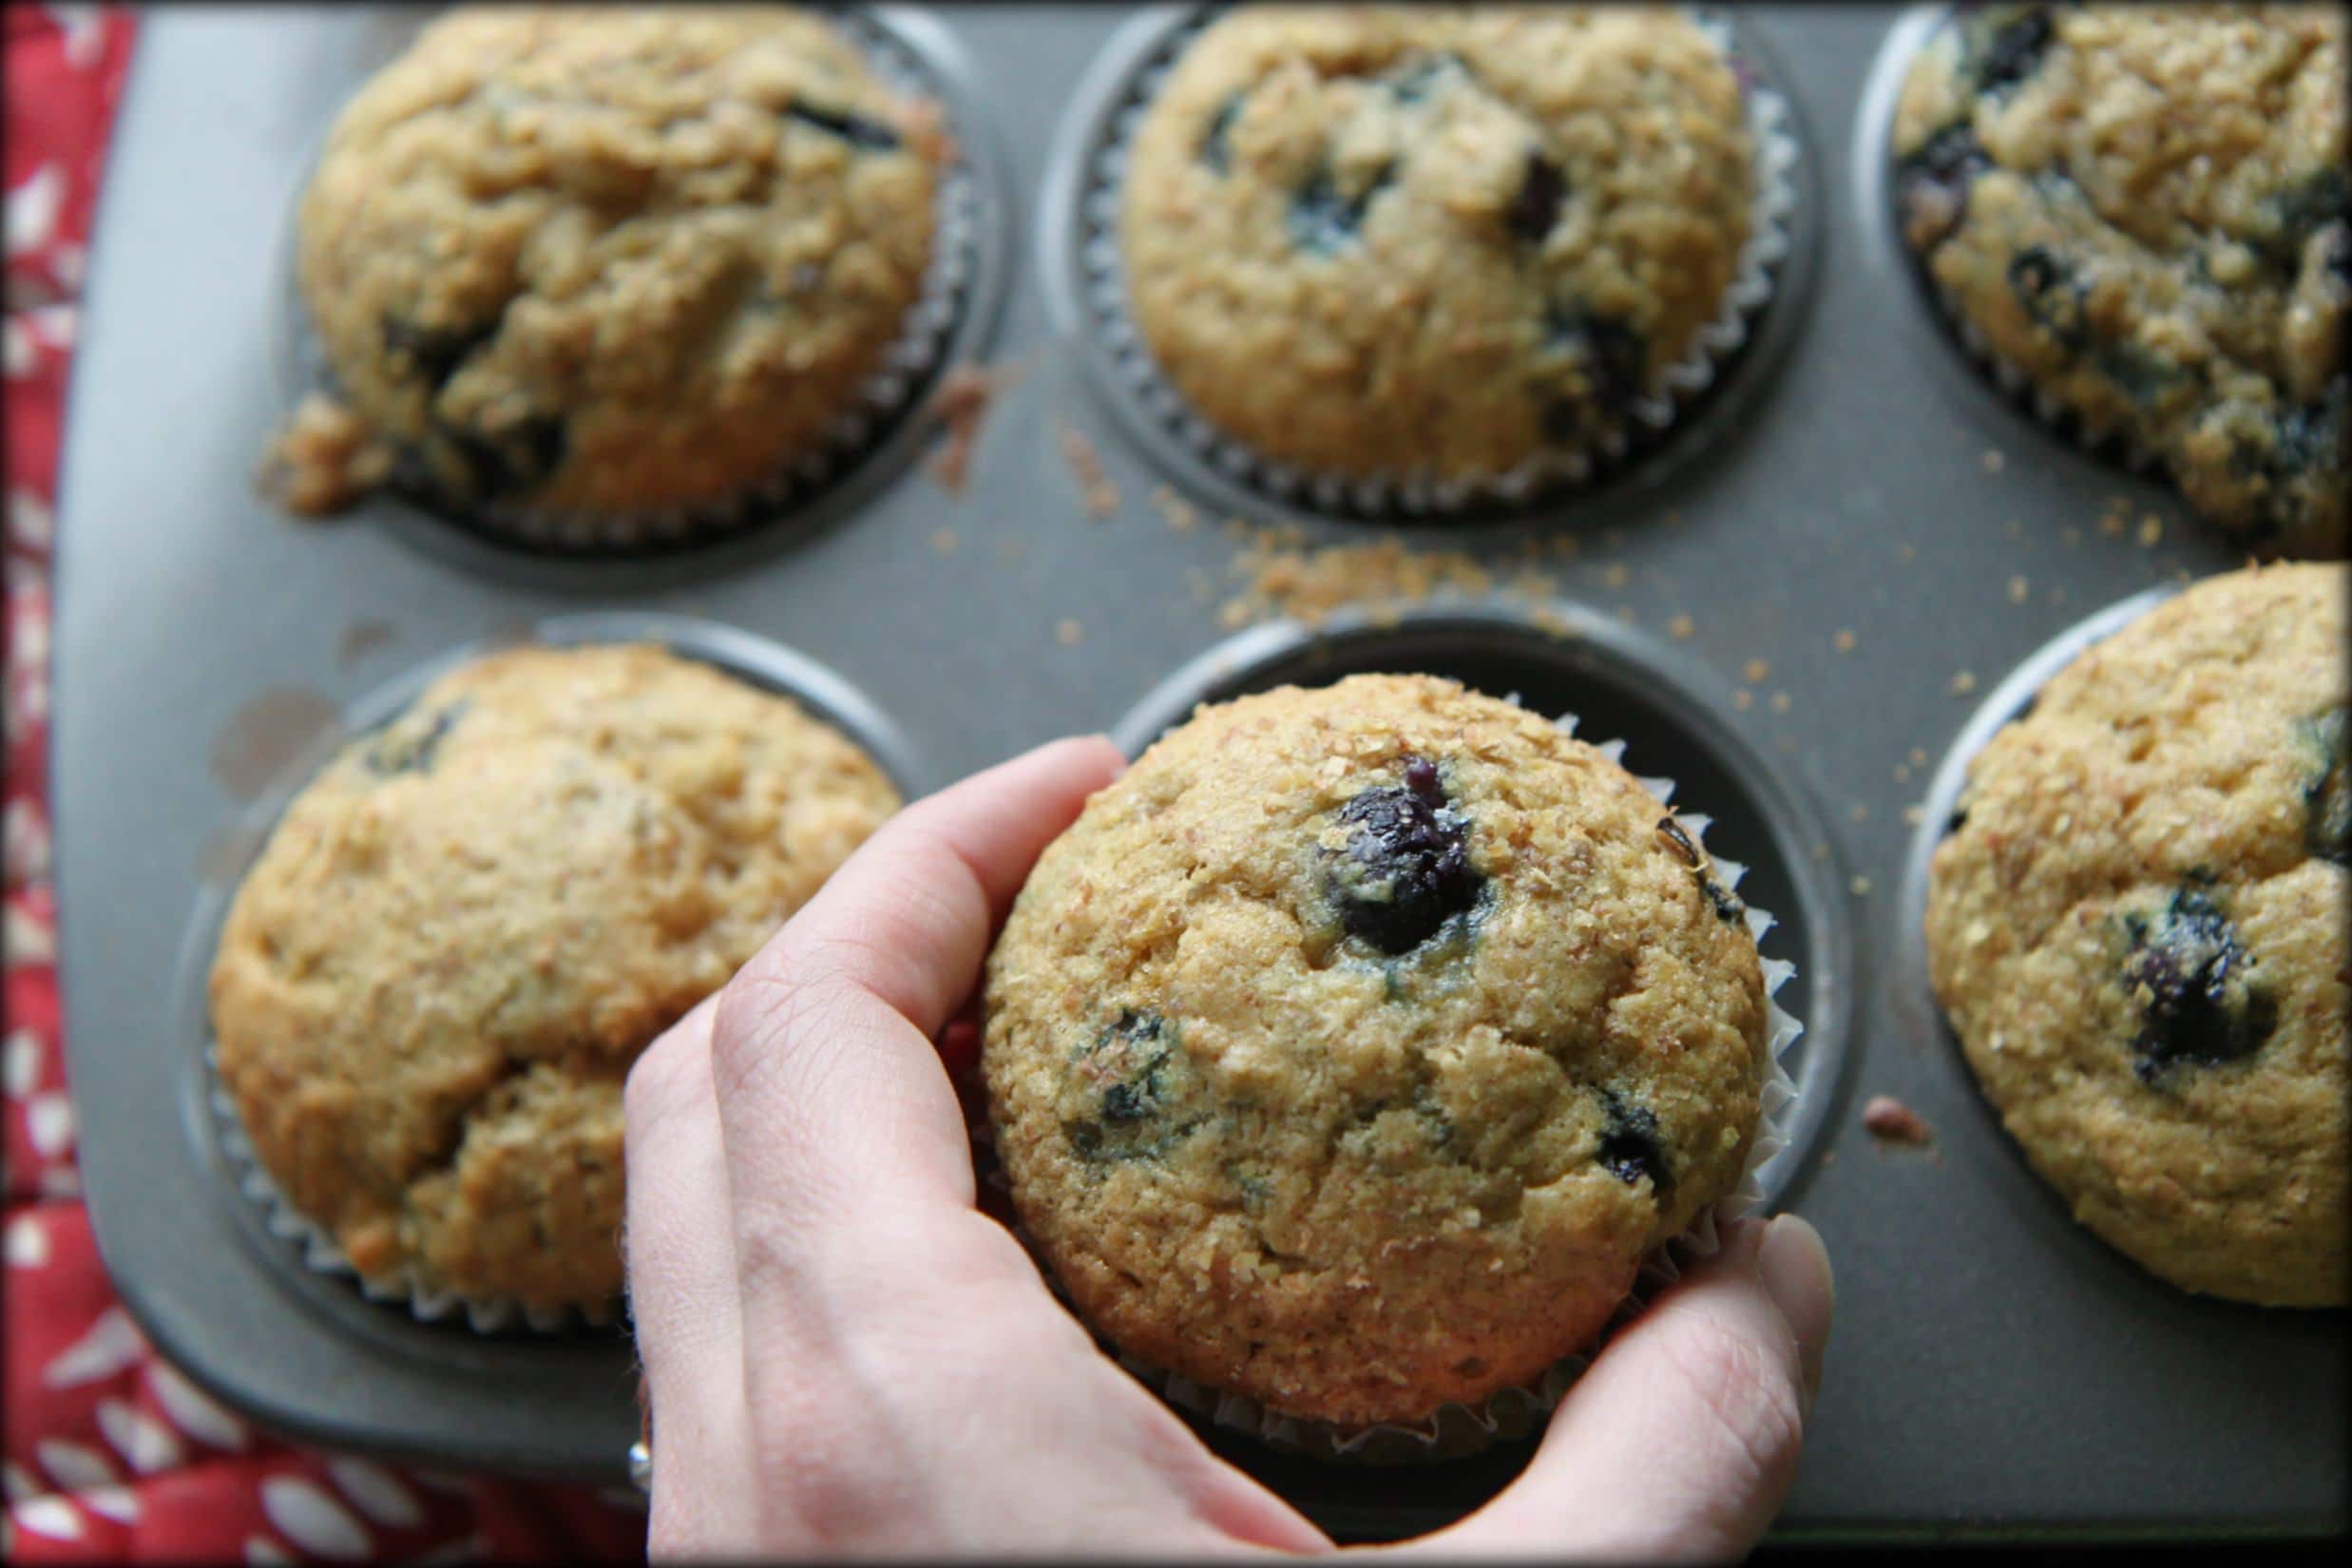
With blueberries already popped in the freezer from our berry picking last month, I decided to put them to good use in our home and made these Healthy Banana Blueberry Muffins for a fun midday snack and to add to my snack ideas list for their lunchboxes this year.

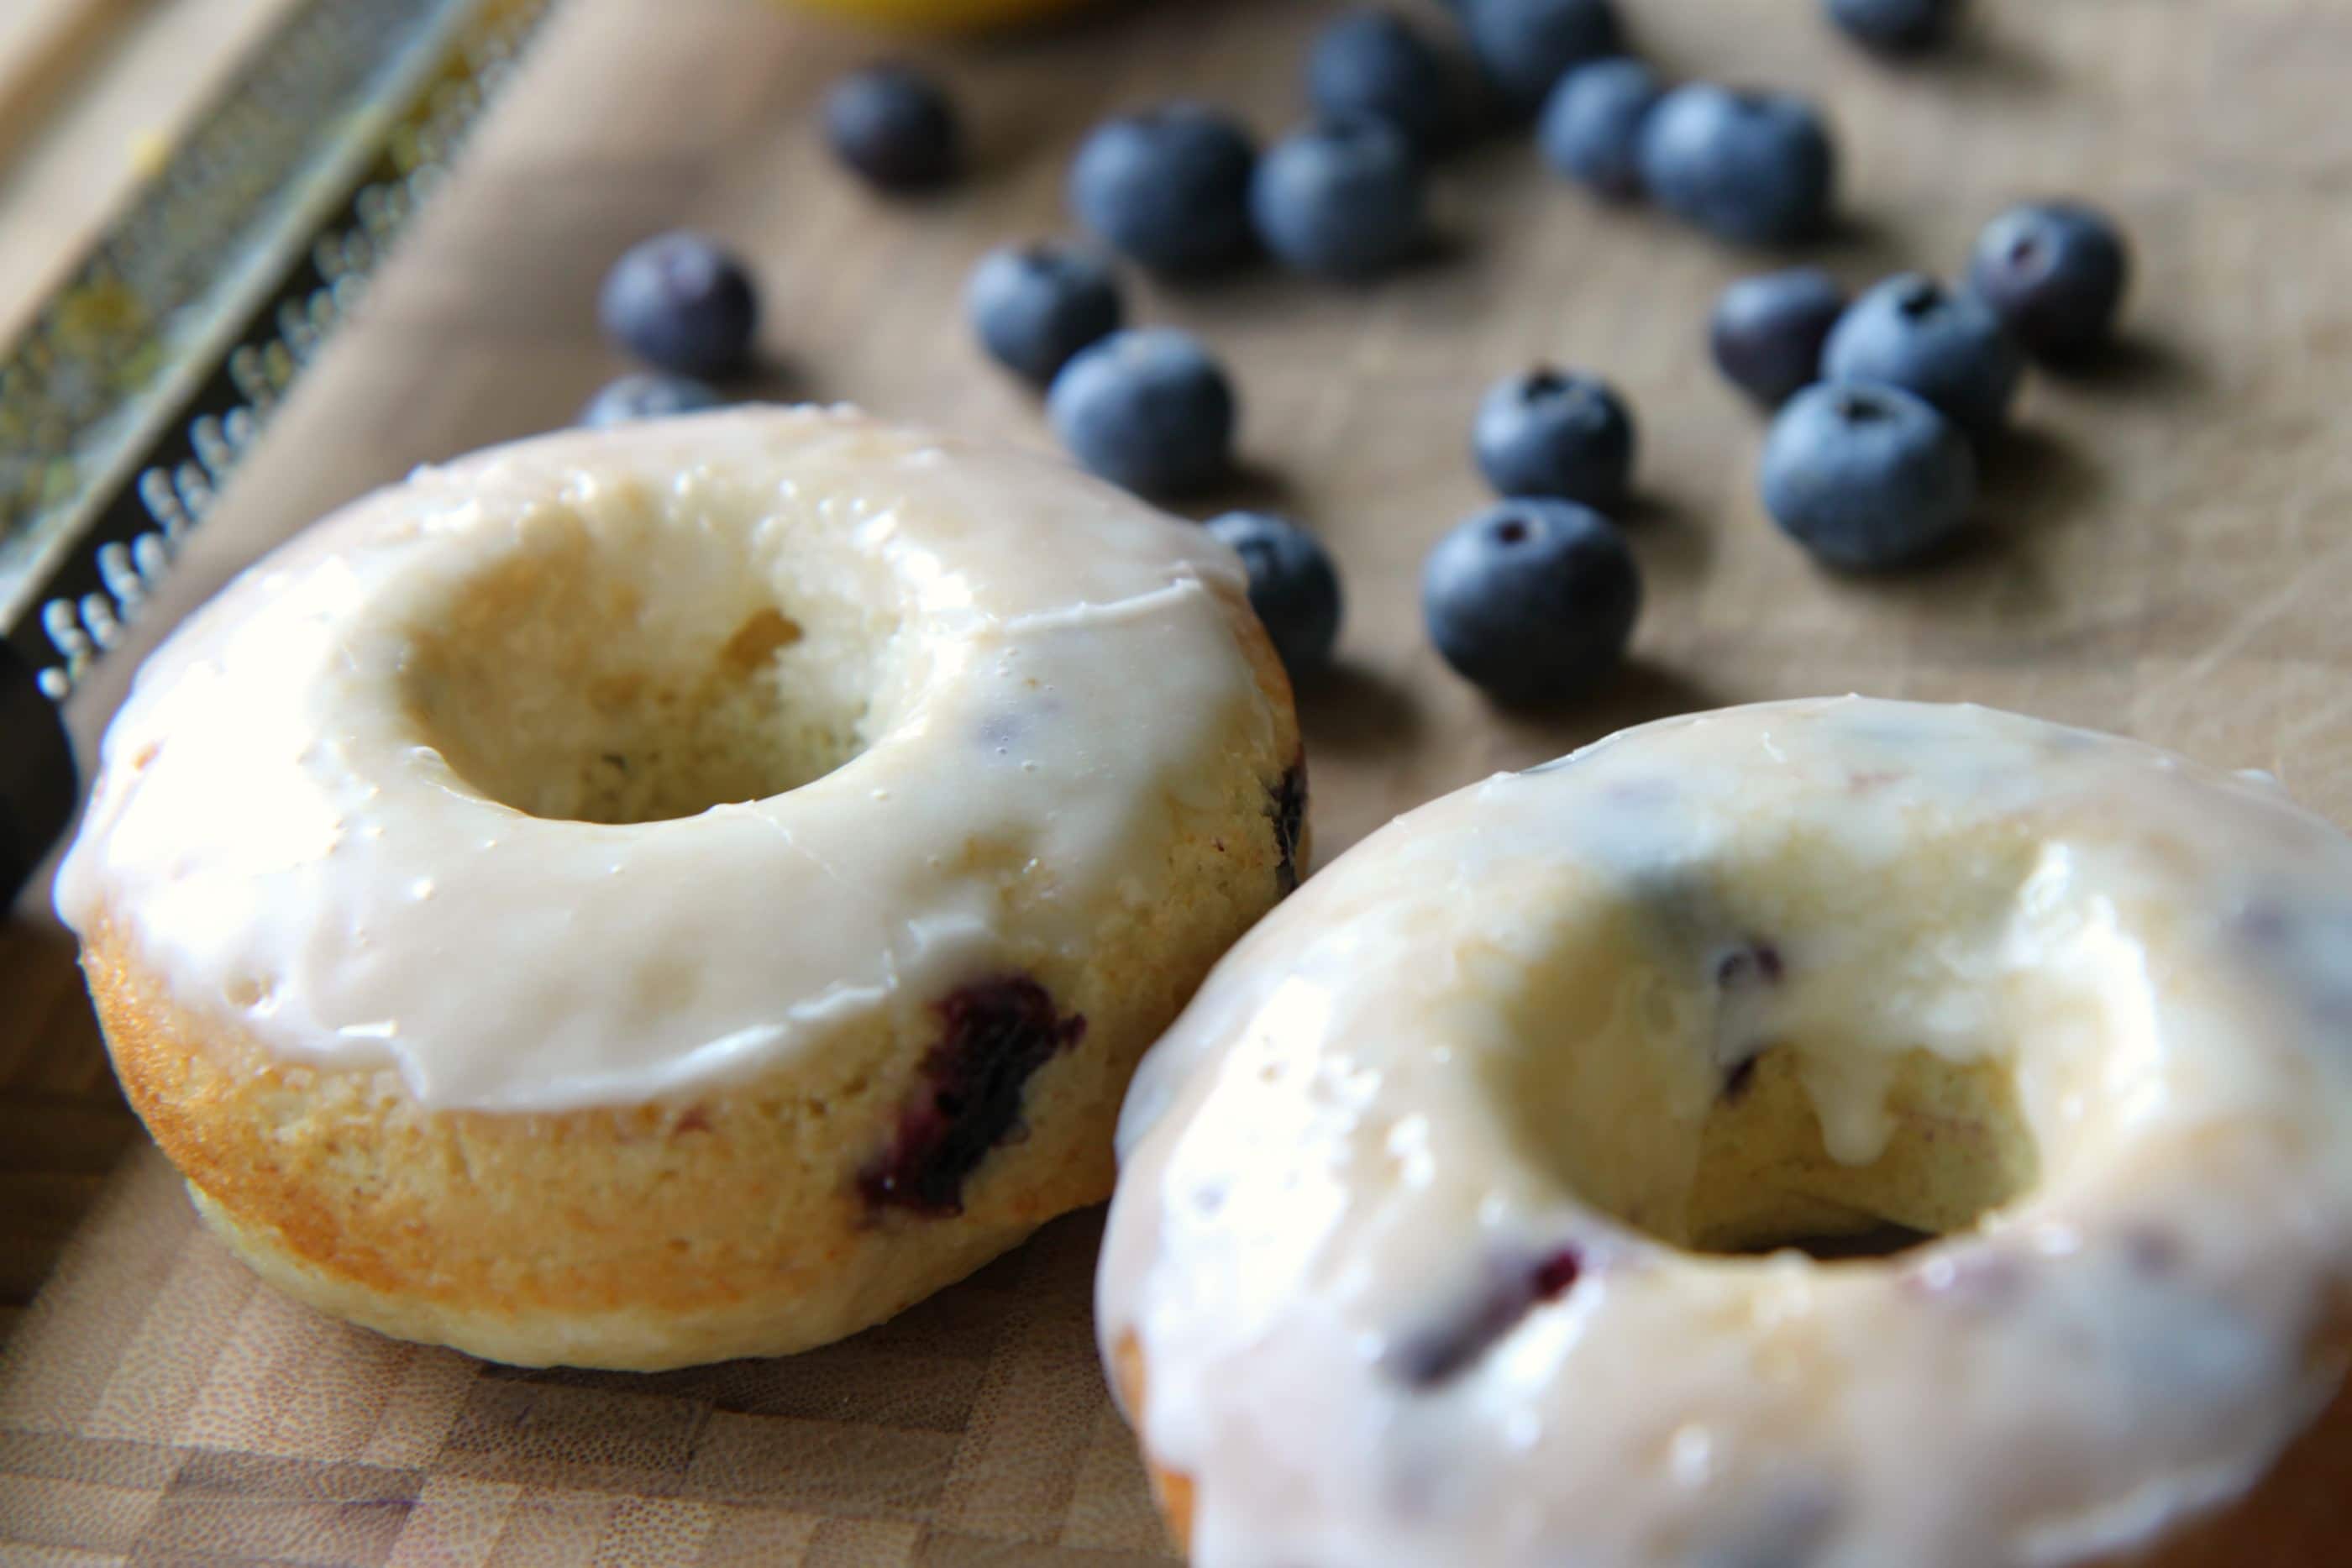
These have everything I want in a good muffin- whole wheat flour, wheat germ, blueberries, bananas, and a little bit of sweetness. The muffin is light with bursts of berries throughout. If  blueberries aren’t your favorite things, you can halve the amount of blueberries, or even cut fresh blueberries in half like our Baked Blueberry Donuts with the Lemon Glaze. The toasty wheat germ on top adds a little bit of texture to the top that keeps to their healthy nature.

I have included a vlog from a long time ago that I made on creating a baking day in your house to save money and keep your grocery budget on track. It is hard to believe that this little girl in the video is now off to kindergarten this year. This vlog illustrates though one way that we save money in our family and incorporate healthy eating in our home by making a commitment to one day of baking each week.

Happy baking, everyone!

Recipe:

Healthy Banana Blueberry Muffins

Ingredients:

1 cup whole-wheat flour (spooned and leveled)

3/4 cup all-purpose flour, (spooned and leveled)

1/4 cup wheat germ

1 teaspoon baking soda

1/2 teaspoon salt

1/2 cup (1 stick) unsalted butter, room temperature

1/3 cup granulated sugar

1/3 cup packed light-brown sugar

2 large eggs

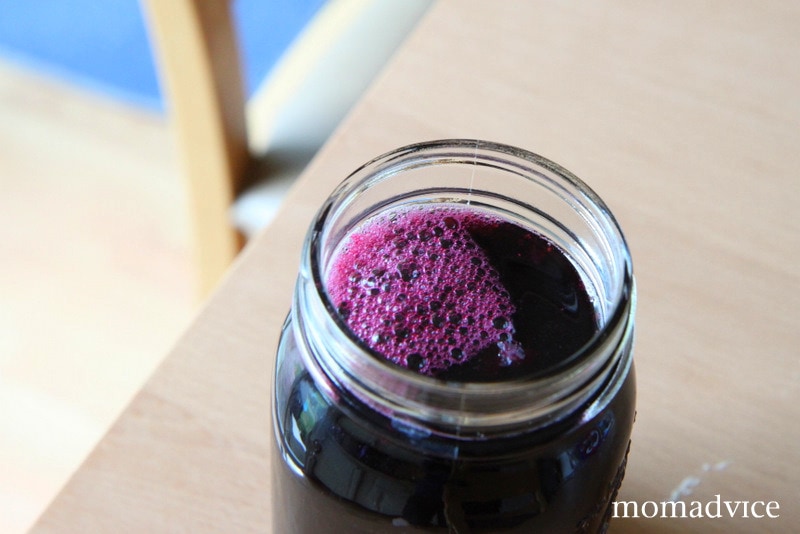
2 ripe bananas (about 1 pound)

1/3 cup reduced-fat (2 percent) milk

1 teaspoon pure vanilla extract

1 cup frozen blueberries

2 tablespoons wheat germ, for sprinkling on top

Directions:

Preheat oven to 375 degrees. Line a 12-cup muffin pan with paper liners. In a bowl, whisk together flours, wheat germ, baking soda, and salt. In a large bowl, beat butter and sugars with a mixer until light and fluffy. Add eggs, one at a time, beating well after each addition. In another bowl, mash bananas with a fork (you should have 3/4 cup); stir in milk and vanilla. With mixer on low, alternately add flour mixture and banana mixture to butter mixture, beginning and ending with flour mixture; mix just until combined. Fold in frozen blueberries. Divide batter among muffin cups and sprinkle the tops with a little wheat germ for an added crunch. Bake until a toothpick inserted in the center of a muffin comes out clean, 20-22 minutes, rotating pan halfway through. Let cool in pan 10 minutes; transfer muffins to a rack to cool 10 minutes more.

Prep Time: 20 minutes

Total Time: 25 minutes

Serving Size: 12

Recipe Source: Adapted only slightly from the amazing Martha Stewart

What treats do you like to bake for your child’s lunchbox? Feel free to share links or ideas from your own recipe collection in the comments below!

Baked Blueberry Donuts With a Lemon Glaze

Monday, August 1st, 2011

It is no secret around here that baked donuts are a favorite thing in our house. We have tried everything from delicate chocolate donuts, to pumpkin donuts, to cake donuts, to gingerbread donuts.  The one thing I haven’t tried though is fruit-filled donuts and I have been dying to make these.  I found an evening of blueberry picking last week yielded the perfect fruit to marry my love for baked donuts with some delicious results.  Your life just might be transformed by these baked blueberry donuts.

Even though blueberries are a hit with me, this fruit is a miss with my son and husband.  I knew if I could make a blueberry lover out of them though, baked donuts would be the ticket. I can finally, in all honesty say, that these donuts were loved by even them, thanks to the lemon additions and halving the fruit for delicate bites of berries rather than bursts.

The glaze is so light, but filled with the powerful flavor of lemon throughout. The cake is light and fluffy with flecks of berries and more lemon zest throughout the fluffy batter. The accompaniment of these flavors is a perfect marriage of deliciousness in your belly, while remaining a surprisingly light snack for a morning or afternoon treat.

I can’t say more about these donuts or I may be forced in the kitchen to make another batch already.  If you have any Swagbucks, I would put them to work towards donut pans. My donut pans were purchased with a few Swagbucks that I had set aside and credited  towards an Amazon gift certificate to purchase them for free this year. I use these Norpro 6-count Nonstock Donut Pans for $12.99 each for our donut baking in our house.

They have been a priceless treasure in my kitchen and a fun new Saturday morning tradition for our family!

Recipe:

Baked Blueberry Donuts with a Lemon Glaze

Ingredients:

2 cups cake flour (or 1 3/4 cup all-purpose flour + 1/4 cup cornstarch)
3/4 cup sugar
2 tsp baking powder
1 tsp salt
zest from 1 lemon
3/4 cup milk
2 eggs, lightly beaten
2 Tbsp butter
1 tsp vanilla extract
1/2 cup blueberries, halved

Lemon Glaze:
1 1/2 cups powdered sugar
1 Tbsp milk
1 Tbsp lemon juice (from the lemon you zested)
1/2 tsp vanilla extract

Directions:

Whisk together the cake flour, sugar, baking powder and salt into a large bowl.  Add in the lemon zest and whisk this into your dry ingredients. Pour in the milk, eggs, butter and vanilla extract. Gently mix the ingredients together. Be careful not to over-mix the batter. Fold in the halved blueberries carefully. Lightly grease a doughnut pan with non-stick cooking spray. Carefully spoon the batter into the doughnut pan, filling each one halfway. Bake the doughnuts at 400 F for 8-9 minutes. The donuts will remain light in color, but should spring back when pressed.

For the glaze: Put the powdered sugar in a large bowl. Add in the lemon juice, milk and vanilla extract. Whisk to combine. If the glaze is too thick, add additional lemon juice or milk, 1/2 teaspoon at a time until desired consistency is reached.

Once the doughnuts are done baking, let them cool in the doughnut pan for 4 minutes. Carefully remove the donuts from the pan.  Dip one side of each doughnut in the glaze. Set the doughnuts on top of a cooling rack with a baking sheet underneath. Allow the glaze on the doughnuts to dry and serve immediately with big glasses of ice cold milk.

Prep Time: 5-7 minutes

Total Time: 20 minutes

Serving Size: 12 donuts

Don’t be bored with berries! Be sure to check out our eight inspirational recipes for the  blueberry season to get those juices (literally) going on a berry project in your kitchen!

8 Inspirational Recipes for the Blueberry Season

Tuesday, July 26th, 2011

8 Inspirational Recipes for the Blueberry Season

Blueberry season is upon us and today I wanted to share with you our favorite blueberry creations that you can use those fresh picked berries for. Our family is looking forward to an evening of picking this week and these are the recipes that we will be using to create our favorite blueberry dishes.

blueberry pancakes 2

A pancake laced with fresh handpicked blueberries seems the perfect occasion to break out the old griddle and spatula for a fun and inexpensive weeknight meal. These blueberry pancakes are a delicious way to use a few of those berries and I promise that they will be a hit with your family too!

I love that with this batter it is encouraged to mix the batter up ahead of time and allow it to rise for a bit on the counter. What happens is that this seemingly unimpressive batter is magical as it puffs up beautifully once placed on the griddle. Once poured on the griddle, I sprinkle the blueberries into each pancake individually as they become golden. The pancakes are then served with a little syrup and another generous handful of fresh berries on top.

Recipe:  Blueberry Pancakes

Blueberry Iced Tea Syrup

Making homemade syrups for drinks is something that I love to keep in our refrigerator to fancy up a glass of iced tea or a mug of coffee. Making homemade syrups does not take a lot of time, but it can make a regular glass of iced tea go from a standard glass to a fantastical gourmet treat.

This is a my favorite recipe for making Blueberry Drink Syrup that can be added to your iced tea, your coffee, or even your margarita! Whatever gets you going in the morning, I promise not to judge!

Recipe: Blueberry Drink Syrup

Blueberry Muffins

It is the berry season and nothing says summer to me like a big blueberry muffin. These blueberry muffins are laced with the juice and zest of one lemon, which cuts through the sweetness and makes a perfect balance of flavors. I dust these with raw sugar and they make a fantastic snack to eat and to share with neighbors and friends.

Recipe: Lemony Blueberry Muffins

Blueberry Cobbler

Last year I decided to give a blueberry cobbler a try for a book club meeting and this recipe pulled together so easily that I shared it that evening and then later, as a special birthday treat for my mom. With all of the ingredients coming straight from the pantry, it was a fun and frugal dish to share and everyone I shared it with really seemed to enjoy it. If you are looking for a fast and satisfying dish to bring to your next gathering, I highly recommend this delicious blueberry cobbler for a perfect way to end any meal.

Recipe: Fresh Blueberry Cobbler

Blueberry Muffin Cake

Looking for a recipe for a few blueberry haters in your family? This is the one that is sure to convert them and just a peek inside this cake shows why anyone can eat it. The cake only has one cup of blueberries in the whole thing. This handful of berries makes a beautiful stripe down the middle and adds just the right balance of blueberries and cake instead of the overwhelming amount of berries that can be in other cakes and muffins.

The blueberries are suspended in the batter with the help of a little reserved cake mix and a quick toss to coat them. The cake mix has added flavor boosts from the addition of cinnamon, vanilla yogurt, and a little vanilla pudding mix. The resulting cake is moist and absolutely perfect. This is truly my favorite blueberry recipe and I promise it will be yours too!

Recipe: Blueberry Muffin Cake

Blueberry Pancake Syrup

It is amazing how sugar, water, a little vanilla, and fresh berries make such an incredible difference on a plain old waffle, but this blueberry pancake syrup proves that simple ingredients can create something outstanding.

The burst of flavor, the happy dance in my mouth, and the smacking of lips at the table make me so incredibly joyful when we eat this syrup over our waffles. The berries coat the waffle perfectly and add a little sweetness to my waffles without a sugary overkill.

This is really and truly a fantastic indulgence that takes about the same amount of time to cook as it does to make up a batch of waffles. Fast and delicious!

Recipe: Blueberry Pancake Syrup

Berry Trifle

One thing I have wanted to try is a trifle and for my son’s birthday this year, I had the perfect opportunity!  With berries in season and a store-bought angel food cake, this dish isn’t only affordable, but easy too!

The white chocolate pudding set this trifle apart from any other I have ever eaten because it adds a richness and unexpected layer into this berry trifle. Not only does this dish taste rich, but it is perhaps one of the lightest desserts I have ever made where I felt full and satisfied, while feeling like I indulged.  Of course anything with pudding, cake, and berries is a winner in my book.  I would highly recommend giving this recipe a try for your next get together!

Recipe: Red, White, & Blueberry Trifle

How to Freeze Blueberries

After all of this inspiration, if you still have some berries left, I highly recommend the Cook’s Illustrated technique for freezing your berries for optimal flavor. I tried this last year and last month we ate berries that tasted like they had been freshly picked after almost a year of storage.

In years past, I just threw the berries on a cookie sheet, froze them, and then tossed them into marked bags for later consumption. Cook’s Illustrated is my Bible for cooking and they claim that the best consistency for blueberries is if they have been frozen with sugar. They froze six different kinds of fruit, tried seven different methods of freezing on each fruit, stuck them in the freezer for six months, and then tasted them. I certainly don’t have the time or inclination to take on a task like that and that is why I absolutely love Cook’s Illustrated!

If you are worried about the sugar, it is just meant to help keep the fruit’s shape and texture. When you want to eat the berries, you just rinse the sugar off and enjoy the optimal taste of the fruit.

Freeze Blueberries in 3 Easy Steps

Our collection of recipes continues to grow! While I have you here, here are four more fun ideas to try this year!

Baked Blueberry Doughnuts

Baked Blueberry Doughnuts With a Lemon Glaze

Blueberry Sangria Lemonade

Blueberry Sangria Lemonade

Healthy Banana Blueberry Muffins

Healthy Blueberry Banana Muffins

Fruit Infused Water Recipes

Healthy Fruit Infused Waters

Quinoa-Berry Breakfast Bowls

Quinoa-Berry Breakfast Bowls (sub with blueberries)

What are your favorite blueberry recipes? How do you freeze your berries? Feel free to share links and recipes here for even more inspiration for our readers!

Pin It

Incredible Melted Ice Cream Cake with Chocolate Marshmallow Ganache

Monday, July 25th, 2011

As with all traditions in our family, it started as something simple and became something special. Last year I let my kids pick their own birthday cakes for their special days from my bookshelf of cookbooks.

Since last year, my dessert cookbooks have since become bent and worn, from bookmarking and thumbing through pictures of cakes just for them. When the kids are bored, they will run over to that shelf, pull down all the cookbooks and reminensce about what they might choose for their next birthday…as early as ten months down the road. Discussions and negotiations are made when they select the same recipe and the cookbooks return to the shelf until another rainy day of planning.

Ethan had this Melted Ice Cream Cake marked several times since his last birthday. It was this or the biscotti recipe that he bookmarked for me.

Biscotti is not really a birthday cake, sweetie,” I told him as he handed me his bookmarked cookbook.

“Well, it should be. It is delicious,” he replied.

Did I even know what biscotti was until just a few years ago? I can’t say that I did.  I fear for his wife someday.

I also had never heard of a melted ice cream cake before, but the concept is a simple one. Simply use a cake mix and replace the liquid that it directs on the box with a good quality ice cream and your eggs.  Not only is this one an easy cake to create, it can be made into a brand new flavor with a different ice cream flavor or a different cake mix. The possibilities are truly endless with this cake and the results are surprisingly delicious.

The most important thing with this cake is to not cook it too long, or it can become dried out and will lack the moistness that you want in it. Smothered in a homemade chocolate marshmallow ganache, this cake takes ice cream and cake to a whole new level.

The best part? Melted ice cream is actually encouraged. With a July birthday, that is one feat that is easy to pull off!

Recipe:

Incredible Melted Ice Cream Cake

Ingredients:

1 package (18.25 ounces) plain white cake mix

2 cups (or 1 pint) good quality melted ice cream, your choice of flavor.

{Cookbook author note: The author states that it is important to use a good quality ice cream because the cheaper ice cream has more air in it, which will not equal the two cups of liquid you need for this cake. If you use a cheaper brand, melt it and then measure to create the two cups of liquid needed for this one! }

3 large eggs

Chocolate Marshmallow Ganache

For the frosting:

2 cups confectioners’ sugar

1/2 cup unsweetened cocoa powder

6 large marshmallows

4 tablespoons (1/2 stick) of butter

1/3 cup plus 1 tablespoon milk

1 teaspoon vanilla extract

Directions:

Preheat the oven to 350 degrees. Lightly mist a Bundt pan with cooking spray, then dust with flour. Shake out the excess flour and set the pan aside. Place the cake mix, melted ice cream, and eggs in a large mixing bowl. Blend  for three minutes. Pour the batter into the prepared pan, smoothing the top with a spatula. Bake the cake for 38-42 minutes (mine took just 38). Remove and let cool for 20 minutes. Remove the cake from the Bundt pan and allow to to cool for 30 more minutes. Frost the cake once cooled with the Chocolate Marshmallow Ganache.

For the Chocolate Marshmallow Ganache: Sift the sugar and cocoa powder together in a large mixing bowl and set aside. Place the marshmallows, butter, and milk in a medium-size heavy saucepan over low heat. Stir until the marshmallows are melted, 3-4 minutes. Remove the pan from the heat. Pour the confectioners’ sugar & cocoa mixture over the marshmallow mixture. Ad the vanilla and stir until the frosting is smooth and satiny. Use at once to top the ice cream cake. I was able to pour this right over the cake, and it will harden as it cools.

Prep Time: 5-7 minutes

Total Time: 1 hour

Serving Size: 16

Recipe Source: The Cake Mix Doctor by Anne Byrn

Looking for more cake ideas? Check out our Perfectly Pink Barbie Birthday CakeDarn Good Chocolate Cake, Oreo & Fudge Ice Cream Cake, & Blueberry Muffin Cake for just a sampling of the cakes we love around here!

Corn on the Cob on the Grill

Tuesday, July 19th, 2011

Corn on the Cob on the Grill Header

This corn recipe is the time-saving strategy you need for your next cookout. Learn how to grill corn on the cob without removing the husks. Serve this cookout side with toppings for guests to season the corn.

There are so many fun ways to prepare corn. I have been known to boil the corn, pop the corn in the cob (wrapped in aluminum foil) into my slow cooker, and have prepared tths summer side with fancy herb butters for our family cookouts.

To save on money, I have always purchased the corn in the husks.

Although I have been to many cookouts, I had no idea that you could grill your corn on the cob without any special foil preparations.

Since learning this amazing cookout shortcut, I have said goodbye to time lost, removing those silks and outer husks, and said hello to the world’s easiest method for roasted corn made on your grill.

No more cleaning up corn silk and husks?

HECK. YES.

Now you can have your guests pull back their own husks and prepare their corn with their own favorite toppings.

The best part about keeping the corn in the husk?

It can stay warm for 30 minutes, making timing the rest of your dishes around it a cinch.


Corn on the Cob on the Grill

Corn on the Cob on the Grill

Here are a few questions that I get asked about preparing your corn for the grill! 

Soaking Corn in Water With Husk On

Corn in Husks On Grill

How Do I Prepare Corn on the Cob for the Grill?

To prevent your corn from becoming burned (or catching on fire), it is important that you soak your corn (in its husk- do not remove!) in a bucket of water.

Ideally, you want the corn to soak for two to three hours. As they soak, be sure to rotate the ears so that all of the sides are properly soaked for the grill.

While you may think to only use this grilling technique at home, it is a really great one when you want to grill corn on the cob when camping.

Grilling Corn on the Cob In Foil

I Prefer Grilling Corn in Foil. Do You Have Any Tips?

If I am going to the trouble of cleaning the corn, I love to just slather the corn cobs with herbed butter BEFORE you wrap them in foil. This herbed butter grilled corn recipe is a perfect one to create.

If you are wrapping your corn cobs in foil, you just want to make sure that they are wrapped tightly (to prevent any potential grill fires from the buttered topping) and they can be grilled for 15 minutes, turning often.

I Don’t Have a Grill. Do You Have Any Suggestions On How to Boil Corn Instead?

I learned a trick for boiling corn in milk and brown sugar, to really enhance the sweetness and I can’t rave about it enough.

This combination works really well when corn isn’t in season and you are looking to\ bring a little more sweetness to your corn.

I admit, it is an usual way to do it, but the combination makes corn taste like it is in season all year long.

Another option, of course, is to boil the corn in boiling salted water.

It should take just seven to eight minutes to cook.

What Can I Do With Leftover Corn on the Cob?

It never fails that we have a few ears of corn leftover from a cookout.

Personally, I love to shave the corn and add it to a summer salad.

Shaving Grilled Corn for Salad

Looking for a unique salad combination? This Edamame & Corn Salad is always a cookout winner.

Shaved corn can also be made into a delicious roasted corn salsa, as a fun appetizer to munch on with your leftovers.

Adding a layer of roasting, to the corn kernels, really adds smoky flavor to your salsa.

Admittedly, shaving corn can be a messy affair, but these tips are genius for keeping the corn mess to a minimum.

Don’t feel like making the effort to shave corn? 

I’ve got another great recipe idea for you!

Another simple way you can use up those ears of corn are to reserve them for a shrimp boil on another night. Just add the already cooked corn cobs, at the end of your boiling time, to warm.

Corn on the Cob on the Grill
 
Recipe Type: Grilling
Author: MomAdvice.com
Prep time:
Cook time:
Total time:
Serves: 6
This corn recipe is the time-saving strategy you need for your next cookout. Learn how to grill corn on the cob without removing the husks. Serve this cookout side with toppings for guests to season the corn.
Ingredients
  • 6 ears of corn (or as many as you like)
  • 1 bucket of fresh water
  • Butter, Salt, & Pepper (optional) for topping
Instructions
  1. Place corn (husk and all) in a bucket of cold water. Let the corn soak for two to three hours, rotating the corn in the bucket to assure that all of the ears get soaked.
  2. Preheat your grill to medium high heat. Place corn on your hot grill and cook for 15 to 20 minutes, flipping the corn after fifteen minutes.
  3. The corn husks may become charred, but the corn inside remains intact.
  4. The corn will stay hot for thirty minutes after being removed from the grill and the corn husk will peel very easily from the corn.
  5. Have guests peel back the husks and then season with butter, salt, and pepper.
 

As an Amazon Associate I earn from qualifying purchases.

Looking for more fun grilling ideas? Check out this fun recipes!

DIY grill seasonings plus free printable labels for gift giving! mix up your own grill seasoning mixes with these diy recipes


steak marinade recipe try my favorite steak marinade recipe (great for those cheaper cuts of meat)

grilled burssels sprouts grill your brussels sprouts on your grill with this easy foil packet recipe

What are some of your favorite ways to prepare corn for the grill? Let me know in the comments below!

Happy grilling!

Red, White, & Blueberry Trifle

Monday, July 11th, 2011

It was a busy week for our family last week as we prepared to celebrate my son’s ninth birthday.  Each year we throw a fun Fourth of July family party to celebrate his special day and bring our family together. You can see our good old-fashioned barbecue from last year and our patriotic party bash that we did two years ago.  For this year, tomorrow I will share with you more about the decor and how we pulled the different elements of our party together, but today I wanted to start with my favorite recipe from the birthday party.

For our birthdays, I like to offer two desserts for the celebration.  The first dessert is lovingly selected by the birthday boy/girl. They get to spend the day in my cookbooks and bookmark any cake that they want for their big day. The second is a cake or dessert that I have been wanting to try for another option for our guests. Everyone should get to have more than one dessert though, and plates were piled high this year!

One thing I have wanted to try is a trifle and I thought this would be a fun and delicious dessert, that would also be perfect for an outdoor barbecue. With berries in season and a store-bought angel food cake, this dish isn’t only affordable, but easy too!

The white chocolate pudding set this trifle apart from any other I have ever eaten because it adds a richness and unexpected layer into this berry trifle. Not only does this dish taste rich, but it is perhaps one of the lightest desserts I have ever made where I felt full and satisfied, while feeling like I indulged.  Of course anything with pudding, cake, and berries is a winner in my book.

This dessert went over just as well as the cake and offered a light ending to a delicious cookout. I would highly recommend giving this recipe a try for your next get together!

Recipe:

Red, White, & Blueberry Trifle

Ingredients:

  • 10 oz angel food cake, cut into 1-inch cubes
  • 2 pints strawberries, sliced
  • 2 pints blueberries

For the cream filling:

  • 6 tbsp fat-free sweetened condensed milk (I used Walmart Great Value brand)
  • 1 1/2 cups cold water
  • 1 package sugar-free white chocolate instant pudding mix (I opted for the sugar-filled version)
  • 12 oz fat-free frozen whipped topping, thawed

Directions:

Whisk the condensed milk and water in a bowl. Whisk in the pudding mix for 2 minutes. Let stand for 2 minutes or until soft-set; fold in the whipped topping.

Arrange half of the cake in the bottom of a 14-cup trifle dish. Sprinkle evenly with a layer of blueberries. Spread half of the cream mixture over the blueberries and gently spread. Top with a layer of strawberries. Layer the remaining cake cubes on top of the strawberries, then add more blueberries and top with the remaining cream mixture. Finish with the remaining strawberries and blueberries, arranging them in a pretty pattern. Cover and refrigerate at least one 1 hour.

Prep Time: 15 minutes

Total Time: 15 minutes

Serving Size: 14 servings

Recipe Source: SkinnyTaste.com (visit the website for nutritional information)

Bubbly Raspberry Lemonade

Monday, June 27th, 2011

I love sweet and refreshing summertime drinks and this raspberry lemonade fit both of those bills perfectly.  As we celebrated Father’s Day last weekend with our family, I decided to make my Presto Pesto Pasta Con Pollo, a tossed salad, french bread, and I wanted a fun drink to round out the dinner.  This concoction was something I dreamed up out of a few items I found at our grocery store. A little pink lemonade, a little raspberry white grape juice, a lot of Sprite, and a little vodka (should you so choose). Each cup was filled with a few fresh raspberries and a colored straw, which my kids loved doing in preparation for the big dinner.

Tart, sweet, bubbly, fancy, and fun. Our dinner guests all agreed that these were magical. A second round was ordered all around and complimented our light summer dinner perfectly.

Recipe:

Bubbly Raspberry Lemonade

Ingredients:

1 (12 ounce) can frozen pink lemonade

1 (12 ounce) can frozen white grape raspberry juice

5 cans Sprite

1 can vodka (or you can substitute with an extra can of Sprite for a mocktail)

Juice of two limes

1 pint fresh raspberries

Directions:

Mix all ingredients together in a large pitcher.  Serve over ice and garnish with extra raspberries.

Prep Time: 5 minutes

Total Time: 5 minutes

Serving Size: 12 servings

What is your favorite summertime drink? Please feel free to share a link to those recipes!

Grilled Shrimp With Garlic & Herbs

Monday, June 20th, 2011

The grill has been humming this season and I have been trying to make a habit of getting our marinade ingredients ready to go in the morning so we can relax by the pool until the evening hours.

The intention is always to relax by the pool each day, but so far it has turned into a swimming lesson mania of running back and forth to get the kids to swim lessons & other activities.

Then trying to keep a normal gym routine.

Then baths.

Then towel washing.

Then collapsing in the fetal position at the end of the day.

Let’s hope that next month offers a few slow days so I can do what my body is intended for…which is relaxing.

I am sharing this delicious grilled shrimp recipe because I absolutely loved it so much. The brown sugar and paprika add a hint of sweetness while the garlic offers some bolder flavors to this shrimp. The lemon juice pulls all of the flavors together and adds that certain freshness to an otherwise pantry-inspired dish.

I love this shrimp and it offers a great variation to my usual (and still absolute favorite) grilled shrimp recipe.  Serve this one on a bed of brown rice and with vegetable kabobs with all of your favorite veggies on them.  It is a light and delicious meal that your whole family will love.

Recipe:

Grilled Shrimp With Garlic & Herbs

Ingredients:

2 lbs extra large shrimp, peeled deveined

1 teaspoon paprika

1 tablespoon sliced fresh garlic

1 teaspoon Italian seasoning

1 tablespoon fresh lemon juice

2 tablespoons olive oil

1/2 teaspoon black pepper

1 teaspoon basil

1 tablespoon brown sugar

Directions:

Mix all ingredient in a bag and marinate for 20 minutes in the refrigerator. Prepare grill to high heat and grill for 5-6 minutes turning to char all sides.

Prep Time: 10 minutes

Total Time: 15 minutes

Serving Size: Six Servings

Recipe Source: Food.com

Spinach & Tomato Orzo Pasta Salad

Monday, June 13th, 2011

There are few things that I love in the summertime more than pasta salad. I would forgo a burger any day of the week for a great bowl of pasta salad.  I prefer a pasta salad that can be served at any temperature when I have to bring a dish to a potluck or picnic dinner. I love when pasta salad can be enjoyed as a lunch on-the-go or lazily on my couch with a spoon and a little Food Network.

When I first began cooking, Rachael Ray was my cooking idol. I had no idea what I was doing in the kitchen, but her no-nonsense approach to cooking inspired me to try making something other than convenience food in my kitchen. This pasta salad was one that she featured and I remember thinking how exotic it was to use orzo pasta and lemon zest.

“Look at me, world. I am a chef now, zesting my lemons and using orzo pasta.”

Over the years, I have grown more confident in the kitchen and this salad was my first dish to play with ingredients and to challenge myself to not read the recipe and just taste and feel a dish. Each time I made it, I changed something in it. I wanted it to be a dish that was happily inspired by Rachael, but had become my very own.

If summer is in a bowl, then this is summer. The pasta tastes so fresh from the bursts of lemon flavor throughout and the cherry tomatoes, spinach, and basil add that punch of flavor that makes this dish taste just like everything in the summer should taste like…as though it was plucked from your garden itself.

Eat it as a meat-free dish or add roasted chicken to it using my easy tips for roasting chicken for your pasta dishes. I absolutely love it both ways and encourage you to experiment with this recipe to create your own spin on it.

After all, you are using orzo and lemon zest.

Which makes you a chef.

Of course.

Recipe:

Spinach & Tomato Orzo Pasta Salad

Ingredients:

1 pound spinach, washed, dried, stems removed
1 pint grape or cherry tomatoes, halved
2 lemons, zested (reserve the lemons for juicing over the pasta)
1 pound orzo, cooked as instructed
1/2 pound roasted chicken (use your favorite preparation or use my easy preparation for chicken)
1 tablespoon extra-virgin olive oil, 1 turn of the bowl
24 basil leaves, torn or thinly sliced
1/4 cup to 1/2 cup reserved pasta water
Salt and pepper

Directions:

Pile spinach leaves in stacks 1 on top of the other. Thinly slice stacks of leaves to make spinach confetti. Pile shredded spinach into the bottom of a medium sized mixing bowl. Halve grape or cherry tomatoes with a paring knife and add them to the mixing bowl. Add the zest of 2 lemons to the bowl reserve the lemons for adding juice to the sauce later. Add hot cooked and drained orzo pasta to the mixing bowl and roasted chicken (if desired). The heat of the pasta will wilt the spinach and warm the tomatoes at the bottom of the bowl and get the juices flowing from veggies. The heat of the pasta will also release the flavor and oils in the lemon zest. Drizzle 1 tablespoon extra-virgin olive oil, add reserved pasta water, and the juice of two lemons over the pasta and toss to combine the veggies and orzo. Add basil and a generous amount of salt and pepper to taste. Toss the ingredients together to combine. Serve with grated parmesan cheese or leave plain if you are taking the salad on the go.

Prep Time: 15 mins

Total Time: 27 mins

Serving Size: Six Servings

Recipe Source: Adapted from Rachael Ray’s 30 Minute Meals

Grilled Ground Beef Gyros

Monday, June 6th, 2011

Gyros. The very word makes my mouth water.

We have had a long relationship together and I attribute that relationship to my freshman thirty in college.

I will choose a gyro over a burger any day of the week.

I have mapped out the gyro joint at almost every airport so I can indulge in one…at six in the morning or ten at night.

There seems to never be an inappropriate time for gyro eating.

Gyros are one of my favorite indulgences.

When my parents visited me at college, I did not remark on how I was doing in my classes, but instead introduced them to the power of the gyros at a local Greek restaurant that I ate at weekly on campus. Gyros are way more exciting than coursework.

I had never thought to make my gyros at home, but I have found a recipe that almost replicates my favorite food indulgence with a little ground beef on the grill. The trick to these is to allow the meat to rest for ten minutes and then cutting the meat thinly, to replicate the shaved meat goodness that makes the gyros so delicious.  A good gyro has a great sauce and this one does not disappoint. Light, refreshing, and full of cucumber flavor, it rounds out the gyro with plenty of cool flavor.

Wrapped in a bread machine pita, this meal is not only homemade goodness at its very best, but it just so happens to be a frugal weeknight meal that your entire family will love. Serve as a traditional gyro or make a gyro pizza for another spin on a fun Greek classic. I hope you will enjoy them half as much as we did!

This lightened up version is something you can enjoy, relatively guilt-free, and is a fun new way to use your grill this summer. Happy gyro, eating!

Grilled Ground Beef Gyros
Recipe Type: Main
Author: Adapted from Food.com
Prep time: 10 mins
Cook time: 22 mins
Total time: 32 mins
Serves: 4
Delicious gyros prepared right at home on your grill. You will flip for this easy and delicious recipe.
Ingredients
  • 1 (8 ounce) container plain yogurt
  • 1/3 cup chopped seeded cucumber
  • 2 tablespoons finely chopped onions (I did omit since we don’t like onions)
  • 1 garlic clove, minced
  • 1 teaspoon sugar
  • Filling: 1 lb lean ground beef (or you can use ground turkey)
  • 1 1/2 teaspoons dried oregano
  • 1 teaspoon garlic powder
  • 1 teaspoon onion powder
  • 1 teaspoon salt
  • 3/4 teaspoon pepper
  • 4 pita breads (store-bought or you can try my easy bread machine pita)
  • 3 cups shredded lettuce
  • large tomato, chopped
  • 1 small onion, chopped
Instructions
  1. In a bowl, combine first 5 ingredients.
  2. Cover and refrigerate. In separate bowl, combine ground beef and seasonings. Mix well.
  3. Shape into 4 patties.
  4. Grill, covered, over medium to high heat for 10 to 12 minutes or until meat is no longer pink, turning once.
  5. Cut patties into thin slices.
  6. Stuff into pitas. Add lettuce, tomato, and onion.
  7. Serve with yogurt sauce.

Pin It