Who is ready for a happy & healthy Halloween feast? Halloween is just around the corner and this year Kenmore has you covered with an easy Halloween dish and treat that you can enjoy with your family before or after your trick-or-treating has begun. That’s right, there is no need to order a pizza or stress out about festive snacks, at least not this year! This year I am sharing an easy slow cooker recipe idea and a treat that is not only healthy, but also a festive addition to your dinner offerings!
Did you know that it is possible to make big batches of toasted cheese sandwiches in no time flat? Today I want to share with you my secret for making a big batch of toasted cheese sandwiches in your oven which is one of my best little hostess party trick for entertaining a crowd. You can also refer to it as your lunch lady trick. I am a little bit of both of those around here.
One of our favorite ways to entertain in the Fall months is with a big pot of soup or chili and a loaf of crusty bread or grilled cheese sandwiches. If you are entertaining a crowd, manning the griddle for a big group can take you away from really enjoying your guests and honoring a million different types of cheese or sandwich filler requests can also be overwhelming. Instead of doing that, try this strategy for toasting up your sandwiches
It is so easy that it is embarrassing to provide a recipe for you. Simply butter both slices of bread, stick your favorite cheese or add-in’s into the sandwich, cook at 450 for 6-8 minutes, flip and then cook for 6-8 more minutes. The end.
What you will get it is super HOT toasted cheese sandwiches, evenly toasted bread on the outside, and the gooey cheese inside you are after.
I hope you can give this trick a try in your kitchen!
Big Batch Toasted Cheese Sandwiches
Author: MomAdvice.com
Prep time:
Cook time:
Total time:
Serves: 6
An easy way to make toasted cheese sandwiches for a crowd
Ingredients
12 slices of bread
6 slices cheese (choose your favorite)
8 tablespoons butter
Instructions
Butter each side of the bread slices with butter and place on a baking sheet.
Place cheese on each slice of bread.
Top with remaining bread.
Bake in preheated oven for 6 to 8 minutes at 450.
Flip the sandwiches, and bake an additional 6 to 8 minutes, or until golden brown.
With the Fall comes all of the game time festivities and today I wanted to share a slow cooker chicken wing recipe that you can enjoy at your next game day festivity. These Slow Cooker Honey Bourbon Chicken Wings are the perfect balance of sweet and spicy and are one of my favorite game time recipes I love to share with my family.
Walmart asked me to share a fun game time recipe with you and also would love to remind you that they are a one-stop-shop for all of your game time needs. The best part, of course, is that the will price match those competitor ads for you so you can get everything you need and the best deal on it while you are there. While you are there, I wanted to showcase one of my favorite game day recipes that I love to make for our family!
Making wings taste delicious in a slow cooker can be a challenge, but my trick is to season and broil my wings for ten minutes on each side to give it that beautiful color on the skin and to make sure that the wings start out well-seasoned before being slid into your slow cooker. I love that a lot of the fat renders out of the wings too while being broiled so it is a much healthier option than frying them.
The secret is, of course, in the sauce that they are glazed in. My sauce has a mixture of soy sauce, teriyaki sauce, honey, garlic, and that bold and spicy Bourbon flavor comes from a new Sweet Baby Ray’s Kickin’ Bourbon Chicken Wing Glaze that you can find over in the condiment aisle of your store. The more of this you add to your sauce, the spicier it will be. This glaze will be thin, but will coat your wings beautifully.
The slow cooker gets a little crowded with this many wings in there so I do the ultimate slow cooker no-no and open that lid up and shift them periodically. Thanks to broiling them beforehand though, these wings will be done in two hours on high or four hours on low!
Slow Cooker Honey Bourbon Chicken Wings
Recipe Type: Appetizer
Author: Amy Allen Clark
Prep time:
Cook time:
Total time:
Serves: 6
These wings are the perfect balance of sweet and spicy. The best part though, is that they can be created right in your slow cooker for game day entertaining!
Ingredients
4 pounds chicken wings
1 cup honey
1/4 cup soy sauce
1/4 cup Teriyaki sauce
1/4 cup Sweet Baby Ray’s Kickin’ Bourbon Wing Glaze
1/8 cup olive oil
1 clove garlic, minced
Instructions
Season wings with salt & pepper. Place wings on a cookie sheet and broil for 10 minutes on each side.
Transfer wings to the slow cooker.
Combine all of the ingredients in a bowl or mason jar and mix well.
Pour the sauce wings.
Cook on high two hours or low for four hours.
3.2.1753
Looking for more game day recipes? Check out this list of 12 Great Tailgating Delights! Looking for more slow cooker recipes? Don’t miss this One Month of Slow Cooking article with 30 recipe ideas for your family!
Can you believe that school has started for many already, and will be starting for everyone else within the next couple of weeks? It’s crazy how fast the summer goes, yet I always look forward to a brand new school year and that great fresh feeling of fall! Dealing with all the busy schedules, paperwork, homework, and meals during the school week is part of the fun, but also can lead to feeling overwhelmed if not tackled in the beginning.
Now that my kids are a bit older, I’ve found that if I start out on the right track with simple, doable organizing strategies, then the rest of the year goes much better than when I put off setting up simple systems or decide to just wing it.
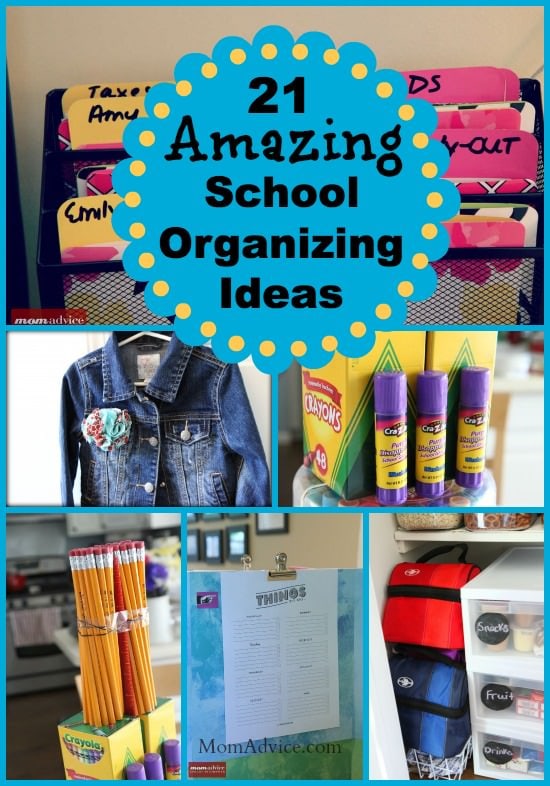
With this in mind, I’ve put together 21 Back To School Organizing ideas to inspire you and help you get the year off to a good start for you and your kids. I’ve picked some classic tried-and-true Mom Advice systems that work for us and gathered a few other amazing ideas in three main categories:
I hope this helps you all get off to a successful school year start. And I hope you share with us some of your favorite back-to-school organizing tips!
Back-to-school means it’s time to start thinking about packing your kids lunchbox. Every day. I don’t know about you, but it’s easy to get in a rut of sandwich-fruit-chip/pretzels, but with a little bit of planning and thinking – dare I say it? – outside the box, we can get out of the rut and create a bit of lunchbox fun!
With that in mind, I’ve searched the Mom Advice archives for some of my kids favorite lunchbox foods, visited our lunchbox Pinterest Board (lots more ideas there, by the way!) for ideas, and then searched for even more creative and healthy ways to bring a little lunchbox fun to the school year!
Since we’ve been having a run of rainy weather where we live, I thought it would be a great idea to pull together some fun rainy day summertime activities (and even one outdoor project that uses rain!) to help get you through those inevitable wet, summer days.
You’ll find a few kid-friendly recipes, some projects to give to others, and fun classic indoor games and activities to inspire you to take advantage of summer’s rainy days.
The best part? This is only the tip of the iceberg of summertime activities – both indoor and outdoor! You’ll find oh, so much more on our 100 Days of Summer Pinterest Board – 2013 edition. And if that weren’t enough, there’s the 2012 and the 2011 editions of 100 Days of Summer boards, too. So, no excuses – take some time to have fun with your kids and make some memories!
And here are some more way cool activities to help beat the wet weather boredom (please be sure to pin from the original source I’ve provided- thanks!).
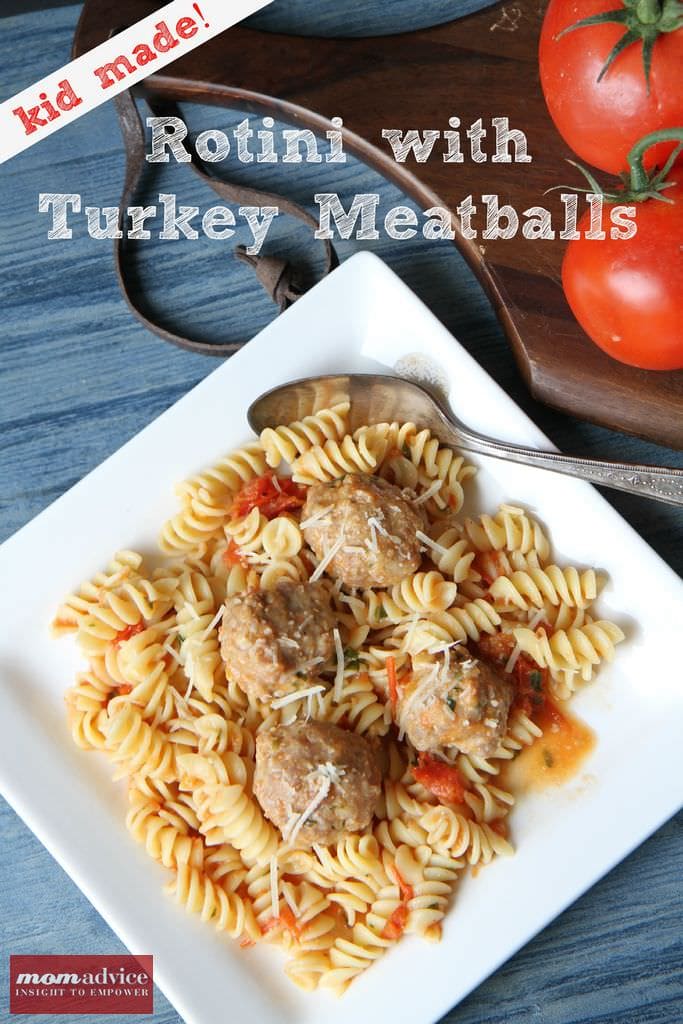
As my kids get older, I am beginning to learn more the importance of cooking with them. Today I am sharing our family’s favorite summer pasta recipe of Rotini With Turkey Meatballs and I wanted to share with you a fun way to involve your kids in the cooking process.
Walmart wanted to give us the chance to share about the Gourmet Garden herb line that you can find at your store. We are no strangers to the beauty of Gourmet Garden though and I guarantee if you open my fridge on any given day, you will find a tube of herbs in there.
There are several reason why I genuinely love these handy herbs in a tube. For us, it offers a little money-savings for seldom used herbs that need to be added to dishes. I hate throwing out herbs that go bad within a week where I simply need a pinch or so to create a dish. Garden Gourmet herbs last for up to three months, giving me the chance to make that dish many times over before I have to give my tube a toss.
The second reason I really love these herbs is because it is an easy way to bring your kids into the kitchen with you and get them cooking and spicing dishes with you, without ever getting out that knife and cutting board.
The bonus in all of this though is that these herbs are organically-grown and gluten-free; two things that we know are important to many of our readers!
Basically, we love them and have been true Garden Gourmet enthusiasts for a long time!
Throw on your mom’s apron, should you so choose, and let’s get cooking in the kitchen this summer with your favorite helpers. Both of my kids were very excited about getting to help make this dish since it just so happens to be our Dad’s favorite dish.
Meatballs are fun to mix, to shape, and…of course, to eat! We made our meatballs with Sweet Italian Turkey Sausage (we just remove the meat from the casing for preparation) and mix it up with breadcrumbs, Parmesan cheese, a little squeeze of ketchup, lightly beaten eggs, and the Garlic and Italian Herbs from the Garden Gourmet herb line.
Roll out the meatballs into roughly the same size shape and place them gently on a cookie sheet that has been sprayed with nonstick spray. Bake these at 400 degrees for 10-15 minutes. The size pictured above were ready in about 12 minutes.
Rinse four cups of cherry tomatoes and then (with mom or dad’s help) cut the tomatoes in half for the sauce.
Let the kids shape those meatballs while you prepare the sauce for the dish. I used the Garden Gourmet Chunky Garlic paste, the fresh tomatoes, and a little chicken broth to make a light summer sauce. If your kids aren’t a fan of the big tomatoes in the sauce, utilize an immersion blender or carefully pour the sauce into a blender and blend until smooth. Add the sauce back to the pan and slide your meatballs into the sauce until they are warm.
Prepare the pasta as directed on the packaging and drain.
Finish by tossing all of the ingredients together in a large bowl and add fresh Garden Gourmet basil in the dish and lightly toss until everything is incorporated.
Sometimes I forget how much fun it really is to cook with my kids in the kitchen and just how proud they are when they contribute to the dish. They couldn’t wait to show their Dad their meatballs they made and we all agreed that they were far more delicious than the ones I make by myself.
I hope you can get in the kitchen and mix up something delicious with your family and that our recipe offers some inspiration for your family cooking time together!
Rotini With Turkey Meatballs
Recipe Type: Main
Cuisine: Italian
Author: Amy Allen Clark
Prep time:
Cook time:
Total time:
Serves: 8
An easy summer pasta dish made with fresh cherry tomatoes, fresh herbs, and Sweet Italian Turkey Sausage meatballs. This one is a crowd-pleaser!
Ingredients
1/4 cup plain bread crumbs
1 tablespoon Gourmet Garden garlic
1 tablespoon Gourmet Garden Italian Herbs
2 large eggs, lightly beaten
1 tablespoon whole milk
1 tablespoon ketchup
3/4 cup grated Parmesan
3/4 teaspoon salt
3/4 teaspoon freshly ground black pepper
1 pound Sweet Italian Turkey Sausages (remove the casings)
1 1/2 cups low-sodium chicken stock
1 tablespoon olive oil
1 tablespoon Gourmet Garden chunky garlic
4 cups cherry tomatoes, halved
1 pound rotini pasta
2 tablespoons Gourmet Garden Basil
Instructions
In a medium bowl, stir together the bread crumbs, parsley, eggs, milk, ketchup, Parmesan cheese, garlic, herbs,salt, and pepper. Add the turkey and gently stir to combine.
Make your meatballs the standard size and put them on a baking sheet.
Bake at 400 degrees for ten to fifteen minutes.
In a large pot, heat your olive oil and then add your chunky garlic paste for about thirty seconds. Next, heat chicken stock and tomatoes and bring to a boil.
Bring a large pot of salted water to a boil over high heat. Add the pasta and cook until tender but still firm to the bite, stirring occasionally, about 8 to 10 minutes.
Drain the pasta and then add the meatball mixture and two tablespoons of basil to the dish. Toss lightly to incorporate.
Father’s Day is just around the corner & today we wanted to share a monster of a Father’s Day gift with a cute spin on the monster theme with easy monster cookie bars and printable monster cards for a special Dad in your life.
This week’s challenge from Walmart was to create an inexpensive Father’s Day gift that would wow your Dad. Well, if your dad is anything like our Dad, he is certainly wowed with homemade treats and funny cards with a great sense of humor. Our idea was to mix up a batch of thick and delicious Monster Cookie Bars made with rolled oats, peanut butter, mini M&M’s (found over in their candy aisle), and chocolate chips.
Monster Cookies can be a bit of a monster to create as a drop cookie because of their monster size. I choose to echo the words of an amazing woman I once heard speak these wise words…
“Ain’t nobody got time for that.”
Wise, right?
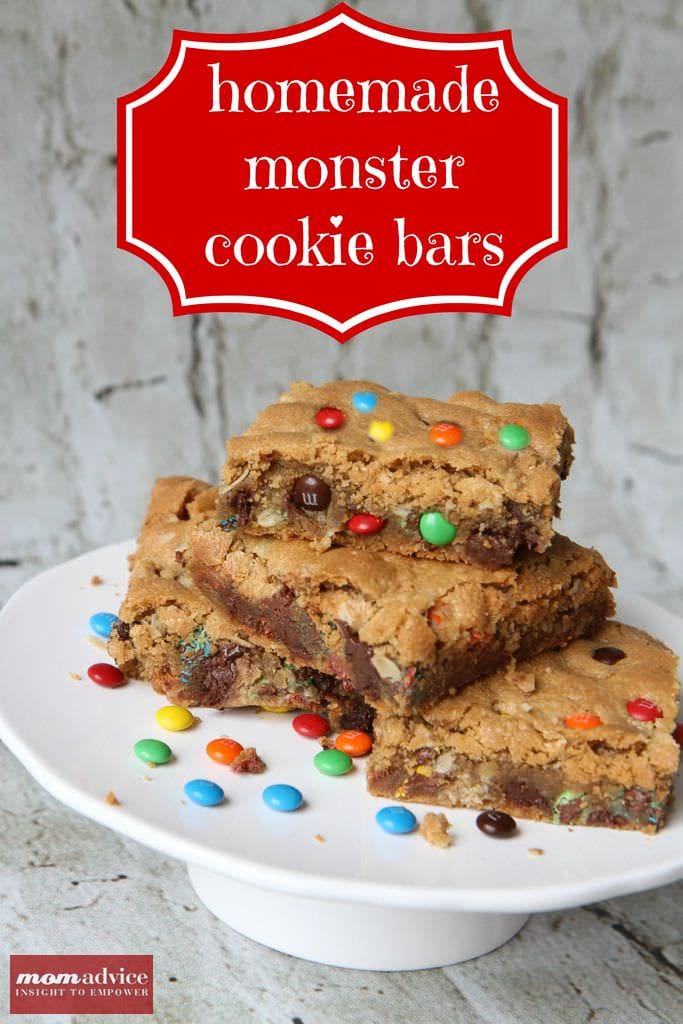
Bar cookies get a big fist pump from this busy mom and if a celebration requires a cookie, I often rely on these chocolate chip cookie bars to get us through whatever baking requirements are made for those occasions. These Monster Cookie Bars are equally delicious and offer that crusty exterior with that soft interior that makes, in my humble opinion, the perfect cookie.
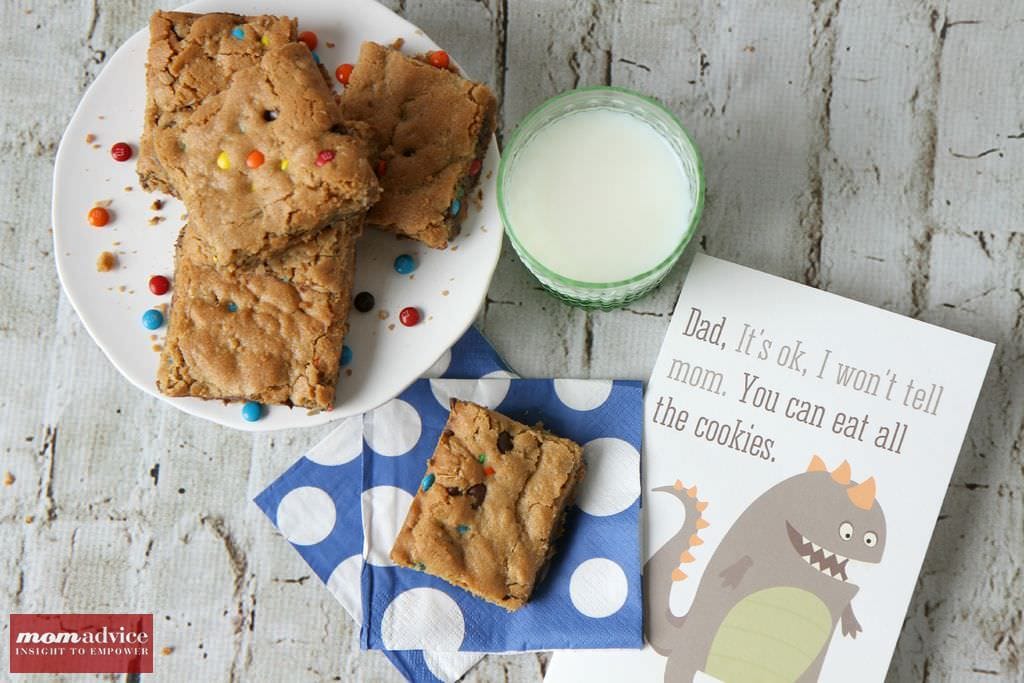
What Father’s Day would be complete without a card to accompany your sweet gift? We are so excited to debut these adorable Monster cards that you can print out to attach with your Monster Cookie Bars for your favorite Dad. We have included three fun printable cards for Father’s Day and then 1 that could be used for any occasion to accompany your sweet treat. Print these printables out on white card stock and you will be all set for this Father’s Day!
I can admit that this family has had Monsters on our brain after getting a sneak peek at the Monsters University movie that is set to hit theaters on June 21st. While our family was at the Disney Social Media Moms conference, we got an exclusive sneak peek at the film. It is FANTASTIC, and dare I say it, even funnier than the first one. I have no doubt that your family will love it!
Our Monster Cookie Bars would really pull together a fun family night out to see this fantastic film and you can find loads of fun Monsters supplies in the party favors aisle of your Walmart store including fun cups, plates, and other party favors for an inexpensive night to enjoy while tackling your summer bucket list or our 100 Days of Summer Pinterest Board.
Now that you have the printables, here is the deliciously easy and tasty recipe for these Monster Cookie Bars. We recommend preparing these in a metal 9×13 pan for best results!
Monster Cookie Bars
Recipe Type: Dessert
Author: Adapted from The BakerMama
Prep time:
Cook time:
Total time:
Serves: 15
Monster cookies made easy in a bar cookie. Be sure to pair these easy cookies with our free Monster printables.
Ingredients
1-1/2 cups all-purpose flour
1 teaspoon baking soda
1 teaspoon salt
1/2 cup (1 stick) unsalted butter, softened
1-1/2 cups creamy peanut buter
1 cup brown sugar
1 cup granulated sugar
2 teaspoons vanilla extract
2 eggs
1 cup rolled oats
1 cup semi-sweet chocolate chips
1 cup mini M&M’s (approximately half a bag)
Instructions
Preheat oven to 350°F. Grease a 9×13 pan with nonstick spray.
In a medium bowl, whisk together the flour, baking soda, and salt. Set aside.
In a separate bowl, beat together the butter and peanut butter until smooth. Add the sugars and beat until blended. Add the vanilla and eggs and mix until light and fluffy.
Gradually add the flour mixture until just combined.
Mix in oats until well combined.
Stir in chocolate chips and mini M&M’s
Press dough evenly into prepared baking dish. Bake for 30-35 minutes or until lightly golden brown and set in the middle. Let cool completely in baking dish then cut into bars. Store in an airtight container.
Happy Father’s Day to all of our Dad readers (I know you’re out there!) and here’s hoping you get spoiled by a few of your favorite monsters!
Be sure to check back this week for more great Father’s Day gifts on a budget!
Summer is just around the corner and I am so excited to share with you that I have gathered another 100 Days of Summer activities for you to do with your kids in the summer months. These are 100 activities that are all low to no cost, screen-free, and a fun way to build truly memorable moments with your kids in the summer months.
I am looking forward to tackling our own summer list and will be documenting our projects through mobile pictures.You can catch me on Instagram, where I am documenting our summer. Just search for the username momadvice and you will find me there. Just as a side note, I try to always answer all the comments on my pictures if I can. If you have questions about projects we are doing or just want to say hello, I will do my best to respond!
If you are on Instagram, you can join in on the fun by taking pictures and sharing all of your summer adventures through there. Let’s use the hashtag #100summerdays again like we did last year.
By tagging your photos, it will make it easy to find each other in the group and share the projects we are tackling together. You can add the tags to your caption or you can add them as a comment later. In either scenario, the tag will pull it into our summer group.
I still will be sharing our apron full of giveaways and our notebook of inspiration each week. I will also have fresh content through my freelance writing jobs this summer with Kenmore, Goodwill, Jack’s Pizza, & Walmart that will keep our site fully loaded with great ideas for your summer.
For the rest of my entries, I will be sharing what we are working on from our summer list through mobile pictures and quick notes on what fun activities we are doing at our house. I am hoping it will be an inspiration to you to get out and enjoy the summer with your children. I can’t say we will tackle a hundred activities, but I will be awfully proud if we do one cool activity a week.
This year’s list is AMAZING and my favorite so far from making chevron friendship bracelets, to building race tracks, to painting techniques on rain days, to creating popsicle light sabers. There really is something for EVERY age group this year.
Be sure to follow me on Pinterest for inspiration for your meal planning, home, reading, wardrobe and more! I am one happy little pinner!
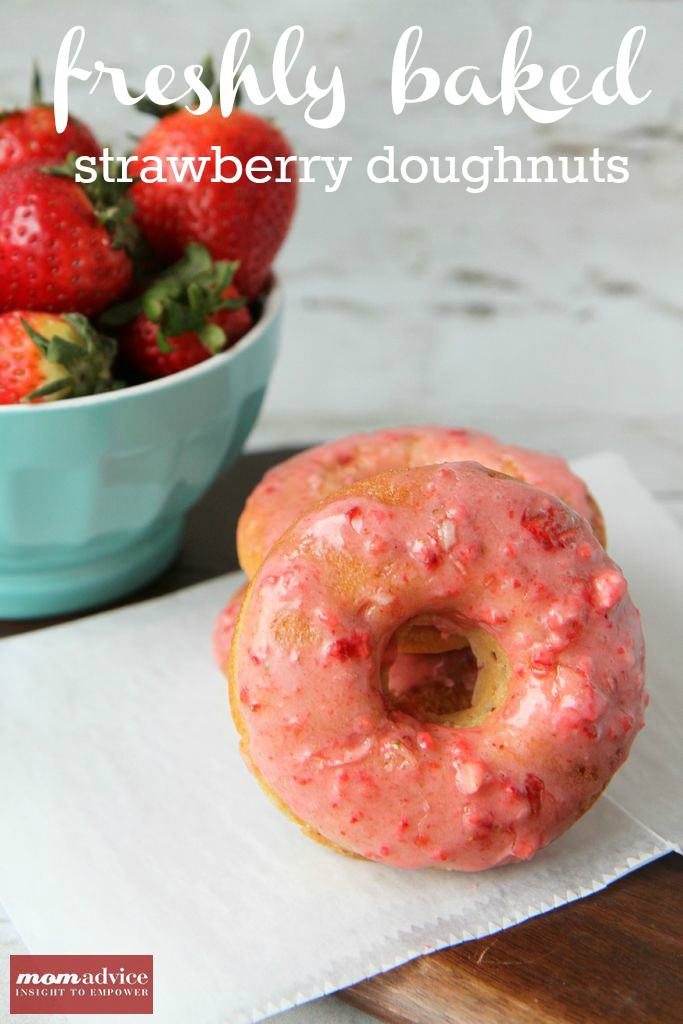
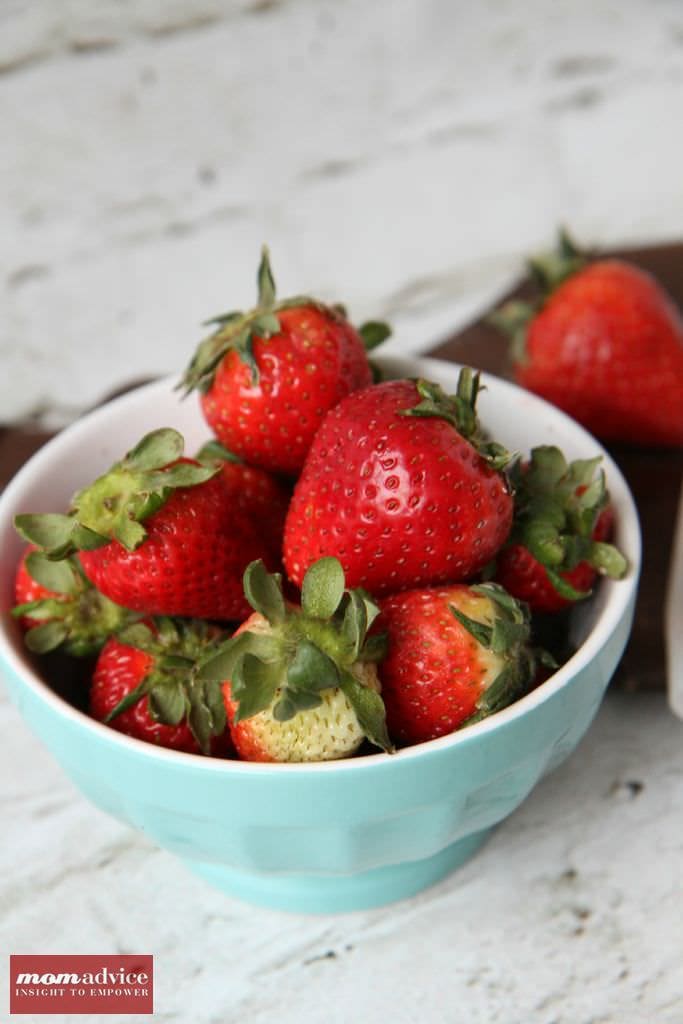
If there is one thing this family loves it is baked doughnuts. Today we baked up a bath of baked strawberry doughnuts that would be perfect to enjoy during the summer months. Walmart challenged me to share a fresh new take on a strawberry recipe and I couldn’t wait to share this doughnut recipe with you!
Picking the perfect strawberries for your dishes is relatively easy compared to other fruits where the flesh is hidden from view. I always pick the package up and examine underneath since bad berries can be nestled on the underside of the package. Be sure to select berries that are not overly ripe, mushy, or are starting to mold. Since berries have such a short shelf life, you want to make sure you are really off to a good start with the best berries from the store.
Did you know strawberries taste best at room temperature? If you are eating them whole, pull them out of the fridge one hour before eating to eat them at their peak flavor.
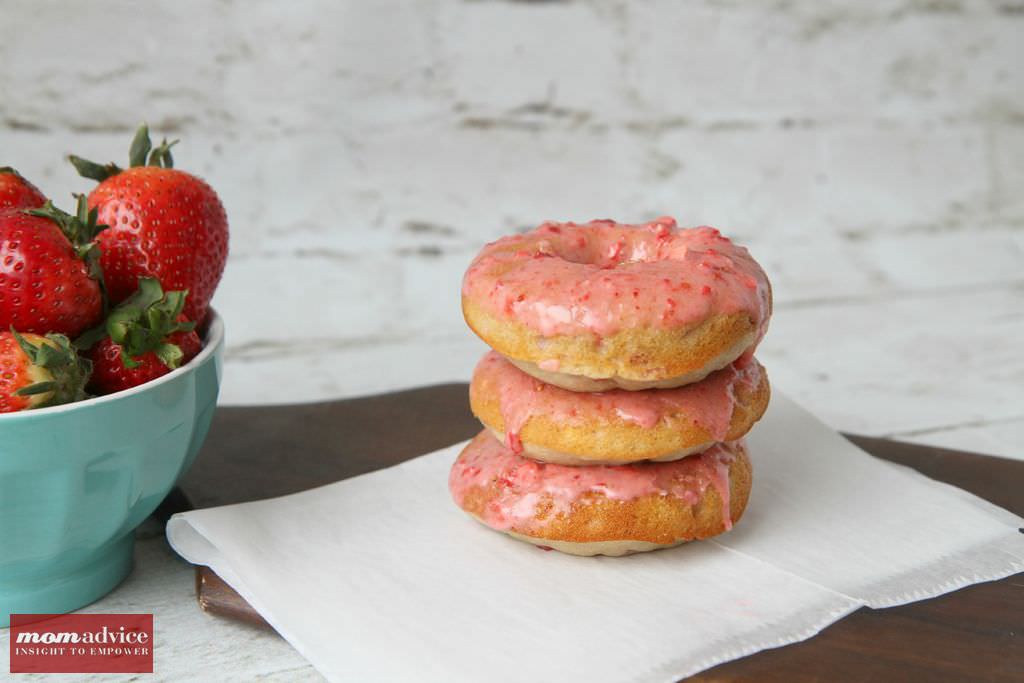
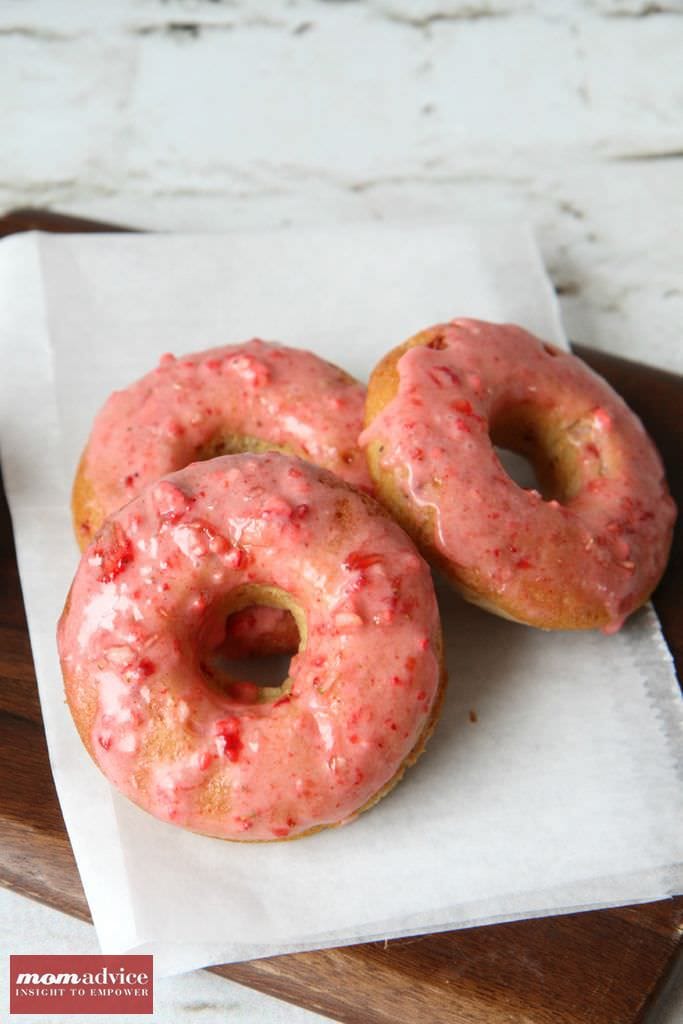
I found a great recipe for beautifully baked strawberry doughnuts from Cooking Classy that I couldn’t wait to try. To really heighten the berry flavor of these doughnuts, the glaze incorporates both fresh and freeze dried berries. You can find freeze-dried strawberries over in the same aisle as the nuts, granola bars, and dried fruits. When these freeze-dried berries are broken, it creates the pretty color and adds a burst of berry flavor to the glaze that would be mild in comparison with the fresh berries.
The flavor of these is surprisingly light thanks to the buttermilk and fresh berries that are thrown into the batter. The glaze adds that bright berry flavor to the coating and makes these baked doughnuts feel truly indulgent.
Baked Strawberry Doughnuts
Recipe Type: Breakfast
Author: Adapted From Cooking Classy
Prep time:
Cook time:
Total time:
Serves: 18
Ingredients
2 cups all-purpose flour
1/2 cup granulated sugar
1/2 tsp baking soda
1/2 tsp salt
3/4 cup buttermilk
1/4 cup canola
1 tsp vanilla extract
2 large eggs
2/3 cup finely chopped strawberries (I use my hand chopper to chop these)
Strawberry Glaze
3 cups powdered sugar
1/2 cup finely chopped strawberries
1/2 cup (6 g) freeze dried strawberries, finely crushed to powder (place in a Ziploc bag, crush with rolling pin)
Instructions
Preheat oven to 375 degrees. Grease doughnut pans well by spraying with nonstick cooking spray.
In a large mixing bowl, whisk together your dry ingredients: flour, sugar, baking soda and salt.
Make a well in center of mixture and set aside.
In a separate mixing bowl, whisk together buttermilk, vegetable oil, vanilla and eggs and then pour into well in flour.
Using a wooden spoon, stir mixture just until combined, then fold in 2/3 cup finely chopped strawberries. Spoon 2 1/2 Tbsp batter evenly into each well of the doughnut pans.
Bake in preheated oven 11-13 minutes until toothpick inserted into center of doughnut comes out clean.
Prepare glaze just before dipping cooled doughnuts. In a mixing bowl, combine 1/2 cup finely chopped strawberries and half of the powdered sugar. Stir until mixture starts to become moistened, then allow to rest 1 minute.
Add in remaining powdered sugar and freeze dried strawberry powder and stir until well combined . Use glaze immediately. If glaze is too thick, thin with 1 tablespoon of milk.
Allow to cool several minutes in doughnut pan then invert onto a wire cooling rack to cool completely.
Once cool dip top halves of doughnuts into glaze and allow some of excess to run off, then return to wire rack, glazed side facing upward.
Transfer doughnuts to freezer to allow glaze to set, about 5 minutes.

 Who is ready for a happy & healthy Halloween feast? Halloween is just around the corner and this year Kenmore has you covered with an easy Halloween dish and treat that you can enjoy with your family before or after your trick-or-treating has begun. That’s right, there is no need to order a pizza or stress out about festive snacks, at least not this year! This year I am sharing an easy slow cooker recipe idea and a treat that is not only healthy, but also a festive addition to your dinner offerings!
 Did you know that it is possible to make big batches of toasted cheese sandwiches in no time flat? Today I want to share with you my secret for making a big batch of toasted cheese sandwiches in your oven which is one of my best little hostess party trick for entertaining a crowd. You can also refer to it as your lunch lady trick. I am a little bit of both of those around here.
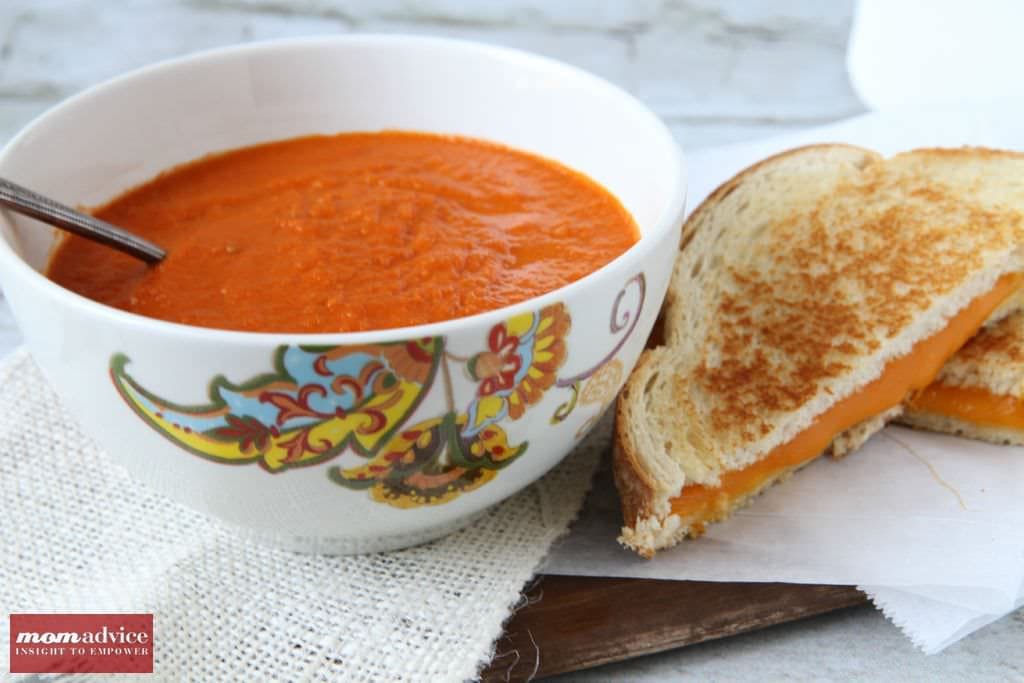
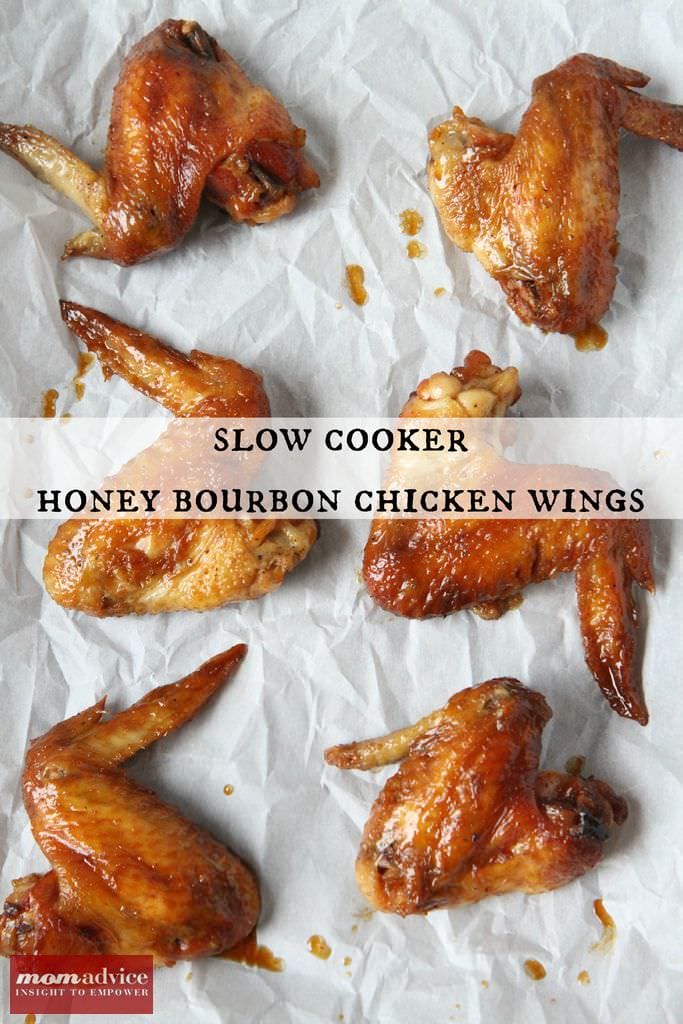 With the Fall comes all of the game time festivities and today I wanted to share a slow cooker chicken wing recipe that you can enjoy at your next game day festivity. These Slow Cooker Honey Bourbon Chicken Wings are the perfect balance of sweet and spicy and are one of my favorite game time recipes I love to share with my family.
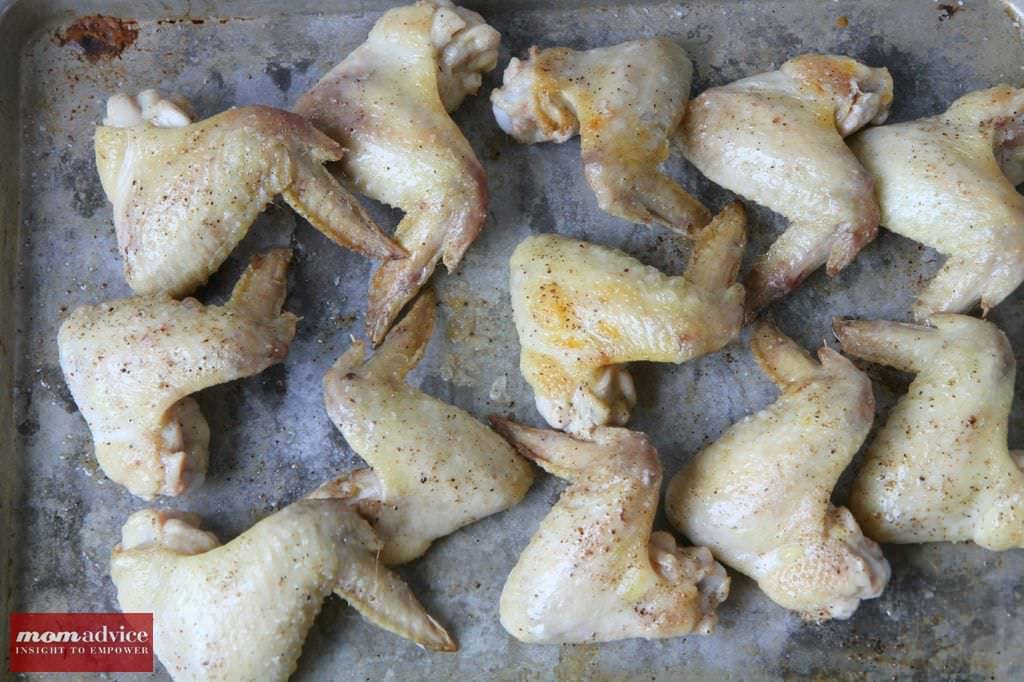 Making wings taste delicious in a slow cooker can be a challenge, but my trick is to season and broil my wings for ten minutes on each side to give it that beautiful color on the skin and to make sure that the wings start out well-seasoned before being slid into your slow cooker. I love that a lot of the fat renders out of the wings too while being broiled so it is a much healthier option than frying them.
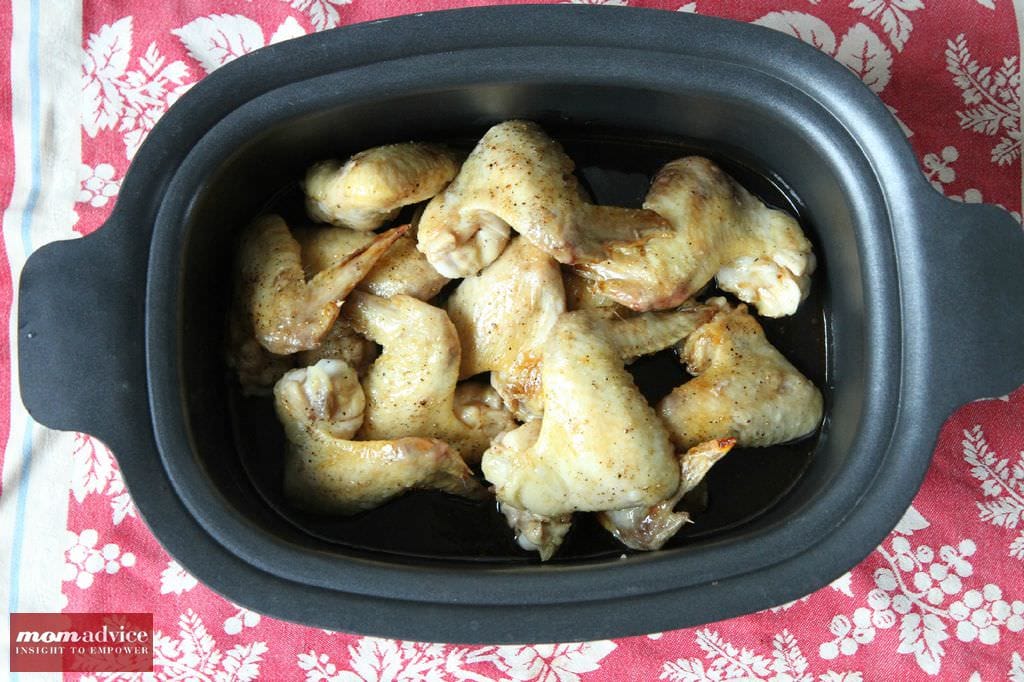 The secret is, of course, in the sauce that they are glazed in. My sauce has a mixture of soy sauce, teriyaki sauce, honey, garlic, and that bold and spicy Bourbon flavor comes from a
 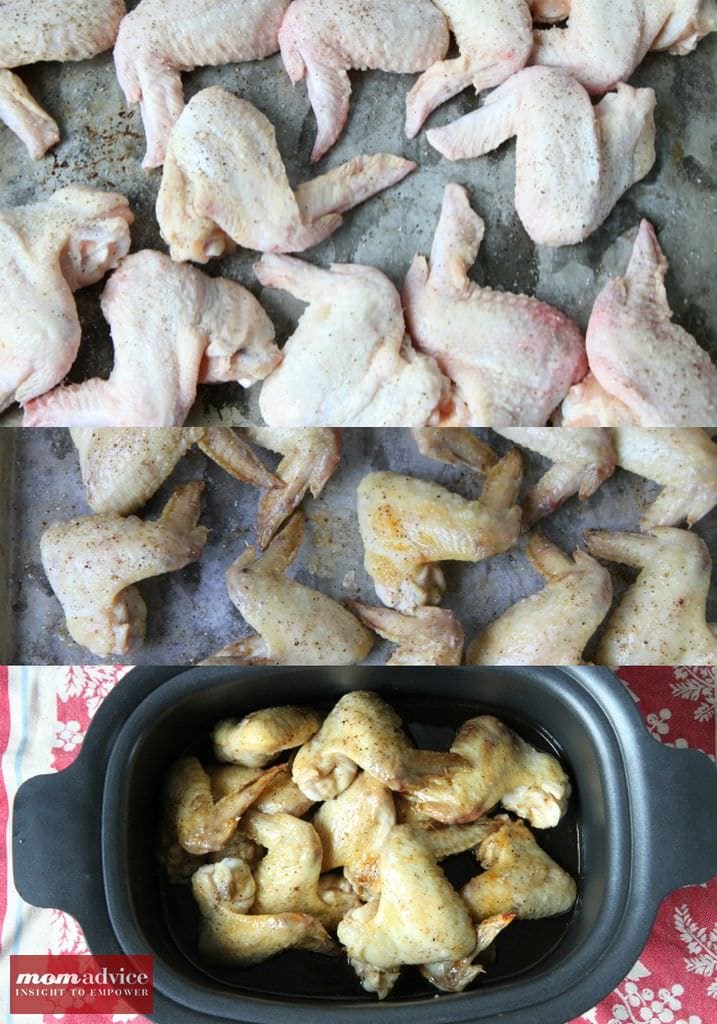 The slow cooker gets a little crowded with this many wings in there so I do the ultimate slow cooker no-no and open that lid up and shift them periodically. Thanks to broiling them beforehand though, these wings will be done in two hours on high or four hours on low!
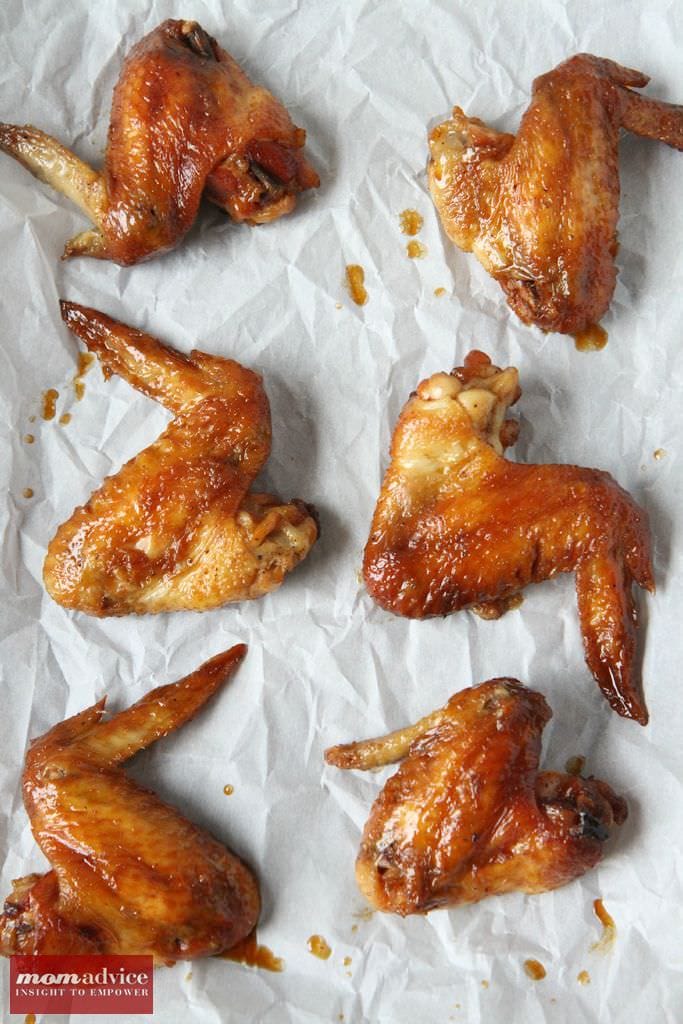


 Walmart wanted to give us the chance to share about the


 Finish by tossing all of the ingredients together in a large bowl and add fresh Garden Gourmet basil in the dish and lightly toss until everything is incorporated.

 Father’s Day is just around the corner & today we wanted to share a monster of a Father’s Day gift with a cute spin on the monster theme with easy monster cookie bars and printable monster cards for a special Dad in your life.
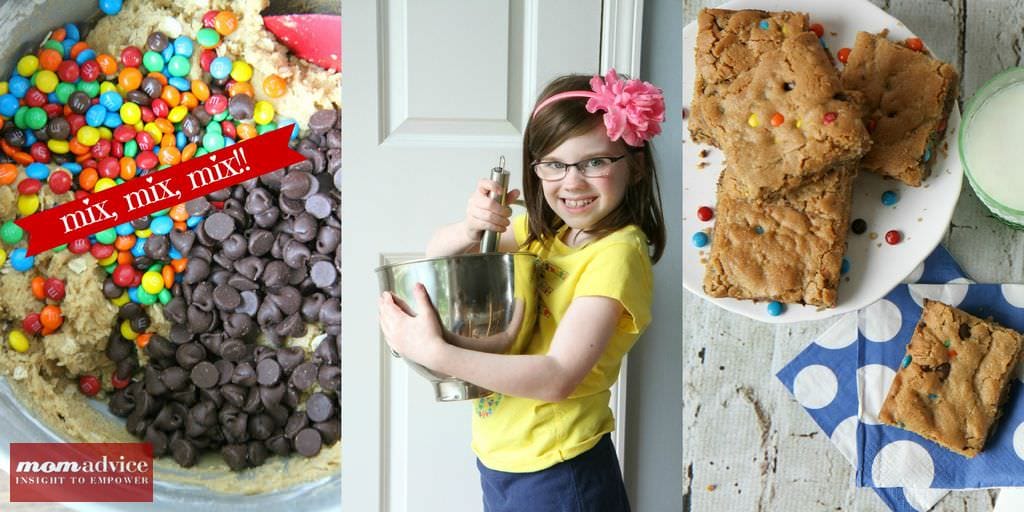


