
I can admit that Bunco, for me, is one of life’s delicious little pleasures! Our group has been rolling the dice for years now and every year we add more fun girls and make the most of this one day together each month.
When I think about it, I get a little misty-eyed. We have lost members as they have moved to other areas, we have gained new friends as we add new people to the group, our children have grown, new babies have been added to the mix, we celebrate each other and our accomplishments, and love each other when things are not going well. These women have been one of those steady things in my life that I know I can count on and I feel blessed to love each of them. Whether we are rocking it out in our old bridesmaid dresses, enjoying a night of 70’s fun, having tea for charity, or being decked out as retro housewives, we find a way to celebrate together once a month!
When Degree contacted me to see if I would be interested in hosting a red carpet evening for the SAG Awards, I immediately thought of my Bunco Babes and how we could make this a fun night together.
I feel so spoiled with my site sometimes and I feel so blessed to get opportunities like these. I look forward to spoiling my friends and family when I can incorporate them into these events and I invited my Bunco Babes group over for a night of pampering and fun.
Degree gave us $100 for our food and drinks, a $100 Macy’s gift card for a red carpet dress for myself, another $100 Macy’s gift card to raffle off to my girlfriends, and scheduled a manicurist to come to our event and give us all manicures. We truly got the red carpet treatment!


I love getting ready for the parties and pulling everything together for our theme. We set up a manicure station on the lower level with oodles of magazines and cream puffs so that the girls could truly be pampered while they had their manicures.
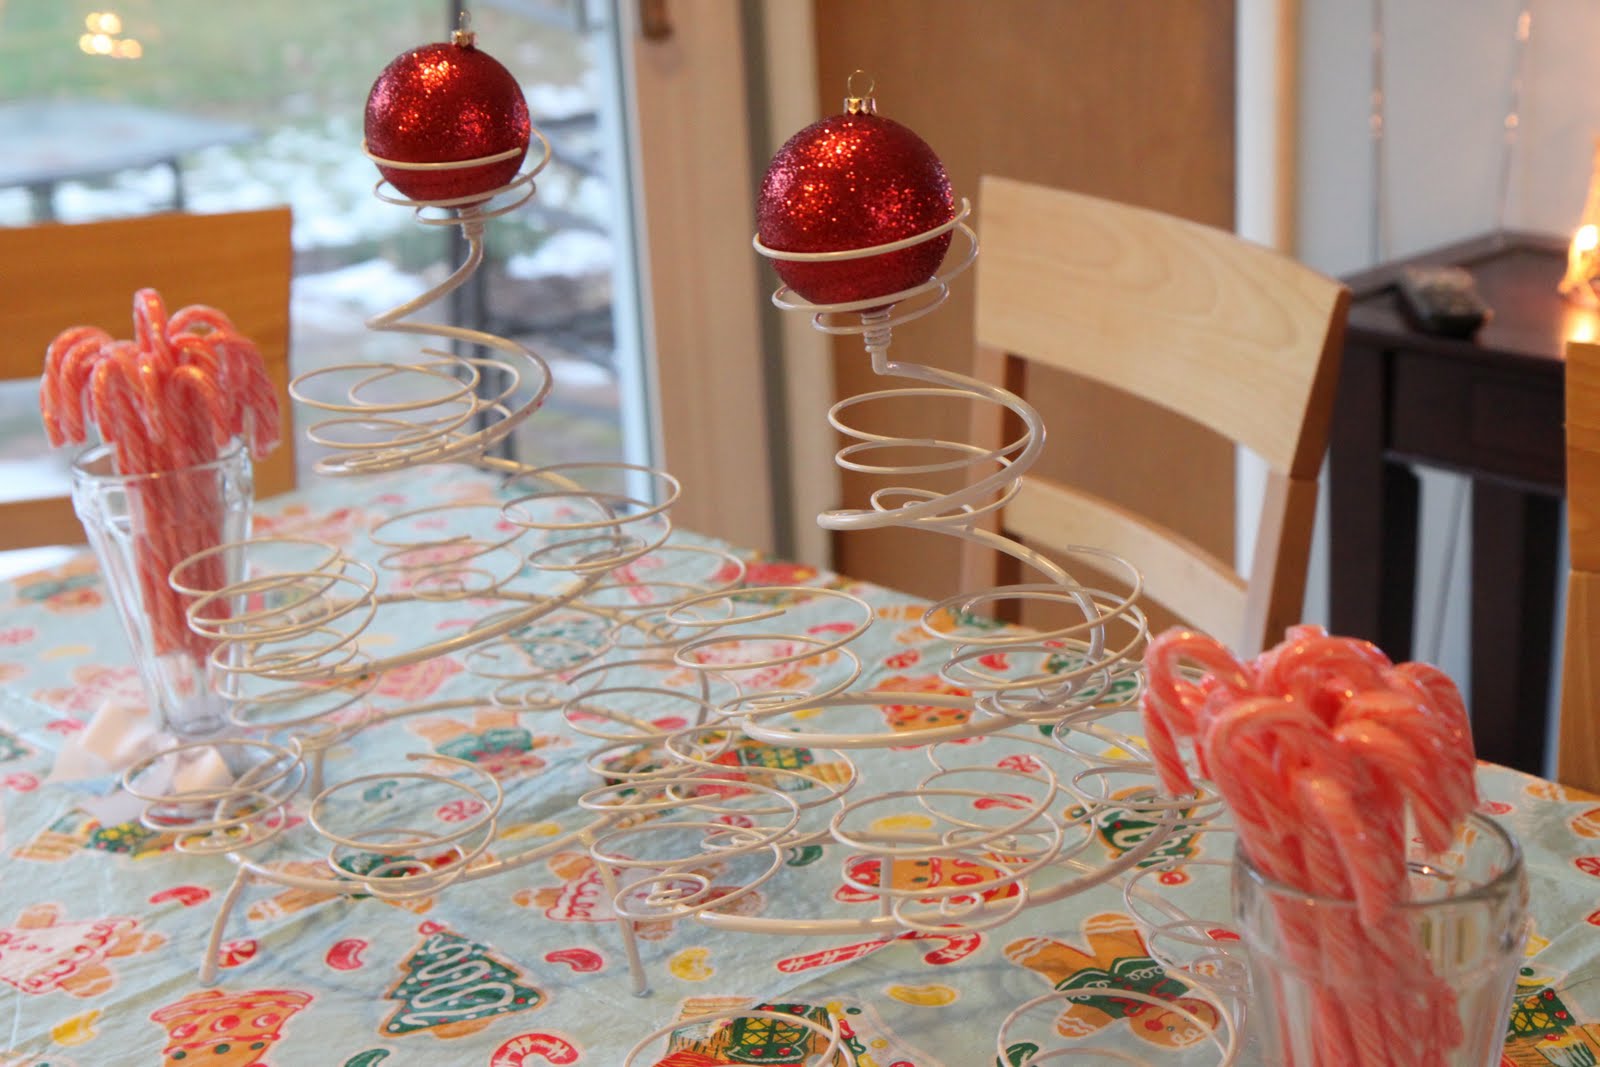
The upper level was decorated with fresh flower bouquets, a red tablecloth (that I already owned), and a little bit of sparkle from the Valentine’s section of a local superstore.
We are usually chasing after our dice since the tables can be slippery so I found pieces of felt for a quarter and attached a little chipboard saying to each of them that could be centered on each table. These will be traveling to the next house and kept with our Bunco kit of supplies for the hostess. I was pretty proud of those.


I had no success at Macy’s finding the perfect red dress for the event so I opted for my favorite little black dress and found a red shrug to go over it. These flats were perfect since I was on my feet fielding the ladies down to the manicurist and subbing for everyone while they got their nails done. I found these at Marshall’s for $24.99 and thought they would be practical and fashionable while hosting the event!


We all loved our manicures and felt so glamorous after our red carpet nail treatment. All of the ladies got to choose a different shade of red for the evening.
This ring (pictured above) got more compliments than my dress and was a $4.20 purchase over at Forever 21. I love how it adds a little sparkle to my hand without breaking the bank.

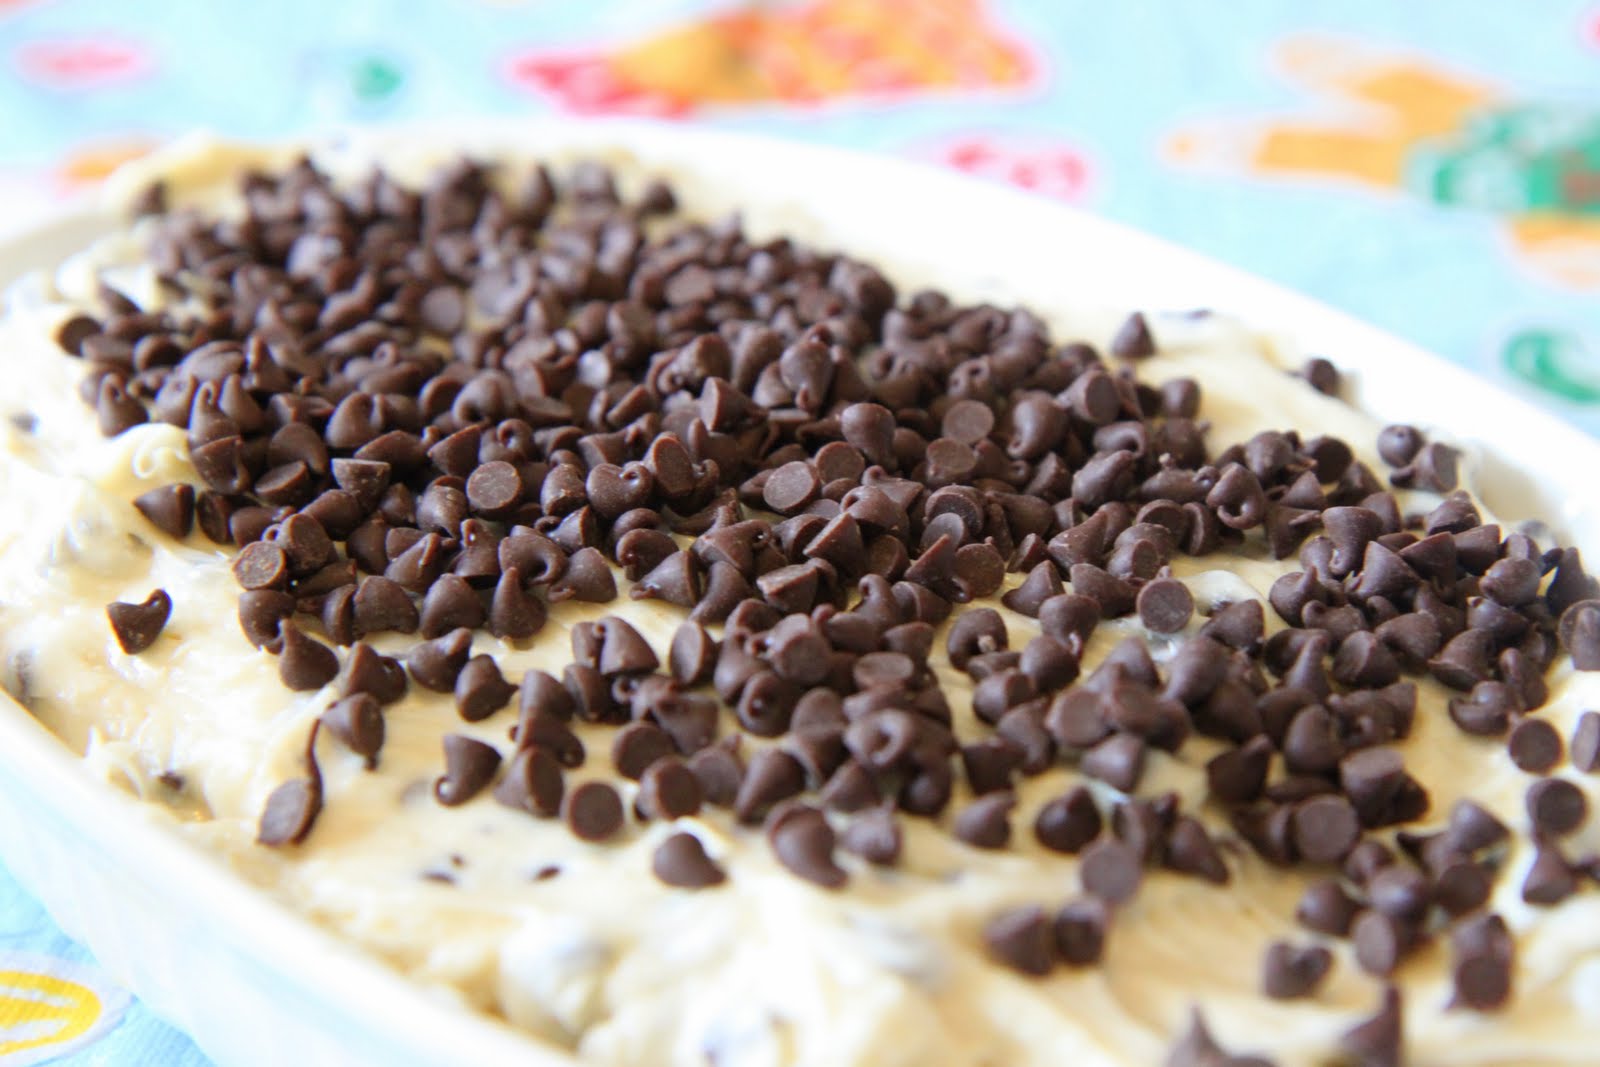
Bunco is all about the food and I did take a little store-bought help since I had a food budget. I bought two trays of meat lasagnas ($10.99 each) and two large boxes of cream puffs for the manicure station and dessert table ($14.99 each). Everything else was homemade though and everyone really seemed to enjoy the food.
In the spirit of red carpet deliciousness, these were the award-winning, red carpet-worthy dishes that rounded out the menu!

Roasted Green Beans
2 pounds fresh green beans (or a bag of frozen fancy green beans)
1-2 tablespoons olive oil
2 tablespoons minced garlic (I use the bottled garlic to save a little time)
Salt & Pepper
Zest from one lemon (save the juice for later)
Preheat your oven to 400 degrees. Grab a jelly roll pan and dump green beans on the pan. Sprinkle seasonings, lemon zest, and garlic over the green beans. Drizzle the olive oil over the green beans and then toss with your hands until they are all coated with the seasonings and zest. Spread out in a single layer and slide your cookie sheet into the oven. Roast fresh green beans for 20-25 minutes and roast frozen green beans for an additional 10-15 minutes. When they are done, pull from the oven and put them on a serving platter. Squeeze the lemon juice over the top (from the lemon you zested) and serve.

Spunky Spinach Dip (courtesy of Gooseberry Patch Cookbook)
2 cups salsa (approximately one standard size jar)
2 cups Monterey Jack cheese
8 oz low-fat or fat-free cream cheese, softened and cubed
10 oz frozen chopped spinach (thawed and drained)
Mix ingredients together in a mixing bowl. Stir well. Place in a microwave-safe bowl and heat until cooked through. If baking, cook at 350 for 20-25 minutes (double your cooking time for a double batch) in an oven-safe bowl (covered). Serve with your favorite dipper! I served this with fresh celery sticks and fresh carrots to balance out the heaviness of the lasagna.

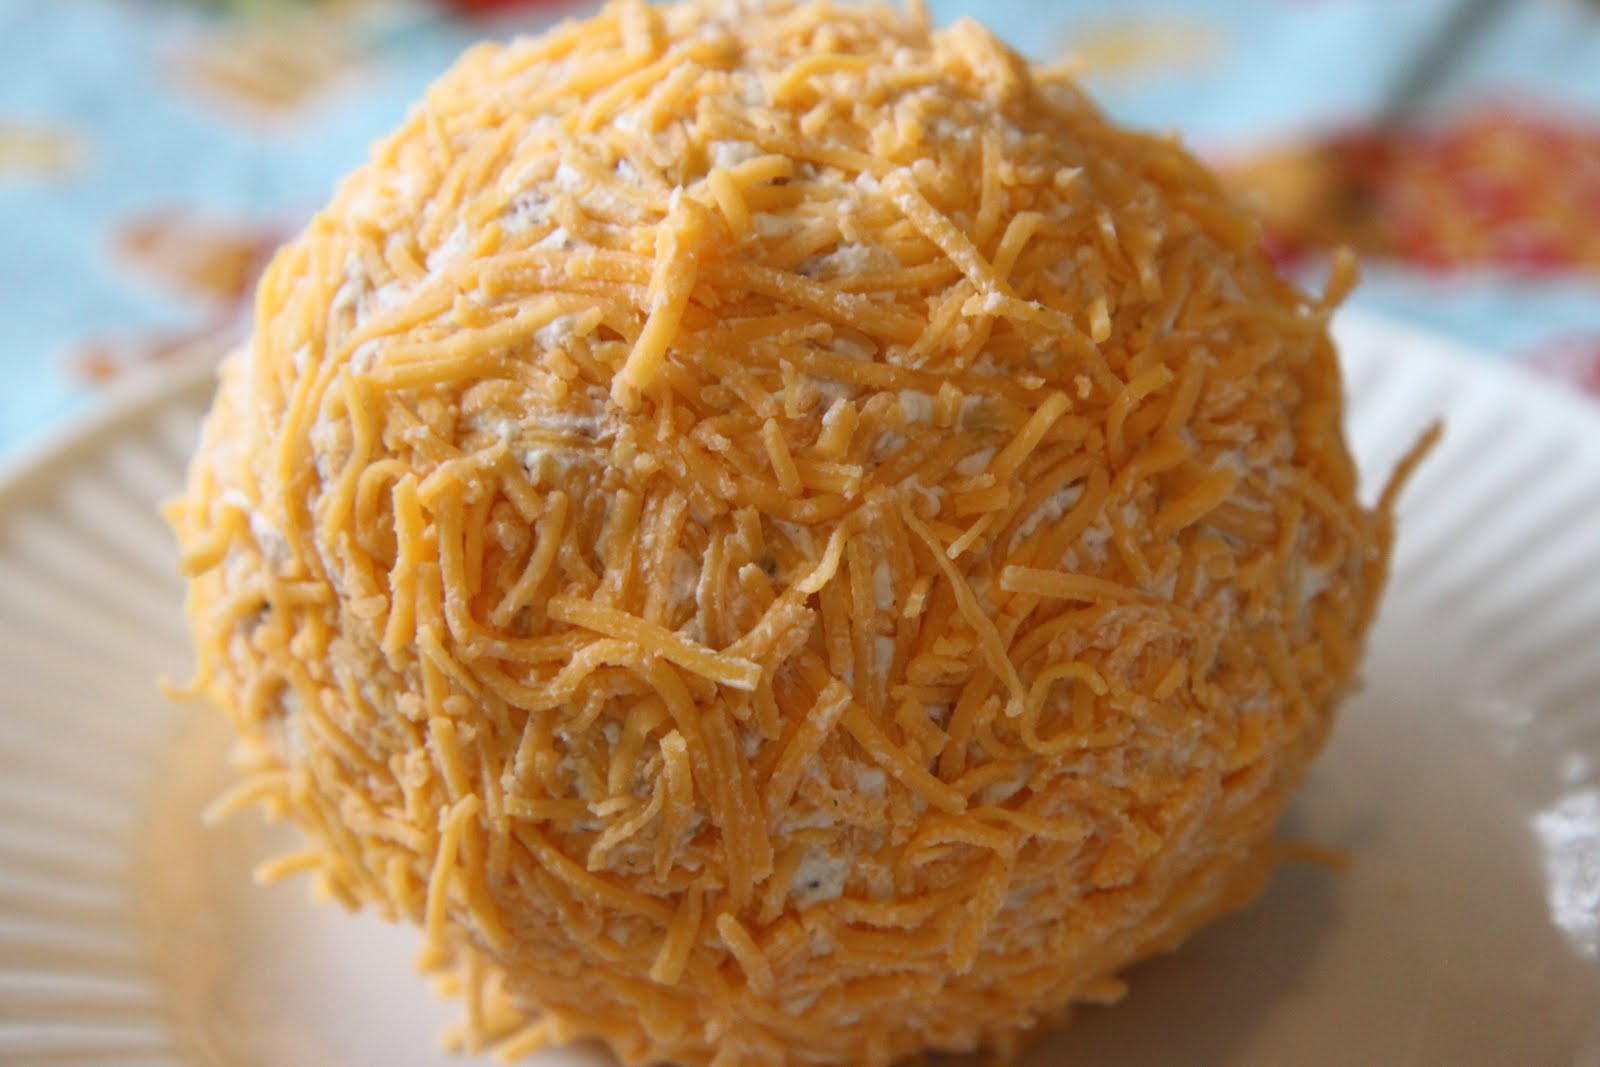
Bacon & Ranch Cheese Ball
2 (8 ounce) packages of low-fat cream cheese, softened
1 package of Ranch dressing mix
1 cup cheddar cheese
5-7 strips of bacon cooked and crumbled (or buy prepackaged crumbled bacon)
Mix all of the ingredients together with a mixer until they are incorporated. Shape into a ball and roll in a plate of shredded cheese. Cover with plastic wrap and refrigerate for two hours. I served this with assorted pretzel crackers.

Classic Orange Chiffon Cake (Courtesy of The Cake Doctor)
5 large egg whites
1/2 teaspoon cream of tartar
1 package yellow cake mix
3 large egg yolks
3/4 cup orange juice
1/2 cup vegetable oil such as canola, corn, safflower, soybean, or sunflower (I used canola oil)
1/4 cup thawed frozen orange juice concentrate
1 teaspoon grated orange zest
Glaze:
2 cups confectioners’ sugar, sifted
3 tablespoons orange juice (I had to use 5 so you may need to increase this)
Place a rack in the center of the oven and preheat oven to 325 degrees. Set aside an ungreased 10″ tube pan. Place the egg whites and cream of tartar in a medium mixing bowl. Beat with an electric mixer on high speed until stiff peaks form. Set the bowl aside. Place the cake mix, egg yolks, orange juice concentrate, oil, and orange zest in a large mixing bowl, and with the same beaters used to beat the egg whites, blend with the electric mixer on low speed for one minute. Stop the machine and scrape down the sides of the bowl with a rubber spatula. Increase the mixer to medium and beat for two more minutes, scraping the sides again if needed. The batter should look well blended.
Turn the beaten egg whites out on top of the batter and with the spatula, fold the egg whites into the batter until the mixture is light but well combined. Pour into the pan and place int he oven.
Bake until it is golden brown and springs back when pressed with your finger for 48-52 minutes (Mine took 48 minutes). Remove the pan and immediately turn it upside down over the neck of a glass bottle to cool for one hour. Run a knife around the edge and invert it onto a rack and then invert it again on a serving platter so it is right side up.
For the glaze, place the confectioners’ sugar and orange juice in a medium mixing bowl. Blend with an electric mixer on low speed for one minute. Spread the glaze over the top and side of the cake. Let the glaze set for 20 minutes and then serve.
Side Note- After you measure out 1/4 cup of the thawed orange juice concentrate, prepare orange juice with the remaining concentrate by adding half as much water as the package directs. Use this orange juice in your cake batter and glaze.

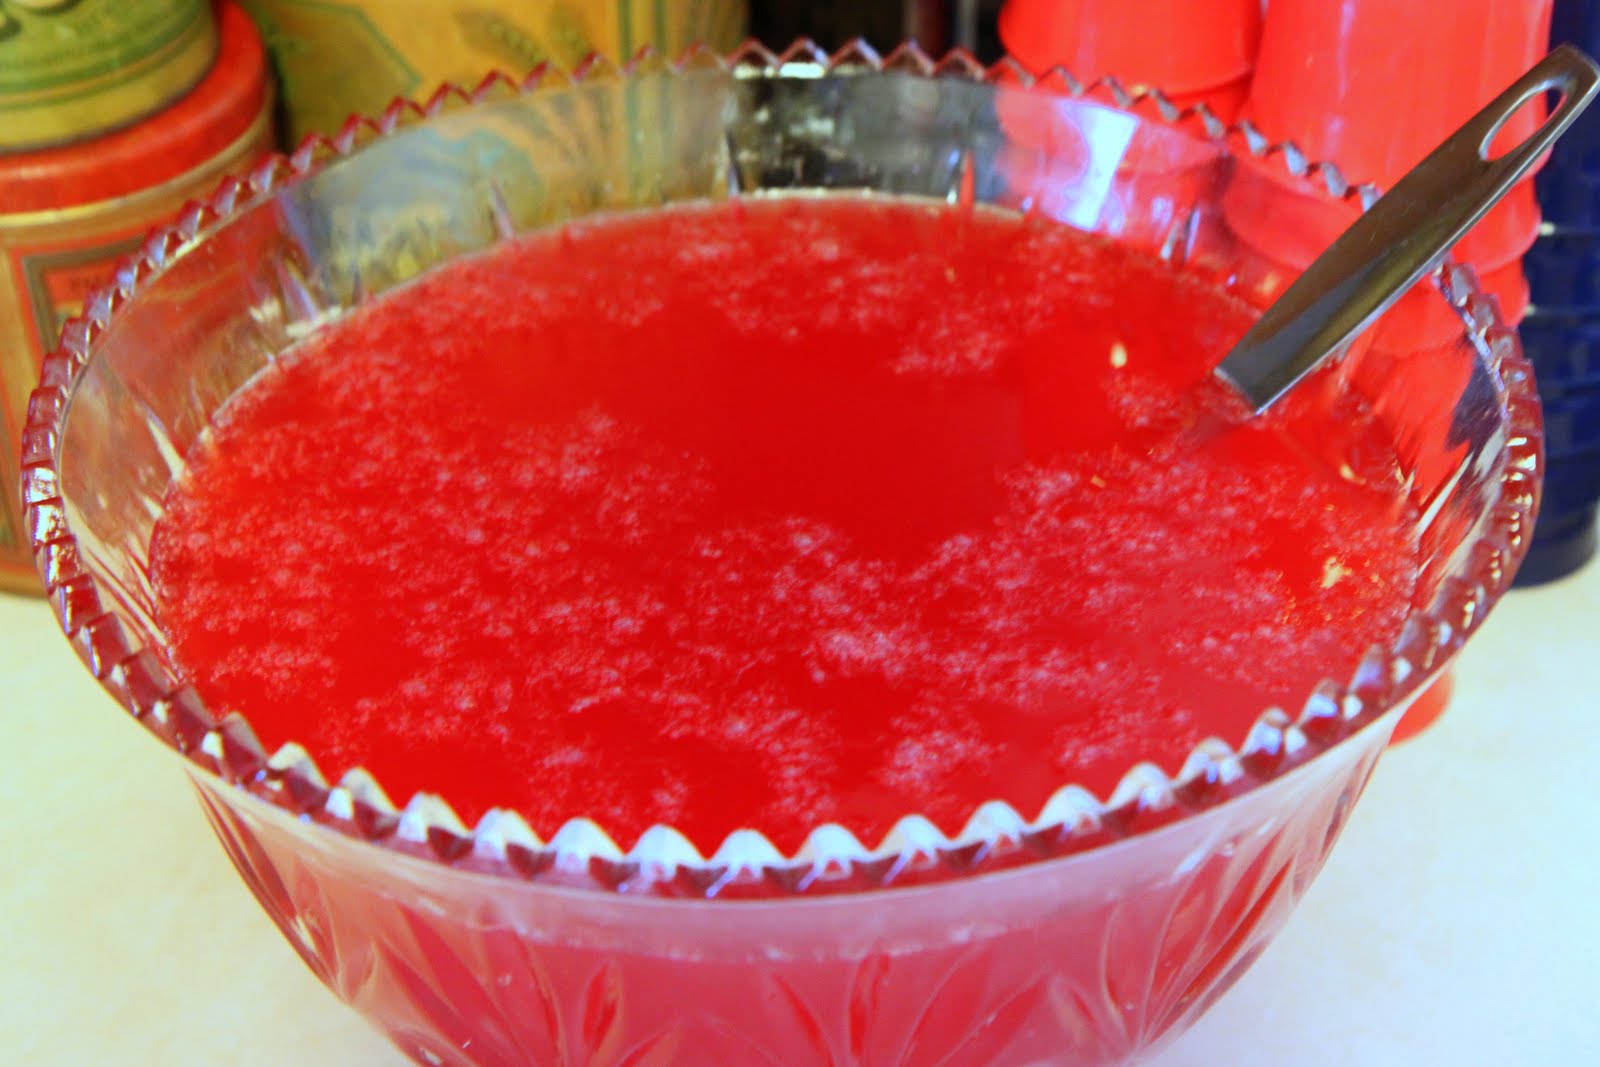
Bunco Punch
ICE RING:
Orange slices
Lemon slices
Lime slices
Maraschino cherries
Cherry juice or red food coloring
Water
Metal ring mold
SIMPLE SYRUP (Prepare ahead) :
3 c. water
3 c. sugar
Combine, boil and cool.
PUNCH:
Simple syrup, chilled
4 c. chilled cranberry juice
3 c. chilled bottled lemon juice
2 c. chilled orange juice
2 c. chilled unsweetened pineapple juice
2 qt. chilled ginger ale
16 oz. rum or vodka or wine or champagne
Create your ice ring by throwing in the citrus fruit slices and then pouring in the jar of cherries (juice and all) Top the bundt pan off with water and then freeze overnight.
To serve: Unmold ice ring into punch bowl; add juices and liquor; add ginger ale.
This makes approximately 30 (6 ounce) servings.

The very famous radio superstar, Amy Watson from Cat Country, won the raffle for the $100 Macy’s gift card. She is having a baby next month so I can think of no one who deserves a little pampering and fun shopping more than her!


It was such a fantastic night of fun and a great kick-off to another great year of Bunco with my girlfriends!
Degree is offering cool prizes daily and a chance to snag product coupons. Be sure to visit their site for more information and a recap of the red carpet fashion that was spotted at the SAG awards.


