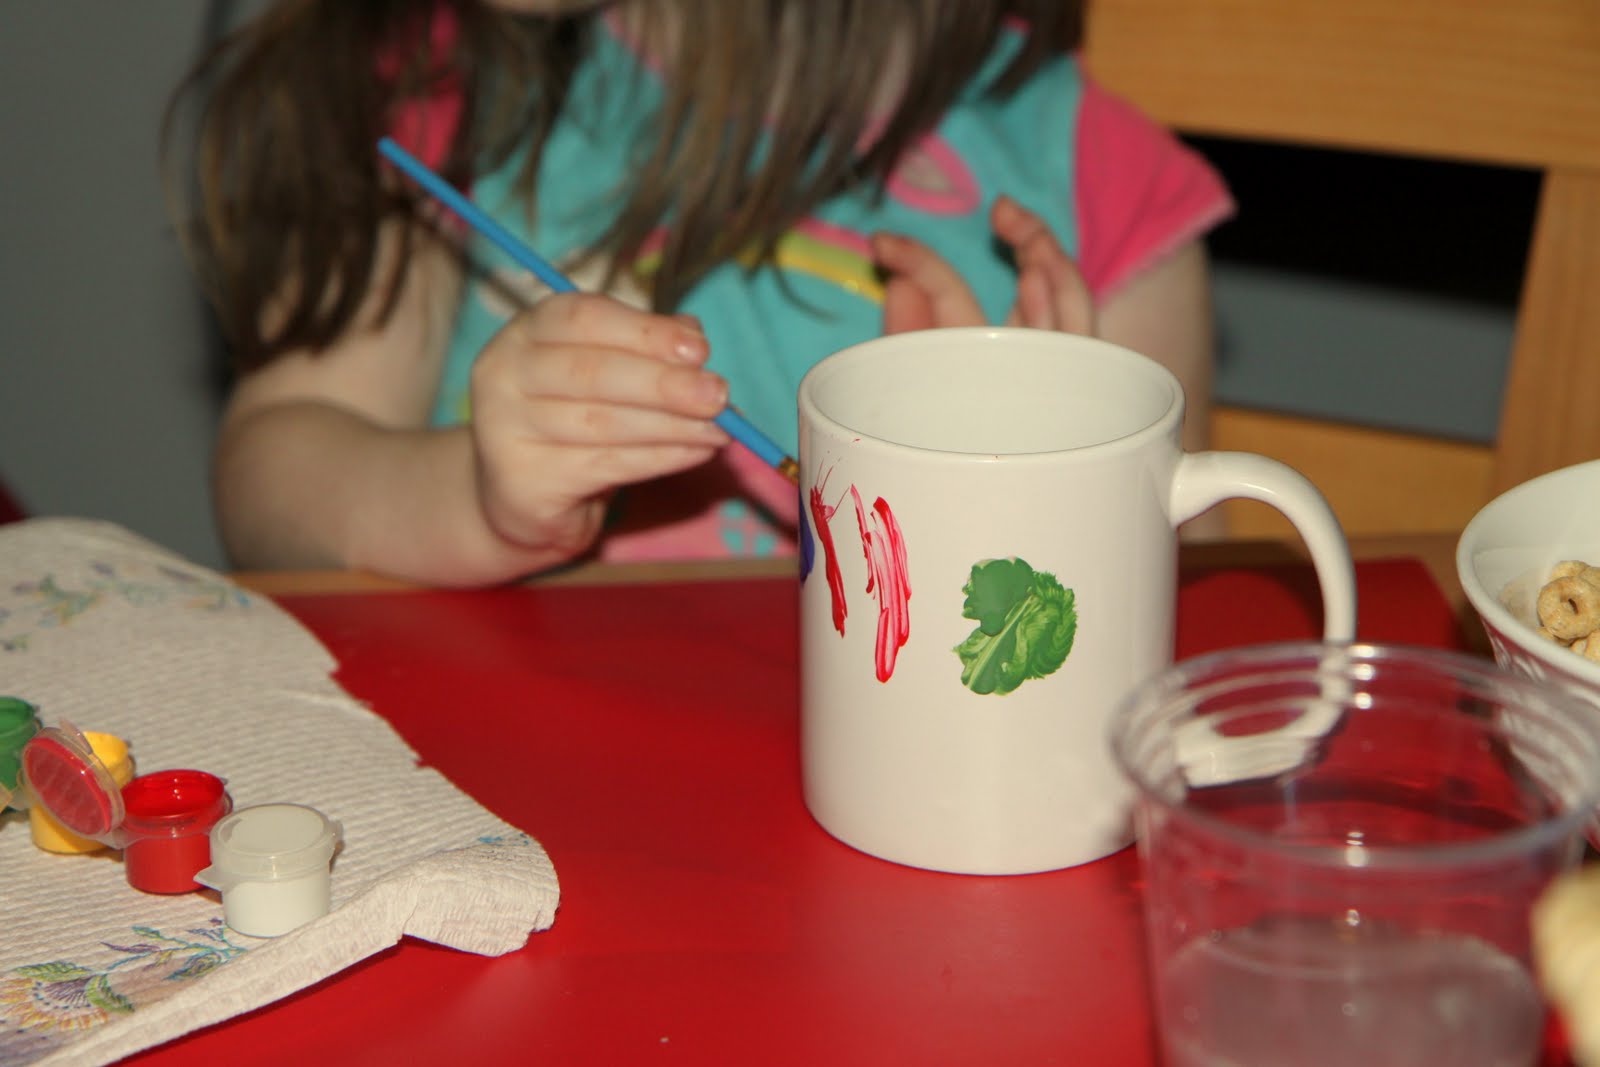
I hope you have been enjoying our Gifts You Can Make series. My hope is that we can offer some fabulously easy gifts that you can make to share with those you love. In case you have missed the past tutorials, we have shared hot drink mixes you can make, homemade bath salts & soaks for gift-giving, and hand painted mugs that you can create with your children.
Today we are continuing the series with elegant quick breads that can be given for the holiday season. There are three things that make this gift a total winner in my book. The first is that they can be frozen ahead of time and stored in your freezer for last minute gifts. The second element that I love about these gifts is that they are quick and you don’t need to be a fantastic baker to achieve success with these recipes. The third, of course, is that they can be multiplied to make several gifts for the holiday season in one afternoon.
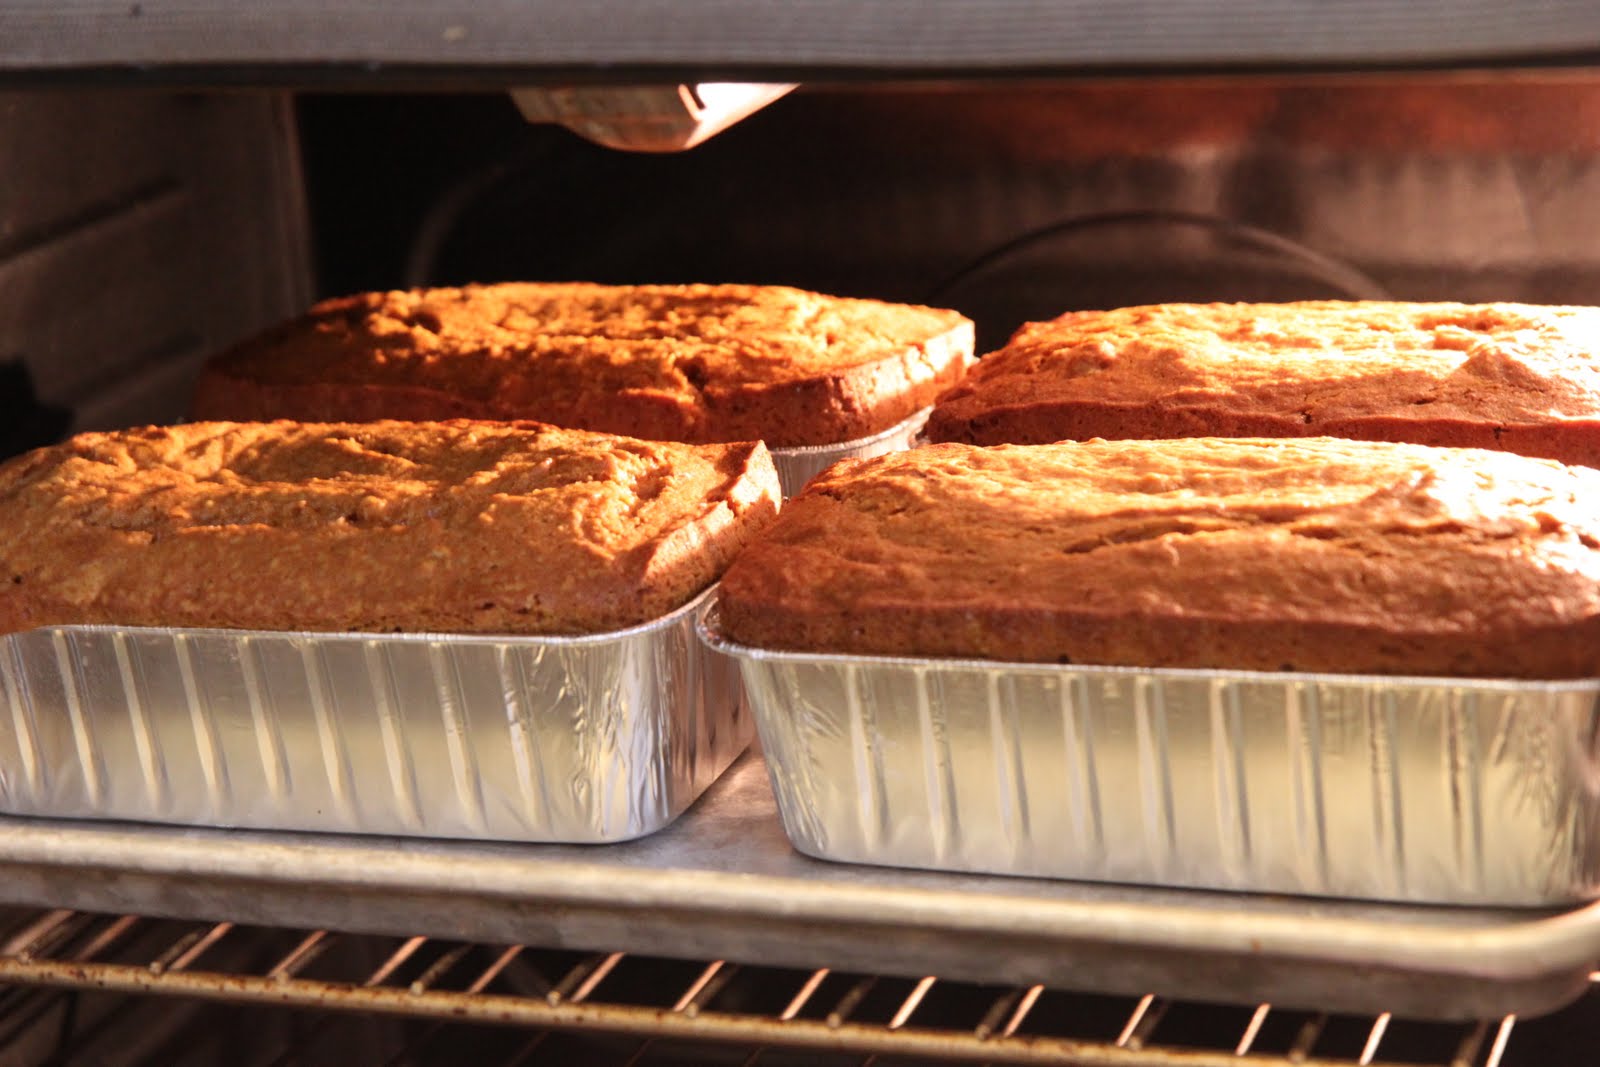
Quick breads can be thrown together in a bowl, beaten with a wooden spoon, and made in a matter of ten minutes. Don’t believe me? I timed myself in the kitchen to see how long my hands-on time with these were. In ten minutes, I was sliding two loaves of pumpkin bread in the oven and could tackle other holiday chores around the house. You can’t beat that!

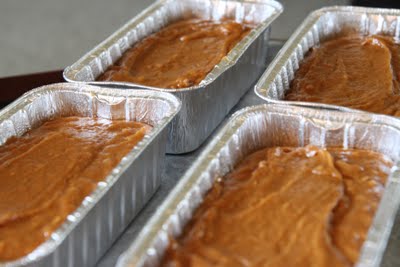
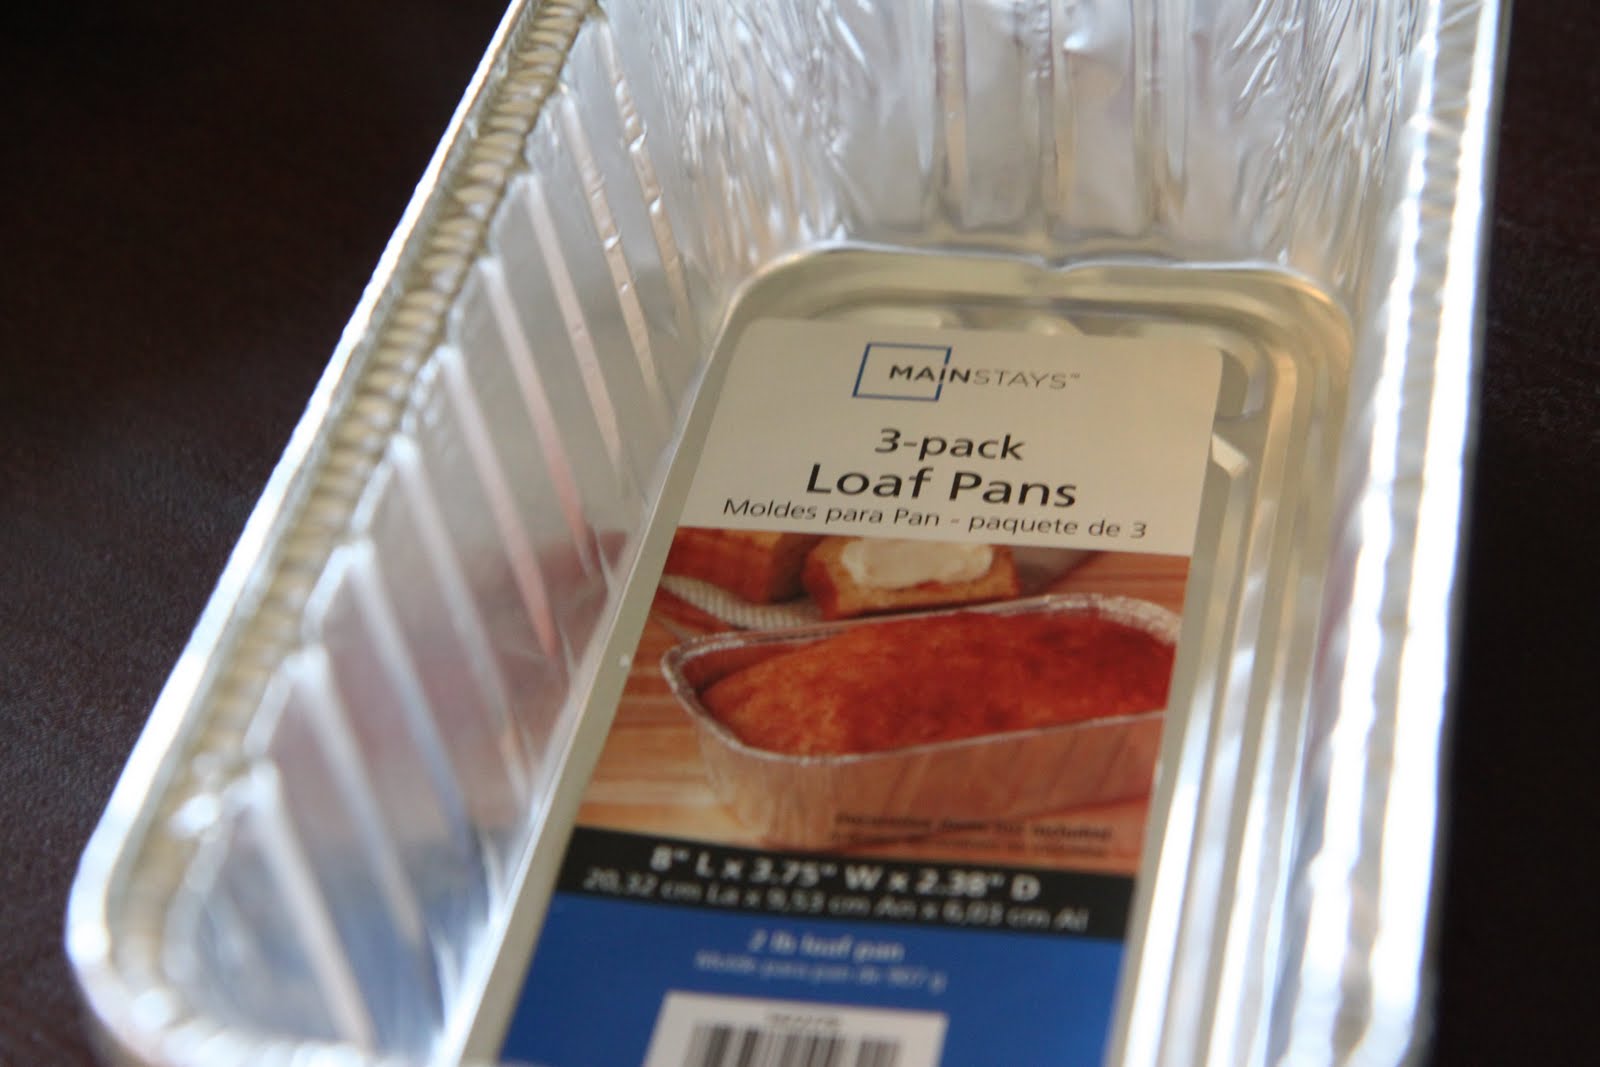
First, you need to choose what type of loaf pan you will be using for your gift-giving. I prefer the disposable loaf pans because it makes it easier to package and place in your freezer and because of the affordability factor. This was a three pack of loaf pans purchased at Walmart (over by the plastic containers in the housewares, not in the baking aisle) and it was $1.56 for the three. You could also check at your local dollar store to see if they have these. I happened to buy them there because I needed milk that day!
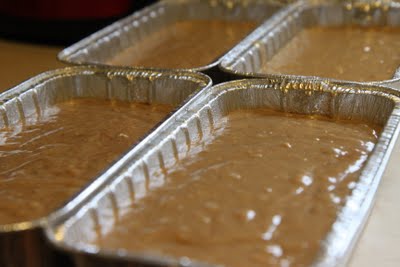
With these, the key to keeping things mess-free in your oven is to assemble your loaves on a cookie sheet. Because they are made from a flimsy material, it can lead to a major catastrophe in your oven. If you overfill a loaf pan, the cookie sheet can catch the excess batter and will save you from that horrible burning smell in your oven. Not that this has ever happened to me…nope, not ever!
Other options are those cute mini-loaf pans that you can find for $1 at Michael’s in festive holiday colors. You would need to reduce the length of baking time to adjust for these, but they can be a cute way to package those gifts.
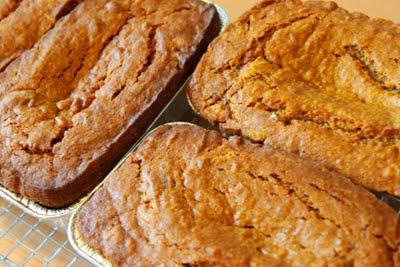
 I want to start with my favorite loaf of bread to whip up for the holidays and that is my Spiced Pumpkin Bread. I keep cans of pumpkin on hand all year round to make this bread because it is such a favorite in our house. It comes out perfectly every single time and is a favorite even with those weird pumpkin-haters in the family. To date, I have already made eight loaves of pumpkin bread this month and I think our family has ate six of them. It just goes to show that this recipe is a true winner for the holidays! It also goes to show why my New Year’s resolution will be to starting working out more.
****************
Spiced Pumpkin Bread
3 cups sugar
1 cup vegetable oil
3 large eggs
1 16-ounce can solid pack pumpkin
3 cups all purpose flour
1 teaspoon ground cloves
1 teaspoon ground cinnamon
1 teaspoon ground nutmeg
1 teaspoon baking soda
1/2 teaspoon salt
1/2 teaspoon baking powder
1 cup coarsely chopped walnuts (optional)
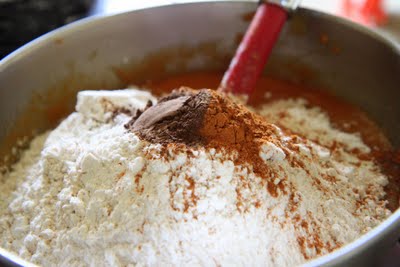
Preheat oven to 350°F. Butter and flour two 9x5x3-inch loaf pans. Beat sugar and oil in large bowl to blend. Mix in eggs and pumpkin. Sift flour, cloves, cinnamon, nutmeg, baking soda, salt and baking powder into another large bowl. Stir into pumpkin mixture in 2 additions. Mix in walnuts, if desired.
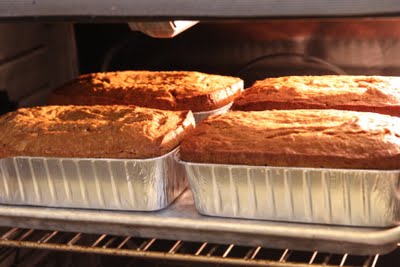
Divide batter equally between prepared pans. Bake until tester inserted into center comes out clean, about 1 hour 10 minutes. Transfer to racks and cool 10 minutes. Using sharp knife, cut around edge of loaves. Turn loaves out onto racks and cool completely.
****************
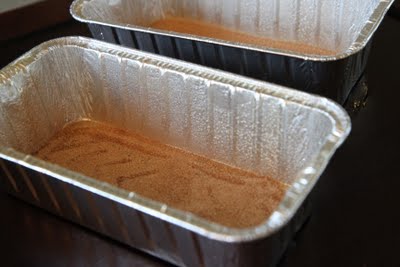
For a different spin on quick breads, I adore making a loaf of Cinnamon Delight Bread for the holidays. The unique thing about this bread is that sprinkled on the bottom of the bread is a cinnamon and sugar coating to line the bottom of the loaf. This is a sweet little surprise at the bottom that makes a deliciously yummy bottom cinnamon crust. While I will be the first to admit that this loaf isn’t the most amazing looking loaf, one slice of it and people will be begging for the recipe. Enjoy showing off your cooking skills with this delicious treat!
****************
Cinnamon Bread Delight
3 cups flour
2 cups sugar
1 large package instant vanilla pudding mix
1/2tsp baking soda
1 1/2 tsp baking powder
1/2tsp salt 2 tsp cinnamon
1 1/2 cups milk
1/2 cup oil
1/2 cup applesauce
2 eggs, beaten
1 tsp vanilla
2 tablespoons cinnamon sugar
Preheat oven to 325. Grease 2 5×9 loaf pans.
In a large bowl, mix flour, sugar, pudding mix, baking soda, baking powder, salt and cinnamon. In a separate bowl, mix the milk, oil, applesauce, eggs and vanilla. Stir the milk mixture into the flour mixture until smooth. Sprinkle the bottoms of the pans with cinnamon sugar and divide the batter between the 2 pans. Bake 1hr or until a toothpick comes out clean.
****************
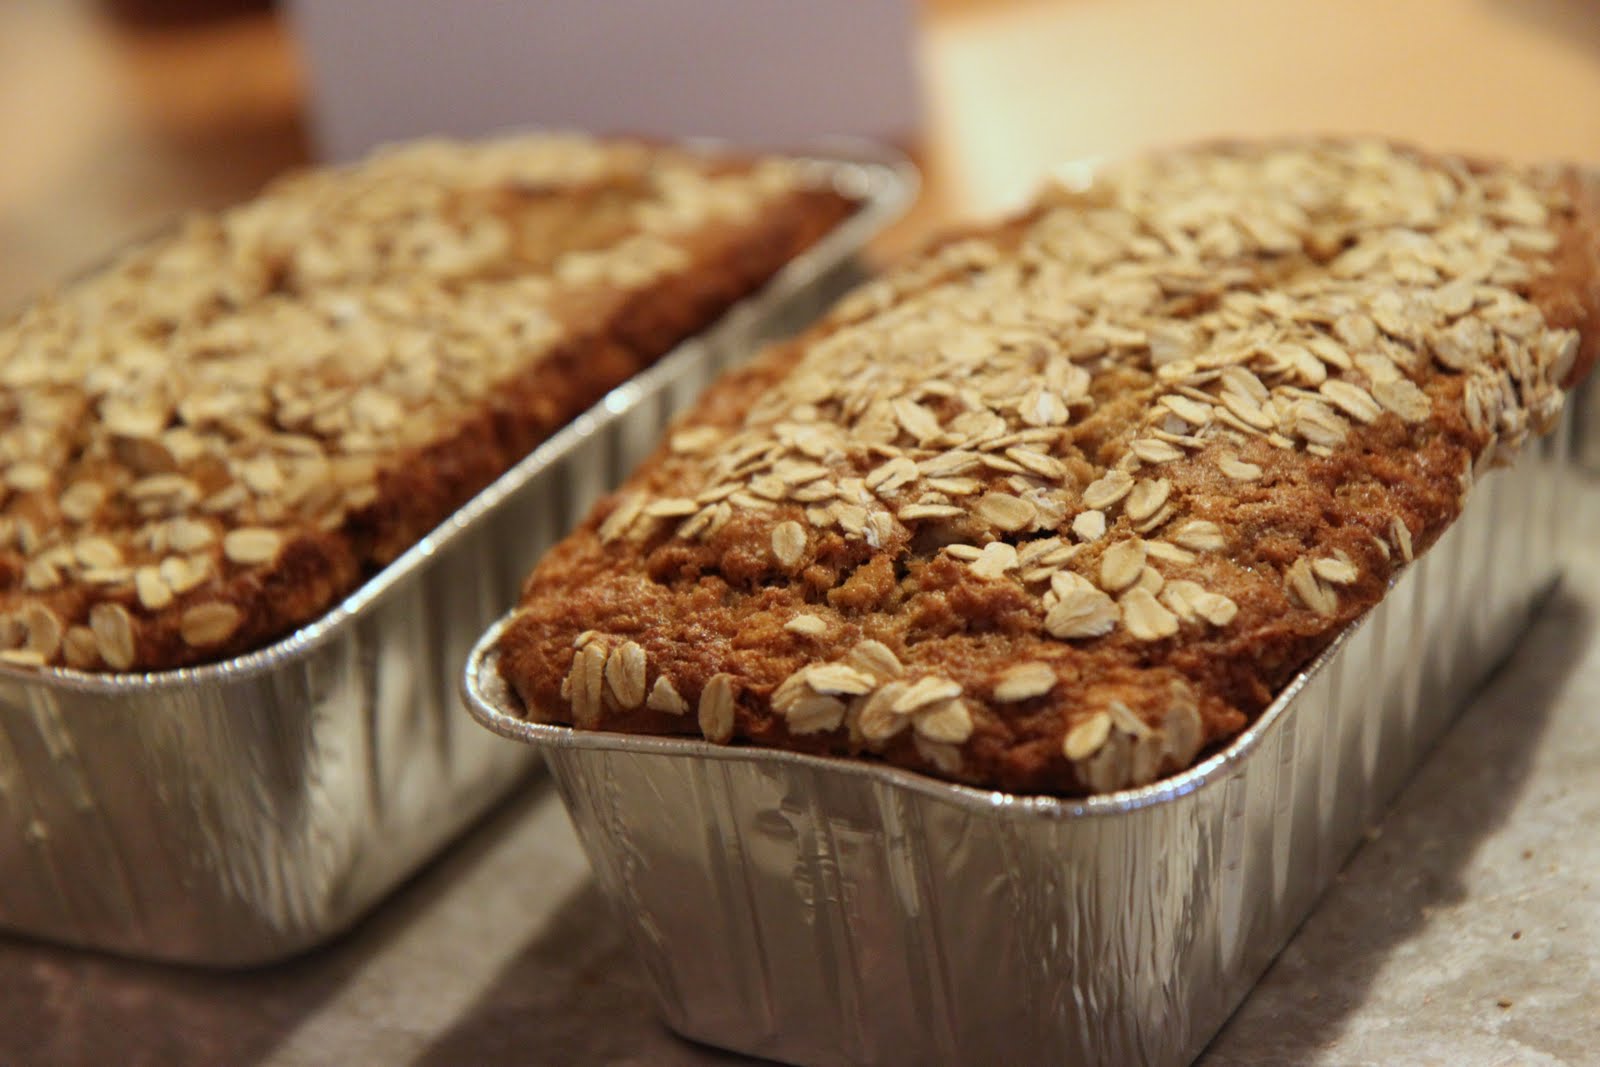
 My new favorite bread this year is our Light Banana Oat Bread. What makes this bread special enough for the holidays is the beautiful oats that decorate the top of the loaf. It is the perfect way to use up those ripe bananas and make a gift in the process. Banana bread is always a favorite in our house because it is a thrifty treat that is loved by just about everyone!
****************
Deliciously Light Banana Oat Bread
1 1/2 cups flour
2/3 cup brown sugar
1 1/2 teaspoons baking powder
1/4 teaspoon baking soda
1/4 teaspoon salt
3/4 cup rolled oats
1 teaspoon cinnamon
1 cup mashed banana (approximately 2 1/2 per loaf)
1/3 cup buttermilk (I substituted with half & half with 2 tsp of vinegar to sour)
1/4 cup vegetable oil
1 teaspoon vanilla
2 eggs, beaten
Cooking spray
Preheat oven to 350°F and spray a 8 x 4 inch loaf pan with cooking spray. Combine dry ingredients together in a large bowl. Combine banana, buttermilk, oil, vanilla, and eggs in a small bowl or measuring cup. Pour wet ingredients into the dry ingredients and stir gently just until the dry ingredients are moistened. Spoon batter into the prepared pan and bake for 55 minutes, or until a toothpick inserted in the center comes out clean. Cool on a wire rack, in the pan, for about 15 minutes (I left mine in longer and it was fine). Remove the bread from the pan after 15 minutes and cool thoroughly on the rack.
****************
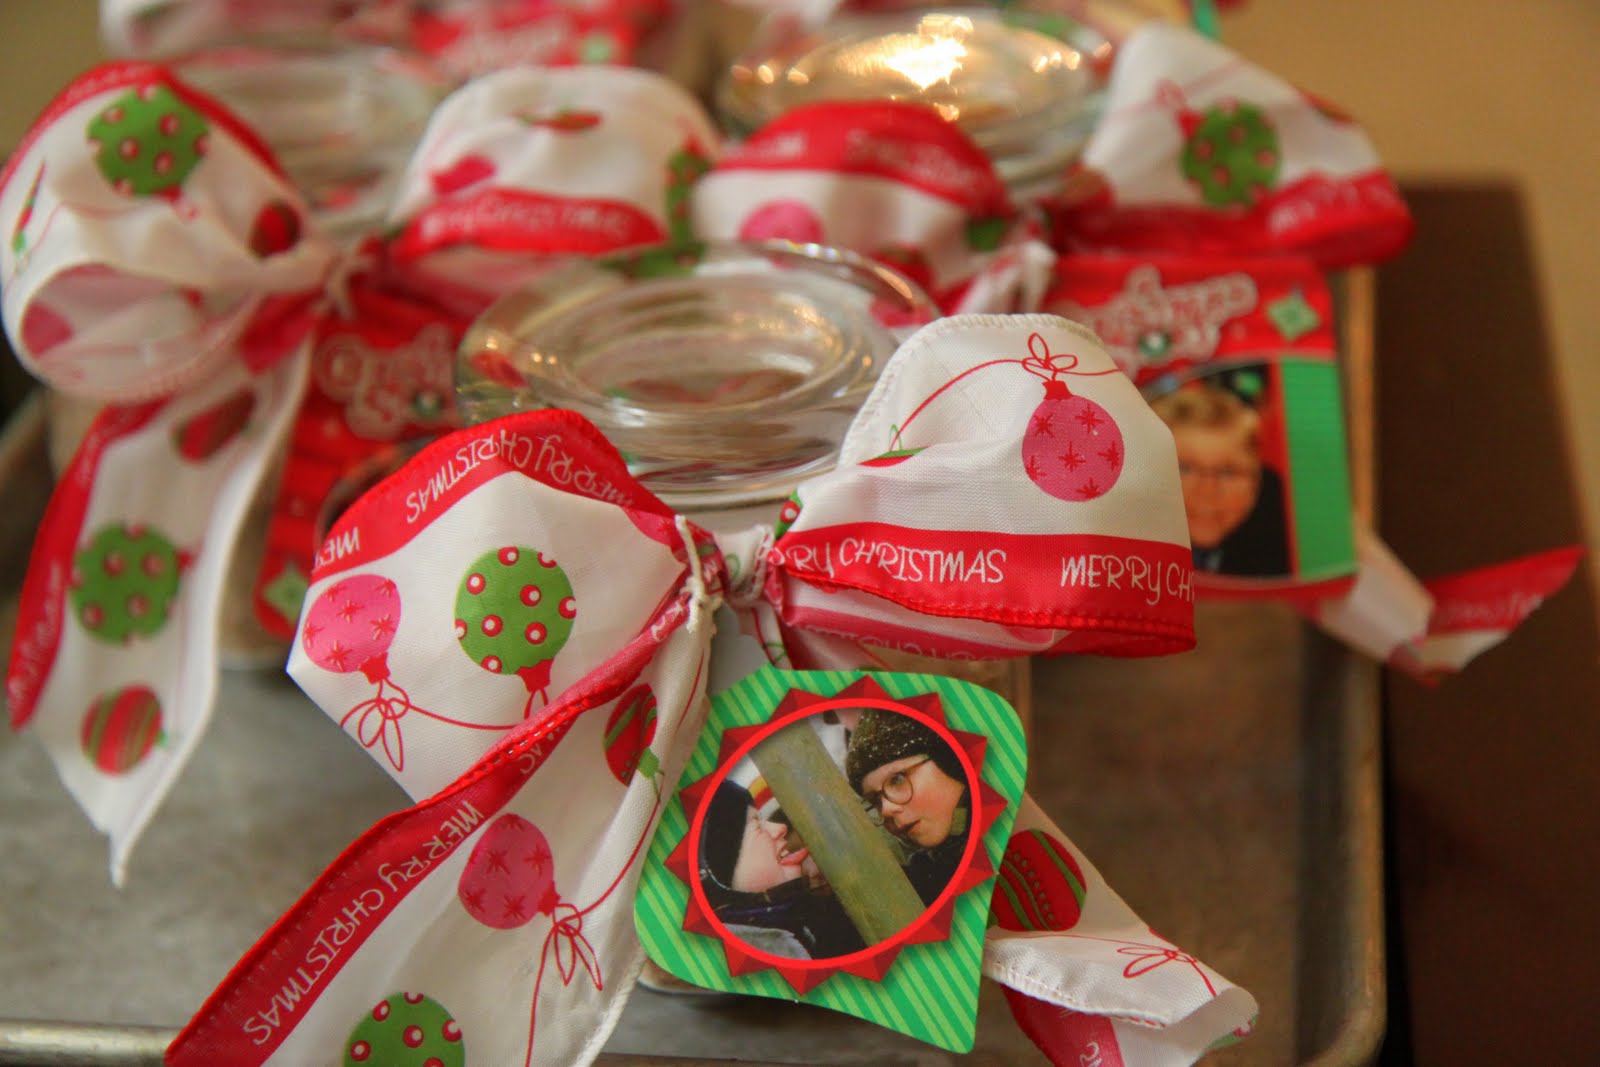
 Packaging your bread for gift-giving is super easy. I love to find ribbon with some wiring in it to get a beautiful bow that will stand to attention. One note about selecting ribbon is to look for ribbon that isn’t glittery, if you plan to leave your loaves exposed instead of wrapping and freezing them. Glitter from the ribbon can come loose and scatter across the top of your loaf. Again, this has never happened to me…nope, not ever!
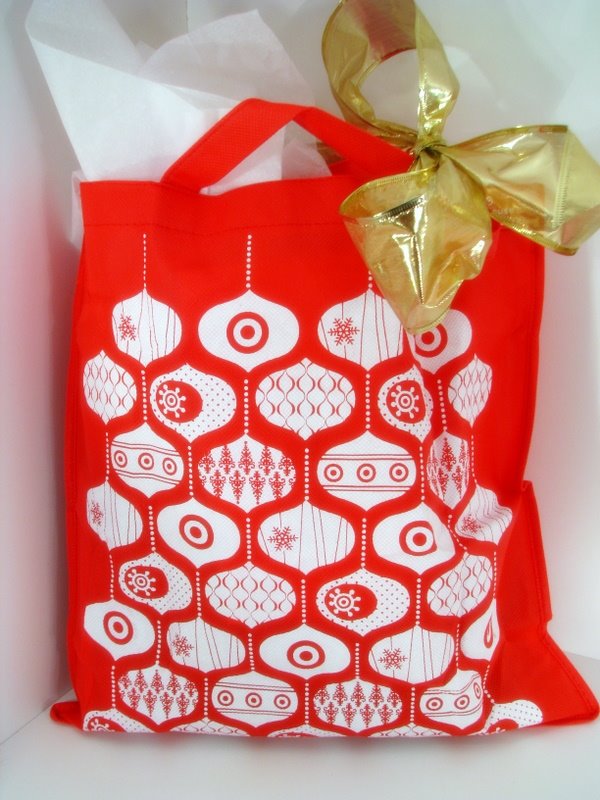
For packaging, cover the bread with a little plastic and wrap your ribbon around the outside. To make packaging even easier, we are including a free download today for beautiful (and did I mention free?) gift tags that you can add to label these loaves.
Free Gift Tags for Quick Breads
Isn’t it great when one day can easily yield ten beautiful gifts to give! Share these quick breads at your next holiday potluck, as a hostess gift, a sweet teacher gift, or for all of life’s little helpers (hairdressers, newspaper boy, postal worker, neighbor, bus driver, etc…) Trust me, they won’t stay in the freezer long and everyone will remember your delicious handmade gift!
****************
Quick Freezing Guidelines For Quick Breads
– Make sure your bread is completely cool before wrapping it or putting it in the freezer. To freeze, wrap securely in aluminum foil, freezer wrap or place in freezer bags. Label all packages with the name of the recipe and date. Use within the recommended storage time (up to 3 months) for the best flavor and texture.
****************
Do you have a favorite quick bread recipe to share or a secret to great packaging? Please share here!
Pin It
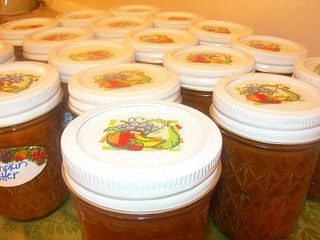
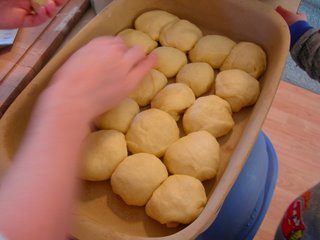 A jar of pumpkin butter with some buttery bread machine rolls.
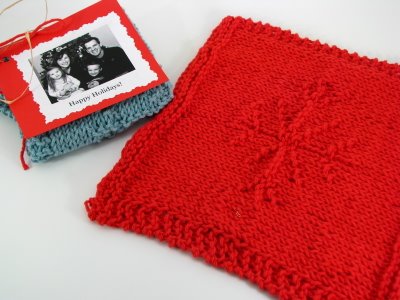 A snowflake knitted dishcloth with a personalized family tag.
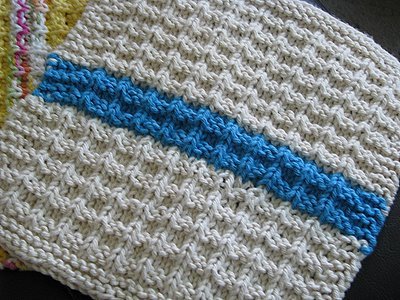
 A coffee cup or waffle-weave dishcloth with a bottle of hand soap tied with a little raffia.
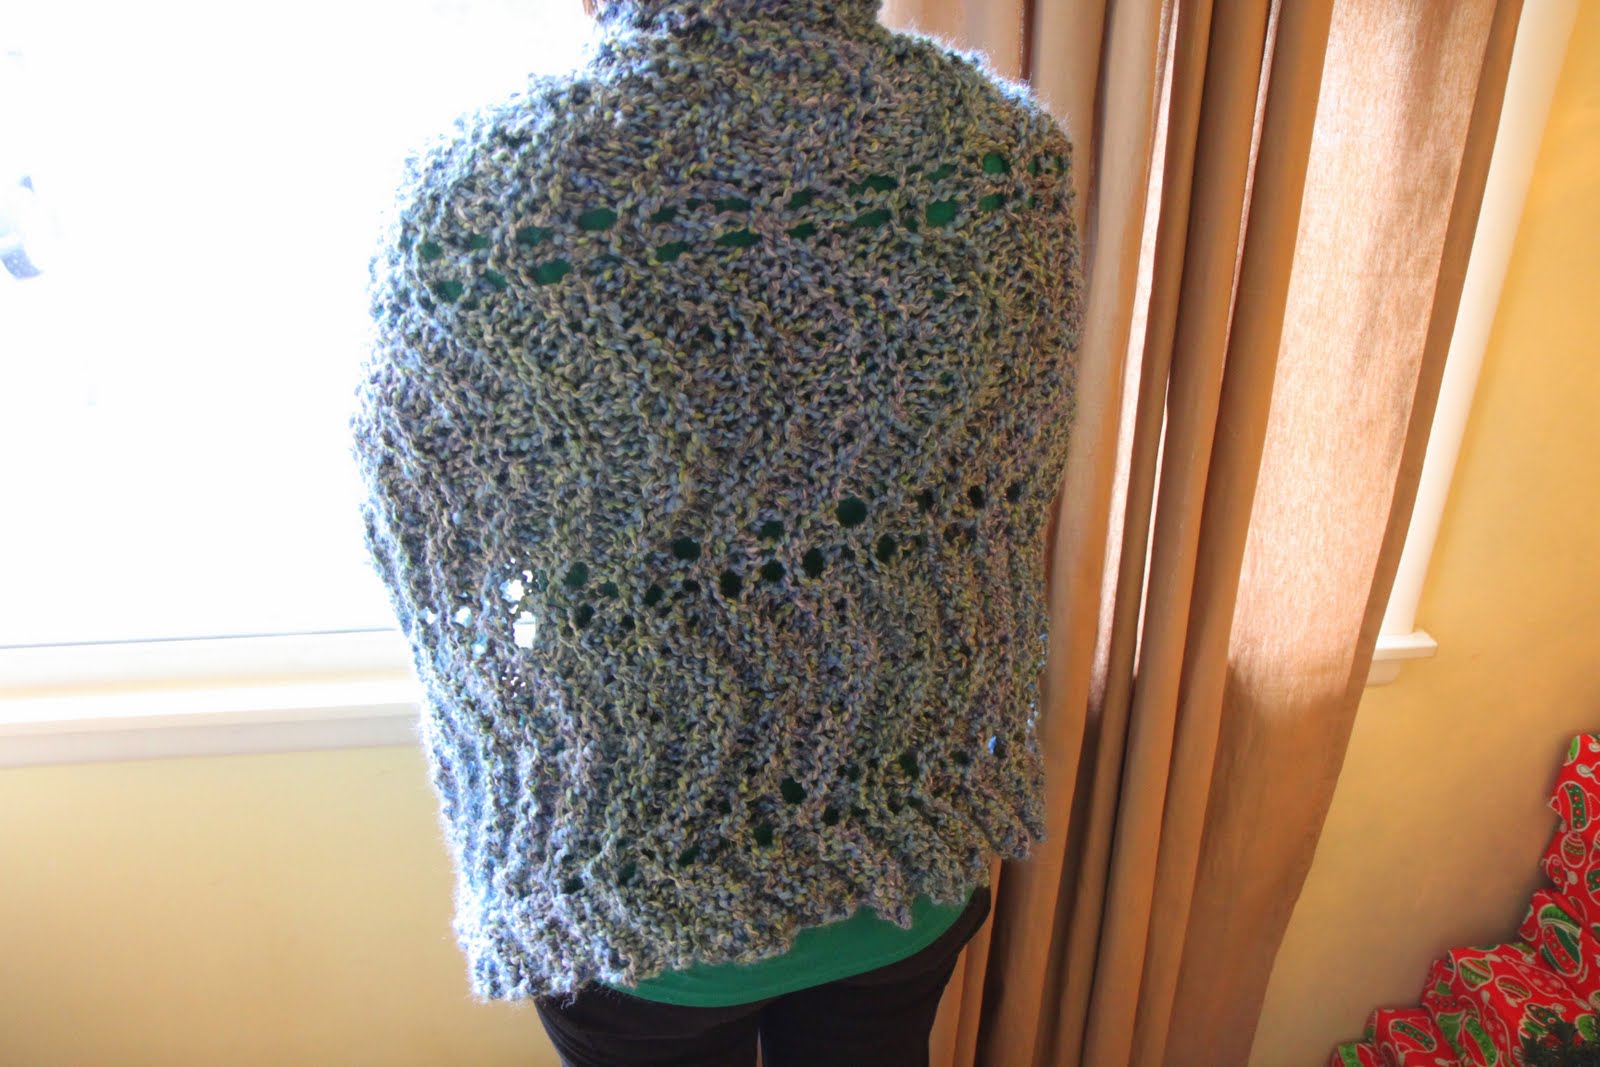
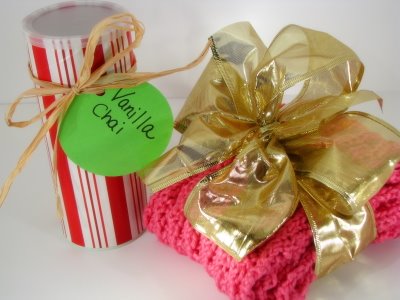 A knitted or no-sew scarf with a repurposed container housing some homemade vanilla chai tea or other great drink mix.
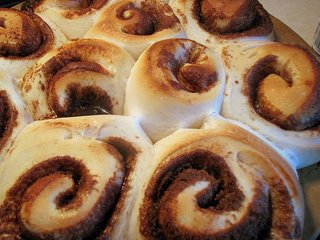 A batch of ready-to-bake homemade cinnamon rolls to make your host’s morning brighter.
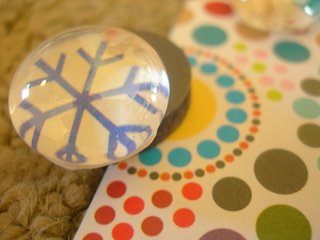 A set of bubbly magnets in a creatively wrapped Altoid tin.
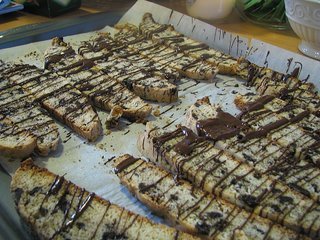
 A fresh batch of Oreo Biscotti in a pretty coffee mug.
 A mix of your favorite holiday music wrapped creatively in your family holiday picture.
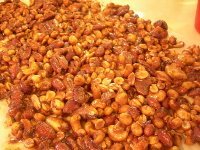 A can of sugar & spice nuts– the perfect holiday treat.
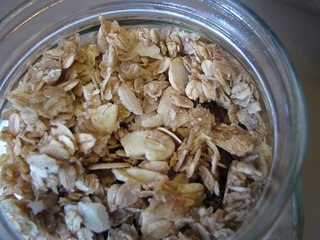 A batch of vanilla scented granola in a thrifted jar.
 Easy and delicious quick breads pulled from your freezer.
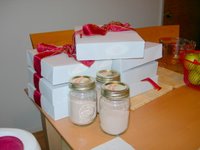
 A small box filled with Christmas goodies– don’t forget some holiday-esque sugar cookies!
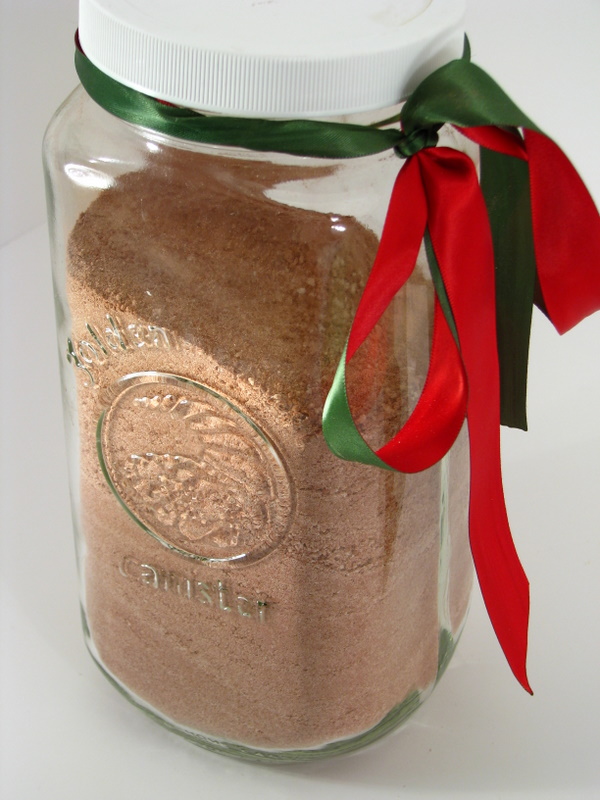 A jar of homemade hot cocoa mix tied with some festive ribbon.
 A jar of fancy candy cane bath salts tied with a candy-cane striped bow.


