
You know people that are amazing at gardening and planting?
I’m not one of those people.
I am the girl that goes to the greenhouse and requests plants that can take care of themselves. My plants must be able to survive without water or nourishment of any kind.
Despite my black thumb, I spent many of my summers working in a greenhouse as a kid and I do know a few things about caring for plants. Thanks to my greenhouse knowledge, I know that terrariums are the perfect project for a girl with my skill set and they are also the perfect project for any gardener-in-the-making.
For those of you itching to play in the dirt, this project is a fun one that adds a bit of green to your house while you await planting season. If you are looking for a fun project to tackle with the kids, this can transform into a little fairy garden with a few novelty items.
The possibilities of terrariums are endless because they are made in any type of glass container or jar. A good place to hunt for unique jars is your local thrift shop. You can also get inventive and use other types of glass containers like cake stands, fish bowls, hurricanes, or even a light bulb!
How to Make a DIY Terrarium
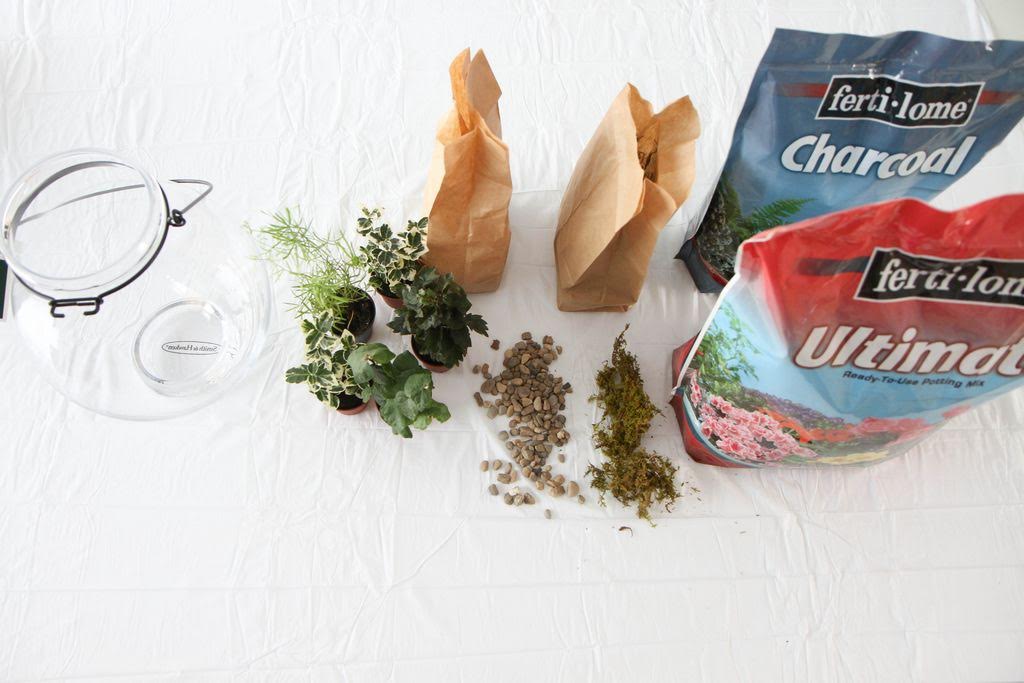
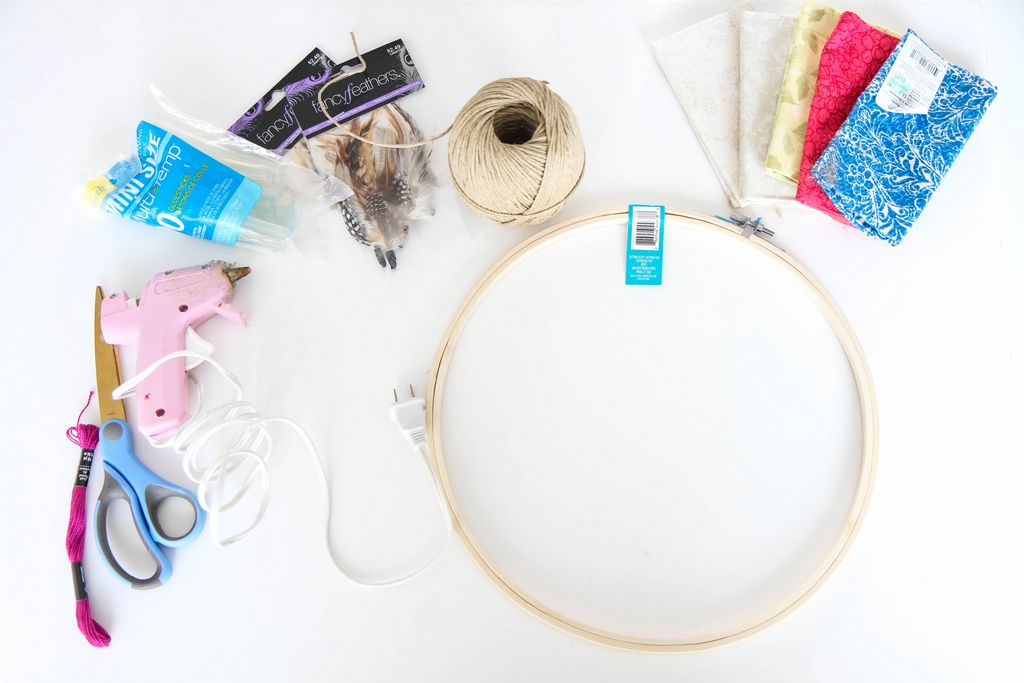
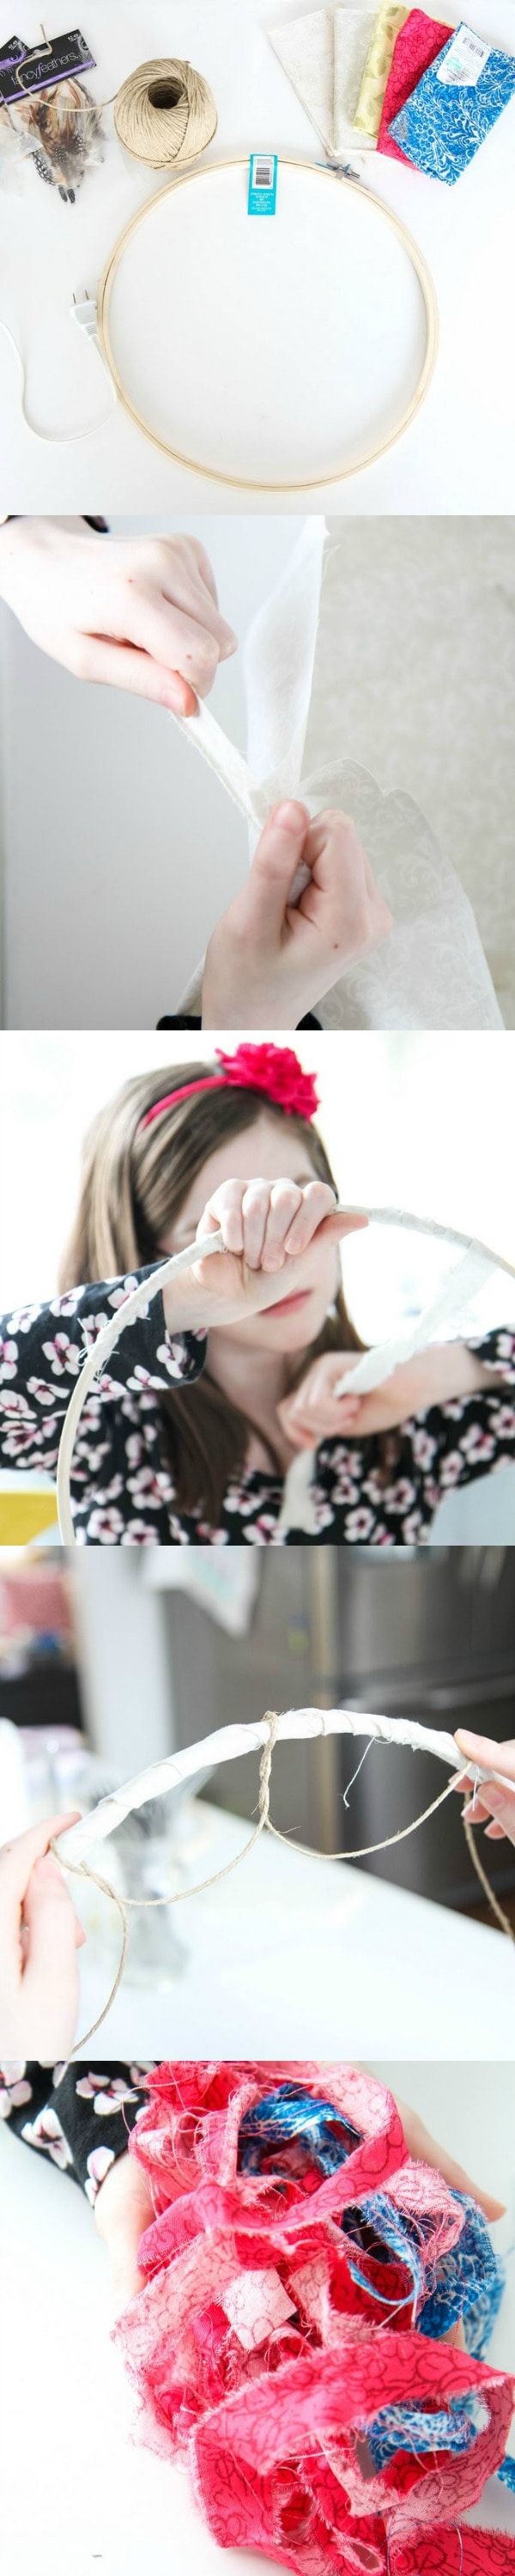
Supplies Needed
Drop cloth or Newspaper (I use a dollar store shower curtain to cover my tables for messy crafts)
Glass container or jar
Small Plants or Herbs (Look for plants of varying heights, leaf shapes, & colors)
Pebbles
Moss
Charcoal
Potting Soil
Hand Trowel
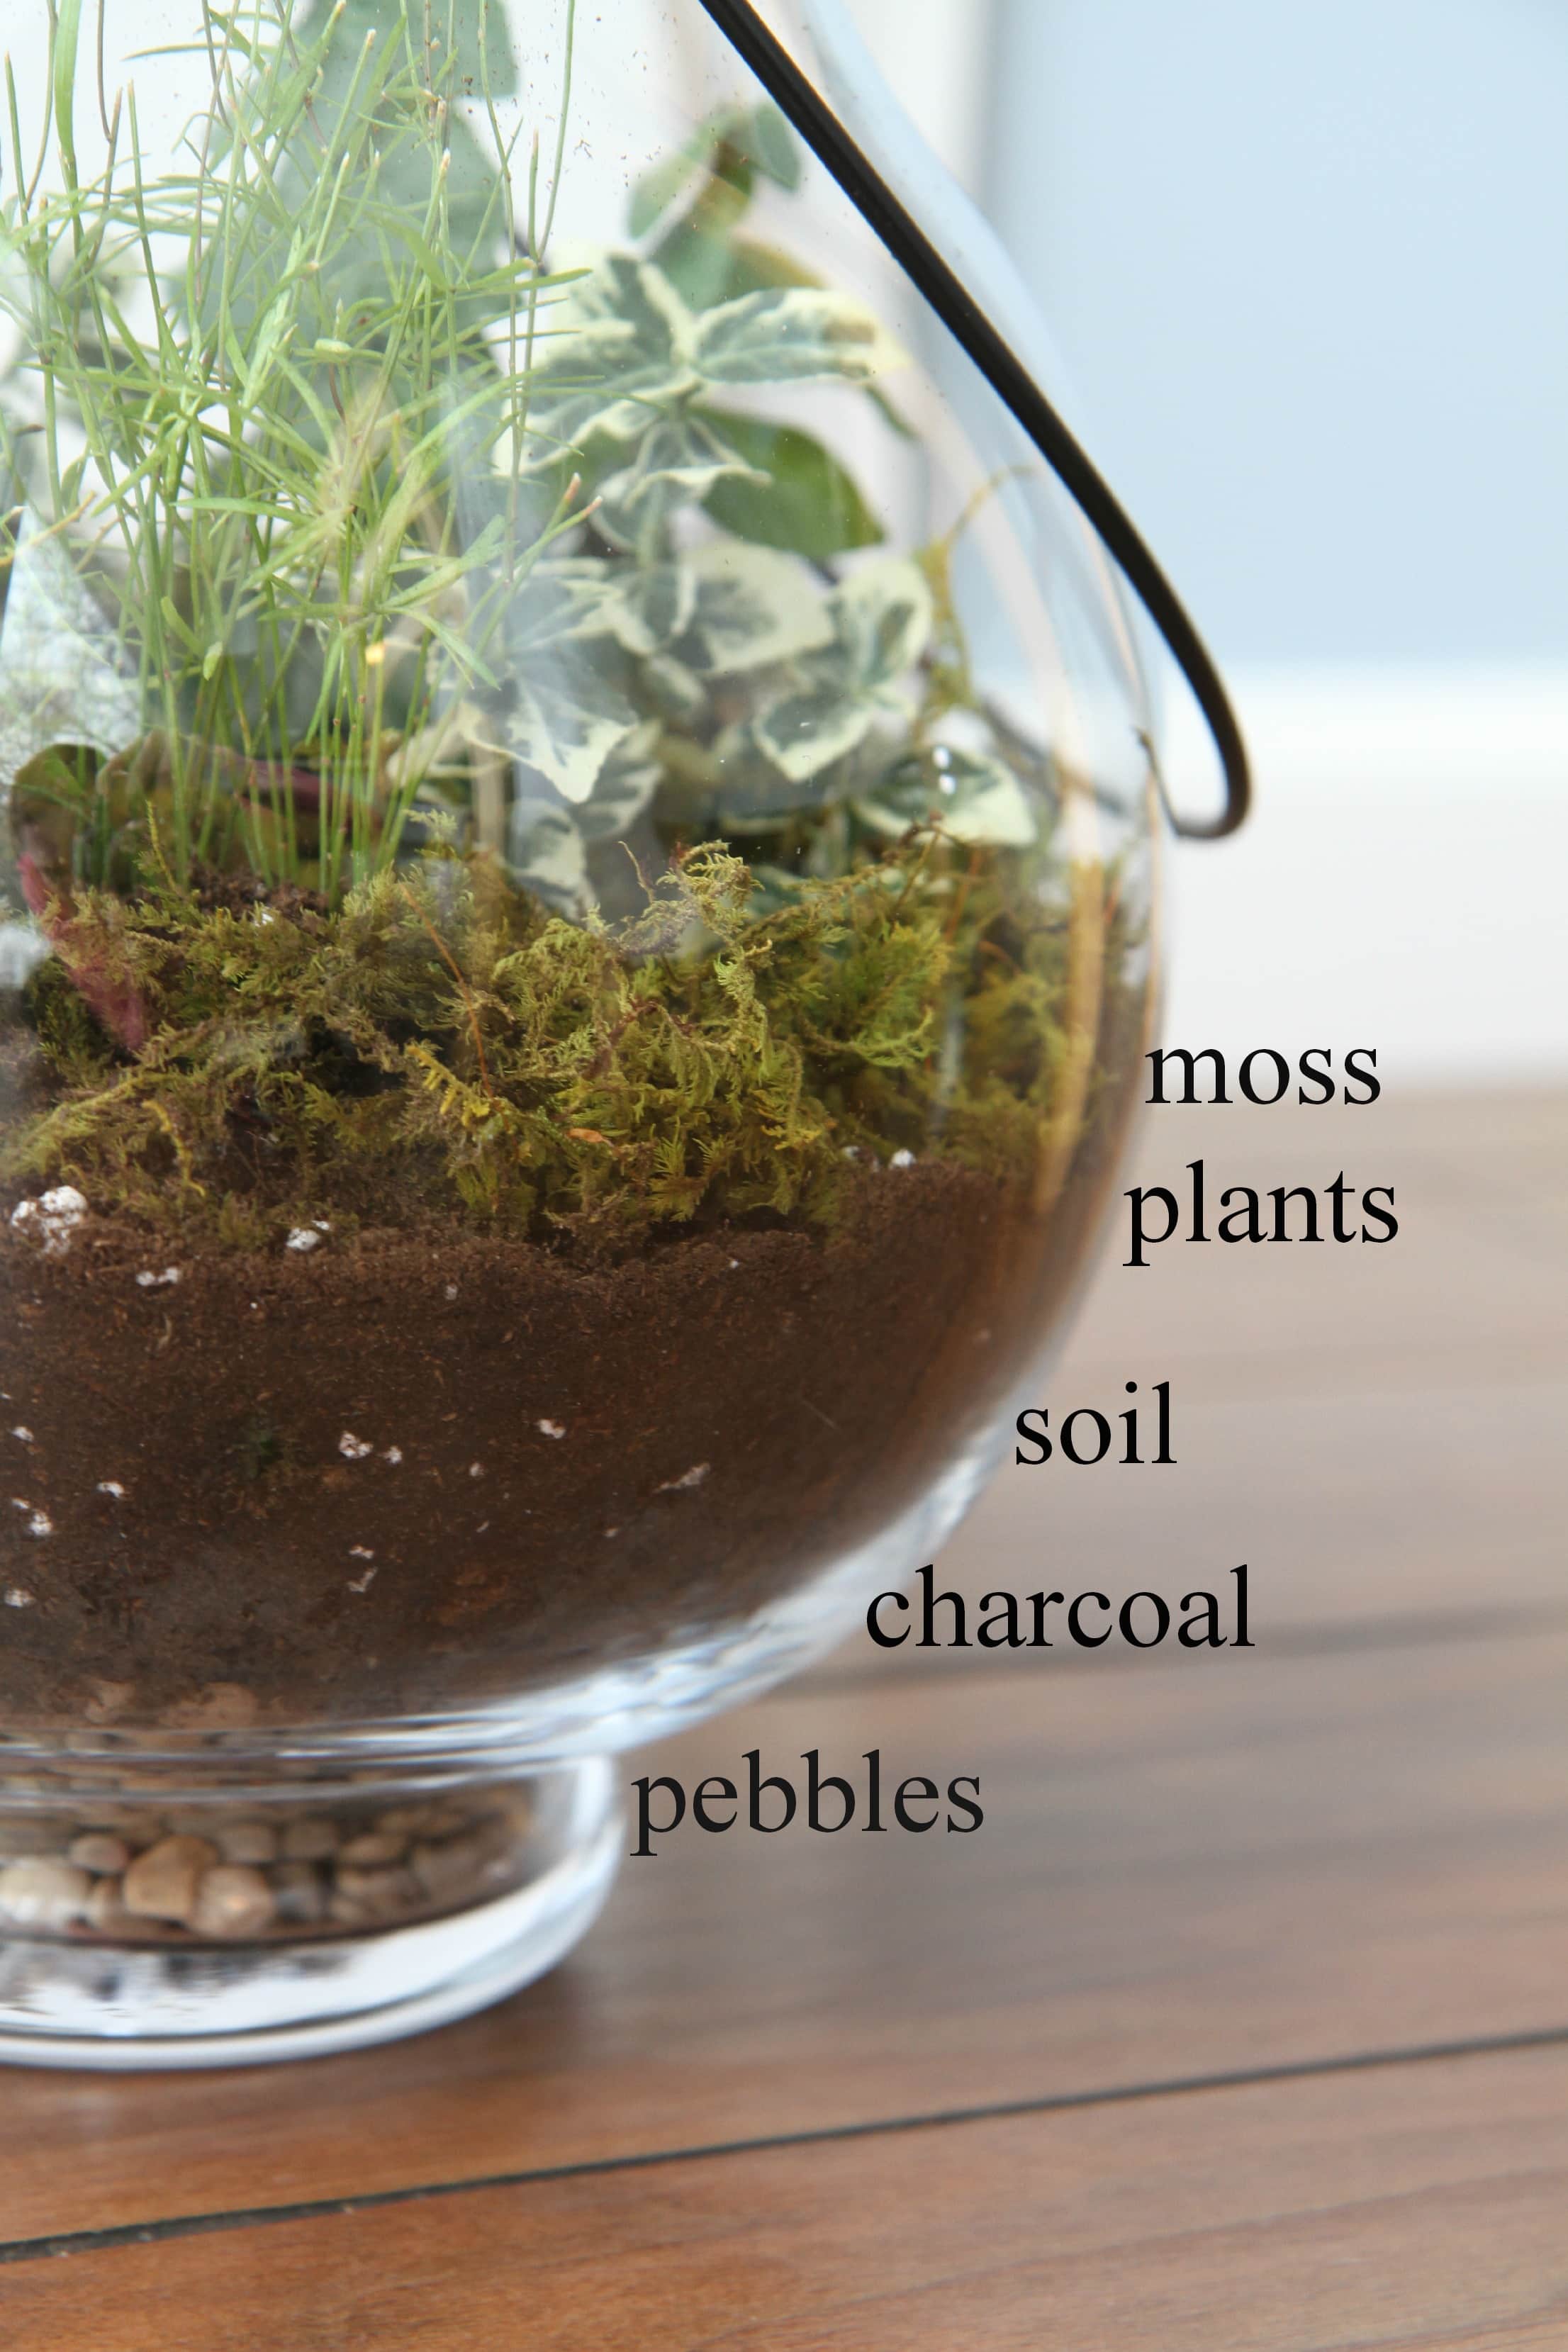
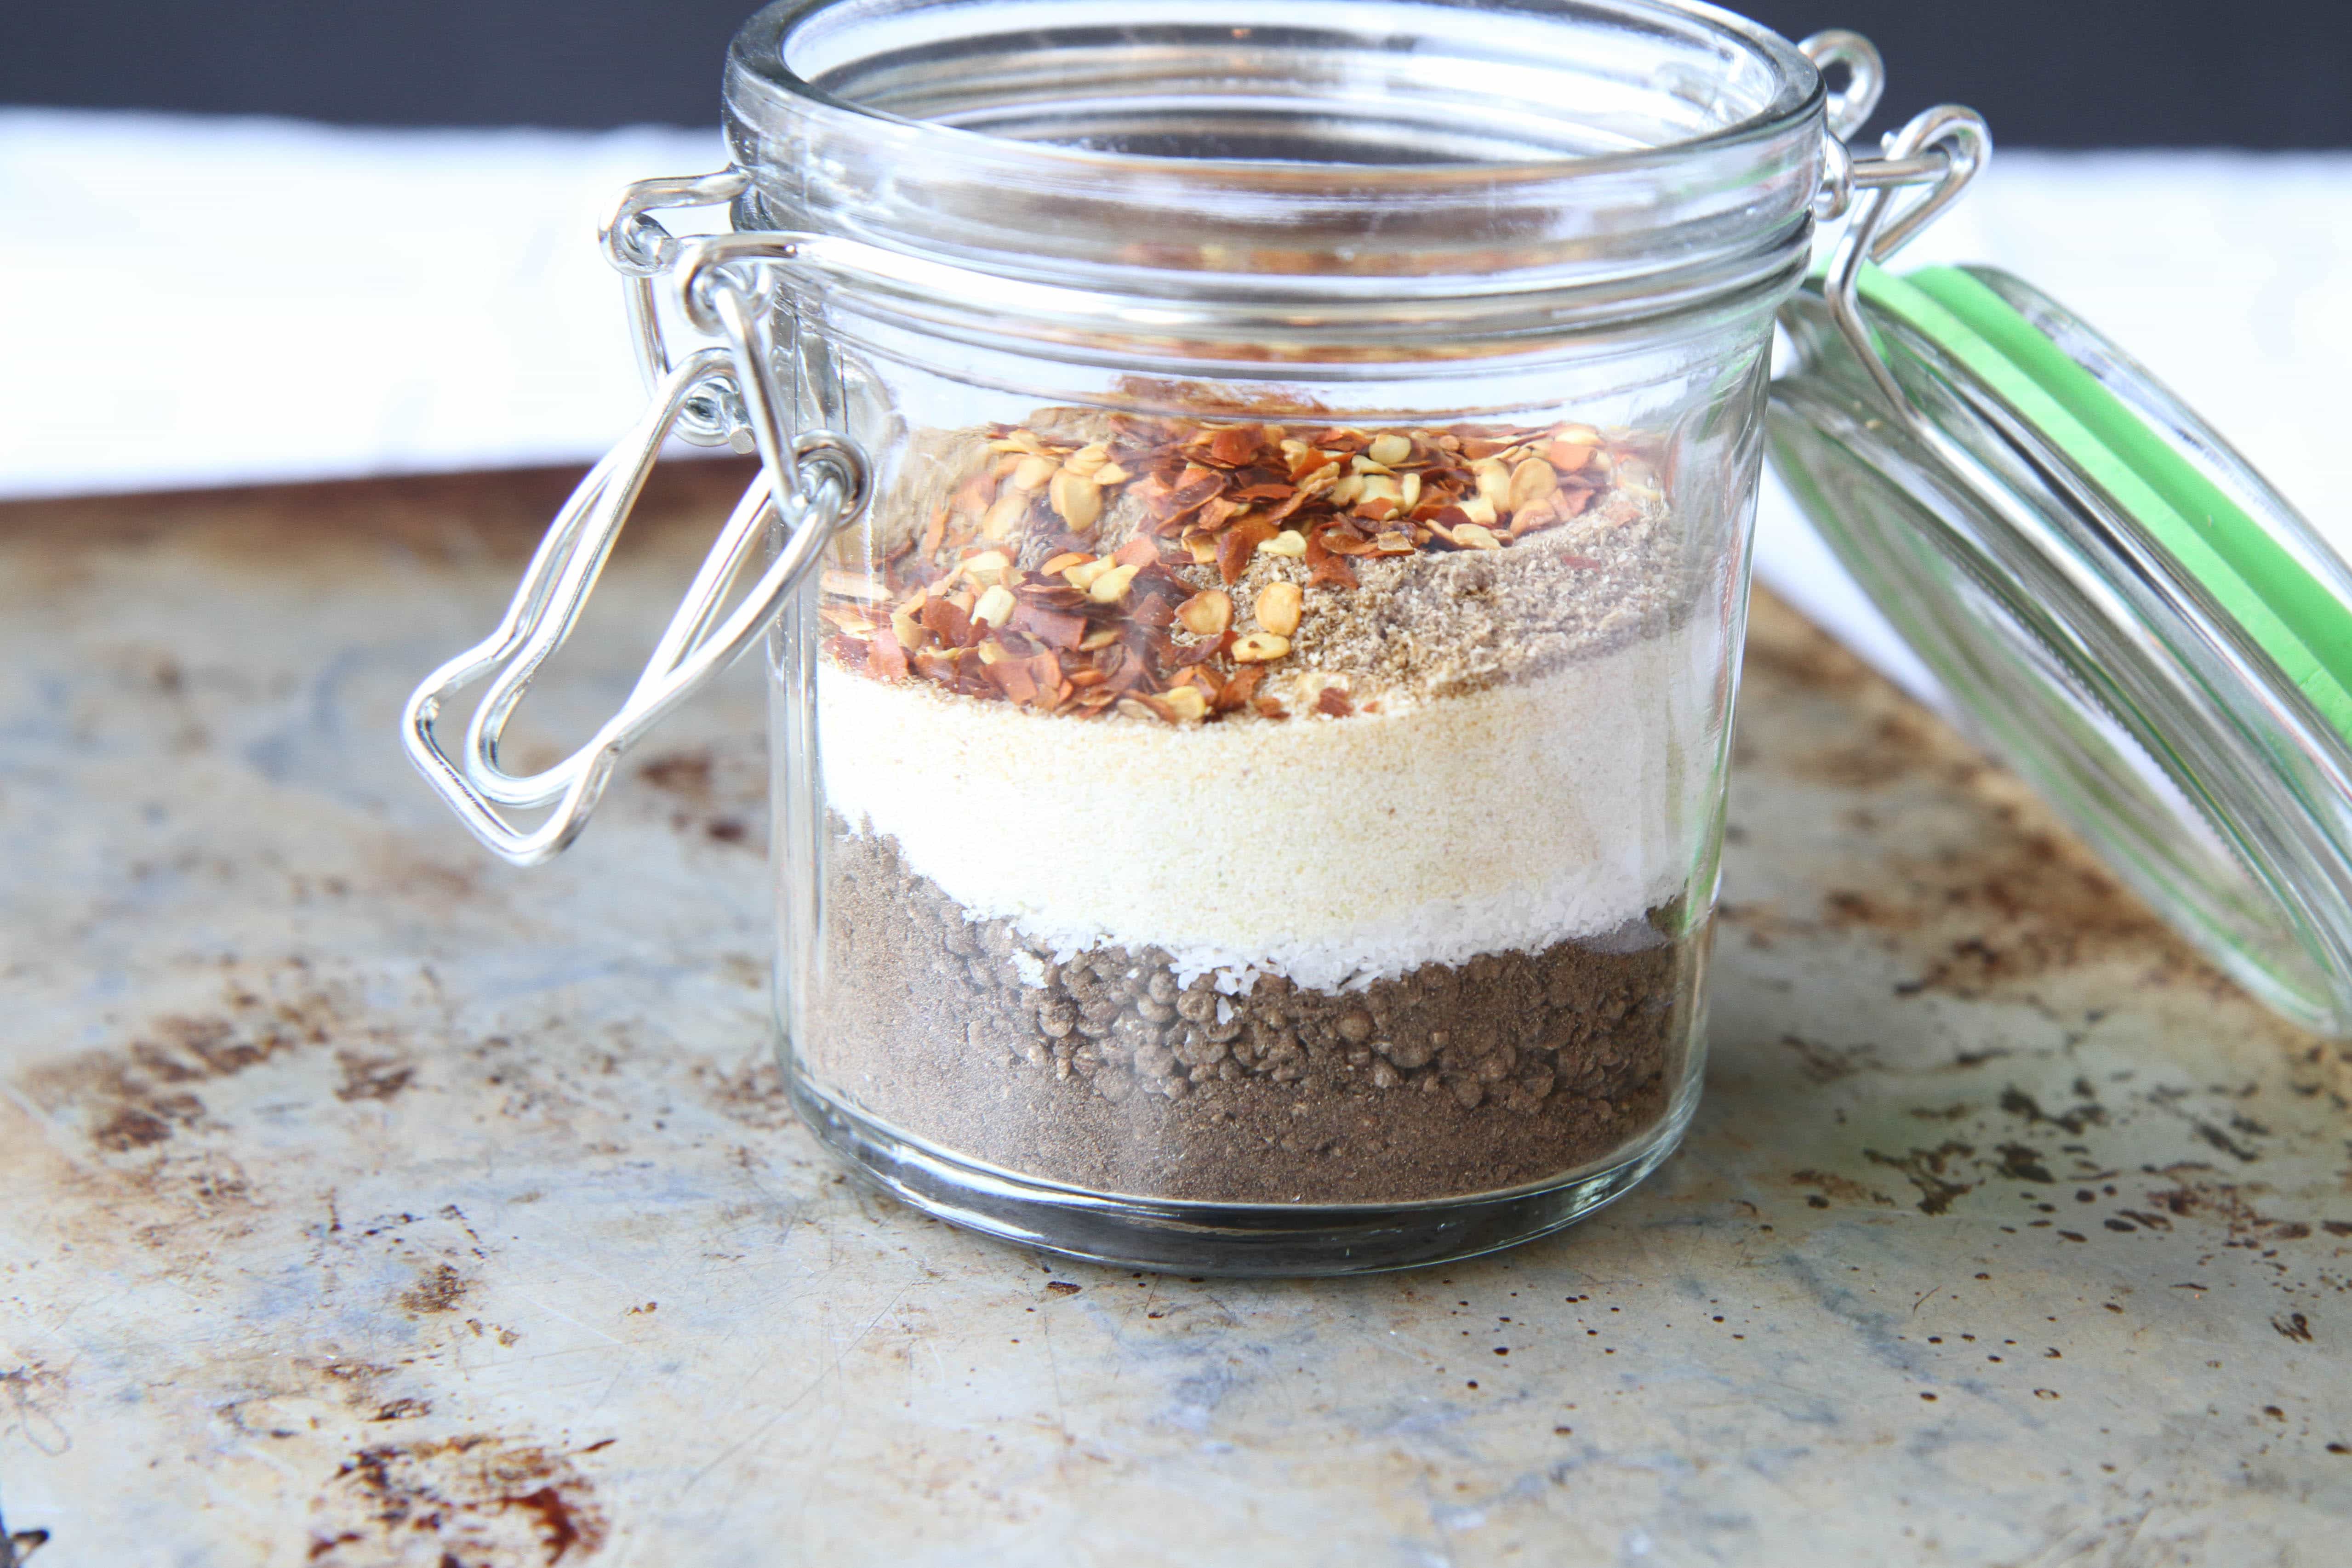
Creating a terrarium is a lot like creating a layered cake. You need all the different layers in your terrarium in order for your plants to thrive. Since we are using such small amounts of materials, like pebbles or moss, ask your local greenhouse if you can buy small quantities instead of investing in large bags. At our greenhouse, I was able to snag both the moss and pebbles for my project for just $.50!
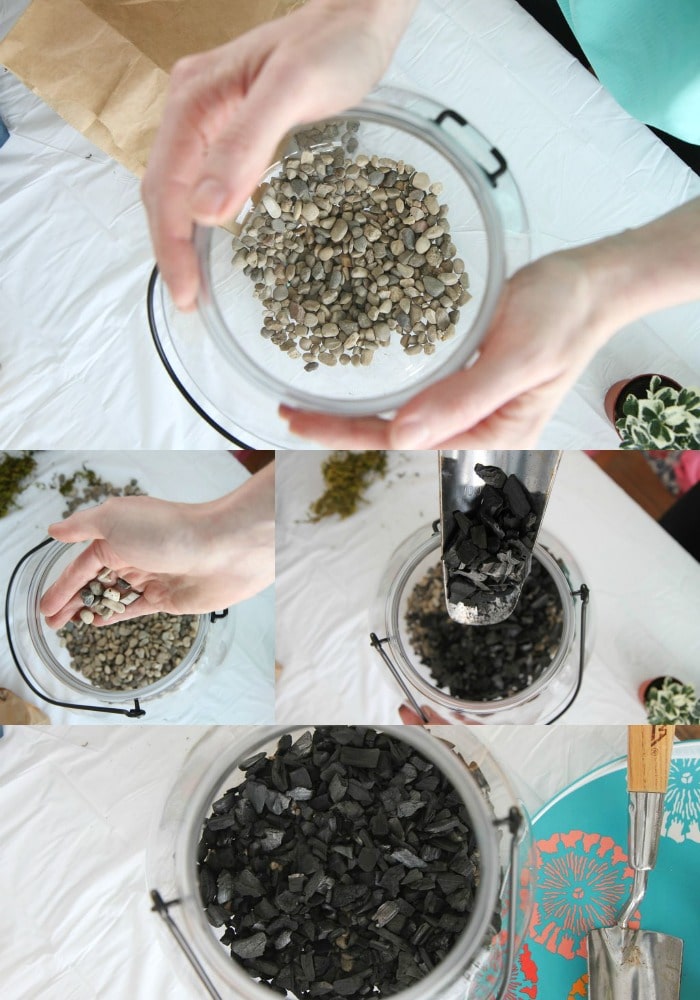
1. Begin by adding your pebbles to the bottom of your container. This is to create a false drainage layer so water can settle and not flood the plants. You will want to add 1 inch to two inches of stone, depending on the size of your container.
2. Next, we will layer our charcoal. The charcoal can come in granules or shards (the type I am using is shards). We will spread a layer of this over the rock to help reduce bacteria, fungus, and odors in our terrarium.
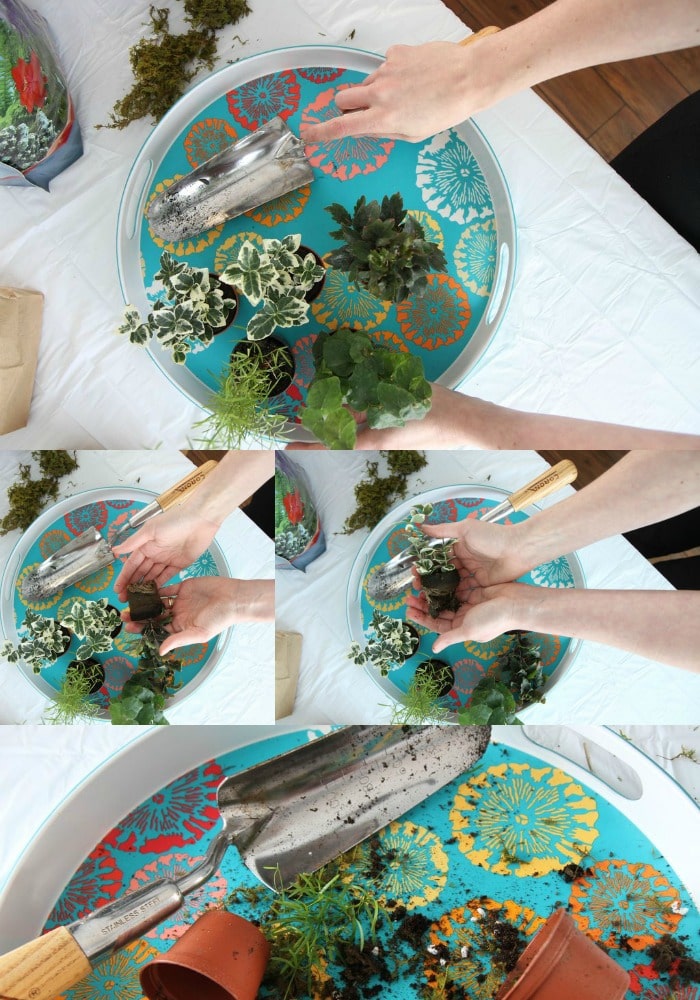
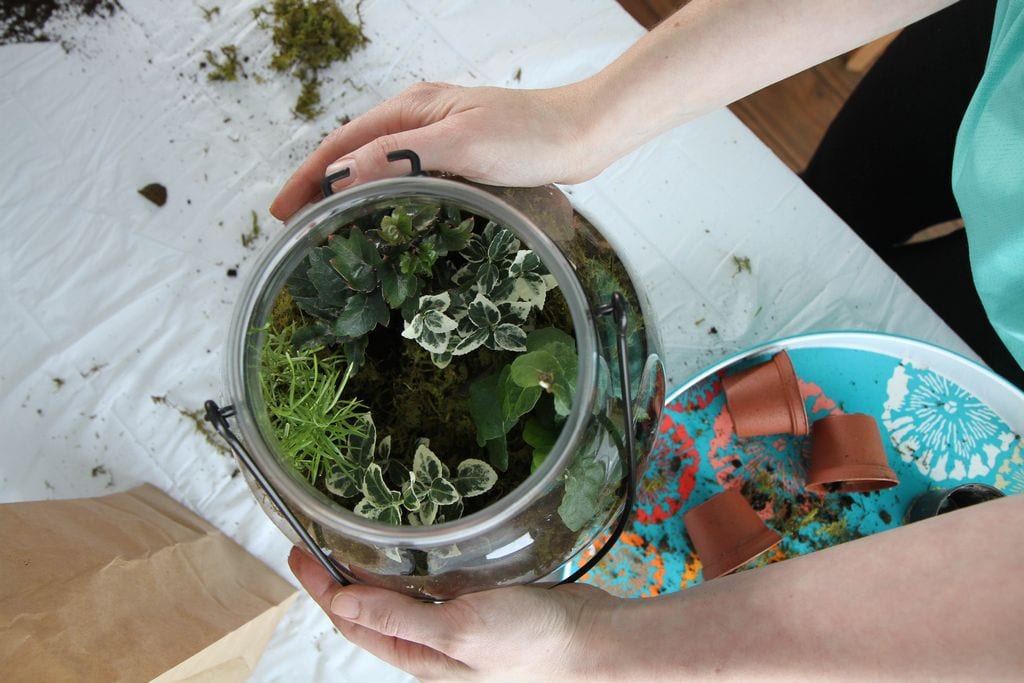
3. Prepare your plants for planting. Remove them from their pots and loosen up the root ball, exposing the roots. If the roots are particularly long, you can trim them down a bit.

4. Add a layer of dirt to your terrarium. Gently place your plants inside and then top them off with a bit more dirt, using your hands to gather the dirt firmly into place around each of the plants. Be mindful where you are planting them, mixing up your plants of varying heights and foliage, to fill your jar.
5. Finish your terrarium with a layer of moss to keep the soil moist and add a decorative finish. If your kids are making their own little garden, this is a great time to finish them with fun little trinkets.
6. Clean the container. Wipe down the outside and inside of your container, to remove any excess dirt that may have gathered on the sides.
7. Finish by watering your terrarium, being mindful not to overwater it. Caring for your terrarium is easy, especially if you are a terrible gardener like me. Check every couple of weeks to see if your terrarium needs water. Feel the soil to see if it is dry and add water if it is. If your terrarium is closed, be sure to take off the top at least once a month to air it out. If you see lots of condensation or have added too much water, leave the top off until it has had a chance to dry out.

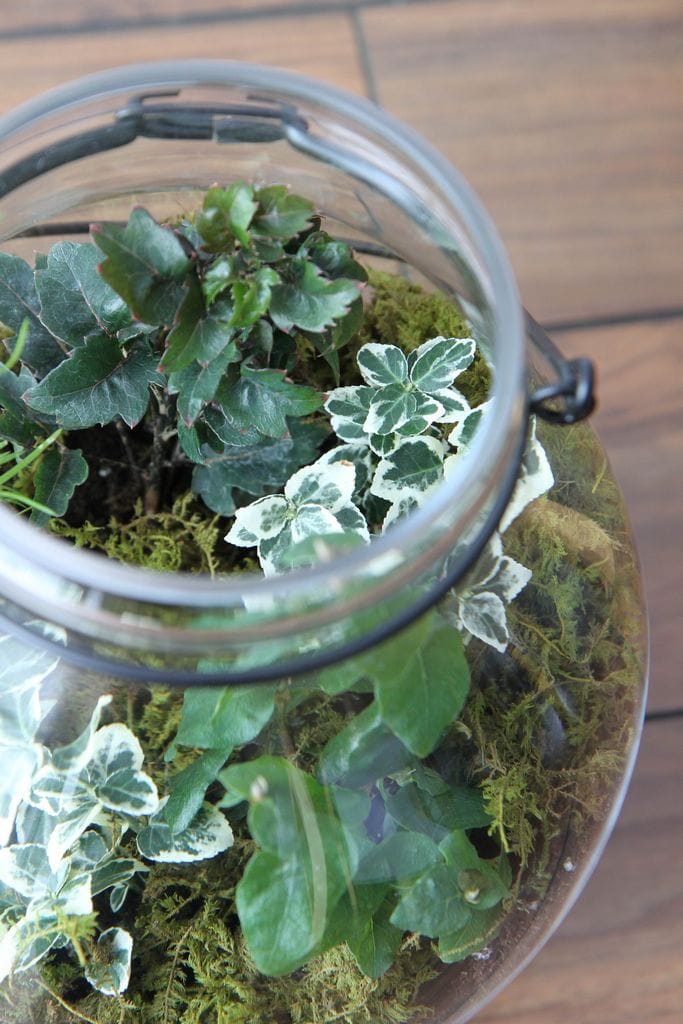
Here is a visual of what we want our container to look like. I love that this looks beautiful from the side as well as the top. I had so much fun making this that I can’t wait to make another one for other rooms in our home!
Have you ever made a terrarium? What advice would you give on these?
Pin It


 That’s it!
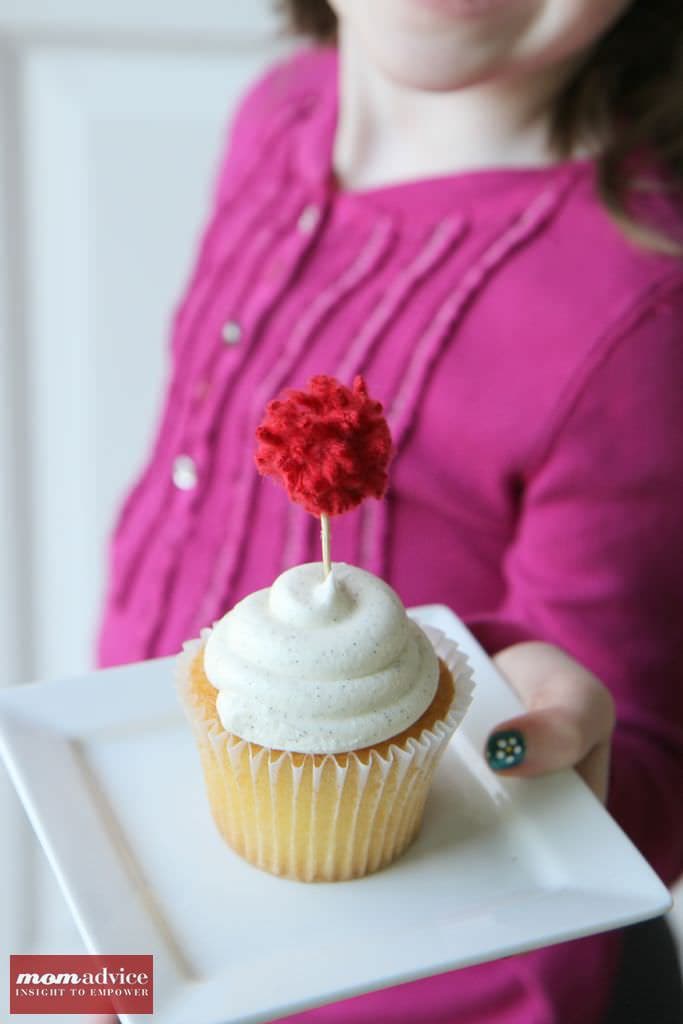
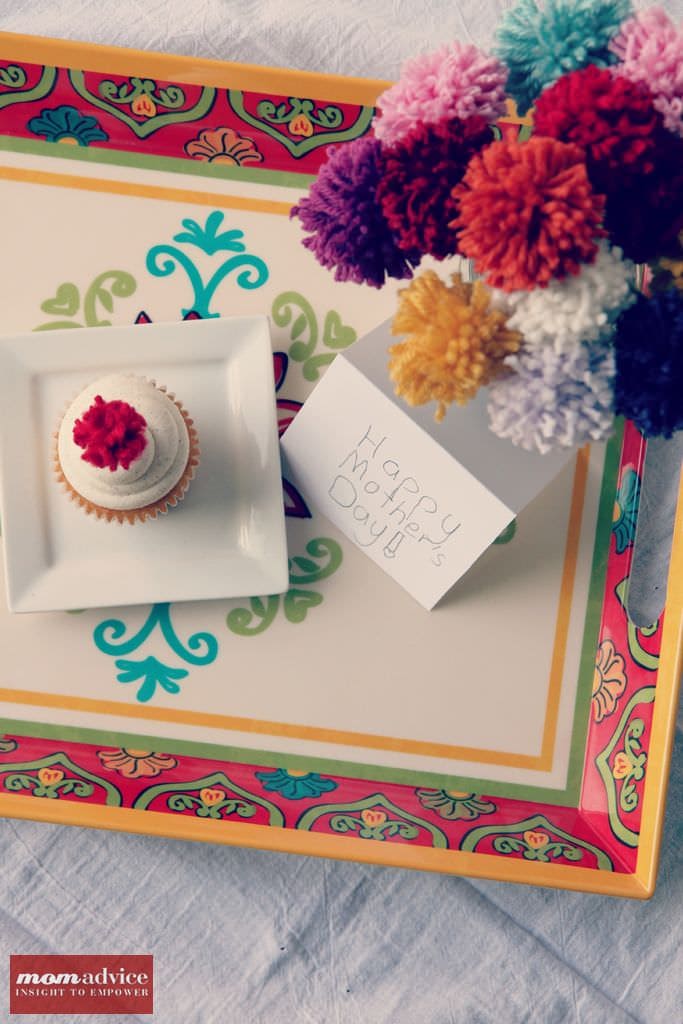
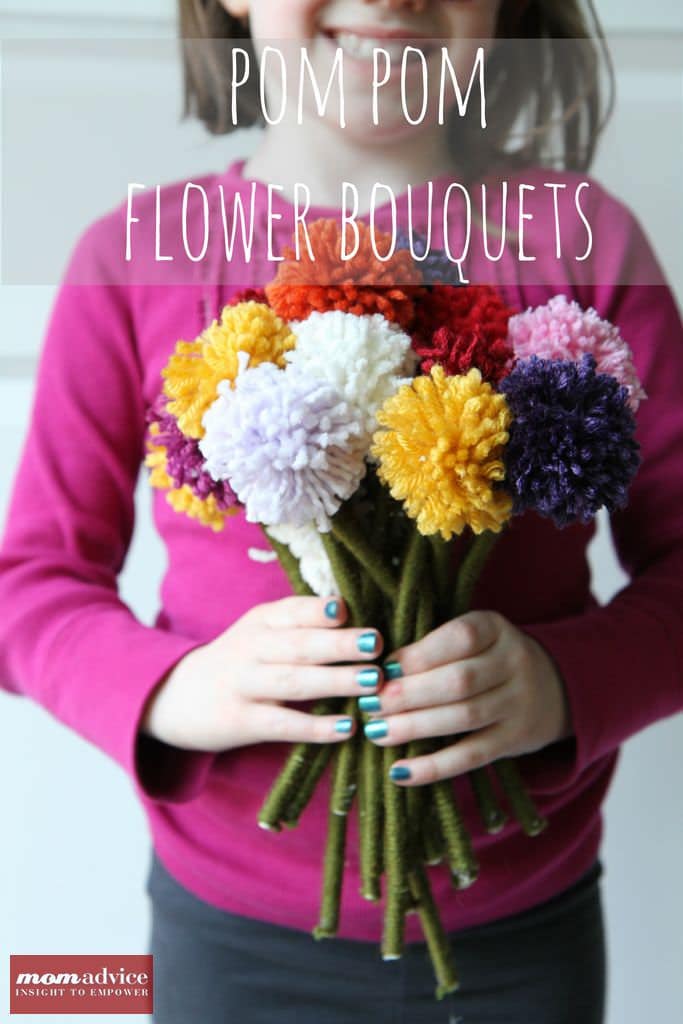
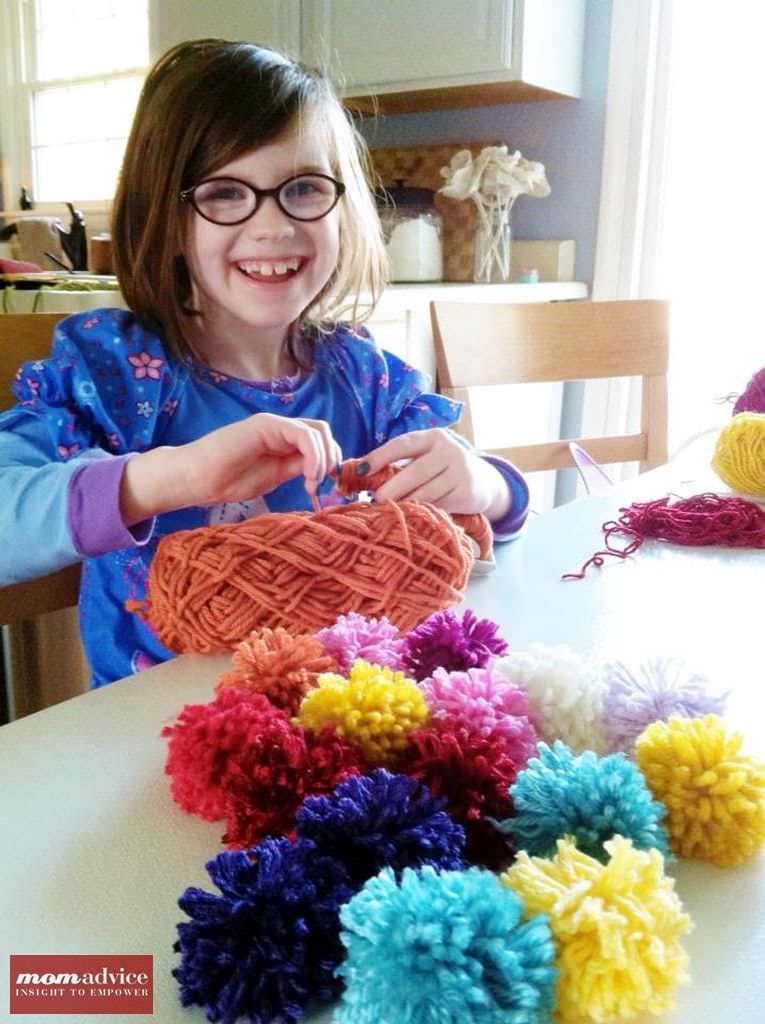
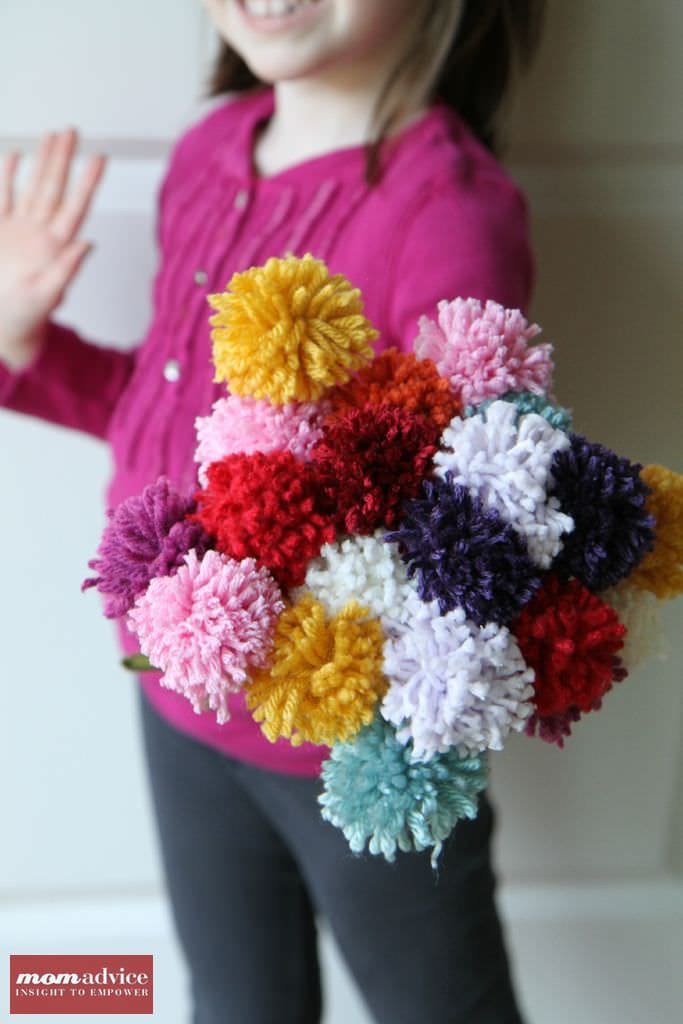
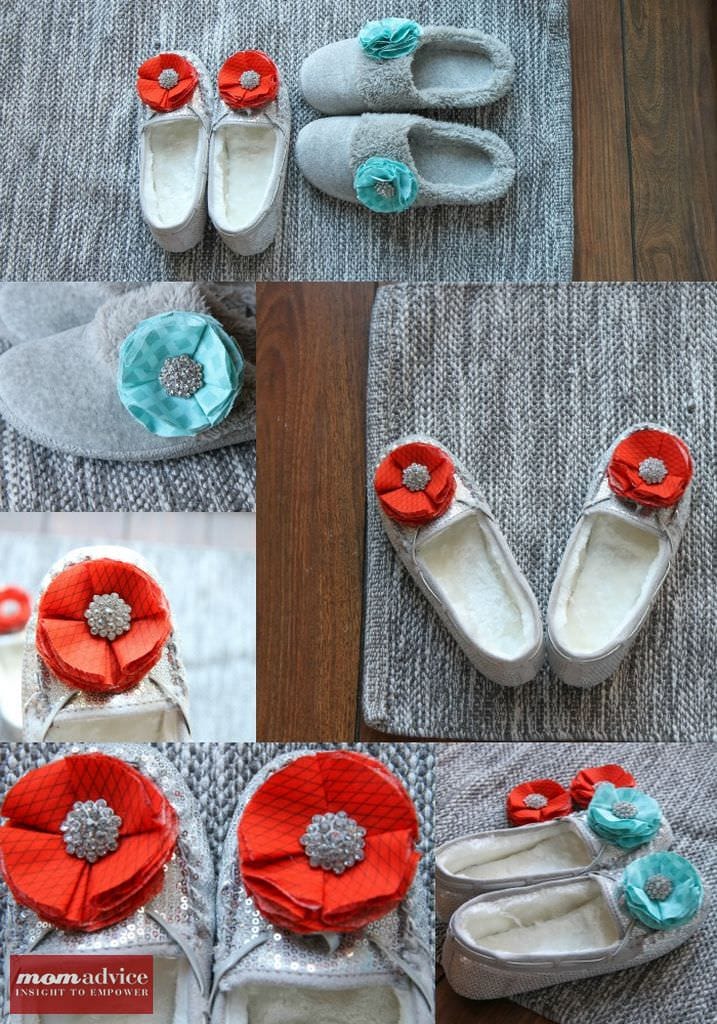
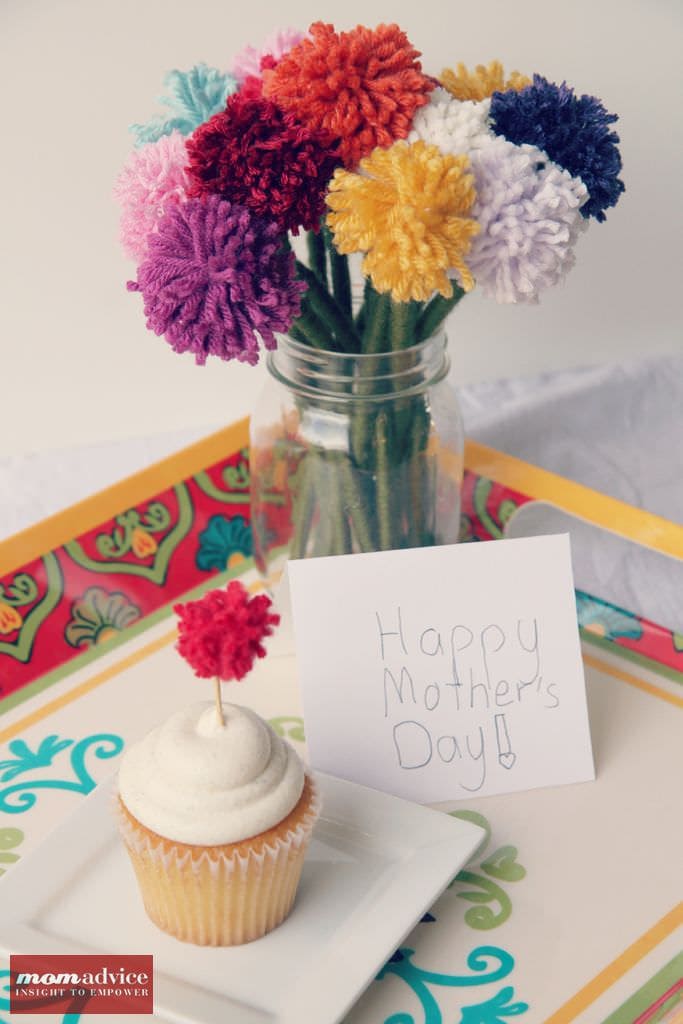 Who could resist a gift as sweet as this? Not only is it the perfect Mother’s Day gift, but it would make a sweet gift to celebrate any occasion. Pair these pom-pom posies with a gift certificate to pick up craft supplies for the crafty mom in your life.
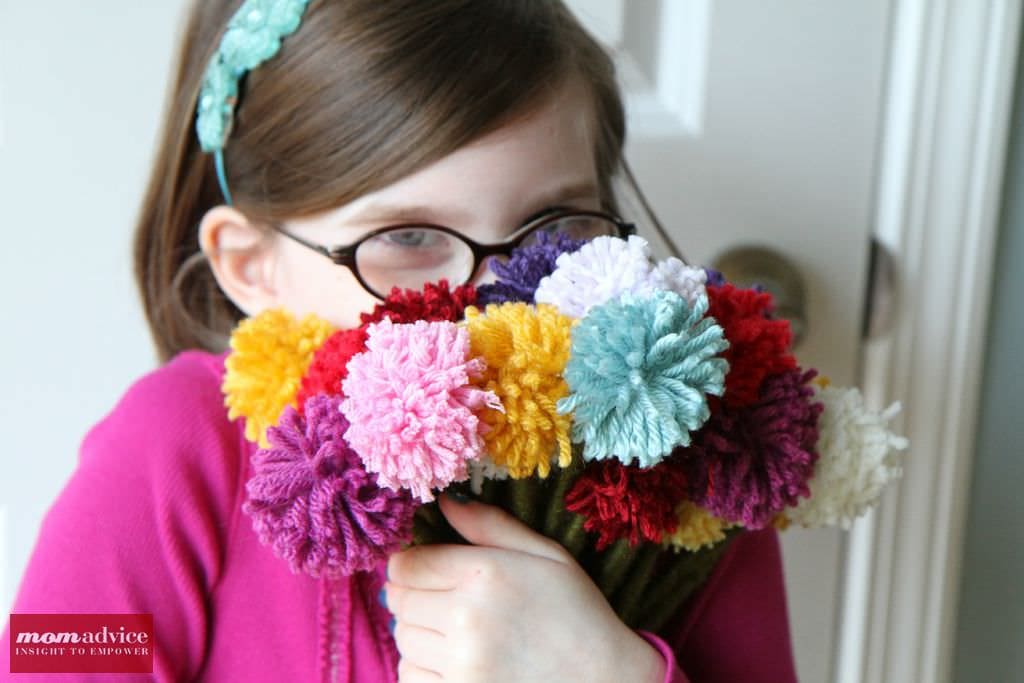


