
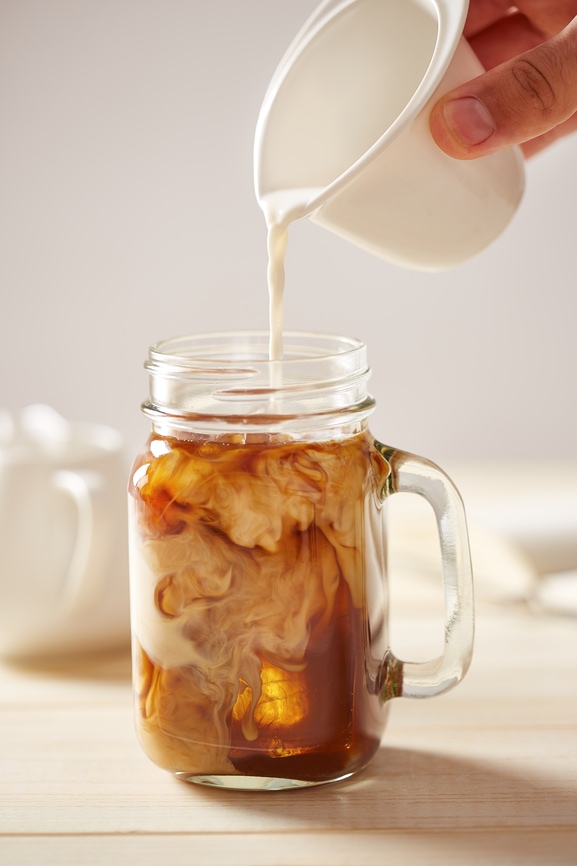
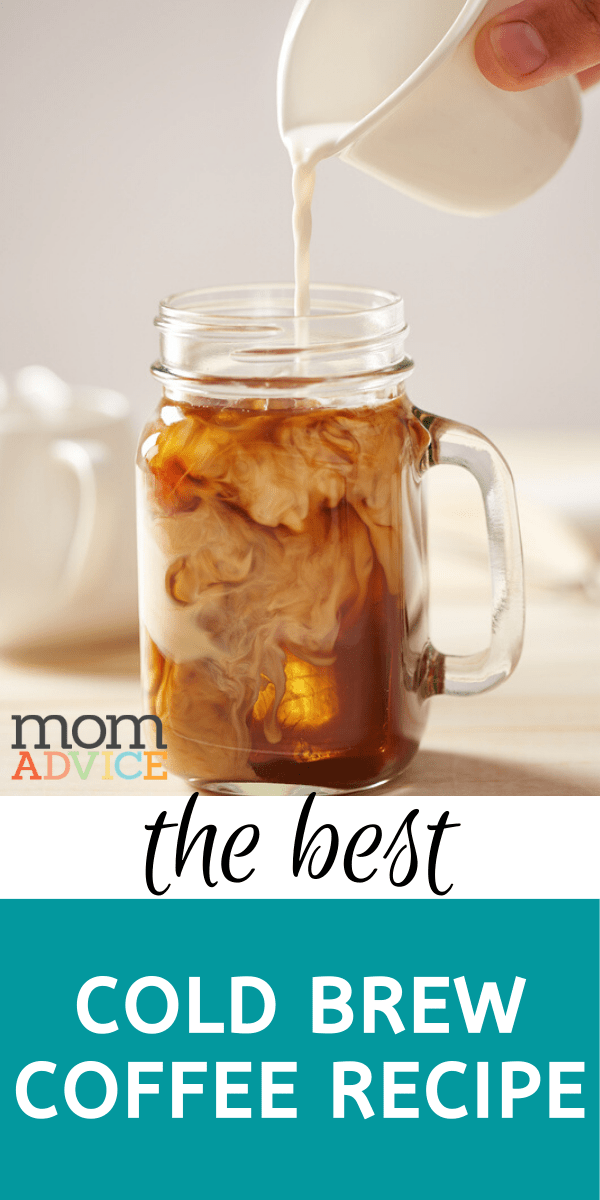
Make your own cold brew concentrate at home with this easy recipe. This coffee recipe is, guaranteed, to save you tons of money. Make a copycat Starbucks cold brew at home.
Are you a year-round iced coffee drinker too? In my house, I try to keep a pitcher of cold brewed coffee in the refrigerator at all times.
To me, there is no season for cold coffee. Cold coffee season is 365 days a week.
Have you tried the cold brew method before?
It couldn’t be easier (or more affordable).
If you have been relying on your drip coffee maker, as a coffee base, you are missing out on the rich flavor of a true cold brew.
My recipe shares the perfect water ratio and can be ready in, as short as, 24 hours. Personally, the stronger the better though so I recommend giving this a full 48 hours to set up.
Today I’m partnering up with Wild Oats Organic to show you just how easy it is to create a batch of cold brewed coffee for all of your summertime coffee needs!
DIY Cold Brew Coffee Recipe
This recipe doesn’t require any special equipment except a pitcher, cheesecloth, and filtered water, and coffee.
If you would prefer to use a cold brew gadget, I’ll share my favorite with you below.
What is Cold Brewed Coffee?
Cold brew, also known as cold press coffee, refers to the process of steeping grounds in room temperature or cold water for an extended period.
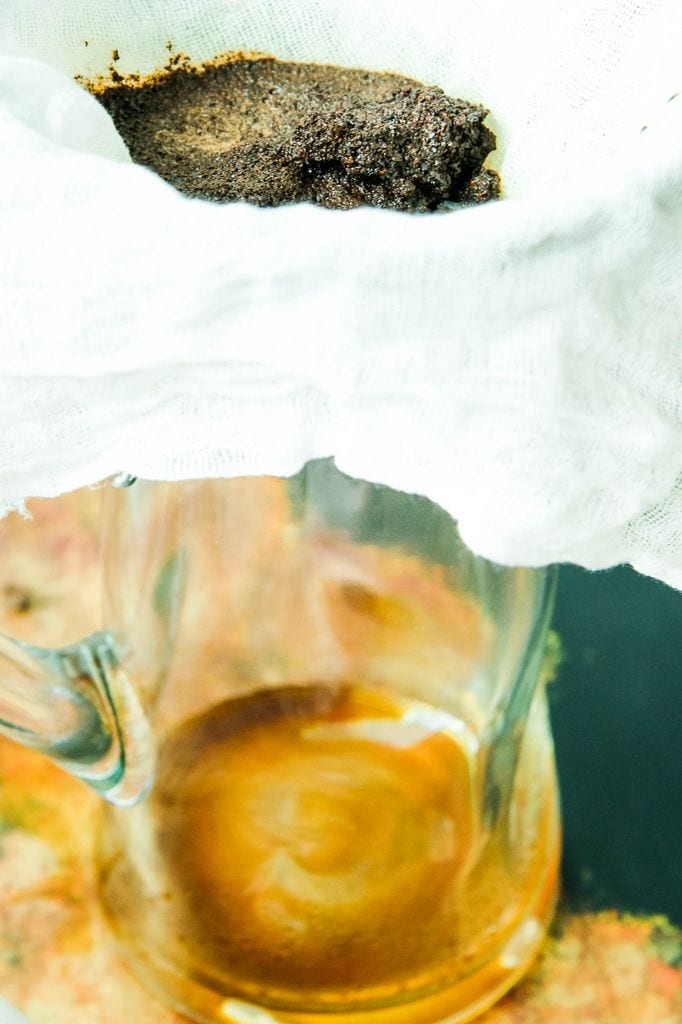
Once you strain the coffee grounds, you are left with a coffee concentrate to mix with water or milk. You can also add in flavors or sweeteners (if desired) to create your own perfect cup of coffee.
It’s easy and affordable to make your cold brew coffee at home, but what about the flavor? Cold brewed coffee naturally seems sweeter due to its lower acidity.
The coffee beans in cold-press coffee never come into contact with heated water. This ends up producing a completely different chemical profile from conventional brewing methods.
There is also high levels of caffeine in a cup of cold brewed coffee compared to hot brewed coffee.
More caffeine means it’s far superior to hot coffee too because now you can do ALL THE THINGS.
I consider this my summertime superpower.
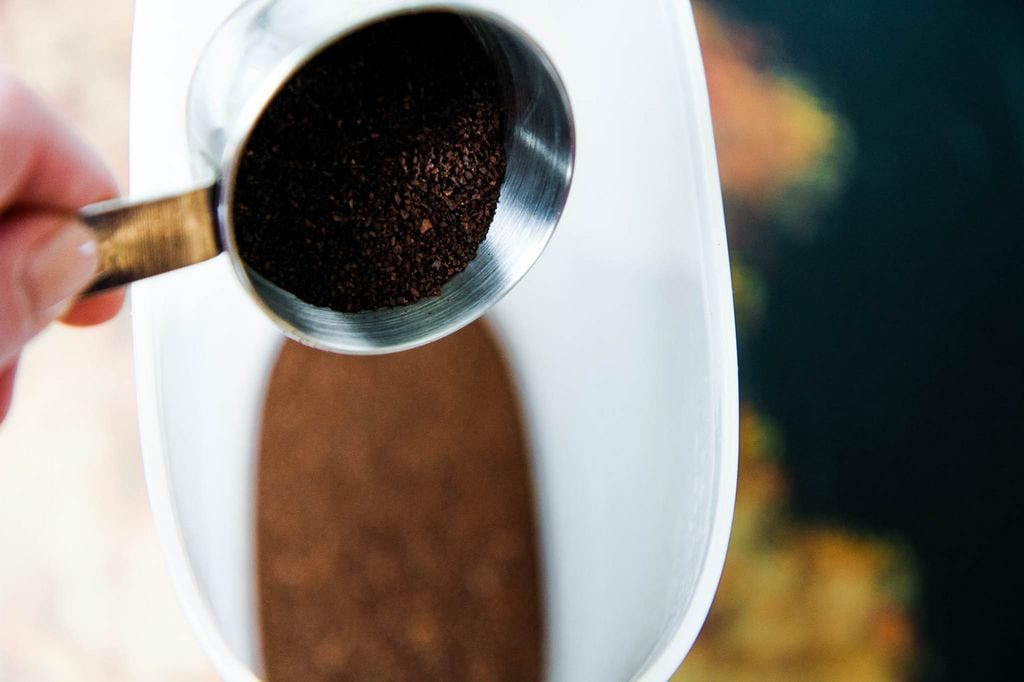
As you can see in my picture tutorial this is the easiest method. Best of all, you can make a big or small batch of coffee with this method.
While coarsely ground coffee is ideal, I tend to make things easy on myself and just purchase ground coffee. I usually have pretty good results with it.
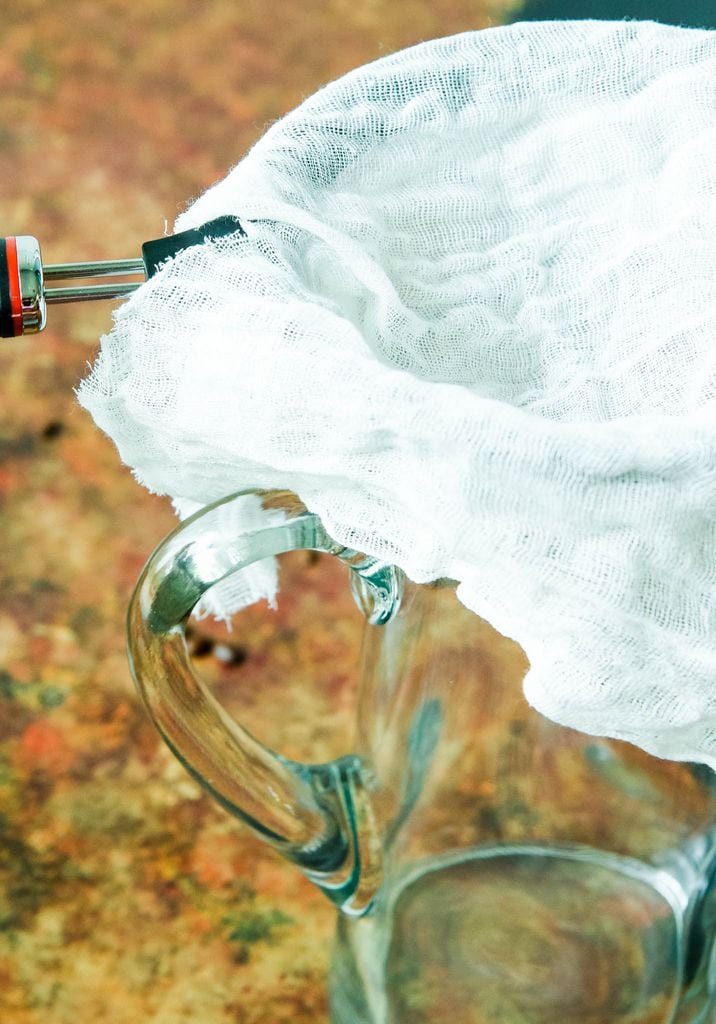
I find that cheesecloth over my mesh strainer helps to keep the grounds out. You definitely want a coffee without the grounds at the bottom.
Here are a few commonly asked questions!

How much milk should I put in my cold brew coffee?
The biggest struggle for me when purchasing my coffee out is the milk substitute offerings.
Almond milk is my favorite addition to iced coffee, but most coffee shops don’t offer this as an option.
Thankfully, I can make my own at home now.
Experiment with different milk types like almond milk, soy milk, coconut milk, half-and-half.
Consider trying a delicious Vietnamese coffee by adding some sweetened condensed milk for a decadent treat.
I prefer a half to half ratio on coffee to milk especially. Remember, the cold brew concentrate is very strong.
What are some ways I can flavor my iced coffee?
Have you ever made your own simple syrups? It really could not be easier. Not only is this concentrate nice to have on hand for your morning coffee, but also for fresh summer cocktails.
The process of creating these is a simple one.
Simply mix equal parts sugar and water in a saucepan.
Heat this liquid until your sugar dissolves. Finish by adding your favorite flavorings to create your syrup.
I store these cooled syrups in my fridge in mason jars for whenever the iced coffee mood strikes me.
diy coffee syrup recipes:
Vanilla Coffee Syrup
1 cup water
1 cup sugar
1 vanilla bean, split lengthwise
1 teaspoon vanilla extract
Combine the sugar and water in a small saucepan.
Scrape the seeds from the vanilla bean into the pan and throw in the pod.
Heat the mixture over medium-high, stirring occasionally, until the sugar has dissolved. Reduce the heat to low and let simmer, about 10-15 minutes.
Remove from the heat, discard the vanilla bean pod and stir in the vanilla extract. Let cool. Store in the refrigerator.
Caramel Syrup
¾ cup sugar
½ cup water
¼ cups caramel sauce
Combine the sugar, water and caramel sauce in a small saucepan. Heat the mixture over medium-high, stirring occasionally, until the sugar has dissolved and the mixture is smooth. Remove from the heat and let cool. Store in the refrigerator.
Peppermint Syrup
1 cup sugar
1 cup water
2 teaspoons peppermint extract
In a small saucepan, bring sugar and water to a boil. Reduce heat to medium and stir constantly until sugar is dissolved. Stir in the peppermint extract. Cool to room temperature and store in a glass jar in the refrigerator.
Don’t Want to Strain Your Coffee? What Are My Other Options?
In the past, I have found that my French Press works great to help strain the grounds.
The ultimate gadget, however, is this fantastic cold brew coffee pitcher for your fridge.
The grounds are stored in a separate piece, making it easy to clean-up AND better on the environment.
Looking for a different style? Check out these cold brew pitcher options!
Speaking of the environment, make sure you are using a reusable straw and mason jar for your coffee.
- 4½ ounces ground coffee, coarsely ground (about 1¾ cups)
- 3½ cups water (cold)
- Wild Oats Cinnamon (for dusting)
- Coarsely grind your coffee beans.
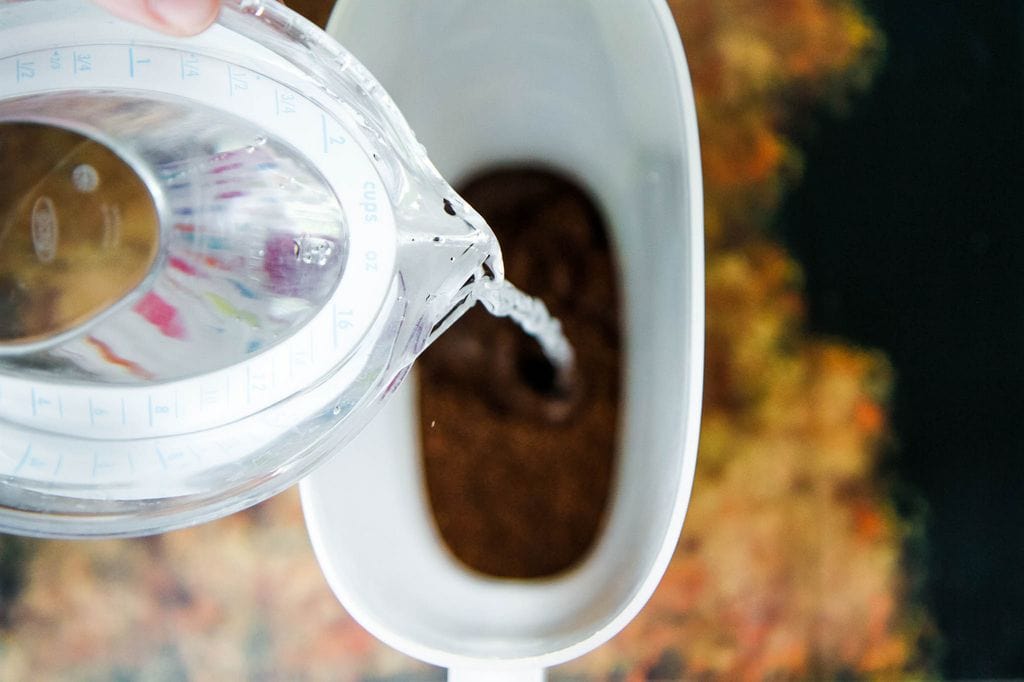
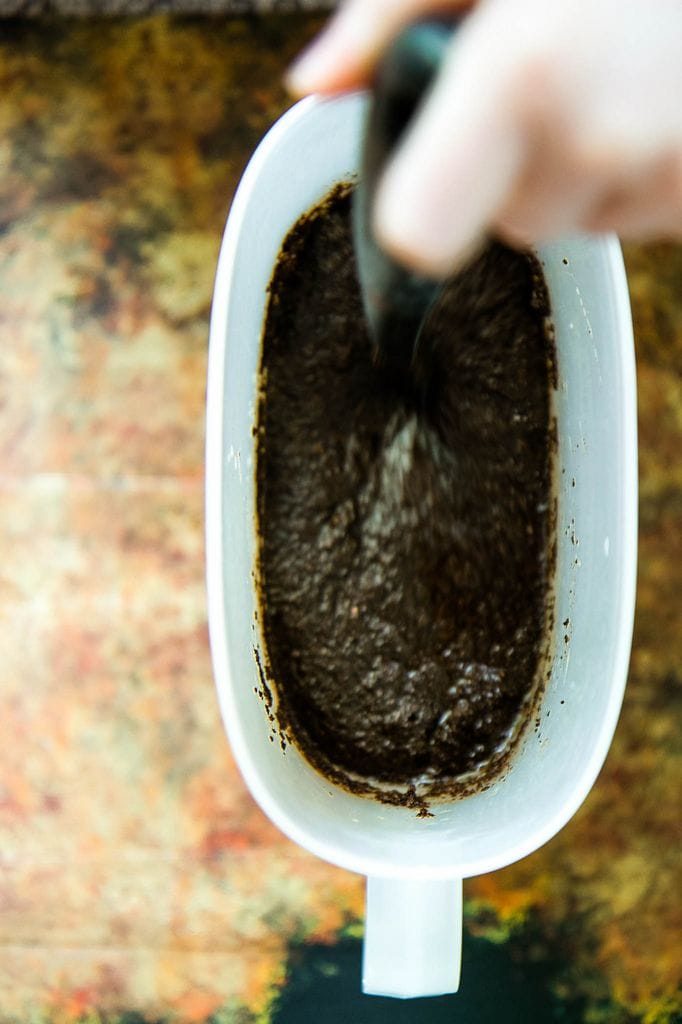
- Place the coffee grounds in a 2-quart pitcher, add the water, and stir to combine.
- Cover with a lid or plastic wrap and let steep at room temperature. The steeping should be at least 12 hours or up to 1 day.
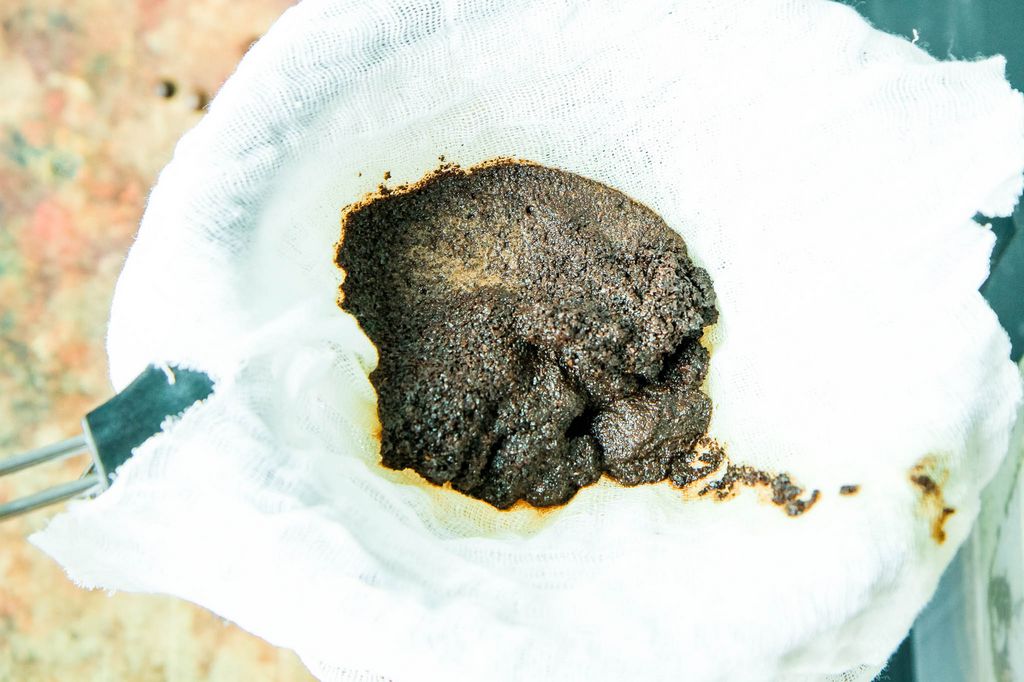
- Line a fine-mesh strainer with a standard coffee filter and fit it over a medium bowl. Working in batches, slowly pour the coffee into the filter until all of the liquid has passed through the strainer. Do not rush the process and stop when you reach the solids at the bottom of the pitcher. Do not pour the grounds in.
- Discard the grounds and the contents of the strainer.
- Transfer the strained coffee into a clean pitcher.
- Cover and refrigerate until completely chilled, at least 2 hours or up to 5 days.
- For each cup of iced coffee, dilute the concentrate with an equal portion of milk, half-and-half, or water.
- Sweeten with simple syrup if desired and top with ice. Finish with a dusting of cinnamon.
As an Amazon Associate I earn from qualifying purchases.
Love this recipe? Check out these fun coffee drinks on MomAdvice!
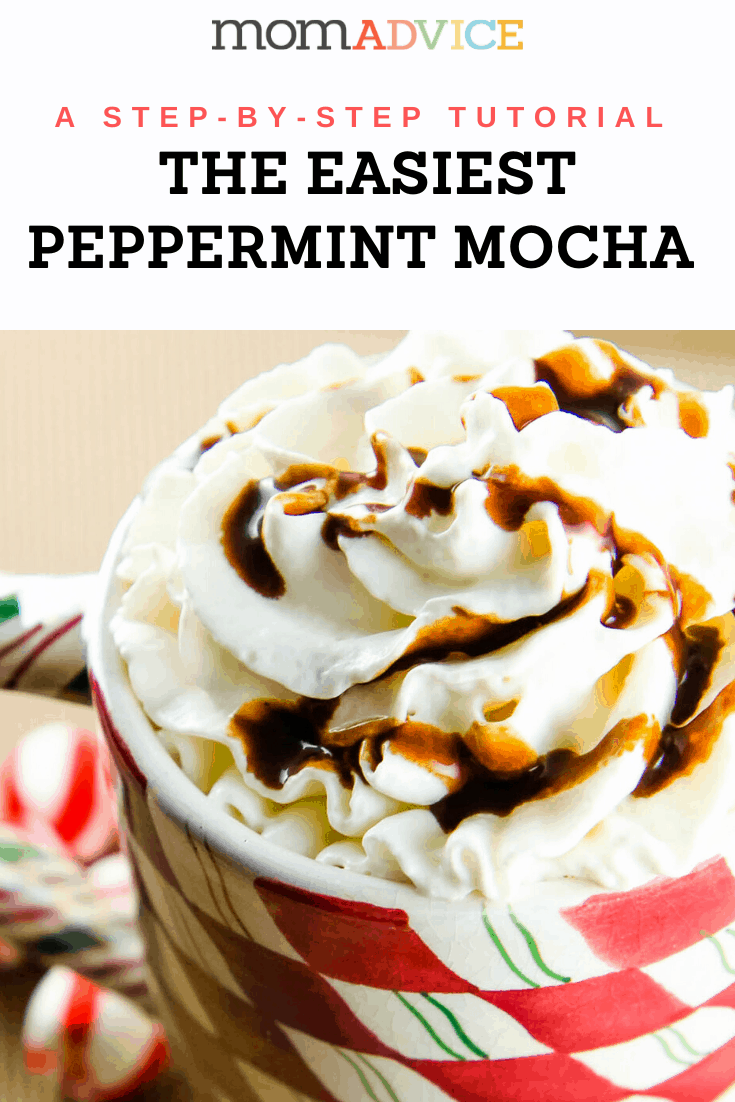 peppermint mocha recipe
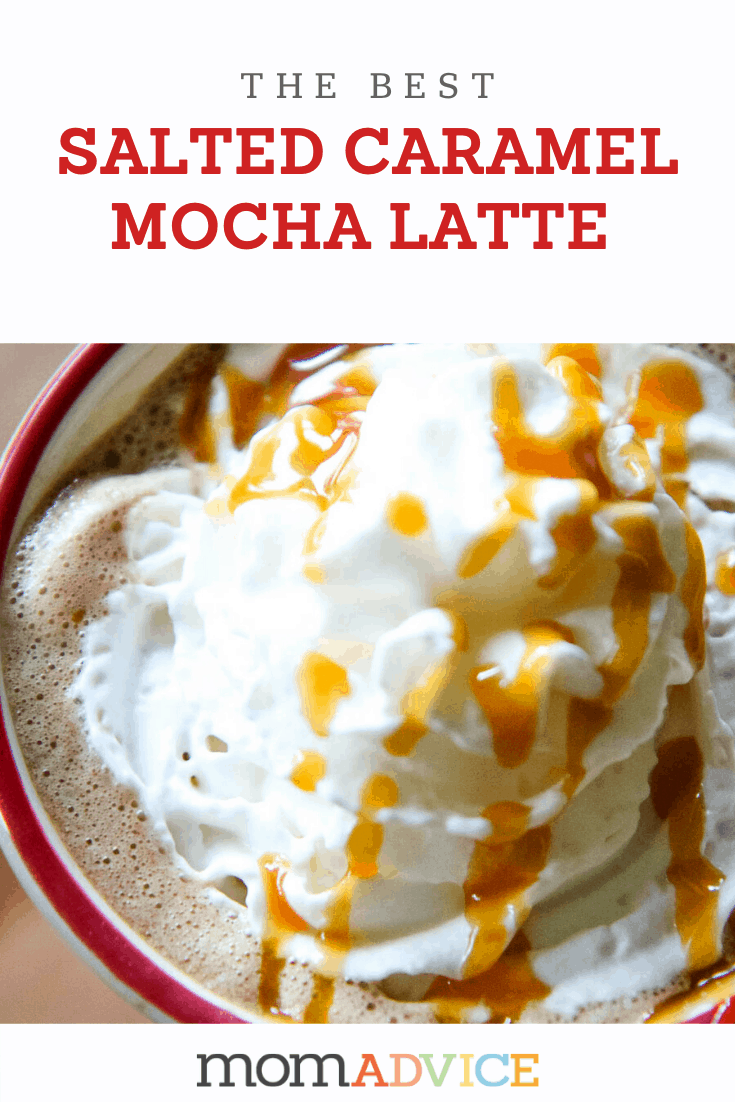 salted caramel latte recipe
 diy vanilla chai latte mix recipe
 pumpkin spice latte recipe
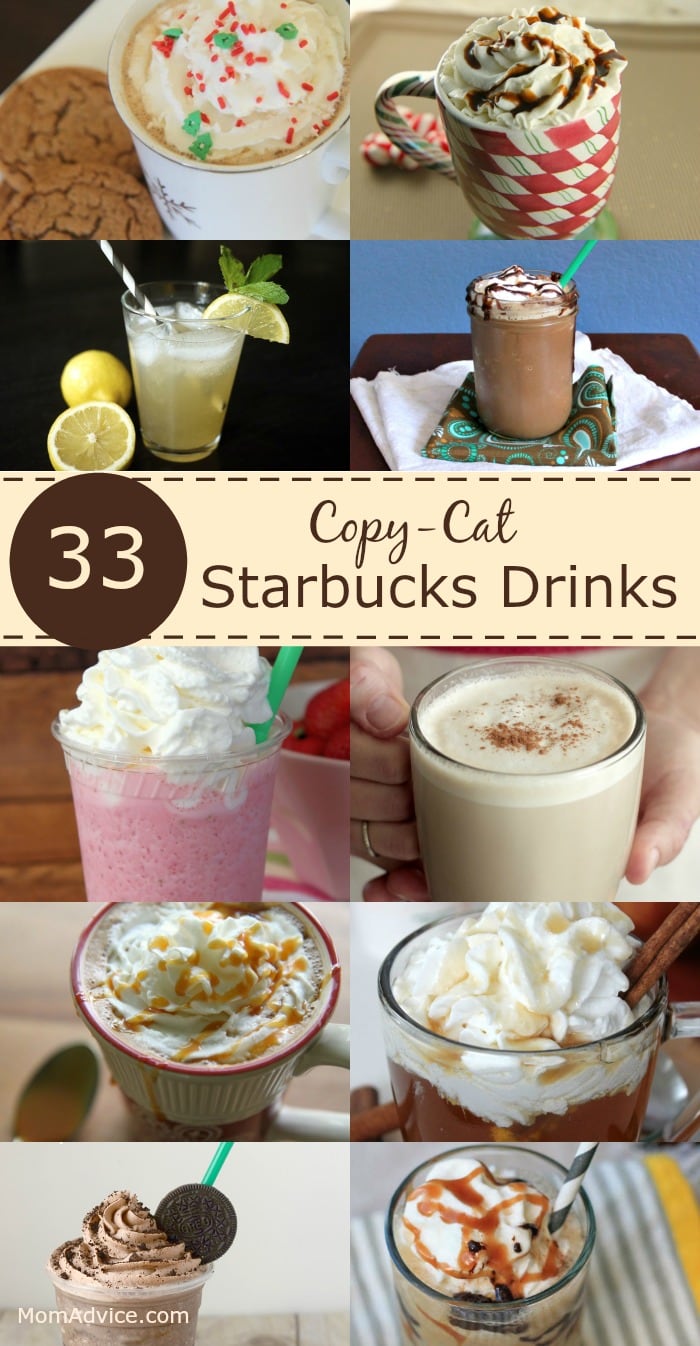
33 copycat starbucks drink recipes
Get to know Wild Oats!
Check out Wild Oats on their blog, Facebook, Instagram, Twitter, & Pinterest.
Don’t forget to finish your coffee treat with a little Wild Oats Cinnamon for the perfect finishing touch! Do you cold brew coffee? What are your tried and true methods for a great iced coffee? I’d love to hear them!
* This post is sponsored by Wild Oats. Thank you for supporting the companies that support this site!


