Archive for the ‘Breakfast’ Category

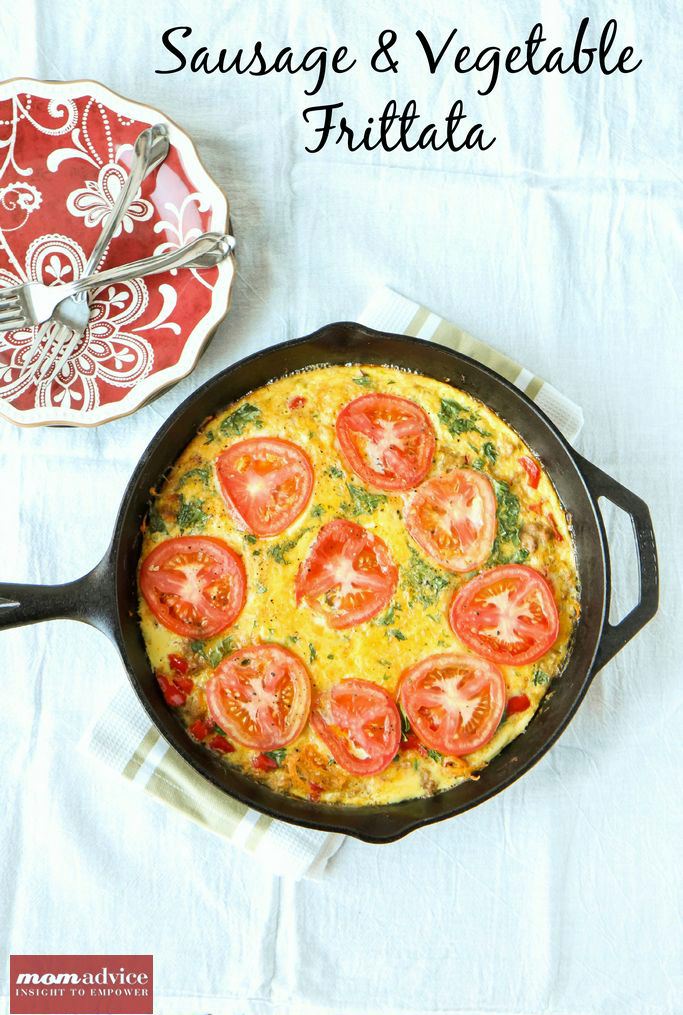
Sausage & Vegetable Frittata

Sunday, December 29th, 2013

Easy Sausage & Vegetable Frittata from MomAdvice.com.

Happy holidays, everyone! I can’t believe another new year is upon us!  Today I want to share with you an easy sausage & vegetable frittata recipe that just so happens to be both dairy-free & gluten free. This easy frittata has become my go-to dish this week as I transition into some new healthy eating habits.

First, I just want to thank you all for the kind & supportive words you shared on yesterday’s post. It helped me to reaffirm that the direction we are headed in is a good one. Change is hard, both as someone who has always had creative control and as a reader, but I am hoping these changes will bring in a whole new audience and give me some time to focus on growing our website.

I will admit that one the hardest switches for me, since giving up gluten, has been figuring out what to eat for breakfast. I am not much of a breakfast eater and every morning I would have a slice of bread smeared with peanut butter and then head to the gym. Although I picked up a loaf or two of gluten-free bread (and am considering testing out some recipes for my own),  I am still acquiring a taste for bread that tastes like cardboard. It just does to me, but I understand that I will adapt at some point!  I also have to admit that I find it a lot less filling than the whole grain toast I used to eat so I have been looking for alternatives that would jumpstart my morning without being hungry an hour later.

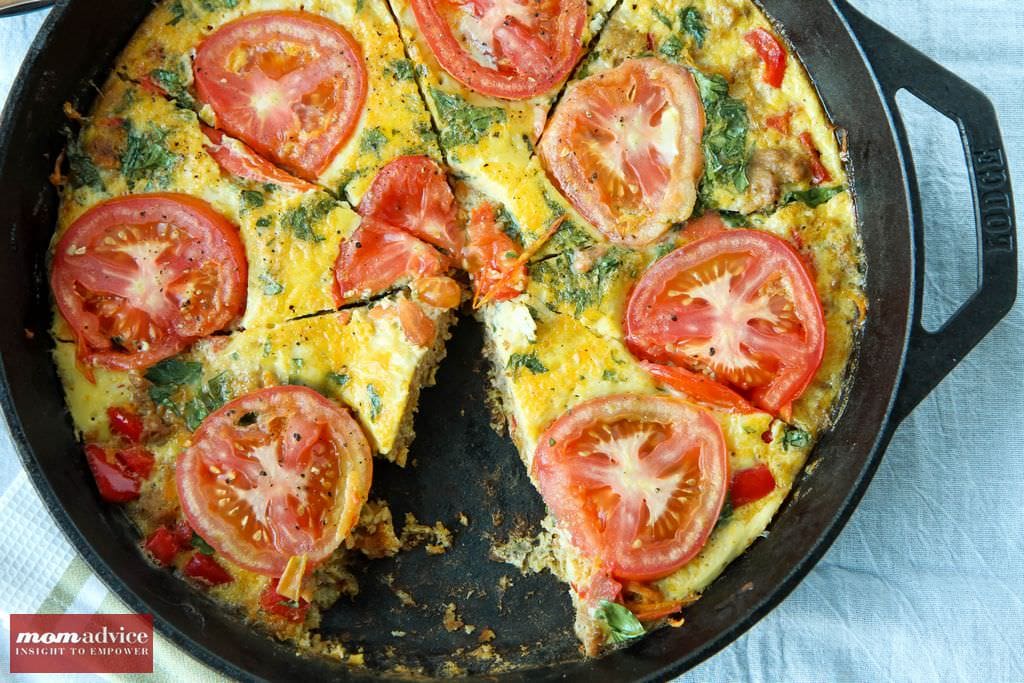
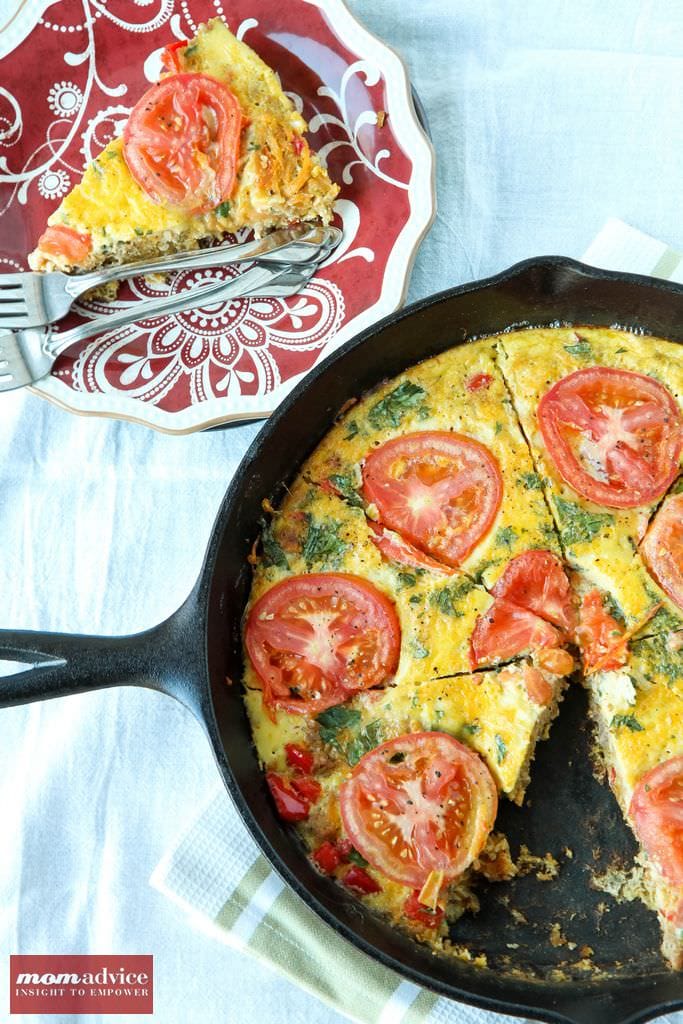
Easy Sausage & Vegetable Frittata-4

This frittata recipe fits the bill perfectly and I am able to use up whatever we have in our vegetable crisper to make a unique combination so I don’t get bored. The best part about this frittata though is that it reheats beautifully for those days when I am struggling to figure out what to eat in the afternoon or for a quick weeknight dinner paired with a salad. I will admit, I ate an entire one in the span of 24 hours. I feel nourished, full, and it is so easy to make.

This was the first time I used shredded sweet potatoes in a frittata. Have you ever tried that? Using the same technique as my laundry detergent recipe, you just use the cheese grater on your food processor to create shredded sweet potato hash. Although the flavor is mild, I found that it acted well as a binder with the absence of cheese in this one.

If you are cooking in a cast iron skillet (this is the inexpensive one I use- affiliate link!), you may need to cook it a tad longer. That being said, the cast iron skillet is my new best friend for fast frittatas and using it reminds me of many a morning of bacon & eggs in my Southern great-grandmother’s kitchen.

This is my new favorite dish and I am planning to make another one today- I really love it that much! I hope you love this one too!

amy_signature Easy Sausage & Vegetable Frittata

Sausage & Vegetable Frittata
Recipe Type: Breakfast
Author: Amy Clark
Prep time:
Cook time:
Total time:
Serves: 4
I love this easy one pan frittata for a delicious brunch or for lunch paired with a salad. The best part is that it is a gluten-free & dairy-free treat that can be enjoyed by all! Don’t be limited to these ingredients though. Check your vegetable crisper and incorporate any types of veggies (or meats) that you need to use up for a unique combination of your own.
Ingredients
  • 2 tablespoons coconut oil
  • 1/2 pound Italian sausage, uncooked
  • 1 small sweet potato, scrubbed and shredded (1 cup). I use my food processor for shredding these.
  • 1 red bell pepper, diced
  • 8 eggs
  • 1 teaspoon milk (or milk alternative like coconut, rice, or almond milk)
  • 1/2 teaspoon salt
  • 2 Roma tomatoes sliced
  • Handful of fresh Italian Parsley, chopped
Instructions
  1. Preheat the oven to 350 degrees.
  2. Heat the oil in an oven-safe skillet over medium heat.
  3. Add the sausage, sweet potato, and red pepper and cook these four 4 minutes.
  4. Beat the eggs with the milk. Season with salt. Pour these into the skillet and cook for three minutes, stirring when first adding to combine all the ingredients.
  5. Sprinkle the frittata with fresh parsley and then arrange the tomato slices in a circular pattern on top of the eggs.
  6. Place the frittata in the oven and bake for 12-15 minutes.

Adapted from Against All Grain (affiliate)


gluten-free-125

Participating for the first time in this week’s gluten-free recipe round-up on Musings of a Housewife!

Pin It

Easy Christmas Tree Cinnamon Rolls

Tuesday, December 3rd, 2013

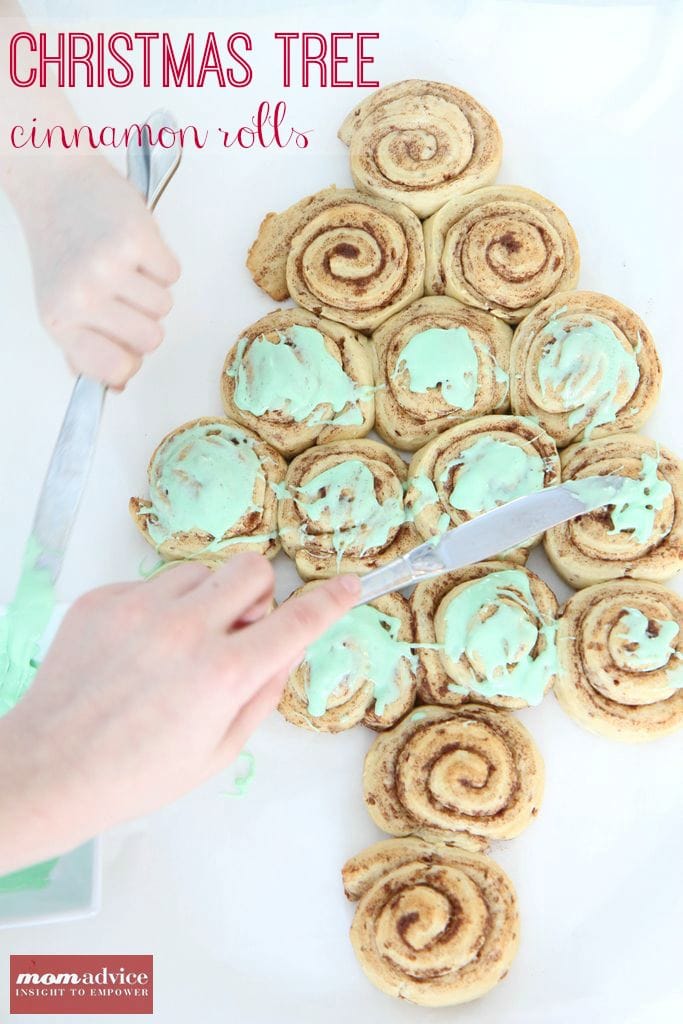
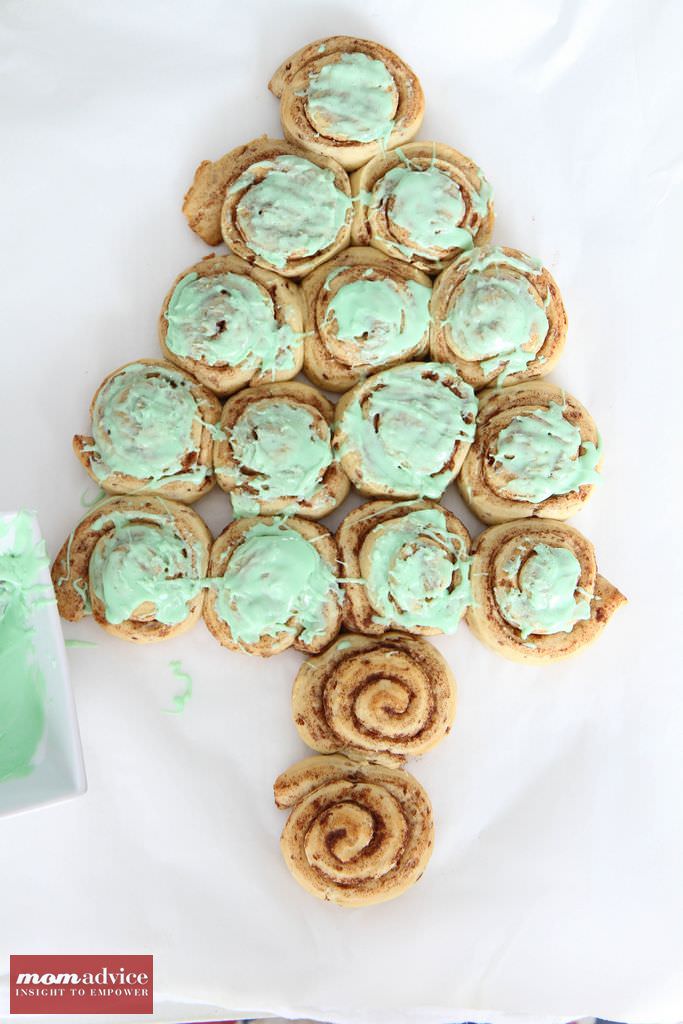
Easy Christmas Tree Cinnamon Rolls from MomAdvice.com.

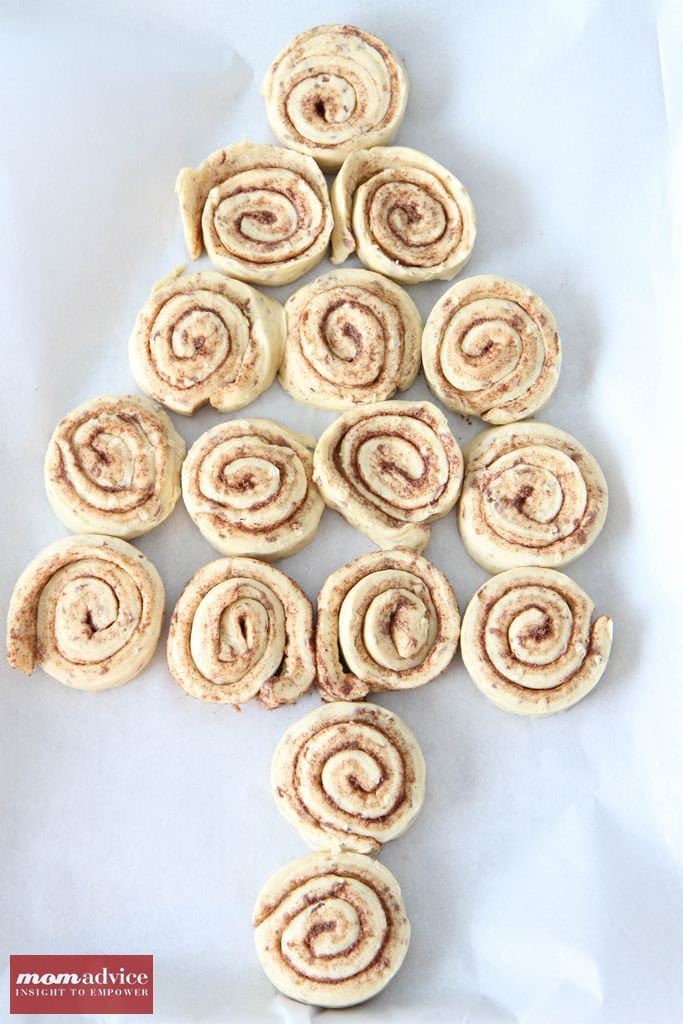
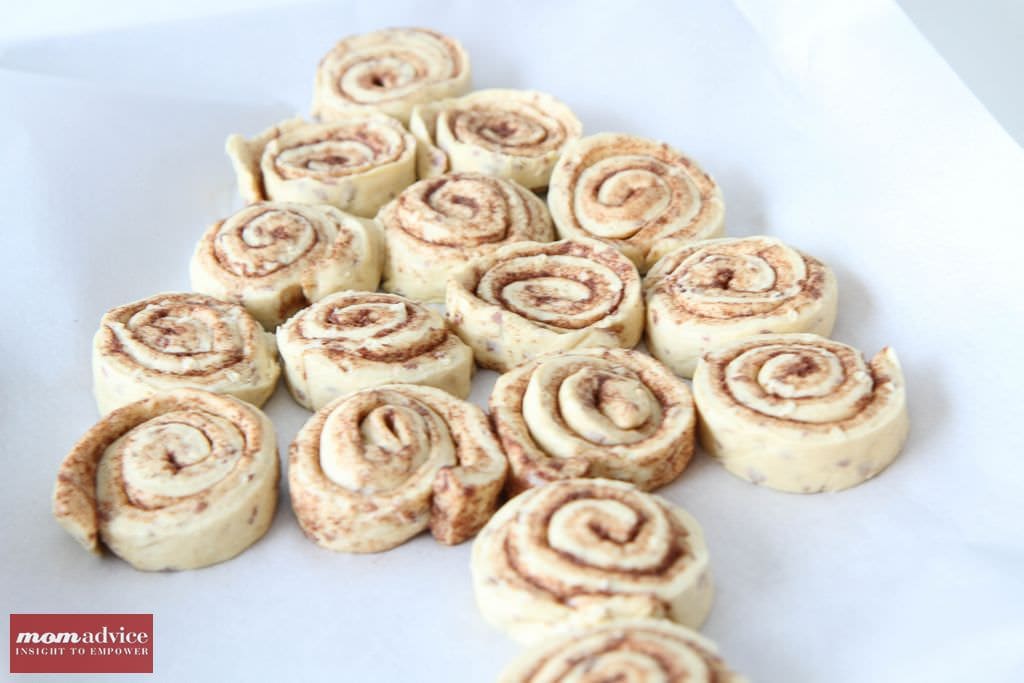
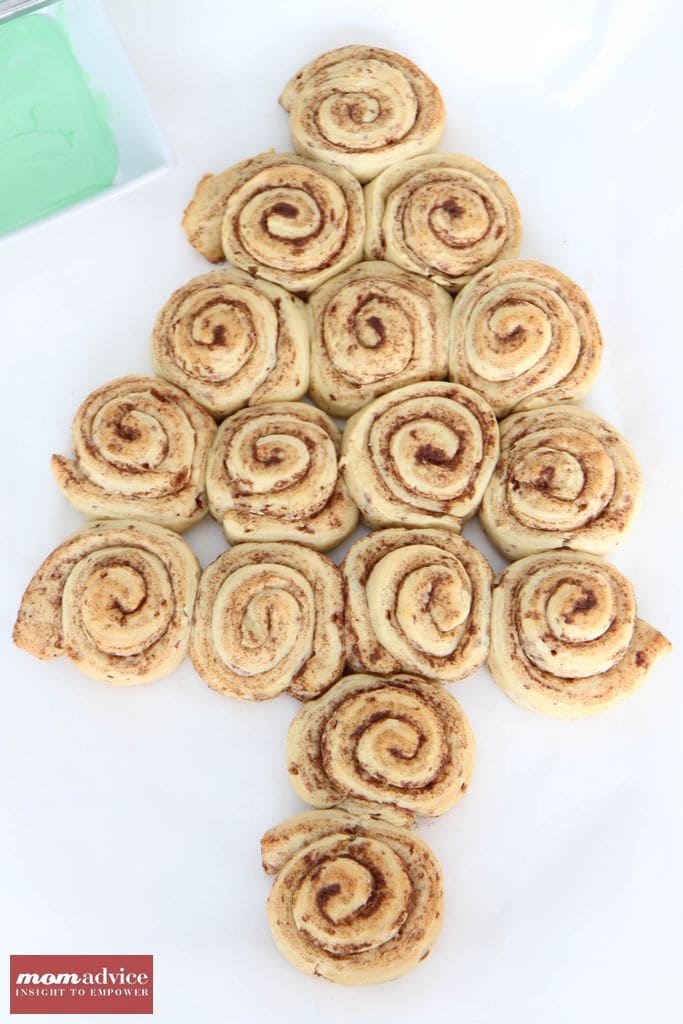
Ever since my children were small we have had a tradition of making a Cinnamon Roll Christmas Tree. The best part about this tradition is that it is fast to create, can be decorated by your kids, and it is something they will look forward to every year.

Easy Christmas Tree Cinnamon Rolls from MomAdvice.com. Easy Christmas Tree Cinnamon Rolls from MomAdvice.com.

There is no recipe to this one unless you are feeling ambitious and want to create some easy bread machine cinnamon rolls to make this with, which is something I love to do on Christmas morning!

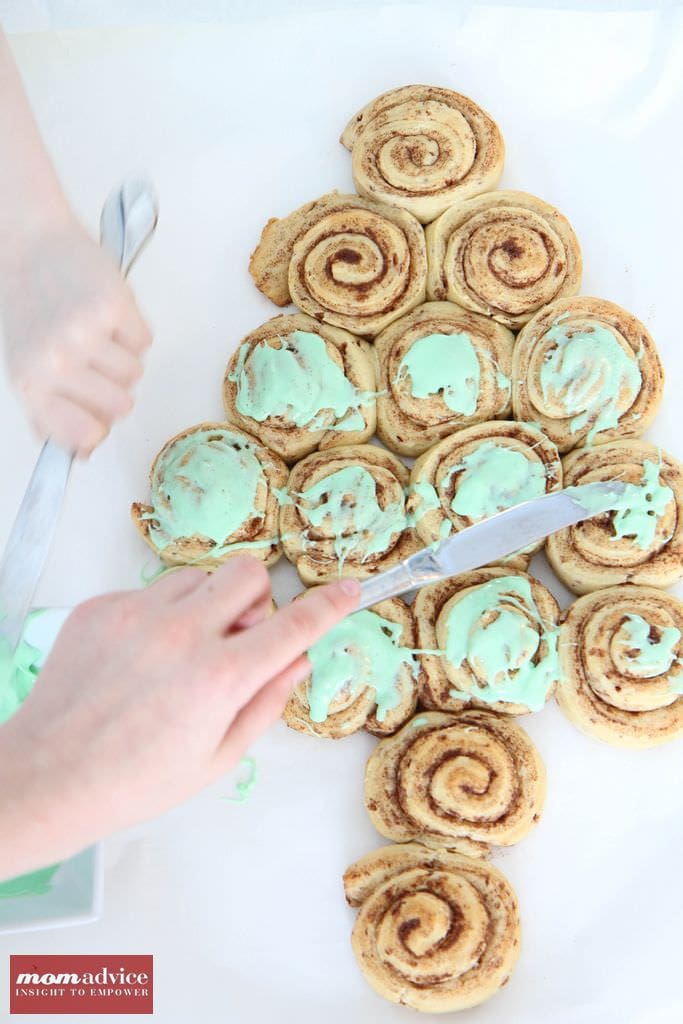
Shape these into a Christmas tree shape on a parchment-lined cookie sheet. Bake as directed on the packaging. Tint the icing green with a few drops of food coloring and let them decorate the rolls themselves.

I slide the rolls off of the hot cookie sheet and let them decorate while they are still hot, reducing the risk of burn elbows and arms by removing that hot sheet.

Easy Christmas Tree Cinnamon Rolls from MomAdvice.com. Easy Christmas Tree Cinnamon Rolls from MomAdvice.com. Easy Christmas Tree Cinnamon Rolls from MomAdvice.com.

This recipe is practically fool-proof, unless you were up with a screaming baby one night and on Christmas morning grabbed blue instead of green.

And maybe you declared it the year of the retro Christmas tree.

Maybe.

I hope you can embrace this as part of your annual holiday traditions. Be sure to check out my other ideas for Great Family Traditions to Celebrate the Holidays in a MEANINGFUL way. If you didn’t get around to creating an advent calendar yet, don’t worry! Check out my Use What You Have Advent Calendar!


Pin It

2 Ingredient Cranberry Pancake Syrup

Monday, November 25th, 2013

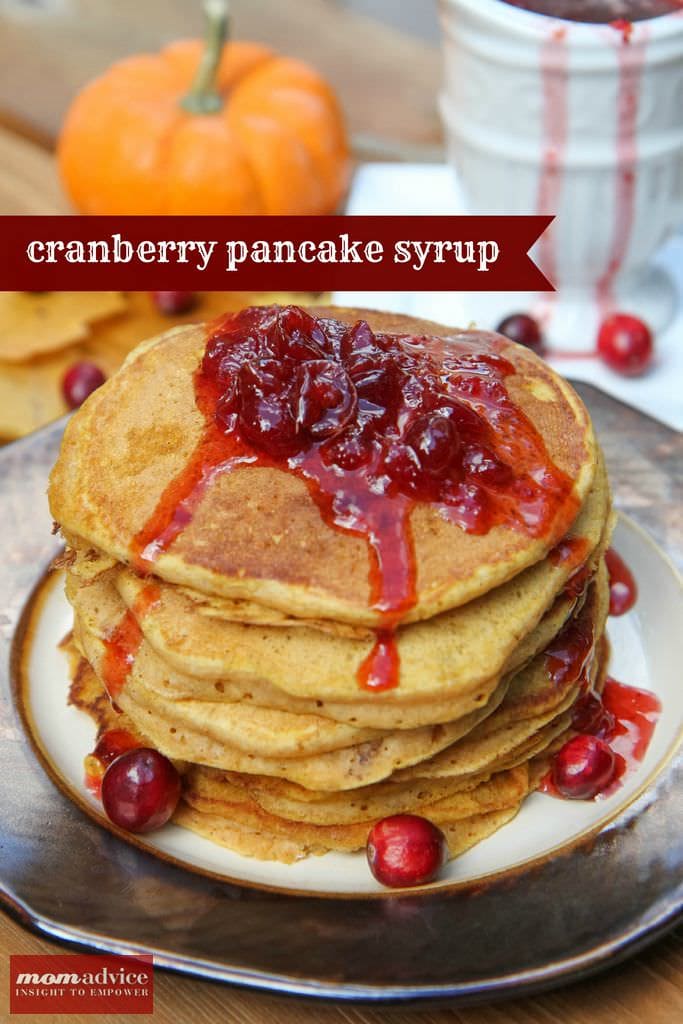
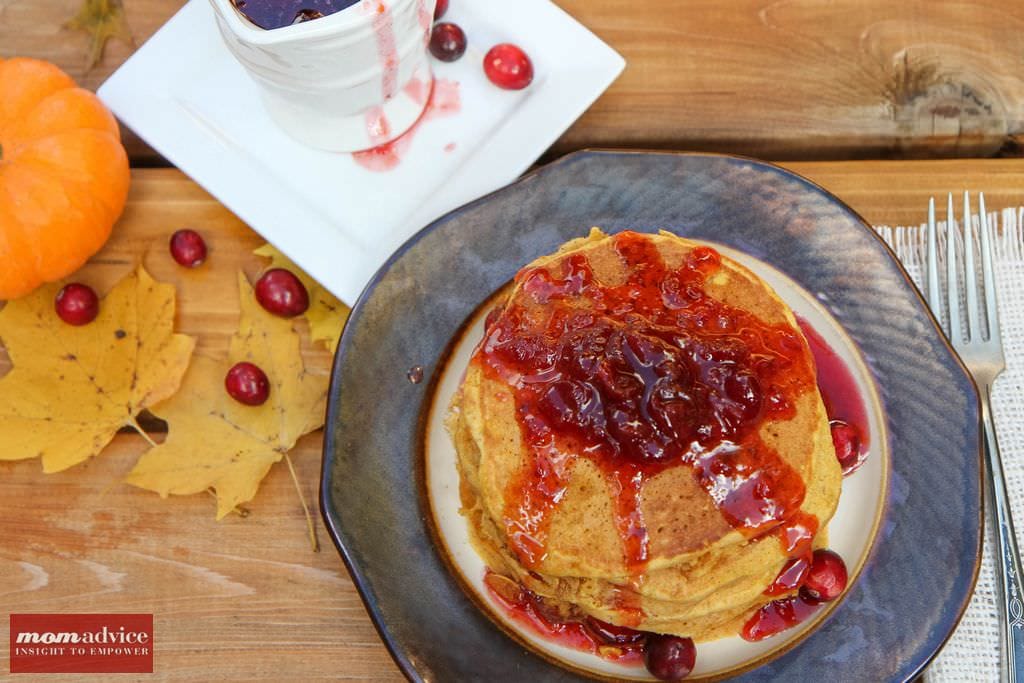
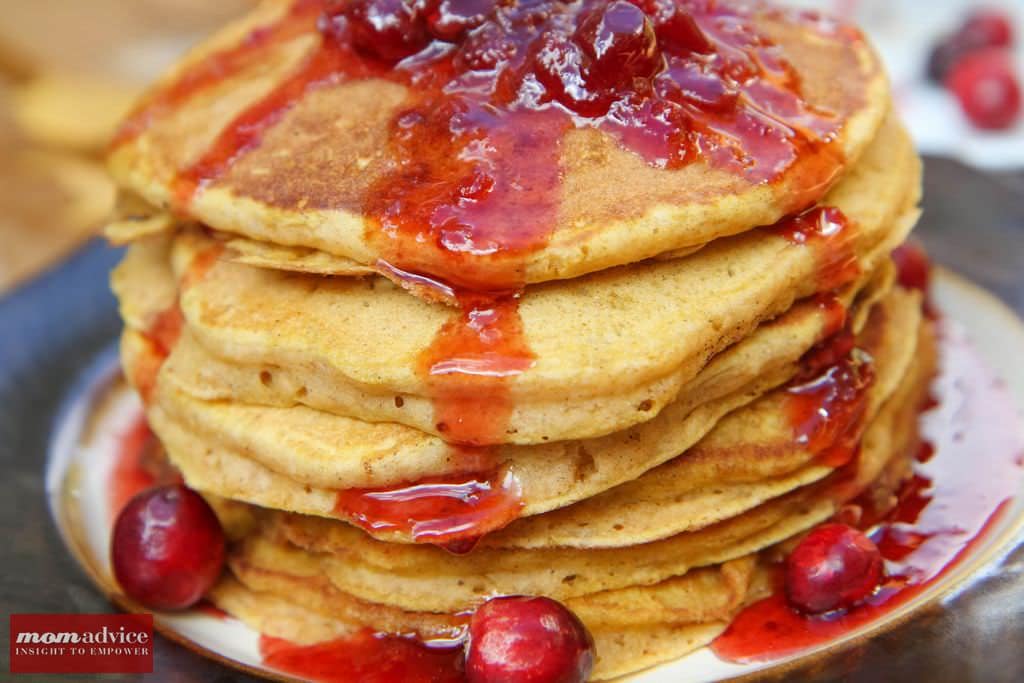
2 Ingredient Cranberry Pancake Syrup

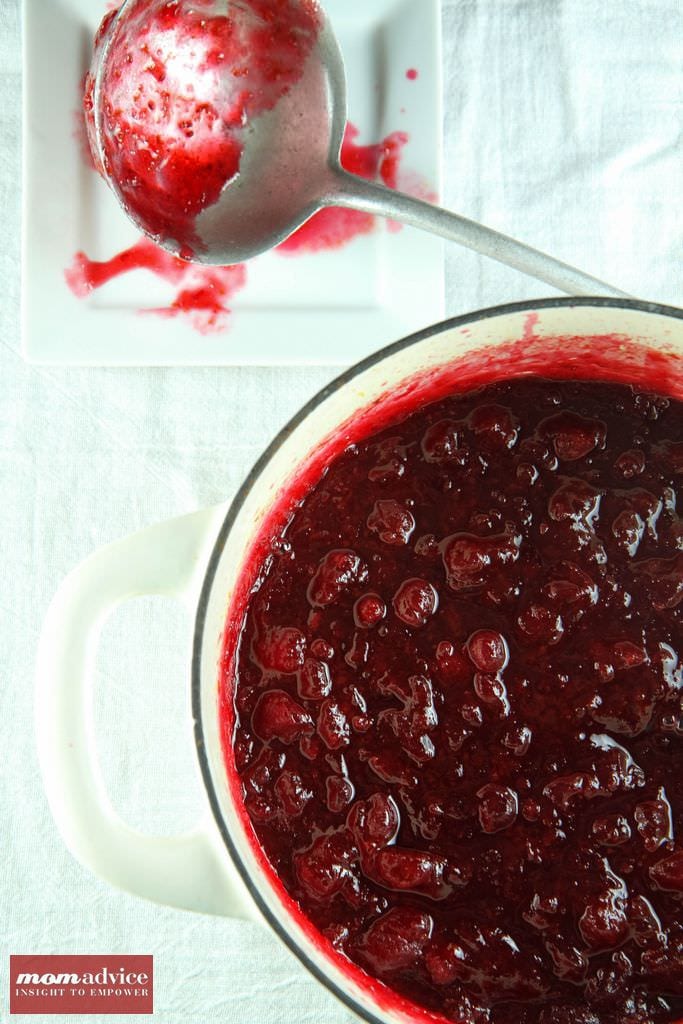
Continuing with our Thanksgiving theme this week, today I wanted to share an easy recipe for Cranberry Pancake Syrup made from your leftover cranberry sauce. This cranberry pancake syrup recipe is made from two simple ingredients; your leftover cranberry sauce and maple syrup.

Walmart challenged me to create a recipe using some of our Thanksgiving leftovers and I immediately thought of this idea that I had for our leftover cranberry sauce.

Brandied Orange & Cranberry Sauce

This was the first year that I made my own cranberry syrup for Thanksgiving and I loved it so much that I wanted to use it as an ingredient in another dish that we could share after the holidays were over. This Brandied Orange & Cranberry Sauce was so heavenly that I knew it would be the perfect accompaniment with a big stack of pancakes.

2 Ingredient Cranberry Pancake Syrup

I couldn’t put this sauce on just any pancakes though, it had to be our family favorite- the Fluffy & Light Pumpkin Pancakes that we share (almost) weekly on Sundays in the autumn months.

When the pumpkin and cranberry are combined together, it is like experiencing Thanksgiving Day all over again! I hope you can give these a try with your own leftover cranberry sauce. I promise, it is a recipe that will not disappoint!

2 Ingredient Cranberry Pancake Syrup

Cranberry Pancake Syrup
Recipe Type: Condiment
Author: Amy Clark
Cook time:
Total time:
Serves: 4
An easy two ingredient pancake syrup that can be created from leftover cranberry sauce. Add this delicious syrup on top of a stack of Pumpkin Pancakes for a festive spin!
Ingredients
  • 2/3 cup cranberry sauce
  • 1 cup maple syrup
Instructions
  1. In a saucepan mix together cranberry sauce and maple syrup and heat until warm.
  2. Serve on top of your favorite pancakes.

What is your favorite dish to create with Thanksgiving leftovers?

walmart_mom_disclaimer

Pin It

Dorm Mini-Fridge Healthy Makeover

Wednesday, August 7th, 2013

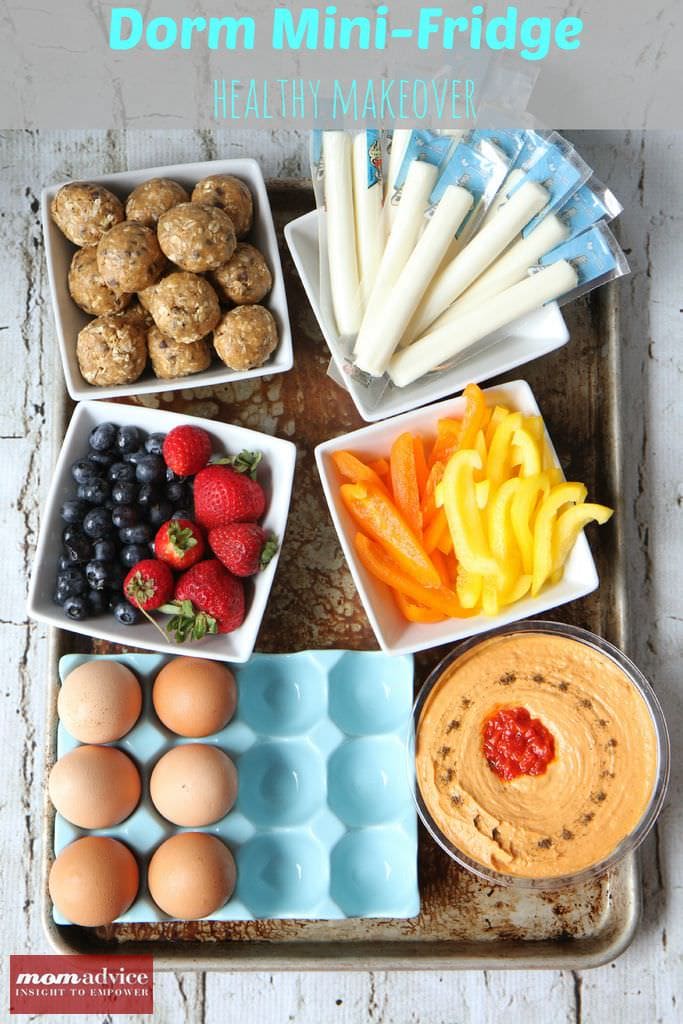
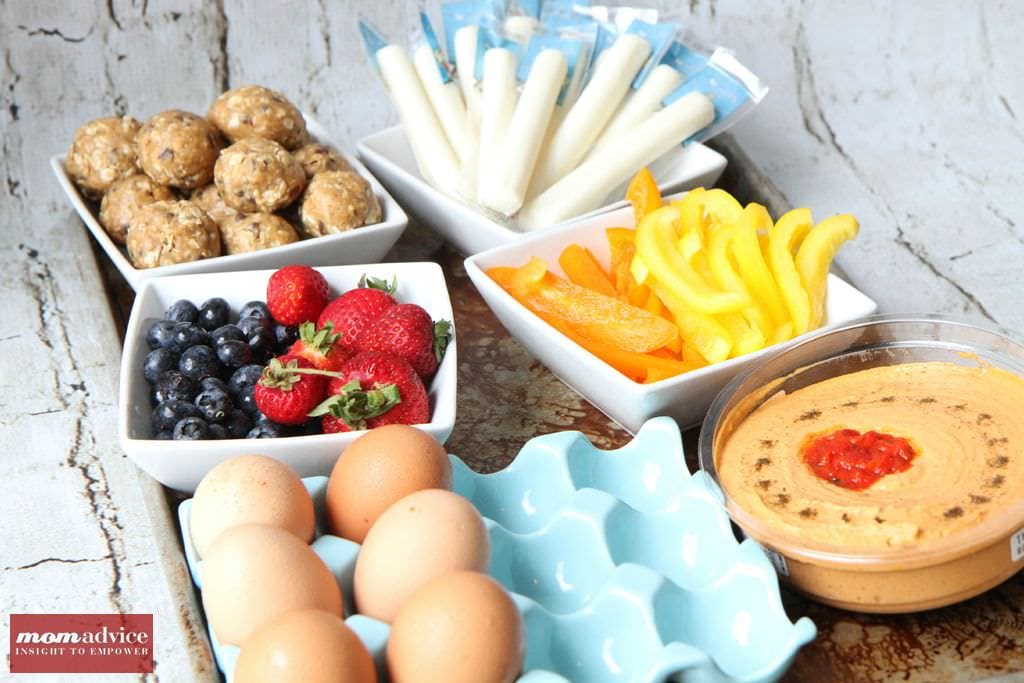
Dorm Mini-Fridge Healthy Makeover

When I attended college, I lived on junk & convenience food and I had the inevitable, “Freshman 15,” to prove from my bad eating habits throughout the year. I only wish I knew how great I would have felt and how much better I would have performed if I had stocked my dorm fridge with healthy options.

Today I wanted to share with you some healthy ideas for stocking your dorm mini-fridge for the school year along with an easy no-bake energy bite that you can mix up in a bowl for easy snacks on-the-go when heading to your classes.

Dorm Mini-Fridge Healthy MakeoverHead on over to the Kenmore Blog today to read my ideas for smart back-to-school snacking and grab  my easy no-bake recipe for smart snacking on-the-go!

Pin It

Homemade Blueberry Pancake Syrup

Tuesday, August 6th, 2013

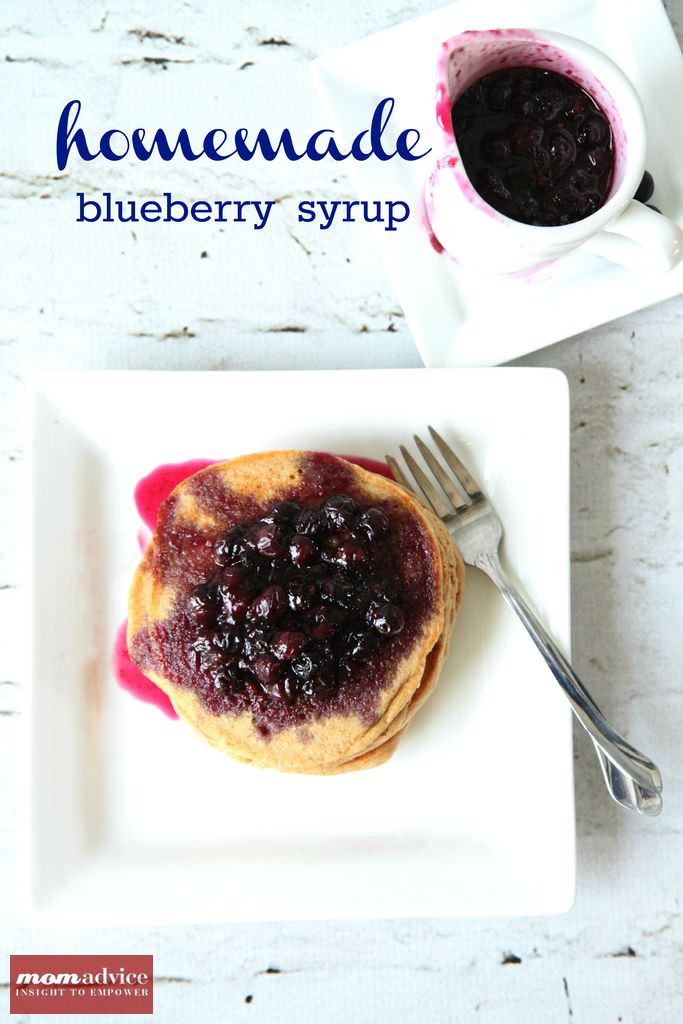
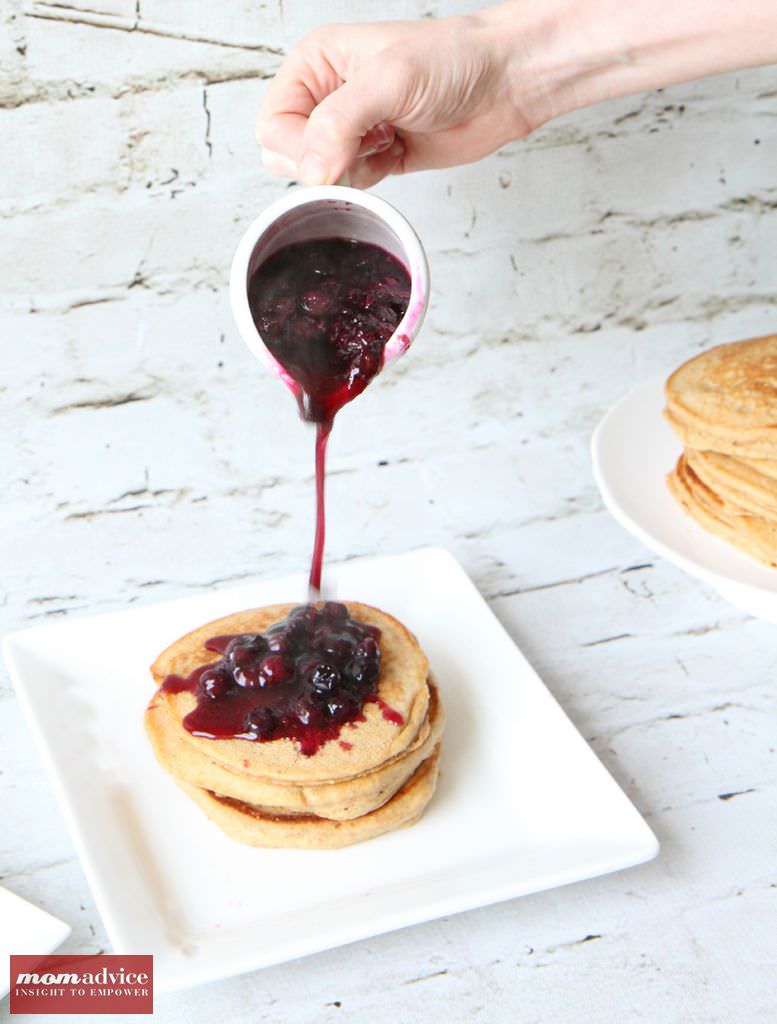
Homemade Blueberry Pancake Syrup from MomAdvice.com.With blueberry season in full swing, I am always looking for fun ways to use my blueberries. This blueberry pancake syrup couldn’t be easier to whip up or to eat and is a fun way to put those blueberries to work in your kitchen.

It is amazing how sugar, water, a little vanilla, and fresh berries make such an incredible difference on a plain old waffle, but this blueberry pancake syrup proves that simple ingredients can create something outstanding.

The burst of flavor, the happy dance in my mouth, and the smacking of lips at the table make me so incredibly joyful when we eat this syrup over our waffles. The berries coat the waffle perfectly and add a little sweetness to my waffles without a sugary overkill.

This is really and truly a fantastic indulgence that takes about the same amount of time to cook as it does to make up a batch of waffles. Fast and delicious!

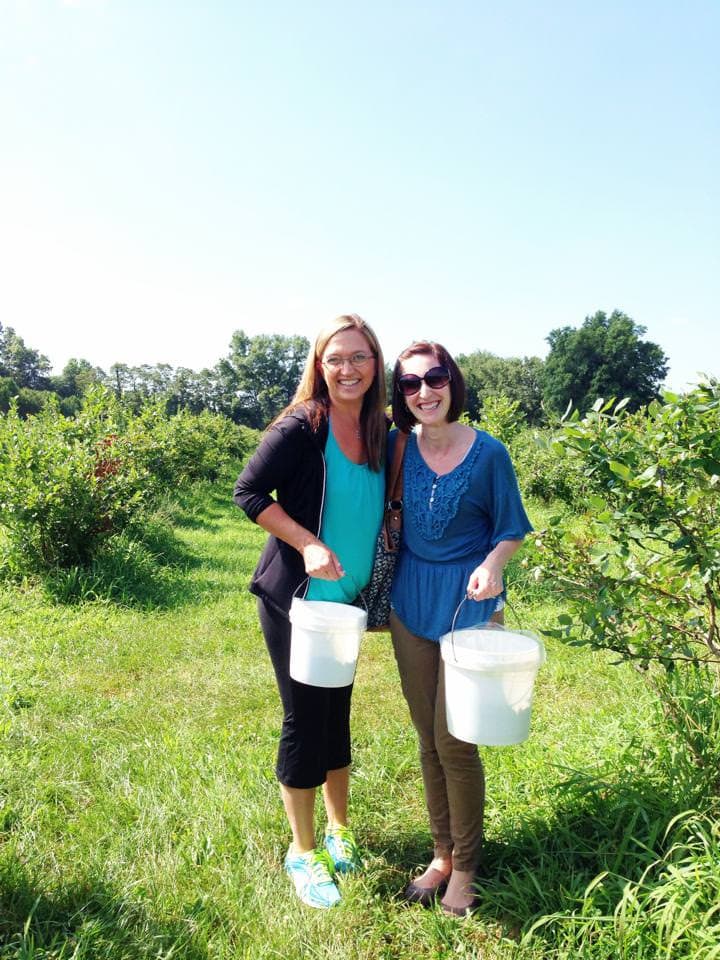
blueberry_picking Each year we make an annual trip out to the Blueberry Ranch to pick our berries. This year was extra special because my best friend of 25 years came in town to pick with us. I am the luckiest girl in the world to still have her in my life. It was such a special day doing that with our kids!

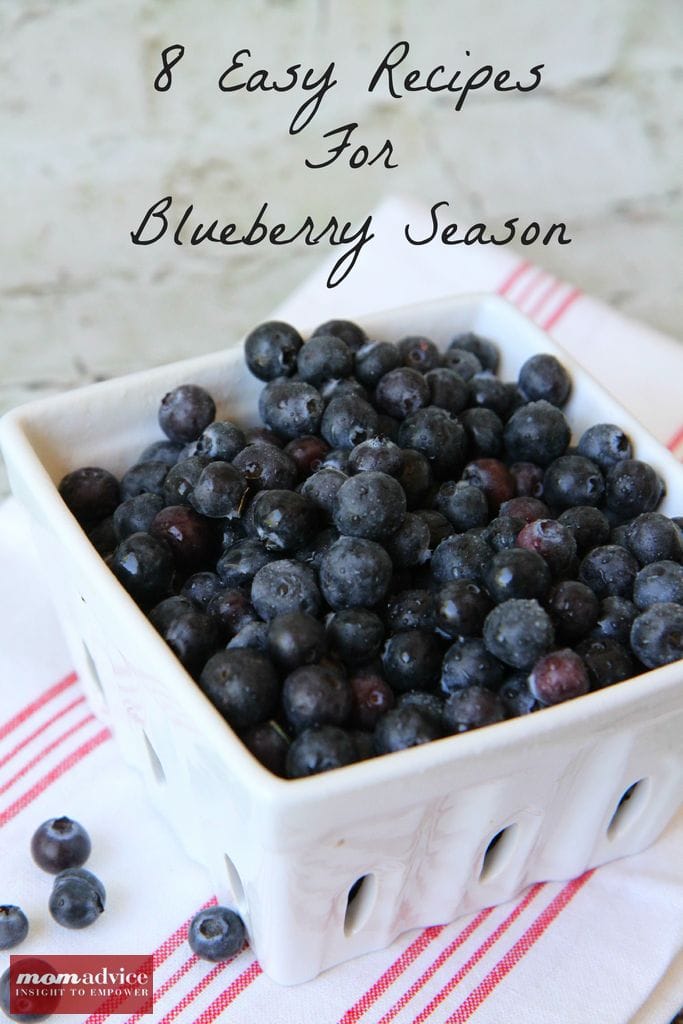
8_Recipes_For_Blueberry_Season_1

If you have been picking like me, you might be hunting for some ideas for what to do with those berries! Be sure to check out this post for 8 easy recipe for the blueberry season, including a new way to freeze those berries!

blueberry_pancake_syrup_1

Homemade Blueberry Pancake Syrup
Recipe Type: Condiment
Author: Amy Allen Clark
Prep time:
Cook time:
Total time:
Serves: 6
An easy blueberry pancake syrup for topping your favorite pancakes or waffles!
Ingredients
  • 1 pint (or two cups) fresh blueberries
  • 1 cup sugar
  • 1 teaspoon vanilla
  • 1/4 cup water
Instructions
  1. Place all ingredients in a saucepan.
  2. Cook over medium heat and stir to dissolve the sugar.
  3. Allow it to cook for 12-15 minutes and give the berries a little smash with your wooden spoon to break them up into the syrup.
  4. This syrup can be served warm or you can serve the syrup cooled.
Pin It

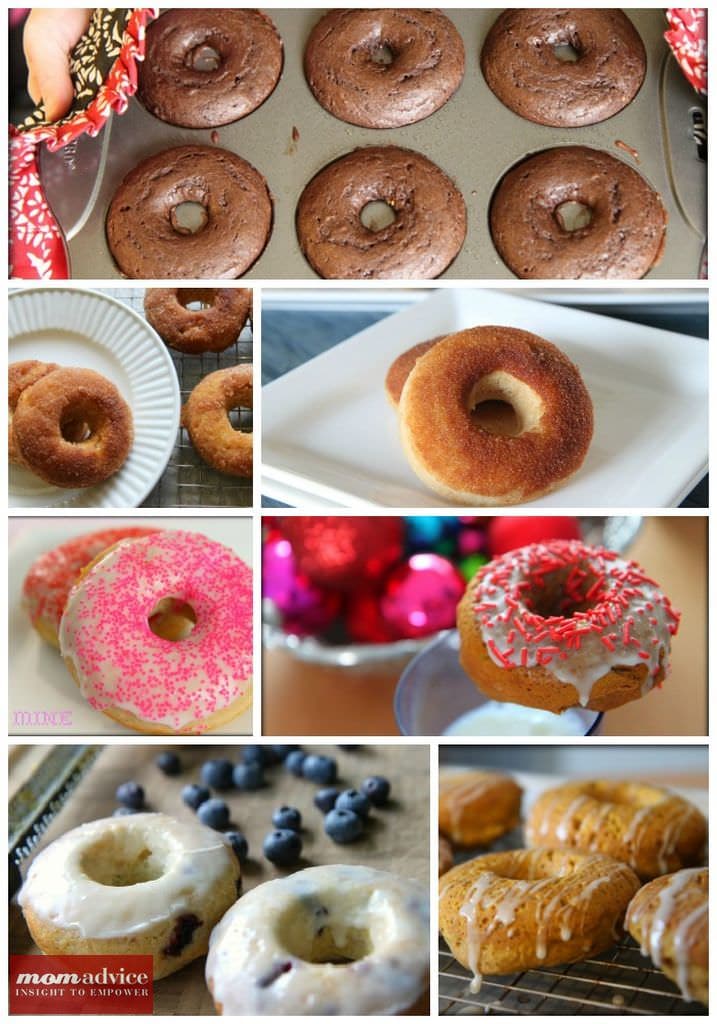
Baked Donut Recipes – Our Family’s Favorite!

Monday, May 13th, 2013

Baked Donuts_MomAdvice

You may have noticed over the last few years that our family has fallen in love with baked donuts. Literally head-over-heals, preferring them to muffins (which baked donuts actually are more like) and in the case of our kids, even over the regular fried version (yes, it’s weird).

You also may have noticed that I have spelled them both ways occasionally – donut and doughnut – because we here in the states actually use both, although Google tells me that ‘doughnut’ is the grammatically correct version, while my spell checker prefers ‘donut.’ Kinda reminds me of that tomato-potato song:

You say doughnut and I say donut…let’s call the whole thing off!

No matter – both spellings work and the most important thing is that you try one of these easy baked donut recipes and see if your family likes them as much as mine does! (You will need a special pan, though, and this mini doughnut pan makes seriously cute donuts which may (or may not!) help keep the portions under control.)

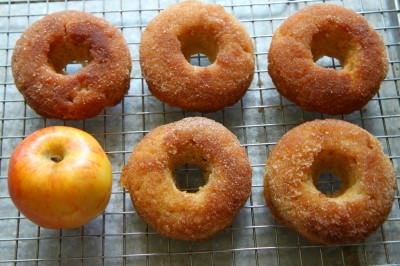
baked_apple_pie_donuts

1. Baked Apple Pie Donuts

baked_blueberry_donuts

2. Baked Blueberry Donuts with a Lemon Glaze

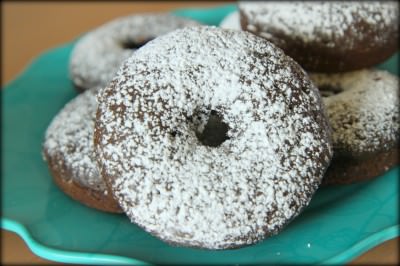
baked-chocolate-donuts

3. Fluffy Baked Chocolate Donuts

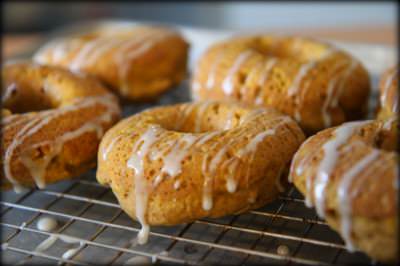
fluffy glazed donuts

4. Fluffy Glazed Baked Donuts

pumpkin-donuts

5. Baked Pumpkin Donuts with Maple Syrup Glaze

snickerdoodle_donuts

6. Baked Snickerdoodle Donuts

baked_strawberry_doughnuts_2

7. Baked Strawberry Donuts

french_breakfast_donuts

8. Baked French Breakfast Donuts

Gingerbread Donuts

9. Baked Glazed Gingerbread Donuts

Have you made any baked donuts? What are your favorites?


Pin It

Baked Strawberry Doughnuts

Monday, May 6th, 2013

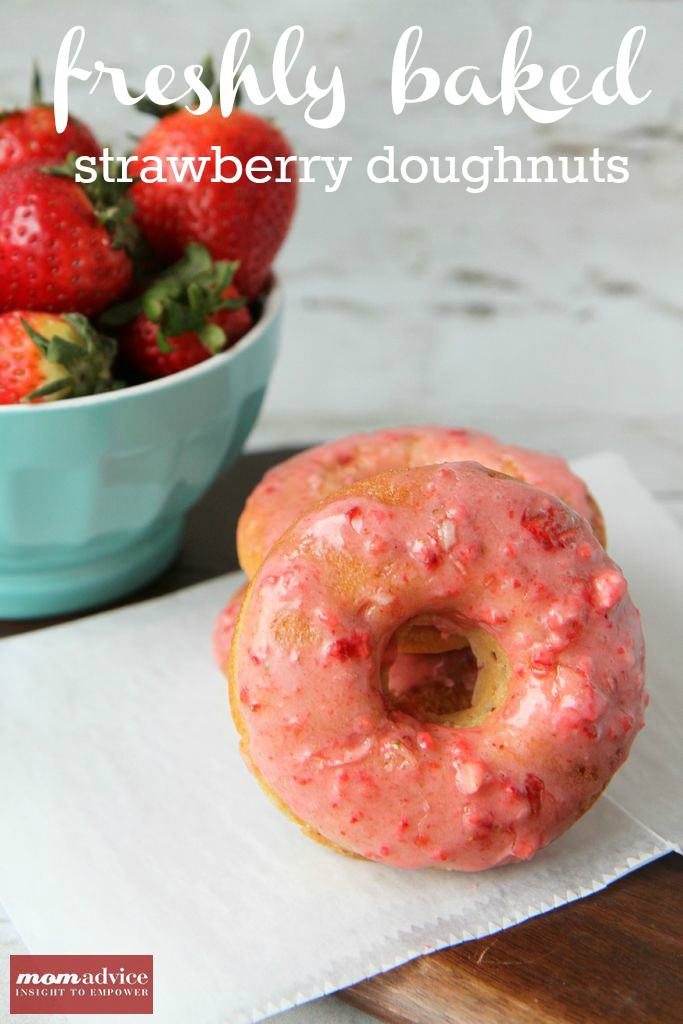
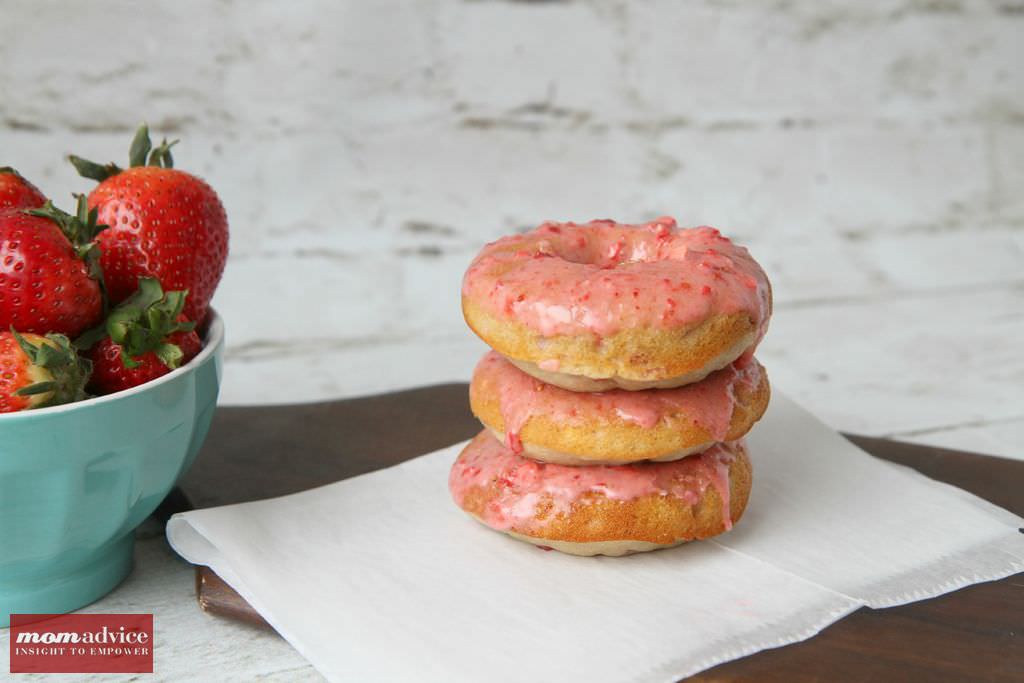
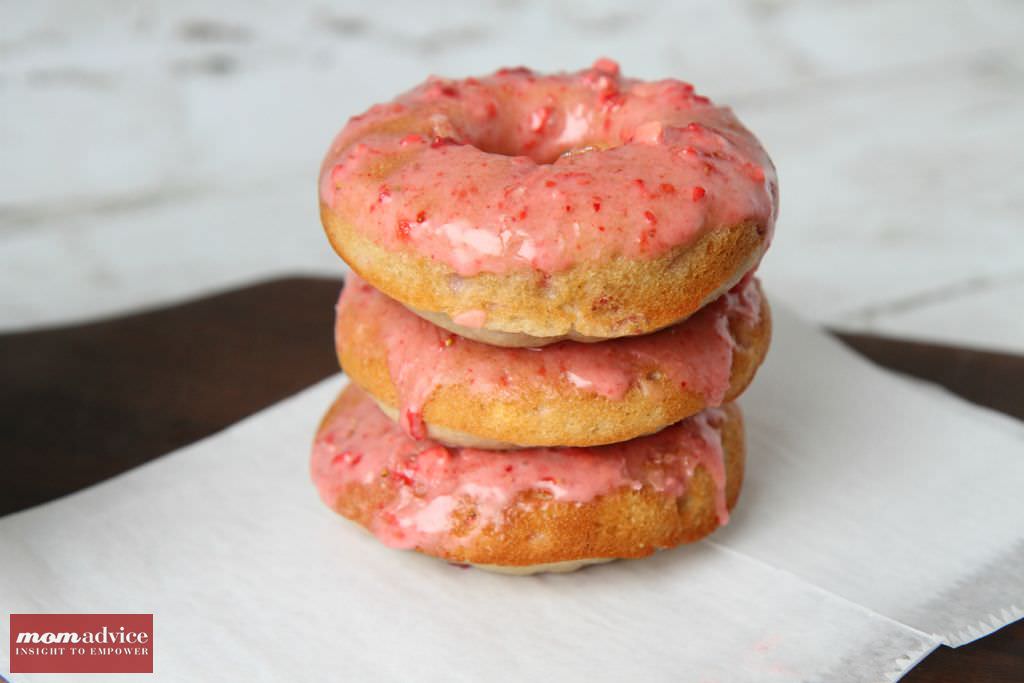
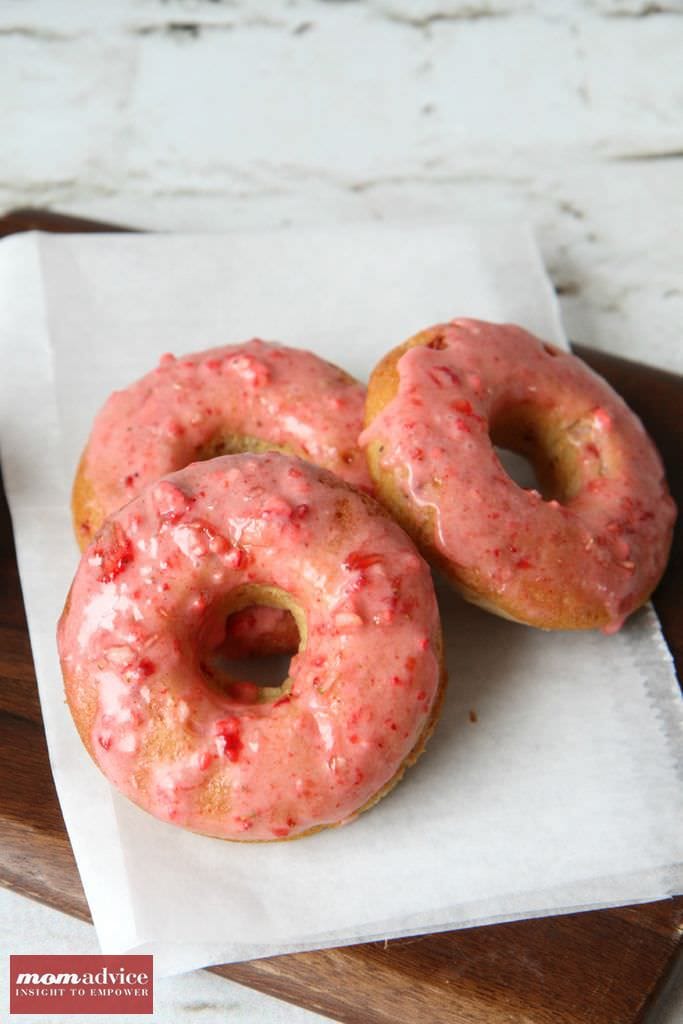
Baked Strawberry DoughnutsIf there is one thing this family loves it is baked doughnuts. Today we baked up a bath of baked strawberry doughnuts that would be perfect to enjoy during the summer months. Walmart challenged me to share a fresh new take on a strawberry recipe and I couldn’t wait to share this doughnut recipe with you!

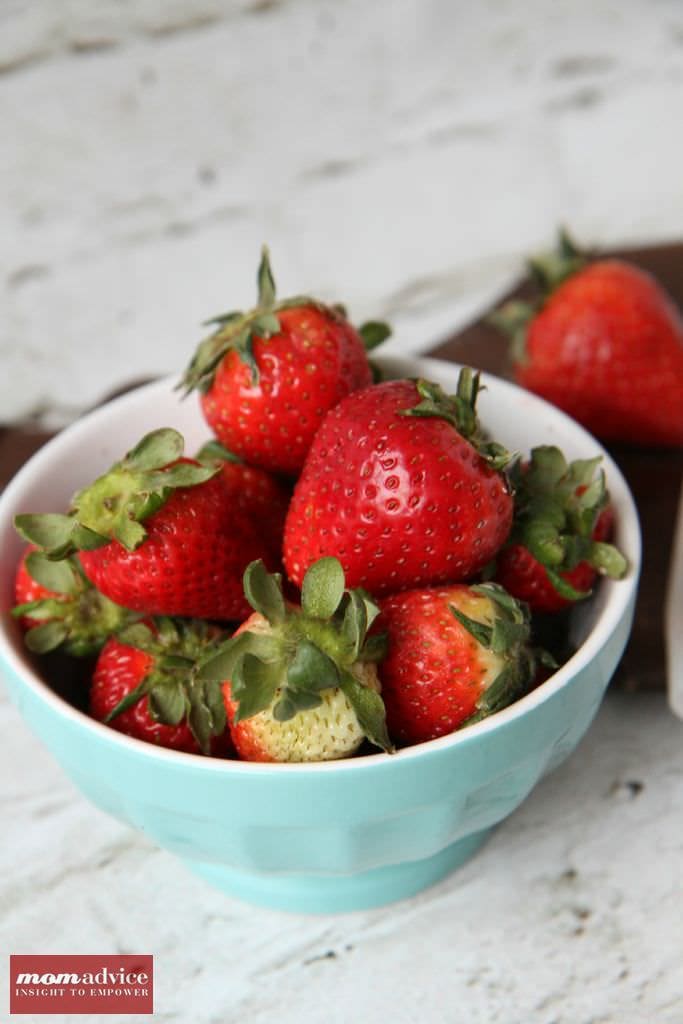
Fresh StrawberriesPicking the perfect strawberries for your dishes is relatively easy compared to other fruits where the flesh is hidden from view. I always pick the package up and examine underneath since bad berries can be nestled on the underside of the package. Be sure to select berries that are not overly ripe, mushy, or are starting to mold. Since berries have such a short shelf life, you want to make sure you are really off to a good start with the best berries from the store.

Did you know strawberries taste best at room temperature? If you are eating them whole, pull them out of the fridge one hour before eating to eat them at their peak flavor.

Baked Strawberry Doughnuts

Baked Strawberry Doughnuts

I found a great recipe for beautifully baked strawberry doughnuts from Cooking Classy that I couldn’t wait to try. To really heighten the berry flavor of these doughnuts, the glaze incorporates both fresh and freeze dried berries. You can find freeze-dried strawberries over in the same aisle as the nuts, granola bars, and dried fruits. When these freeze-dried berries are broken, it creates the pretty color and adds a burst of berry flavor to the glaze that would be mild in comparison with the fresh berries.

The flavor of these is surprisingly light thanks to the buttermilk and fresh berries that are thrown into the batter. The glaze adds that bright berry flavor to the coating and makes these baked doughnuts feel truly indulgent.

Baked Strawberry Doughnuts

Baked Strawberry Doughnuts
Recipe Type: Breakfast
Author: Adapted From Cooking Classy
Prep time:
Cook time:
Total time:
Serves: 18
Ingredients
  • 2 cups all-purpose flour
  • 1/2 cup granulated sugar
  • 1/2 tsp baking soda
  • 1/2 tsp salt
  • 3/4 cup buttermilk
  • 1/4 cup canola
  • 1 tsp vanilla extract
  • 2 large eggs
  • 2/3 cup finely chopped strawberries (I use my hand chopper to chop these)
  • Strawberry Glaze
  • 3 cups powdered sugar
  • 1/2 cup finely chopped strawberries
  • 1/2 cup (6 g) freeze dried strawberries, finely crushed to powder (place in a Ziploc bag, crush with rolling pin)
Instructions
  1. Preheat oven to 375 degrees. Grease doughnut pans well by spraying with nonstick cooking spray.
  2. In a large mixing bowl, whisk together your dry ingredients: flour, sugar, baking soda and salt.
  3. Make a well in center of mixture and set aside.
  4. In a separate mixing bowl, whisk together buttermilk, vegetable oil, vanilla and eggs and then pour into well in flour.
  5. Using a wooden spoon, stir mixture just until combined, then fold in 2/3 cup finely chopped strawberries. Spoon 2 1/2 Tbsp batter evenly into each well of the doughnut pans.
  6. Bake in preheated oven 11-13 minutes until toothpick inserted into center of doughnut comes out clean.
  7. Prepare glaze just before dipping cooled doughnuts. In a mixing bowl, combine 1/2 cup finely chopped strawberries and half of the powdered sugar. Stir until mixture starts to become moistened, then allow to rest 1 minute.
  8. Add in remaining powdered sugar and freeze dried strawberry powder and stir until well combined . Use glaze immediately. If glaze is too thick, thin with 1 tablespoon of milk.
  9. Allow to cool several minutes in doughnut pan then invert onto a wire cooling rack to cool completely.
  10. Once cool dip top halves of doughnuts into glaze and allow some of excess to run off, then return to wire rack, glazed side facing upward.
  11. Transfer doughnuts to freezer to allow glaze to set, about 5 minutes.

Recipe Slightly Adapted from Cooking Classy.

walmart_mom_disclaimer
;

Pin It

Homemade Whole Wheat Toasted Tarts

Tuesday, March 19th, 2013

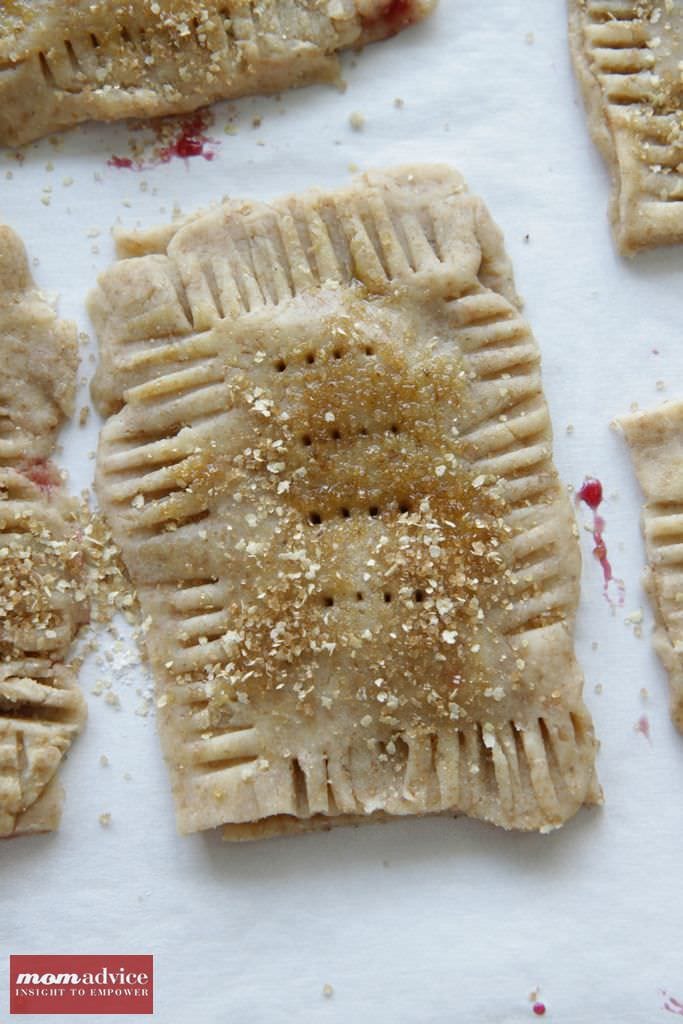
I love, love, love breakfast tarts and today I wanted to share with you a cute homemade whole wheat toasted tart version of this delicious treat that you can make right in your own kitchen. This recipe for whole wheat toasted tarts is so delicious that you won’t believe how much yum can be packed into one little treat.

These whole wheat toasted tarts incorporate a little whole wheat flour and in lieu of a frosting topping, I have mixed raw sugar & wheat germ for a sweet and toasty combination of deliciousness that is a little bit healthier than sprinkles and frosting (although we do love sprinkles and frosting around here too!).

I had never eaten a homemade toasted tart before and can I say…holy yum?! These are flaky, sweet-but-not-too-sweet, and just the right balance of filling and crust.

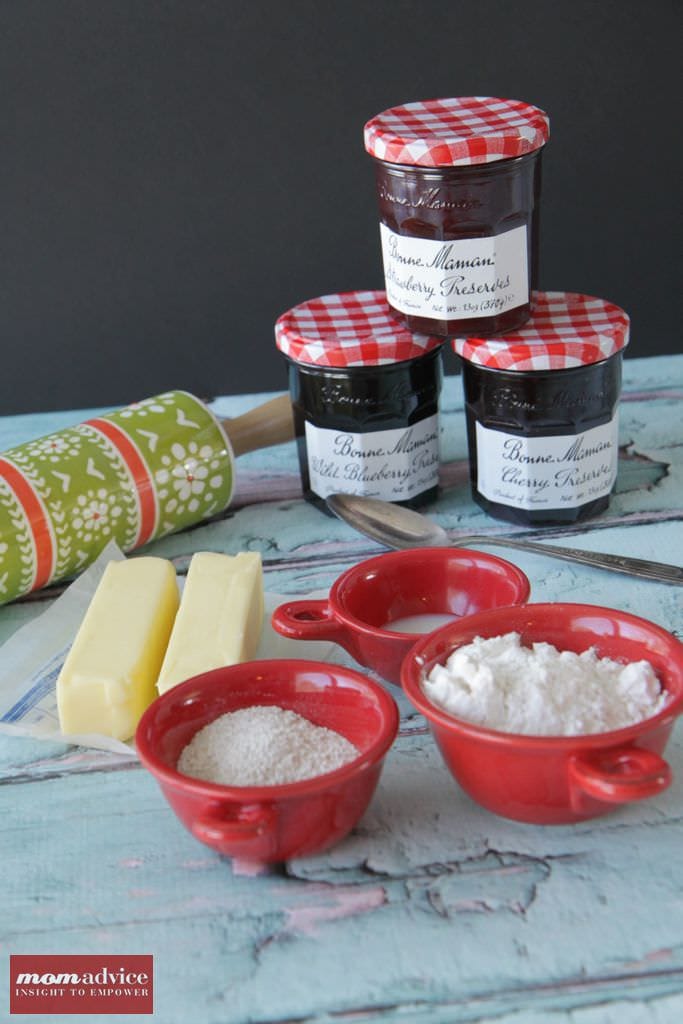
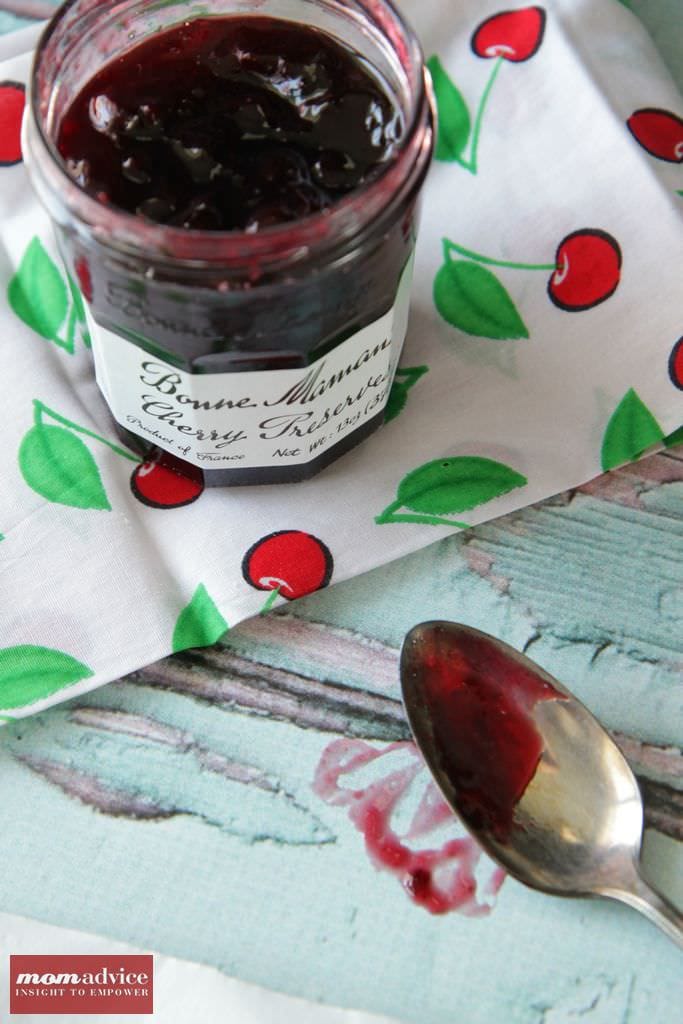
I hit my local Walmart store to grab supplies for this yummy treat. They offer absolutely delicious gourmet Bonne Maman fruit preserves that have become a special treat in our house for everything from waffle topping to my kid’s peanut butter & jellies. They retail for $3.95 each and come in delicious berry combinations, strawberry, cherry, and wild blueberry. One of these days I will get the hang of canning, but for now, these are my go-to preserves and make a delicious filling for homemade toasted tarts.

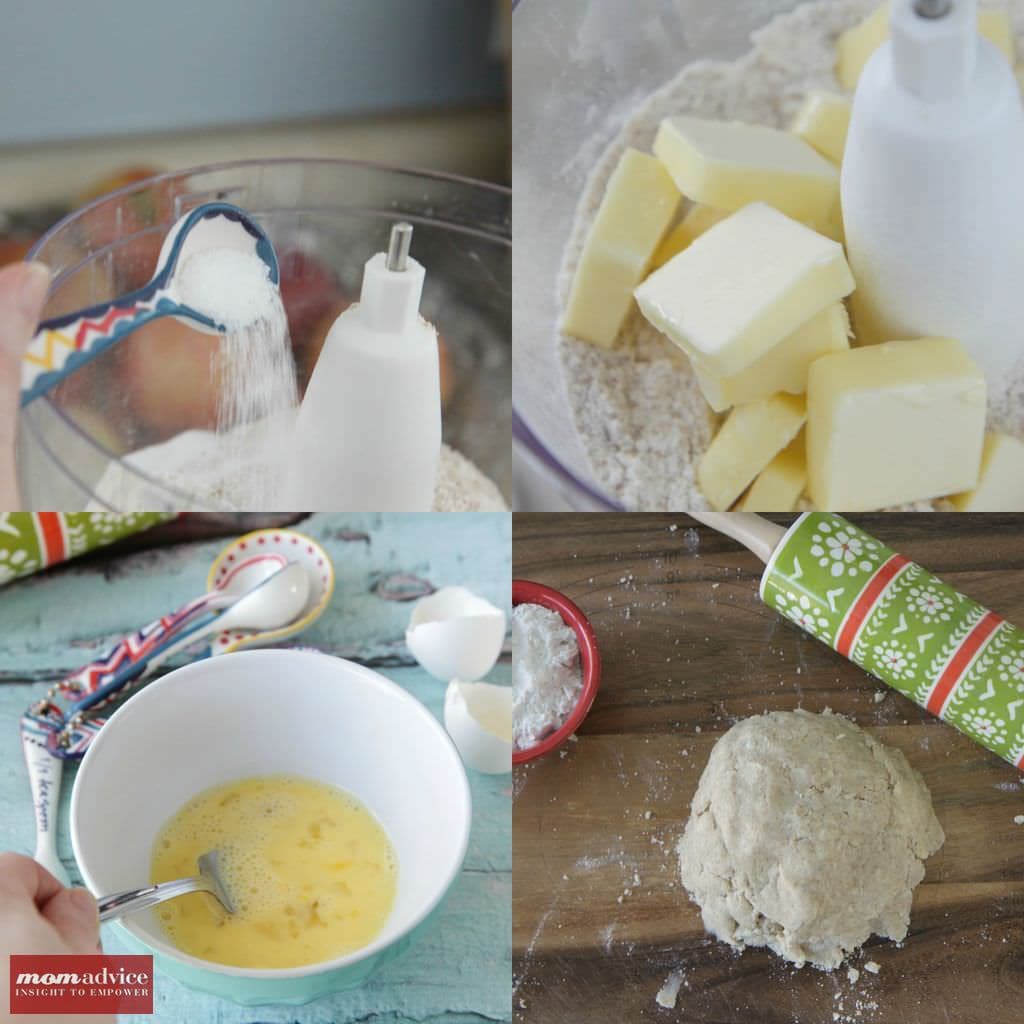
Just like my all butter pie crust (you can check out a picture tutorial over there),  I employ the use of my food processor to create an easy crust without the kneading. To make sure I don’t overwork the dough, I only use the Pulse on my food processor so I can make sure that I have a very tender dough. This is really essential for a flaky crust especially since we are creating this dough with whole wheat flour incorporated in it.

You can roll your dough out on a well-floured surface or roll it between two pieces of parchment paper. I highly recommend the parchment paper since this dough is a sticky one!

Did I mention sticky? This dough is a tricky little beast for a novice chef. Refrigeration of your crust is really essential for nice crisp edges and workable dough. The experts advise chilling your dough before using it and then chilling your tarts before you bake them to retain their shape. I do the same tactic with my sugar cookies and it yields crisp results. This will be doubly important if you live somewhere with a humid climate or are working in a hot kitchen.

My advice, chill out!

Seriously, just chill out for as long as you can!

My crunchy & sweet topping is raw sugar mixed with wheat germ. A generous sprinkle of this adds another layer of deliciousness. Although the dough is chock-full of butter (as all good crusts are!), there is very little sugar in the dough itself and the raw sugar adds a crunchy texture as well as a little sweetness to this homemade delight.

These little toasty tarts were meant to be cut in perfect measurements with crisp corners.

I am no baker though, so these are imperfect…

Just like me!

The kids never noticed the difference and busy moms don’t have time for perfection when it comes to snacks.

Can I get an, “Amen?”

Toasted Tart Filling Ideas

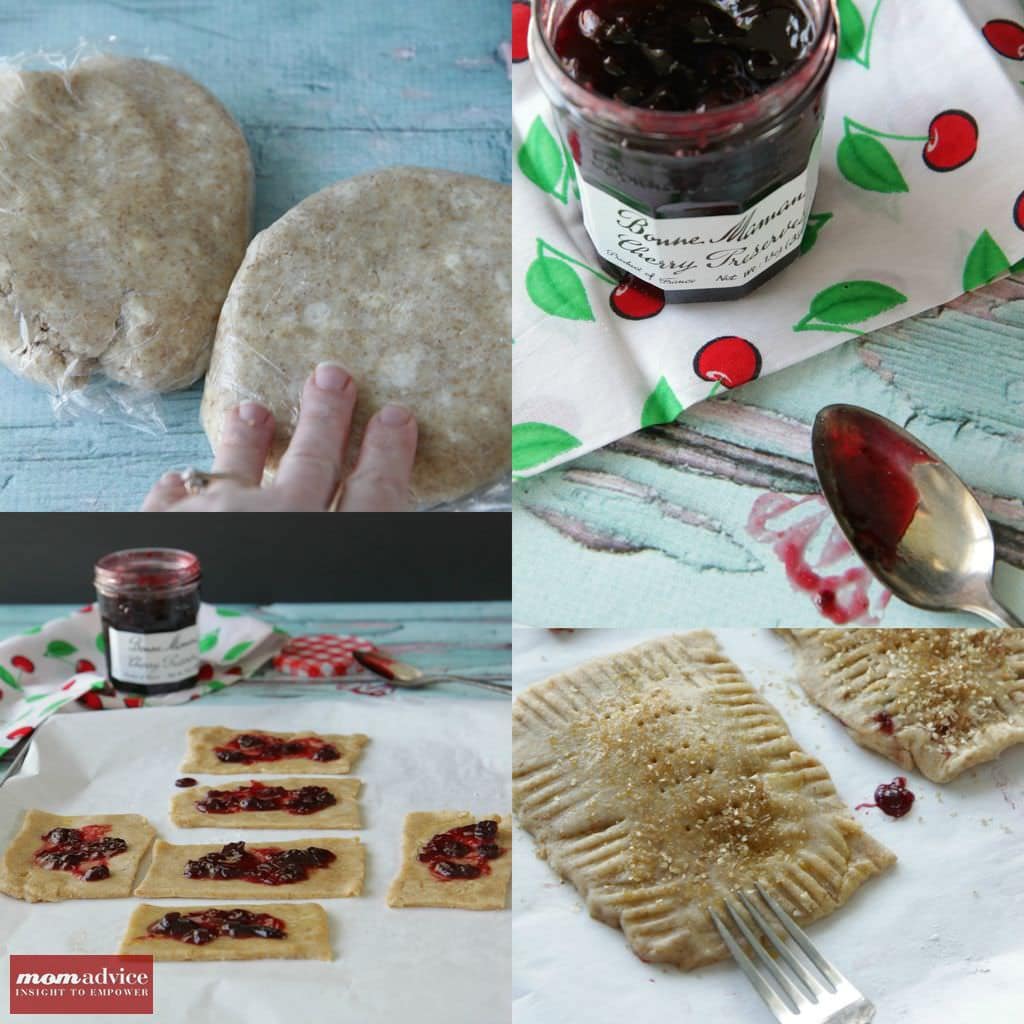
Fruit Preserve Filling: 3/4 cup (8 ounces) jam, 1 tablespoon cornstarch mixed with 1 tablespoon cold water. Mix the jam with the cornstarch/water in a small saucepan. Bring the mixture to a boil, and simmer, stirring, for 2 minutes. Remove from the heat, and set aside to cool. Use to fill the pastry tarts.

Cinnamon & Brown Sugar Filling: 1/2 cup brown sugar, 1 to 1 1/2 teaspoons ground cinnamon, & 4 teaspoons flour. Whisk together.

Chocolate Filling: 9 tablespoons mini chocolate chips or 9 tablespoons Nutella. Spread or sprinkle chocolate filling.

Homemade Whole Wheat Toasted Tarts
Recipe Type: Dessert
Author: Adapted from King Author Flour
Prep time: 15 mins
Cook time: 1 hour 30 mins
Total time: 1 hour 45 mins
Serves: 9
Surprise the kids with a homemade version of this favorite breakfast treat. Be sure to visit the post for filling ideas for your homemade whole wheat toasted tarts.
Ingredients
  • 1 1/2 cups all-purpose flour
  • 1/2 cup whole wheat flour
  • 1 tablespoon sugar
  • 1 teaspoon salt
  • 1 cup (2 quarter-pound sticks, 8 ounces) unsalted butter, cut into pats
  • 1 large egg
  • 2 tablespoons (1 ounce) milk
  • 1 additional large egg (for brushing on the pastry)
  • 1 tablespoon raw sugar
  • 1 tablespoon wheat germ
Instructions
  1. Process flour, sugar, and salt together until combined.
  2. Add butter and pulse until the mixture holds together when you squeeze it, with pecan-sized lumps of butter still visible.
  3. Mix the egg and milk, and add it to the dough, mixing just until everything is cohesive.
  4. Divide the dough in half. Wrap in plastic, and refrigerate for up to 2 days or for 30 minutes.
  5. Remove the chilled dough from the refrigerator and allow it to soften and become workable, about 15 to 30 minutes.
  6. Place one piece on a lightly floured work surface, and roll it into a rectangle about 1/8″ thick, large enough that you can trim it to an even 9″ x 12″. Laying a 9″ x 13″ pan atop the dough will give you an idea if you’ve rolled it large enough. Trim off the edges; place the scraps on a baking sheet, and set them aside, along with the 9″ x 12″ rectangle of dough.
  7. Roll the second piece of dough just as you did the first. Press the edge of a ruler into the dough you’ve just rolled, to gently score it in thirds lengthwise and widthwise; you’ll see nine 3″ x 4″ rectangles.
  8. Beat the egg, and brush it over the entire surface of the dough. Place a heaping tablespoon of filling into the center of each marked rectangle.
  9. Place the second sheet of dough atop the first, using your fingertips to press firmly around each pocket of jam, sealing the dough well on all sides.
  10. Brush the tops of the pastry with the remainder of the egg and then sprinkle the wheat germ and raw sugar topping on top of your tart.
  11. Press the tines of a fork all around the edge of the rectangle. Cut the dough evenly in between the filling mounds to make nine tarts. Press the cut edges with your fingers to seal, then press with a fork, to seal again.
  12. Gently place the tarts on a lightly greased or parchment-lined baking sheet. Prick the top of each tart multiple times with a fork; you want to make sure steam can escape, or the tarts will become billowy pillows rather than flat toaster pastries. Refrigerate the tarts (they don’t need to be covered) for 30 minutes, while you preheat your oven to 350°F.
  13. Remove the tarts form the fridge, and bake them for 25-28 minutes, until they’re a light golden brown. Remove them from the oven, and allow them to cool on the pan.

Recipe Adapted from King Author Flour.


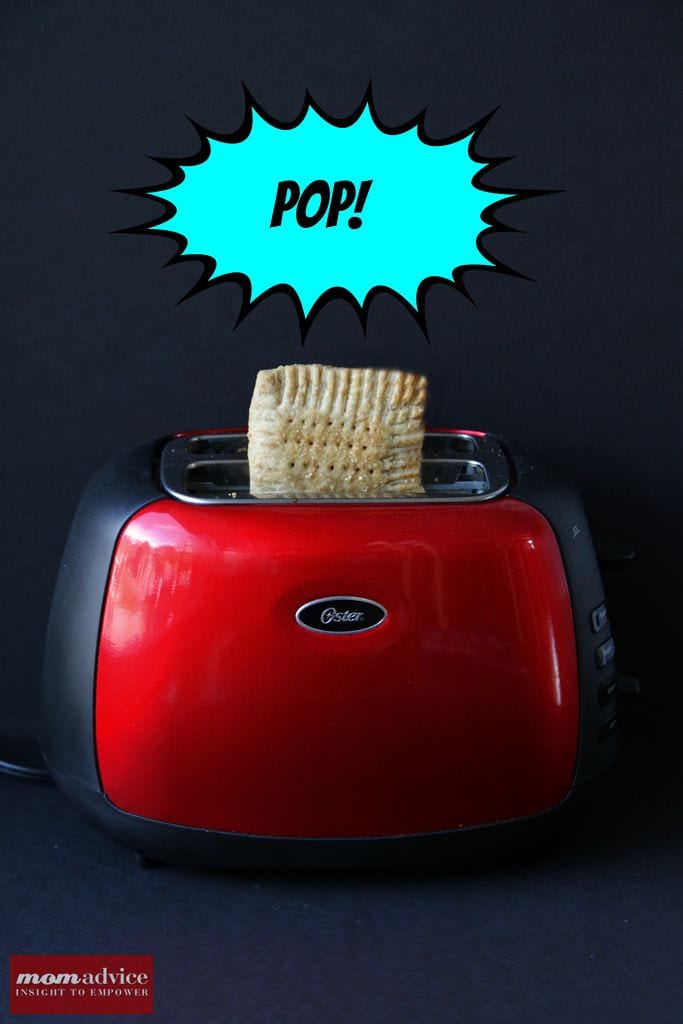
Afraid to tackle a homemade crust? I get it! You can find an easy DIY Pop Tart made from store-bought crust over here!


Pin It

Baked French Breakfast Donuts

Monday, March 11th, 2013

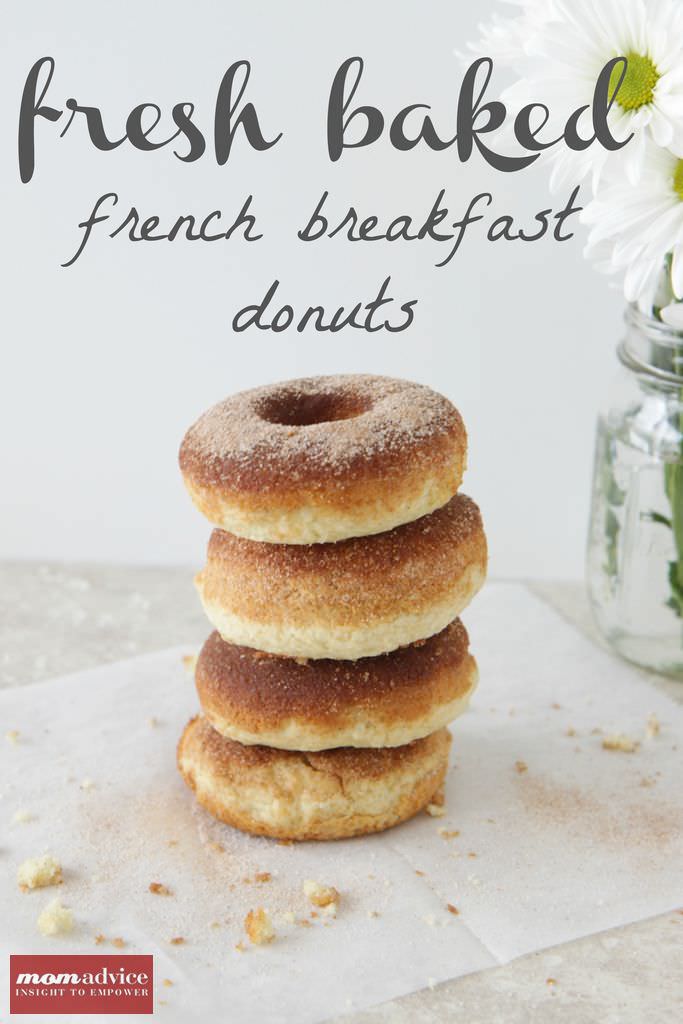
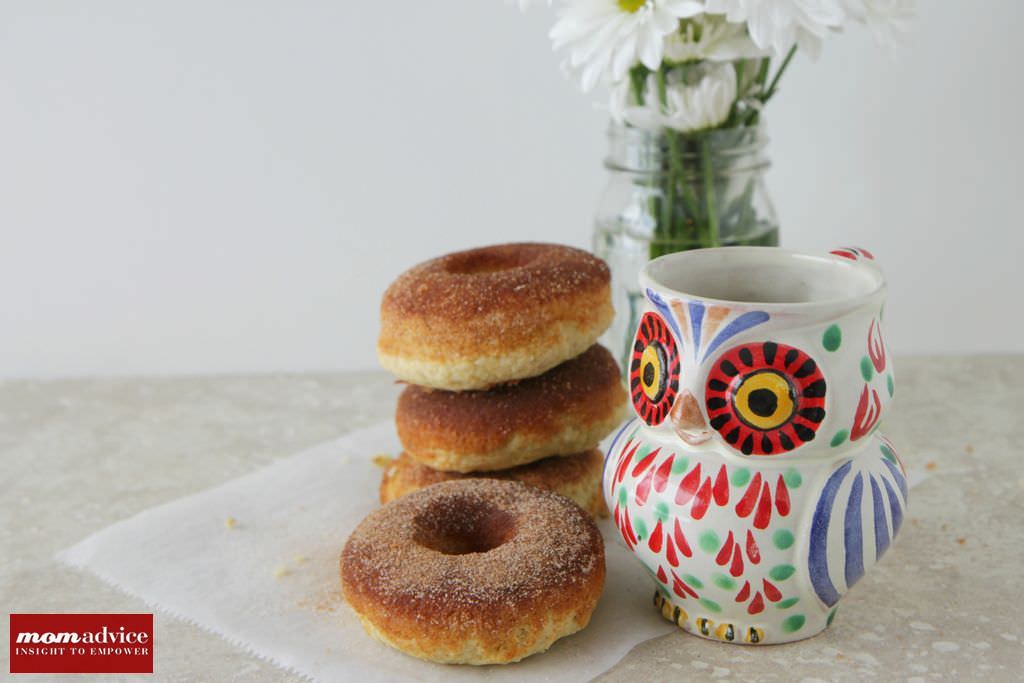
Baked donuts have become a special food tradition in our house. These French Breakfast Donuts are the new family favorite though because they come closest to resembling those delicious fried donuts that we love so much from the doughnut shops. Do you have a doughnut pan?  You should put it to work with this delicious recipe.

I have heard often from people that they are disappointed in the flavor of baked donuts. I think it is important to go into baking donuts know that they will most definitely not take like a fried doughnut, but taste more like a muffin with a fun doughnut shape.

Since we have started eating baked doughnuts, my kids don’t really like the doughnuts from the doughnut shop which I find WEIRD because no kid should not love a doughnut from a doughnut shop. That being said, not to lead you astray that my kids are so healthy,  I think they just like that they can consume more of these baked doughnuts than they can of the fried version.

Have you sampled any of our doughnut recipes around here? We have a doughnut for every season in life. We have snickerdoodle doughnuts, fluffy cake doughnuts, apple pie doughnuts, rich chocolate doughnuts,  lemon blueberry doughnuts, pumpkin doughnuts, and even gingerbread doughnuts.

When I say I have a doughnut for every season, I mean it!

I find doughnuts enjoyed in another room in our house are always a hit. One day over our winter break, I laid out a tablecloth and served doughnuts on a breakfast tray with mason jars of orange juice for an unexpected morning treat. The kids were thrilled to get to take over our room AND eat doughnuts. You gotta love a cheap thrill like this!

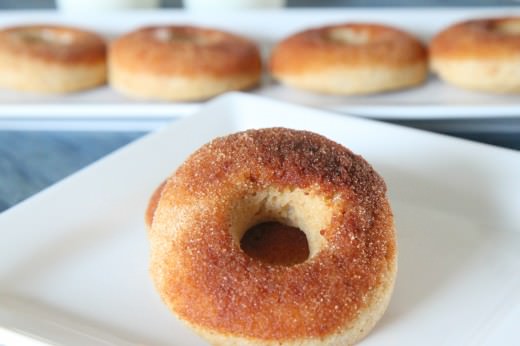
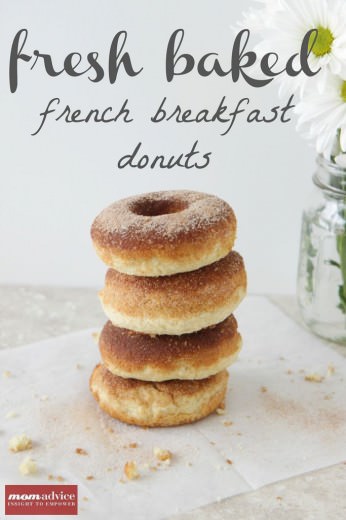
These French Breakfast Donuts are light, fluffy, and laced with nutmeg. After they are baked, they are dunked in butter and coated with cinnamon and sugar.

They are so delicious that I guarantee that you won’t be able to eat just one!

Baked French Breakfast Donuts
Recipe Type: Breakfast
Author: Adapted from Cooks.com.
Prep time: 5 mins
Cook time: 20 mins
Total time: 25 mins
Serves: 6
A baked doughnut that actually tastes like a doughnut. If you don’t have a doughnut pan, these can easily be made in a muffin tin as well!
Ingredients
  • 5 tablespoons unsalted butter, room temperature
  • 1/2 cup sugar
  • 1 egg, beaten
  • 1 1/2 cups flour
  • 2 1/4 teaspoons baking powder
  • 1/4 teaspoons salt
  • 1/2 teaspoon nutmeg
  • 1/2 cup milk
  • 3 tablespoons unsalted butter, melted
  • 1/2 cup sugar
  • 1 tablespoon cinnamon
Instructions
  1. Preheat oven to 350 degrees. Coat doughnut pan generously with nonstick cooking spray. Set aside.
  2. Cream together butter and sugar until fluffy. Add egg; mix well.
  3. Sift flour, baking powder, salt and nutmeg together. Add dry ingredients alternately with milk.
  4. Fill doughnut tins half full. Bake 15-20 minutes. Take out of pan immediately and swirl tops into melted butter, then sugar and cinnamon mixture.
  5. Makes 6-7 doughnuts.

Adapted from Cooks.com.

Are you a baked doughnut fan? Share your recipes or tips for great baked doughnuts here!

Pin It

Getting To Know Your Bread Machine (Easy Recipes & Tips for Busy Families)

Tuesday, February 12th, 2013

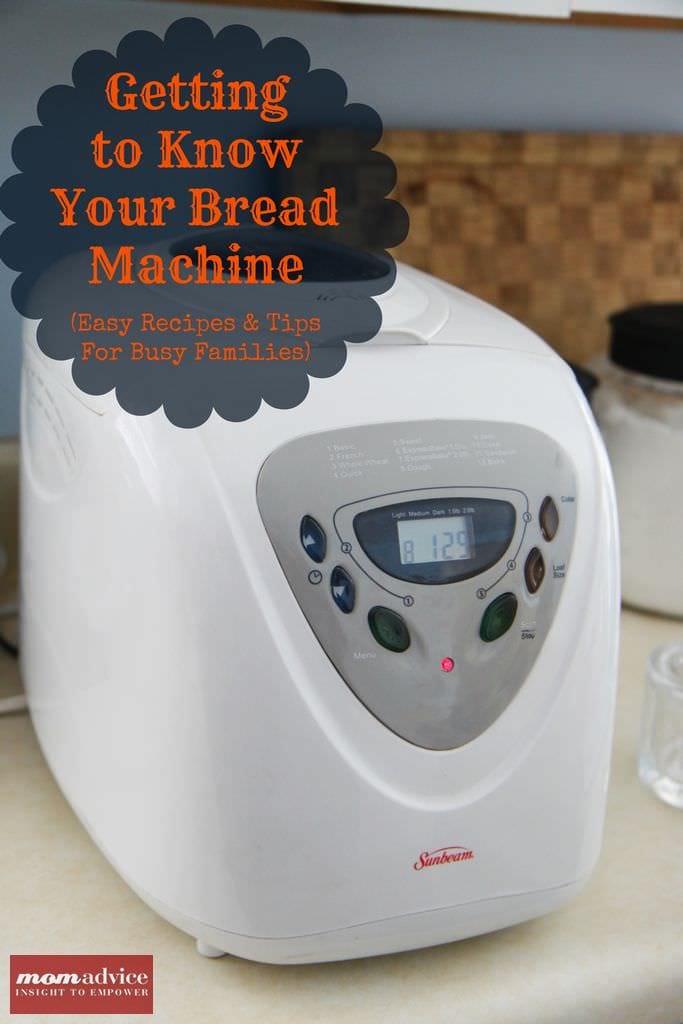
One of the most invaluable appliances in our home is our bread machine and today I wanted to share with you why I think a bread machine is a wise kitchen investment. This tutorial will offer advice on what to look for in a bread machine, how to use your bread machine, and the best bread machine recipes that our family enjoys on a weekly basis.

Perhaps you already have a bread machine that has been gathering dust in your kitchen or basement. Many people buy these appliances and then end up donating them to their local thrift store because they never use them. I think of the bread machine as a modern day convenience, but in a culture where we want everything NOW, waiting for a loaf of bread can seem like an eternity.

Why wait for a hot loaf of fresh bread when you can grab a loaf at your supermarket?

And what exactly is the purpose of that appliance that is taking up space on your shelves? Let’s get to know our bread machines and find a new way to use them.
What is A Bread Machine or Bread Maker?

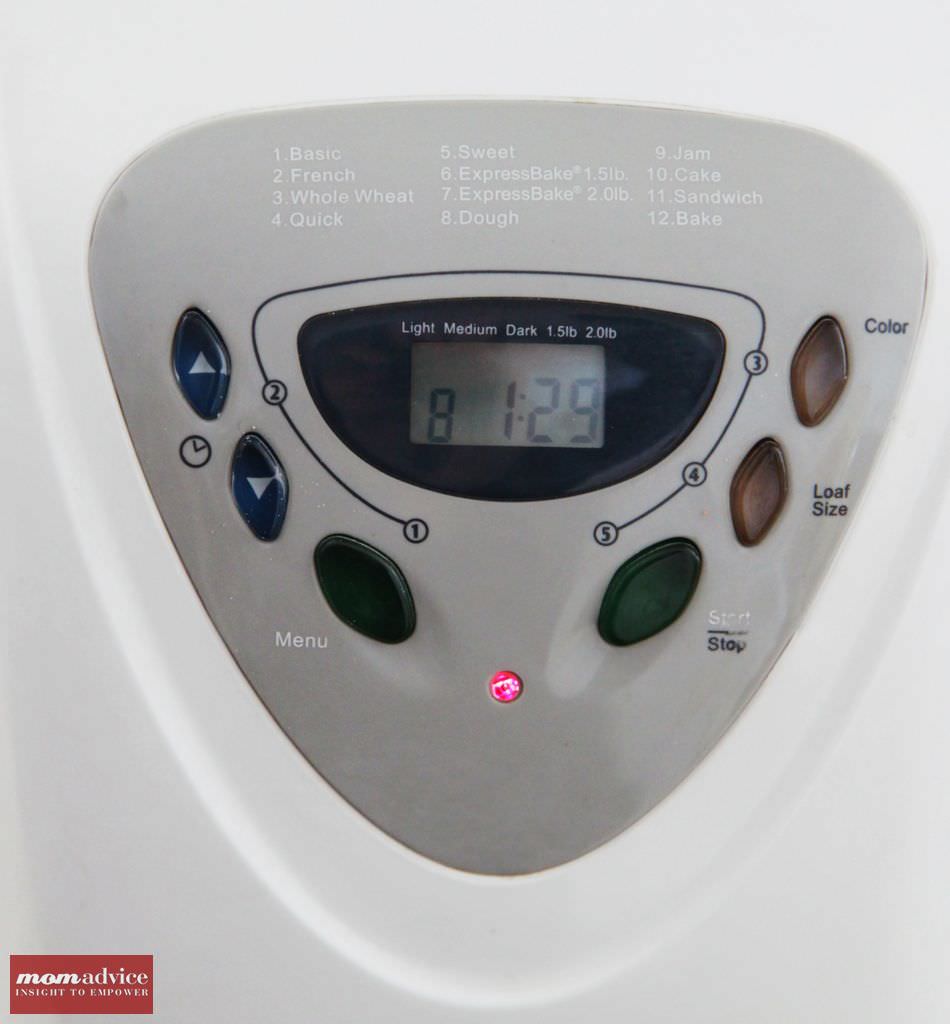
A bread making machine or bread maker is a home appliance for baking bread.The bread machine is simple in its construction and consists of a bread pan (or “tin”), at the bottom of which are one or more built-in paddles, mounted in the center of a small special-purpose oven. This little oven is  controlled by a simple built-in computer, the settings for which are inputted on the control panel. Most bread machines have different cycles for different kinds of dough—including white bread, whole grain, European-style (sometimes labeled “French”), and dough-only (for pizza dough and shaped loaves baked in a conventional oven). Many also have a timer to allow the bread machine to activate without operator attendance, and some high-end models allow the user to program a custom cycle.

Some of the older machines have just a handful of simple settings while newer machines offer more advanced cycles including a cycle to make jam or to bake cakes. To be honest, I don’t use the fancy cycles on my bread machine and rely mostly on the Basic and the Dough cycle, which can be found on every machine. The basic cycle is just the basic setting for making a loaf of bread. The Dough cycle just completes the kneading and rising of the dough. Once the dough cycle is complete, you can take the dough out and shape it into your loaf pan or do fancy braids or rolls out of the dough.

The purpose of a bread machine is simple;  you are able to make fresh bread when you want it. The reasons vary from person to person on why they choose to make their own bread. Many people have concerns about the additives and preservatives that are found in store-bought breads. Another reason that many people choose to make their own bread is because they just enjoy the taste of homemade bread. My reasoning for making our own bread is because I like to save our family money. Making your own bread costs so much less than purchasing a loaf of bread, and the rising grocery costs have only fueled my desire more to make it at home.

How Do You Add Ingredients to a Bread Machine?

Inserting your ingredients into a bread machine is also very straightforward. If you are making the loaf right away, you can insert the ingredients in any way that you want. All of these ingredients will immediately be stirred together and so it will not matter what the order is. If you use a timer delay on your bread machine, delaying the start time of making your loaf, it is imperative that you put the ingredients in the right order or your loaf will not turn out right. The order of ingredients is liquid (liquids include water, oil, milk, eggs, or honey), flour, other dry ingredients (salt, sugar, baking powder, seasonings), and ending the ingredients with your yeast. The most important part of putting the yeast in is to make sure that you make a small indentation into the center of the flour so that the yeast does not react with the other ingredients.

Upon inserting your ingredients, your bread machine will take over the process from there. The machine will knead the ingredients together, give the bread its rising time, and then it will bake the bread. The bread machine will signal when the bread is ready and you can allow the bread to cool inside of the bread bucket.
Do I Need to Buy Bread Machine Mixes For My Bread Machine?

There is no need to spend the money on convenience bread machine mixes; in fact, you can make your own convenient mixes handy for the week. I take plastic storage bags and make an assembly line of the dry ingredients and do my bags once a month. On the outside, just write what liquids you will need to add and you will only have a dirty kitchen once instead of weekly.

What is the difference between Instant Yeast, Bread Machine Yeast and RapidRise Yeast?

Just their names because these are all the same yeast. Nothing like making it EXTRA confusing for a novice bread-maker.

Is There Savings in Making Bread at Home?

A quick glance at grocery store prices and you will wonder how there could be any possible savings with making your bread at home. The key to making this the least expensive on your family is to purchase all of your ingredients at your local wholesale club. With proper storage, you can buy the ingredients in bulk and save your family loads of money.

I don’t use my wholesale club membership very often except for our family’s eye care needs and for the occasional party. I won’t ever let my membership lapse though because with one trip to buy my baking supplies, my wholesale club membership has earned its space in my wallet. I make a trip twice a year to buy all of the necessary supplies for my baking and pizza-making needs.

Don’t believe me? Here is the current prices from my local Sam’s Club:

25 Pounds Bread Flour- $6.59 (needed depending upon the recipe)

25 Pounds All-Purpose Flour- $6.68 (needed depending upon the recipe)

2 Pounds of Yeast- $4.16

Cheese (5 pounds for $10.43) , pepperoni (5 pounds for $11.88), and crushed tomatoes (102 ounces for $2.68) can also be bought at a fraction of the price, but in the past I have lacked the capacity and ambition of storage for all of the ingredients.

As a side note, if you do own a membership to Sam’s Club, they have a wonderful Click ‘N Pull service that you can utilize for your shopping day and they can pull the ingredients right to the front and email you when your order is ready to pick up. This is a fantastic free service for moms with small children or who are short on time!

How Do I Store My Bread Machine Ingredients?

For storage, flour can be stored for up to a year in an airtight container. With bulk storage, a large plastic bin that has been clearly labeled is ideal to keep your flour fresh. Yeast is the easiest ingredient to store and has a very long shelf life. I store my yeast in a mason jar in our refrigerator door. With both of these ingredients, writing an expiration date on the label will also remind you of when the item is going to expire. I have also provided a handy Yeast Freshness Test that you can use to see if your yeast is still working. This will come in handy when buying yeast in bulk.

What Kind of Bread Machine Should I Buy?

If you do not have a bread machine and are looking for one, garage sales and thrift sales are a great place to hunt. I see these machines for $10 or less, and you will definitely get your money back from the savings of making your own bread. When you find one, ask if you can plug it in and make sure it is working. Just check that it actually powers up, that there is a bread bucket inside, and that there is a paddle in the bottom of the bread machine to stir the ingredients. Having a manual with it is handy, but usually can be found by searching online.

Over the past five years, I have been using my Sunbeam Bread Machine with great success. All of my past models have been found at the thrift shops and garage sales, but when our bread machine quit on us, I ran out to our local superstore so we wouldn’t have to miss our weekly pizza night. You know an appliance has become invaluable to you if you can’t imagine a day without it. Our bread machine is that invaluable to us.
What Are Some Foolproof Bread Machine Recipes I Can Try With My Family?

On any given day in our house, you will find our bread machine happily humming along and whipping up fresh dough and bread for us. Not only that, but our bread machine has a regular performance in our house on Friday night for our infamous weekly family pizza night.

Here are a few of our family favorites, but you can learn more in my first book, “The Good Life For Less,” that is available on bookstore shelves now: 

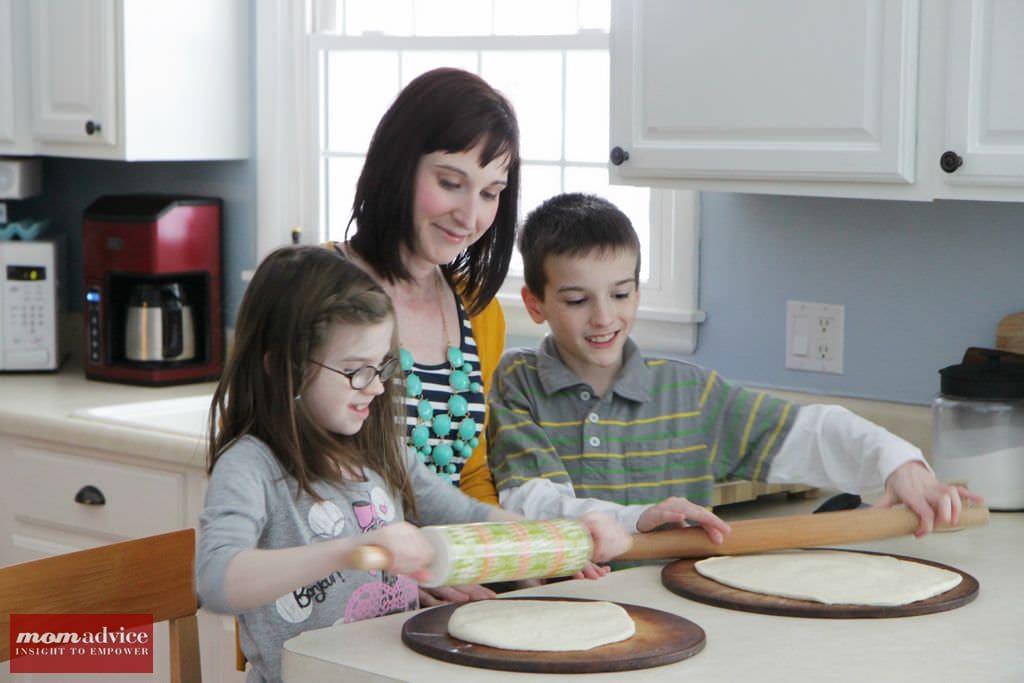
The Perfect Pizza Dough (so easy that your kids can roll this one out on their own!)

Bread Machine Pita Pockets

Bread Machine Hamburger Buns or Hot Dog Buns

Whole Wheat Bread Machine Hamburger Buns or Hot Dog Buns

Bread Machine Calzones

Bread Machine Portuguese White Bread


Bread Machine Monkey Bread/Bunny Bread

Buttery Bread Machine Rolls

Bread Machine Cinnamon Rolls 


Yeast Freshness Test
Prep time: 2 mins
Cook time: 10 mins
Total time: 12 mins
Not sure if your yeast is still fresh and active? This simple test will help determine if your yeast is still performing!
Ingredients
  • 1 teaspoon granulated sugar
  • 1/2 cup warm tap water (110°F-115°F)
  • 2 1/4 teaspoons dry yeast (make sure it is at room temperature)
Instructions
  1. Using a one-cup liquid measuring cup, dissolve 1 teaspoon of granulated sugar in 1/2 cup warm tap water at 110°F-115°F. Using a thermometer is the most accurate way to determine the correct liquid temperature. Any thermometer will work as long as it measures temperatures between 75°F and 130°F. If you don’t have a thermometer, the tap water should be warm but NOT hot to the touch.
  2. Stir in one 1/4 oz. packet (7g) or 2-1/4 tsp of dry yeast until there are no more dry yeast granules on top.
  3. In three to four minutes, the yeast will have absorbed enough liquid to activate and start to rise.
  4. After ten minutes, the foamy yeast mixture should have risen to the 1-cup mark and have a rounded top.
  5. If this is true, your yeast is very active and should be used in your recipe immediately.
  6. If the yeast did not rise to the 1-cup mark, your yeast has little or no activity. Discard this yeast.

Do you have a bread machine? What is your favorite thing to do with this appliance?


I love helping you cook in the kitchen! If you like this cooking tutorial,  be sure to visit my tutorial on How to Cook A Butternut Squash With the Skin On, How to Roast a Spaghetti Squash, and  How to Make Quinoa in the Rice Cooker.

Pin It