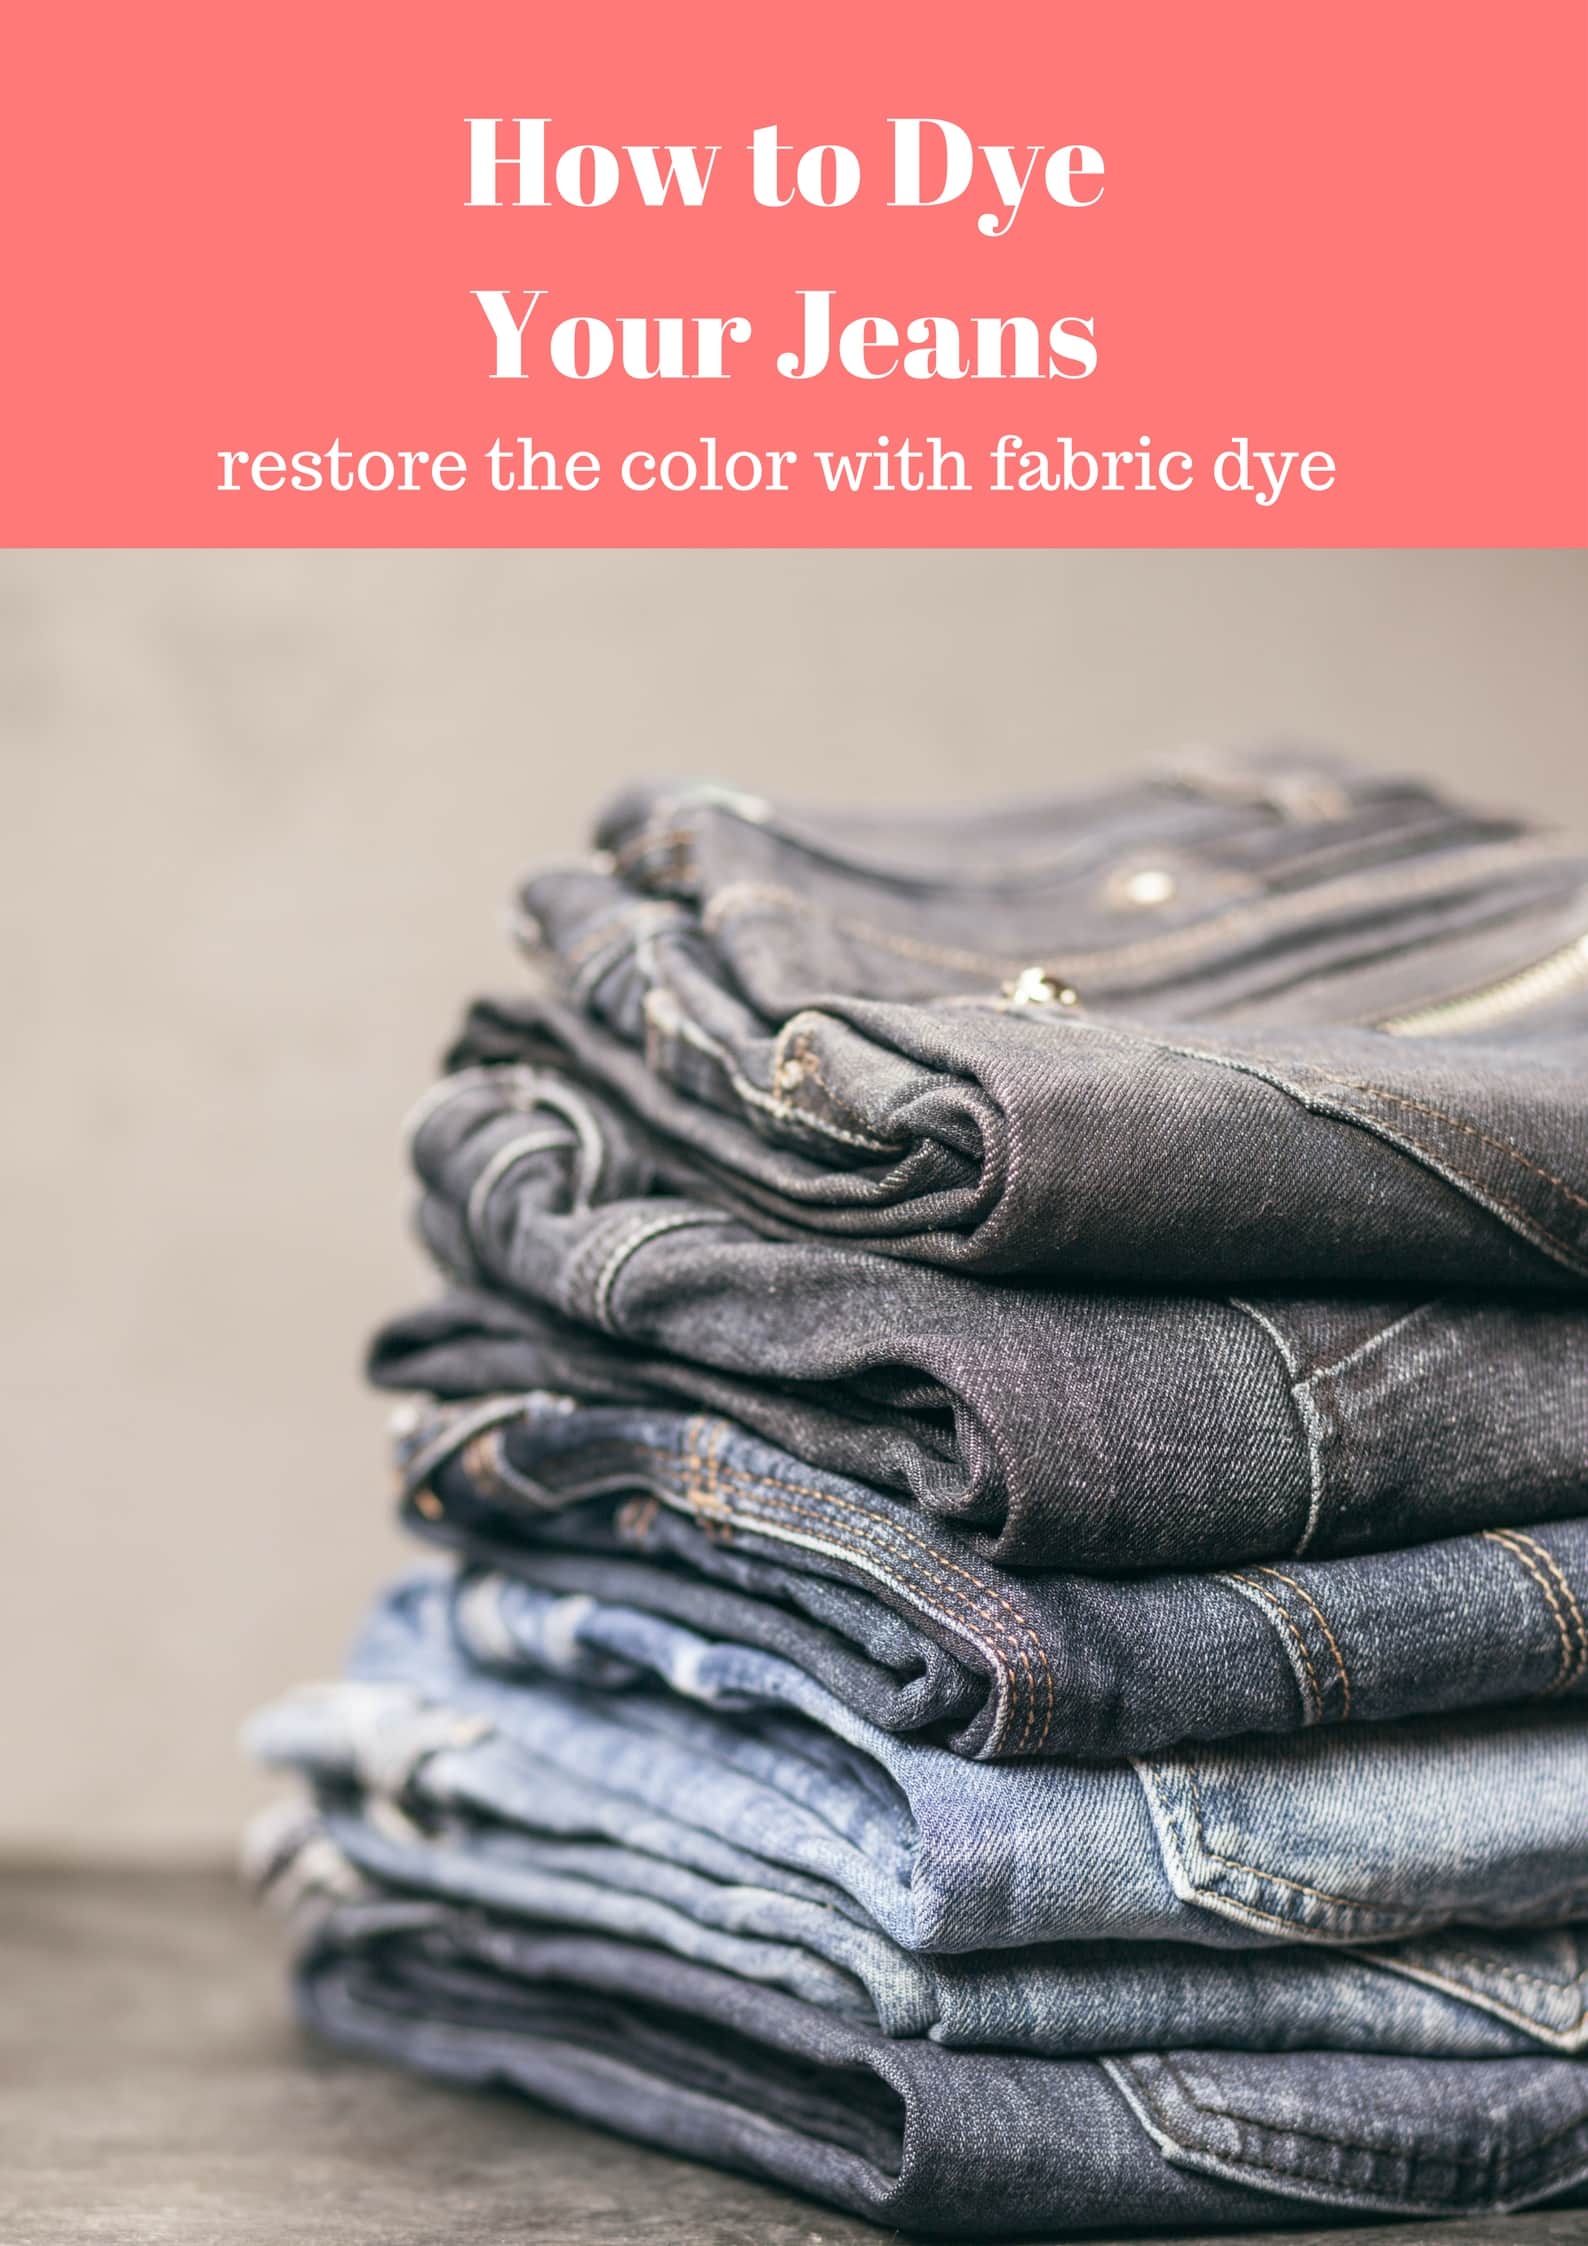
If your favorite jeans have faded and you would like to restore the color, you won’t want to miss today’s tutorial to help you get that perfect wash back on your denim items. Follow these steps for restoring color with fabric dyes in the washing machine or even over the stovetop with this easy DIY tutorial.
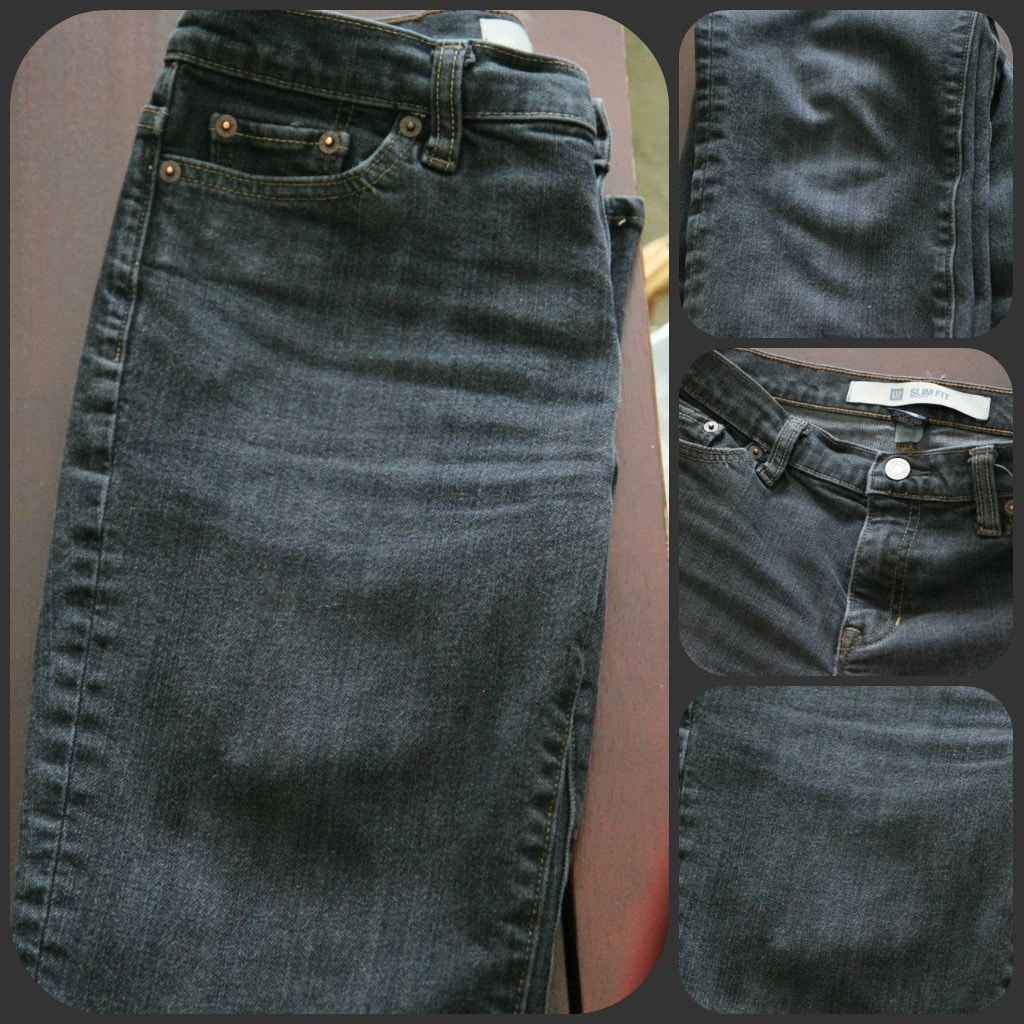
Several years ago I bought the best pair of jeans ever made. They were a classic pair of black Gap Straight Fit Jeans that I found from Goodwill with a Fall ’03 label on them. They fit me like a glove, made me feel slim, and hit at the perfect length.
Have you ever wondered what to do with a favorite pair of jeans you really love and that are really starting to look like they should be retired?
Well, today I wanted to show you how I dyed my black jeans black again and restored this old pair into something that looks like brand new for less than $5!
Yup, you heard me right!
You CAN dye jeans.
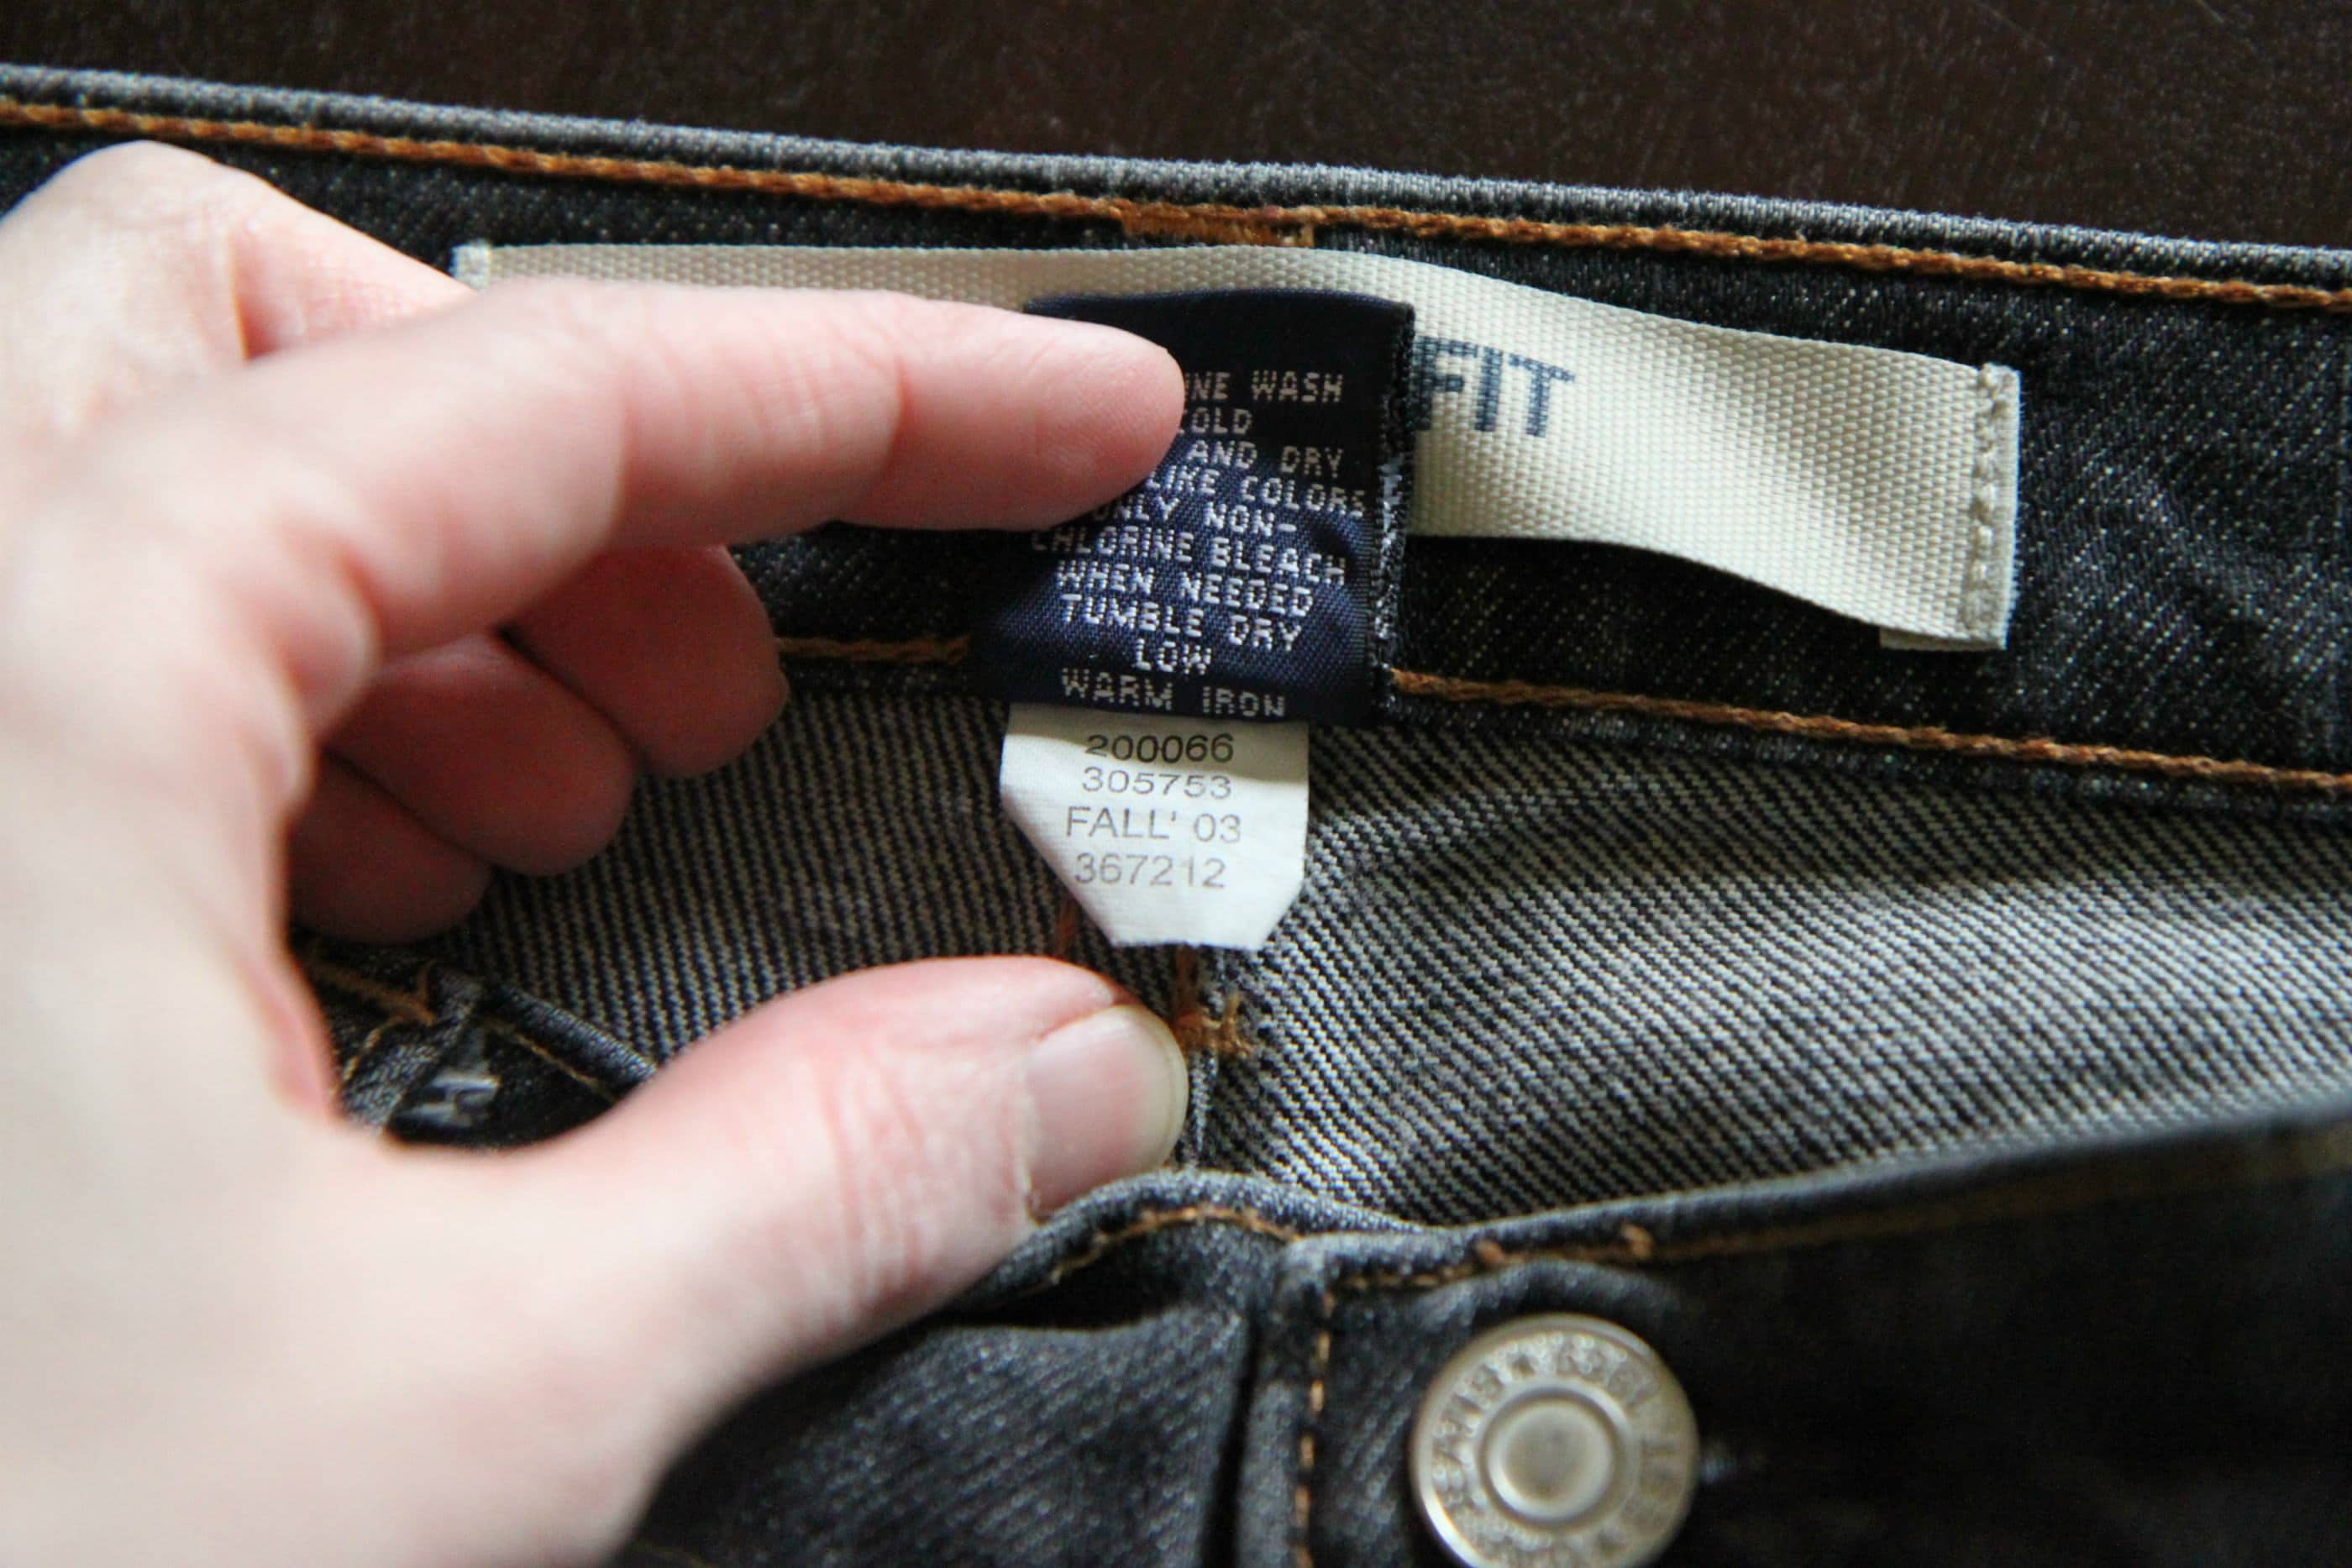
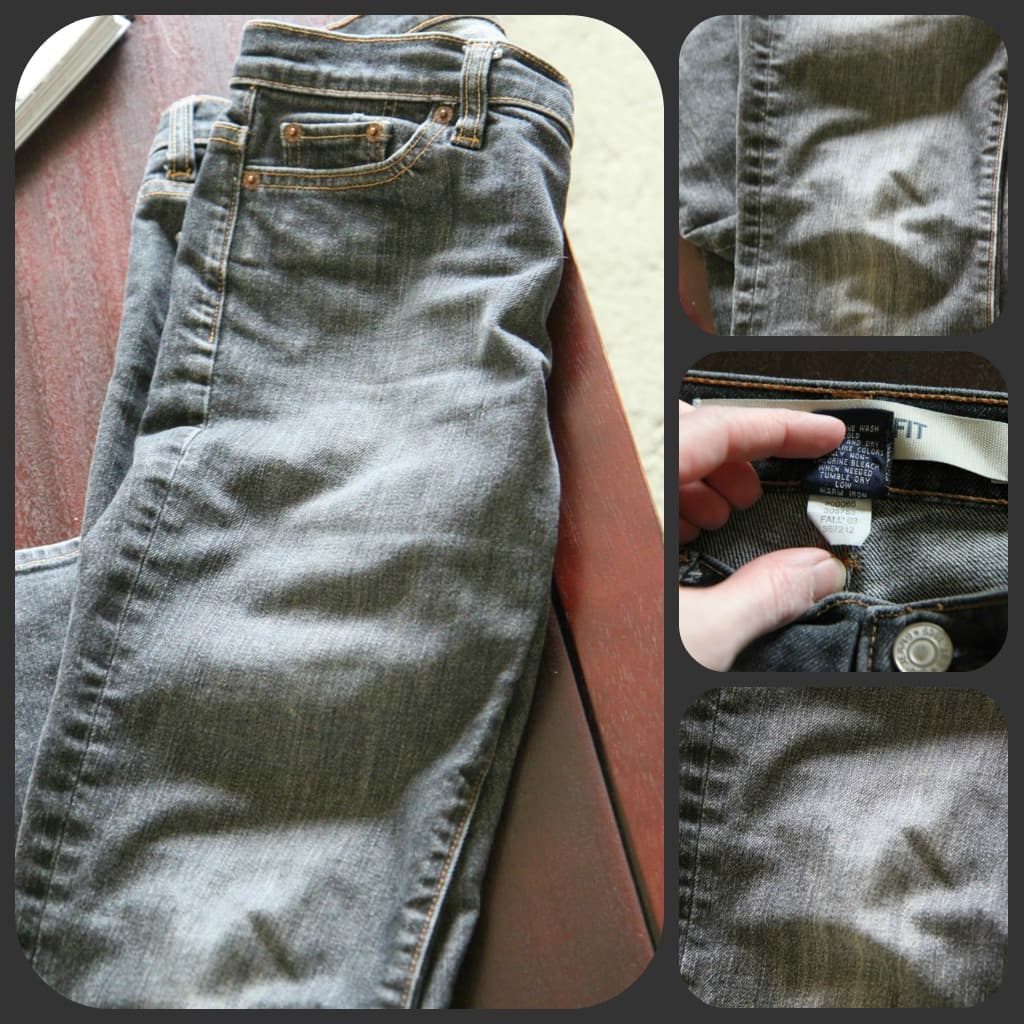
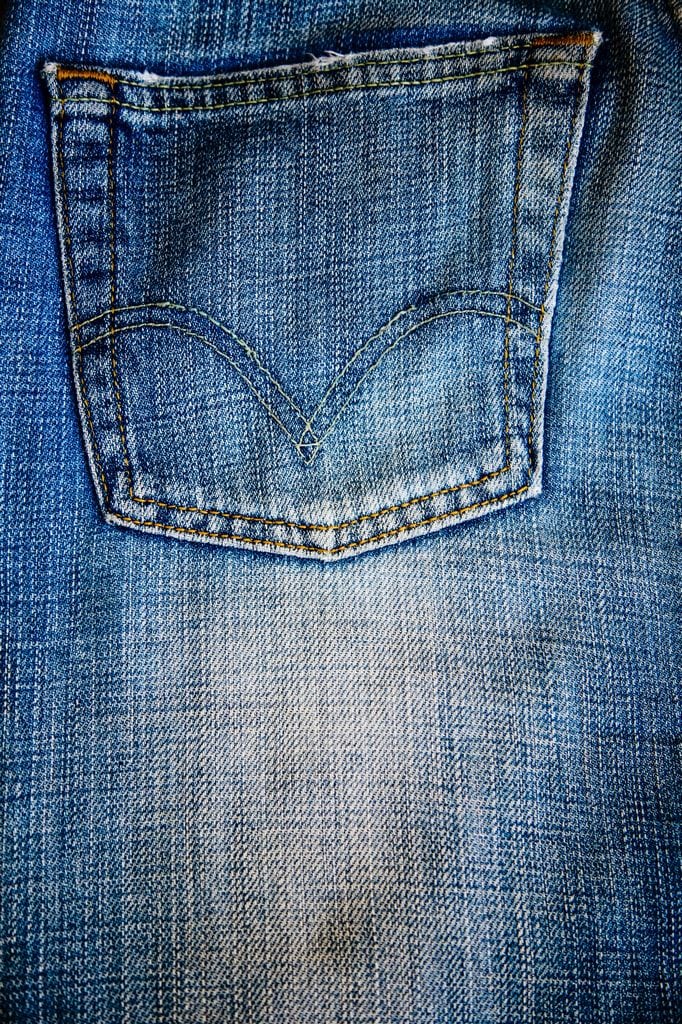
These jeans were black, but they have faded after a million times in my washing machine.
I actually think these would have been cool in eighth grade when I begged my mama to buy me a pair of stonewashed jeans that looked like they had been beat to death.
Sadly, I am no longer an eighth grader and I am starting to feel self conscious when I wear these out.
I’m tired of being judged.
Time to hit the craft store. Grab your coupons!
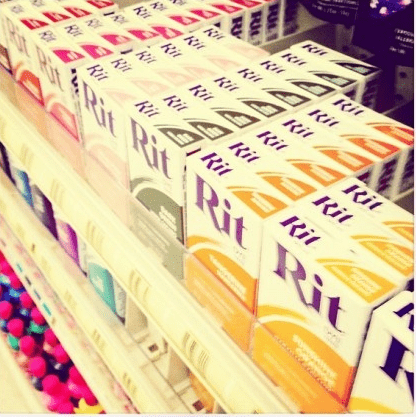
I headed to Joann Fabrics and over by the t-shirts and t-shirt decorating supplies is an aisle filled with fabric dyes.
You will need two boxes of the powdered Rit dye in your desired color.
They do offer a liquid version, but it is my understanding that the powder seems to be a bit more concentrated and adhere a little better to the fabric.
I haven’t tested this theory, but I wanted this color to stick so I went with the powdered version.
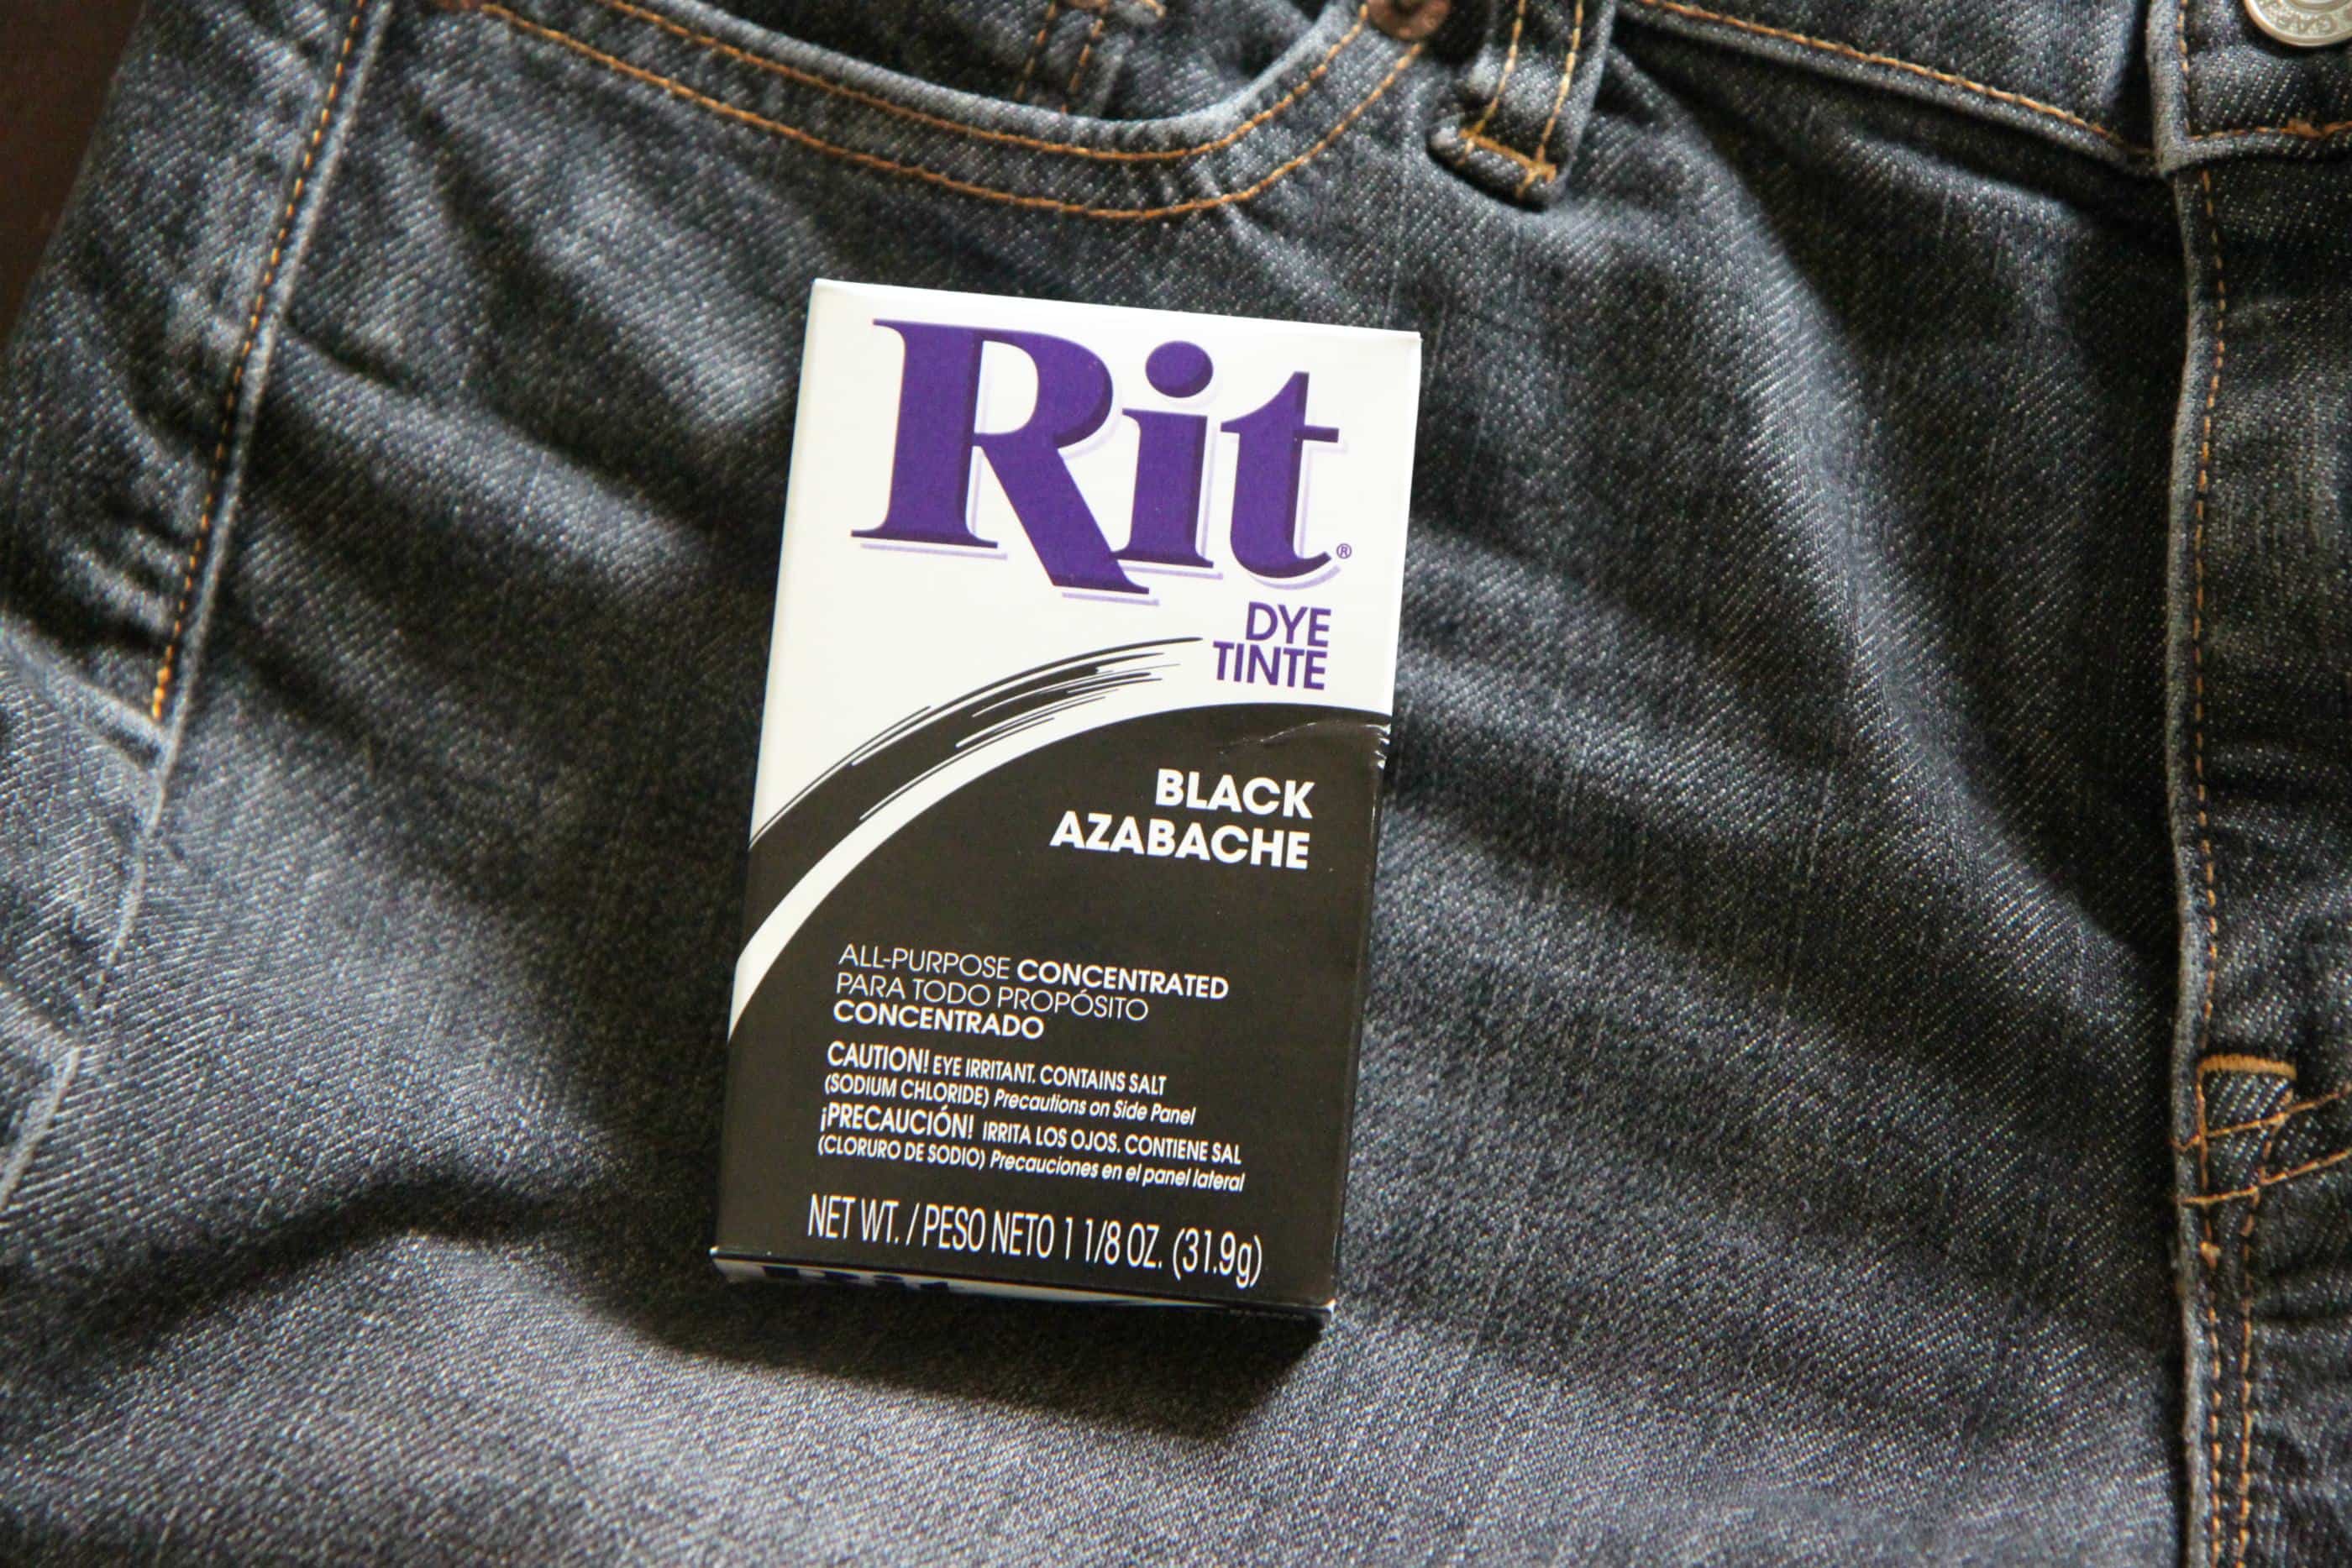
Back to black, old friend.
It makes me want to break out my Amy Winehouse playlist right now.
I used two boxes of this Rit dye in black for my jeans. If your aim is to go back to blue with your jeans, you will want two boxes of Navy (for dark jeans) or Indigo (for a lighter wash).
Be careful with the Indigo & Navy though as there are many comments reporting that this one can turn your jeans more purple than blue.
Always follow the package directions for the best advice!
My only experience is with the BLACK dye. As you can see in the after pictures, it isn’t a true black so this is the color that I would recommend for a dark wash jean!
Let’s get started!
How to Dye a Faded Pair of Jeans Tutorial
Our family has a HE washer so I am sharing with you how to dye your jeans using your HE washer.
At the end of the post, I will share the other Rit recommendations depending on your own scenario.
All scenarios create a big mess, but just think of your new-to-you jeans!
Did I already warn you?
This is going to get really messy.
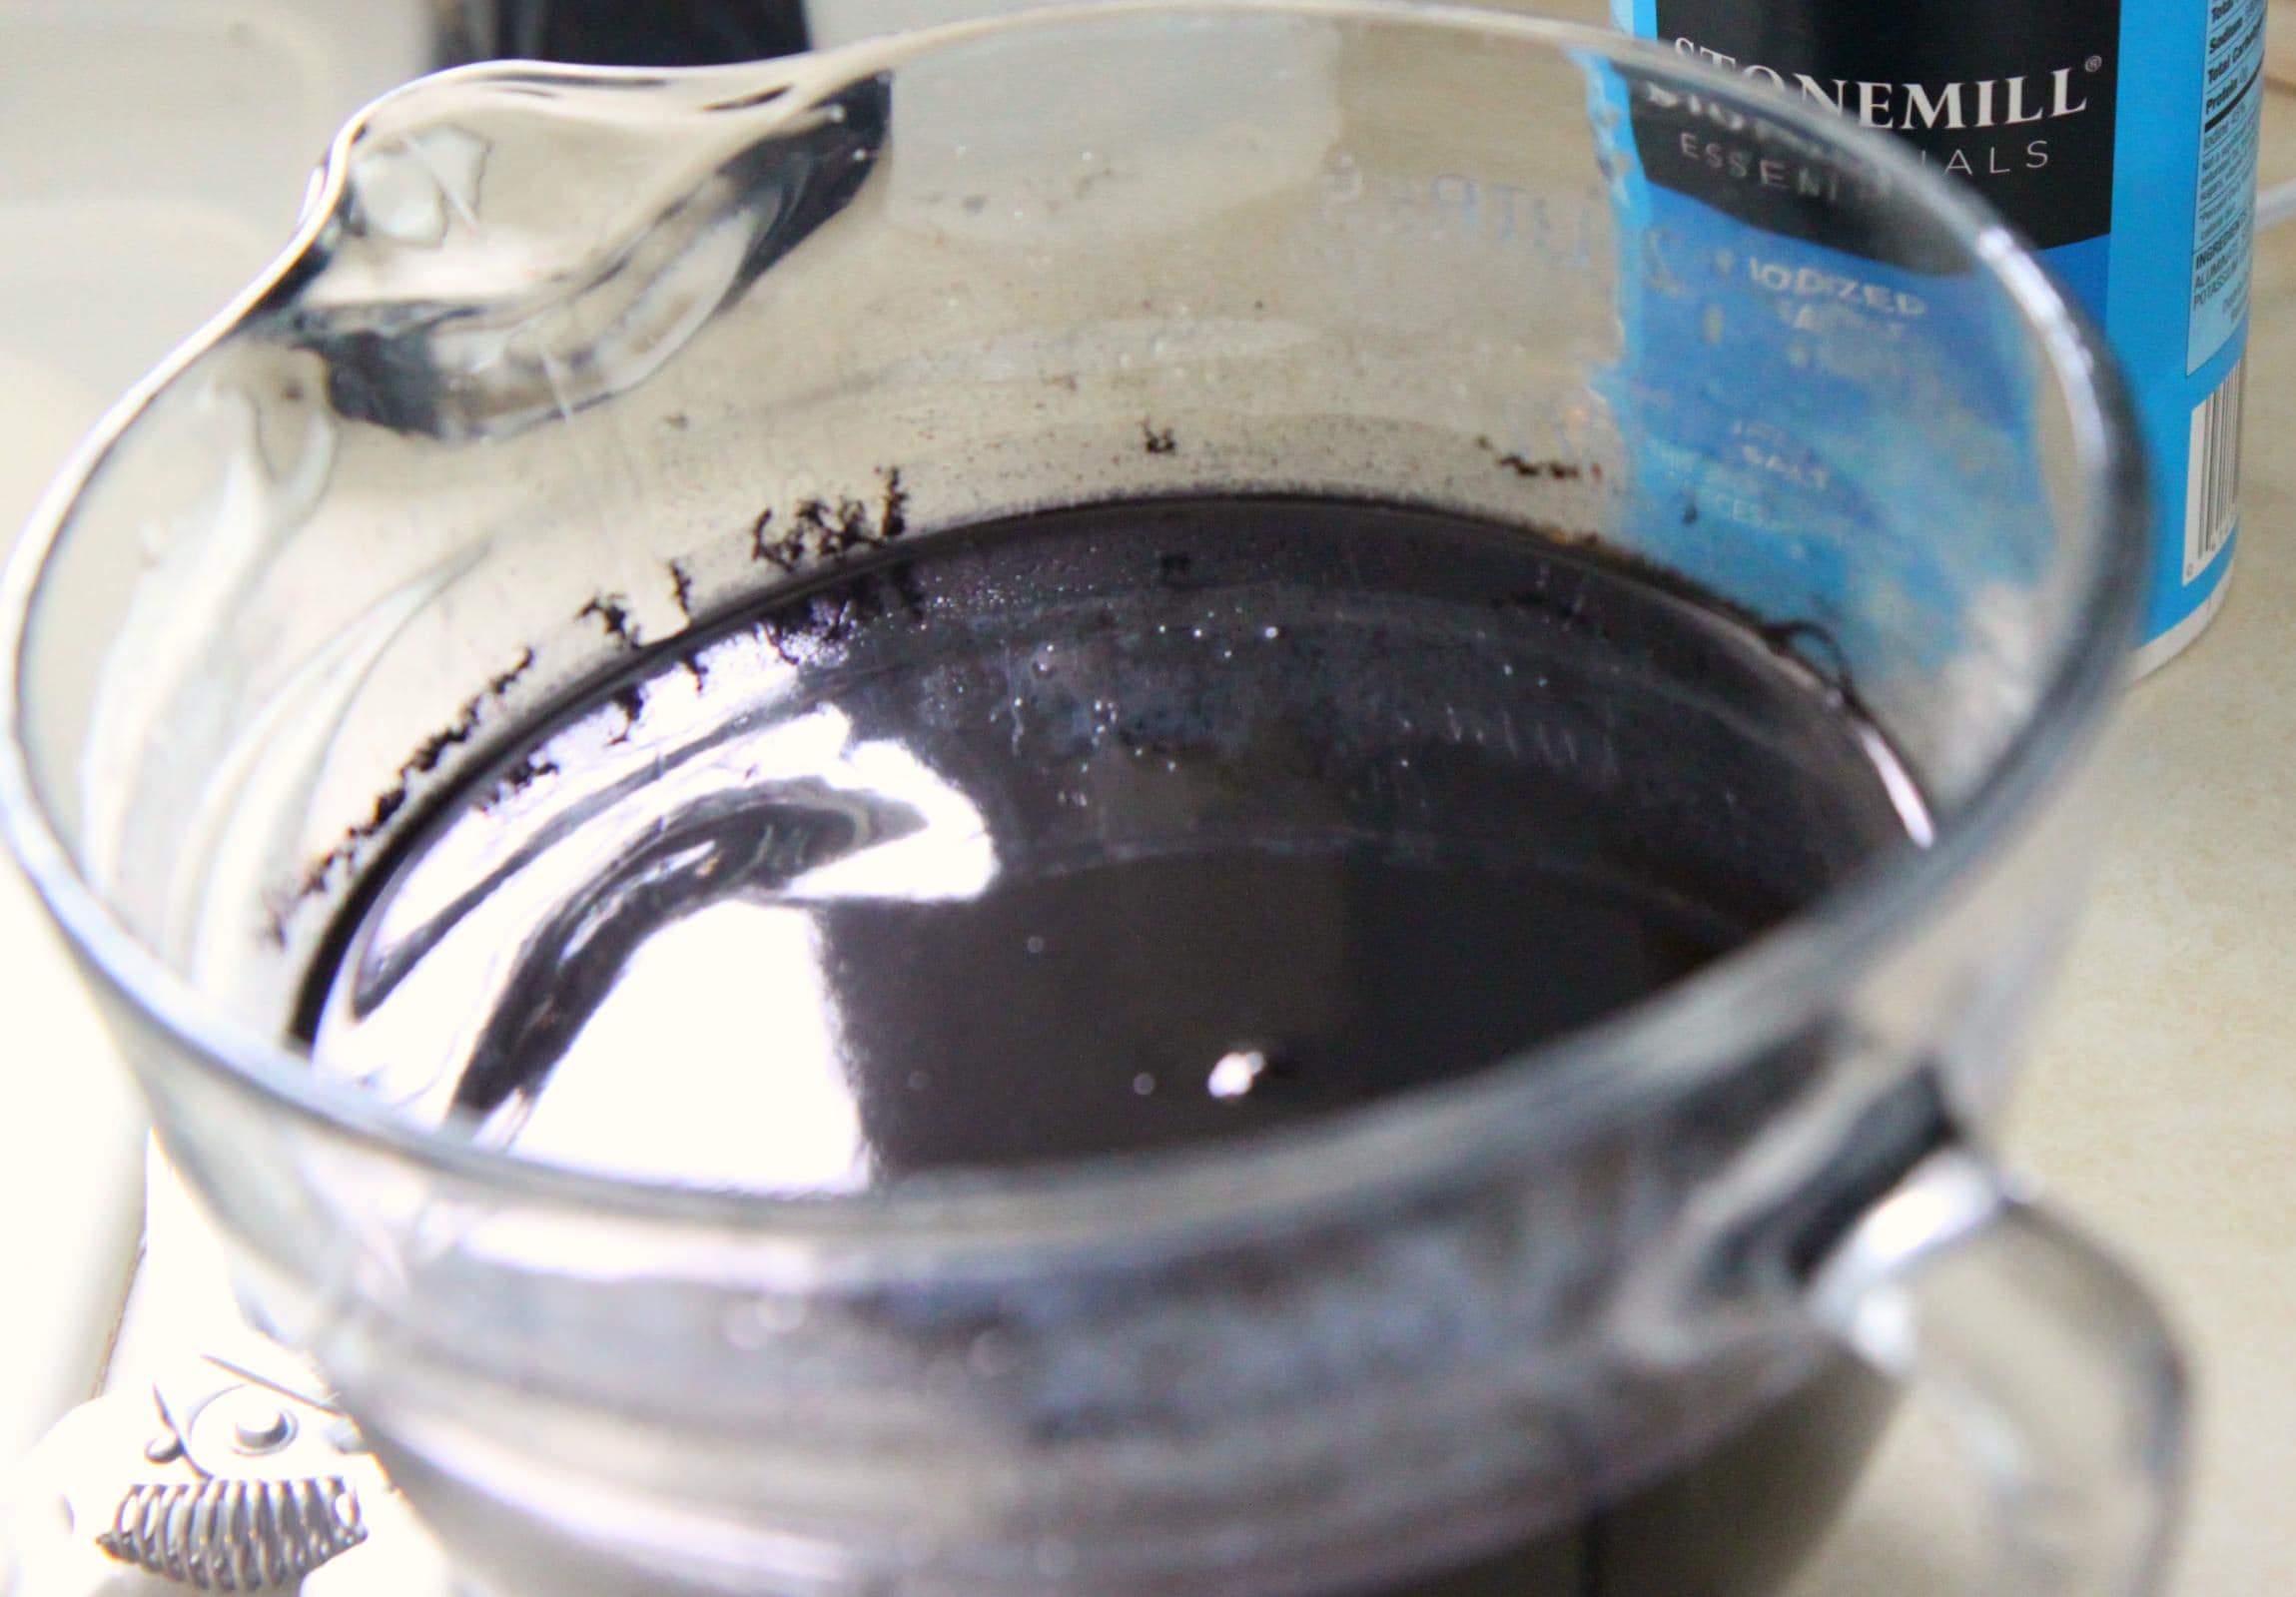
I recommend throwing on old clothes and a pair of rubber gloves while you mix this.
In a glass measuring cup add four cups of the hottest water possible out of your tap.
VERY carefully, add 1 cup of table salt and the contents of two of the powdered packet.
Using a metal spoon and VERY carefully stir the contents.
In your laundry sink, wet your jeans in warm water and then place them in your washer wet.
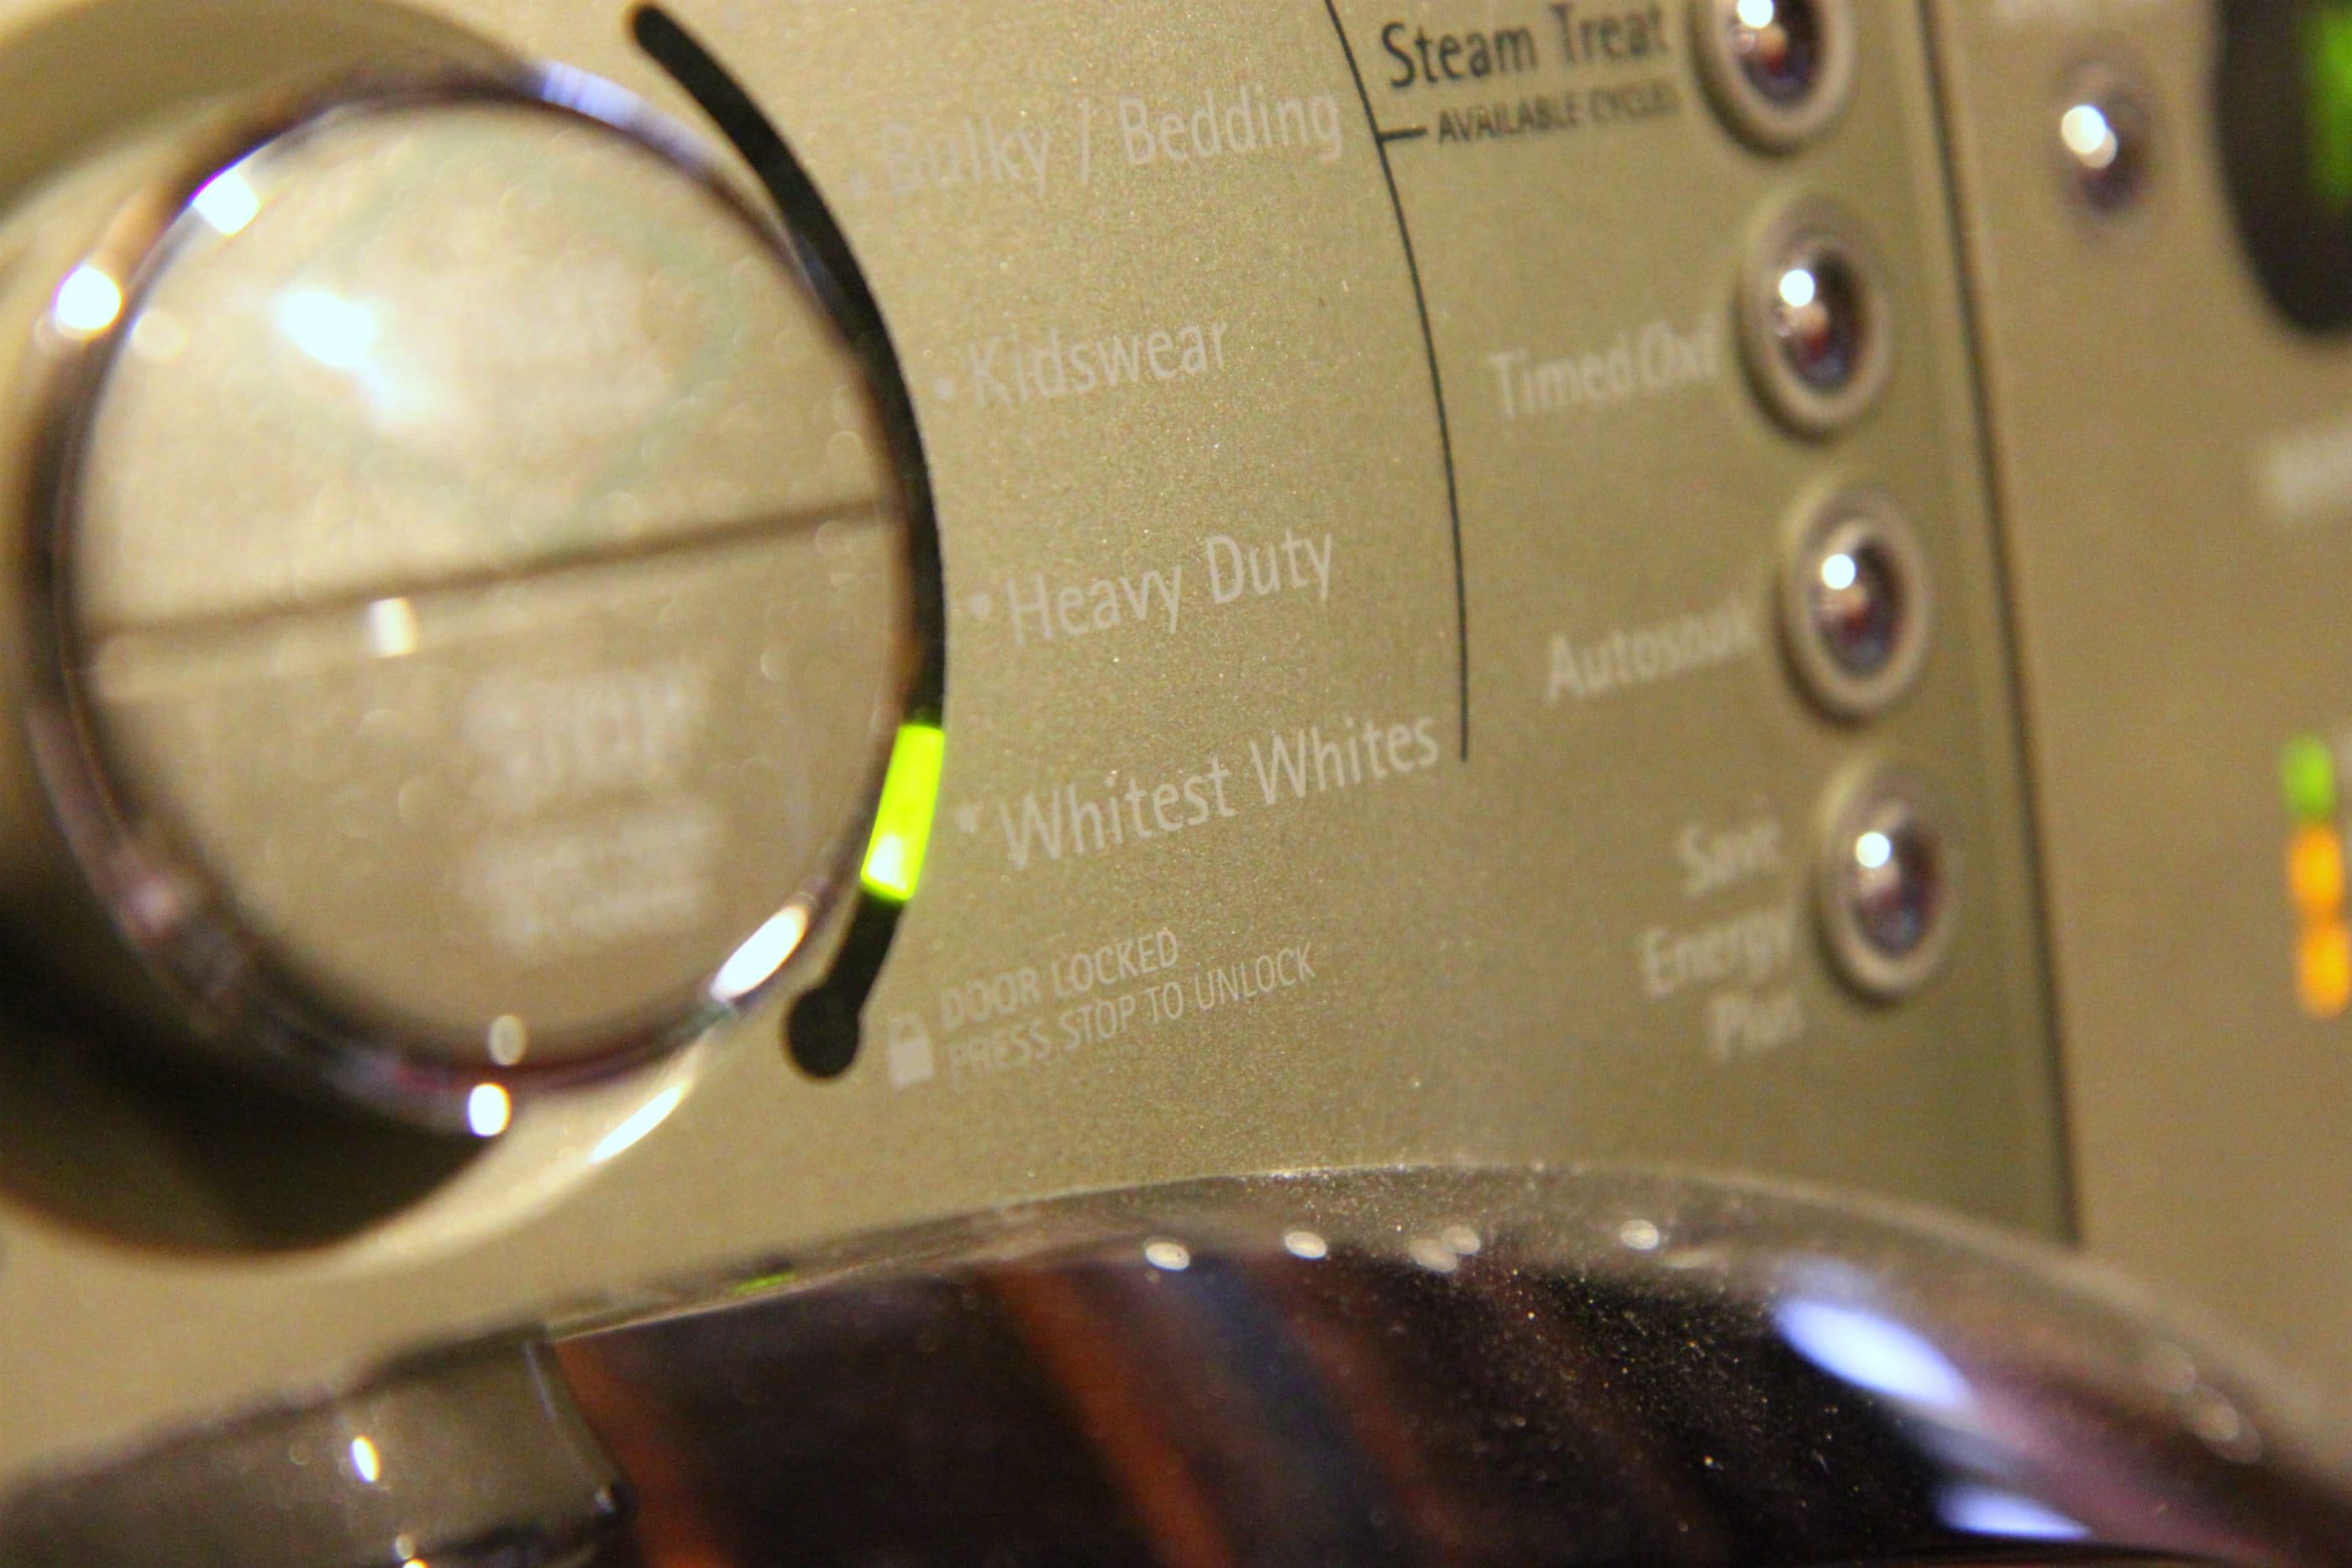
It is important to use the washer’s hottest water setting.
Additionally, a wash cycle of at least 30 minutes is recommended to obtain a satisfactory dyeing.
I set my washer to the Whitest White Cycle because it had hot water and was one of the longest running cycles on my washer.
Consult your washer manual to figure out which setting would be best for you. Go ahead and start the cycle with your wet jeans in there.
Here comes the super scary part.
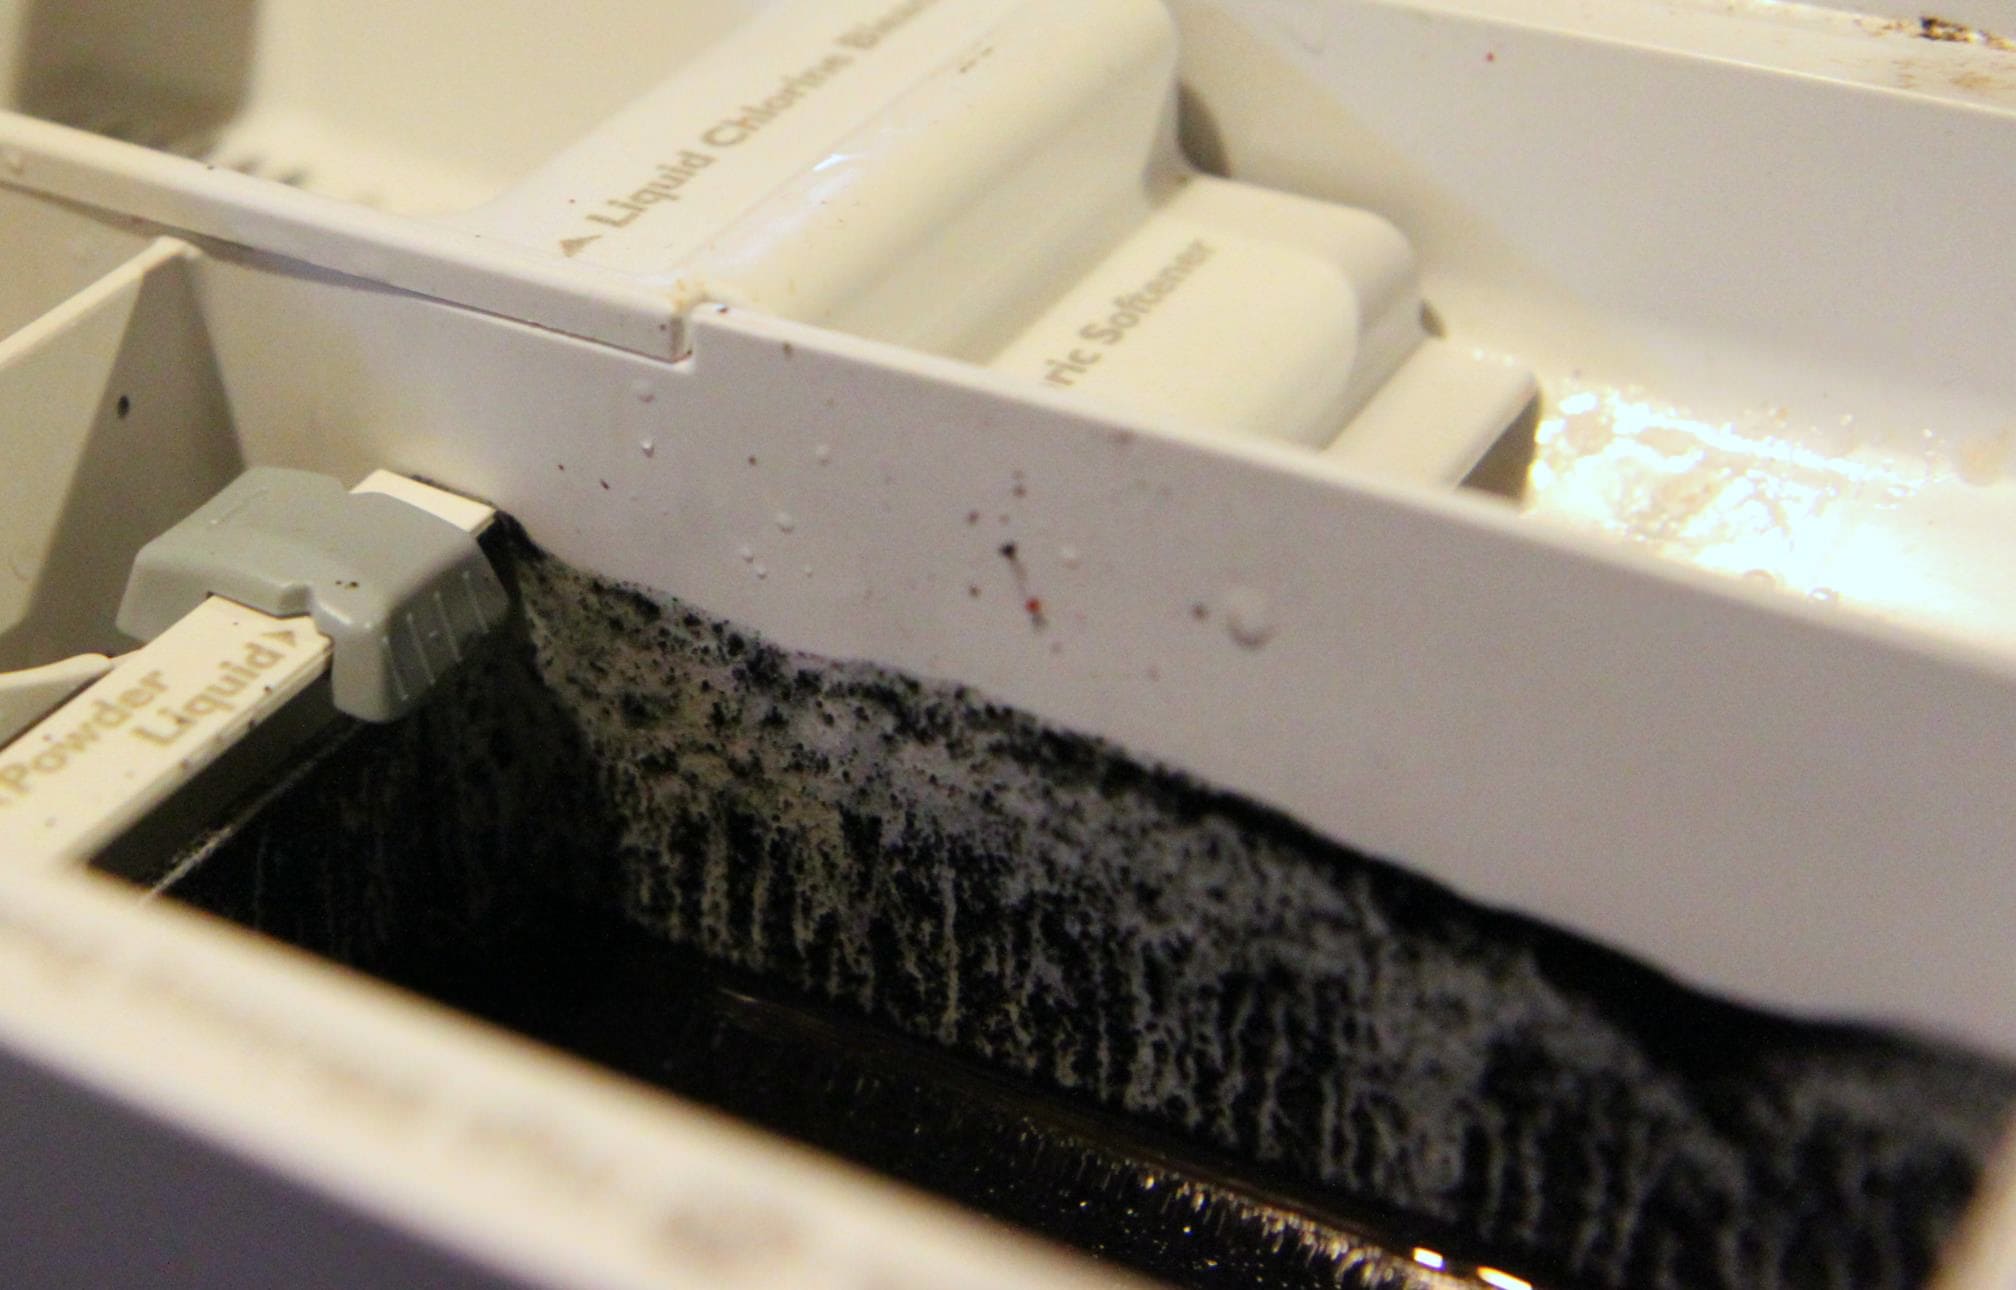
VERY carefully pour your dye solution into the spot where you put your detergent after you start your cycle.
Try to not panic like I did. I promise it will all work out.
Once the dye goes into the cycle (you will be able to tell when you open up your detergent compartment and see the dye filling in the washer) fill it with four cups of the hottest tap water possible and put it in the same exact spot you put your dye in (the powdered detergent holder) to flush the color out.
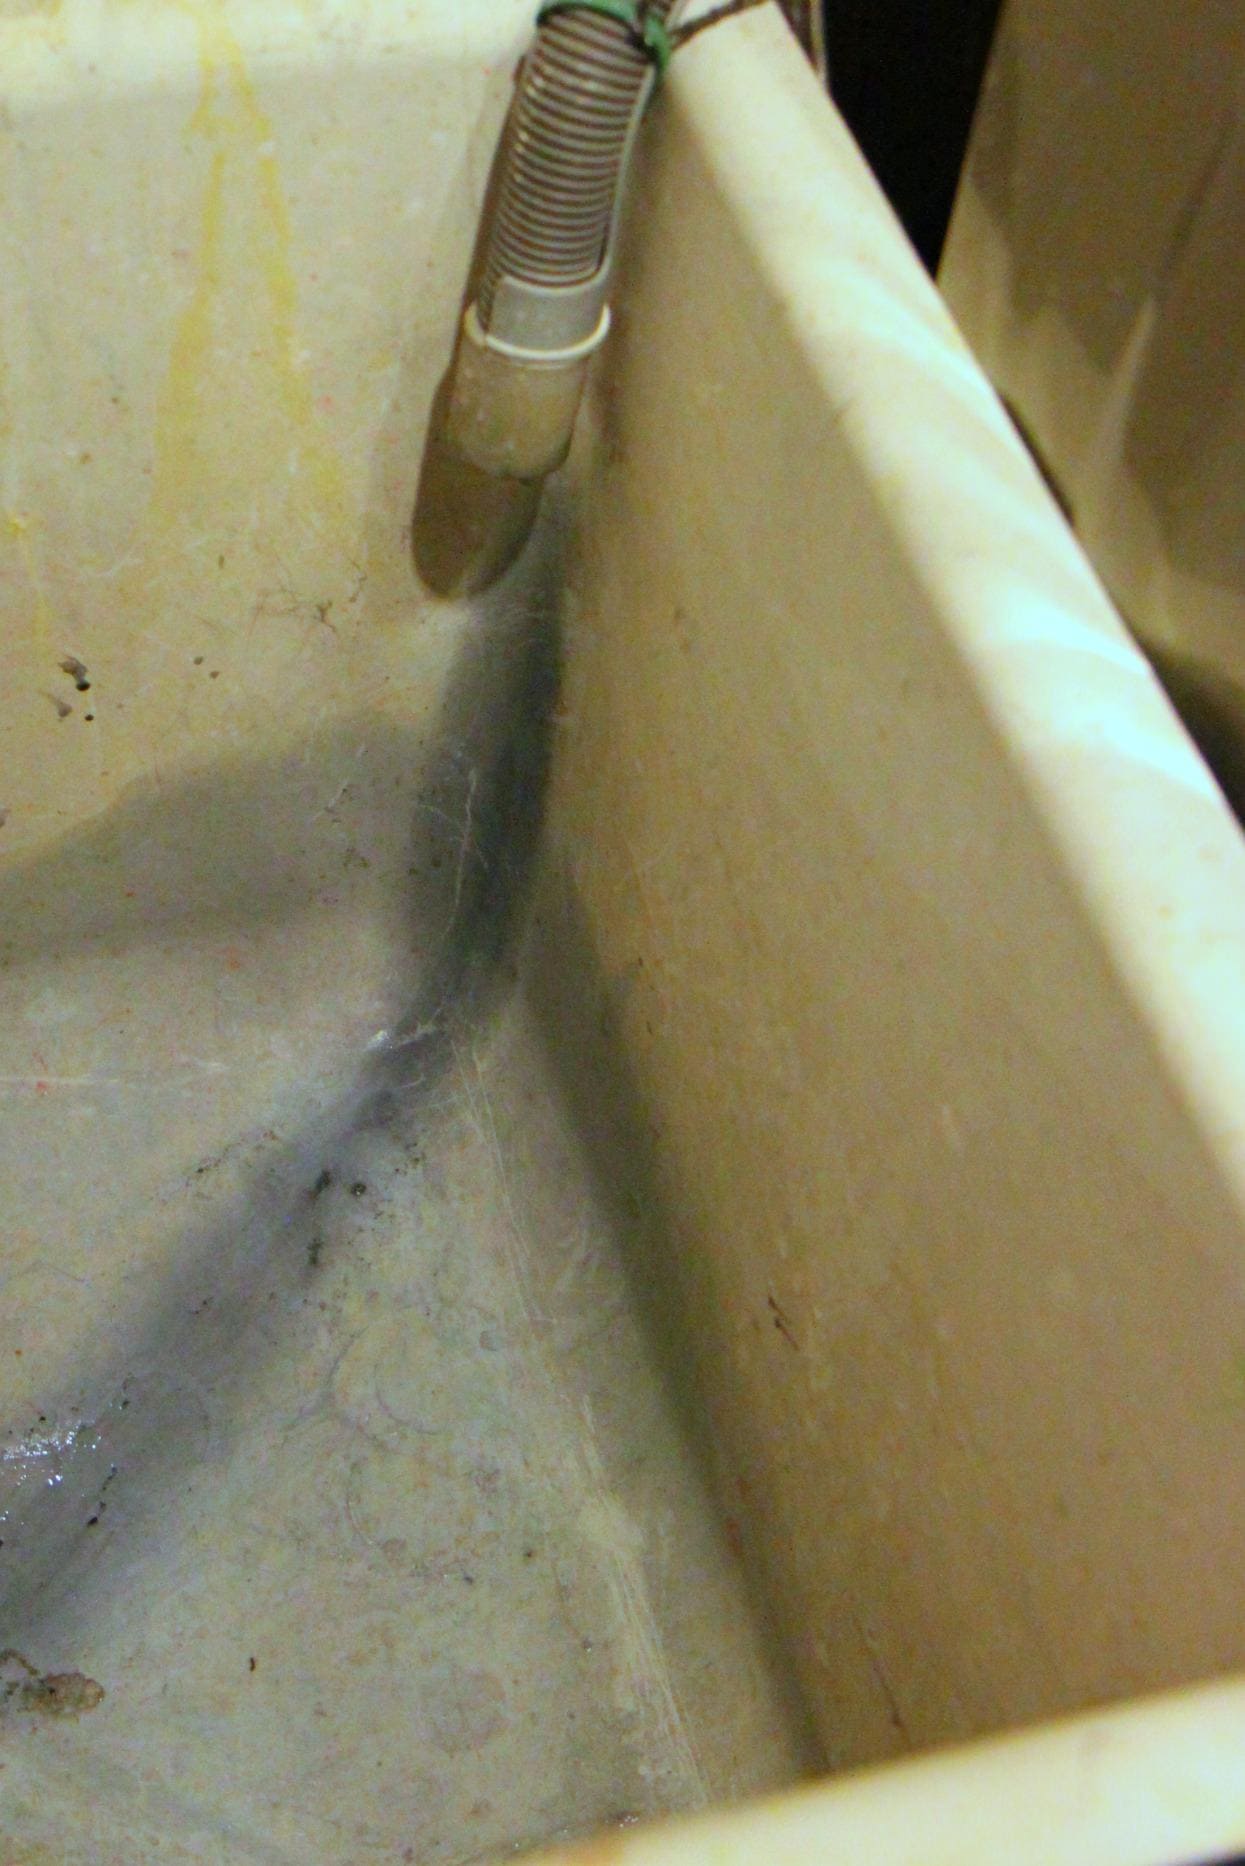
If you value your sink, this might not be a good thing because your sink will turn blue from the dye.
You will have to bleach it if you want to maintain a pristine sink.
Ours is obviously very classy down in our basement with a single light bulb attached to a piece of string.
Try not to be jealous of my laundry room.
Once your jeans are done, run it through another round or two of a warm wash cycle with detergent.
You want to check the water to see when it begins to run clear before you dry them to make sure all the color has absorbed into the jeans.
As a precautionary measure, wash the jeans separate from other items until you are completely sure that the dye will not transfer.
After that, just run them through the dryer on your usual cycle.
Notes on Retaining Color and Resisting the Fade
Other readers have shared that Retayne is a great product to use to help your fabrics retain the rich colors that you have dyed them.
Soaking your already-dyed garment in salt and/or vinegar will not set your dye.
At best, it will just add another washing, which will help to remove some of your excess dye.
The salt in the dye bath, however, helps the dye to approach the fabric instead of staying in the water, and vinegar can helps dye nylon or wool, but not cotton (like these jeans). Neither salt or vinegar is actually a dye fixative for already-dyed fiber.

After you are done, you will want to clean your washing machine.
Clean your washing machine immediately after dyeing has completed using the hottest water setting.
Since the machine automatically weighs fabric to determine the water level, place 3-4 old towels into the washer along with detergent and 1 to 2 cups chlorine bleach.
Wipe spills with paper towels sprayed with a chlorine bleach solution. Plastic or rubber parts may be tinted but will not stain laundry.
I happened to have a box of this Tide Washing Machine Cleaner and I used that in lieu of messing with the bleach.
That’s it.
A day of effort with less than $5 in supplies for a pair of new-to-you jeans.
Here are my new-to-me jeans…
My faded barely gray jeans are now a much richer and more solid color.
I still can’t believe that this is the same pair of jeans.
Just to be up front, I used the same exact spot in my house, same time of day, and same settings on my camera so this is no trick in photography.
It really has restored the color in my jeans.
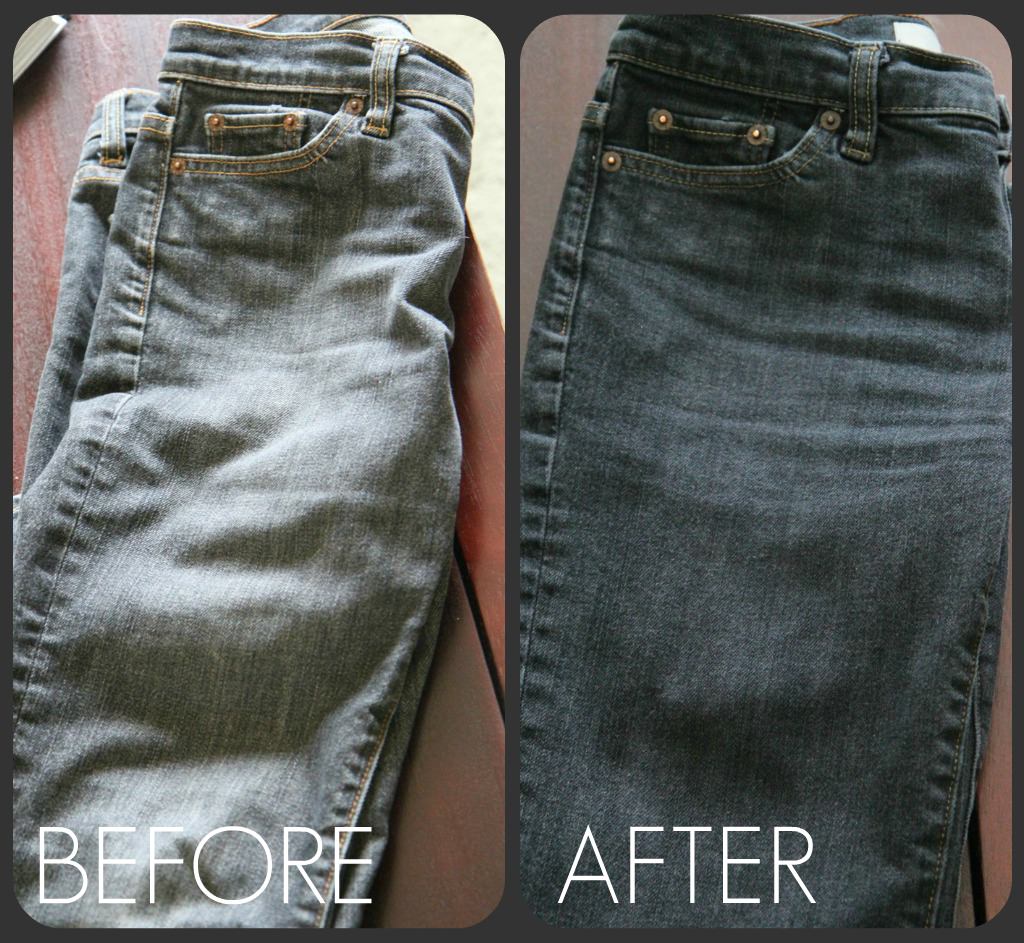
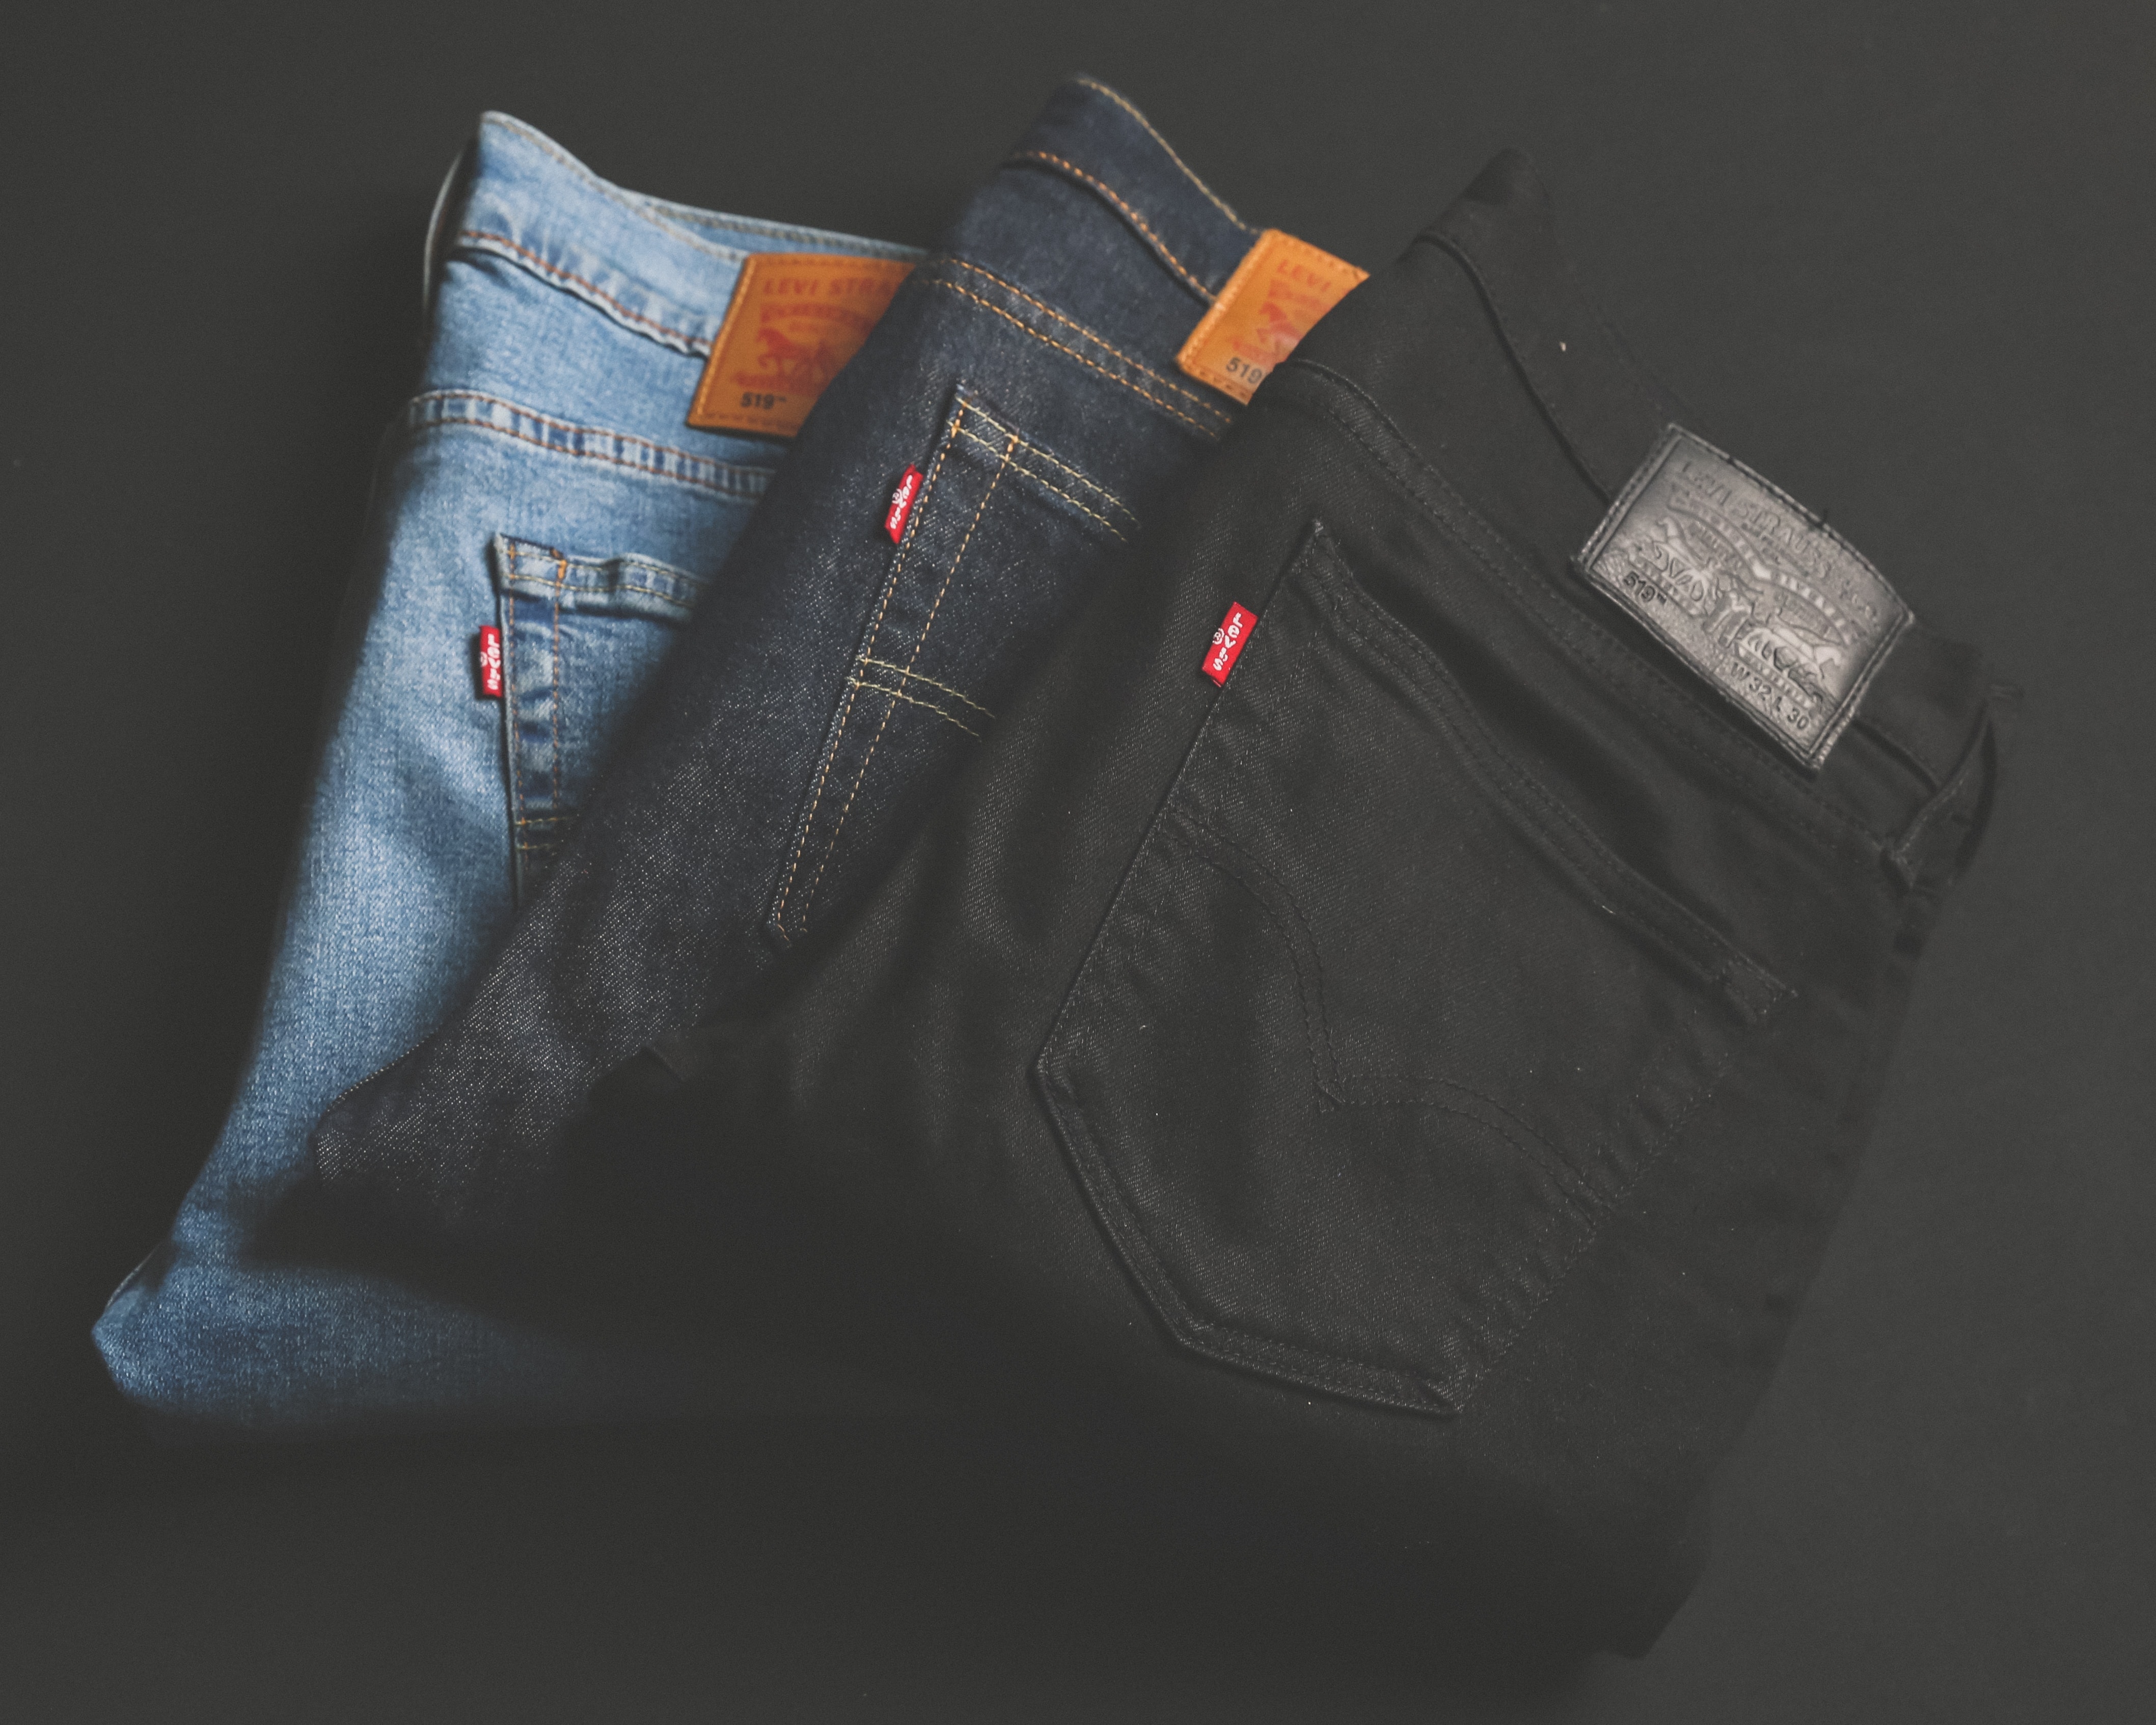
Here is a side by side of the jeans.
When they are lined up next to each other, you can see just how dramatically different this pair of jeans is.
I am amazed at the results and feel like I got a brand new pair of jeans for less than $5 in supplies.
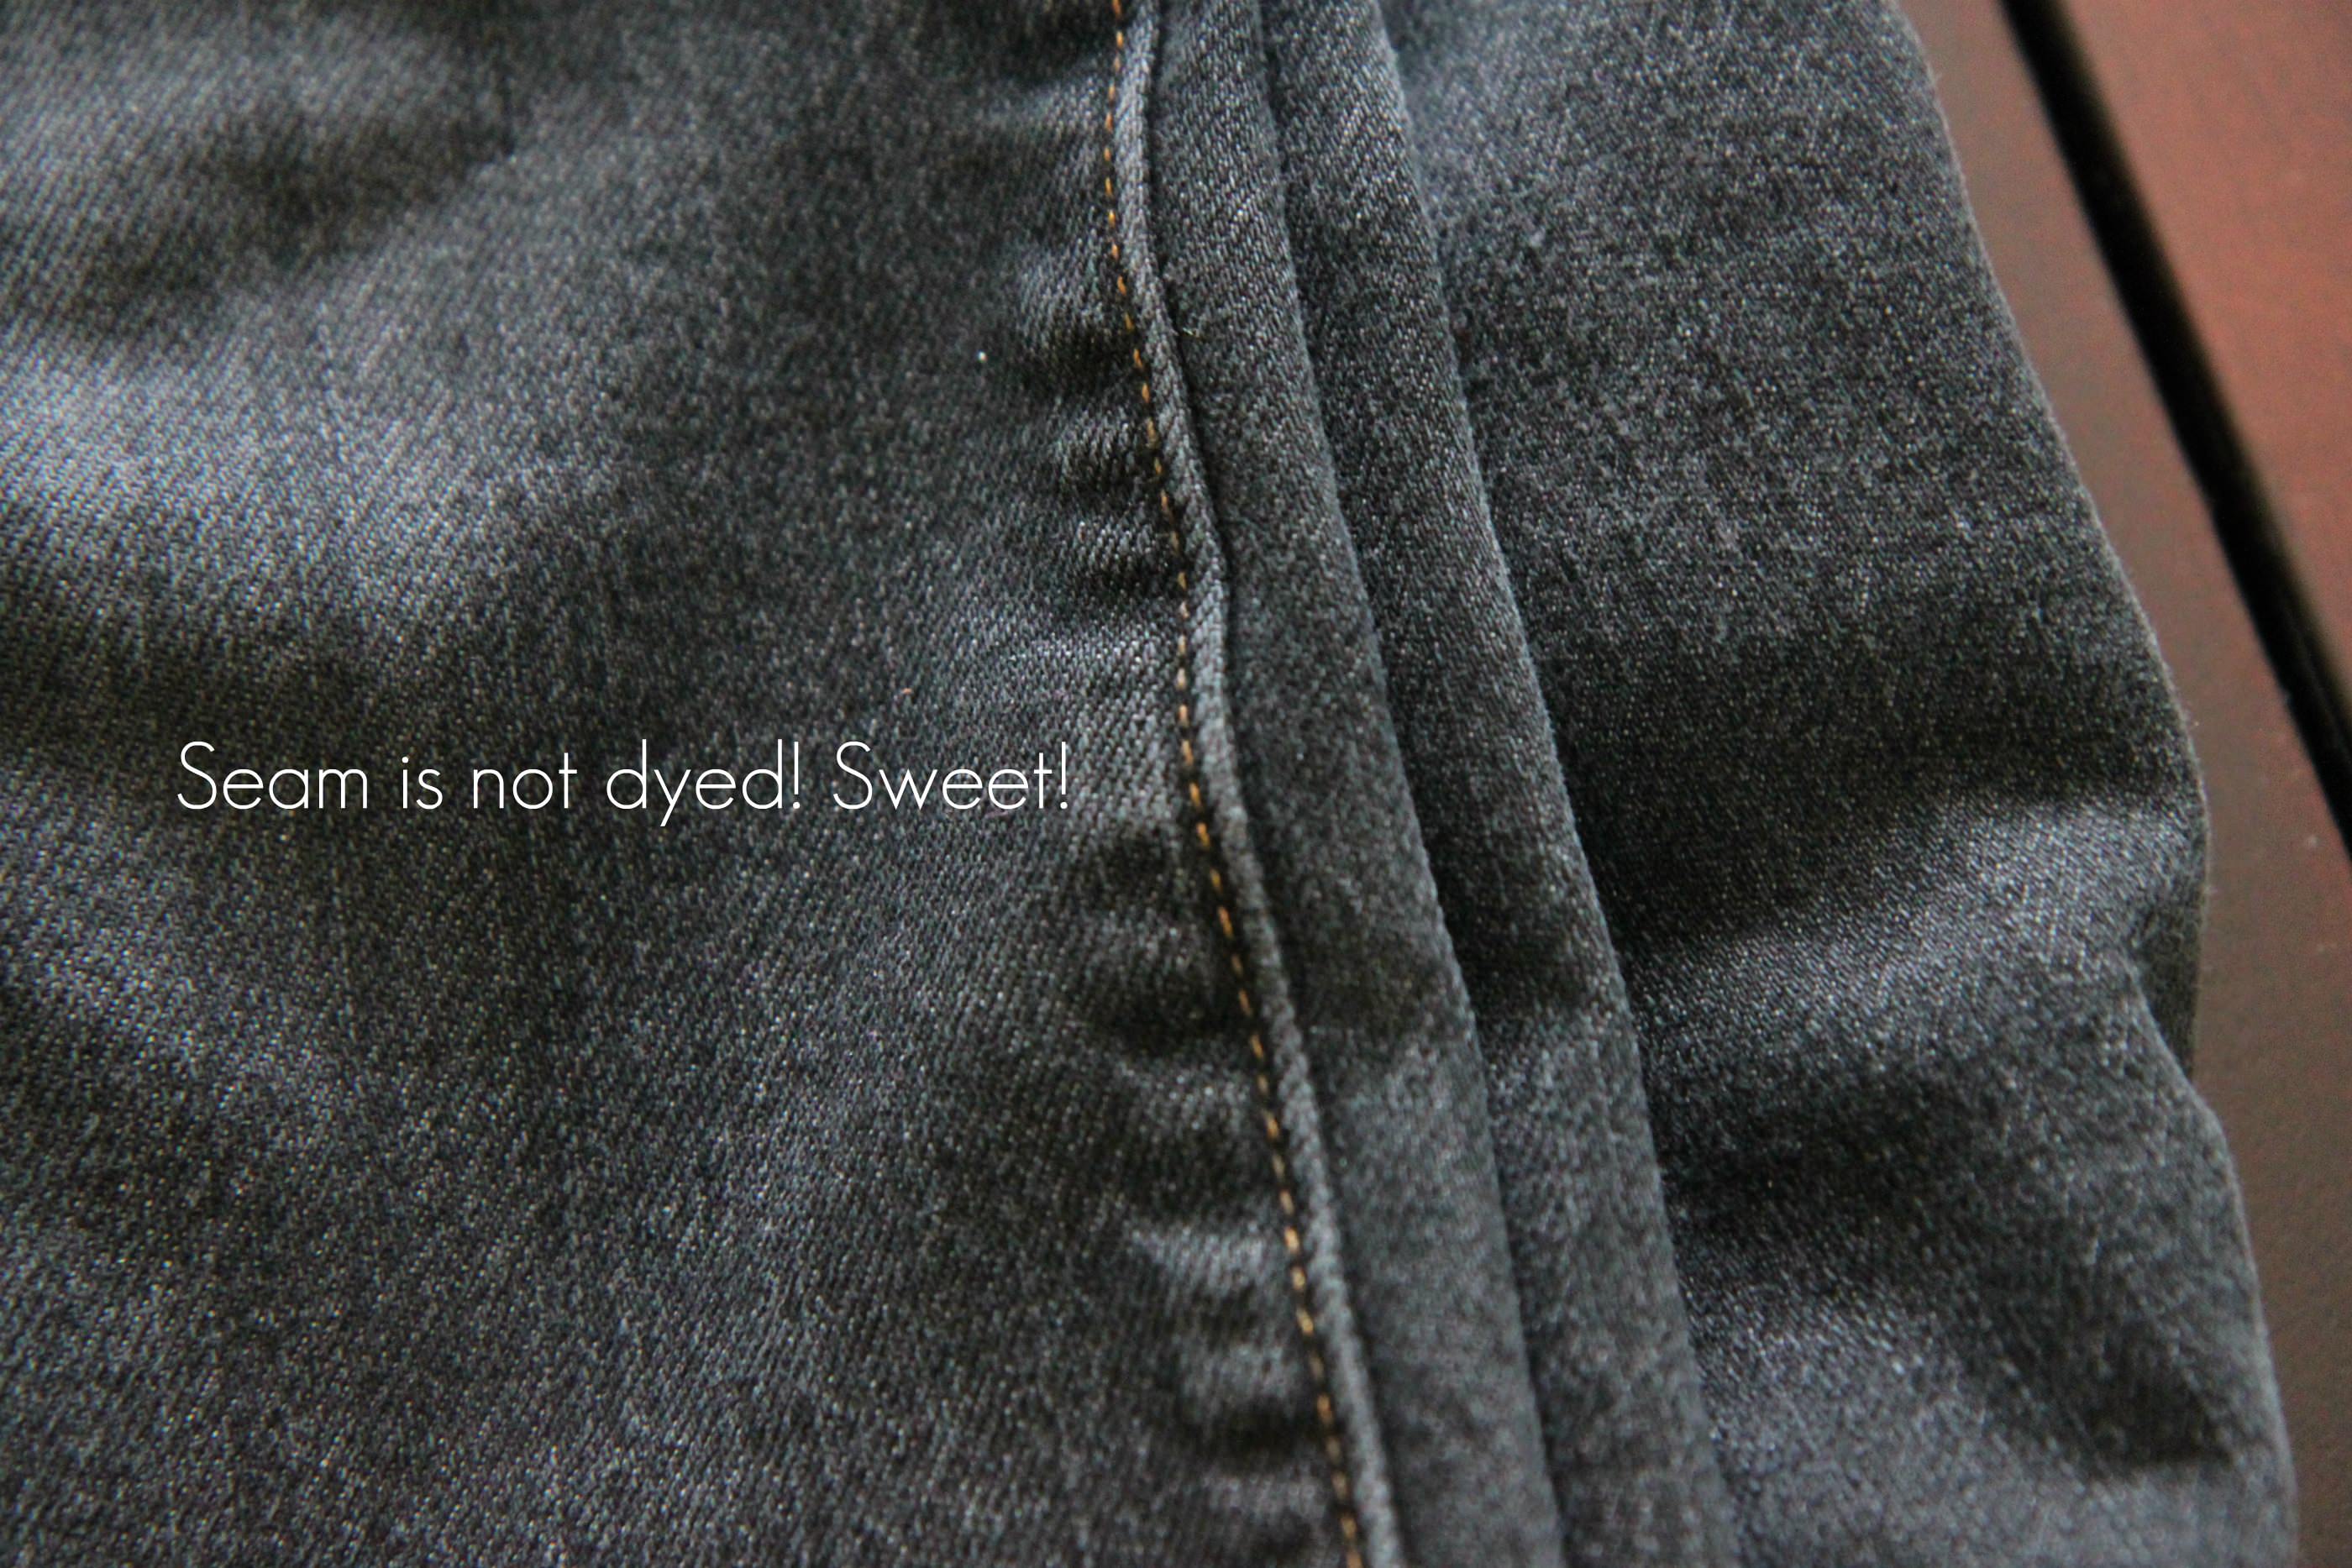
The one thing I was worried about was that the seam would be dyed along with the rest of the fabric, but the seam actually didn’t absorb the dye.
This was a lovely, lovely surprise!
If you are in love with a pair of jeans at the thrift store or simply want to restore some color in your old jeans, I encourage you to pick up some Rit fabric dye and give this a try!
The results are dramatic, while still being easy on your wallet!
For Top-Loading Machines
Fill machine with enough hot water for fabric to move freely. Refer to the chart below for the right amount of dye to add. Pre-dissolve powder in 2 cups of hot water. Add pre-dissolved powder or liquid to hot dye bath.
Wet fabric in hot water. Uncrumple and add to dye bath.
Set machine for extended wash cycle. Fabric should be in dye bath for at least 30 minutes before rinse begins. (You can reset your washing machine before the rinse cycle begins for extended wash cycle.)
Rinse in cold water until water runs clear. Wash deep shades in warm water with mild detergent and rinse thoroughly in cool water.
Dry item in dryer or hang to dry.
Clean washing machine using highest water level with hot water, detergent and 1 cup chlorine bleach using complete wash cycle. Clean lint traps. Plastic or rubber machine parts may be tinted but will not stain laundry.
For Front-Loading Machines
The settings and options of various front-load washing machines vary among manufacturers.
Even though there are slight differences among differing manufacturer’s wash settings, they are common in that they all introduce water to the tumbler once the garment is placed inside. They allow a time period to introduce detergent (or dye in this case), and they all finish with a spin cycle.
It is important to use the washer’s hottest water setting. Additionally, a wash cycle of at least 30 minutes is recommended to obtain a satisfactory dyeing.
Because front-load washers have built-in heaters to maintain the washer’s temperature and the water to fabric ratio is relatively high as compared to top-load machines, deep rich colors can be achieved using Rit dyes.
For Stovetop
Fill pot with enough hot water for fabric to move freely.
Remember: Use 1 package of Rit powder or 1/2 bottle of Rit liquid dye and 3 gallons of hot water for each pound of fabric.
Pre-dissolve powder in 2 cups of hot water.
Add pre-dissolved powder or liquid to dye bath. Stir to mix.
Wet fabric in hot water. Uncrumple and add to dye bath.
Bring dye bath to simmer. Stir constantly (back and forth, up and down) at least 30 minutes.
Rinse in warm water, then gradually cooler water until water runs clear. Hand wash item in warm water with mild detergent and rinse thoroughly in cool water.
Dry item in dryer or squeeze out excess water and allow them to air dry.
Clean containers immediately with chlorine bleach. Scrub with chlorine-based powder, liquid, or gel cleanser, if necessary.
Love this thrifty tutorial? Here are a few others I think you will love just as much!
Have you ever used fabric dye for any projects? Any tips or recommendations when using fabric dye? Let’s share!
*This post contains affiliate links*
Pin It


 pocket leggings
 classic barre socks
 funny mom journal
 pretty on pointelle dress (two hues)
 teardrop earrings
 tote bag (several colors- love the tags)
 porcelain coffee pour over cup (only $9!!)
 ruffle neck peasant dress
 support your local library tee
 avocado multi-tool
 bee’s wrap three pack
 open neck cardi (several gorgeous autumn colors)
 shuttered bookcase (two gorgeous hues- such a steal)
 autumn bitelet pan


