How to Stain a Picnic Table

April 18th, 2014

How to Stain a Picnic Table from MomAdvice.com.

It’s that time of year again and I just finished staining my picnic table for another year of memories around this table! I thought it might be good to bring this post back to remind you how easy it is to restore and stain that picnic table. I hope these tips help! 

Have you ever stained a picnic table before? This was our first year staining our table and I wanted to share with you some tips on how to stain a picnic table so you can enjoy it all summer long.  Thanks to a coat of stain, our table looks and feels just like new and I can’t wait to show you just how easy it is to do.

How to Stain a Picnic Table from MomAdvice.com.

Have you ever spotted something in a magazine and just knew you had to have it… yet, you could find it nowhere?

Many years ago, I flipped through a magazine and spied a picnic table that Katie Brown owned that was in her backyard and I just knew I wanted a table like that.

After inquiring on Facebook, we found a gentleman in town who makes picnic tables and after telling him what I envisioned, he built this beautiful table for us that comfortably sits eight to ten people.  When I look out my window, this makes me so happy and the meals shared at this table are what summer is all about.

To keep her looking good, we decided to freshen her up for another year of family meals.

I wanted to share with you my tips for the best type of stain for picnic table and my advice on utilizing a semi transparent stain that can protect our table for years to come (while allowing that natural wood grain to still come through), protect it from uv damage, and that will only require a minimal amount of light sanding. This piece of furniture gets so much love in our backyard and I’m excited to share my tutorial with you today.

How to Stain a Picnic Table from MomAdvice.com.


Supplies Needed:

Thompson’s Waterseal Waterproofing Stain (we did our table in Nutmeg Brown in Semi-Transparent)

Drop Cloth

Knit Rags

Paint Tray

Foam & Paint Brush

Sandpaper

Heavy-Duty Cleaner

How to Stain a Picnic Table from MomAdvice.com.

Directions

1. Before we begin, we need to prep our surface. Using a heavy-duty cleaner, spray and wipe down your table to remove any dirt and grime. Be sure that you clean the entire surface well and then wait 10-15 minutes, or until the table is completely dry, to begin staining. You never want to stain the table while it is wet so be sure that you are not trying to stain after a heavy rain.

How to Stain a Picnic Table from MomAdvice.com.

2. Since our piece was in good condition, it did not require any sanding.

If your piece needs to be smoothed though, use a medium grit sandpaper sanding in the direction of the grain. This can be done with a small palm sander or can be done by hand. Once you are done with that, finish with a finer grit of sandpaper to smooth out any rough areas and give the table an even, smooth finish for the stain. Once it is sanded, make sure to use a tack cloth to remove any sanding.

3. Once your piece has been cleaned and prepped, it is time to begin applying stain.  With the Thompson’s Water Seal Waterproof Stain you do not want to thin this.  Make sure that you shake well and shake, stir or mix thoroughly before and occasionally during use. Before you begin staining, make sure you try a test run with a small trial patch in an inconspicuous place, like the underside of your bench or table, to make sure that the stain is the color you are going for.

Apply using an exterior paint pad, brush, roller, or even a rag to begin applying the stain to your table.  If you are doing the legs and underside of the table, lay down your drop cloth and invert your piece and do the bottom first. Allow the bottom to dry, it should take less than two hours to be fully dry, and then begin staining the top.

How to Stain a Picnic Table from MomAdvice.com.

5. Use your foam brush to get into the detail parts and legs of your table, using a rag to remove any drip marks on the ends.

6. Allow your table to dry for two hours.

How to Stain a Picnic Table from MomAdvice.com.


How to Stain a Picnic Table from MomAdvice.com.

How to Stain a Picnic Table from MomAdvice.com.

How to Stain a Picnic Table from MomAdvice.com.

How to Stain a Picnic Table from MomAdvice.com.

This table looks just like new again and it only cost me $30 in supplies.

Since picnic tables do reside outside, they are exposed to all of the weather elements, which means you need to stain your table from time to time.  This stain typically will last two to three years, but possibly less time than that, depending on if your picnic table is in direct sunlight.

The properties of  sunlight can dry out the stain and cause it to weather much faster.  It also has a lot to do with how much freezing and thawing happens, which in our area, seems to happen often! 

I’m so proud of my table and I hope it inspires you to freshen up your own picnic table for Spring.  Speaking of staining,  I am still SO proud of this stained table I created for our office. If you are looking for tips on indoor staining, be sure to visit that post!

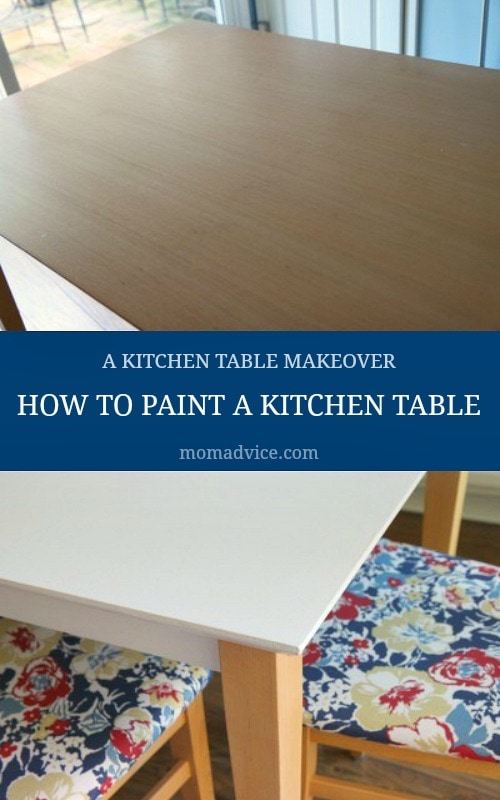
Looking for more stain and paint projects? Here are a few of our favorite makeovers!

How to Stain Furniture 
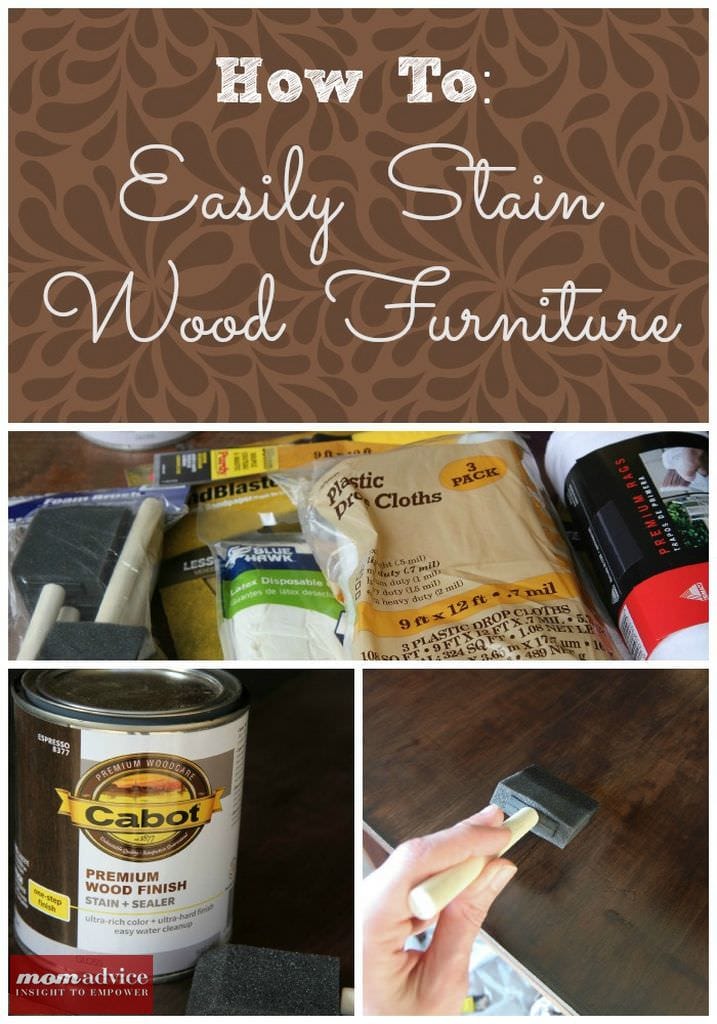
how to easily stain furniture

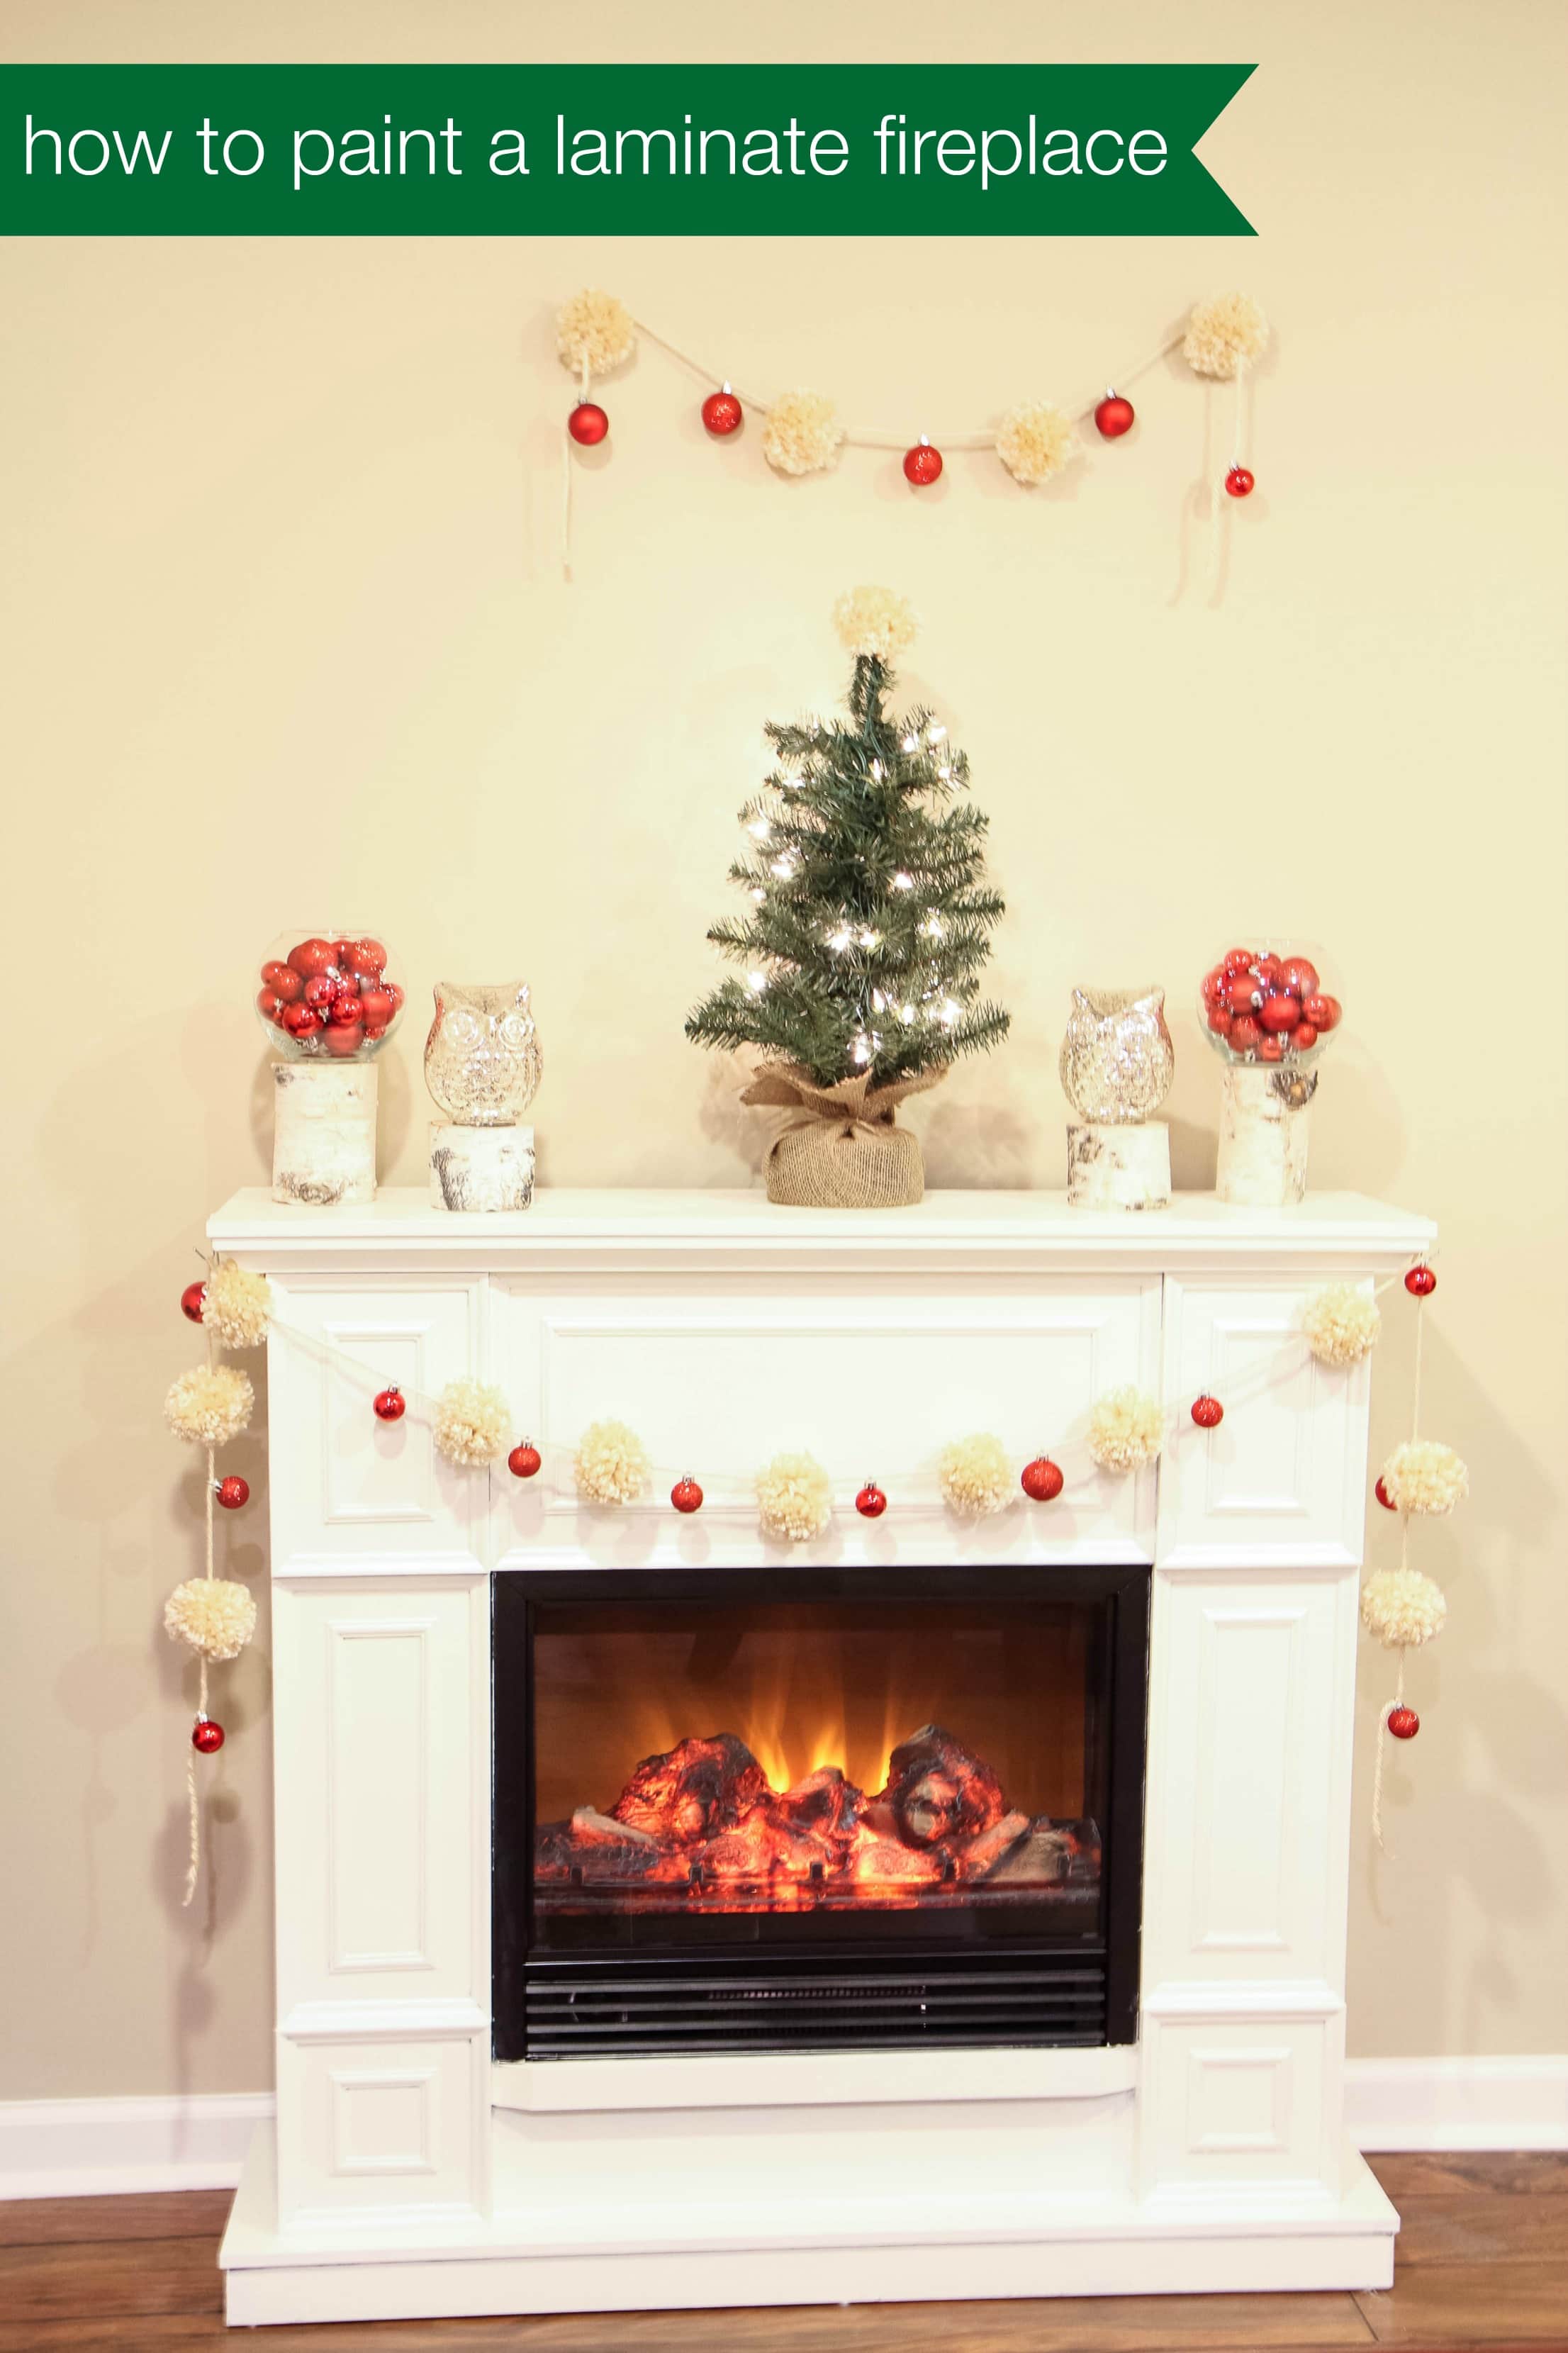
how to paint a laminate fireplace

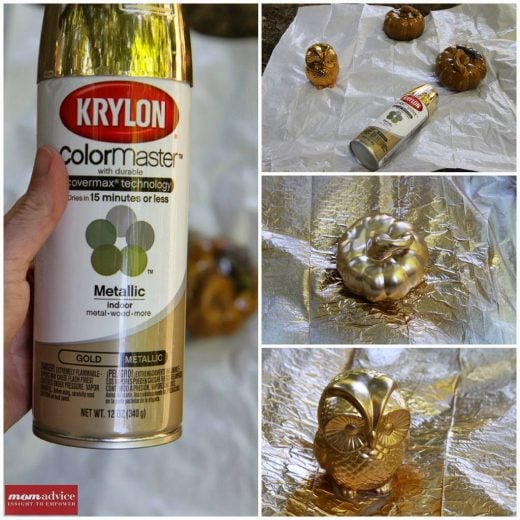
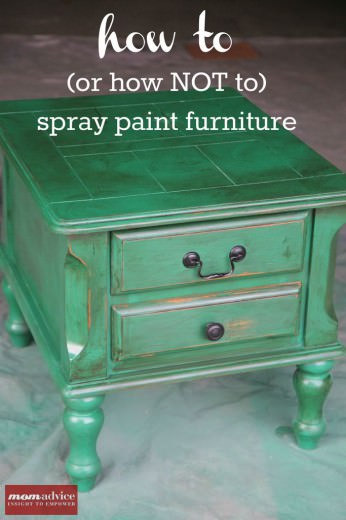
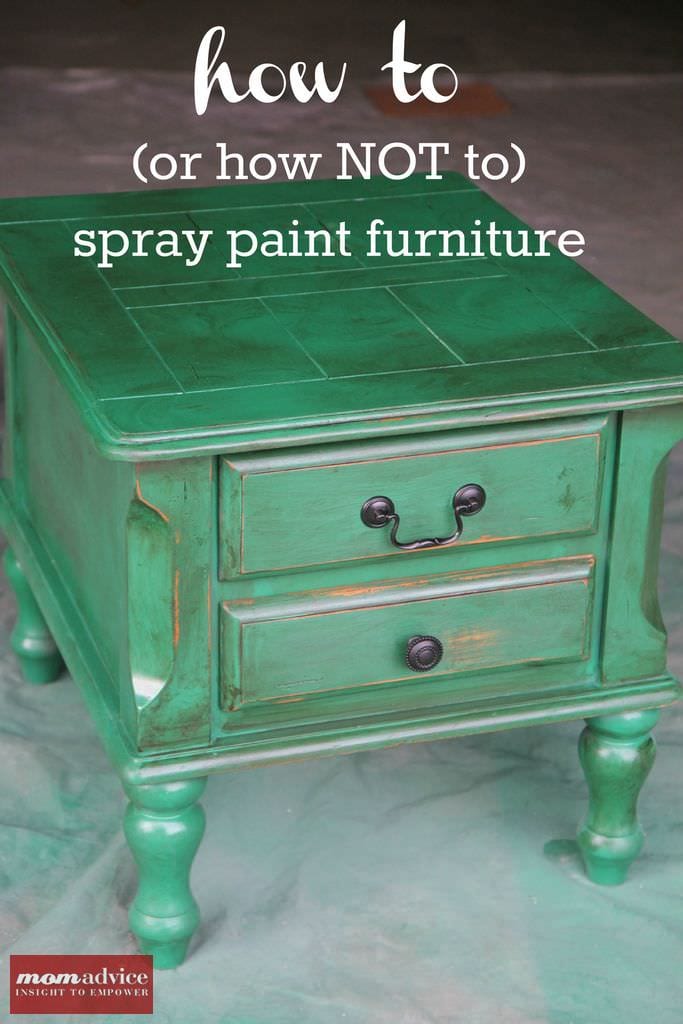
how to spray paint furniture

How to Paint a Kitchen Table

                               how to paint a kitchen table

Have you ever stained a picnic table or deck? What tips can you share on this?

This post contains affiliate links! I only recommend what I love & genuinely use though! 

Pin It

Mama Francesca Cheese & Cheese Dusted Olives

April 17th, 2014

Mama Francesca Cheese Review


*This post is sponsored by Mama Francesca

Last month I mentioned my partnership with Mama Francesca Grated Cheese. I am excited to share another fun recipe idea that you can create in your kitchen and this one happens to require very little cooking, but is an impressive appetizer to add to your next get together or antipasto platter.

Mama Francesca  is a delicious grated cheese that comes in six different flavor varieties including Aromatico (Parmesan, Basil & Oregano), Fiero (Parmesan & Red Pepper), & Pungente (Parmesan & Garlic), Audace (Parmesan & Romano), and Perfetto (Classic Parmesan).

Mama Francesca Terzetto Cheese

You can also find the Terzetto (Parmesan, Asiago & Romano).  The best part is that these can all be found on the shelves of your local Walmart stores, including the new Terzetto which will be available at Walmart on April 21st!

Did you catch last month’s delicious Gluten-Free Pasta & Meatball recipe? I hope you didn’t miss it because I have already made it a few times since I shared it!

For inspiration for this month’s recipe, I looked on the Mama Francesca website to create a dish to share with you. The site offers a variety of recipes and when I happened upon a recipe for Cheese Dusted Olives…well, be still my beating heart, because I am already in love just from the title alone.

 Cheese Dusted Olive Recipe

Have you ever infused oils before? It truly makes any dish a showstopper and it is just a simple technique of adding herbs and any desire of flavoring to heated oil and allowing it to infuse into it. I do this with my husband’s favorite roasted shrimp, but had never thought to do this with olives. It changes the taste of the olives completely and adds that special wow factor to your antipasto platters.

The oil is infused with lemon and thyme and then poured over your olives on a platter (or a martini glass like me!)  and finished with your favorite cheese blend. I wanted these to have a little garlic bite to them so I used the Pungente (Parmesan & Garlic) to add that cheesy garlic flavor that I love.

I rounded out my antipasto platter with salami, prosciutto, and fresh grapes- all delicious and all, happily, gluten-free snack options.

 Cheese Dusted Olive Recipe

Since getting a babysitter is expensive, I am always looking for date night experiences at home. In the summer months, we enjoy an antipasto platter outside and chat after the kids head to bed. In the winter months, this is best served with a great Netflix documentary or board game for a fun evening in.  To round out the evening, this gluten-free meatball recipe I shared last month would also be a beautiful accompaniment as your evening appetizer!

I have stopped thinking of these things as special occasion foods, but an investment into our relationship and time together.

I hope these posts about Mama Francesca have inspired you to pick up a few varieties of cheeses to try and I hope you can give these delicious Cheese-Dusted Olives a spin for a fun date night in!

 Cheese Dusted Olive Recipe

Cheese Dusted Olives
Recipe Type: Appetizer
Author: Mama Francesca Premium Cheese Website
Prep time:
Cook time:
Total time:
Serves: 8
An effortless & easy appetizer for lemon & thyme infused olives dusted with cheese.
Ingredients
  • ¼ cup Mama Francesca Parmesan Audace (or your favorite Mama Francesca cheese variety)
  • 2 cups Favorite Olives, rinsed
  • ½ cup Extra Virgin Olive Oil
  • 2 sprigs Thyme
  • 1 Lemon, strips of peel only
Instructions
  1. In a small sauce pan, heat oil over medium for 3 minutes, until warm, remove from heat.
  2. Place thyme and lemon peel in oil, let stand 1 hour.
  3. Once cooled, pour infused oil over olives on a platter.
  4. Sprinkle with Mama Francesca cheese.


 *This post is sponsored by Mama Francesca


Pin It!

Tracking Pixel

Pin It

Amy’s Notebook 04.16.14

April 16th, 2014

Neutral Easter bunny napkin ring

Source: Design Dining & Diapers


Sweet and simple, these burlap bunny napkin rings will help make your Easter table adorable.

You can make bouncy balls at home? This is new to me, but I know my kids will flip for this science-experiment-wrapped-in-a-fun-activity!

Drool-worthy lemon meringue eclairs would be the highlight of any Easter celebration, don’t you think?

How fun are these diy bunny treat jars? I think they would make fabulous gifts for grandparents, friends, and neighbors as well as for the kids.

I’m loving the Easter coloring of this cake batter puppy chow snack mix and the fact that I can make it gluten free.

This small kids reading loft is completely inspiring – that crate-like bookshelf with books arranged by color – the stairs leading to the loft – the fun yellow chair and blue pouff!  Ahhh, it all makes this reader-girl’s heart go pitter-patter.

I just love mirrors and I’m totally motivated by these 35 ways to decorate with mirrors to look for some fun & different examples at thrift stores.


amys_notebook

I hope you enjoyed this collection of gathered links to DIY crafts, food projects, and thrifty ways to spruce up your home. Nothing brings me more joy then to highlight other fabulous bloggers. Follow me on Pinterest for daily inspiration!


Pin It

Apron Full of Giveaways 04.15.14

April 15th, 2014

goldfish apron

Source: Boojiboo,  $28.75


Welcome to our Apron Full of Giveaways! I hope everyone is having a great week this week! As we do each week, here is our round-up of giveaways for our readers. We hope that this is beneficial to you and your family! Please let us know if you guys win anything- I love to hear the success stories!

Below are the contest links-if you are hosting a contest please link it up below. Sorry, we are not giving away the aprons just showcasing them! Please put your site name and then what type of contest you are hosting. For example, “MomAdvice (Kid’s Movies).”

Good luck to each of you!

Pin It

When Mom Needs a Timeout

April 14th, 2014

From our marriage & parenting contributor, Mary Carver.

When Mom Needs a Timeout | MomAdvice.com

“Mom? What’s for lunch? Mom? MOM! Hey! MOMMMMMMMMMMM! What. Are. WE. Doing. FOR. Lunch?!”

Before she could ask – or say my name – One. More. Time, I said, carefully and through gritted teeth, “I can’t talk to you right now. I do not have anything nice to say.”

We were driving home after church, after a week full of fighting and talking back and directly disobeying every big and little thing. We were headed home (by way of Taco Bell), after a morning full of arguing and interrupting the grown-up talk and smarting off in front of the pastor.

Though my newborn has started sleeping for a few more hours in a row overnight, I still feel like a stiff wind could knock me over – or at least lull me into a nap – most days. So fighting against a strong-willed six-year-old had worn me down.

This mama needed a time-out!

Wouldn’t it be nice if, every time we feel overwhelmed, we could escape to a place like that beach up there? {You know, like maybe the week after spring break? Or on snow day #472?}

Unfortunately, a beach vacay isn’t really in the cards every time I feel like pulling out my hair.

When Mom Needs a Timeout | MomAdvice.com

Last summer I wrote about wanting to run away. Just for a bit, just long enough to refill my emotional tank so I could face whatever chaos or challenge waited for me at home. On that particular day, I had dropped off my daughter at the babysitter’s house and driven straight to a diner, where I sat – alone – eating pancakes and avoiding a small-but-maddening kitchen renovation at home.

But even that feels luxurious – and impossible – some days. Sometimes you can get away, but sometimes you’re stuck in the house or without extra money or a babysitter or a couple hours to spend on yourself. That doesn’t mean you can’t take a break.

When you need a timeout and want to run away, here are a few things – some more luxurious than others! – you might try:

  • Light a candle. The one that smells so pretty and makes you breathe deeply and your shoulders relax, just a bit? Yep, put it way up high and out of reach of little hands if you must, but light that candle.
  • Schedule a manicure. Or a pedicure. Or a haircut. And then go to the appointment. Turn off your phone if you can stand it and just enjoy being pampered. Even if I’m using a coupon to get my hair trimmed at a discount salon, those two minutes of having someone else wash my hair seem awfully close to that beach paradise I long for!
  • Go to lunch. Call a friend – maybe one you haven’t seen in a while – and make plans for lunch. A little grown-up conversation can do wonders for the soul. (Or, if you’d rather, go eat that lunch on your own. Take a good book or your iPod, and enjoy the alone time!)
  • Go to the bathroom. Yes, I said it. I’m not telling you what you need to do in there! But if you can escape the kids for five minutes, walk into the bathroom and shut the door. Yeah, all the way closed.
  • Take a shower. What? You’re offended that I assume you didn’t already do this? Well, fine, you are a better woman than me! Seriously, I know that mom showers often get shorter and less regular during some phases of life. These days – living with a newborn – I feel good if I manage one every other day. But when I finally do step under the hot water, even if it only lasts for four minutes and 27 seconds? It. Is. Wonderful.
  • Take time for a quick workout. Or a chapter in that book you’ve been dying to read. Or the latest episode of your favorite show. And do it in the middle of the day. GASP! I know! Can you BELIEVE I said that? But seriously – despite our collective understanding that we should sleep when the baby sleeps and work our tails off when the toddlers nap, sometimes a mom just needs a break. Take yours.
  • Go shopping. Swing into Target and peruse the dollar spot. Or the clearance racks. You don’t have to buy anything. Sometimes just wandering around and looking at the pretty, clean, new things is enough to clear my mind. Likewise, much as grocery shopping can be a chore, doing it alone? Can feel like a two-week vacation.
  • Take the long way home. Sometimes after I drop off one daughter at school and the other at the babysitter, I don’t rush right home to begin working. Deadlines are pressing and emails are waiting for replies, but driving the long way home – while blaring something that is not children’s music – is what I need to decompress from a rough morning. On the flip side, I’ve been known to scoop up my daughter on non-work days, drive through Sonic for a cherry limeade during happy hour and sit in the kindergarten carpool line for an extra 15 minutes as my car-sleepy baby gives me a break.

What do YOU do when you need a timeout?

{Photo sources: johnmichaelmayer and miamism}


Pin It

It’s The 3 Little Things: Word to the Mother, Positivity, & Workout Gear

April 11th, 2014

3_little_things

It must be Friday and time for our 3 Little Things that are making me happy this week!  I am actually pretty impressed that I remembered to do this since we are on Spring Break and completely off schedule. Truth be told, one thing that made me awfully happy was not having to get up at 5:45 to get my son on the bus each day. Who wouldn’t be happy about that?

the_daily_positive

The Daily Positive

I discovered a site called The Daily Positive and decided to sign up for their daily email that offers a positive thought each morning. Over my coffee in the morning, I read the daily positive and it has really helped me start my day on a better foot. This week some of the takeaways were reminders to utilize my time more wisely, to be an unsung hero for others, and a gentle reminder about my social media addiction. There is usually some awesome video element to it and the words are short and to the point. Head here and sign up for your own daily positive thought and see if it doesn’t change your outlook a bit!

Here is one of the videos that was shared that touched me deeply. This is the kind of stuff that reminds you what life is all about and starts your day in a positive way.

braggs_apple_cider_vinegar

Bragg Apple Cider Vinegar

I kept reading about Bragg Apple Cider Vinegar and the enormous health benefits of it and decided to give it a try after I read this article.  I can’t tell you how much I am loving this stuff and how much it has helped me with my energy levels, my low blood sugar issues, and also helping me feel more full which has been a big issue for me since I cut gluten out of my diet.  I add two teaspoons of this vinegar to a glass of ice water and drink it through a straw. You can add sweeteners (like honey or liquid stevia), spices (like cinnamon or cayenne pepper), but I love acidic things so I just drink it plain with just water, and it has fixed my midday slumps like nothing else I have tried.

There are many health claims about what apple cider vinegar can offer.  Rather than fad claims though, check out this article on WebMD about the true benefits of it. What it has done for me, personally, is that my stomach feels much calmer (particularly if I eat things that I shouldn’t), I no longer have those terrible drops in my blood sugar, and it makes my stomach feel full (which can definitely help you if you are trying to lose weight).

Whatever you choose, it must say WITH THE MOTHER, not anything else. THE MOTHER is what you need for all these enormous health benefits.

The Mother is making me happy.

Word to her.

twice_workout_gear

New-To-Me Workout Gear

Getting new workout clothes makes me happy, but the price tag on things you sweat in is absolutely ridiculous. I try to buy one or two really good workout pieces each year and then rely on inexpensive stuff from Old Navy to get me  by from week to week.  I am super psyched though that Twice is now offering workout gear.  It hasn’t shown up on their homepage as a category yet, but those scrolling pictures clue you in that they are now offering workout clothes. I got three new workout tops that were about the same price as I pay for my Old Navy gear, but it is fancy-schmancy brands like Lululemon, Lucy, & Nike.

So now you can be all Fancy Pants at the gym like everyone else, but your pants are less than half price.

And that’s something worth celebrating!

*this post may contain affiliate links- I only recommend what I love though. Check out past editions of  It’s the 3 Little Things

Now it’s your turn, what makes you happy this week? Feel free to share in our link up below and link back to this post to participate!

Share 3 things that are making you happy today!


How to Style Your Bookshelves

April 10th, 2014

How to Style Your Bookshelves from MomAdvice.com.


The art of styling bookshelves had never really been important to me until I started perusing pictures on Pinterest and saw the carefully curated collections and beauty in the organized book spines.

Of course, I don’t have an unlimited budget where I can add decorative books in one carefully choreographed color or an unlimited budget for fantastic looking odds-and-ends to update my bookshelves.

That is why I am excited to share with you some easy ideas for updating your bookshelves with inexpensive items and a few budget-friendly craft materials.


Cover Books With Paper

If you have an eclectic collection of books or you want to pick up a collection of books at Goodwill to stock your shelves, one frugal way you can add order and beauty to your bookshelf is to simply wrap each book in paper.

These beautiful bookshelves from Chloe Moore Photography have beautifully hand-stamped spines that add a unique detail to them.

I also love how she has weaved in her photography equipment, adding her own personal nods to her favorite interests.


Spray Paint Items to Create a Cohesive Collection

Instead of trying to find items of a similar color for your bookshelves to add those unique details, consider creating your own collection of groupings with an inexpensive bottle of spray paint.

My own bookshelves were cluttered with items that did not mean anything to me and did not showcase my personality.

I took a day to declutter my shelves, added a fabric back to my bookshelf and then found items that I loved and spray painted them with a little gold spray paint.

It created just the look I was going for, and cost $15 to update my shelves.


Stack Your Books In a New Way

Sometimes we get into a rut with our styling. I thought there were only two ways to style my books- vertically or horizontally.

The Art of Doing Stuff though has me rethinking my book stacks and groupings because there are actually 7 ways you can stack your books.

The names are even fun- the Sandwich Stack, On the Bias, and the Spiral Stack…just to name a few.

Consider regrouping your stacks in new ways and adding to your stacks with items you can find at your store to round out your collection.


Add an Eye-Catching Design to Your Bookcase

Even inexpensive laminate bookcases finds can be transformed with a little paint and thoughtful styling into true things of beauty.

One thing I love to see on bookcases, is an interesting color on the inside of the bookshelves.

This can be added with a pop of color from a brightly colored paint, a pretty fabric, scrapbook paper, or even stenciling.

I love this fantastic idea from This is Our Bliss to use removable wallpaper to add a decorative touch that is both frugal and fast.


Add Your Own Personality

One thing that I have been trying to do is to weed out the clutter in my life and make room for the good stuff.

The same tactic can be applied towards our bookshelves and what we place on them.

My shelves have yarn and knitting books, a shelf dedicated to my favorite classics, and I have a cookbook shelf that not only holds my cookbooks, but also holds the biscuit cutter that my great-grandma used to make biscuits for me when I was a little girl.

Consider creating a bookcase or shelf towards your own personal hobbies and collections.

I love this beautiful cookbook collection from The Inspired Room that celebrates her love for beautiful cookbooks.

This would also be a great spot to find some pretty vintage cookbooks or vintage kitchen items that you could weave into your shelves.

What’s one of your favorite things on your bookshelves? What is one styling trick you like to use when styling your bookshelves? Feel free to share here!


This post contains affiliate links.


Don’t miss those other great ideas from MomAdvice.com:


15 Easy DIY Updates To Help You Love Your Home

15 Easy DIY Updates to Help You Love Your Home


How to Spray Paint Furniture


How to Create Vignettes in Decorating


DIY Table Runner


Pin It

Amy’s Notebook 04.09.14

April 9th, 2014

Chalkboard Bunny Easter Bucket

Source: Sugar Bee Crafts


I’m just over the moon with how cute – and simple! – these chalkboard bunny Easter buckets are. What a fun change from a regular basket.

Oh, this creamy corn casserole with bacon seems like the most perfect comfort food – Drool.

This is a completely adorable ‘Be Happy” printable bunting that would just be the sweetest decoration for a kids room or any bright, colorful space!

This horse-themed birthday party idea is really unique and any horse-crazy kid would love it!

I totally agree with Alice’s one rule for perfect cake pan prep.

I’m so intrigued with “zoodles” – zucchini noodles – and am looking forward to trying them in this lemon-garlic spicy shrimp with zoodles recipe. Sounds just about perfect for my new gluten-free life!

amys_notebook

I hope you enjoyed this collection of gathered links to DIY crafts, food projects, and thrifty ways to spruce up your home. Nothing brings me more joy then to highlight other fabulous bloggers. Follow me on Pinterest for daily inspiration!


Pin It

Money Savvy: How to Deal with the Unexpected

April 8th, 2014

From our money & finance contributor, Kelly Whalen.

When it comes to budgeting and financial planning it can be a challenge to deal with the unexpected or fluctuations. Budgets often only allow us to work within set parameters like a regular monthly income and monthly expenses. What happens when you’re hit with an unexpected repair bill to the tune of $1,000 or you get some extra income (for example in the form of a tax refund) that’s more than $100? Most often this is when your budget can fail. It’s when even the best laid financial plans get derailed.

We’ve covered your regular budget, and we’ve discussed putting the ‘personal’ in your finances by finding what you value, but now it’s time to consider how to deal with those ups and downs that life is sure to throw your way.

How to Deal With Unexpected Expenses.jpg

Unexpected expenses are no fun for anyone. While they can not be avoided, they can be dealt with without causing too much frustration and difficulty with your budget.

How to Deal with Unexpected Expenses

Let’s start with what unexpected expenses are and are not. Funds to cover the below costs should be in your checking account or a savings account attached to your checking account (for ease of access). This account is not your emergency fund.

Unexpected expenses are NOT:

  • Regular bills. You can and should budget for your monthly, quarterly, and yearly bills with your budget.
  • Typical spending. For instance if spending $300 each Spring on new clothes for your family is your average then that should be included in your spending budget.
  • Replacement items. Whether you need to replace your car in 3 years or by a new coffeemaker this season you can and should plan for replacing items your own. Setting up a separate savings account for these items is a great way to ‘self-insure’ (and save money on extended warranties).
  • Regular maintenance. We know cars need regular maintenance. You should build that cost into your spending. At times you will need to decide if it’s worth repairing or replacing something (for instance spending $200 to repair a vacuum cleaner when you can buy a new one for the same cost may not make financial sense).
  • Deductibles. Your insurance policies lay out your out of pocket costs, so have funds on hand to pay the deductible when and if needed.

Unexpected or emergency expenses are things like:

  • Repairs, both big and small, such as replacing a broken window or fixing a leaking toilet.
  • Health related expenses such as emergency medical or dental expenses for you or your family members.
  • Travel costs related to death or illness in your family or extended family.
  • Displacement costs due to power outage/weather (for instance having to evacuate due to an impending hurricane).
  • Job loss or loss of regular income.
  • Pet expenses related to pet illness or injury.

The unexpected expenses above should be covered by your emergency fund. Ideally you should have a minimum of one month saved for emergencies if you’re paying off debt, and you should work towards saving a full year’s worth of expenses (note: not income, but expenses).

Planning ahead for emergencies and expenses is not exactly fun, but having a plan in place will offer you some peace of mind when you do encounter a tough (and expensive) situation.

How to Deal with Unexpected Income

How to Deal with Unexpected Income

Extra income can be exciting or paralyzing. For some you’ll see it as a nice way to treat yourselves to that handbag you’ve had your eye on or a weekend getaway with the family. For others it will disappear into your checking account and paralyzed by what to do with your funds it will just sit in your account. Of course there are those of you who will also see it disappear in your checking account as you suddenly ramp up your spending because you can suddenly ‘afford’ more.

The key to dealing with extra income is to have a plan. Whether it’s $50 or $50,000, by creating a constantly changing lists of ‘extras’ you can make sure your money is spent (or saved) well.

Here are options to consider for extra income:

  • Consider taxes: This is always first when you have extra income. For smaller amounts it’s unlikely to make a difference, while larger dollar amounts mean you must explore what you’ll owe in taxes (if anything).
  • Have Fun: Take 10% and use it for something meaningful or fun for you and your family. You may simply treat the family to a dinner out on the town, or you might buy new board games to enjoy at home for years to come. Whatever you value spending extra on – now is the time to do it.
  • Save: Whether you need to beef up your emergency fund or you are saving up for long-term goals, consider using most of the funds to increase your savings.
  • Pay off Debt: If you are in debt make sure you have a one month emergency fund in place and then tackle those debts.
  • Give 10%: We can’t always give back as much as we’d like, so take 10% and donate it to a cause or nonprofit that you support.
  • Head to your list(s): I’m a BIG list lover so I recommend creating a list of items you want, things that need to be replaced, and those bigger ticket items that you’d like to get done. I keep a list on hand of items we want that aren’t necessities, like a new quilt for our master bedroom, and eventual replacements, like a new cutting board for the kitchen. I also keep a more expensive list of eventual home improvements like creating a deck in our backyard or buying new interior doors.

While having a plan in place doesn’t guarantee you no stress it will certainly make the unexpected easier on your bank account.

How have you dealt with emergencies or extra income? Did you have a plan in place?

Pin It

5 Gluten-Free Treats, Perfect for Easter

April 8th, 2014
5 Gluten-Free Treats,  Perfect for Easter
Happy Spring, MomAdvice readers! My name is Sarah and I’m the baker/blogger over at Sarah Bakes Gluten Free Treats. I have loved baking for as long as I can remember and for the past 3 years, I have been baking 100% gluten free. My husband has celiac disease and both my son and I have a gluten allergy. Most of my baking is also dairy and egg free. It was quite the adventure, learning how to transition over to gluten free baking. Now I have a passion for sharing delicious gluten free recipes with others so that they can also have the confidence to bake again!
April is one of my most favorite months. Beautiful spring weather, flowers are in bloom and most importantly…Easter! Such a joyous holiday, celebrating with family and friends. We always gather around a good meal (total feast) and enjoy plenty of satisfying sweets. Always too many desserts!

I’m sharing a few of my favorite gluten free treats with you today! All of these goodies would be a lovely addition to your Easter gathering. They also egg and dairy free too (vegan), which is great for those with multiple food allergies. Each recipe features Sarah’s gluten free flour blend, a staple in my pantry. Perfect for all of your gluten free baking needs!

  Gluten Free Vegan Chocolate Cupcakes

Gluten Free Vegan Chocolate Cupcakes

Every celebration becomes that much more fantastic when cupcakes are involved! These chocolate cupcakes are simply delicious. Moist chocolate cake, topped with a creamy dairy free chocolate buttercream. Those colorful sprinkles are a must!


Gluten Free Vegan Mini Lemon Blueberry Cakes

Gluten Free Vegan Mini Lemon Blueberry Cakes

Anything in miniature size is my favorite. That’s one reason to love these mini lemon blueberry cakes. Bursting with blueberries and drizzled with a simple glaze. The fresh lemon zest gives this cake a beautiful brightness.

  Gluten Free Vegan Apple Cinnamon Coffee Cake

Gluten Free Vegan Apple Cinnamon Coffee Cake

Wouldn’t this apple cinnamon coffee cake be a delight to serve at your Easter brunch? Vanilla cake, topped with sliced apples and covered in cinnamon crumb topping. Everyone will be asking for a second slice.

  Gluten Free Vegan Raspberry Hand Pies

Gluten Free Vegan Raspberry Hand Pies

I remember the first time I made these raspberry hand pies. It took me right back to my childhood. Eating those “home run” pies that we would get from the local market down the street. This homemade version is even more delicious and let’s not forget…it’s pie you can eat with your hands!

  Gluten Free Vegan Soft Frosted Sugar Cookies

Gluten Free Vegan Soft Frosted Sugar Cookies

Every kid loves a good frosted sugar cookie. This gluten free version is just about as yummy as you can get. Let the kids help with the decorating and get creative. They may end up eating more frosting and sprinkles along the way, but that’s the best part!

  Sarah Bakes Gluten Free Treats- Sarah Hornacek

You can check out more of Sarah’s recipes at Sarah Bakes Gluten Free Treats. You can also follow her on facebooktwitterpinterest, and instagram. Happy baking!

Pin It