
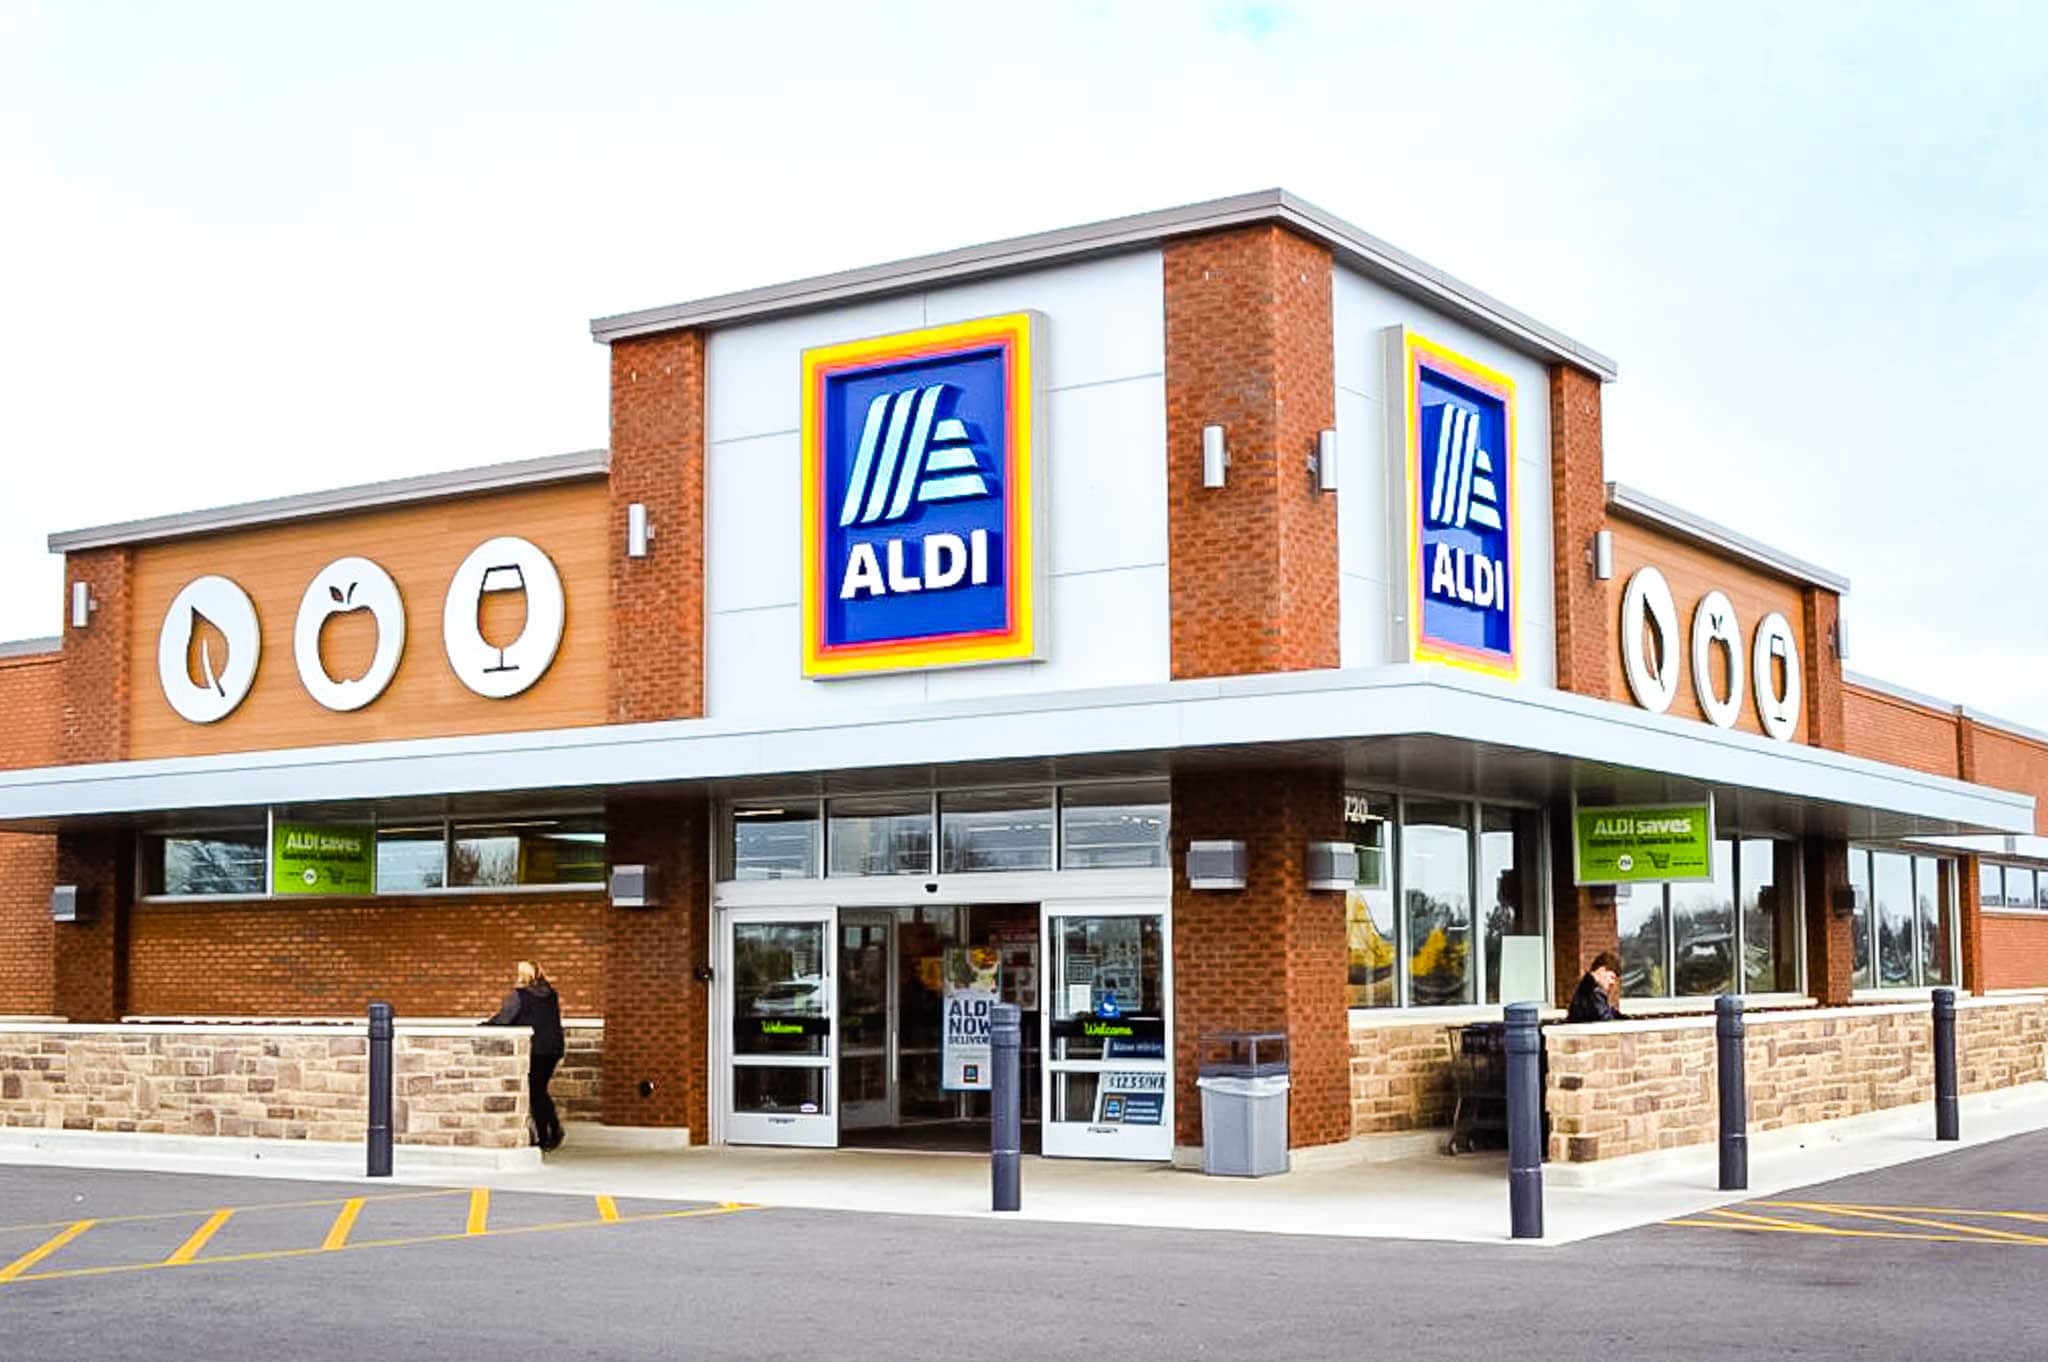
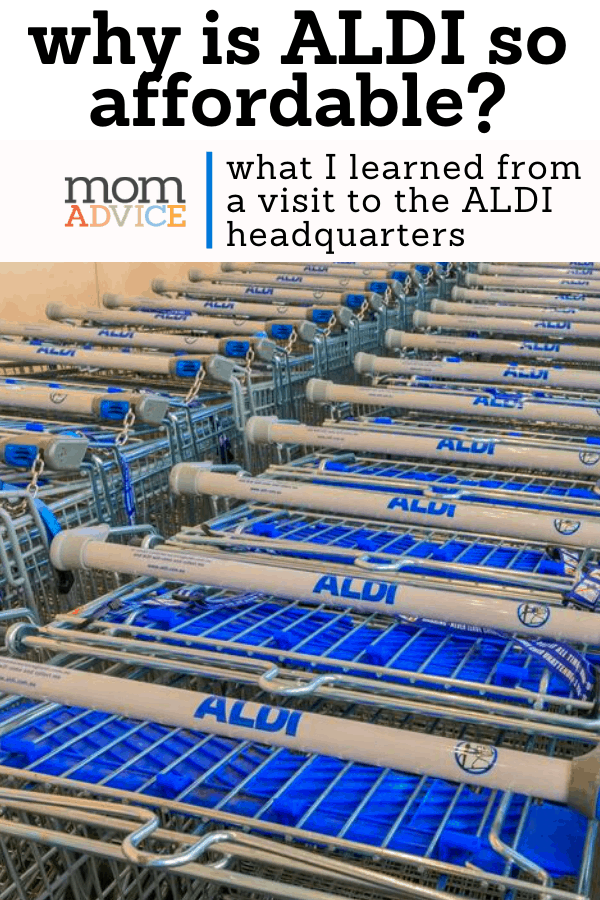
Take a behind-the-scenes look at ALDI supermarket. Discover how they make their store brands, learn more about shopping the store, have ALDI groceries delivered, and learn what products I love from this budget-friendly store.
Have you ever wondered how products are made at ALDI and how this grocery chain is able to keep their prices so low?
I have the inside scoop thanks to an exciting grocery store tour I got to do at the store. I also have had the privilege of working with them at blog conferences and to help facilitate their store tours for other customers.
Longtime readers know that I have been an early minister on spreading the ALDI truth.

In fact, for many years I ran a blog called, The ALDI Queen.
You could say that for many years, I made shopping at ALDI my job and my mission to get families to shop there.
The items, at the time, were difficult to create menu plans around because of their limited product choices.
That isn’t the case now AT ALL.
I do almost 100% of my shopping, at their store.
I remember as a child going to ALDI Supermarket with my mother to get our groceries
If you have been an ALDI shopper, for as many years as I have, you may remember the price sheets that ALDI would print.
It was a black-and-white newspaper ad that would tell you all of the price deals for every single week.
The sheet was alphabetized and you would have to find each of the current prices within their handy flier.
I remember being in charge of holding the sheet and plugging the figures into our calculator.
Ah, the days before the digital fliers and phone calculators.
Am I showing my age?
ALDI Supermarket provided some relief to our family’s grocery budget and it now provides relief to my own family’s tight budget as well.
If you are thinking this store is only worth the trip for the bakery staples, you would be wrong.
Thanks to their ever expanding product lines, ALDI now carries many of the specialty products that you would purchase at your local Whole Foods, as well as loads of vegan, vegetarian, and gluten-free products.
As a longtime fan of the grocery retailer, I could not wait to see how this company operated and, frankly, how in the world they can offer food for such a low price.
This grocery store tour allowed us to learn more about how their stores were set up and I even got to participate in a blind taste-testing of the products to see how they compared with other national brands.
There was truly not a single element of this trip that I was not fascinated with.
I’d love to share with you what I’ve learned over the years.
Grocery Shopping Tips at ALDI
(this clip explains the history of ALDI from ALDI)
Where did ALDI originate?
Despite the growing amount of ALDI Supermarkets all over the United States , ALDI actually originated in Germany and is known as the German Walmart.
The history of ALDI is as intriguing as their deals that they offer.
The frugal ways of ALDI actually came out of its post World War II beginnings, in 1948, when customers at its first store in Essen Germany wanted only the lowest priced staples.
These stores were started by two brothers, Theo & Karl Albrecht, and they named the store Albrecht Discount.
Albrecht Discount is now known as ALDI (for short).

How does ALDI keep their prices so low?
This is an answer that we were told would take years to explain, but the main points all pointed to simple cost-cutting measures, employee training that goes beyond other grocery stores, a limited selection of items, smart store design, and in-house private labels.
Some of the ways they save is by having baking items on pallets and dairy items on rolling carts so the employees don’t need to stock individual items on shelves.
The savings are also reflected in the smaller things like the quarter deposit for your cart and bagging those groceries yourself.
Honestly, I am able buy double the items for our family just by shopping their store.
Seeing is believing so make a plan to visit your local store soon.
How do I find out if I have a store nearby and what are the store hours?
ALDI is expanding and has been remodeling many of its stores. To find out if you have a store near you, you can locate your local store by searching with your zip code. This will also tell you your store hours so you can plan your shopping trip.
How many employees work in an ALDI store?
The typical ALDI store only has between 6-8 employees and it is common for their employees to celebrate 15, 20, or 25 years of service.
They pay their employees significantly higher than the national average and with 20 hours a week, they give their employees full health insurance benefits.
Employees go through extensive training and they do everything from putting out the new pallets of food to ringing up the customers to tidying the store.
It is this efficiency and the smaller pay rolls that translate into big savings for their customers.
Looking for a job with ALDI? Check their current listings here!
What is the difference between ALDI and other grocery stores?
ALDI is a very normal store, although it lacks many of the frills of the traditional supermarkets.
They offers a “strictly no frills” approach to their store which means that they do not decorate their aisles or fill shelves.
Items are placed on pallets, similar to your shopping experience at warehouse clubs, and customers pick items off of the pallets.
Upon a pallet being emptied, the employees bring out another pallet to be bought from, eliminating the need for someone to sort shelves.
Keep in mind, you will not be receiving any free bags (scroll down for more information on that and purchasing a cart), or a personal greeter, stores.
Most ALDI’s do not offer a deli, a butcher shop, a bakery.
In fact, it is hard to find even a listed phone number.
You see, if they had a phone number, then they would have to have someone answer the phone.
That one extra “frill” would cost ALDI time & money and this is how they keep their costs low.
What is the ALDI AOS and what will I find there?
While ALDI does keep to many grocery basics, the trap is found in the middle section of their store.
This is the, special purchases or ALDI Finds aisle that bring in superior discounts on random household items each week.
These can include kitchen gadgets, electric appliances, furniture, patio items, toys, exercise equipment, home decor, and even computers.
If you see chats that talk about the AOS, you may be wondering what is going on.
It’s the AISLE OF SHAME.
Hahahaha!
Basically, it is the middle spot in the store that you might get sucked into.
I have often come home with random things like fabric steam cleaners, an exercise weight set, a foldable buffet table, or even clothing items.
It’s the Wild West of aisle and always yields incredible surprises.
It is a bit like shopping a Big Lots or TJ Maxx and is referred to, by enthusiasts as, the AOS.
What does ALDI mean when they say you will, “shop different,” at their stores?
In the ALDI mission statement, you will discover these promises that share why they consider their grocery store to be such a unique experience.
- Twice as Nice Guarantee- If you are unhappy with an item, not only will they refund your money, but they will also give you a replacement item for free. Read about their refund policy here. This guarantee does not mean a guarantee on being the lowest priced though. They always do their best to be the lowest price, but there may be times (in the seasonal and special purchases aisles especially) where you might be able to get the item for less at another store or with a coupon.
- They Meet or Exceed Competitor Brands- They aim to make a product that is better than their competitors and many products are award-winning because of it. In 2019, they taste-tested over 30,000 products just to make sure that you have the best tasting product on the shelf. Read more about their good quality food and policies.
- They Say NO to Synthetic- Every ALDI exclusive is completely free of certified synthetic color, added MSG and partially hydrogenated oils. You can read more about this commitment here.
- They Carry Organic Products- ALDI has daily delivery of produce, fresh meats and fish, and carry an extensive line of organics, gluten-free and vegan foods.
- They Have Many Award-Winning Wines- Forget that two buck chuck business and acquaint yourself with the ALDI aisle. The wines are incredibly affordable and you can find new offers every week. They also do a few monthly wine features that they don’t typically cary.
- They Have the Best Prices. Seriously.– Check out this comparison on the pricing at ALDI, Kroger, & Walmart.
Who Has a Lower Price- ALDI or Trader Joe’s?
I loved the results of this price comparison on ALDI vs Trader Joe’s.
As you can see, ALDI offers pricing even lower than most Trader Joe’s products.
What is the Best Day to Shop?
Wednesday is the the BEST day to shop ALDI.
This is the day when the ALDI Finds get freshened up and you can find, typically, between 40-50 new items at the store.
See you in the AOS!
What do I need to know for my first trip to ALDI?
Download the ALDI App For Your Visit
If you are trying to locate the current price sheet and weekly flier, downloading the app is highly recommended.
Not only will this tell you the current store price, it also has a place for you to jot down your shopping list and the ability to search the QR codes on any product.
Don’t Bring Your Coupons
No coupon clipping is needed for your ALDI shopping experience.
ALDI sells, primarily, only store brand merchandise saving you some time on coupon cutting.
Typically, they only carry one or two brands for each product you are hunting for. Just because these products are considered “off-brand”, in actuality, many of the private label products are made by well-known brand manufacturers and are simply shipped in different packaging to their stores.
Bring the Right Type of Payment With You
Currently the store accepts cash, Visa, MasterCard, Discover, American Express, most debit cards, the Electronic Benefits Transfer (EBT), Link cards, SNAP and contactless pay such as Apple Pay And Google Pay.
At this time they do not accept checks or the Women, Infants and Children program (WIC)
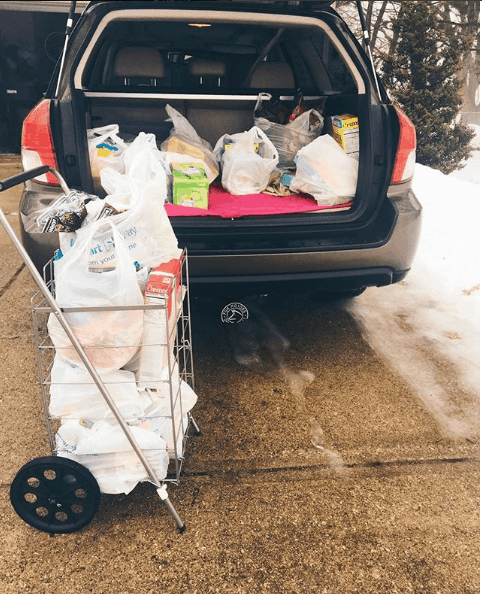
 buy this quarter keeper so you won’t forget OR shop all the fun quarter keepers
Bring a Quarter for Your Cart
The store offers a shopping cart rental program which can be confusing the first time you shop the store. I highly recommend purchasing one of these quarter holders for your keychain so you don’t forget.
The carts are linked together, you slide the quarter in (the quarter spot is located near the handle on the right), and this releases your cart.
Once you are done with your cart, simply bring it back to the linked carts, link it to the cart in front, and take your quarter back.
This simple solution saves on hiring people to scavenger hunt for carts.
If you forget your quarter, go to the cashier and have them make change for you.
Feeling generous?
Leave the cart unhooked to save someone a quarter.
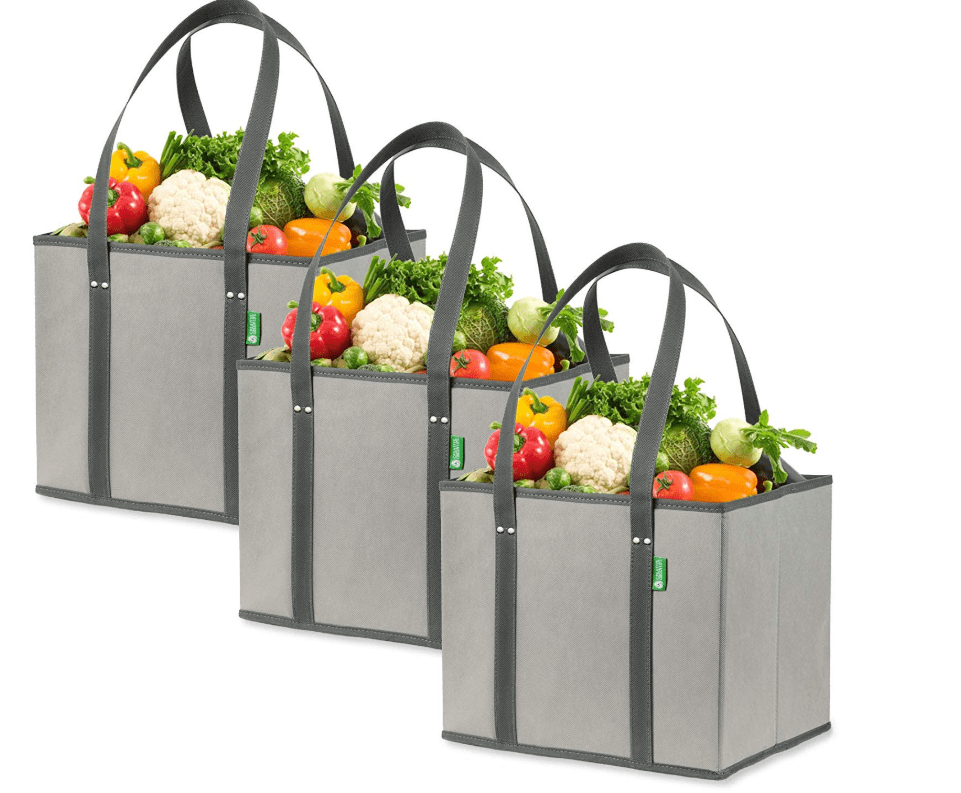 buy these collapsible reusable bags or find your favorite reusable grocery bags here
Bring Your Own Grocery Bags (Or Pay a Small Fee for Theirs)
It is green to bring a reusable bag (another cost-cutting method by the store) and you can bring your favorite set (I HIGHLY recommend these) or you can purchase reusable bags from the store.
If you don’t need another reusable bag, you can purchase plastic or paper bags for a small fee.
Also keep your eyes out for empty boxes because these are perfect for storing groceries in your car and make carrying your groceries easier.
Be Ready for the Cashiers, and I MEAN READY!
If you have ever stood in a line at ALDI, one thing you will see is that these cashiers work at lightning speed and can wait on customers quicker than any other store I have ever been to.
As a customer, you load your items on the conveyor belt and then bring your cart to set up next to the cashier. The cashier will scan the items and place them in the cart for you.
Once you are done, you relocate to bag your groceries.
If you want a hilarious example of the speed, you will love this. Follow me on Instagram for more fun every dang week.
Get Bagging
Instead of having someone bag for you, you will be the bagger! I find it helpful to organize my bags by categories.
I keep a bag for freezer foods, meat, canned items (break these up so they aren’t heavy), fresh produce, soft items (like bread and eggs) dairy, and pantry items (like peanut butter, jelly, sugar, flour, macaroni, rice, pasta, etc..)
 this is what I use when I do any curbside pickup- highly recommend if you have a chronic illness too to save trips!
Need Someone to Help You Bag? Introducing ALDI Delivery!
ALDI now offers curbside pickup and grocery delivery. Our store is not participating just yet, but this service is offered by Instacart.
For 2020, you can use coupon code SHOPALDI20, for new Instacart members, which should give you free pick-up on your first three orders.
We use the grocery delivery service, at our house, and it has been a Godsend for our family.
As someone who has health problems and chronic joint pain issues, this has been so helpful for our family.
ALDI offers this through the Instacart platform.
To be an Instacart member, you pay $99 for the year and this pays for unlimited visits (similar to being an Amazon Prime member).
Keep in mind, you may notice an additional mark-up on the pricing (it isn’t significant, but worth nothing) and there are additional fees that apply to online orders.
I think of this pricing system as the purchase is made including a bit of a buffer for paying the employees to shop for me.
For example, tipping your shopper will be an additional expense.
 visit my passive income for busy moms series for new ways to save BIG for your family!
Get Cash Back on Your Purchases
Although ALDI doesn’t take coupons, be sure to scan in your receipts into Ibotta for potential cash back rewards!
Looking for more ways to save big? Be sure to follow my passive income series now.
What I Learned From My Behind the Scenes ALDI Trip
For seasoned ALDI shoppers, what I’m sharing might not be new, but maybe this information is?

They Are Serious About Beating Their Competitors on Taste
I am a longtime customer and super fan of the products that ALDI offers, but the blind taste test that I participated in surprised even a super fan like me.
We sampled many items from their holiday line and compared them to the national brands.


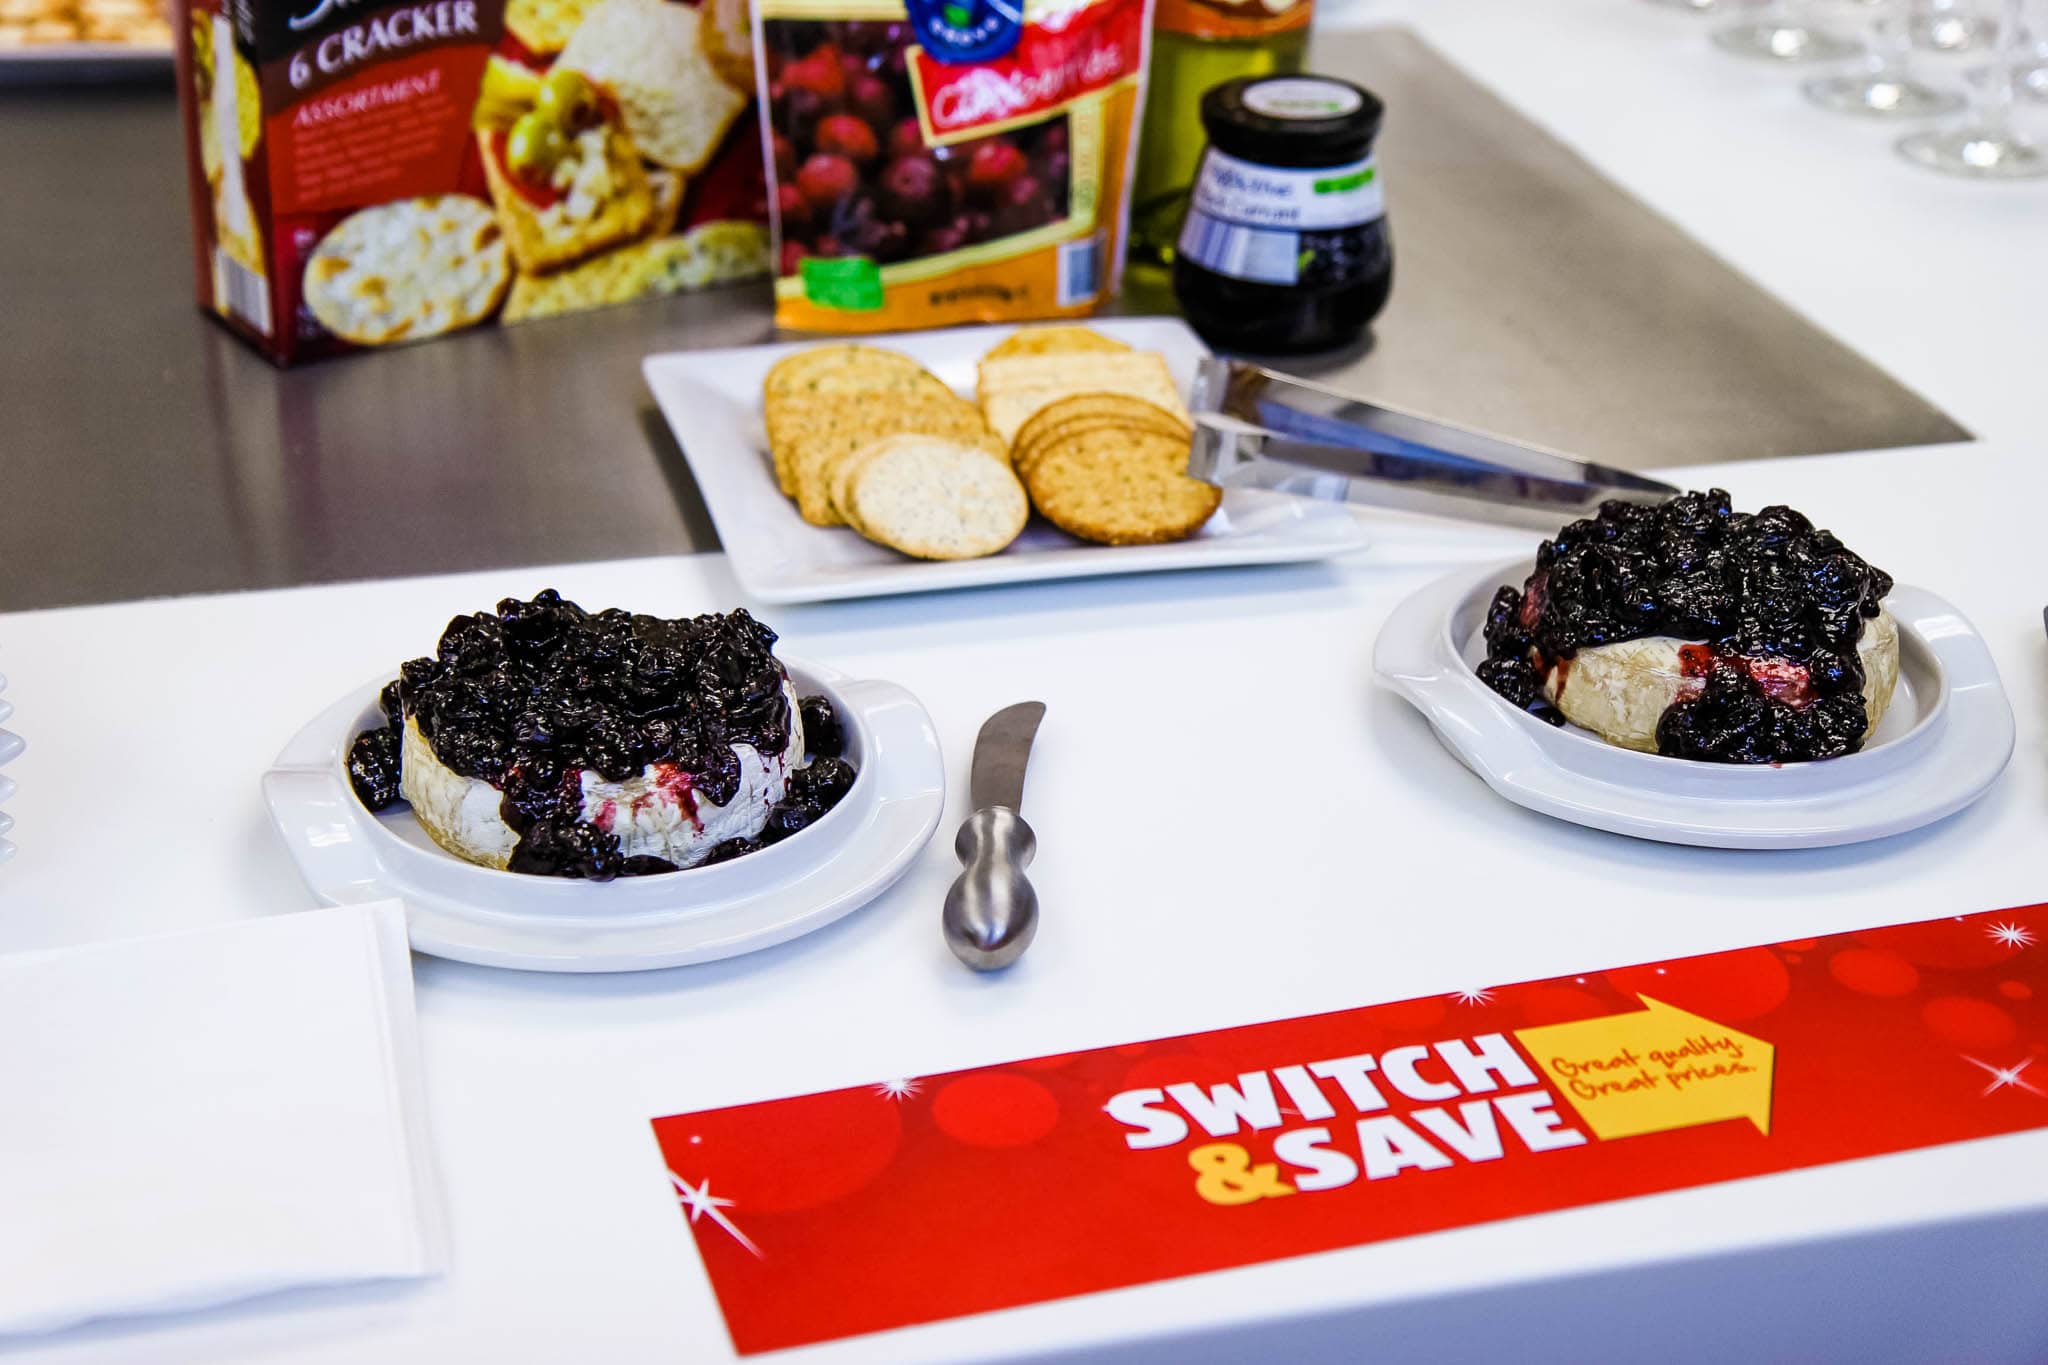
Even though I love ALDI, I can be a bit of a food snob when it comes to certain foods like high quality cheeses and meats.
When we taste tested Tyson chicken versus ALDI chicken, I truly loved their brand better.
I knew the meat that I had tasted must have been the Tyson meat, but I was dead wrong.
It goes to show that sometimes we are just conditioned to believe one brand is better than the other.
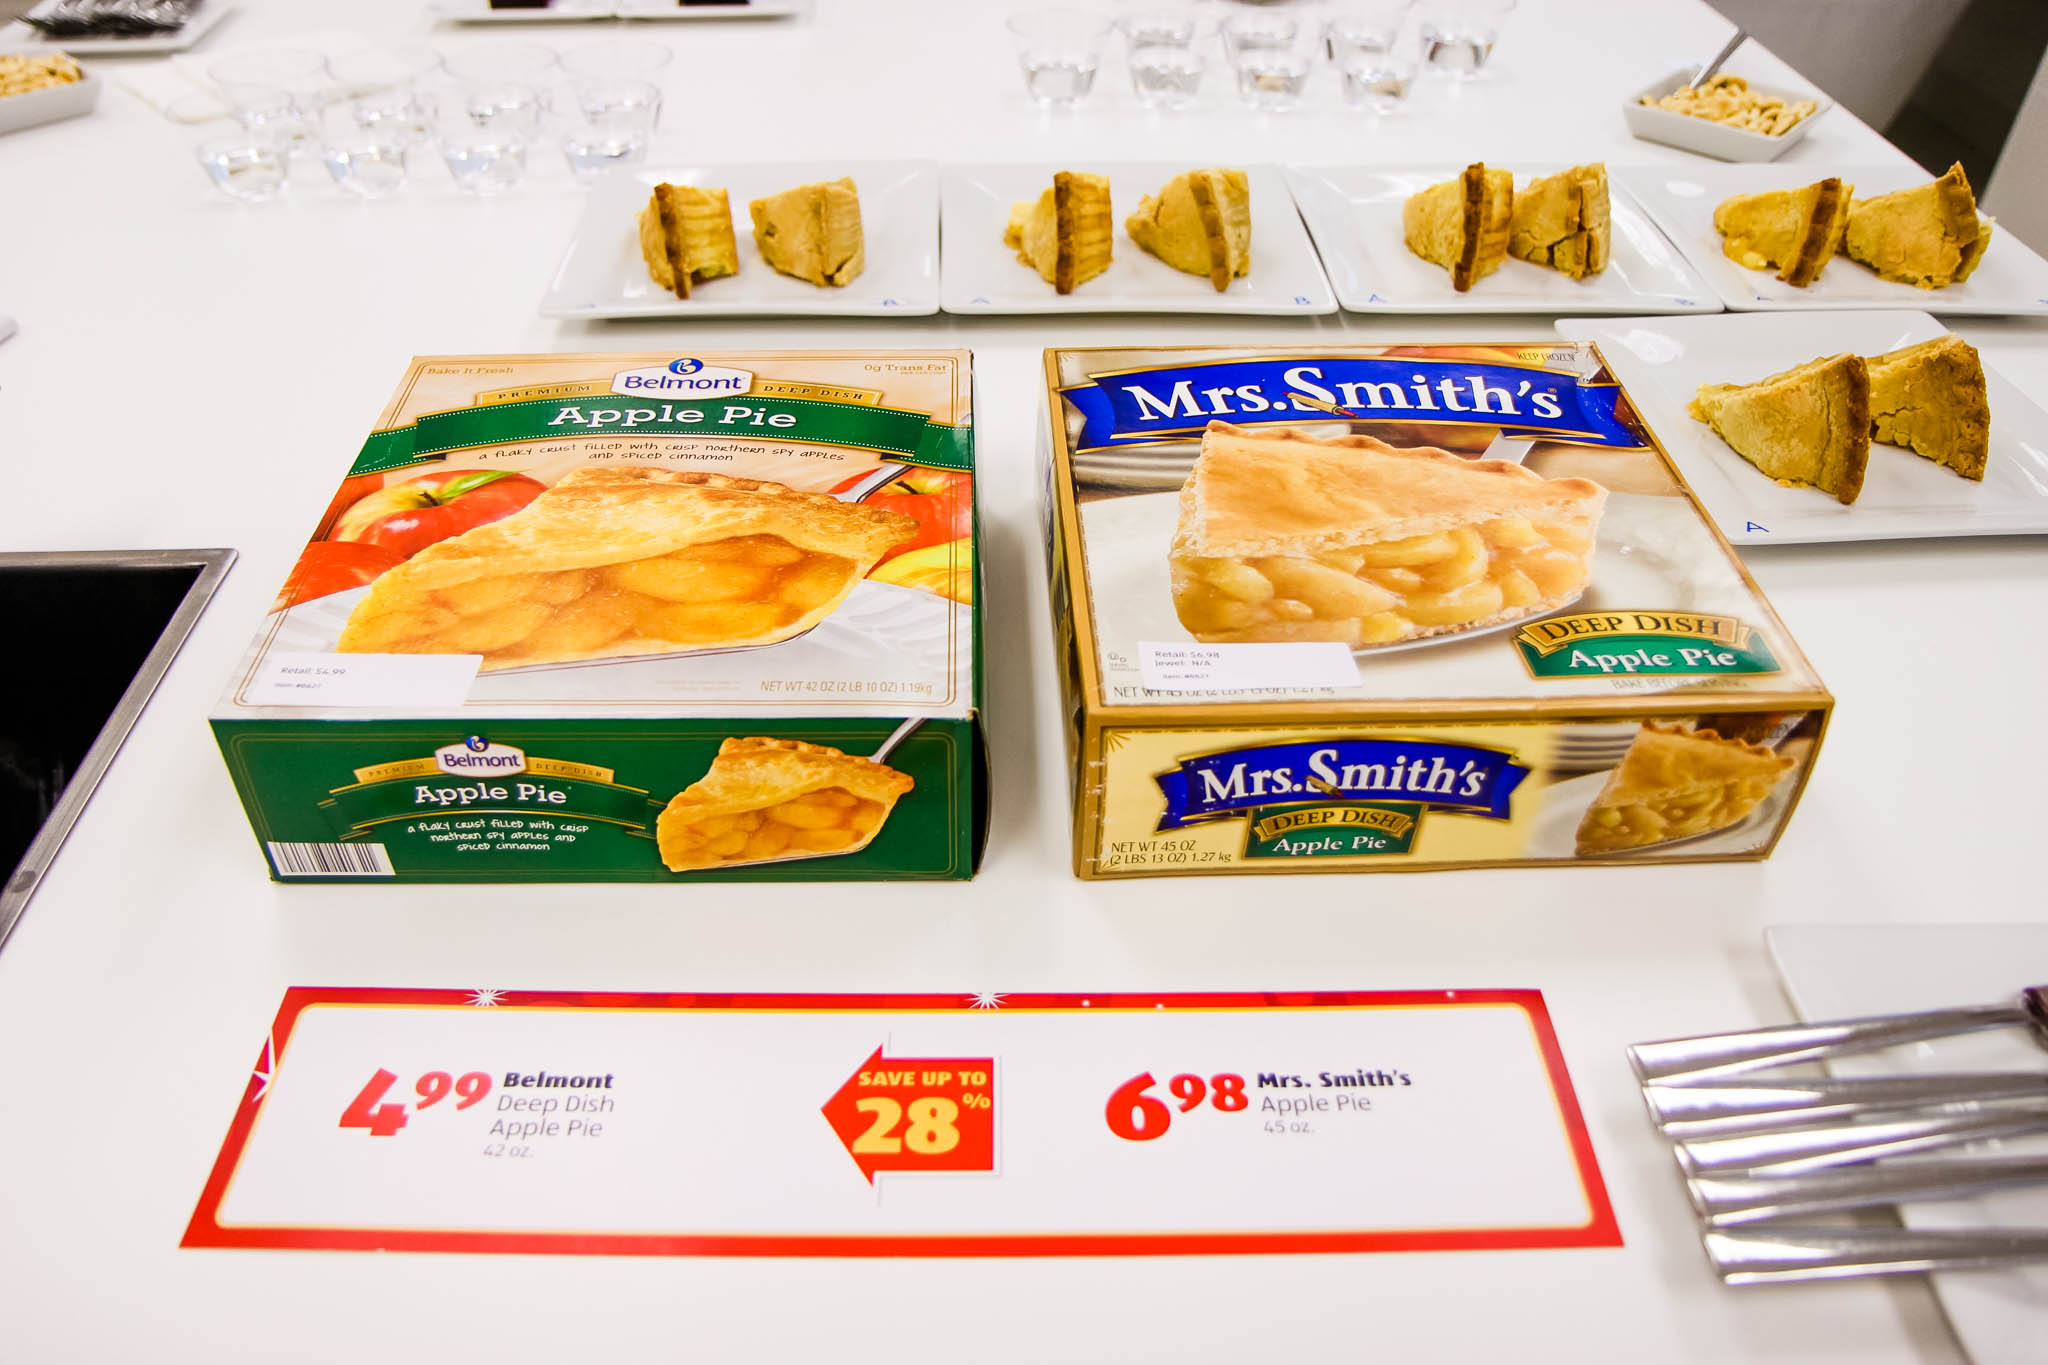

Another surprise was the difference between Mrs. Smith’s apple pie versus the ALDI Belmont Deep Dish Apple Pie.
The ALDI pie crust (pictured on the right) cooked and browned more evenly.
The difference in the taste was significant and the price was 28% lower.
Even being the ALDI fan girl that I am, I came away feeling validated that the choice that I had made to shop at the store, out of necessity due to the financial strain we had been under, for our family was a good one.
The cost-cutting measures of the store do not cost-cut on the bottom line of the quality of the items in the store.
In fact, the company does their best to offer a better product that the name brand.
After doing this blind taste-testing, I believe they have (FOR SURE) exceeded the standard.
ALDI & Trader Joe’s Are Not Owned By the Same Company
A common misconception is that this store is owned by the same parent company.
The relationship though is…confusing.
ALDI Nord owns Trader Joe’s in the States, but the ALDI stores that you see in the States are run by ALDI Süd, which is separate from Trader Joe’s.
To quote The Kitchn, “The chains are kind of like estranged cousins. Step-brothers? In-laws? We don’t know! But it doesn’t matter because the stores are run entirely independently with no joint ownership.”
They Have a Tracking System to Pull Products Quickly
ALDI does their best to work with local farmers to get fresh produce on their shelves.
The transparency on this will be on the pricing label and say that it is, “locally grown.”
Each of their produce items are tracked so that they are able to pull specific numbers off of the shelves if there are any food safety issues with the products.
This means any time a purchase is made, you know it is held to food safety standards AND you are also backed by their twice back guarantee.


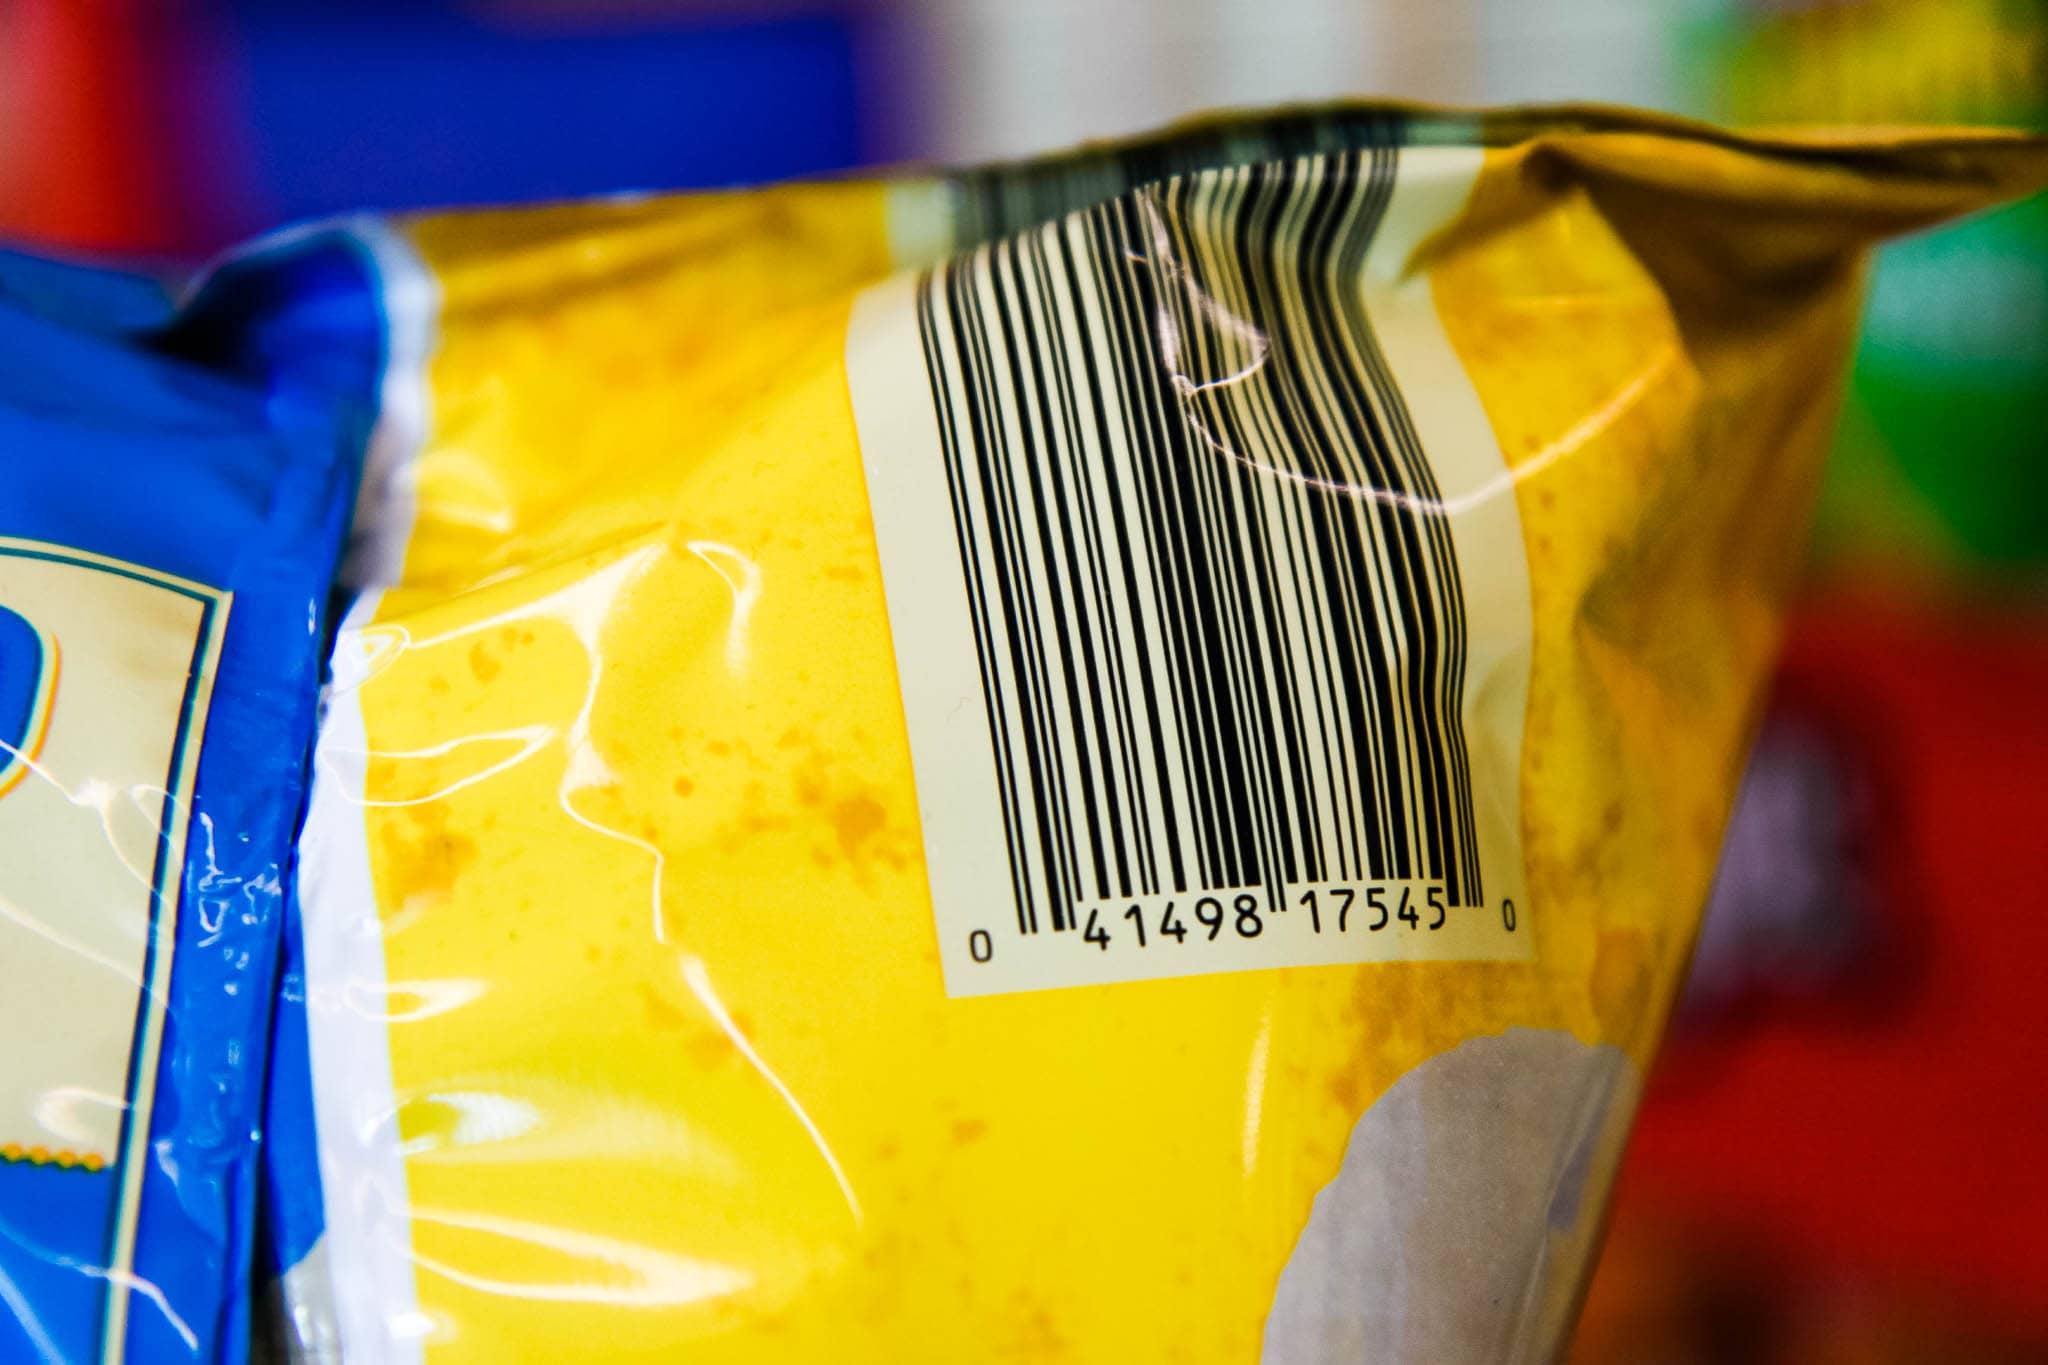

There Are Multiple Barcodes On Every Product
This is one of those things that I would have never noticed and now I can’t believe I didn’t see this before.
You may not know it, but ALDI offers smart packaging that can speed up your wait time at their store.
In this picture is a single bag of chips, simply held at all different angles.
Practically every corner of their bags and boxes have a UPC code that can make scanning your items that much faster.
Go ahead and take a peek in your pantry at your ALDI items and you will see it too. It is one of those things that you may have never noticed, but translates into saving time for you.
I hope you enjoyed these fun ALDI facts!
Scroll down for some of my FAVORITE recipes made from ALDI ingredients!!
As an Amazon Associate I earn from qualifying purchases.
Affiliate links help support our site. Thank you for supporting a small business owner!
Looking for ways to prepare dishes with ALDI ingredients? Here are my favorite recipes for you!
 learn how I prep ALDI’s frozen chicken for a busy week
 learn how to make cold brew coffee from ALDI ground coffee or beans
 make these 10-minute tacos with ALDI frozen (or fresh) tilapia
 put ALDI frozen shrimp & smoked sausage to work in this easy shrimp boil
 make these 3-ingredient ribs with ALDI ribs & Sweet Baby Ray’s BBQ Sauce
 get my 5-ingredient salmon sheet pan meal make with ALDI ingredients
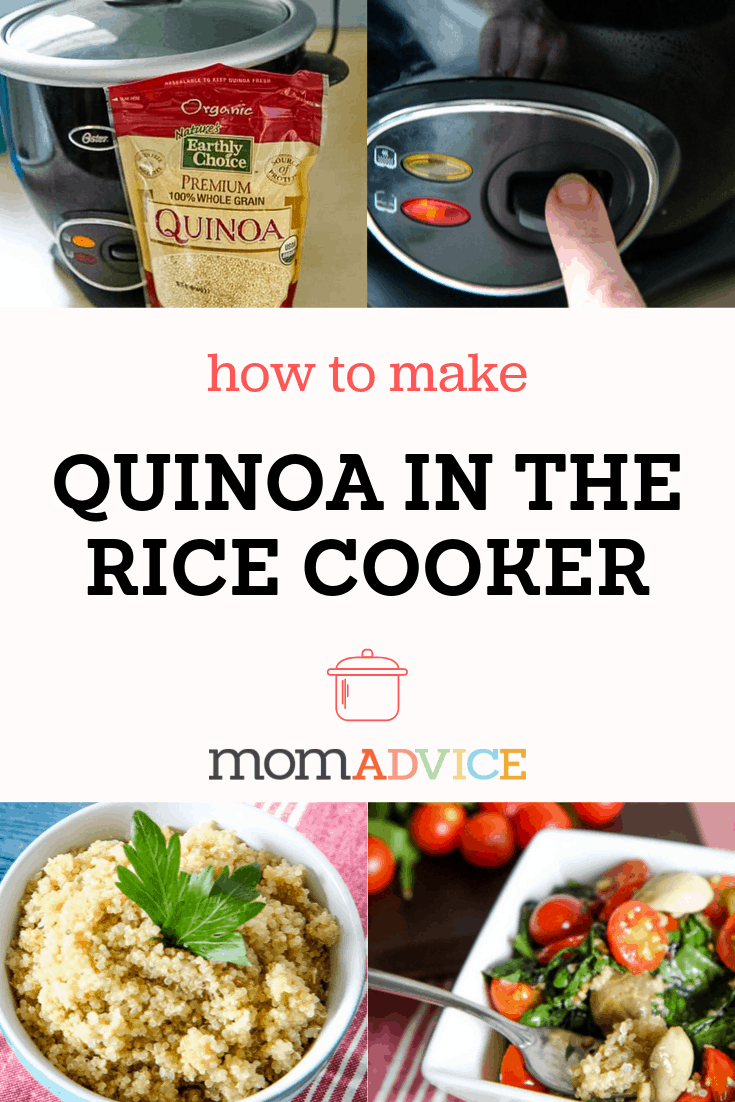 I even bought a rice cooker from ALDI and prepare their quinoa with this easy method
 grab pumpkin in the baking aisle and warm up with my ALDI pumpkin chili recipe
 have a pressure cooker? this italian beef roast is how I prepare an ALDI chuck roast. It’s to die for!
 once you try this ALDI ground beef taco filling, you’ll never prepare it any other way again!
 leftover rice from ALDI can be made into this EASY fried rice with a few items from their freezer section
 the binding agent in this gluten-free meatloaf is potato flakes from ALDI. say what?
 ALDI’s prepared pesto and diced chicken make the perfect filling for a hearty frittata
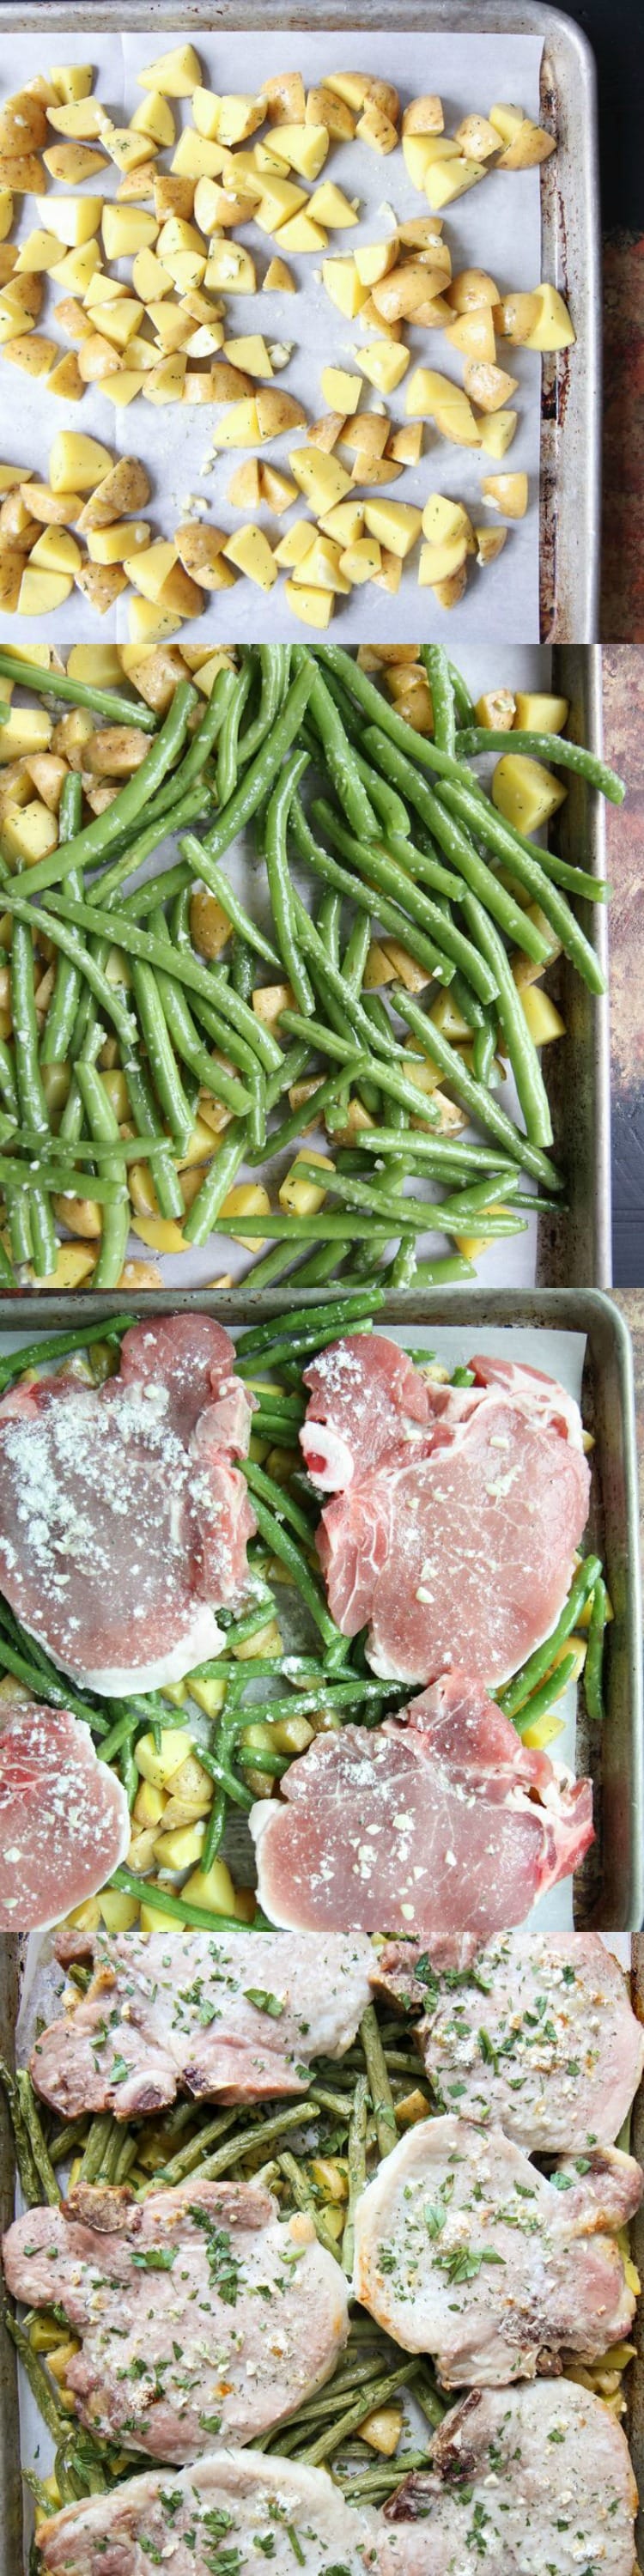 this sheet pan pork chop meal is all made from ALDI ingredients and a weeknight winner
 once you try this method for cooking ALDI chicken thighs, you’ll rely on it again and again
 learn how I turn my slow cooker into a double boiler to make creamy overnight apple oatmeal with ALDI steel cut oats
 make your own mcmuffins with this freezer-friendly ALDI recipe
Do you love ALDI as much as me? I’d love to hear what you think of this discount grocer!


