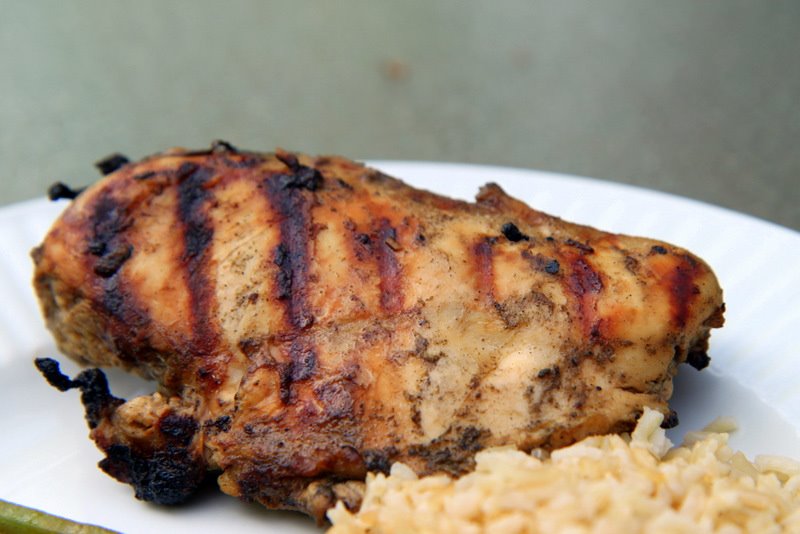
Experiment: Will my family love oven fried drumsticks?
Experiment Taken From: Notebook Entry 06.03.09
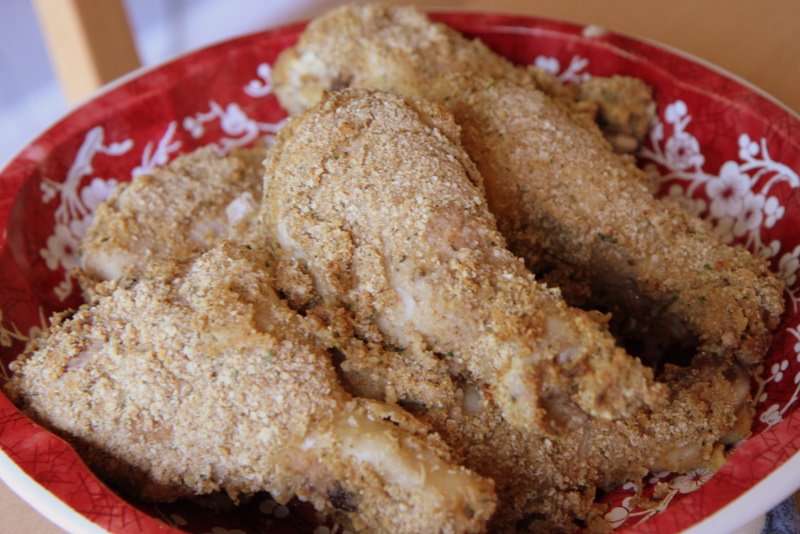
Materials Needed: Please see Simply Recipes for the full instructions on this task. I followed the recipe except for using Italian breadcrumbs instead of regular and I omitted the chives.
Results: I was looking forward to having a picnic night with the family since we had that on our summer list of activities. The weather was extremely hot this last week though and no one was ready to brave the heat again for a picnic. We ended up having a picnic night indoors instead and I prepared these yummy oven baked chicken drumsticks for our main course.
Even if you are not a mayonnaise or mustard fan, this blend of the two ingredients seems to take away the strong flavors and creates a really yummy place for the coating to stick. The meat remained moist underneath because of this layering of ingredients and the coating stuck easily to the meat when preparing it.
Conclusion: The entire family loved this recipe and I will definitely be adding it into our rotation. It was an easy and economical dish to prepare and was a hit at our indoor picnic complete with a pasta salad, biscuits, and cheese and crackers!
********************
 I am so excited to open our Notebook Experiments up to everyone and I hope that you will be able to participate this week or in weeks to come! I will be posting this each Thursday so please mark your calendars if you plan to participate. You can post your entries at any time throughout the week and then leave your entry in the links below.
We have this handy banner that you are more than welcome to use, but it is not a requirement! It is just something you can add to add a little sparkle to your entry.
Rules for Participation:
1. Choose anything from any of our notebook entries (past or present) to do with your family. We have hundreds of bookmarked links of crafts, ways to save money, and organizing ideas.
2. Complete an experiment from the notebook and share about it on your blog or website. We would love to see pictures of what you accomplished or a detailed description of how your projects turned out. Please include a link to this entry, a link to the original posting of the entry (at the original crafster’s blog), and (to help us relocate the project) the date or link of the notebook entry where you found it. You can use the same formatting as our entries or you can just include that information in your post in your own unique way!
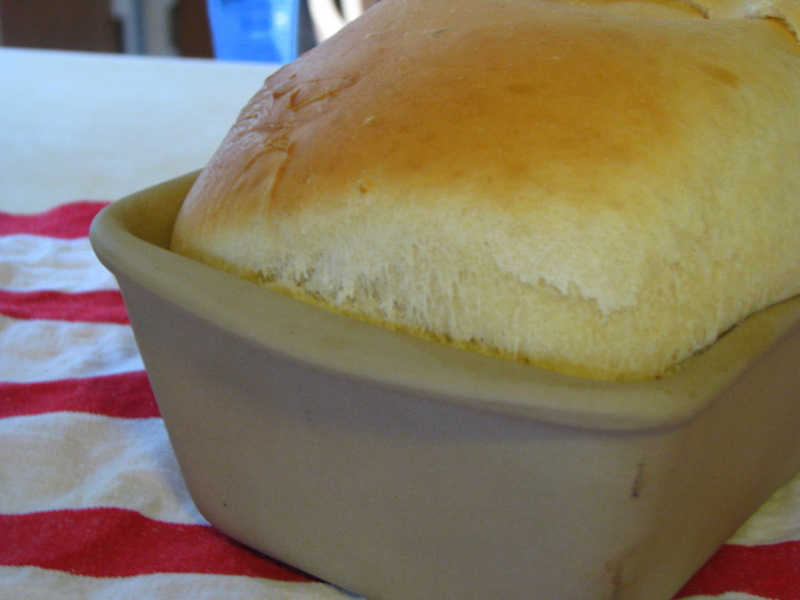
3. Post a link below. Please include your name or blog name & a fast description of your project. Example- MomAdvice (WHO bread)
I can’t wait to see what you create and what you find inspiring!