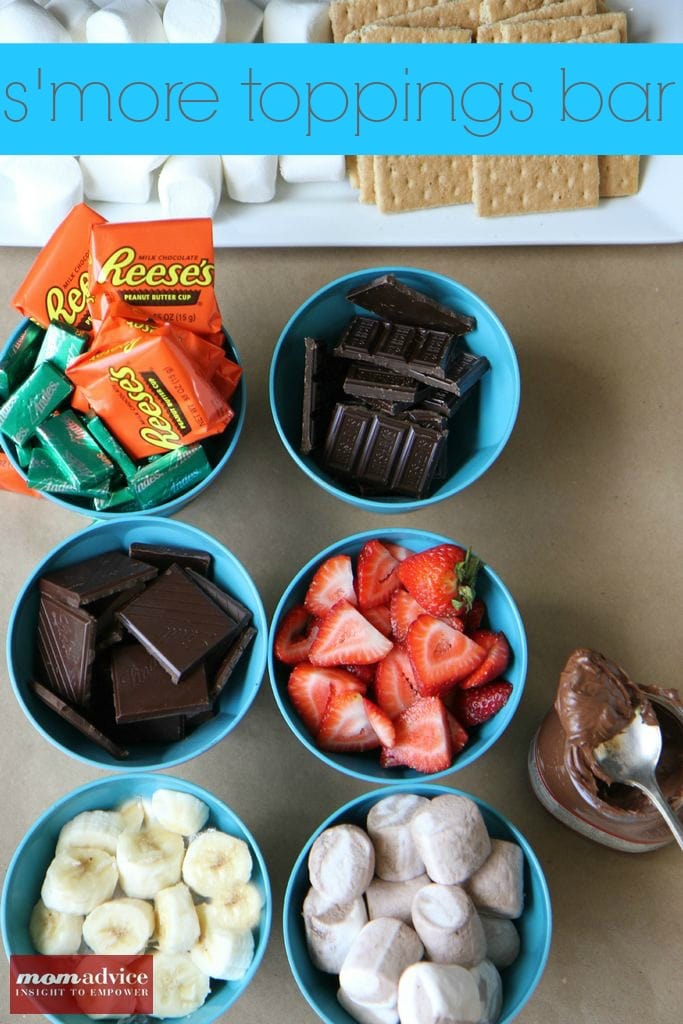
If there is one thing we love about summer, it is our s’mores. Today I wanted to showcase a s’more toppings bar that you can create for a summer party and share some unexpected s’more flavor combinations you can try on your s’more toppings bar.
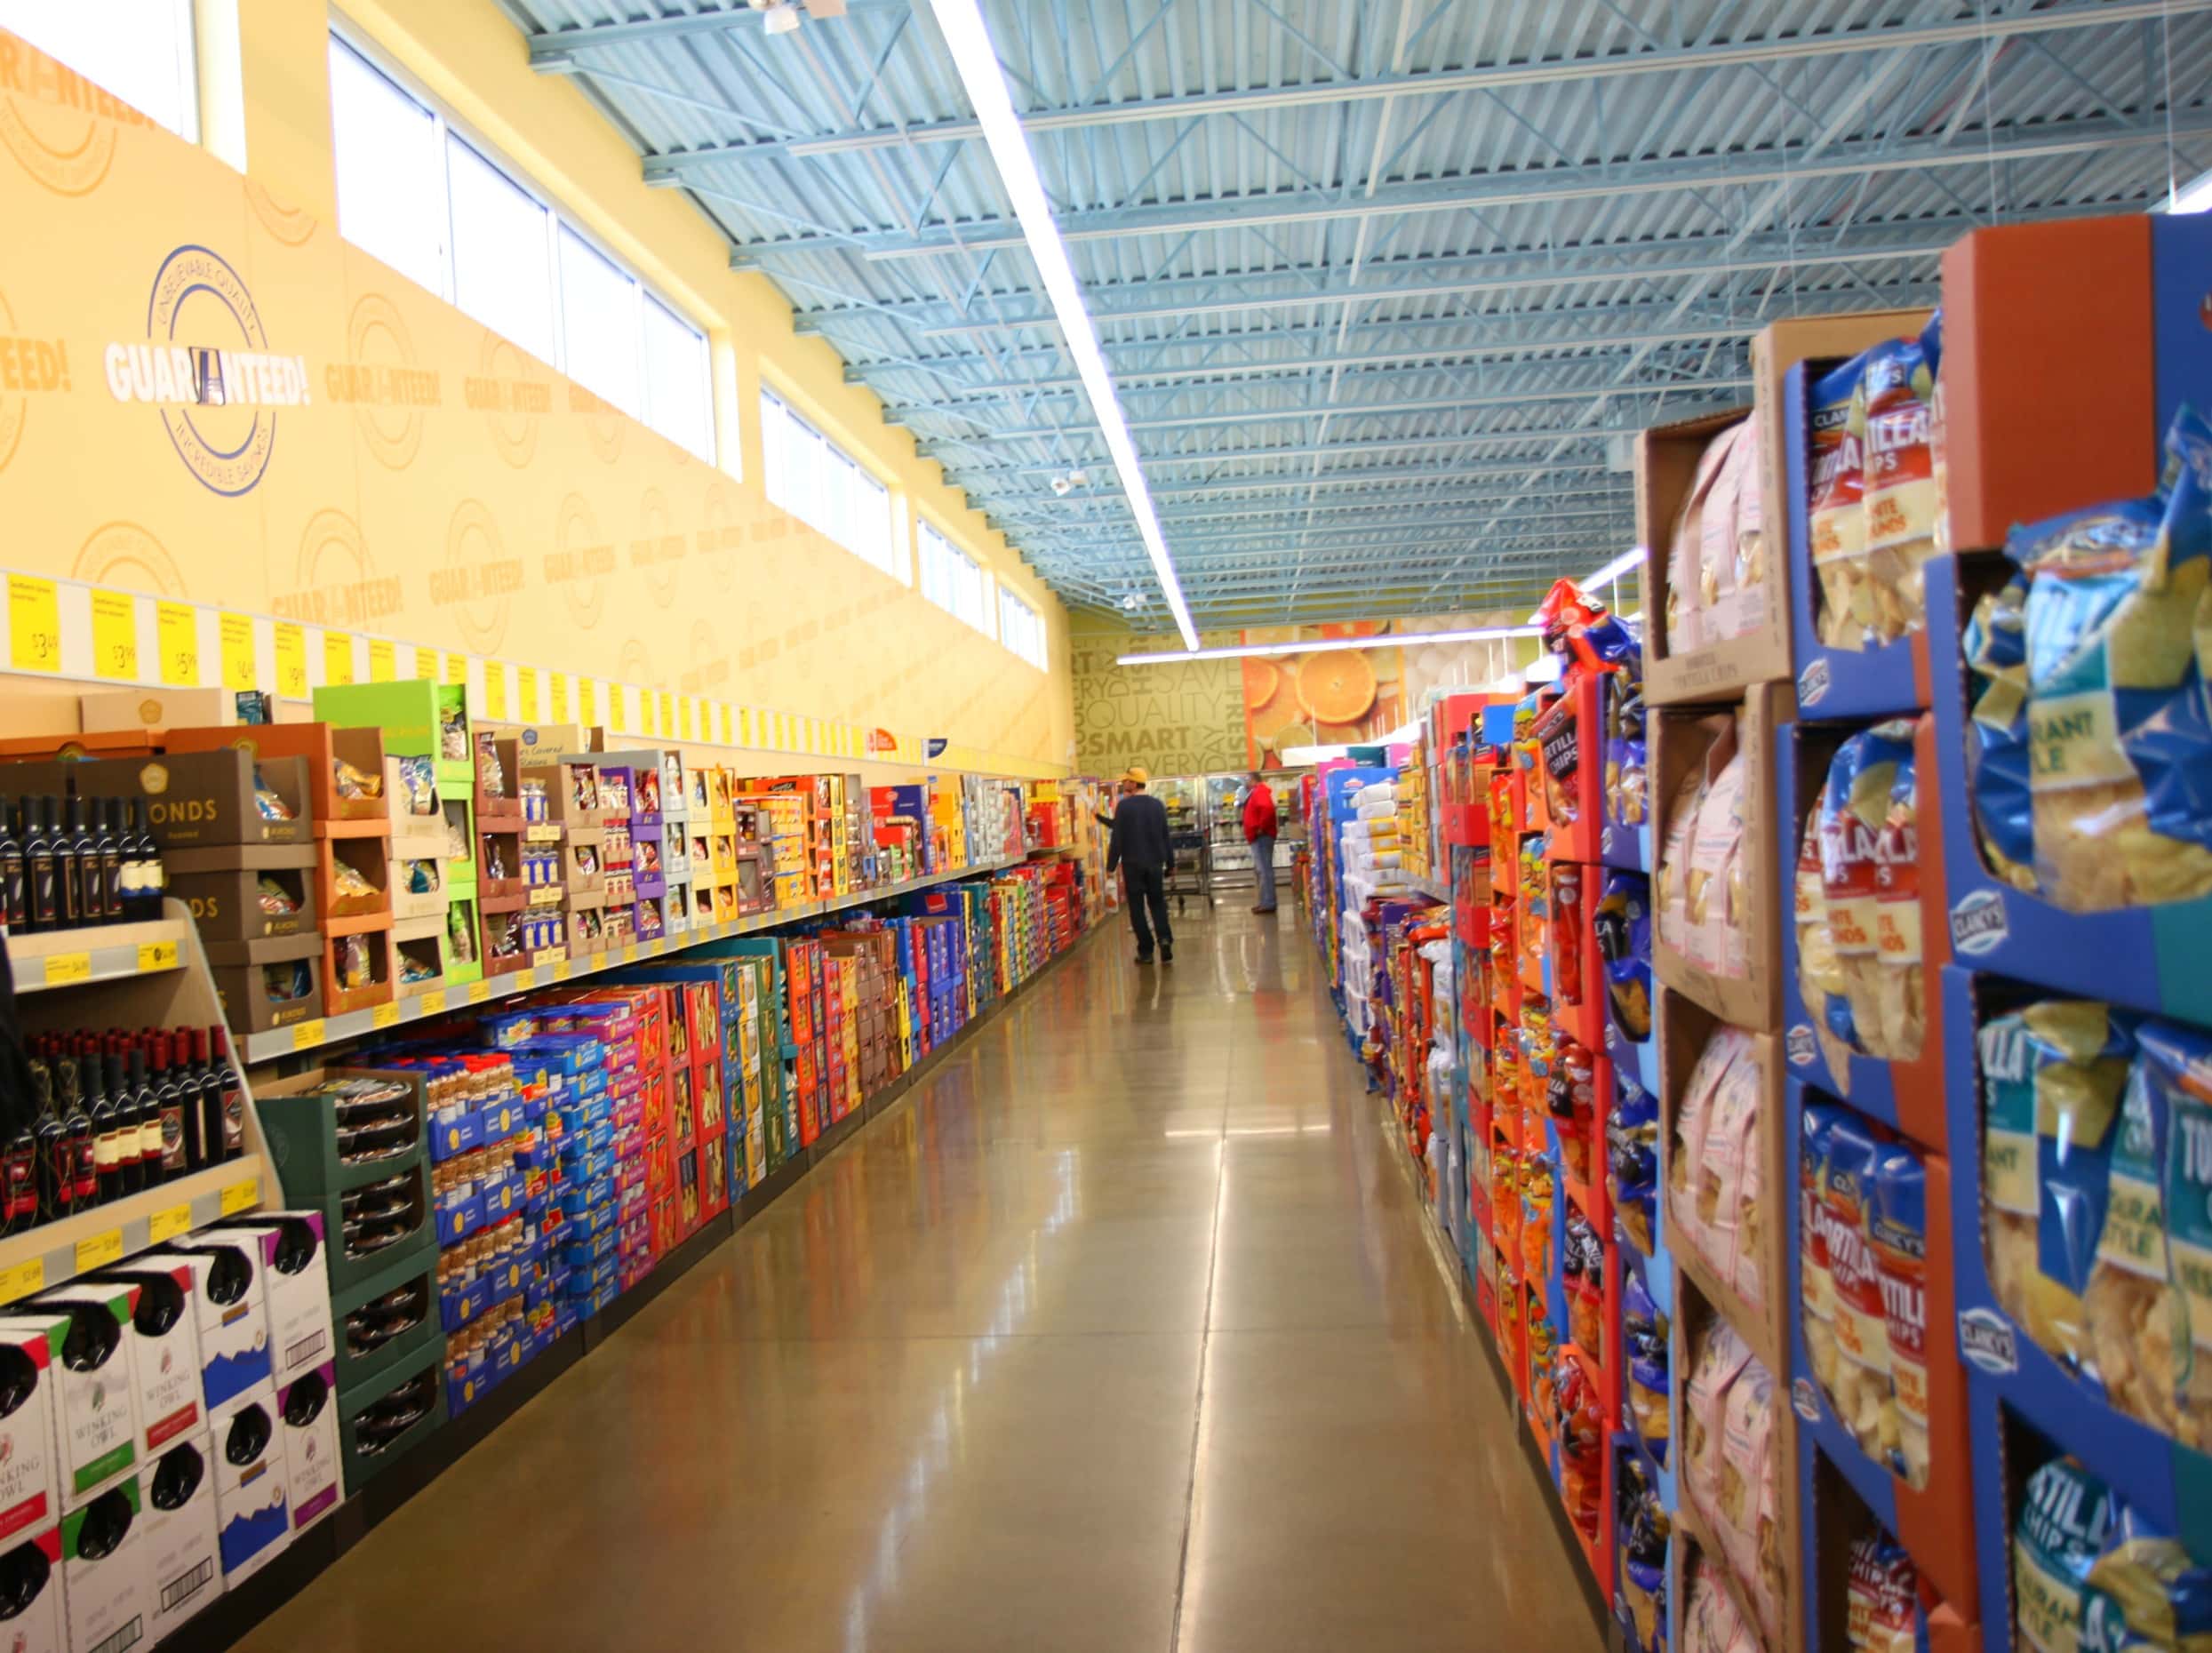
Walmart challenged me to create a summer party that anyone could replicate with just $25 in supplies. I wanted to host an evening for my girlfriends with a s’more toppings bar.
I love that this idea is easy, requires no cooking, and you can even encourage each of your friends to bring their own favorite topping or a drink to share. I displayed my toppings in inexpensive ice cream bowls that you can find over in the seasonal section of the store for a buck each!
S’more Toppings Bar Ideas & Combinations
Marshmallow, Strawberries, & Nutella
Marshmallow, Strawberries, & Dark Chocolate
Marshmallow, Strawberries, With Dark Chocolate & Sea Salt Bars
Marshmallow, Bananas, & Nutella
Marshmallow, Strawberry, Banana, & Nutella
Marshmallow & Reese’s Cups
Flavored Marshmallows (Butterscotch, Vanilla & Chocolate Swirl, or Key Lime)
Andes Mints With Marshmallow
Lemon Curd & Marshmallows (hellooo, lemon meringue pie!!)
Marshmallow, Apple Slices, & Cinnamon
Marshmallow, Biscoff Spread, & Apples
Marshmallow & Biscoff Spread
Chocolate Graham Crackers, Marshmallow, & Strawberries
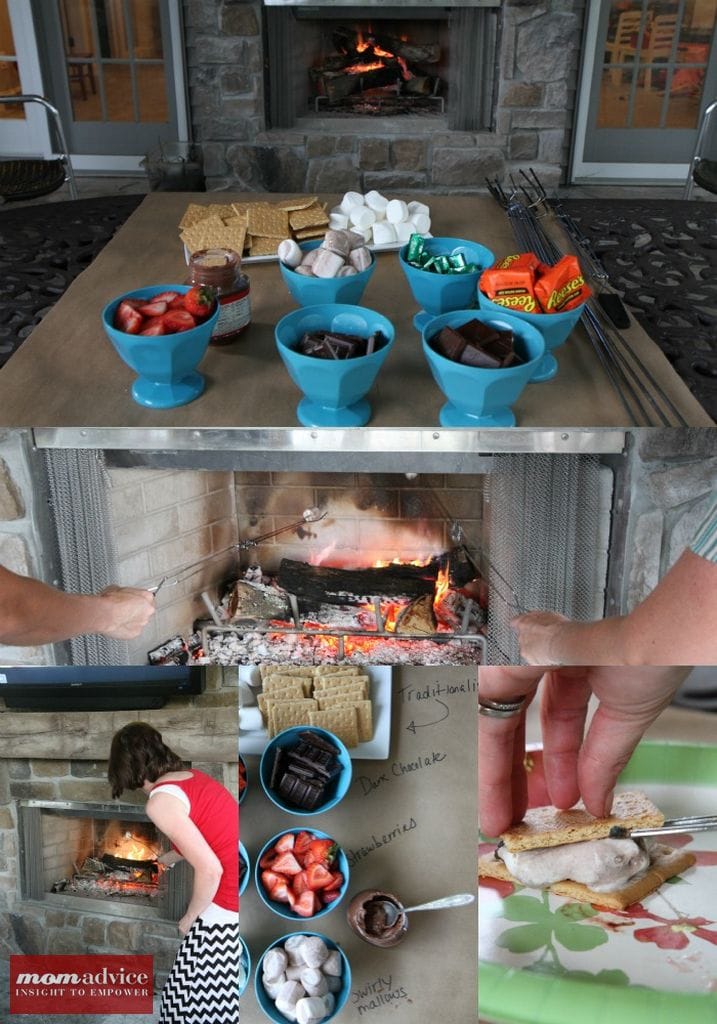
It was such a fun night and everyone walked away with a new favorite s’more combination. If you have a load of toppings, you can write titles next to them or give your guests a helpful cheat sheet of suggestions to put together after roasting their marshmallows. Kraft paper can be found over in the shipping & home office supplies section of the store along with Sharpie pens for writing your own cheat sheet of notes.
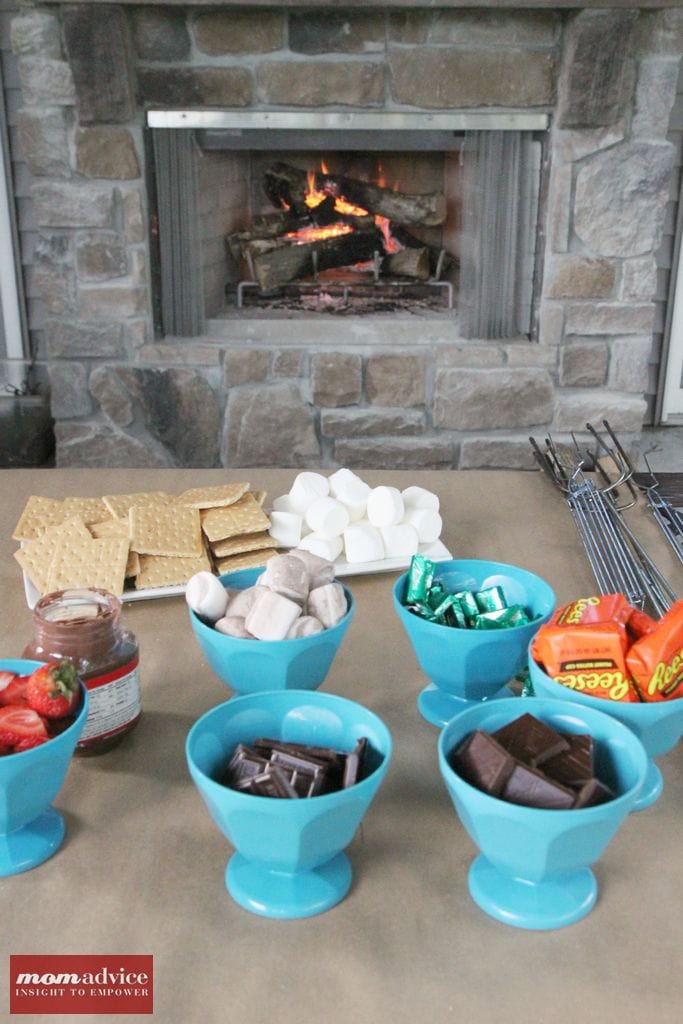

 I had planned to host this at my own home, but a powerful gust of storms moved in and left us without power for several days. My dear friend graciously stepped up to the plate to host the evening and allowed me to setup my s’more topping bar at her house.
How awesome is this setup? I know, SO awesome!
I am so thankful for great friends, great times, and great food! I hope this inspires you for a get together with your own friends this summer or even a fun birthday party idea in the summer months!
This s’mores party was such a hit and I can’t wait to do it again and to do something this fantastic for less than $25? Absolutely priceless!

What is your favorite s’more combination?
Pin It
 Head on over to the
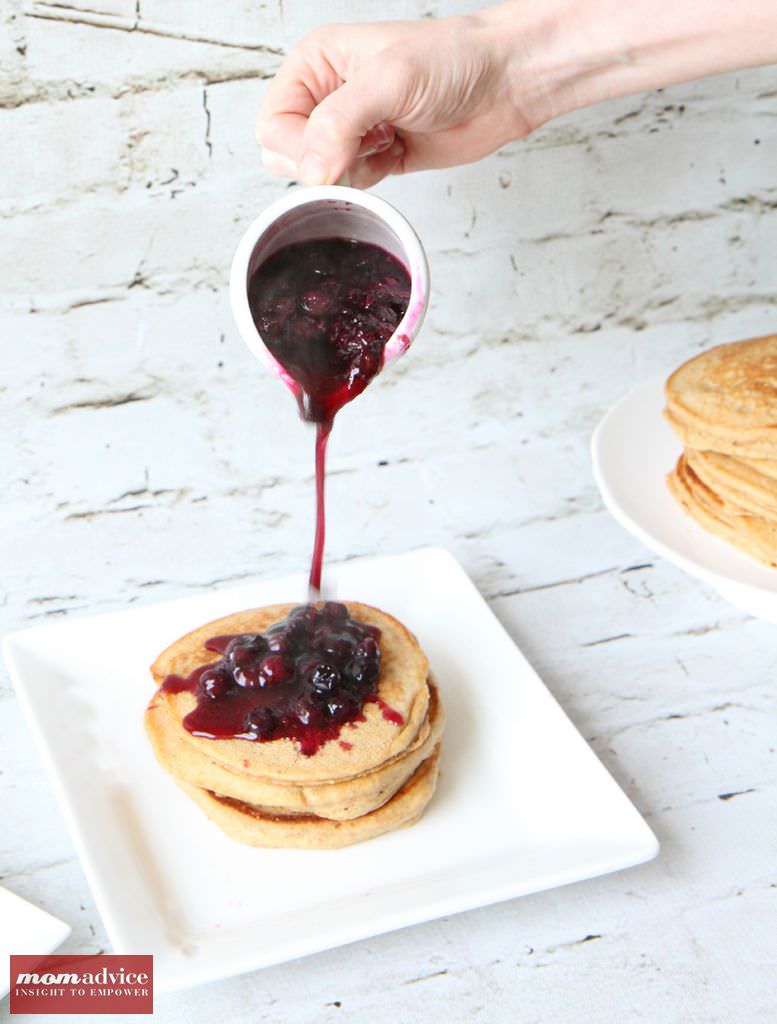
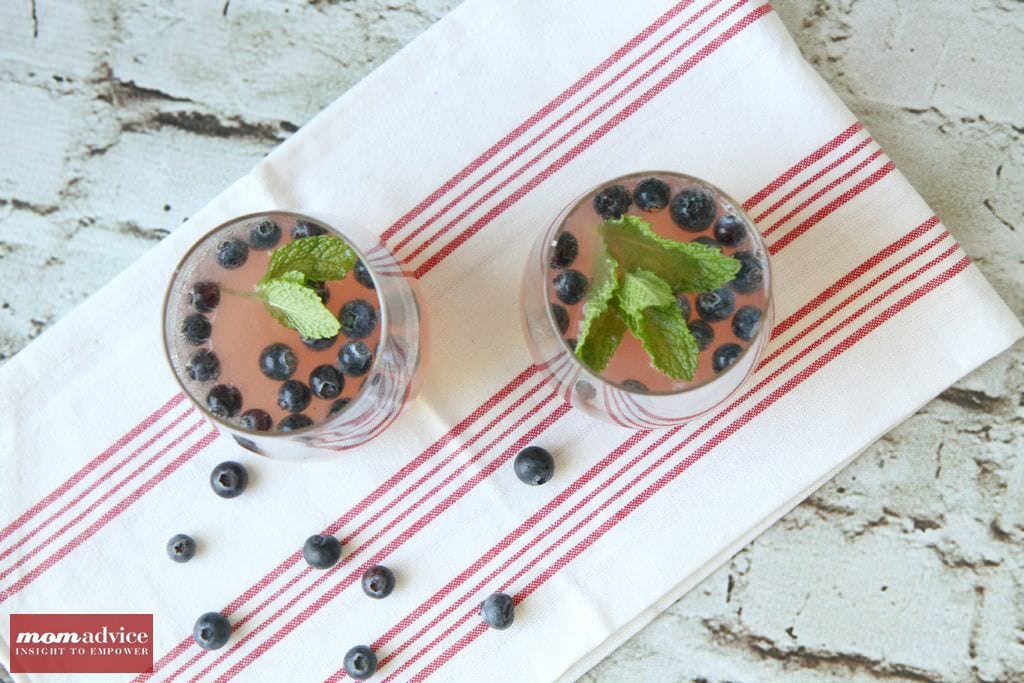
 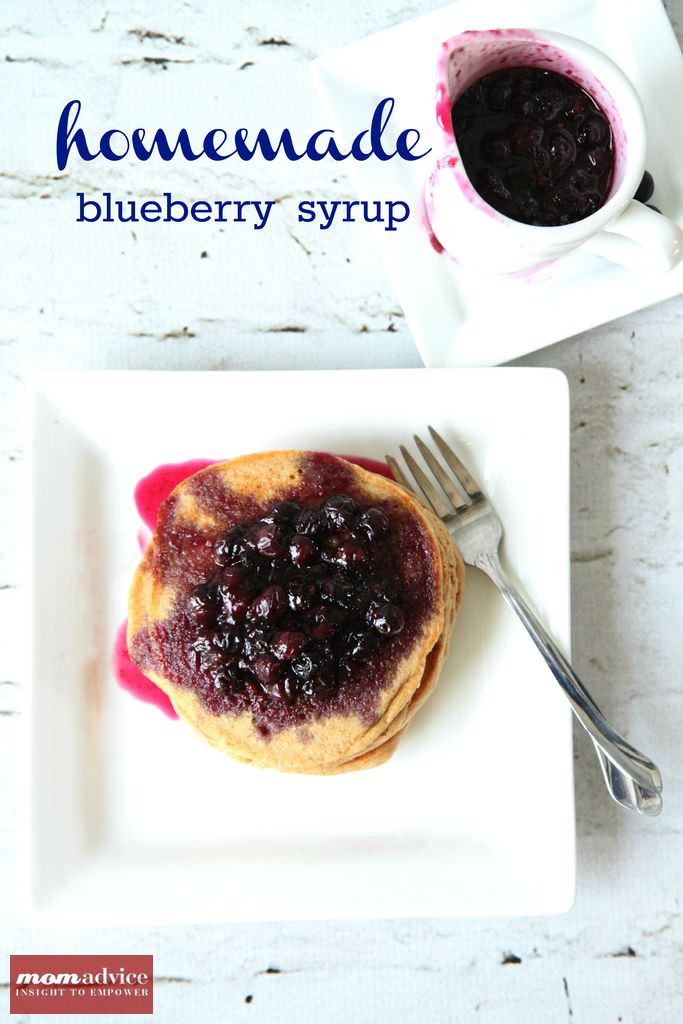 With blueberry season in full swing, I am always looking for fun ways to use my blueberries. This blueberry pancake syrup couldn’t be easier to whip up or to eat and is a fun way to put those blueberries to work in your kitchen.


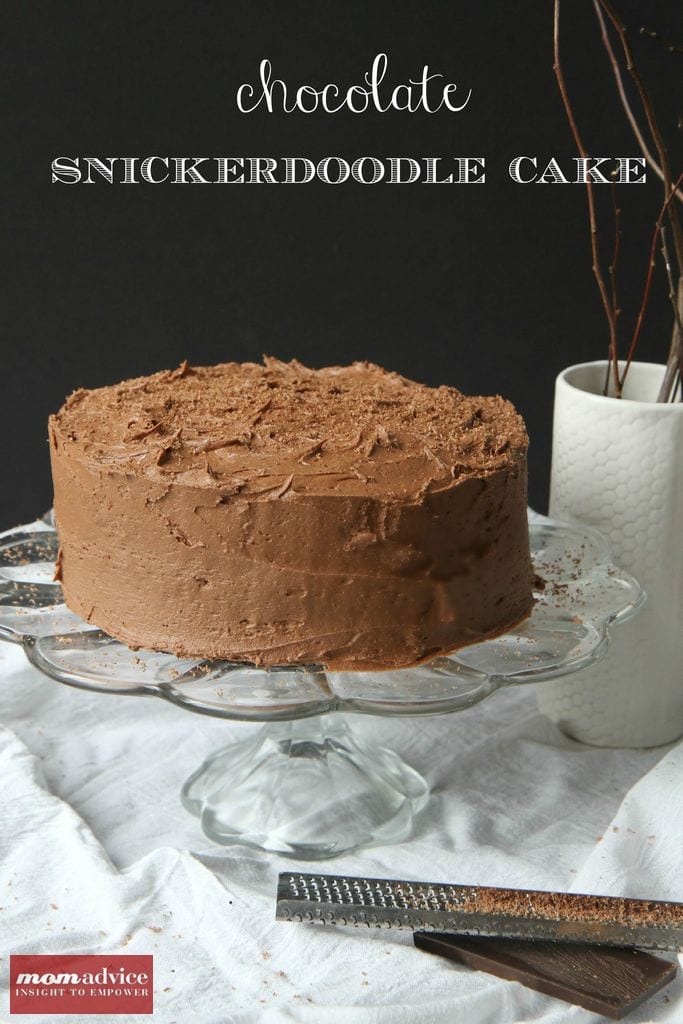 If there is one flavor we love around here it is
 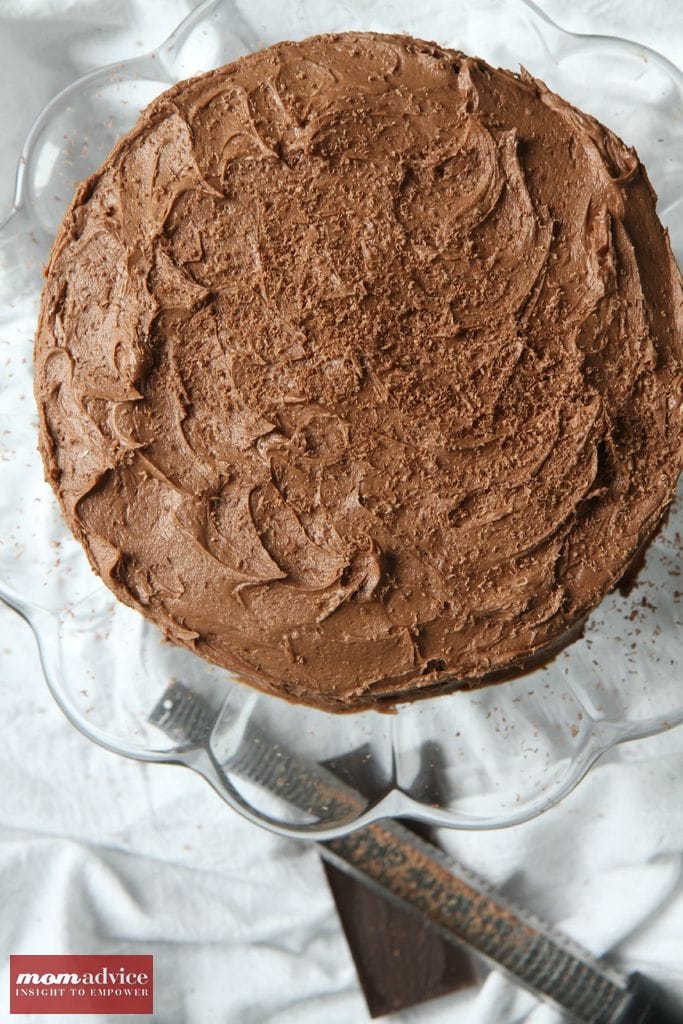 This week we celebrated my son’s 11th birthday. In lieu of an elaborate themed dinner and event, he had a sleepover with his best friend and we invited our family over for this cake and for a
 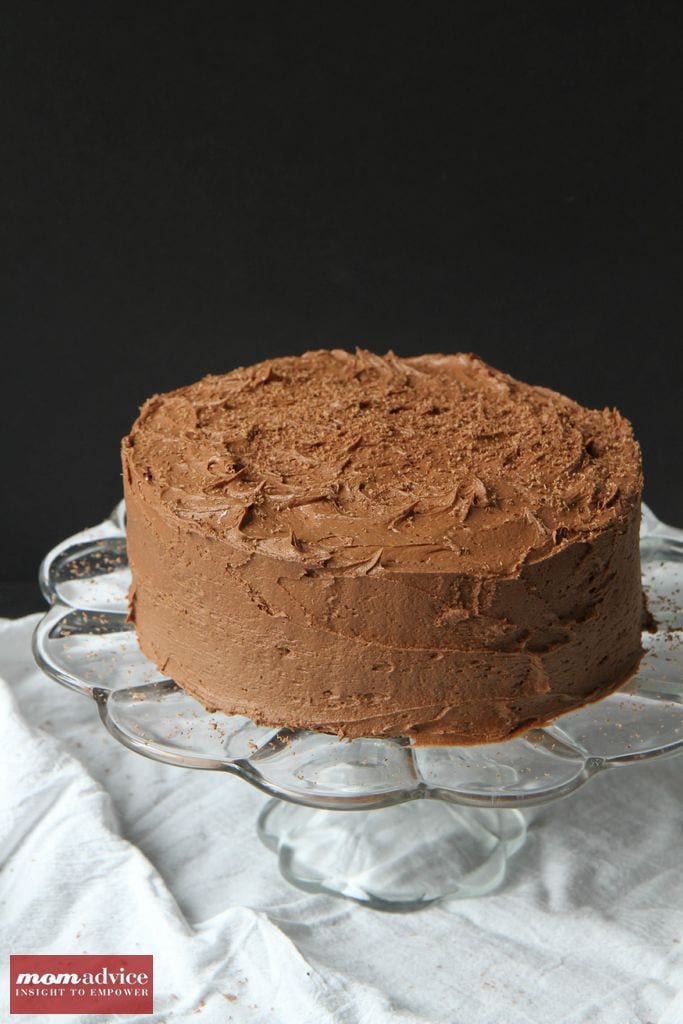 As is tradition, the birthday kid gets to pick their cake from my cookbooks every year. When Ethan selected this cake, I just knew it would be a hit. This cake is moist, rich, and laced in cinnamon. What makes the cake really taste delightful though is the light cream cheese frosting that it is coated in.
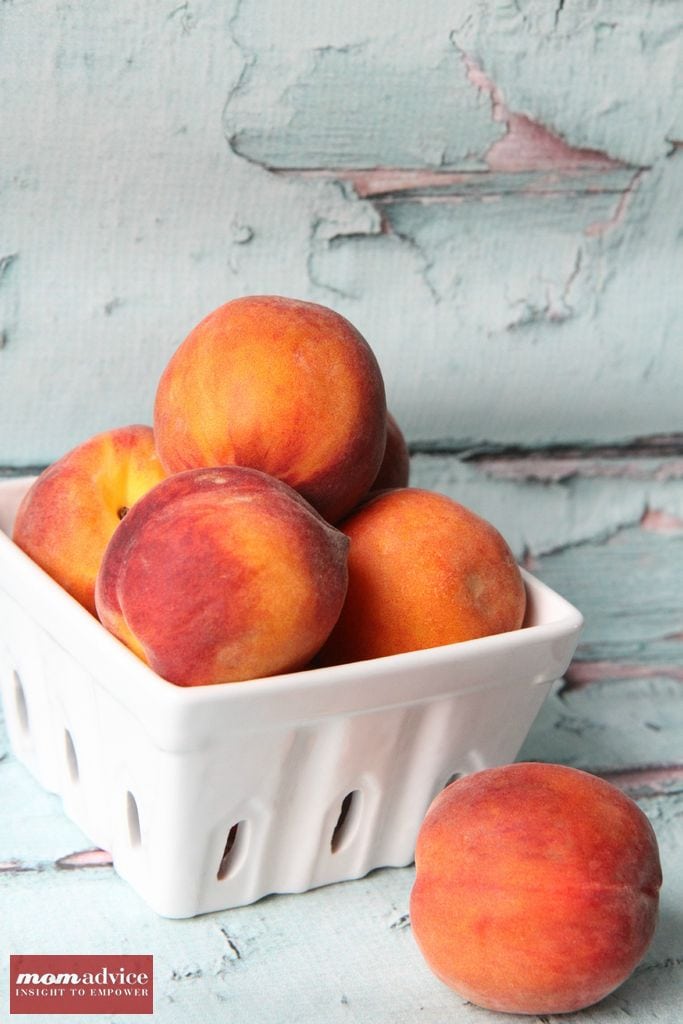
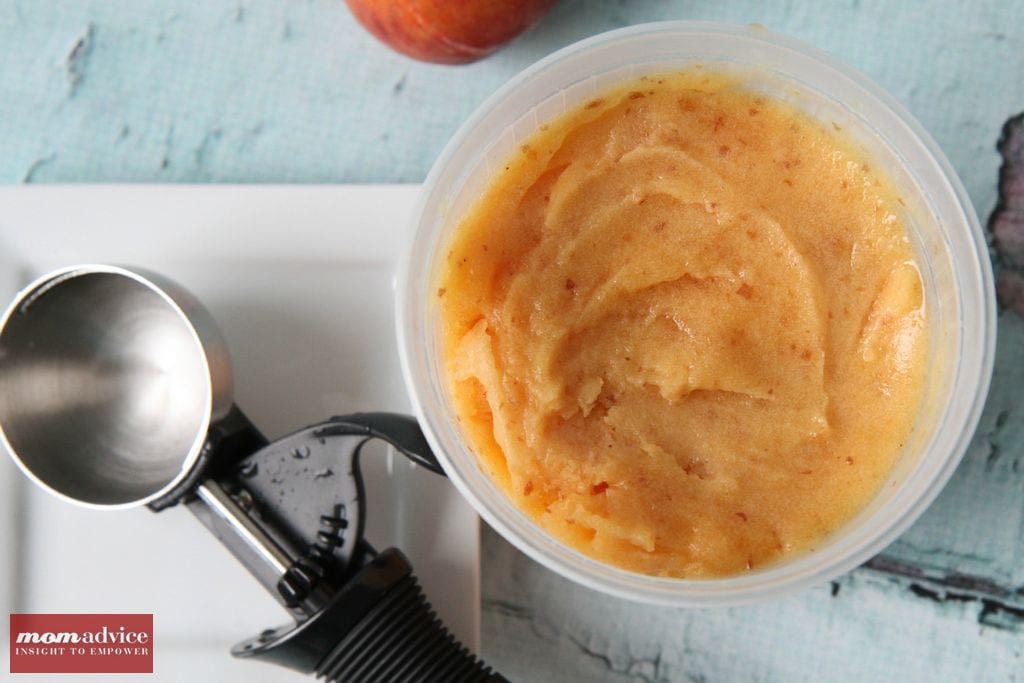
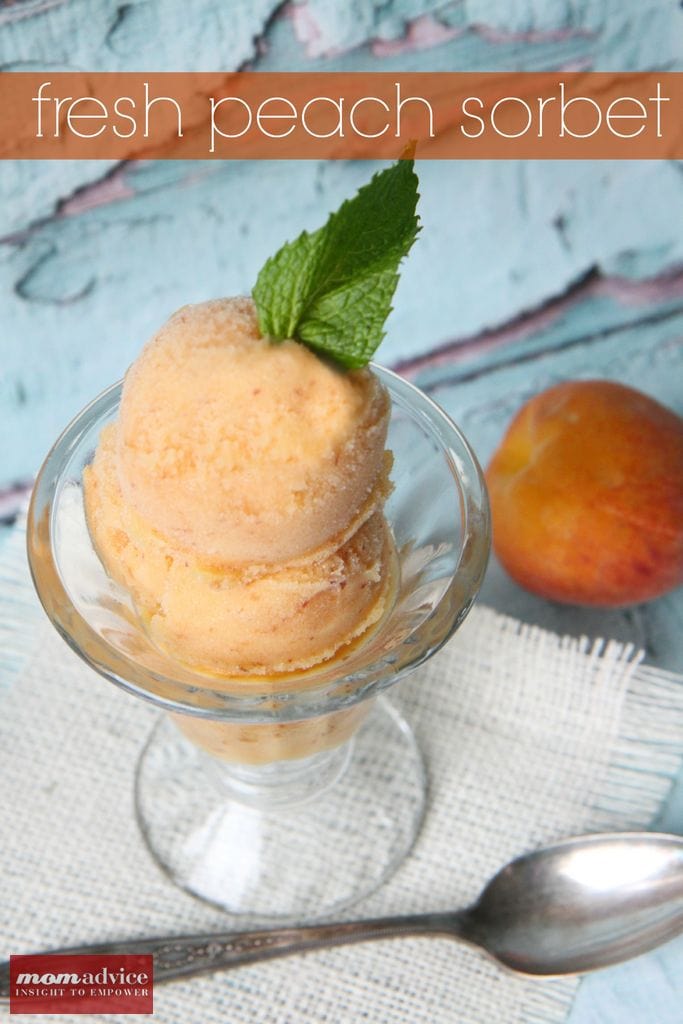 Peach season is upon us and what could be better than putting those fresh peaches to work in a peach sorbet. This homemade peach sorbet tastes rich and creamy, but is dairy-free and packed with fresh fruit, for the perfect summer treat!
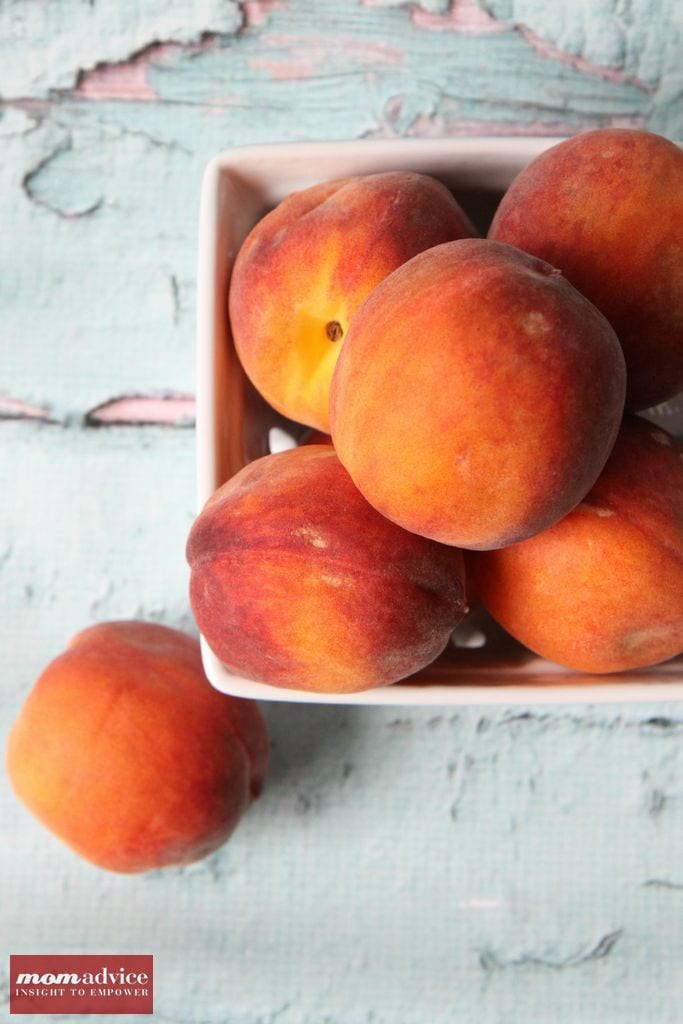


 Walmart wanted to give us the chance to share about the


 Finish by tossing all of the ingredients together in a large bowl and add fresh Garden Gourmet basil in the dish and lightly toss until everything is incorporated.

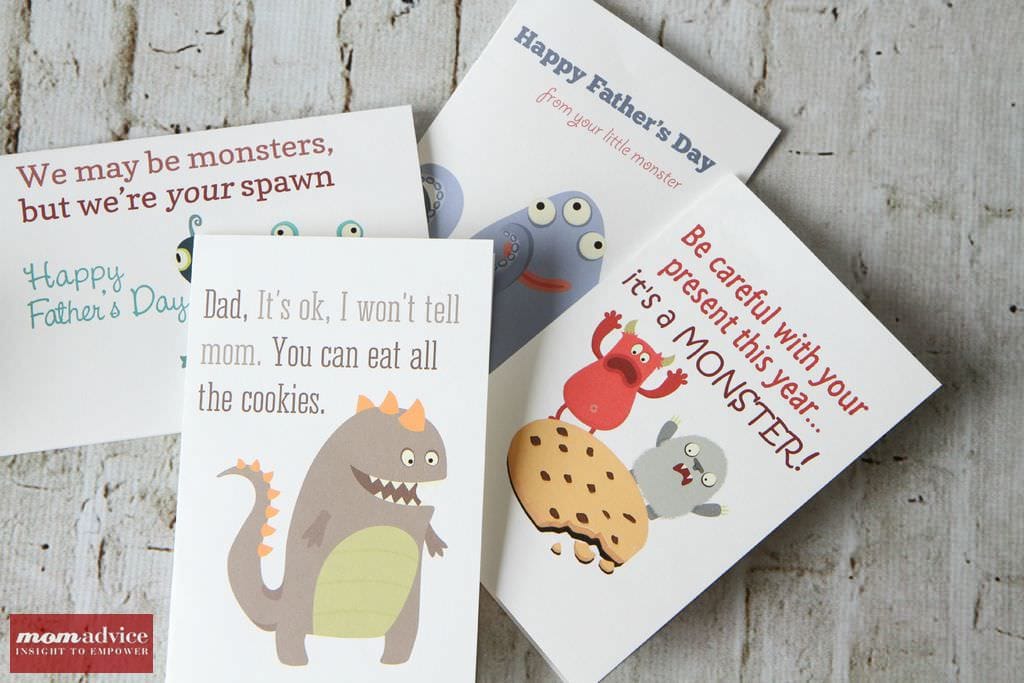
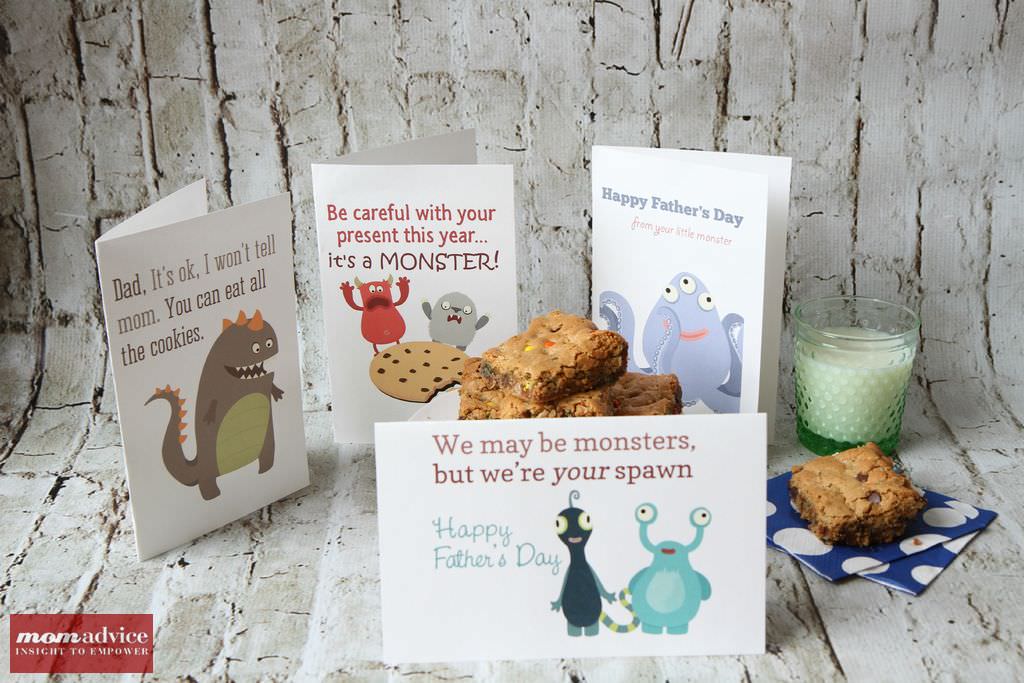
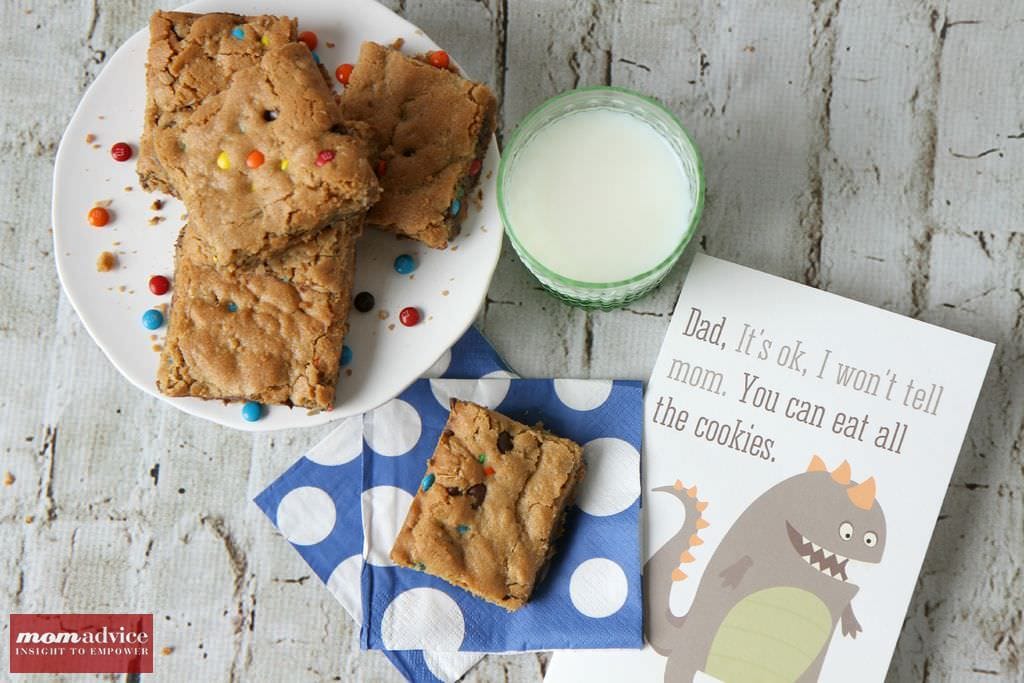
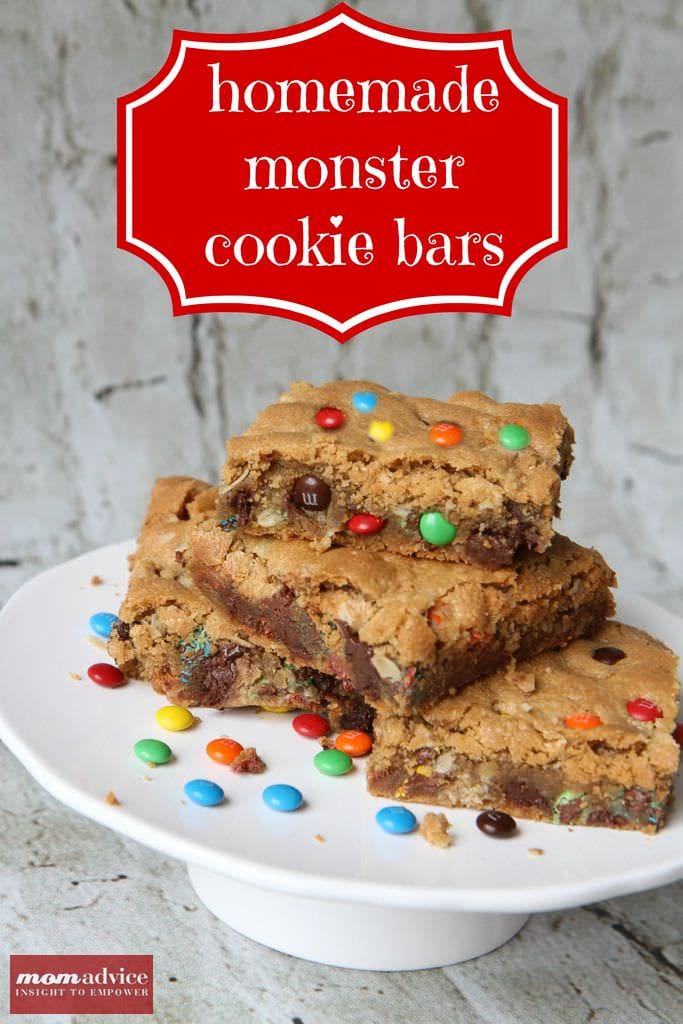
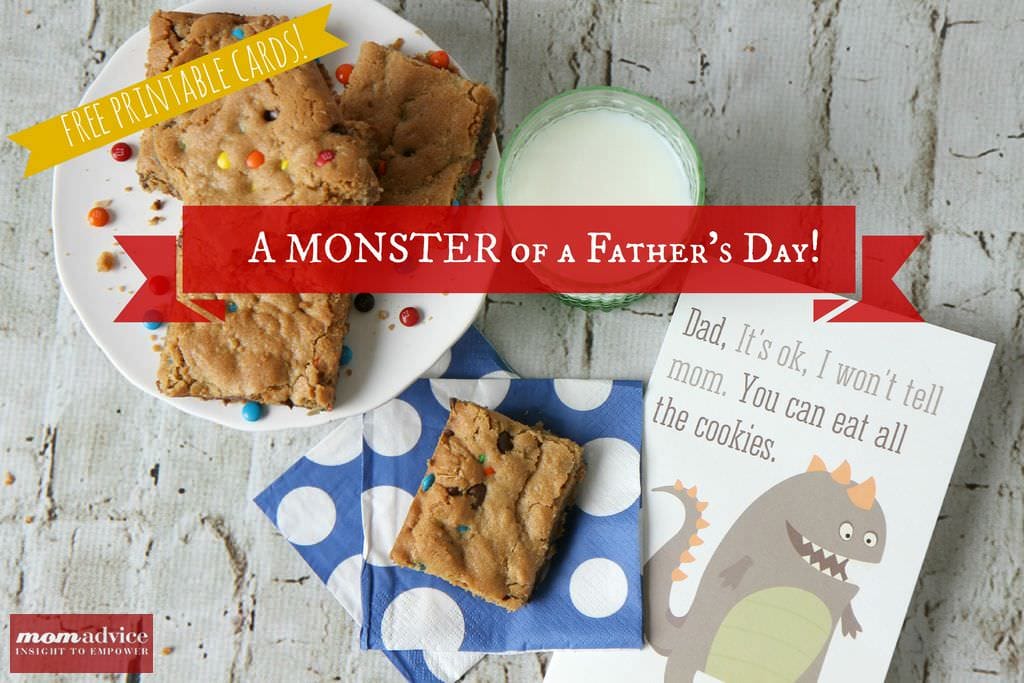 Father’s Day is just around the corner & today we wanted to share a monster of a Father’s Day gift with a cute spin on the monster theme with easy monster cookie bars and printable monster cards for a special Dad in your life.
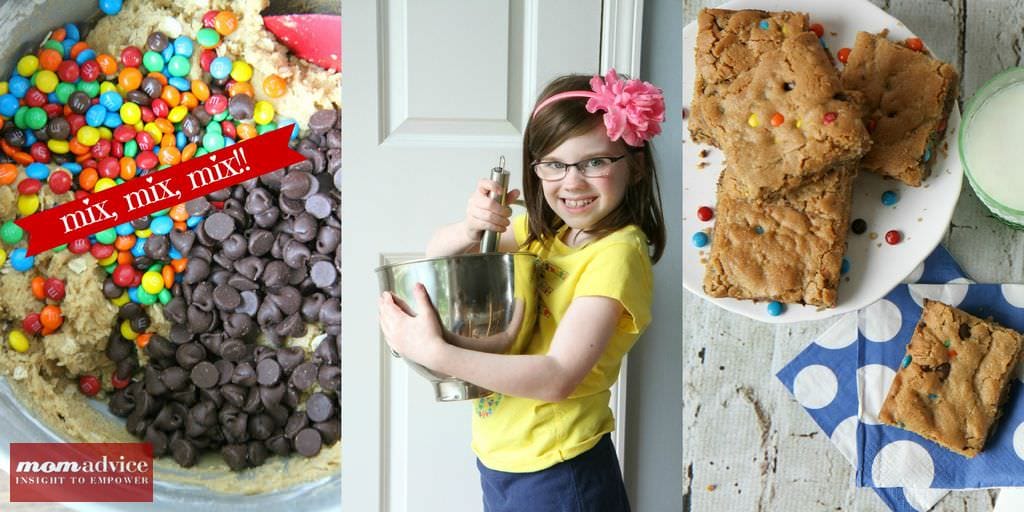


