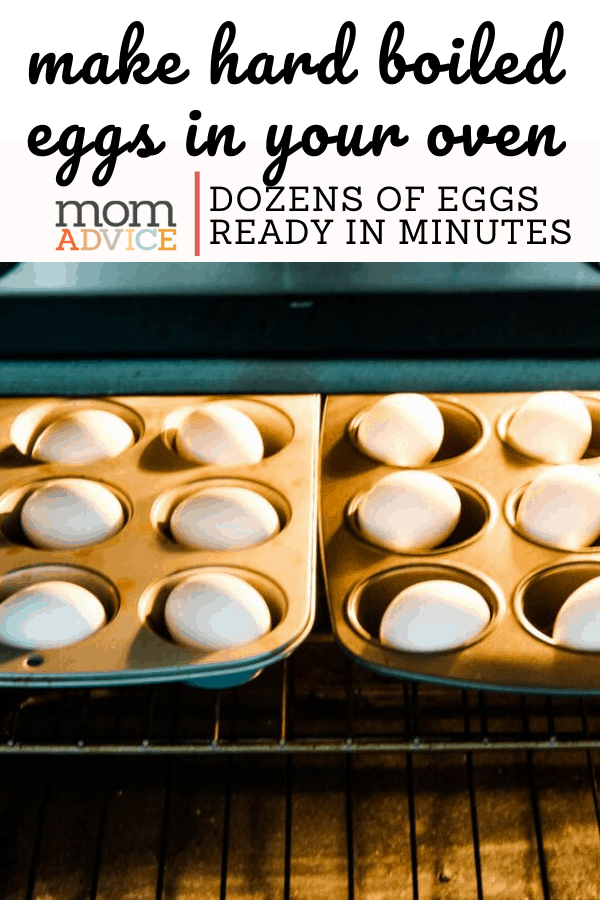
Want hard boiled eggs fast? Try this oven method for baking eggs for deviled eggs, Easter eggs, egg salad, or a simple protein-packed snack. Make perfect hard boiled eggs fast with this smart Alton Brown approved method.
Have you ever prepared hard boiled eggs in the oven?
I had seen the tutorials floating around Pinterest, but I gave this method a spin while meal prepping for our busy week.
These are the perfect hard boiled eggs for an afternoon snack or for a quick lunch with chopped veggies and I can’t wait to show you how easy this method is.
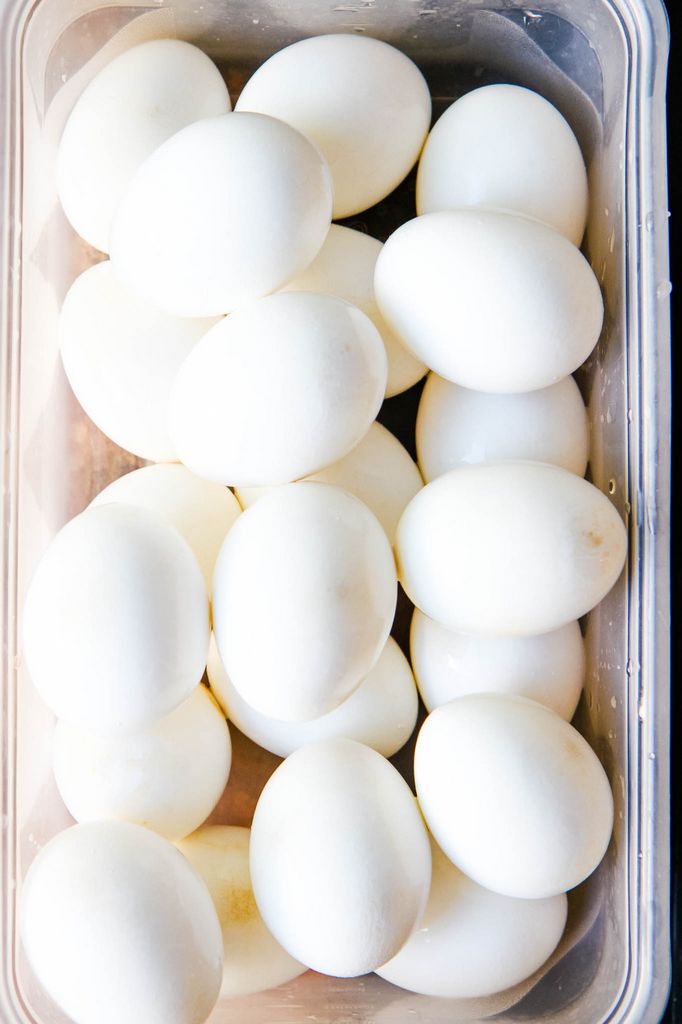
Although I rely usually on my Instant Pot, you are limited to just a dozen at a time.
It does seem kind of crazy to bake your eggs, but this is a great way to make a lot of eggs for your week or for your Easter egg decorating.
Make Hard Boiled Eggs in the Oven Recipe
Here is the thing, results seem to vary on success with baking your hard boiled eggs in the oven and it’s a good idea to give these a test run in your oven with just a couple of eggs rather than wasting an entire dozen.
What Can Improve My Experience Baking Hard Boiled Eggs?
Get an Oven Thermometer
I am telling you that one of the best gadgets you can buy, if you are not getting consistently good results with baking in your oven, is an inexpensive oven thermometer.
I have had ovens, in apartment rentals, that were fifty degrees off or more. I could have saved myself a lot of tears and burnt dishes if I would have known that this cheap little gadget could improve the results in my cooking in a dramatic way.
Try Different Temperatures
Once you know that your oven temperature is correct (or how to gauge it if isn’t) try baking the eggs at 325 degrees first.
If your eggs are not to your liking, increase the temperature to 350 degrees.

Stop the Brown Spots
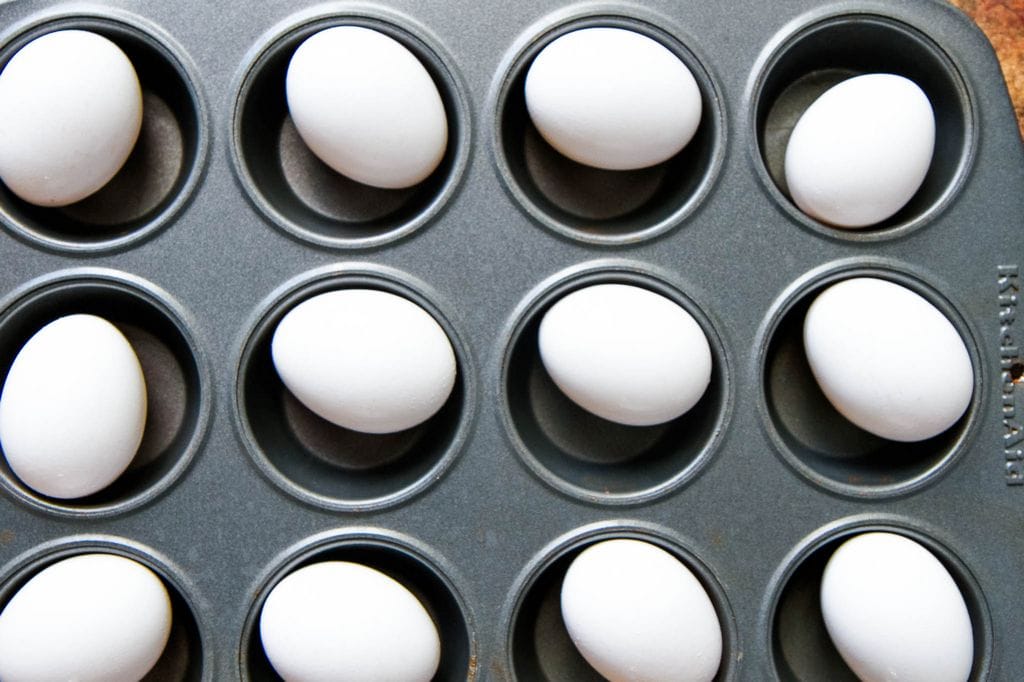
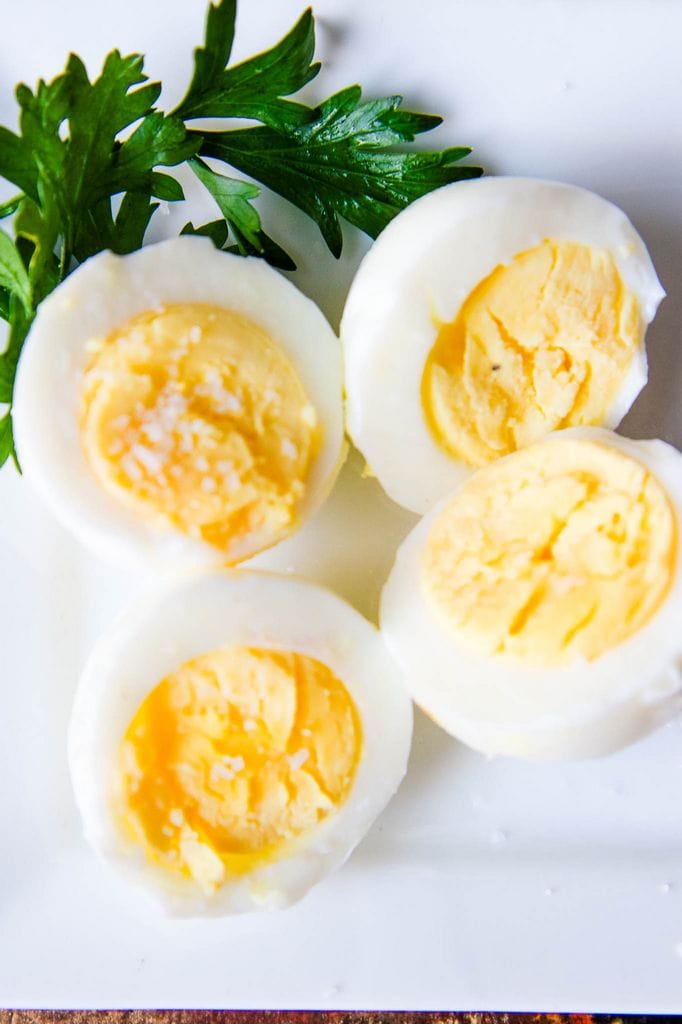
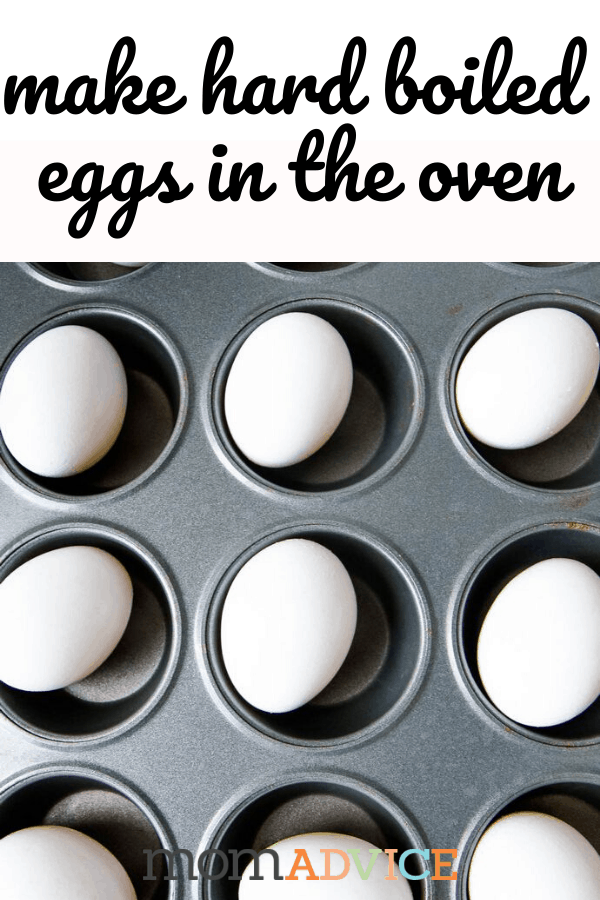
Brown spots can develop on your egg from resting in the muffin tins, particularly with a dark muffin tin like the one I am showing in this picture.
Although the spots don’t really bug me, you can prevent them by using a silicone muffin pan, baking in a mini muffin tin, or lining your muffin tin with liners, tin foil.
Wildly I have also heard that cotton pads/balls can offer a buffer between your egg and the bottom of the pan. Alton Brown, in fact, actually recommends placing the eggs directly on your oven racks and skipping the muffin tin altogether.
I’d love to hear your thoughts on that one and if you have any success with it.
Make Peeling Easier
Did you know that fresh eggs can actually be more difficult to peel? We have discovered peeling the eggs is so much easier with eggs that have been in our fridge at least a week.
How Should I Store My Eggs?
Once you have your week’s worth of eggs, how the heck do you store them?
I read a lot of advice on this one when we prepared our eggs!
Ideally, you want to keep these in their shell since it acts a barrier to bacteria and it helps them last longer too.
Within the shell, you can eat these safely for up to seven days (although they never last that long in our house!!).
Peeled hard-boiled eggs can be stored in the refrigerator in a bowl of cold water to cover for about five days (change the water daily) or in a sealed container without water (cover the eggs with damp paper towels) for the same length of time.
We store ours in their shell since I am worried about the bacteria factor.
I also ended up stumbling on this egg storage method for our fridge so we started doing that instead.
How Do I Cook Hard Boiled Eggs on the Stove Top If I Don’t Love the Oven Method?
My mom was always a big fan of this stovetop method and I love that you don’t need a gadget to make it happen!
Place eggs in a large pot of water and cover them with an inch of water (cold). cover the pan with a lid and listen for boiling water. When the water has come to a boil, let it boil over high heat for 6-7 minutes. Remove these with a slotted spoon and give them the same ice water bath treatment as you do for the oven method.
- 1 dozen eggs or more (preferably, older eggs that have been in your fridge for one week or more)
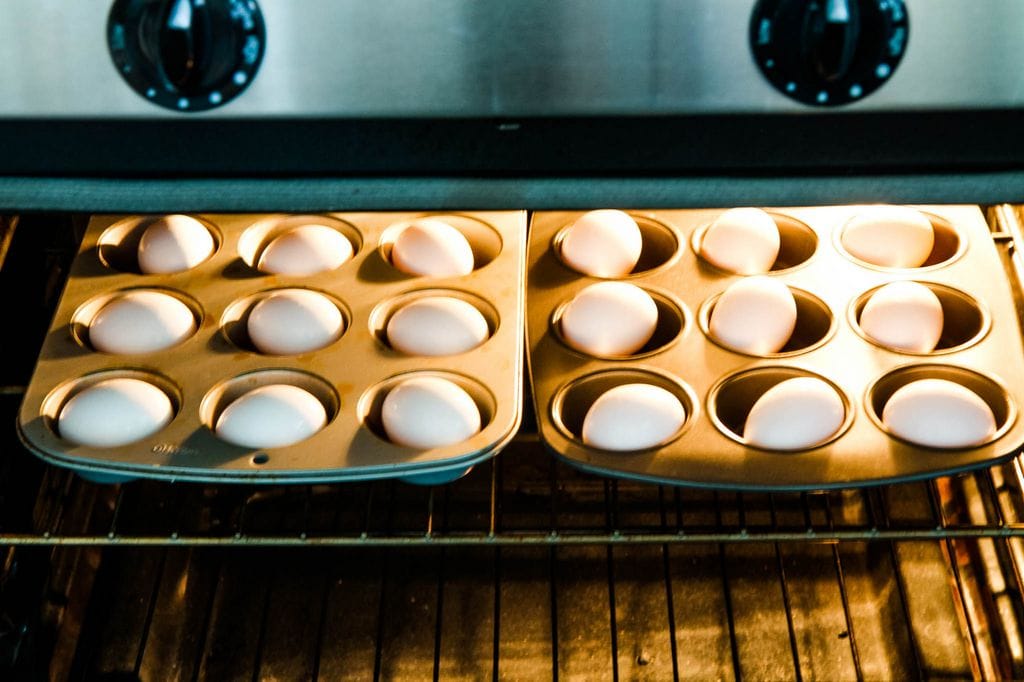
- Preheat oven to 325 degrees
- Put 1 egg in each of 12 muffin cups.
- Bake in preheated oven for 25-30 minutes.
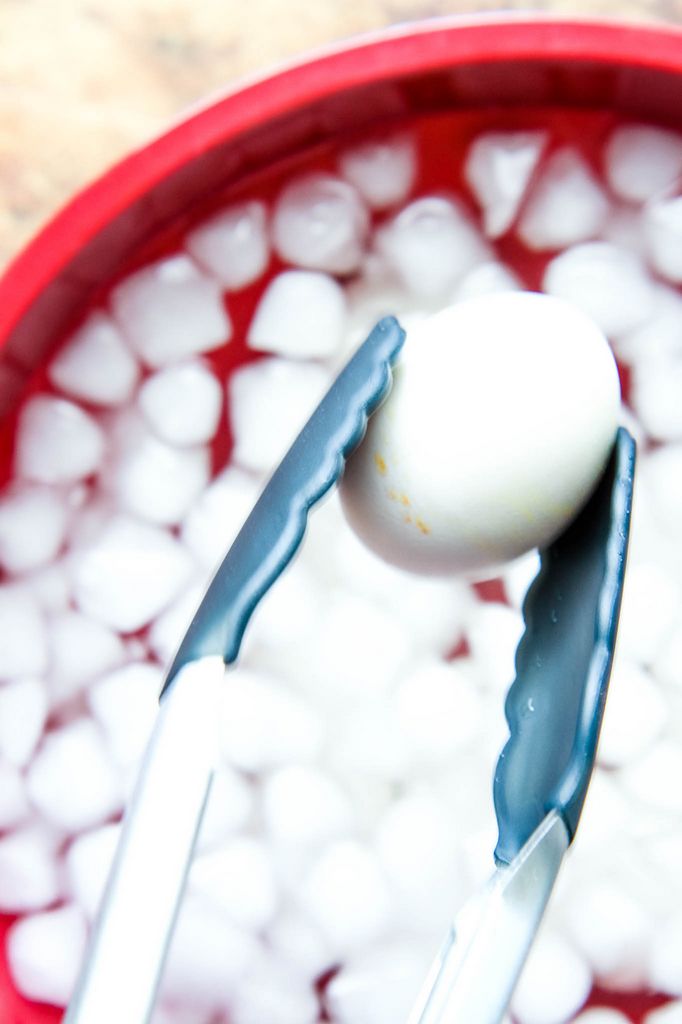
- Plunge baked eggs in a large bowl of ice water until cooled completely, about 10 minutes.
- Remove the room temperature eggs with a slotted spoon and store in your refrigerator for up to a week.
As an Amazon Associate I earn from qualifying purchases.
Love these tips? Here are a few other great make-ahead meal prep ideas for your week!
 how to make perfect brown rice in your rice cooker
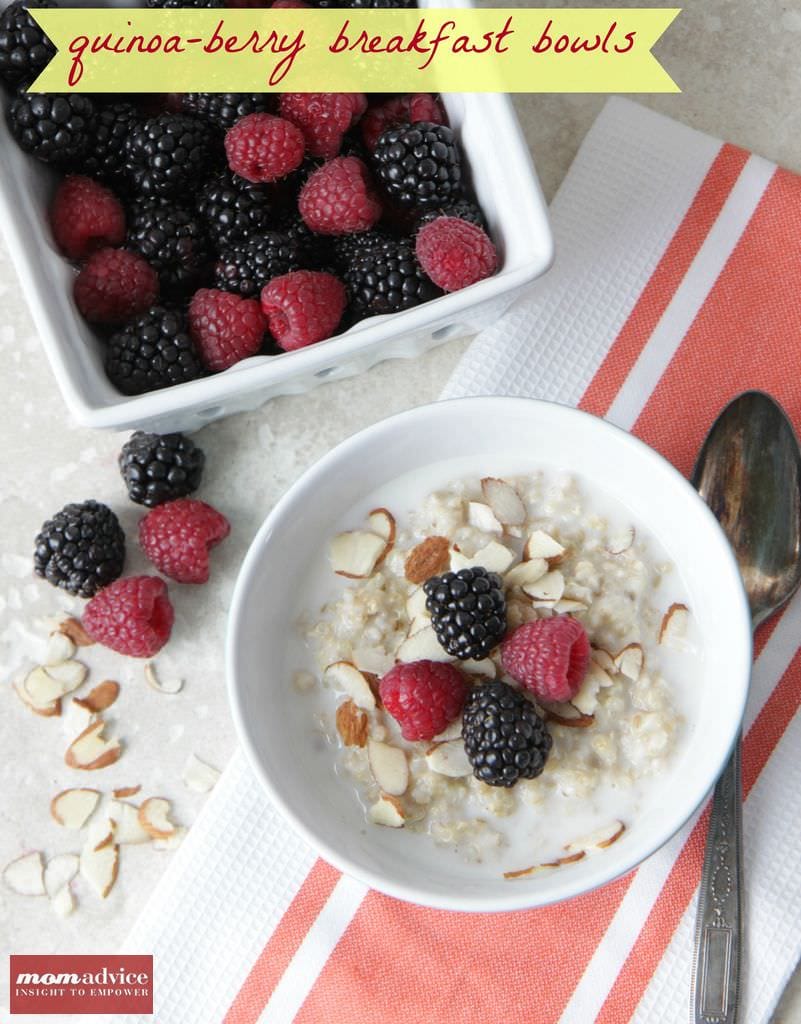
 how to make quinoa in your rice cooker
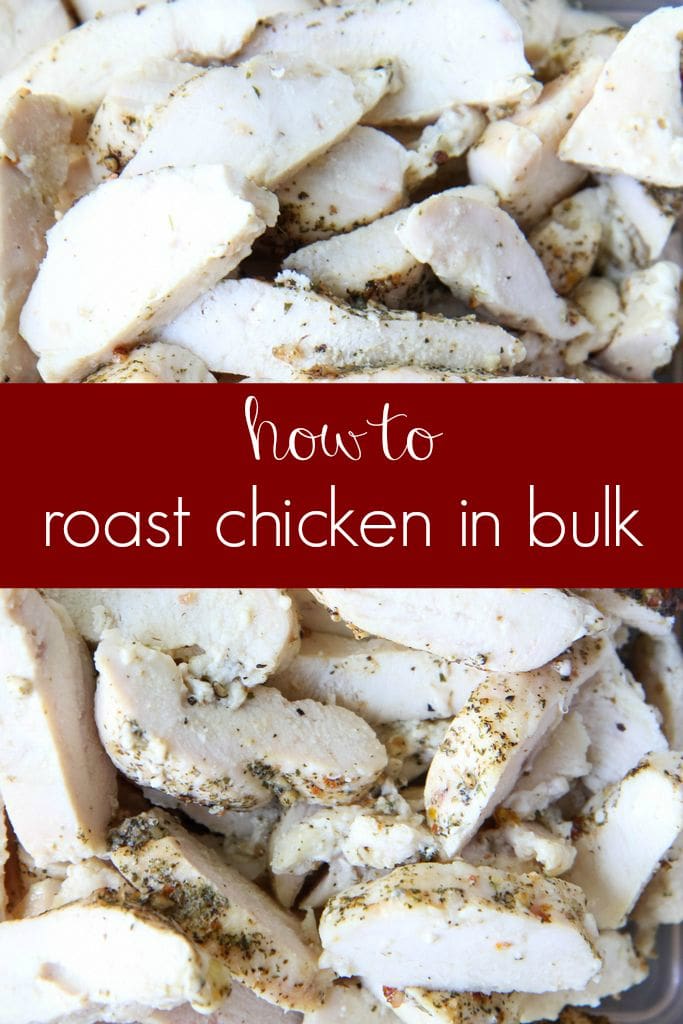 roast frozen chicken in bulk for your week
 instant pot shredded chicken for all your recipes
Happy cooking, friends!
Pin It


