Archive for the ‘Desserts’ Category

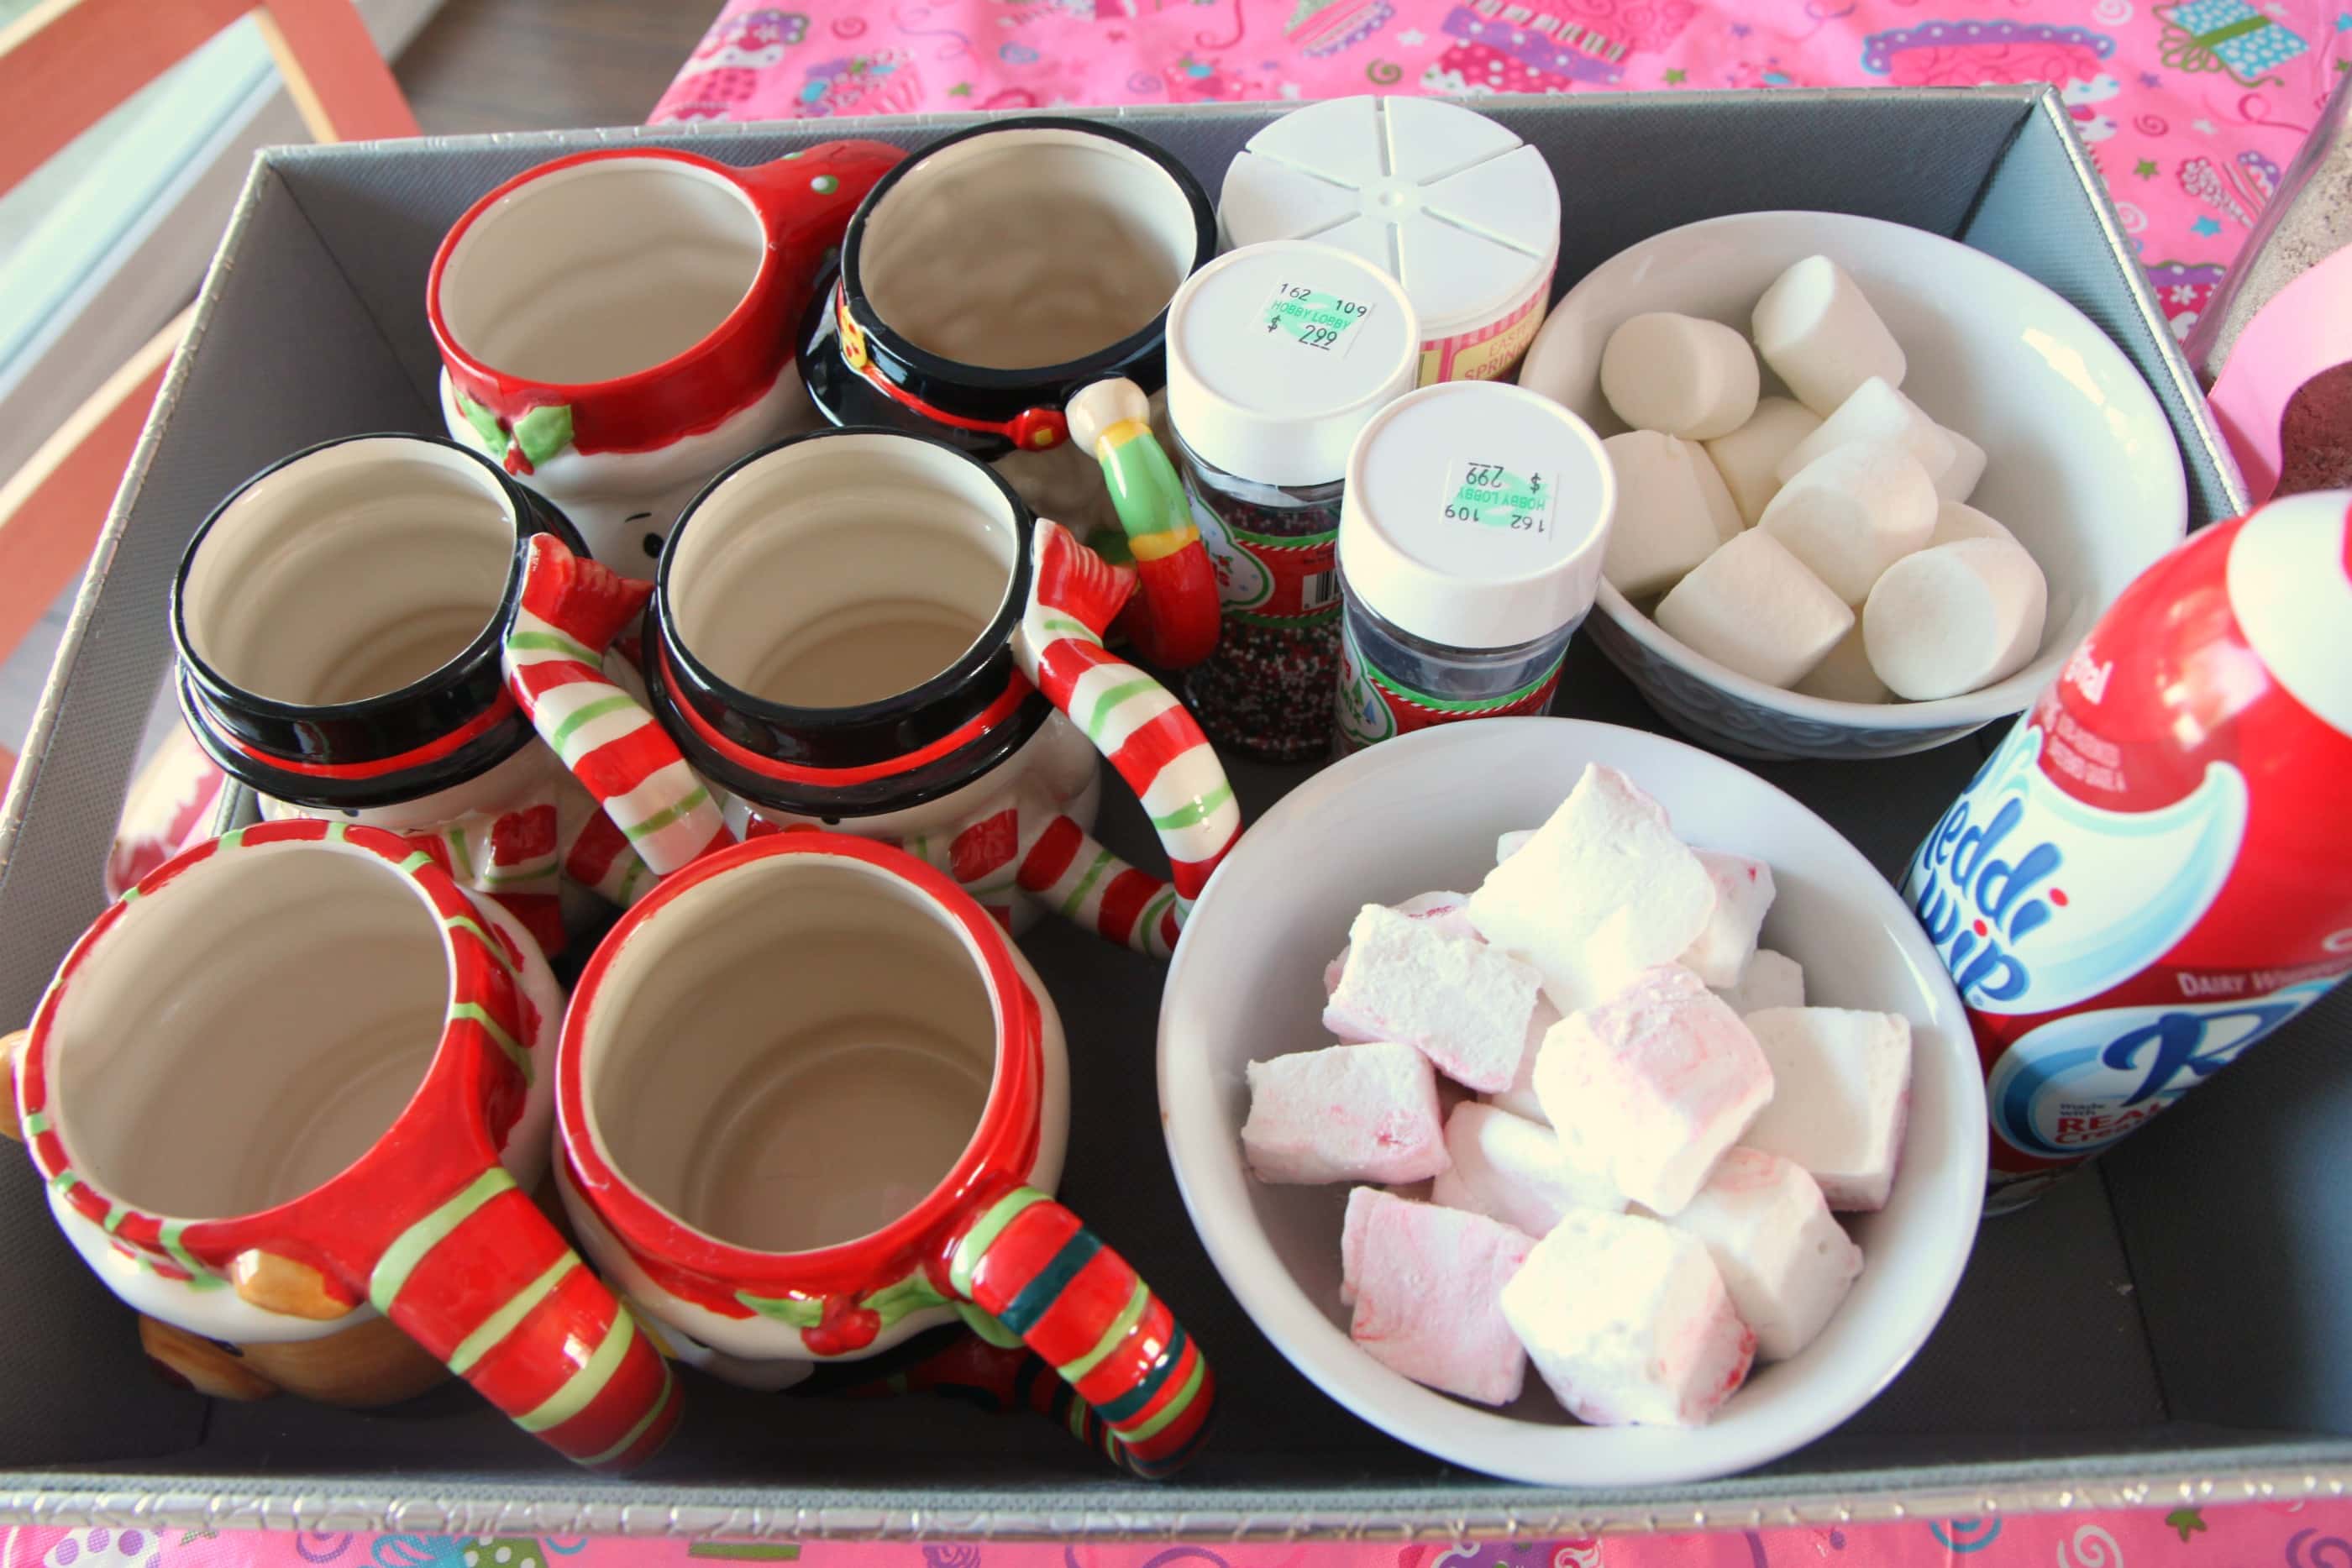
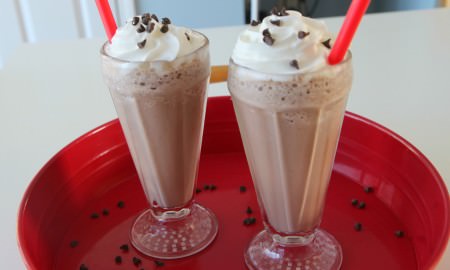
Frozen Hot Chocolates

Tuesday, February 7th, 2012


Looking for a fun Valentine’s Day treat to share with your children? How does an icy frozen hot chocolate drink sound for a fun after school treat with your favorite kids?  My kids were so excited to try these frozen hot chocolates and we couldn’t wait to share the recipe with you.

This week I am over at the Kenmore Genius Blog sharing a delicious recipe for Frozen Hot Chocolates that you won’t want to miss! If you don’t happen to have the ingredients on hand, we all agreed that these Homemade Wendy’s Frosty Treats were just as yummy!

I am also sharing a few easy strategies for creating a Valentine’s Day dinner at home with your spouse when you can’t score a babysitter. Snag my recipe for Penne with a Spicy Vodka Cream Sauce and an easy dessert that you will really wow your hubby! I also have some wonderful other date night ideas on our site. Be sure to check out my Linguine with White Clam Sauce or how to have a Steakhouse Experience on a Poorhouse Budget for a few other ideas for fun celebration dinners.

We hope you have a wonderful Valentine’s Day however you choose to celebrate it!

Pin It

Cream Cheese Pound Cake With Warm Lemon Curd Sauce

Monday, February 6th, 2012

With Valentine’s Day just around the corner, I wanted to showcase another fun dessert that you could share with those you love. I have to say that nothing says love like a pound cake and I wanted to dress my pound cake up with some citrus fun this year with a little lemon curd sauce that could be drizzled on top of thick slices of this decadent treat.

Last week I shared an easy Red Velvet Cake that you could make from a white cake mix. Continuing with the theme, I wanted to showcase how you could make an easy pound cake from a cake mix. I mixed up the batter for a cake mix recipe I found for pound cake and it flopped horribly. The cake was dry, crumby, and fell apart when pulled from the pan. This was definitely not the cake I was looking forward to sharing with you. It is proof though that there is still so much for me to learn in the kitchen.

Pound cake is actually a little trickier to make than I had originally thought. Too high of a temperature yields a cake that is dry and brown on the outside while being too gummy and undone on the inside. Lower the temperature though, and magic happens as the cake cooks more evenly throughout.

The key with a good pound cake though is room temperature ingredients, a careful eye on the stove, and a little bit of patience. The only one I seem to possess is the room temperature ingredients.  Somehow it still turned out.

Lemon curd sauce is also so easy to make and despite it’s fancy name, it is made from simple egg yolks, cornstarch, lemon, and sugar. This warm sauce spooned on top of this rich pound cake cuts the heaviness and would be divine spooned over the pound cake with fresh blueberries or raspberries to really add a punch of color and deliciousness to this cake.

Cream Cheese Pound Cake With Lemon Curd Sauce
Recipe Type: Dessert
Author: Adapted from AllRecipes.com, Lemon Curd Sauce from the Cake Mix Doctor
Prep time: 30 mins
Cook time: 1 hour 30 mins
Total time: 2 hours
Serves: 14
A rich and moist pound cake made from simple pantry ingredients.
Ingredients
  • 1 (8 ounce) package cream cheese (room temperature)
  • 1 1/2 cups butter (room temperature)
  • 2 1/2 cups white sugar
  • 6 eggs (room temperature)
  • 3 cups cake flour
  • 2 teaspoons vanilla extract
  • For Lemon Curd Sauce:
  • 3/4 cup sugar
  • 2 tablespoons cornstarch
  • 1 cup water
  • 1 large egg
  • 4 tablespoons (1/2 stick) butter
  • 2 teaspoons grated lemon zest
  • 2 tablespoons fresh lemon juice
Instructions
  1. Preheat oven to 325 degrees F (160 degrees C) grease and flour a 10 inch tube pan.
  2. In a large bowl, cream butter and cream cheese until smooth. Add sugar gradually and beat until fluffy.
  3. Add eggs two at a time, beating well with each addition. Add the flour all at once and mix in. Add vanilla.
  4. Pour into a 10 inch tube pan. Bake at 325 degrees F (160 degrees C) for 1 hour and 20 minutes. Check for doneness at 1 hour. A toothpick inserted into center of cake will come out clean.
  5. For your Lemon Curd Sauce: Place the sugar and cornstarch in a medium saucepan. Whisk in the water. Place the pan over medium-high heat and cook, whisking constantly, until the mixture just begins to boil, 4-5 minutes. Remove the pan from the heat.
  6. Using a fork, lightly beat the egg in a small mixing bowl. Spoon in 2 tablespoons of the hot sugar mixture and beat vigorously with the whisk to incorporate. Spoon in another 2 tablespoons of the hot mixture and beat vigorously again.
  7. Place the saucepan back over medium heat, and pour the beaten egg mixture into the pan, whisking constantly. Let the mixture boil for 1 minute, whisking. The mixture will be thick. Remove the pan from the heat, and stir in the butter, lemon zest, and lemon juice until they are incorporated.
  8. Spoon this warm sauce over cake or ice cream.
Notes

Store this warm lemon curd sauce in a glass jar in the refrigerator for up to two weeks. Reheat it on top of your stove over low heat or in the microwave for 1-2 minutes.

Looking for other fun cakes to celebrate with? Our Blueberry Muffin Cake would be beautiful with this Warm Lemon Curd Sauce.

I am participating in Mouthwatering Mondays on A Southern Fairytale


Pin It

Red Velvet Cake With Cream Cheese Frosting

Monday, January 30th, 2012

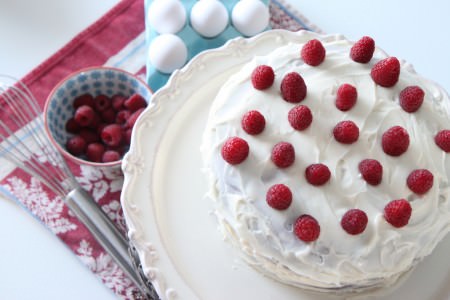
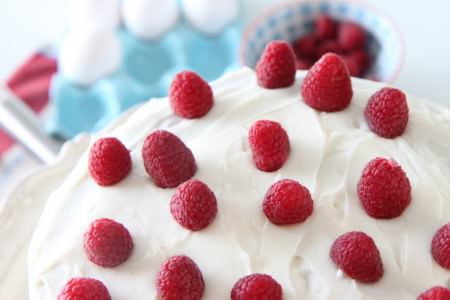
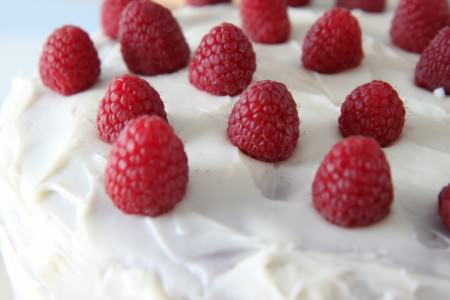
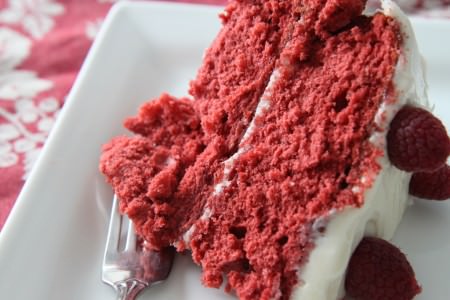
Red velvet cake is a decadent little treat perfect to share for Valentine’s Day with someone you love.  I was excited to make my first red velvet cake this weekend.  We threw a party for a few of my husband’s co-workers and it gave me the perfect excuse to whip up something to share that we wouldn’t normally get the pleasure of eating.

This red velvet cake is made using a simple white cake mix, cocoa powder,  and the signature bottle of red food coloring that makes this cake this vibrant hue. It is rich, but moist and full of cocoa flavor. The tang of the cream cheese frosting helps to cut the heaviness of this cake and adds the perfect balance.

After watching a million Cupcake Wars with my kids, it seems every great baker has a signature red velvet cake. I have to say, that my signature comes with a little baking shortcut, but yields just as tasty of results without a lot of the work.


Red Velvet Cake With Cream Cheese Frosting

Recipe:


Cake:

1 package (18.25 ounces) white cake mix

1 cup buttermilk

8 tablespoons (1 stick) margarine, melted

3 tablespooons unsweetened cocoa powder

3 large eggs

1 bottle (standard bottle of red food coloring gel) red food coloring

1 teaspoon pure vanilla extract

Fresh raspberries (optional)


Directions:


Preheat oven to 350 degrees. Generously grease two 9-inch round cake pans with shortening, then dust with flour. Shake out the excess flour and set the pans aside.

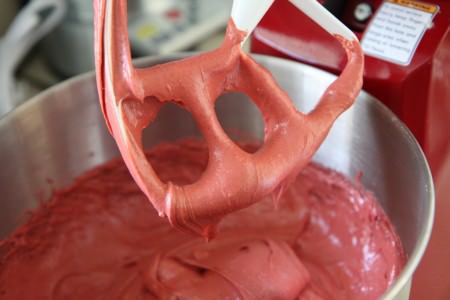
Place the cake mix, buttermilk, melted margarine, cocoa powder, eggs, red food coloring, and vanilla in a large mixing bowl. Blend with an electric mixer on low speed for 1 minute. Stop the machine and scrape down the sides of the bowl with a rubber spatula. Increase the mixer speed to medium and beat 2 minutes more, scraping down the sides again if needed. The batter should look well combined. Divide the batter evenly between the prepared pans, smoothing it out with your rubber spatula. Place the pans in the oven side by side.

Bake the cakes until they spring back when lightly pressed with your finger, 28-30 minutes (mine took 25 minutes). Remove the pans from the oven and place on a wire rack to cool for ten minutes. Run a dinner knife around the edge of the each layer and invert each into a rack then invert again on another rack so that the cakes are right side up. Allow to cool completely, 30 minutes or more.

Meanwhile, prepare the Cream Cheese Frosting (recipe below). Ice your cake and then decorate with fresh raspberries on top.

Cream Cheese Frosting

1 package (8 ounces) cream cheese, at room temperature (I used the reduced fat cream cheese)

8 tablespoons (1 stick) butter, at room temperature

3 3/4 cups confectioners’ sugar, sifted, plus additional if needed

2 teaspoons pure vanilla extract


Directions:

Place the cream cheese and butter in a large mixing bowl. Blend with an electric mixer on low speed until combined, 30 seconds. Add the confectioners’ sugar, a little at a time, blending with the mixer on low speed until the sugar is well incorporated, 1 minute. Add more sugar as needed to make the frosting spreadable. Add the vanilla, then increase the mixer speed to medium and blend until the frosting is fluffy, 1 minute more.


Prep Time: 20 minutes

Total Time: 50 minutes

Serving Size: 16

Source: Adapted from Chocolate from the Cake Mix Doctor


Of course, if Red Velvet Cake isn’t your cup of tea, may I recommend this Orange Chiffon Cake or our favorite Darn Good Chocolate Cake for celebrating the holiday with? Those are just a couple of cake options our family loves and also are prepared using simple cake mixes, likely already in your pantry.

As we touch on celebrations, our family happens to be celebrating a big moment this month.  MomAdvice.com celebrated her 8th birthday this month!  I wanted to personally thank you for your wonderful support over the years.  I am so thankful to get to do this every day and could not do it without you.

Thank you, friends! I hope you can enjoy a slice of this decadent cake for a fun treat with your family!

Linking up to Mouthwatering Mondays at A Southern Fairytale!


Pin It

Magnolia Bakery’s Vanilla Cupcakes

Monday, December 19th, 2011

If there is one thing that I love it is cupcakes. Not just any cupcake though, it has to be a perfect balance of flavors for me. In my opinion, the word’s most perfect vanilla cupcake resides at Magnolia Bakery and no other cupcake could top it. While I was preparing to celebrate my daughter’s birthday, I decided to make this recipe for Magnolia Cupcakes for her birthday girl treat.  Being a little girl of sophisticated taste, I knew she would absolutely love these cupcakes for her birthday. I was right.

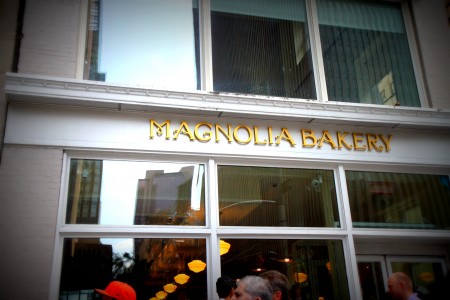
While I was in New York for BlogHer ’10, with my best blogging gal pal Jamie, I ended up walking right by Magnolia Bakery and just had to stop to sample the cupcakes. Sadly, there are no pictures of the actual cupcakes as I rushed right back to my hotel room and ate three of them. I have never eaten three cupcakes in a row in my life. I also had never watched Jersey Shore.  Bad things happened in that hotel room. I laid in my bed clutching my stomach with a bed full of crumbs as my brain turned quietly to mush.  I don’t think I will do either of those things again.

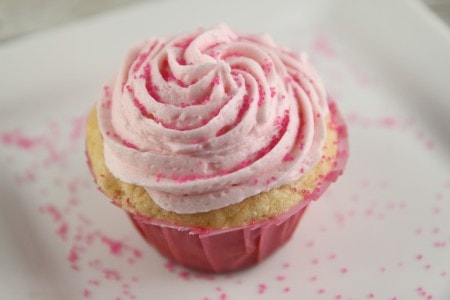
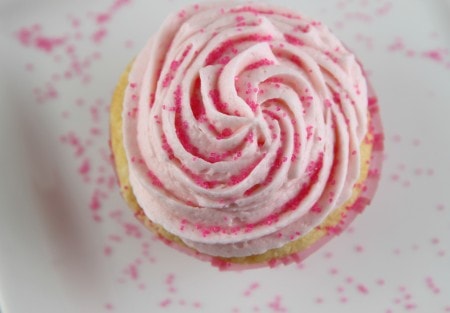
These vanilla cupcakes from Magnolia Bakery are divine and the buttercream icing is absolute perfection for piping and for eating. The icing hardens to add a bit of crunch texture to the top, while the vanilla cake itself remains moist and delicious.

For piping my cupcakes, I used this cupcake decorating tutorial from Glorious Treats and used a 1M tip for decorating. I also humbly bow to the cupcake queen, Liz over at Hoosier Homemade, as she always is baking up some fun cupcake that puts my cupcakes to shame.

Recipe:

Magnolia Bakery’s Vanilla Cupcakes


Ingredients

Cupcakes:

1 1/2 cups self-rising flour

1 1/4 cups all-purpose flour

1 cup (2 sticks) unsalted butter, softened

2 cups sugar

4 large eggs, at room temperature

1 cup milk

1 teaspoon vanilla extract

Icing:

Vanilla Buttercream, recipe follows

Directions

Preheat oven to 350 degrees F.


Line 2 (1/2 cup-12 capacity) muffin tins with cupcake papers.

In a small bowl, combine the flours. Set aside.

In a large bowl, on the medium speed of an electric mixer, cream the butter until smooth. Add the sugar gradually and beat until fluffy, about 3 minutes. Add the eggs, 1 at a time, beating well after each addition. Add the dry ingredients in 3 parts, alternating with the milk and vanilla. With each addition, beat until the ingredients are incorporated but do not over beat. Using a rubber spatula, scrape down the batter in the bowl to make sure the ingredients are well blended. Carefully spoon the batter into the cupcake liners, filling them about 3/4 full. Bake for 20 to 25 minutes, or until a cake tester inserted into the center of the cupcake comes out clean.

Cool the cupcakes in tins for 15 minutes. Remove from the tins and cool completely on a wire rack before icing.


Vanilla Buttercream:

The vanilla buttercream we use at the bakery is technically not a buttercream but actually an old-fashioned confectioners’ sugar and butter frosting. Be sure to beat the icing for the amount of time called for in the recipe to achieve the desired creamy texture.

1 cup (2 sticks) unsalted butter, softened

6 to 8 cups confectioners’ sugar

1/2 cup milk

2 teaspoons vanilla extract

Place the butter in a large mixing bowl. Add 4 cups of the sugar and then the milk and vanilla. On the medium speed of an electric mixer, beat until smooth and creamy, about 3 to 5 minutes. Gradually add the remaining sugar, 1 cup at a time, beating well after each addition (about 2 minutes), until the icing is thick enough to be of good spreading consistency. You may not need to add all of the sugar. If desired, add a few drops of food coloring and mix thoroughly. (Use and store the icing at room temperature because icing will set if chilled.) Icing can be stored in an airtight container for up to 3 days.

Prep Time: 5 minutes

Total Time: 8-1o hours

Serving Size: 24 cupcakes

Source: Food Network


Pin It

Homemade Peppermint Marshmallows

Tuesday, December 13th, 2011
Photographed by– Kristen at Dine & Dish

 
Homemade marshmallows have been on my cooking bucket list for three years now. Making peppermint flavored marshmallows sounded far more intimidating that the process actually was and after making my first batch with great success, I can’t wait to try a few other flavors in my kitchen.

This year I vowed I would not talk myself out of  marshmallow making. With my big girl set to celebrate her sixth birthday, I thought I would make these for cocoa fun for her birthday party. Once I bought all the supplies, there was no turning back.

I was so nervous that I didn’t take a single picture while I made them.

What if I messed the whole thing up?

What if my marshmallows reached 241 degrees and the whole batch failed?

I followed the God of Cooking (also known as Alton Brown) and did everything exactly as instructed. Surprisingly, my stand mixer did the brunt of the work while I tidied the kitchen. Who knew that marshmallow making was so darn easy?  The taste? Better than any marshmallow I have ever tasted.

Photographed by– Kristen at Dine & Dish

 
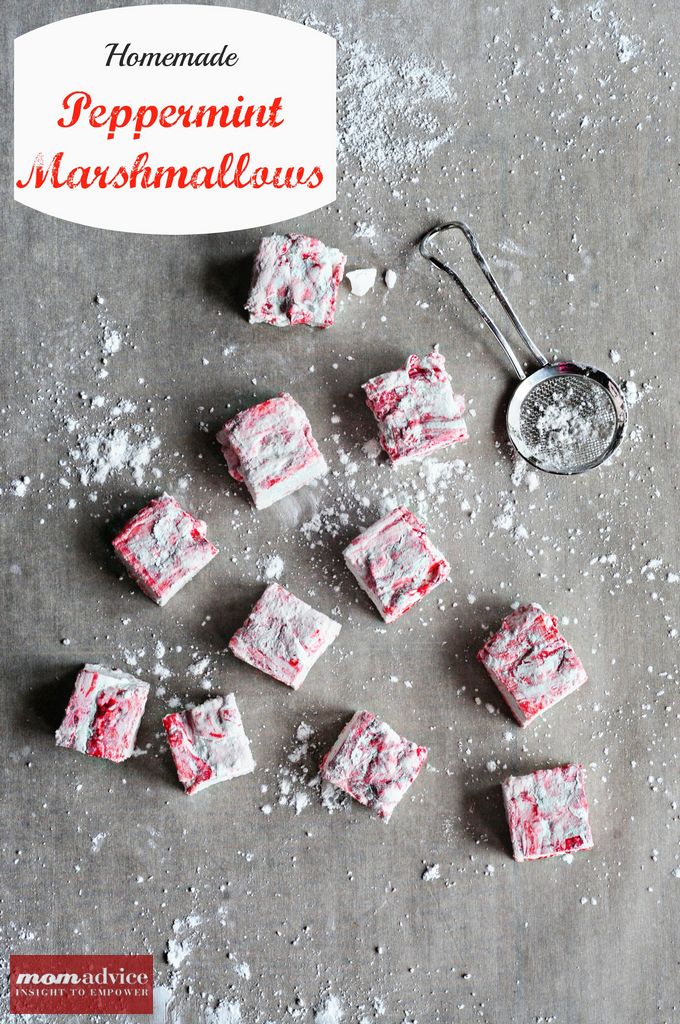
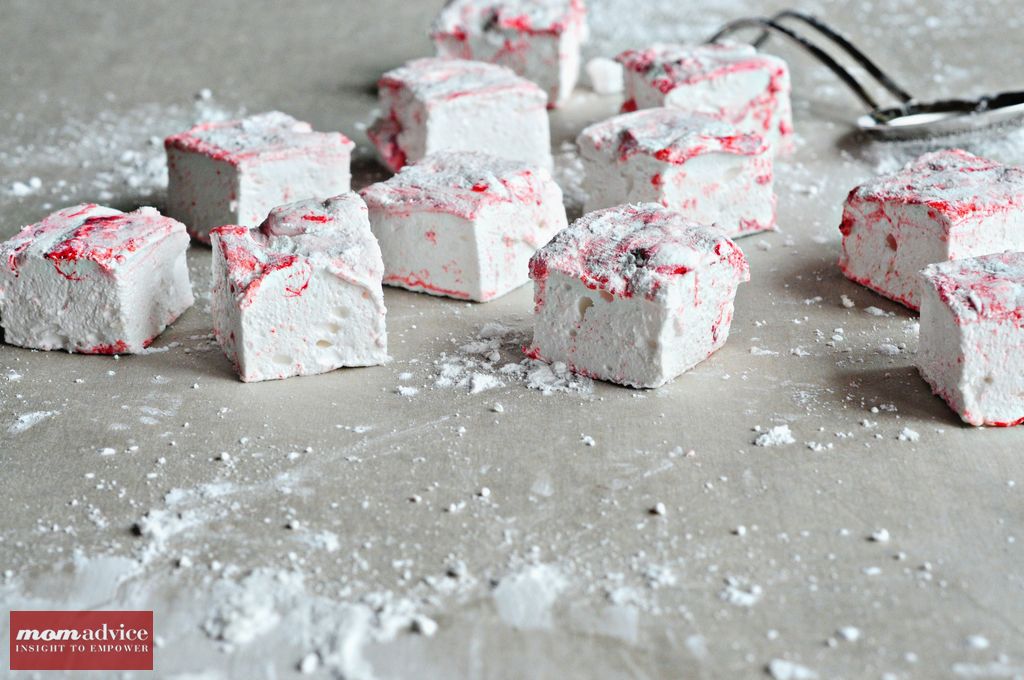
I did pretty pink swirls through the marshmallows and added my peppermint extract to the batch to add a fun pink peppermint touch to our marshmallows.

The hardest part was waiting the four hours before I could cut them. With cornstarch and powdered sugar mixed together in a bowl next to my board, I just used my pizza cutter (dusted with the sugar mixture) and cut my marshmallows in squares. Each one was lightly dusted with  more of the sugar mixture and I stored them in a plastic container. You know…for storing….or for eating.

And eating.

And eating.

And eating.

I confess, I think I have a new food addiction.

These are fabulous, easy, and delicious.  They would make a fantastic gift to give this holiday season with a little of my favorite cocoa mix or served up with a fancy little hot cocoa bar like I did for my daughter’s birthday party.


Homemade Peppermint Marshmallows
Recipe Type: Dessert
Author: Alton Brown
Prep time: 10 mins
Cook time: 8 mins
Total time: 18 mins
Serves: 9 dozen
One of the easiest and most impressive gifts to give this holiday season.
Ingredients
  • 3 packages unflavored gelatin
  • 1 cup ice cold water, divided
  • 12 ounces granulated sugar, approximately 1 1/2 cups
  • 1 cup light corn syrup
  • 1/4 tsp kosher salt
  • 3/4 tsp peppermint extract
  • 1/4 cup powdered sugar
  • 1/4 cup cornstarch
  • Nonstick spray
  • 4 drops red food coloring
Instructions
  1. Place the gelatin into the bowl of a stand mixer along with 1/2 cup of the water. Have the whisk attachment standing by.
  2. In a small saucepan combine the remaining 1/2 cup water, granulated sugar, corn syrup and salt. Place over medium high heat, cover and allow to cook for 3 to 4 minutes. Uncover, clip a candy thermometer onto the side of the pan and continue to cook until the mixture reaches 240 degrees F, approximately 7 to 8 minutes. Once the mixture reaches this temperature, immediately remove from the heat.
  3. Turn the mixer on low speed and, while running, slowly pour the sugar syrup down the side of the bowl into the gelatin mixture. Once you have added all of the syrup, increase the speed to high. Continue to whip until the mixture becomes very thick and is lukewarm, approximately 12 to 15 minutes. Add the peppermint extract during the last minute of whipping. While the mixture is whipping prepare the pans as follows.
  4. Combine the confectioners’ sugar and cornstarch in a small bowl. Lightly spray a 13 by 9-inch metal baking pan with nonstick cooking spray. Add the sugar and cornstarch mixture and move around to completely coat the bottom and sides of the pan. Return the remaining mixture to the bowl for later use.
  5. When ready, pour the mixture into the prepared pan, using a lightly oiled spatula for spreading evenly into the pan. Drop red food coloring onto marshmallows and use a toothpick to swirl the food coloring into the marshmallows. Dust the top with enough of the remaining sugar and cornstarch mixture to lightly cover. Reserve the rest for later. Allow the marshmallows to sit uncovered for at least 4 hours and up to overnight.
  6. Turn the marshmallows out onto a cutting board and cut into 1-inch squares using a pizza wheel dusted with the confectioners’ sugar mixture. Once cut, lightly dust all sides of each marshmallow with the remaining mixture, using additional if necessary. Store in an airtight container for up to 3 weeks.

Source: Alton Brown, Good Eats

Special thanks to Kristen at Dine & Dish for sharing her photographs of these marshmallows with MomAdvice! What a wonderful friend!


What is something that you discovered was surprisingly easy to create in the kitchen that you always thought was intimidating? Feel free to share your kitchen adventures!

Pin It

Splendidly Homemade Magazine

Monday, November 14th, 2011

Today I am excited to share with you a fun  online magazine that you can enjoy all winter long. Splendidly Homemade Magazine is a beautifully designed magazine filled with great tutorials and pictures showcasing some amazing bloggers crafting and sharing their recipes for a perfect and joy-filled holiday season. You can learn how to do everything from making the perfect pie crust to adding adorable yo-yo embellishments to your holiday attire to creating stockings from old sweaters.

In this issue I have created a fun and easy No-Bake Peppermint Cheesecake in a Jar that would make the perfect hostess gift.  I am also sharing some cute ways to package those jars that make this an elegant gift to share with someone special in your life.

If you want to see this project, just head on over to the magazine to get the scoop. Did I mention that this requires no baking?

Once you are done making these No-Bake Peppermint Cheesecakes, you can put your peppermint extract to work and whip up a delicious Homemade Peppermint Mocha with my easy recipe.

Just be warned…

These are highly addictive and taste like a little bit of heaven.

I had a hard time just eating one or having just one cup of coffee! You can blame me for your holiday weight this year!

You can enjoy wonderful holiday content from all of these fabulous contributors in Splendidly Homemade:

Gina from The Shabby Creek Cottage
Liz from Hoosier Homemade
Barbara from Barbara Bakes
Holly from iGoBoGo
Tiffany from Eat at Home
Kellie from Nest of Posies
Laura from Real Mom Kitchen
Jessica from Kohler Created
Ashley from Ashley Pichea.com

Splendidly Homemade is available for free online and a Kindle version of this is available for a mere, $.99 cents.  Give them a Like on Facebook and follow their latest news on Twitter.

Happy Holidays, everyone!

8 Inspirational Recipes for the Blueberry Season

Tuesday, July 26th, 2011

8 Inspirational Recipes for the Blueberry Season

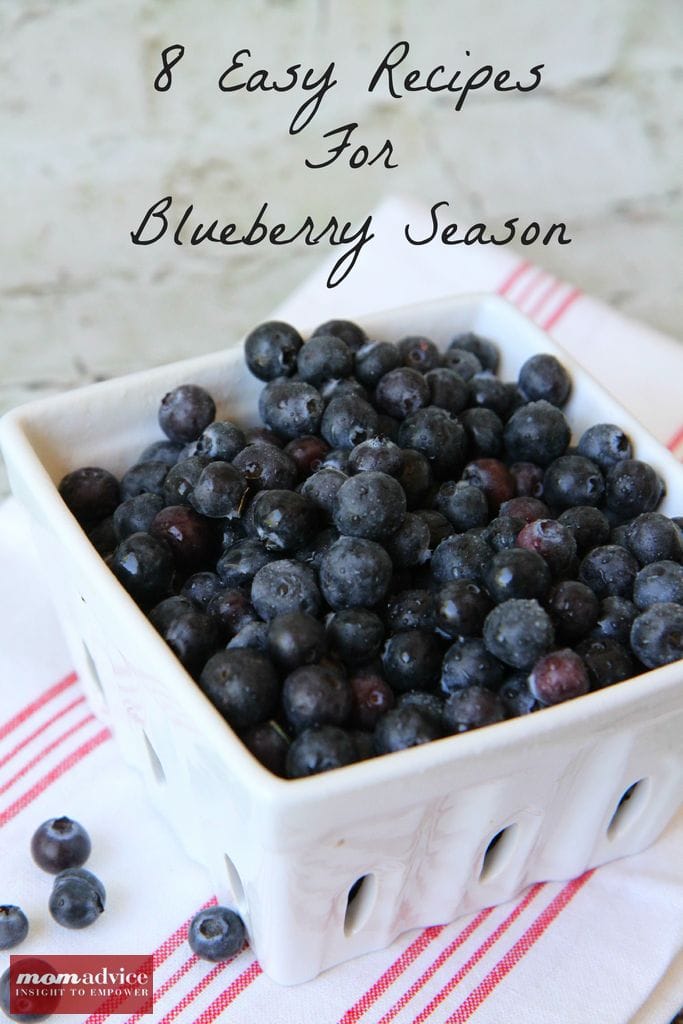
Blueberry season is upon us and today I wanted to share with you our favorite blueberry creations that you can use those fresh picked berries for. Our family is looking forward to an evening of picking this week and these are the recipes that we will be using to create our favorite blueberry dishes.

blueberry pancakes 2

A pancake laced with fresh handpicked blueberries seems the perfect occasion to break out the old griddle and spatula for a fun and inexpensive weeknight meal. These blueberry pancakes are a delicious way to use a few of those berries and I promise that they will be a hit with your family too!

I love that with this batter it is encouraged to mix the batter up ahead of time and allow it to rise for a bit on the counter. What happens is that this seemingly unimpressive batter is magical as it puffs up beautifully once placed on the griddle. Once poured on the griddle, I sprinkle the blueberries into each pancake individually as they become golden. The pancakes are then served with a little syrup and another generous handful of fresh berries on top.

Recipe:  Blueberry Pancakes
Blueberry Iced Tea Syrup

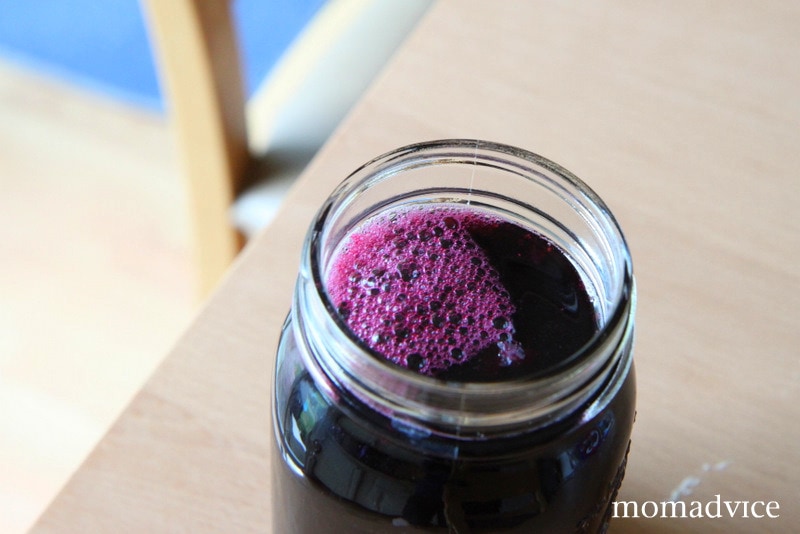
Making homemade syrups for drinks is something that I love to keep in our refrigerator to fancy up a glass of iced tea or a mug of coffee. Making homemade syrups does not take a lot of time, but it can make a regular glass of iced tea go from a standard glass to a fantastical gourmet treat.

This is a my favorite recipe for making Blueberry Drink Syrup that can be added to your iced tea, your coffee, or even your margarita! Whatever gets you going in the morning, I promise not to judge!

Recipe: Blueberry Drink Syrup
Blueberry Muffins

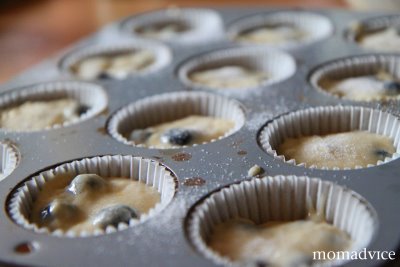
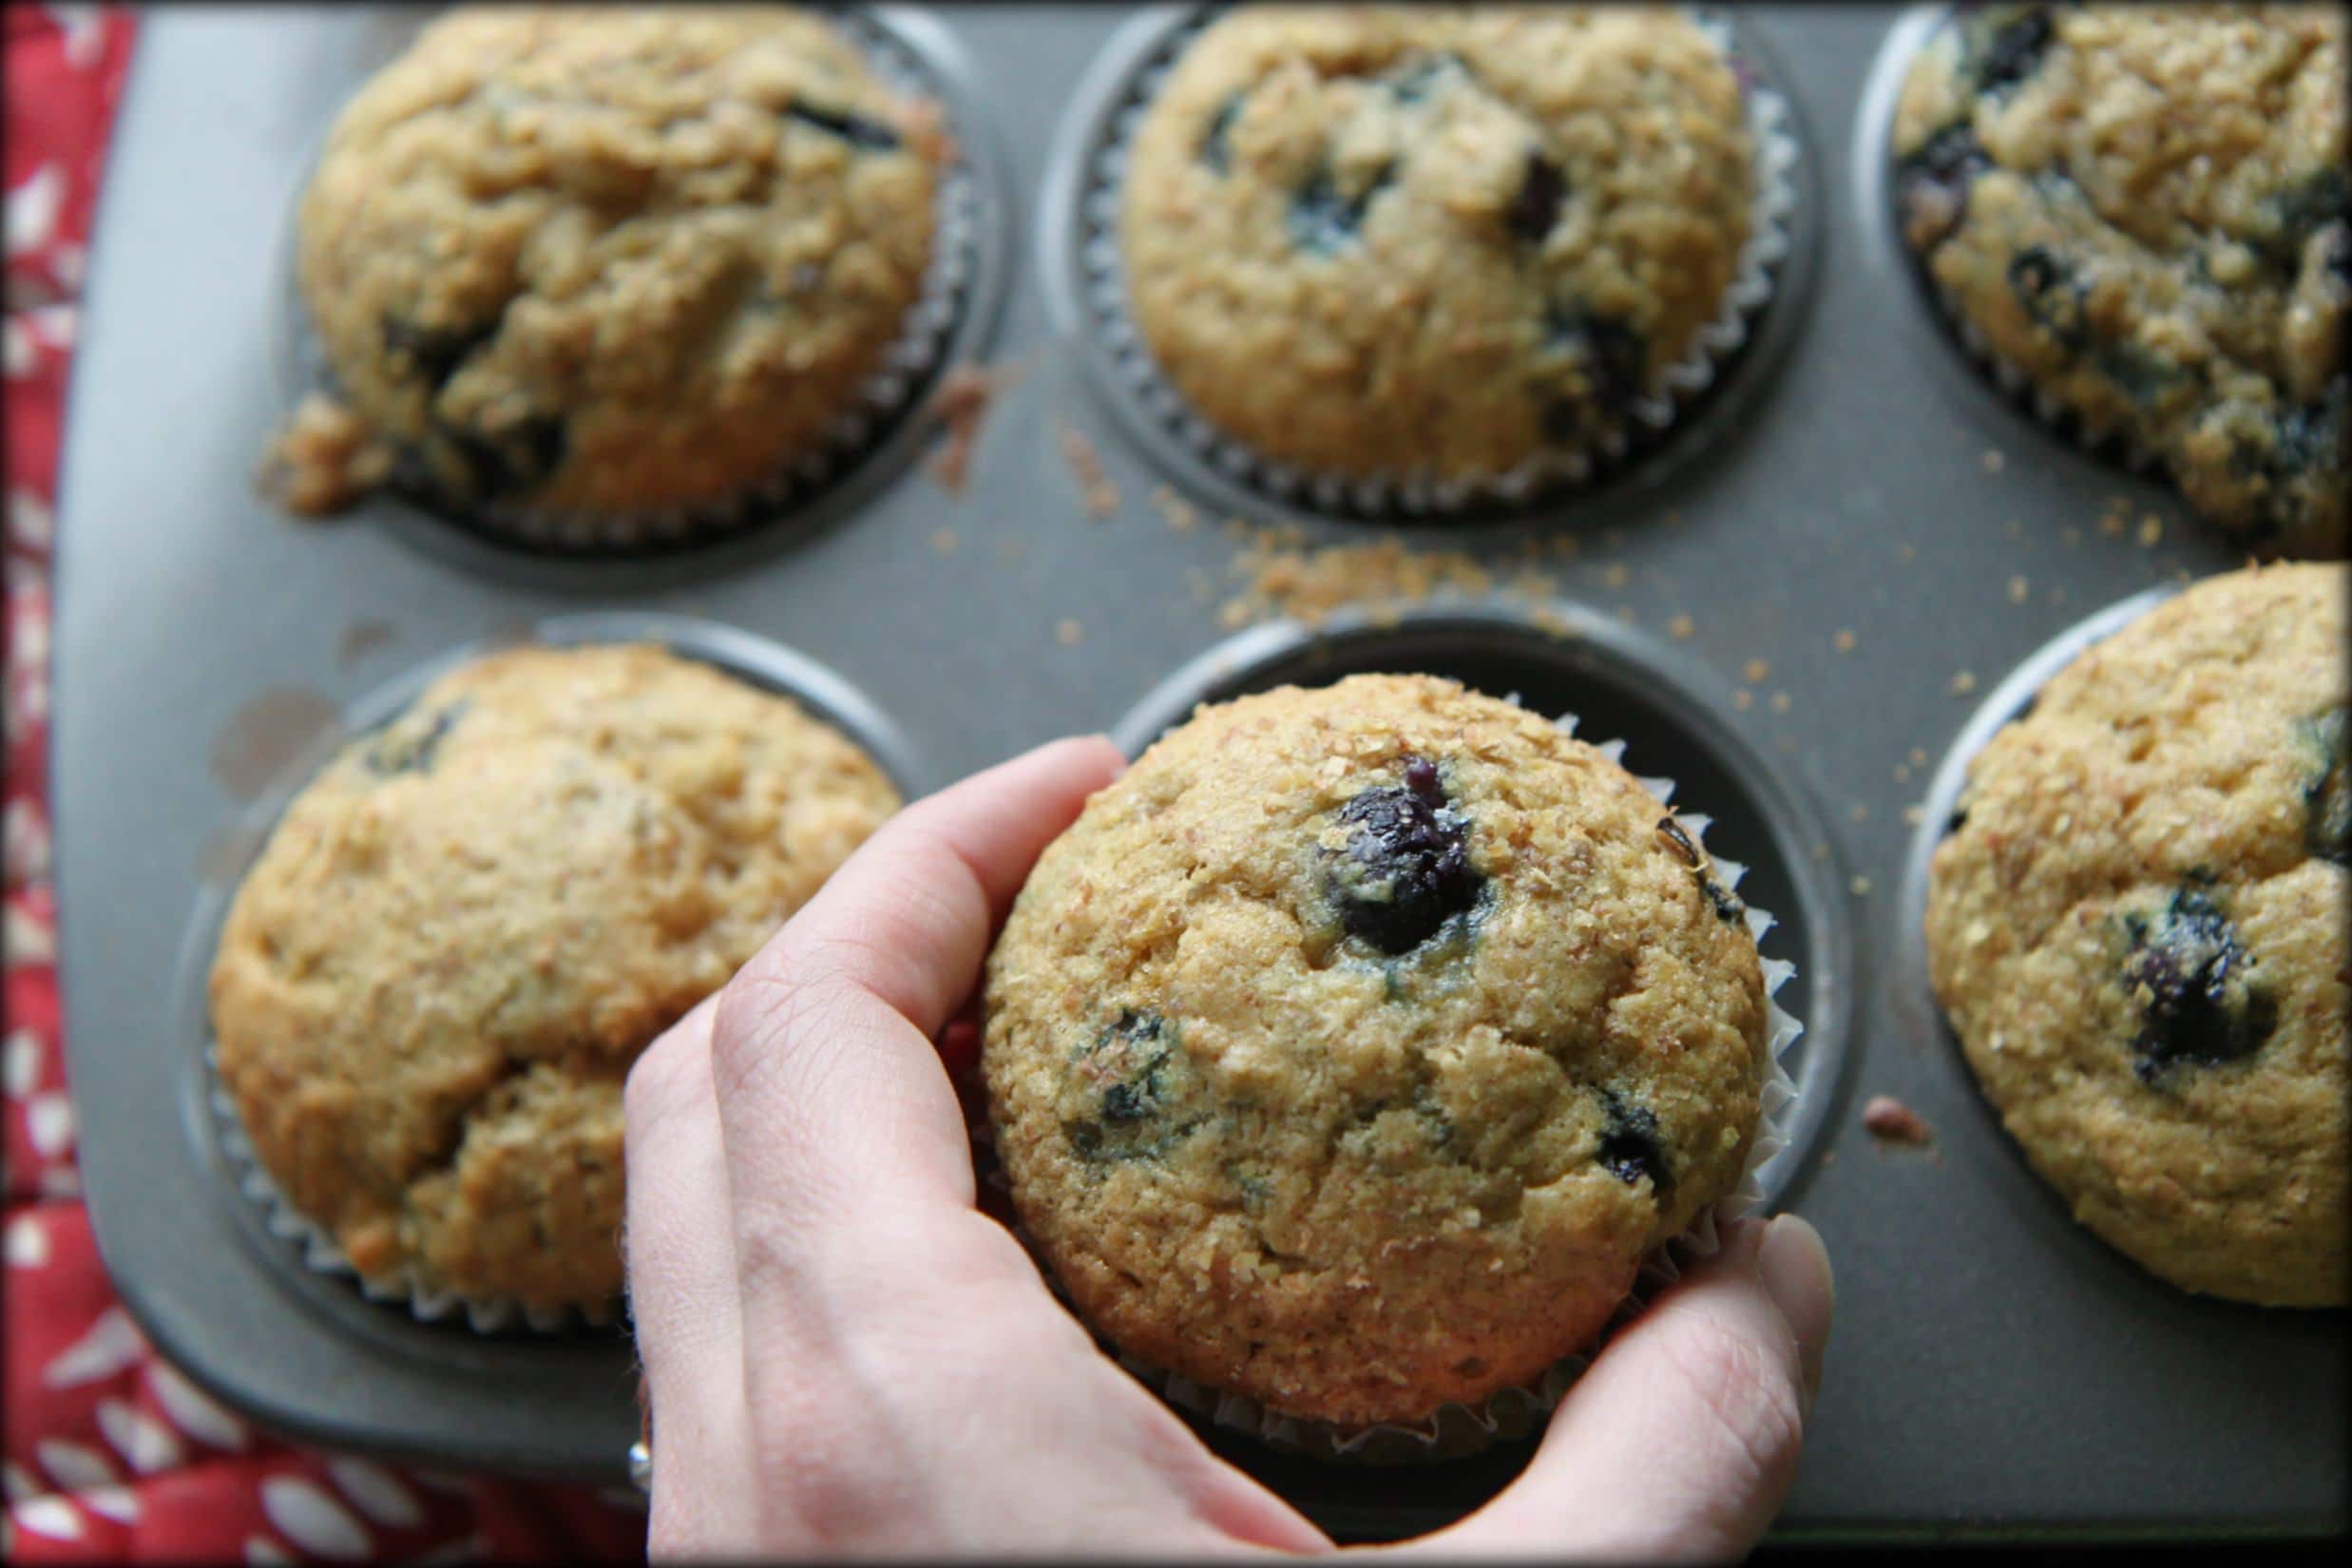
It is the berry season and nothing says summer to me like a big blueberry muffin. These blueberry muffins are laced with the juice and zest of one lemon, which cuts through the sweetness and makes a perfect balance of flavors. I dust these with raw sugar and they make a fantastic snack to eat and to share with neighbors and friends.

Recipe: Lemony Blueberry Muffins
Blueberry Cobbler

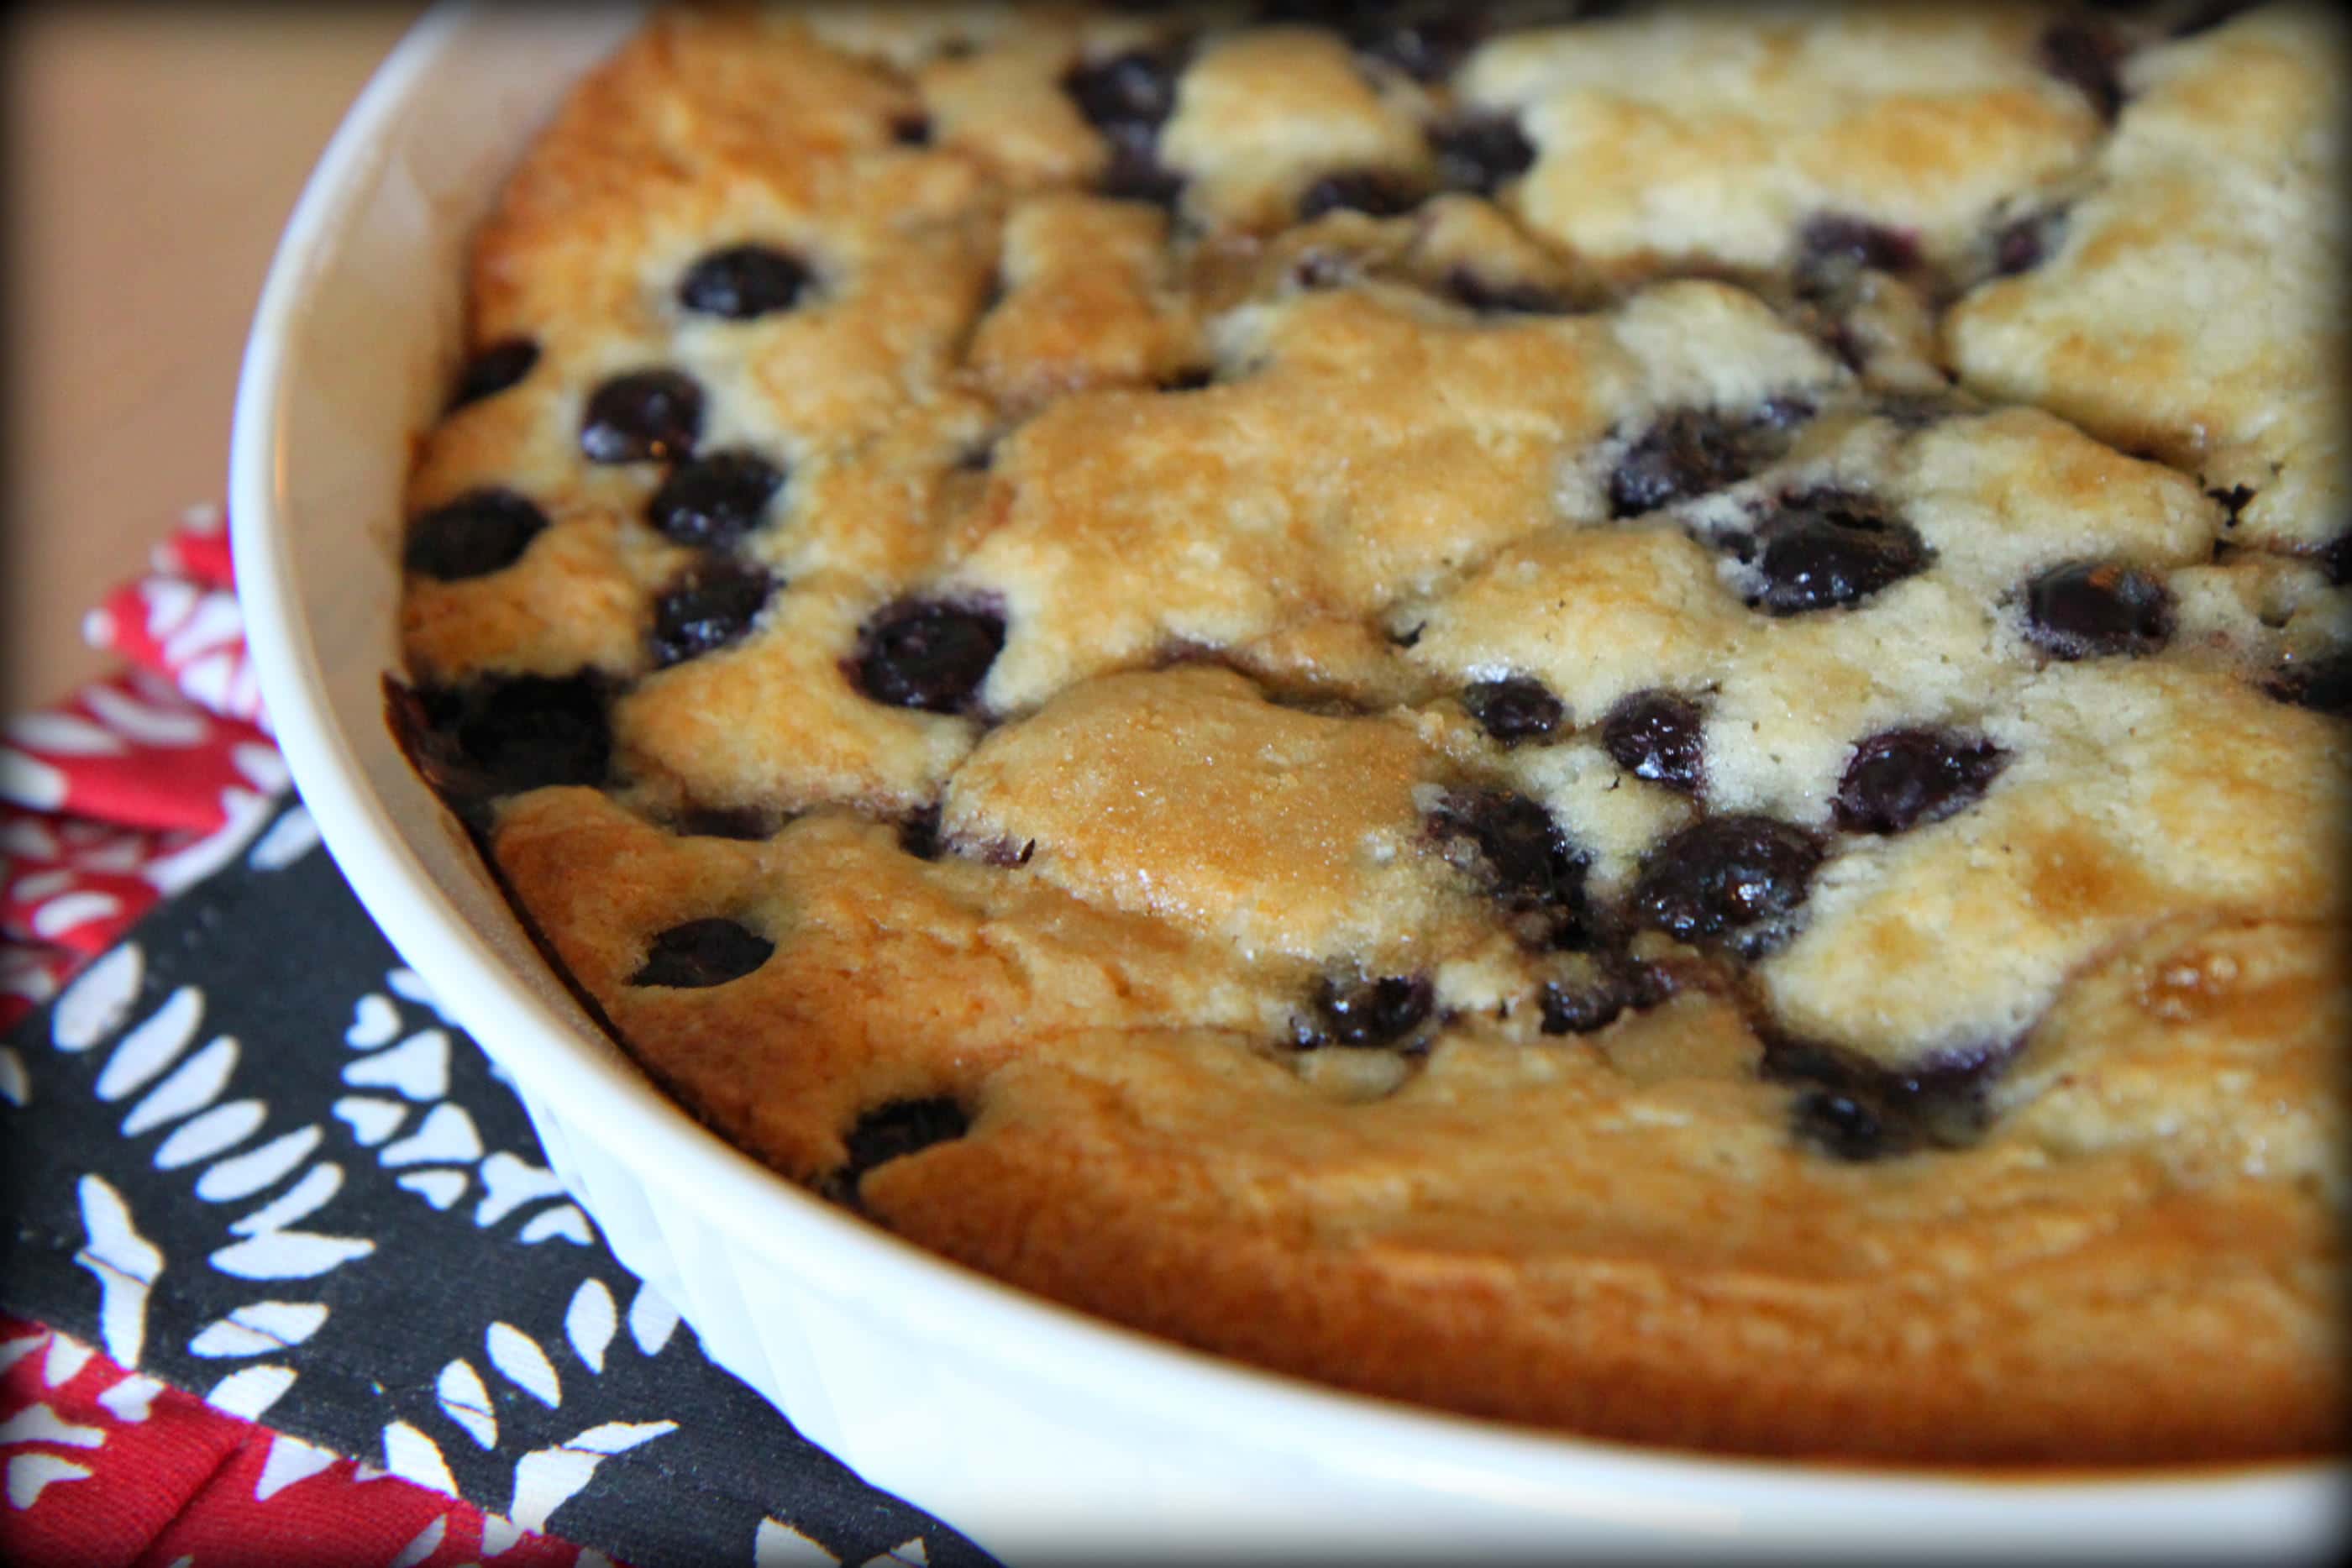
Last year I decided to give a blueberry cobbler a try for a book club meeting and this recipe pulled together so easily that I shared it that evening and then later, as a special birthday treat for my mom. With all of the ingredients coming straight from the pantry, it was a fun and frugal dish to share and everyone I shared it with really seemed to enjoy it. If you are looking for a fast and satisfying dish to bring to your next gathering, I highly recommend this delicious blueberry cobbler for a perfect way to end any meal.

Recipe: Fresh Blueberry Cobbler
Blueberry Muffin Cake

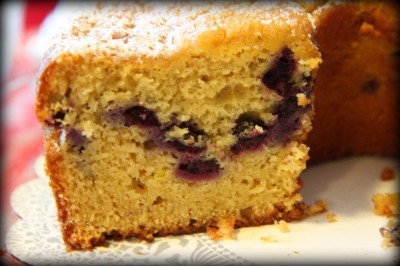
Looking for a recipe for a few blueberry haters in your family? This is the one that is sure to convert them and just a peek inside this cake shows why anyone can eat it. The cake only has one cup of blueberries in the whole thing. This handful of berries makes a beautiful stripe down the middle and adds just the right balance of blueberries and cake instead of the overwhelming amount of berries that can be in other cakes and muffins.

The blueberries are suspended in the batter with the help of a little reserved cake mix and a quick toss to coat them. The cake mix has added flavor boosts from the addition of cinnamon, vanilla yogurt, and a little vanilla pudding mix. The resulting cake is moist and absolutely perfect. This is truly my favorite blueberry recipe and I promise it will be yours too!

Recipe: Blueberry Muffin Cake
Blueberry Pancake Syrup

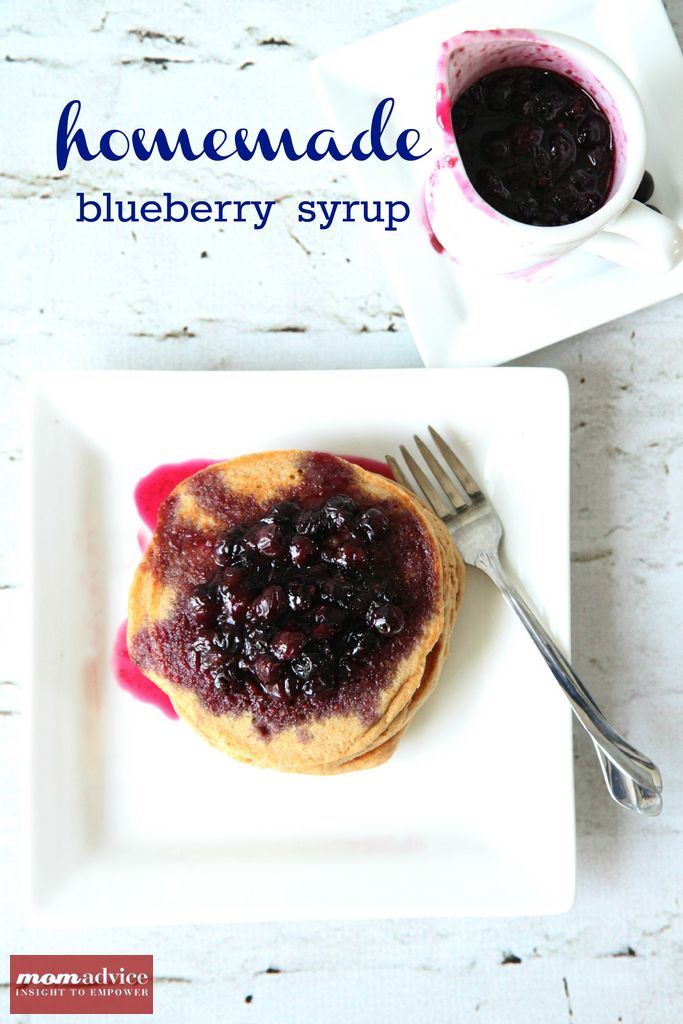
It is amazing how sugar, water, a little vanilla, and fresh berries make such an incredible difference on a plain old waffle, but this blueberry pancake syrup proves that simple ingredients can create something outstanding.

The burst of flavor, the happy dance in my mouth, and the smacking of lips at the table make me so incredibly joyful when we eat this syrup over our waffles. The berries coat the waffle perfectly and add a little sweetness to my waffles without a sugary overkill.

This is really and truly a fantastic indulgence that takes about the same amount of time to cook as it does to make up a batch of waffles. Fast and delicious!

Recipe: Blueberry Pancake Syrup
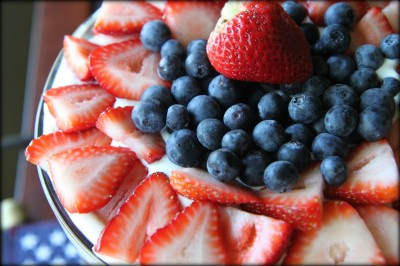
Berry Trifle

One thing I have wanted to try is a trifle and for my son’s birthday this year, I had the perfect opportunity!  With berries in season and a store-bought angel food cake, this dish isn’t only affordable, but easy too!

The white chocolate pudding set this trifle apart from any other I have ever eaten because it adds a richness and unexpected layer into this berry trifle. Not only does this dish taste rich, but it is perhaps one of the lightest desserts I have ever made where I felt full and satisfied, while feeling like I indulged.  Of course anything with pudding, cake, and berries is a winner in my book.  I would highly recommend giving this recipe a try for your next get together!

Recipe: Red, White, & Blueberry Trifle
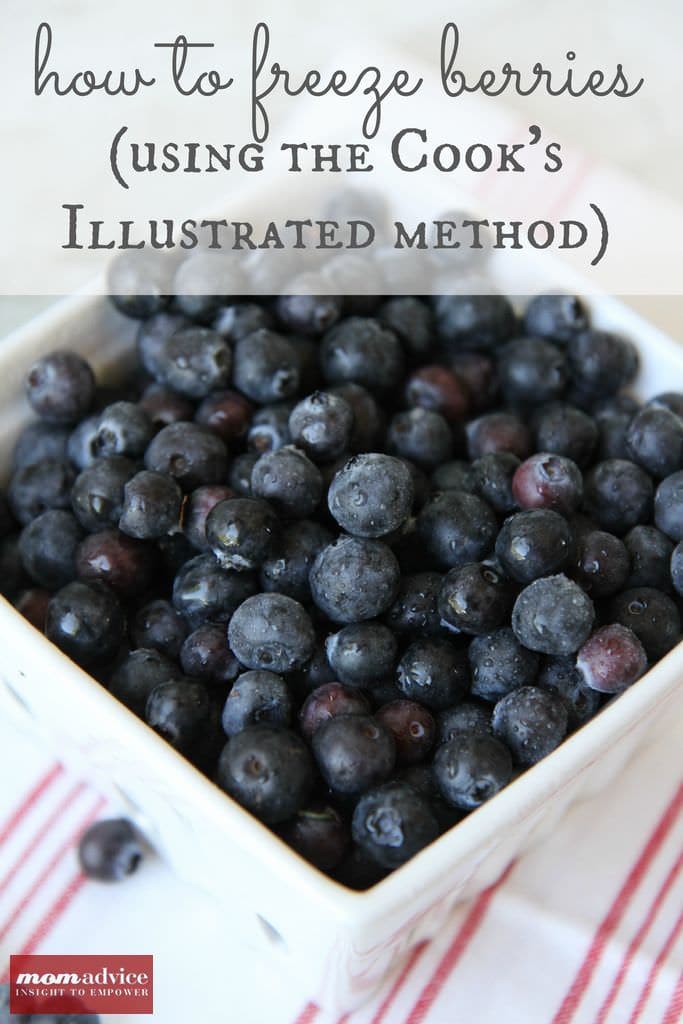
How to Freeze Blueberries

After all of this inspiration, if you still have some berries left, I highly recommend the Cook’s Illustrated technique for freezing your berries for optimal flavor. I tried this last year and last month we ate berries that tasted like they had been freshly picked after almost a year of storage.

In years past, I just threw the berries on a cookie sheet, froze them, and then tossed them into marked bags for later consumption. Cook’s Illustrated is my Bible for cooking and they claim that the best consistency for blueberries is if they have been frozen with sugar. They froze six different kinds of fruit, tried seven different methods of freezing on each fruit, stuck them in the freezer for six months, and then tasted them. I certainly don’t have the time or inclination to take on a task like that and that is why I absolutely love Cook’s Illustrated!

If you are worried about the sugar, it is just meant to help keep the fruit’s shape and texture. When you want to eat the berries, you just rinse the sugar off and enjoy the optimal taste of the fruit.

Freeze Blueberries in 3 Easy Steps

Our collection of recipes continues to grow! While I have you here, here are four more fun ideas to try this year!
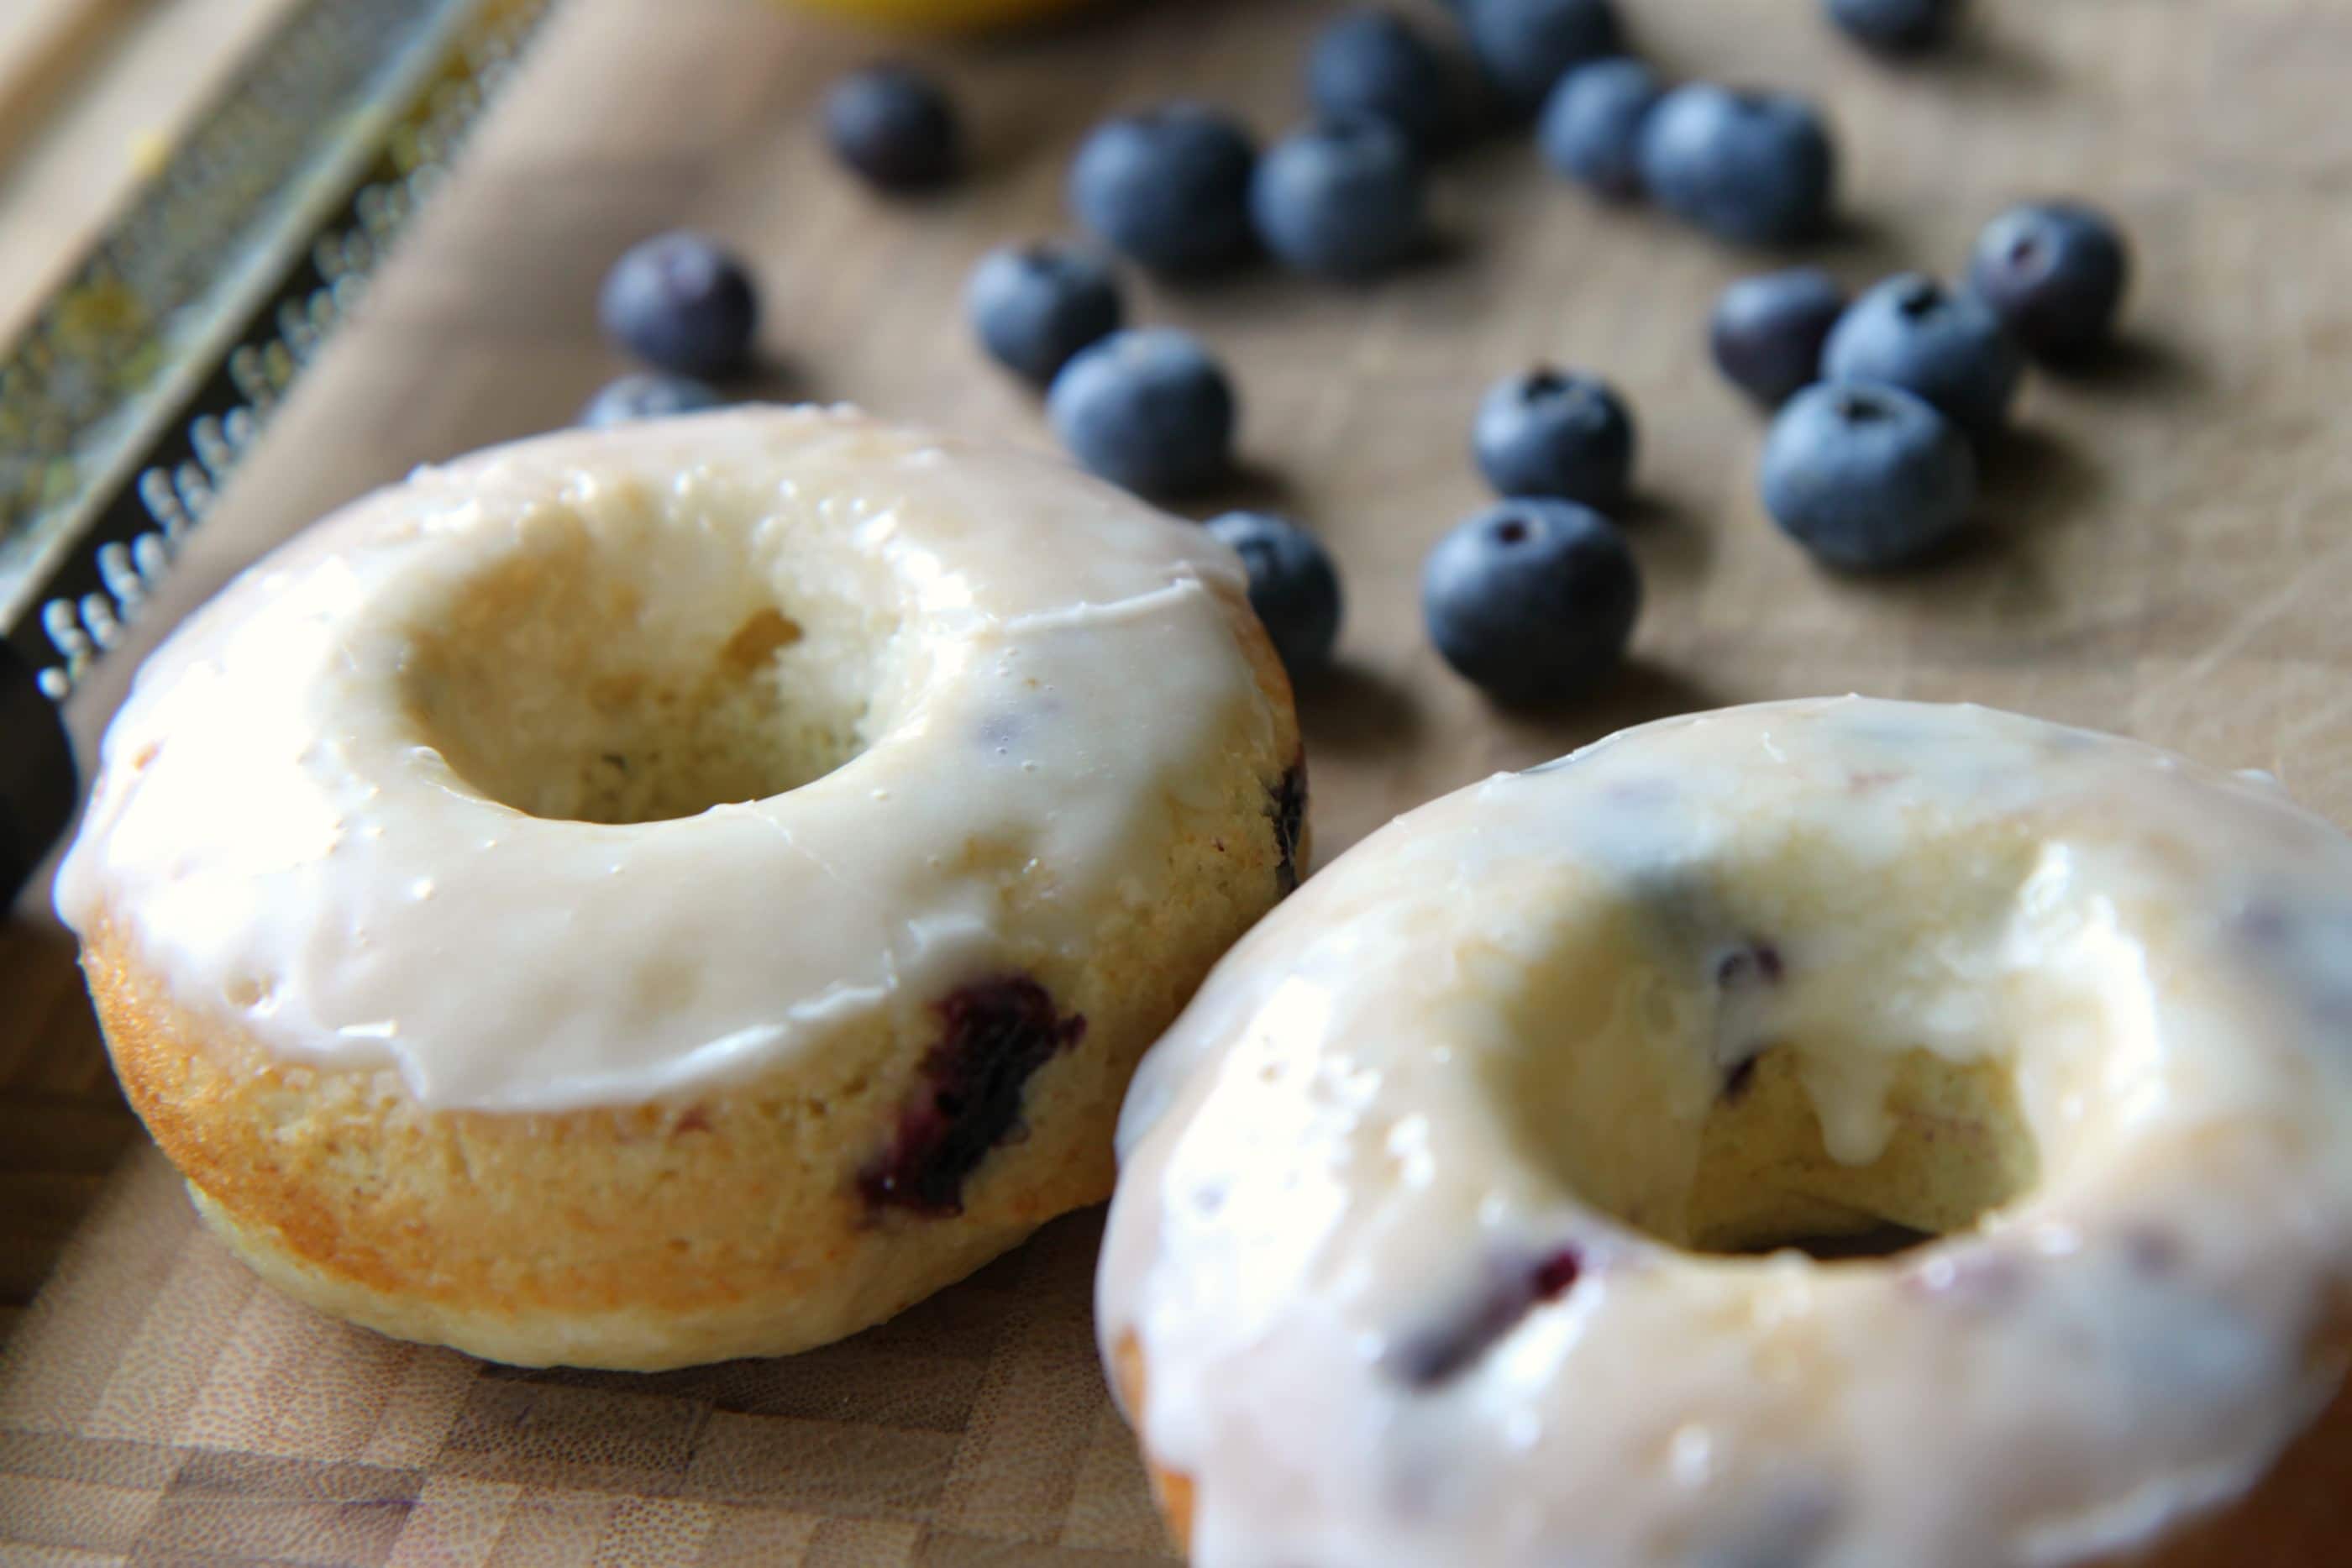
Baked Blueberry Doughnuts

Baked Blueberry Doughnuts With a Lemon Glaze
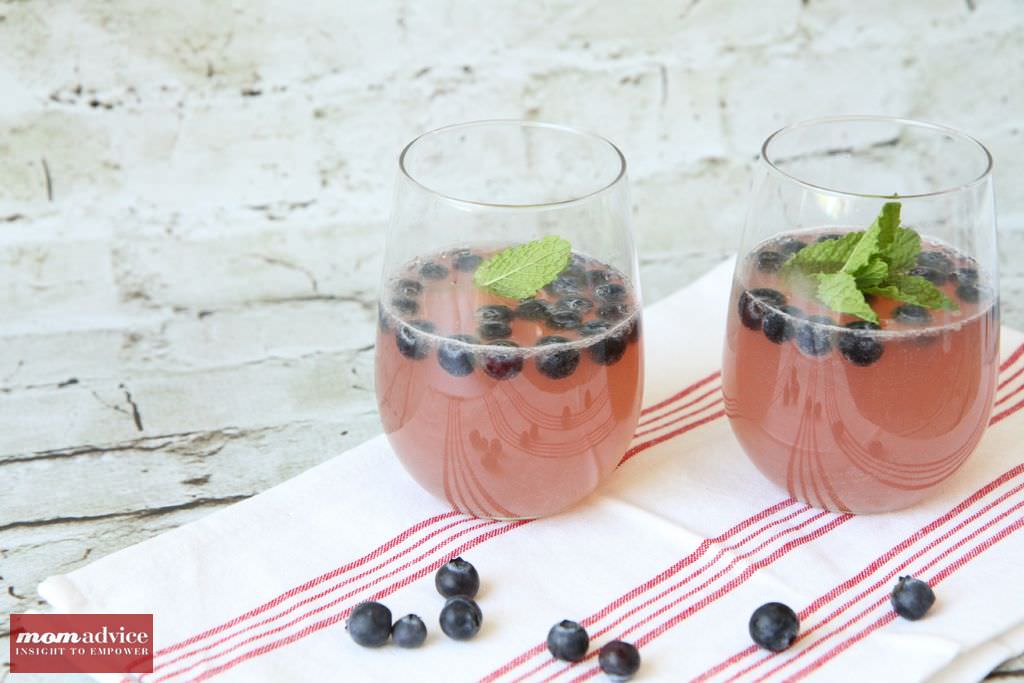
Blueberry Sangria Lemonade
Blueberry Sangria Lemonade

Healthy Banana Blueberry Muffins

Healthy Blueberry Banana Muffins

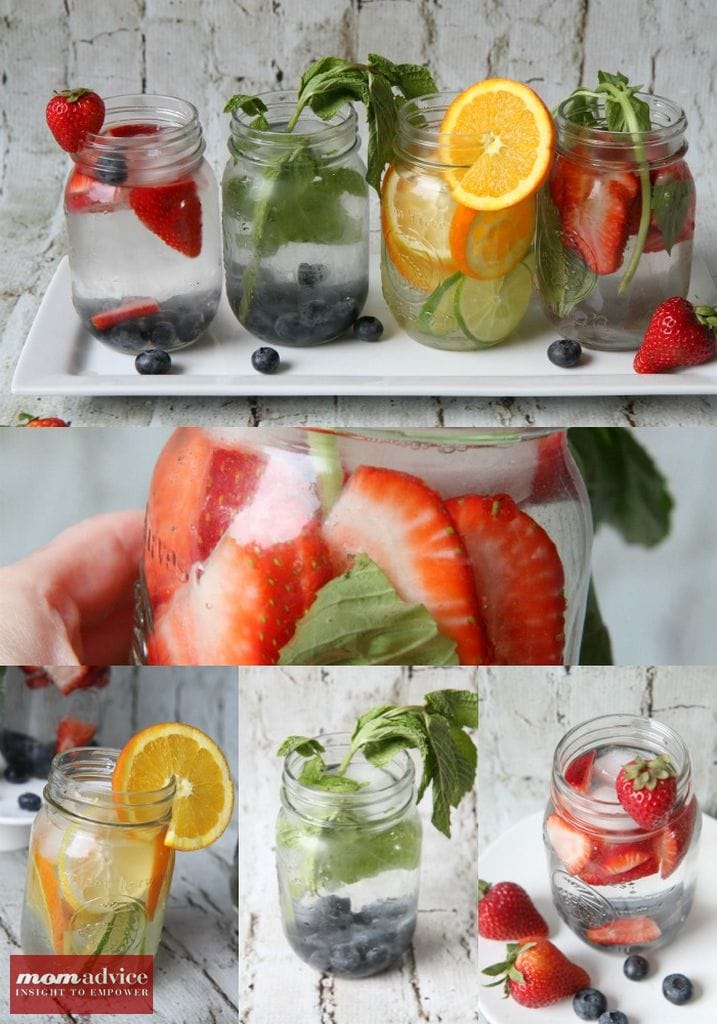
Fruit Infused Water Recipes

Healthy Fruit Infused Waters

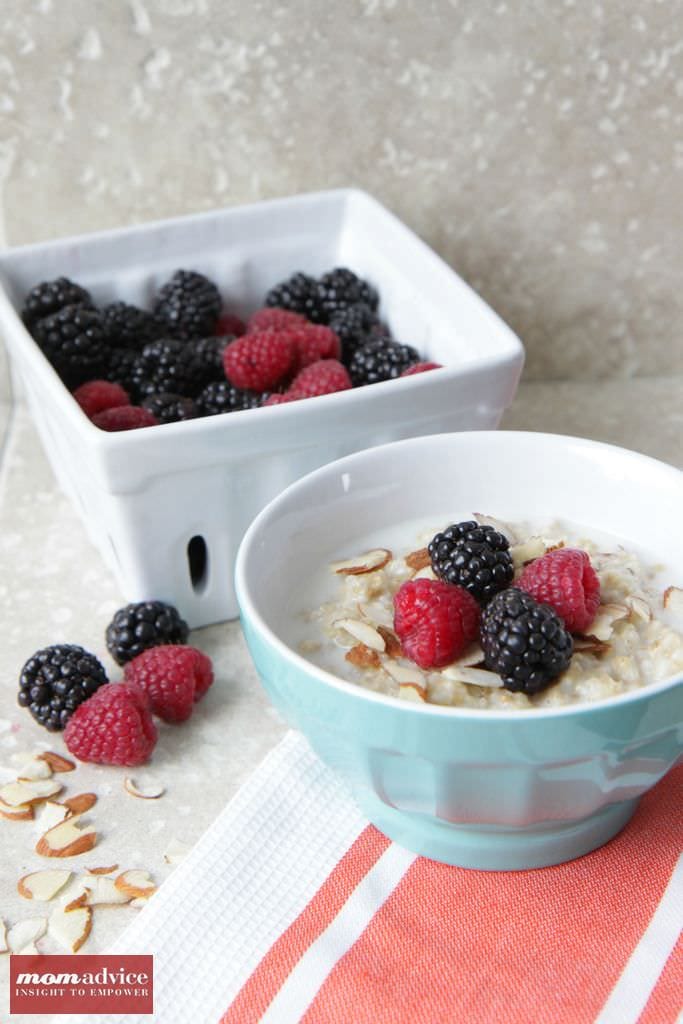
Quinoa-Berry Breakfast Bowls

Quinoa-Berry Breakfast Bowls (sub with blueberries)

What are your favorite blueberry recipes? How do you freeze your berries? Feel free to share links and recipes here for even more inspiration for our readers!

Pin It
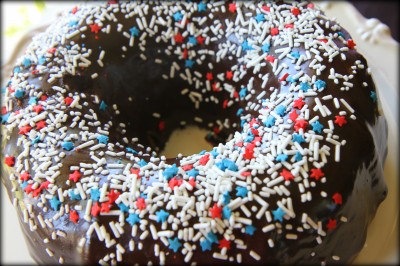
Incredible Melted Ice Cream Cake with Chocolate Marshmallow Ganache

Monday, July 25th, 2011

As with all traditions in our family, it started as something simple and became something special. Last year I let my kids pick their own birthday cakes for their special days from my bookshelf of cookbooks.

Since last year, my dessert cookbooks have since become bent and worn, from bookmarking and thumbing through pictures of cakes just for them. When the kids are bored, they will run over to that shelf, pull down all the cookbooks and reminensce about what they might choose for their next birthday…as early as ten months down the road. Discussions and negotiations are made when they select the same recipe and the cookbooks return to the shelf until another rainy day of planning.

Ethan had this Melted Ice Cream Cake marked several times since his last birthday. It was this or the biscotti recipe that he bookmarked for me.

Biscotti is not really a birthday cake, sweetie,” I told him as he handed me his bookmarked cookbook.

“Well, it should be. It is delicious,” he replied.
Did I even know what biscotti was until just a few years ago? I can’t say that I did.  I fear for his wife someday.
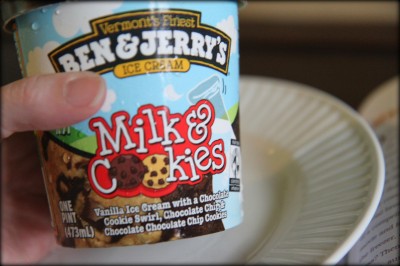
I also had never heard of a melted ice cream cake before, but the concept is a simple one. Simply use a cake mix and replace the liquid that it directs on the box with a good quality ice cream and your eggs.  Not only is this one an easy cake to create, it can be made into a brand new flavor with a different ice cream flavor or a different cake mix. The possibilities are truly endless with this cake and the results are surprisingly delicious.

The most important thing with this cake is to not cook it too long, or it can become dried out and will lack the moistness that you want in it. Smothered in a homemade chocolate marshmallow ganache, this cake takes ice cream and cake to a whole new level.

The best part? Melted ice cream is actually encouraged. With a July birthday, that is one feat that is easy to pull off!

Recipe:

Incredible Melted Ice Cream Cake

Ingredients:

1 package (18.25 ounces) plain white cake mix

2 cups (or 1 pint) good quality melted ice cream, your choice of flavor.

{Cookbook author note: The author states that it is important to use a good quality ice cream because the cheaper ice cream has more air in it, which will not equal the two cups of liquid you need for this cake. If you use a cheaper brand, melt it and then measure to create the two cups of liquid needed for this one! }

3 large eggs

Chocolate Marshmallow Ganache

For the frosting:

2 cups confectioners’ sugar

1/2 cup unsweetened cocoa powder

6 large marshmallows

4 tablespoons (1/2 stick) of butter

1/3 cup plus 1 tablespoon milk

1 teaspoon vanilla extract

Directions:

Preheat the oven to 350 degrees. Lightly mist a Bundt pan with cooking spray, then dust with flour. Shake out the excess flour and set the pan aside. Place the cake mix, melted ice cream, and eggs in a large mixing bowl. Blend  for three minutes. Pour the batter into the prepared pan, smoothing the top with a spatula. Bake the cake for 38-42 minutes (mine took just 38). Remove and let cool for 20 minutes. Remove the cake from the Bundt pan and allow to to cool for 30 more minutes. Frost the cake once cooled with the Chocolate Marshmallow Ganache.

For the Chocolate Marshmallow Ganache: Sift the sugar and cocoa powder together in a large mixing bowl and set aside. Place the marshmallows, butter, and milk in a medium-size heavy saucepan over low heat. Stir until the marshmallows are melted, 3-4 minutes. Remove the pan from the heat. Pour the confectioners’ sugar & cocoa mixture over the marshmallow mixture. Ad the vanilla and stir until the frosting is smooth and satiny. Use at once to top the ice cream cake. I was able to pour this right over the cake, and it will harden as it cools.

Prep Time: 5-7 minutes

Total Time: 1 hour

Serving Size: 16

Recipe Source: The Cake Mix Doctor by Anne Byrn

Looking for more cake ideas? Check out our Perfectly Pink Barbie Birthday CakeDarn Good Chocolate Cake, Oreo & Fudge Ice Cream Cake, & Blueberry Muffin Cake for just a sampling of the cakes we love around here!

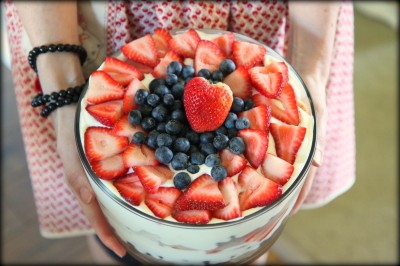
Red, White, & Blueberry Trifle

Monday, July 11th, 2011

It was a busy week for our family last week as we prepared to celebrate my son’s ninth birthday.  Each year we throw a fun Fourth of July family party to celebrate his special day and bring our family together. You can see our good old-fashioned barbecue from last year and our patriotic party bash that we did two years ago.  For this year, tomorrow I will share with you more about the decor and how we pulled the different elements of our party together, but today I wanted to start with my favorite recipe from the birthday party.

For our birthdays, I like to offer two desserts for the celebration.  The first dessert is lovingly selected by the birthday boy/girl. They get to spend the day in my cookbooks and bookmark any cake that they want for their big day. The second is a cake or dessert that I have been wanting to try for another option for our guests. Everyone should get to have more than one dessert though, and plates were piled high this year!

One thing I have wanted to try is a trifle and I thought this would be a fun and delicious dessert, that would also be perfect for an outdoor barbecue. With berries in season and a store-bought angel food cake, this dish isn’t only affordable, but easy too!

The white chocolate pudding set this trifle apart from any other I have ever eaten because it adds a richness and unexpected layer into this berry trifle. Not only does this dish taste rich, but it is perhaps one of the lightest desserts I have ever made where I felt full and satisfied, while feeling like I indulged.  Of course anything with pudding, cake, and berries is a winner in my book.

This dessert went over just as well as the cake and offered a light ending to a delicious cookout. I would highly recommend giving this recipe a try for your next get together!

Recipe:

Red, White, & Blueberry Trifle

Ingredients:

  • 10 oz angel food cake, cut into 1-inch cubes
  • 2 pints strawberries, sliced
  • 2 pints blueberries

For the cream filling:

  • 6 tbsp fat-free sweetened condensed milk (I used Walmart Great Value brand)
  • 1 1/2 cups cold water
  • 1 package sugar-free white chocolate instant pudding mix (I opted for the sugar-filled version)
  • 12 oz fat-free frozen whipped topping, thawed

Directions:

Whisk the condensed milk and water in a bowl. Whisk in the pudding mix for 2 minutes. Let stand for 2 minutes or until soft-set; fold in the whipped topping.

Arrange half of the cake in the bottom of a 14-cup trifle dish. Sprinkle evenly with a layer of blueberries. Spread half of the cream mixture over the blueberries and gently spread. Top with a layer of strawberries. Layer the remaining cake cubes on top of the strawberries, then add more blueberries and top with the remaining cream mixture. Finish with the remaining strawberries and blueberries, arranging them in a pretty pattern. Cover and refrigerate at least one 1 hour.

Prep Time: 15 minutes

Total Time: 15 minutes

Serving Size: 14 servings

Recipe Source: SkinnyTaste.com (visit the website for nutritional information)

Dark Chocolate & Sea Salt Brownies

Monday, May 2nd, 2011

Dark Chocolate & Sea Salt Brownies

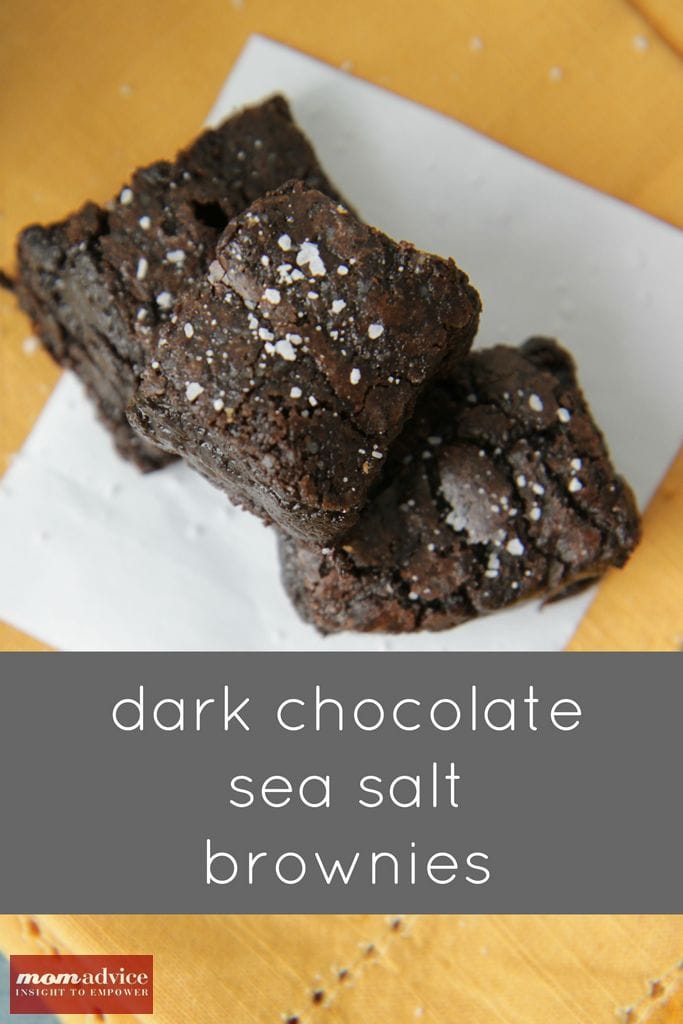
If there is one combination that I love, it is sweet and salty. These Dark Chocolate & Sea Salt Brownies are the perfect combination of sweet & salty that will be a hit no matter where you serve them. I will admit, on their own, sweets hold little power over me. Sweet treats with a kick of salt? Well, be still my beating heart!  This recipe for Dark Chocolate & Sea Salt Brownies is destined to be my recipe legacy that I pass on to my children. When I pass away, my tombstone should read… “Beloved wife and mother.  More beloved for her amazing brownies. Forever. And Ever. Amen.” Yes, these are legacy-making brownies, friends!

Dark Chocolate & Sea Salt Brownies

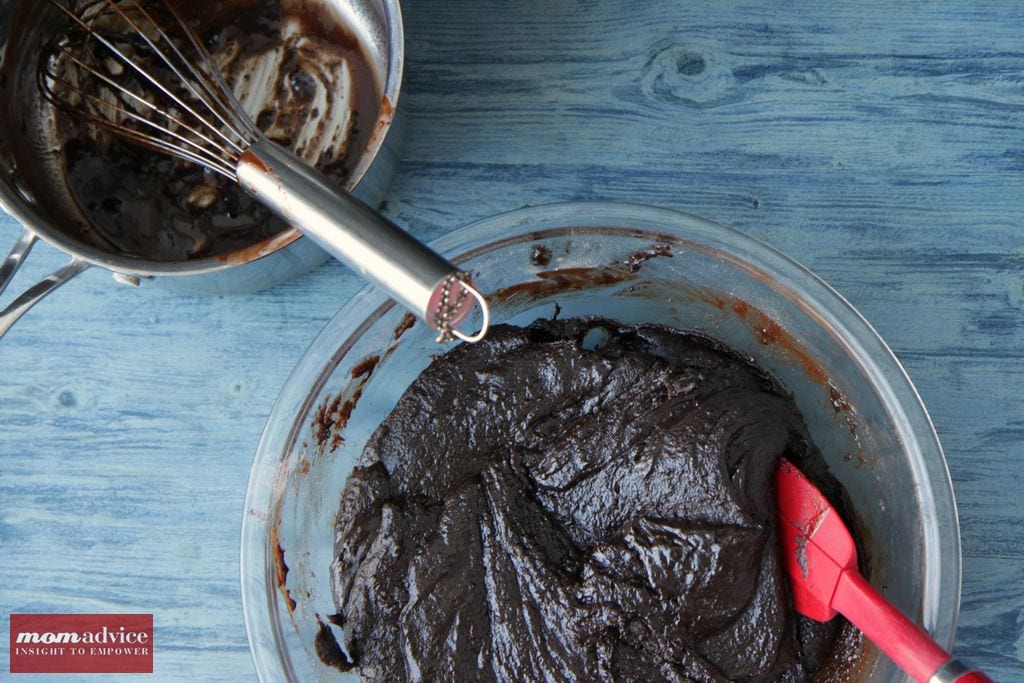
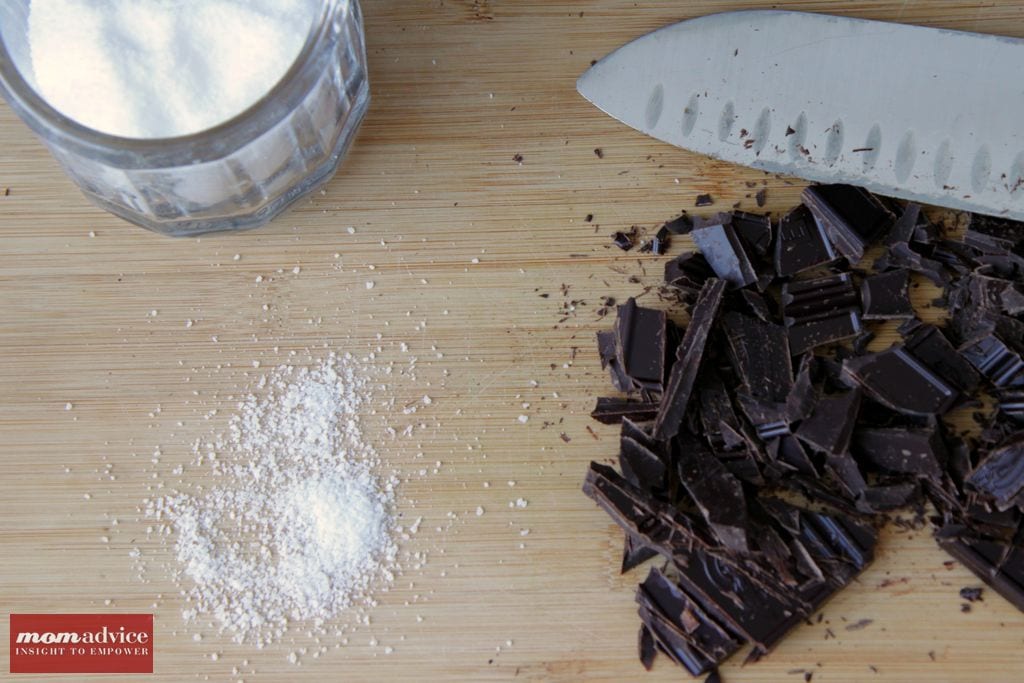
The key ingredients are really good chocolate and coarse salt. If you can’t find sea salt at your local market, kosher salt offers a great substitution. The rest of the ingredients involve all of the traditional brownie-making ingredients.

Dark Chocolate & Sea Salt Brownies


Dark Chocolate & Sea Salt Brownies

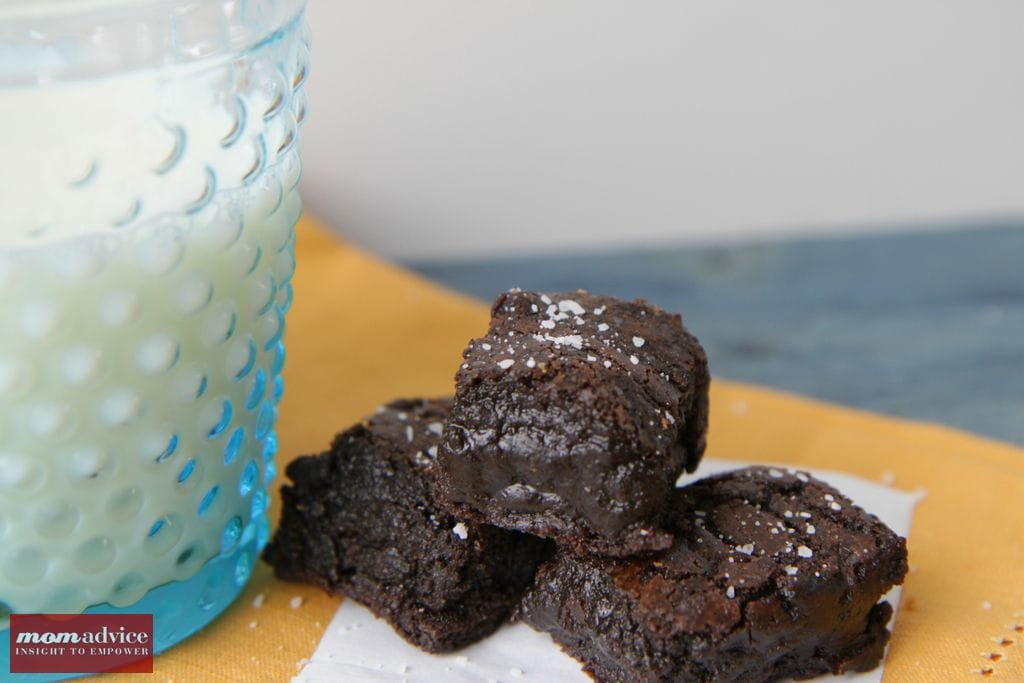
When you pull these delicious brownies out of the oven, the edges should be set (see above in this picture), but the center will still be a little bit soft and the toothpick will have a little batter on it. That is exactly what you want. Allow them to cool for one hour on the counter and then cover the top with a little plastic wrap and refrigerate for one hour or even up to three days. You can then pull the foil and plastic wrap off and cut with a sharp knife into squares. For gift giving, you can package these sweet little treats in clear treat bags with a little ribbon from your craft supplies. I guarantee that anyone that receives these will feel all your love in them.  These are fabulous treats to give to your girlfriends, your teachers, your sister, your babysitter, or anyone else that could use a little TLC. Imagine what a sweet surprise these would be for someone who might not get all the adoration they are so deserving of. Be sure to make a batch for yourself too, after all, you deserve a little bit of chocolate adoration too!

Dark Chocolate & Sea Salt Brownies
Recipe Type: Dessert
Author: Adapted from Food & Wine Magazine
Prep time:
Cook time:
Total time:
Serves: 12
A deliciously rich combination of sweet and salty. These are legacy-making brownies and will make you famous. Seriously.
Ingredients
  • 1 1/2 sticks unsalted butter
  • 2 ounces unsweetened chocolate, finely chopped
  • 1/4 cup plus 2 tablespoons unsweetened dark cocoa
  • 2 cups sugar
  • 3 large eggs
  • 2 teaspoons pure vanilla extract
  • 1 cup all-purpose flour
  • 3/4 teaspoon sea salt
Instructions
  1. Preheat the oven to 350°. Line a 9-inch square metal cake pan with foil, draping the foil over the edges. Lightly butter the foil or spray with cooking spray.
  2. In a saucepan, melt the butter with the unsweetened chocolate over very low heat, stirring occasionally. Remove from the heat.
  3. In a mixing bowl begin whisking together the dry ingredients. In this bowl you will mix your dark cocoa, flour, and sugar. Once your dry ingredients are mixed together, we can begin incorporating the wet ingredients. Add your eggs and vanilla extract to the dry ingredients and mix them in with a spatula or use your stand mixer to mix these. Once these are incorporated, you can slowly add in your cooled chocolate and then incorporate that into your batter.
  4. Pour the batter into the prepared pan and smooth the surface.
  5. Sprinkle the salt evenly over the batter. Using a butter knife, swirl the salt into the batter.
  6. Bake the brownies in the center of the oven for about 35 minutes, until the edge is set but the center is still a bit soft and a toothpick inserted into the center comes out coated with a little of the batter.
  7. Let the brownies cool at room temperature in the pan for 1 hour, then refrigerate just until they are firm, about 1 hour.
  8. Lift the brownies from the pan and peel off the foil. Cut the brownies into 16 squares.
  9. Serve at room temperature.
  10. Side note: The salted fudge brownies can be refrigerated for up to 3 days, and frozen for up to 1 month.
Pin It