
I love to make hair accessories for my little girl and my little girl loves to wear them. It was a joke, in fact, that when my daughter was born, she was born with a bow on her little head. This little girl never pulled a bow out of her hair and would even sleep in them. I really believe she just thought it was a part of her little head since I put one on the day she was born and never took it off.
Luckily for me, she remains to be my little girly-girl to this day. She still is my little fashionista and always fully accessorized.

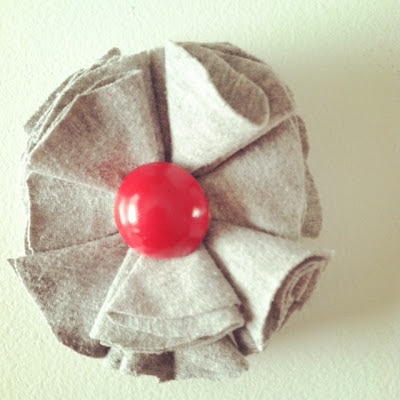
Now that she is growing up, I am always looking for big girl ways to accessorize her outfits and this Rolled Ribbon Rosette Hair Bow is the perfect accessory to any Easter outfit. Rolled Ribbon Rosettes are so unbelievably easy to make and require ZERO craft skills to create. No one will believe that you made these yourself, but only you will know just how easy these are to create.


 All of the supplies for this project are available at your local Walmart. For this craft you will need your hot glue gun, glue sticks, plain metal barrettes (located by the ribbon section of the craft section of your store), a piece of felt, and one package of Offray Large Trend Flower Ribbon (in your chosen color).
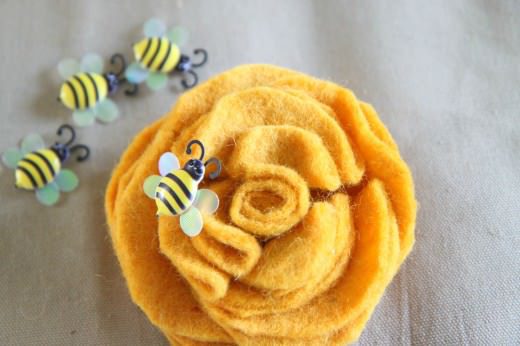
 To start your Rolled Ribbon Rosette Hair Bow, you will want to start with one of the roses on the ribbon to create the center of your pretty flower.


 Now all you need to do is start twisting your ribbon in between each of the little roses, add a dab of hot glue, and then twist again, glue again, and repeat. If you twist the ribbon tightly, you will have a tighter and flatter flower. If you twist a little looser, you will get more of the petal effect with the frayed edges working their way out more on the ribbon. Either way, it will be beautiful.
Keep twisting until you reach the size of the flower you are looking for. I used almost the entire bolt of ribbon, but you can make your flower smaller, based on your own preferences.
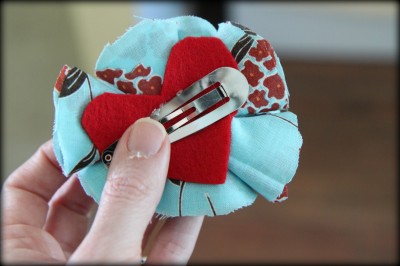
 Cut a circle out of felt. You can use a drinking glass to trace your circle on the felt or just freehand it. This felt circle will hold all of that ribbon secure and together underneath your Rolled Ribbon Rosette Hair Bow. Hot glue your felt circle to the back of your flower. Hold this for a couple of seconds to secure it.

 Once you have secured your felt circle, you can begin attaching your barrette. Add hot glue to your barrette (left opened, so you don’t glue it together) and secure it to your felt circle. Allow the glue to dry and then close your barrette.


 I love this big girl flower for my big girl. She couldn’t wait to try it on and has already been begging to wear this one to school because she loves it so much. Who would ever know that it so simple to create? I will never tell!
 Walmart offers beautiful dresses for the Easter season. I found this fluffy pink & white tulle dress for her for $16.47. The cropped ruffled cardigan was only $7.47. For less than $30, she will be accessorized from head to toe in her Easter finery this year. Once we are done wearing this dress for Easter, it will make a fun dress-up dress for those days when a girl just wants to feel fancy.
In our house fanciness happens every day. We should get a lot of wear out of this one.
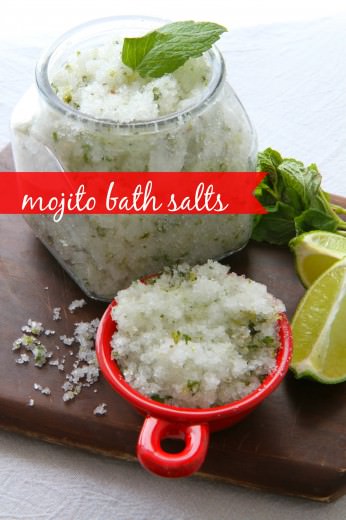
 Looking for other fun Easter projects on MomAdvice? Here are six recommendations for a fun Easter season.
1. Marbleized Easter Eggs
2. Homemade Bunny Bread (in the Bread Machine)
3. Deviled Eggs (to be created from your dyed eggs)
4. DIY Fabric Flower Barrettes (for Easter accessories)
5. Budget-Minded Easter Celebrations
6. Kool-Aid Easter Egg Dying
What is your favorite Easter tradition in your house? Do you have any ways that you save on your Easter outfits and accessories? I would love to hear your ideas!
I am a part of the Walmart Moms program, and Walmart has provided me with compensation for these posts. My participation is voluntary and opinions are always my own.
Pin It

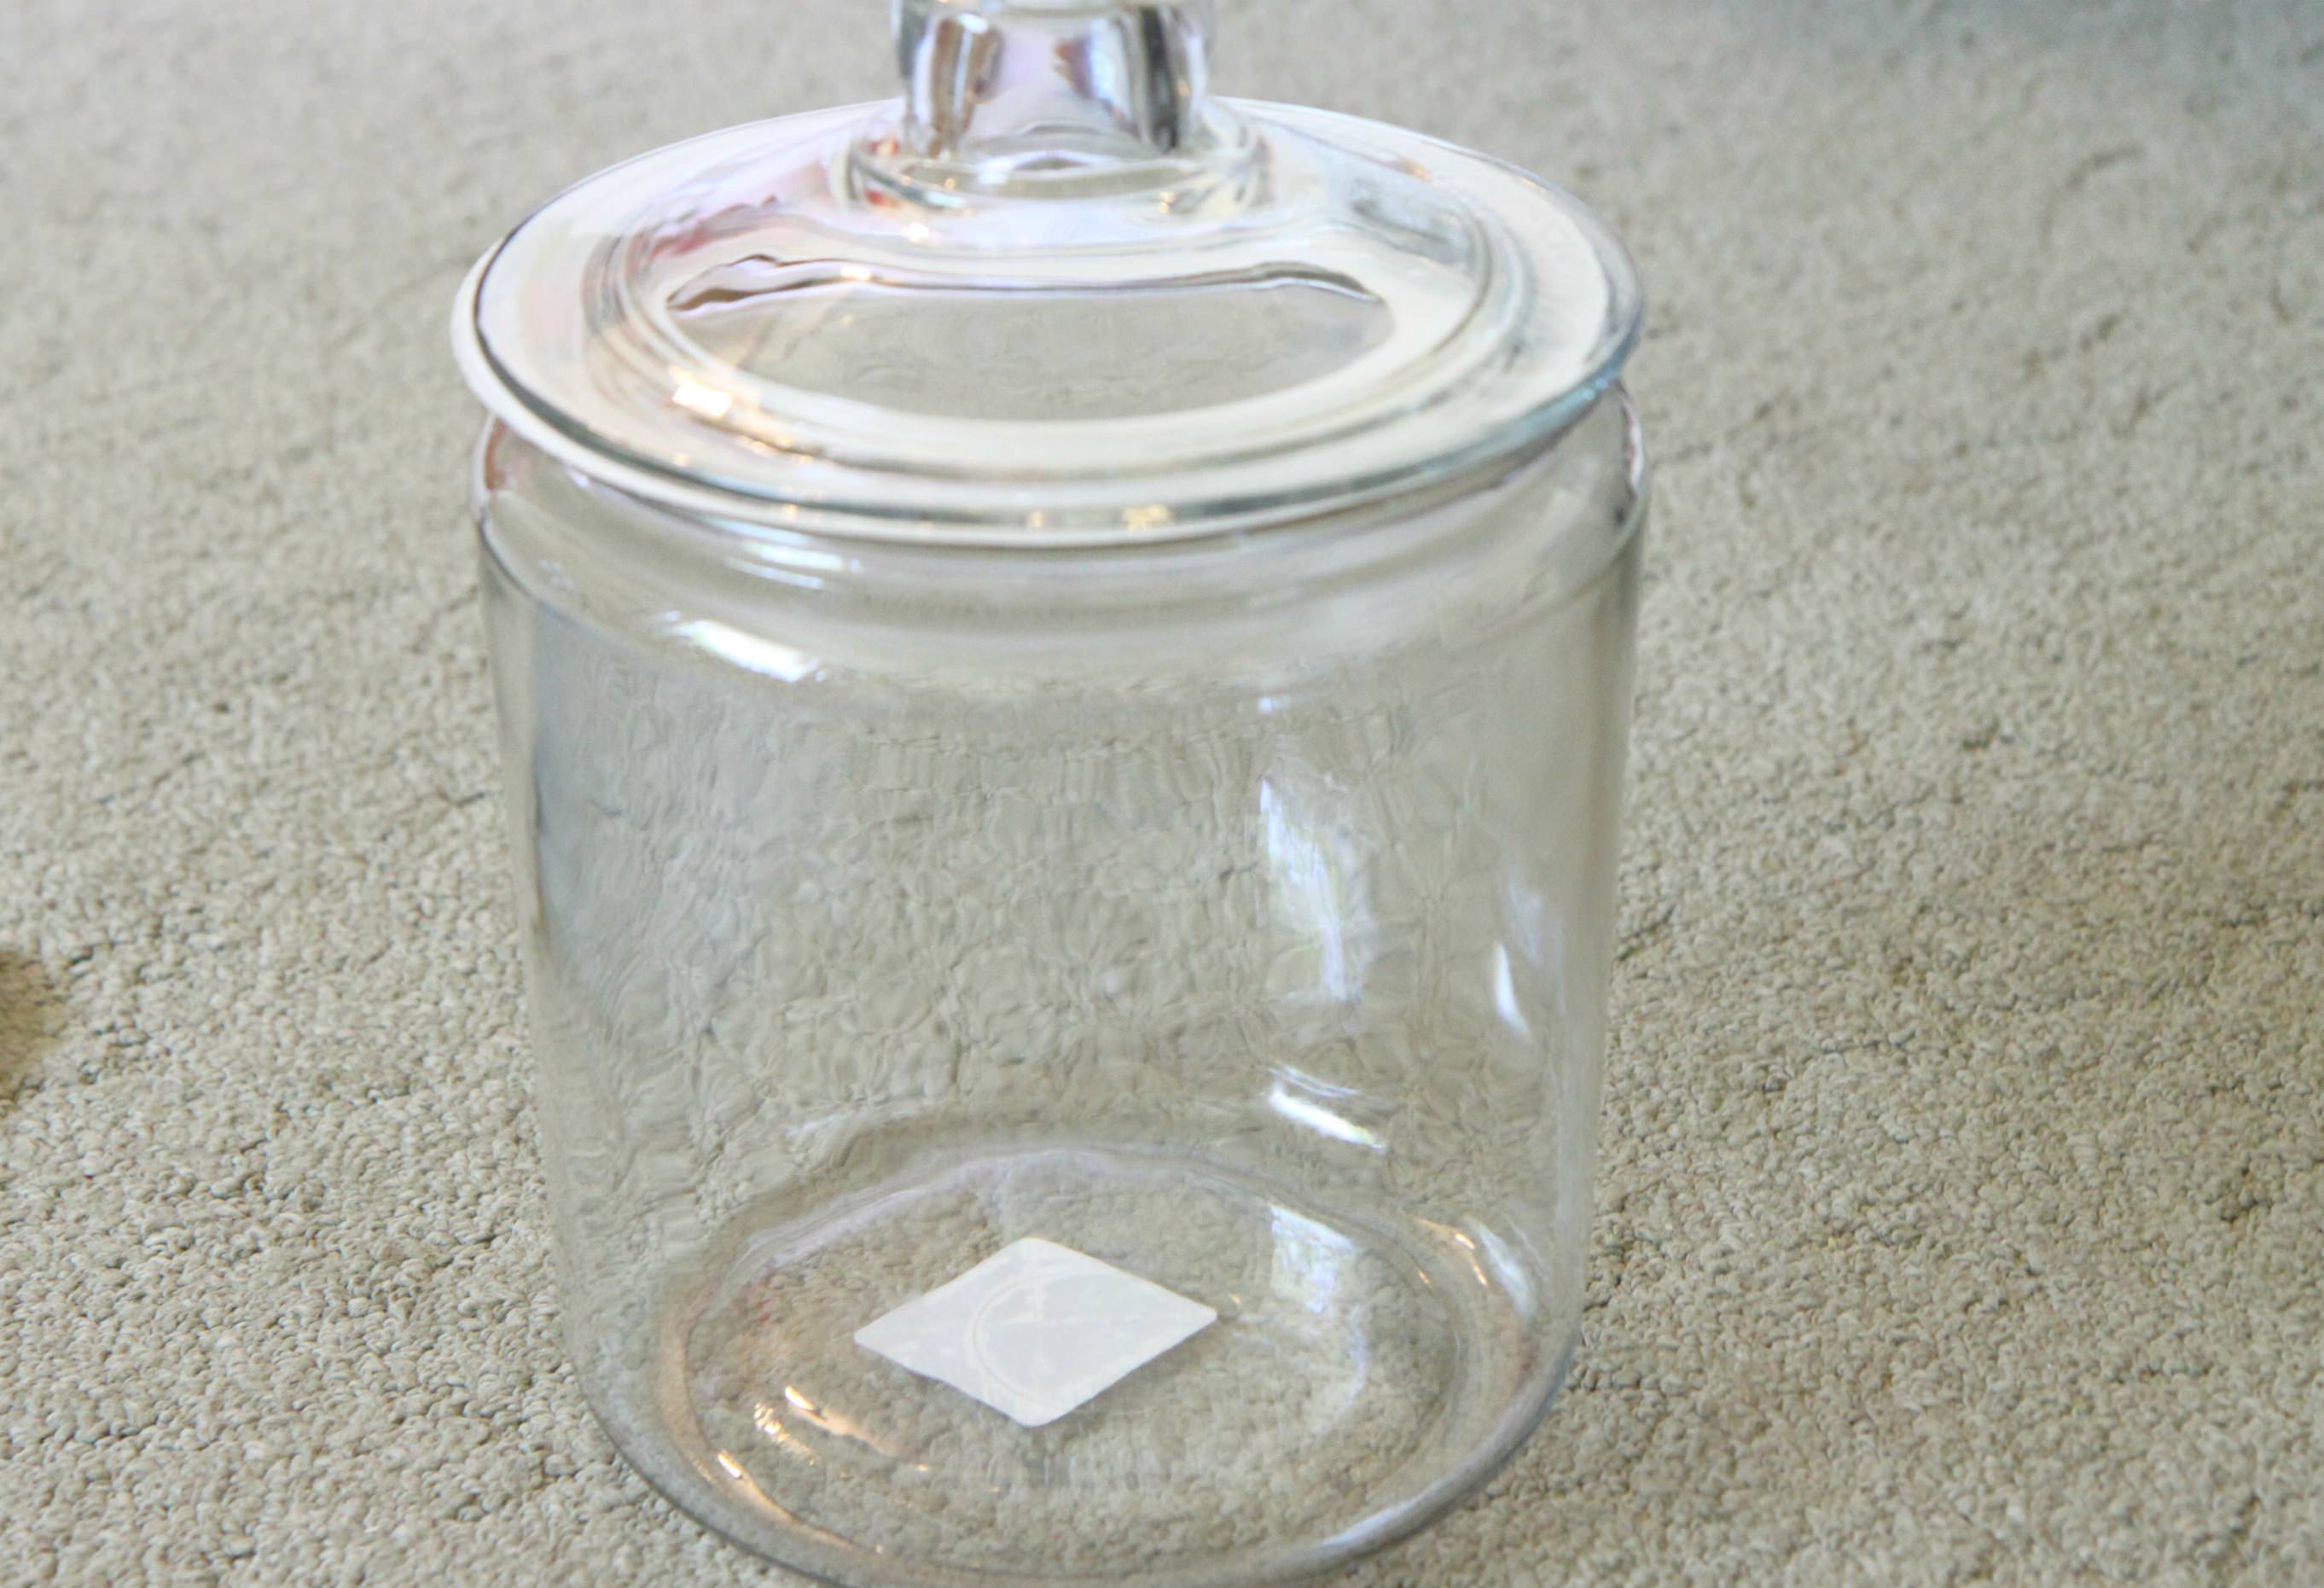
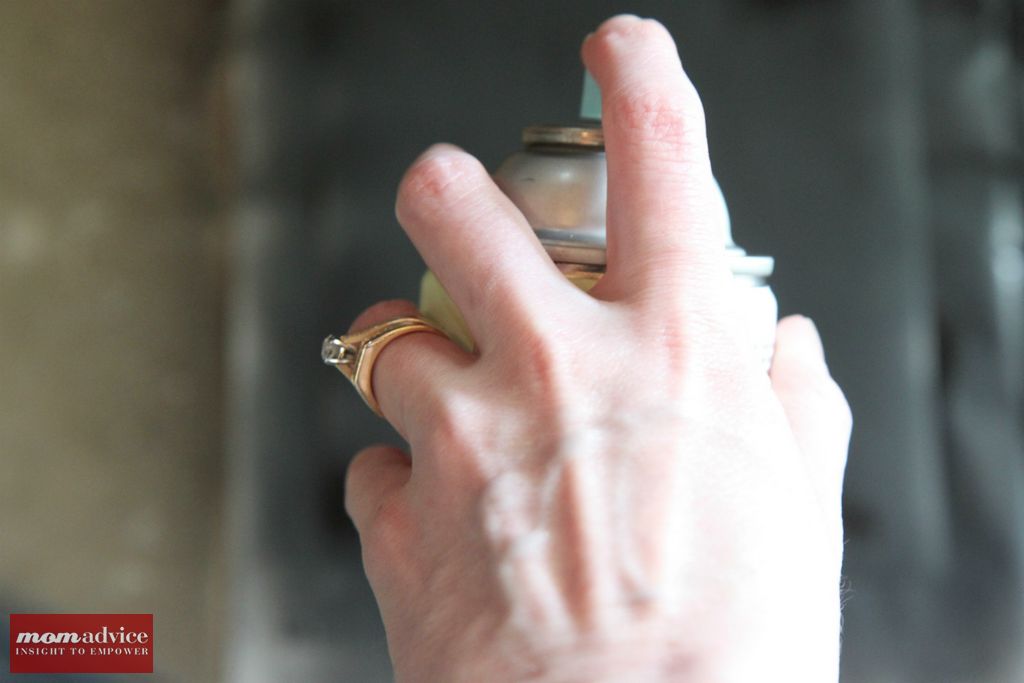
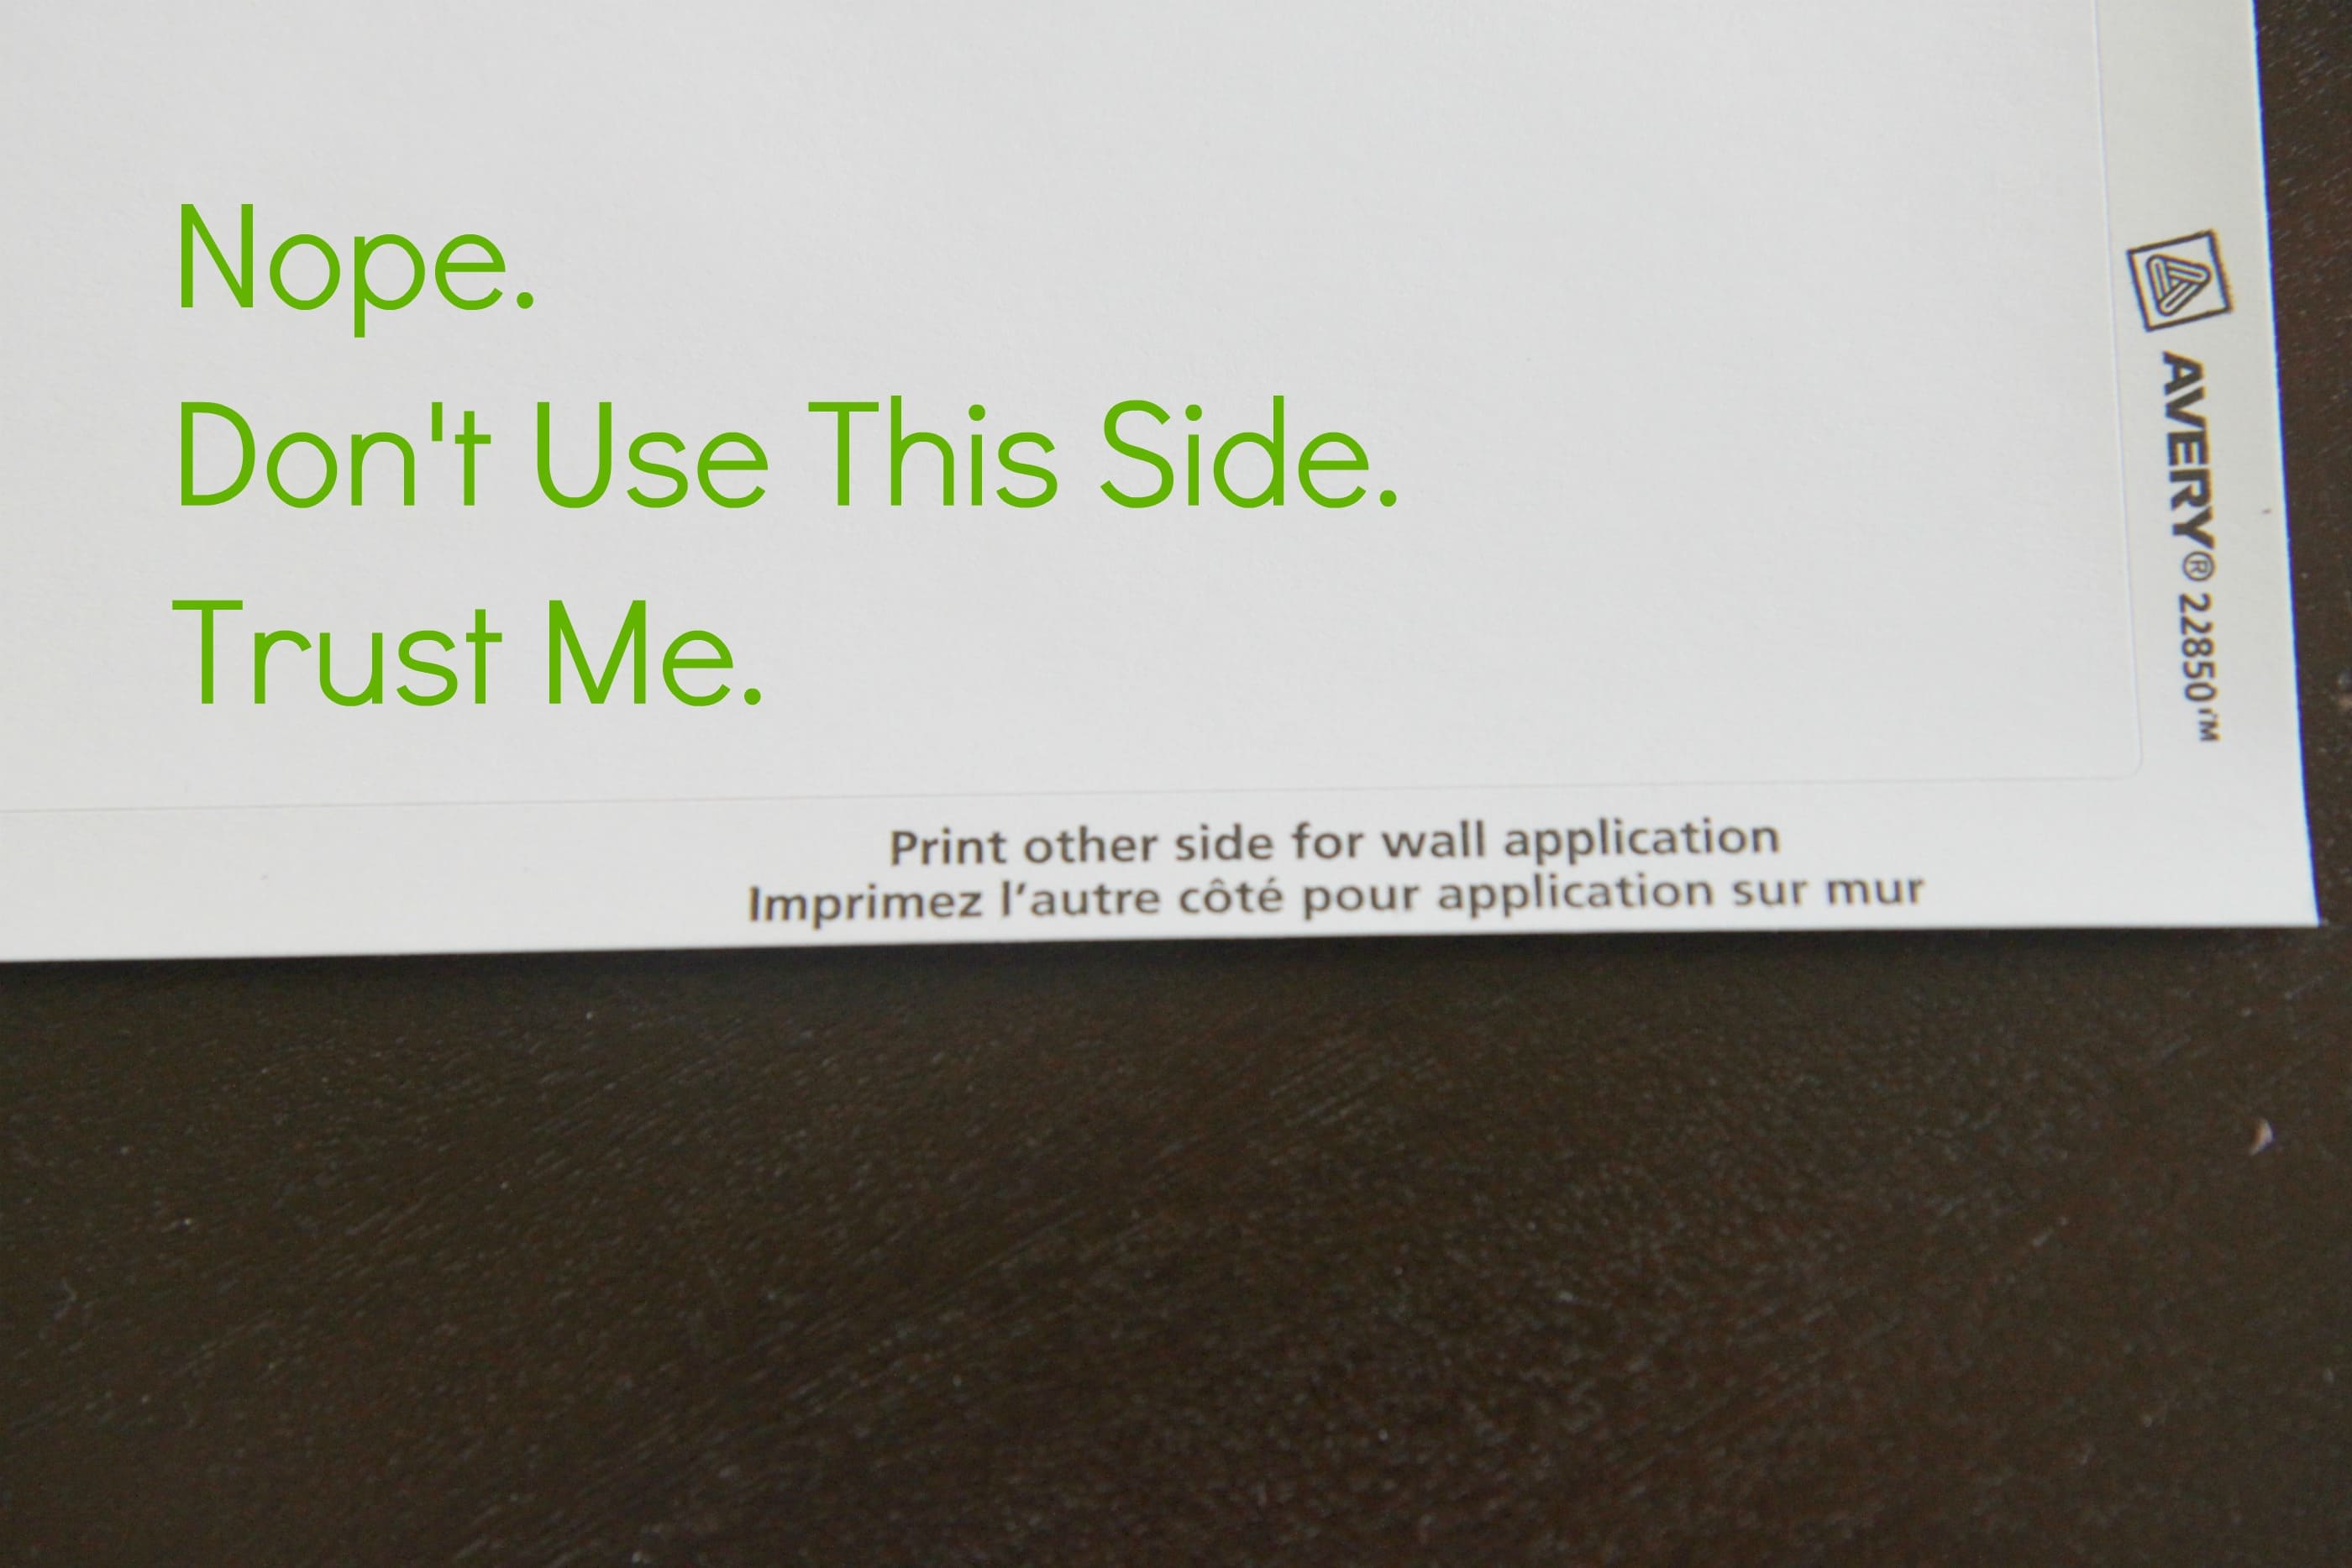
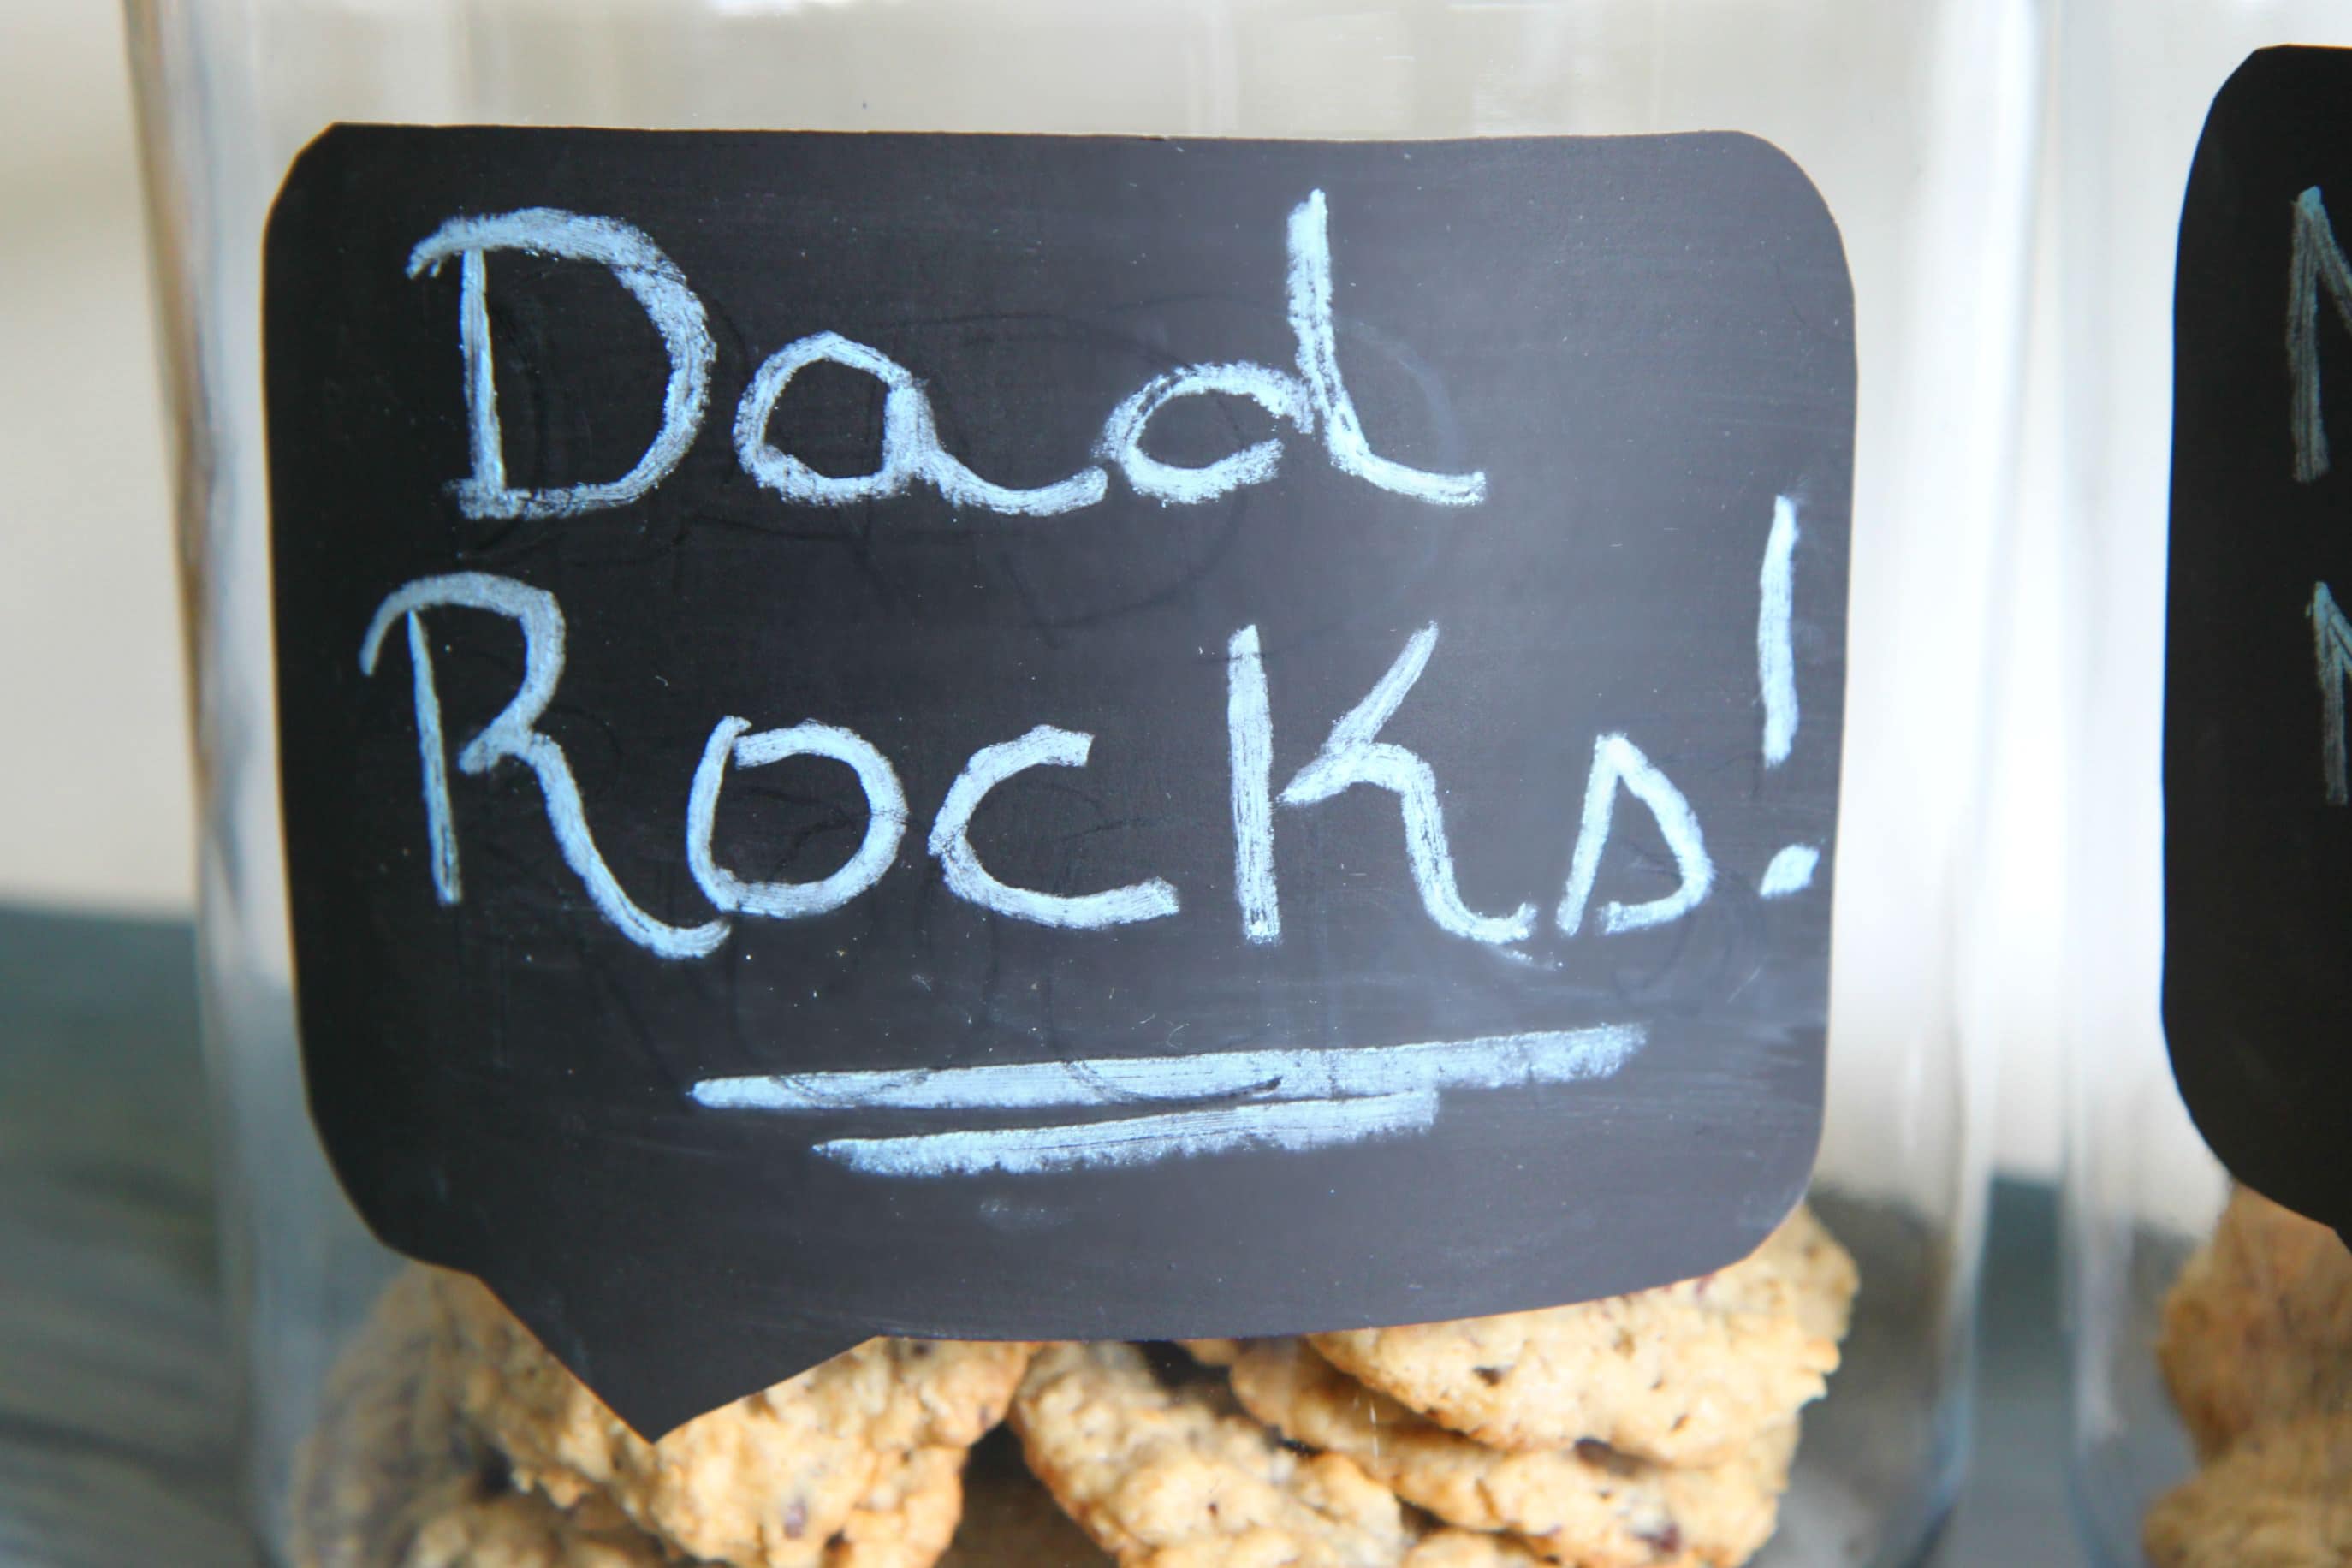
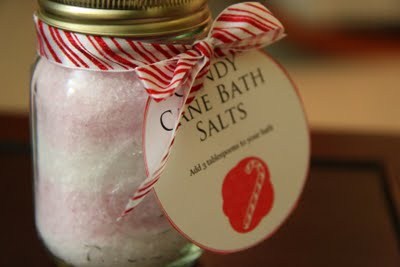
 Don’t forget that this year I also have an awesome DIY Chalkboard Conversation Bubble Cookie Jar that you can make and fill with your dad’s favorite cookies. I highly recommend these Oatmeal Chocolate Chip & Sea Salt Cookies for the perfect sweet and salty combination!
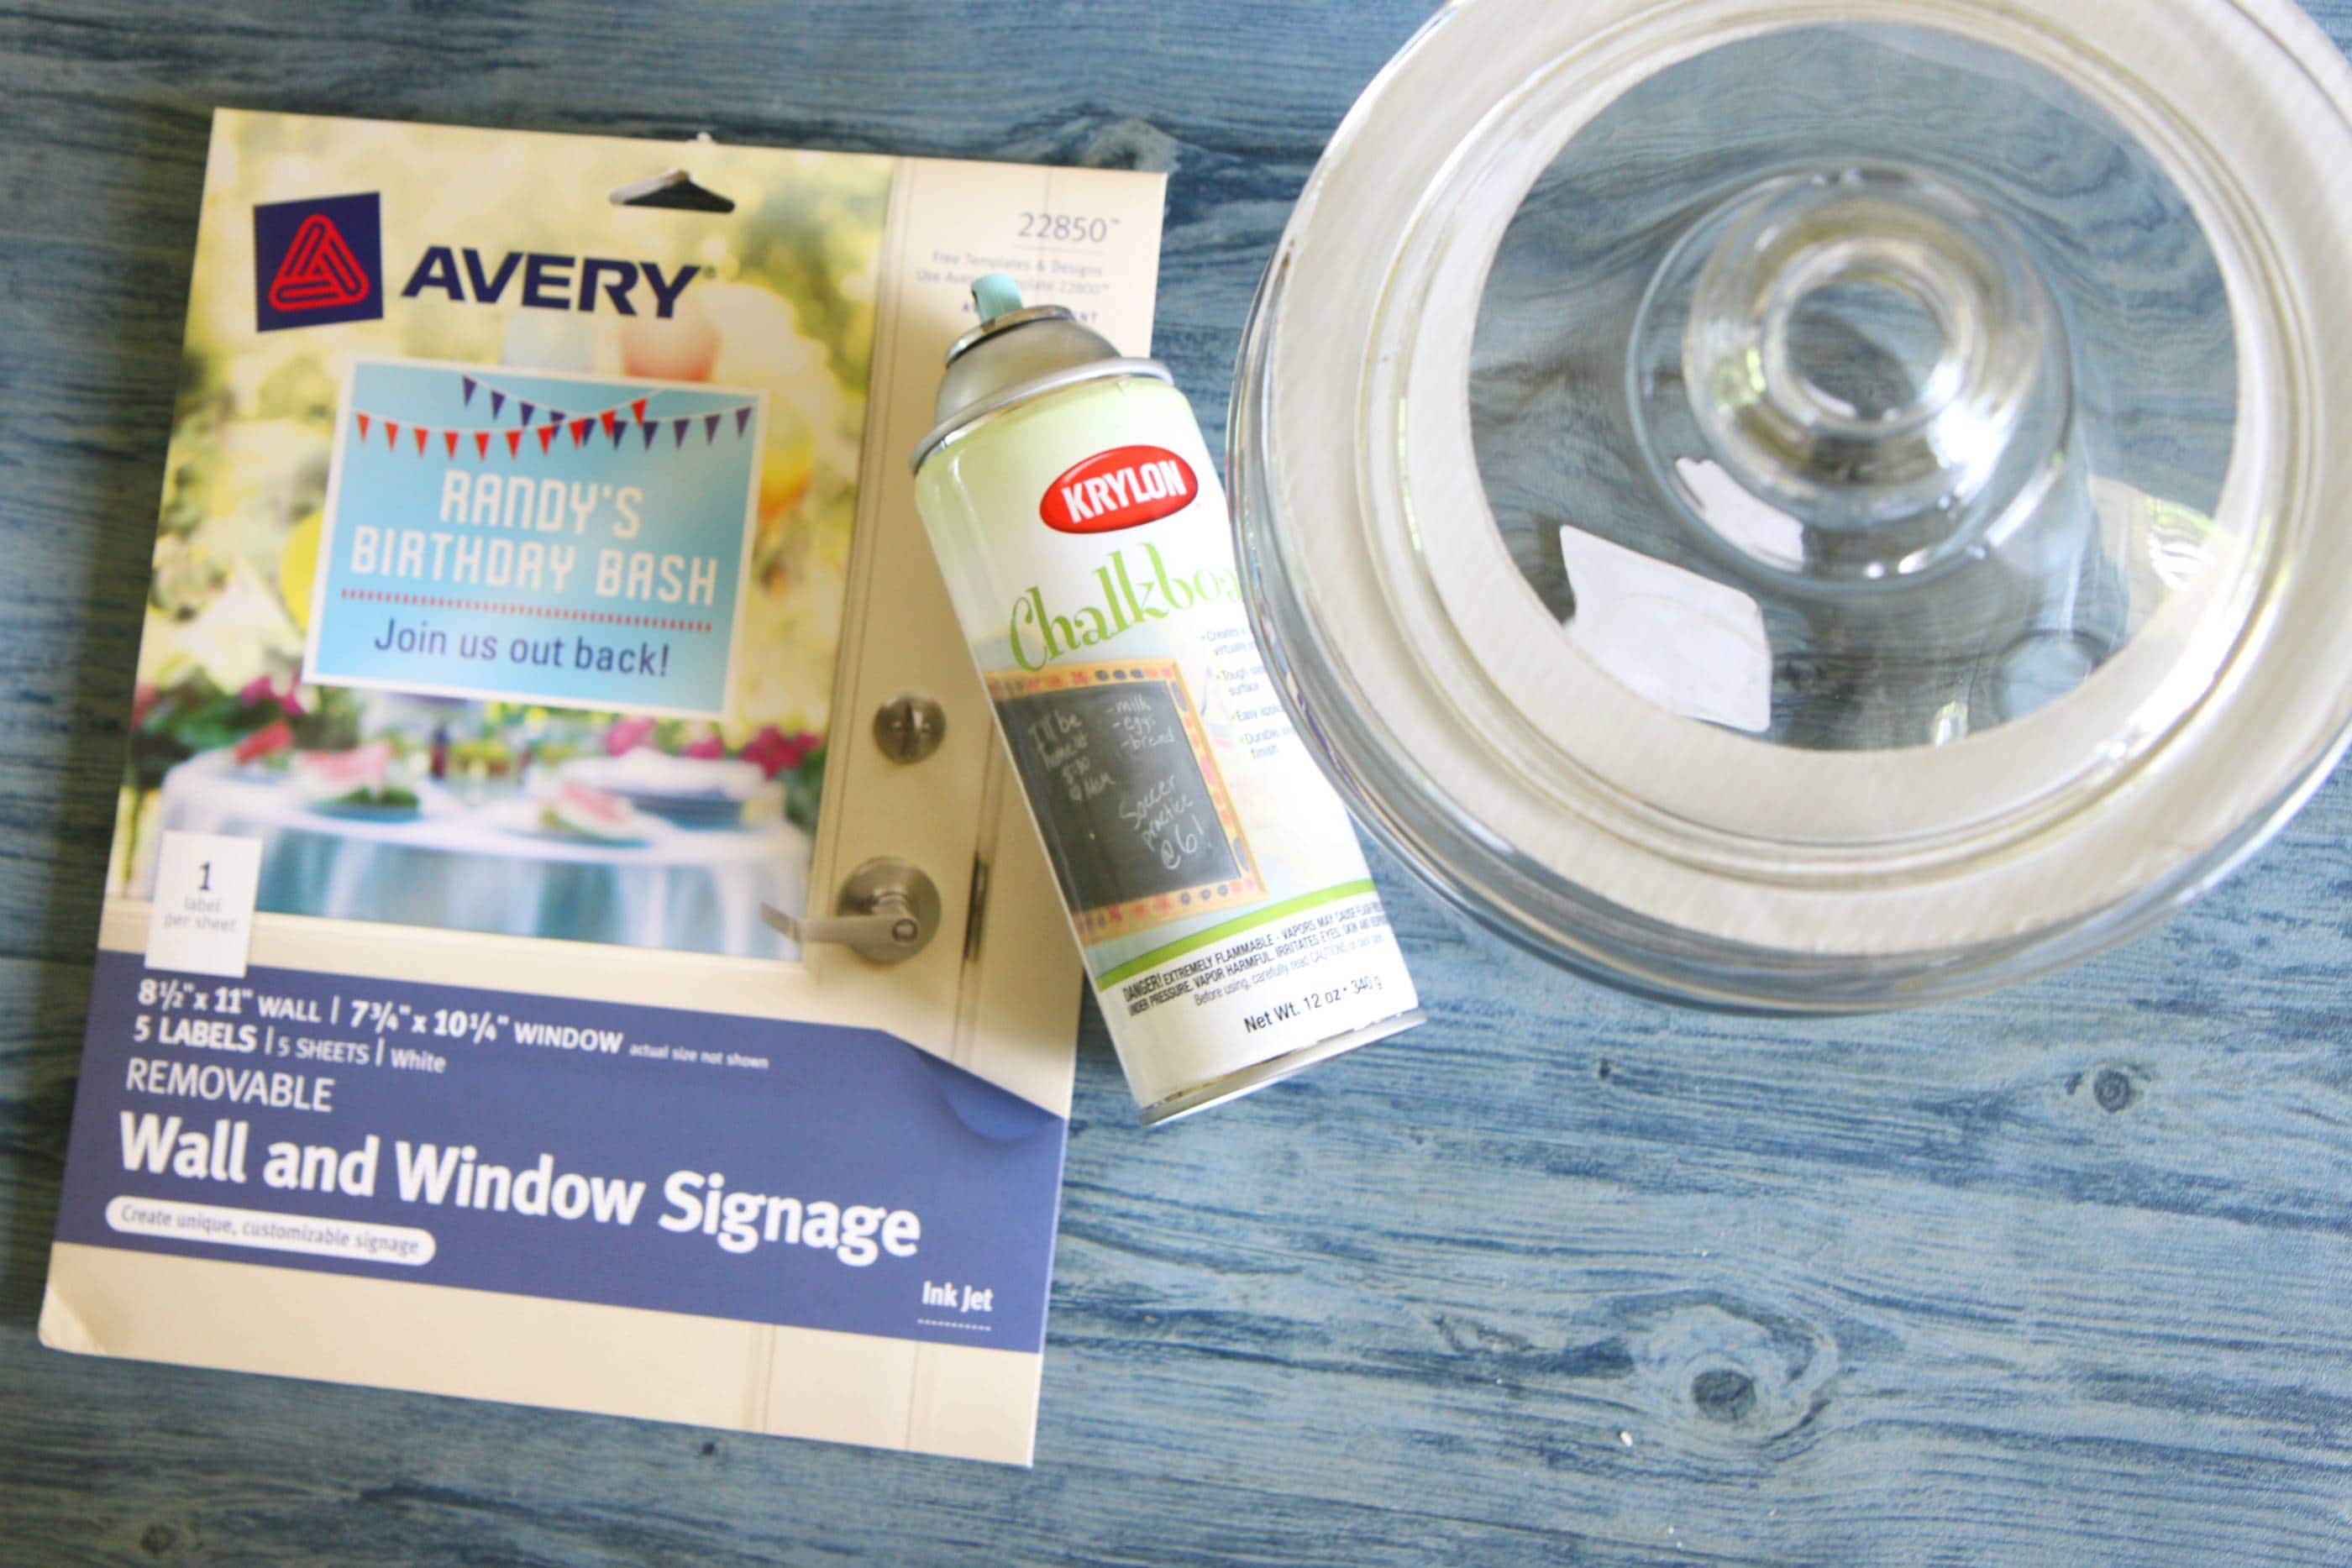


