
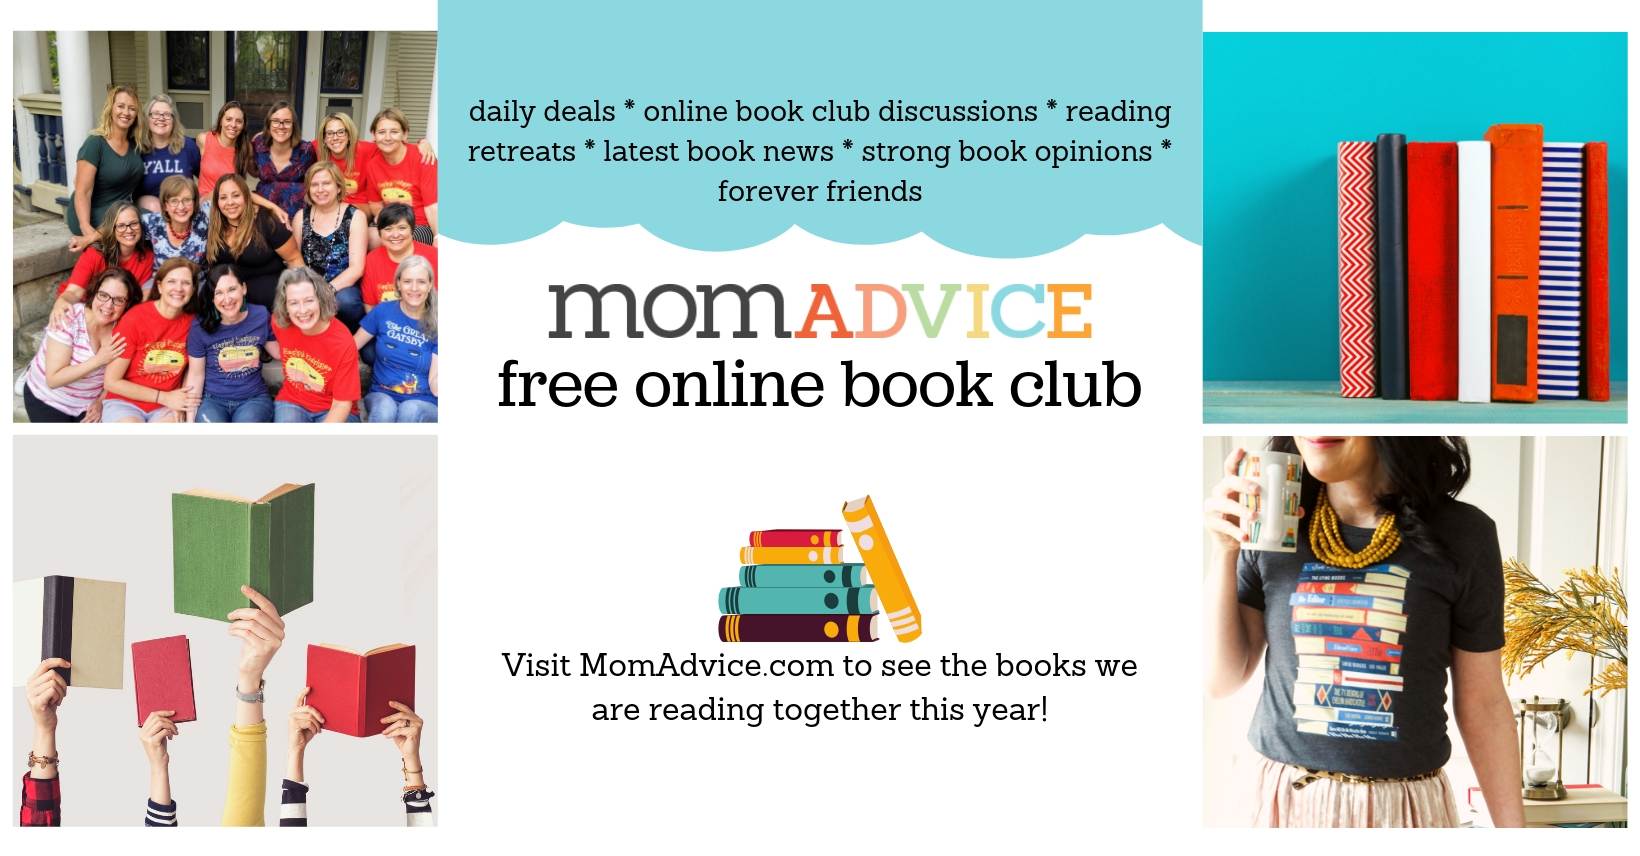
Have you been looking for a free book club to join? Check out the 2020 MomAdvice Book Club Selections and join our FREE book club today! These 12 selections have all been read and loved, by me. I look forward to our free book club chats, interactive book club crafts, and our interviews with this year’s chosen authors.
This is one of my favorite days of the year. I am so excited to reveal our MomAdvice Book Club selections with you today.
I have read each of these selections and couldn’t be prouder of the gathering this year. Not only do I love them, but I think that they will lend themselves well to a great book club discussion.
Why?
Well, each of these books have challenged my viewpoint, in some way. I really believe that this is one of the BEST side effects to being a reader. It expands your world in a new way and reminds us that we all have the capacity to grow.
After reading each of these, I contacted each of the authors (with the exception of Betty Smith, of course) to let them know that their book had been officially selected as our official monthly selection.
I admit, I am no Reese, Jenna, or Oprah, but I do believe that I have gotten many to read books that they never would have picked up.
I consider this one of my superpowers.
I am hoping there will be a few on this year’s list that will be new to you and that they will top your list of favorites too.
If one of your goals this year is to join a book club or read more, I’d love to introduce you to our FREE book club you can join. This is an AMAZING Virtual Book Club group filled with almost 3,000 (!!!) readers where we all share in a monthly discussion together.
What Will Be Different in the MomAdvice Book Club This Year?
This all has been a big learning process, for me, on how to expand and make the book club even more beneficial to you.
In the past, I selected novels based on awards, authors that consistently delivered great reads, or anticipated buzz books for the year.
This strategy ended up working a lot, but there were books that I wasn’t as crazy about that ended up on our list.
This year I made it a goal to read all the 12 selections to (hopefully) deliver consistently great books that you will, truly, love.
I also contacted the authors to let them know that their book had been officially selected as our official monthly selection.
With their help, we will be having interactive discussions, reviving the author interview series, and we will have a copy of each book to giveaway to a reader.
In addition to our chats, this year, I am partnering with MJ, at pars caeli, to craft a project around each read.
How Does the MomAdvice Facebook Book Club Work?
Scroll down to see my list of the twelve books that we will be discussing.
The Book Club Chat is held on the last Friday (of the month) and an Event invite is sent out to members at the beginning of each month.
Once you RSVP to an event, Facebook does its thing and sends out reminders to you.
Discussion questions are posted throughout the event and you are able to hop on at anytime during the day (or when you finish that book) to answer the questions at a time that is convenient for you.
This year, we will have many authors also participating in our chats.
How fun is that?
Feel free to join us and let your friends know about the group too.
The more the merrier!
How Much Does it Cost?
Nada.
Well, What Do YOU Get Out Of It?
I want this to be fun and free for you. I post the daily Kindle book deals (sign up for our daily deals newsletter to receive these directly to your inbox) and I share our book club picks through something called an affiliate link.
What is an affiliate link?
Great question!
Basically, this link gives me a few pennies on each of your purchases that help pay for the web hosting on our website.
The web hosting currently costs me approximately $200 monthly and your purchases from this group basically help to offset that cost for our family at no cost to you. This year, I will also have the additional expense of mailing giveaway books and the cost to hire a designer for our crafts.
Thank you for helping me make this book club great with your purchases.
I promise that I try to only share the good stuff and good books.
I know I can’t appeal to everyone’s taste, but I do try to pick books that I think you will enjoy.
I also would like to think I made a lot of great bookworm friends too in this group. It’s been fun to have a place to obsess about books, to share what we are reading each week, and just hang out with other people who just get you.
I have tried to cultivate a positive environment and the group is filled with those kinds of drama-free people that you want to have filling your Facebook feed.

How Do I Meet People from the MomAdvice Book Club?
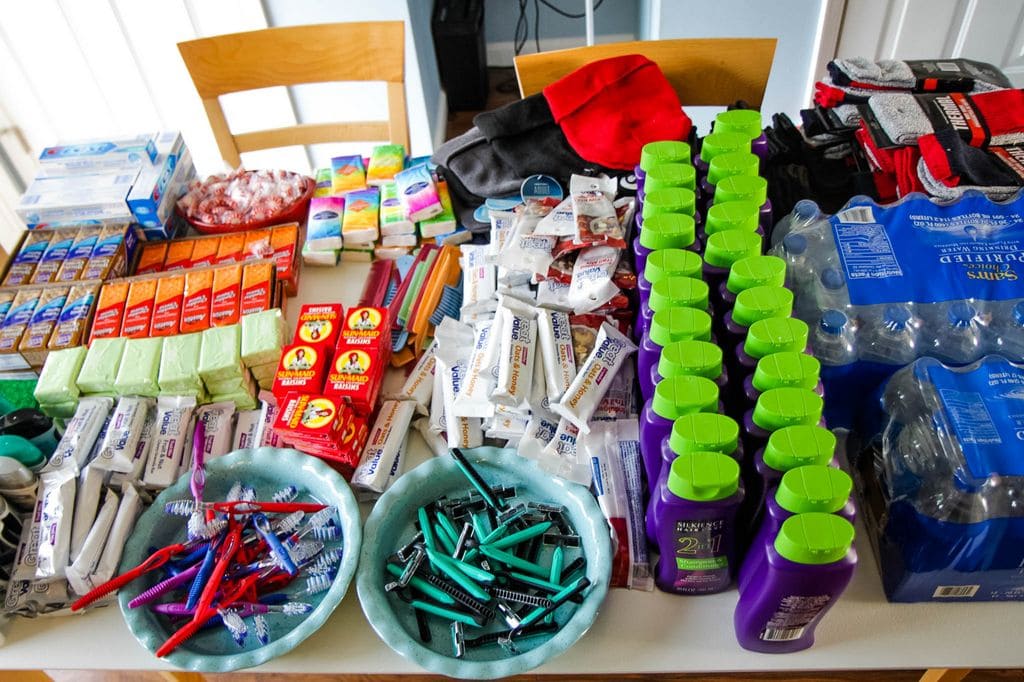
Did you know that we hosted our first MomAdvice Reading Retreat this year?
I can’t begin to tell you how magical it all was and how thankful I was to meet these incredible women.
You have to be an active member in our club to participate in our face-to-face weekend retreats so be sure to join!
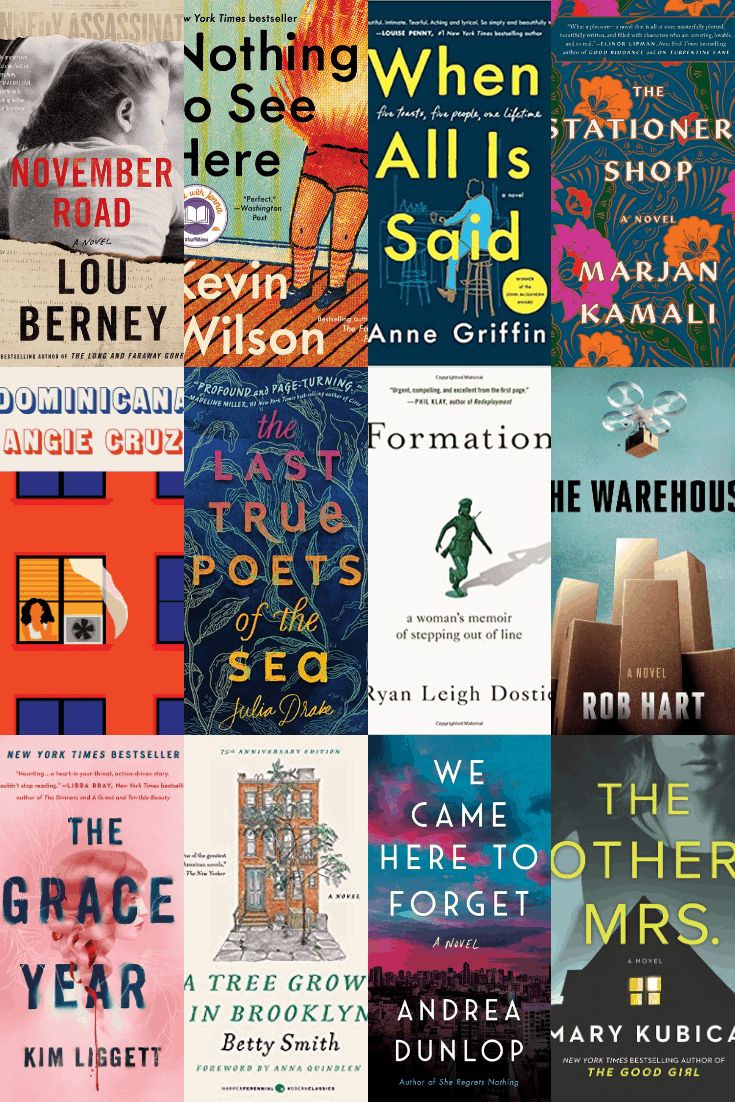
Enough waiting! I’m thrilled to share these twelve 2020 book club selections with you today! I can’t wait to hear what you think about this year’s list.

MomAdvice 2020 Book Club Selections
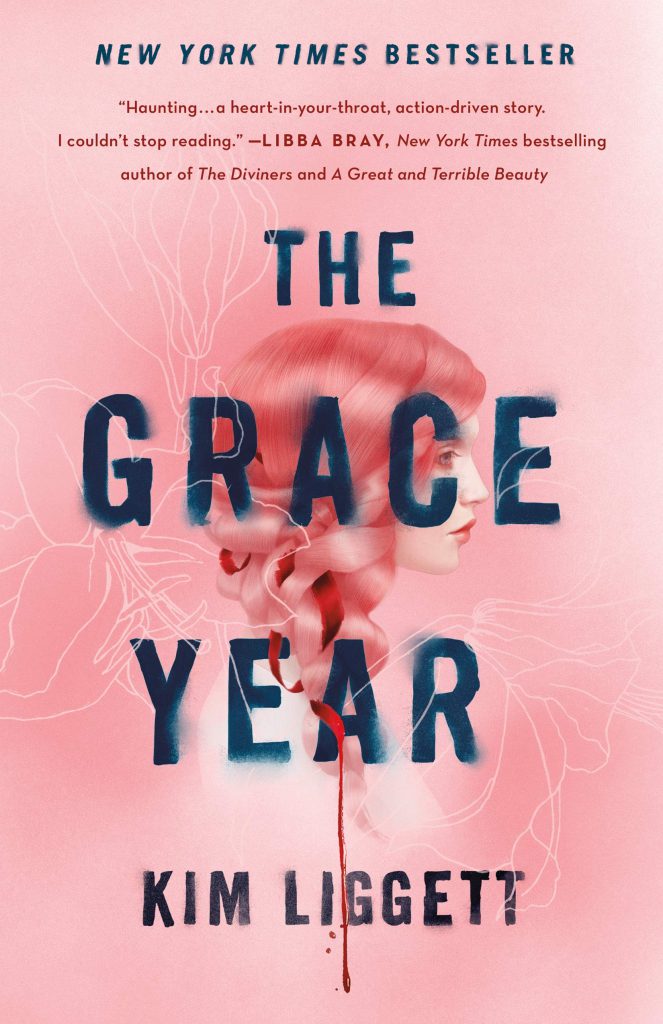 January- The Grace Year by Kim Liggett
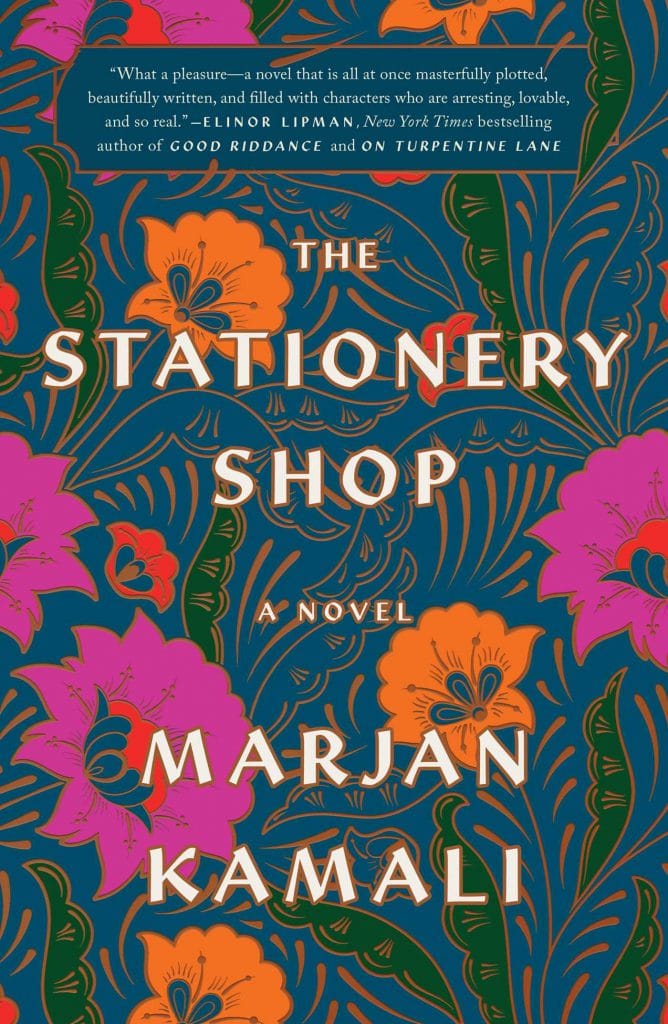 February- The Stationary Shop by Marjan Kamali
 March- The Other Mrs. by Mary Kubica
 April- When All Is Said by Anne Giffin
 May- Dominicana by Angie Cruz
 June- Formation by Ryan Leigh Dostie
 July- The Warehouse by Rob Hart
 August- We Came Here to Forget by Andrea Dunlop
 September- Nothing to See Here by Kevin Wilson
October- The Last True Poets of the Sea by Julia Drake
 November- November Road by Lou Berney
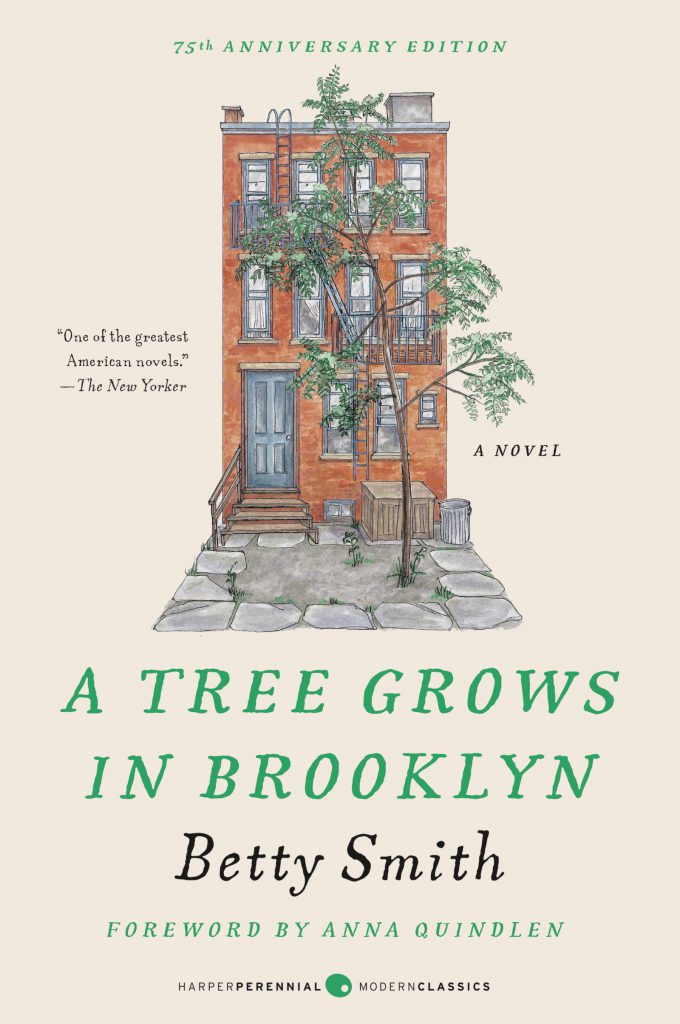 December- A Tree Grows in Brooklyn by Betty Smith (my favorite classic!)
Join in on the MomAdvice Book Club HERE! Looking for book ideas? Check out our entire Book section of the site!
Don’t forget to friend me on GoodReads!
You can also sign up for the MomAdvice Daily Book Deals Newsletter with the latest book news!
As an Amazon Associate I earn from qualifying purchases


