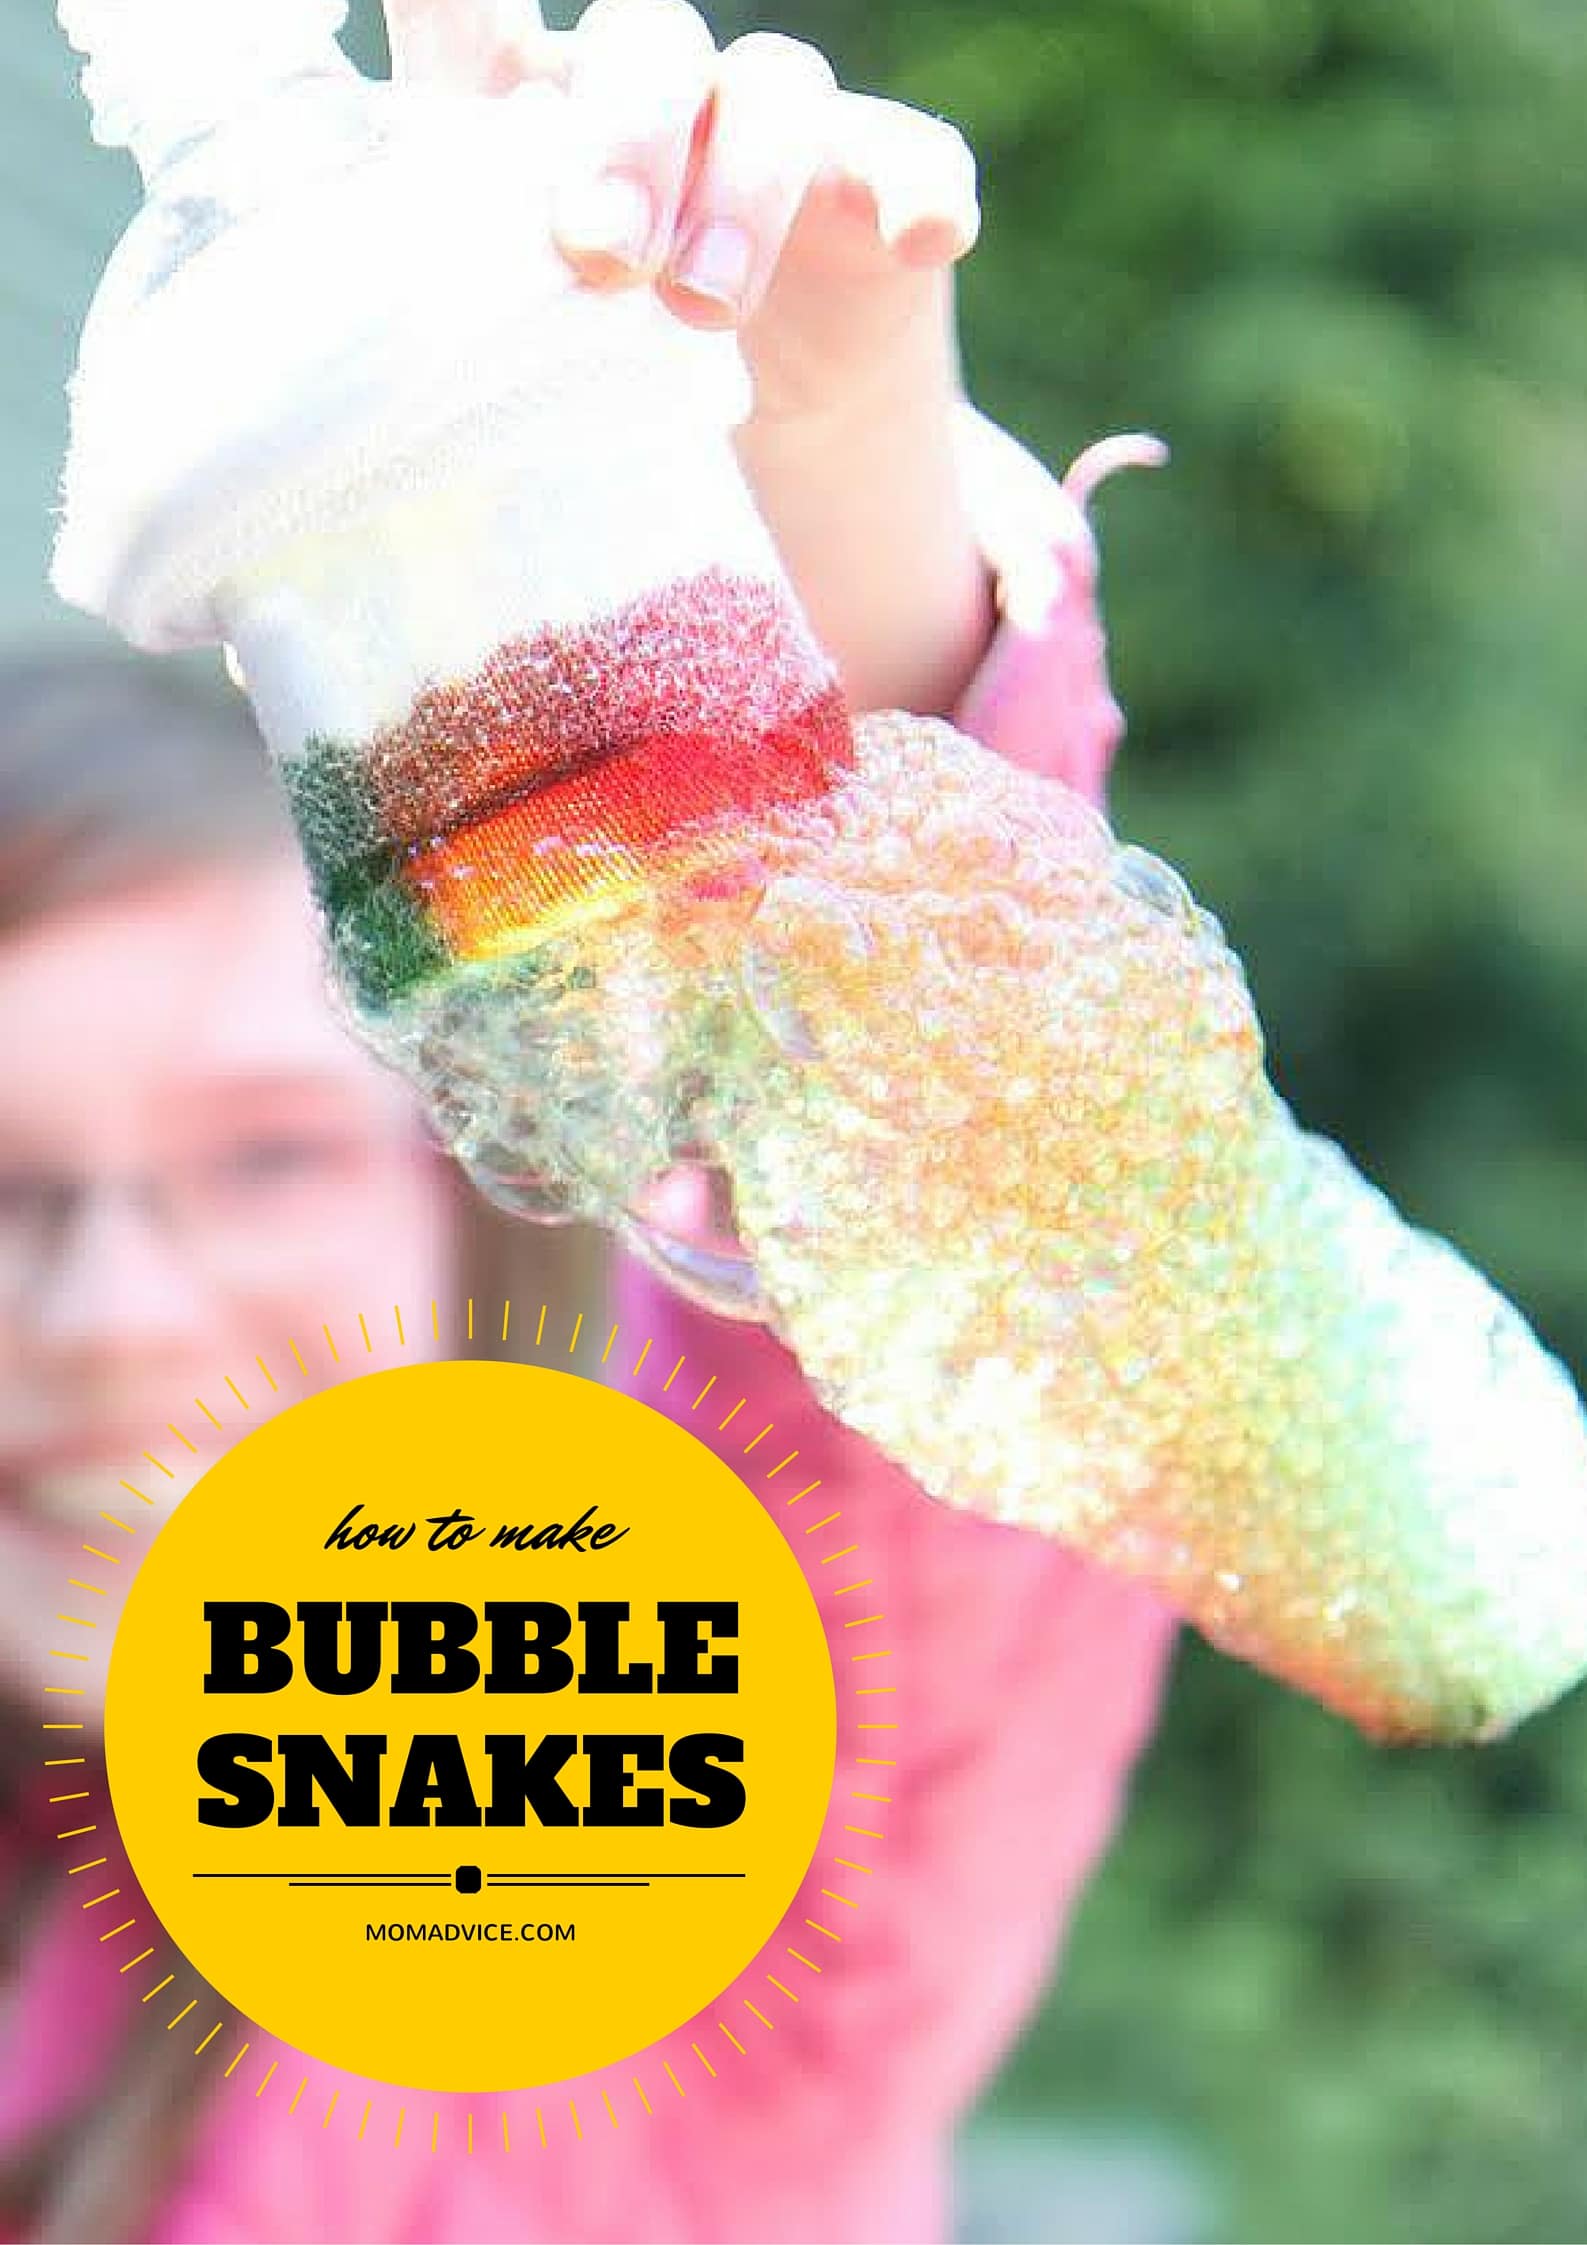
These Indiana girls couldn’t be happier that summer is around the corner and today we wanted to show you how to make bubble snakes with our homemade diy bubble recipe. If you haven’t tried our bubble recipe, you are in for the best bubbles ever this year. This fun activity is brought to you in partnership with Tum-E Yummies today.
Have you made your own bubbles or a bubble snake before? If you haven’t, you are going to be amazed at the difference in this solution versus what you buy at the store and the staying power of your bubble snake. Not only are making bubbles and bubble snakes fun, but they are also a lesson in science.
According to Steve Spangler Science, “Bubbles form because of the surface tension of water. Hydrogen atoms in one water molecule are attracted to oxygen atoms in other water molecules. They like each other so much, they cling together. When you blow air through your Bubble Snake maker, you are creating hundreds of tiny bubbles. As the air wiggles through the fabric, bubbles are continuously being made. The bubbles attach to each other when they come out of the fabric. It’s all thanks to the same hydrogen bonds that make bubbles possible!”
I don’t know about you, but I didn’t really understand the science behind bubble making. I love a bit of science with our crafts. Let’s get mixing!
How to Make Bubble Snakes
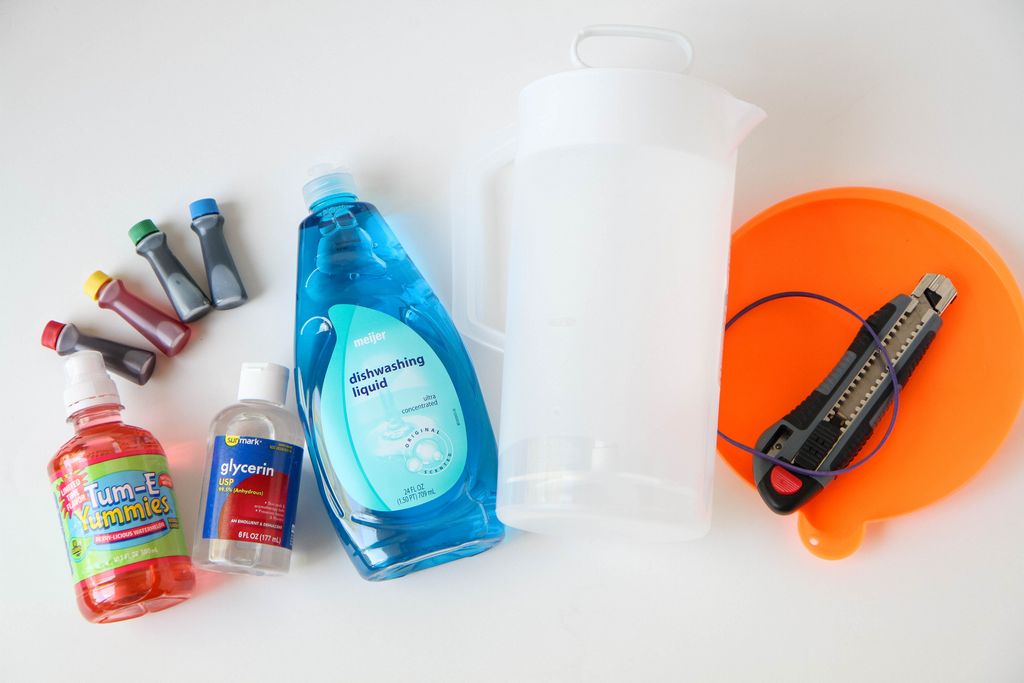
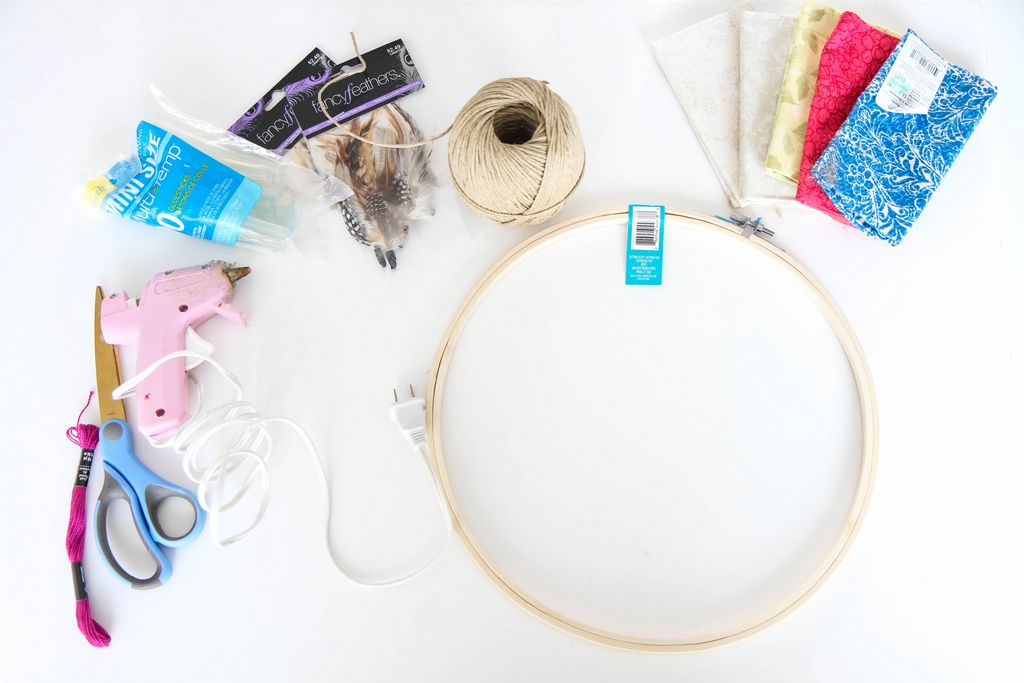
Supplies Needed
Dishwashing liquid soap
Glycerin (we found this behind the pharmacist’s counter at our local superstore. Can also sometimes be found in the first aid supplies section)
Pitcher (we love the kind with a plunger to mix the bubbles)
Liquid Food Coloring
1 plastic bottle
Box Cutter
An old sock or a washcloth (secured with a rubberband) Bubble tray or a disposable plate or bowl
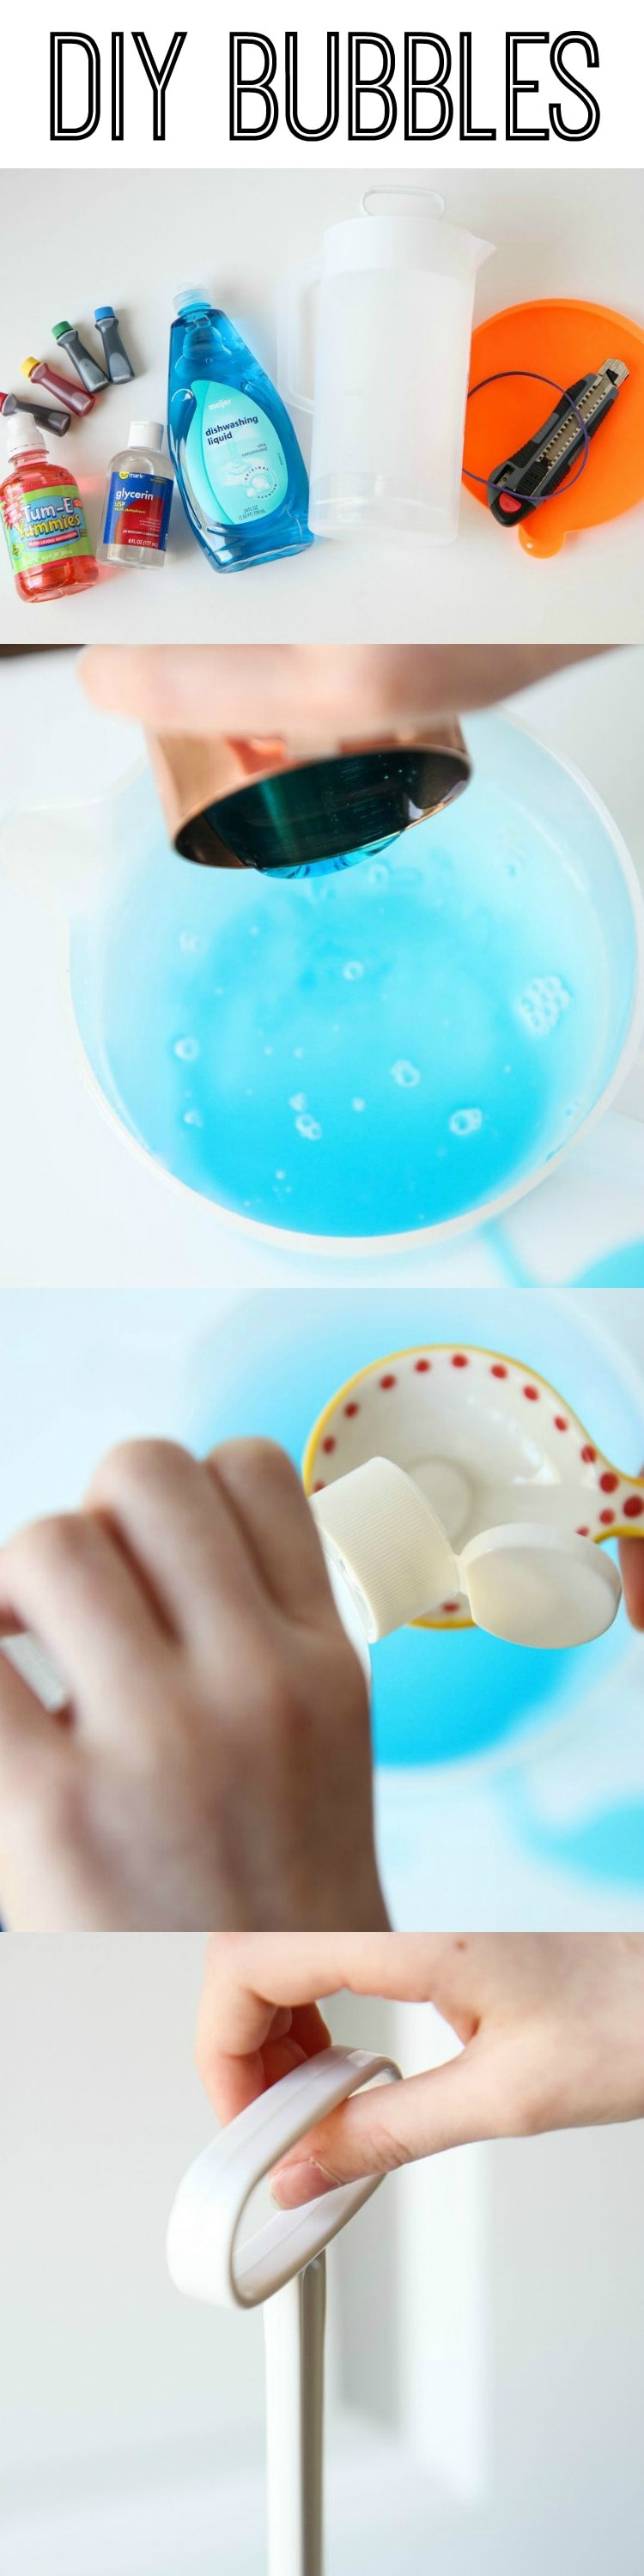
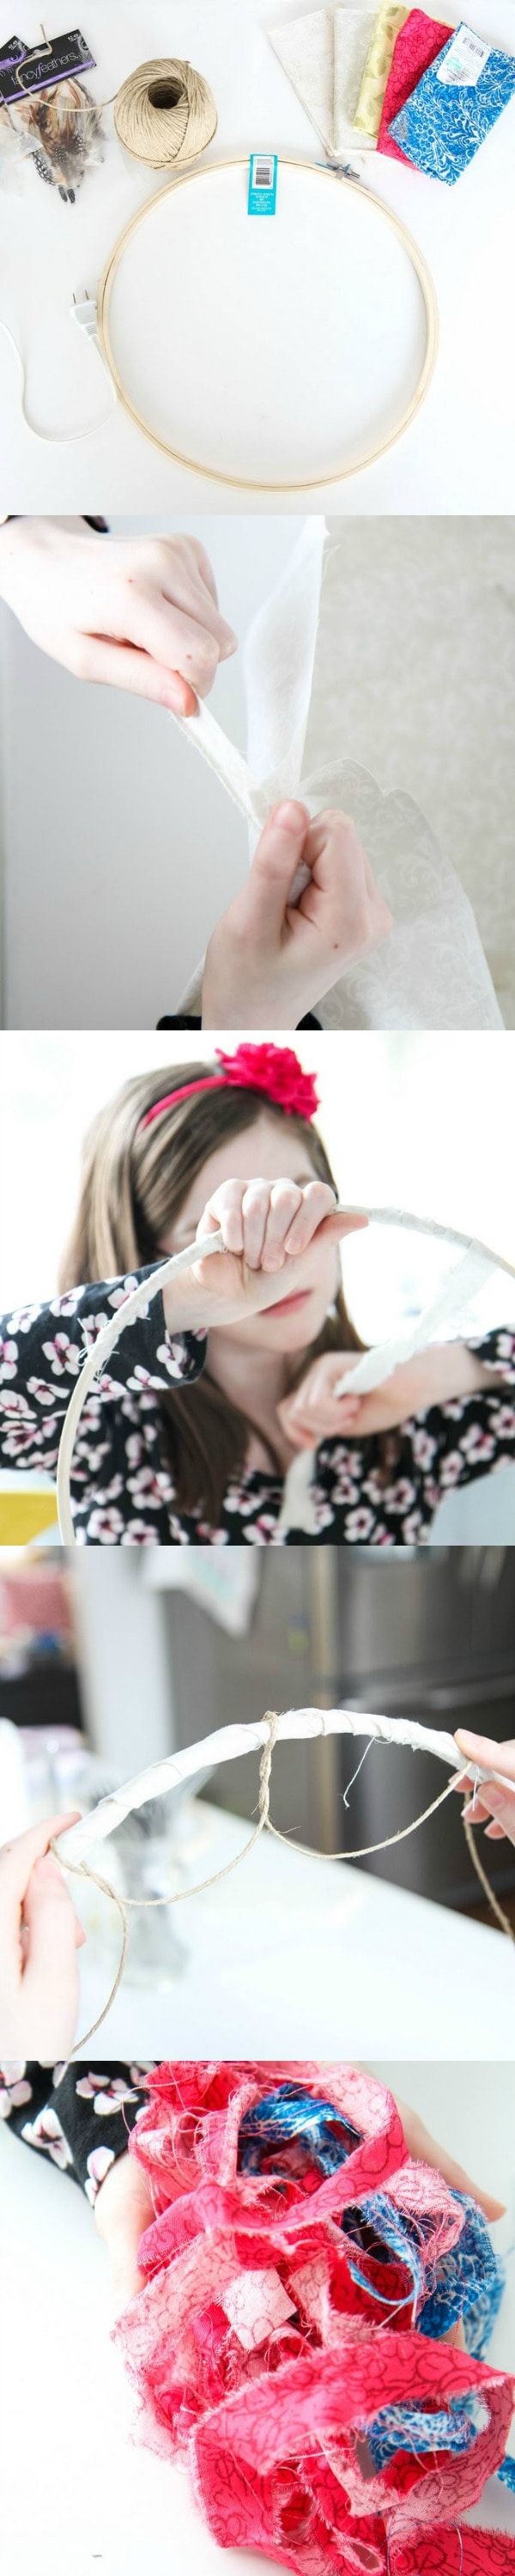
1. Mix up your homemade bubble solution in your pitcher (recipe below). We halved our recipe to fit in this two quart pitcher, but you can definitely mix up a full gallon too. Set aside.

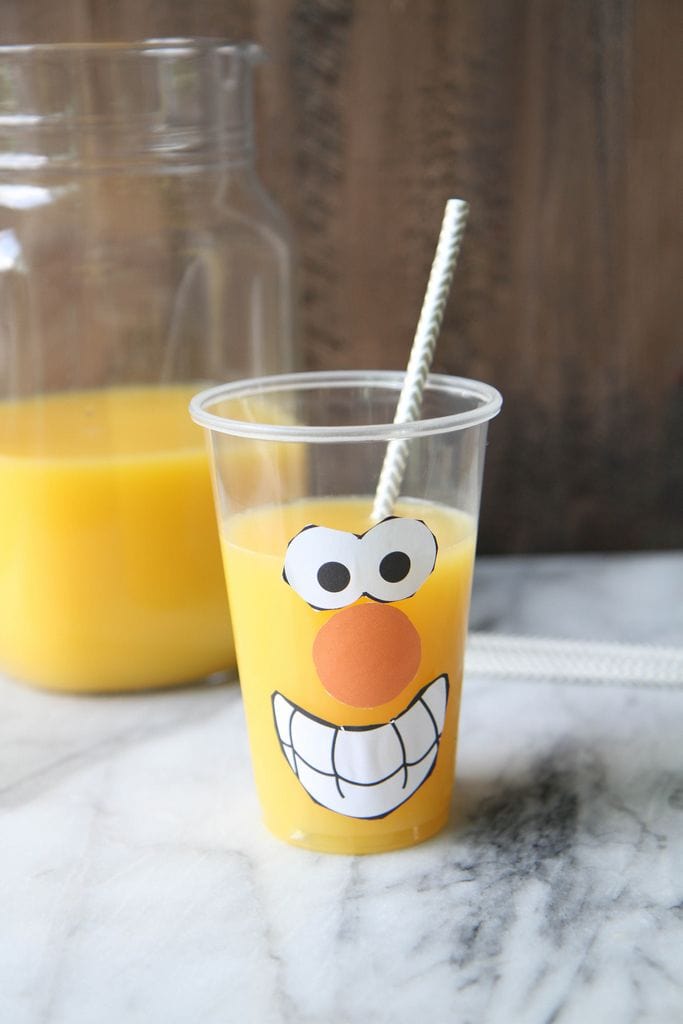
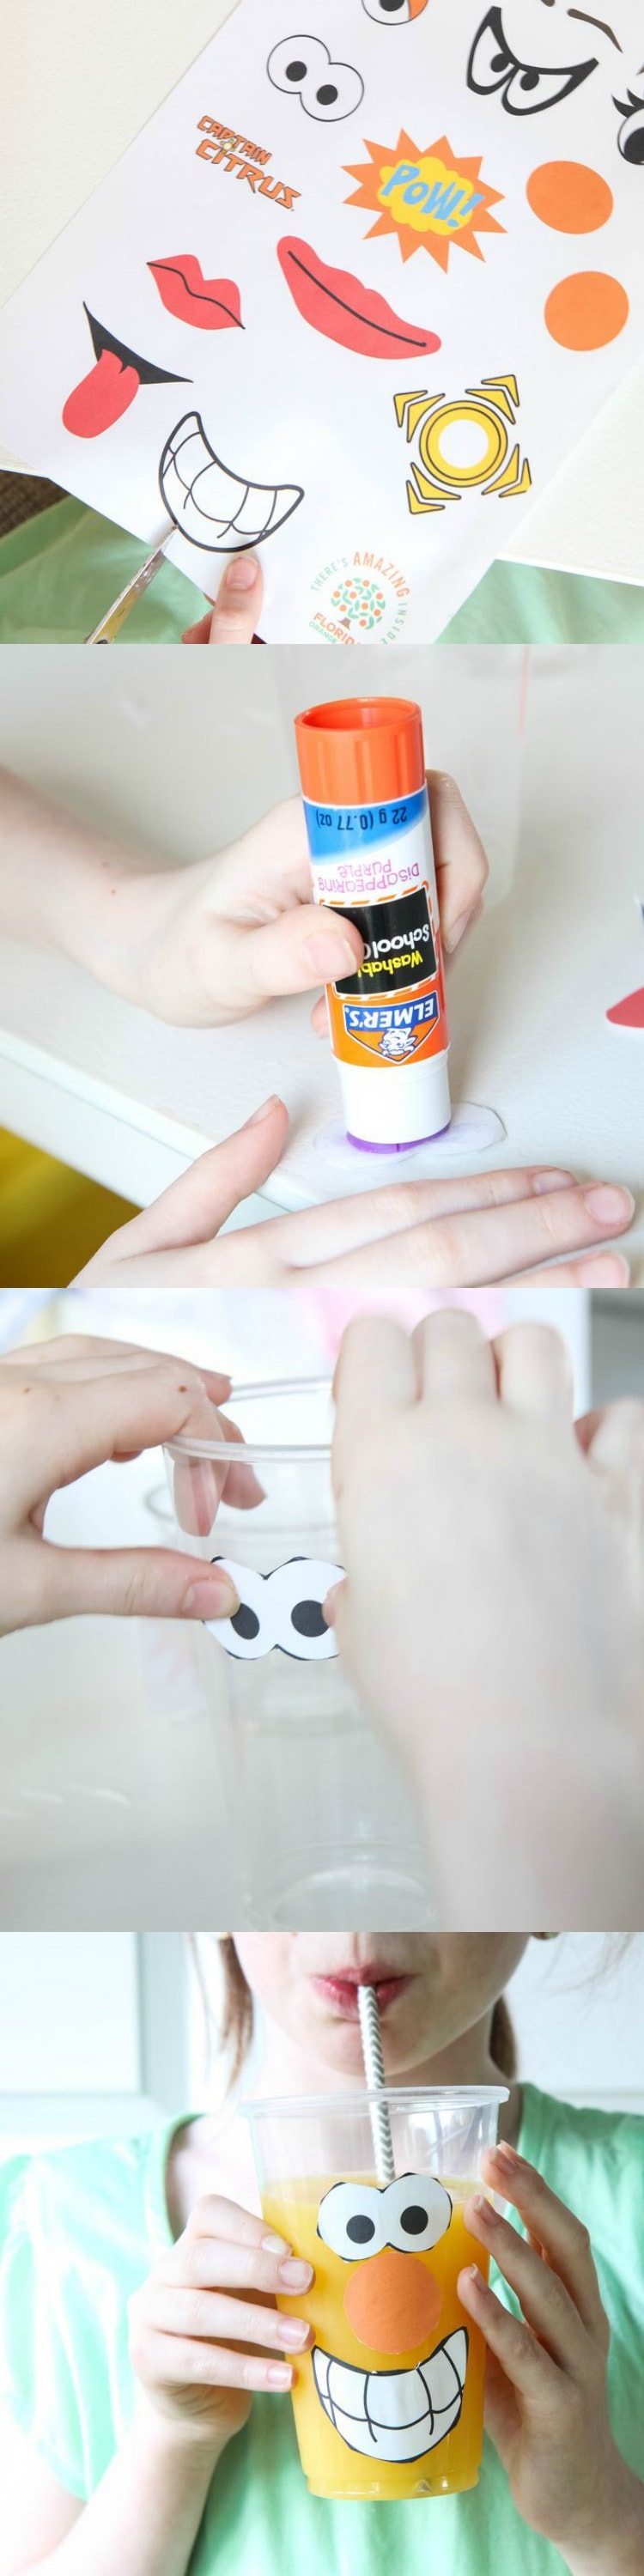
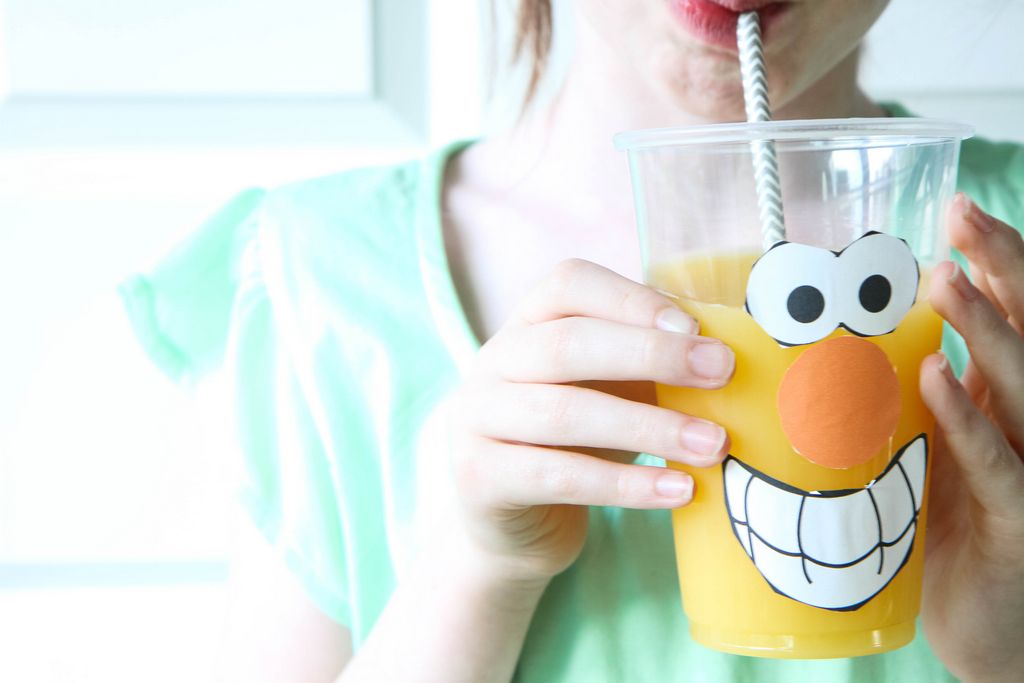
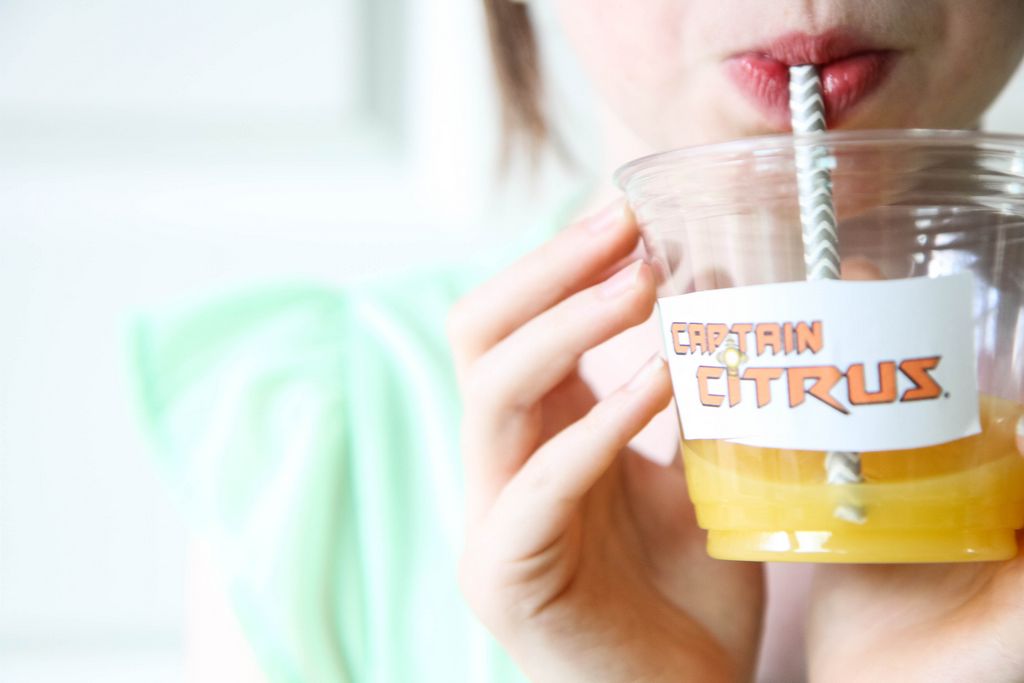
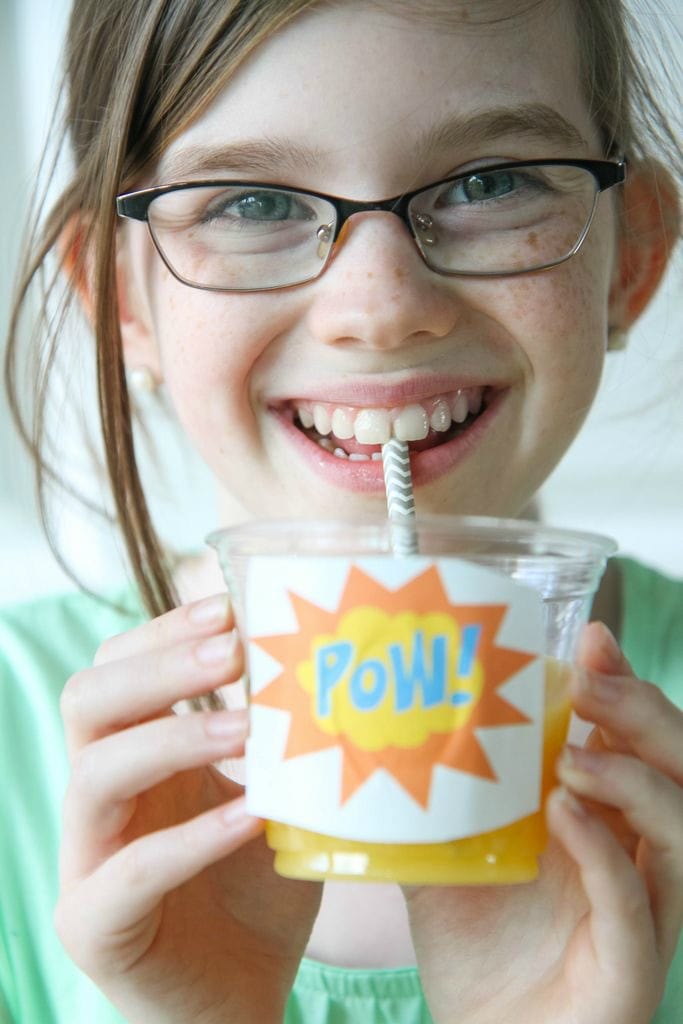
2. Today, we are using a Tum-E Yummies container for the base of the craft, so let your kids drink their favorite flavor to get the container ready to be used! If your kids haven’t tried these, they are fruit flavored waters that come in five flavors (Very Berry Blue, Greentastic Apple, Fruitabulous Punch, Orange-arific, and Sour-sational Raspberry). Each of these have 100% daily value vitamin C, B6, B12 and only 50 calories and 13g of sugar. You can be assured, you will need all those vitamins for the bubble blowing that will be happening once we are done creating this craft!
3. Take a box cutter and carefully remove the bottom of the container. Once this is removed, secure a sock or a washcloth (secured with a rubber band) over the newly opened end.
4. Take your liquid food coloring and create a stripe of each color (red, yellow, green, and blue) across the bottom of the sock or washcloth. The more you add to the bottom, the more vibrant the colors.
5. Dip the rainbow end into the bubble solution. Be sure to get a good soak of bubbles on it to create your snake.
6. Blow on the other end of the container to blow out that colorful bubble snake. Be sure to stress to your kids to not suck in their breath (who wants to swallow bubbles? yuck!).
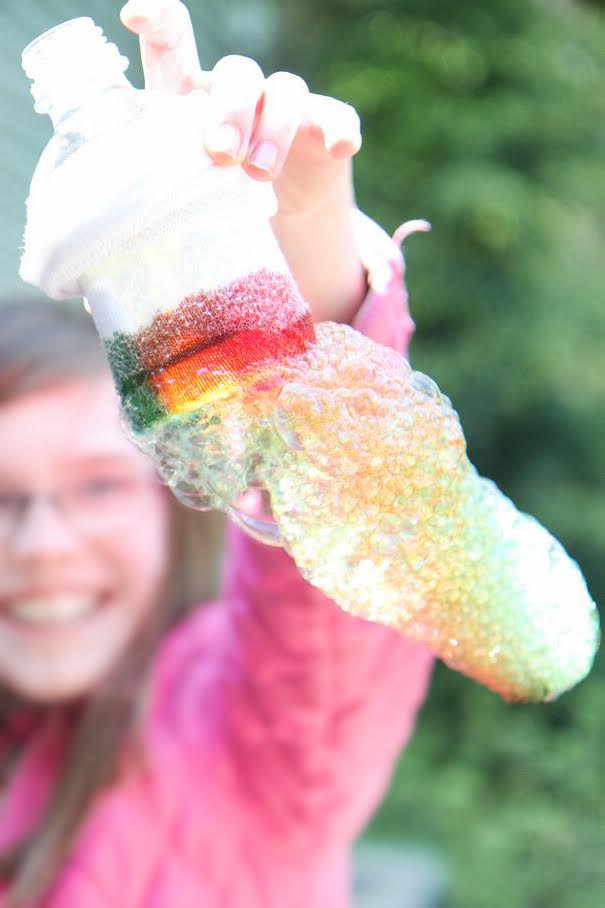
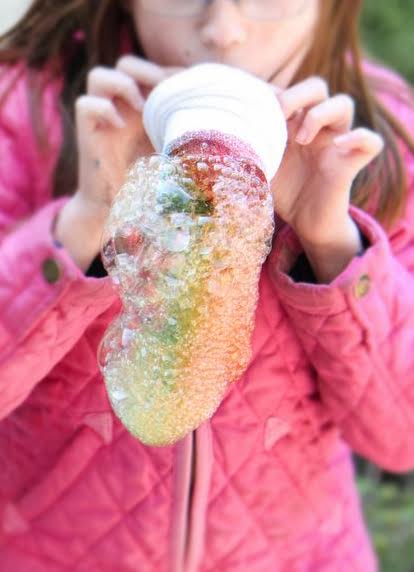
How fun is that? I guarantee amazing bubble snakes with our diy recipe! While you are at it, be sure to purchase some big wands for this fun project. You really won’t believe how big these bubbles are or how long they hold their shape before popping.
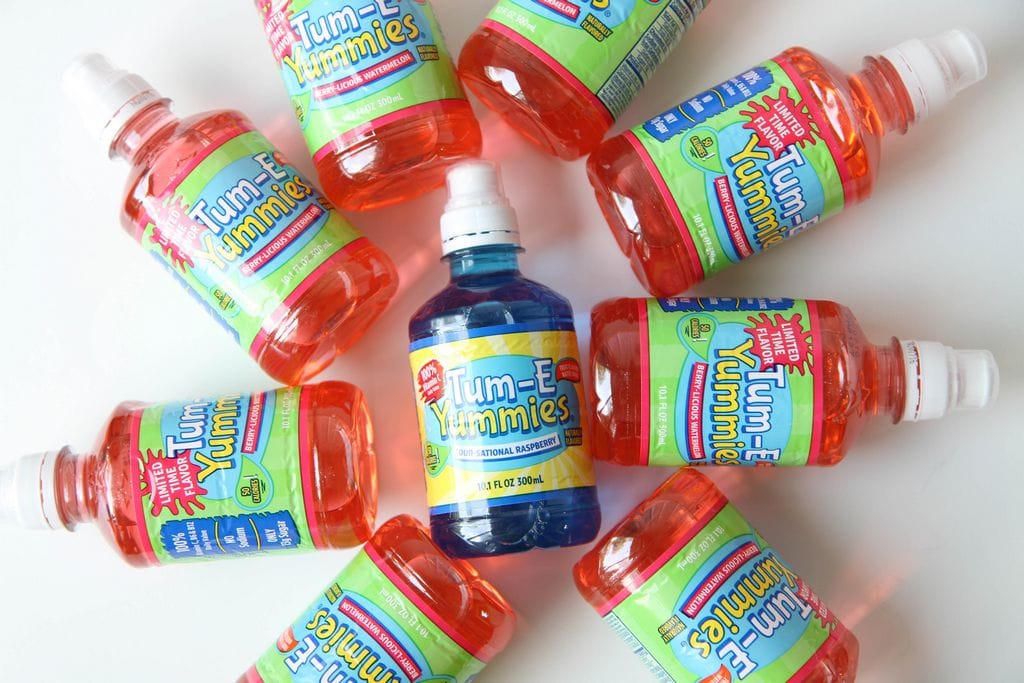
A huge thank you to Tum-E Yummies for partnering with me to create this fun summer activity idea. You can find these flavored waters in many convenience stores, grocery stores, and drugstores. My kids really did love this fun twist on water and I know they will make a fun addition to our pool bags this summer after a long day of swimming!
- 1 gallon water
- 2/3 cup dishwashing soap
- 2-3 tbsp. glycerin
- Mix all these ingredients in a container. DONE!


 That’s it!
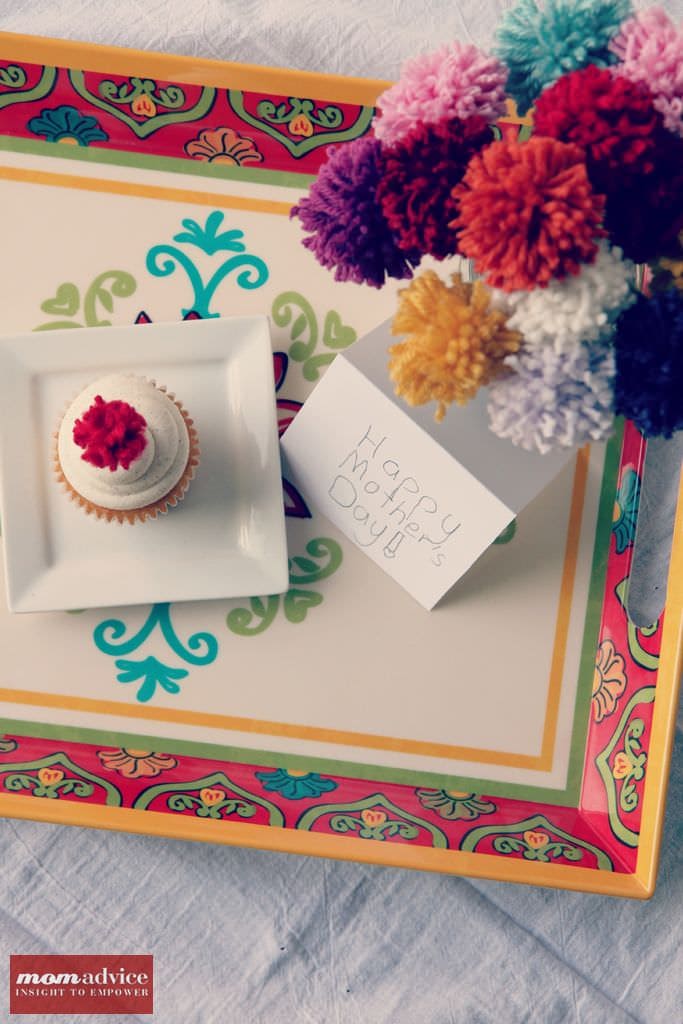
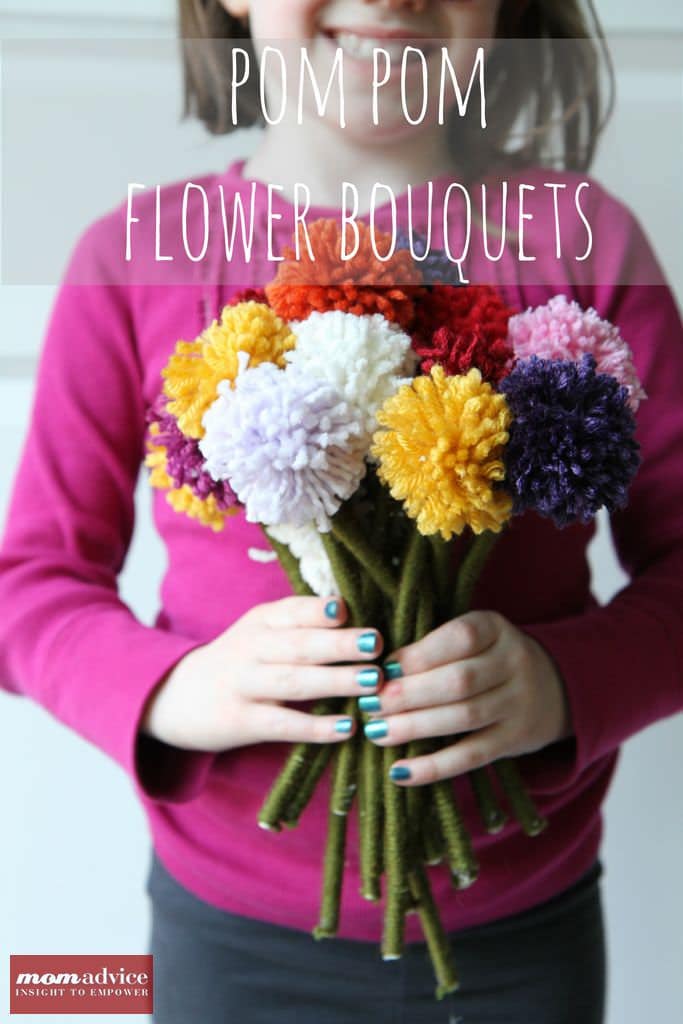
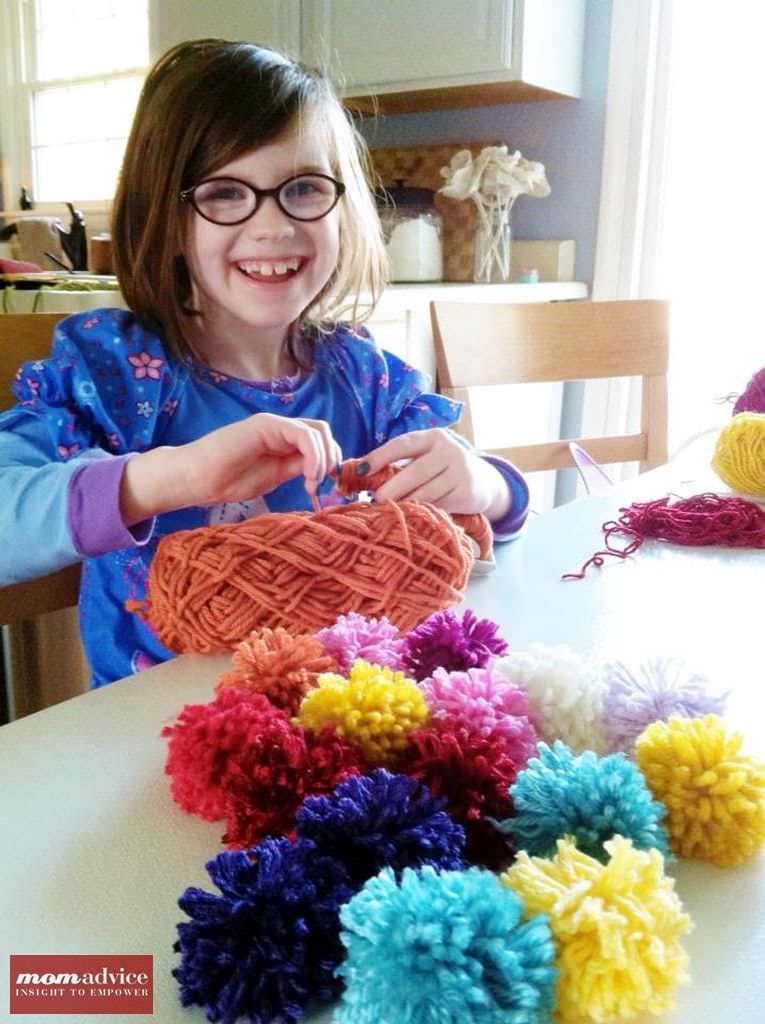
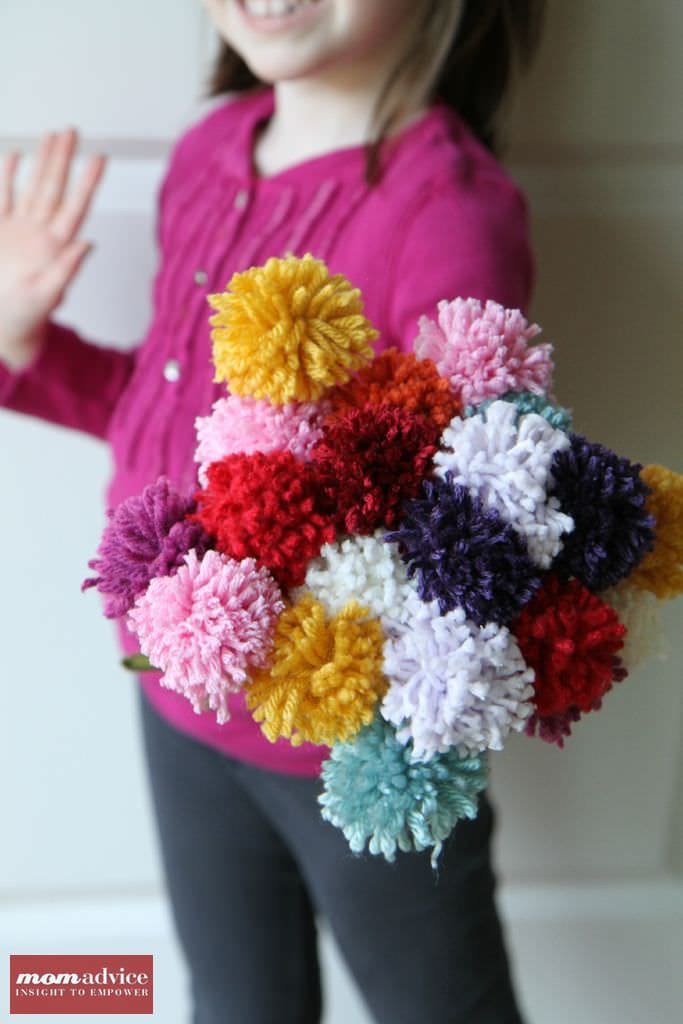
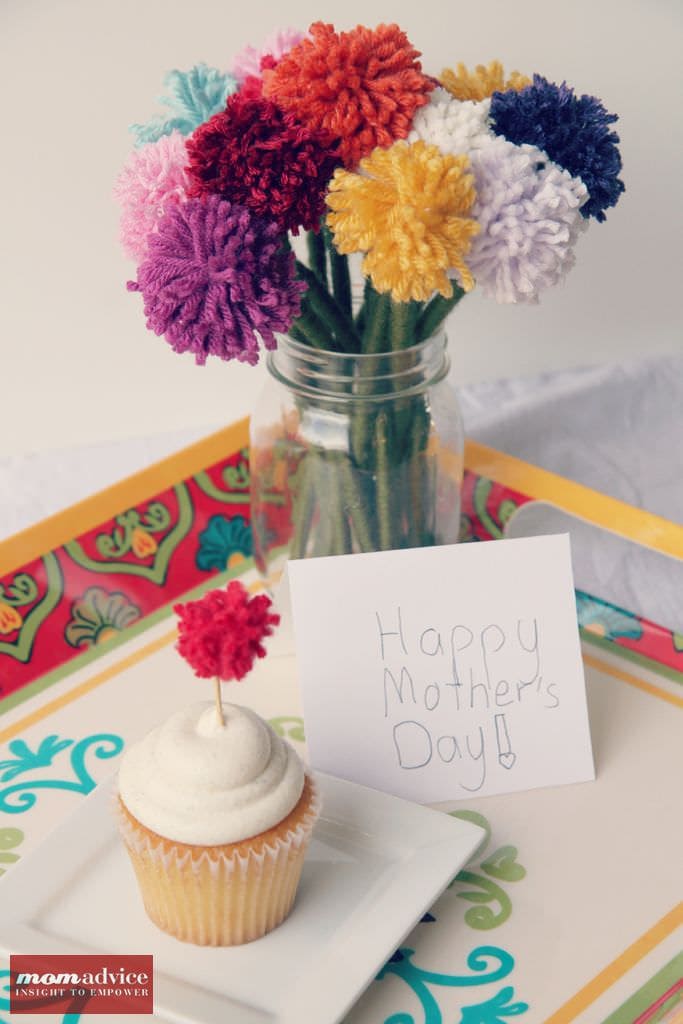 Who could resist a gift as sweet as this? Not only is it the perfect Mother’s Day gift, but it would make a sweet gift to celebrate any occasion. Pair these pom-pom posies with a gift certificate to pick up craft supplies for the crafty mom in your life.
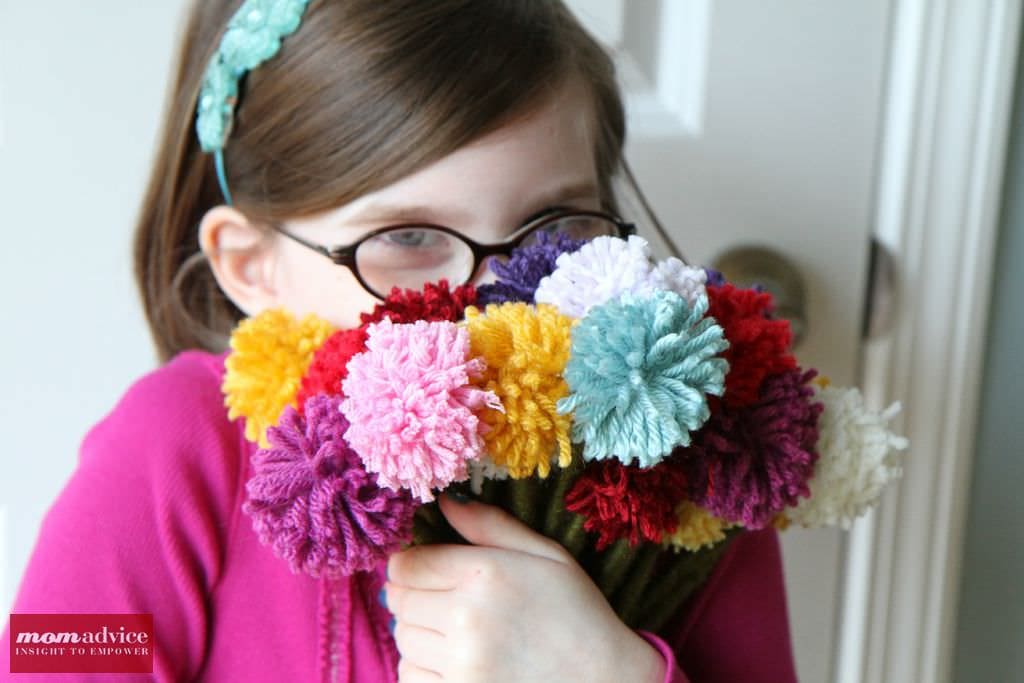


