This post was sponsored by Bayer. All thoughts and opinions are my own!
If we are only doing science with our kids when the science fair rolls around, I feel like we are missing the boat. Every day is an opportunity to teach something about science with our kids through simple routine moments throughout our day. From baking bread to why their bath tub toys float to how swinging at the park really works…that’s all science (and pretty amazing!).
Simple daily activities are a great way to incorporate science into our daily routines and most parents have a desire for that. In fact, in Bayer’s recent back-to-school survey, nearly all (95%) parents surveyed agree that it would be helpful to have tips for turning simple activities into science learning opportunities for their children, which is why Bayer decided to create a program to address this need.
So many of these teaching moments are overlooked in our house so I am excited to partner with Bayer as they work to improve science literacy in kids through their award-winning program, Making Science Make Sense (MSMS). In this program, Bayer creates hands-on lessons to kids to seriously think about science and fostering the seeds of science in our kids even when they are small. It inspired our family to take a science challenge of our own and gave us a TRULY fun moment with our daughter while teaching her a really important science lesson in the process.
I honestly don’t know who was more excited- my daughter or my husband.
Who doesn’t love a crazy chemical reaction?
If you don’t want to take on our experiment, you can tackle so many easy and fun experiments through the MSMS science library exploring topics like what happens when water boils, where the light from sun comes, and why do oil and water not mix. Not only are these fun things to talk through together, they could also definitely round out a homeschool curriculum.
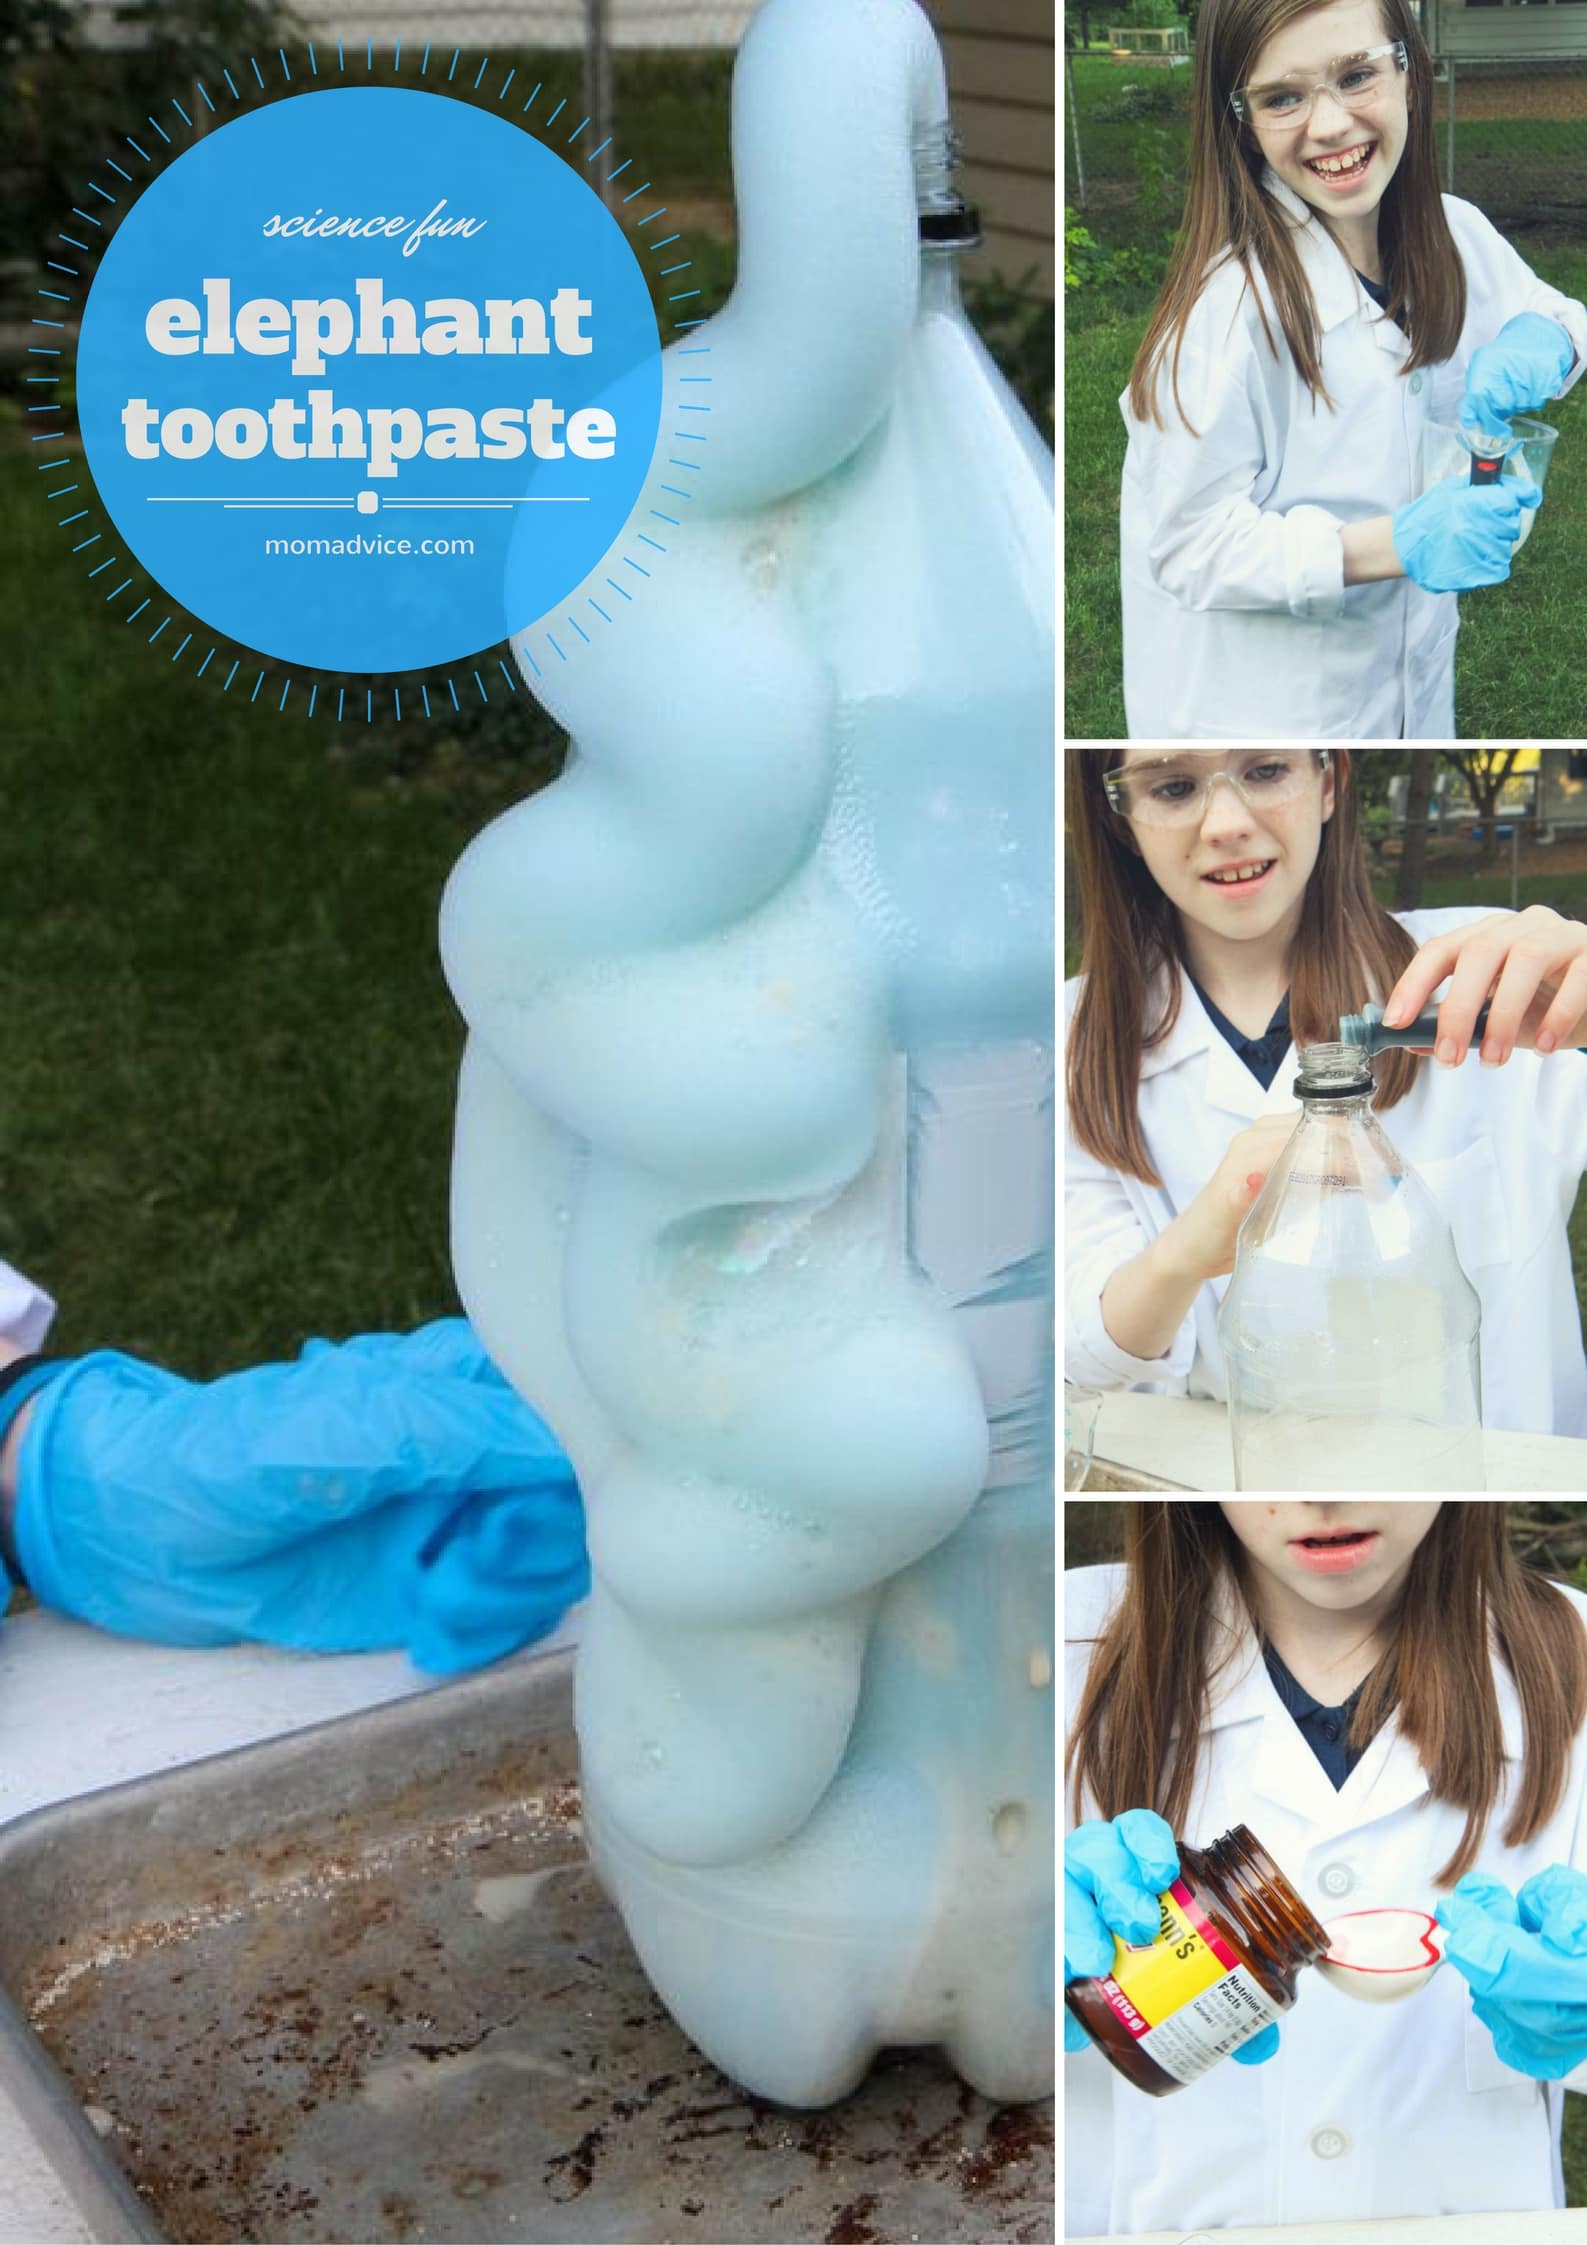
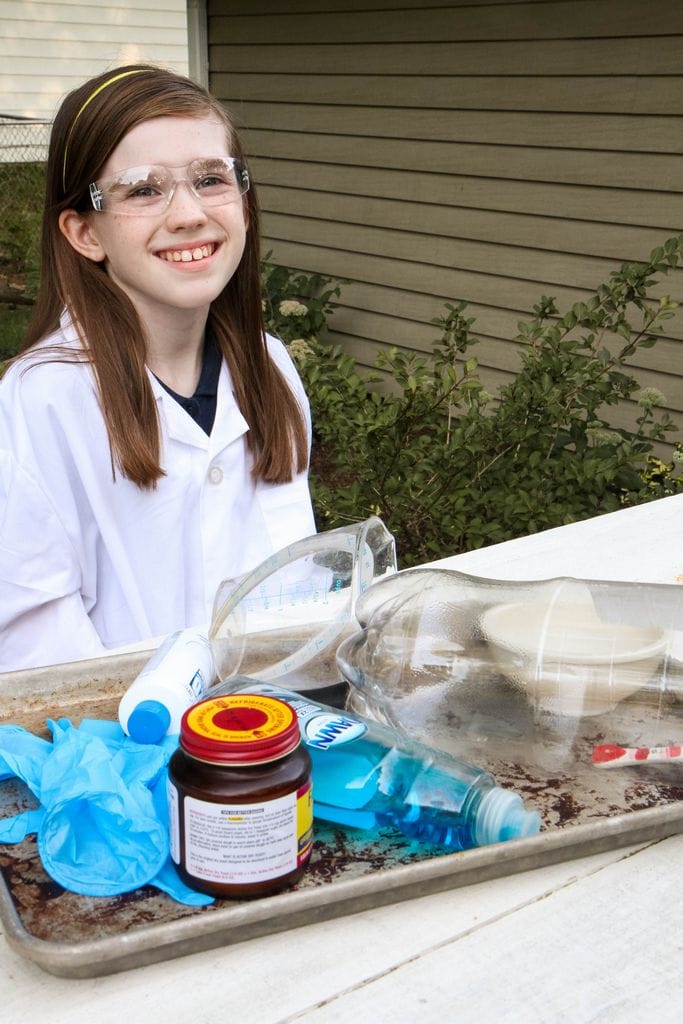
Since we have middle school kids, we have found it takes a lot to wow them so I wanted to create some science fun that they had never seen before. Grab your safety glasses and dive into a fun science experiment with us as we make Elephant Toothpaste and learn a heck of a lot of science in the process.
How to Make Elephant Toothpaste
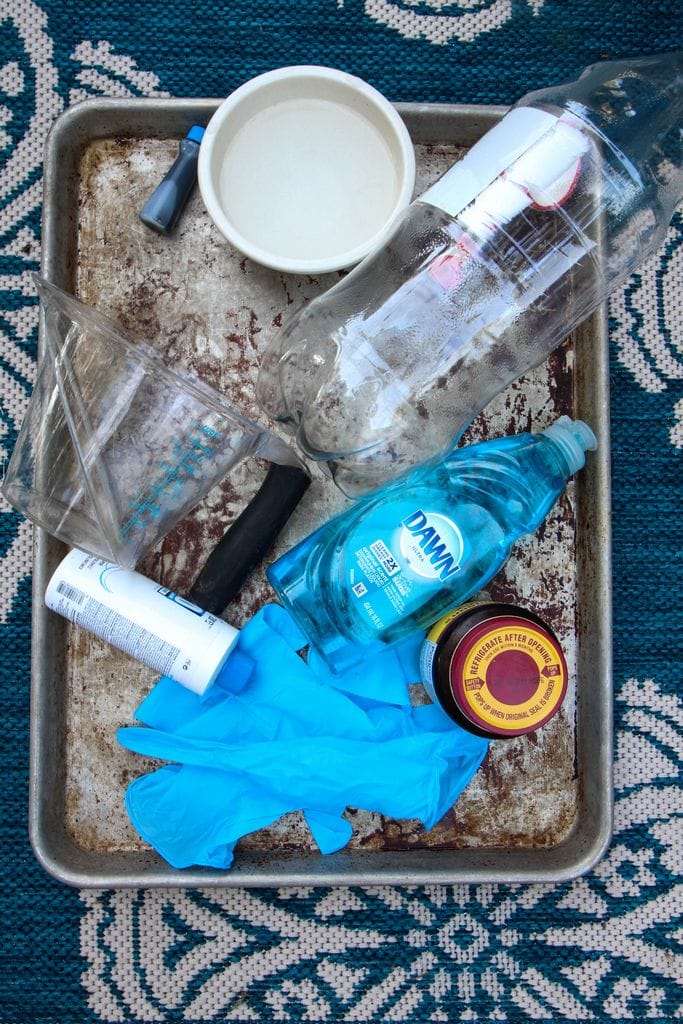
Supplies Needed:
1 Cookie Sheet
1 Empty 2-liter container
1 Tablespoon of Dry Yeast
3 Tablespoons Warm Water
Small Cup For Mixing
Liquid Dish Soap
1/2 cup 20-volume hydrogen peroxide liquid (20-volume is a 6% solution and not available at drugstores so make sure you get the type we are linking to)
Food Coloring
Rubber Gloves
Funnel
Safety Goggles (we bought these and they fit perfectly)
Directions for Making Elephant Toothpaste
Please note: We advise parents do the pouring of the hydrogen peroxide as it can irritate the skin and eyes.
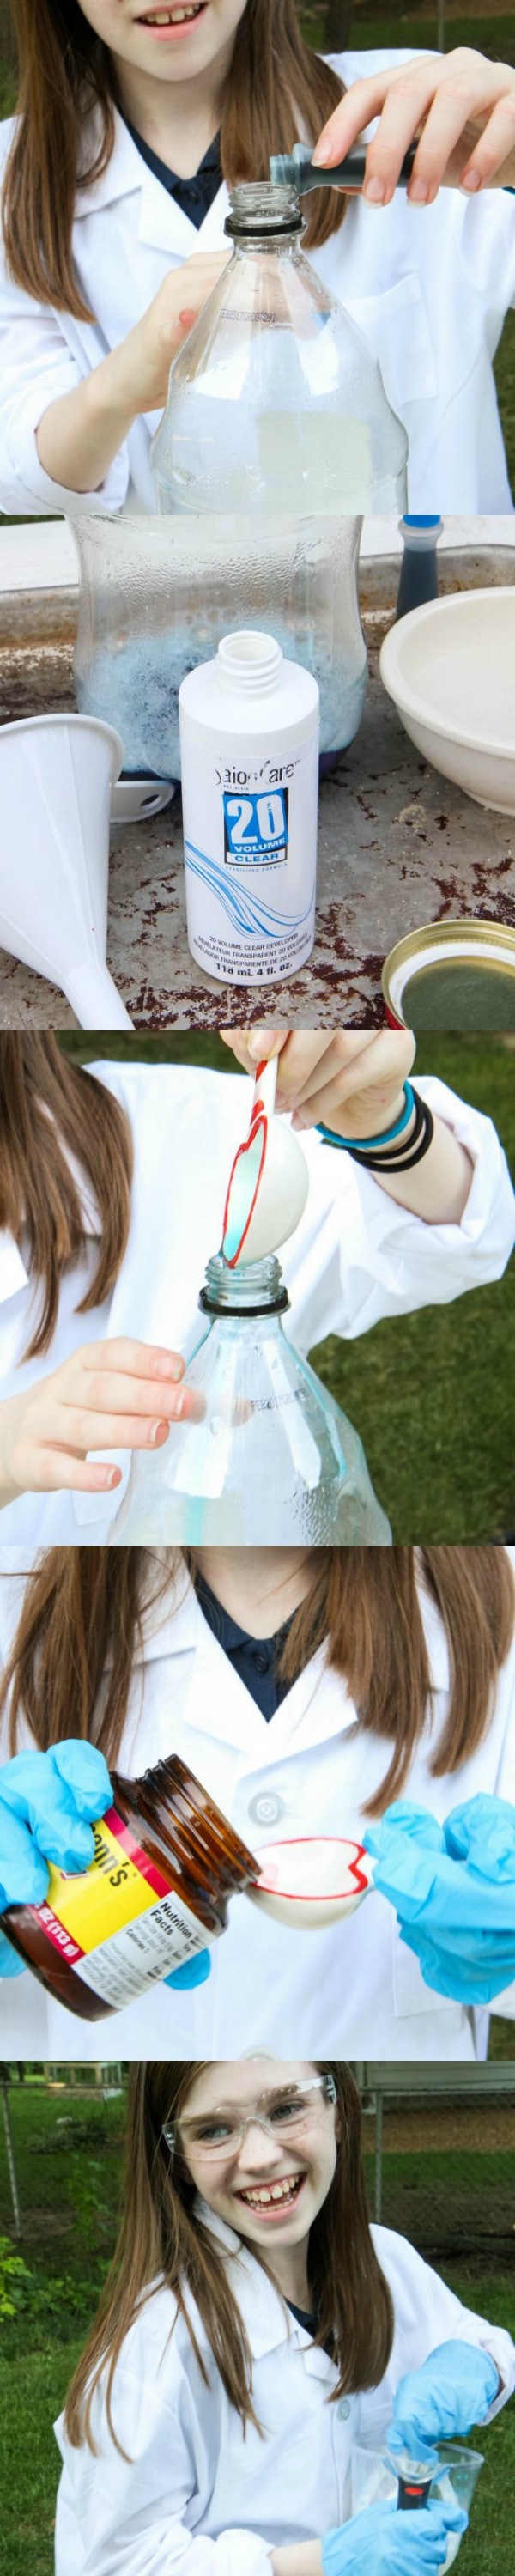
1. In a clean 2-liter bottle add 8 drops of food coloring. We picked blue to look like toothpaste!
2. Next have an adult add the hydrogen peroxide to the mixture. A funnel really helps with this step!
2. Add one tablespoon of your liquid dish soap to the bottle. Have your child swish the bottle gently.
3. In a separate cup, mix together the dry yeast and warm water. Mix, mix, mix for 30 seconds.
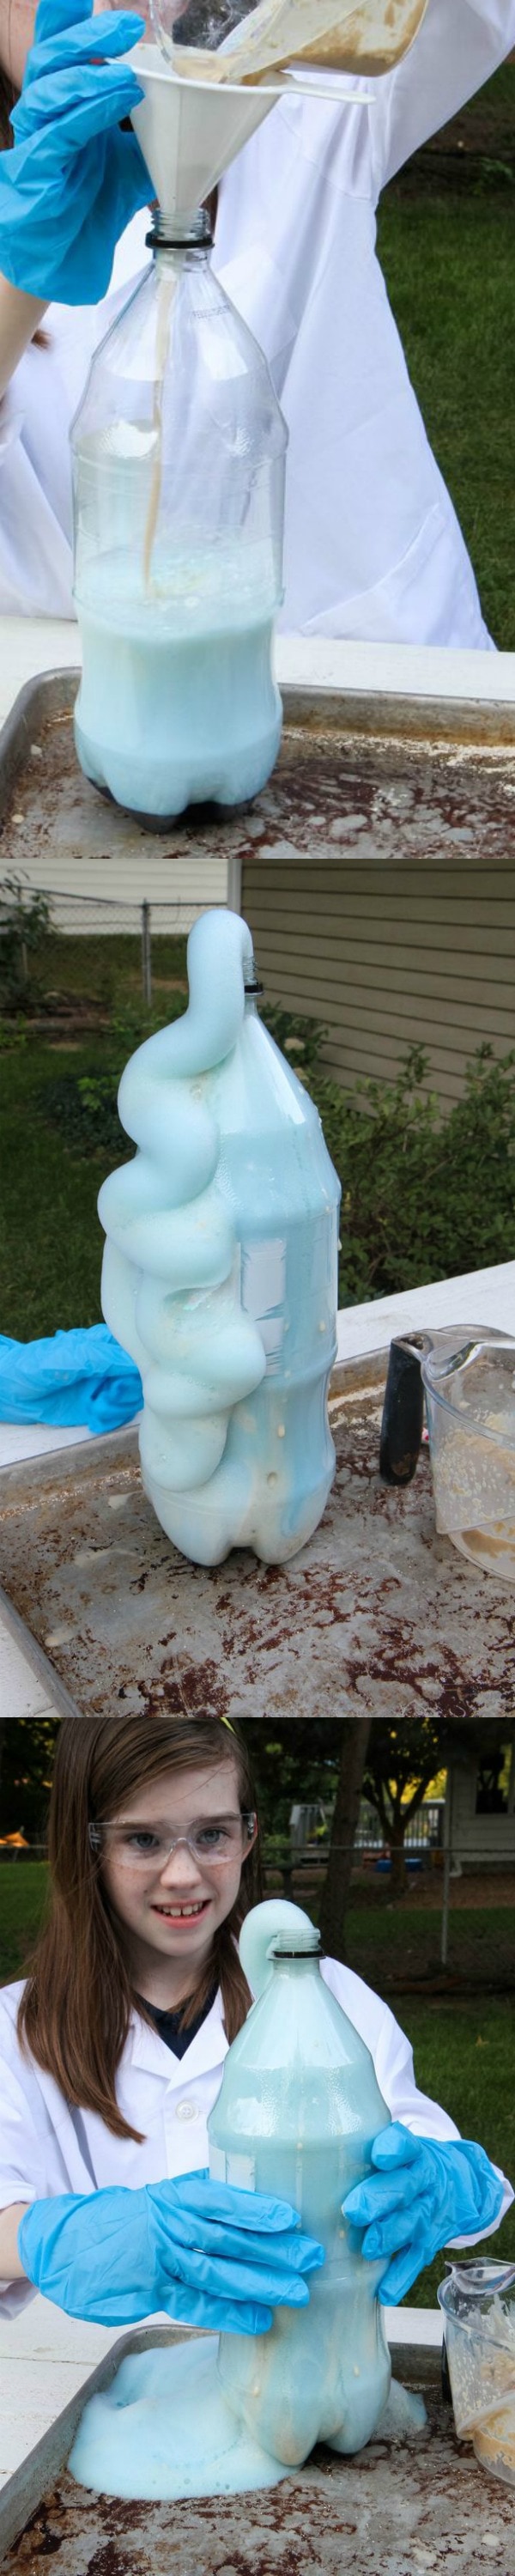
4. Place the funnel on top and then pour the yeast mixture into the bottle.
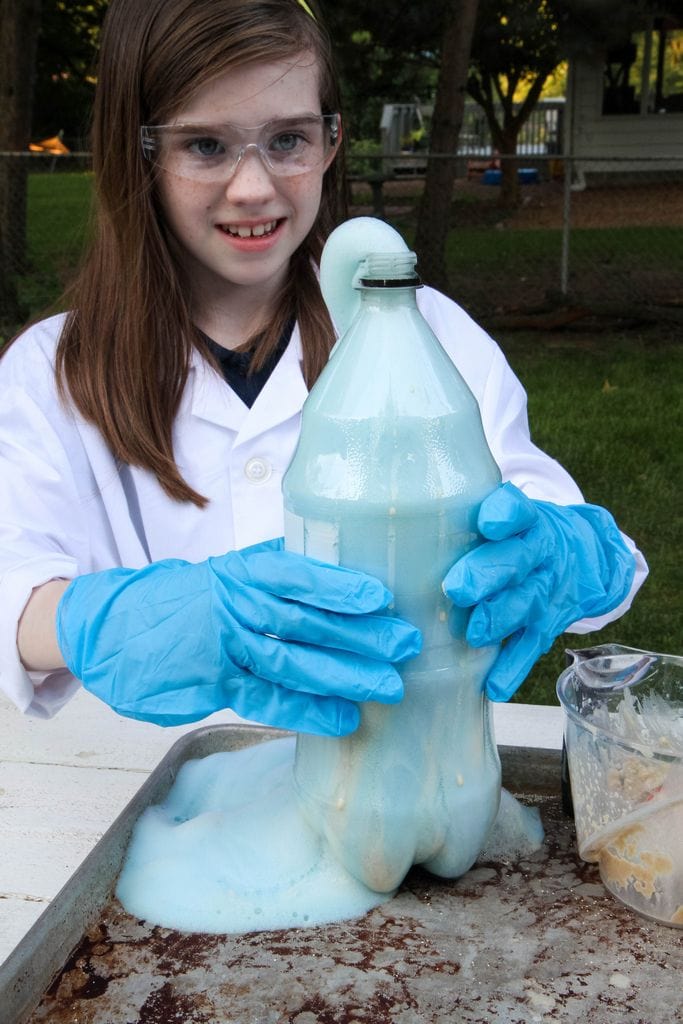
5. Watch in amazement as this starts foaming and overflowing from the bottle. Be sure to put your gloved hands around the bottle to feel the heat that the bottle is giving off.
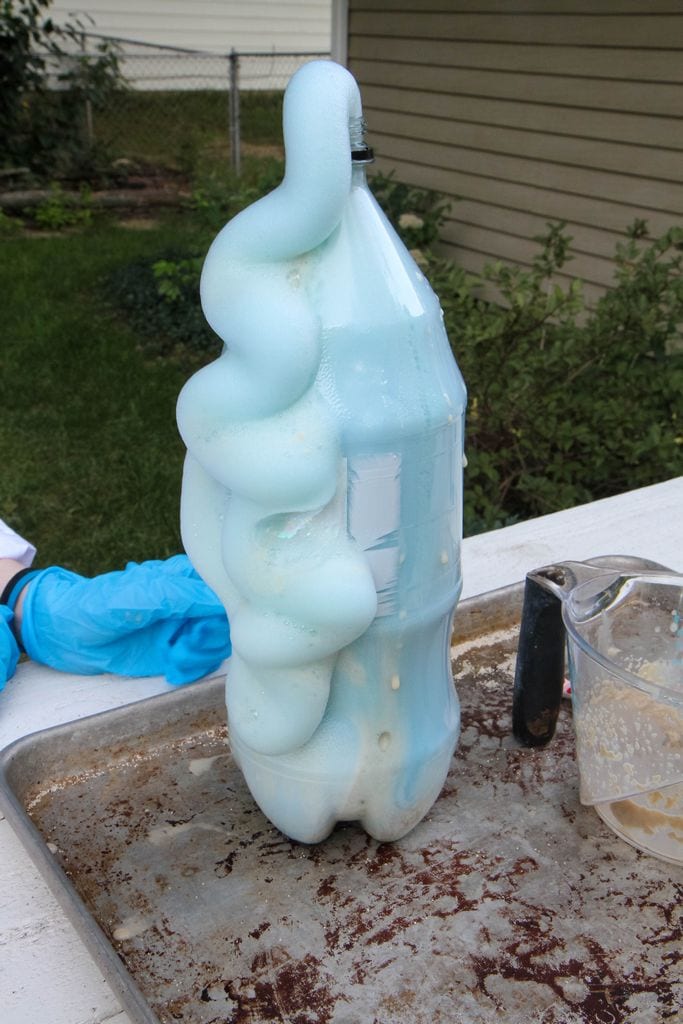
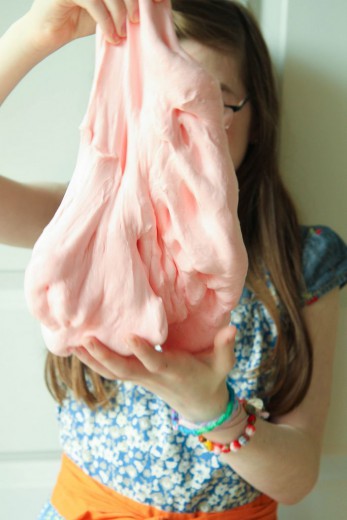
Doesn’t that look like toothpaste? We were all amazed at this chemical reaction.
What’s the Science Behind This Elephant Toothpaste?
Each foam bubble is filled with oxygen. The yeast acts as a catalyst to remove the oxygen from the hydrogen peroxide. Since we did this process so fast, it created lots of bubbles quickly.
We also created an Exothermic Reaction which means you created heat with this reaction. How cool is that? We thought that part was almost as amazing as the foam that we created!
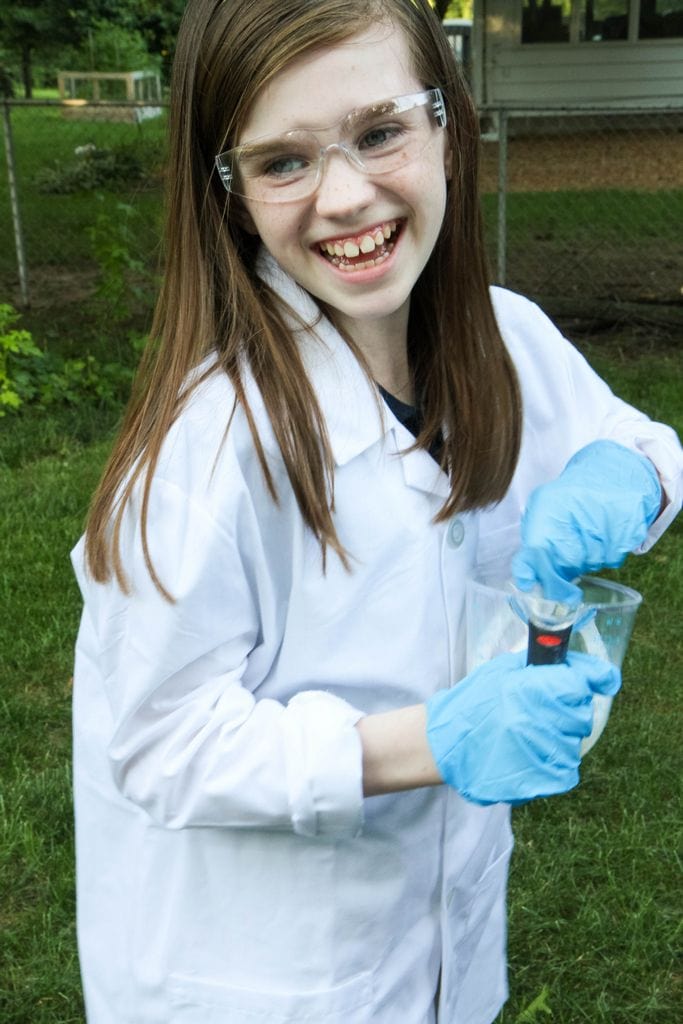
She was absolutely miserable.
Clearly.
Science is awful.
Just look at that face!
Just kidding, she was in science heaven in our backyard lab.
Although experiments are grand, I hope the takeaway is that we have the opportunity to share science with our kids every single day. I hope this idea and the many, many ideas from Bayer’s Making Science Make Sense give you lots of chances to talk about science each and every day.
Do you have any tips on how to share science at home with your children? What hurdles do you experience in encouraging STEM learning beyond the classroom? I would love to hear them!
This post was sponsored by Bayer. All thoughts and opinions are my own!


