Author Archive

Spring Cleaning with Goodwill

Saturday, March 17th, 2012

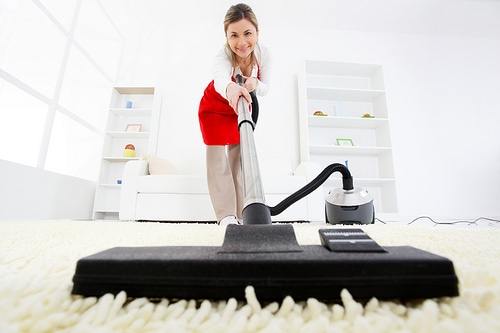
vacuuming dirt off a green carpet

It is that time of year again when we all have the urge to get rid of the useless items , reclaim our garages, and restore order in our home.

I used to try to do spring cleaning in one week, but with endless activities on our calendar, it makes it difficult to devote a week’s worth of my time to just cleaning.

Who really has time for that?

Instead of doing one deep cleaning try “spring cleaning” all year long rather than trying to set aside a specific time to do this.
By simply incorporating smaller scale spring cleaning projects into your daily routine, you can accomplish the same tasks on your limited schedule.


Make a Checklist
Begin by making a checklist of everything that you would normally do during your spring cleaning.
Tasks like washing all the linens and drapes, wiping down baseboards, washing windows inside and out, cleaning out your pantry, washing your shower curtains, organizing your linen cabinets, wiping down walls, and cleaning doorknobs and light fixtures are items that are typically on a spring cleaning checklist.

Take Inventory of Your Supplies
Take inventory of your cleaners and the tools that you will need in order to accomplish all of the necessary cleaning.
Nothing is worse than getting ready to do your task and then finding out that you are missing that one component needed to complete your task.
Put the items that you will need on your shopping list and get these items on the day that you perform all of your errands.

Add Just One Hour
Continue doing your normal daily routine, but add an extra hour each week towards accomplishing just one of these tasks on your list.
Check off the items that you accomplish and press on to the next one.
By just devoting one hour a week towards your spring cleaning goals you will have a more manageable deep cleaning routine.
Reclaim Your Home
Clear out as much clutter as you can.
Make a box for trash and a box for your Goodwill donations and fill these with all of the unnecessary clutter in your home.
By donating these items to Goodwill your items continue to help Goodwill’s mission to provide jobs, training and placement services for people with barriers to employment.
Not only will someone who needs these items more benefit from your donation, but you can receive a tax break and reclaim space in your own home.
If you don’t like to dust it, don’t love the item, and want an organized home – donate it!!
Make Cleaning Convenient
Keep a caddy of cleaning supplies on each floor. I find it much easier to clean my house when I know that the tools that I need to accomplish my task are just a few steps away.
Keep your checklist either in one of your caddies or somewhere that is accessible so that you can always stay on track with your deep cleaning.

As an aside, I also encourage you to do your cleaning when it is convenient for you.
Some people work better during morning hours while others of us would rather be snoozing and do better in the evening.
Take advantage of the times that you work best. If you would rather break the hour into smaller increments that is totally up to you.
The idea behind all of this is to make it as easy as possible so fit it in wherever and whenever you can.
Get the Kids Involved
Enlist your helpers to help you on these tasks.
Your children and your husband can be active participants in getting your home organized just like they help to contribute to the clutter.
Schedule dad for clearing out the garage, taking inventory of the tools you will need to do your gardening, cleaning out the basement, weeding through the family electronics, or other tasks inside and outside of the home.
Children can aid in cleaning their own rooms by helping to remove some of the clutter in the house.
Involving your family can be beneficial in showing them all that you do to keep your house running smoothly.
Make it Fun
Whatever you do, try to make the experience a fun one.
Turn on some great music, watch television while polishing tables, do whatever you can to make getting your home clean easier and more enjoyable.
What are your best tips for Spring Cleaning?
We would love to hear how you accomplish the Spring Cleaning in your home!
Please click on the above pictures for photo credit and to access the photographer information for each image.


Don’t miss these other great ideas from MomAdvice.com:


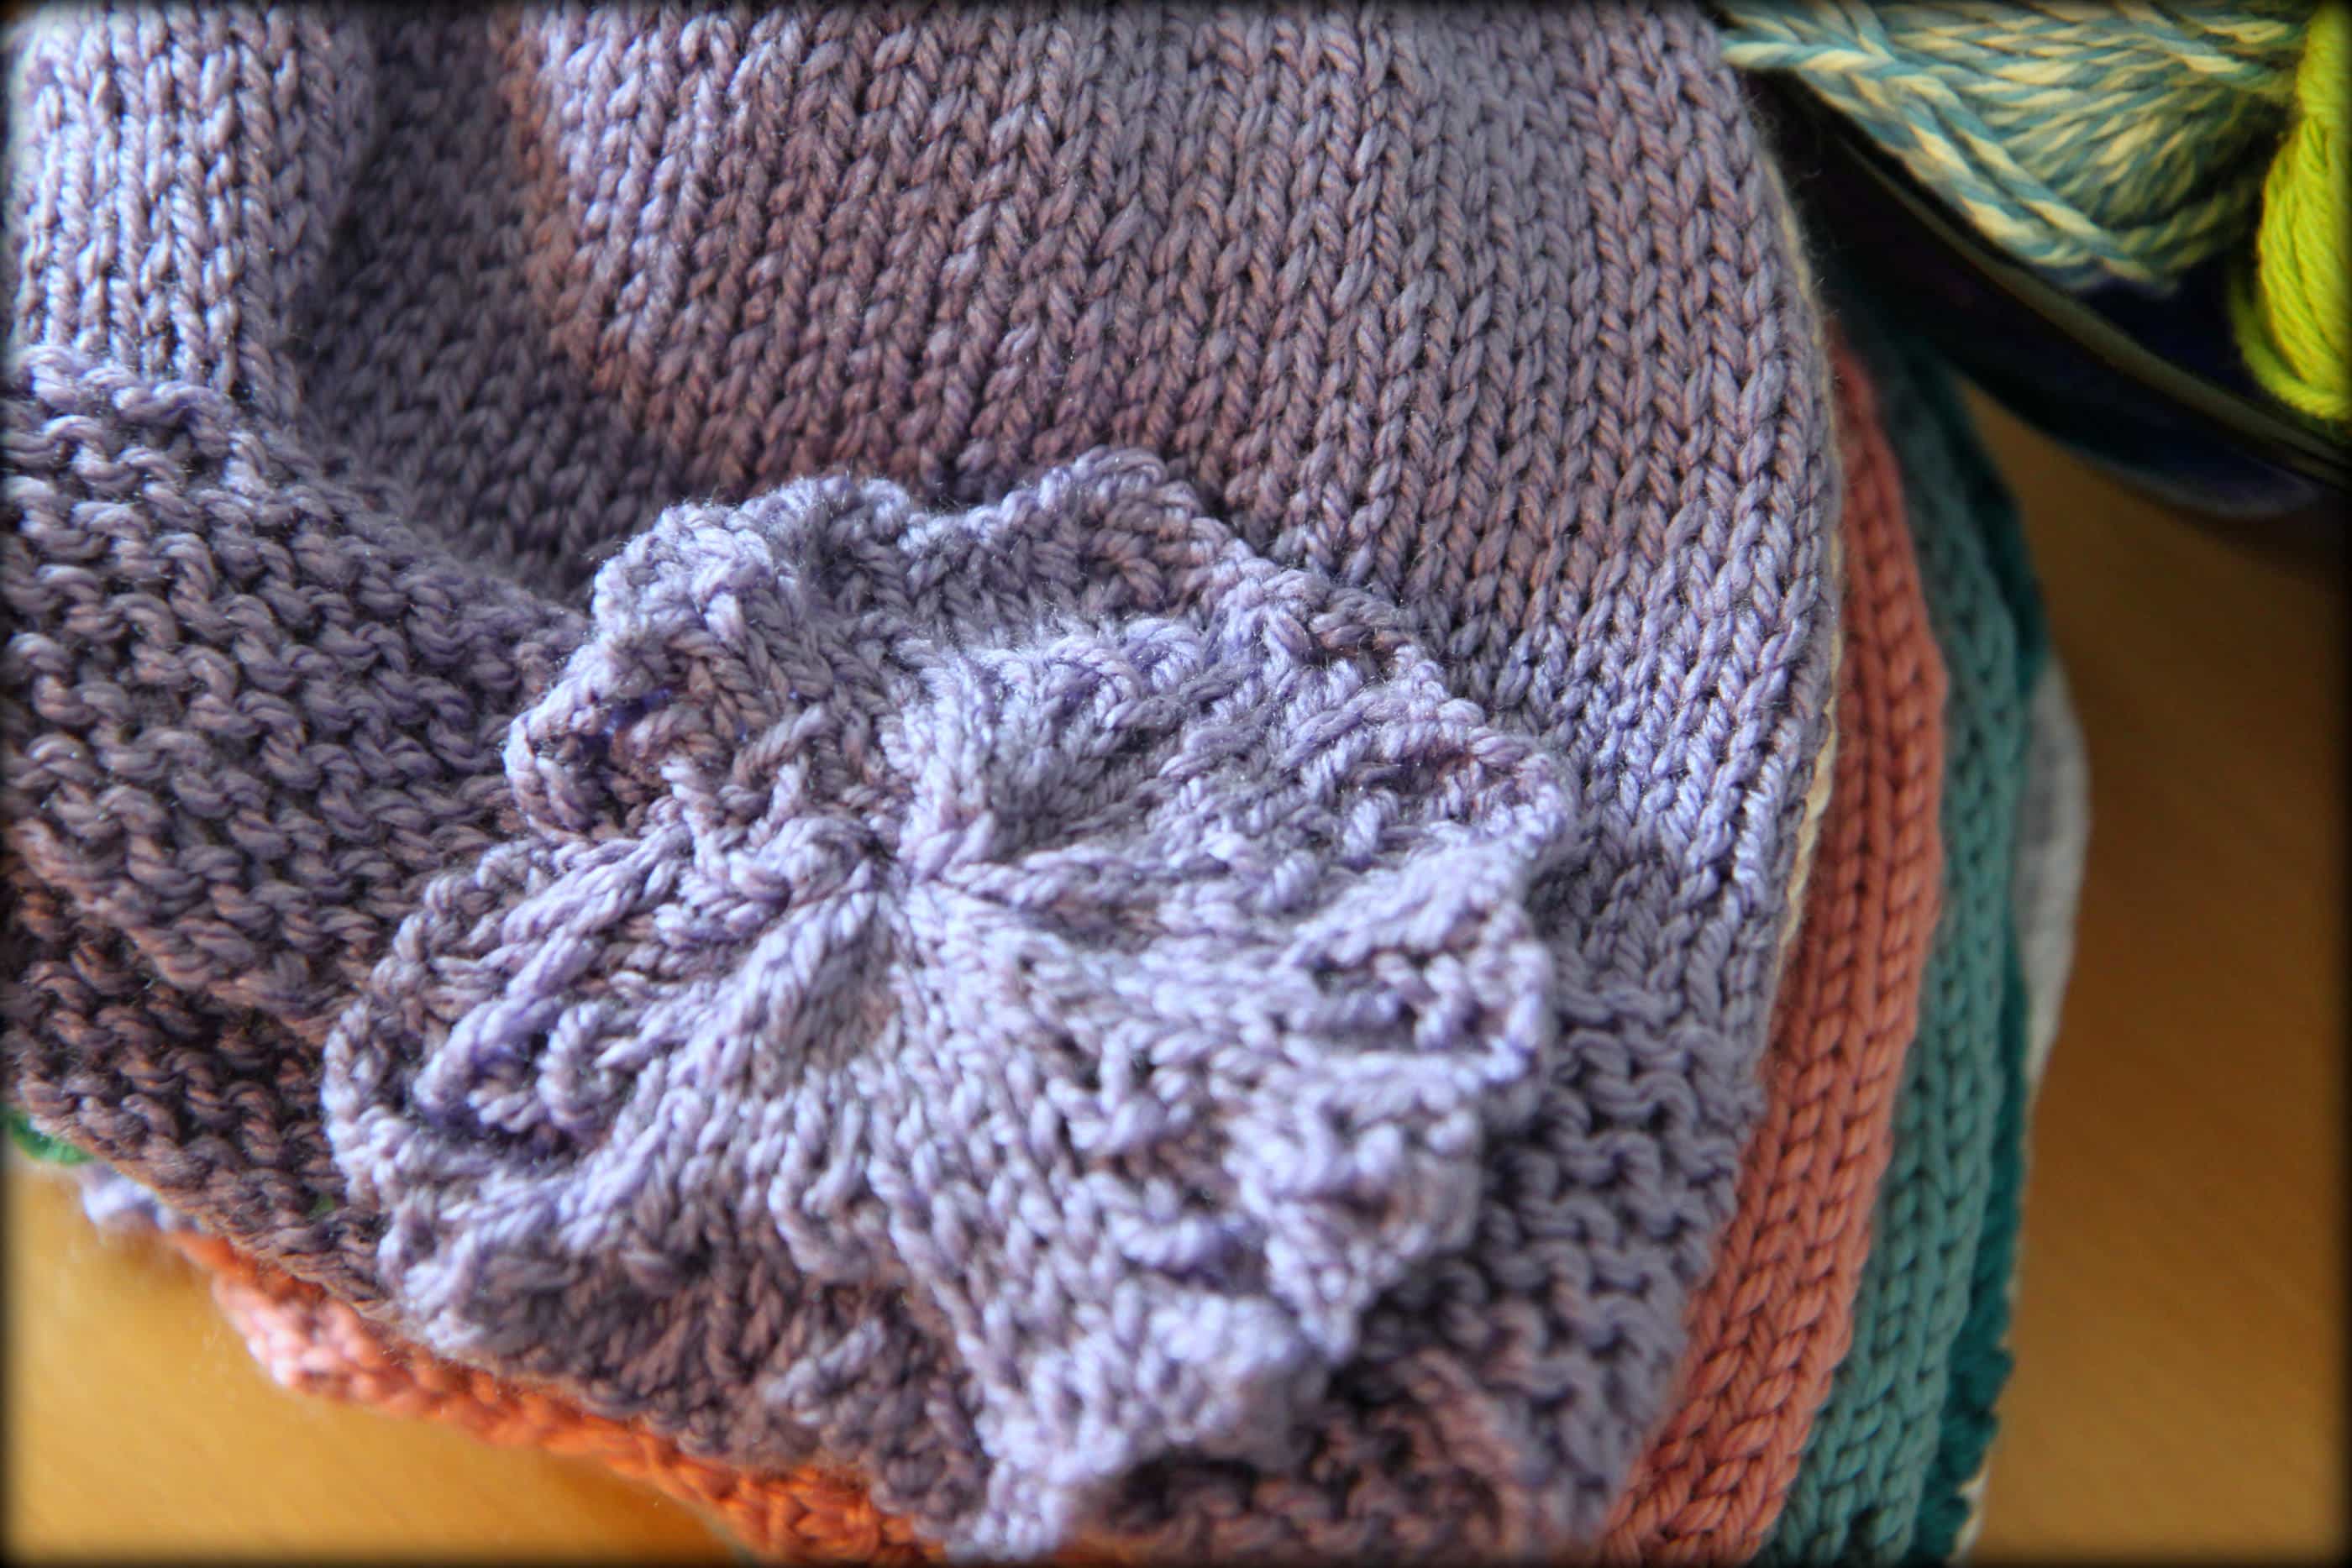
Knitted Dishcloths and Homemade Cleaning Supplies


Cleaning & Stocking Your Refrigerator


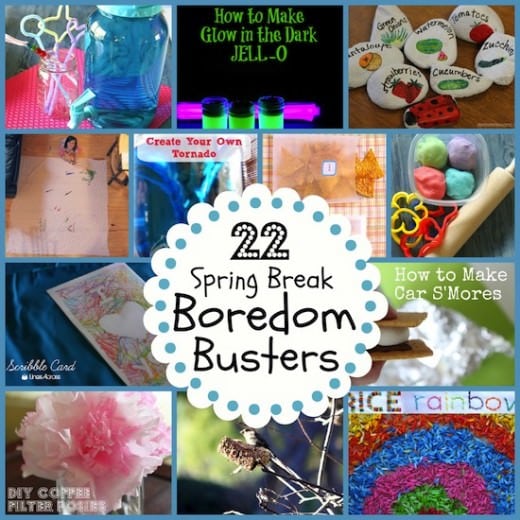
Spring Break Boredom Busters


Clean Your Grill While You Sleep


Sign up for the MomAdvice newsletter


St. Patrick’s Day Straw Tags (Free Printable)

Wednesday, March 14th, 2012

St. Patrick’s Day is almost here! Today I wanted to share with you an easy craft that you can do for your kids for a fun St. Patrick’s Day snack. Nothing could be cuter and more festive than these adorable St. Patrick’s Day straw tags that you can add to a twisty straw for the holiday.

This month I have the honor of being the moderator for the new Walmart Crafts Facebook Group. In this group, you can share pictures of the crafts you are working on, ask questions about crafts you might be tackling, and gain inspiration from the other members.  Anyone can join in on the fun and I would love to chat with you over there! Just imagine surrounding yourself with people who are just enthusiastic as you about crafting!

For this week’s project I am sharing with you a way to dress up a St. Patrick’s Day snack for your kids. If you aren’t feeling ambitious enough to tackle my Rainbow Cakes in a Jar, this craft is just as fun and something you can whip up very quickly.

Supplies Needed (Available at Walmart)

Sticko Leprechaun Riches Stickers
Sticko Large Shamrocks
Cardstock (white or green)
Hole Punch
Ribbon (any color)
Twisty Straws

Directions

1. Print out our free St. Patrick’s Day printable (link provided below) on heavy duty cardstock.

2. Cut out your straw tags.

3. Adorn your straw tags with cute shamrocks and/or leprechaun stickers.

4. Slide your gift tag on your straw and tie a little ribbon on top.

5. Place in a glass of milk tinted with green food coloring and serve these up with a big plate of festive cookies.

Grab your FREE St Patrick’s Day Printables here!


I am a part of the Walmart Moms program, and Walmart has provided me with compensation for these posts. My participation is voluntary and opinions are always my own.

Pin It

Amy’s Notebook 03.14.12

Wednesday, March 14th, 2012

Welcome to my little notebook of ideas to help improve your life. This is a collection of gathered links to DIY crafts, food projects, and thrifty ways to spruce up your home. Nothing brings me more joy then to highlight other fabulous bloggers. I hope you will enjoy this weekly does of loveliness with beautiful links that are individually handpicked just for you!

This tutorial for how to make almond milk will come in handy in my kitchen (@ One Good Thing)

These party hats made from photographs is simply genius (@ Sugar & Charm)

I love these tips for cleaning a porcelain sink (@ The 36th Avenue)

I adore these, “You Are My Sunshine,” free printables (@ tatertots & jello)

This “no work” chicken looks like a weeknight winner (@ weelicious)

These DIY ribbon wands look like a fun Spring craft & I love their ideas for ribbon organization (@ Prudent Baby)

I want to knit some of these coffee & tea cozies (@ The Centsational Girl)

I love these tips for installing floating shelves (Home Stories A2Z)

I love these easy fabric flip flops for summer (@ Two Shades of Pink)

These are some great tips for organizing cord chargers in your home (@ i heart organizing)

I want to throw a Hunger Games party after I saw these fun printables & snack ideas (@ Living Locurto)

These pincushion jars are so cute and would be a fun party favor for a craft party (@ make it & love it)

This little knitted bunny would make such a sweet baby gift (@ the purl bee)

These DIY easy skin toner sounds great and inexpensive (@ Design Mom)

My daughter would love these DIY ruffled flip flop sandals for the summer (@ The Mother Huddle)


How to Knit Great Chemo Caps For Charity

Tuesday, March 13th, 2012


“Balance, peace, and joy are the fruit of a successful life. It starts with recognizing your talents and finding ways to serve others by using them.”~ Thomas Kinkade

A couple of years ago I began focusing my knitting efforts on knitting chemo caps. I was inspired by my wonderful mother-in-law and my husband’s grandmother who devoted hours and hours into charitable knitting for hat drives and creating prayer shawls to be given to others. It is inspiring to see the power that knitting needles can hold for others. Since then, you will rarely find a pair of knitting needles that isn’t going to work for others in our home. It makes television watching feel noble and endless wait times for my kid’s activities feel useful

Over the years I have learned a lot about knitting great chemo caps and how to construct a cap that will truly be used and loved.

Select the Right Pattern

While you don’t need to necessarily select a hat that specifically is called a, “chemo cap,” in the pattern, you do want to be thoughtful about picking a pattern that the recipient will feel confident and beautiful in. Lacey hats, for example, may look beautiful, but imagine having tiny holes all over your hat when you have no hair? No fun!

Look for patterns that offer lace trim or details on the edge of the hat. Patterns that are closely knit and have details created from purl and knit stitches rather than large yarn overs will help your recipient keep his/her head warmly covered.

Seams can also be irritating to the scalp. If you are not able to do circular knitting, seaming will be involved, and that is especially why you will want to select a super soft yarn to help with that.

Select the Right Yarn

When I am selecting yarn for a chemo cap, I gravitate towards the same skeins of yarn that I would select for a newborn baby. You don’t want yarn that is itchy, scratchy, or that will further irritate the recipient’s sensitive head. It doesn’t mean that the yarn can’t be inexpensive, it just means that you need to be thoughtful about the yarns that you choose.

Caron Simply Soft, Naturally Caron Spa, & Hobby Lobby’s Bamboospun yarn are all great budget-friendly options that will also feel soft and wonderful against a bald head. Cotton can feel soft, but is a very stretchy yarn and if the hat is worn often, it is better to find a cotton blend that will retain it’s shape than a basic cotton yarn.

If you are not confident about a yarn choice, rub it against your own skin and see what reaction your skin has to it. If it feels itchy to you, it won’t be a good option for your chemo cap.

Make Her Feel Beautiful

To me, it is all in the details of the hat that really add that sparkle and will help your recipient feel truly confident. If you are knitting the hat specifically for someone, ask about their personal style. Do they love elegant buttons? Do they have a favorite color? Do they like a fitted hat or a more slouchy hat? Do they want a fabric flower on their hat?

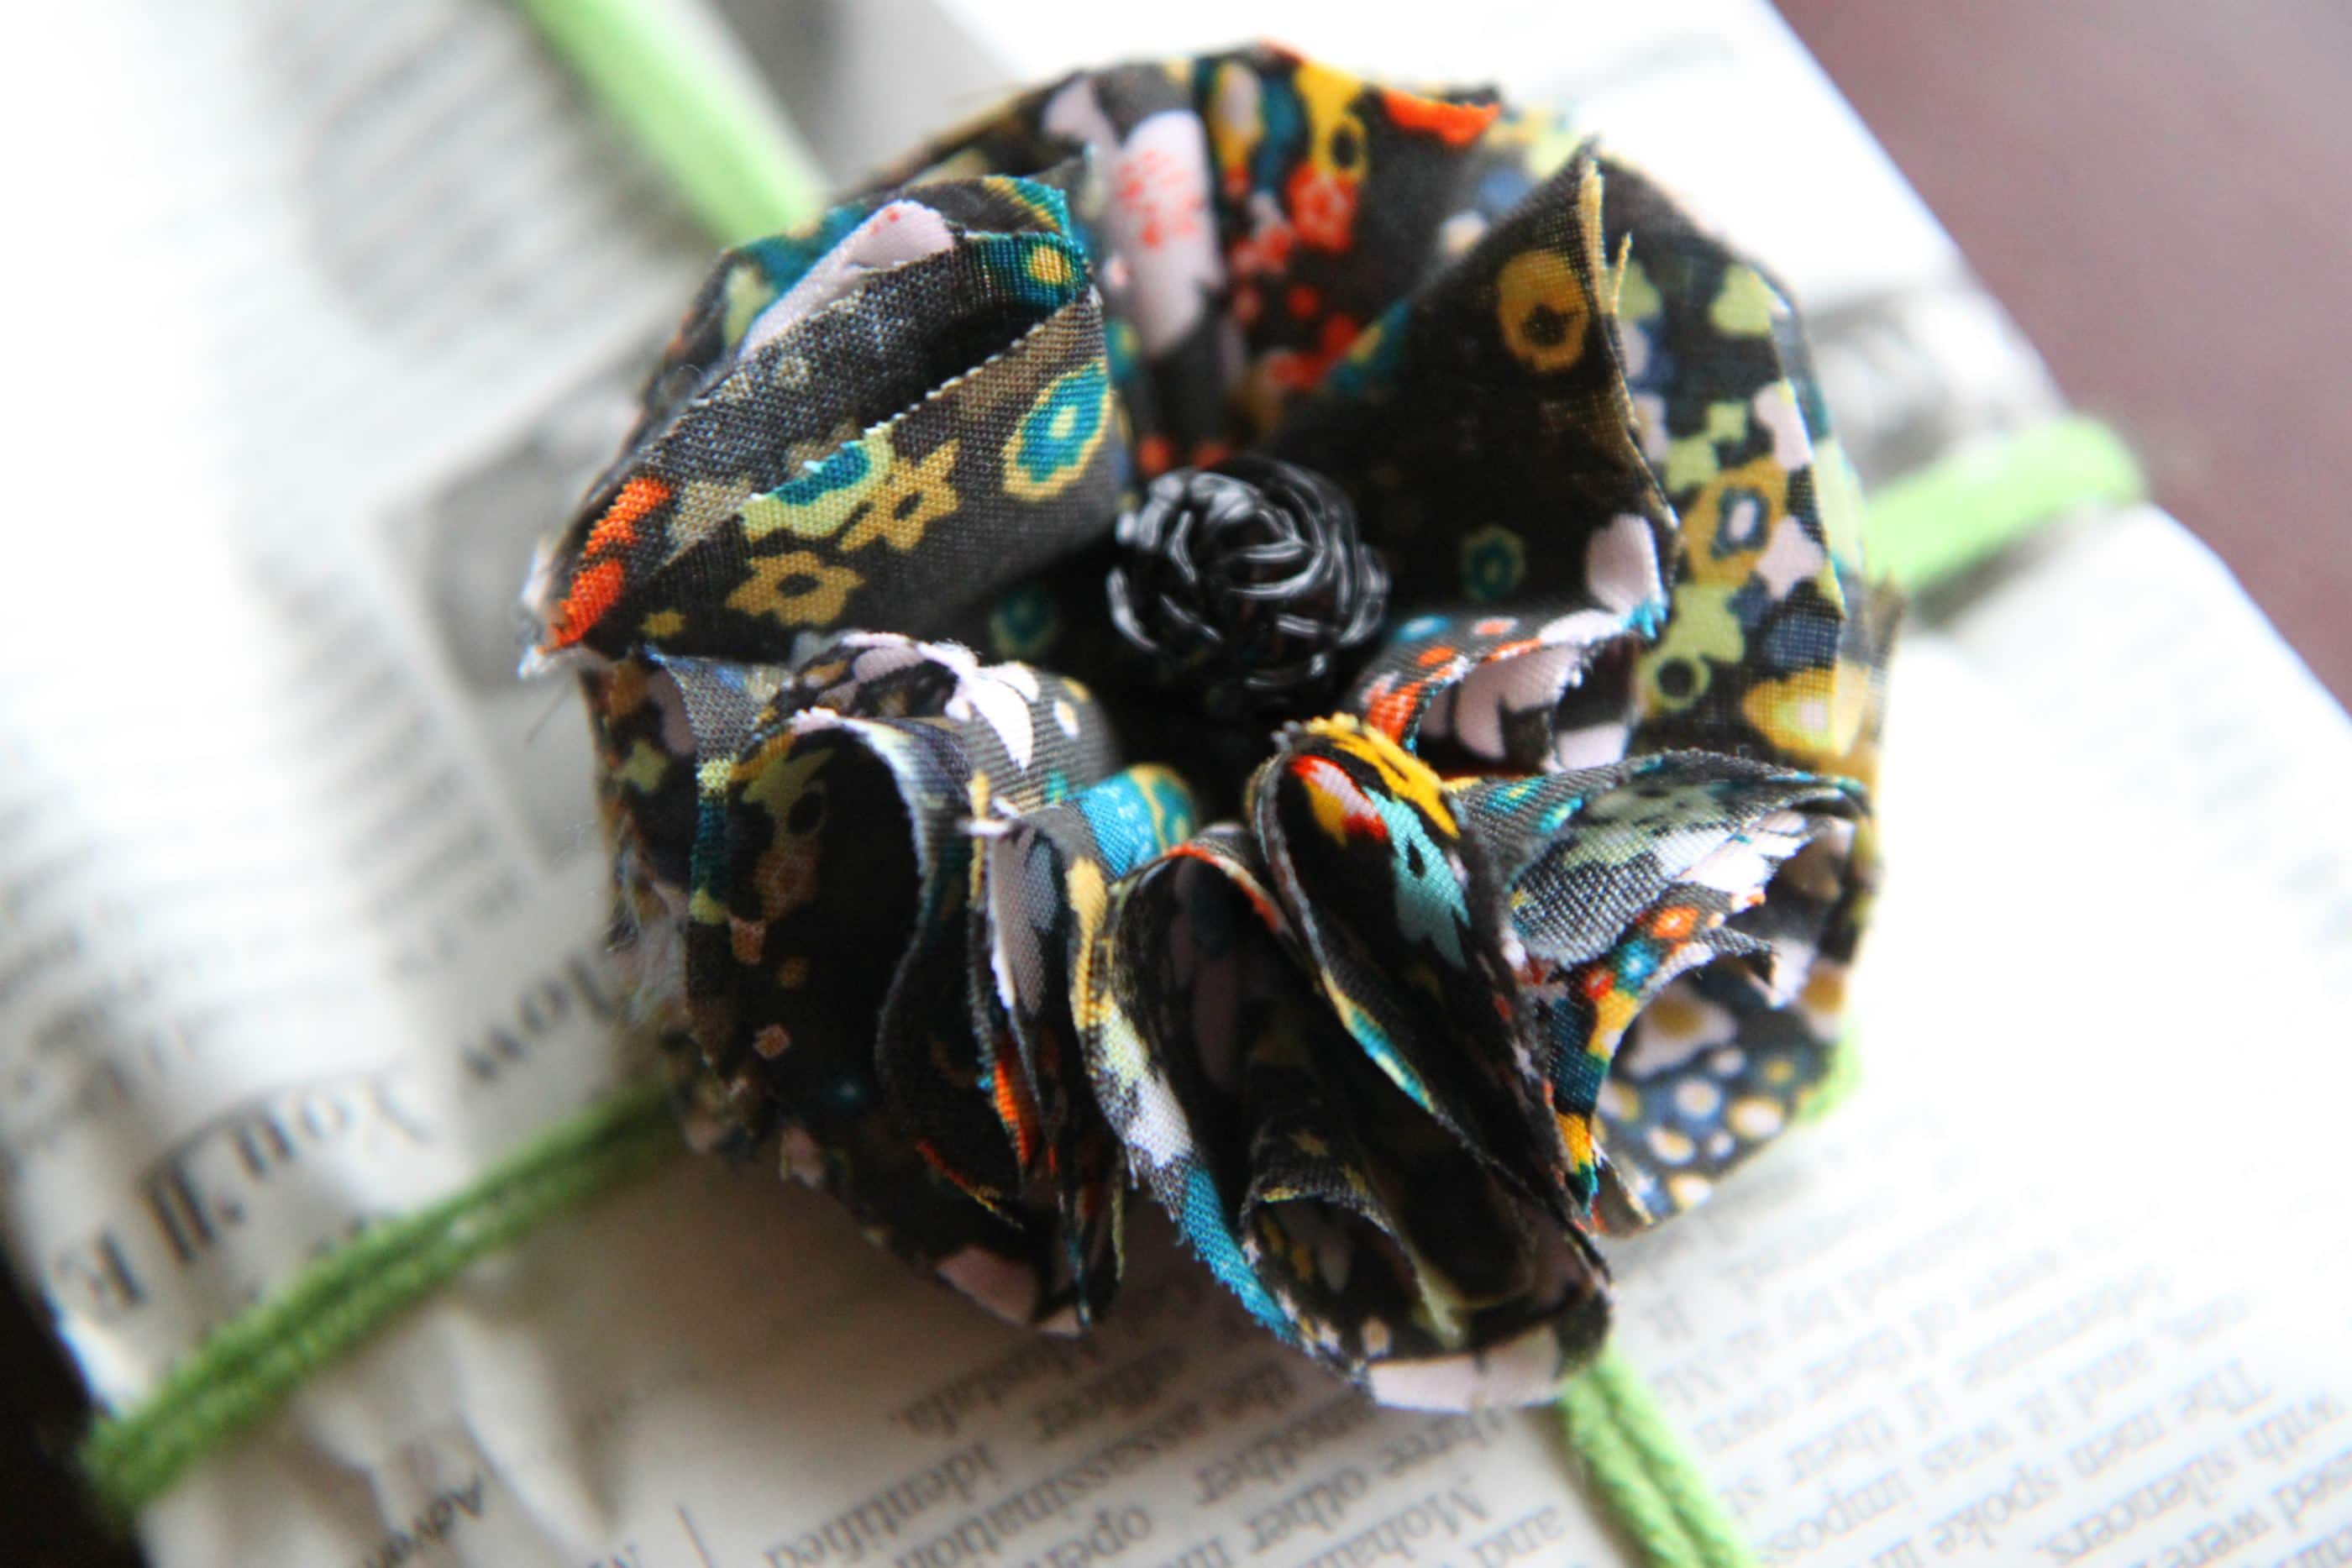
I recently started adding my Fabric Flowers to my chemo caps because they are so cute and inexpensive to create. I also love to visit Hobby Lobby for sweet embelishments that can add a little sparkle to your hat.

Wrap It With Love

Half the joy for me is in wrapping the gifts with love for their recipient. Imagine that you are struggling through your treatment and someone unexpectedly gives you a beautiful gift filled with something that will help you feel beautiful and confident. I love to wrap my hats in pretty tissue filled boxes or in simple newspaper tied with yarn with fabric flower toppers that they can use to accessorize their hats.

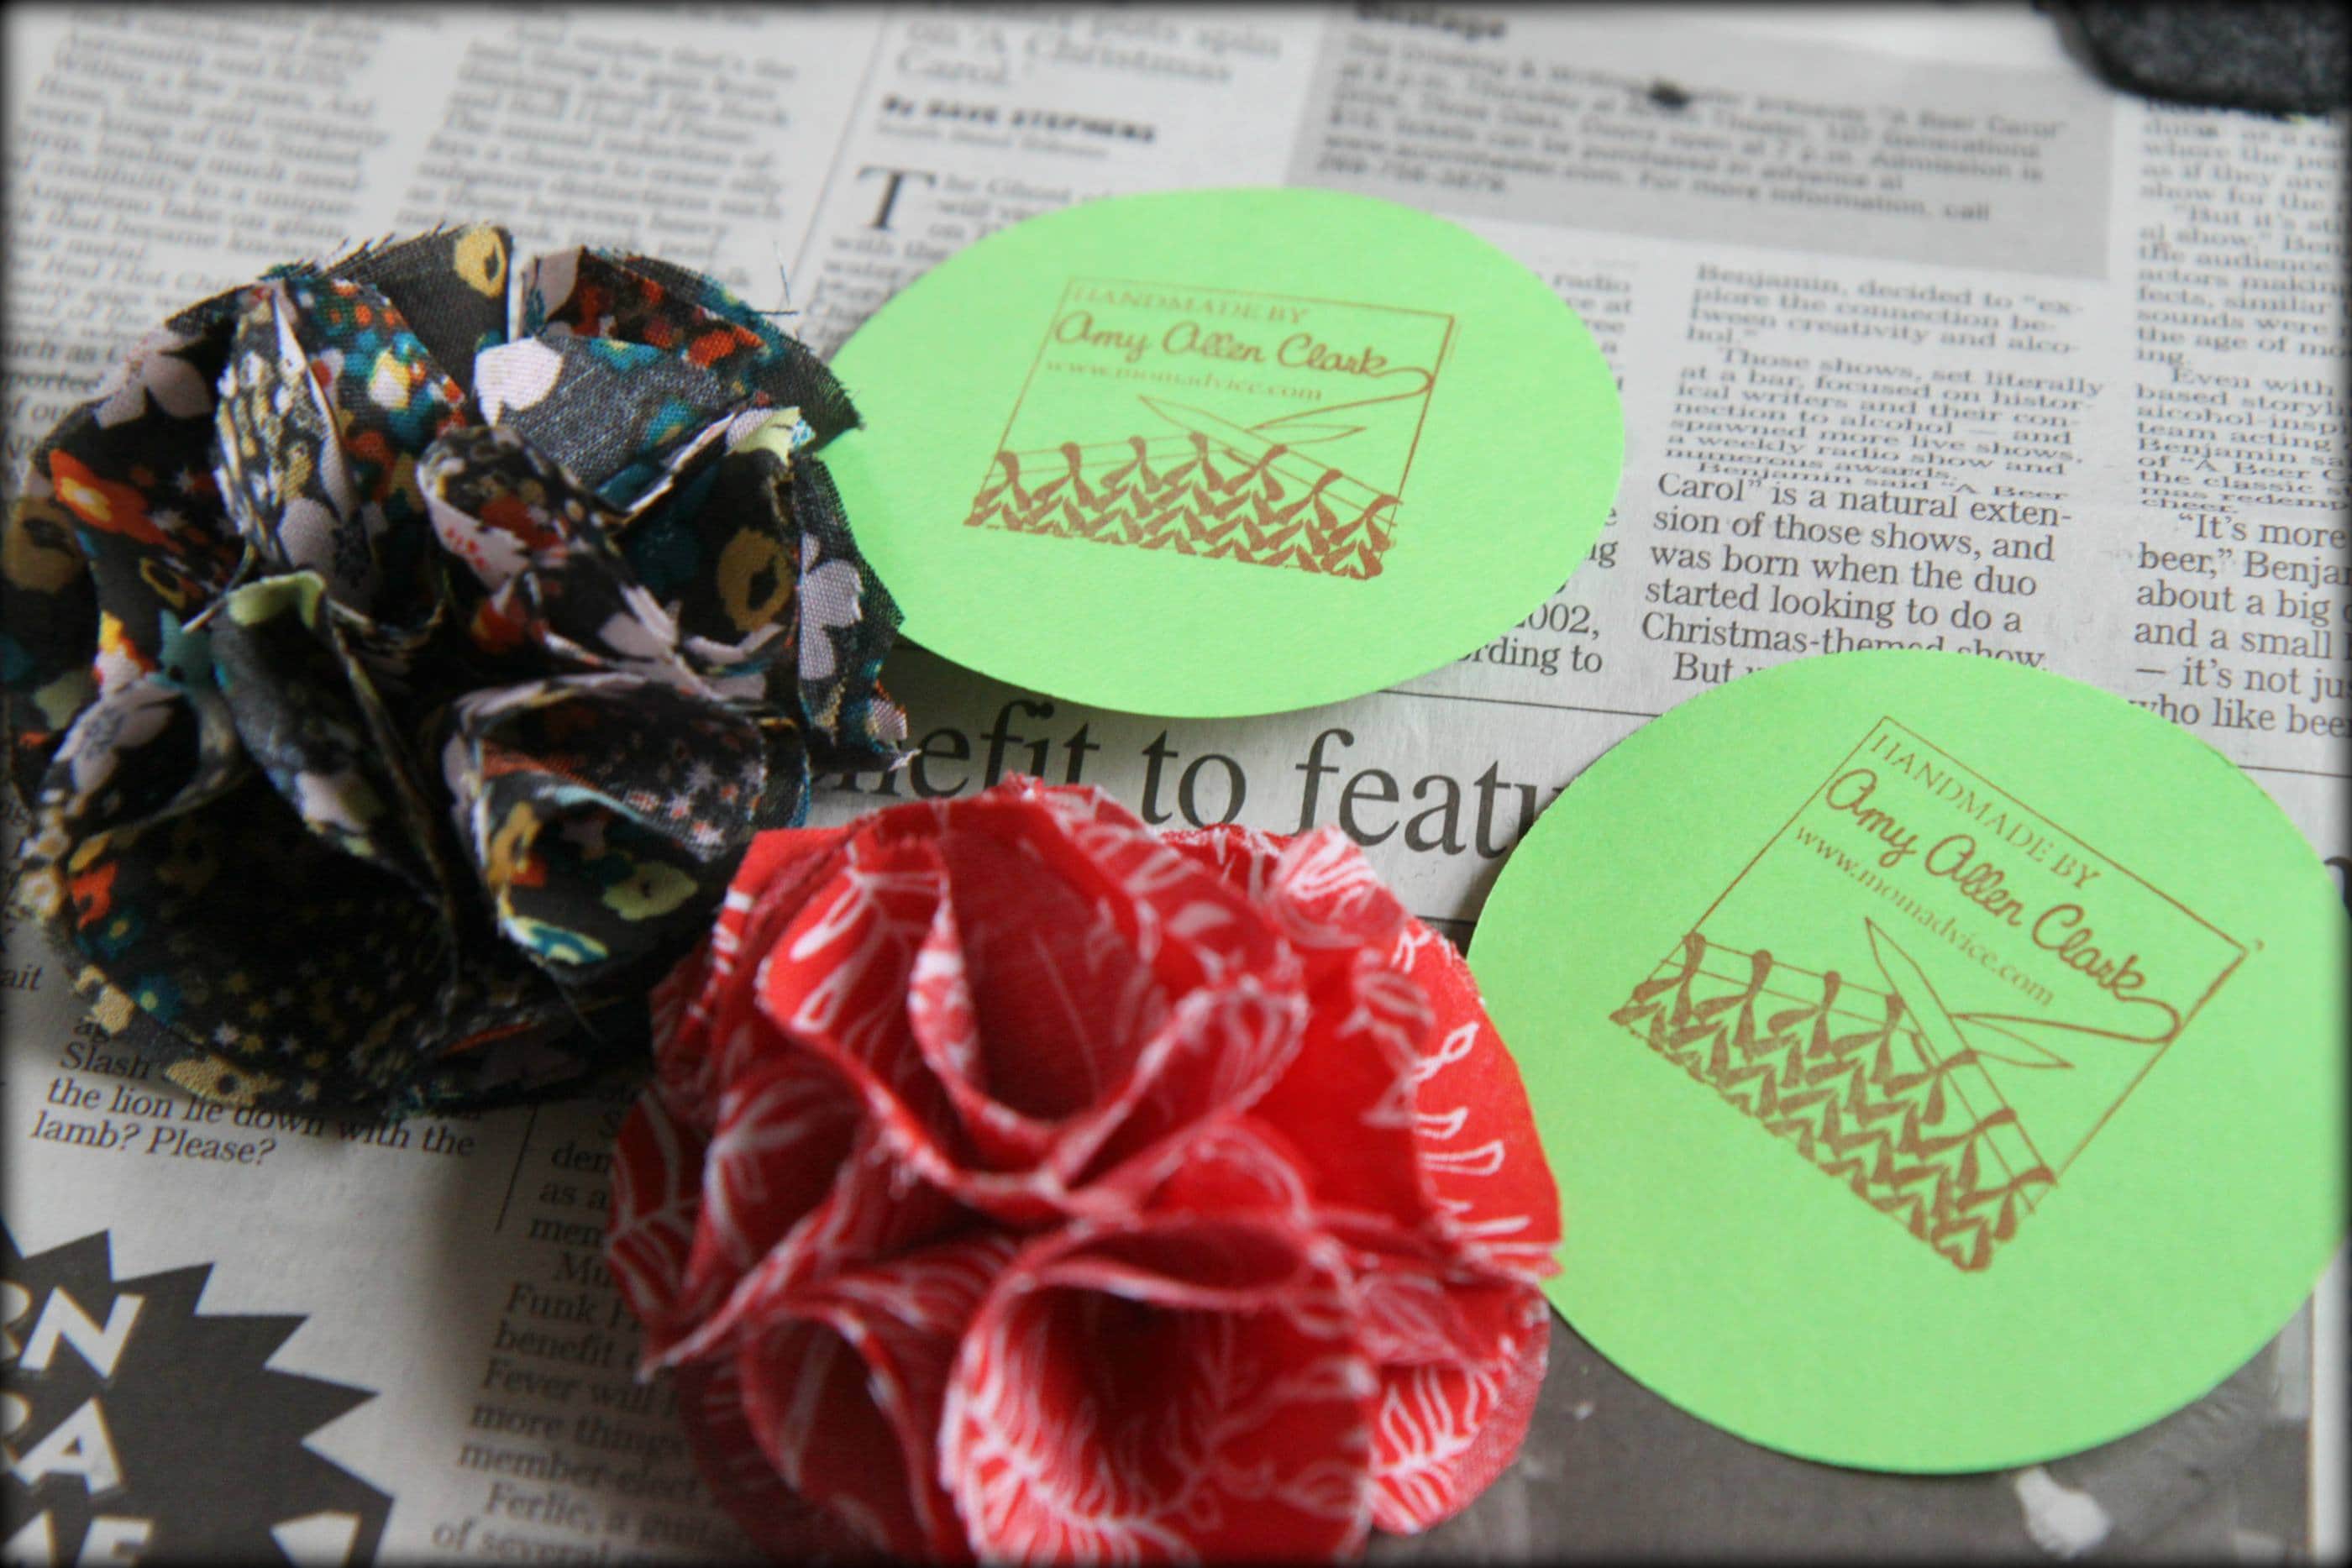
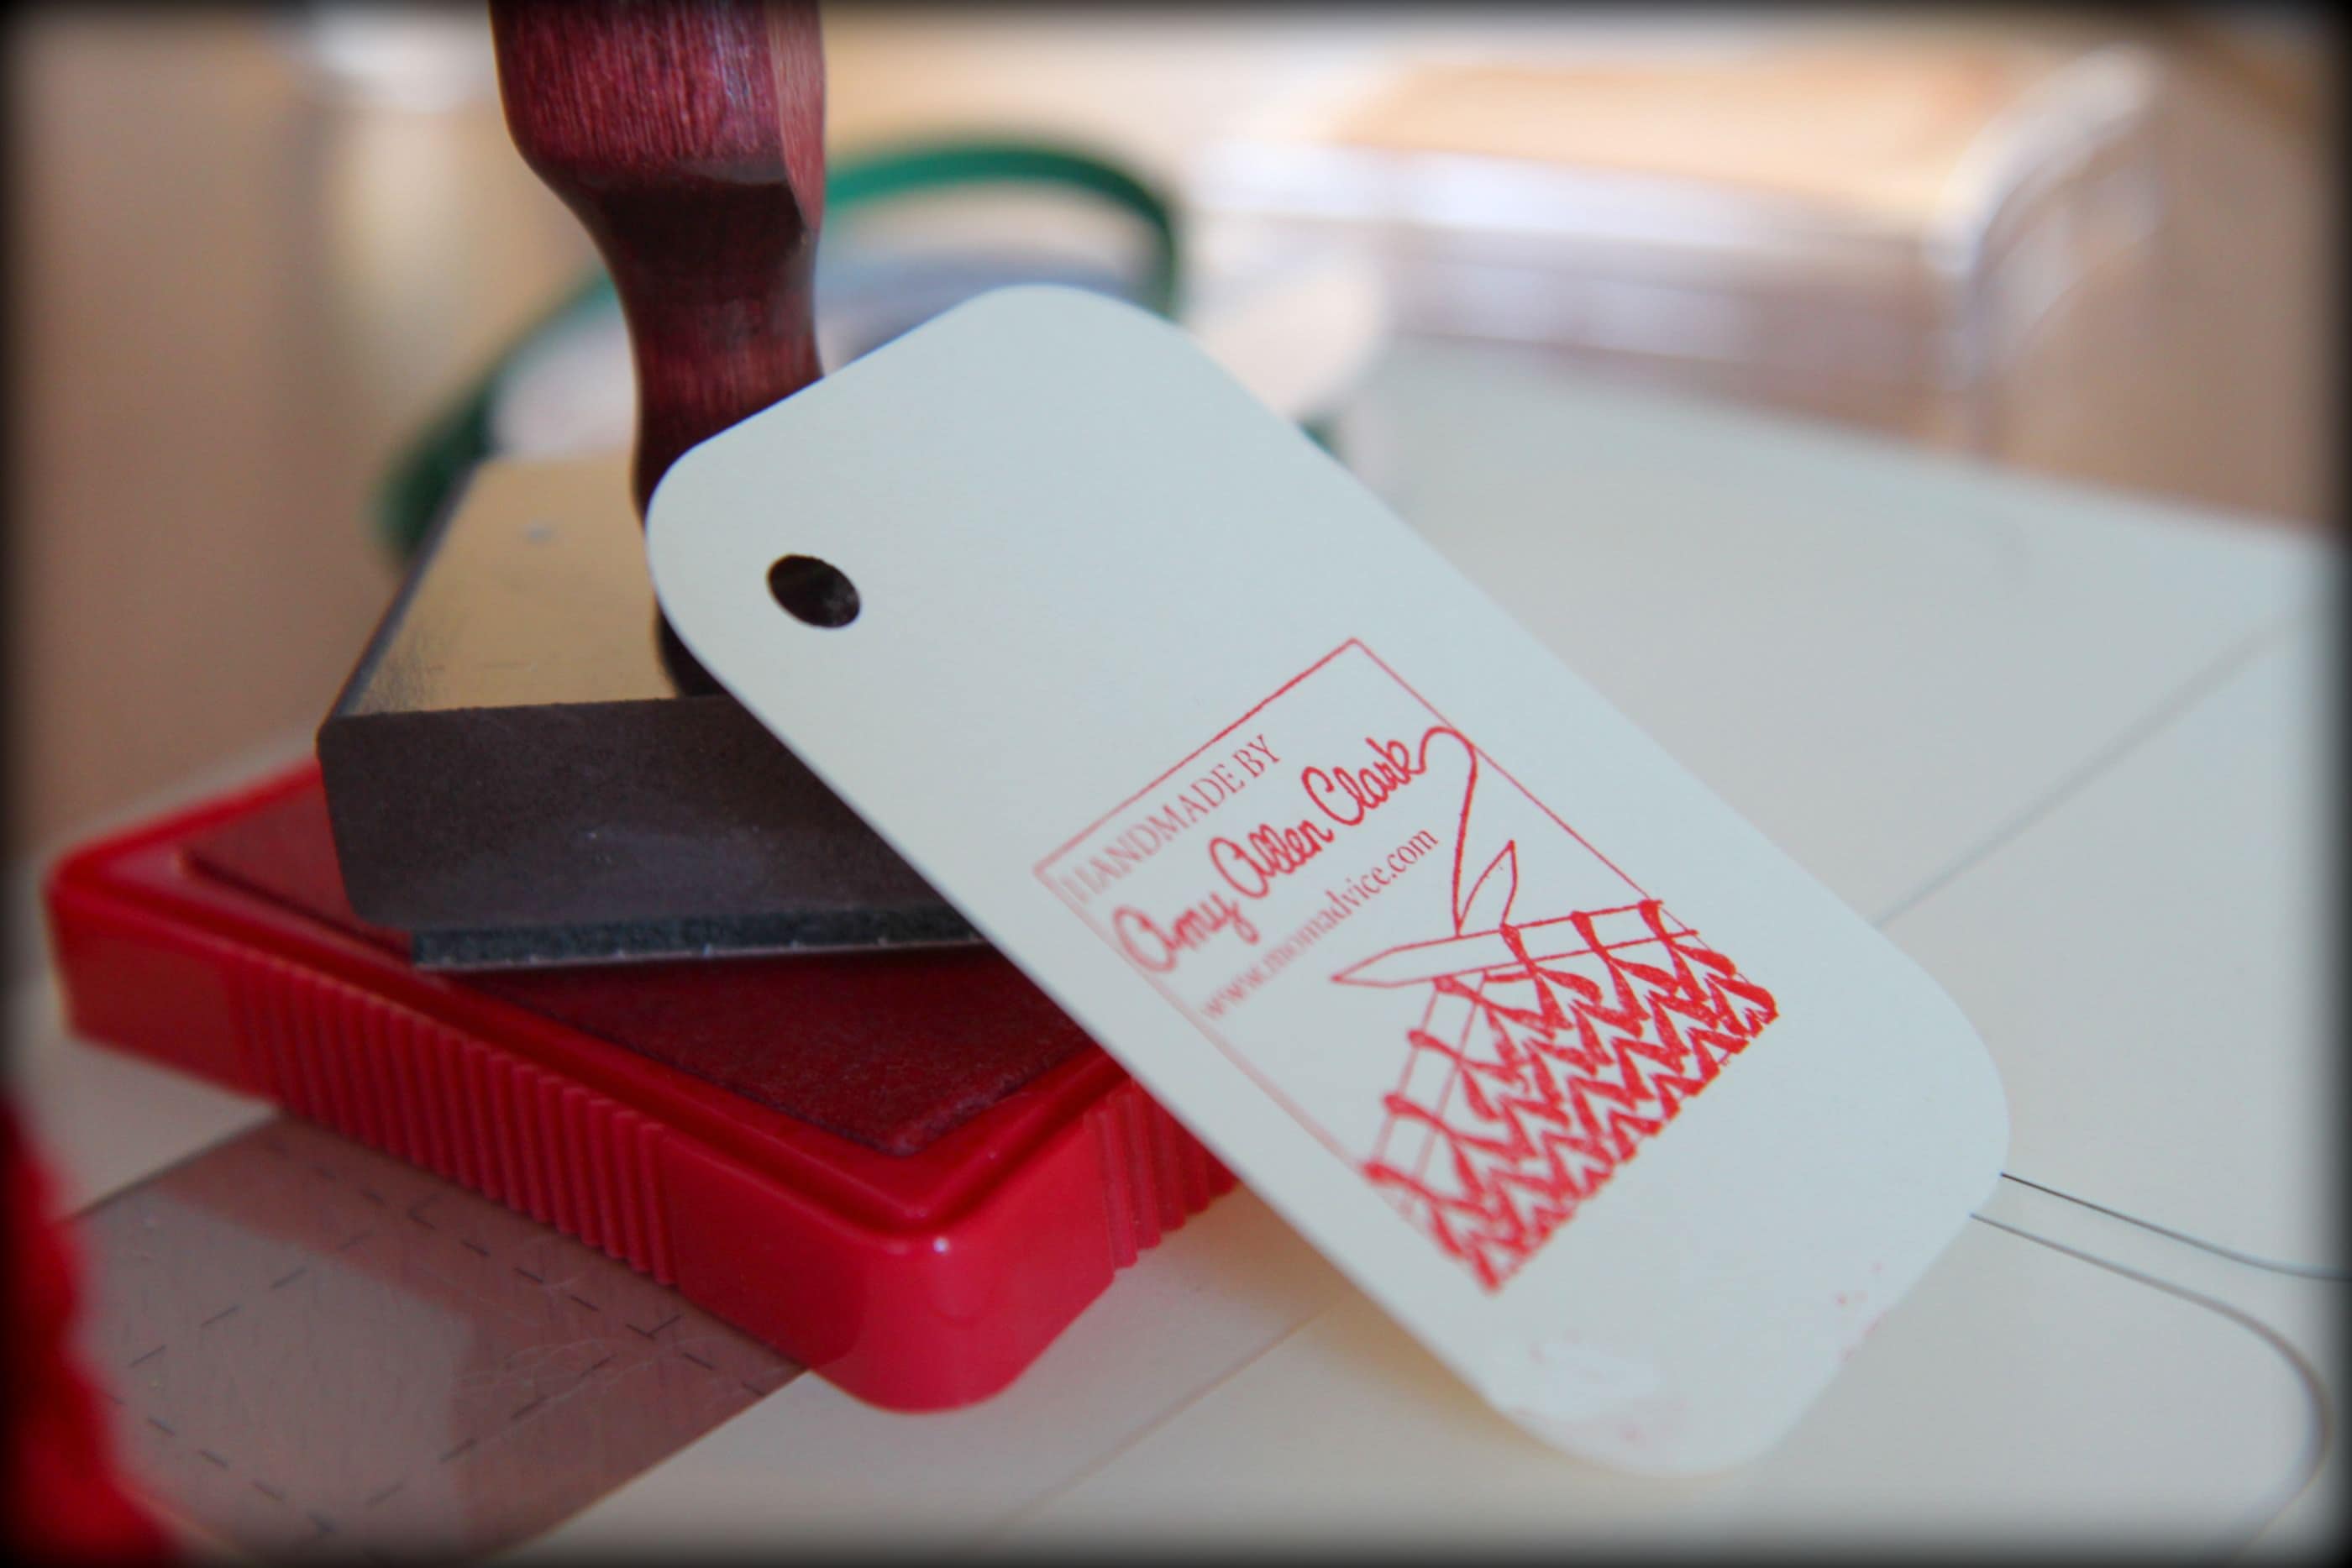
I finish all my chemo caps with homemade gift tags.  As a  treat to myself, I bought myself a personalized stamp from Babyjewels (an Etsy seller) and I have to say, it really adds that professional touch to my gifts!  They have one for knitters and one for crocheters too. Sometimes I cut the gift tags with my Silhouette craft cutter and other times I keep it simple by just using my circle punch that I have in my craft supplies. These are tied with yarn to each hat.

Find a Home for Your Hats

If you don’t know anyone personally going through cancer, they are many people out there who could benefit from your donation. Check your local hospital’s oncology department to find out if they could use your donations. Usually baskets of these hats are made available to patients when they are undergoing treatment.

If you can’t find a place for you hats locally, you can mail them in to Head Huggers where your hat will find a good home through their organization.

Chemo Caps Come in All Shapes & Sizes

Sadly, I have had to knit wee chemo caps for tiny patients that shouldn’t even know what the word cancer means.  It breaks my heart to make these tiny caps and it serves as a constant reminder to me just how fragile our lives really are.

Keep your smaller chemo patients in mind as well as men who are undergoing chemo and might need a nice fitted cap to keep their heads warm in the winter time.

When making chemo caps, try making a variety of sizes and for both males and females so that donations are on hand for a variety of patients.


 Great Chemo Cap Patterns for Beginning Knitters

Pinch Hat

Pattern: Pinch Hat by Cecily Glowik MacDonald (available for purchase for $5.50)

Needle Size: US 8 Straight Needles

Yarn: Hobby Lobby Bamboospun in Purple

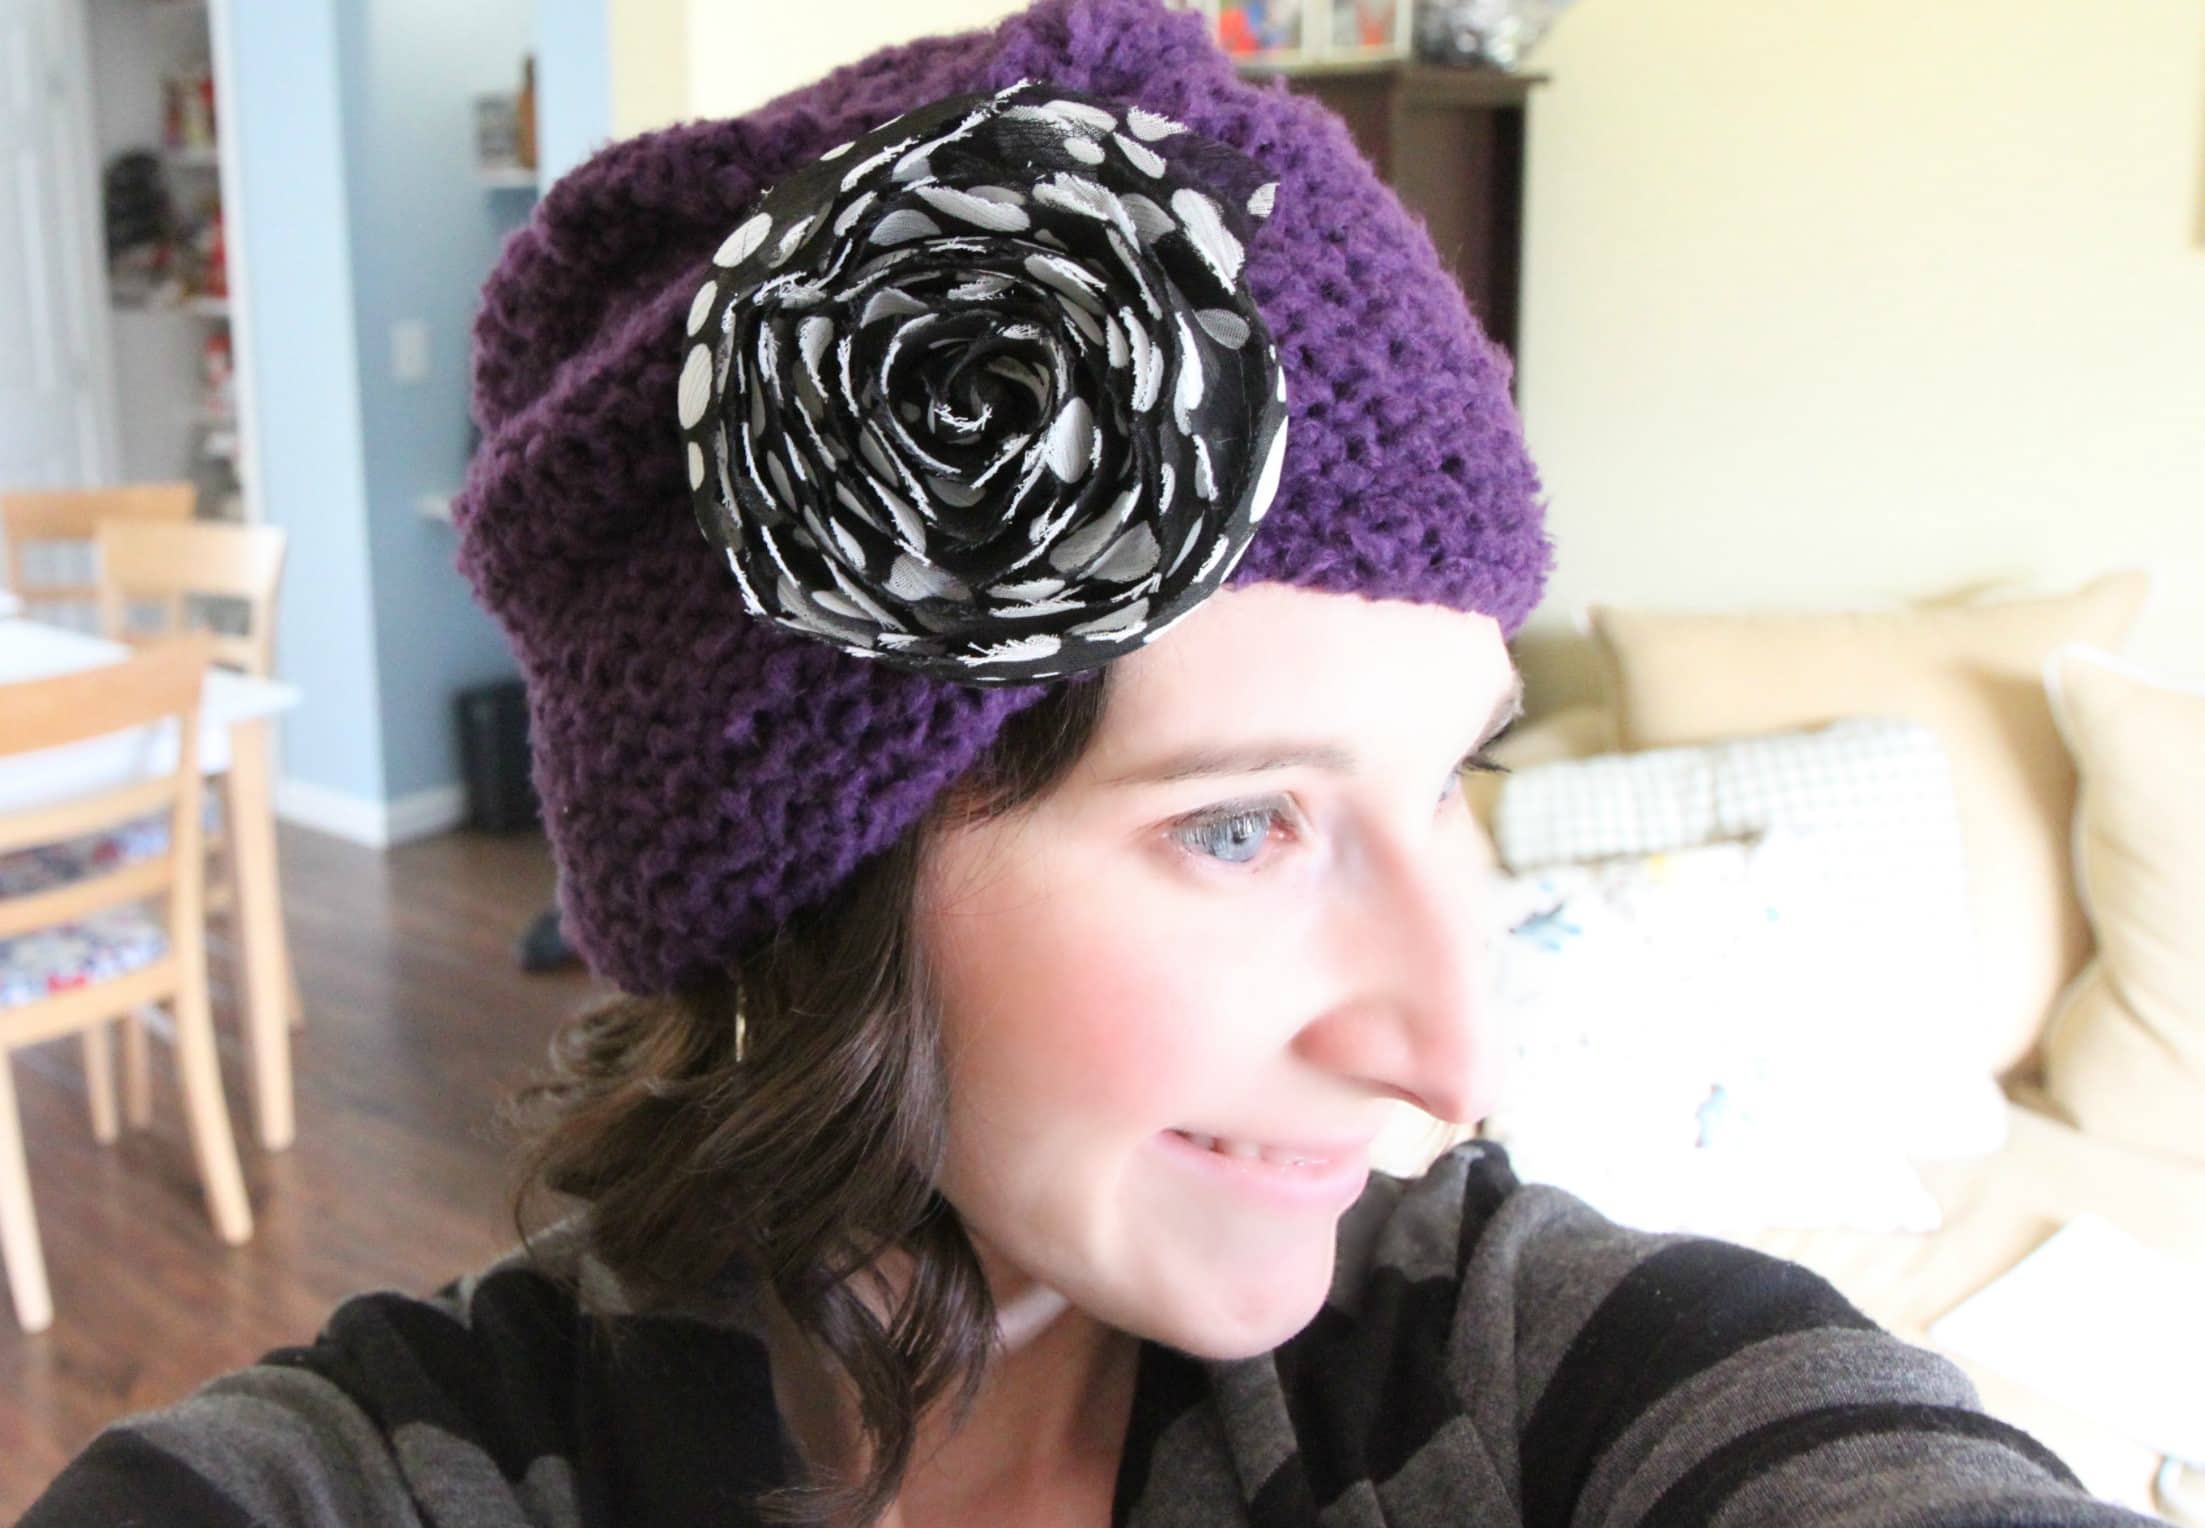
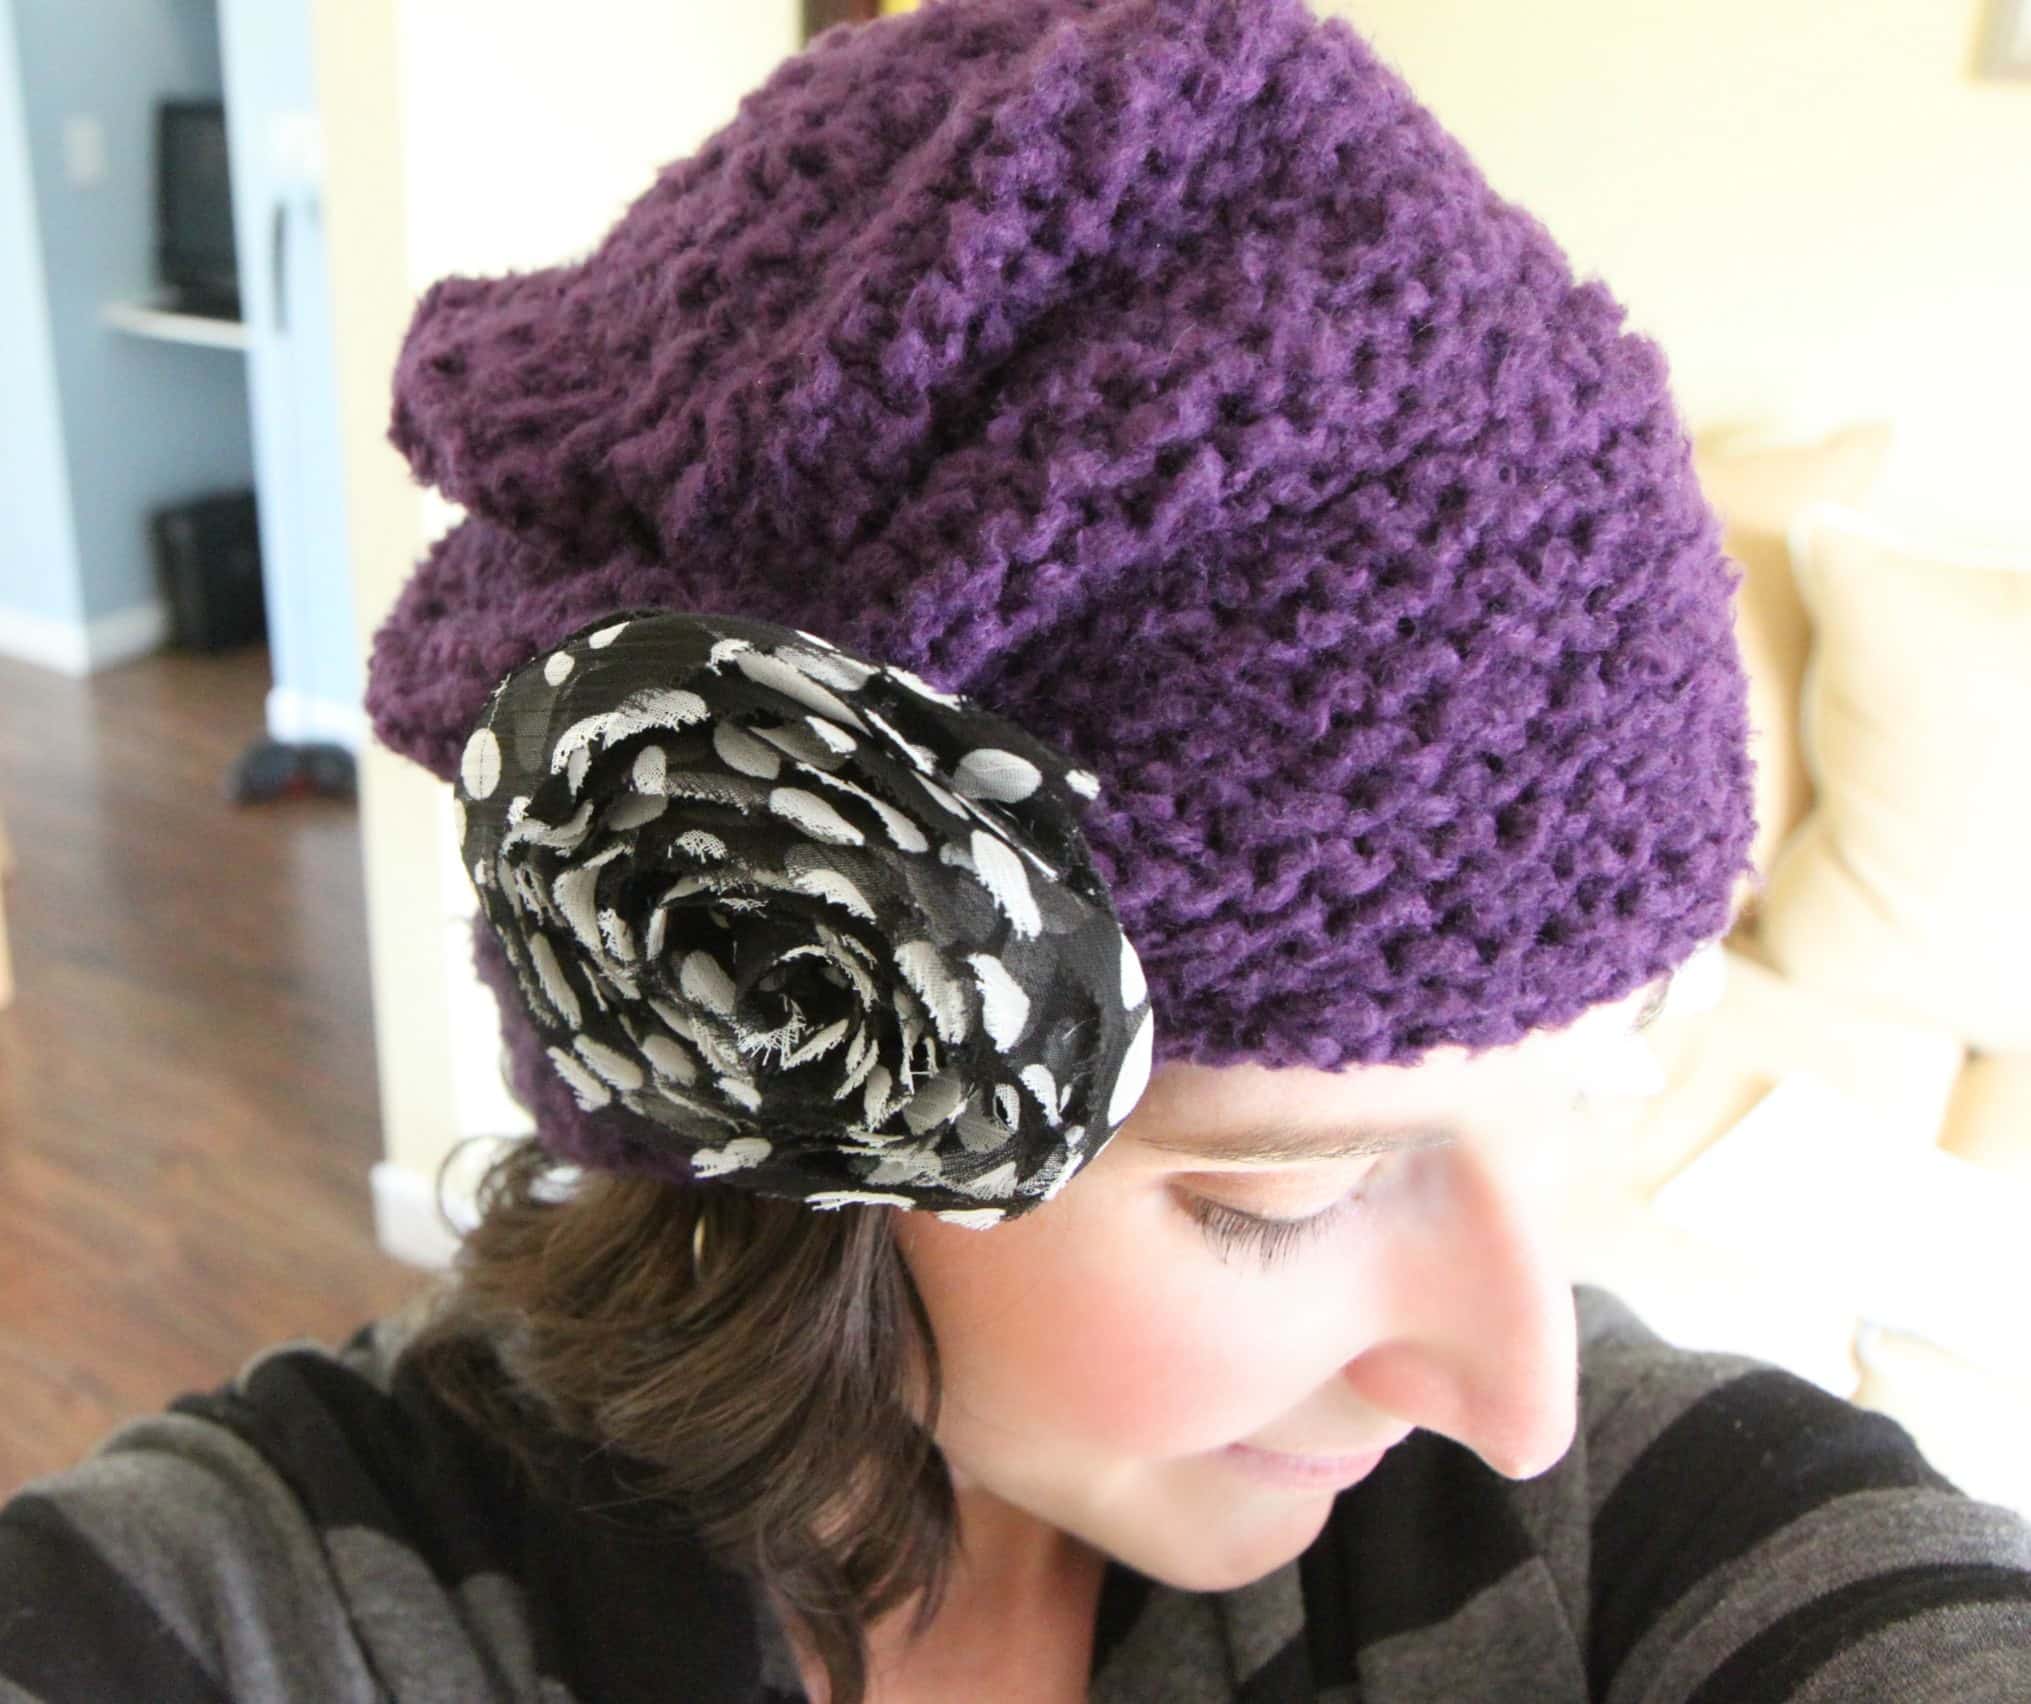
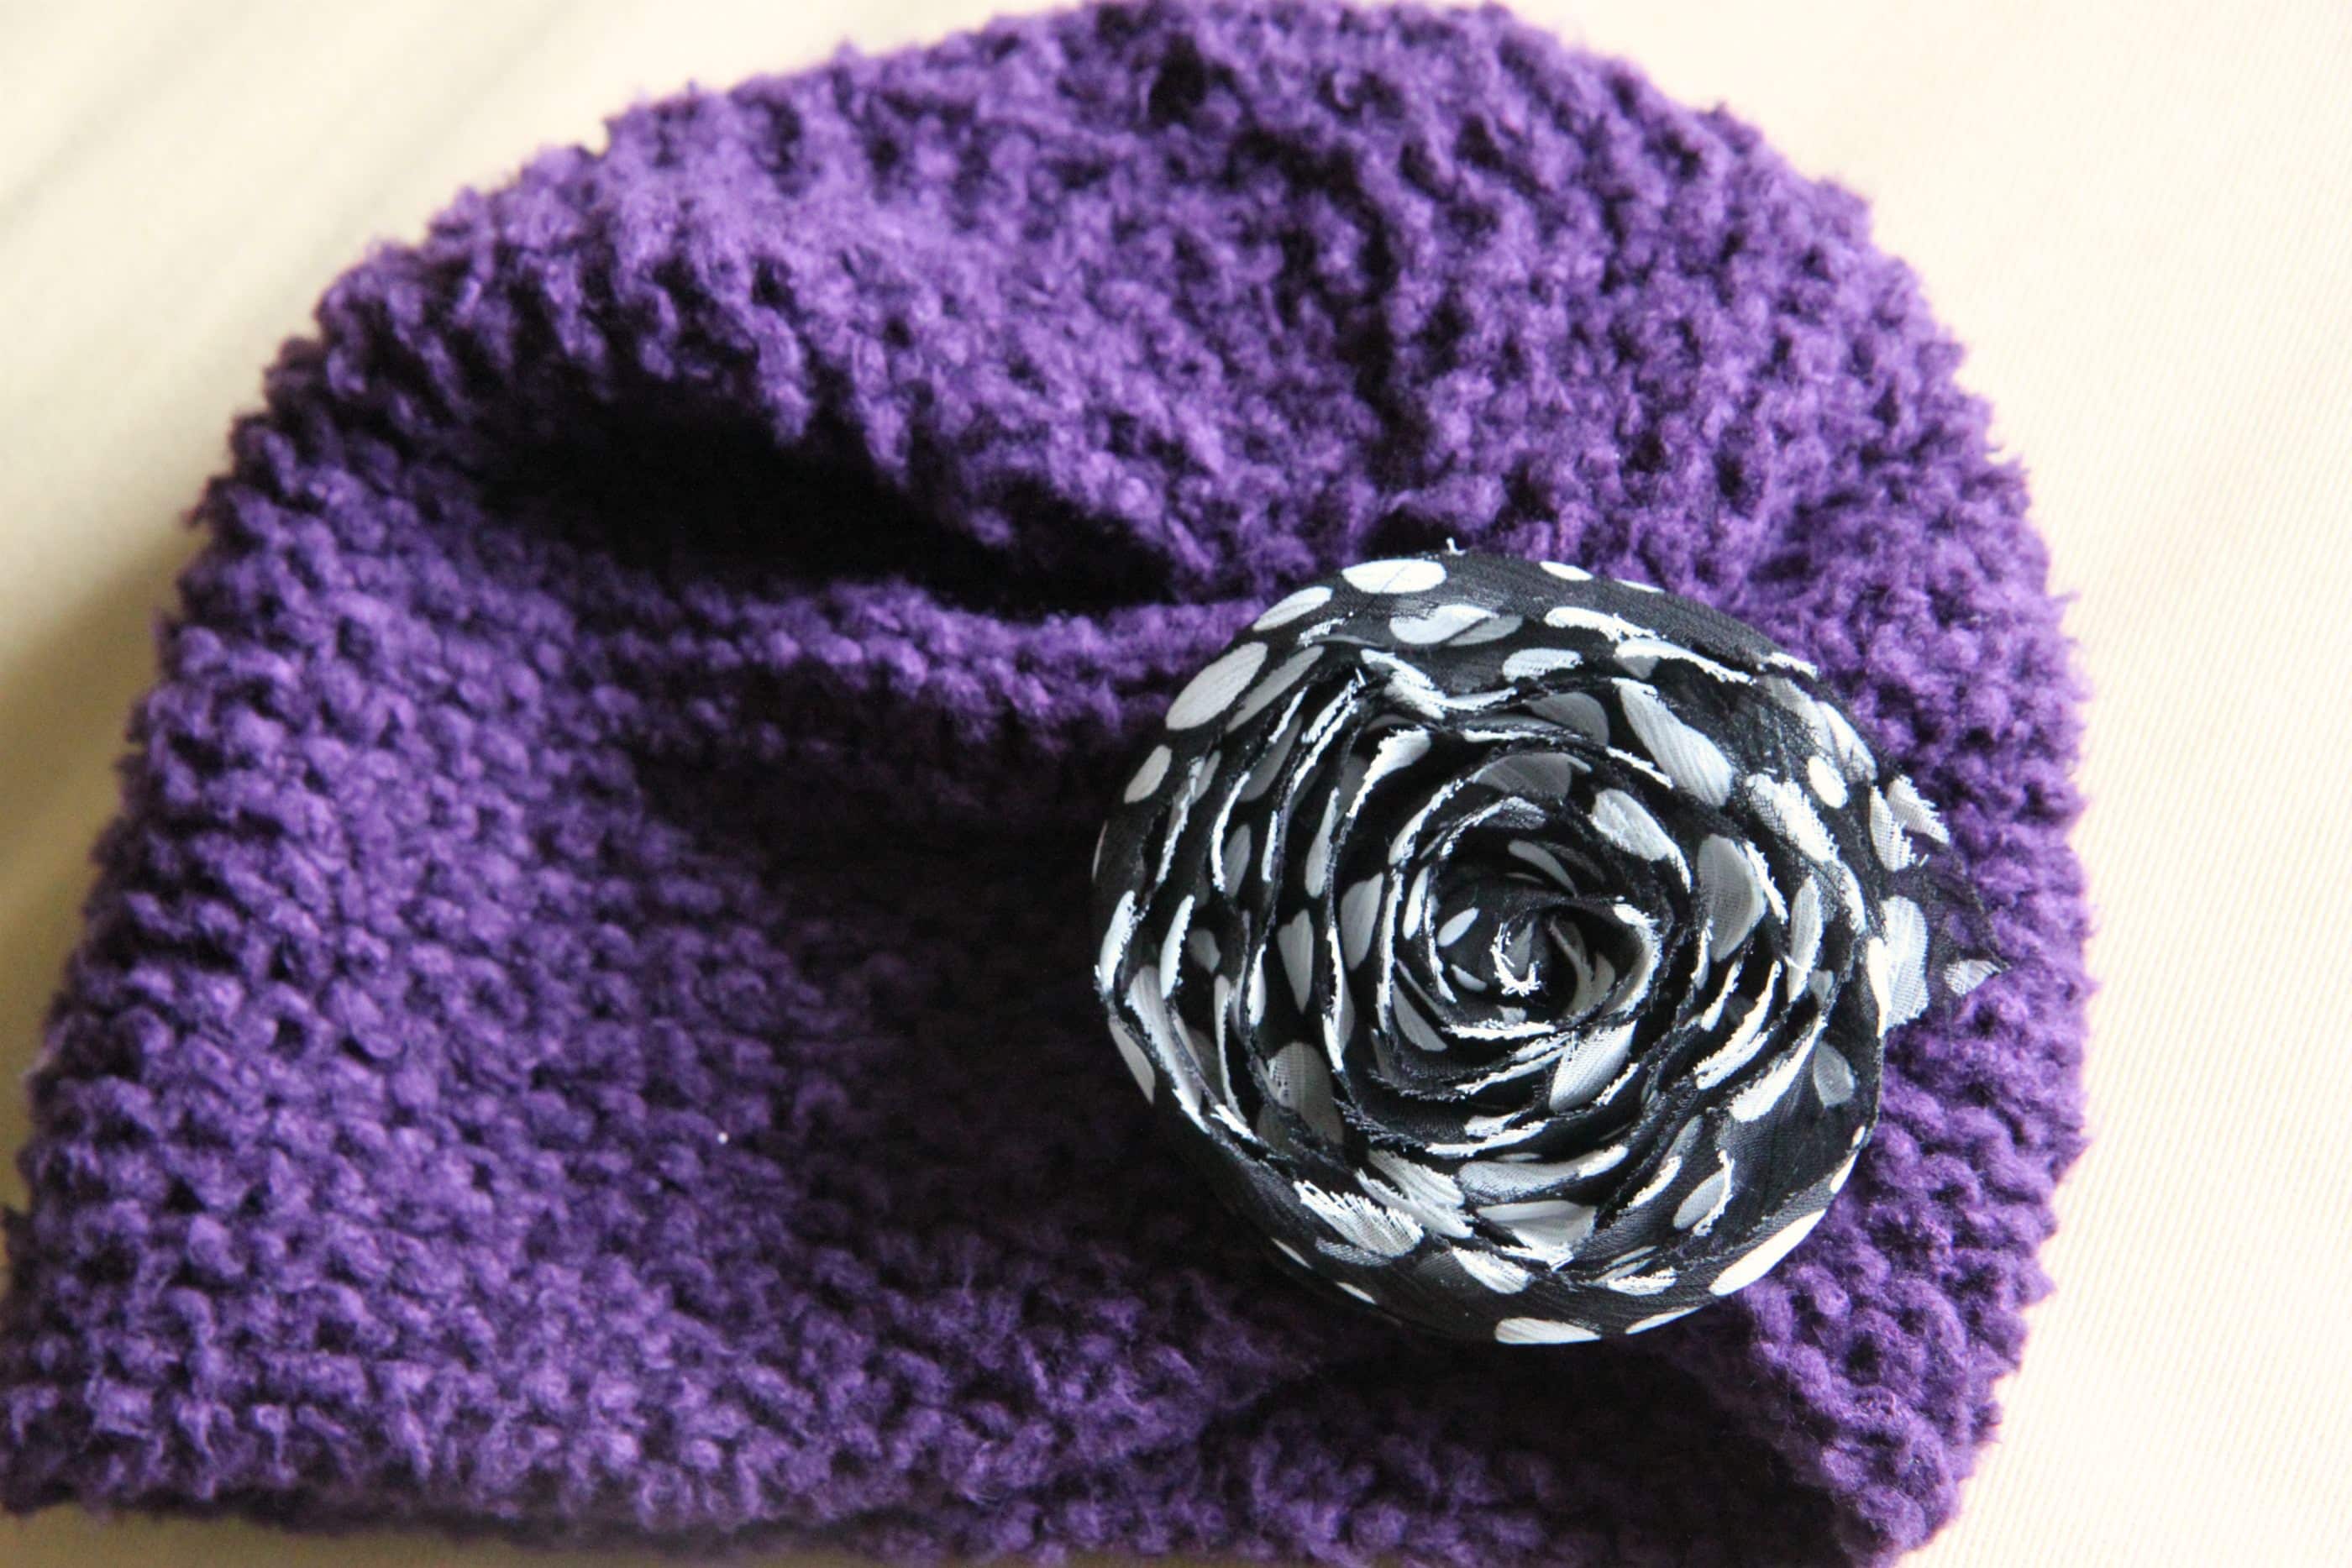
Notes: For knitters that want to make charitable hat contributions but don’t know how to knit in the round, this pattern is for you. It is an easy garter stitch pattern, knitted on straight needles, and then cinched to create a cute gathering on the side where you can add a fun pin or brooch. No crazy stitches, no knitting on circulars, and an easy & fast to knit.

Lace Trim Chemo Cap

Pattern: Lace Trim Chemo Cap by Maureen Keenan (available for free download)

Needle Size: US 5 (16″ circulars)

Yarn: Naturally Caron Spa (in Driftwood & Stormy Blue)

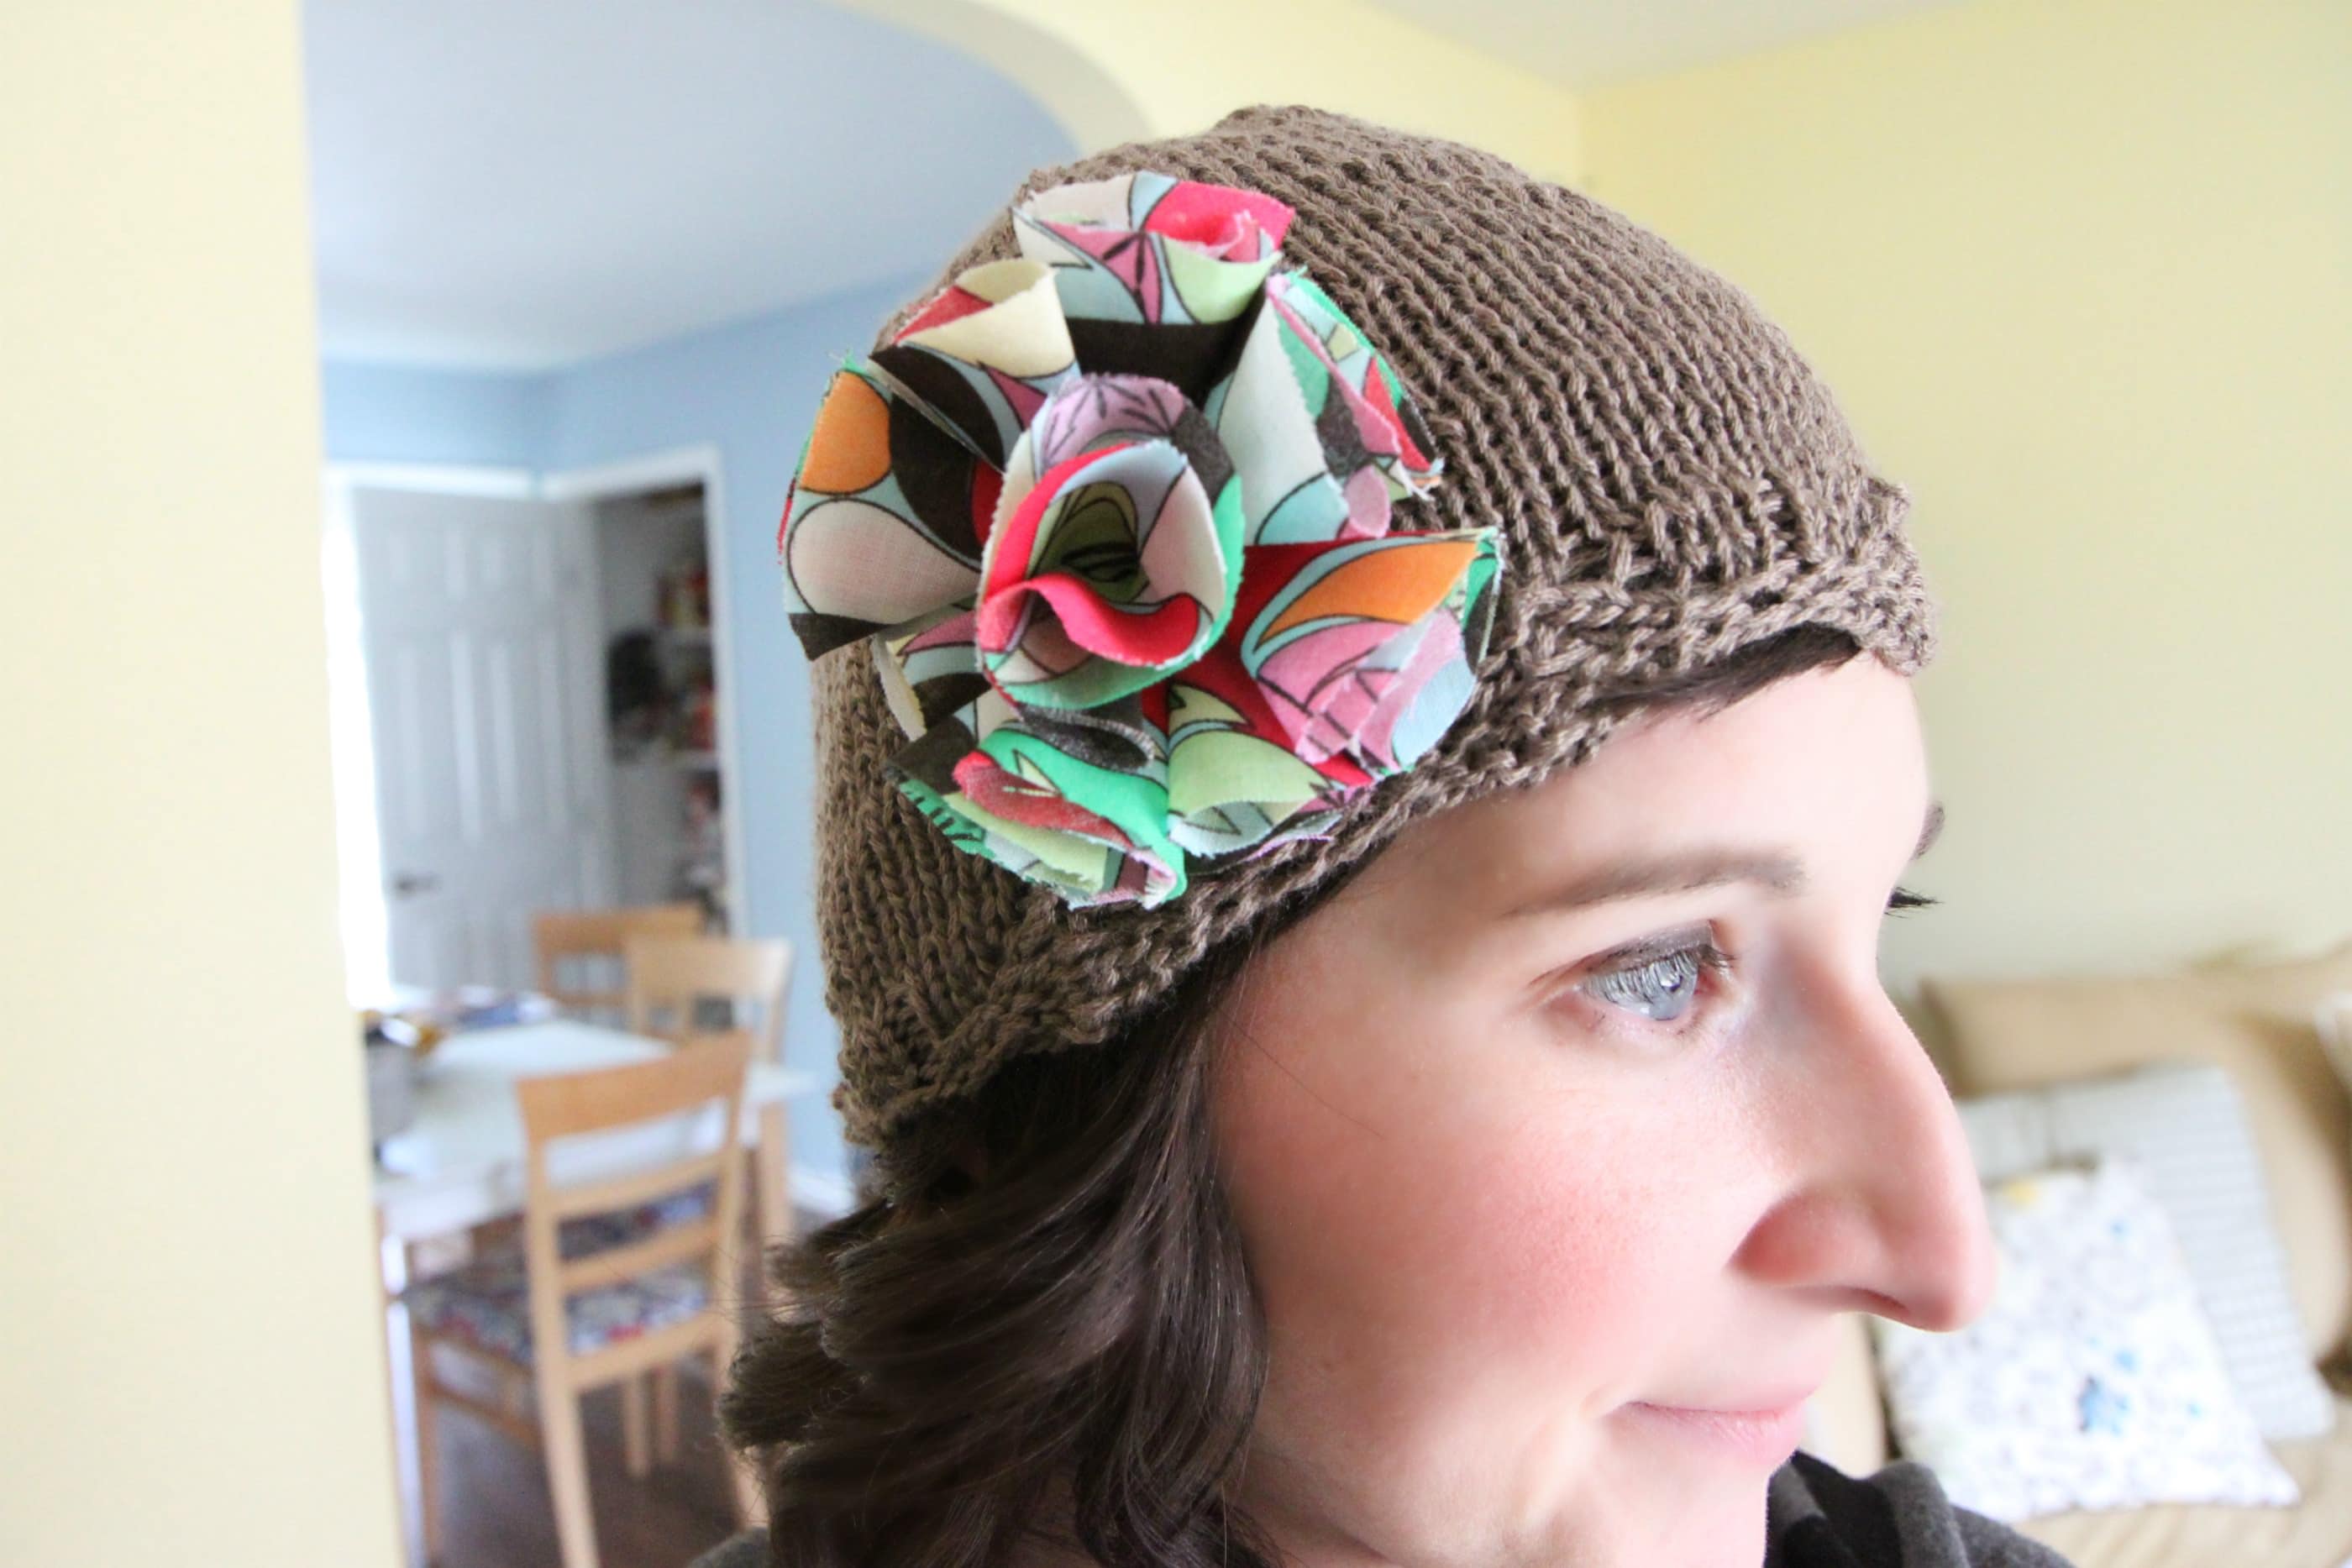
Notes:  This lace trimmed hat is the perfect chemo cap because the lace just hits on the edge of the hat. Great one to do while catching up on your latest shows since you only need to concentrate in the first eight rows of pattern.

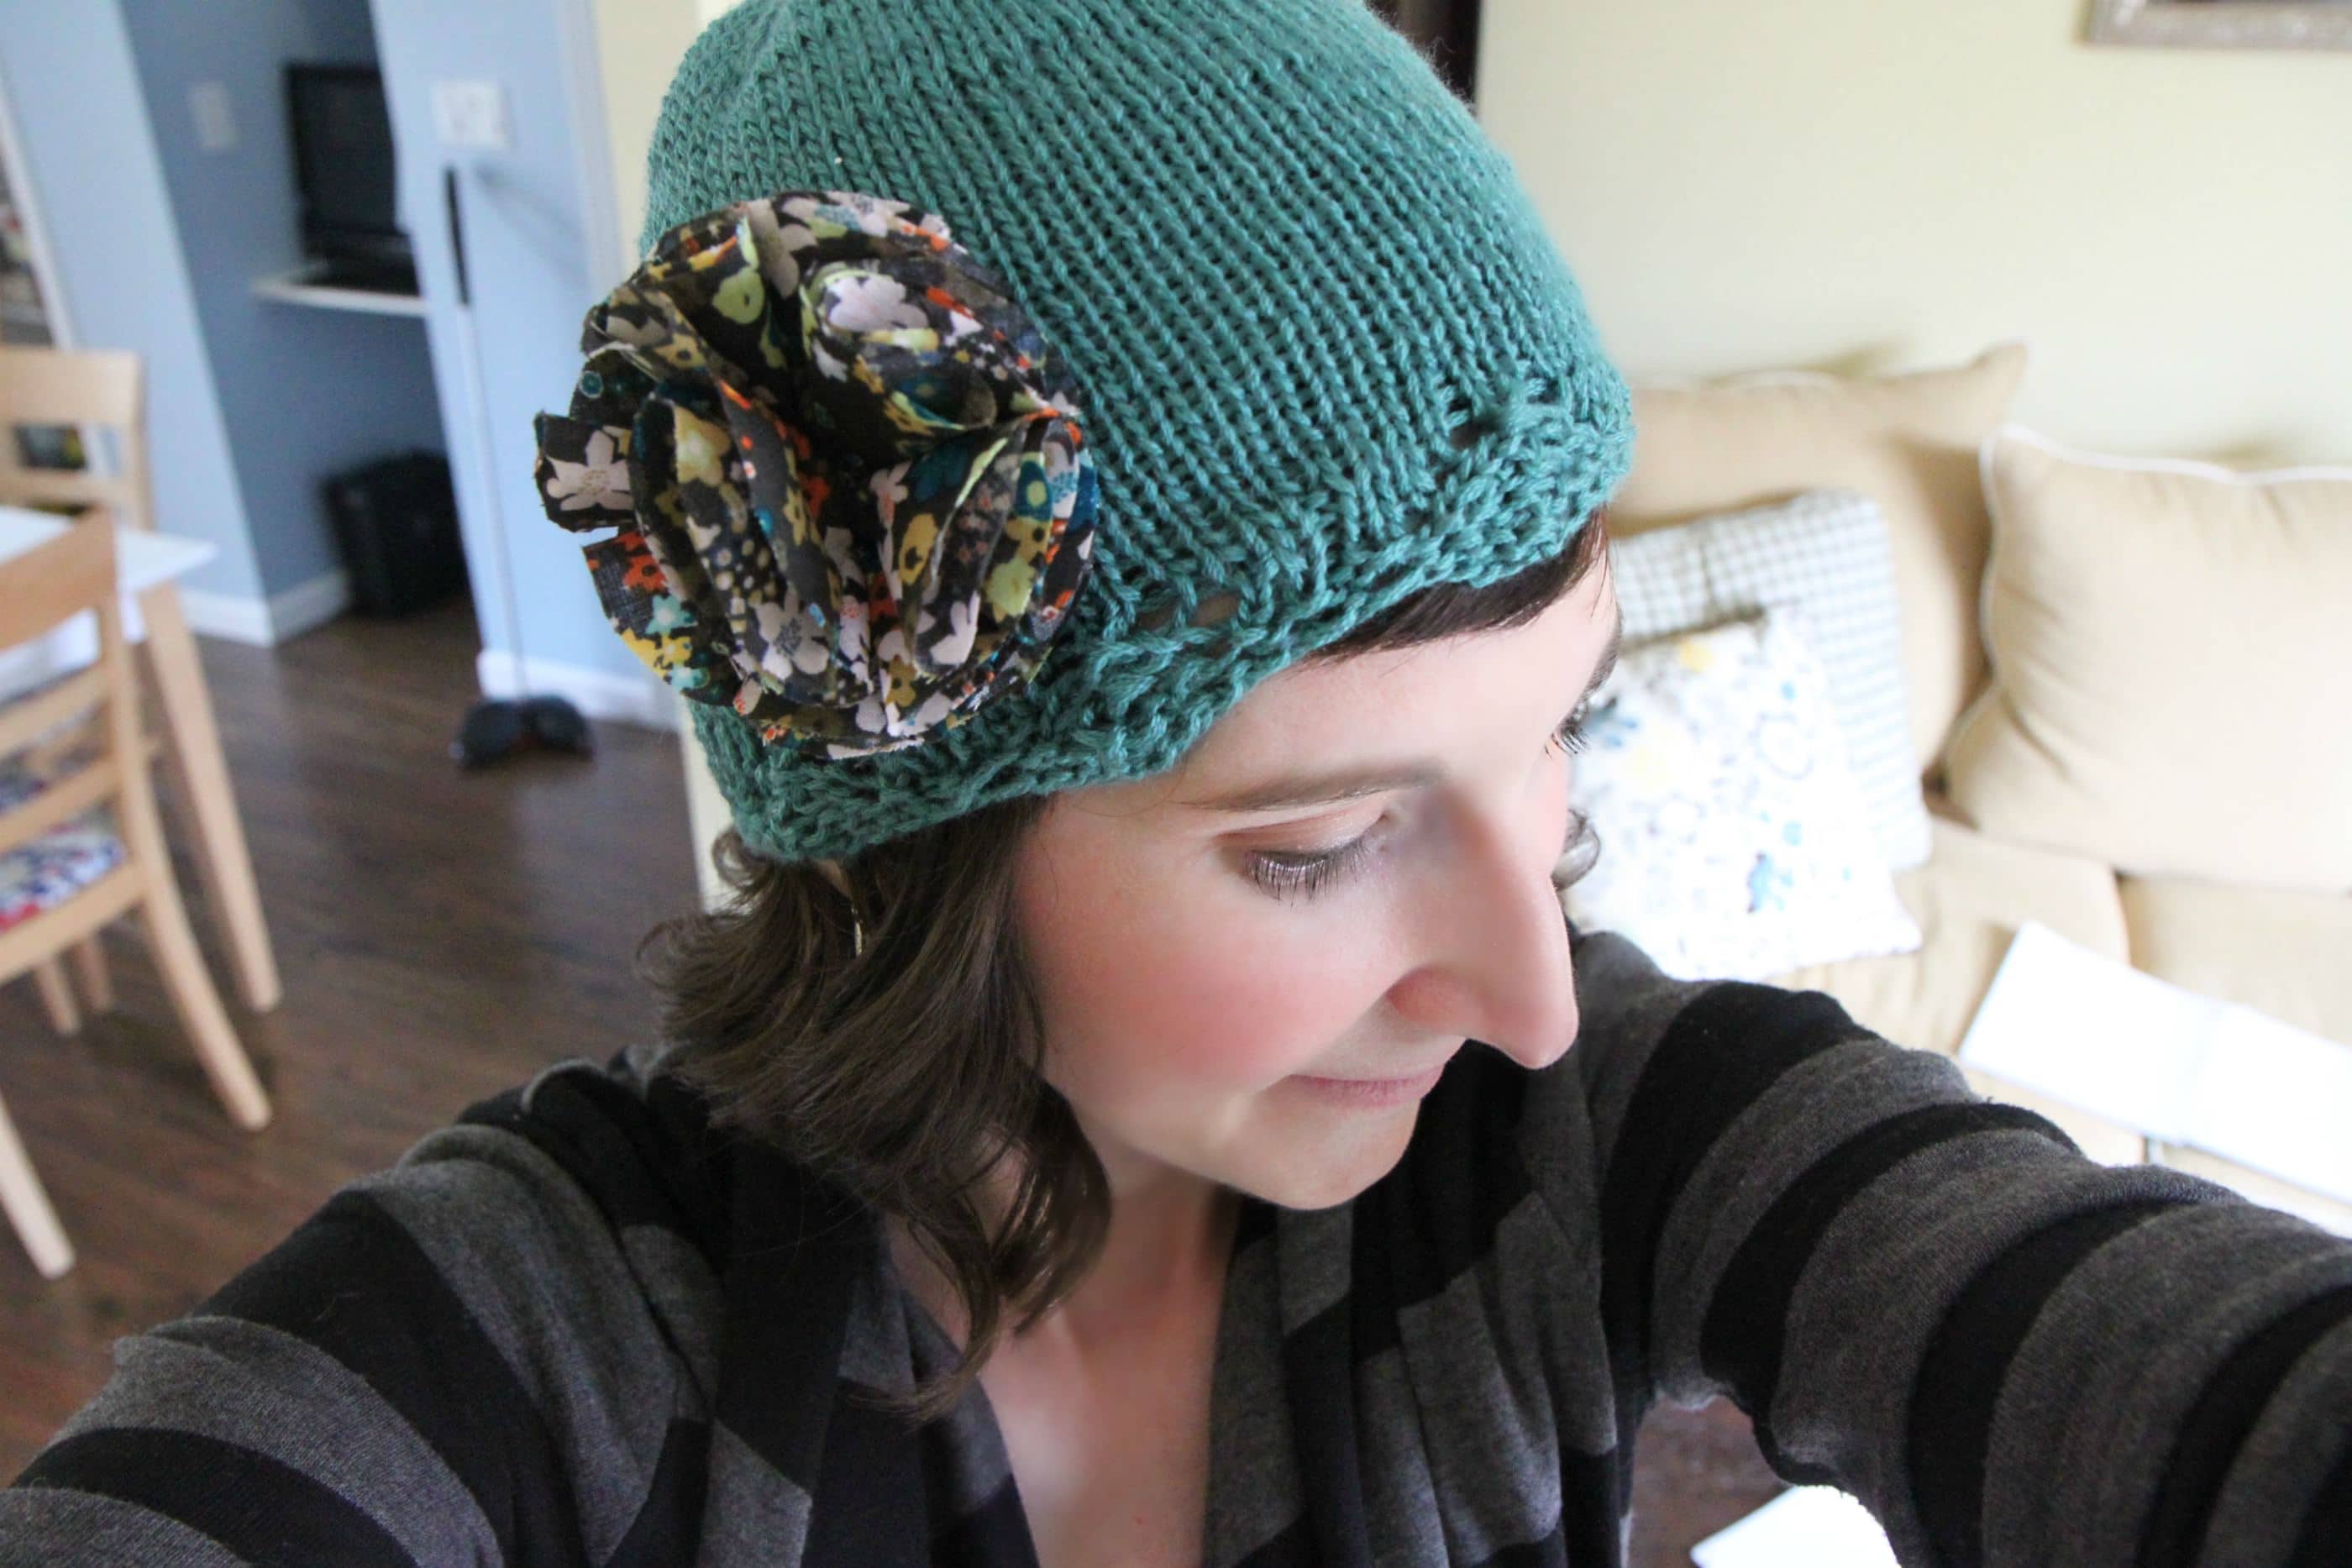
I added a fabric flower to this hat to add a little splash of color. You can find that easy tutorial over here. These fabric flowers are a fun way to adorn a chemo cap and make the hat a little more fun.


Republic Hats

Pattern: Toddler Republic Hat or Adult Republic Hat (you can find the pattern in the side bar available for free download) with Lydia Flowers (Size Medium & Small)- The Lydia Flower is currently unavailable, but should be available for purchase soon!

Needle Size: US 5 Needles (circular) & US 8 (straight) for the hat embellishment

Yarn: Malabrigo Yarn Merino Worsted (for hat) &  I Love This Cotton! in Ivory for the flowers

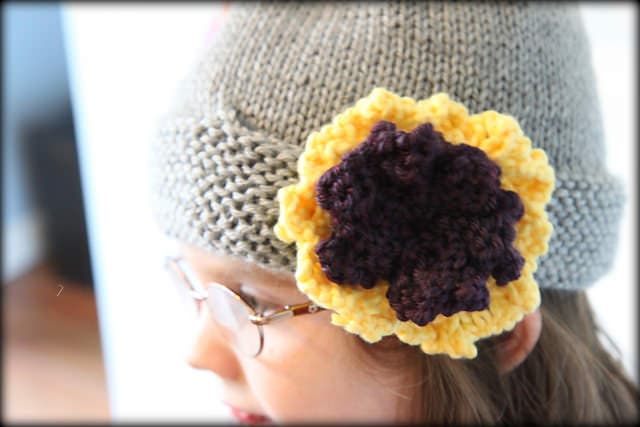
Notes: If you are looking for a perfect hat pattern for a novice beginner who is learning how to knit in the round, then these patterns are the perfect patterns for you. In the pictures above, I actually used the Toddler Republic Hat pattern for myself since I have a smaller head than most normal adults. I adjusted the length to 5 1/2 inches long. Linked above is also the adult-sized version that would be a perfect holiday gift for just about any girlfriend or sister to wrap underneath your tree this year!

The embellishment is the Lydia Flower in both the medium & small sizes, stacked using size eight straight needles. If you don’t feel ambitious enough to knit a flower, you can finish it with a simple button and skip that step altogether!

These hats pictured here were knitted for my friend’s sister, Megan. Isn’t she just so beautiful? I understand that she is both beautiful inside and out.  Although I have never met Megan, when I heard about her I knew that I needed to put my knitting needles to work for this amazing girl.

Megan has a rare cancer called Leiomyosarcoma that aggressively forms tumors in the tissues and organs of her body. She has already completed 6 rounds of chemotherapy, and is determined to beat this. Megan has been on our prayer list and I hope she can be on yours too.

Megan’s family will be throwing a Benefit for her in town at Villa Macri in Toscana Park on Sunday June 24, 2012 from 12pm to 7pm. I can’t wait to be there to support Megan and her family and I would love for you to support them too. You can learn more about the benefit on Megan’s blog, “Miracles for Megan.”

We pray for you every day, Megan!


Sadly, cancer has now impacted our family personally. Our family is LIVING STRONG right now for a very special man in our own life. Ryan’s grandfather has been diagnosed with cancer and we ask that you add him to your prayer list and all of our family.

We couldn’t love our Pops more if we tried.

We sent our  sweet grandpa these pictures of our family to cheer him up and so he knew we were Living Strong for him every day. There is little that we feel like we can do except pray, but we do it fervently every single day.

We are thankful for high tech blessings like Caring Bridge (a free website host that families can use to create a page for their loved one) and Skype where we can see our Grandpa & Grandma since he lives so darn far away.

If you are looking for more pattern ideas, I would love to be your friend on Ravelry.com. My profile is over here.  It is a fun and free place to hunt for patterns and document your projects. I update my page often with chemo caps & knitted prayer shawls. Let’s be friends! You can also find other fun knitting projects in our Knitting section of the site.

I leave you with this final quote about my little hobby…

“Sometimes, people come up to me when I am knitting and they say things like, “Oh, I wish I could knit, but I’m just not the kind of person who can sit and waste time like that.” How can knitting be wasting time? First, I never just knit; I knit and think, knit and listen, knit and watch. Second, you aren’t wasting time if you get a useful or beautiful object at the end of it.

I will remember that not everyone understands. I will resist the urge to ask others what they do when they watch TV.”

― Stephanie Pearl-McPhee, At Knit’s End: Meditations for Women Who Knit Too Much

Make your television time (how ever you watch that TV) useful and make something beautiful that will brighten someone’s day more than you can know.

Feeling charitable today? Here are 10 Painless Ways to Give Back to Charities.

Pin It

An Apron Full of Giveaways 03.13.12

Tuesday, March 13th, 2012

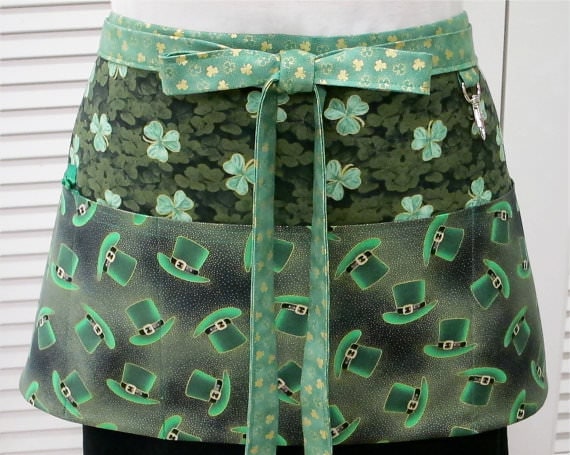
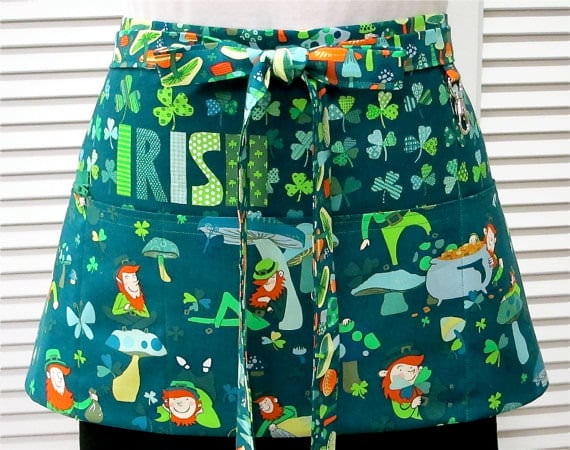
Apron Addict, $25.25

Welcome to our Apron Full of Giveaways! I hope everyone is having a great week this week! As we do each week, here is our round-up of giveaways for our readers. We hope that this is beneficial to you and your family! Please let us know if you guys win anything- I love to hear the success stories!

Below are the contest links-if you are hosting a contest please link it up below. Sorry, we aren’t giving away the aprons just showcasing them! Please put your site name and then what type of contest you are hosting. For example, “MomAdvice (Kid’s Movies).”

Please let me know if you have any questions and good luck to each of you!

Pin It

Tilapia Pitas

Monday, March 12th, 2012

Tilapia is one of my favorite types of fish and I am always on the lookout for fresh ways to prepare it.  When I came across a recipe for Tilapia Pitas, I just knew we had to give this recipe a try in our house. Anything that includes a pita is a surefire weeknight winner. Of course, the best part is that this dish is so fast to prepare and a perfect way to spice up your usual taco night.

Tilapia is a white mild fish that our whole family loves. You can find it inexpensively in the frozen section of your local grocery store and it is a fun fish to add into a variety of weeknight creations. I have to say that it really has become our family’s favorite fish and we enjoy this weekly.

I prepared this Tilapia simply by sauteing it in a little olive oil and adding a little Old Bay Seasoning (found over by the seafood counter in your grocery store) to add a little zest to the fish along with salt and pepper. Of course, you can add whatever spices suit your fancy for adding flavor to this mild fish.

The sauce makes this pita creation even more divine with a mixture of mayonnaise, Italian dressing, and creamy feta cheese. Fresh romaine lettuce adds a little crunch to these fish pitas while the sauce adds creaminess and flavor.

Make your own pitas or pick them up at your grocery store to save yourself time in the kitchen. However you create them, these pockets are full of deliciousness and are a great way to spice up your fish routines.

Tilapia Pitas
Recipe Type: Main
Author: Adapted from AllRecipes.com
Prep time: 15 mins
Cook time: 15 mins
Total time: 30 mins
Serves: 6
Tilapia in a pita pocket is a fun meat-free option that is big on flavor and easy on your wallet. Add this one to your weekly rotation!
Ingredients
  • 1/2 cup mayonnaise
  • 1/4 cup Italian salad dressing
  • 1/2 cup crumbled feta cheese
  • 1 pinch cayenne pepper, or to taste
  • 1/8 teaspoon ground black pepper, or to taste
  • 1 pinch salt
  • 3 tablespoons extra-virgin olive oil
  • 1 pound tilapia fillets
  • Old Bay Seasoning (a generous sprinkle)
  • Salt & Pepper to taste
  • 2 cups romaine lettuce, chopped
  • 6 pita breads, cut in half
Instructions
  1. In a small bowl, stir together the mayonnaise, Italian dressing, and your feta cheese.
  2. Season with cayenne pepper (optional), black pepper and salt.
  3. Mix until well blended, then set aside.
  4. Heat oil in a large nonstick skillet over medium-high heat.
  5. Place the tilapia fillets in the skillet, and season with Old Bay Seasoning, salt and pepper.
  6. Saute until browned on each side, and fish flakes easily with a fork, 5 to 7 minutes.
  7. Warm pita breads in the toaster or in the microwave to soften. Open from the cut side to make pockets.
  8. Fill pita bread halves with tilapia fillets, then spoon in some of the feta cheese sauce.
  9. Serve with your favorite fruits and vegetables for a yummy fresh side dish.


For those looking for another great meatless dishes, here are a few of our own family’s favorites!

Meatless Dishes on MomAdvice

Panko Crusted Tilapia Nuggets with Dipping Sauce

Linguine with White Clam Sauce

Applebee’s Honey Grilled Salmon

Baked Salmon with Lemony Rice Pilaf

Herb Baked Tilapia

Salmon Patties & Perfectly  Baked Potatoes

Slammin Salmon Marinade

Balsamic & Rosemary Grilled Salmon

Shrimp Pasta with Oven Dried Tomatoes

Roasted Shrimp with Rosemary & Thyme

Sauteed Shrimp with Spinach and Tomatoes

Grilled Shrimp with Garlic & Herbs

Sun-Dried Tomato Basil Orzo

Spinach & Tomato Orzo Pasta Salad

Lentil Soup with Homemade Whole Wheat Bread

Homemade Tomato Soup with Crouton Toppers

Marinated Grilled Shrimp with Perfect Margaritas

Basic Pizza Dough for Beginners

Portobello Mushroom Burgers 

What are your favorite meatless dishes in your house? Have any fun ways to spice up tilapia? Feel free to to share them here!

Submitted to Mouthwatering Mondays on A Southern Fairytale

Pin It

Amy’s Notebook 03.07.12

Wednesday, March 7th, 2012

Welcome to my little notebook of ideas to help improve your life. This is a collection of gathered links to DIY crafts, food projects, and thrifty ways to spruce up your home. Nothing brings me more joy then to highlight other fabulous bloggers. I hope you will enjoy this weekly does of loveliness with beautiful links that are individually handpicked just for you!

This zippered Shamrock pin is too cute (@ craftaholics anonymous)

I love these St. Patrick’s Day printables for a fun way to decorate for the holiday (@ just peachy)

I am dying to make these sheep’s mug mats (@ Wool Free & Lovin’ Knit)

I am inspired to make individual chicken pot pies for a fun dinner (@ Gluesticks)

I love these DIY capes for fun superhero play for little ones (@ All For the Boys)

This is such a cute idea for upcycling an old onesie (@ bubbly nature creations)

This DIY city subway art would be a fun way to decorate a wall or ledge (@ Modge Podge Rocks)

I want to try these microwave potato chips (@ the kitchn)

How to Ditch Your Cable Bill

Tuesday, March 6th, 2012

A few months ago our family made the radical decision to turn off of our cable television. It might not seem like a radical decision to you, but for a family of self-proclaimed television junkies, it felt bold to call our television provider and tell them that we were ready to turn off our channels.

With so many fantastic options available to families, it is so much easier to say no to the cable bill thanks to online television and innovative ways to indulge in your favorite shows. It might surprise you that this article is not about getting rid of your television and singing Kumbaya because our life is so much better without TV.  No, we still love our television and I wanted to share with you how to get your fix for less and how to slash your cable expenses for good.

I will fully admit that there was a bit of bribery involved to get my family on board with the decision to turn off our cable.  We found an Xbox for less than half price on Craigslist from a family that was looking to downsize their electronics and gave this to ourselves for our family Christmas present. This gaming system was my ticket to get everyone on board with my decision to let our cable bill go.

If you are looking for ideas for how to get around your cable bill, here are a few of our own family’s favorite options to maximize your family’s entertainment budget.

Players

Roku Player (starting at $49.99)

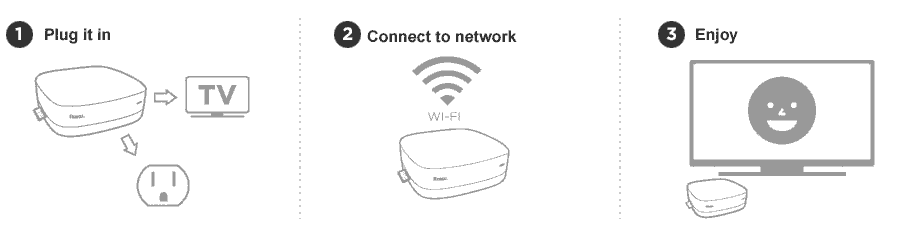
For families that don’t have a gaming system to view television through (like the Xbox, Wii, or Playstation) this little box can be a wonderful option. Your Roku hooks up to your television and allows you to play through subscription-based programs like Netflix, Hulu, HBO Go, and Amazon Instant Video on your television. Your Roku player can hook up to your home entertainment system and give your entire family the opportunity to watch something together on the couch rather than sitting at your laptop.

The only downfall with the product is that you really do need to have a high speed internet connection, as are most streaming options. If you have a DSL connection we found that the viewing can be a little bit like watching something on You Tube.

The Roku Player is surprisingly easy to use and simple to integrate into any home entertainment system. The interface is extremely clear and hook up took literally a couple of minutes. For homes with wireless Internet connectivity, the player is Wi-Fi enabled and offers the ultimate in placement flexibility. With the player’s accompanying remote control, members can browse and make selections right on the TV screen and also have the option to pause, rewind or play your favorite shows anytime just like a DVD.

There are no monthly fees attached to the Roku Player, but it enables you to watch your shows and online subscriptions in one place.

This is the player that we use in our own home and we have no complaints with this fabulous option. There are other similar products on the market like the Apple TV and the Boxxee Box, but I love the affordability of the Roku Player and what viewing options are available on it.

Game Consoles ($149-300)
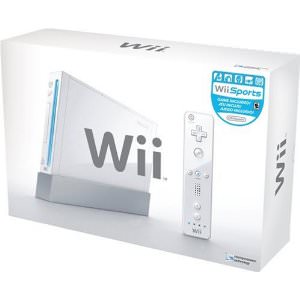
Game consoles can be a wonderful bang for your buck because they offer unlimited entertainment through gaming as well as a platform for you to watch your favorite shows and movies. It is important to make the right investment for your family when choosing whether you want the Wii, the Playstation 3 or the Xbox 360 based on your own family’s entertainment needs. It is also important to understand what is included with each game console and what are extra expenses you may have later down the line.

Below is a basic price breakdown on what is included with your gaming system, what the costs of games might be, and the graphics quality for each gaming console (found on Amazon).
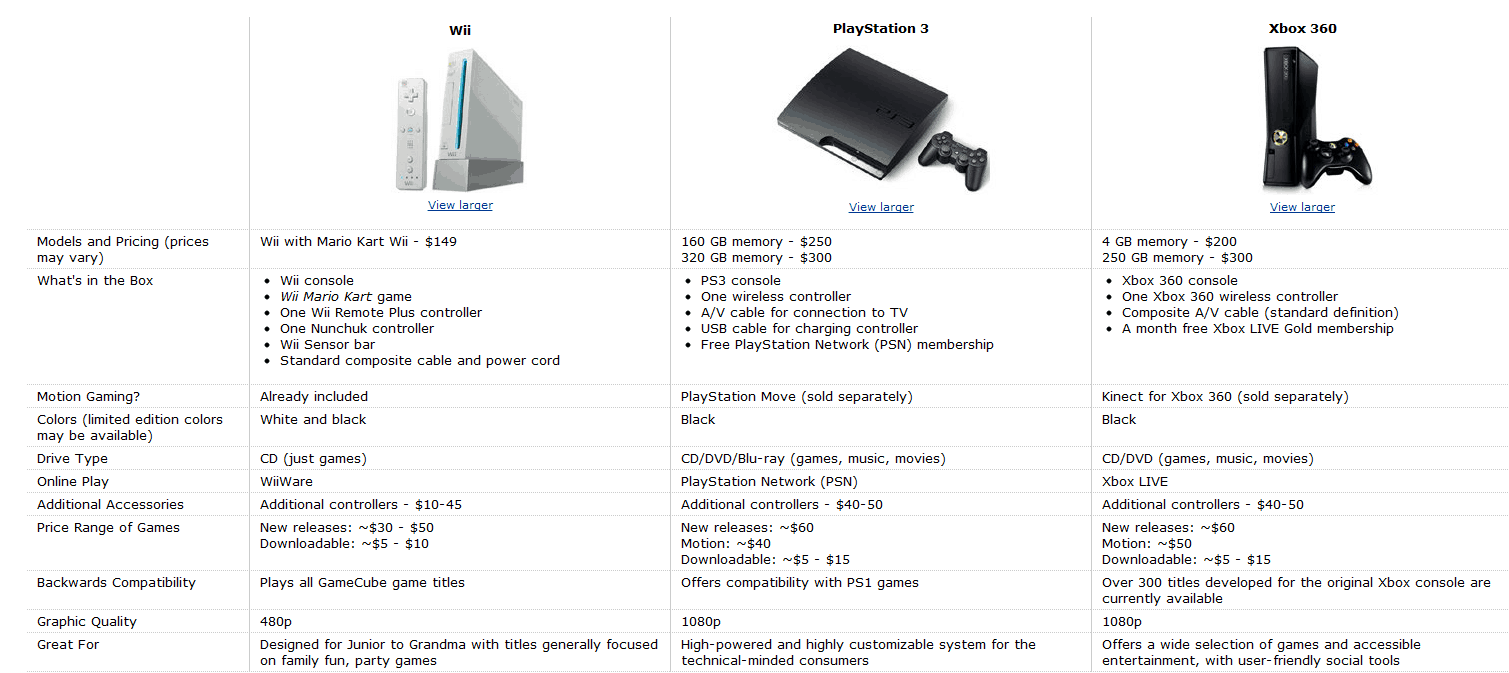
(click to expand)


Our family loves playing games together and having a gaming system has been a great way for us to spend time together. We have never bought a full price gaming system though and have had great success finding used consoles for half the price of retail price. Not only have we found our consoles for less, but when we have found these units on Craigslist, the sellers are usually getting rid of their games, controllers, and accessories that go along with them and will sell them to us for a fraction of the retail price.

We use both our Wii and our Xbox 360 for streaming Netflix and watching Hulu Plus. Both of them are fantastic for this purpose as well as fun weekend entertainment for us as a family.


Channel & Movie Subscription Options


Play On ($29.99 annually or $4.99 a month)

Play On is an easy way for you to watch your favorite videos, shows, and movies from websites such as Netflix, Hulu, YouTube and more on your TV using your Wii, Xbox 360, or Playstation 3 over your home internet connection. PlayOn also works on your iPhone or Android phone.

When we turned off our cable, we were missing some of our favorite shows on some of the channels we watched. Play On is almost like having a cable subscription without the outrageous price since they offer many channels that would have to get with a premium cable package. Hulu Plus offers many of the same networks, but not necessarily the same shows that are available on the network.

My children love to watch PBS and Nick. We have found many of their favorite shows that they love through Play On and the cost is an affordable one for less than $30 a year (or a fraction of one month of your cable television).

Hulu Plus ($7.99 per month)

The majority of our TV-watching is now done through Hulu Plus and we absolutely love it. We have beautiful HD television, something we couldn’t afford with our cable bill, and almost all of our favorite shows are available through Hulu Plus.

Hulu Plus lets you watch hit current and back season TV shows and acclaimed movies anytime in HD for $7.99/month with limited advertising. For many popular shows on their service, Hulu Plus offers every episode of the current season, not just a handful of recent episodes.

Hulu Plus can be viewed on multiple devices, including your laptop, the Apple iPad and iPhone, PlayStation® 3, Roku, and TVs and Blu-ray players from Sony, Samsung and Vizio.

You can watch shows for free through Hulu and not buy the Hulu Plus membership. The main difference between your free television experience and the paid subscription is how you view it. With Hulu Plus you can take advantage of the multiple viewing devices, but with the free membership, your viewing is limited to your PC.

Netflix ($7.99 a month)

The other streaming membership that gets a workout in our family is our Netflix membership. Although I feel that the quality of the movies and shows available on Netflix has been deteriorating in the past few months, we still get our money’s worth from this membership.

For $7.99 a month, Netflix members in the Americas, United Kingdom and Ireland can instantly watch unlimited movies and TV episodes streamed over the Internet to PCs, Macs and TVs. Among the large and expanding base of devices streaming from Netflix are: Microsoft’s Xbox 360, Nintendo’s Wii and Sony’s PS3 consoles; an array of Blu-ray disc players, Internet-connected TVs, home theater systems, digital video recorders and Internet video players; Apple’s iPhone, iPad and iPod touch; Android and Windows tablets and phones; and Apple TV and Google TV. In all, more than 700 devices that stream from Netflix are available.

Our family relies on this for our weekend family nights. My husband and I use this for our documentary fix while the kid’s enjoy many of their favorite seasons of Disney & Nick Jr. shows through this membership.

We are hopeful that Netflix will have more viewing options available, but what we can’t get through Netflix we supplement with our Redbox rentals and our fantastic library system.

Digital Antenna ($12-50)
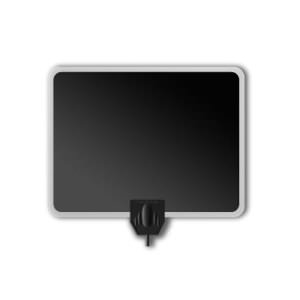
When I say the word antenna, do you think of those giant rabbit ears? I did too. You won’t believe how far those rabbit ears have come and how elegant your antenna can now look. This Paper Thin Leaf Indoor HDTV Antenna ($39.19)  is just one example of how streamlined the antenna has become. Your friends will never know that you are one of “those people” watching television on their rabbit ears.

With a good digital antenna it is possible to get dozens of local channels in HD with this small investment. It is worth it to make a good investment in your digital antenna if you are relying upon this for your television because a better quality one is able to pick up a wider range of channels in your area.

We found our digital antenna for less on eBay and we use this for watching things like the Super Bowl and other shows we prefer to watch live. I am always so impressed at the quality of the television we can get through this and I love that we no longer have to pay The Man for our local channels.

Clicker– (FREE)

Finding all of your favorite shows can be hard when you are watching from multiple options. I am in love with clicker because it offers a one-stop directory to see if something you love is available online. I think of it as a TV Guide for streaming television.

This site catalogs all broadcast programming online, along with TV-quality Web originals, from these silos and delivers them in one seamless, organized experience so you can easily discover what’s available to watch (and what isn’t) online, where to watch it, and what’s worth watching.

If you are looking to make the leap from cable to online television, check here and see if any of your favorite shows are available for free streaming to decide if you can make the plunge or not.

For Our Canadian Readers-


We had a fabulous comment from one of our readers, Leatitia, on our MomAdvice Facebook Page sharing what streaming options are available in Canada.

“What I use to watch TV for ‘free’ in Canada (50$/month internet bill)

Live TV many channels (including TVA): http://fr.wwitv.com/tv/b2514.htm
HGTV: http://www.hgtv.ca/video/
CTV: http://watch.ctv.ca/
Global: http://www.globaltv.com/video/index.html#video
MTV: http://www.mtv.ca/tvshows/
Radio-Canada shows: http://www.tou.tv/
Radio-Canada live: http://www.radio-canada.ca/audio-video/pop.shtml#urlMedia=http://www.radio-canada.ca/util/endirect/MontrealTV.asx

With those links, I can watch Star Académie, Grey’s Anatomy season 7 in French and season 8 in English, House, Modern Family, Glee, Teen Mom (MTV), Consumed (HGTV), the news, etc, etc….

I’d pay for internet anyway, so I just boost my internet bandwidth to 50G a month and I use about 40G-45G a month. I receive emails when 75% of my bandwidth had been used, as well as 90% and 95% I think. So I’m sure I don’t use more than I’m allowed to!

I don’t miss my cable bill!!”

Thank you so much to Leatitia for sharing her experience with all of us!
After three months of being without our cable, I can honestly admit to you that there are definitely moments that I do miss. I miss my Food Network, I miss HGTV, I miss the convenience of our DVR taping endless shows for me, I miss my Cupcake Wars marathons with my daughter on Sunday afternoons.

There are also things I don’t miss. I don’t miss feeling like I needed to be a slave to my television to make the most of our dollars, I don’t miss paying nearly a hundred dollars a month, I don’t miss paying for something so darn useless.
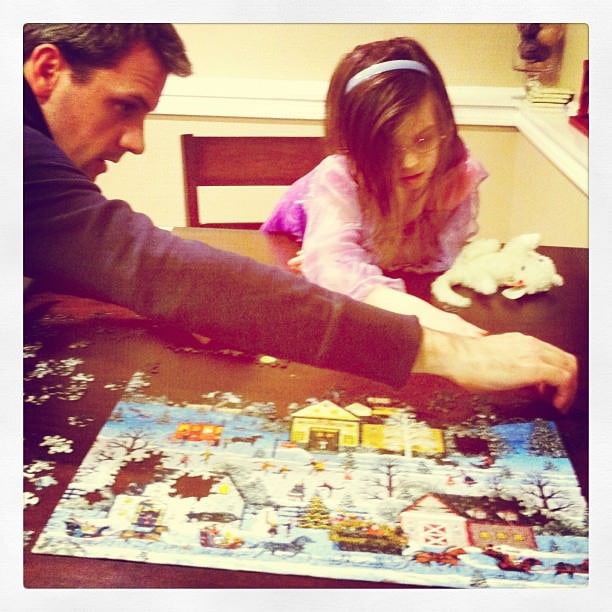
Life does feel a little bit richer. Now that we don’t have a DVR we have to catch up on we are spending more evenings together playing games, doing puzzles, going on outings together, and just focusing on being with each other a little more.

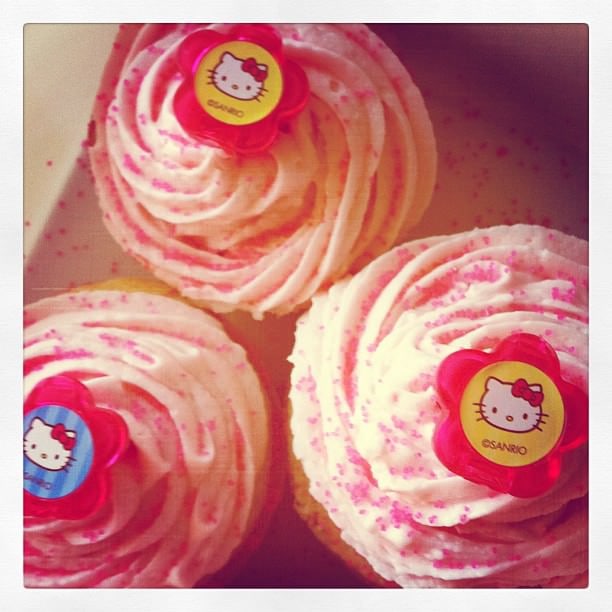
Instead of watching Cupcake Wars we are baking our own cupcakes. Maybe turning the cable off really is radical. It feels that way.

The money that has been freed gives us the chance to put an allowance towards other things we might want to do. We can put the earnings towards a movie outing, getting a season pass to an activity we love, or we can just enjoy the pleasure in the savings.

We still love our television. We just love it in a different way than before.


How do you save on your television watching? How does your family watch television now? What are ways you save on your cable bill?

Disclosure: The links to some of these items are affiliate links and are provided so you can locate what you need quickly and easily. Feel free to order your supplies elsewhere, but we always try to highlight the best deals when we see them.


Pin It

An Apron Full of Giveaways 03.06.12

Tuesday, March 6th, 2012
Apron Addict, $25.25

Welcome to our Apron Full of Giveaways! I hope everyone is having a great week this week! As we do each week, here is our round-up of giveaways for our readers. We hope that this is beneficial to you and your family! Please let us know if you guys win anything- I love to hear the success stories!

Below are the contest links-if you are hosting a contest please link it up below. Sorry, we aren’t giving away the aprons just showcasing them! Please put your site name and then what type of contest you are hosting. For example, “MomAdvice (Kid’s Movies).”

Please let me know if you have any questions and good luck to each of you!

Pin It

Rainbow Cake in a Jar with Cloud Frosting

Monday, March 5th, 2012

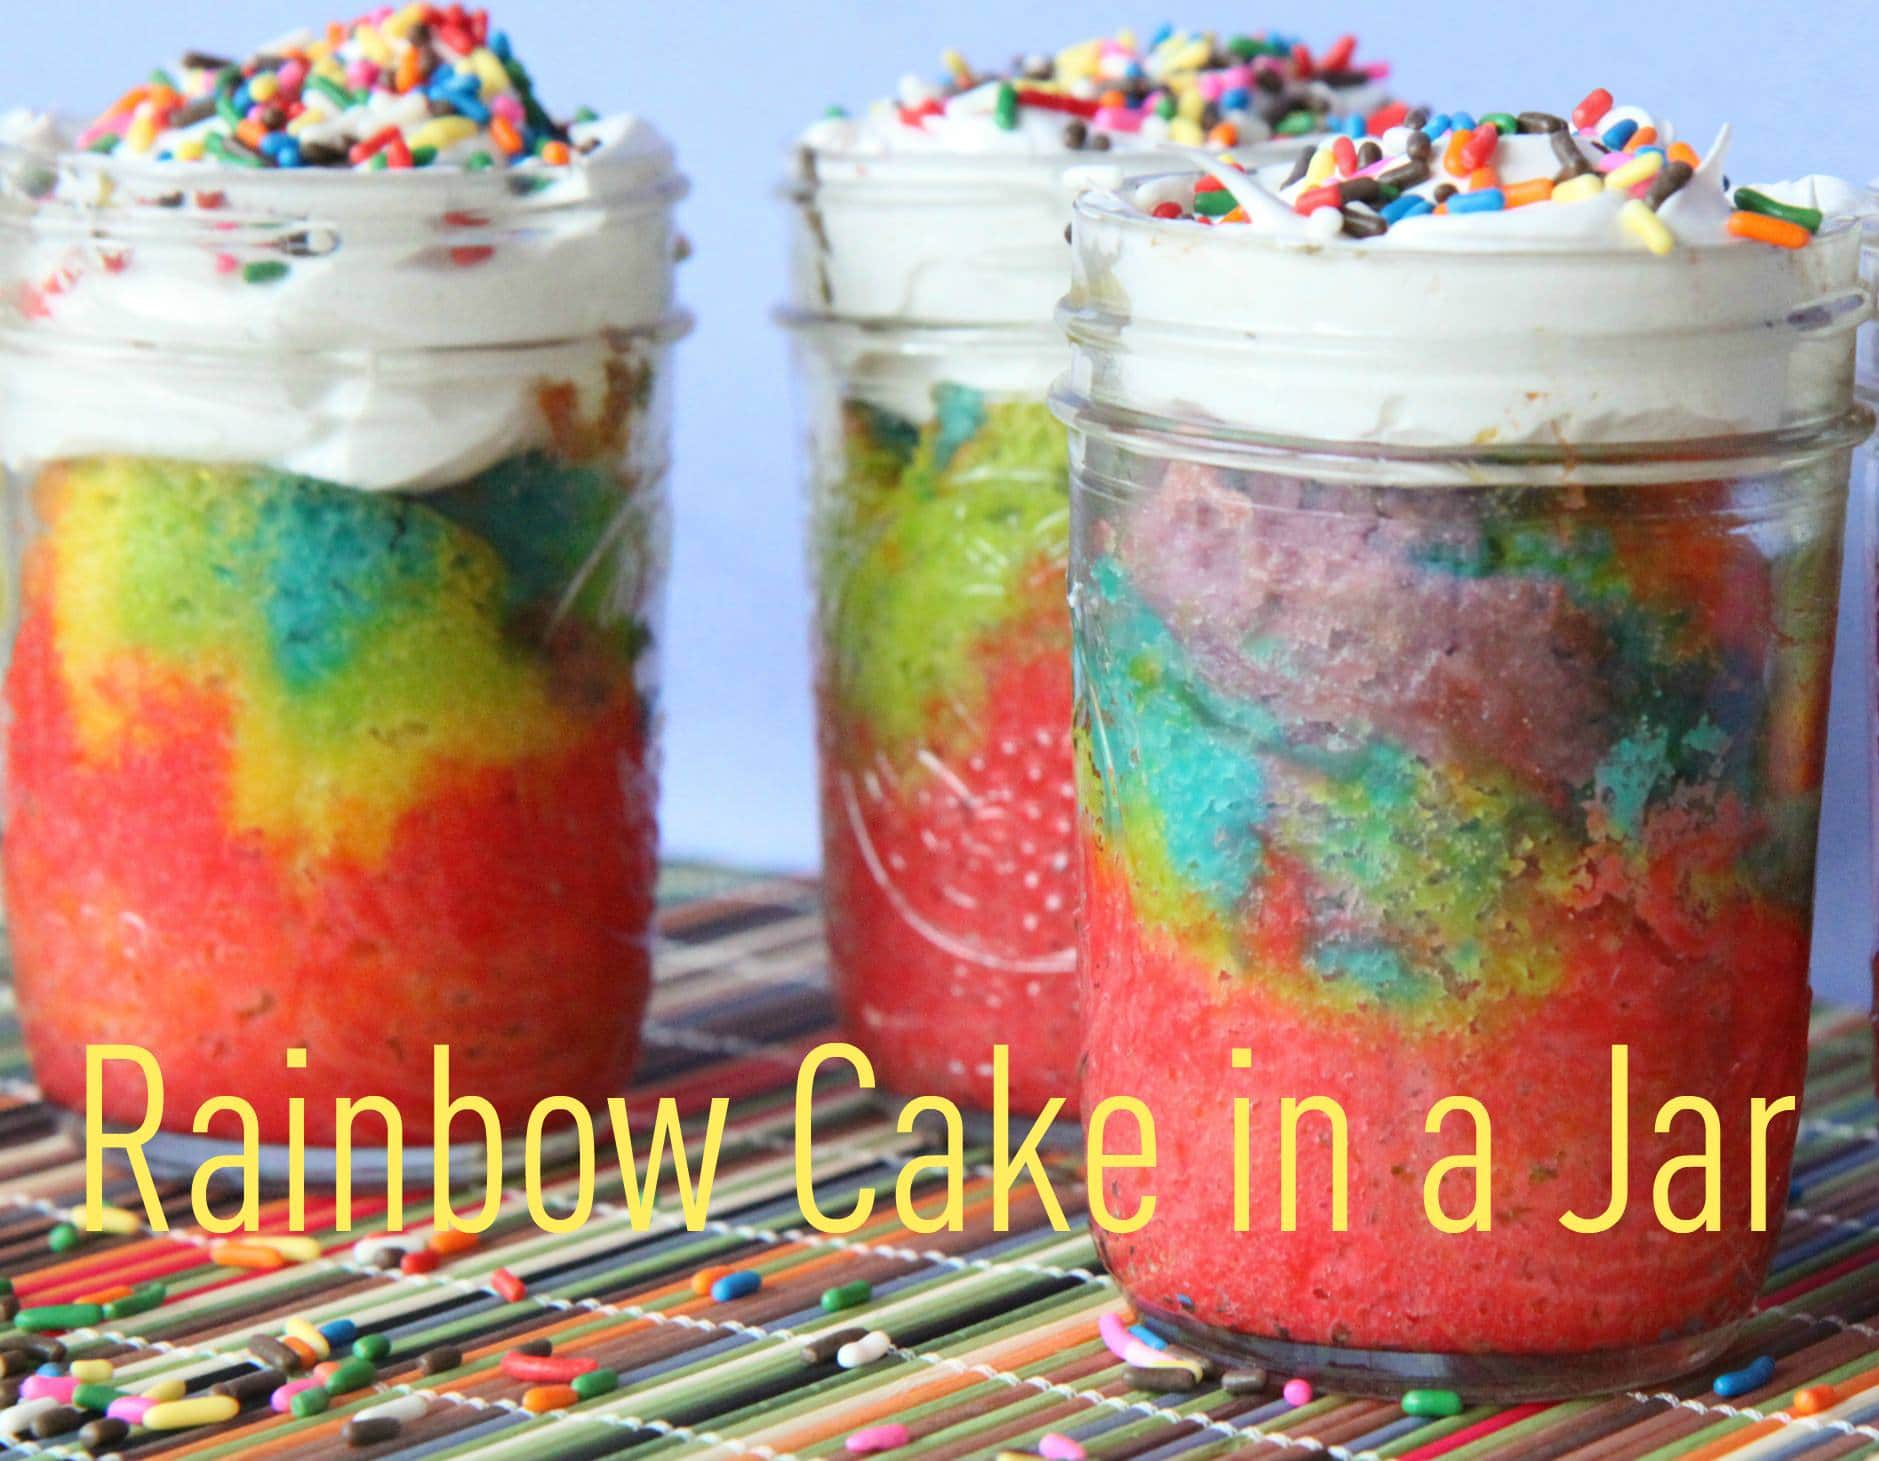
If there is anything more fun than eating a rainbow in a jar than I don’t know what is. I have seen so many variations of this Rainbow Cake in a Jar floating around, but I was on a mission to make my own version of these to share with you all today for St. Patrick’s Day.

I was looking to create a version of this Rainbow Cake in a Jar combined with this Rainbow Cake in a Jar, but I wanted my jars to be small and I wanted a lighter frosting combination than a heavy and rich buttercream on top. The rainbow cakes that I had seen recipes for were traditionally in a quart or pint jar. While I am sure I could indulge in a quart of cake, these smaller versions are the perfect size for a fun treat to celebrate the holiday.

To begin, you will need to make your cake batter. The cake mix batter that you make from a box can be very runny and create muddy layer. Making your cake batter from scratch only takes a few more minutes, is made from ingredients you already have in your pantry, and will yield a thicker batter that is easier to smooth and create the stacking layers you are going for. No matter how you stack it, this batter will create individual colors for the perfect cake

Since this cake batter is thick, it can easily be scooped with an ice cream scoop. Two big scoops in each bowl of this batter and then add as much food coloring as you like for your rainbow layers. I love the Betty Crocker Neon food coloring, but if I am feeling fancy and professional, I love the Wilton food coloring for rich hues.

These 1/2 pint jars do have a more narrow opening than the wide mouthed jars, but I am not much of a perfectionist when it comes to cake. You will want to just make sure the interiors of your glass jars are sprayed lightly with cooking spray and then spoon in each layer of your rainbow colors (as perfectly or imperfectly as you like).

If you want the striping to be even, you can use a Ziploc bag and just cut the tip off of one corner and pipe each layer in to create perfect stripes. I prefer to be lazy and let the colors lie where they may. Either way should create beautiful rich rainbow colors. Be sure not to fill them higher than about halfway in your jar, otherwise your cupcakes will overflow.

Nestle your jars in a 9×13 baking dish with a rim on it. Pour 1/2 cup of water in the bottom of your baking dish to create a little water bath for your jars.  Wipe up any spills or drips on the edges of the jars before placing them in the oven.

Bake these at 375 degrees for 30-40 minutes.

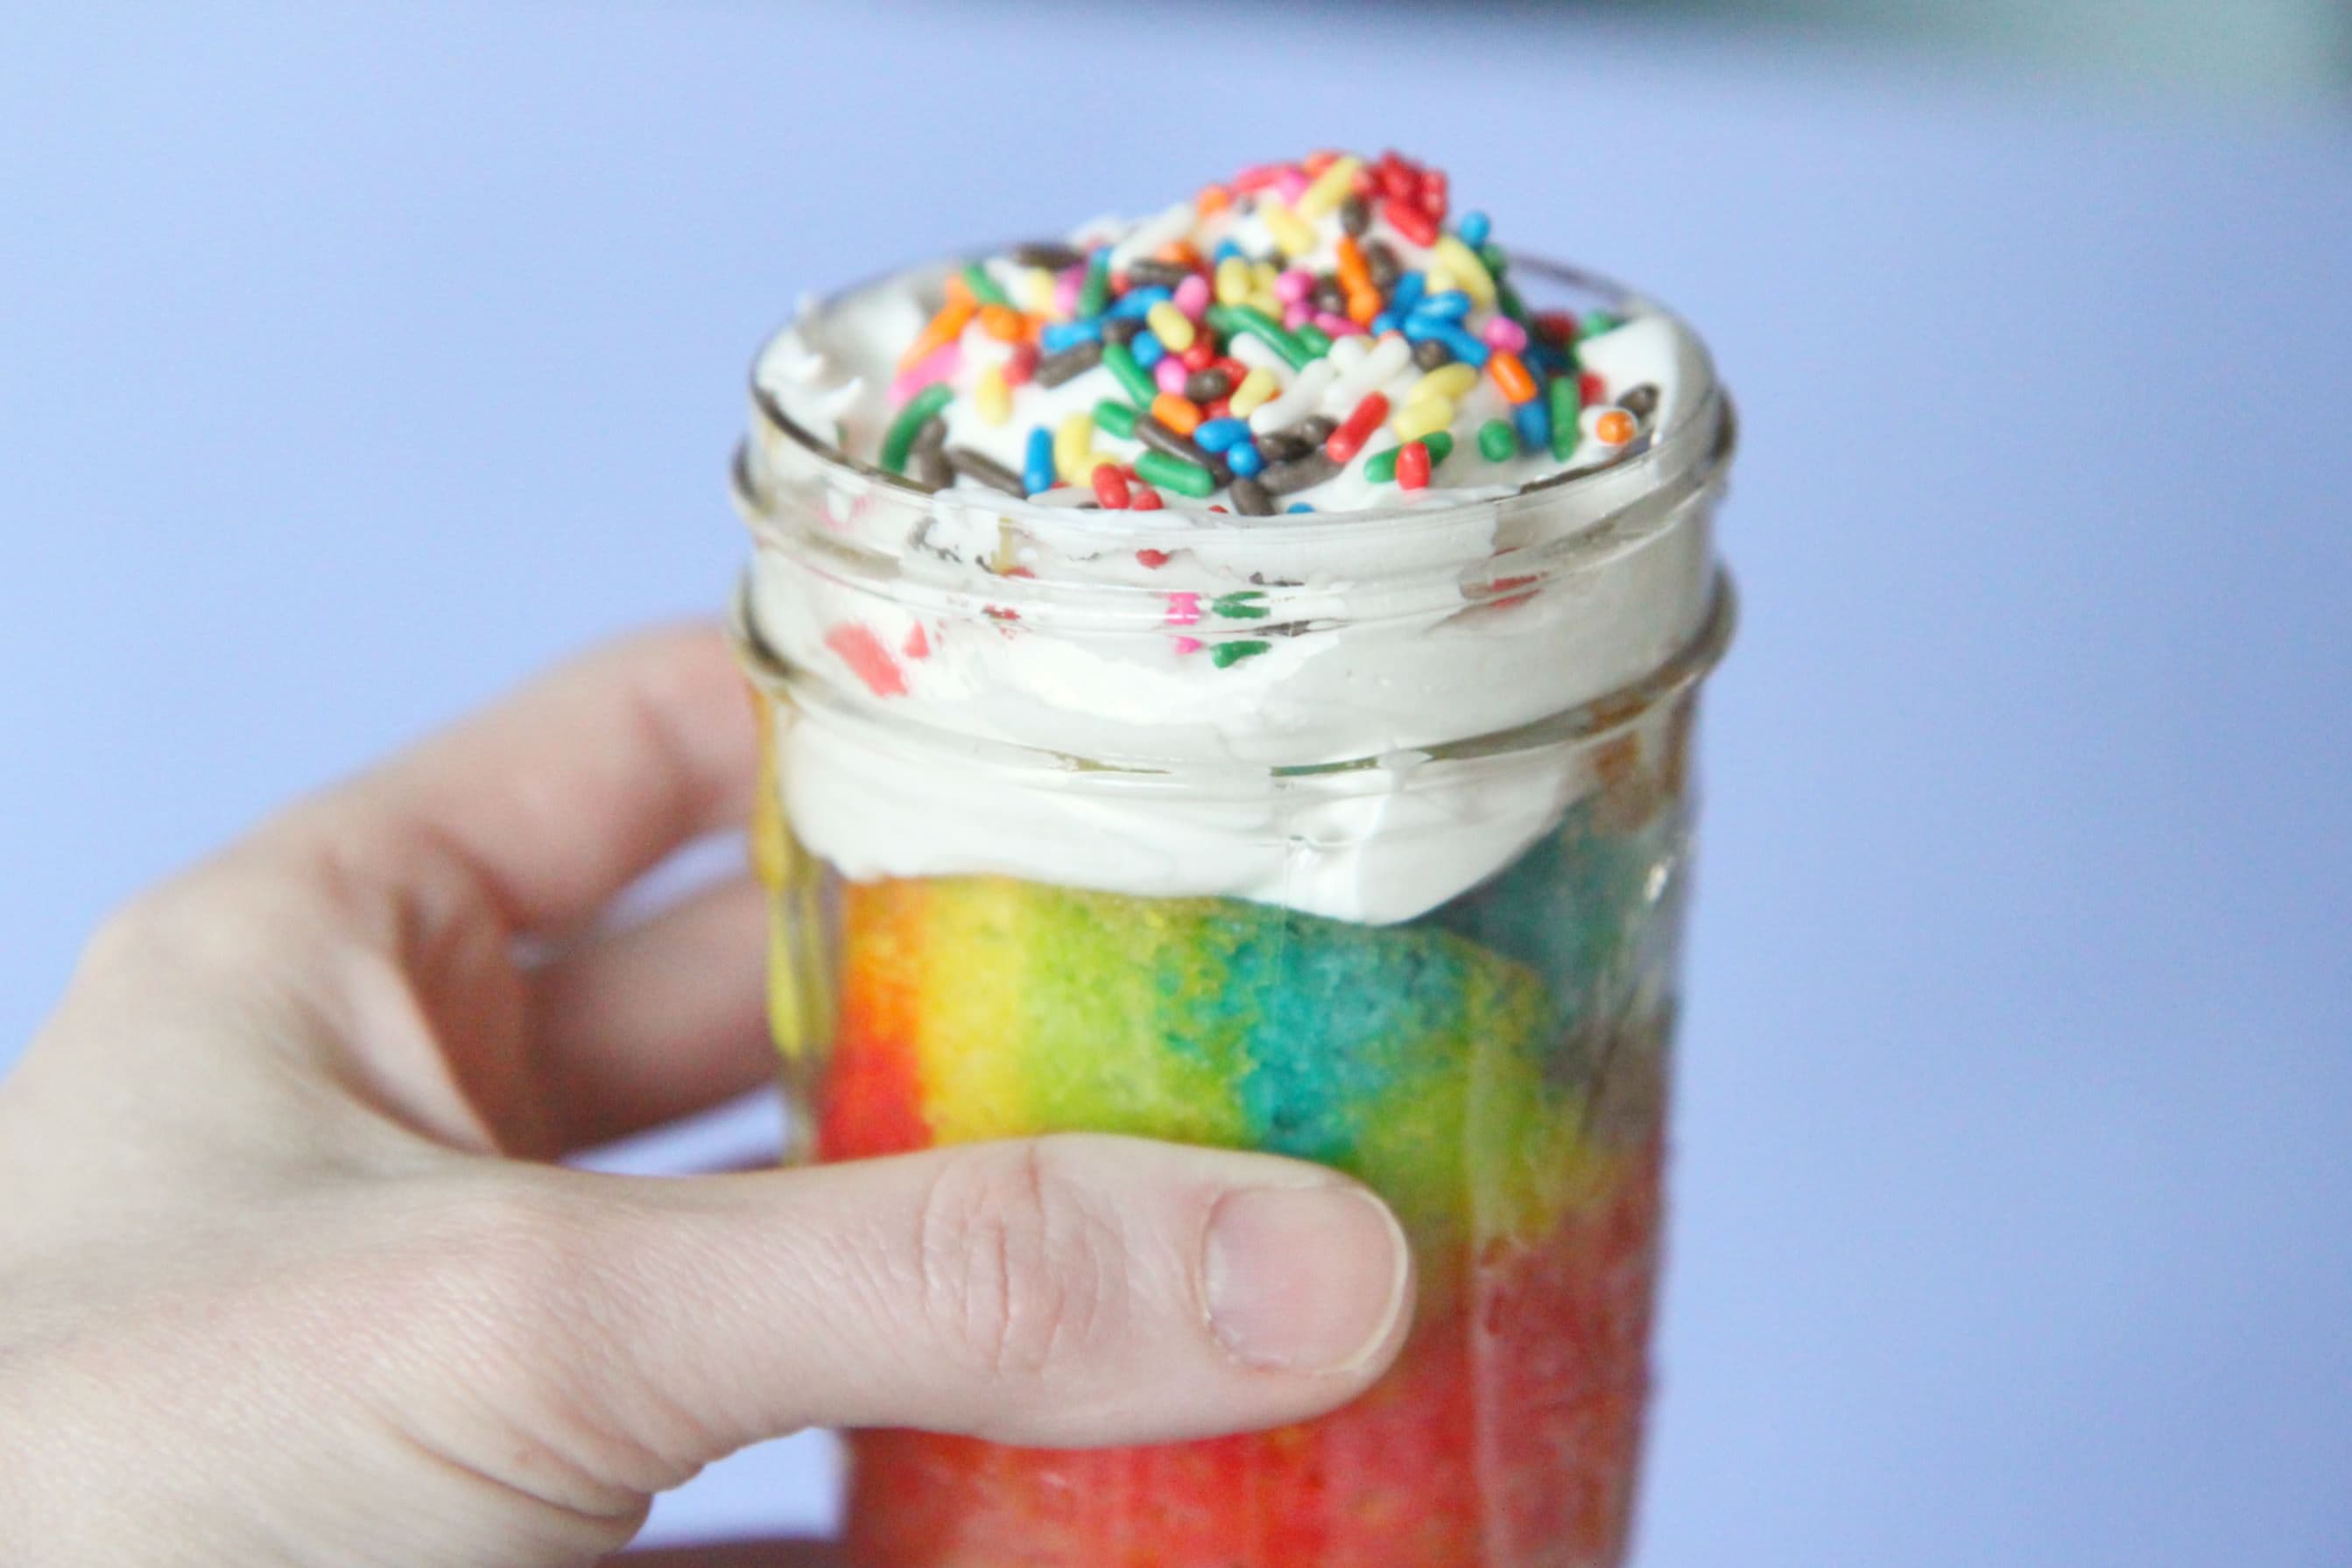
Here are my rainbow cakes. They are definitely perfectly imperfect with the layers, but I still love them. How could a rainbow cake in a jar not brighten someone’s day?

I topped these sweet treats with my favorite 7 minute frosting. If you have never sampled the infamous 7 minute frosting, it is to die for! I am one of those weird people that prefers the whipped cream frosting over buttercream and I think that is why this recipe is such a favorite of mine. It is light and delicious and tastes like a little bit of marshmallow fluff on top of the cupcake.
The secret ingredient to this perfectly-perfect pantry recipe is just a  little bit of boiling water.  You stir the water into the egg whites, sugar, vanilla, and cream of tartar, then beat the mixture for seven minutes.  With just these few ingredients, something magical happens and you end up with an amazing amount of frosting… four cups to be exact!

The next time you have no ingredients on hand or simply don’t have the energy to make a big batch of frosting, keep this recipe in mind for the most deliciously light and and easy-as-pie frosting you can ever imagine!

This is the perfect “cloud” topper to this vanilla cake. With a few rainbow sprinkles for a finishing touch, you have the perfect snack to celebrate St. Patrick’s Day with your family!

Rainbow Cake in a Jar with Cloud Frosting
Author: Amy Clark
Prep time: 30 mins
Cook time: 35 mins
Total time: 1 hour 5 mins
Serves: 8
Individual rainbow cakes are a festive way to celebrate St. Patrick’s Day. These cupcakes in 1/2 pint jars are topped with a light frosting for a surprisingly light and fun snack!
Ingredients
  • 1 1/2 sticks unsalted butter
  • 1 1/2 cups sugar
  • 2 eggs
  • 2 teaspoons pure vanilla extract
  • 2 1/2 teaspoons baking powder
  • 1/4 teaspoon salt
  • 2 1/2 cups flour
  • 1 1/4 cups milk
  • Betty Crocker Neon Food Coloring or Wilton Food Coloring (for bright rainbow colors)
  • 8-10 ½ Pint Jars
  • Cooking Spray
  • Sprinkles
  • Cloud Frosting: 3/4 cup sugar
  • 1 teaspoon vanilla extract
  • 1/4 cup boiling water
  • 1/4 teaspoon cream of tartar
  • 3 unbeaten egg whites
Instructions
  1. Preheat oven to 375 degrees.
  2. Take off the screw caps on the jars. Spray with nonstick cooking spray. Set aside.
  3. Put butter in mixer and beat at medium speed until somewhat smooth.
  4. Pour in sugar and beat well.
  5. Add 2 eggs.
  6. Mix well.
  7. Add: vanilla, baking powder, salt, flour, and milk.
  8. Beat until it is mixed.
  9. Divide your batter into six separate bowls (approximately two large ice cream scoops of batter into each bowl for even distribution).
  10. Tint your batter the colors of the rainbow- Red, Orange, Yellow, Green, Blue, & Violet.
  11. Using a small spoon, carefully spoon in each color of batter into layers or use a Ziploc bag and cut the tip off one corner of the bag to pipe each layer into the jars.
  12. Place jars in a 9×13″ baking pan (with rim) and fill with a 1/2 cup of water to create a water bath for your cake.
  13. Bake for 25-40 minutes or until your cake springs back and a skewer poked in the center comes out clean. (length of time will depend entirely on how tall you stacked your batter!)
  14. This should yield 8-10 rainbow jars.
  15. Allow to cool and begin preparing your Cloud Frosting.
  16. Cloud Frosting: Mix sugar, cream of tartar, vanilla and egg whites. Add boiling water. Beat on high until the mixture forms peaks, which should be just about seven minutes. Spoon cloud frosting on top of the cakes and finish with Rainbow Sprinkles.

Cake Recipe Adapted from Amy Sedaris’s Vanilla Cupcake Recipe
Inspired by: Off the (Meat) Hook
Submitted: Mouthwatering Mondays at A Southern Fairytale


All supplies for this month’s fun project can be purchased at your local Walmart store and this project is done in conjunction with the Walmart Moms program.

If you are making rainbows with your kids today, I highly recommend this fabulous tune for teaching them the colors of the rainbows. They Might Be Giants sing about a man named Roy G Biv that I happened to be singing in the kitchen while I made these cakes. You will never forget the order of the colors in the rainbow again!

I am a part of the Walmart Moms program, and Walmart has provided me with compensation for these posts. My participation is voluntary and opinions are always my own.

Pin It