Archive for the ‘Money & Finance’ Category

Over 350 Kindle Books On Sale Today

Monday, November 26th, 2018

Let’s talk about some of my favorite deals today for Cyber Monday 2018! As a minimalist, I found Black Friday to be underwhelming this year, but I did find a few favorites for today.

If you love to read, this is a pretty incredible deal day on Amazon with over 350 (!!!) books on sale today. I’m sharing my recommendations below, but if you just want to get right to the list, head on over here.

Also, if you have been waiting for a good deal on the Paperwhite, today is also the day to score that with a discounted price of $79.99. Get this cover and you can even read while stirring a pot on the stove (hahaha!)

Amazon Kindle Book Deals (my favorites offered today!)

The Great Alone, $2.99

The Heart’s Invisible Furies, $2.99 (my favorite book of 2017!!)

Vox, $1.99

The One, $1.99

The Child Finder, $1.99

The Ministry of Ordinary Places, $2.99

The Winter Soldier, $4.99

Need to Know, $1.99

Children of Blood & Bone, $2.99

Far from the Tree, $1.99

Every Breath, $3.99

The Three Body Problem, $3.99

Leah on the Offbeat, $1.99

Another Woman’s Husband, $2.99

Not Our Kind, $1.99

American Gods, $2.99

I’m Judging You, $2.99

Artemis, $2.99

The Truth We Bury, $1.99 (or FREE with your Prime!)

The Handmaid’s Tale, $2.99 (or FREE with your Prime!)

Outlander, $1.99

It Was Me All Along, $1.99

Love & Ruin, $2.99

Hillbilly Elegy, $3.99

Murder on the Orient Express, $2.99

The Dutch Wife, $2.99

Tailspin, $4.99

The Snow Bride, $1.99

Vicious, $2.99

The Lost City of the Monkey God, $2.99

Racing to the Finish, $3.99

1984, $2.99 (or FREE with your Prime)

Money: Master the Game, $3.99

Other Deals To Get Excited About!

Take $5 off  when you spend $20 on books (this is a rare deal- take advantage of it!)

TODAY ONLY- take an additional 15% off sitewide at Target

Get $10 credit when you order a Prime Book Box for Kids.

Hunter Boots– under $100 today!!

LOFT– 50% off sitewide plus free shipping

Ann Taylor– 50% off sitewide plus free shipping

Old Navy– 40% off sitewide

Outerwear- HUGE discounts (good time to snag winter coats for next year!!)

Instant Pots– $79.99 plus free shipping (this is my favorite kitchen appliance)


Get a FREE 5-Piece Mrs. Meyer’s Gift Set with your first order (divide this set up for hostess gifts for the holidays!!)

Take an ADDITIONAL 20% off magazine subscriptions today with coupon code BDMCYBER20!! (these make great gifts that give all year-long or fabulous stocking stuffers)

Snowed in too? Redbox has $.16 rentals today!!!

16¢ DVD Rentals– Use coupon code DVD16

16¢ Blu-rays Rentals– Use coupon code BLURAY16

16¢ Game Rentals– Use coupon code GAME16

Simplifying Your Holiday Gatherings

Thursday, November 1st, 2018

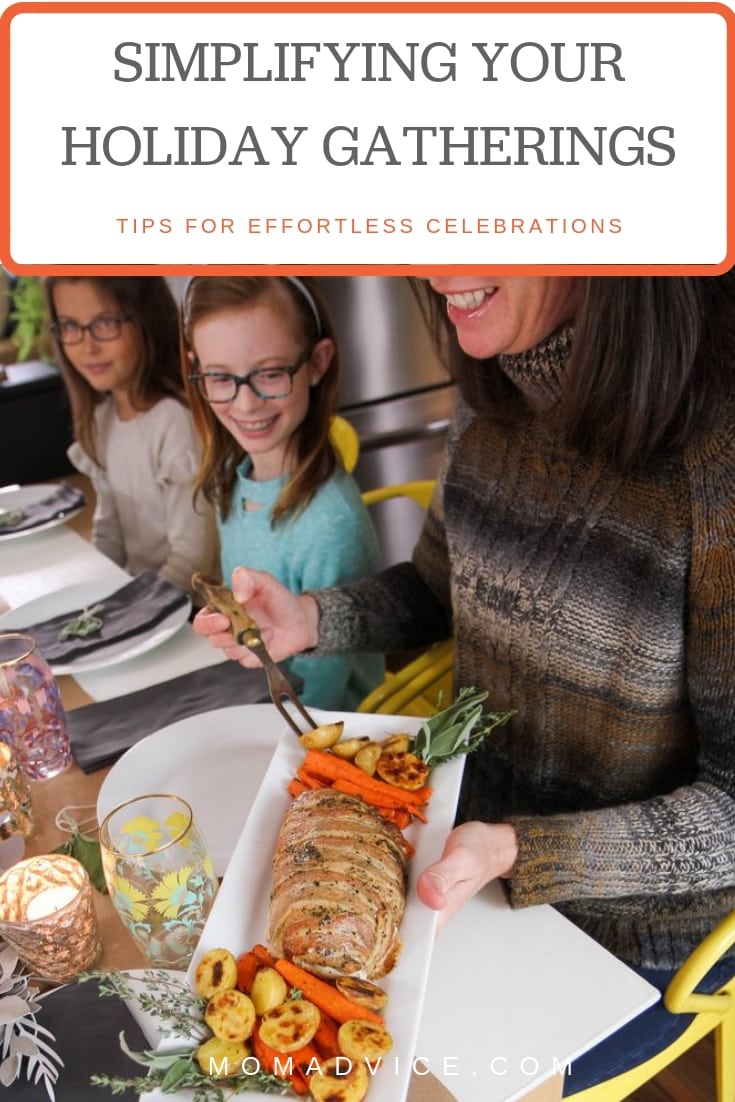
You will love these strategies for hosting memorable gatherings without the stress.

I’ve got everything from cooking shortcuts to decorations that transition through the seasons to your perfect playlist! 

This post is sponsored by Honeysuckle White. All thoughts and opinions are my own! 

Now that Halloween is behind us, it is time to start thinking about all of those upcoming holiday gatherings. Hostess duties can often feel stressful and overwhelming, don’t they? That is why I’m excited to be partnering today with Honeysuckle White to share some fresh ideas for hosting your next gathering without the stress.

I learned that if I wanted to connect with my friends and family that I often had to be the one to step up to bat and offer to host. I have discovered, over the years, that so many people feel intimidated by hosting and are often self-conscious of things like undone house projects, their limited cooking abilities, or not feeling like they have that perfectly sized space for the ideal gathering.

The thing is, our own intimidations rob us of precious moments with those we love and the people that REALLY and GENUINELY love us will always, always be thankful to you for creating space in your home and day for them.

That is, truly, why I am excited to share that Honeysuckle White recognizes how precious our time is and wanted to take out that intimidation factor by providing a brilliantly easy turkey product that will make gatherings so much easier on busy moms.

Even better?

You can order it right through Amazon.

And, ladies, I KNOW we all have Amazon ordering down pat! (*ahem*)

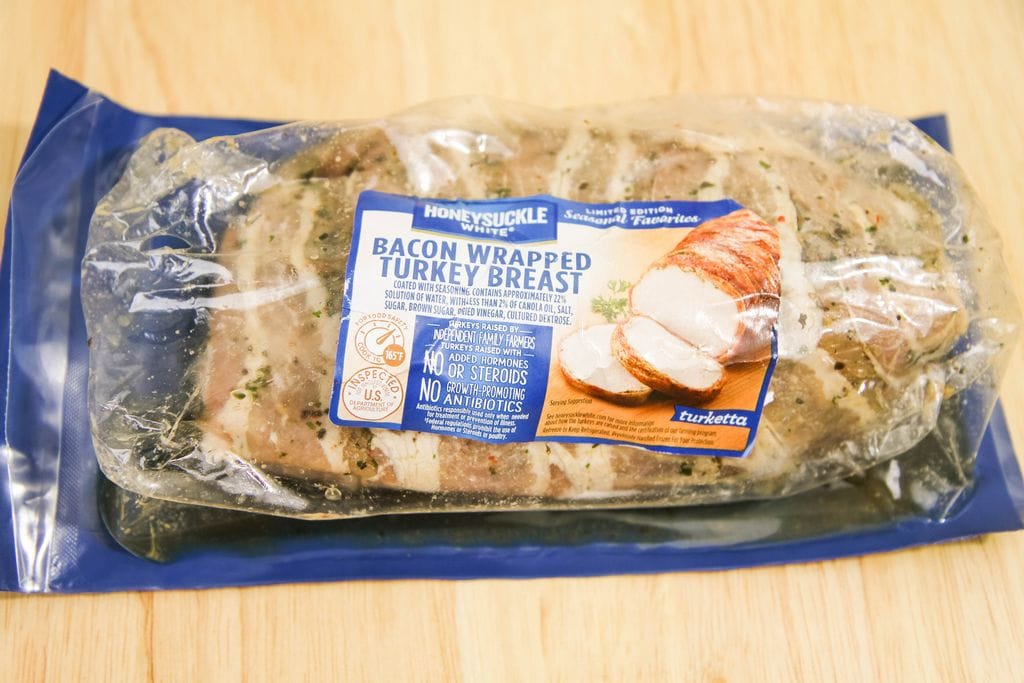
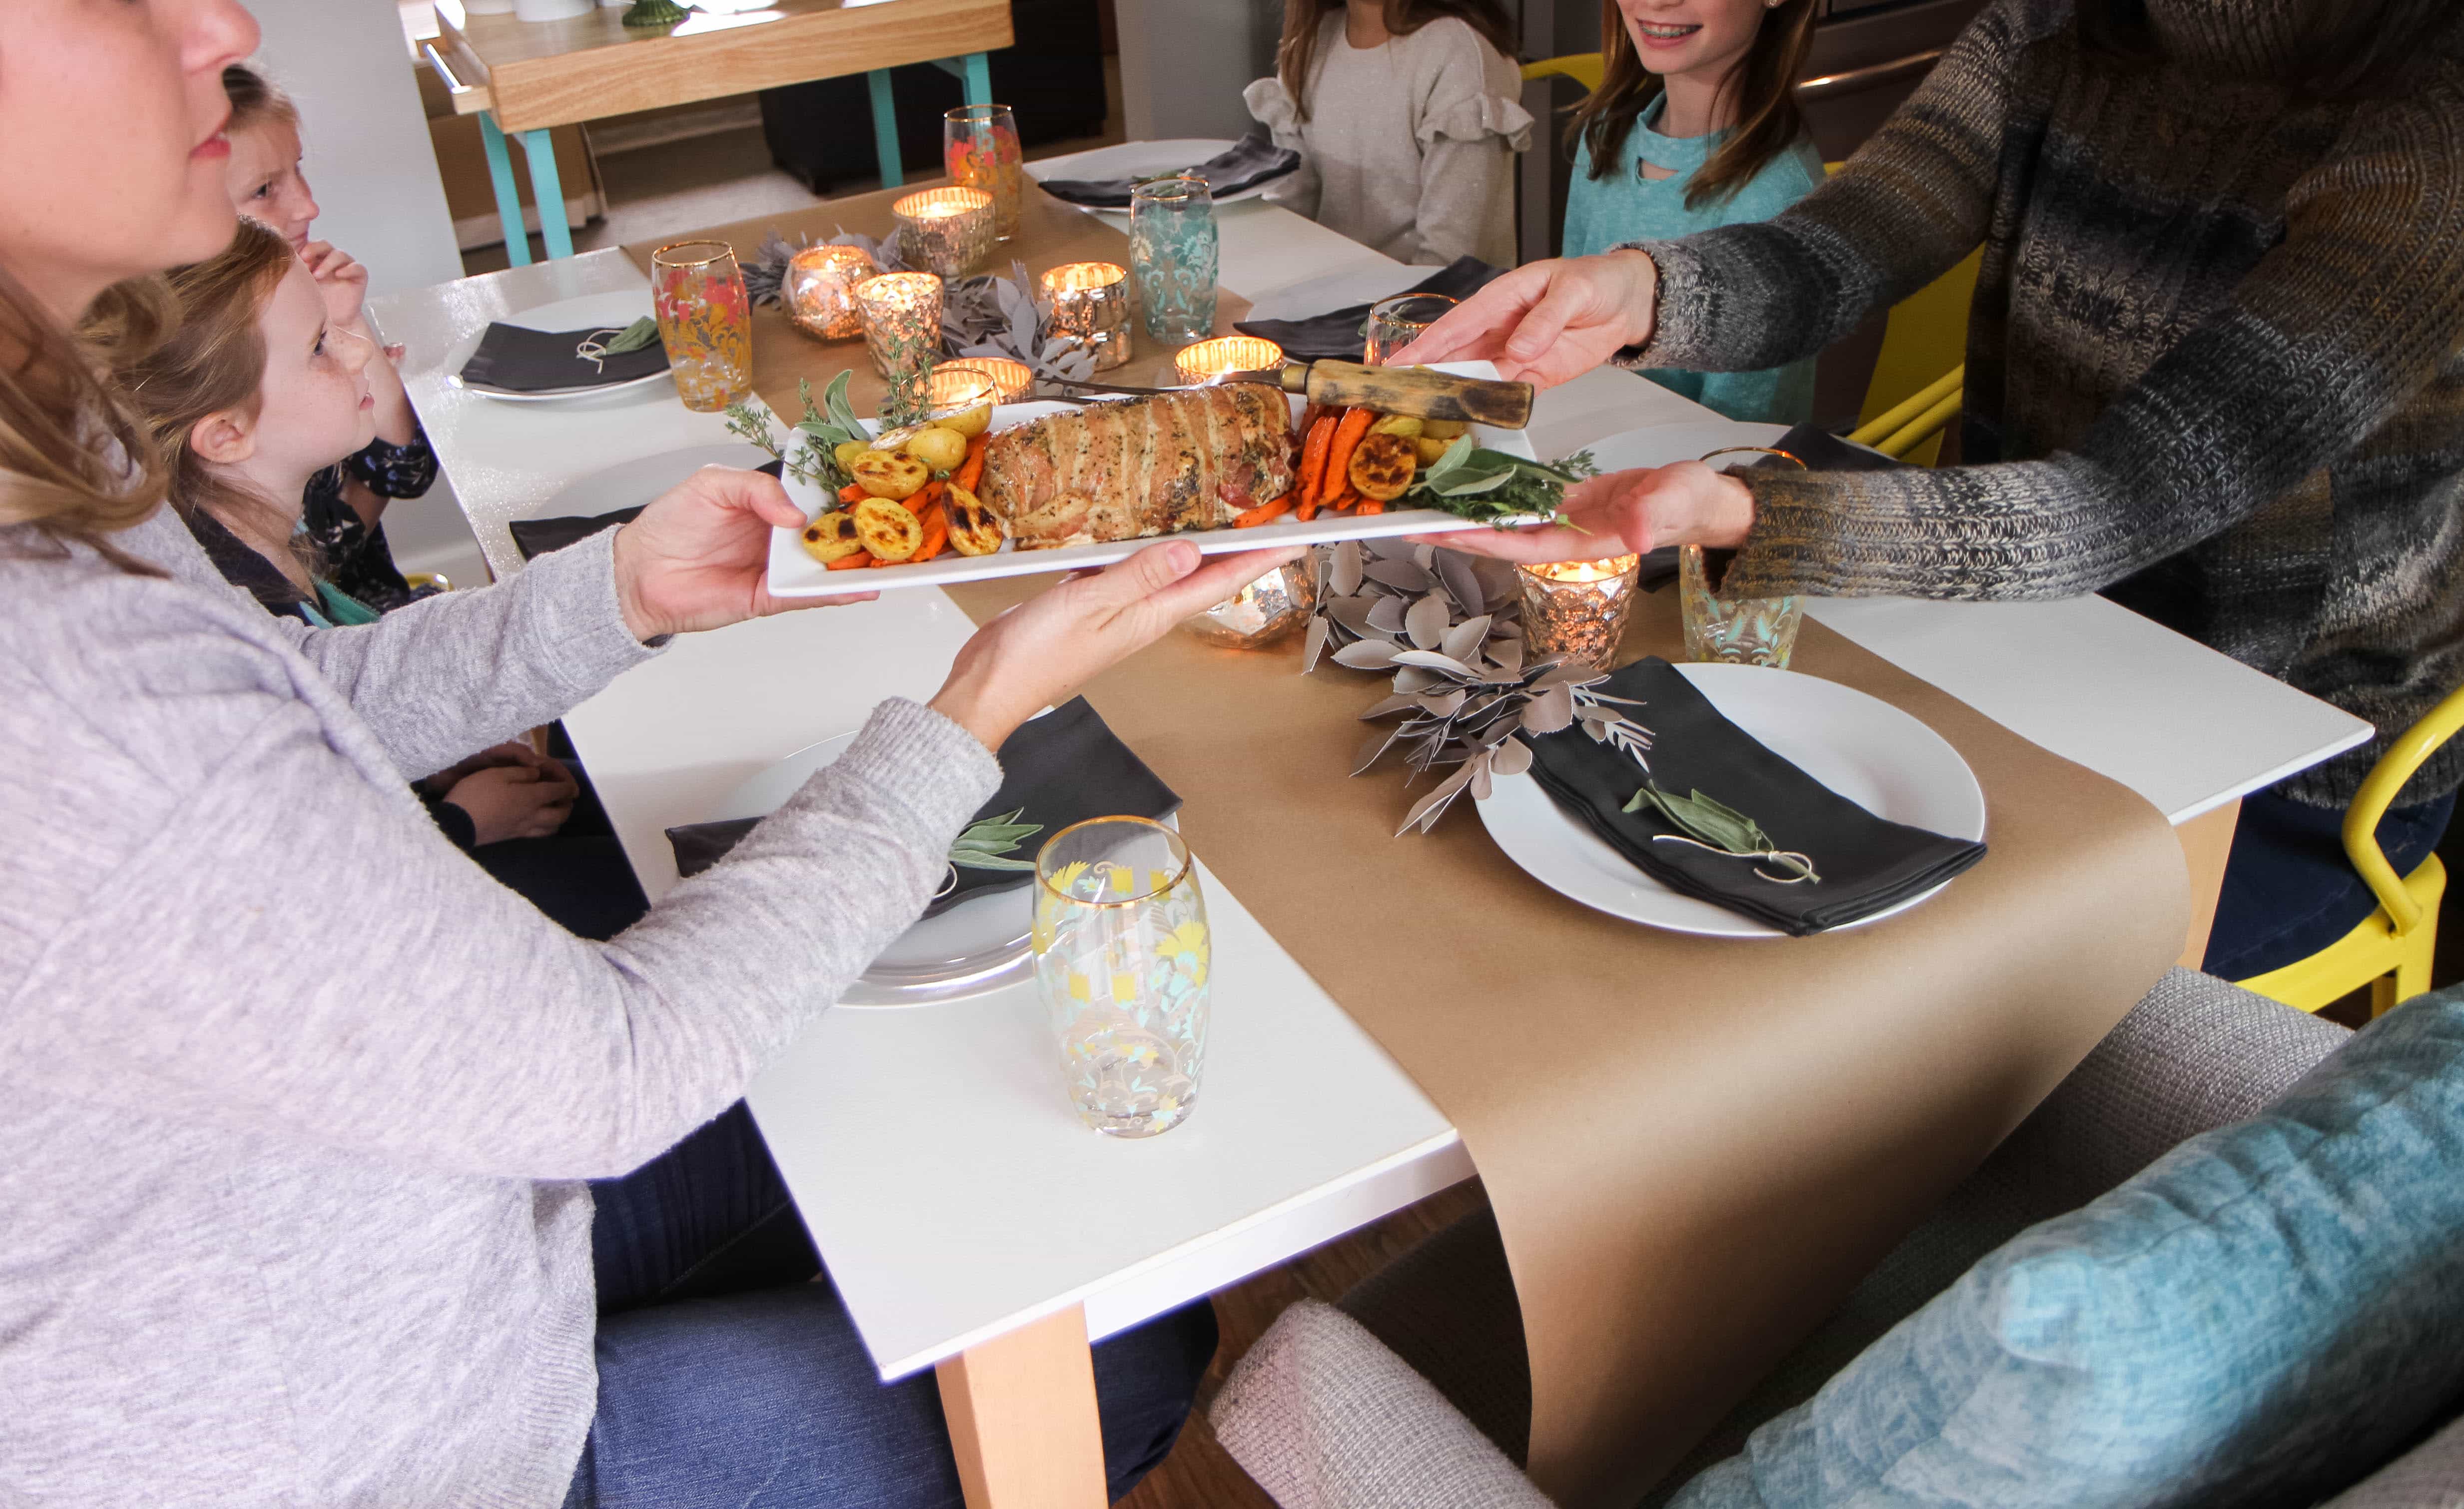
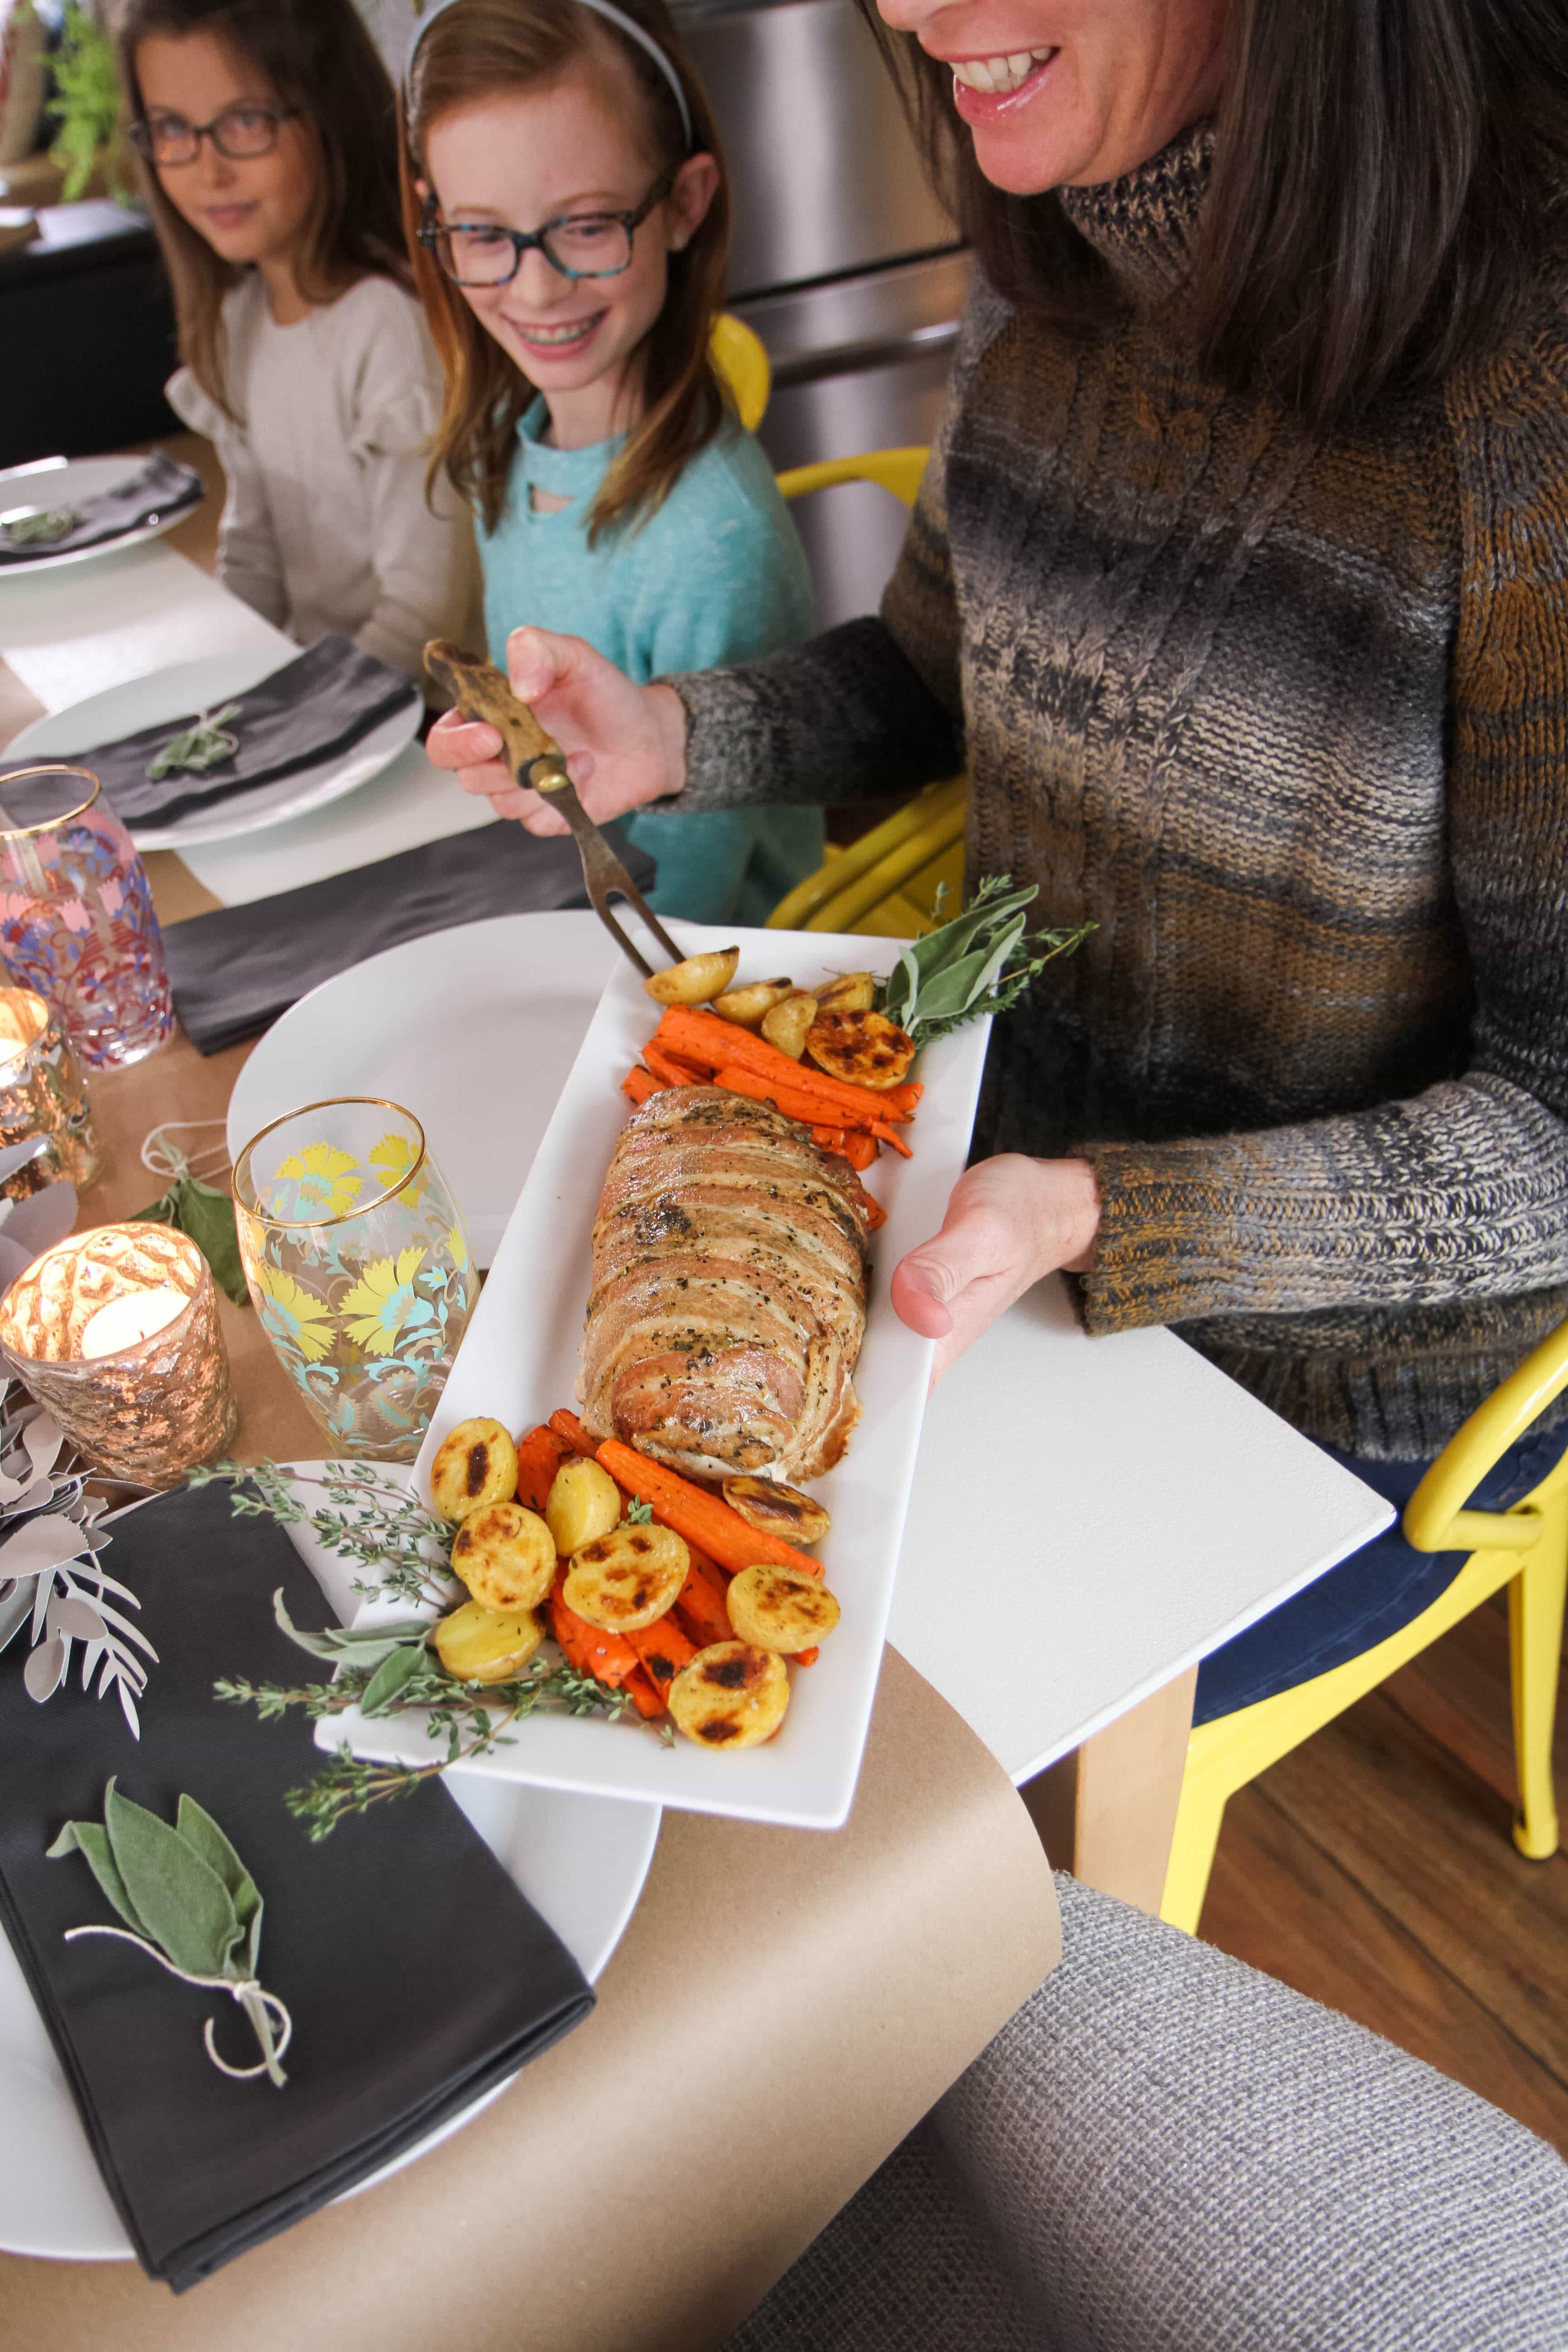
Say hello to the world’s easiest holiday dish, the NEWS Honeysuckle White Bacon Wrapped Turkey Breast “Turketta”, inspired by the flavor profile of porchetta!

I gave ordering one of these a spin and really was surprised how well-seasoned and easy this was to execute for my Friendsgiving gathering this week.

In your package (that arrives right on your doorstep!)  you will get one of these beautiful roasts that serve approximately 4-6 people.  The packages arrive frozen and you can thaw it for an ASAP gathering or you can tuck this in the freezer for a future meal.

The bird is perfectly seasoned, boneless (no carving- woot, woot!), and requires just a simple quick sear on the bottom and baking.

This isn’t the only option you can have delivered. They also are offering Hickory Smoked Turkey Breast, a Honeysuckle White Fresh Traceable Whole Bird Turkey, & the Honest Turkey Whole Turkey.

Even better, for a limited time offer, MomAdvice readers can get 15% off using my coupon code 15MOMADVICE.

I can really get behind this company and the work they do with farmers, especially after having the opportunity to tour one of the farms.

The company is committed to raising their turkeys without growth-promoting antibiotics and no added hormones or steroids.

They also are committed to supporting independent family farmers to provide family farm-raised turkeys.

I don’t know if you know this, but my great-grandpa was a farmer and that is why that commitment and their true love for these families really warms my heart.

Now that you have the turkey covered, here are a few other ideas for a simple gathering of great friends and great food!

Send Out a Small Invite

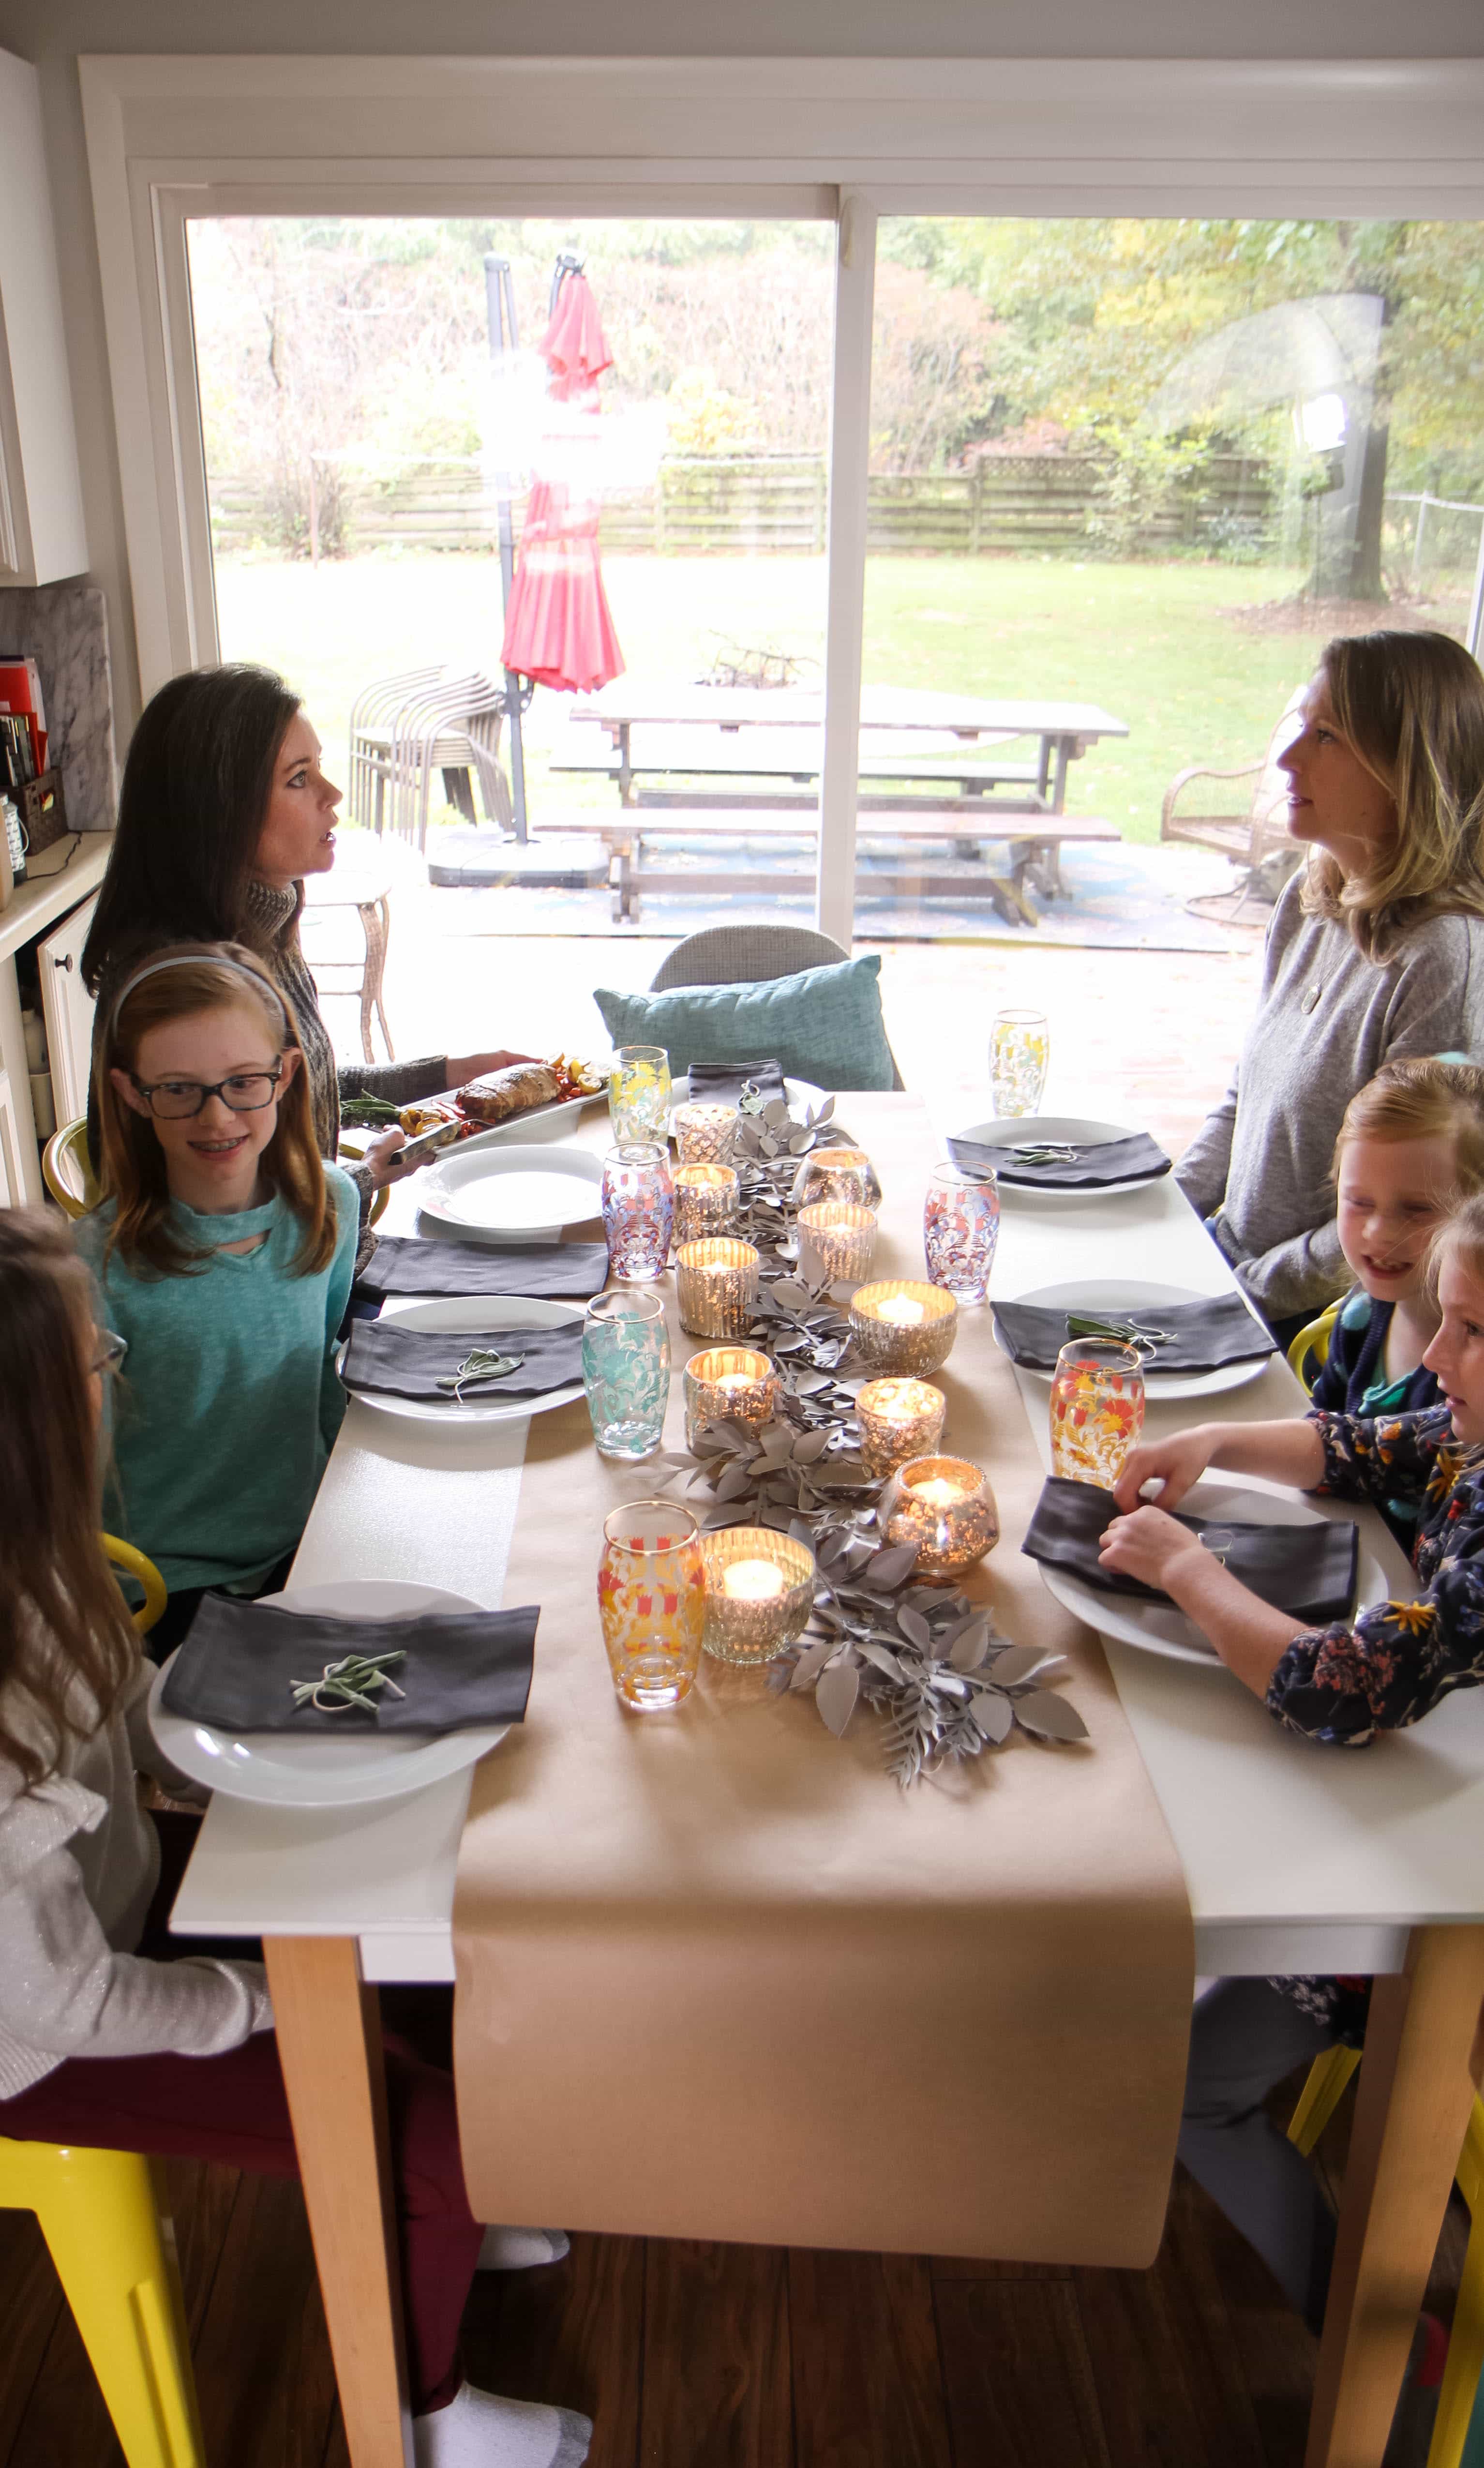
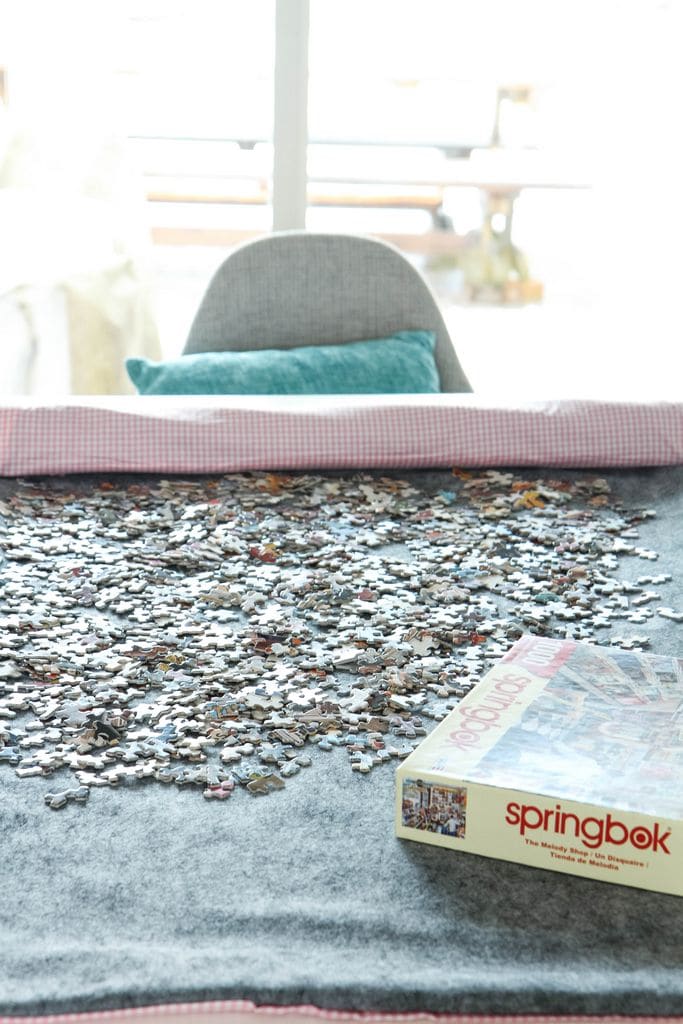
I have done loads of large gatherings, but I find the best gatherings are often the intimate ones with just a couple of close friends so you can really catch up.

A friendsgiving need not be a large gathering and the invitation does not need to be a formal one.

Text invitations are perfectly acceptable, especially during such a busy season.

Also, allowing mamas to bring kids is a blessing to the mom (who won’t have to cook) and to you (to get to love on your friend’s beautiful kiddos especially since your kids are tweens/teens and you now have to FORCE YOUR LOVE on them).


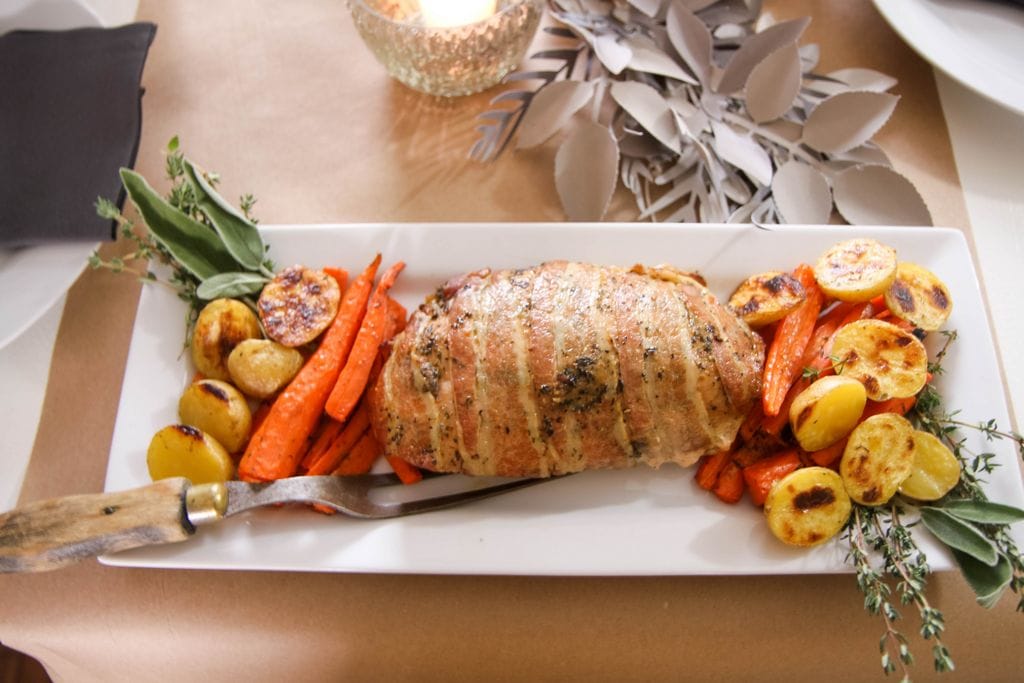
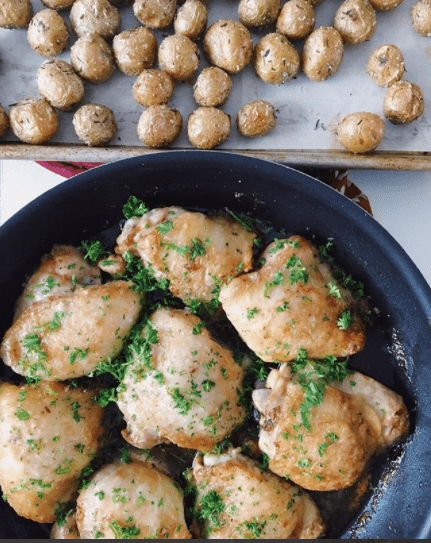
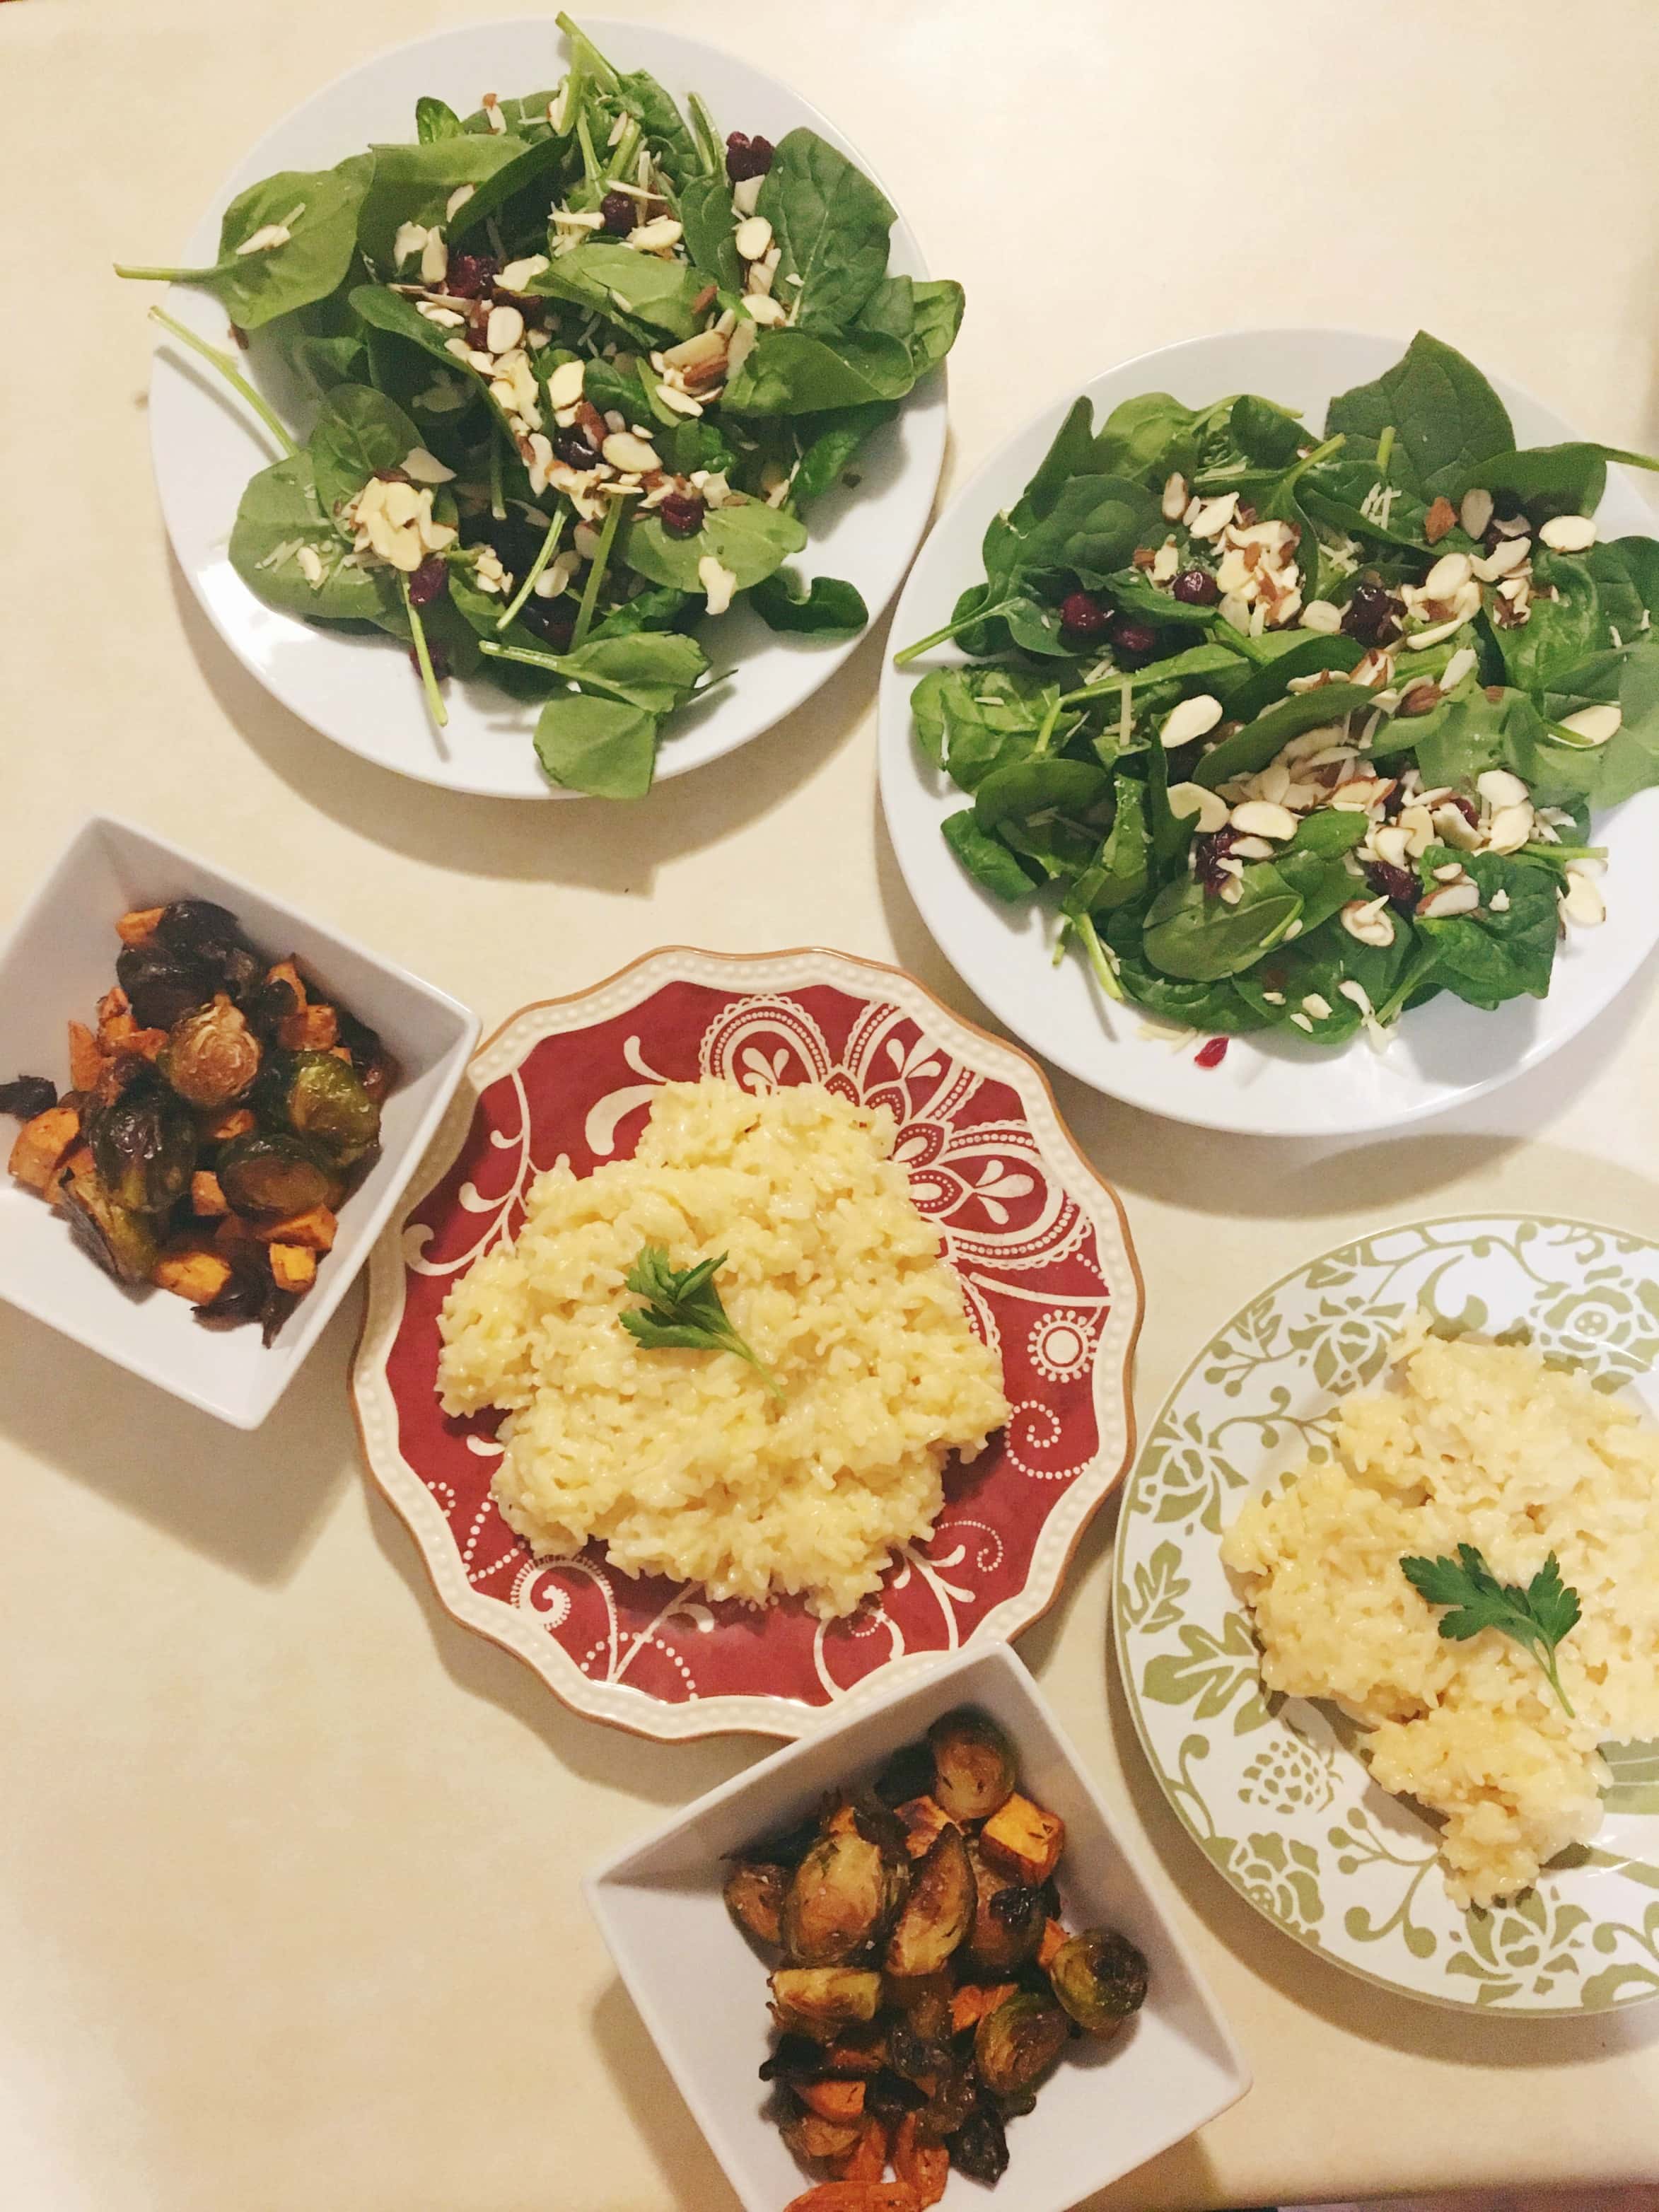
Keep the Sides Simple

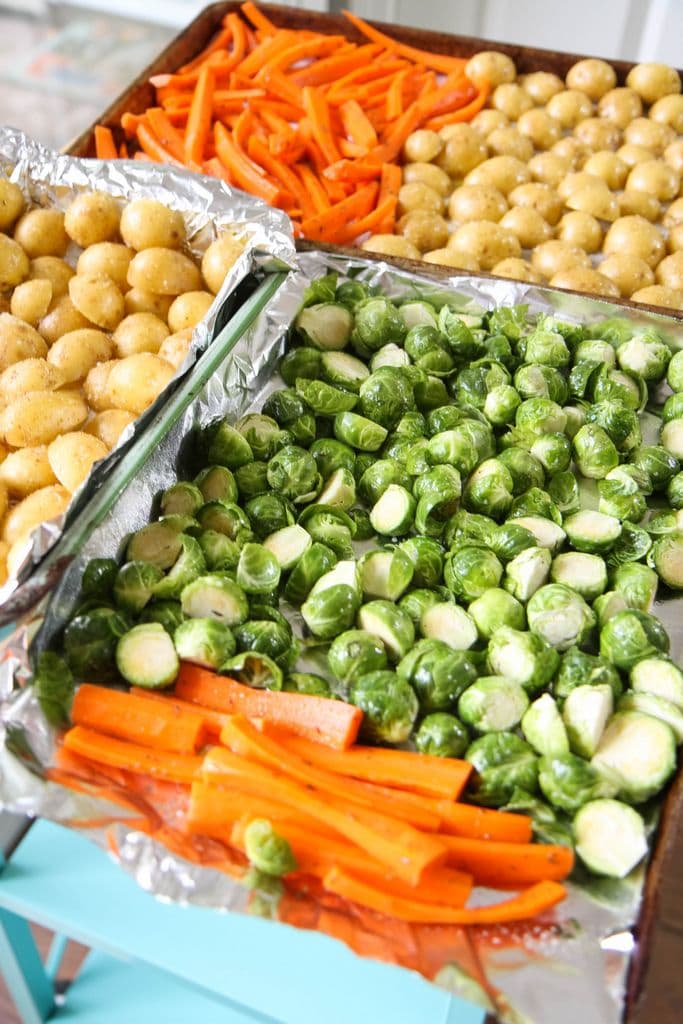
Roasted vegetables are an easy side that can be prepared a day in advance.

In fact, storing your carrots and potatoes in water overnight will yield a much crisper roast than if you cut them up immediately.

Toss your prepared vegetables in olive oil, kosher salt, and your favorite dried seasoning (I’m a thyme girl!) and roast them at 450 degrees for 25 minutes.

Love perfectly roasted potatoes?

Cut baby potatoes in half and put the cut side down on a cookie sheet that’s been lined with aluminum foil and is lightly greased. You will get a perfect roast every time AND they are so good that my kids call them mom’s french fries.

It goes without saying, but lining the cookie sheets with tin foil or parchment paper squares is also an excellent way to cut down on dishes!
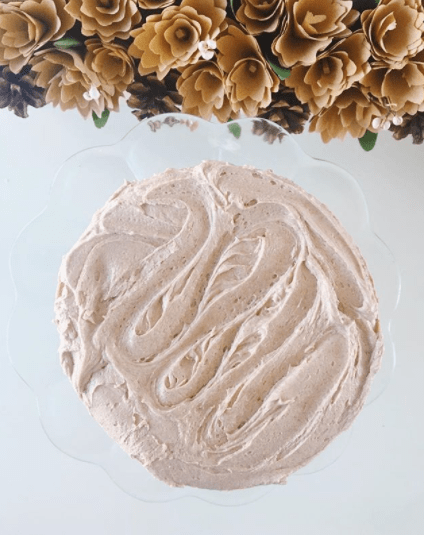
Skip the Baking

Thankfully, there is no need to bake since we have so many delicious options for desserts that are already made and available for purchase at our local markets.

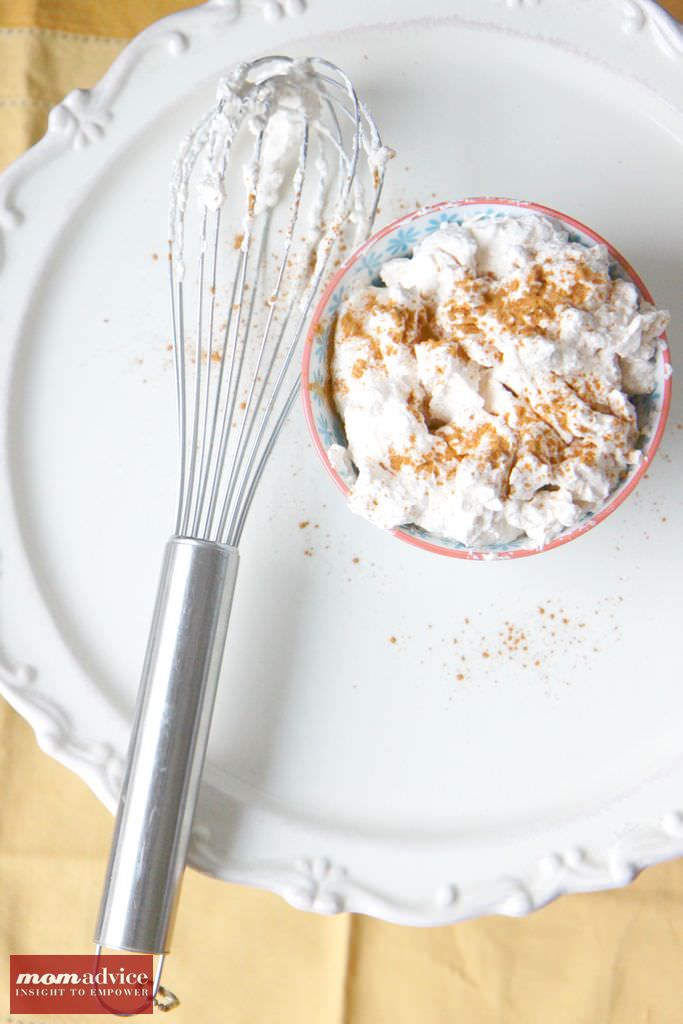
You can still make these purchased desserts feel really special though with quick homemade touches.

Spicing up your whipped cream, adding crunchy toppings, or adding details with pie cutters or an embossing rolling pin (made from refrigerated pie dough) are all fun ways to make pies feel special and more homemade.

This post offers 5 strategies for making store-bought pies feel special that I think you will find REALLY helpful for the holidays and even an idea for packaging up mini pies as a parting gift at the end of the night.

replicate my table with this easy tutorial

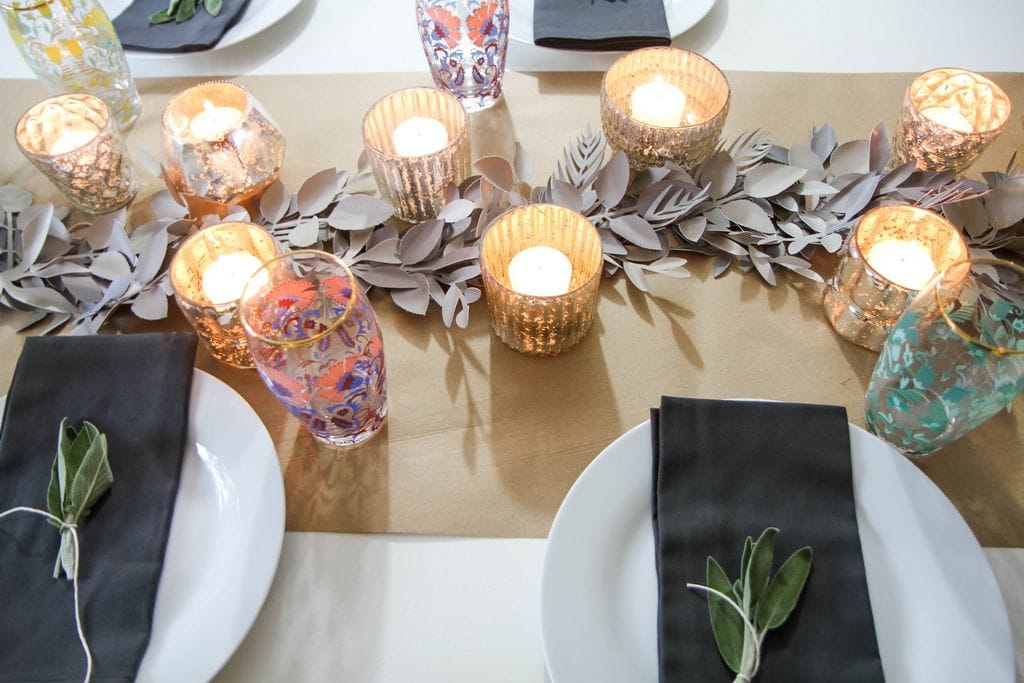
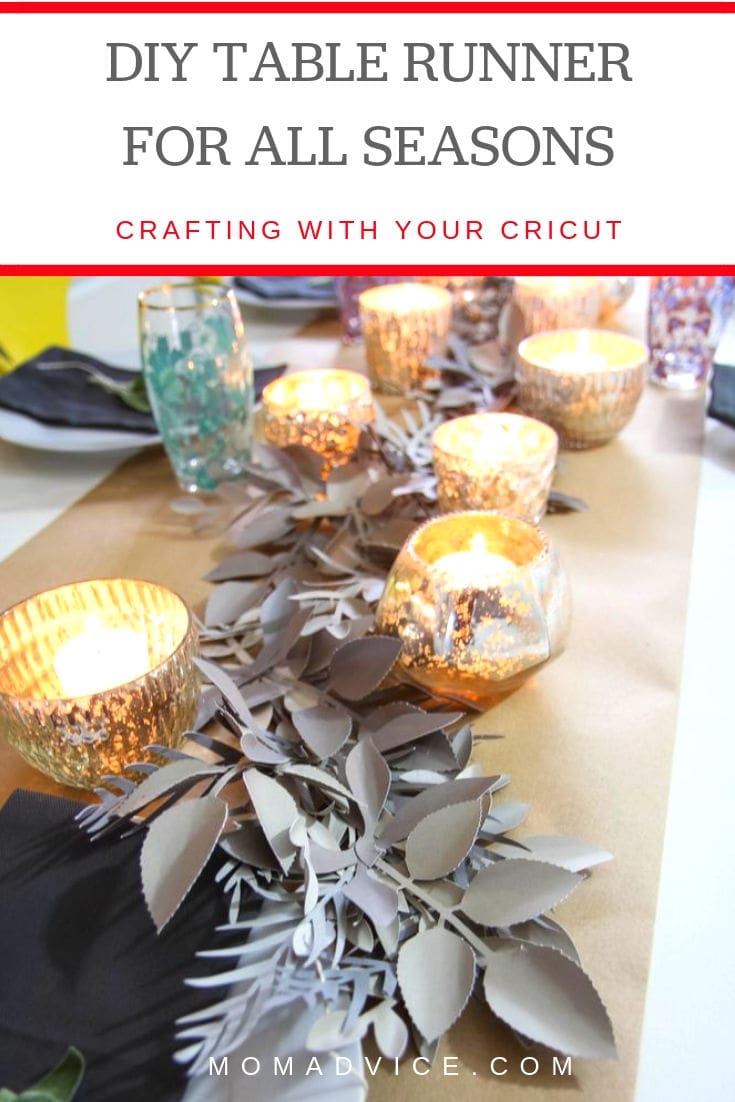
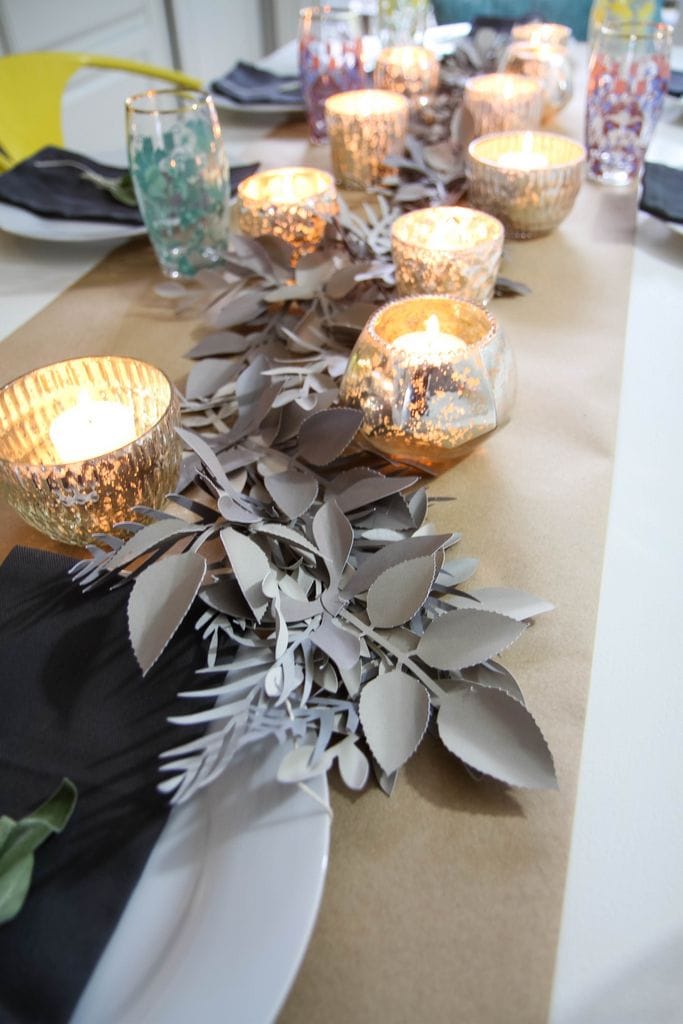
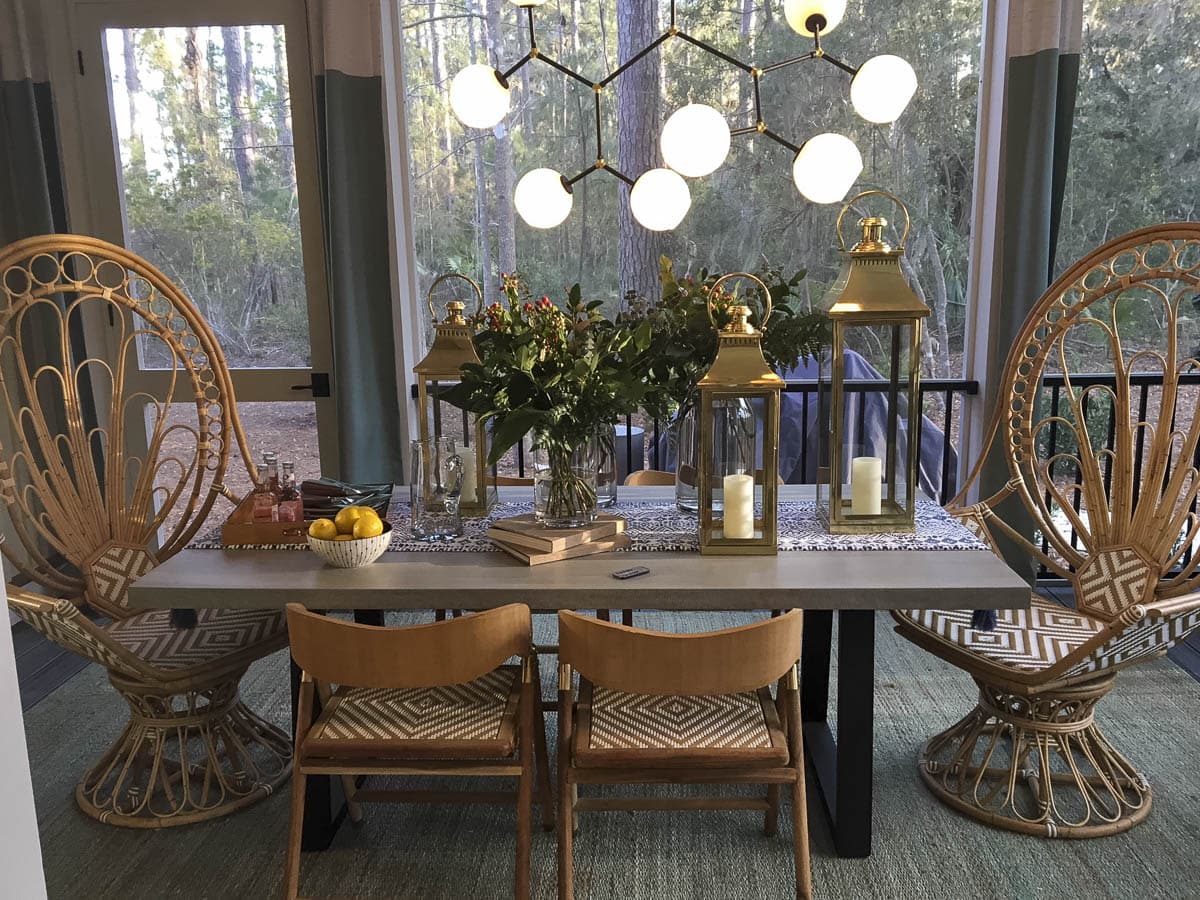
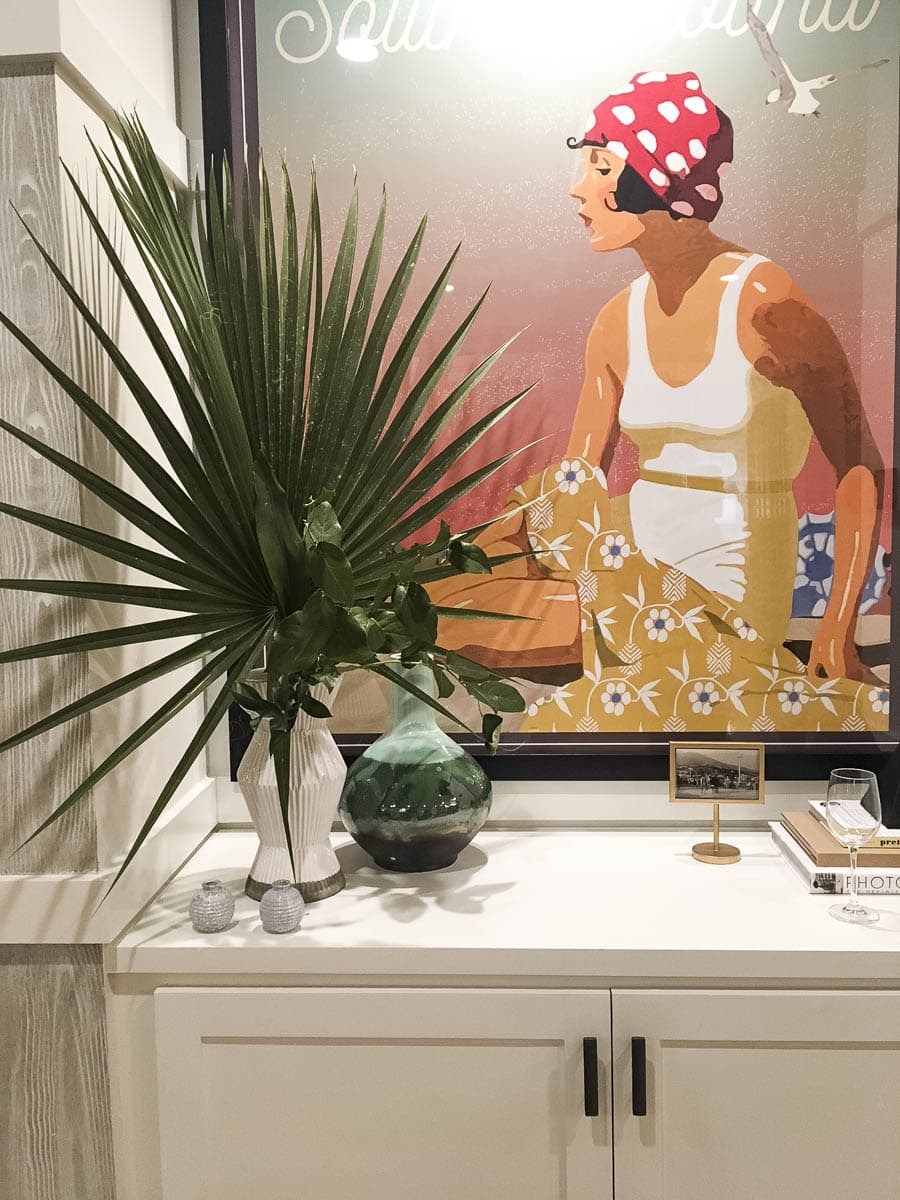
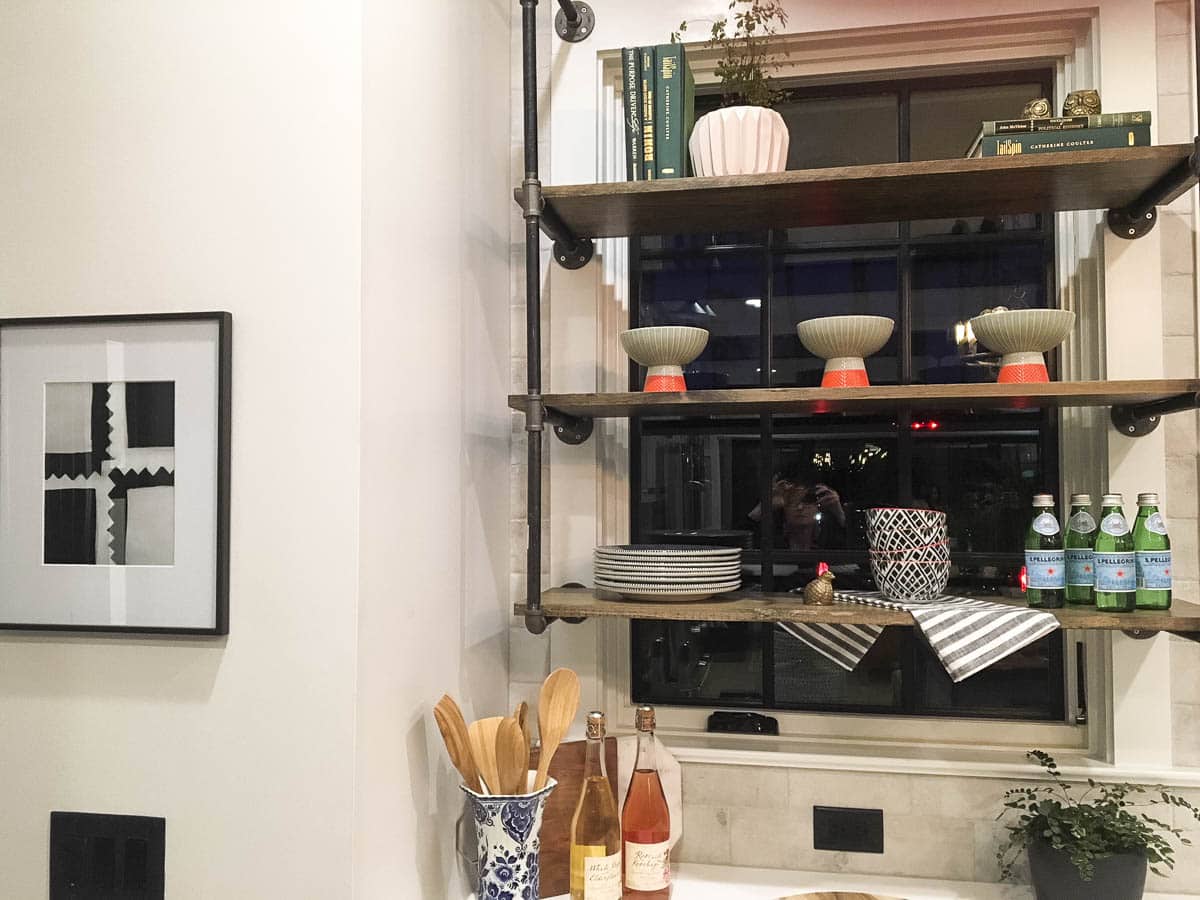
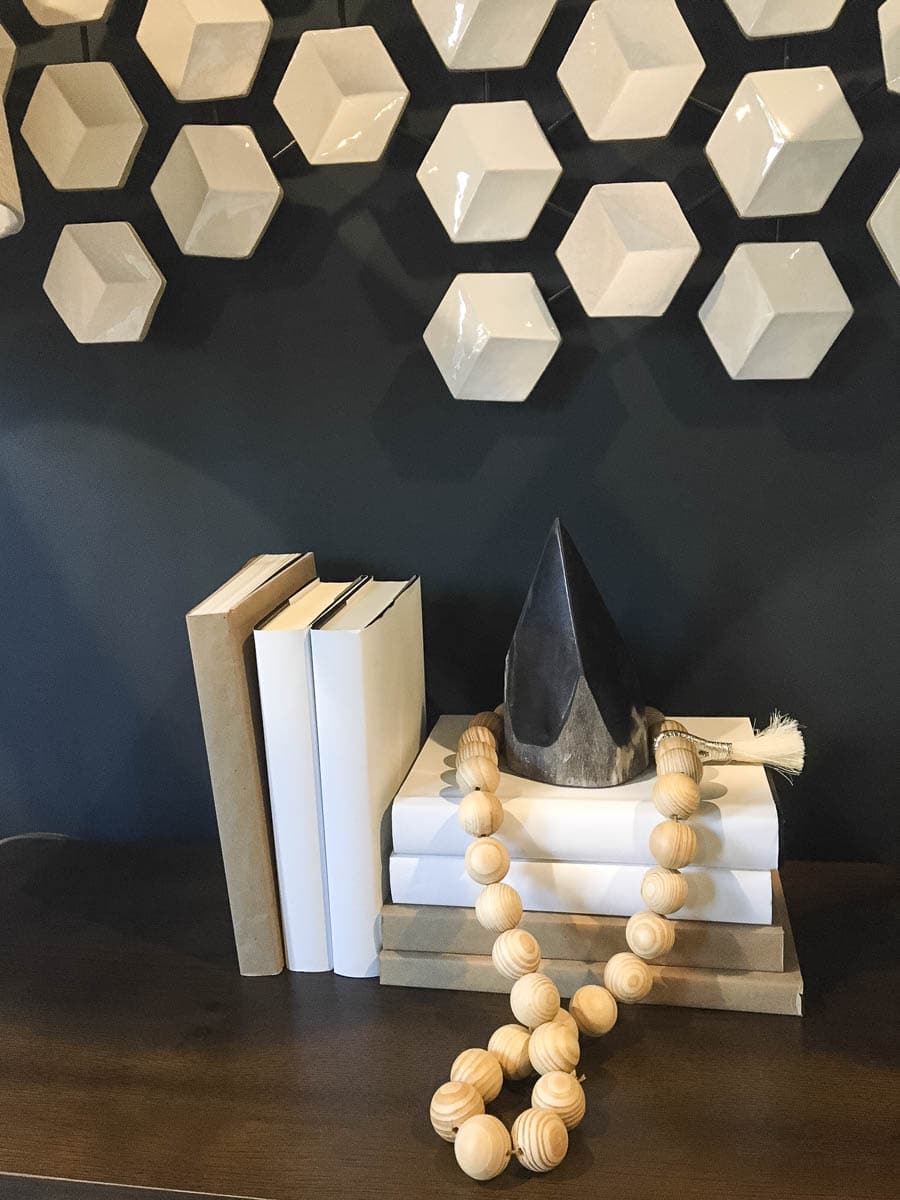
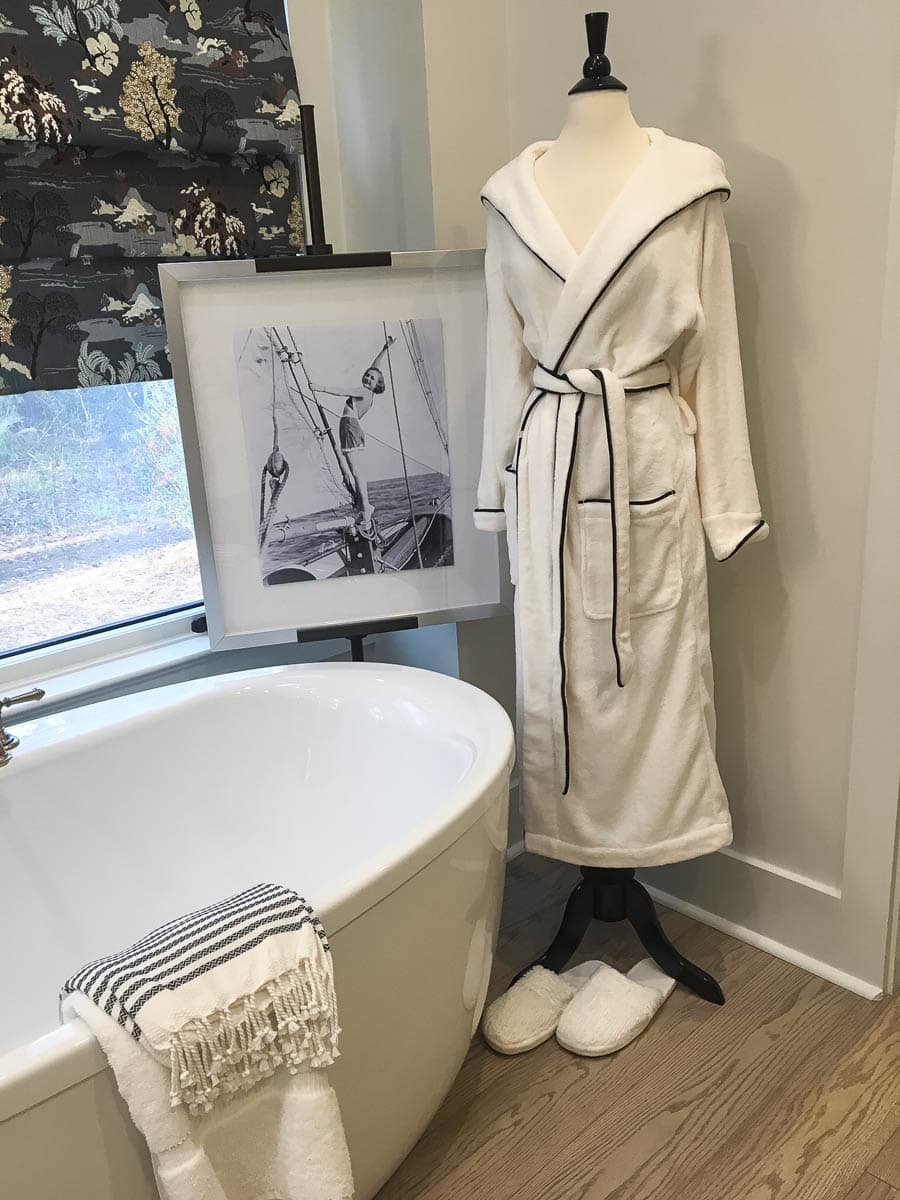
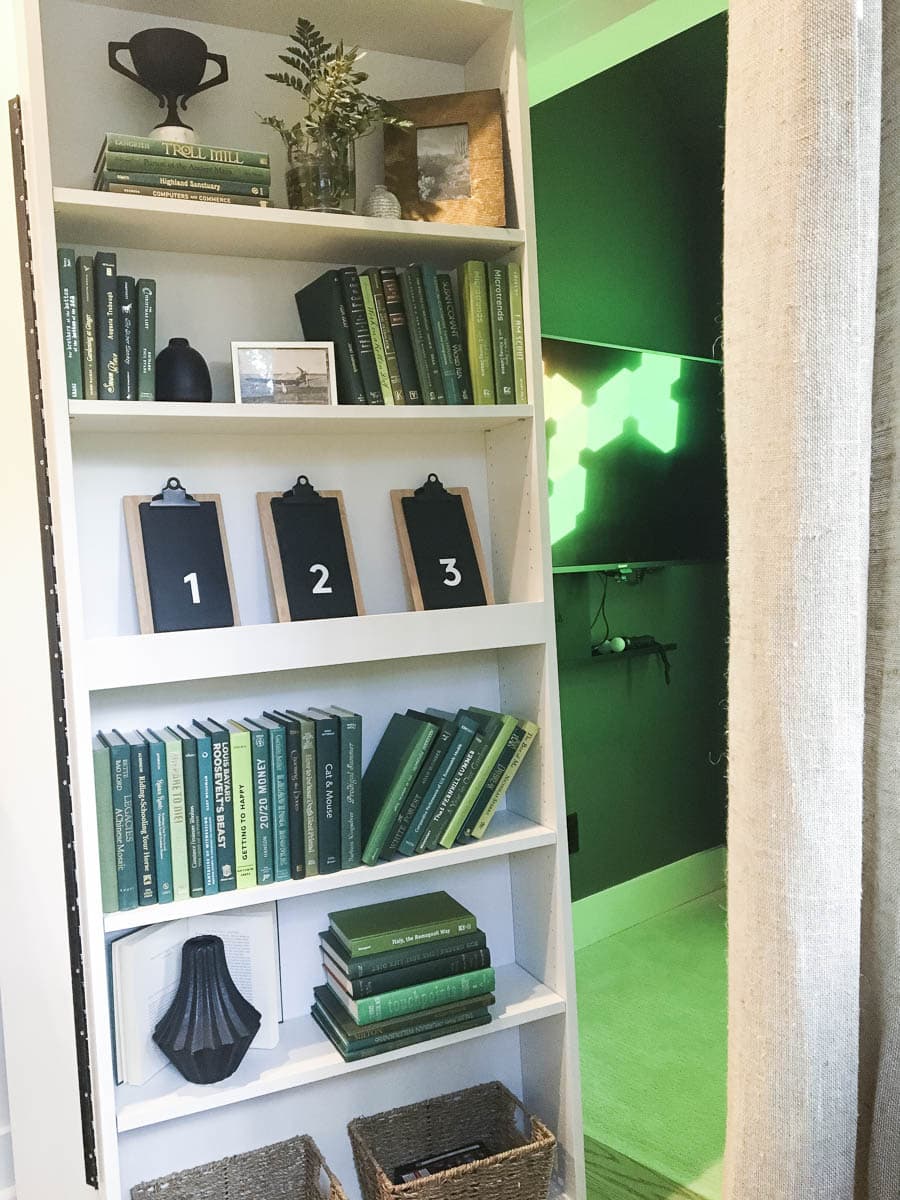
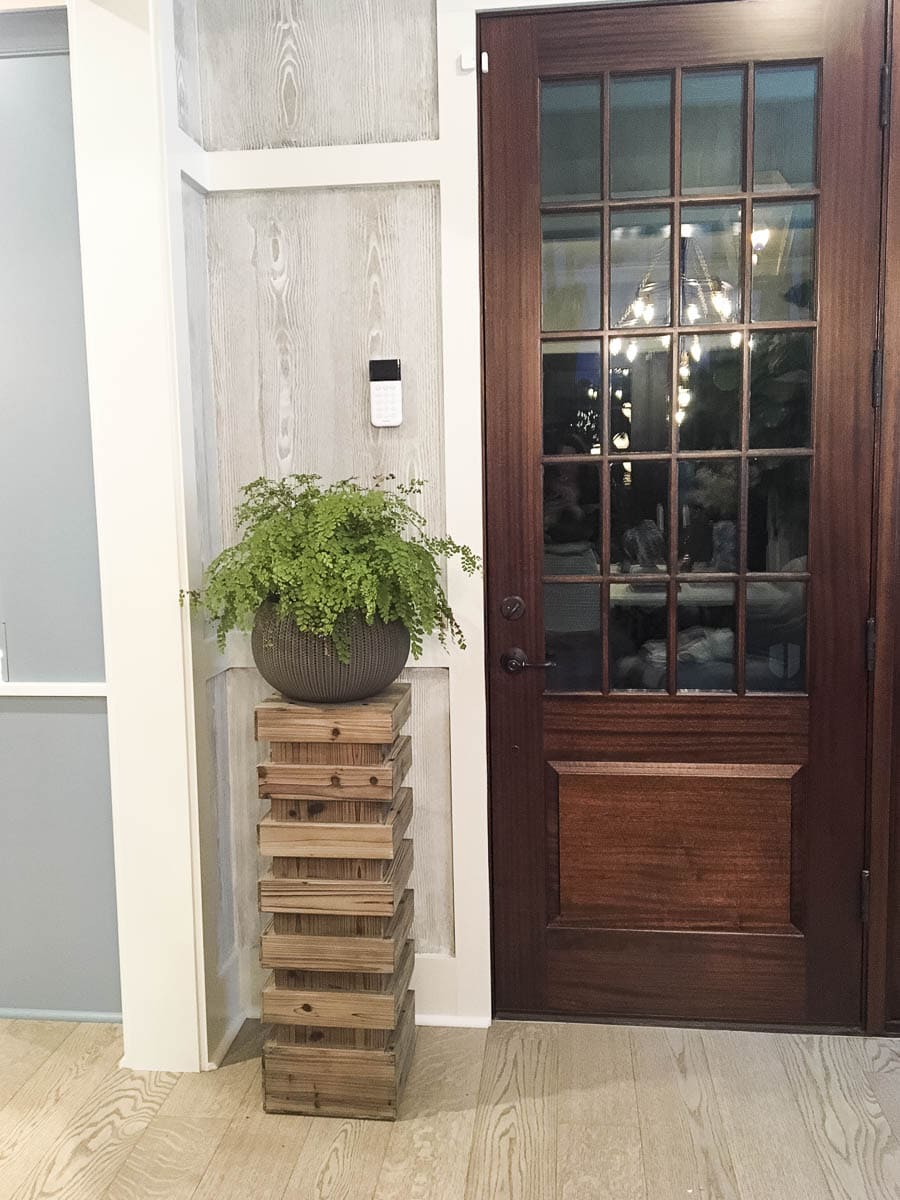
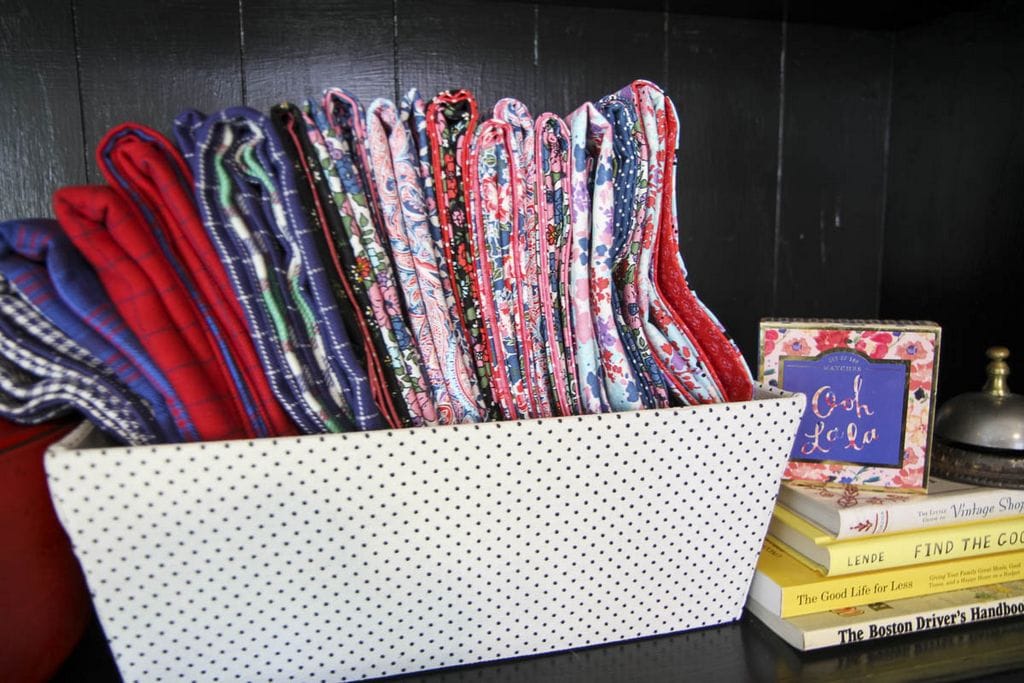
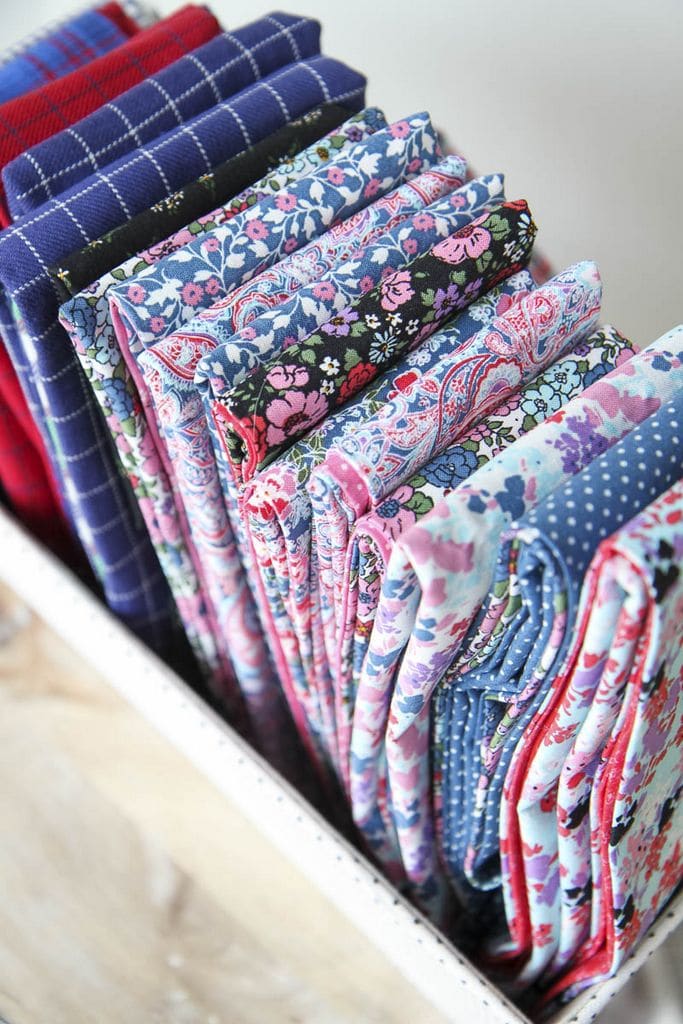
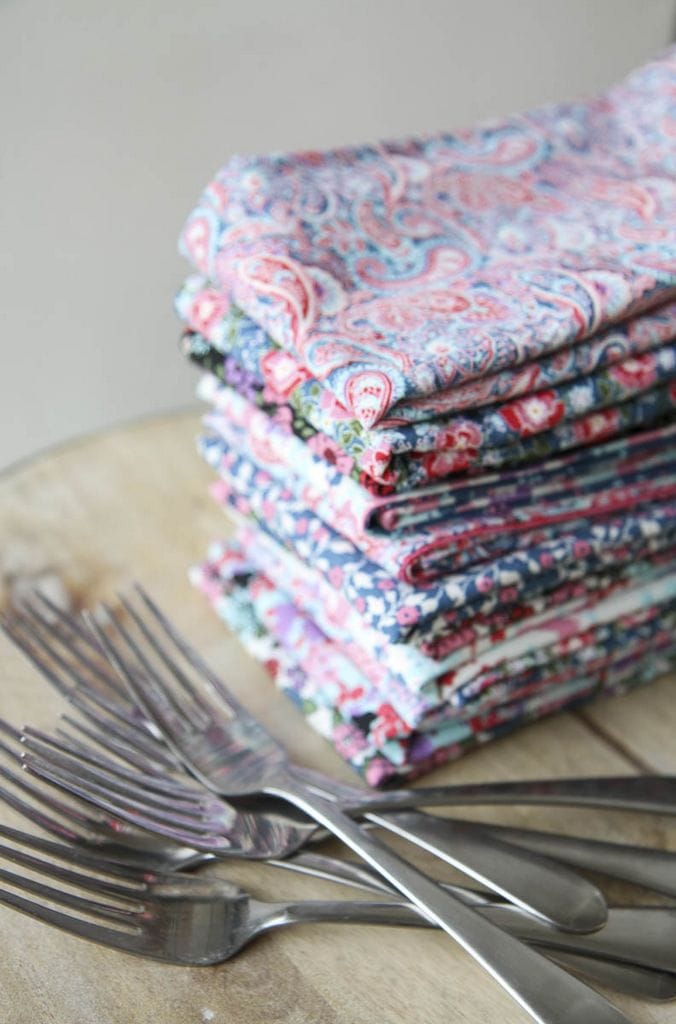
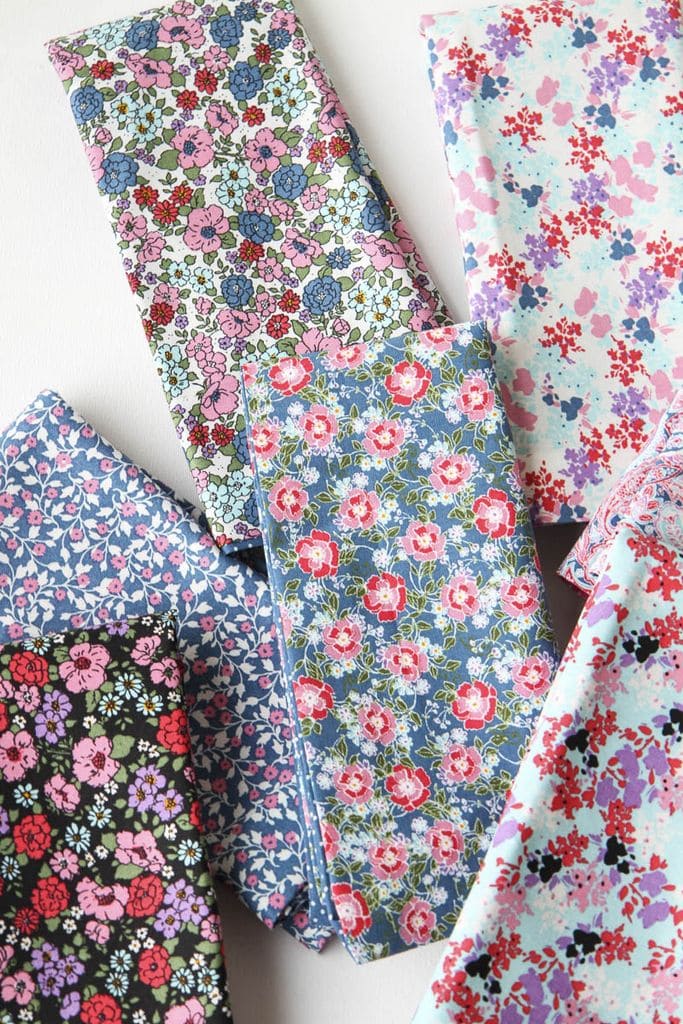
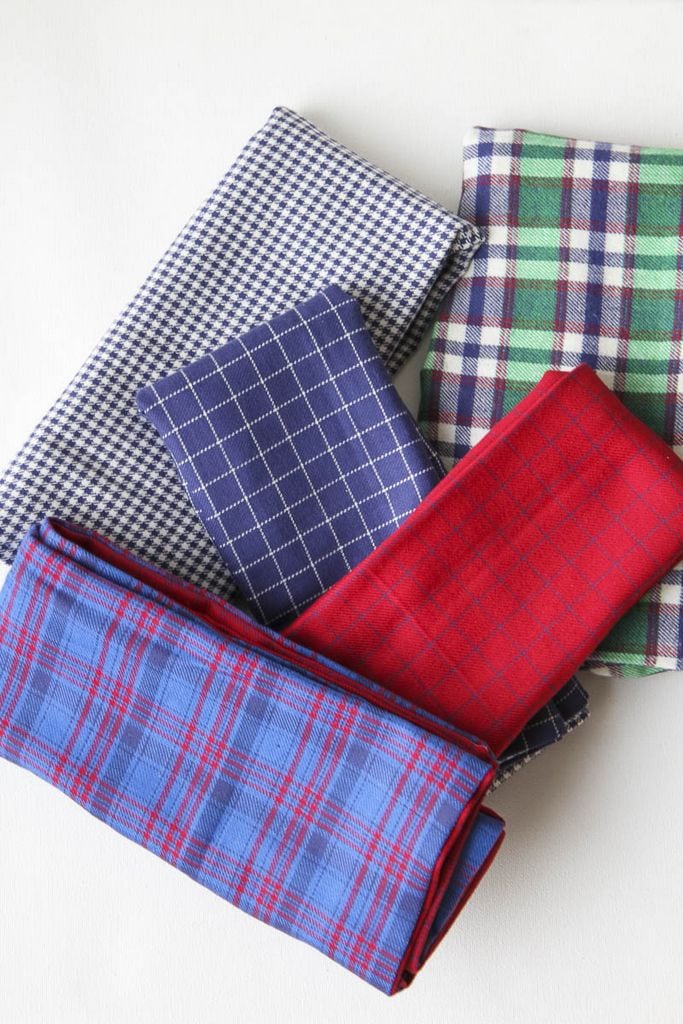
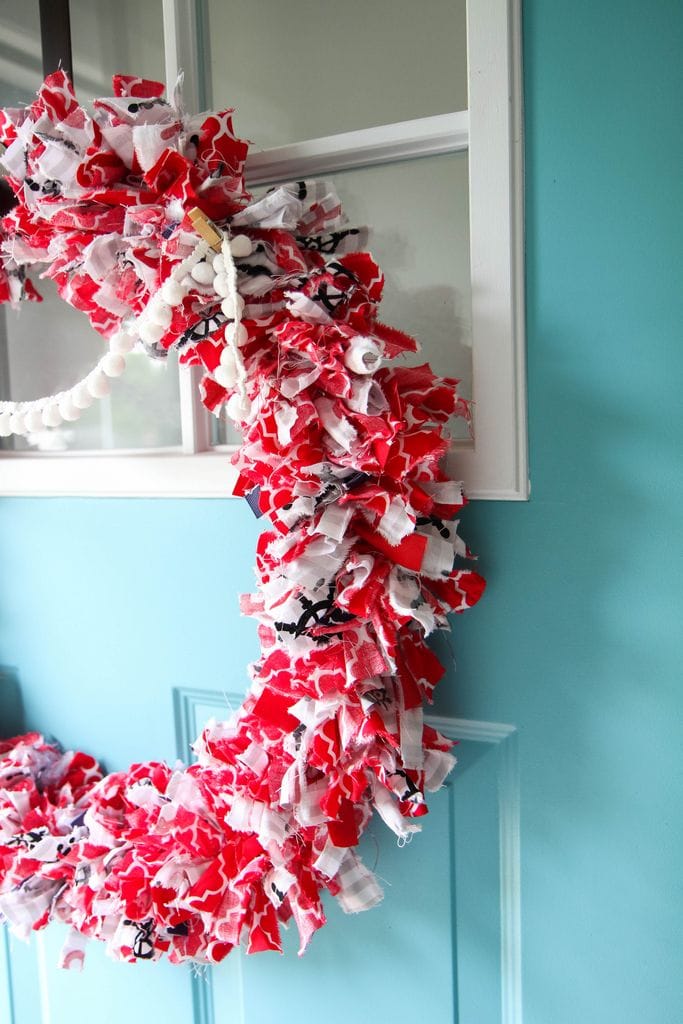
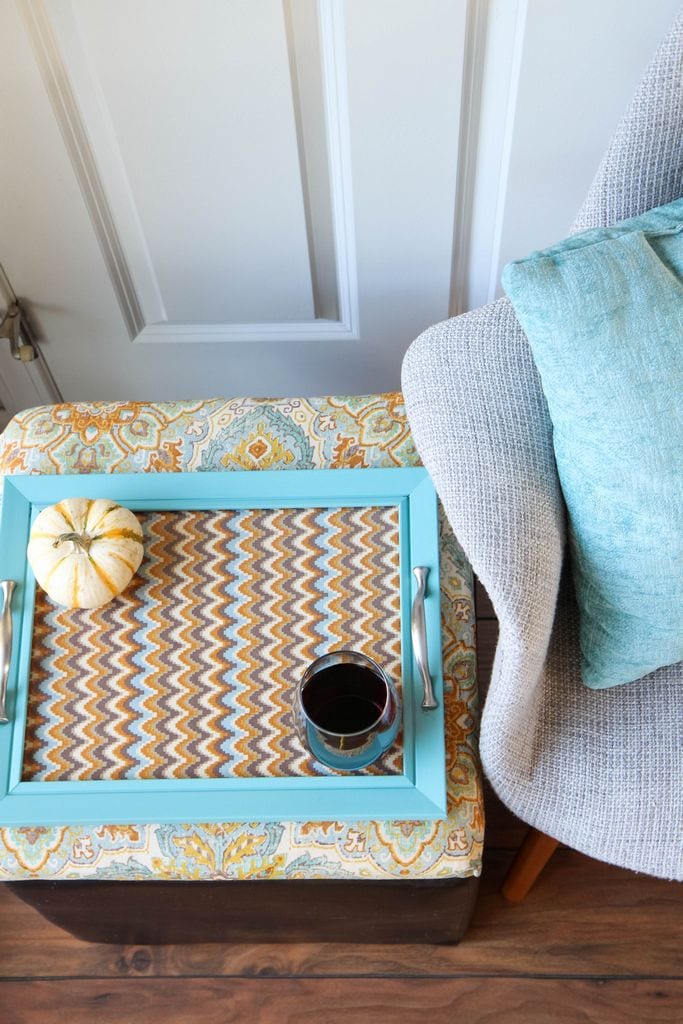
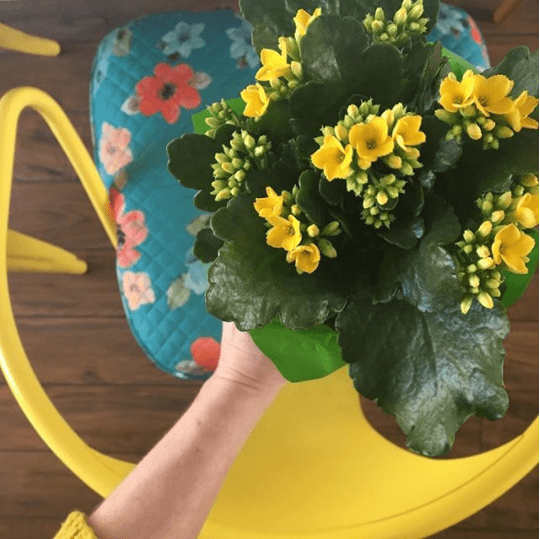
Think Evergreen When It Comes to Home Decorating

In the blog world, evergreen content is king. It means that we really focus on creating timeless pieces that can be shared over and over again and always feel relevant.

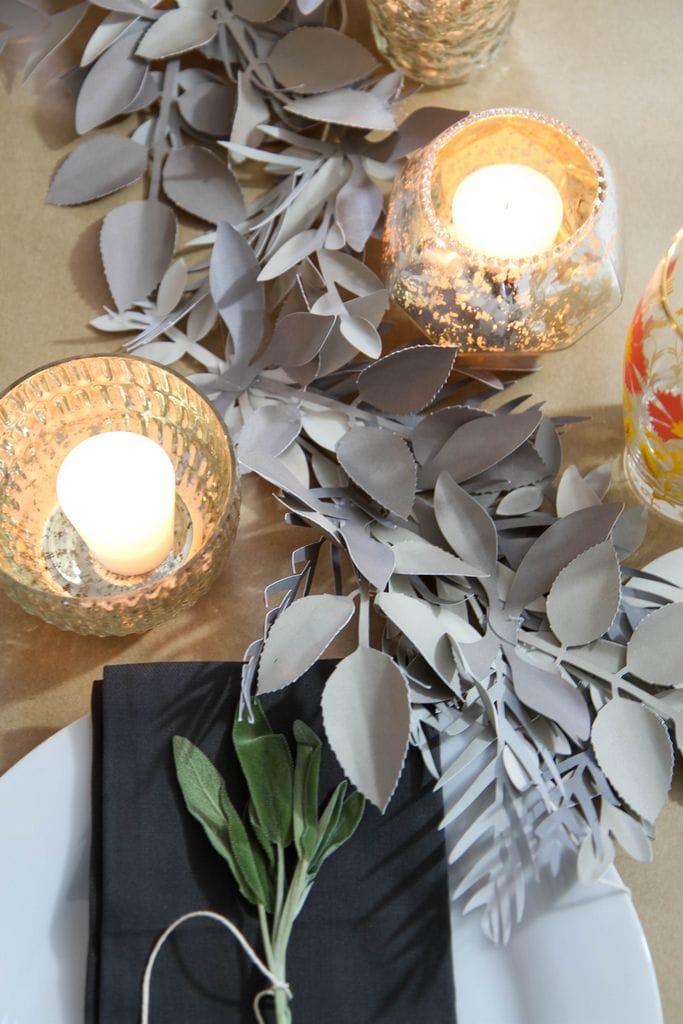
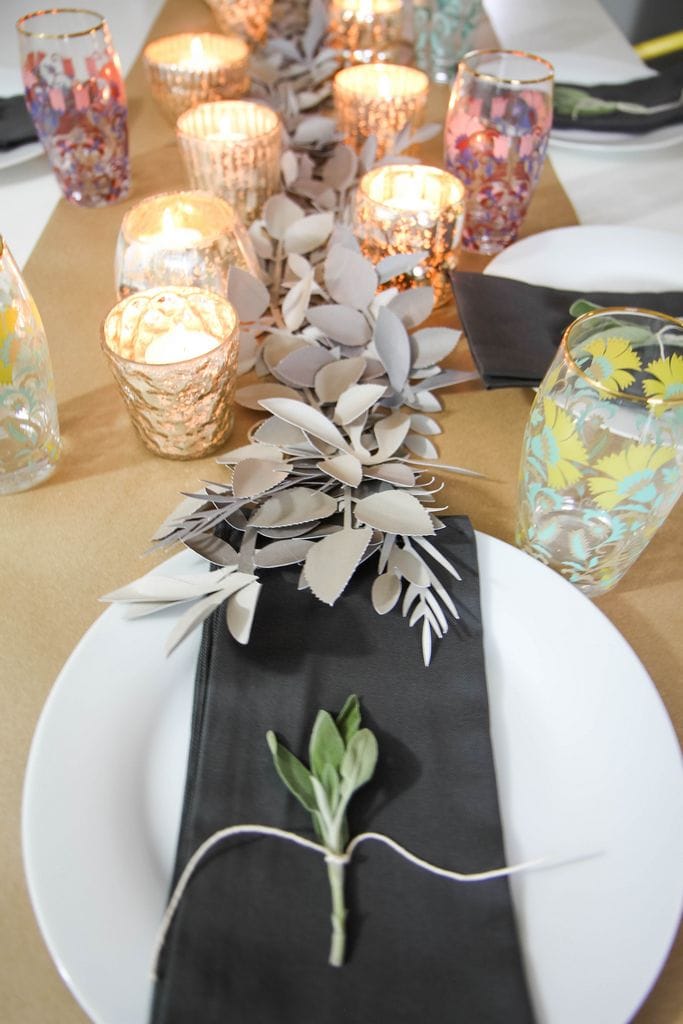
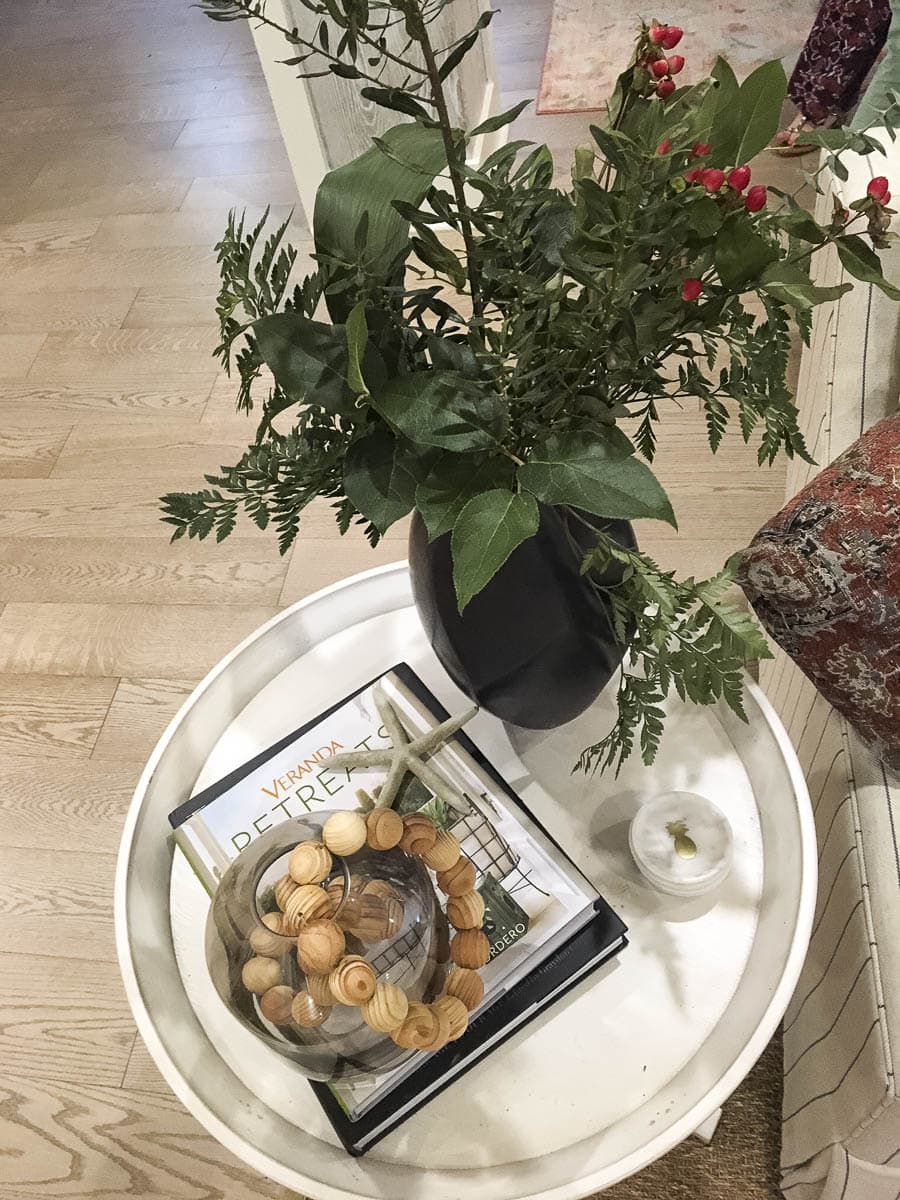
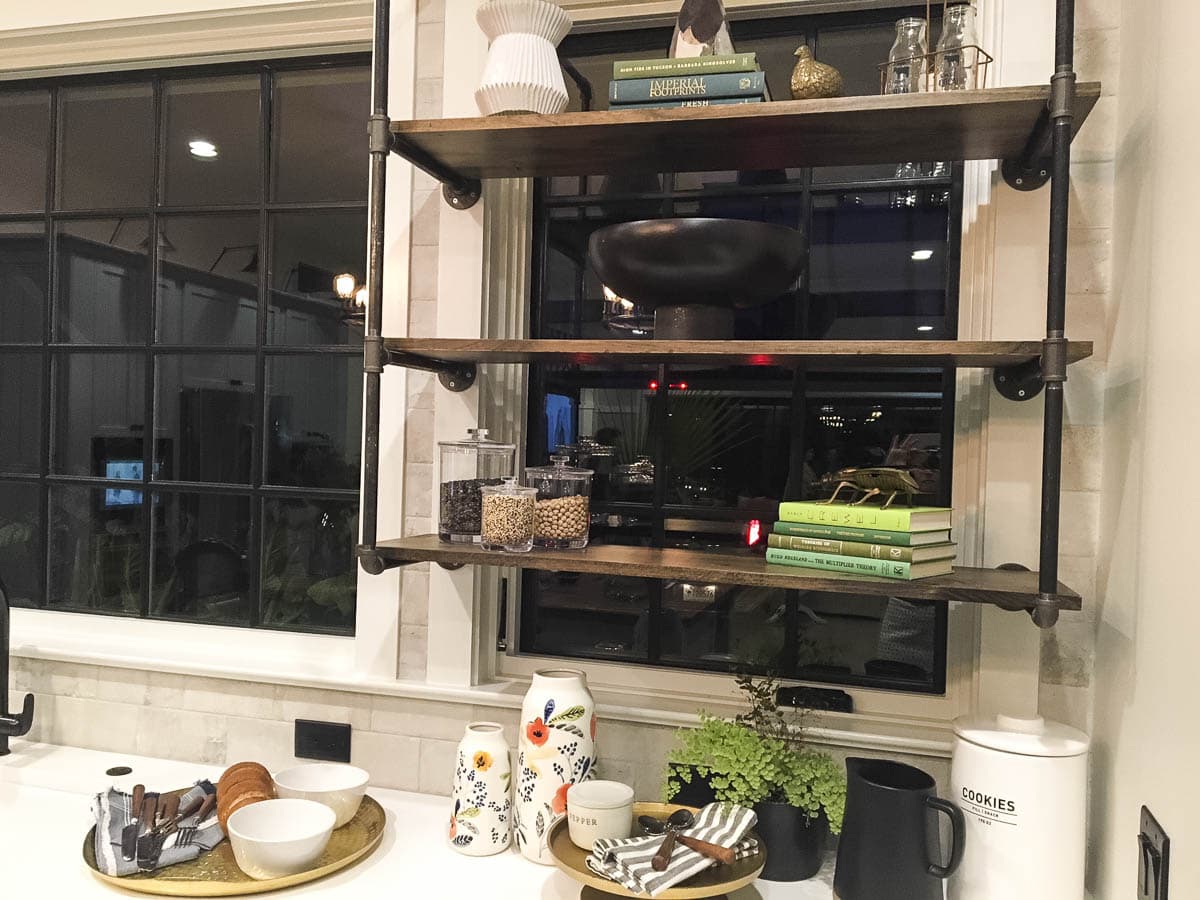
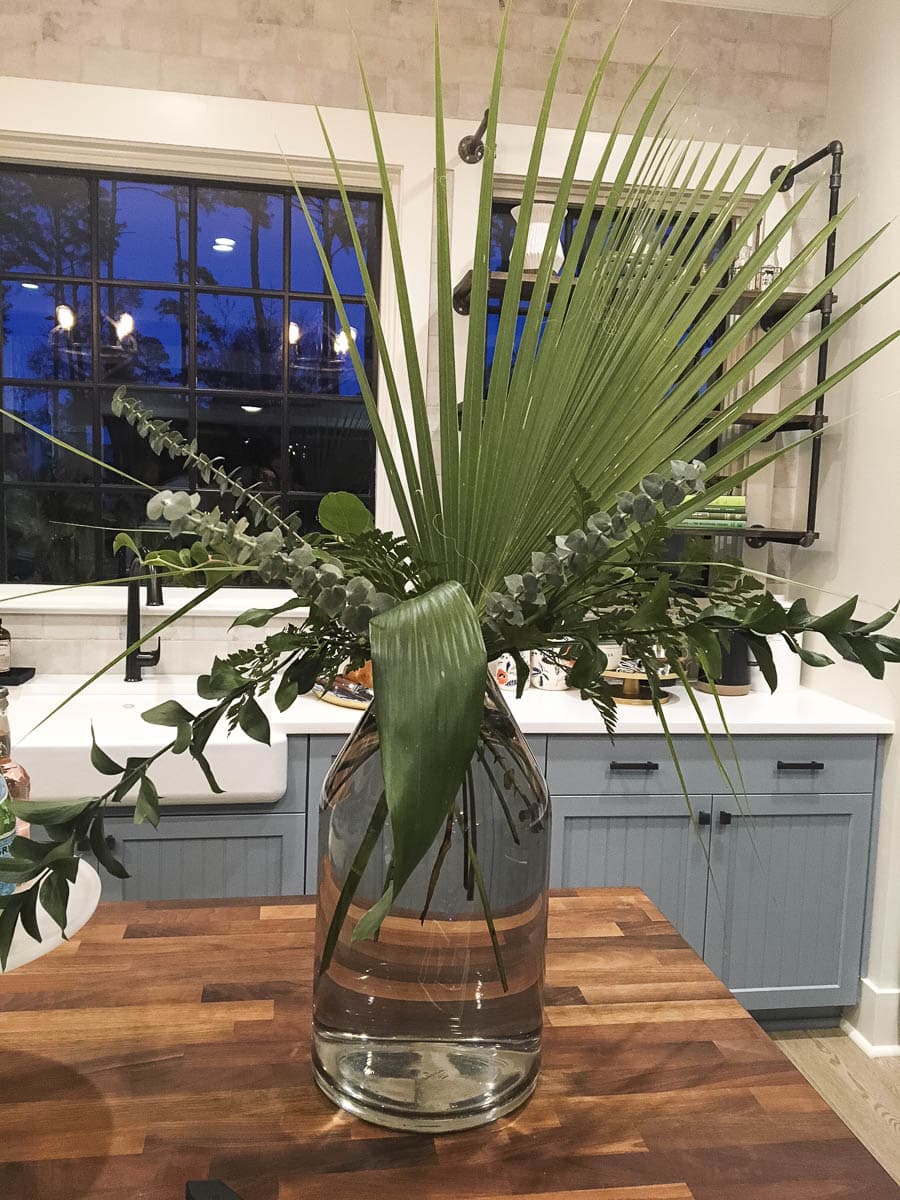
This is the SAME WAY we can approach our decorating. Purchase or DIY things that are neutral and can be used over and over again throughout the seasons. A bit of faux greenery, a roll of kraft paper (DO buy this– it’s such a affordable investment for decorating and gift wrapping), white plates, and loads of candles are perfect for ANY occasion.

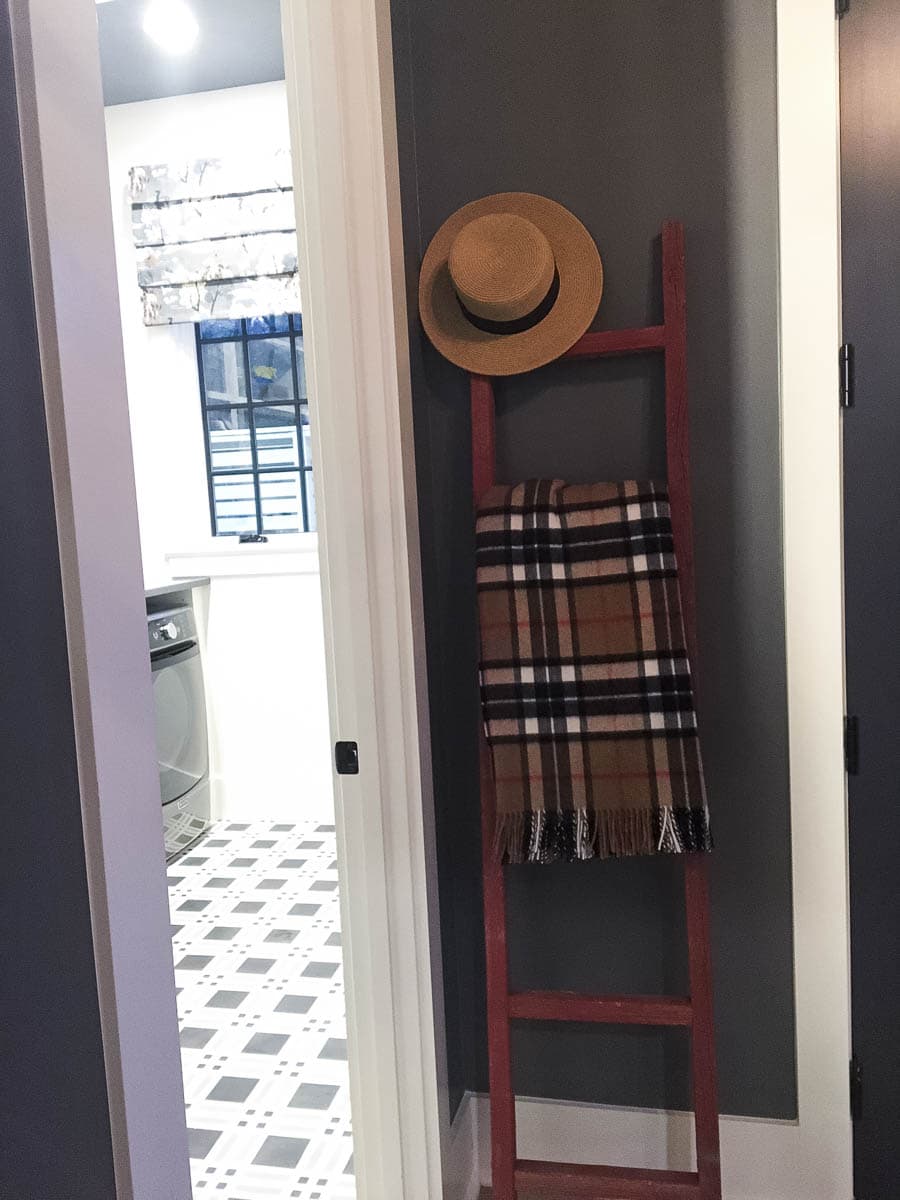
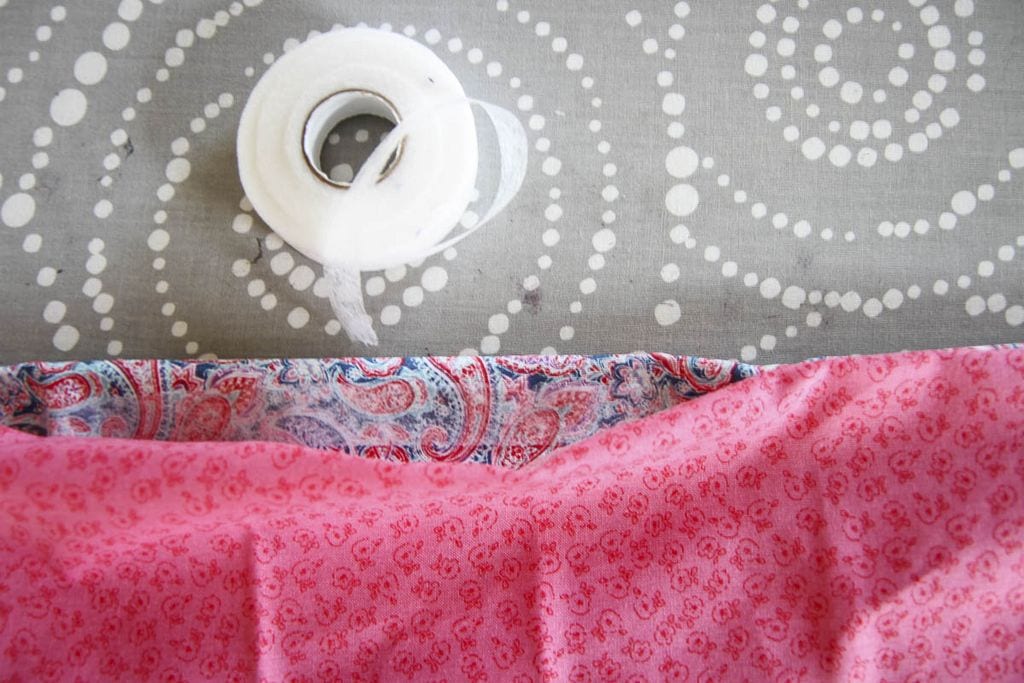
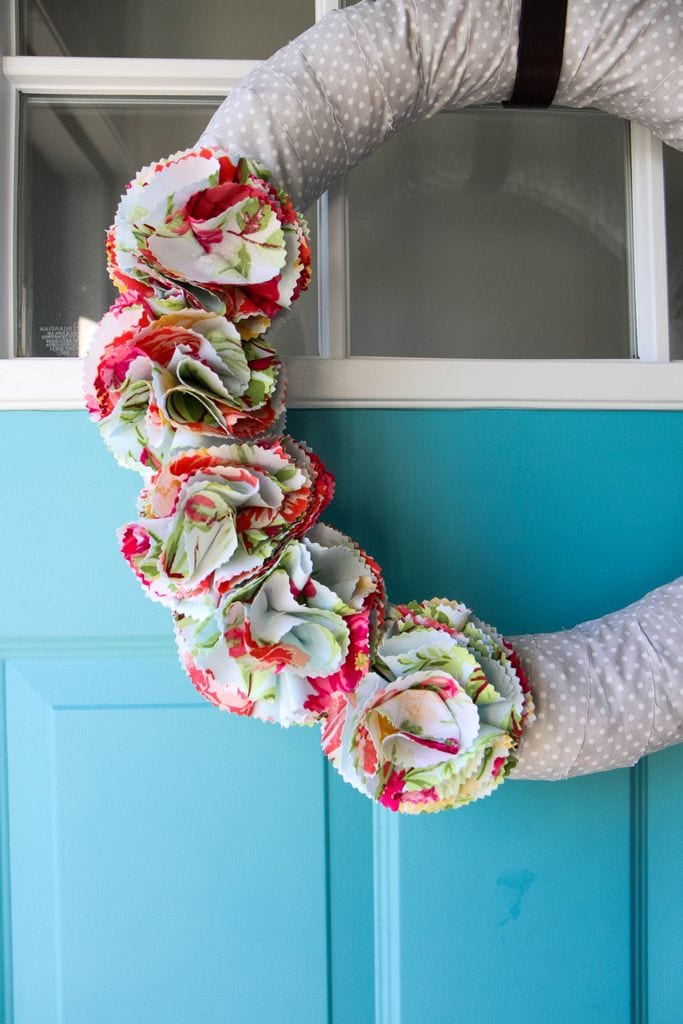
Adding simple seasonal touches, like the small bundles of sage I gathered with cotton twine feel very Martha-y, but cost only a couple of bucks to pull off.

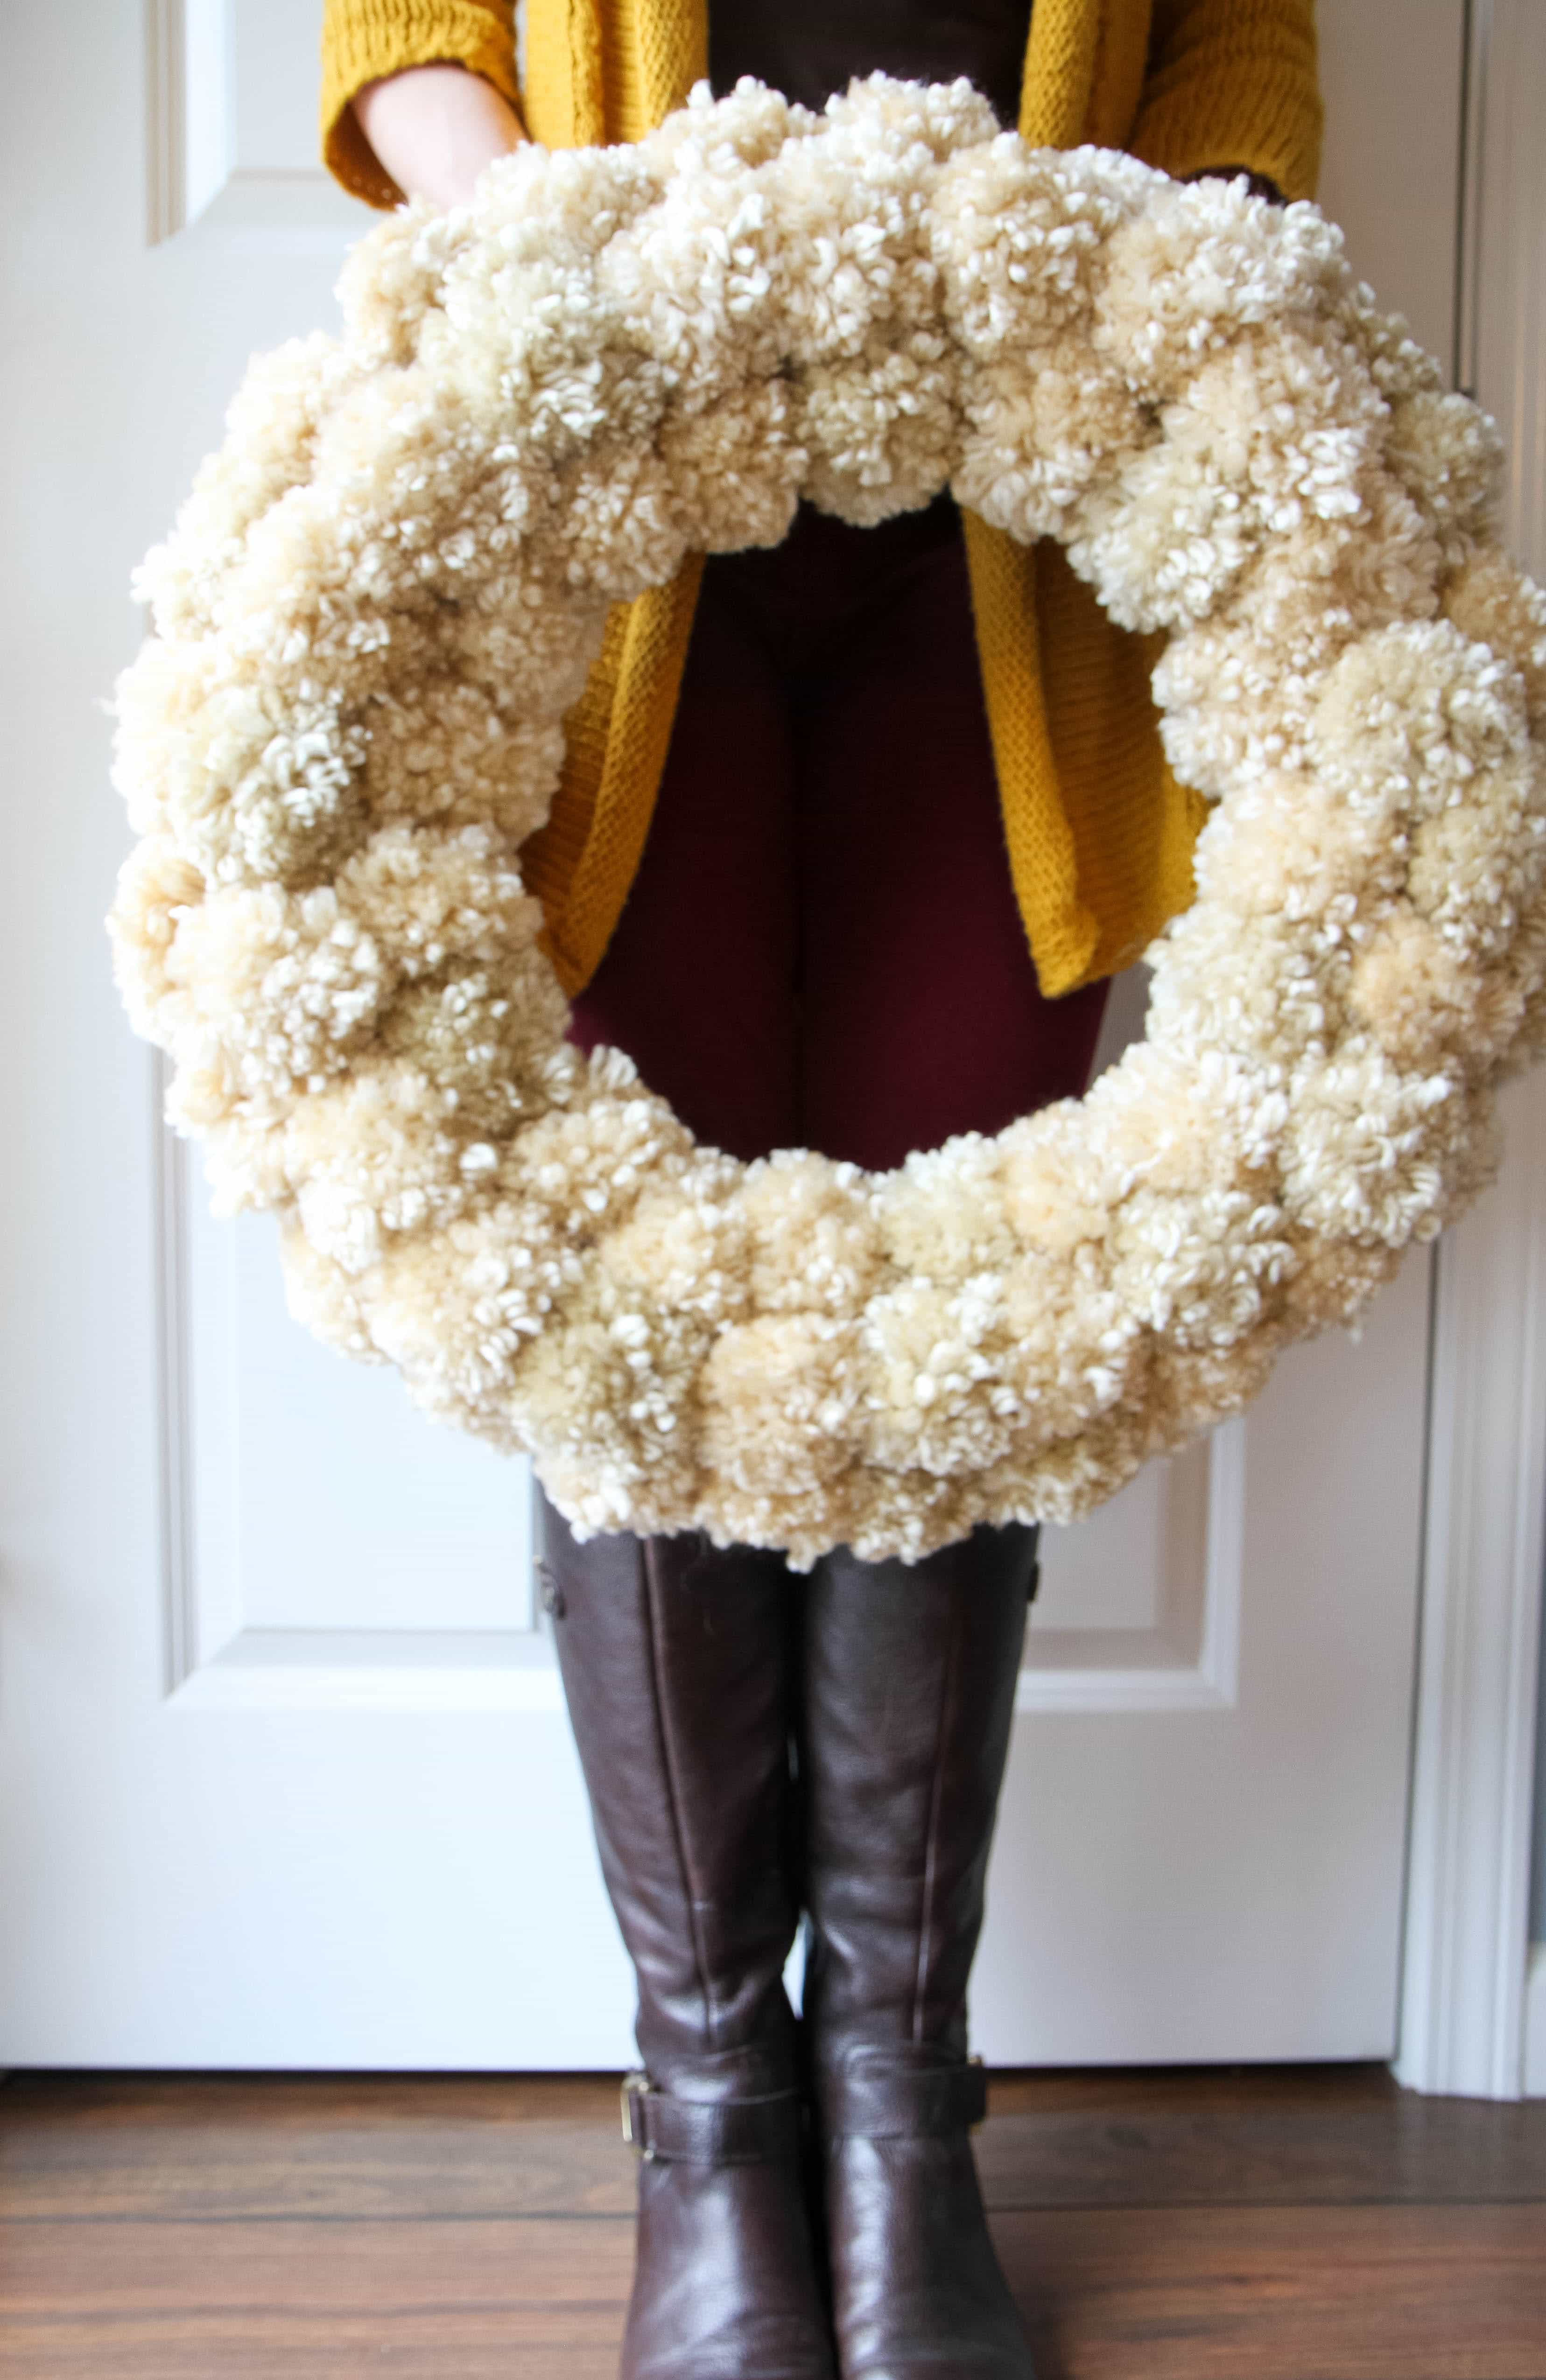
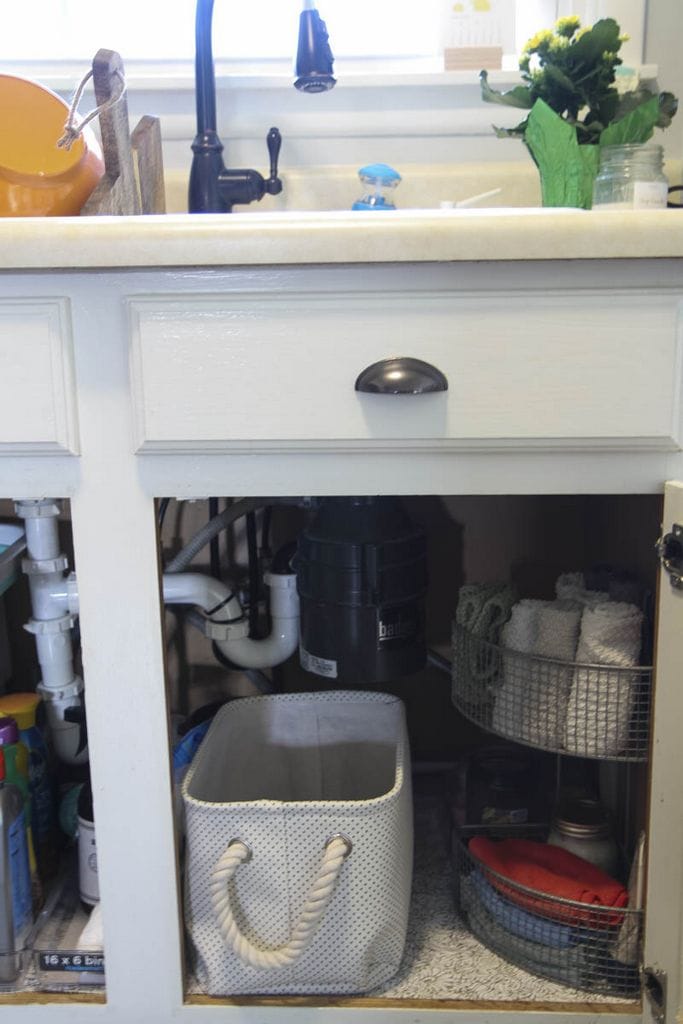
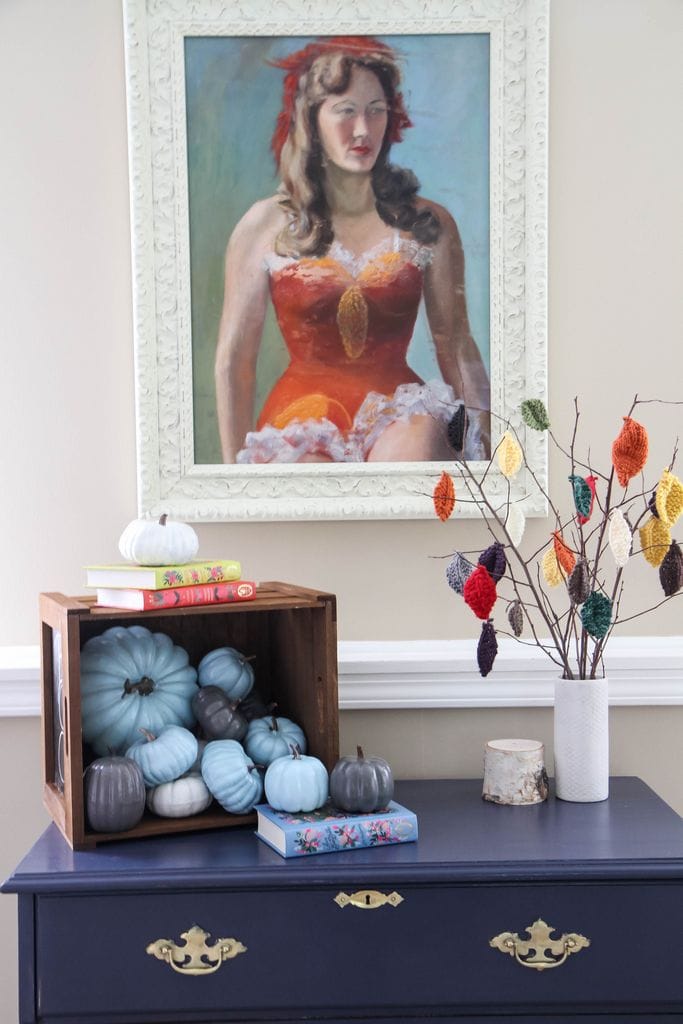
Stop pulling out and storing seasonal bins and buy a few items that you can use over and over and over again.

You can’t imagine the stress you will relieve yourself of!

Set the Mood

Before I go, I have one more fun fact for you…I used to be a glorified D.J. for my college’s radio station.

Music is essential to me like breathing and food.

Growing up, I played the violin, sang in the choir, did musical theater, and had parents who were crazy about music too.

I am also the one that hogs the microphone if you karaoke with me.

To me, a solid playlist for special occasions is oh-so-necessary.

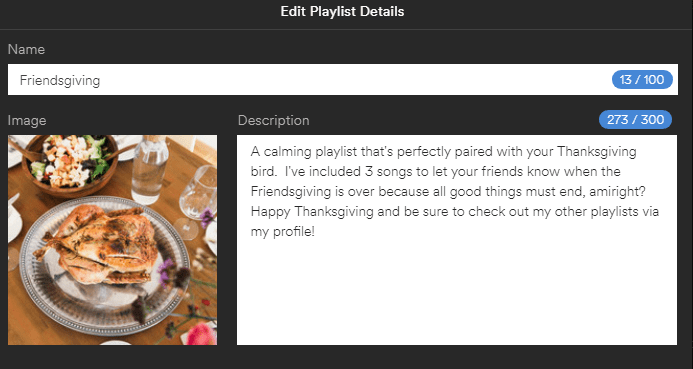
Don’t have time to make one?

How about if I shared mine with you!

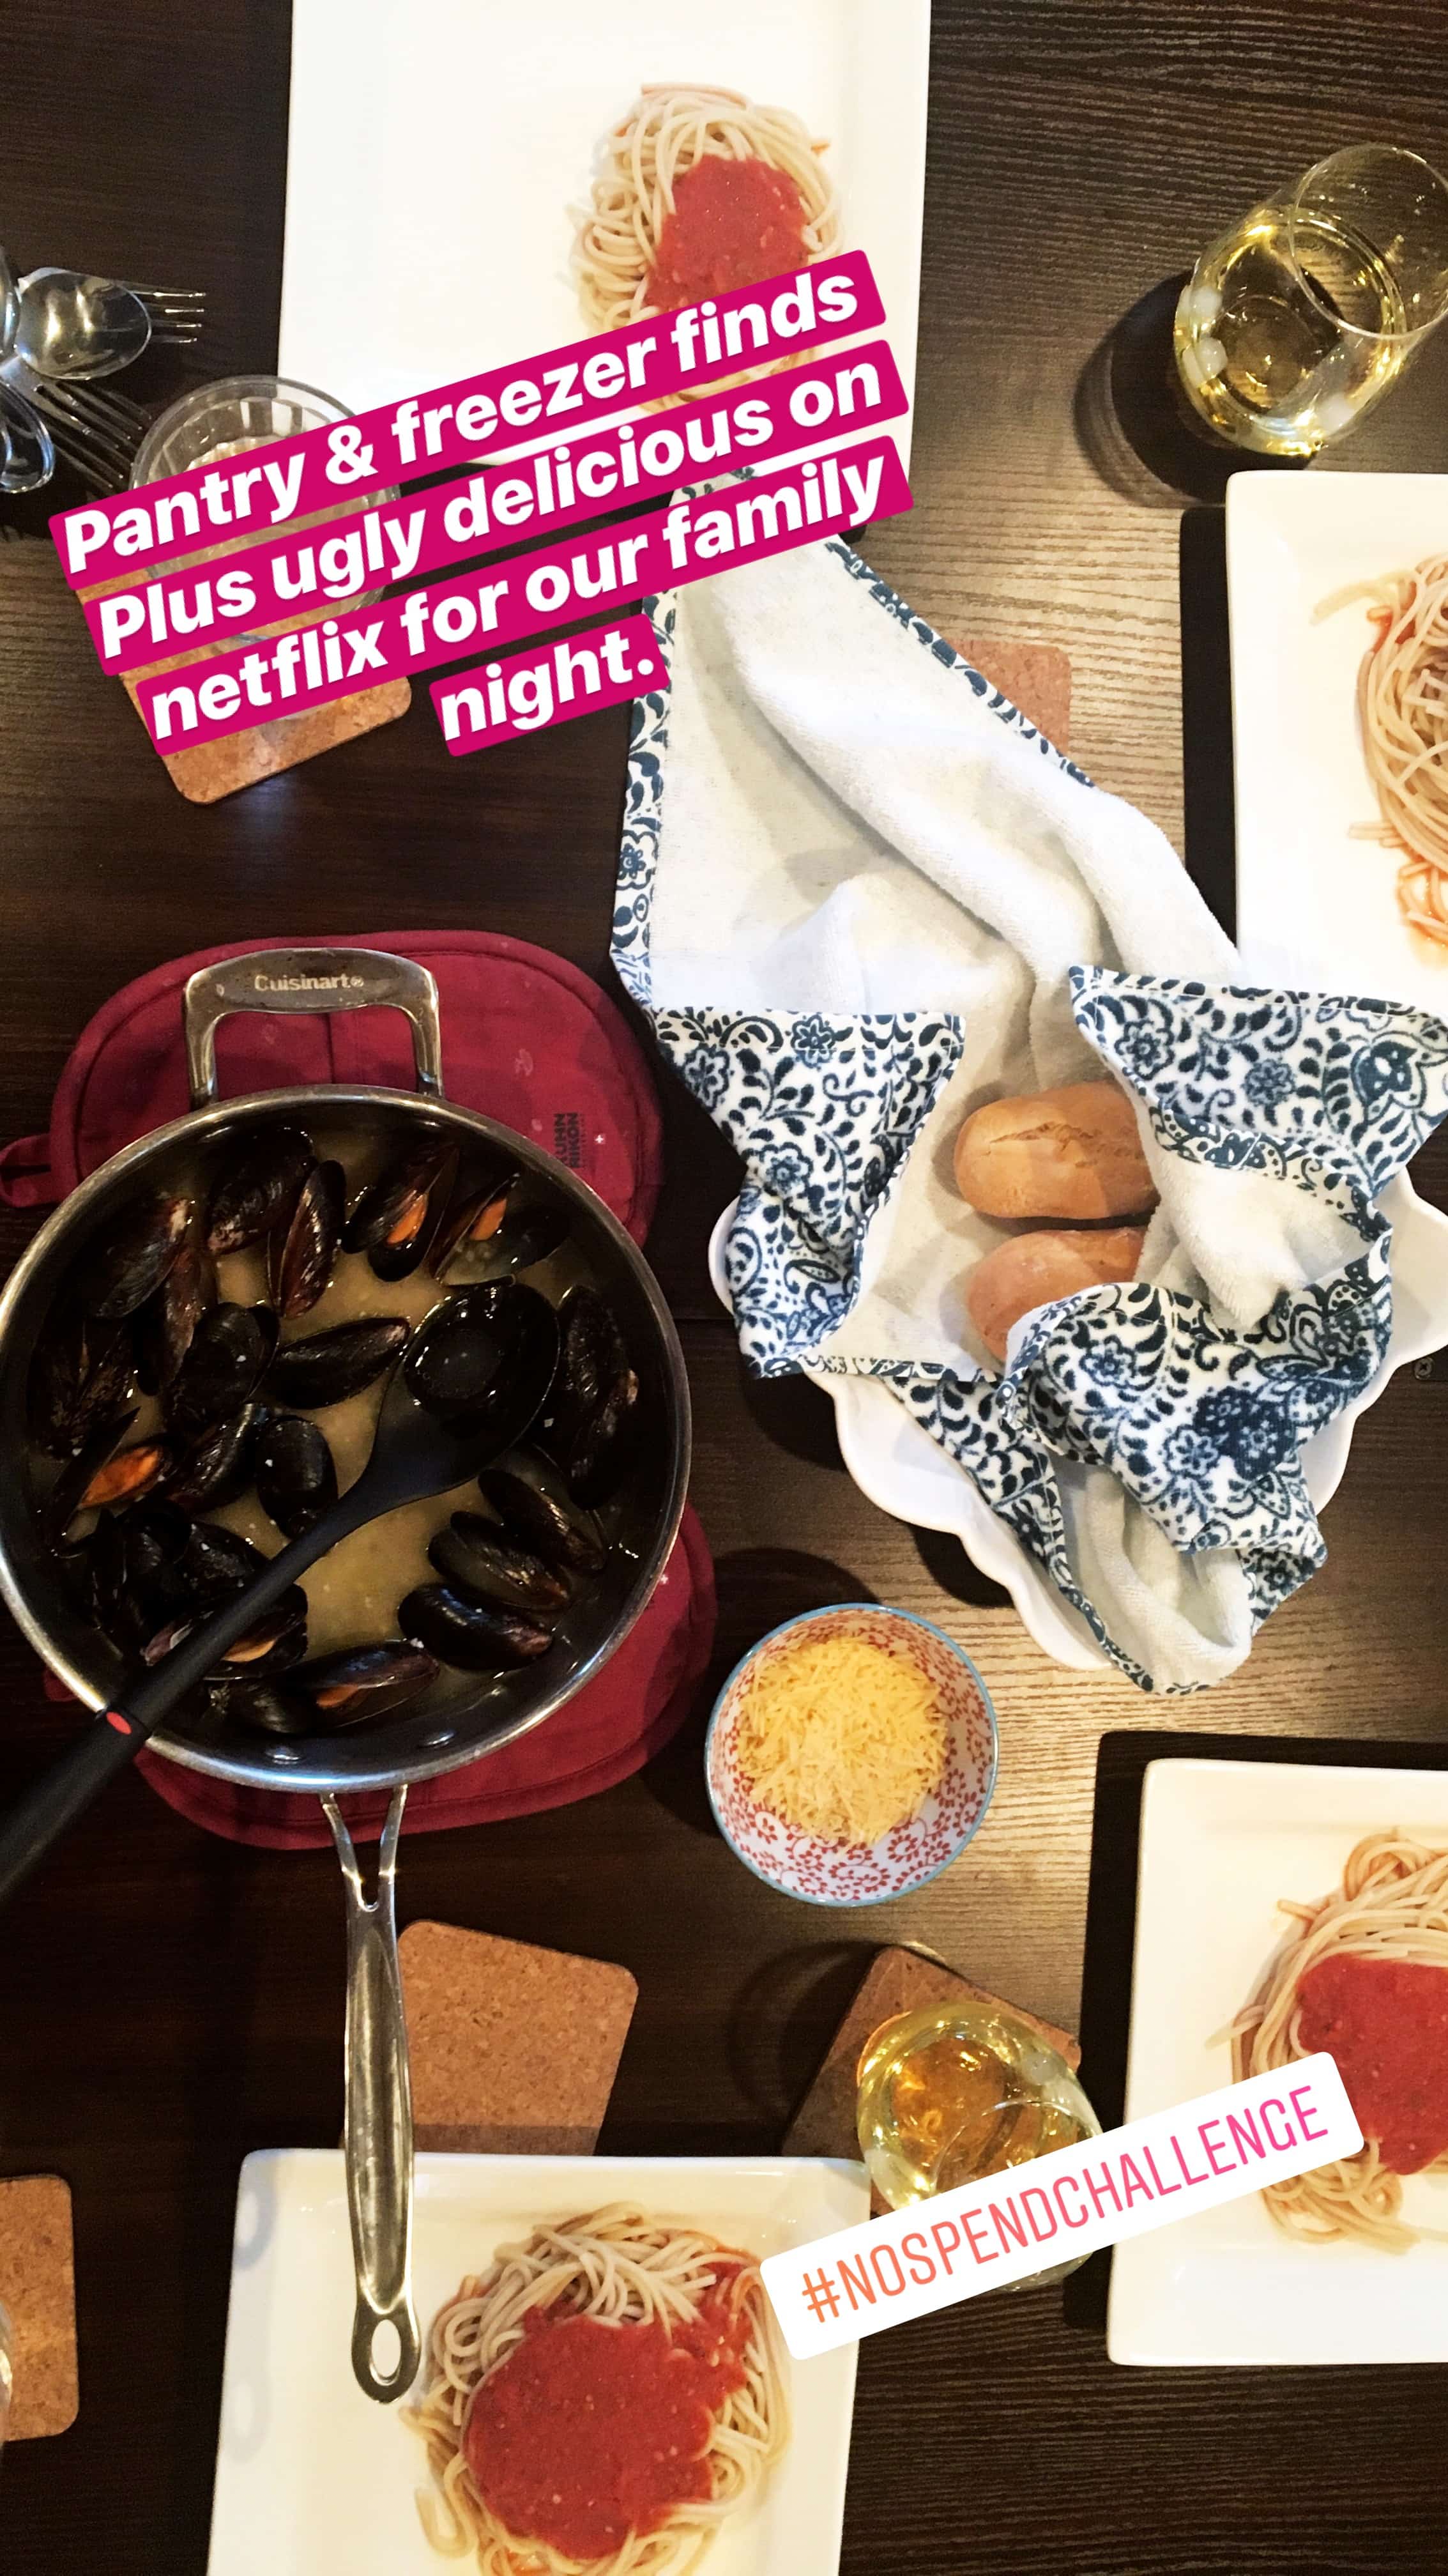
Also, as a thoughtful introvert, I have included three goodbye songs at the end that you can feel free to boot those up after the meal when you just need to retreat to your Snuggie and Netflix.

Hopefully they catch on..I know, “CLOSING TIME,” is a very, very subtle exit song!

I have embedded it here for you so be sure to bookmark this awesome post and give me a follow for more fabulous dinner music.

Now hurry on over to order your turkey and don’t forget to use my coupon code 15MOMADVICE to snag your 15% off!

this post contains affiliate links

This post is sponsored by Honeysuckle White. All thoughts and opinions are my own!

DIY Table Runner for All Seasons

Tuesday, October 30th, 2018

Transform your table with this easy DIY table runner that you can use for any occasion. Who knew cardstock could look so beautiful?

Today’s tutorial is for a diy table runner made from humble cardstock, glue, and twine.  As a minimalist, I’m a big fan of any decorations that can be used for multiple seasons and I fully admit that I am REALLY proud when I craft something that is so very uniquely me.

As you guys know, I have really been on the struggle bus with my hand pain and I started thinking how I might need to start broadening my horizons with my crafting. It has been a dream of mine to own a Cricut so, after doing a ridiculous amount of research and price investigation, I settled on a Cricut Explore Air as the best option for what I needed.

Please note, they do offer a brand new Cricut Explore Air 2, but the price difference is $70 and the only real difference is that it can cut faster.

I can wait a few extra minutes if I can save $70!

Today’s craft is a great way to break in your Cricut since paper crafting is so darn affordable.

Before we begin, I decided to get a Cricut Access membership (I’m on the $7.99 monthly plan) so I could have unlimited access to patterns and get the discounts for the holidays. You can also pay individually for patterns, but so far the cost has been worth it for gift-making.

Do what makes sense for you and your budget though!

How to DIY a Paper Leaf Table Runner

Supplies

12-15 sheets Gray Cardstock (I used 4 different shades of gray)

Hopeless Romantic Garland Pattern– you will need to create a Cricut profile to access this

Hot Glue Gun (this is the one I use and love)

Glue Sticks

Cotton Twine

A pencil, pen, or end of a small paint brush for shaping your petals

Cricut

Cricut 12×12 Standard Grip Adhesive Cutting Mats

Kraft Paper (I bought this roll and use it for wrapping our gifts too)- this is optional, but helps the garland stand out!

Tutorial

Following the pattern listed above, begin by cutting all of the leaves for this project using a different shade of gray each time you load it.

Make sure that the dial on your Cricut is set to CARDSTOCK and make sure that the blade you have loaded is the FINE-POINT BLADE.

If you have not cut cardstock before, here is a tutorial and here is also a tutorial to switching your blade (if you haven’t done that before).

Begin by creating a gathering of four to five leaves that will look good layered together.

To make this look more natural, try to avoid making each of these gatherings identical and make sure to weave in those different subtle hues that you have cut.

Using the end of a pencil, end of a paintbrush, or scissors, gently begin curling these petals to add depth and shape.

If you have not curled paper before, I found this advice very helpful (and her patterns are just gorgeous too!).

Now we can begin gluing our stack together. Keep in mind how you had them originally stacked and replicate that.

You will also want to figure out how you want these to trail and be linked together. Once again, avoid your perfectionistic nature and don’t be afraid to have these going in different directions. If it looks too matchy-matchy, it won’t have a natural feel.

Along the back, you will then add a thin line of hot glue and attach your twine to help hold the garland together and that can also act as a tool for hanging, if you decide this one is better suited to your mantle or bar.

You can see the layer of brown paper has been laid underneath it.  To add a little more dimension to this table, I added two sets of these inexpensive votive candle holder sets (I’m pointing you in the general direction so you can pick out your favorite finish). You can get them in a variety of shades and I love that these sit low so you don’t have to try to talk around a tall arrangement.

Here are just a few other details on this table, in case you were interested in replicating this further.

I tied tiny bundles of sage to nestle on top of our cloth napkins with a little more of the cotton twine. It added a natural element to the tablescape which felt really necessary with the paper display. It also smelled divine which is always a wonderful bonus.

I have had a hard time finding cloth napkins that wash really well, but can’t recommend these beauties enough. I picked a dark gray to eliminate needing to bleach out stains, but they come in a zillion colors that can match your own table runner.

The dishes were such a steal and came with such thoughtful storage racks. I am in love with how everything nests together so well especially these bowls which are the perfect size.

I found the glasses on clearance and can’t tell you how beautiful they are. I have been dying to have some ornate glasses for our fancier occasions. Of course, these already sold out (boooo!!!), but here and here and here are a few gorgeous options.

Once again, thankful for this smart tool I bought for our water bottles because it gets things clean, but doesn’t scratch the pattern or gold rim on these.

I hope this spread inspires you to embrace decorations you can use for all the seasons.

I’m also excited to share with you about the Friendsgiving gathering I had to make use of this lovely display. Stay tuned for all the details on that!

Looking for some more great craft ideas? Check these out!

How to make a Yarn Pom Pom Wreath how to make a yarn pom-pom wreath

how to make a yarn pom-pom garland

how to make an autumn burlap wreath

easy burlap wreath tutorial

how to diy a no-sew blanket scarf

Happy crafting, friends!

This post contains affiliate links.

DIY Game Day Bar Cart

Tuesday, September 18th, 2018

Entertaining is my thing. There’s nothing I love more than getting friends and family together for a great time.

And with a certain important game day party coming up, I knew just what I wanted to assemble to show off for my guests — a game day bar cart!

My favorite bar cart in our home is actually a tool cart transformed into this super functional and fun bar cart, so you can make your own too!

For my cart design, I decided to keep parts of the original surface paired with a metallic shade, but you can personalize this to your own taste and color scheme.

Just follow along with step two on the inside of your bar cart and apply your choice of paint if you so choose.

DIY Bar Cart Made from a Tool Cart Tutorial


Supplies Needed

Metal Tool Cart (check here or here or here to pick your favorite)
2 cans Krylon Colormaster in Metallic Gold (indoor) Spray Paint
1 can Rust-Oleum Hammered Brown Spray Paint
1 Spray Paint Trigger (should be in the same aisle as the spray paint)
Sandpaper
Painter’s Tape (to tape off your wheels)
Gloves

Directions

1. Begin by removing all of the parts and lining them up on cardboard or a drop cloth for painting. You will want the trays on this piece to be upside down since we are only spray painting the exterior of the tray. This will not only save you time spray painting, but the cart already has a nice finish on it that is easy to wipe and clean.

2. Rough up the exterior with medium-grit sandpaper. This will help our gold paint adhere to this smooth surface better.

3. Apply the trigger handle to your spray paint can. If you haven’t used one of these before it is a life-changing spray painting tool that offers even coverage and saves your poor trigger finger for long projects.

Begin by shaking your can for 1-2 minutes and periodically during use. Hold the can 10” – 12” from your surface, and spray in sweeping motions from side to side with a slight overlap.

Apply multiple thin coats, wait one minute between each.

You can add a top coat, if you like, with a clear topcoat, but it does dull the metallic sheen from this paint.

I chose to leave it without the clear coat, because I like the roughness and loveliness of the sheen of this paint.

I did find that this does adhere a bit unevenly to the surface, but creates more of the hammered metal look that I was going for.

4. Remove the trigger handle and now place it on your hammered metal spray paint that we are using for the handles and wheels on our bar cart.

Using the same technique, hold the can 10” – 12” from your surface, and spray in sweeping motions from side to side with a slight overlap.

Allow these to dry fully and then flip to the other side to spray paint the flip-side of these.

5. Tape off your wheels as best as you can and spray paint these with the same spray paint.

Allow them to dry and then flip to the other side and spray paint the flip-side.

When you remove the tape, if any of the paint has gotten on the wheel, just use your sandpaper to rough up the wheel to remove the paint.

6. Assemble after your cart, and all of its parts, are fully dry.

Keep your spray paint handy for final touch-ups and use a piece of cardboard to block and protect the areas around where you need to touch-up.

Allow this to fully dry before loading it with your drinks.

DIY Game Day Bar Cart from MomAdvice.com

DIY Game Day Bar Cart from MomAdvice.com

Once everything is assembled and dried, you can add your beverages of choice!

I decided to add my favorite beers to the top shelf for easy access, along with garnishes and drink tools.

On the bottom shelf I have glasses and liquors that can be wheeled around as needed.

Feel free to add any additional decorations like small treats, a chalkboard sign to message for guests or paper creations sporting the colors of your favorite team. Most of all, have fun!

Need More Game Day Party Tips?

Keep decorations simple for your game day party

Faux grass can act as a tablecloth for your table and a simple pennant banner can be created with your team’s favorite colors.

Add some fun football trophies to decorate around the food to pull your table theme together.

Have guests make their own food

Make creating your own food fun for your guests by creating a sub or Panini sandwich station from an assortment breads, cheeses, cold cuts, and a variety of toppings for your guests.

Each person can customize their own sandwich with their favorite additions.

Don’t forget to add a few gourmet flavors like pesto, Gouda cheese, apple slices, smoked bacon or prosciutto, & brie to your toppings bar.

These gourmet toppings will take your ordinary sandwiches into extraordinary ones and each guest can create their own unique combination.

The same idea can be applied to a fun slider bar, soup topping bar, hot dog bar, or baked potato bar.

snag my slow cooker pumpkin chili recipe

Host a soup cookoff

Have guests bring a pot of their favorite soup to share for a soup cook-off.

Have guests place votes on their favorite and present the winner with one of your fun football trophies from your table display to take home as the champion.

Not only will this be a fun way to sample some new soup recipes, but it will also relieve you of having to create as many dishes for your big game day party.

Round out the meal

Round out your soup & sandwich menu with an easy cheese platter, dips, a vegetable tray, and a fruit tray. Make the easy dips to go with your favorite crackers, but save some time in the kitchen and visit the deli in your store to pick up a simple fruit or vegetable platter to add on the side to save time spent chopping in the kitchen.

Invest in some inexpensive plastic containers for game day leftovers and send goodie bags home with your guests so they can enjoy the leftovers all weekend long.

Don’t forget to give the guests that stick around to help clean up afterwards a Most Valuable Player award for their assistance with the kitchen clean-up.

Love this DIY project? Here are a few others I think you will enjoy!

rosé strawberry wine pops recipe

slow cooker pumpkin candles

diy thumbtack pumpkins

diy ottoman serving tray

fall burlap wreath

painting pumpkins with acrylic paints

How do you celebrate game days at your house? I’d love to hear your tips for entertaining!

Pin It

DIY Reusable Floor Pads For Your Swiffer Mop

Monday, April 23rd, 2018

DIY Wet and Dry Swiffer Pads Tutorial from MomAdvice.com

This Indiana girl could not be happier to know that Spring has finally sprung! I am so excited to throw open those windows and to get my home ready for this warmer season. In honor of all the Spring cleaning today I wanted to share with you an easy 5-minute craft to create wet and dry Swiffer pads for your mop. This idea couldn’t be easier and will cost you less than $20 in supplies that you can use over and over again.

If you visit our house, you will find a Swiffer behind almost every door in our rooms. I find that these are such a great way to tidy up quickly before guests arrive or to swipe a room after getting ready in the morning. Pairing these with these DIY Swiffer Pads make this an environmentally-friendly investment that you can use over and over again in your home.

Let’s get started by first making our DIY Wet Swiffer Pads with this easy tutorial.

DIY Wet Swiffer Pads from MomAdvice.com

How to Make DIY Wet Swiffer Pads

DIY Wet Swiffer Pads from MomAdvice.com

DIY Wet Swiffer Pads from MomAdvice.com

Supplies Needed for the Wet Swiffer Pads

4 cups of vinegar

6 cups water

1 tablespoon dish soap (I chose a Mrs. Meyers in a fresh lemon scent)- PSST- Use this coupon from Grove for a Mrs. Meyer’s five-piece set for FREE with your first purchase.

1 gallon size freezer bag

11×11 utility dishcloths (This is the EXACT match to what I purchased- as you can see in the picture below, these are ALMOST the same exact size as our purchased pads, but you won’t have to do any sewing to achieve it!

Measuring cup & spoon

Swiffer mop

Directions

DIY Wet Swiffer Pads from MomAdvice.com

In a gallon size freezer bag, mix together your vinegar, water, and dish soap. I used a measuring cup to help hold the bag in place as I filled it and then sealed and swished the bag to mix the ingredients. DIY Wet Swiffer Pads from MomAdvice.com
Insert your utility cloths into the solution until they are submerged. DIY Wet Swiffer Pads from MomAdvice.com

When you are ready to use them, simply wring out a little of the solution and then place on your Swiffer as you would the purchased pads. Clean your floors and then shake any debris into the trash can and throw them in the wash when you are done. DIY Wet Swiffer Pads from MomAdvice.com

As you can see, these do a great job of gathering crumbs from our floor.  These would also be great for wiping down surfaces in lieu of those throw away wipes that you might be using to clean your home.  The best part though is that these do not streak my laminate flooring like the purchased pads did. My floors have no residue and the vinegar smell dissipates quickly, leaving a clean and natural shine.

Now that we have made our DIY Wet Swiffer Pads, let’s start whipping up our Dry Swiffer Pads for our rooms. Again, this tutorial couldn’t be easier!

DIY Wet Swiffer Pads from MomAdvice.com

How to Make DIY Dry Swiffer Pads

DIY Dry Swiffer Pads from MomAdvice.com

Supplies Needed for the Dry Swiffer Pads

1 yard of fleece (this site has very affordable prices)

Scissors

A dry Swiffer Pad to use as a template or you can use the 11×11 utility dishcloths for a template for your pads

Swiffer mop

Directions

DIY Dry Swiffer Pads from MomAdvice.com

Using a dry Swiffer pad or your 11×11 dishcloth as a template, cut your fleece to the same size. Repeat, making as many as you like. DIY Dry Swiffer Pads from MomAdvice.com

Place on your Swiffer just as you would do with your purchased pads. Do a dry dusting of your floors with your reusable pads to gather dust, debris, and hair. Shake off any loose debris in the trash when you are done. Wash and reuse. DIY Dry Swiffer Pads from MomAdvice.com

As you can see, these also do a great job of gathering hair and dust.  I love to use these in my bathroom where it can be difficult to trap the dust and hair.

I love my shiny floors and look forward to replacing all of those pads with these easy DIY alternatives. Since these just take about 5-minutes to create, you have no time to lose and will have a beautiful home in no time flat!

  DIY Wet Swiffer Pads from MomAdvice.com

I hope you found today’s project inspiring! Have you ever created your own DIY Swiffer Pads? Feel free to leave your ideas below!

Pin It

Trends You Really CAN Do at the 2018 HGTV Smart Home (With SimpliSafe)

Monday, April 9th, 2018

Affordable Spring Decorating Ideas from MomAdvice.com

I had the opportunity to head to Palmetto Bluff, South Carolina to tour the 2018 HGTV Smart Home last month. It has been one of those bucket list items that I have always wanted to do so when SimpliSafe asked if I would like to go, I couldn’t have been more excited.

Today I wanted to share with you the 2018 home decorating ideas that I spotted at the HGTV Smart Home and share a little bit about what SimpliSafe is all about.

SimpliSafe

If you haven’t heard of SimpliSafe before, you aren’t alone! It was, actually, new to me too. This is a smartly designed security system that is meant to integrate seamlessly in your home and offer smart technology protection to keep your home and family safe. It is so seamless, in fact, that SimpliSafe was integrated through the entire Smart Home to showcase just how seamless in design it could be.

Before accepting the trip offer,  I went through the materials about their security system and just knew that I would need to pass on the opportunity to come to this event. I do my best to only feature budget-friendly buys here so when I finally dove into the prices on their units, I was surprised to discover they were incredibly affordable and a perfect fit for a MomAdvice reader. Even as they continued to make improvements to the designs, the costs have remained low for their customers.

In fact, the security subscription service is half of their competitors and they pride themselves on keeping the costs for these home security systems low!

Since we live in a small home, I love the options that are available to customize these to your own space and your own personal needs. Many packages are hard to match with our square footage and what we REALLY need so I loved the build-your-own option choices. Of course, they have conveniently bundled a great starter pack (priced as low as $229) or you have the option to choose your own security adventure and build a package that fits your needs.

2018 HGTV Smart Home

Often when I think of security, I am only thinking about keeping the doors locked and watching for intruders. Security systems are about so much more than that though and one item, in particular, caught my eye. We have had issues with water in our basement, after a few brutal storms, and this very unobtrusive water sensor on the floor, would be an incredible investment for our family. They also offer a Freeze Sensor that can alert you when temperatures drop below 41 degrees to protect your pipes from bursting.

Yeah, that never happens in Indiana.

Cassie and Amy

I can’t rave enough about these smart products and the amazing team that introduced me to them (you can see one of my favorite team members, Cassie, above)! Who knew all of this could be so affordable? Definitely, check them out!

Speaking of affordable, let’s take a tour of some of the other affordable trends that I spotted while touring the 2018 HGTV Smart Home.

2018 HGTV Smart Home

2018 HGTV Smart Home

2018-hgtv-smart-home (3 of 28)

I thought we could start with the exterior of the home. I loved the simplicity of the window box in the front and the beautiful greenery in the beds.

Around the back of the home is an absolutely stunning patio. These tall plant stands with ferns were such a beautiful addition without taking up as much space as flower pots would on the floor and added a little color to this area.

I am a big fan of these statement chairs that have been placed at the end of the table,  paired with the simplicity of these wooden folding chairs. While I don’t know the price tag on these statement chairs, I did spy some beautiful ones over here that I have my eye on that could replicate a more affordable look. We also, typically, have bought our dining chairs from this affordable shop, but now you can find gorgeous chairs just about anywhere and add two beautiful chairs at the end to have that mismatched look for less!

The styling with brown paper covered books and candle lanterns are beautiful (and also so doable!)

2018 HGTV Smart Home Tour

2018-hgtv-smart-home (33 of 7)

2018 HGTV Smart Home Tour

2018-hgtv-smart-home (34 of 7)

This house was filled to the brim with greenery. Plants, plants, plants EVERYWHERE. It was absolutely dreamy. Houseplants can be pricey, but I try to justify it by reminding myself how long a bouquet of flowers last. Even with my black thumb, I can usually get more longevity out of a plant than a bouquet and greenery makes such a beautiful statement in a home.

The mix and match of greenery in this house really caught my eye in every room. If you can believe it, all the greenery (in the vases),  had been purchased from a local Kroger (!!!) so this look is definitely on a budget. I will be referencing these pictures for a great how-to on beautiful mixing because I think that was key with these green displays.

Again, a pair of chairs adds visual interest and I loved the matching blanket and velvet pillow combo that adorned both of them.
2018 HGTV Smart Home Tour

2018 HGTV Smart Home Tour

2018 HGTV Smart Home Tour

2018 HGTV Smart Home Tour

These industrial shelves framed the kitchen sink and I loved the styling they did with them.  I, genuinely, have a hard time styling shelves so I wanted to be sure to snap pictures in here too. Jars of dried beans and colored rice make a lovely display (that can be eaten) and books really made the house.

OF COURSE.

BOOKS ARE AWESOME.

I did find it interesting that this heavy shelving was built in front of the windows.

Once again, they are KILLING IT with their greenery. This big glass vase was a beautiful statement piece on the kitchen island.

2018 HGTV Smart Home Tour

2018 HGTV Smart Home Tour

2018 HGTV Smart Home Tour

2018 HGTV Smart Home Tour

2018 HGTV Smart Home Tour

2018 HGTV Smart Home Tour

2018 HGTV Smart Home Tour

2018 HGTV Smart Home Tour

Here are a few of the details that I loved in the bedrooms.

Suitcases for Storage- This would be such a smart place to tuck an extra set of sheets or blankets for guests.

Floor to Ceiling Curtains- We raised our curtains in our bedroom, but not as high as this. Moving them up to the tippy top made the room feel dramatically bigger and taller.

Wooden Beads- Must invest in millions of strands of wooden beads for decorating. They add such beautiful natural tones and they added these in almost every room.

More Books- Wrapping them in paper is such a beautiful touch and I loved how they are paired with a colored glass vase for a simple pop of color.

Styling Around a Wall-Mounted Television- I loved that the frames were incorporated around this television so it made it blend in more and made the framing of the television more natural.

Smart Touches Above the Beds- In particular, the use of two frames and then the cow OVER the frames made for beautiful visual interest without looking cluttered.

Candlestick Holders- A collection of three was perfect for an ottoman display and added a touch of metal to the room.

2018 HGTV Smart Home Tour

2018 HGTV Smart Home Tour

Heading into the bathroom… This was a SMART home so you can see that the mirrors are also allowing you to surf the web or watch the news while you get ready. You could swipe on them to browse just like you would your phone.

If you have the space, this was such an adorable display for a robe. Also, that painting in the corner is adorable and I loved that it was on an easel display to add some interest around the tub.

2018 HGTV Smart Home Tour

2018 HGTV Smart Home Tour

2018 HGTV Smart Home Tour

Gallery walls make me so happy and I loved the use of mismatched frames and different styles of artwork that helped to achieve this stunning wall. As a perfectionist, I get hung up on the placement and the matchy-matching, but this shows you that they don’t need to match and staggering them adds more beauty to this wall.

2018 HGTV Smart Home Tour

2018 HGTV Smart Home Tour

2018 HGTV Smart Home Tour

2018 HGTV Smart Home Tour

I love when a home uses every nook and cranny and I do think this house did that. This little room has a bookcase with a hidden gaming room tucked behind for the kiddos. A window seat adds a little perch for reading books too.

Once again, I’m in awe of the gorgeous styling on these shelves. The use of just one color of book throughout the bookcase is just stunning.

2018 HGTV Smart Home Tour

2018 HGTV Smart Home Tour

Truly, no corner went to waste in this beautiful space, even in the trickier corners. I loved every inch of this space!

Me


Group Shot

Group Shot 2 Mom Trends * Family Focus Blog * Well-Connected Mom * Christine Koh

The bonus to this beautiful weekend was getting to spend time with some really wonderful friends.

Another huge thank you to SimpliSafe for giving me the opportunity to sneak peek the HGTV Smart Home. It was, truly, a dream come true.

I was provided travel accommodations to attend this event by SimpliSafe

Pin It

DIY No-Sew Reversible Cloth Napkins

Tuesday, March 20th, 2018

DIY No-Sew Reversible Cloth Napkins from MomAdvice.com

The queen of no-sew projects is back and I’m excited to share this EASY DIY No-Sew Reversible Cloth Napkin tutorial with you today.

That’s right, even if you can’t sew, it’s no biggie!

Can’t cut a straight line?

Me either!

No need to even have a skill in that!

Each diy no-sew napkin should take a mere ten minutes to make and can be used for many a dinner with your family and friends. Not to mention, these would make a gorgeous gift for a newlywed or the holidays.

DIY No-Sew Reversible Cloth Napkins from MomAdvice.com

I had a set of cloth napkins that got a lot of love in our house because of their easy-to-wash material and their perfect size. I was never a fan of the colors though and so I measured my current set and headed to the fabric store where I discovered (GLORY BE!) that the fabric bundles, at our local fabric shop, just so happened to be the EXACT same size.

What luck for someone who can’t cut a straight line.

I have always loved the beauty of these color-coordinating fabric bundles (just so perfect for quilters) and thanks to their prepackaged coordination, it makes creating a reversible set of napkins oh-so-easy for those of us born without the gift of pattern-matching.

Here’s my quick tutorial AND scroll down for my system for washing and storing these beauties!

DIY No-Sew Reversible Cloth Napkins Tutorial

DIY No-Sew Reversible Cloth Napkins

diy-no-sew-reversible-cloth-napkins (2 of 23)


Supplies

18×21 inch fabric bundle in coordinating colors- I LOVE these options or you can check here too for a more affordable option (the bundle I purchased had 5 pieces so to create an even number of cloth napkins you will need to purchase two bundles. You will need 2 pieces for each napkin you would like to make). I chose Cotton & Flannel materials for my napkins.

Stitch Witchery or similar fusible bonding web (I swear by Stitch Witchery for the majority of my no-sew projects- it really washes well!)

Chopstick or pointy object to push out your corners

Iron & ironing board

Scissors

DIY No-Sew Reversible Cloth Napkins from MomAdvice.com

Directions

1. Select two coordinating colors and place the first one with the pattern up, facing you, and then flip the other one with the wrong side of the fabric out. Basically, you want the two patterns to be BFF’s and be facing each other.

DIY No-Sew Reversible Cloth Napkins from MomAdvice.com

2. Going all the way across the fabric, lay down your Stitch Witchery all the way across, leaving a little room on each side of the edges, as pictured.

DIY No-Sew Reversible Cloth Napkins from MomAdvice.com

3. Grab you iron (I crank mine to the highest setting on that dial) and iron over the tape until the two fabrics are fused together. This will take several passes and you can additionally spray the fabric with a little water to produce steam and help the tape bond to each side of the fabric. Repeat this process on two more sides.

Leave one side without tape and follow the next steps to finish the cloth napkin.

DIY No-Sew Reversible Cloth Napkins from MomAdvice.com

4. On the final side, we are going to run the tape along like the other sides, but stop to leave a pocket so we can turn this napkin right side out.

DIY No-Sew Reversible Cloth Napkins from MomAdvice.com

DIY No-Sew Reversible Cloth Napkins from MomAdvice.com

DIY No-Sew Reversible Cloth Napkins from MomAdvice.com

5. Using your scissors, cut all four corners so we don’t have excess fabric in the corners. CAREFULLY, turn the napkin right side out and use your chopstick to CAREFULLY poke out those corners. If the tape comes loose while turning this right side out, don’t worry! You can easily reseal that tape again when finishing that edge!

DIY No-Sew Reversible Cloth Napkins from MomAdvice.com

DIY No-Sew Reversible Cloth Napkins from MomAdvice.com

DIY No-Sew Reversible Cloth Napkins from MomAdvice.com

6. Tuck the last of the ends under, to match the rest of the side that has been fused.  Finish with another round of Stitch Witchery and a final press. Once the ends are all sealed, finish with a spray of water to take out any final wrinkles and to give it a good press on all four sides to make sure they are secure.

TA-DA!  That’s it, folks!

DIY No-Sew Reversible Cloth Napkins from MomAdvice.com

DIY No-Sew Reversible Cloth Napkins from MomAdvice.com

DIY No-Sew Reversible Cloth Napkins from MomAdvice.com

I had already received some questions, when I posted these beauties on IG, on how I planned to implement these in our home. I got a container for these and have them on our hutch, next to our silverware. Underneath the sink is a container for tossing the dirty napkins.

I got a small napkin holder that perfectly holds four of these (something like this) for the tabletop and each person gets one napkin per day.

I did request darker colors for messier meals and lighter colors for meals that less messy.

Each person is responsible for tossing their napkin in at the end of the day.

All of this feels REALLY doable to me.

DIY No-Sew Reversible Cloth Napkins from MomAdvice.com

DIY No-Sew Reversible Cloth Napkins from MomAdvice.com

DIY No-Sew Reversible Cloth Napkins from MomAdvice.com

DIY No-Sew Reversible Cloth Napkins from MomAdvice.com

Obviously, I am IN LOVE with these feminine patterns, but I wanted to make some that were more masculine too.

DIY No-Sew Reversible Cloth Napkins from MomAdvice.com

I found some flannel and did some of our napkins in this fabric too.

The best part was that the print was on both sides so the warmer side of the flannel would be perfect for the winter months while the flipside of the flannel was perfect for all seasons (and, honestly, I had less worries about lint issues). I can picture just how beautiful these would be to dress up the table for the holidays.

The best part?

You can’t buy this at Target. You get to be totally unique.

Go ahead and gloat!

Do you love NO-SEW projects? You hit the lottery over here! Check out a few of my favorite no-sew tutorials!

Fabric Flower Wreath Fabric Flower Wreath for Spring

No-Sew Kitchen Cushions DIY No-Sew Reversible Chair Cushions

Fabric Wreath & Garland Fabric Wreath & Matching Garland

Fabric Bulletin Board Fabric Bulletin Board Tutorial

Painted Pumpkins Painting Pumpkins With Acrylic Paints

diy-no-sew-pocket-warmers-10 DIY No-Sew Hand Warmers

Diy Ottoman Serving Tray DIY Ottoman Serving Tray

Scrappy Fabric Trees 15-Minute Scrappy Fabric Trees

DIY Jigsaw Puzzle Mat DIY Roll-Up Jigsaw Puzzle Mat

Told ya, queen of the no-sew life!

DIY No-Sew Reversible Cloth Napkins from MomAdvice.com

Have you made the switch to cloth in your home? I’d love to hear what systems work best for your family?

This post contains affiliate links!


Pin It

March: No Spend Challenge Results (Week 2)

Friday, March 16th, 2018

march no spend challenge

I can’t believe I have already breezed through the second week of this No-Spend Challenge and things have been going so well.  I am really recognizing my spending impulses and a lot of it seems to have to do with the power of suggestion (helloooo, Instagram)  and when I have pockets of free time that have me heading over to my computer to do a little online shopping.

no-spend challenge

no-spend challenge (the birthday boy’s favorite cake- snickerdoodle cake!)

It was my husband’s birthday week and I had disclosed at the beginning of the challenge that I wouldn’t be skipping his celebration dinner just because I wanted to save a little money. We went to his favorite fancy spot and had a wonderful meal that we savored together. I never take for granted what a good life it is when you get to spend your life with your best friend.

When I began really getting the hang of cooking, we have found that we really don’t enjoy dining out anymore, unless it is somewhere really spectacular. I wouldn’t say our dining out budget has been cut down necessarily, but that we now would rather pay for one really incredible meal rather than four disappointing inexpensive meals.

It was a fabulous night and there was no need to buy anything special to wear thanks to that well-equipped capsule wardrobe.

red sparrow

I have a MoviePass, but I always am trying to coordinate with other people to go and see a movie. I have never gone to the movies by myself, but I was dying to see Red Sparrow (my husband was not) so I decided to have an impromptu movie date by myself.

You know what? It was awesome!

My INFJ heart was very happy AND I absolutely loved the film.

I packed a snack in my car to enjoy on the way home and avoided the concessions stand to hold to my challenge.

Boy, that popcorn smell almost had me caving!

no-spend challenge

Dining at home is never a biggie, but I have gotten in a bad habit of just buying groceries impulsively and not really looking in our pantry and freezer. These chicken breasts became this delicious dish and a forgotten bag of potatoes made the perfect side dish.

We enjoyed this with some belly-laughs over this new Netflix series. It made me thankful to see other people #nailingit like me when it comes to baking.

no-spend-challenge-3

Do you follow bloggers because you love seeing all the new things they have gotten? I know that there are certain accounts that I follow because it seems like they always have the latest thing.

I realized this week that creatively, it is MUCH more challenging to inspire people WITHOUT buying things.

I have to think a little harder about what I have been putting out in the world and how to inspire people without spending money. I have always been committed to good living on a small budget, but am I always sharing in these ways?

I needed a little Spring for our mantle, for example, and shopped the house to create a cute little rainbow of books for the mantle.

My hubby declared this the MOST Pinterest-y thing I have ever done and I am not ashamed.

We have so much here- why do I feel I need to buy things to inspire other people?

no-spend challenge

This week I have been more busy than usual and haven’t been sitting at my computer and instead found myself with three wonderful dates (at my house- #nospendchallenge, you know!) with three amazing women that inspire me so much.

I love entertaining, but sometimes it feels more convenient to just go out rather than clean up our messes (or, heck, let people witness our messes) and open our home up…warts and all. We remodeled our home with the intention of sharing our home with others and we should be doing just that.

What a blessing to have the space to do it in and to share it with others.

One friend brought me this book (I can’t wait to dig in), another brought me this beautiful plant, and another brought all the appetizers and wine for a fun night in my little shed. Hostess gifts were savored so much more this month!

California Typewriter

We ended the week with a pajama-date today and watched this phenomenal documentary on typewriters (available on Hulu).

If you have a free afternoon this weekend, it is such a good one. I will admit, it had me feeling a little melancholy about my love/hate relationship with technology. I love sharing here, but I struggle with too much technology in my life.

I am sure I will have lots to learn when I detach from social media a bit next month!

Next week I am traveling for business so I will have some expenditures with business travel, but I’m hoping to continue the mindful approach to spending, just as I have been doing these past two weeks.

Follow My No-Spend Journey

No-Spend Month Intention
Week 1

Money Spent- $299 (groceries) $140 (birthday dinner for my hubby- an approved expenditure)

Memberships Used During Week 1-

Scribd- 0

Gym- 2 classes

CycleCast- 1 session

MoviePass- 1 movie

March: No Spend Challenge Results (Week 1)

Thursday, March 8th, 2018

march no spend challenge

Haven’t you always wanted to read someone’s diary?

Oh, wait…is that just me? In all seriousness, I’d love to share with you my weekly reflections from my month of intentions.

Since March was designated as my no-spend challenge month, I thought it would be a great one to share with you as I embrace this month of getting my spending habits back on track. Truth be told, the savings will be used for our Spring Break trip and I’m hoping that we won’t feel the pinch at all from taking a vacation.

The first week is no big deal because, honestly, how hard is it to do for one week?

Here is what I learned from week 1:

No-Spend Challenge Results

Week 1 of the No-Spend Challenge

Day 1- I’m going to be honest and tell you that I had expected the launch of this challenge to start with an expense. I had planned to take my neighbor out for her birthday dinner (after she had taken me for a fantastic birthday meal where I claimed I had coupons, but actually did not) and I was going to add this feast to my monthly expenses since it had been planned.

I received a text though that said she would prefer just meeting for a glass of wine and had been eating out a lot lately.

She suggested that it might be better to just hang out in my She Shed.

I offered to make her a birthday dinner though and discovered three sweet potatoes, a bag of Brussels Sprouts, a bag of spinach, and just enough arborio rice to make a risotto dish. Balsamic roasted veggies, risotto cooked in white wine and vegetable broth, and a cranberry & almond salad were all birthed from the pantry that had nothing.

It was delicious and, upon a generous amount of wine, she did confess that she saw I had planned this challenge and refused to sabotage my first day out of the gate.

What a great friend, right?

Surprise, surprise, I made it through day 1 without an expense after all.

Day 2- I am at the gym and get a peek at my girlfriend’s amazing boots she is wearing.

“Where did you get those?”

“TJ Maxx! Can you believe they are water resistant and everything?”

“Oh, I need those.”

I begin to contemplate how I can swing by TJ Maxx on the way home from the gym and then remember my no-spend commitment.

I arrive home and glance at the dusty basket filled with oodles of boots…

Three pairs, just for me, that are water resistant.

No Spend Challenge

Day 4- I know a lot of people get buried in weekend spending, but my homebody nature really pulls through on the weekend.  I have been discovering I had quite the stockpile in our freezer so a night of mussels was on our agenda for our usual pizza night.

It’s been ages since I made spaghetti sauce, relying upon the jar for convenience, and I was reminded the beauty in a homemade sauce for a spaghetti side.

It really is the little things.

A couple of months ago, I had splurged on this expandable coffee table and it is now our favorite weekend spot to have dinner and watch a show together.


When We First Met

Date nights were spent catching up on Netflix- yes, we are that fun!

The original programming from Netflix has really been delivering so it was easy to do a movie night at home together and this one was adorable. Many times I find myself running over to Redbox or the library for movies when we have PLENTY to watch already at home.

Seriously, you should see how long my list is.

No Spend Challenge

Day 5- Since we were eating our way through our pantry, I thought I’d give gluten-free pizza dough a try to see if I can’t replace that take-out pizza moving forward. I wasn’t willing to chance it on two pizzas because gluten-free flour is expensive.

Surprise, surprise, I NAILED IT! I was so proud of myself that I made several more, just to make sure I could share a really good recipe with you.

It must be elastic pants weekend.

Day 6-7- It was really fortunate timing that I figured out a supplement that could help with my pain management just as this challenge was beginning. (P.S.- I promise to share more tomorrow!) so I was able to keep to a consistent gym routine which gave me the opportunity to socialize and to get in some good endorphins.

I dusted off my stationary bike and got back to using my CycleCast app so even in moments I was working out a lot, I still felt like I was a part of something.

Overall, week one was AWESOME and I can’t wait to what else I learn in the next three weeks!

Money Spent- $0

Memberships Used During Week 1-

Scribd- 1 audiobook

Gym- 3 classes

CycleCast- 1 session

MoviePass- 0 movies

5-Ingredient Gluten-Free Pizza Crust Recipe

Tuesday, March 6th, 2018

5-ingredient gluten-free pizza crust recipe from MomAdvice.com

I have been gluten-free for years, but I have only really jumped into gluten-free baking this year. The one recipe that I just couldn’t seem to master was a delicious gluten-free pizza crust. This week I decided to try to crack the code on a simple, one-bowl dough that could be made from a gluten-free mix and that had simple ingredients that I always keep in my pantry. Does this seem like too steep of a request to make from myself? You bet!

You could say this no-spend month has been quite motivating!

I am SO excited to share with you a foolproof gluten-free pizza crust recipe that is as easy to put together as your standard crust. The thing that I need to stress though is that you MUST, MUST, MUST follow my advice on which flour to purchase and the steps that I have outlined to create it. If you use another flour mix I can’t guarantee these results for the perfect airy crust that will rival any pizzeria you have been to.

It’s worth it to take the time to buy the right product, amiright?

Are you ready for this EASY recipe?

Let’s get baking!

5-ingredient Gluten-Free Pizza Crust from MomAdvice.com

A Few Quick Suggestions for the Perfect Gluten-Free Pizza Crust

The Best Flour Blend for This Recipe

To nail this perfect crust, you MUST use this gluten-free flour mix.

Period.

I’m linking to the best price on this that I’ve found (at least in our area). The cost (currently) is $3.97 and this will yield two large pizza crusts for your family.  It has to be the cup-for-cup so make sure that the label says that since other gluten-free blends exist. Although I am telling you it yields TWO crusts, this recipe below is for ONE crust. Double it if you are wanting to make two pizzas.

And you will want to make two pizzas. I just know it!

Anyone who eats gluten-free knows what a steal this on two large crusts. I can’t tell you how much money I have spent on tiny terrible pizzas that left me hungry.

A little over two bucks per large pizza crust is unreal awesome.

The Yeast Must Be Active

Do you know the best way to check if your yeast is active? Sprinkle your yeast and a pinch of sugar over the top, give it a stir, and let it stand for a few minutes. If the yeast is still active, it will dissolve completely into the water and the liquid will start bubbling. If your yeast isn’t active, it will yield a dense and heavy crust.

I buy a large jar of yeast because it is cheaper than buying the yeast packets. This is the jar that I purchase for our family.

You want to make sure you don’t grab the bread machine yeast, just the regular ol’ active yeast.

Parchment Paper Makes Everything Easier

This crust shouldn’t be too sticky (if it is, add a little additional flour until it comes together without the stickiness factor), but I prefer to press out my crust on a parchment paper lined pizza stone. I buy these squares (awesome stuff for easy clean-up on sheet pan meals) and place it on a diagonal across my stone.

Speaking of pizza stones, they are such a wonderful family investment. I bought mine about twelve years ago and it has paid for itself over and over and over again. This size stone is perfect for all your pizza needs.

5-ingredient gluten-free pizza crust recipe from MomAdvice.com

5-ingredient gluten-free pizza crust recipe from MomAdvice.com

I have a feeling you are going to love this recipe because of its ease.  Mix it up, let it rise, and then pat it out on parchment paper.

Yup, that’s pretty much it.

I like to brush the crust edges with olive oil because it helps the edge to crisp up a bit more.

Once you press the crust out, bake it for a bit, add your toppings, and then finish your baking.

That’s it!

The best part is that you can make a few crusts at the same time and place them in the freezer for your future pizza nights. Simply allow the crust to rise and then place the dough ball in a freezer-safe plastic bag. Once you are ready to use it, let it thaw overnight in the fridge, and then prepare as usual. These crusts can be kept frozen for up to four weeks.

Another make-ahead option is to to mix all the dry ingredients and store them in a bag or jar to make preparation a little easier.

Or, heck, just wing it!

You got this!

5-ingredient-gluten-free-pizza-crust-recipe (7 of 8)

5-Ingredient Gluten-Free Pizza Crust Recipe
Prep time:
Cook time:
Total time:
Serves: 1 large pizza
An easy 5-ingredient one-bowl gluten-free pizza crust recipe. I dare you to say that three times fast.
Ingredients
  • 2 1/4 cups [url href=”https://rstyle.me/n/cy78eqwky6″ target=”_blank”]Bobs Mill Cup-For-Cup Baking Flour[/url] [u]NO SUBSTITUTIONS[/u]
  • 2.25 teaspoons active yeast (if purchasing in packet form, it will be one packet)
  • 1 teaspoon salt
  • 1 tablespoon honey
  • 3 1/2 tablespoons olive oil
  • 1 cup warm water
Instructions
  1. Please Note- This yields enough for ONE crust for ONE large pizza.
  2. In a large mixing bowl mix together flour, yeast, and salt.
  3. Add honey, olive oil, and warm water (you want this warm, but not SO hot that it kills your yeast).
  4. Mix well until the dough pulls away from the bowl. If your dough feels too sticky, you can add a little additional flour to it until it pulls into a ball.
  5. Knead the ball of dough a few times and then cover with plastic wrap.
  6. Let rise for 30 minutes.
  7. Preheat your oven to 450 degrees.
  8. On a parchment paper lined pizza stone, turn out the dough and shape into a pizza.
  9. Once it is patted out, brush with olive oil on the edge of the crust.
  10. Bake for 12 minutes.
  11. Remove and add sauce and toppings. Place back into the oven and finish baking (approximately 7-9 minutes). If you like your cheese bubbly on top, you can finish the process by broiling for a couple of minutes. Be sure to keep your eye on it so your crust doesn’t burn.
  12. Slice and enjoy!


Not gluten-free? I’ve got you covered with this easy Bread Machine Pizza Dough! You can also use my pizza sauce recipe (all the way at the bottom of the post!) for both types of pizzas.

I can’t wait to hear what you think of this recipe and hope it is as big of a hit at your house as it has been at our home!

This post contains affiliate links.


Pin It