
For this quick and easy pulled pork recipe, all you will need is 3 simple ingredients and an Instant Pot! Learn how to make this gluten-free main dish and prep it for a week of lunches for your week!
If you love your pressure cooker, raise your hand! I use my Instant Pot all of the time and have come to rely upon it for many effortless family meals. These simple pressure cooker recipes have, truly, become part of our menu plan rotation. I also began to realize that some of the older recipes (I see you, old school MomAdvice readers!!) could benefit from a pressure cooker update too.
These recipes have been quietly gathering dust at our home… that is, until now!
My 3-ingredient Instant Pot Ribs recipe have been a bit of a viral sensation on our website. It was with my rib recipe in mind that today’s pulled pork also has just a few simple ingredients.
Confession time! We love our pressure cooker so much now that we frequently bring it with us when we go on vacation. I’ve discovered so many great recipes that everyone seems excited now when I break this gadget out. Honestly, we have saved so much money on our trips by taking this gadget along with us when we travel that no one makes fun of me anymore.
The best part, of course, is the minimal clean-up with Instant Pot cooking. I also purchased an additional plastic lid that makes food storage easy. One of the best investments we made was to purchase this awesome lid.
An extra insert is always handy too so you always have a pot to prepare in!
Less dishes AND less money spent?
Now, that’s a vacation mom’s dream!
The first time I adapted my recipe, the directions said that I only needed 45 minutes to achieve perfectly shredded pork.
Unfortunately, this short duration of cooking did not yield the fall apart meat that I was after. I tested my pulled pork recipe several times with two different cuts of pork. I have made this recipe several times and, through my trials, I now know exactly what type of pork to purchase and how long to cook it.
Here is the thing, while many recipes do suggest a shorter cooking duration, you will struggle more with shredding your meat.
Trust me, this recipe is worth the wait!
Once your pork shoulder is done, it is time to quick release your pressure cooker.
What Does Quick Release Even Mean?
Not sure what the difference is between Natural Release and Quick Release? That’s okay! This appliance definitely comes with a learning curve.
I found this diagram that should help visually explain the big differences between these two types of venting.
What does a recipe mean when it says that you should quick release your valve? This just means you will move the float valve to the venting position when it is done cooking. This allows all the steam to come out fast and at once.
When the recipe calls for Natural Release though, we just allow our pot to cool a bit on its own. Typically, you wait 10 minutes so that the steam that is released will be much less. It is called Natural Release because it allows the float valve to drop naturally over time.
With today’s recipe, you won’t have to wait a minute after your bbq pulled pork is done. As soon as you hear the pressure cooker beep, you can slide your valve right on over to release the steam.
What Is the Difference Between a Pork Butt and a Pork Shoulder?
Am I the only one that wishes I was taught the difference in different cuts of meat for my recipes? One of the most confusing parts of cooking is knowing which cut of meat to select when visiting your grocery store.
Pork butt and pork shoulder are often offered as two cut options for recipes like this pulled pork. The thing I have discovered though is that they yield very different results.
Both of these cuts of meat come from the shoulder of the pig. The big difference is that the pork butt portion will be higher on the foreleg, while the shoulder is further down.
While both of these pieces of meat can benefit from similar cooking styles, they don’t end up with the same results.
The flavors were very different and reminded me of how different a chicken thigh is versus a chicken breast.
If we use a cut of chicken, as a comparison tool, I do find that the pork butt has the same consistency as the thigh meat of chicken.
It is darker in appearance, is more tender, and yields a better flavor.
Dare I use the word, MOIST?
Ugh!
Sorry, but that is the truth!
The pork shoulder, on the other hand, has a drier texture and is more difficult to shred. I find that this cut always ends up chewier than the pork butt.
Cooks Illustrated agrees with me that the pork butt is far superior when creating your pulled pork at home. The reason why the pork butt works best is because of the higher fat content in the cut of meat.
You can still use the pork shoulder as your cut of meat though. It is just important to understand that this cut won’t yield that delicious consistency you are after in your final product.
Are Pork Loin Roast and a Pork Tenderloin the Same Cut of Meat?
Once again, we find another confusing cut from the piggie. Pork Loin Roast and Pork Tenderloin are NOT the same… even though they sound the same.
Both of these cuts are leaner cuts of meat and although they sound the same, they look very different. Pork tenderloins are long and thin while the pork loin roast has a similar shape to the beef roast.
Now That I Know All About Pork Cuts, What Other Things Can I Make With Pork?
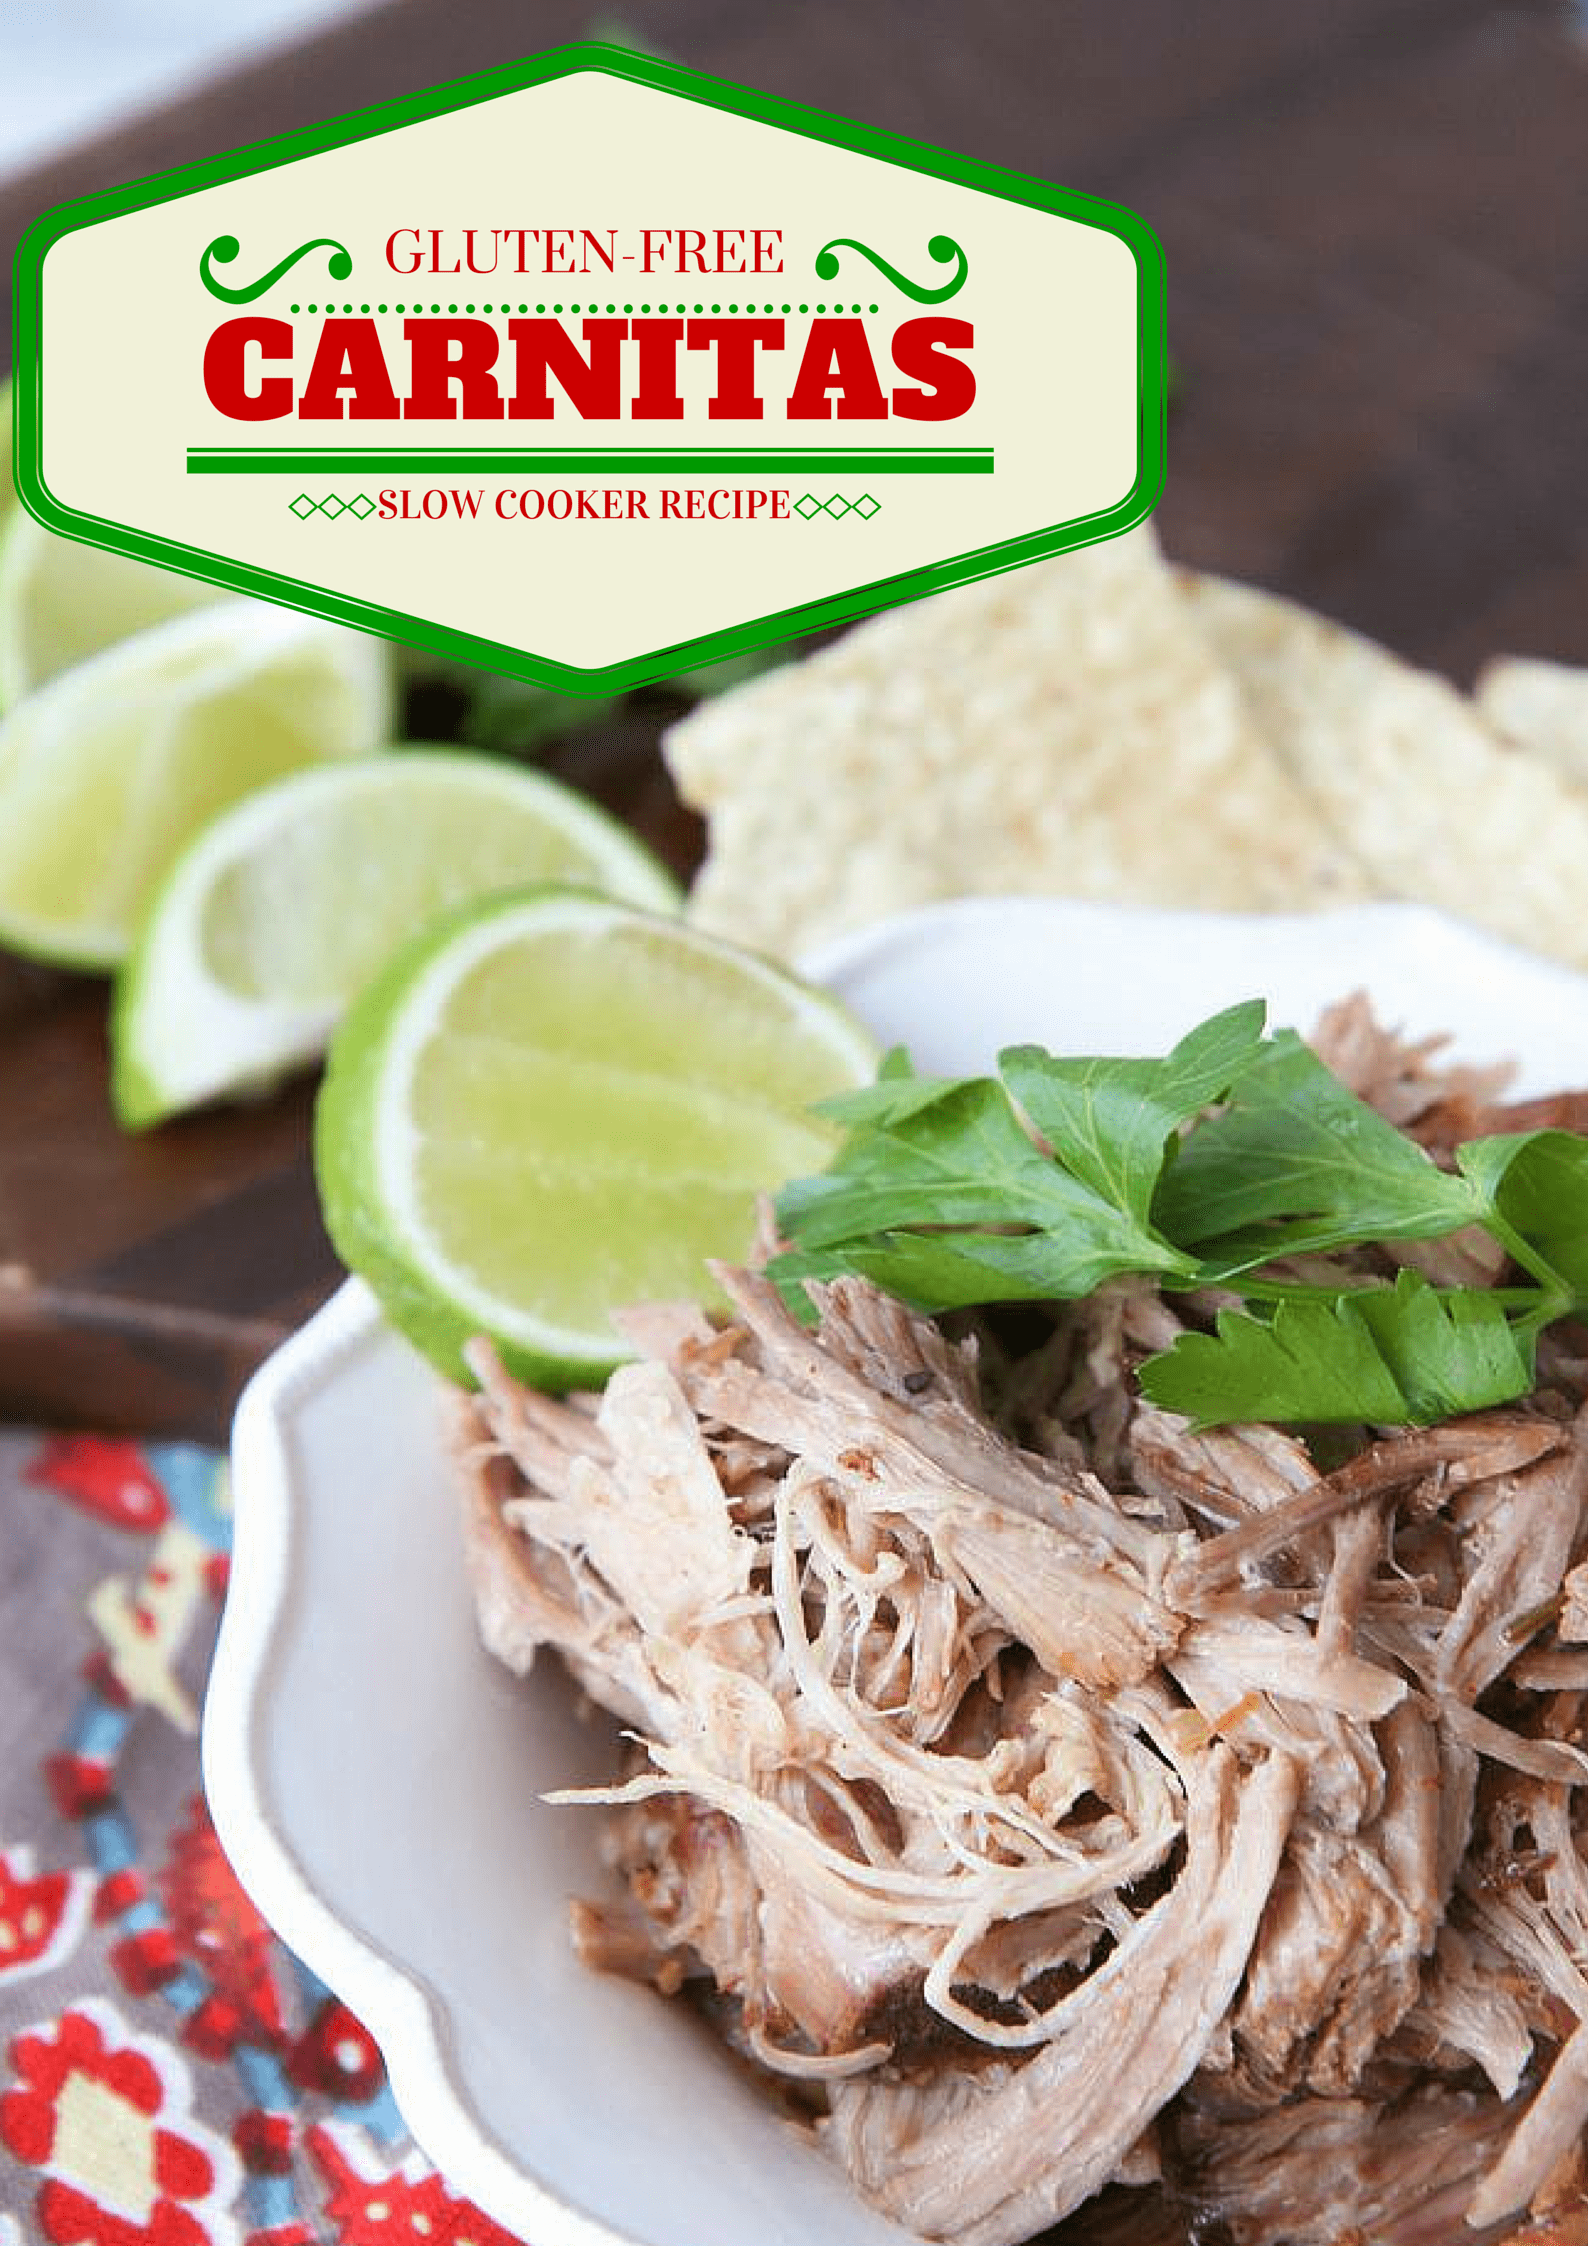
If you are adding more pork to your menu plan, I have a few reliable recipes for you. These Slow Cooker Carnitas helped us ease up on our Chipotle runs.
If you prefer a pork chop, these Caprese Chops are perfect for throwing on the grill.
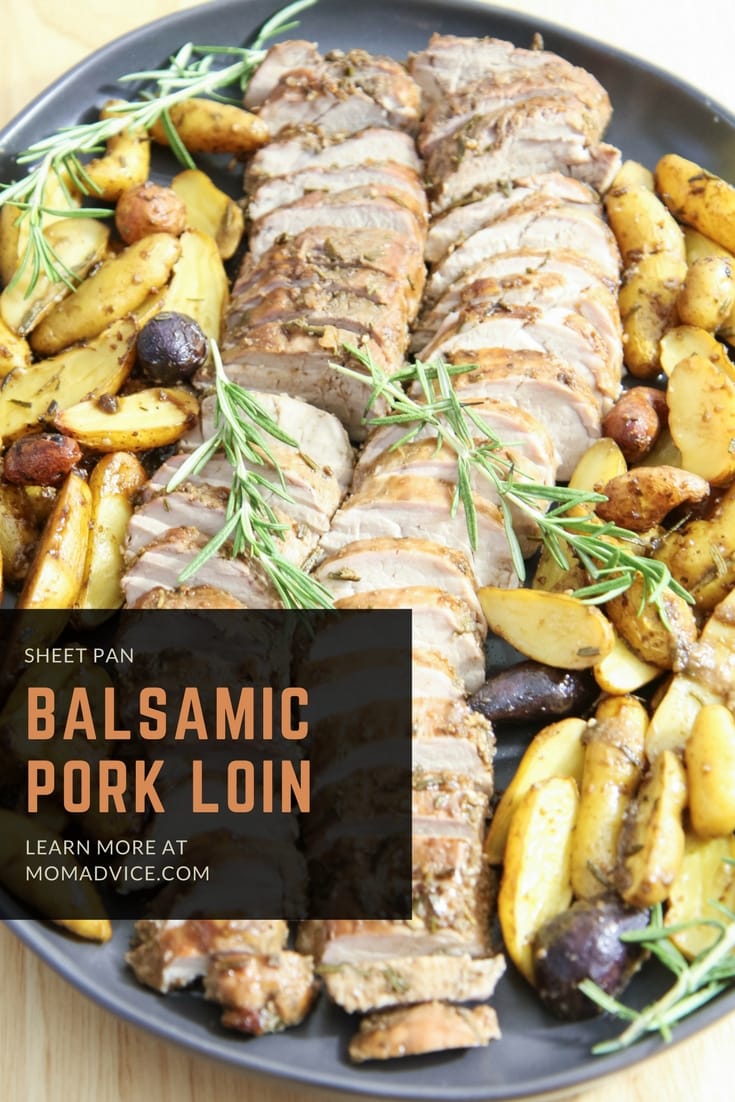
Looking for a lean tenderloin recipe? I can’t recommend this Balsamic & Rosemary Pork Tenderloin Sheet Pan meal enough. It’s one of those that works really well at feeding a crowd, with minimal effort and minimal dishes.
What Other Types of Liquid Can I Use if I Don’t Have Any Root Beer?
I consider the liquid added to my pulled pork as a “clean out the fridge,” type of project. While root beer has always been my go-to liquid choice for my pulled pork, I have replaced it with any dark colored soda (like Coke or Dr. Pepper) with equally great results.
We also aren’t beer drinkers, but people have left beers at our house when we have entertained. Sometimes I use cider beer or even a dark ale as my cooking liquid. I have used beer successfully with my carnita recipe too.
Whatever liquid you choose, it is important to know that whenever you pressure cook, you want at least one cup of liquid on the bottom of your pot. This liquid prevents any scorching from happening and helps with the flavor of your dish.
Why Does This Recipe Use a Bottled Sauce?
Honestly, it takes a lot more than three ingredients if you want to make your own sauce. The additional time to mix up all those flavor components makes it a more labor intensive project. Instead of trying to make your own sauce, you will find that bottled sauce can make this dish much easier.
Do you have a favorite barbecue sauce? I’m a big fan of the Sweet Baby Ray’s Barbeque Sauce because I feel like it incorporates the brown sugar sweetness that I have come to love in a good bottled sauce.
Why would I go to the trouble of doing this when I can just buy a sauce on the grocery shelves?
As a mom, it is allll about saving time in the kitchen, amiright?
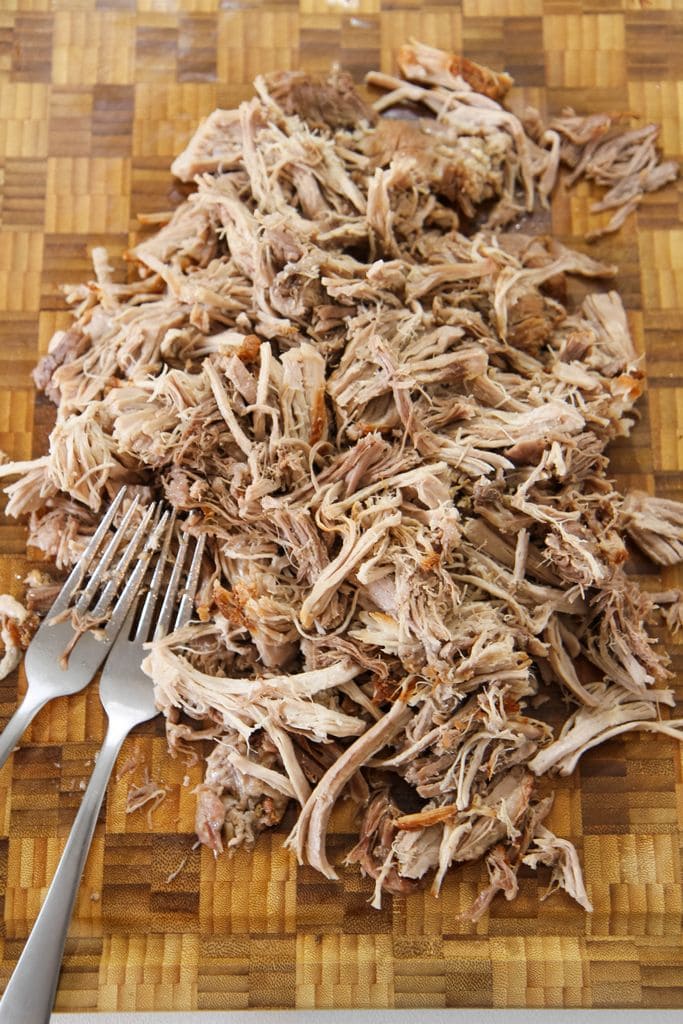
Once your pork butt is done cooking, it should only take you about 15 minutes to shred the meat for sandwiches and finish with the barbecue sauce.
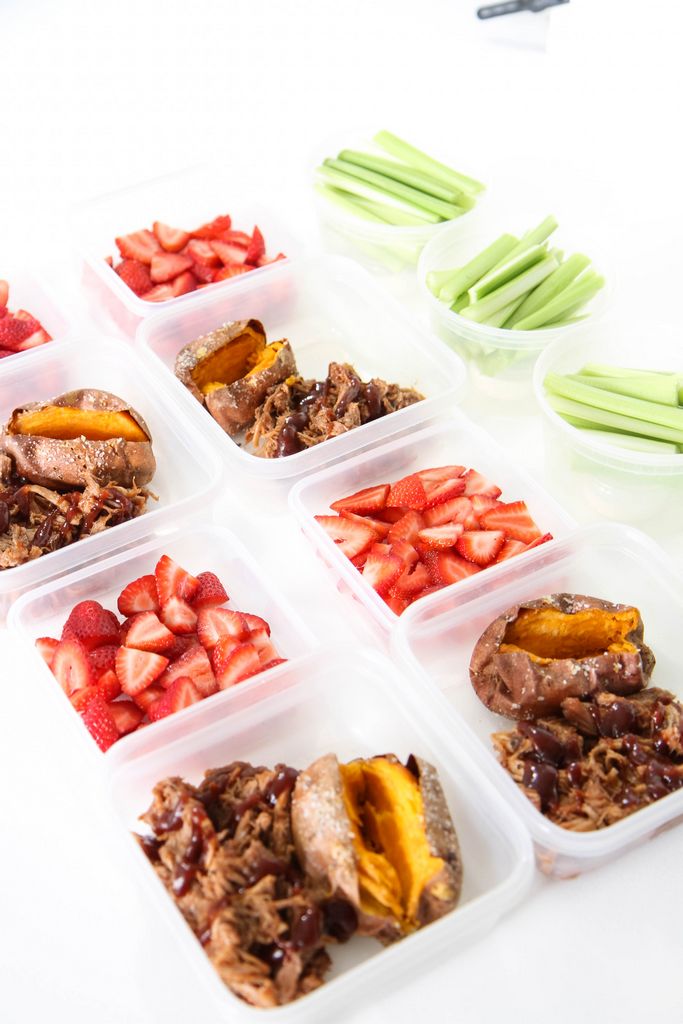
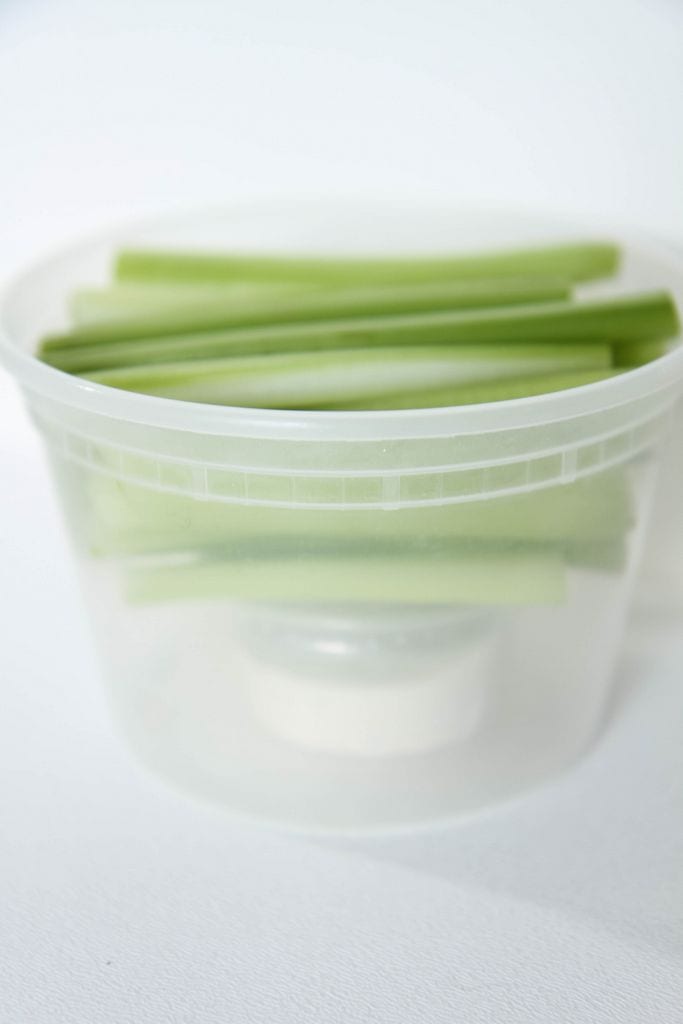
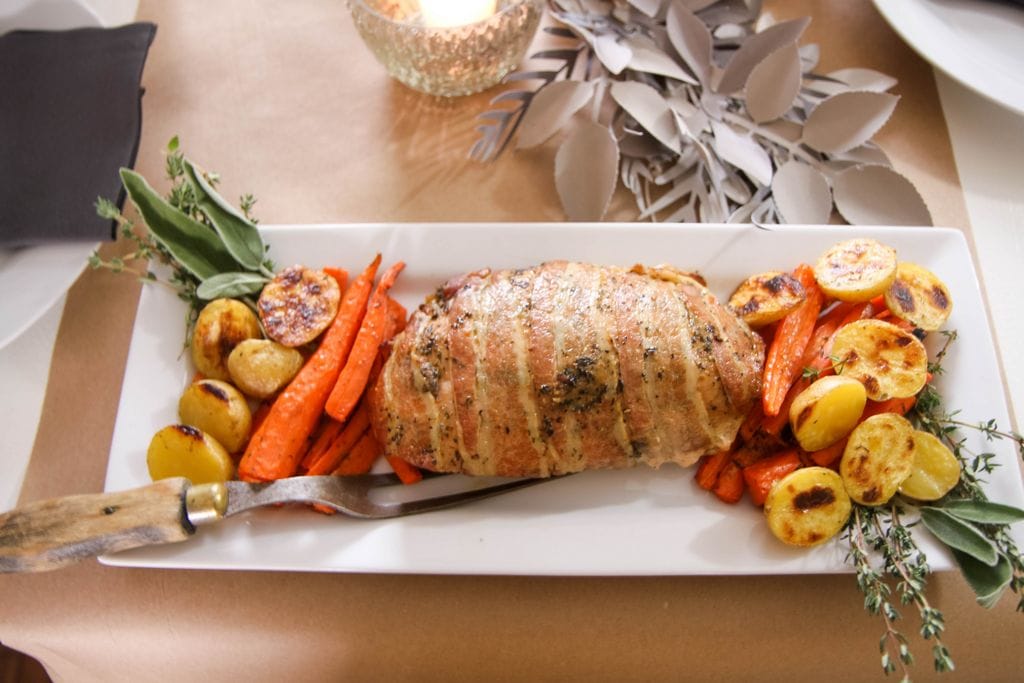
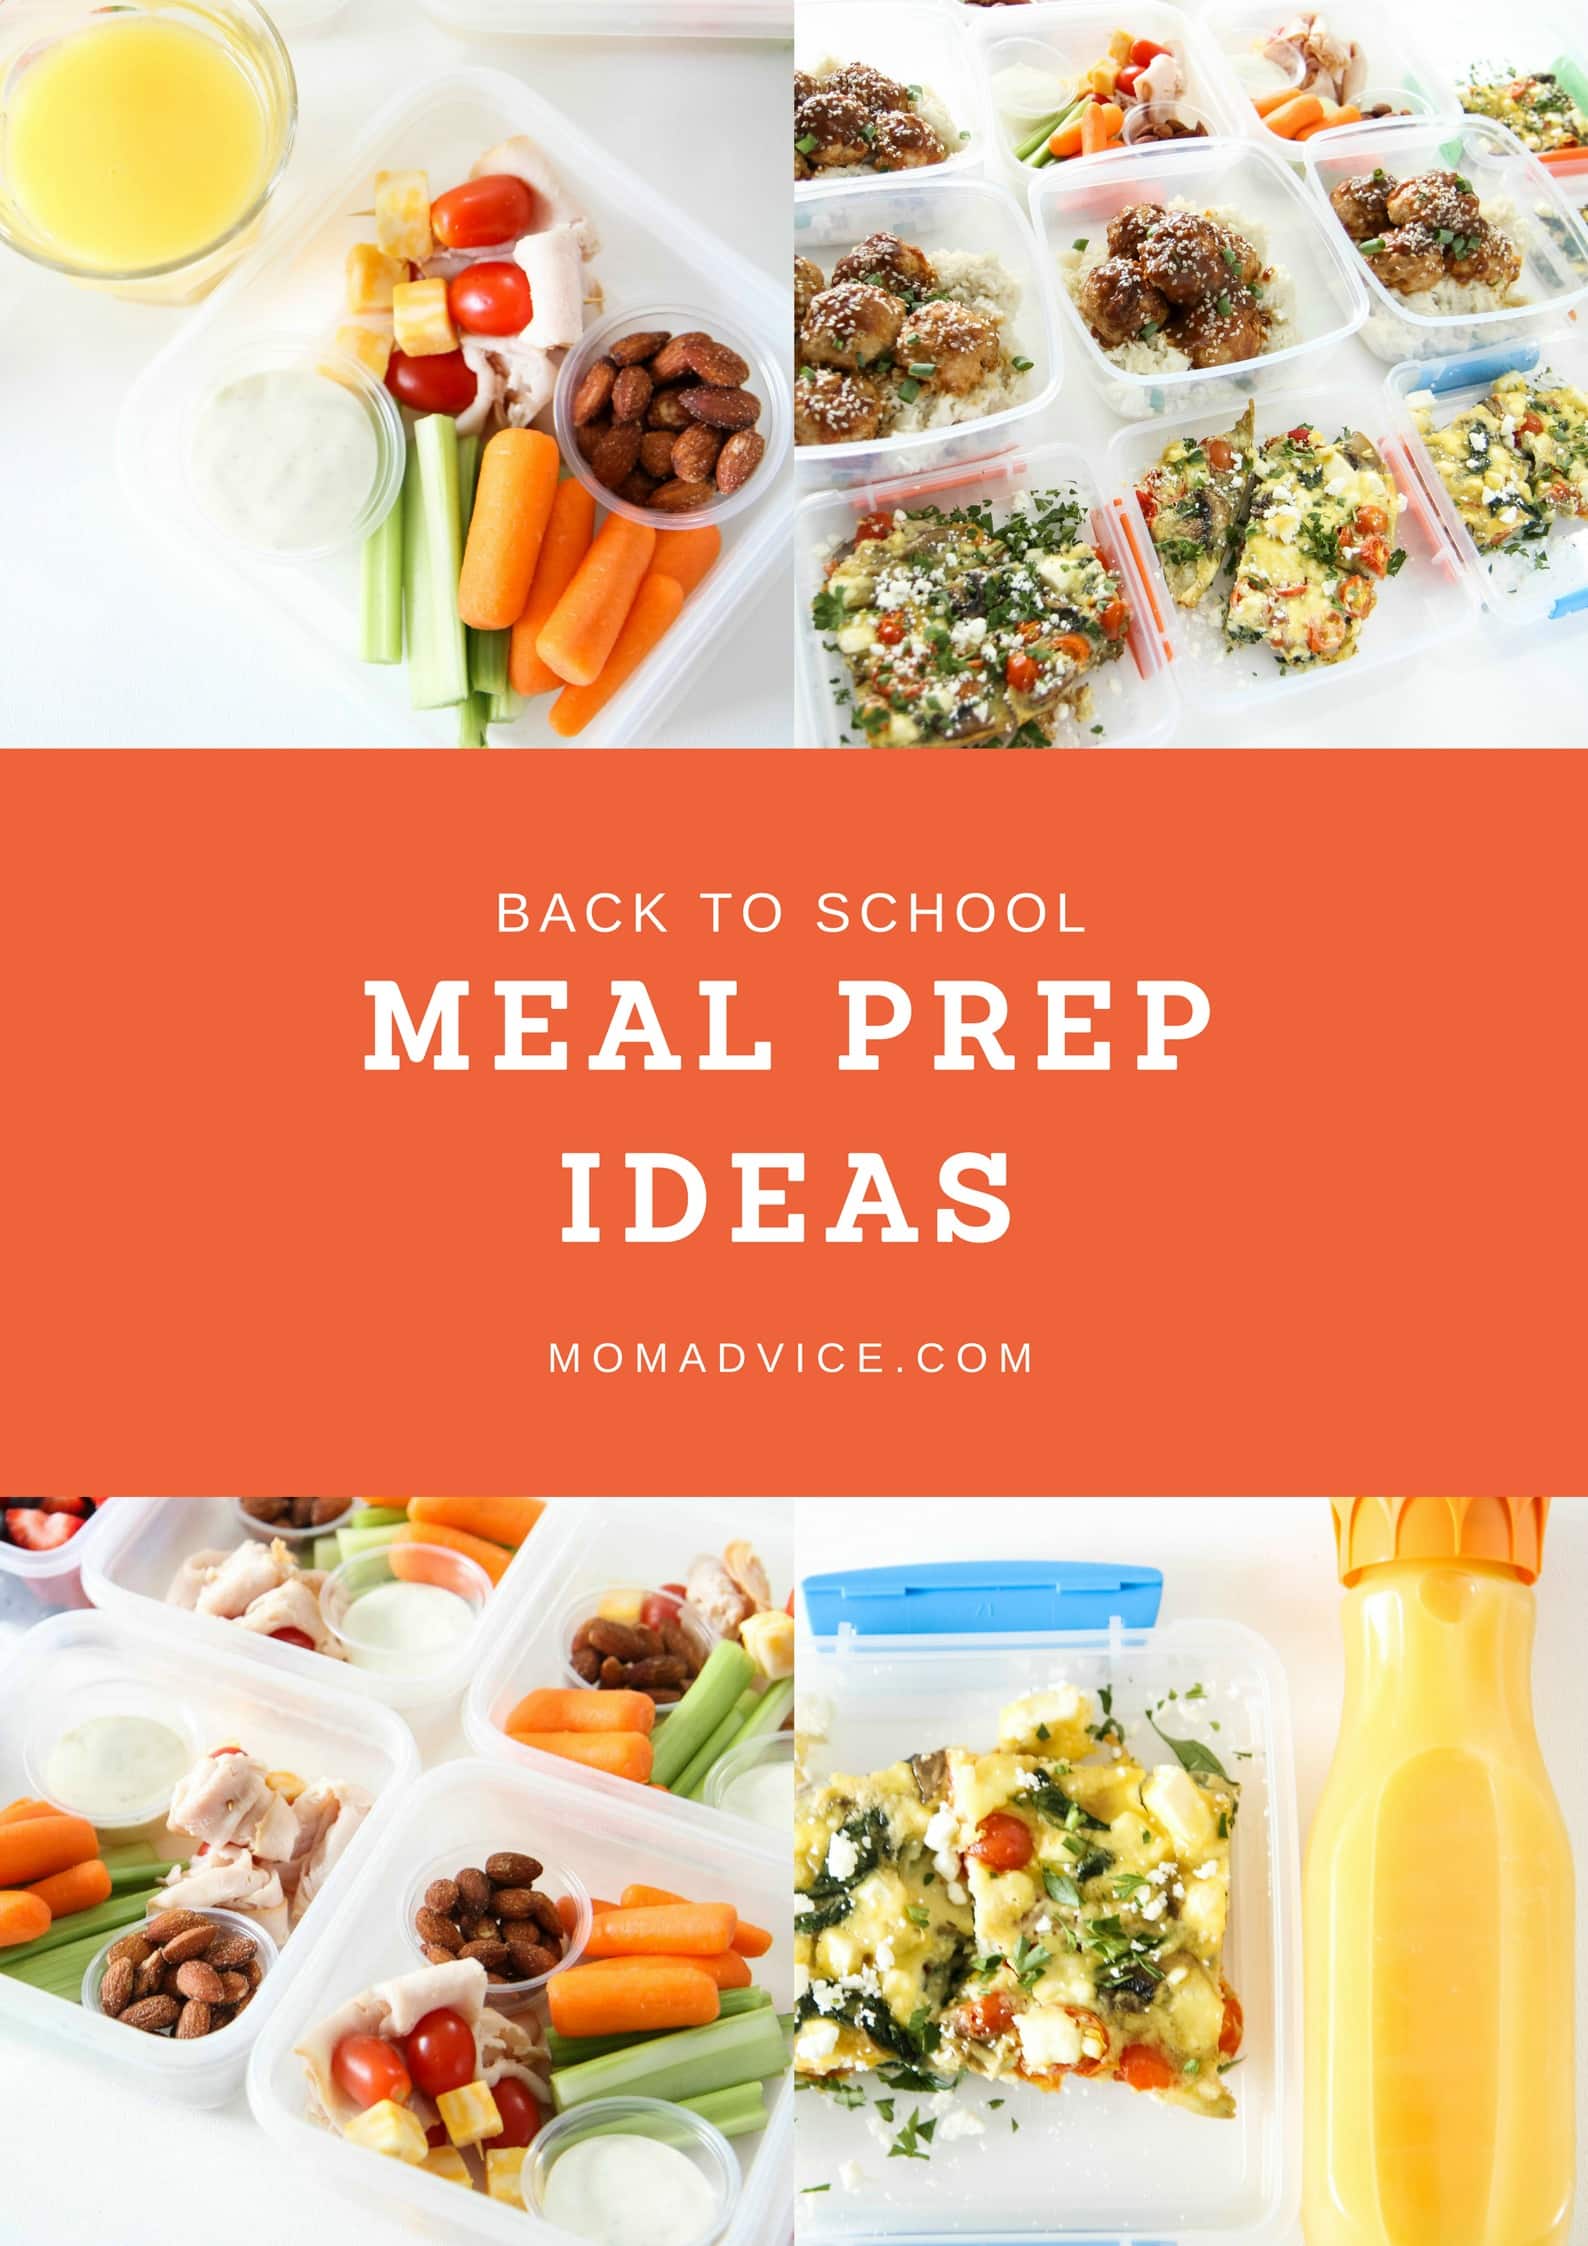
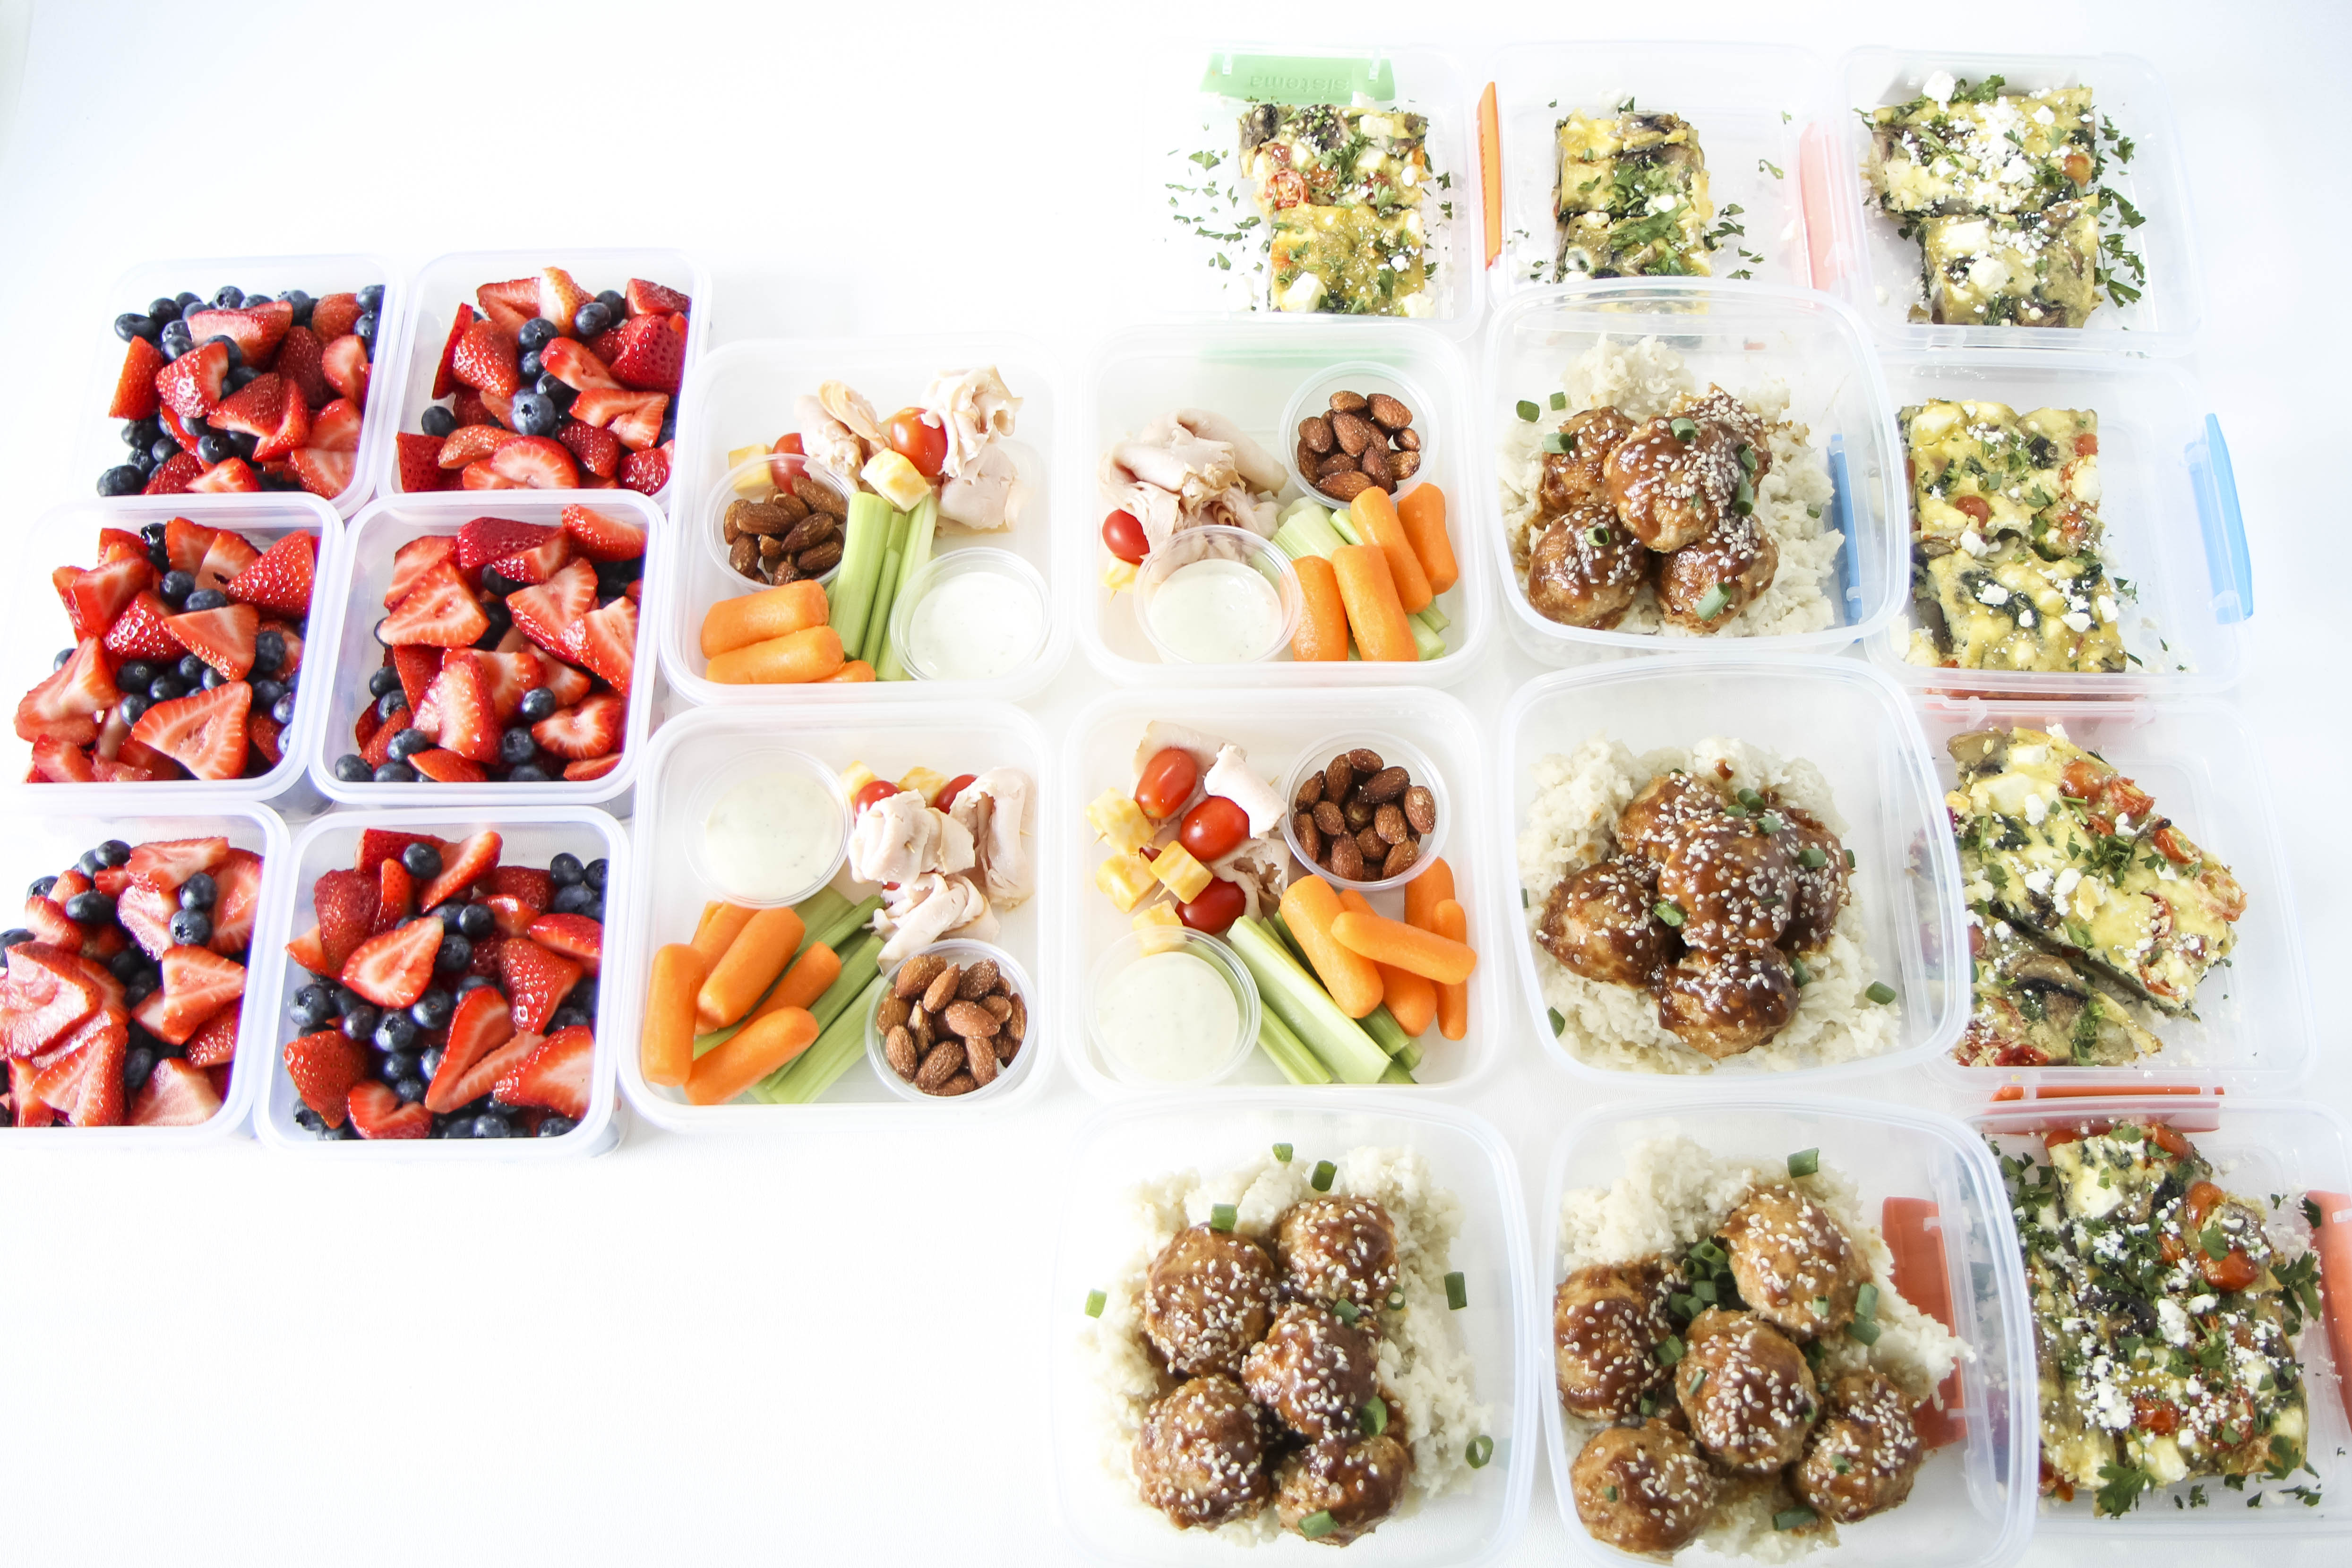
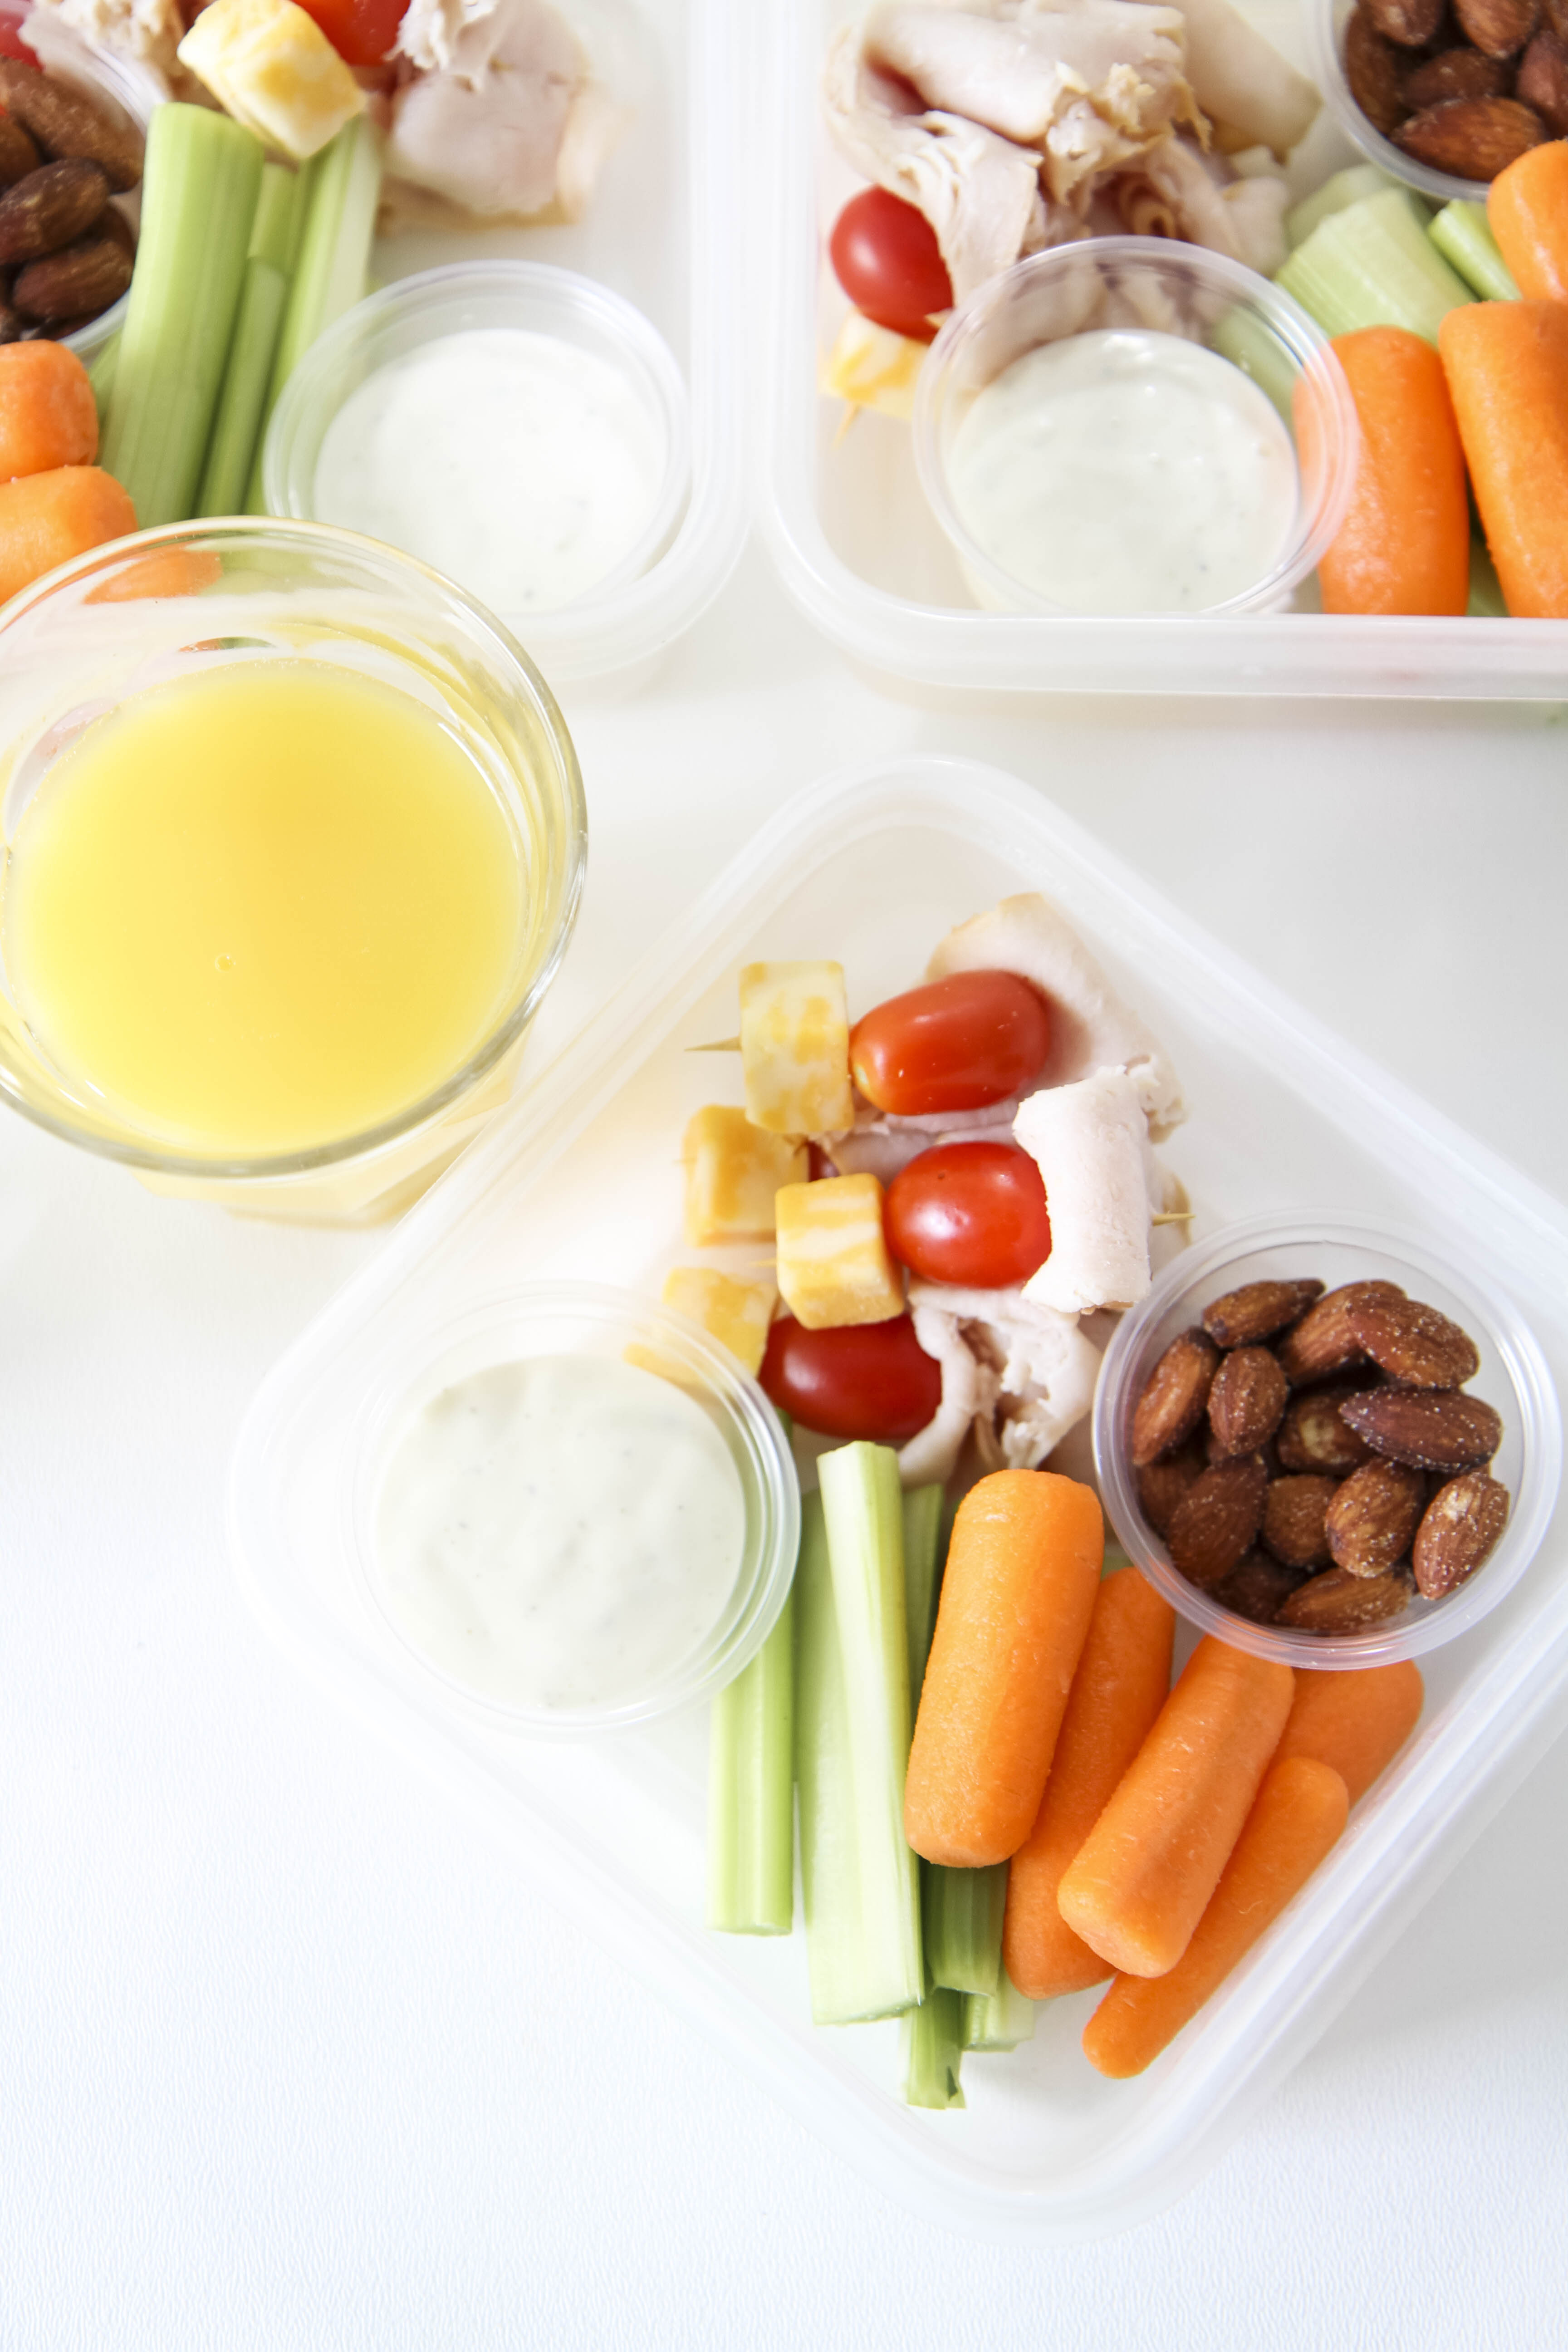
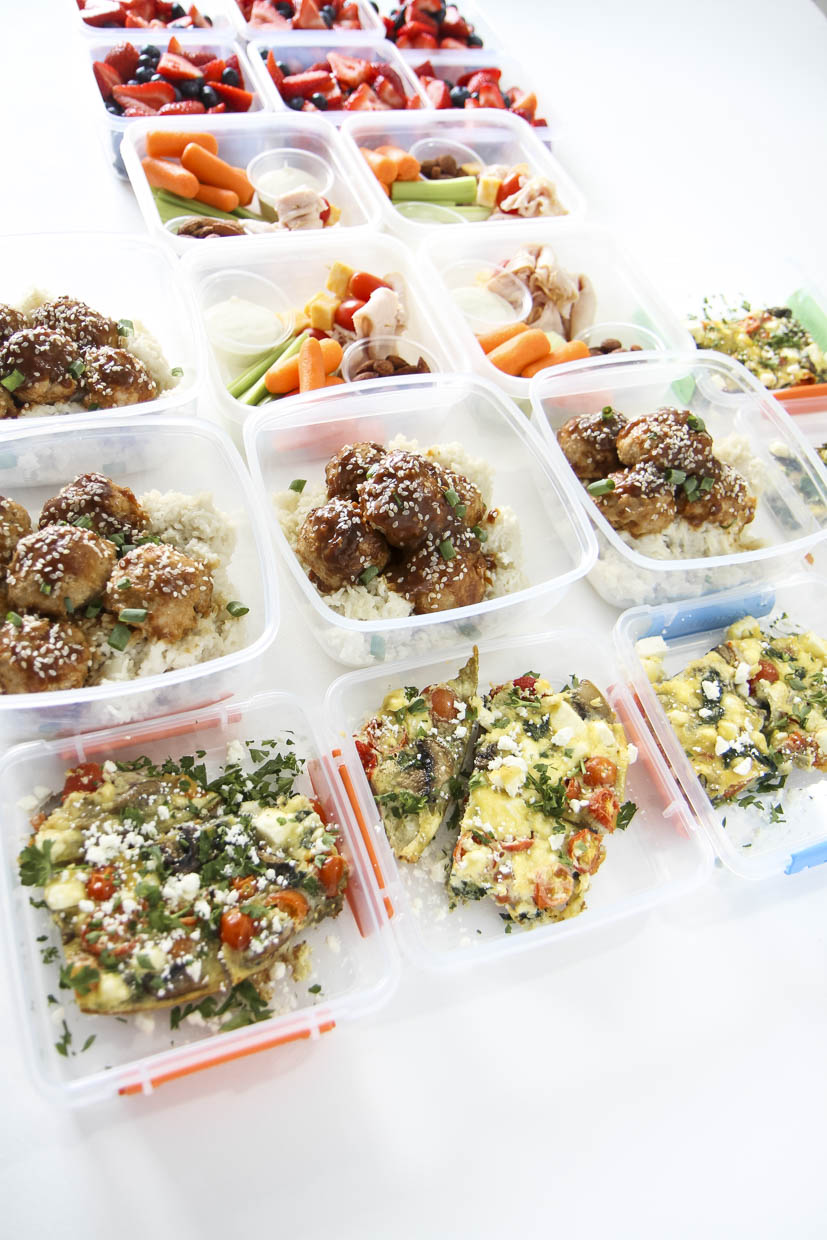
For sides, fruit and veggies are the perfect accompaniment.
Are you a ranch dipper? I used these cups for our dip and just piled my veggies on top for snacking on while I worked.
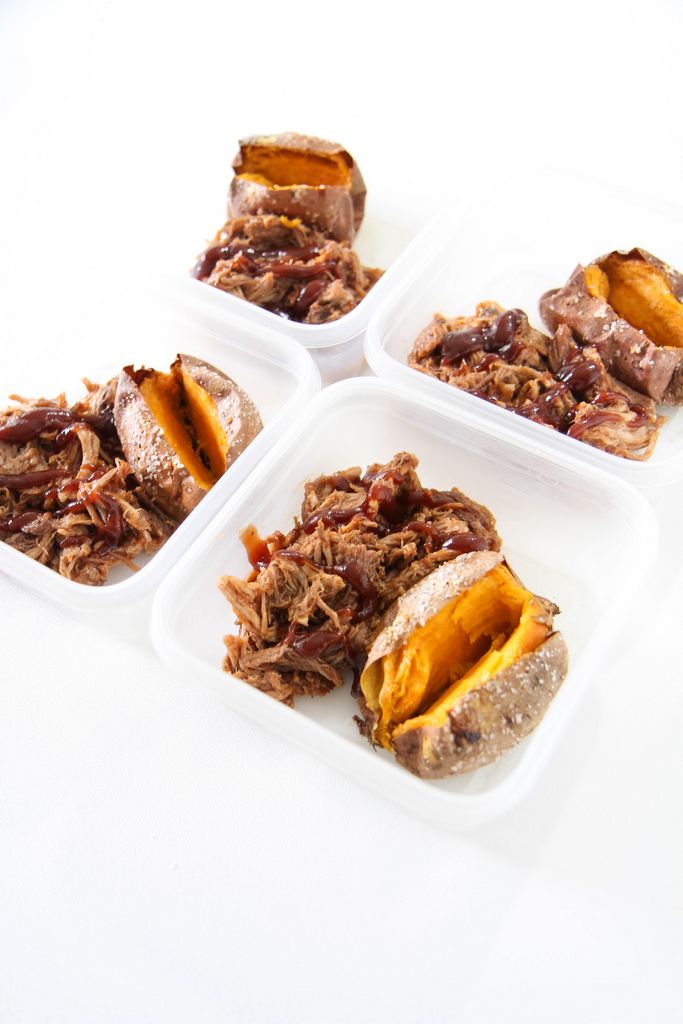
I have found sweet potatoes are the perfect vehicle for pulled pork.
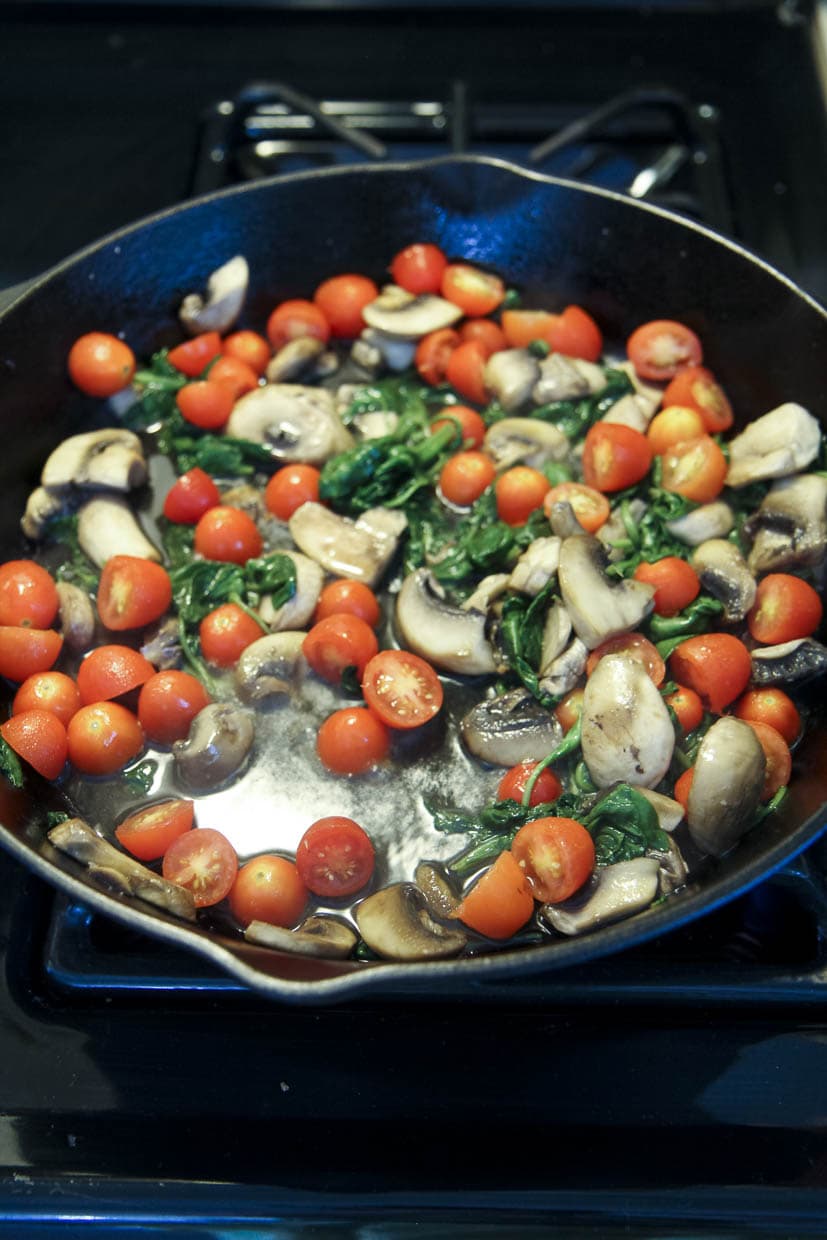
To prepare your sweet potatoes, begin by rinsing them off. After your potatoes are rinsed, prick them with a fork, brush them with olive oil, and roll them in kosher salt. Place your sweet potatoes on a cookie sheet that has been lightly sprayed with cooking spray. Bake them for one hour at 400 degrees.
I hope you will enjoy our great recipe at your dinner table too! Who knows? Maybe you will be traveling with the pressure cooker on your lap too!
Be sure to SCROLL DOWN for loads more dinner ideas. I have you covered!! Don’t have an Instant Pot? Use this recipe for your Slow Cooker instead!
- Prepared Sweet Potatoes
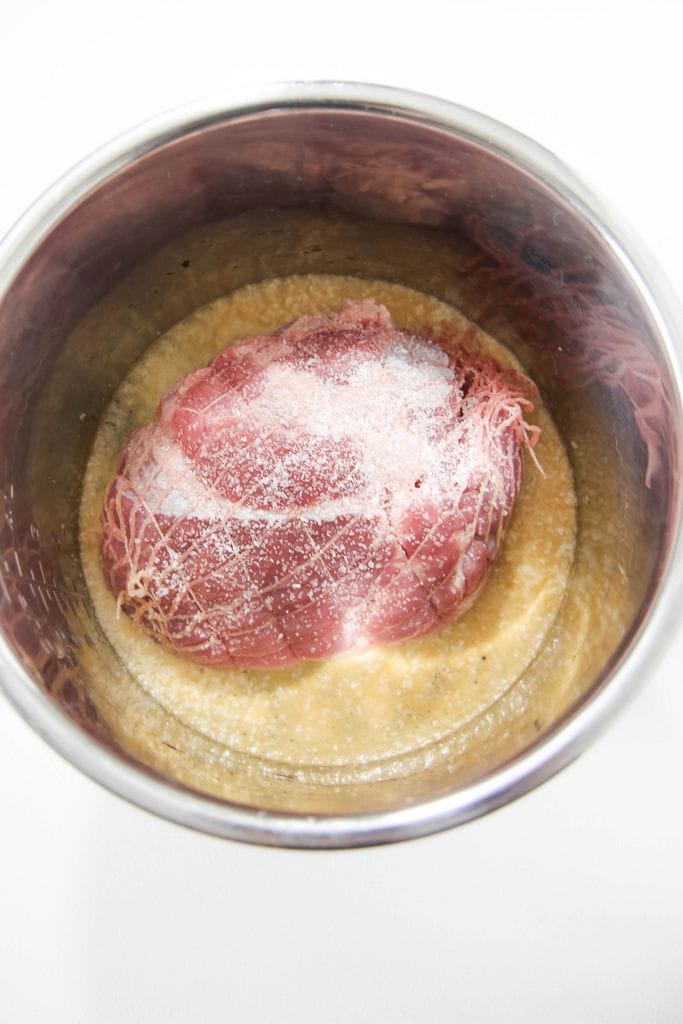
- 1 (4 pound) Pork Butt (you can substitute with the Pork Shoulder, but please read why I don’t recommend this)
- 1 (12 fluid ounce) can or bottle root beer
- 1 (18 ounce) bottle your favorite barbecue sauce ([url href=”https://rstyle.me/n/dd57cpwky6″ target=”_blank”]this is my recommendation[/url] ALWAYS)
- Pour a can of root beer in the Instant Pot. Place your pork butt (or shoulder) on top of the root beer and season well with salt and pepper. If you like a little garlic flavor to your pulled pork, you can also sprinkle with garlic powder to bring that component in. This is optional though!
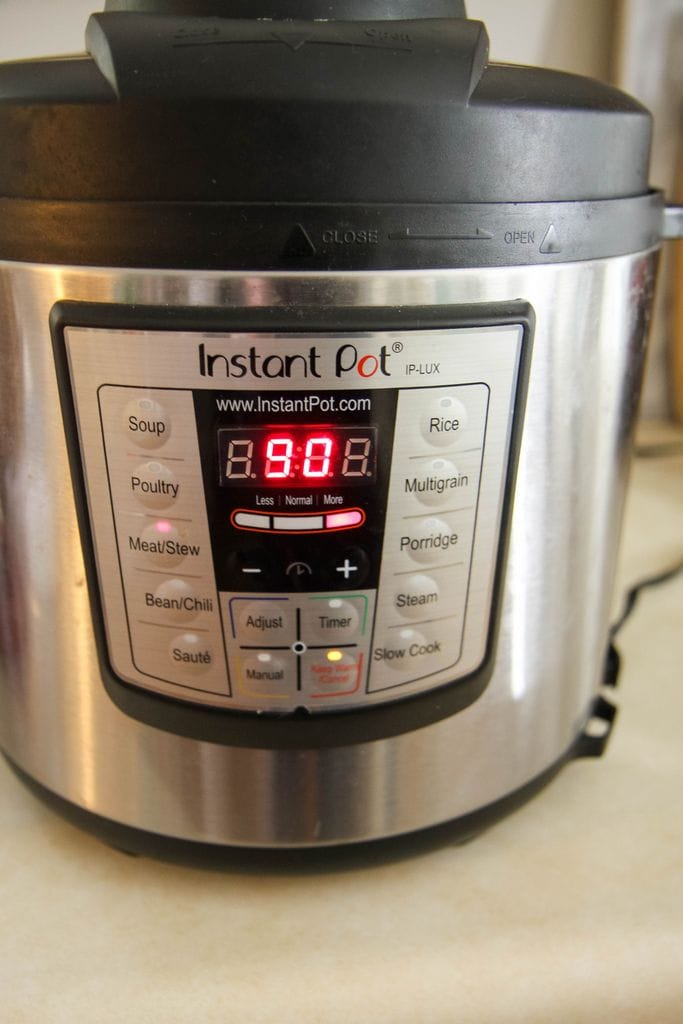
- Lock the lid and select the Meat function (this should be on HIGH pressure), and set your timer for 90 minutes.
- Once the timer beeps, quick release your valve and remove the pork butt from the pressure cooker.
- Shred the meat and drain the root beer from the pressure cooker. Stir in barbecue sauce and toss gently.
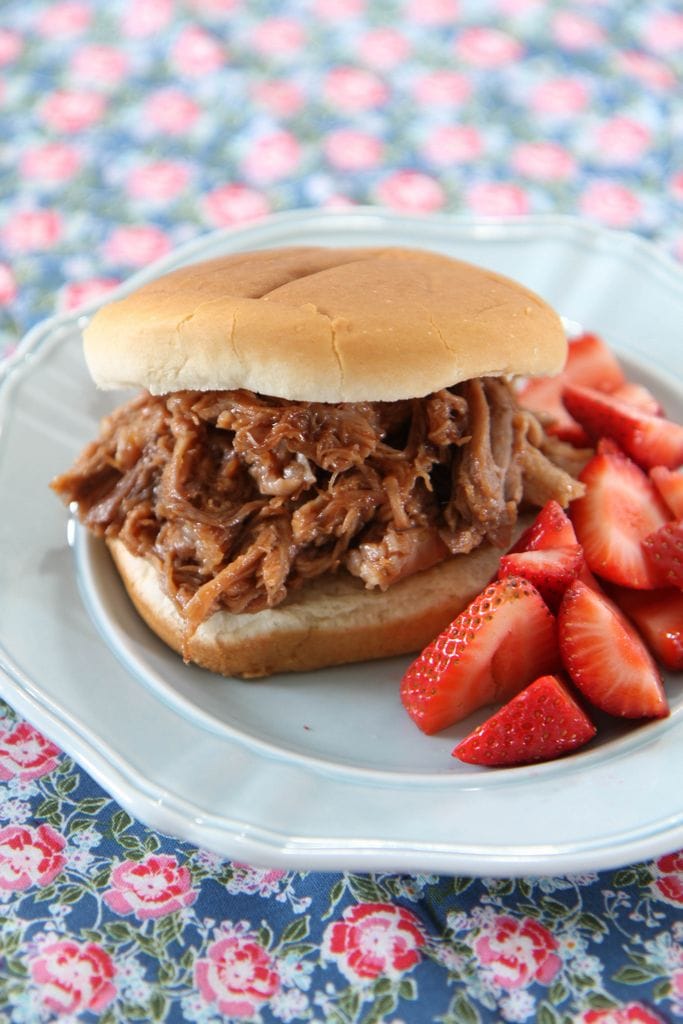
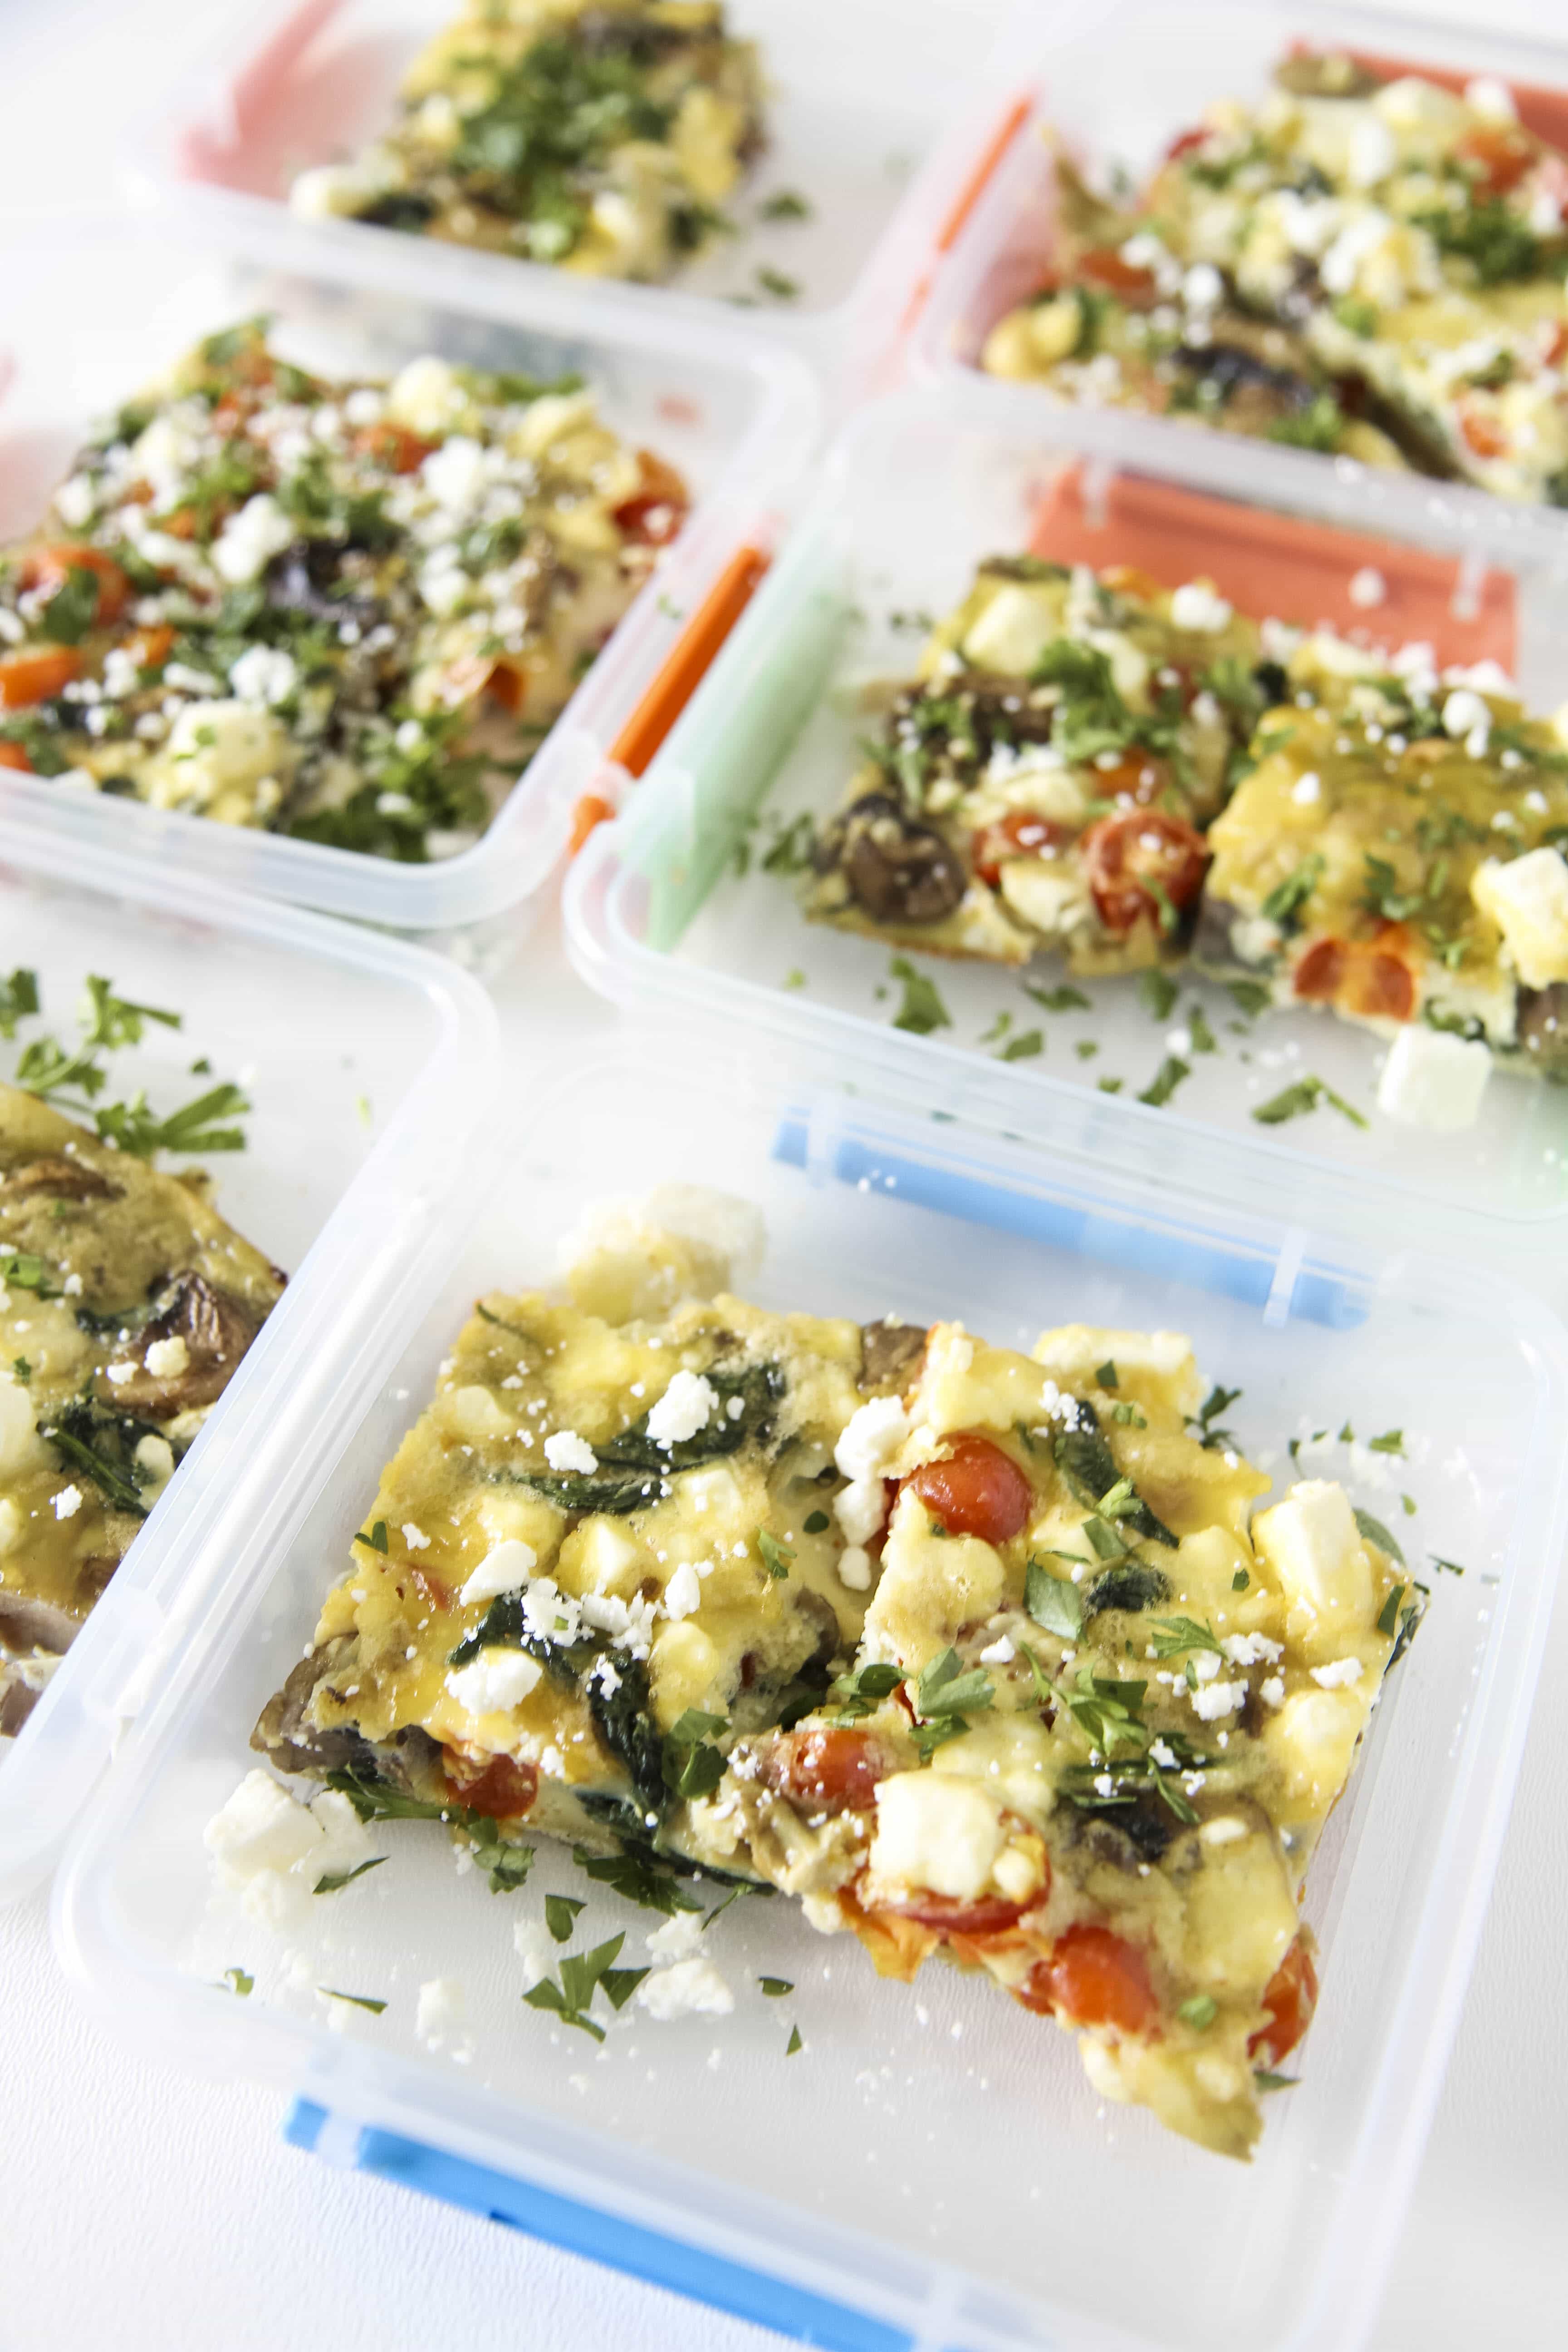
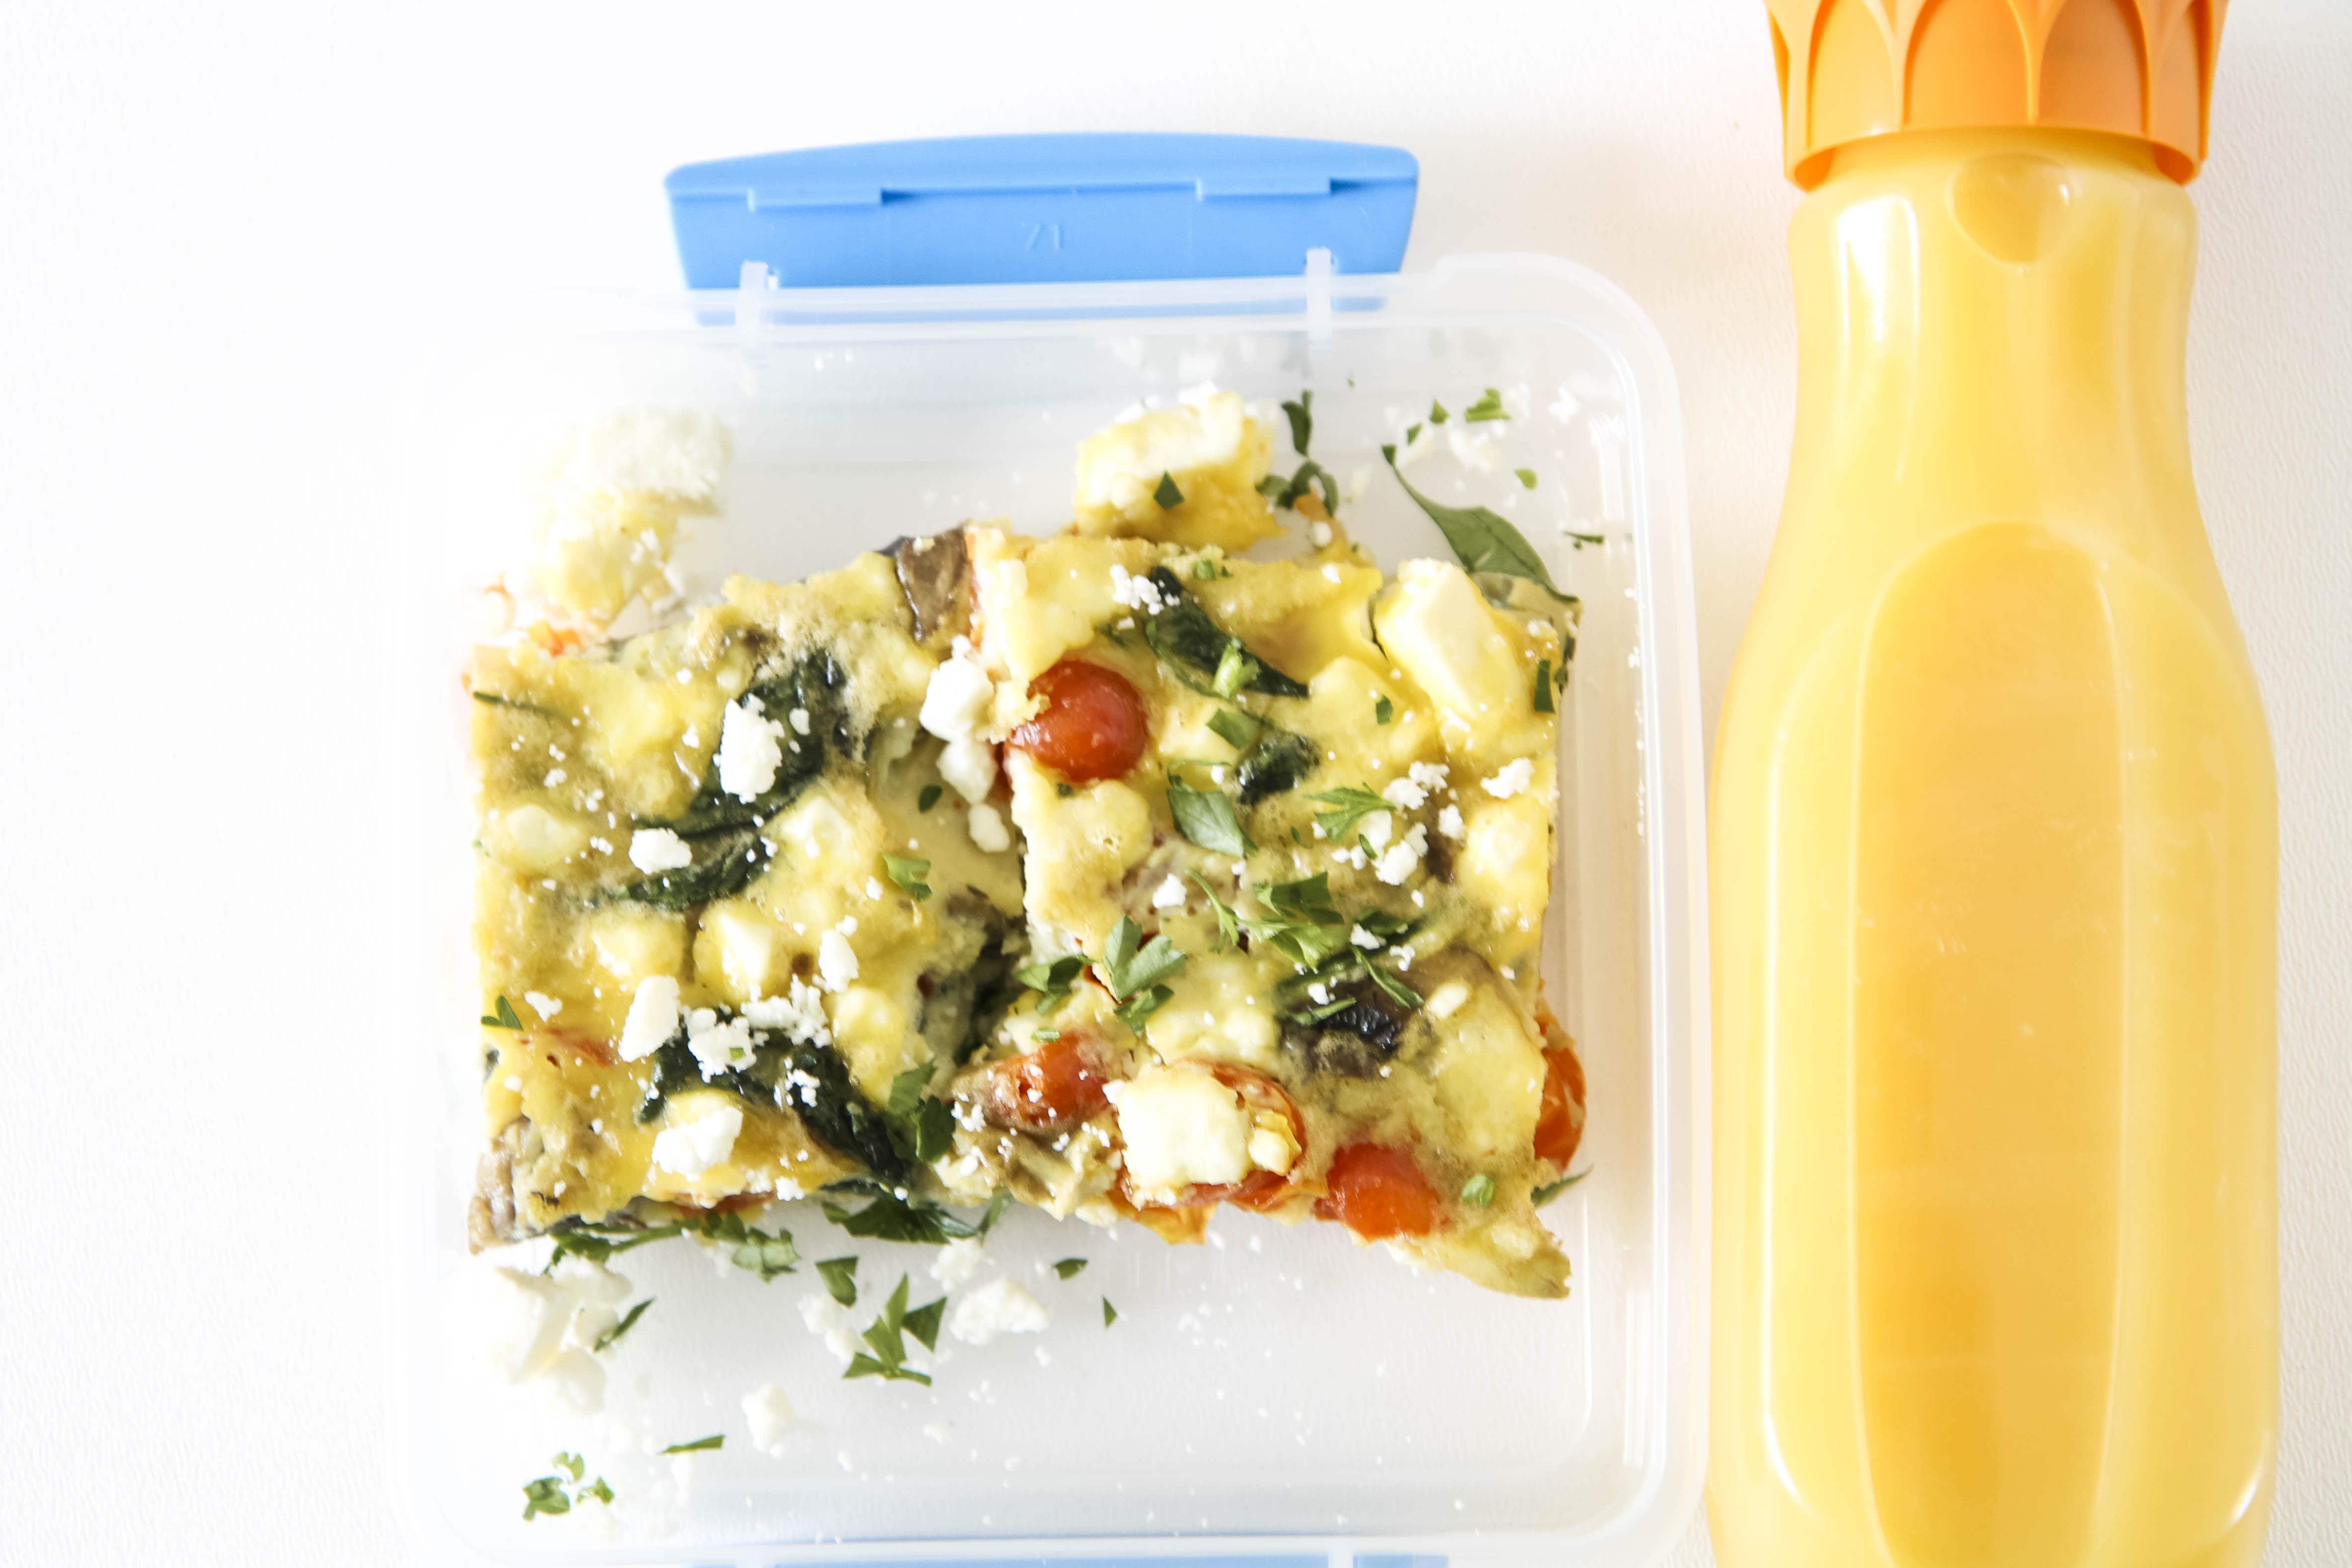
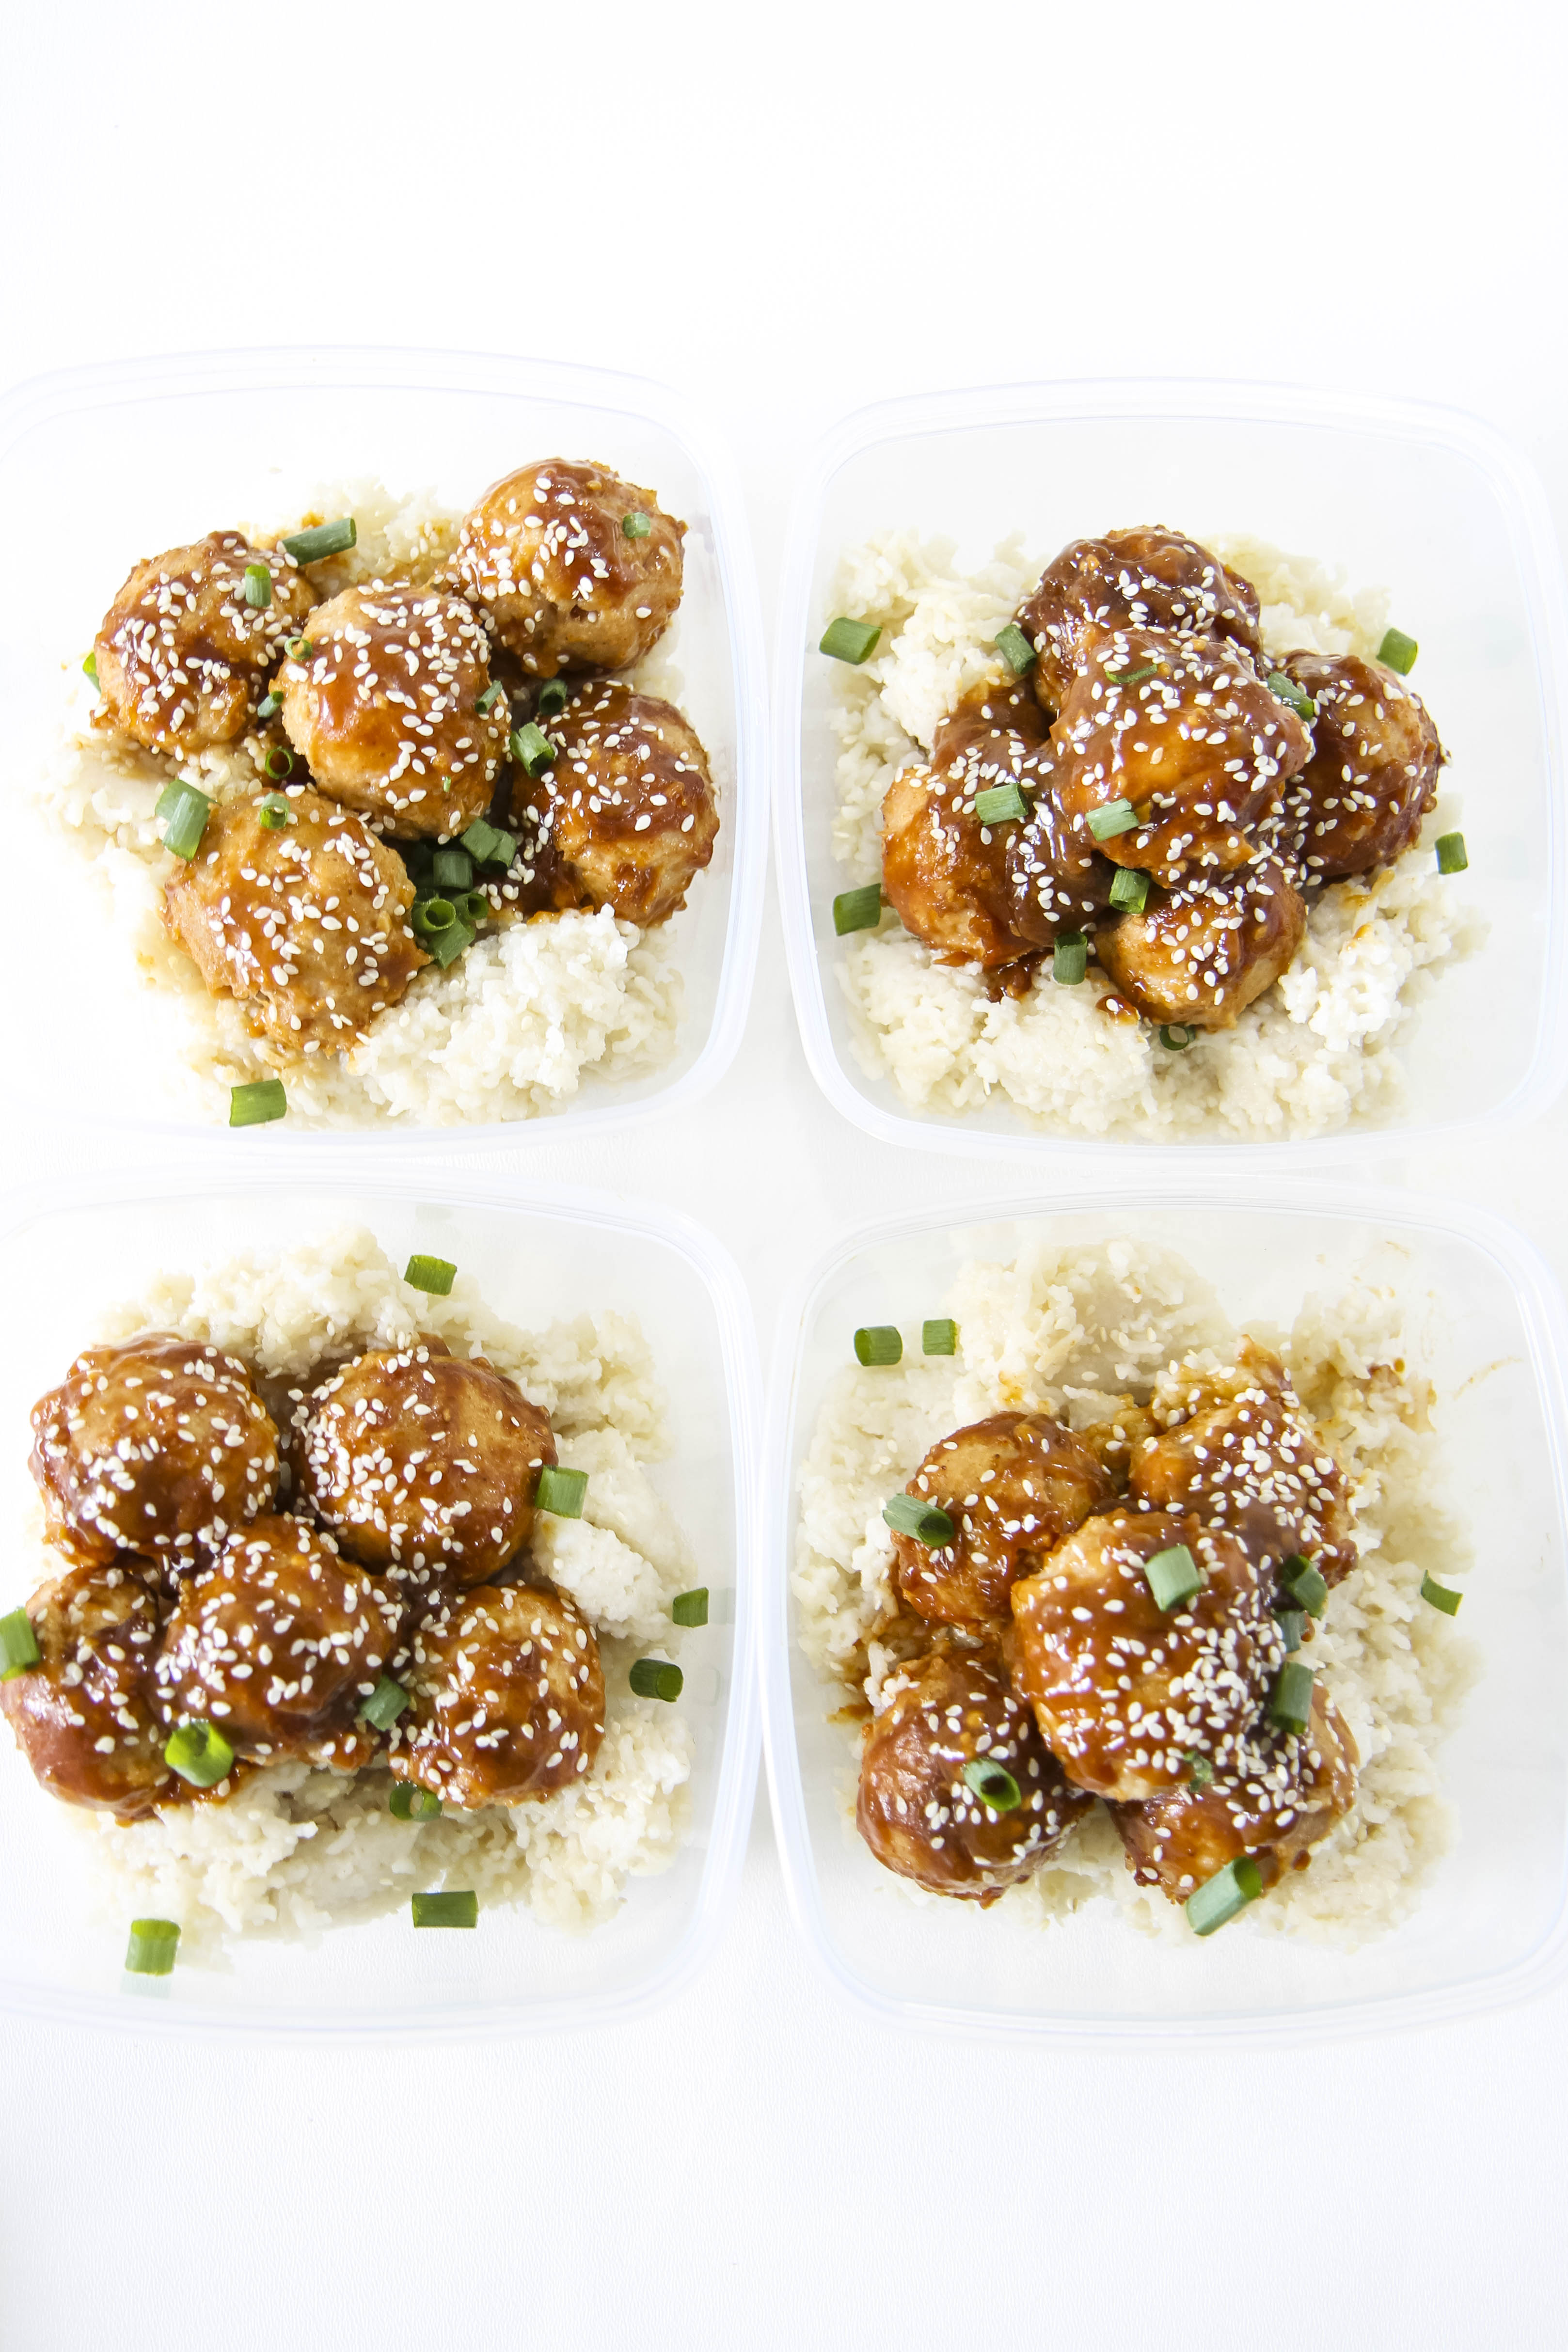
- Serve in buns or prepared sweet potatoes. See my full post for a meal prep day for a week of lunches.
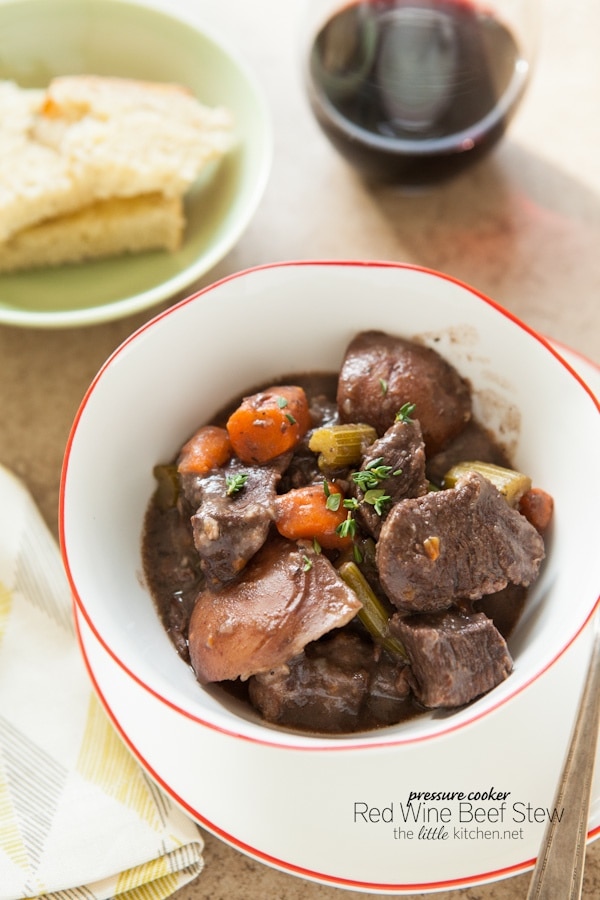
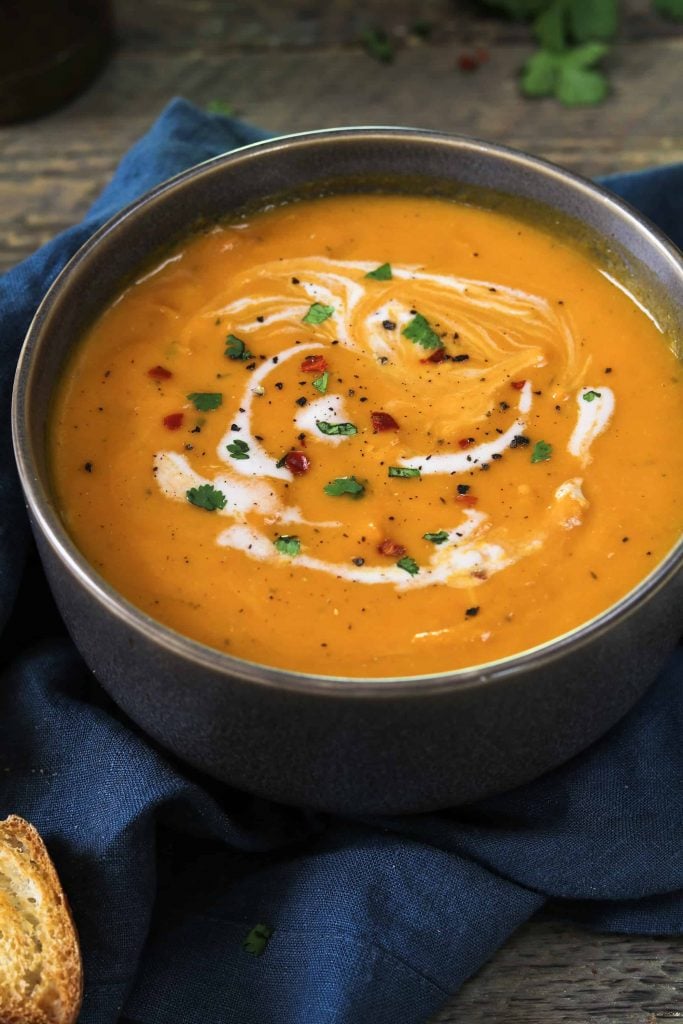
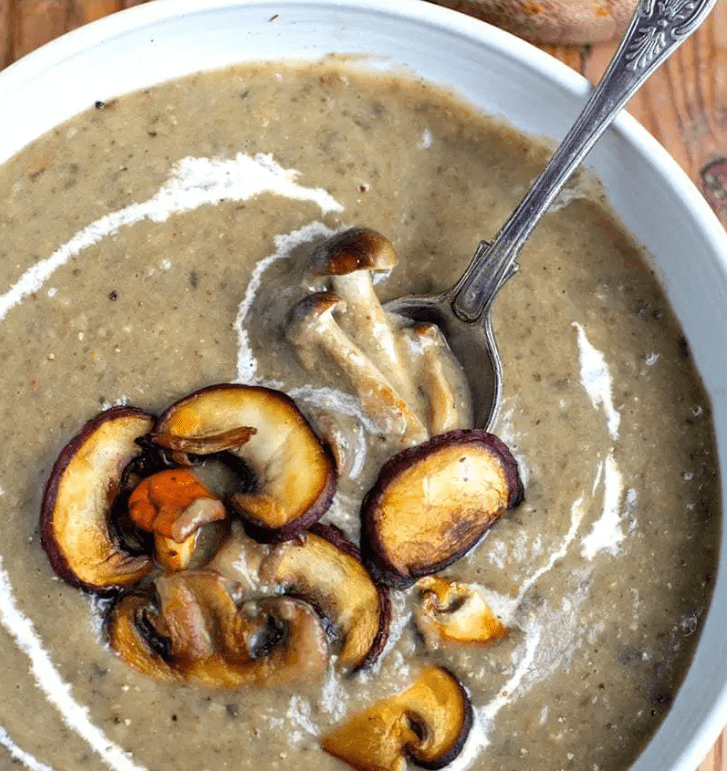
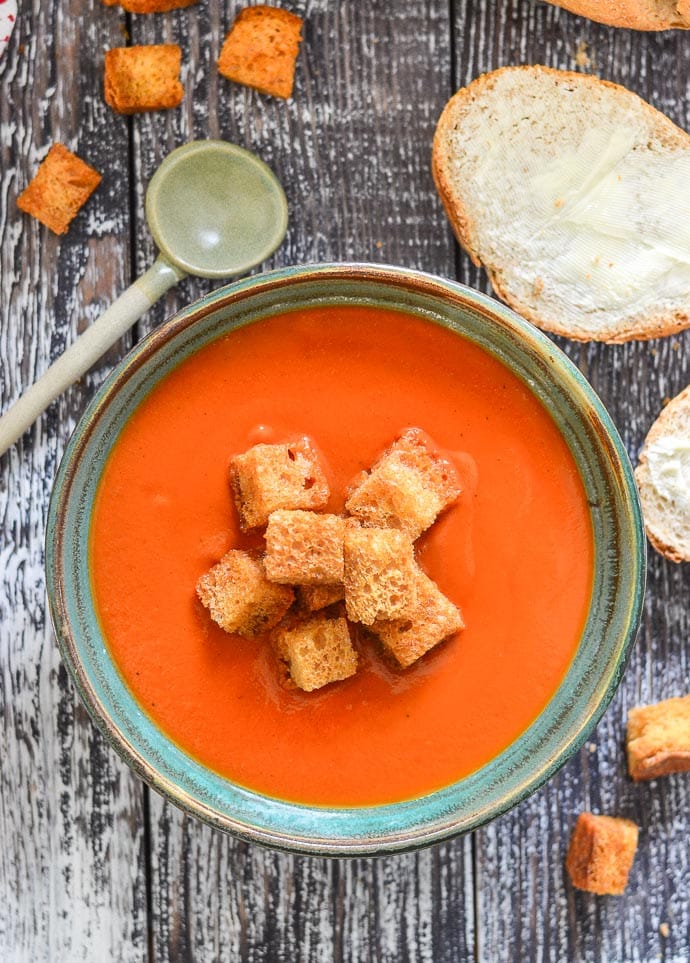
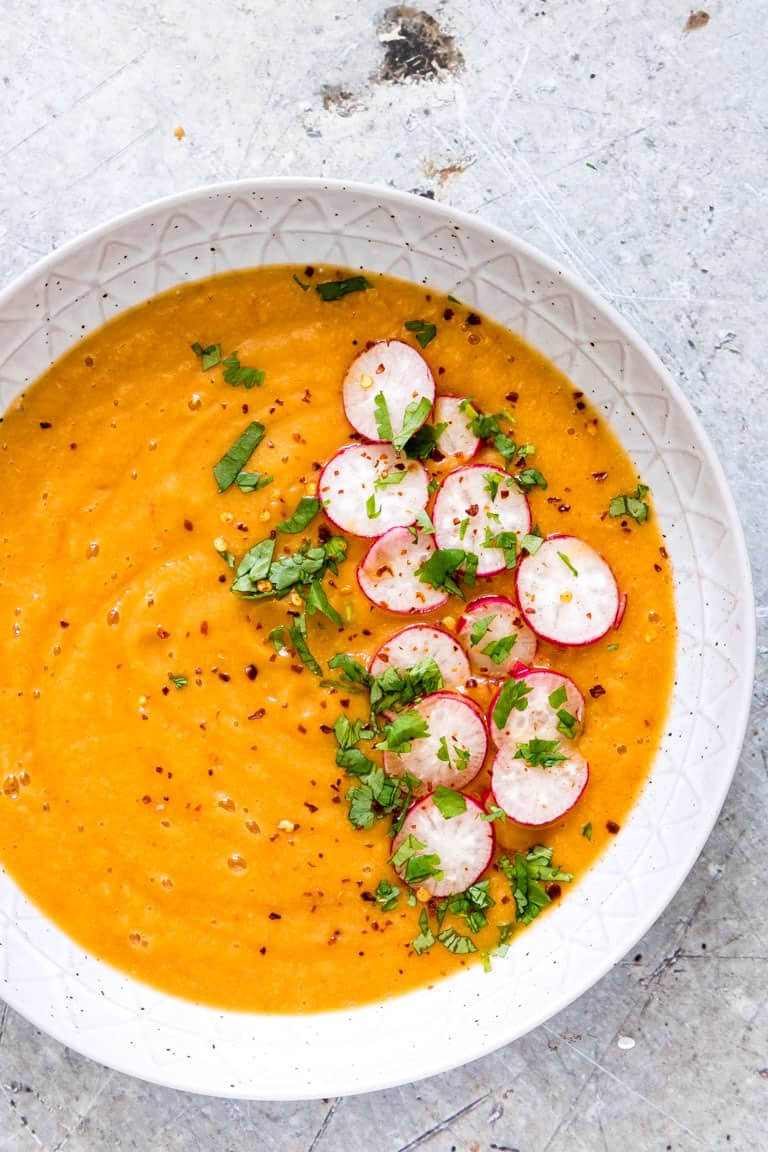
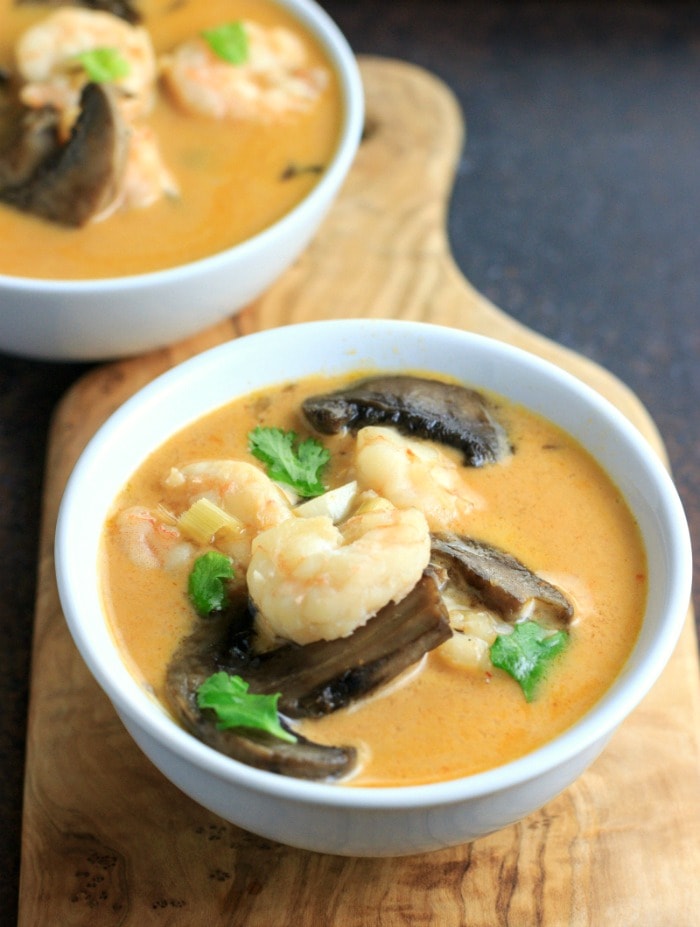
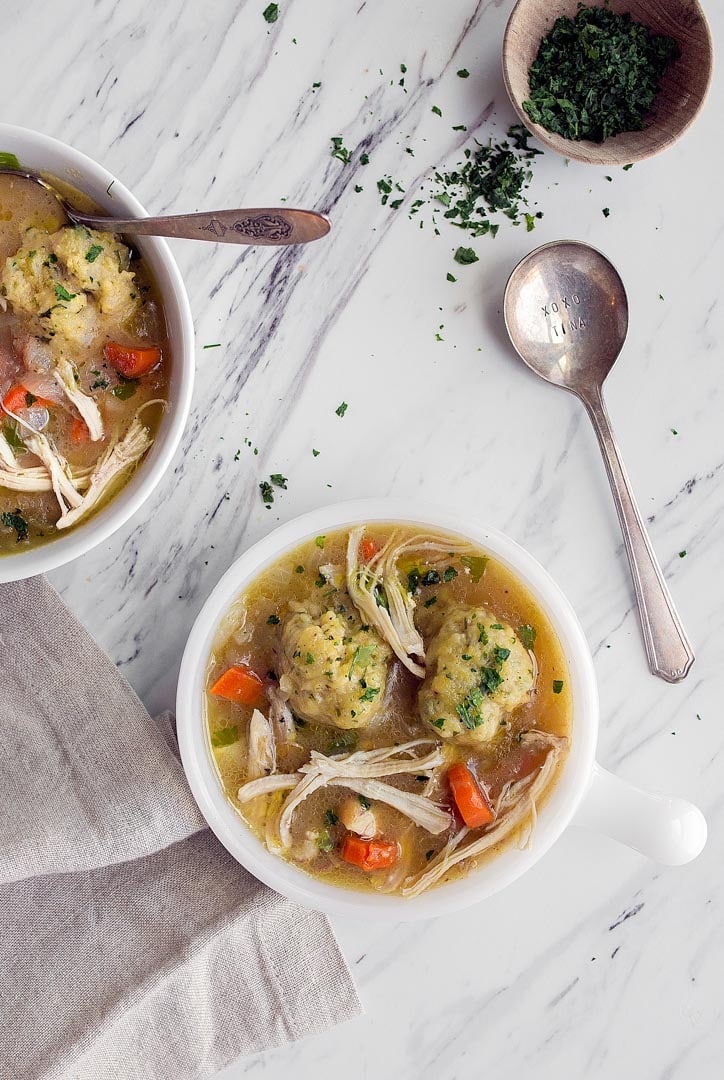
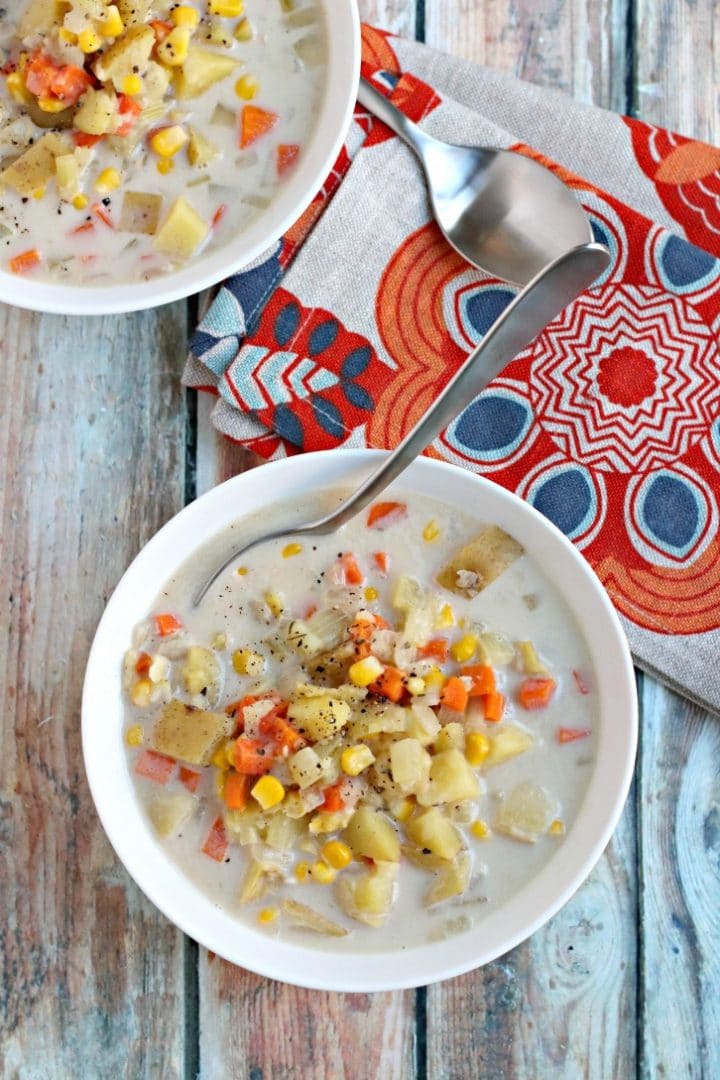
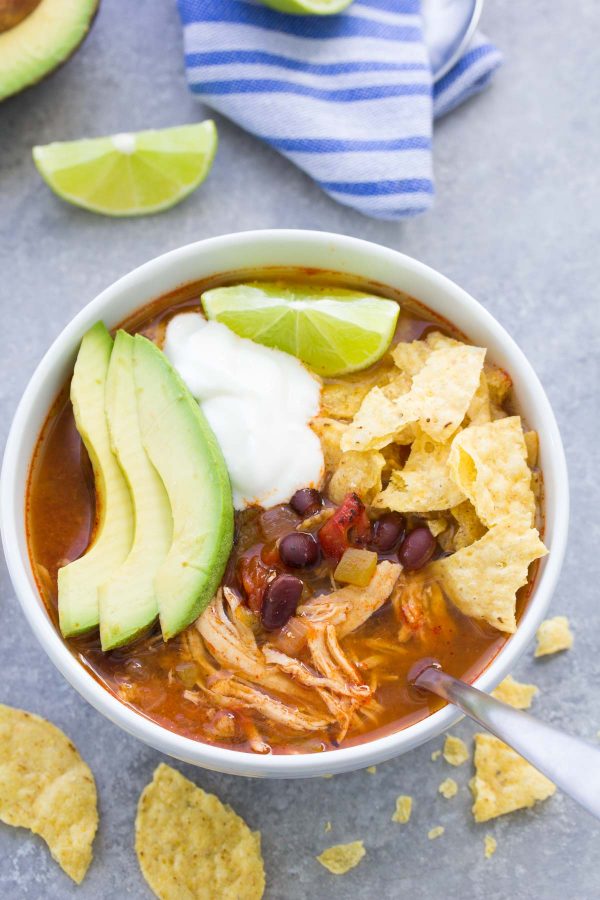
Pin ItLooking for more easy recipes? Check these simple weeknight meal ideas below!
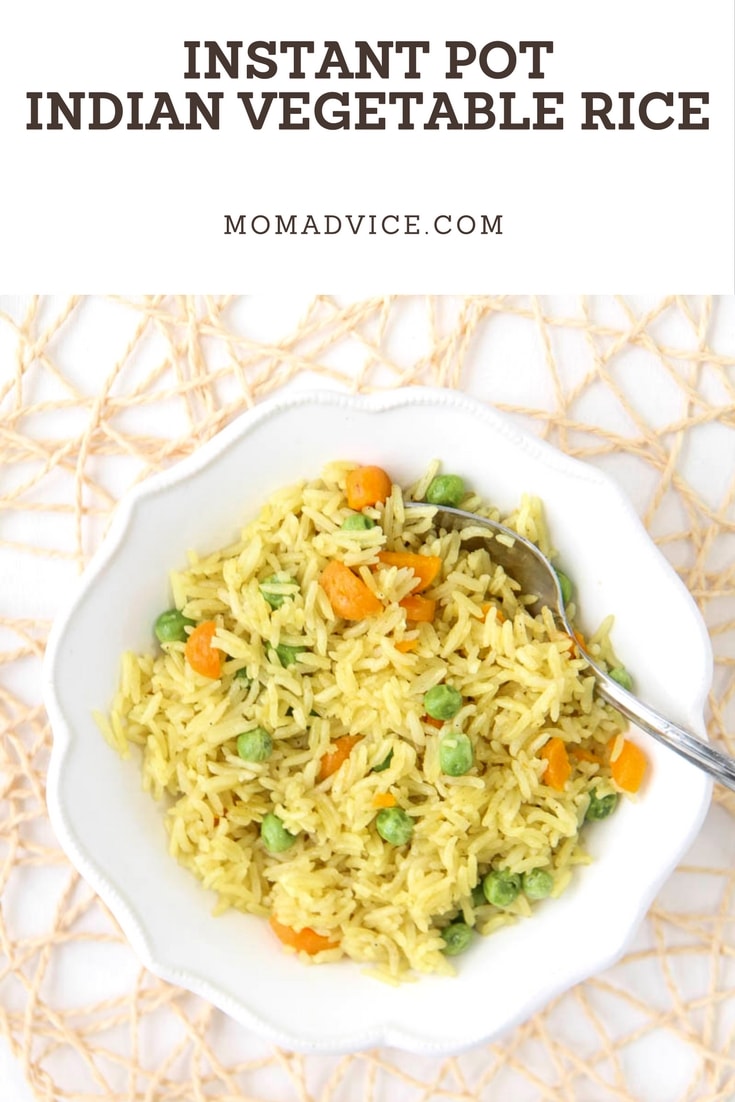
instant pot indian vegetable rice
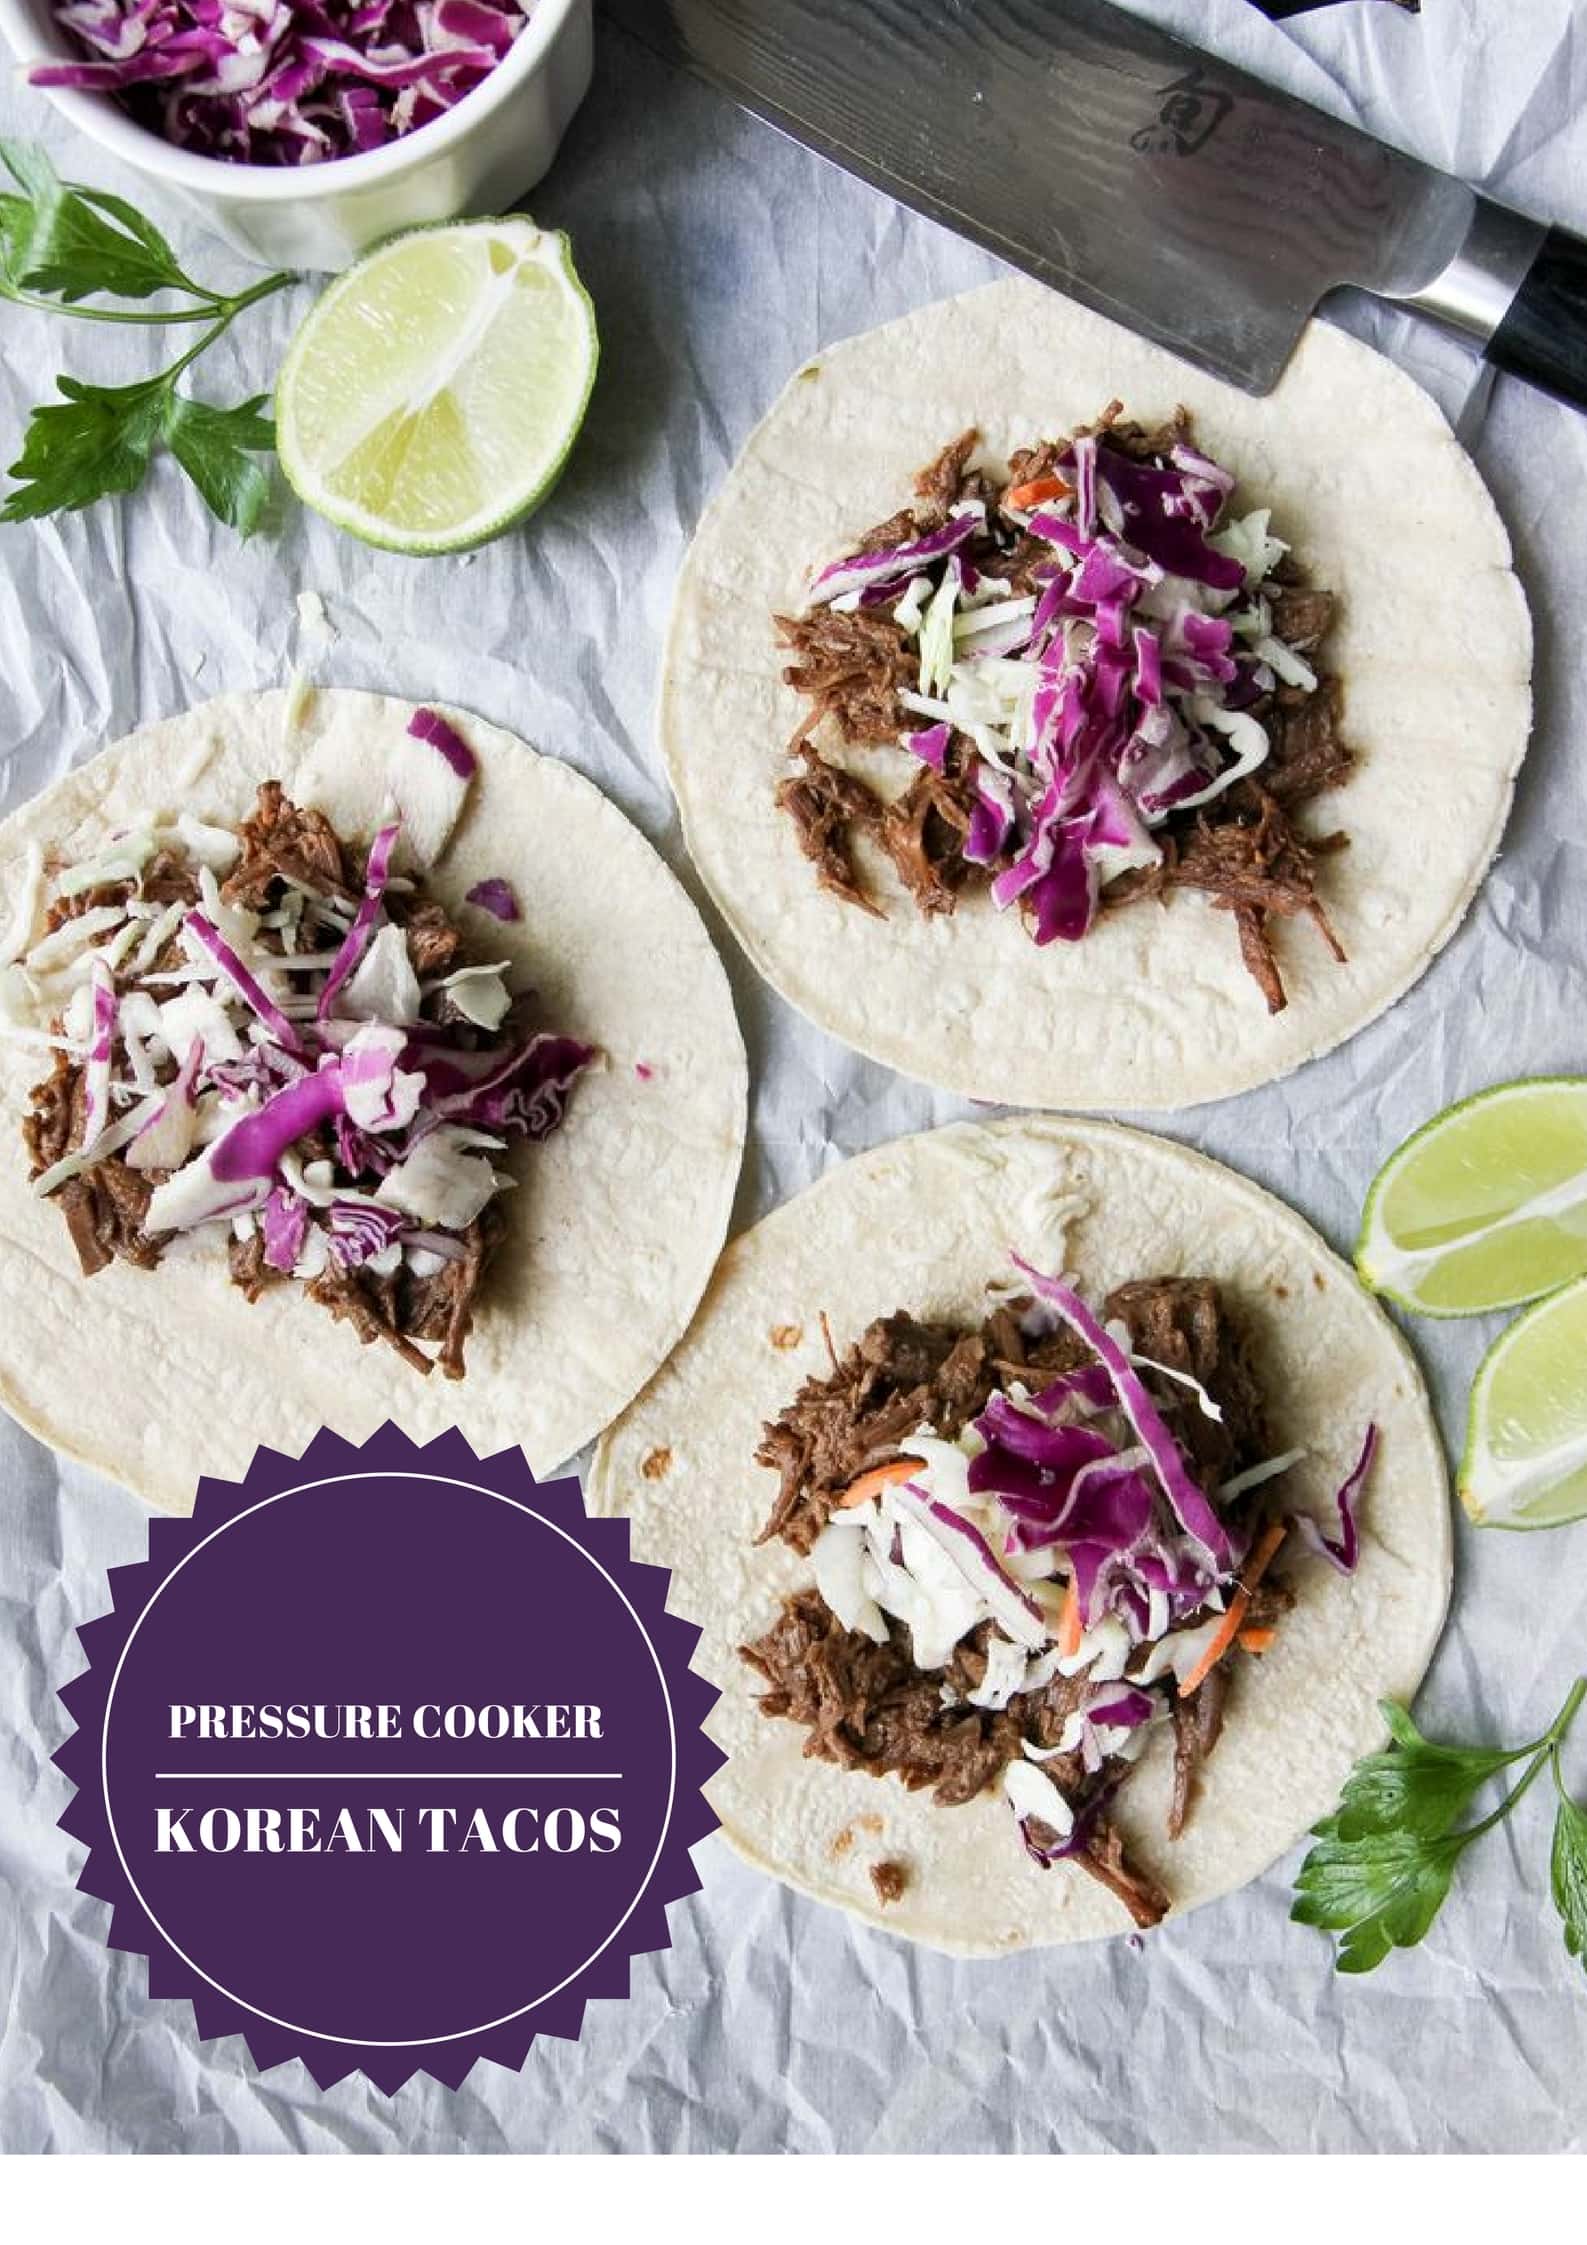
instant pot korean street tacos
3-ingredient instant pot ribs
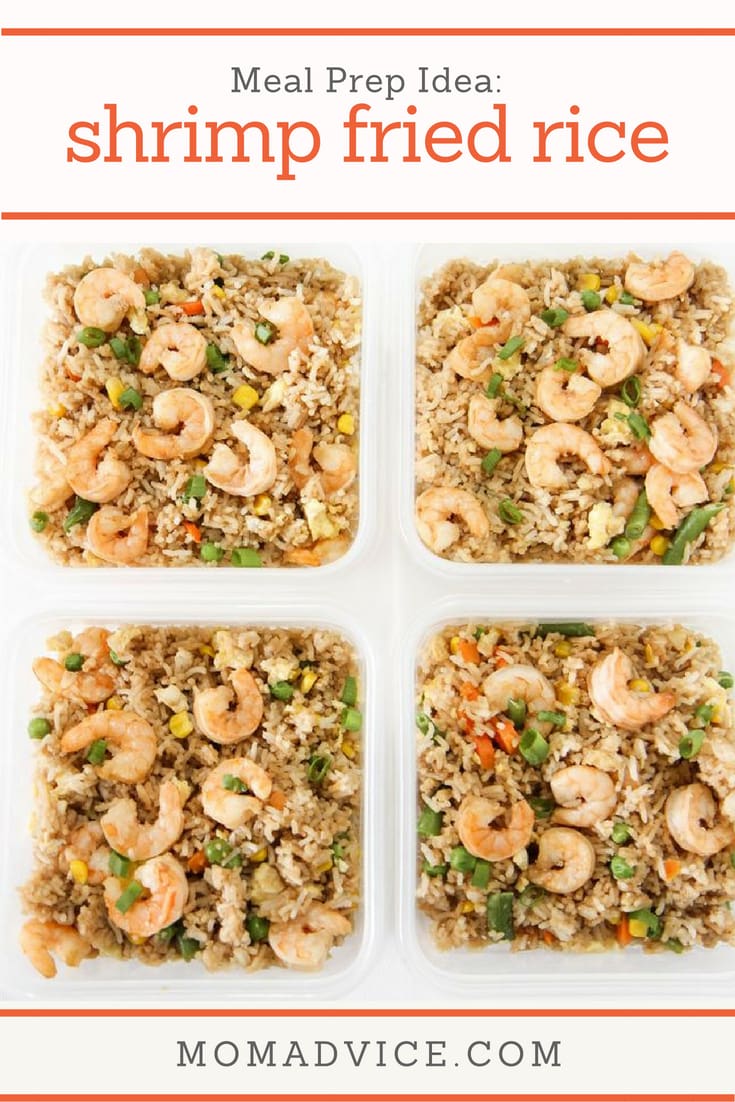
shrimp fried rice
balsamic pork loin sheet pan meal
sheet pan ranch chops & veggies
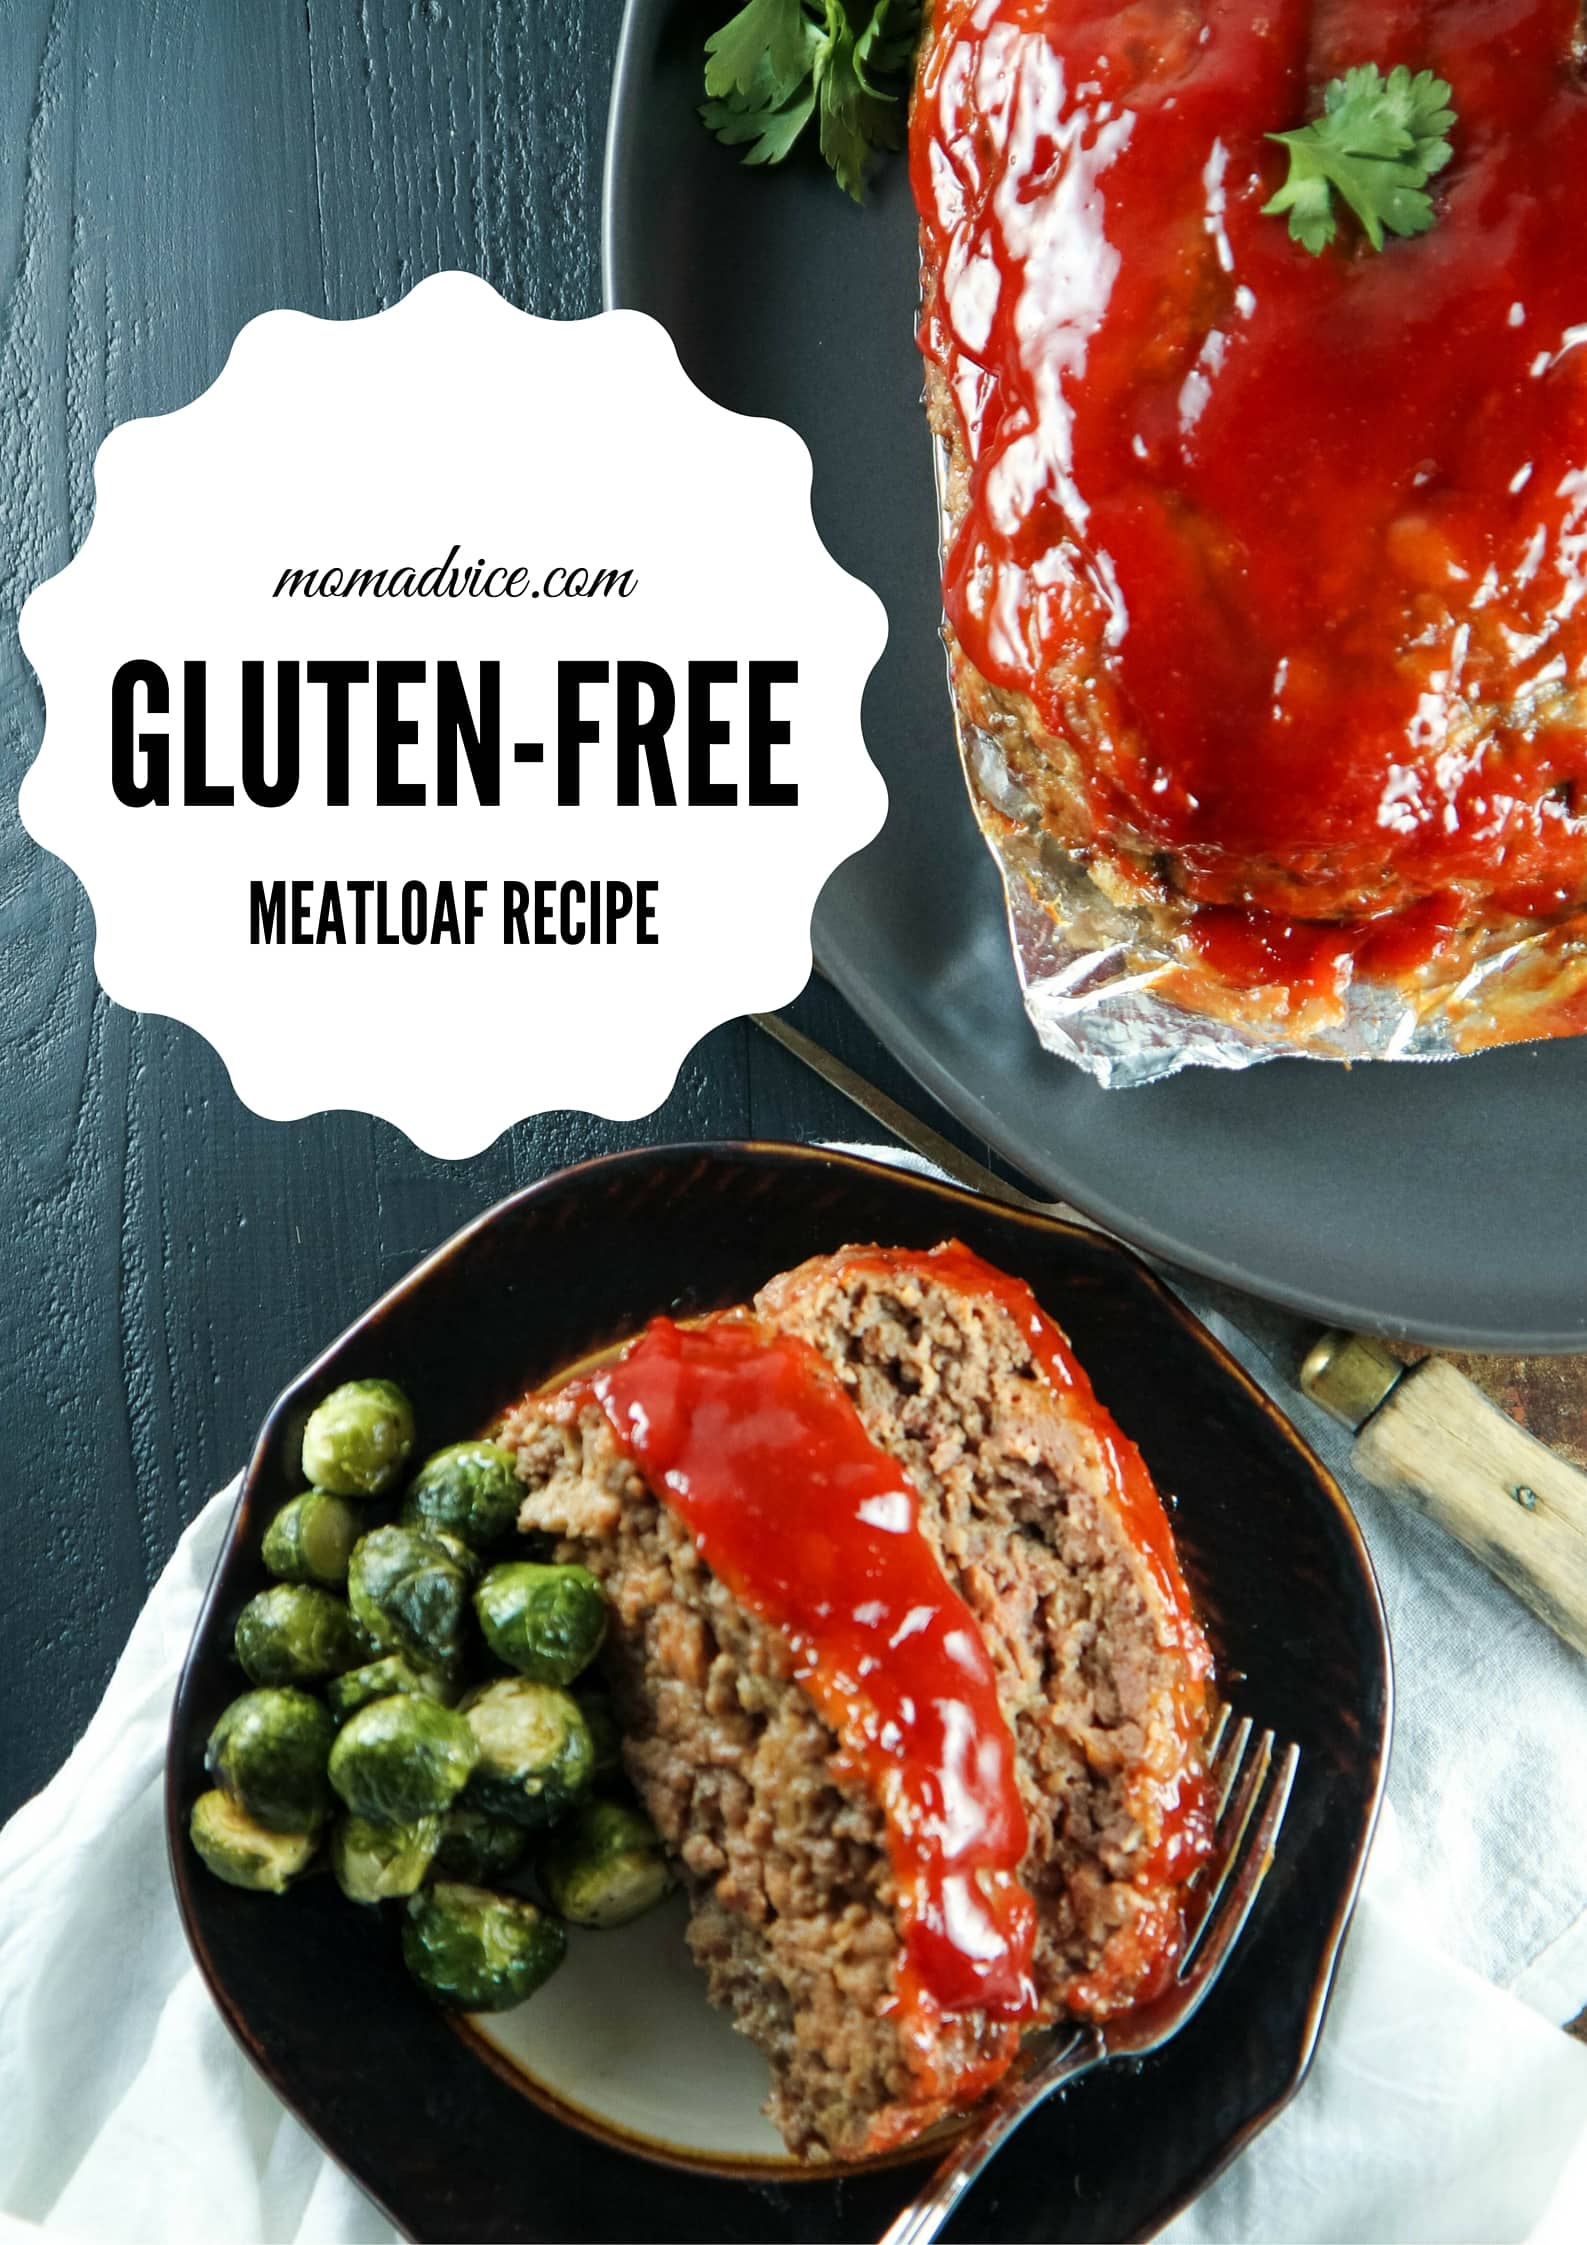
easy gluten-free meatloaf recipe
sheet pan lemon paprika chicken with vegetables
baked orange chicken meatballs
5-ingredient gluten-free pizza crust
slow cooker carnitas
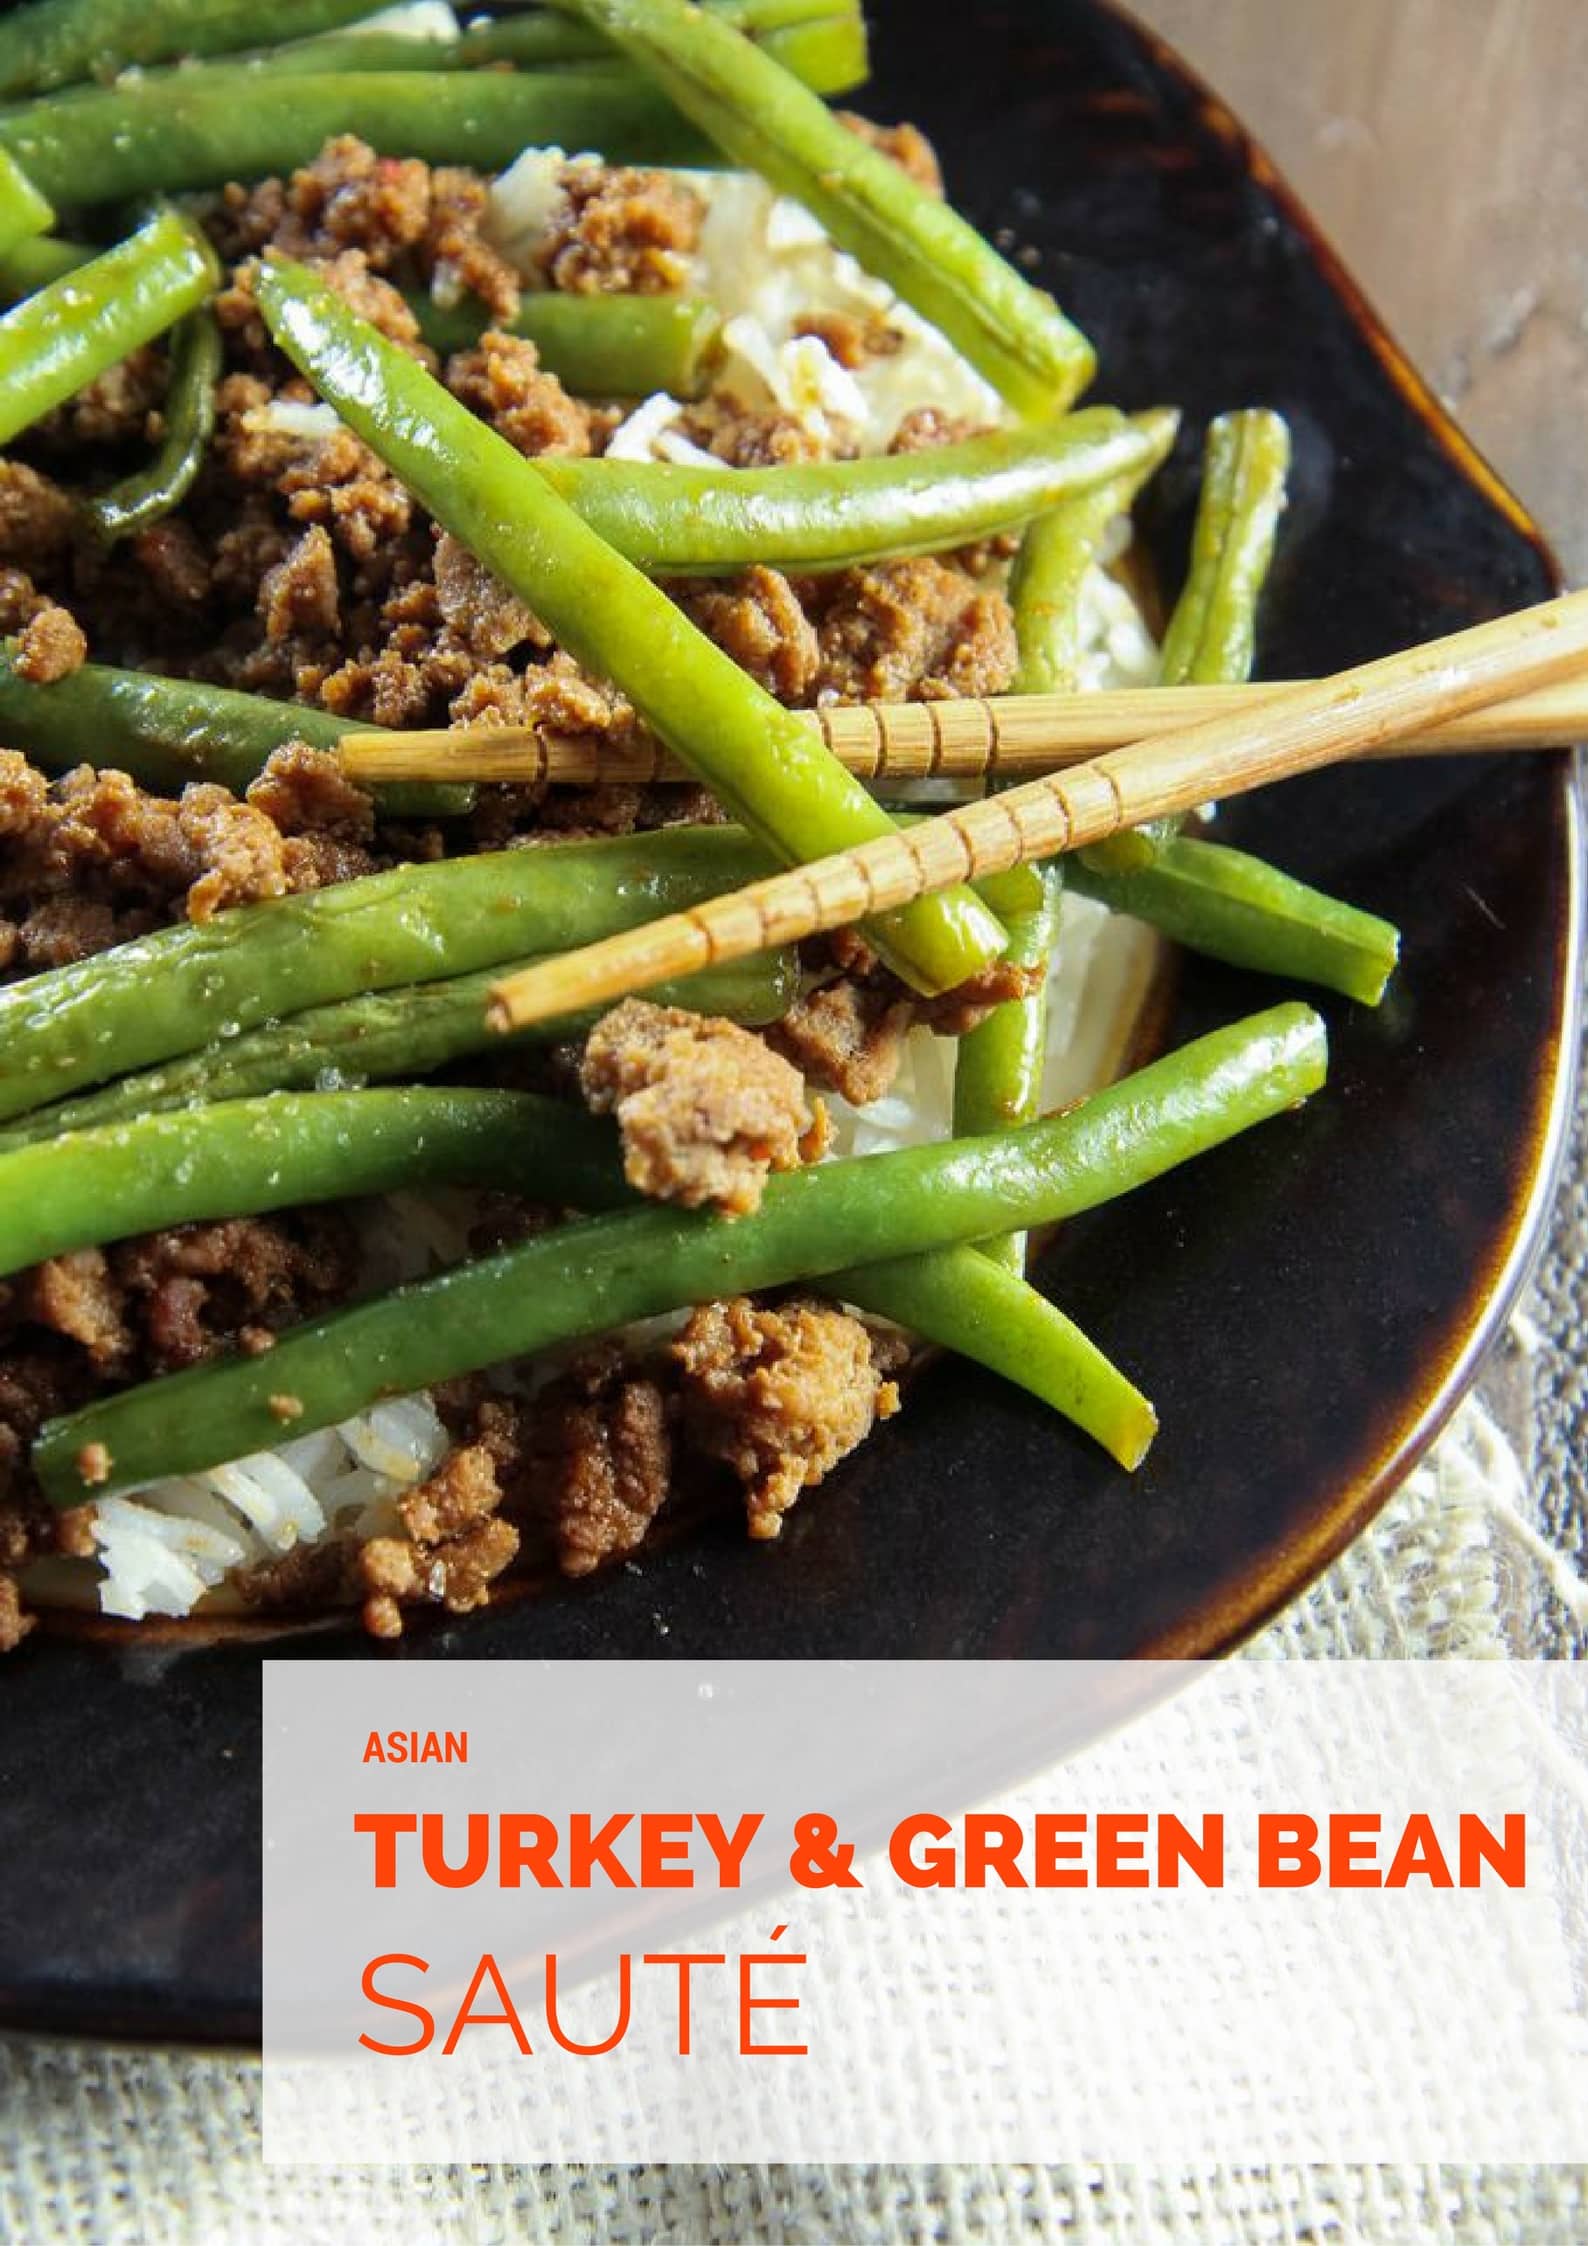
asian turkey & green bean skillet dish
5-ingredient caprese pork chops
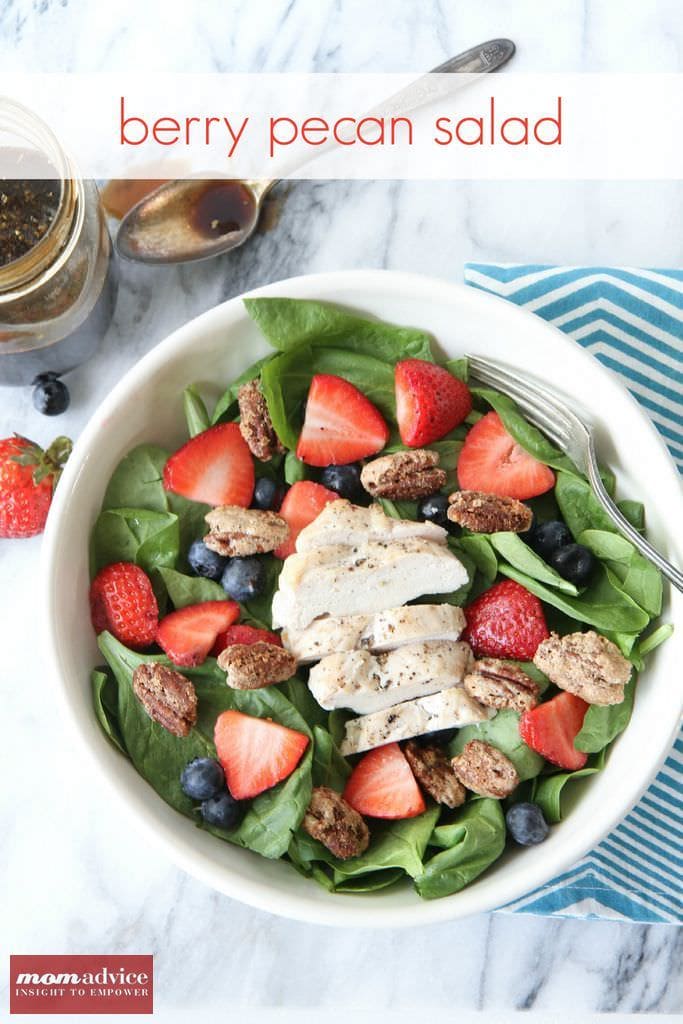
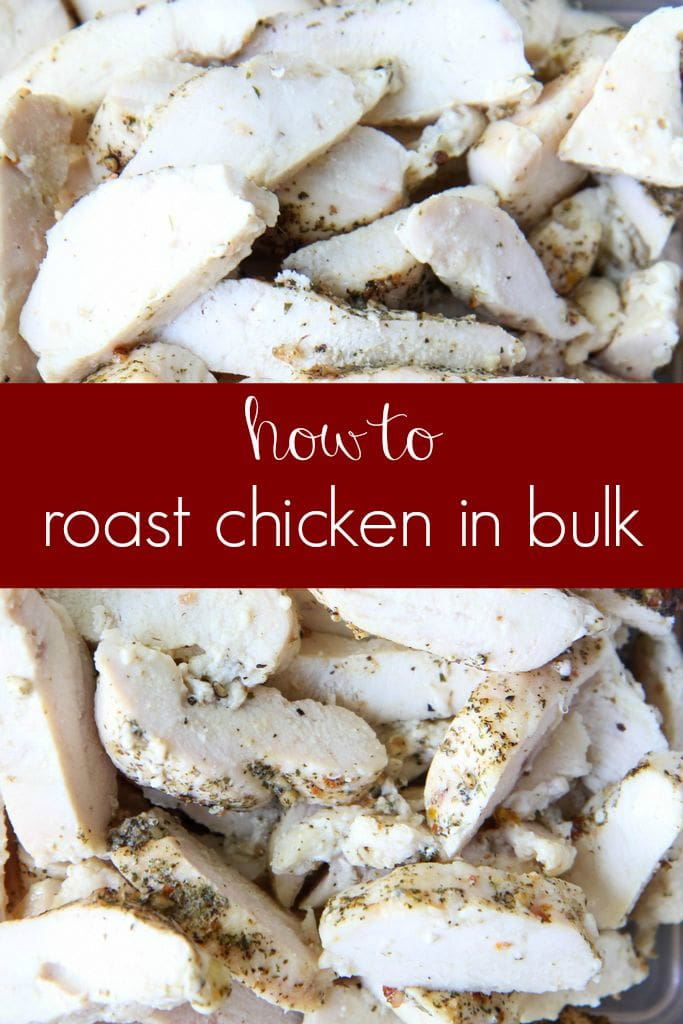
roast chicken in bulk for your week
What is your favorite thing to create in your Instant Pot?
*this post may contain affiliate links- I only recommend what I love though.


