Archive for the ‘Breakfast’ Category

Bread Machine Cinnamon Rolls

Monday, February 11th, 2013

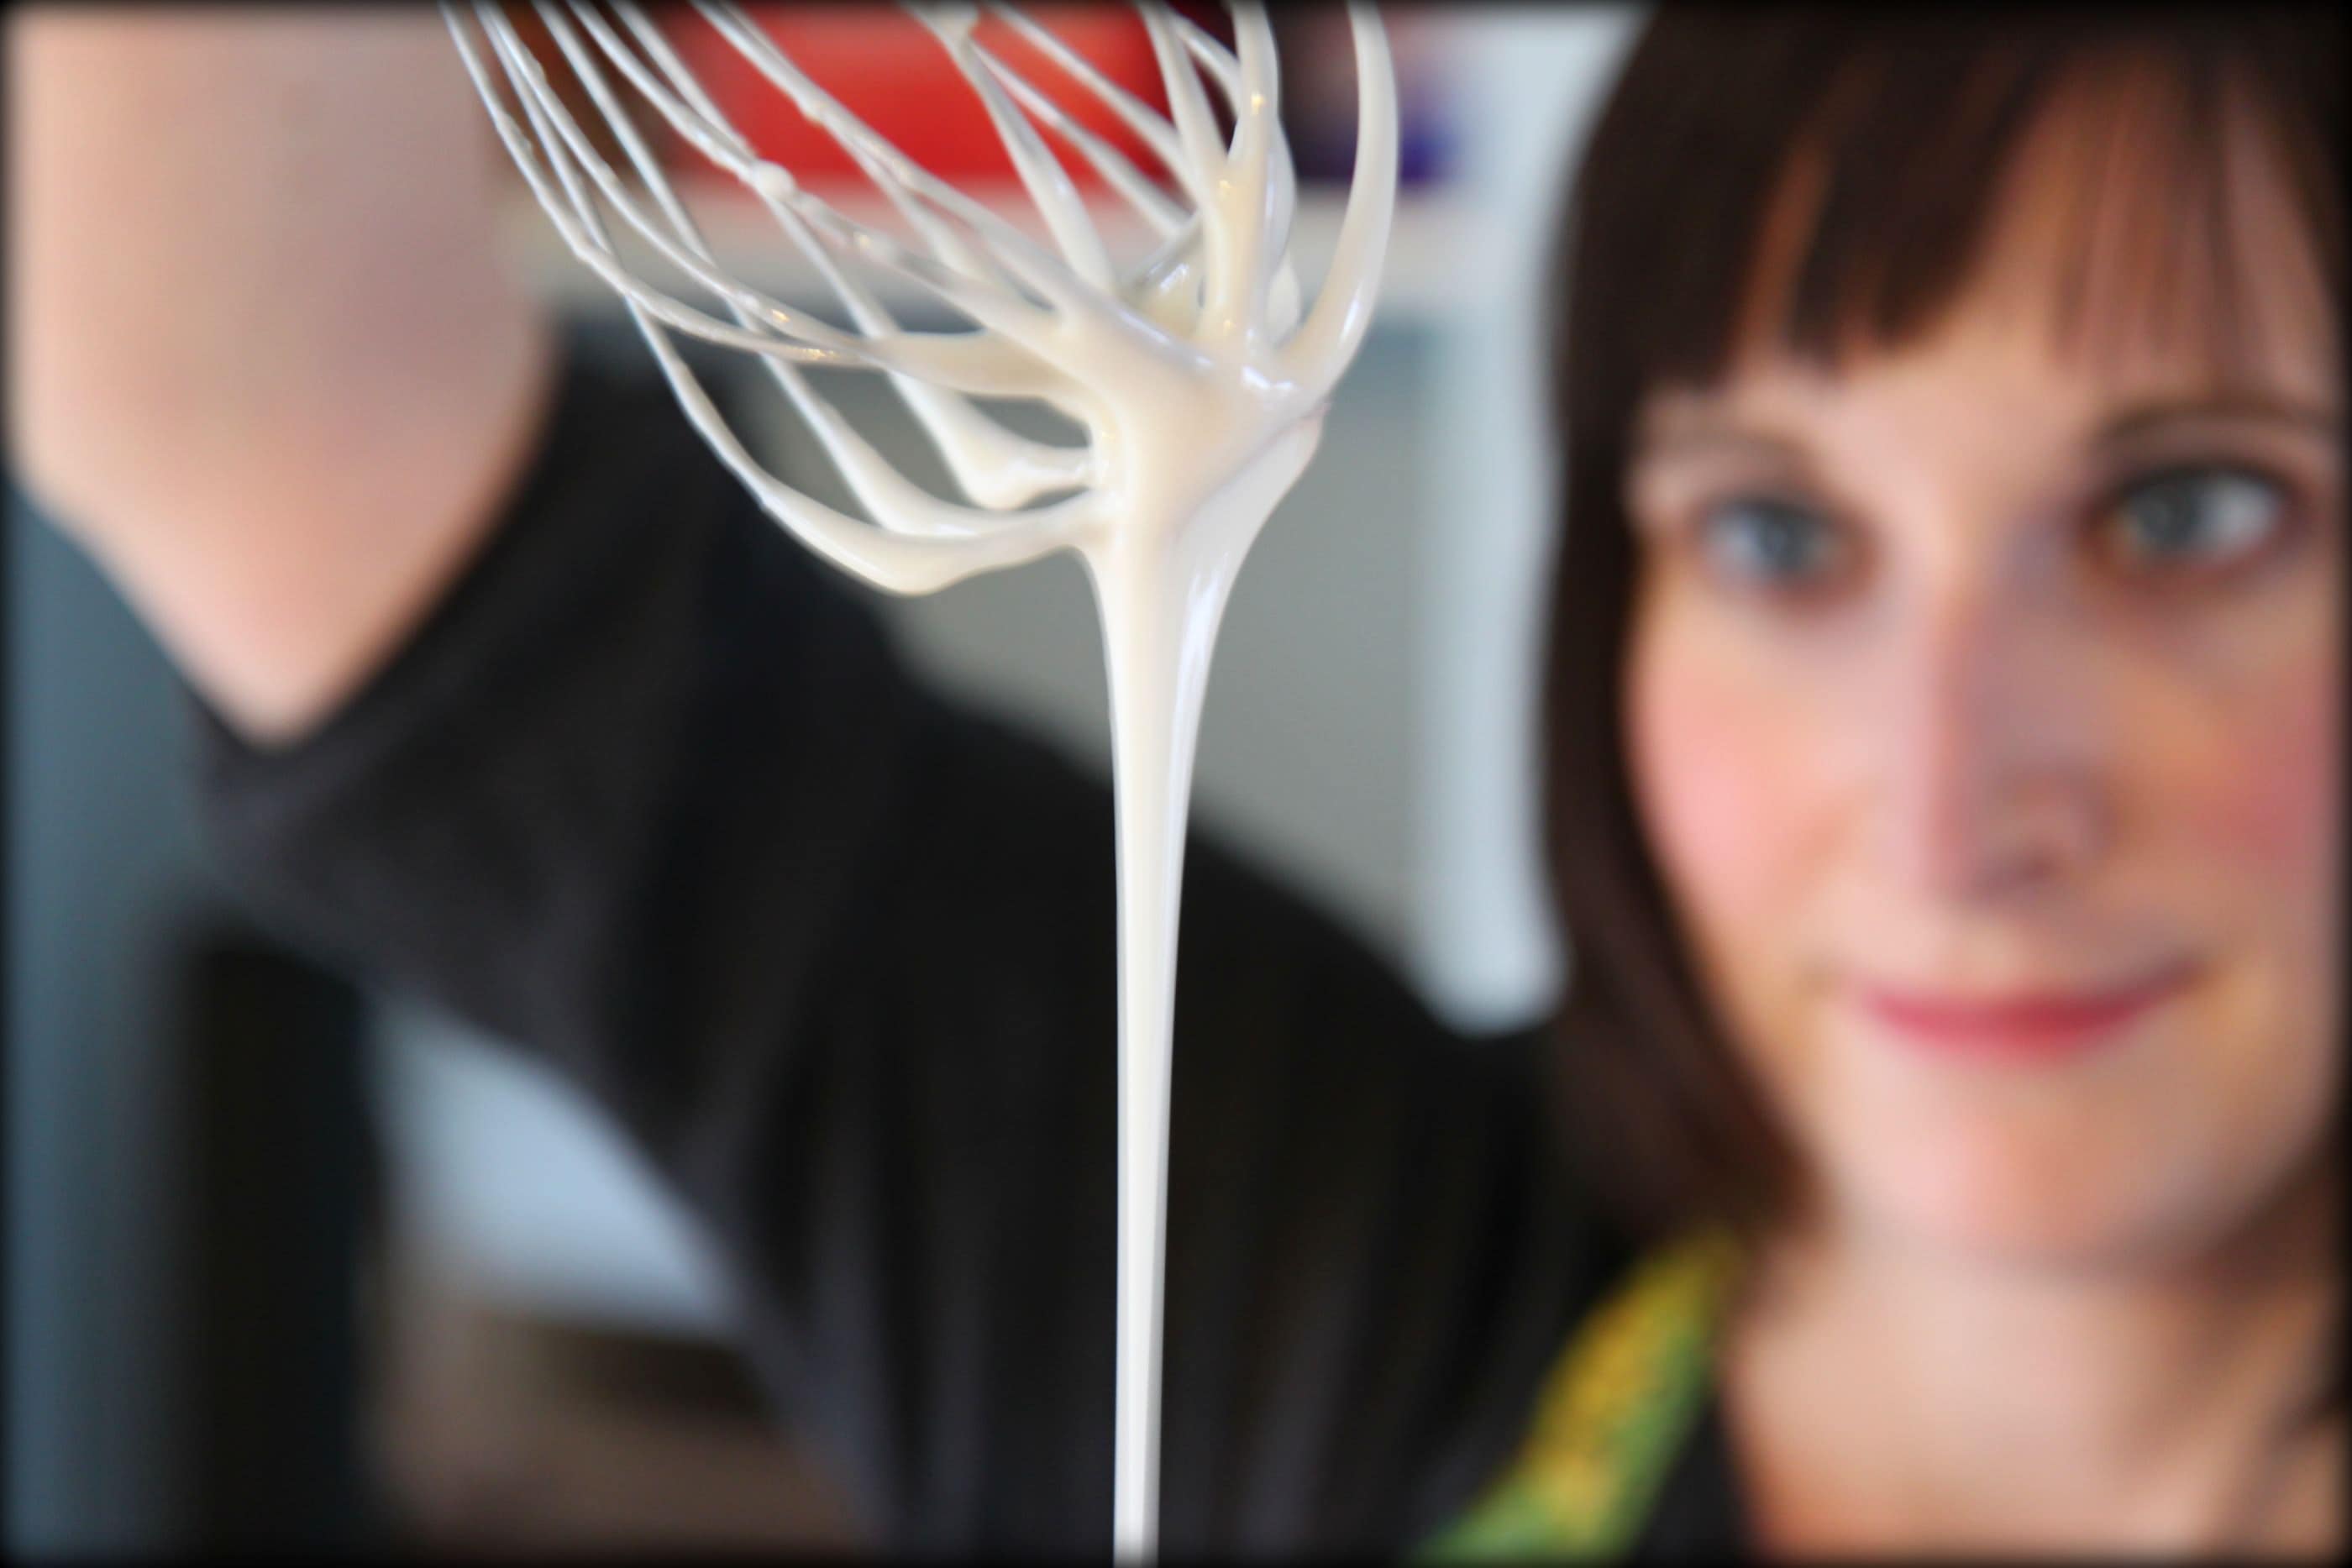
Cinnamon rolls are one of those treats that I always found intimidating to make in the kitchen. Luckily, with my bread machine, these are a cinch to pull together and enjoy on a lazy Saturday morning. Today I want to share with you my bread machine cinnamon roll recipe to create this yummy treat at home in your kitchen.

Growing up, one of my favorite Saturday treats was a Pillsbury Cinnamon Roll. My mom would make these for us on Saturdays and we always fought over the ones that had the most frosting. Sadly, it was such a thrill when my dad worked in the mornings because that meant that there would be two extra rolls for us to fight over. Who could resist those rolls and the simple pleasure of having a sweet treat once a week?

I still love those cinnamon rolls, but at $1.69 a roll, they are an unnecessary addition to the grocery budget. What I do have though is flour and sugar, purchased in bulk, and a bread machine that can turn out cinnamon roll dough like nobody’s business.

The best part about making these cinnamon rolls is that you can vary the sizes and I can make mini-versions of the rolls for the little kids and tuck these in the center of the batch so that they don’t get overdone. The kids love these mini versions and I control the amount of sugar they are getting. Just give them a teeny drizzle of frosting and they will be set!

Of course, I have been know to reheat these in the microwave for a nice snack in the evening or for breakfast the next day. Place one on a microwave-safe plate and zap for about twenty seconds. It make a great snack paired with a hot cup of coffee.

Tomorrow I will be sharing more about our beloved bread machine and what you can do with it! For now, I hope you can enjoy this easy and delicious treat with your family!


Bread Machine Cinnamon Rolls
Recipe Type: Dessert
Author: Adapted from Food.com
Prep time: 5 mins
Cook time: 2 hours
Total time: 2 hours 5 mins
Serves: 10
Homemade cinnamon rolls are a breeze when created in your bread machine. This bread machine cinnamon roll recipe is foolproof and a perfect Saturday morning treat.
Ingredients
  • 1 1/4 cups skim milk
  • 1/3 cup vegetable oil or canola oil
  • 1/3 cup sugar
  • 1 teaspoon salt
  • 3 3/4 cups all-purpose flour
  • 2 1/4 teaspoons bread machine yeast
  • Cinnamon Roll Filling: 1/3 cup butter, softened to room temperature
  • 1/2 cup brown sugar
  • 1 tablespoon cinnamon
  • Cinnamon Roll Glaze: 1/2 cup powdered sugar to 1-2 tablespoons milk
Instructions
  1. Place all ingredients in order recommended by your bread machine manufacturer.
  2. Select DOUGH CYCLE and start machine.
  3. Preheat your oven to 100°F and then turn off.
  4. When dough cycle is complete remove from machine.
  5. Roll out to about 12 x 15″ and spread with butter or margarine. Sprinkle cinnamon-sugar mixture over all and roll up tightly .Roll it tightly and slowly, being careful to keep all the filling inside. At this point you should have a long log that you can cut your rolls from. You can wrap the dough with plastic and store in the fridge overnight or you can slice your rolls and put them on your cookie sheet or pizza stone.
  6. If preparing now, cut into as many rolls as you want. (I usually make ten large rolls).
  7. For the next day or right away: Cover with cloth and put in the warm oven for 45-60 minutes to rise.
  8. When doubled remove from oven.
  9. Turn oven to 400°F and when you put the buns in the oven, reduce temperature immediately to 375° and bake for 12-15 minutes or until done.
  10. When the rolls are done, drizzle your frosting over the rolls and serve them warm or room temperature (although they are best served warm).


Pin It

Dairy-Free Crustless Quiche

Monday, January 7th, 2013

One of the hardest things I did this year was to start eating a dairy-free diet. This dairy-free crustless quiche recipe got me through many cheesy-filled get holiday togethers and was created just for myself for Christmas morning this year. You won’t believe how decadent this dairy-free crustless quiche tastes and, I highly doubt, you will even miss the milk or cheese.

Dairy-free doesn’t mean egg-free for me, but it did mean giving up the cheese and milk in my life. I made an easy transition into drinking almond milk (remember those infamous milk allergy mugs), but other transitions were a little more challenging. Our weekly pizza night now has a special alternative-cheese section for me, tacos and enchiladas also have an alternative-cheese section, creamy & decadent main dishes have been abandoned for now,  and I have had to learn some new ways of snacking. Although it has been challenging, the rewards have been so worth it for my stomach.

Although a round of allergy testing proved, I am not allergic to milk, my body’s response to it is to attack itself for three days straight if I have any dairy. As I get older, I want to deal with that less and less. Who has time to be sick for three days?  Luckily for me, there are many great dairy-free options at the supermarket and natural food stores to keep me full and happy.

What I love about this quiche is that it offers the perfect balance of layers of delicious veggies with an egg mixture mixed with a little spice and the mild flavor of rice milk.

Although many times you need to go to natural food stores to stock up on dairy-free alternatives, this dish can be created with supplies bought at your local Walmart stores. The rice milk is available with a couple of other milk alternative options over by the coffee/tea section of our store. I am becoming a fan of rice milk for cooking and I think you will too!

Don’t feel limited to the vegetable options I am sharing though, the beauty of a quiche is that it can be created from whatever you might need to use up in your vegetable drawer of your refrigerator!

Dairy-Free Crustless Quiche
Recipe Type: Main
Author: Amy Allen Clark
Prep time: 10 mins
Cook time: 45 mins
Total time: 55 mins
Serves: 6
A dairy-free crustless quiche that is healthy, packed with veggies, and loaded with flavor.
Ingredients
  • Dairy-Free Crustless Quiche
  • 1 Tbsp. olive oil
  • 1 teaspoon minced garlic
  • 3 handfuls fresh baby spinach, roughly chopped if desired
  • 1 red bell pepper, diced
  • 2 cups fresh mushrooms
  • 1 pint cherry mushrooms, sliced in half
  • 6 eggs
  • 3/4 cup plain rice milk
  • 3 Tbsp. all-purpose flour
  • 1/2 tsp. baking powder
  • 1/2 tsp. salt
  • 1/2 tsp. sweet paprika
  • 1/8 tsp. black pepper
Instructions
  1. Preheat your oven to 350 degrees.
  2. Heat oil in a large saute pan over medium-high heat. Add minced garlic and heat for one minute.
  3. Toss in chopped bell peppers and mushrooms and cook for five minutes.
  4. Remove from the heat.
  5. In a separate large bowl, whisk together eggs, flour, baking powder, rice or almond milk, salt, paprika, and black pepper.
  6. Stir in the sauteed vegetables and fresh spinach, and stir until well combined.
  7. Pour mixture into a greased pie pan.
  8. Place the sliced cherry tomatoes on top, cut side down.
  9. Bake at 350 degrees for 45-50 minutes, or until a toothpick inserted comes out clean.
  10. Remove from the oven and allow the quiche to set up for at least five minutes.
  11. Cut and then serve immediately.

What healthy eating plans do you have for the New Year? Any advice for someone who is trying to go dairy-free with their diet? I would love to hear your ideas!

I am a part of the Walmart Moms program, and Walmart has provided me with compensation for these posts  My participation is voluntary and opinions are always my own.

Pin It

Fall Into Fall FOODS With MomAdvice

Monday, September 17th, 2012

The Best of Fall Recipes from MomAdvice.com.

As I begin creating new recipes for the site, I wanted to showcase a few of my favorite dishes that have been on our site in years past for the fall. Fall just so happens to be my favorite season and coincidentally, Fall foods and drinks happen to be my favorite type of sips & dishes.

Here is a list of a few of my favorite Fall foods that I can’t wait to eat this year!

Weeknight Roast Turkey Sandwiches

Few things say fall is here to me like the delicious flavor of roast turkey. While many think of roasting a turkey as only a routine done on Thanksgiving, I think of roasting a turkey as an easy weeknight dish that can be turned into delicious packed sandwiches for my kid’s lunchboxes and a lifesaver for busy weeknights when I don’t feel like cooking. You will love this easy (and frugal) technique for a great weeknight turkey sandwich!

Hearty Beef Stew

Nothing says the Fall like a great beef stew. This stew is so rich and decadent,  because of the use of bacon in this stew. The bacon fat is what all of the vegetables get coated in for cooking and then the cooked bacon is set aside for crumbling on top of the stew once it comes out of the oven.  I filled the broth with red wine and beef broth, to create a rich and flavorful broth that will have your whole family begging for more!

Soup, Soup, & More Soup

For a family that never liked soup, we have become the family with a soup night in our weekly rotation. Visit the link above to access my absolute favorite soups- an easy weeknight chicken noodle, Greek Lemon Chicken Soup, our Pesto Chicken Tortellini, and so much more! If that isn’t enough soup for you this year, you must try my homemade tomato soup. It will change any negative feelings you might have about tomato soup- I promise!

Apple Pie Muffins

My family does not like apple pie (weird, I know!), but they do really love my apple pie muffins that incorporate those delicious flavors of the apple pie with a simple crumb topping. If you happen to have an abundance of apples on hand, I highly recommend giving these apple muffins a try

The batter is sweet, but not too sweet, and the apples have a warmness to them thanks to the cooked apple and the cinnamon that is worked into the crumb topping and within the muffin itself.  Serve these up with a big glass of milk and you have the makings of a perfect snack!

Apple Pork Chops

These pork chops are a satisfyingly sweet and savory dish that pairs ingredients that I typically have around our house. The brown sugar and cinnamon sauce adds a delicious glaze to this perfectly cooked pork.  Baking the pork helps it to achieve the perfect temperature and I believe you will be stunned at what a tender and juicy pork chop this recipe yields!

Baked Apple Pie Donuts

I love baking donuts and these Baked Apple Pie Donuts are the perfect treat to make for your family! The dominate flavor in this one is definitely the apple followed by the earthy and nutty flavor of ground nutmeg that helps round out the flavor profile of these donuts.  Once these delicate donuts are done baking, they are brushed lightly with butter and then dipped into a cinnamon and sugar coating that helps bring all of those delicious fall flavors together and that little bit of gritty, yummy crunch that just so happens to be my favorite thing about donuts.

Cheddar Apple Pie Dip

One of my favorite combinations for fall eating is cheddar and apples. If you haven’t tried this before, it is the perfect balance of sweet and savory and they all come together in this easy & delicious dip.  Diced on top  is a mixture of red and green apples that have been tossed with brown sugar, cinnamon, and coarsely chopped walnuts. The layer underneath offers a surprise of cheddar cheese mixed with cream cheese and sour cream, cooked until hot and bubbly. Serve with your favorite cinnamon chip or cracker.


The Best of Fall Recipes from MomAdvice.com.

Baked Pumpkin Donuts with Maple Syrup Frosting

I wanted to figure out a way to use the leftover cans of pumpkin we had from our Thanksgiving feasting last year, and I decided to create my very own Baked Pumpkin Donuts with a Maple Syrup Frosting that would be the perfect use for the pumpkin leftover. What started as a way to use up leftover pumpkin is now worked into our fall activities and this year my kids will be enjoying these with big mugs of  homemade hot cocoa on our little front step outside when we do our raking this year.

These are flavorful and almost like a glass of wine, you can taste all the different flavors as you eat them. You can taste the hints of cinnamon and nutmeg, the rich pumpkin flavor, and then that maple syrup sweetness from the light glaze drizzle. The texture is different than a fried donut and more like a muffin or a good piece of cake. They are not overly sweet though and the pumpkin really seems to add a savory quality to these.

Creamy Pumpkin Pasta

I can’t tell you how many of my friends have made my pumpkin pasta a part of their fall routines. It is one of those dishes that surprises me about just how much it is loved!

Have you ever tried pumpkin pasta?  Over the years this dish has become the most favorite dish for fall and one bite of this will tell you why! The kids think it looks like macaroni and cheese so it does not take much coaxing to get them to try a bite. My husband loves the turkey sausage and the meaty flavor of this dish. Me? I just love the creamy pumpkin taste in my mouth!

If you are worried about how your family will react to pumpkin pasta, scale the pumpkin back. You can do between 2/3-2 cups of pasta, depending on your personal taste. Start with a little and ease your family into the two cup ratio.

The pumpkin recipes go on for days and days on our site! Be sure to visit my article on 11 Recipes to Try this Fall with Pumpkin!

What is your favorite Fall recipe you have tried from our site? Have any of these recipes become a yearly tradition for your families? I would love to hear from you!


Pin It

Grain and Nut Whole Wheat Pancakes

Monday, September 3rd, 2012

I am always trying to incorporate whole grains into our morning meal routines for both of my children. These Nut and Grain Whole Wheat Pancakes packed a triple punch for a morning starter because they are filled with not only whole wheat flour, but the additional benefits of being laced with ground oatmeal and chopped walnuts for a hearty and satisfying pancake.

Thanks to the fact that the kids are continually exposed to whole grain foods, I think it is pretty cool that they seem to prefer these now over the white stuff. In fact, our favorite waffle recipe is still my recipe for Cinnamon Whole Wheat Waffles and the kids beg for these for our Sunday morning brunches.

These are definitely the type of pancakes that stick to your ribs which make them perfect for those long days at school before the lunch hour. I have a feeling your family will love these just as much as mine did. Top them with a little maple syrup or favorite fruit preserves and a small handful of walnuts for a beautiful finish.


Grain & Nut Whole Wheat Pancakes
Recipe Type: Main
Author: Adapted from AllRecipes.com
Prep time: 10 mins
Cook time: 20 mins
Total time: 30 mins
Serves: 6
A hearty pancake laced with whole wheat flour, ground oatmeal, and chopped walnuts.
Ingredients
  • 1 1/2 cups old-fashioned oatmeal
  • 1 1/2 cups whole wheat flour
  • 2 teaspoons baking soda
  • 1 teaspoon baking powder
  • 1/2 teaspoon salt
  • 1 1/2 cups buttermilk
  • 1 cup milk
  • 1/4 cup canola oil (or you can substitute with 1/2 cup applesauce)
  • 2 eggs
  • 1/3 cup brown sugar
  • 2 teaspoons vanilla
  • 1 teaspoon ground cinnamon
  • 3 tablespoons chopped walnuts (optional)
Instructions
  1. Grind the oats in a blender or food processor until fine. In a large bowl, combine ground oats, whole wheat flour, baking soda, baking powder, cinnamon, and salt.
  2. In another bowl, combine buttermilk, milk, oil, eggs, vanilla, and sugar with an electric mixer until smooth.
  3. Mix wet ingredients into dry with a few swift strokes.
  4. Stir in nuts, if desired.
  5. Lightly oil a skillet or griddle, and preheat it to medium heat.
  6. Ladle 1/3 cup of the batter onto the hot skillet; cook the pancakes for 2 to 4 minutes per side, or until brown.
  7. Recipe should yield 12 pancakes.


Pin It

Brown Butter Waffles With Cherries

Monday, August 6th, 2012

In our family, there is nothing we love more than our weekly batch of waffles. I decided to pair together two flavors that our family had never experienced before, brown butter and cherries, for a fun spin to go along with our favorite summer fruit.

Browning butter adds a surprising depth of flavor to your dishes and takes a mere three minutes to pull off. Just by cooking your butter in a saucepan a tad past the melting point, it results in the milk solids in the butter browning, and creates a wonderfully nutty aroma in your kitchen and in your foods.

Much like one of my other favorite  waffle recipes, whipped egg whites add lightness to these waffles and help balance the nutty flavoring of the browned butter in these waffles.

I had half a pound of cherries in our refrigerator and this recipe was the perfect way to use them up. I pitted the cherries and cut them in half, then allowed them time to marinate in a few tablespoons of honey while I gathered the ingredients for the waffles. The sugars in the honey help to break down the cherries and release their cherry juices into the honeyed sauce. It results in a sweet topping that is just sweet enough to balance the delicate flavors of these waffles.

A double batch of these in our freezer won’t last long and I doubt they will last long in your house either! Happy waffle making!

Brown Butter Waffles With Cherries
Recipe Type: Main
Author: Adapted from Williams-Sonoma Blog
Prep time: 10 mins
Cook time: 4 mins
Total time: 14 mins
Serves: 4
Make a double batch of these light and airy waffles for eating and for freezing. They won’t last long!
Ingredients
  • 2 cups cherries (about 1/2 pound)
  • 3 tablespoons honey
  • 4 tablespoons unsalted butter
  • 2 cups milk
  • 2 large eggs, separated
  • 1 teaspoon vanilla extract
  • 2 cups all-purpose flour
  • 3 tablespoons sugar
  • 4 teaspoons baking powder
  • 1⁄4 teaspoon salt
Instructions
  1. Halve and pit the cherries and place in a bowl.
  2. Add the honey, stir to mix evenly and let stand at room temperature for about 30 minutes to allow the cherries to release some of their juice.
  3. Preheat a waffle iron.
  4. In a small saucepan, melt the butter over medium-low heat and bring to a boil. Cook, stirring occasionally, until the milk solids in the bottom of the pan turn a toasty brown, about 3 minutes.
  5. Transfer to a bowl and let cool slightly.
  6. Add the milk, egg yolks and vanilla, and whisk until combined.
  7. In a large bowl, sift together the flour, sugar, baking powder and salt. Add the milk mixture and whisk just until combined (a few small lumps are okay).
  8. In another bowl, using a clean whisk or a handheld mixer, whip the egg whites until soft peaks form. Scoop the whites onto the batter and, using the whisk, gently fold them in evenly.
  9. Spoon the batter into your waffle maker (sprayed with nonstick spray), and cook until the waffle is golden brown, usually about 4 minutes.
  10. Serve the waffles piping hot with a big spoonful of the cherries.


Looking for more great waffle recipes? Be sure to visit this post with six different varieties of waffles you can make with your waffle iron!

Pin It

Honey Bun Cake

Monday, April 23rd, 2012

Coffee cake is one of my favorite things to make when I am entertaining. This super rich Honey Bun cake was a new creation in my kitchen and was fittingly named after the sticky cinnamon roll that is covered in a thin sugar glaze known as the, “honey bun.” I knew that this sweet and decadent treat would make a fun addition to our family’s Easter brunch and would be a great way to end our celebration.

The combination of sour cream, canola oil, and the addition of poured honey over the cake creates a moist cake with a dense crumb that begs to be paired with a big glass of milk. Once pulled from the oven, a final decadent layer of a sugar glaze is drizzled on top, which hardens to create a thin sugar glaze over the top of the cake.

Our family absolutely loved  this cake and I would highly recommend it for a fun way to end any brunch or paired with a little decaf coffee for a great way to end an evening when entertaining.

Honey Bun Cake
Recipe Type: Dessert
Author: Adapted from The Cake Mix Doctor
Prep time: 10 mins
Cook time: 38 mins
Total time: 48 mins
Serves: 20
A delicious cake that tastes just like a sticky cinnamon sweet roll.
Ingredients
  • 1 package (18.25 ounces) plain yellow cake mix
  • 1 cup light sour cream
  • 3/4 cup canola oil
  • 4 large eggs
  • For filling: 1/3 cup honey
  • 1/3 cup brown sugar
  • 1 tablespoon cinnamon
  • For sugar glaze: 2 cups confectioners’ sugar, sifted
  • 1/3 cup milk
  • 1 teaspoon vanilla extract
Instructions
  1. Preheat your oven to 350 degrees. Spray 13×9″ pan with cooking spray.
  2. Place the cake mix, sour cream canola oil, and eggs in a mixing bowl.
  3. Blend on low speed for one minute. Increase speed and then beat another two minutes.
  4. Pour the batter into the pan and smooth with a spatula.
  5. Add your filling. Drizzle the honey on top of the batter, then sprinkle your brown sugar and cinnamon.
  6. Swirl your topping through the cake to blend them slightly.
  7. Bake for 38-40 minutes (mine took about 44 minutes).
  8. Remove from the oven and allow the cake to cool.
  9. Prepare your glaze of sugar, milk, and vanilla in a small bowl.
  10. Pour your glaze over the top of the hot cake and spread it over the cake with a spoon.
  11. Allow cake to cool for 20 minutes before cutting it into squares.
  12. Serve the cake warm with big glasses of milk.
Adapted from, “The Cake Mix Doctor,” Cookbook.

I also wanted to share with you some pictures of the things we did for our family brunch.

I picked up a supermarket bouquet of flowers for our centerpiece and then surrounded it with our eggs for egg decorating for the kids. I am loving my freshly painted white kitchen table and freshly reupholstered chairs. It is so nice not having to use a tablecloth when entertaining.

The kids indulged in Kool-Aid Egg Dying again this year and we loved the rich, vibrant shades of colors we were able to achieve.

I prefer to keep entertaining informal so the food was buffet style for our get together.  I served our Ham & Vegetable Strata, a Sausage & Cheese Egg Casserole, fresh fruit layered in a trifle bowl, my Bacon & Ranch Cheese Ball, the Honey Bun Cake (above), and orange juice or coffee for our guests. Everything was made the day before, except the cake, and it made entertaining on a busy Sunday morning very easy.

Pin It

Ham & Vegetable Breakfast Strata

Monday, April 9th, 2012

Throwing brunches is one of my favorite entertaining tricks for staying ahead on food preparation and staying under budget. A breakfast strata happens to be one of my favorite brunch dishes to prepare because all of the work can be done ahead of time, allowing me the chance to really be in the moment and visit with our guests.

Breakfast strata is nice and frugal because you can use what is in season and on sale to create this elegant dish. Better yet, you can use the leftover Easter ham and leftover vegetables in a fun and creative way. Even the bread can be stale or leftover from your Easter feasting. If you don’t have any bread to dig into, don’t forget my super awesome resource for day old bread. Between that and your Easter leftovers, you have the makings of a meal for mere pennies.

This strata is unlike my usual meat and cheese strata because it is filled with delicious fresh vegetables. I used zuchinni, mushrooms, and green peppers in mine, but you can mix up whatever variety of vegetables you love or have on hand. Leave the meat out to keep it vegetarian or add your favorite meat to add another dimension of flavor.

The creaminess in this comes from a tiny bit of half-and-half and a whole lot of cream cheese.

In my grandmother’s words, “Cream cheese just makes everything better.”

We couldn’t agree more.

Breakfast Strata
Recipe Type: Main
Author: Adapted from AllRecipes.com
Prep time: 45 mins
Cook time: 35 mins
Total time: 1 hour 20 mins
Serves: 16
A breakfast strata that you can assemble the night before. This is a winner for any brunch or when entertaining. This makes two. Cut your recipe in half for just one strata.
Ingredients
  • 3 cups sliced fresh mushrooms
  • 3 cups chopped zucchini
  • 2 cups cubed fully cooked ham
  • 1 1/2 cups chopped green pepper
  • 2 garlic cloves, minced
  • 3 tablespoons olive oil
  • 2 (8 ounce) packages cream cheese, softened
  • 1/2 cup half-and-half cream
  • 12 eggs
  • 4 cups cubed day-old bread
  • 3 cups shredded Cheddar cheese
  • 1 teaspoon salt
  • 1/2 teaspoon pepper
Instructions
  1. In a large skillet, saute the mushrooms, zucchini, ham, green peppers and garlic in oil until vegetables are tender. Drain and pat dry; set aside.
  2. In a large mixing bowl, beat the cream cheese and cream until smooth.
  3. Beat in eggs.
  4. Stir in the bread, cheese, salt, pepper and vegetable mixture.
  5. Pour into two greased 11-in. x 7-in. x 2-in. baking dishes.
  6. Bake, uncovered, at 350 degrees F for 35-40 minutes or until a knife inserted near the center comes out clean.
  7. Let stand for 10 minutes before serving.


We wanted to share with you a few of our favorite pictures from our Easter celebration. We hope you all had a wonderful Easter with your families!

What is your favorite way to use up those Easter dinner leftovers?


Pin It

Banana Crumb Muffins

Monday, April 2nd, 2012

I had a rainy day with nothing to do on the horizon. I put on a little Ella Fitzgerald on my laptop and headed into kitchen to spend the morning baking and thinking. I always do my best thinking in the kitchen, don’t you?  There is something about the mindless concentration of measuring, scooping, leveling, and mixing that appeals to me. With ripe bananas sitting on the counter, I knew these Banana Crumb Muffins would be the ideal treat for a sweet snack for my kids. Everyone has a favorite recipe for bananas and these Banana Crumb Muffins happen to be my favorite for putting those bananas to good use.

If you are looking for a bakery-worthy recipe, these muffins would be right at home in any bakery. The cinnamon and sugar streusel topping is really what makes these rather ordinary banana muffins stand out. The crunch from the topping with the moist cake makes these a winner in our family.


I love to double the crumb topping on these and keep this in my freezer. It is a fun addition to any of your favorite muffin recipes and makes the process of creating these just a little bit easier the second time around. When you want to use the crumb topping, just use a fork to break the topping up a bit and add as you normally would to your muffins.

Serve these delicious muffins with big glasses of ice cold milk for an easy and satisfying snack.

Banana Crumb Muffins
Recipe Type: Dessert
Author: AllRecipes.com
Prep time: 10 mins
Cook time: 18 mins
Total time: 28 mins
Serves: 10
A light & fluffy banana muffin with a delicious cinnamon and brown sugar struesel topping.
Ingredients
  • Banana Crumb Muffins
  • 1 1/2 cups all-purpose flour
  • 1 t baking soda
  • 1 t baking powder
  • 1/2 t salt
  • 3 bananas, mashed
  • 3/4 cups white sugar
  • 1 eggs, lightly beaten
  • 1/3 cup butter, melted
  • 1/2 cup packed brown sugar
  • 1/8 cup all-purpose flour
  • 1/2 t ground cinnamon
  • 1 T butter
Instructions
  1. Preheat oven to 375.
  2. Lightly grease ten muffin cups or line with muffin papers.
  3. In a large bowl, mix together flour, baking soda, baking powder, and salt.
  4. In another bowl, beat together bananas, sugar, egg and melted butter.
  5. Stir the banana mixture into the flour mixture just until moistened.
  6. Spoon batter into prepared muffin cups.
  7. In a small bowl, mix together brown sugar, flour, and cinnamon. Cut the butter until mixture resembles coarse cornmeal.
  8. Sprinkle topping over muffins.
  9. Bake in preheated oven for eighteen to twenty minutes, or until a toothpick inserted into center of muffins comes out clean.


Looking for other delicious muffin recipes? I love these Healthy Banana & Blueberry Muffins, these Apple Pie Muffins, and my Lemony Blueberry Muffins for some other fun muffin alternatives!

Pin It

Baked Snickerdoodle Doughnuts

Monday, March 19th, 2012

Baked donuts have become our family’s new way of celebrating all of the special occasions in our life and I couldn’t wait to share with you my snickerdoodle donut creation I made this week. These baked snickerdoodle donuts are a fun & frugal family treat that are easy to create with a simple nonstick donut pan ( we have two of these Norpro 6-count Nonstick Donut Pans) and pantry ingredients.

My husband celebrated his birthday this past weekend and I wanted to create something special for his birthday morning. Every year I try to find a snickerdoodle treat for him since it is his favorite cookie in the whole world. We have enjoyed everything from the cookies to snickerdoodle cupcakes to snickerdoodle biscotti in our house. It seems no matter what version of snickerdoodles we are creating, we love them no matter what. Who could resist that cinnamon flavor?

I will admit the first batch of these was a giant fail, although they photographed beautifully. I played with different leavening agents that yielded gummy and heavy donuts.  I ended up baking a second round later in the week using cake flour and it helped to yield a much lighter donut and more the consistency I was after. It is proof that sometimes it takes a couple of tries before you get it right when baking.

Each donut was dipped in butter and then dipped in a bowl filled with sugar and cinnamon. The coating adds that crunch and more cinnamon flavor that remind me so much of our favorite snickerdoodle cookie. We all agreed, that these donuts were heavenly and there was not a single one left once I perfected the batch.

Baked Snickerdoodle Donuts
Recipe Type: Dessert
Author: Amy Allen Clark
Prep time: 10 mins
Cook time: 8 mins
Total time: 18 mins
Serves: 12
These baked cake donuts are full of cinnamon flavor with a crunchy cinnamon & sugar topping that you are sure to love!
Ingredients
  • 2 cups cake flour (or 1 3/4 cup all-purpose flour + 1/4 cup cornstarch)
  • 3/4 cup sugar
  • 2 tsp baking powder
  • 1 tsp salt
  • 1 tsp cinnamon
  • 3/4 cup milk
  • 2 eggs, lightly beaten
  • 2 Tbsp butter
  • 1 tsp vanilla extract
  • Cinnamon & Sugar Topping: 1/4 cup of butter, melted
  • 1/3 cup of sugar
  • 1 tsp cinnamon powder
Instructions
  1. Preheat your oven to 400 degrees.
  2. Whisk together the cake flour, sugar, cinnamon, baking powder and salt into a large bowl.
  3. Pour in the milk, eggs, butter and vanilla extract.
  4. Gently mix the ingredients together. Be careful not to over-mix the batter.
  5. Lightly grease a doughnut pan with non-stick cooking spray.
  6. Carefully spoon the batter into the doughnut pan, filling each one halfway (you should get twelve donuts total)
  7. Bake the doughnuts at 400 F for eight minutes. The donuts will remain light in color, but should spring back when pressed.
  8. Allow to cool for five minutes.
  9. Unmold each donut gently and lightly brush each with the 4 tablespoons of melted butter.
  10. Dunk in a bowl with the sugar and cinnamon mixed in.
  11. Shake off excess sugar and serve immediately.


Emily & Ethan presented their Dad with these fabulous donuts for his birthday treat. We all sang to him and Emily presented just one more gift for her dad…

Her front tooth.

It is too adorable for words.

Looking for really great baked donut recipes? I have you covered!

1. Baked Apple Pie Donuts

2. Baked Blueberry Donuts with a Lemon Glaze

3. Fluffy Cake Donuts with a Simple Glaze

4. Fluffy Baked Chocolate Donuts

5. Baked Pumpkin Donuts with Maple Syrup Frosting

6. Baked Glazed Gingerbread Donuts

What are your favorite ways to celebrate birthdays in your family? We would love to hear your family’s traditions for celebrating!


Submitted to Mouthwatering Mondays at A Southern Fairytale.

Pin It

Homemade Mint Truffle Coffee Creamer

Monday, February 27th, 2012

I can admit that I am a coffee addict. Coffee without good coffee creamer though makes me a little sad. My refrigerator is usually fully stocked for lots of coffee sipping, but I also love knowing that I can whip up a batch of homemade coffee creamer in my blender if I run out. Homemade coffee creamer is one of those recipes that you will find yourself relying upon when you have impromptu guests or when your grocery day is nowhere in sight.

The big joke in our house is that everyone is always praying that I run out of coffee creamer so that I will go to the grocery store. Frankly, we could run out of all of our food and as long as I still can have a good cup of coffee in the morning, then I am pretty much set for the entire day. I will just make do with what we have until the creamer runs out. About seven years ago, I ran across this recipe for making coffee creamer out of pantry ingredients. This was probably a very sad day in our house for the rest of the family because now I never have to go the grocery store.

Before I figured out how to make my Homemade Peppermint Mocha Drinks, I relied upon this delicious coffee creamer to satisfy my Peppermint Mocha cravings at home. This Homemade Mint Truffle Coffee Creamer has all of those elements that I love- chocolate, mint, and a rich creaminess. Of course, the creamer recipe can be modified for those of us that like to add half a cup of coffee creamer to every cup of their coffee to make the recipe more calorie conscious. Simply replace your regular sweetened condensed milk with the fat-free version and use skim milk instead of a fuller fat version of milk.

The recipe includes adding Peppermint Coffee Syrup to your creamer, but that is something that is easy to create with pantry ingredients and the recipe is available on the site. You certainly don’t have to create the peppermint syrup yourself, although it is really easy to do and made from pantry ingredients.  Simply call ahead to your favorite Starbucks joint and ask if they have a spare bottle of Peppermint Syrup that you can buy or if they can order it for you. Split a bottle with a friend if you don’t picture yourself using the whole bottle or save it for this summer to make my favorite DIY Peppermint Mocha Frappes that I make with frozen coffee ice cubes in the summer months.

Below I have provided a few other variations on this coffee creamer recipe to help you create other delicious coffee creations in your kitchen.

Homemade Mint Truffle Coffee Creamer
Recipe Type: Drink
Author: Recipezaar.com
Prep time: 5 mins
Total time: 5 mins
Serves: 12
Skip the store the next time you run out of your favorite coffee creamer and whip up this easy homemade creamer made from pantry ingredients.
Ingredients
  • 1 can sweetened condensed milk
  • 1 1/2 cups nonfat milk (or you can use prepared powdered milk)
  • 3 Tablespoons unsweetened cocoa
  • 3 Tablespoons peppermint coffee syrup (see above for a link to our homemade version)
Instructions
  1. Blend all ingredients together in your blender.
  2. Pour into a mason jar or your old coffee creamer dispenser. This creamer will keep up to two weeks in your fridge.
  3. Variations:
  4. French Vanilla Creamer- omit cocoa and peppermint syrup & add 1 tablespoon vanilla.
  5. Chocolate Almond Creamer-omit peppermint syrup and add 1 teaspoon almond extract.
  6. Amaretto Creamer- omit cocoa & peppermint & add ½ teaspoon cinnamon and 1 teaspoon almond extract.)

I am participating in Mouthwatering Mondays at A Southern Fairytale.

Are you a coffee creamer addict too? What does your favorite cup of coffee look like?

Pin It