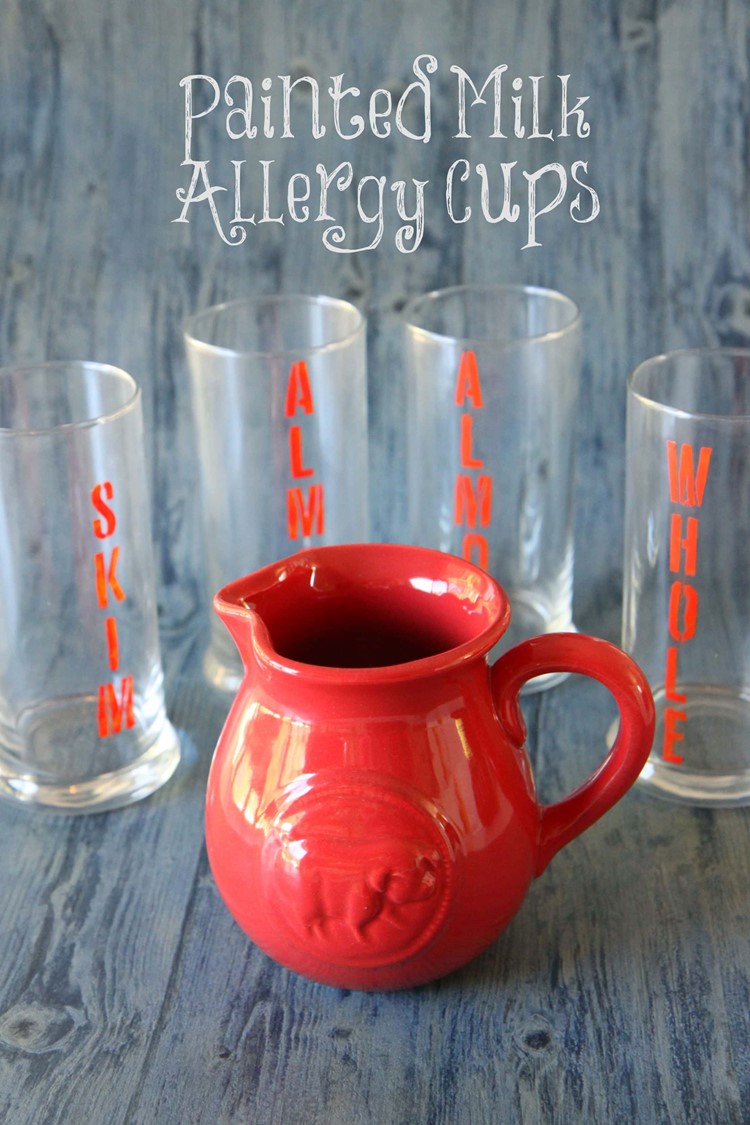
 In our family each family member seems to need to drink a different variety of milk. I wanted to create these painted milk allergy mugs for our family and wanted to show you this easy fifteen minute craft that might help your own family with the dinner hour.
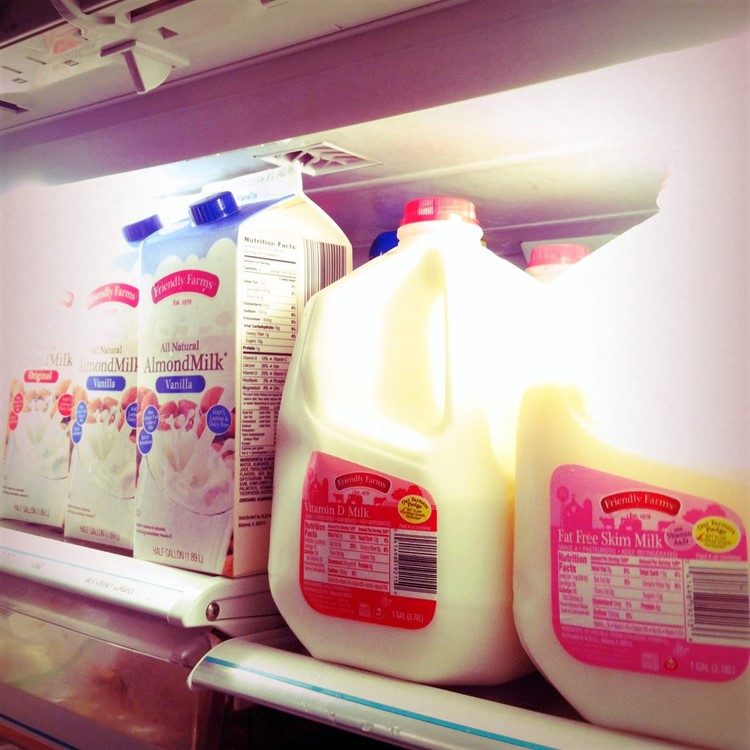
 Without going into an annoying list of all of our health issues these days, we have all had to make some dietary changes for our health and that means three varieties of milk in our fridge. I recently snapped a picture on Instagram (find me on there under momadvice!) and commented that our family doesn’t need an additional fridge in our garage for beer, but one just for all of our milk. It is a game of milk tetris in this fridge. I knew we weren’t alone, but it surprised me just how many friends commented that their fridge looked just like ours.
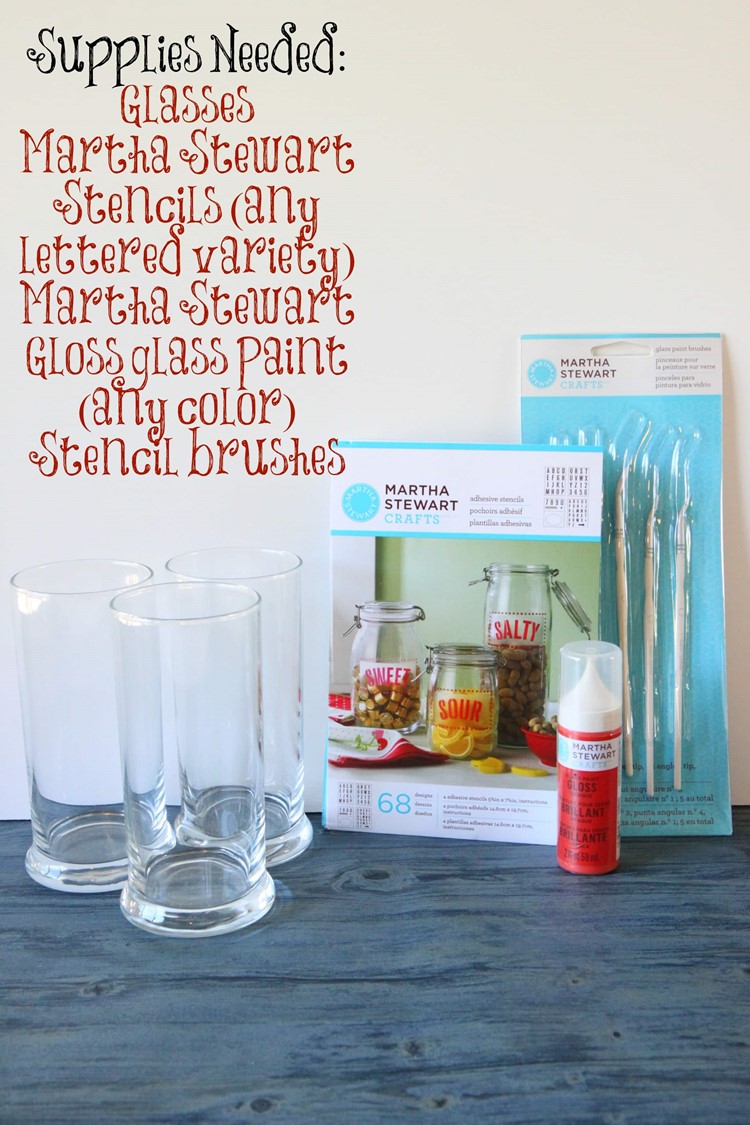
Pouring three varieties of milk each dinner hour can get confusing. One mix up could really ruin someone’s day… literally. Since one of us would rather not spend the afternoon in belly pain if they grab a cup of whole milk instead of their almond milk, I thought it was time to make labeled cups for each of us. I had been dying to try out Martha Stewart’s new line of paints at Michael’s so I headed over there to grab the supplies and found some inexpensive glasses at a local discount store to complete the supplies for this project.


How to Stencil Your Glassware
1. Clean your glasses with soap and water, then rub with rubbing alcohol to remove any remaining residue on the glass.
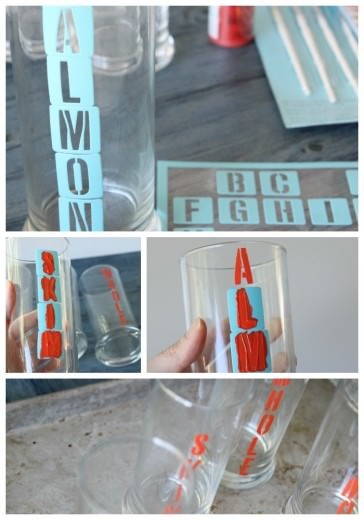
2. Apply the reusable adhesive stenciled letters for your milk labels. If you have a shorter cup, feel free to substitute words like, “almond” or “coconut” with the word “nut,” to save on space.
3. Pour a small amount of paint on a disposable plate. Using your brush, apply a thin layer of paint, doing your best to stay within the stencil. If needed, apply a second coat.
4. While your paint is still wet, carefully peel off stencil.
5. Allow the paint to dry for one hour and then place the glasses on a cookie sheet. Set the glasses in a cool oven. Set oven to 350°F and bake for 30 minutes. Glass must heat gradually with the oven to avoid breakage. Do NOT place glass in a hot oven. After 30 minutes, turn the oven off. Allow glass to cool completely in oven. Wait 72 hours before using.
6. Clean all stencils, rushes, and tools immediately after using them, before the paint has dried. You can use a stencil cleaner to clean. Let dry. Attach backing to stencils and then store for another use.
It’s that easy, friends! I hope it helps another family struggling to keep track of the milk cups! Of course, I can’t wait to do some other fun projects with these stencils! Have a great day!
Pin It