Archive for the ‘DIY’ Category

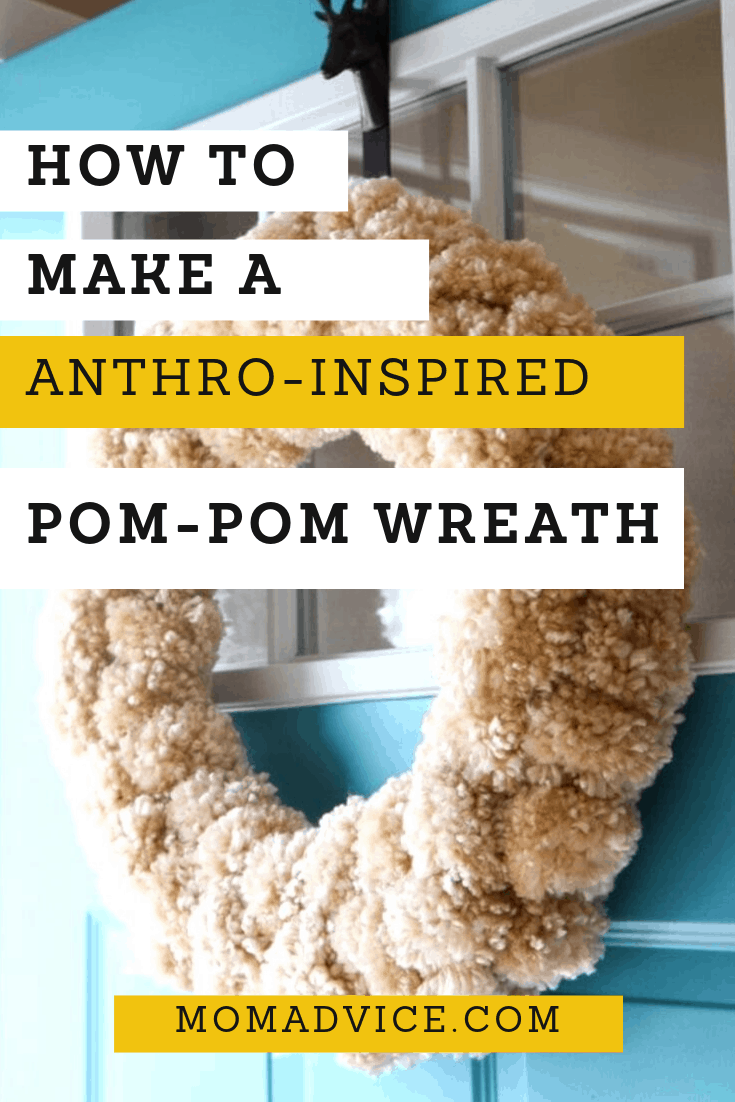
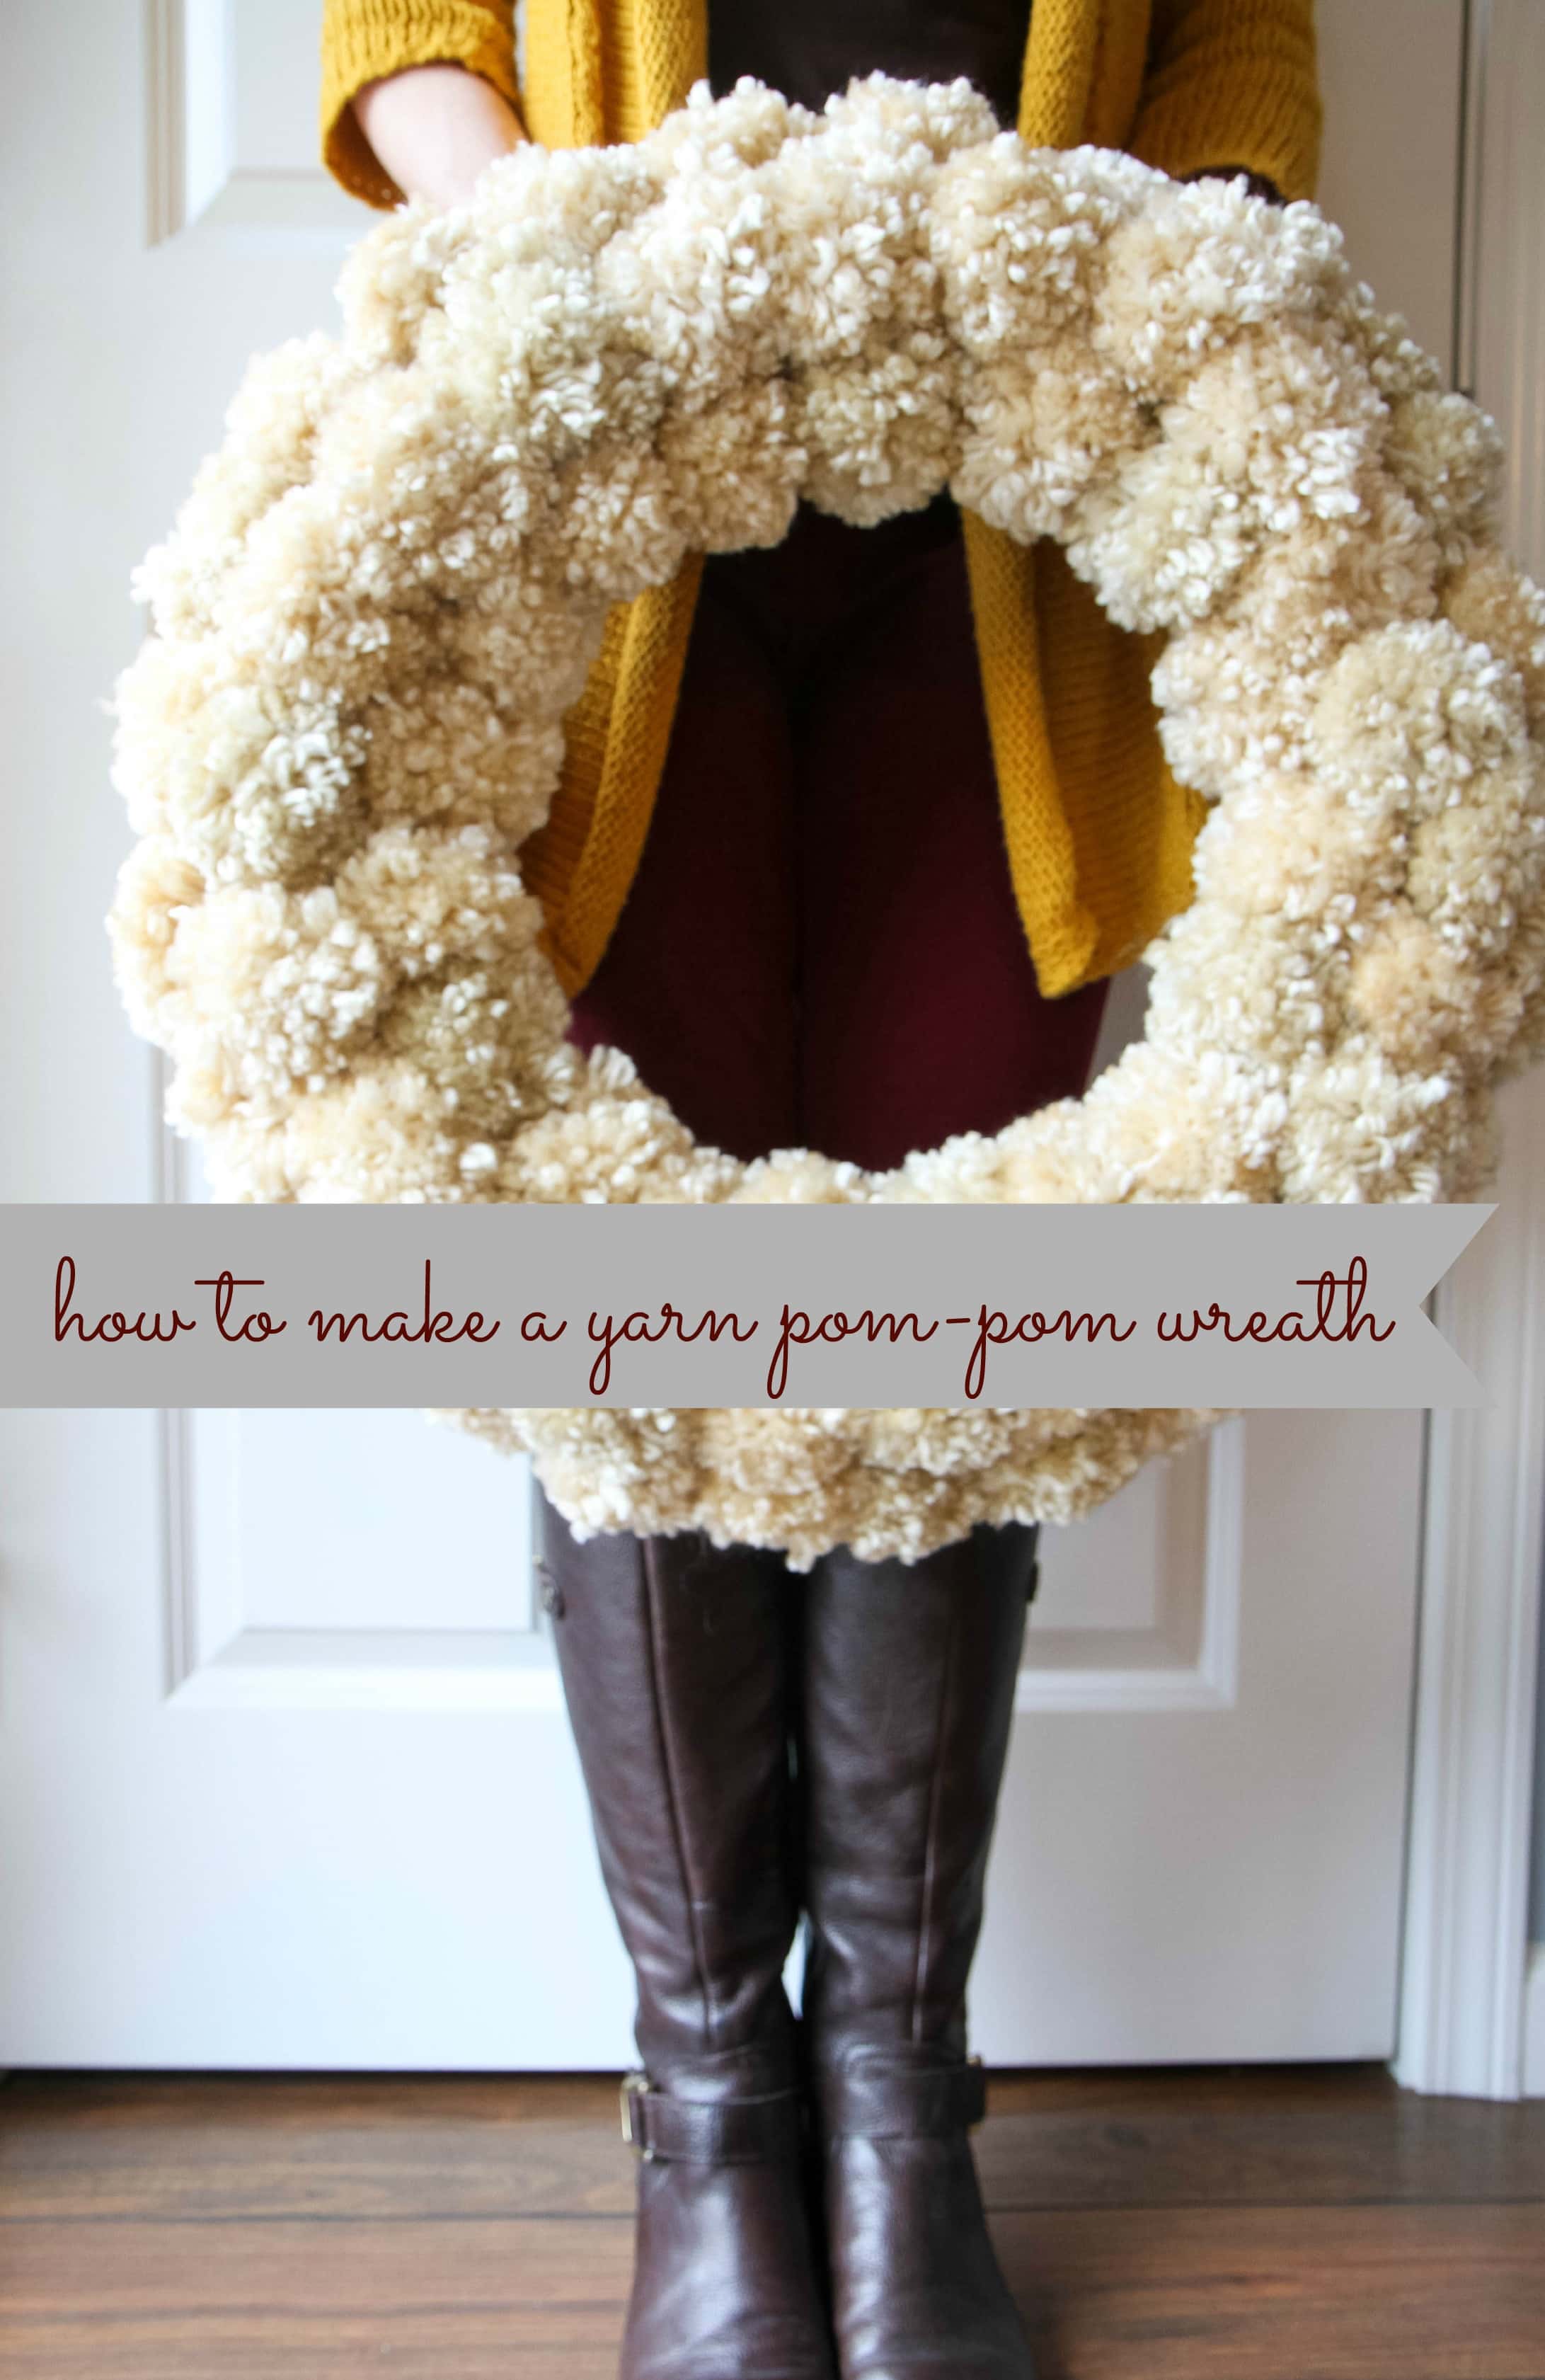
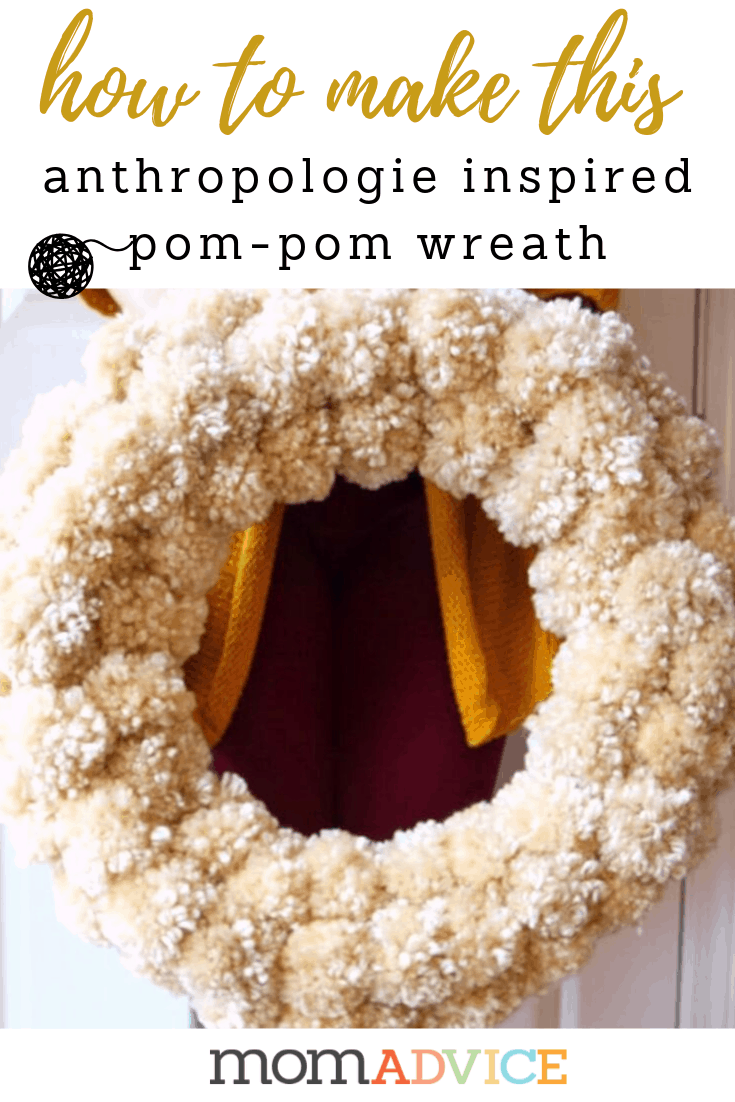
How to Make a Yarn Pom-Pom Wreath

Tuesday, October 29th, 2019

How to Make a Yarn Pom Pom Wreath from MomAdvice.com

I know everyone is very different about their decorating.

In my house, I try to only decorate with items that I have handmade for the holidays and that really mean something to our family.

Our home doesn’t have a lot of storage so I have to be selective about what we carry over from year to year.

In a nod to my yarn and knitting habit, this year the house is decorated in pom-poms for the season.

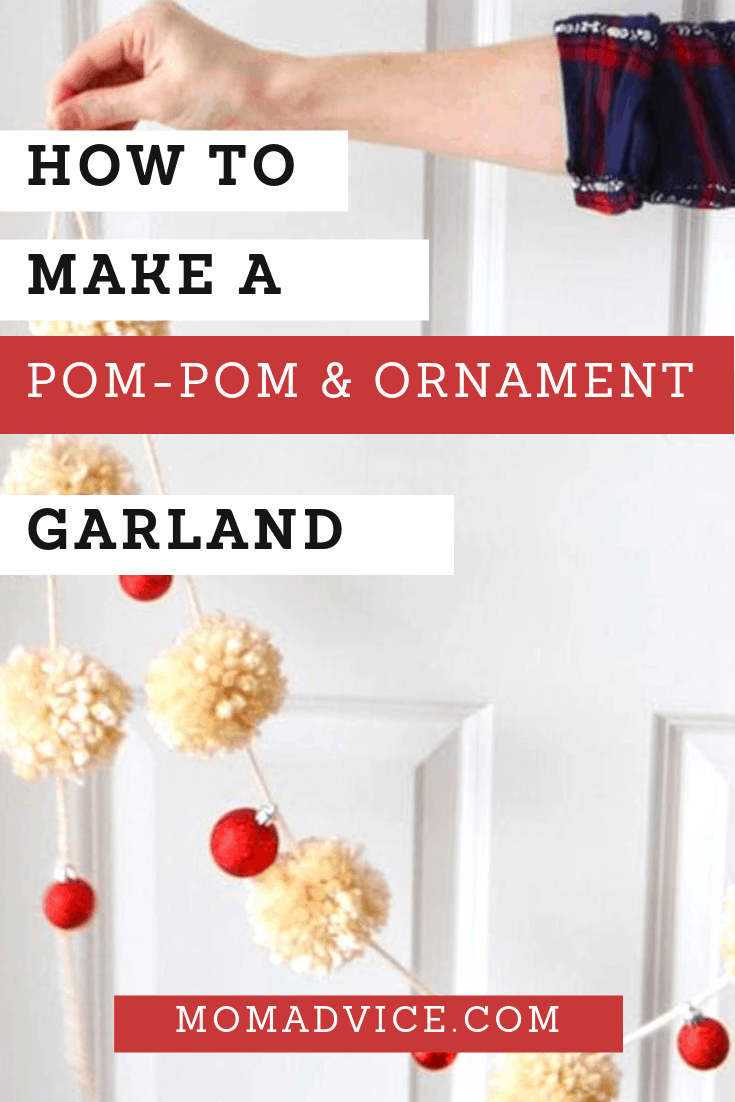
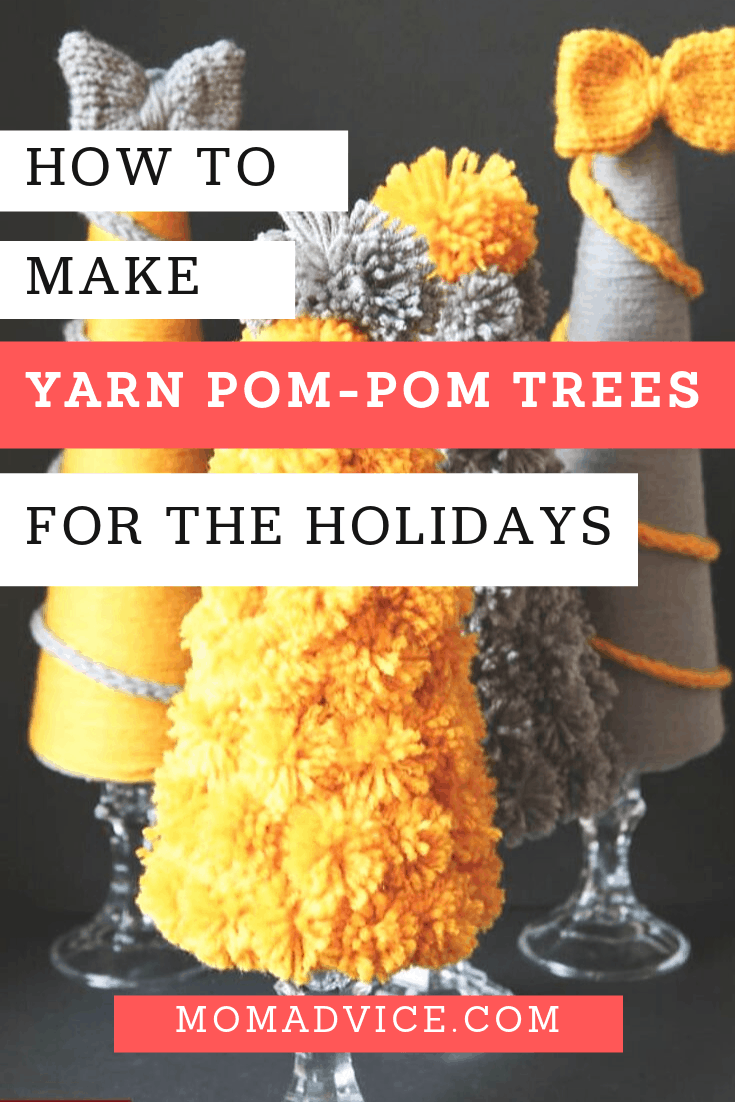
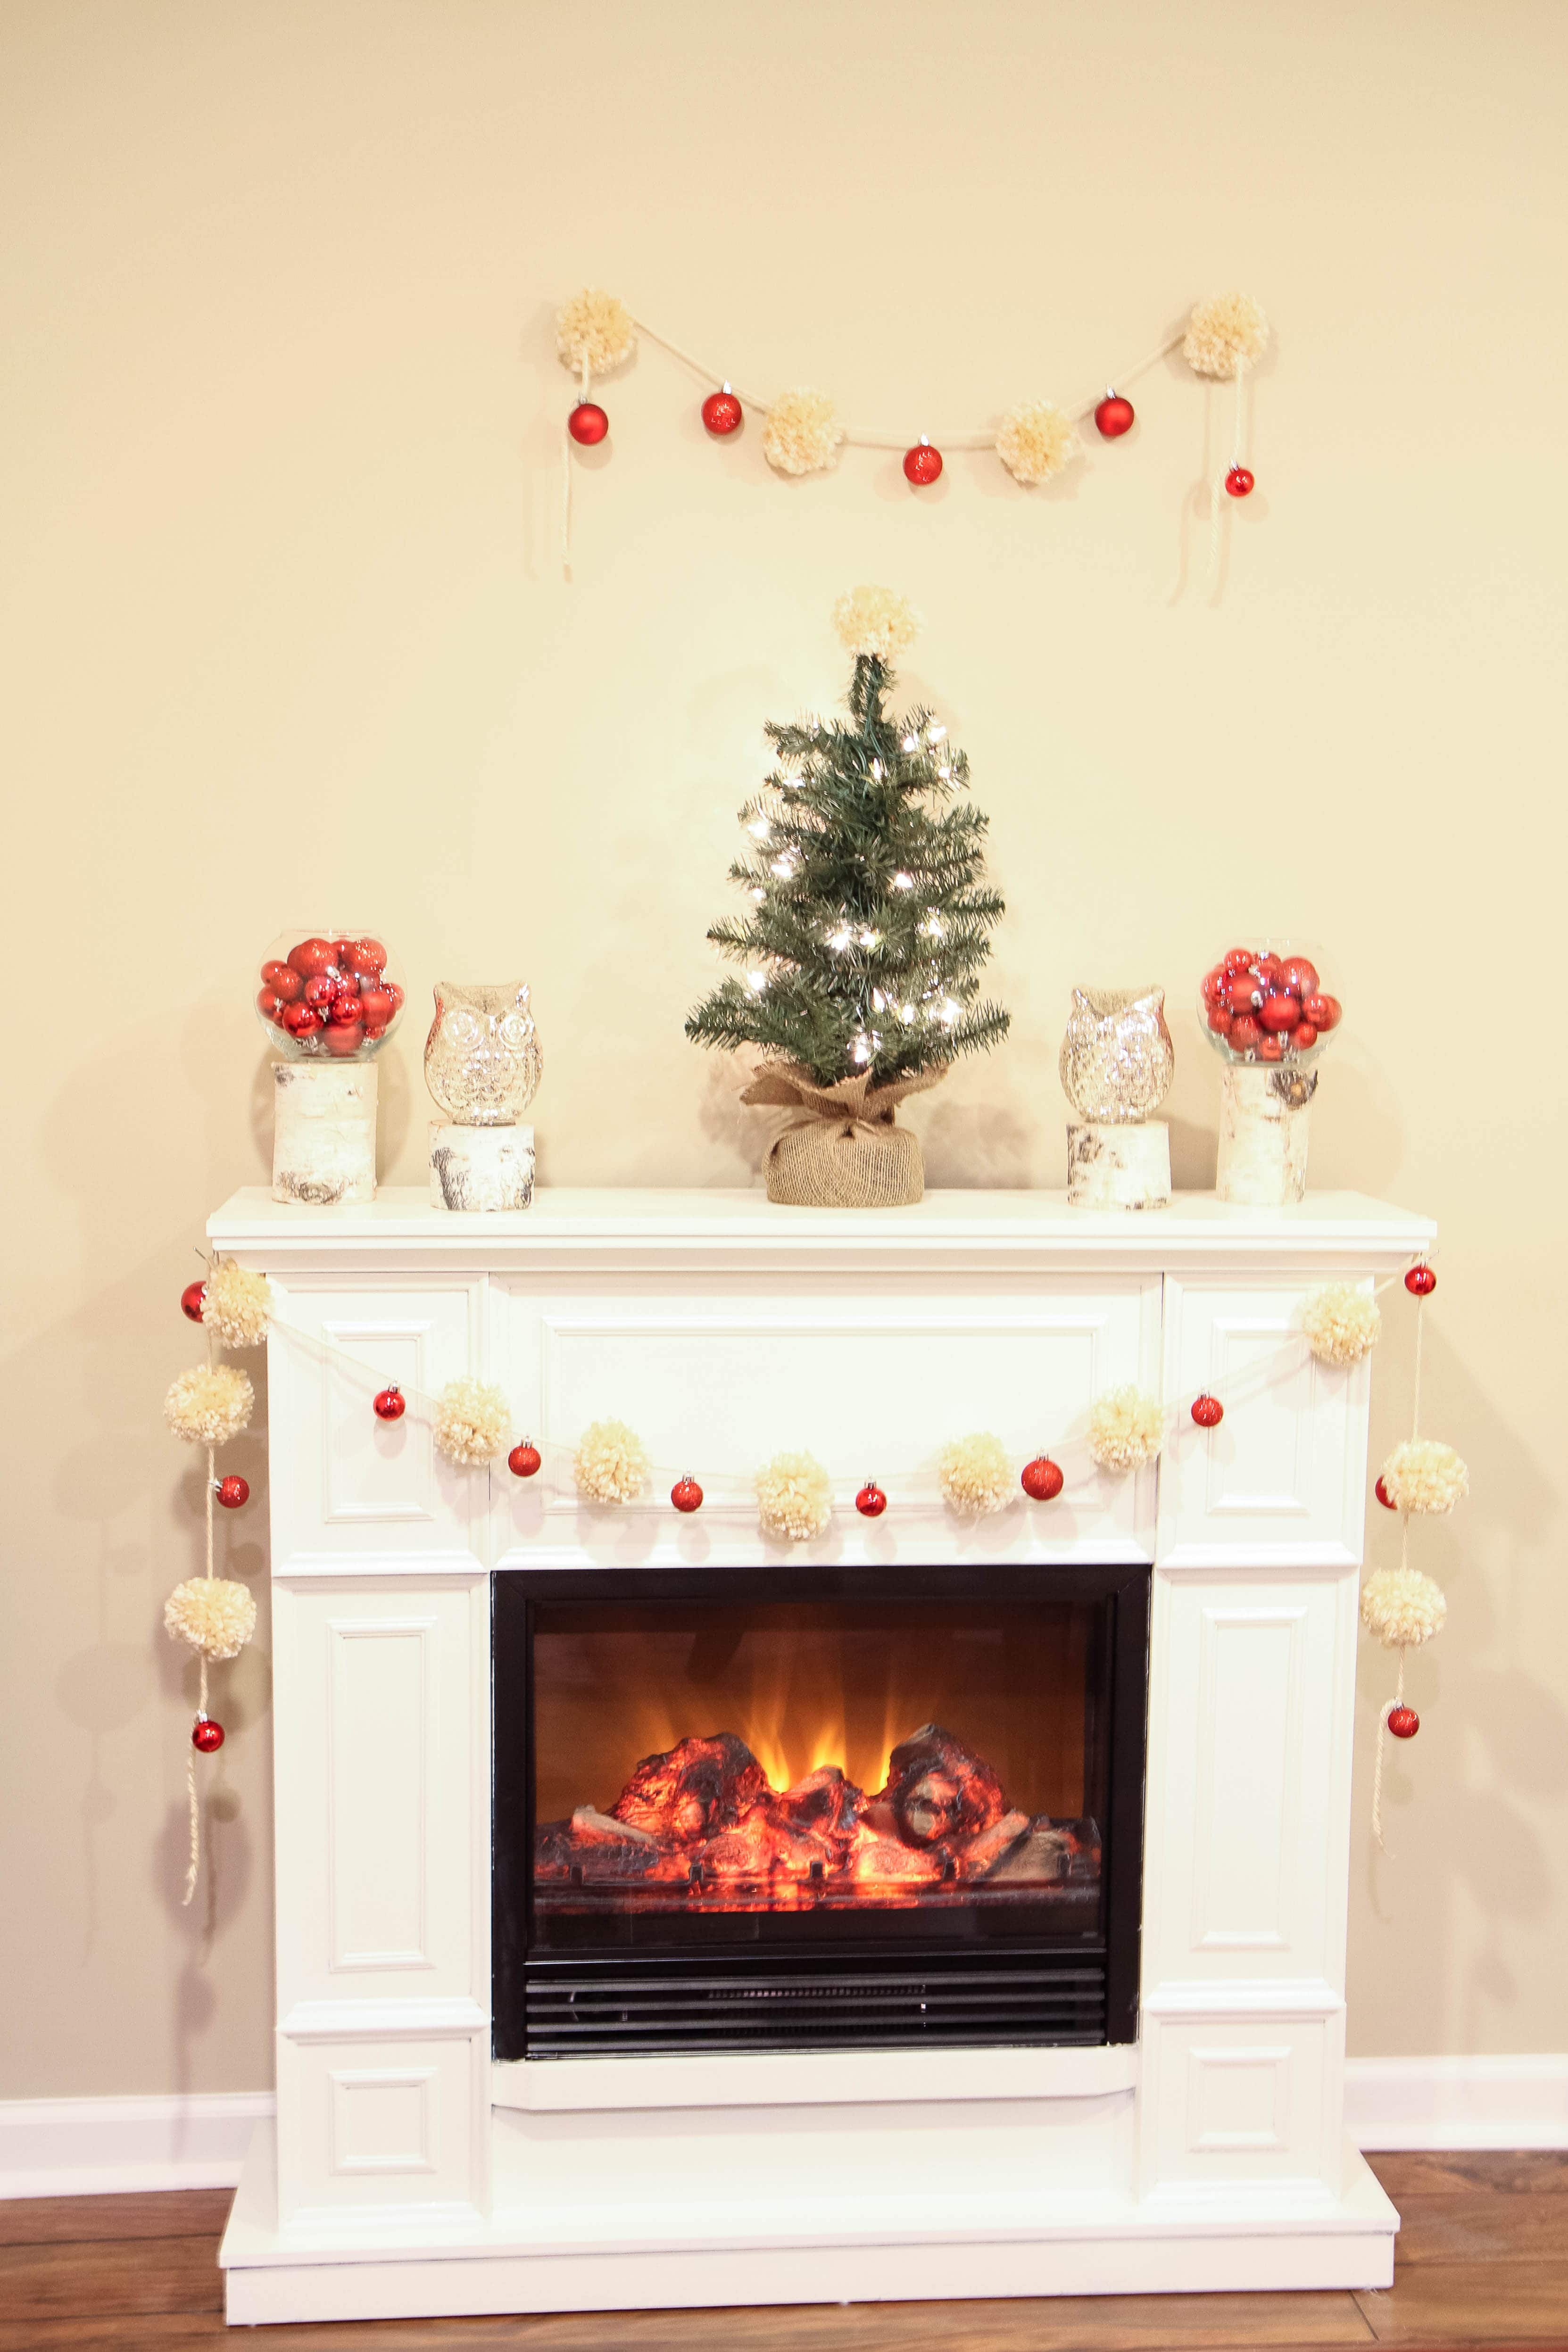
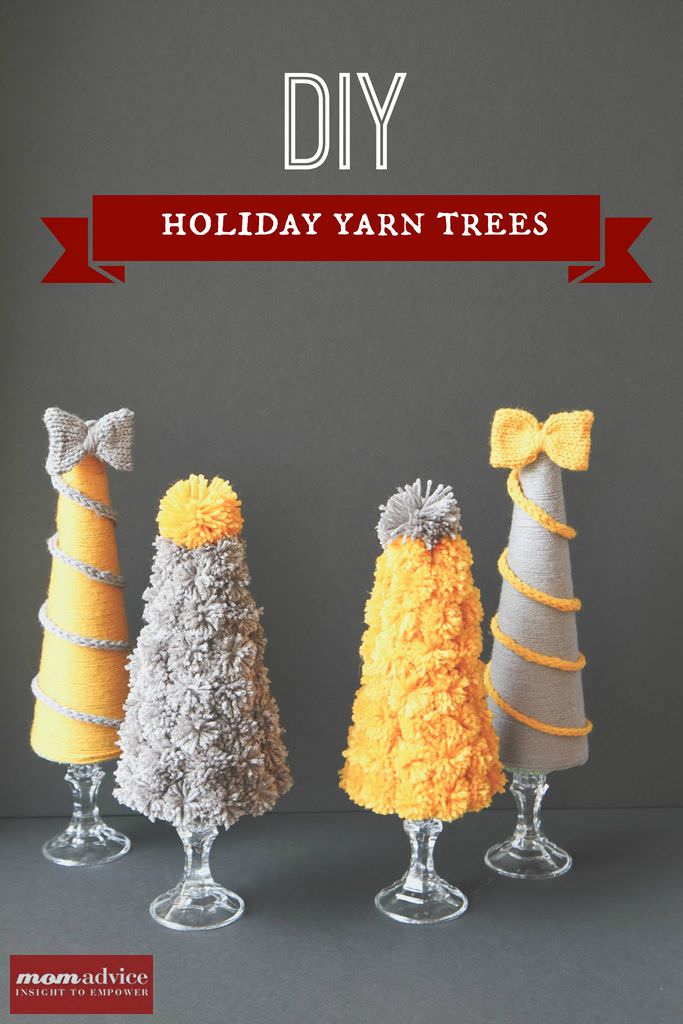
I created this easy yarn pom-pom & ornament garland and I got out my yarn pom-pom trees that I had created, to decorate a shelf in our kitchen.

Other than that, we keep it fairly simple with fresh greenery that doesn’t take up valuable storage.

Each year I dedicate my Black Friday to one craft that I have always wanted to try.

When I first started knitting it was all about finding projects out of my comfort zone.

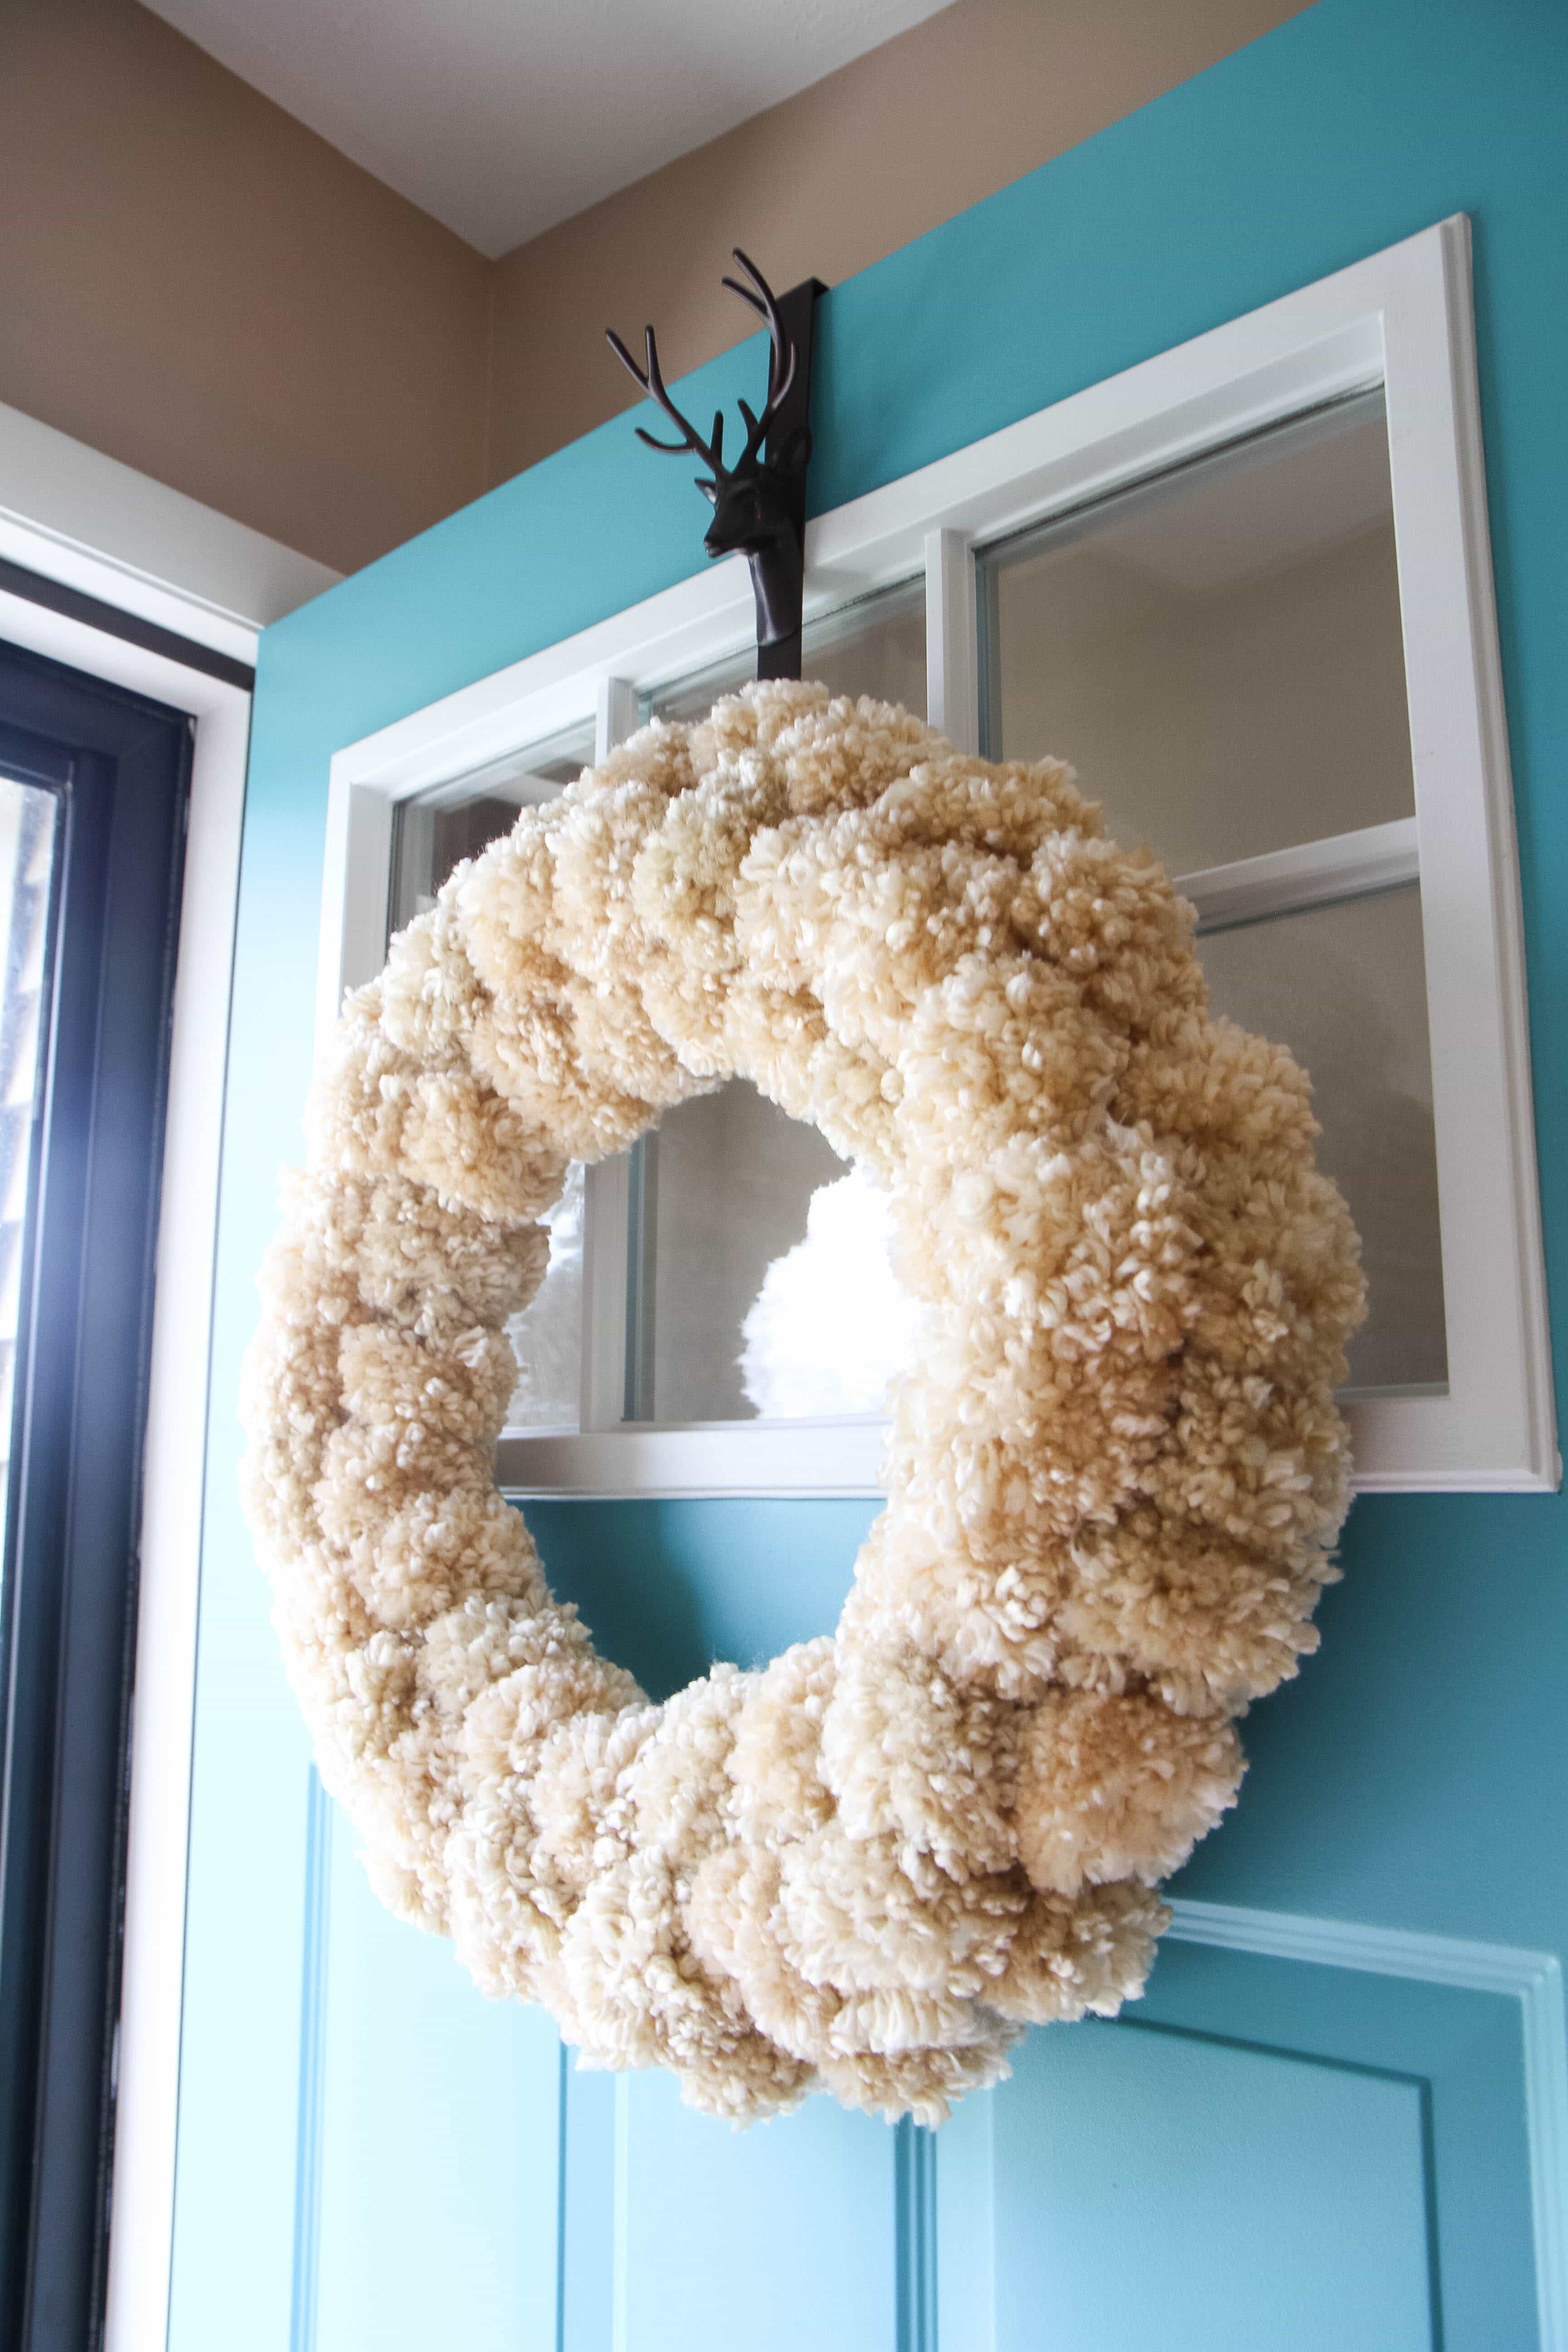
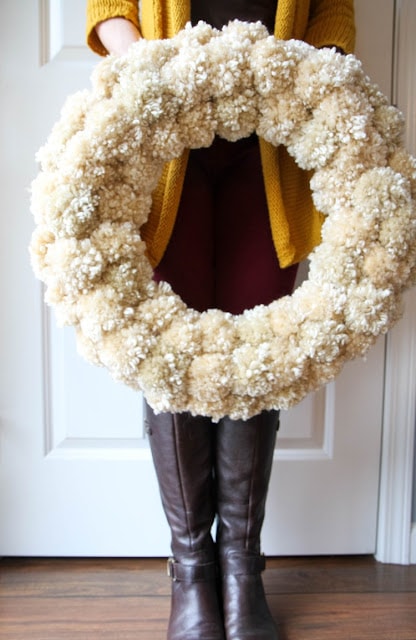
This year though,  I decided to tackle a crafting to-do that I have wanted to do for many, many years…it is a pom-pom wreath for our front door.

Just as my autumn burlap wreath carried me through from Halloween to Thanksgiving, this pom-pom wreath in cream has all of the magic of the holiday season, but can be carried over into the spring months due to its neutral tones.

This craft can’t be whipped up quick, but the reward is great.

In fact, I smiled today as I pulled up to my front door.

Just seeing it and knowing the labor of love that went into creating it makes my heart truly happy.

If you are a maker, you know the joy that comes with the completion of a craft project you have always wanted to do and then have done it well. It’s unlike any other feeling.

I also ADORE when you share your pictures of crafts that you have done from our site.

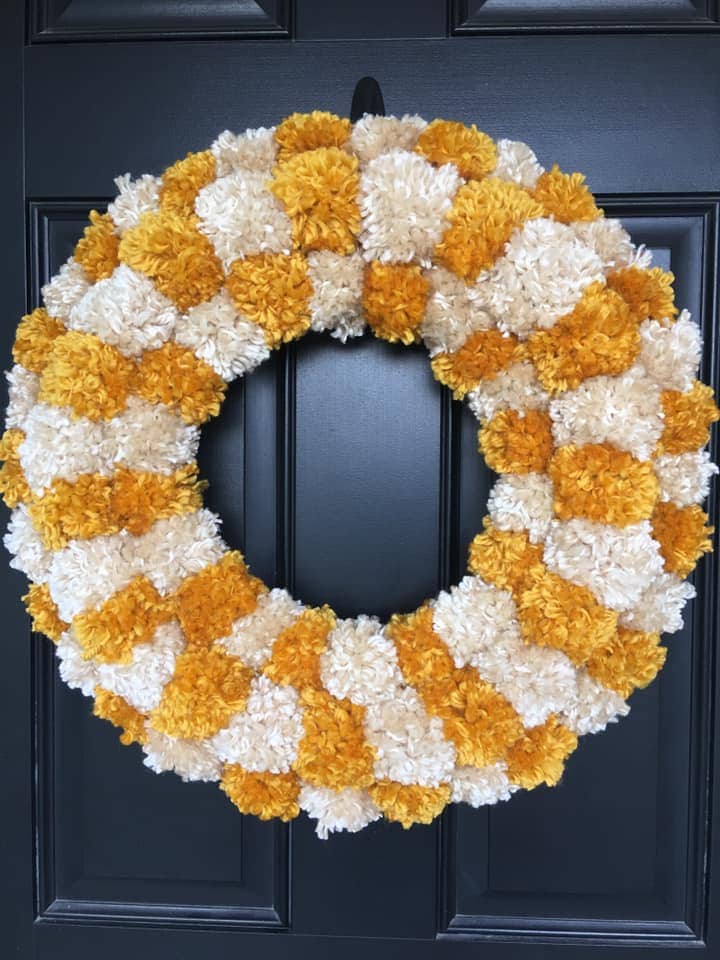
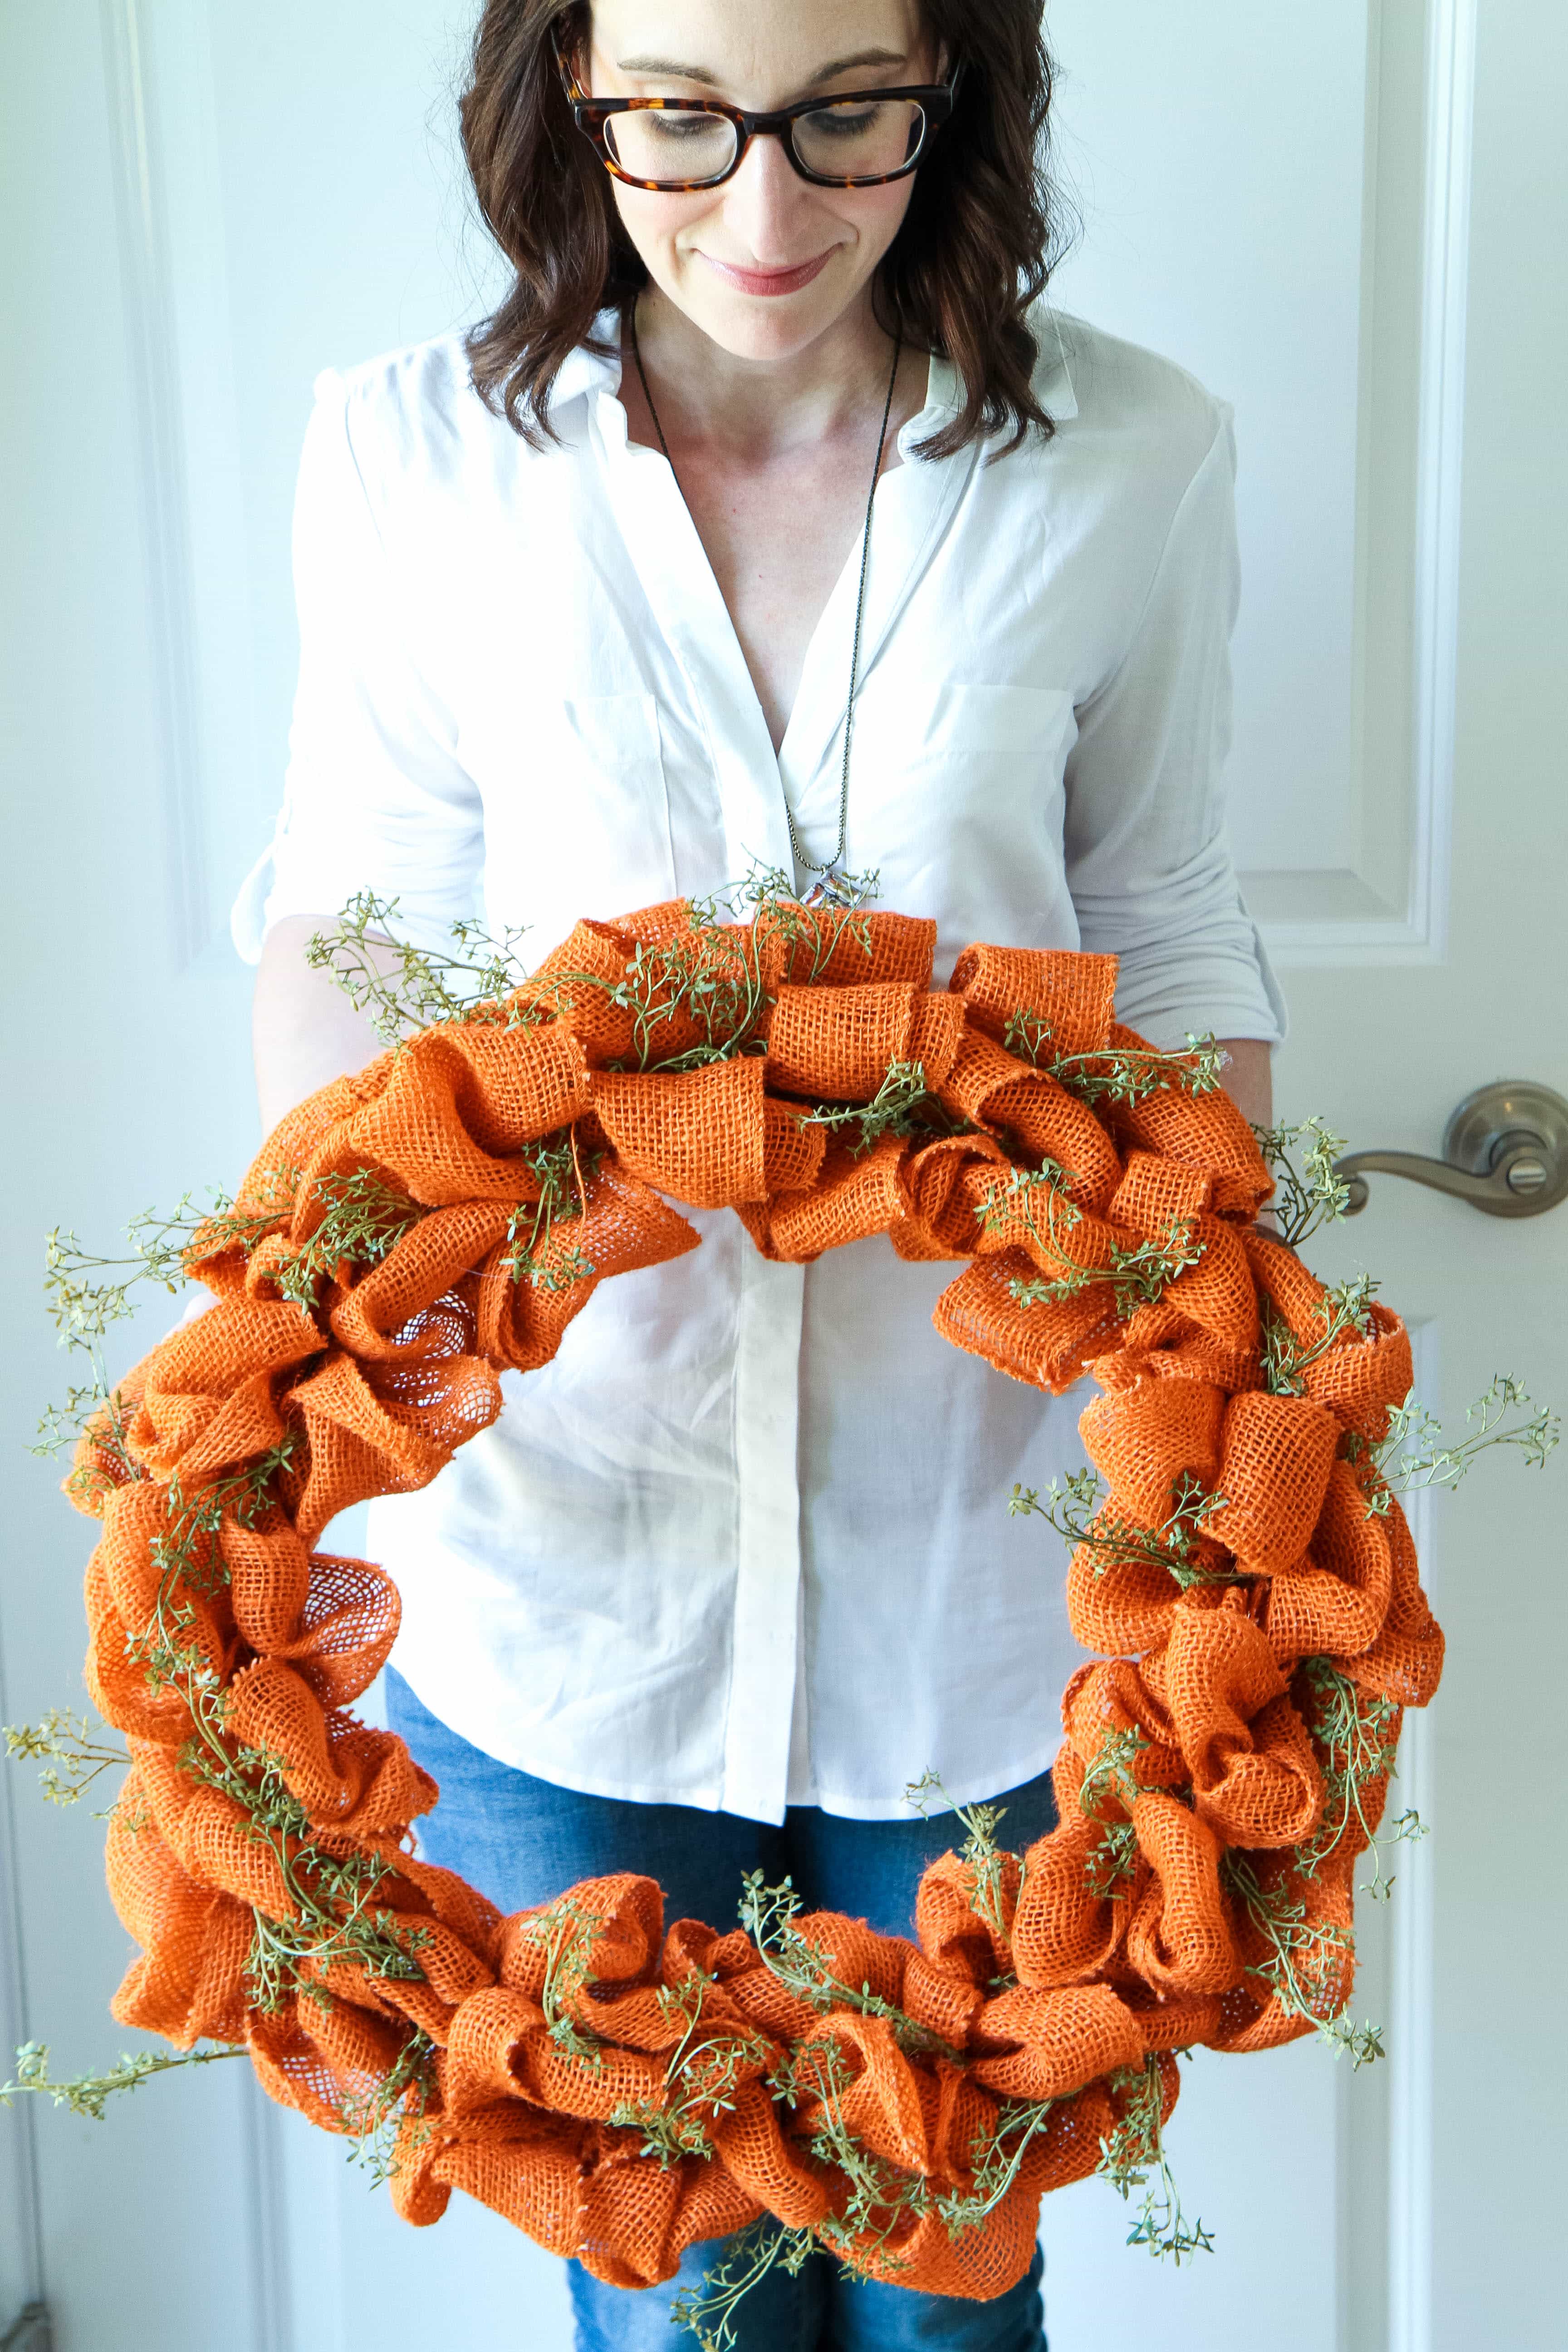
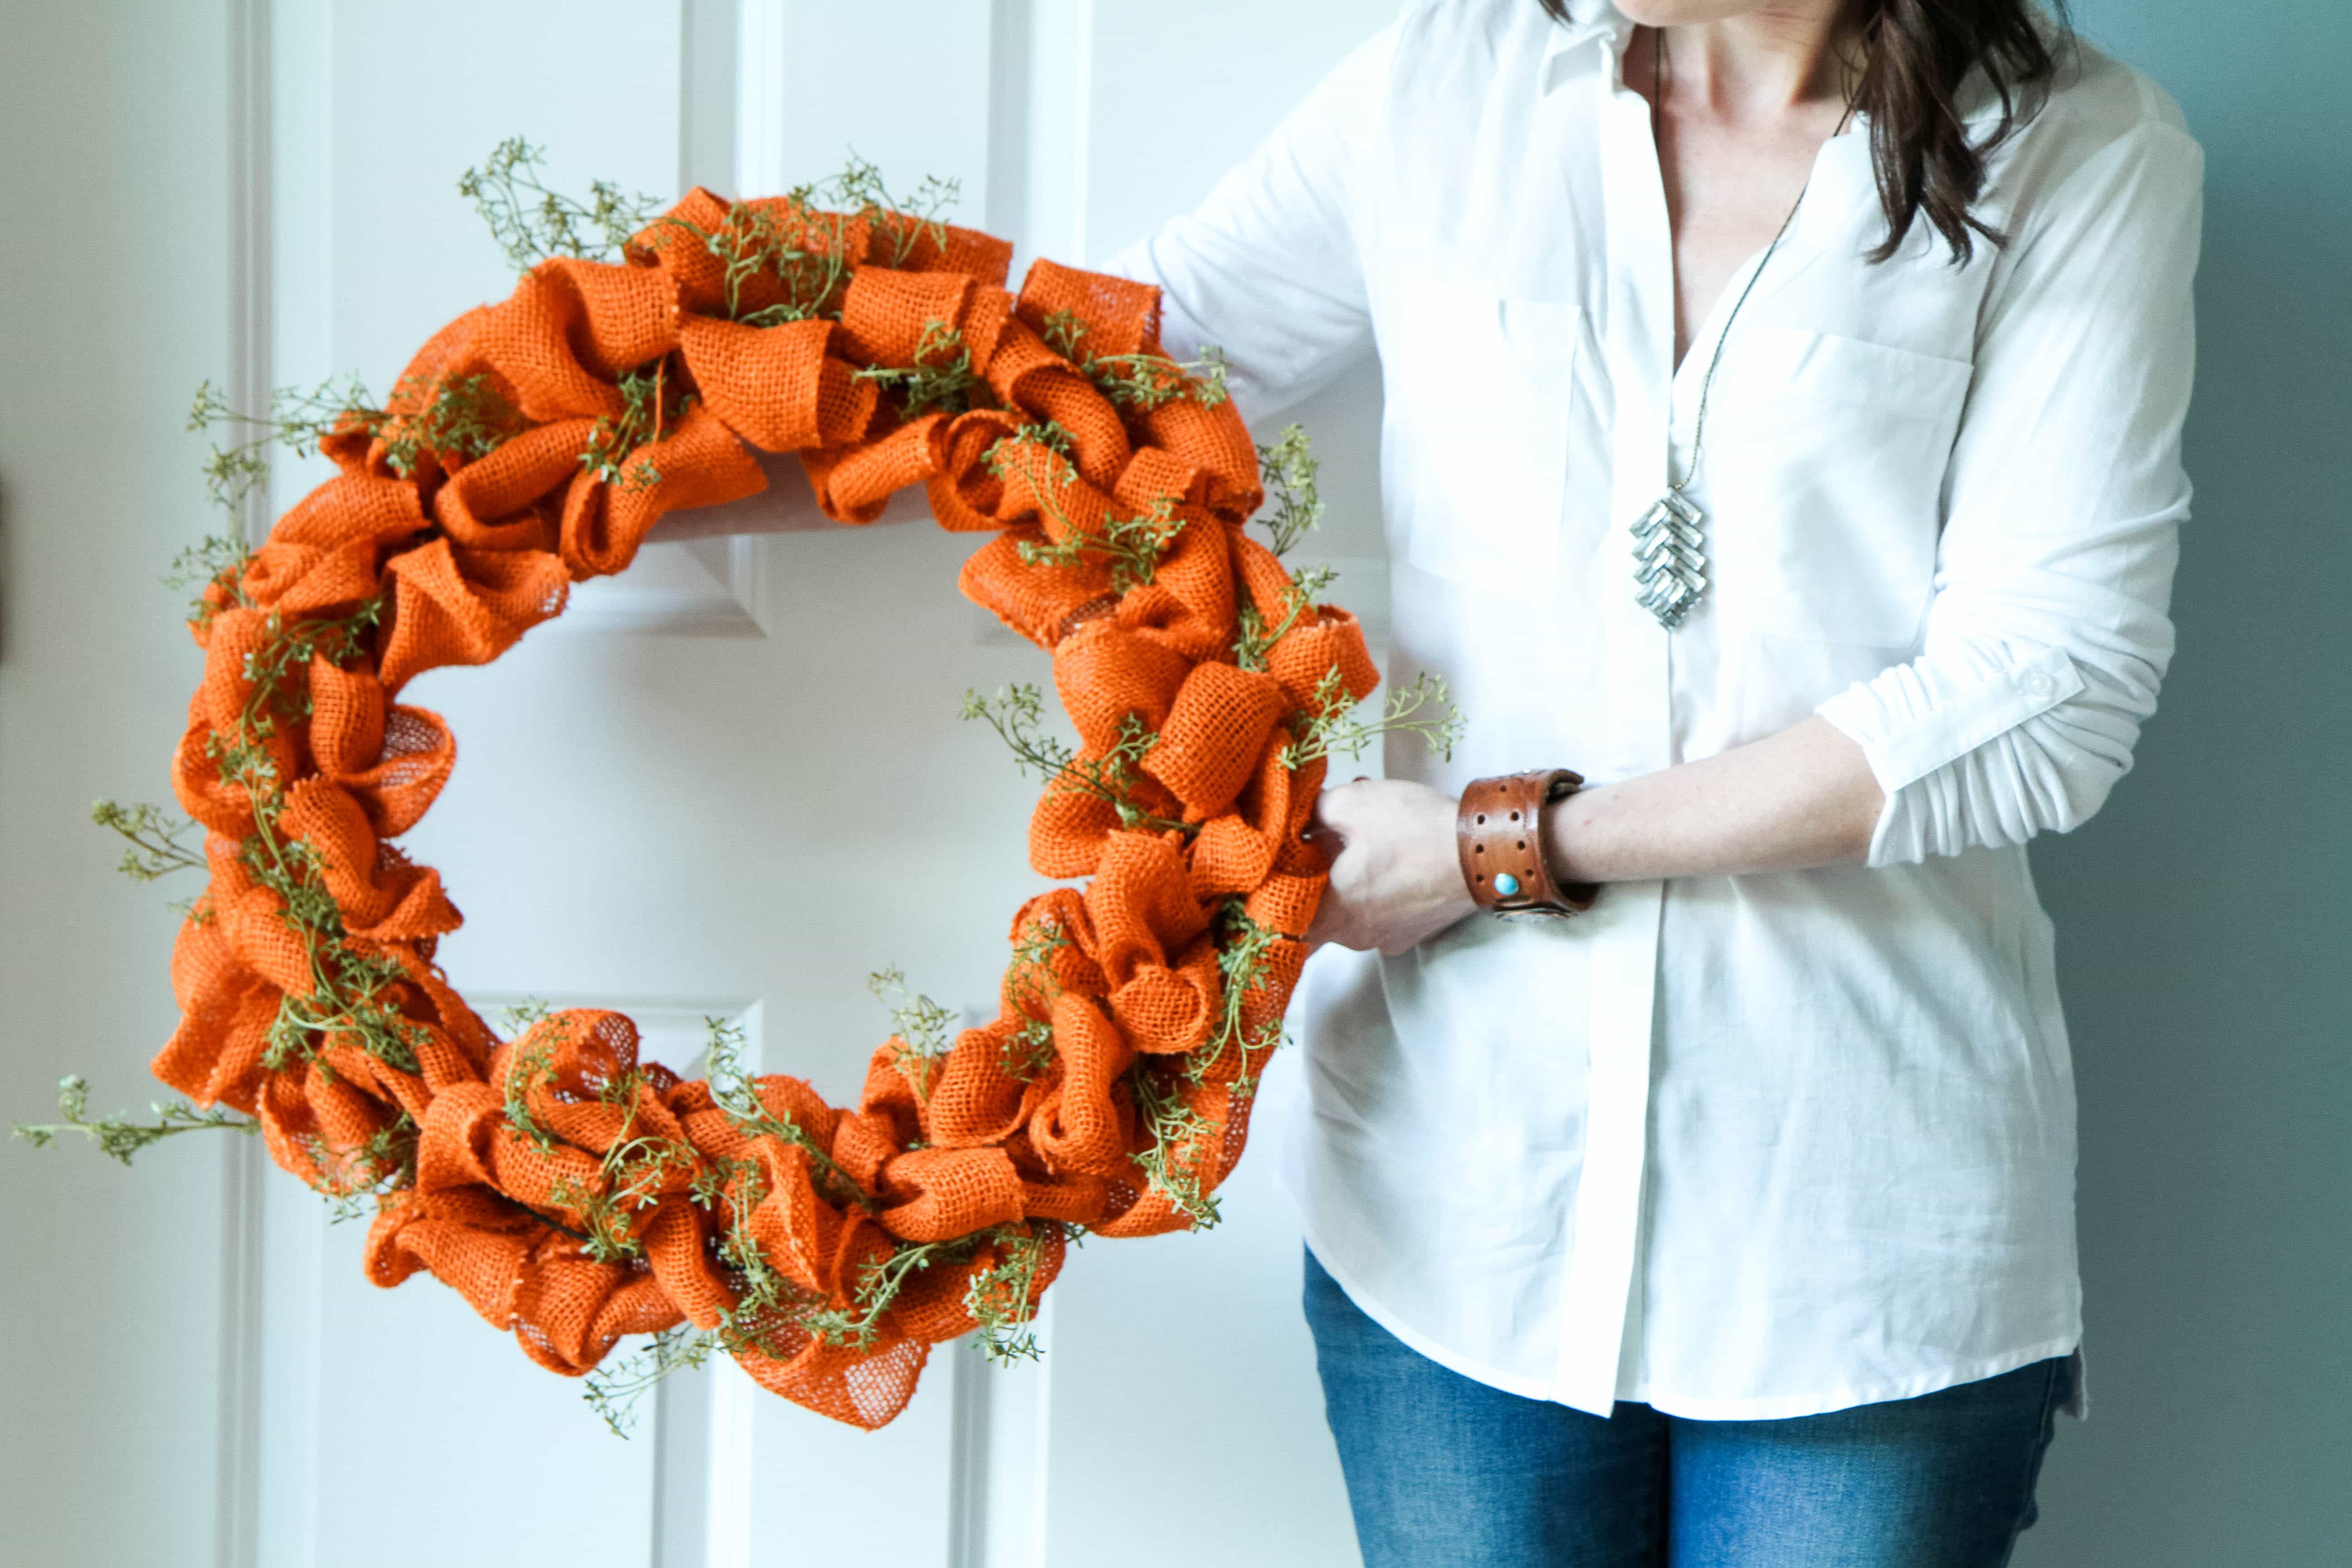
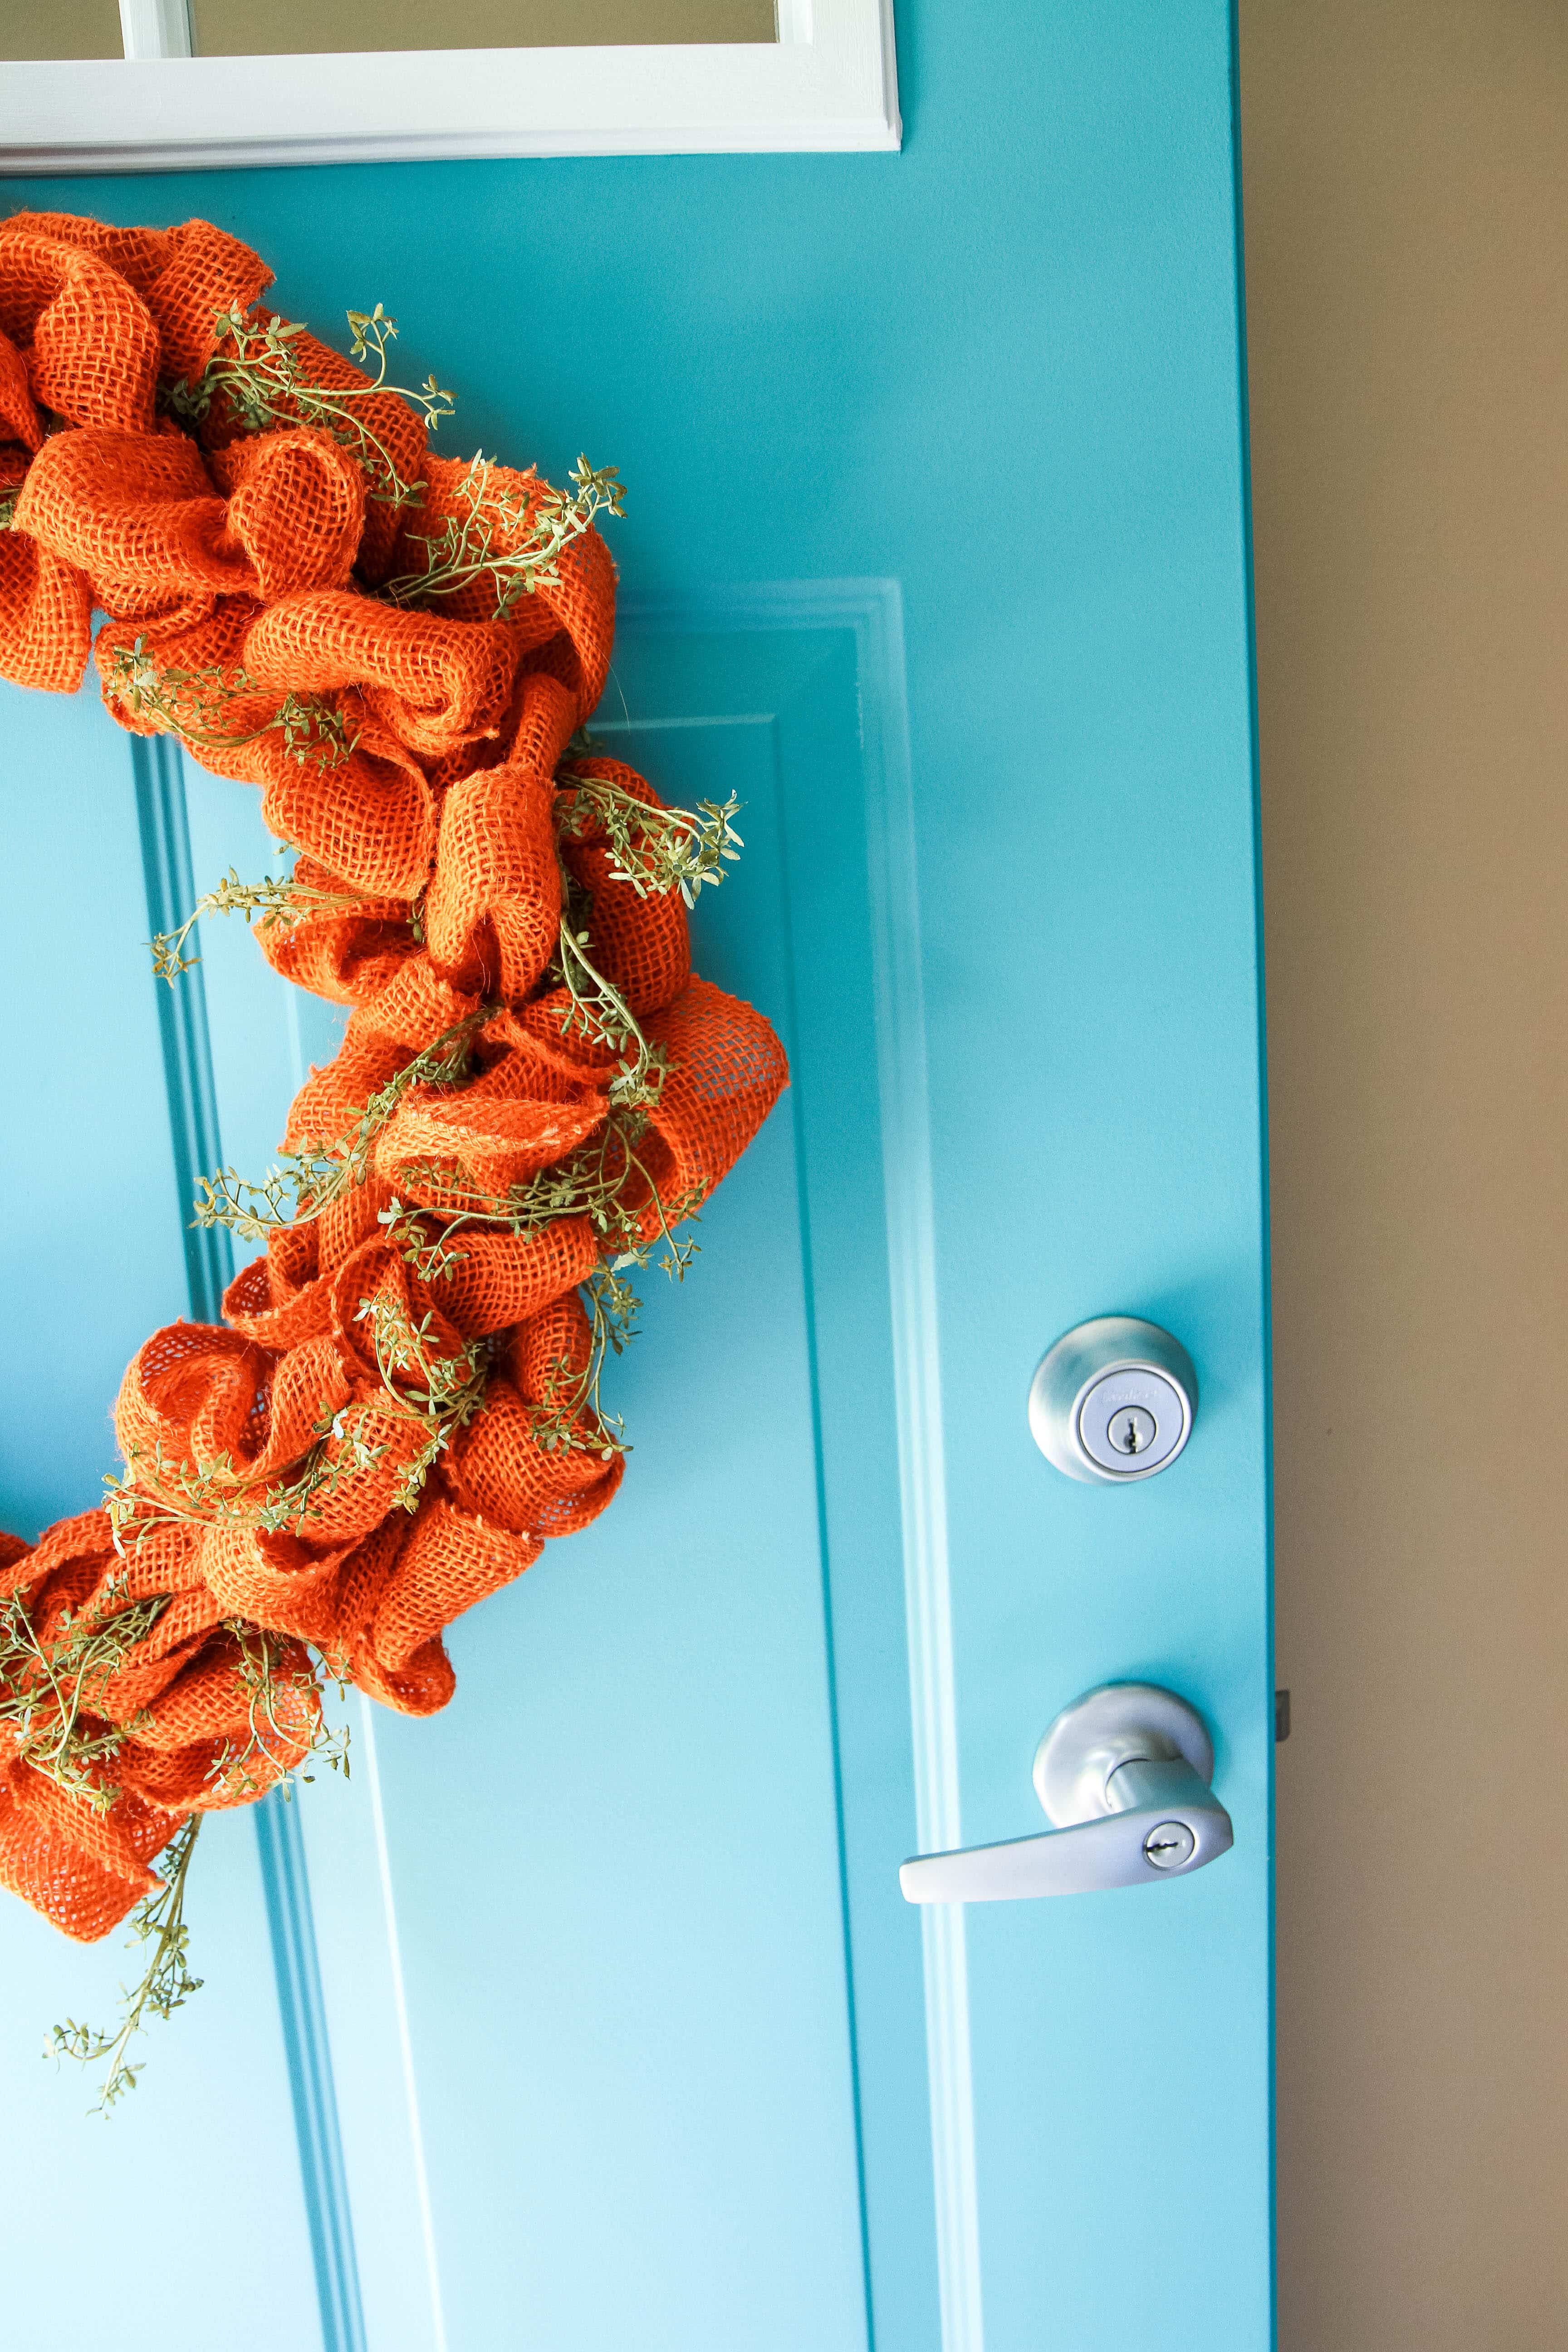
If you are looking for a little color on your door, check out this INCREDIBLE wreath that Christy made. 

I mean, how gorgeous is that??

Thank you, Christy, for letting me share your beautiful wreath with my readers.

How to Make a Yarn Pom-Pom Wreath

How to Make a Yarn Pom-Pom Wreath from MomAdvice.com

How to Make a Yarn Pom-Pom Wreath from MomAdvice.com

Supplies Needed (don’t forget to use your Rakuten app to get money back on your craft purchases!):

1- 18″ straw wreath (leave it wrapped in the plastic)

5-6 skeins of Lion Brand Hometown USA Los Angeles Tan Yarn (you can also check for price comparisons HERE)

Pins

Large Clover Pom-Pom Maker (we are using the blue one)- be sure to check here for a price comparison

Scissors

wreath door hanger

Directions

How to Use a Pom-Pom Maker

How to Use a Pom-Pom Maker1. Following the pictures above, create your pom-poms using your Clover Pom-Pom Maker.

You can create these and pin as you go to see how many you end up needing for your wreath.

2. After you make your pom-poms (which will take one million years- don’t say I did not warn you), you can begin pinning them on your wreath form.

Make sure that you leave your straw wreath in the plastic.

Using pins, pin your pom-poms with two to three pins each and then fluff them.

You will want to start adding a pom-pom in the center, then on one side, then on the other side.

Continue stacking them this way, next to each other, making sure that the form is covered.

No need to make these extremely tight so you can make sure that your pom-poms really fluff up and stand to attention.

3. Continue adding pom-poms, pinning, and fluffing until your entire wreath is covered.

Once you hang your wreath, pull on pom-poms to see if everything is secure and add any pins as needed.

How to Make a Yarn Pom-Pom Wreath from MomAdvice.com

How to Make a Yarn Pom-Pom Wreath from MomAdvice.com

How to Make a Yarn Pom-Pom Wreath from MomAdvice.com

I hope this wreath makes you as happy as it has made me.

I couldn’t be happier to have tackled this project over my Black Friday weekend and I hope it can brighten a corner in your home too!

this post contains affiliate links

Love this tutorial? Here are a few more of my favorites on the site!

how to make a pom-pom and ornament garland

yarn pom-pom & ornament garland

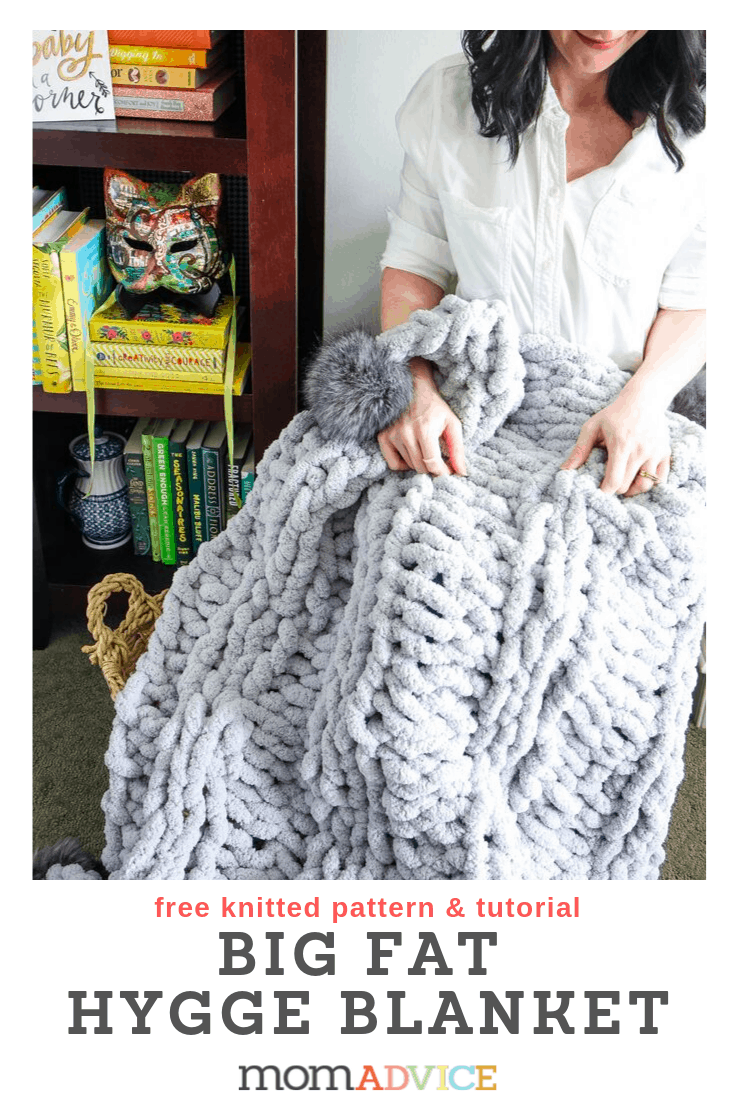
DIY Chunky Knit Hygge Blanket how to knit a chunky knit hygge blanket with fur pom poms

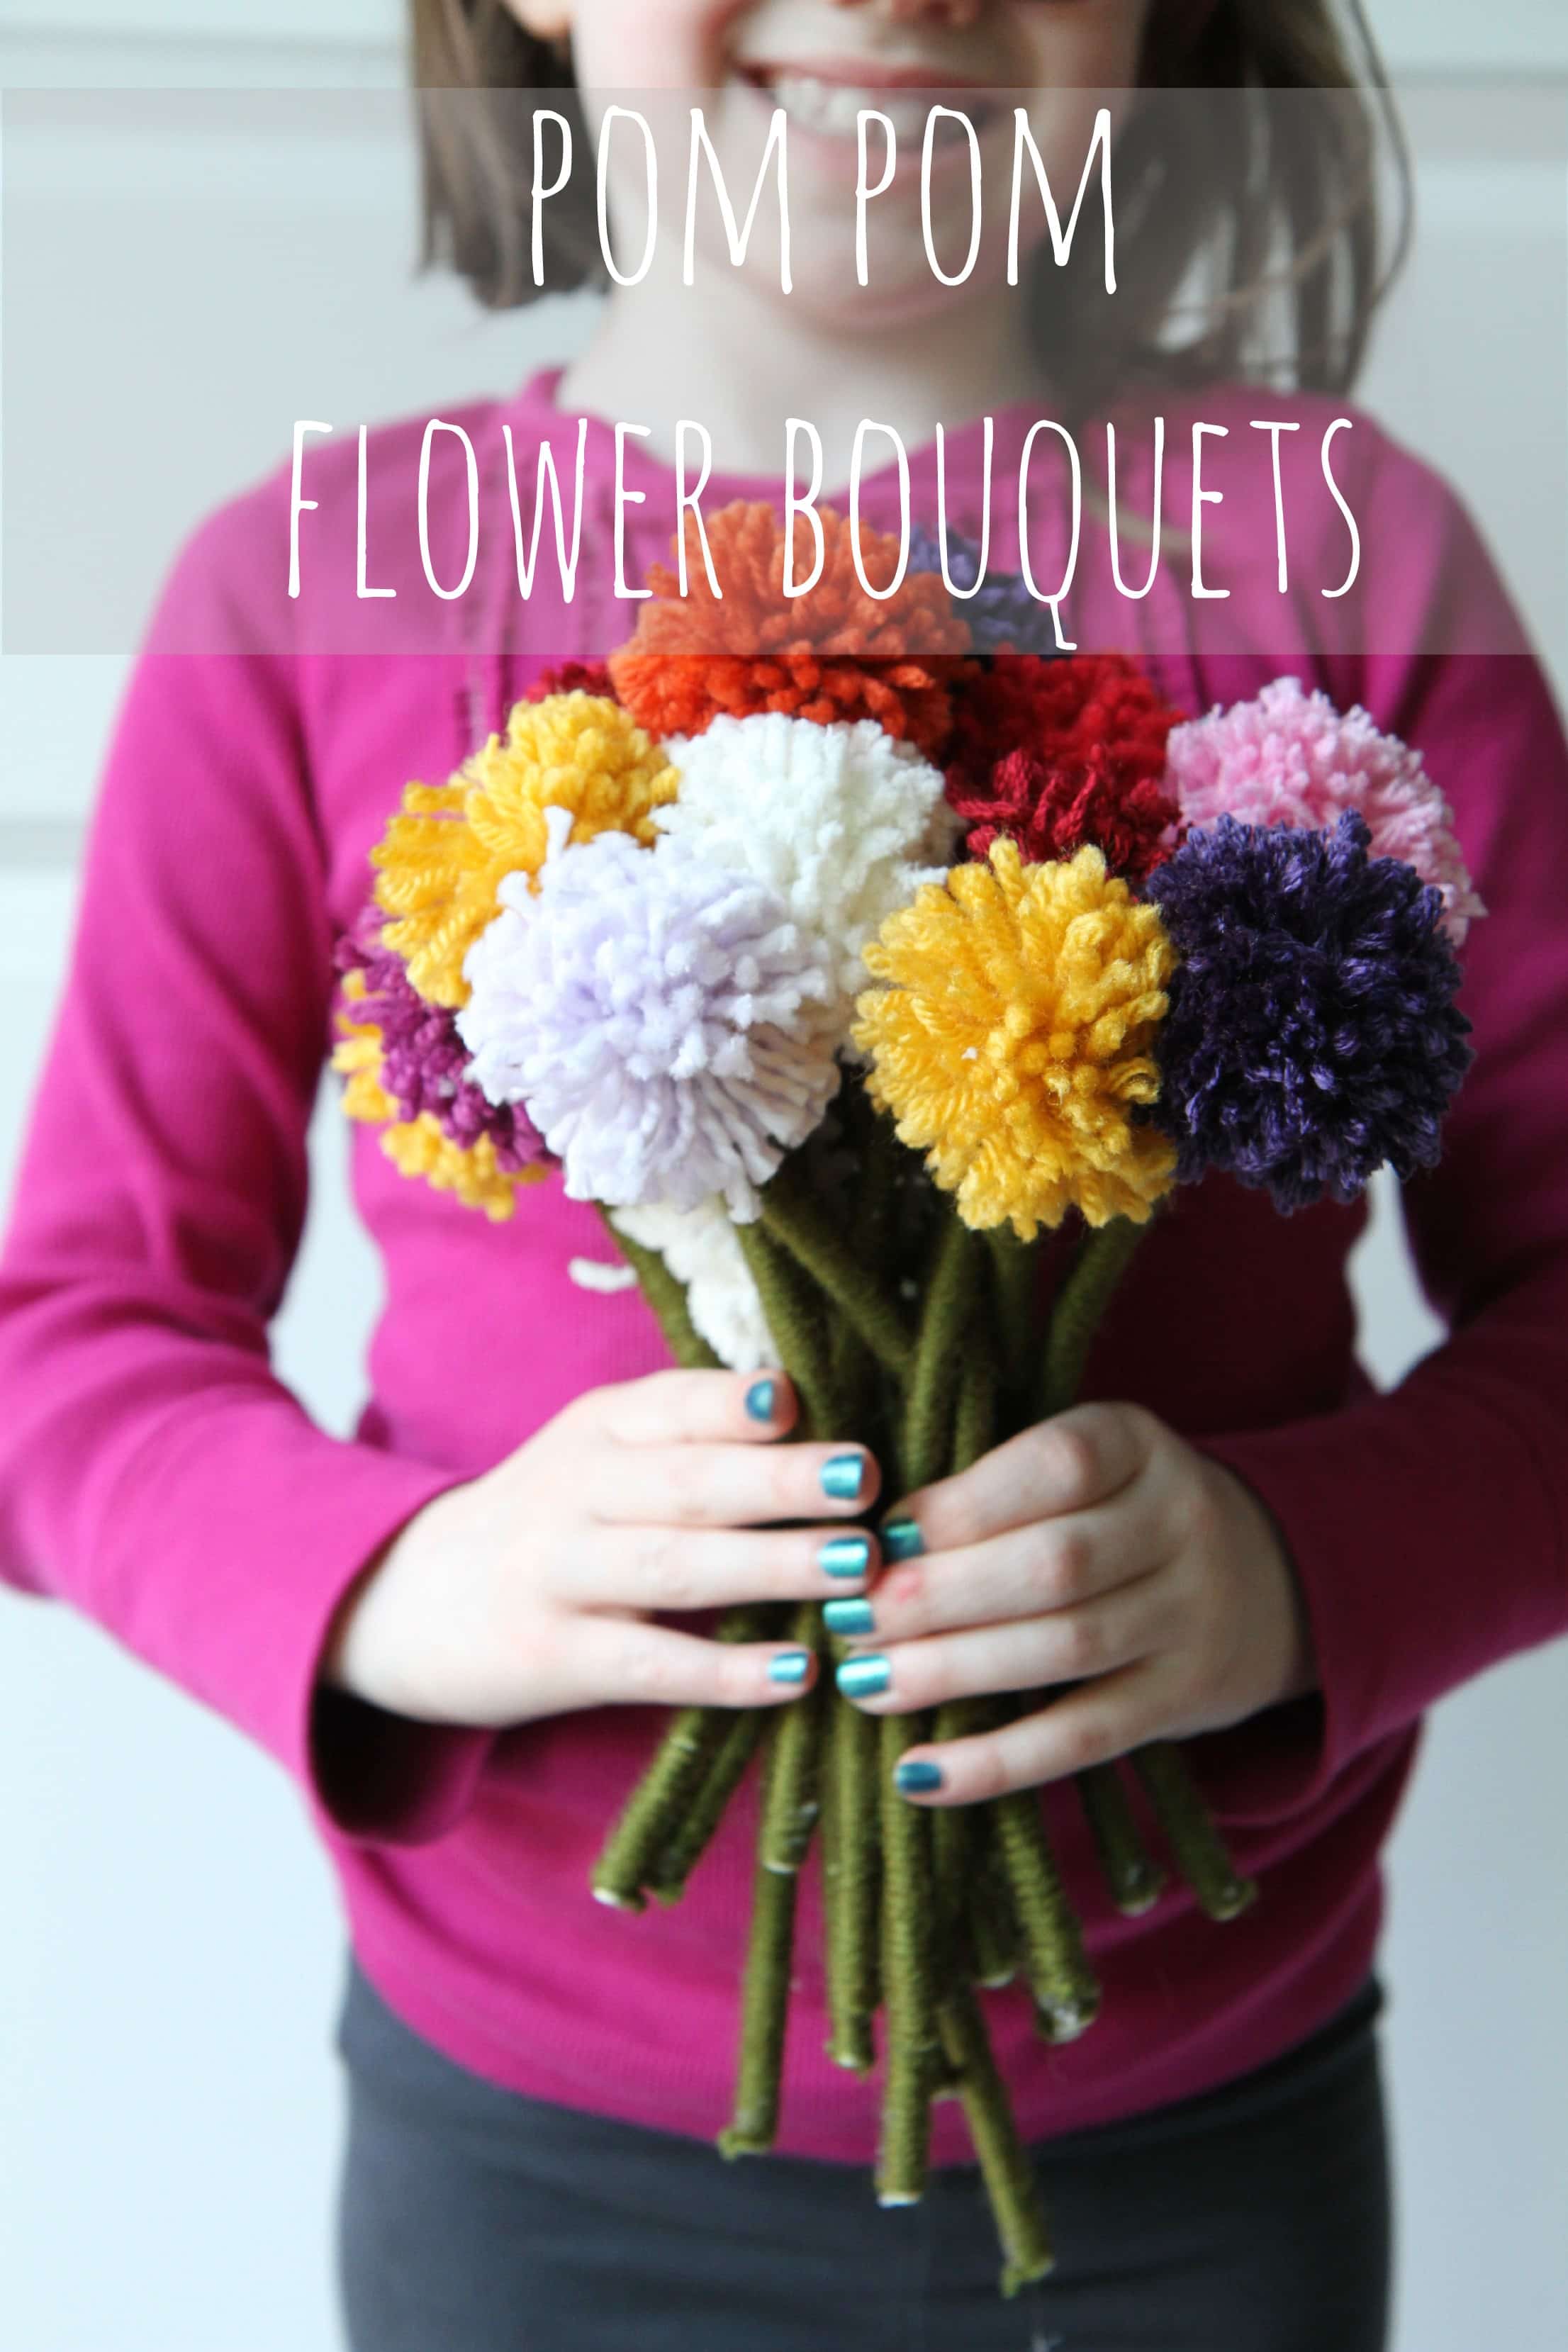
yarn pom-pom flower bouquets

how to make yarn pom pom trees

yarn pom-pom trees

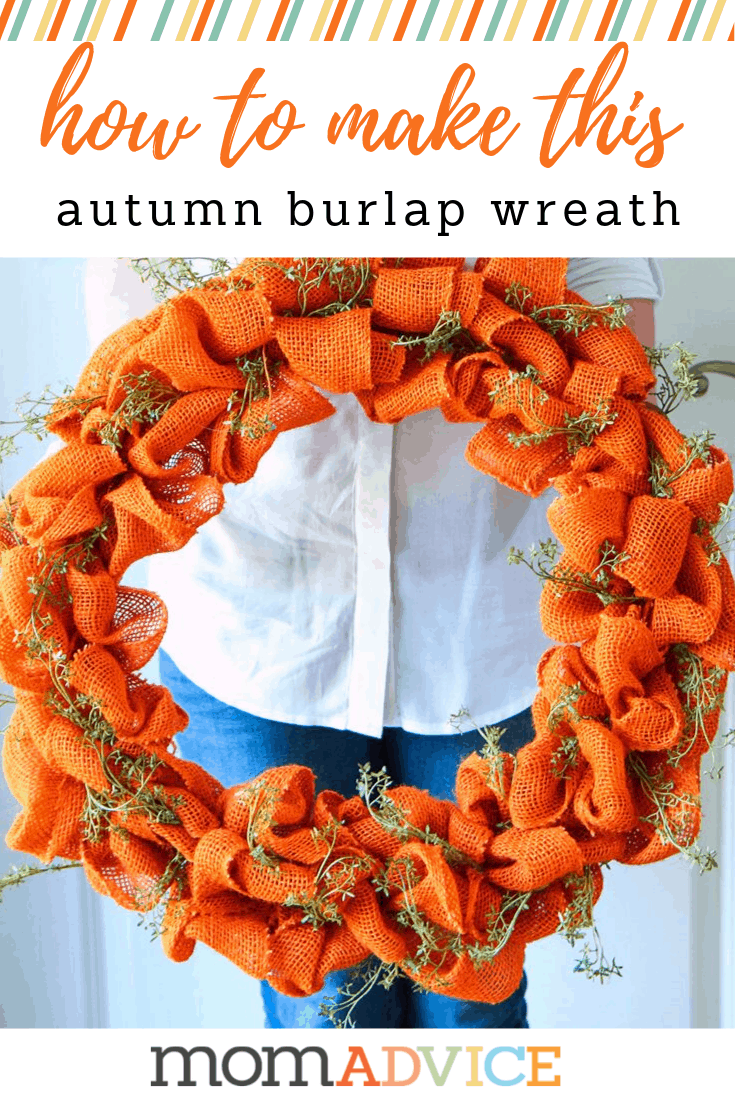
how to make an autumn burlap wreath from momadvice.com

autumn burlap wreath

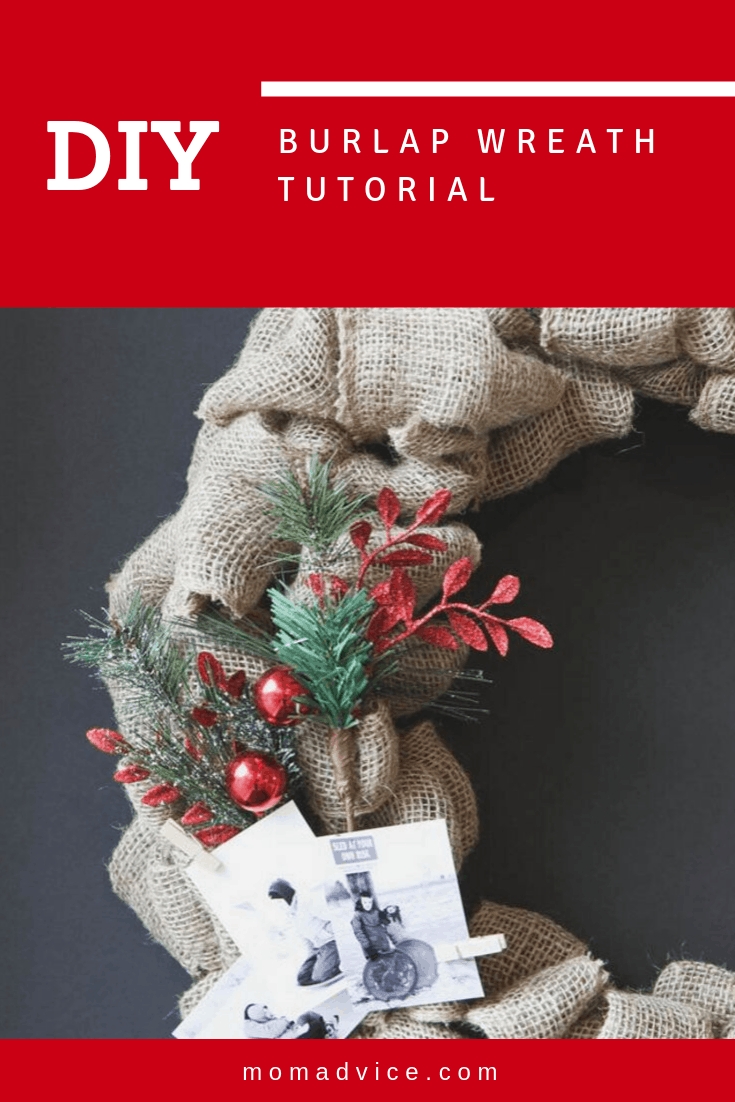
how to make a burlap wreath

easy burlap wreath

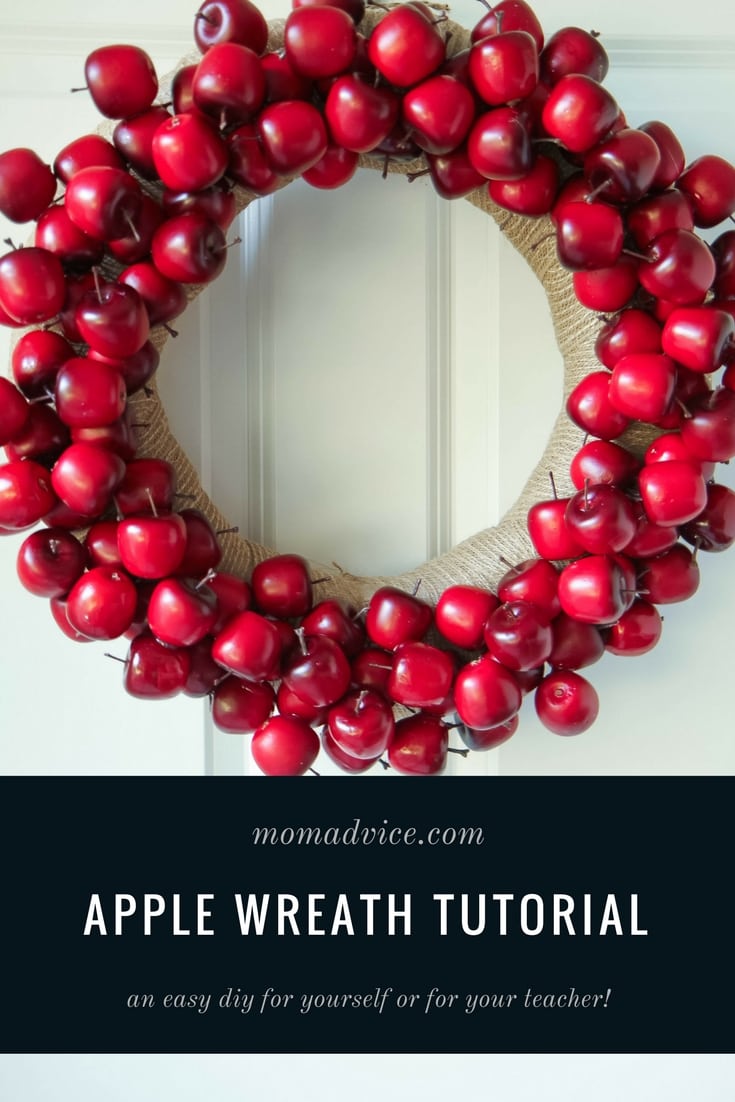
diy apple fall wreath

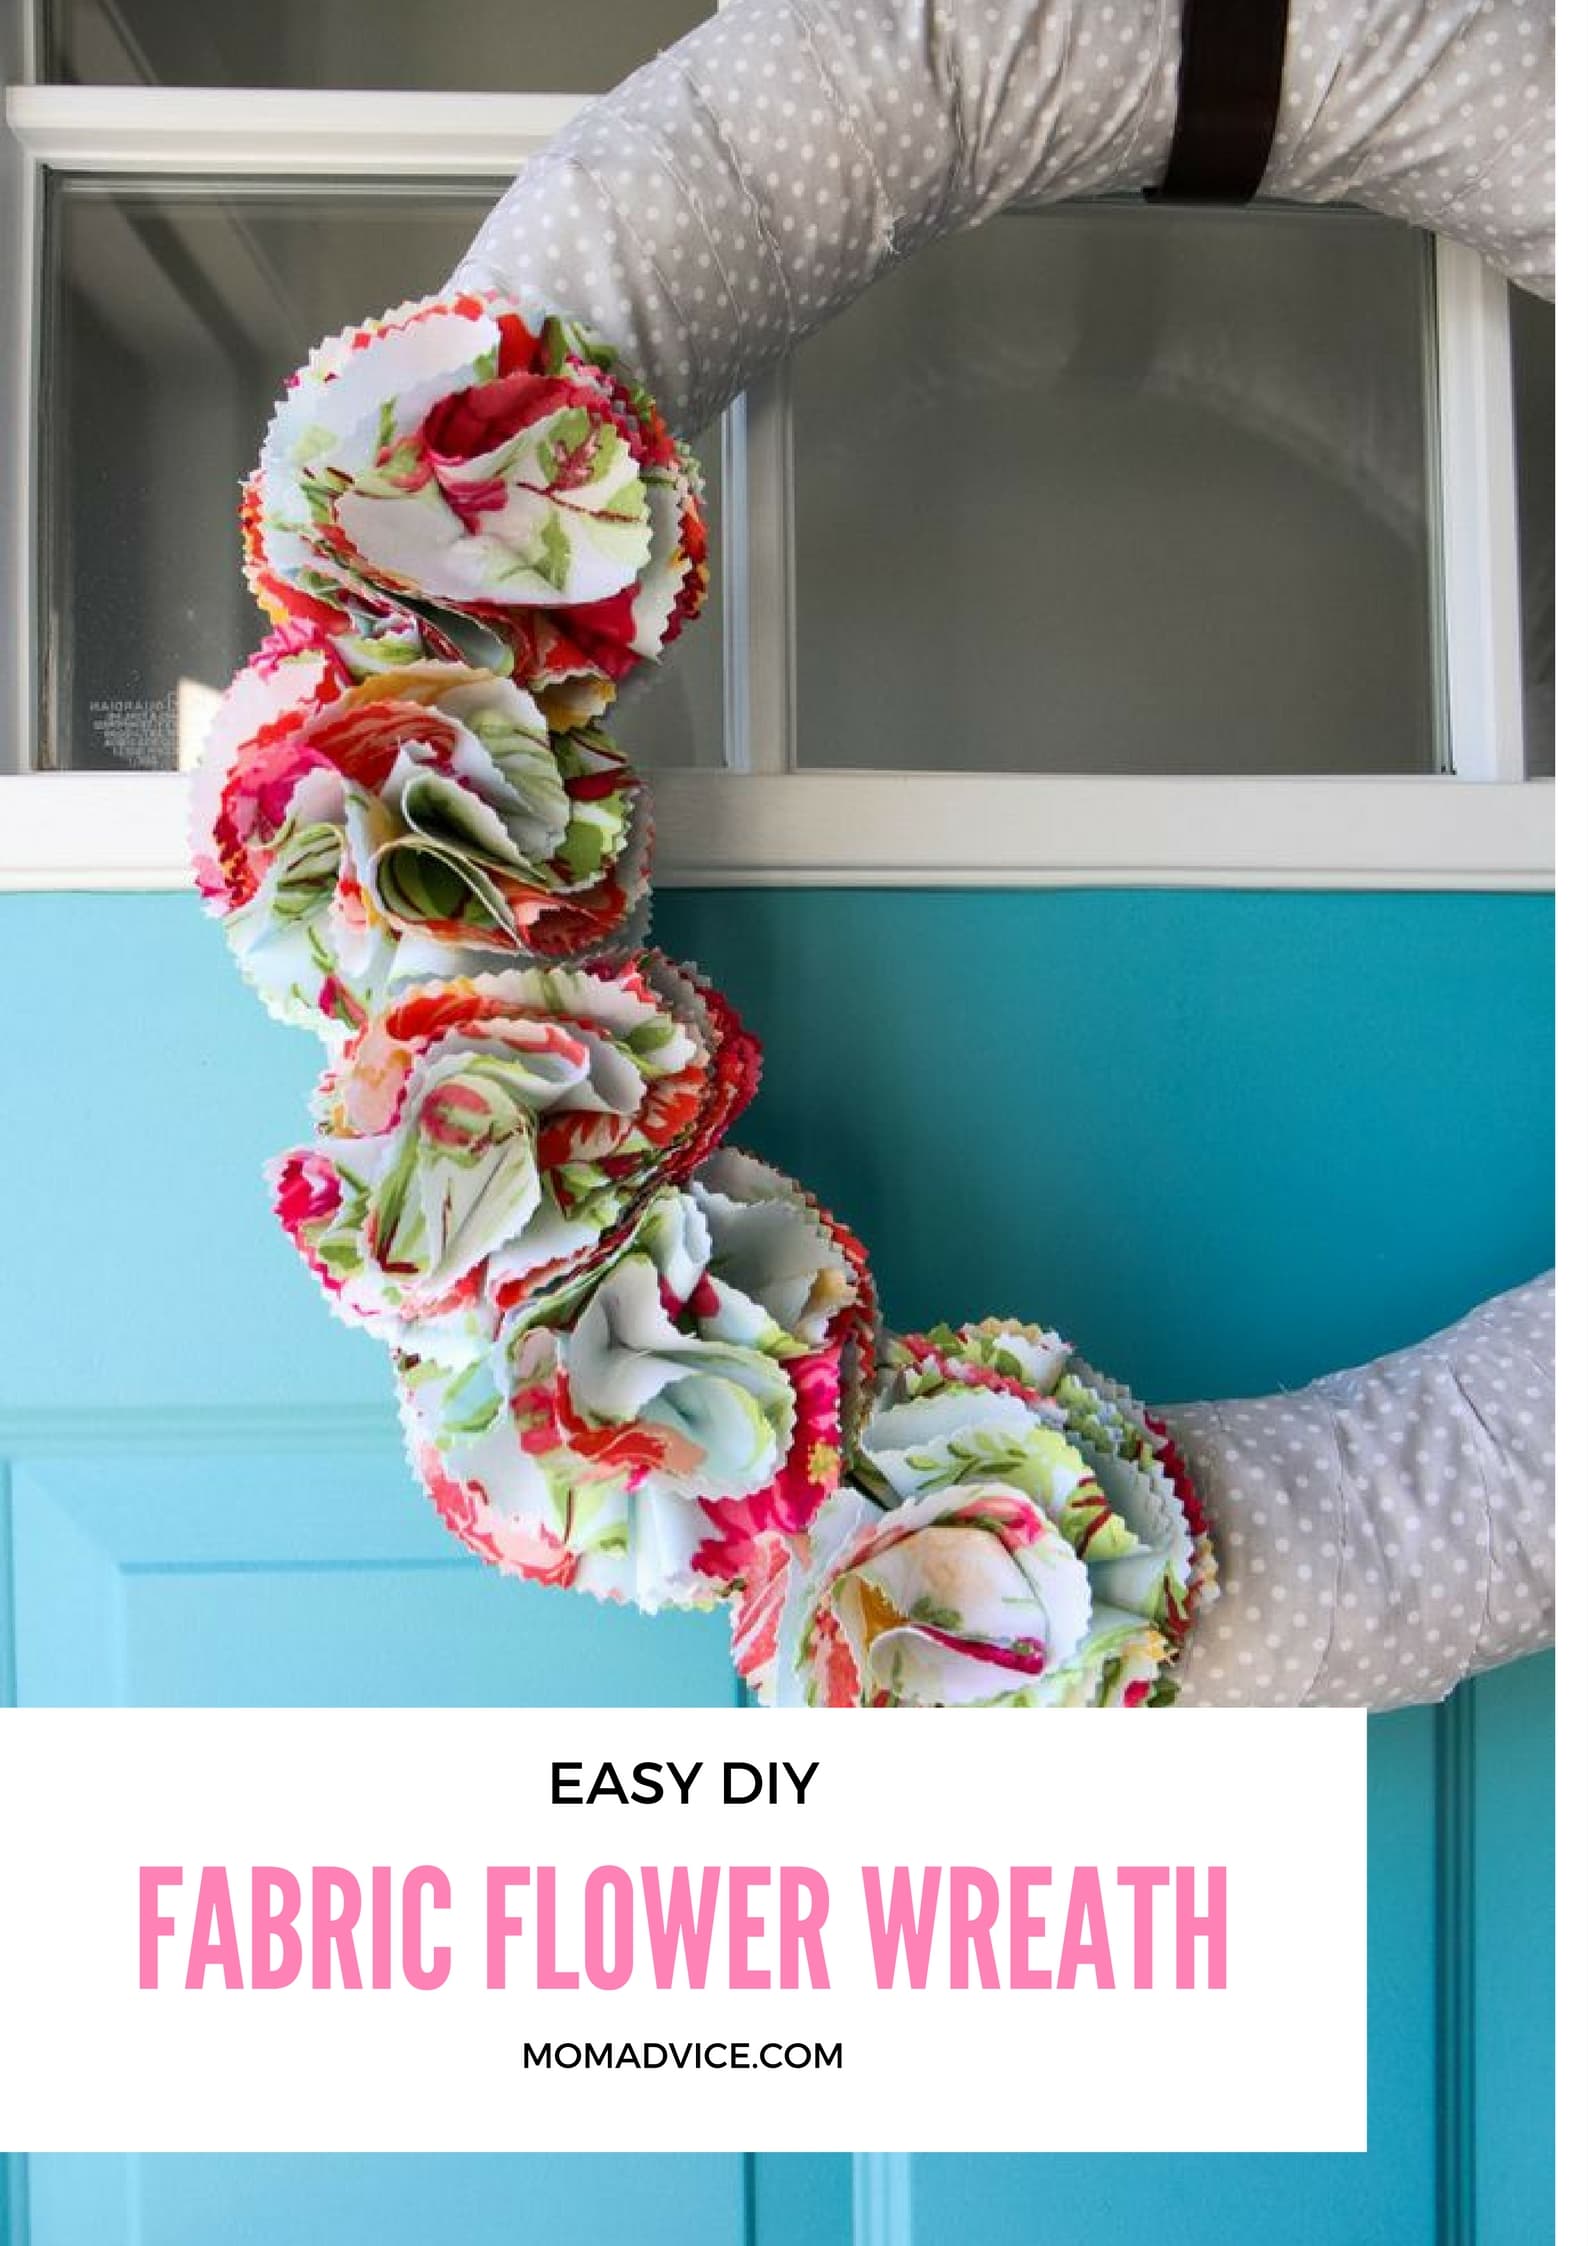
fabric flower wreath

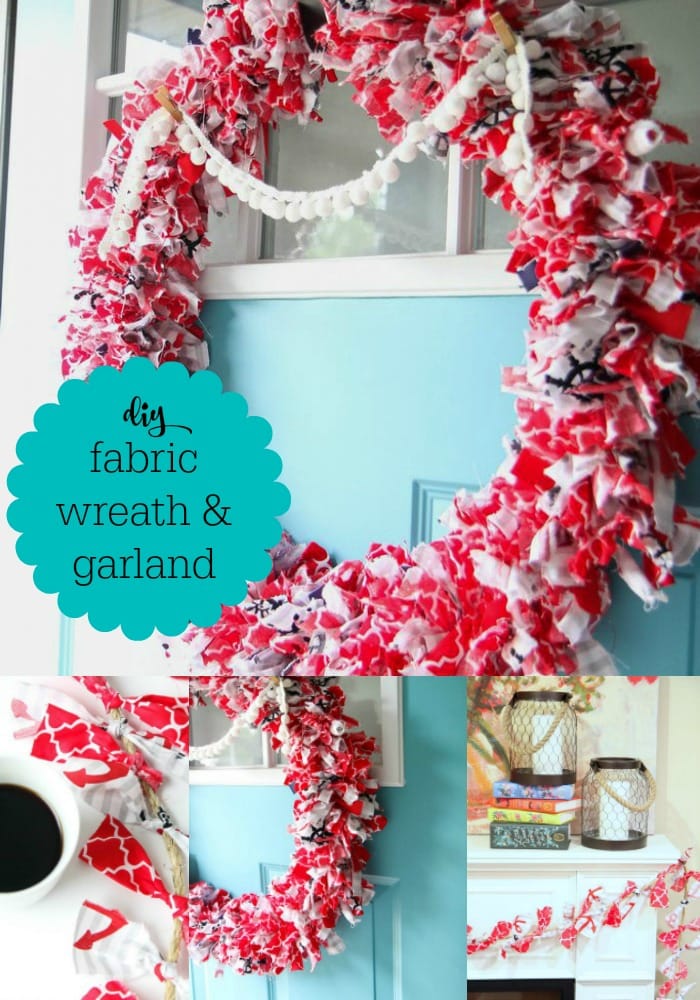
fabric scrap wreath & fabric scrap garland

how to paint laminate wood

tour all the winter crafts in my holiday home

What fun crafts do you do with yarn pom-poms? Let me know in the links below!

How to Make a Yarn Pom Pom Wreath from MomAdvice.com

Pin It

Best No-Bake Ghost Cake Idea (Fast and Easy)

Monday, October 14th, 2019
Best No-Bake Ghost Cake Idea (Fast and Easy)

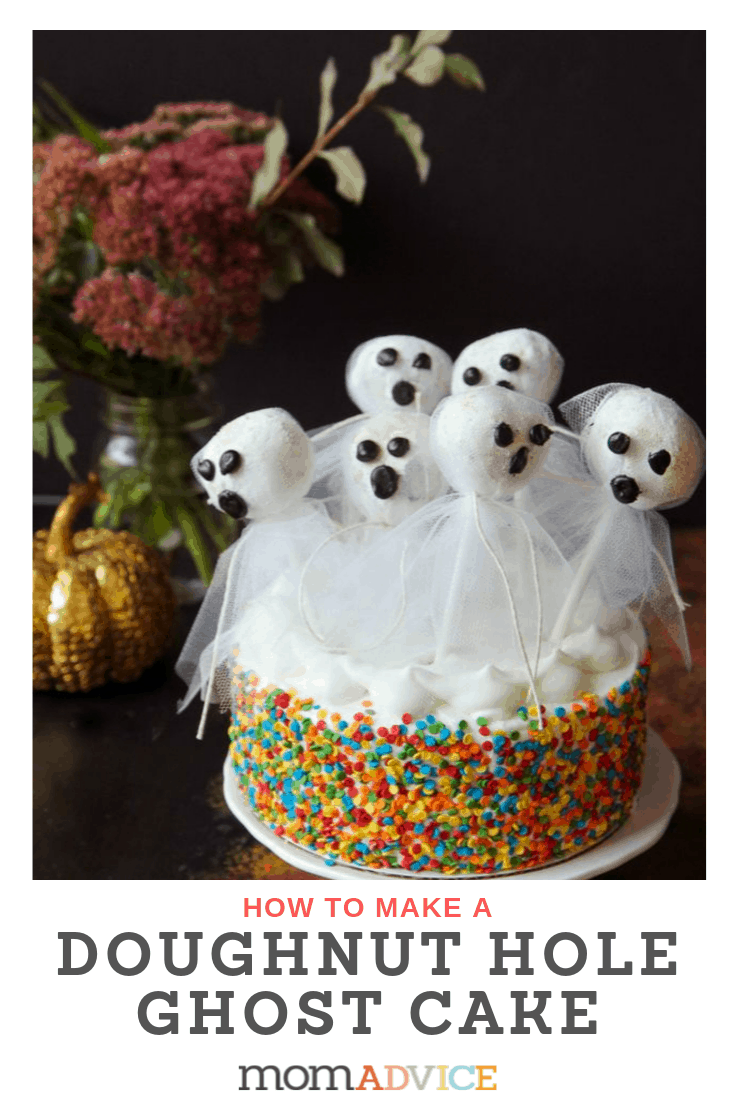
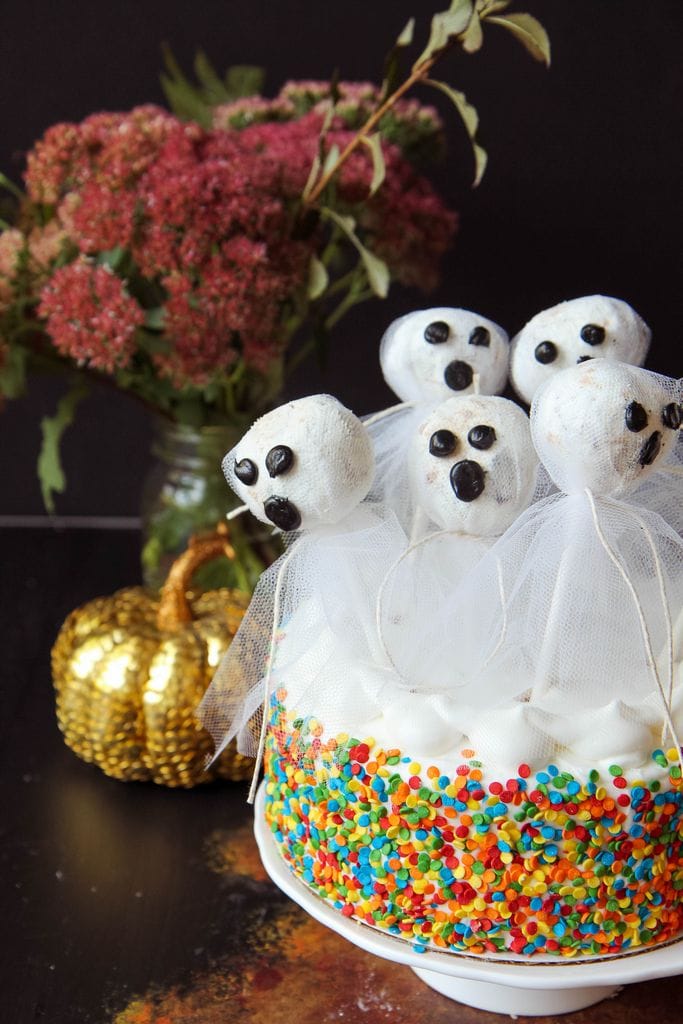
This ghost cake is a fun and spooky Halloween cake that even your kids can make it!  Using store-bought ingredients, you can have a Halloween treat in minutes.

If you are anything like me, you are already on the hunt for easy Halloween ideas!

Today’s easy food craft is for a festive Halloween cake that you can whip up quickly to celebrate with your kids, fellow trick-or-treaters or to add to your Halloween party spread.

This can be made for under $20 and NO COOKING is required!

Can I get an AMEN?

What if I Don’t Want to Spend $20 on Halloween Cake?

As you know, I’m pretty darn frugal, so I want to share a tip that might help you at your store.

Be sure to check the rear of your store (over by the dairy section usually) to see if there are any reduced to sell bakery items on a rolling cart.

It is there where I often spy prepared cakes and doughnuts that are perfect for sharing with guests or for rounding out a meal together with friends.

If you check there first, it is possible you might be able to score these treats for a fraction of the price that I paid.

I promise to not be jealous.

How Can I Make This Treat Gluten-free?

Welp, you know that gluten-free cake isn’t going to be an affordable treat.

Oh, the price ding on removing wheat!

Ouch.

Did you know that you can purchase gluten-free donut holes in the freezer section of many supermarkets.

Is it just me or are you scared to pay a million dollars for gluten-free snacks because you got burned on a past purchase?

I am learning that the best move is to check the reviews before making anymore snack purchases. Here’s the page on gluten-free doughnut reviews to help you make your best decision.

Best No-Bake Ghost Cake Idea (Fast and Easy)

How Can I Save Money at My Local Gluten-free Bakery?

If you aren’t using Groupons, you are missing out on some free money. Anytime that we eat or do anything local, we check to see if there are any deals on things like this. You just never know when the new up and coming bakery might be looking for a fresh way to promote their business.

What Can I Substitute for Cake if I’m Gluten-Free?

I found this useful gluten-free directory to help you find a gluten-free bakery near you.

Gluten-free cakes can be expensive though so I recommend you bake a cake yourself. I have some super easy gluten-free cake recipes to share with you that might just make the most perfect cakes.

I promise, these gluten-free cakes are as easy to put together as any other cake because I rely upon cake mixes for their creation.

Here are a few that our family has loved!

Best No-Bake Ghost Cake Idea (Fast and Easy)

Doughnut Hole Ghost Cake from MomAdvice.com

Supplies Needed

Pro Crafter Tip: Don’t forget to download the Rakuten app to save some money through their links to retailer sites!

1 prepared cake

1 container of powdered sugar doughnut holes (I had enough in an assortment pack)

Roll of white tulle (over by the party/wedding favor supplies)

Black Decorating Icing small pieces cut off a stripe of candy corn, candy eyes, or small Halloween candy (like Mini M&M’s) for your eyes.

1 prepared cake

1 container of powdered sugar donut holes (I had enough in an assortment pack)

Roll of white tulle (over by the party/wedding favor supplies)

Black Decorating Icing (over by the cake decorating supplies/crafts), small pieces cut off a stripe of candy corn, candy eyes, or small Halloween candy (like Mini M&M’s) for your eyes.

Cookie Sticks(over by the cake decorating supplies/crafts)

White Twine

Scissors

Best No-Bake Ghost Cake Idea (Fast and Easy)


Instructions

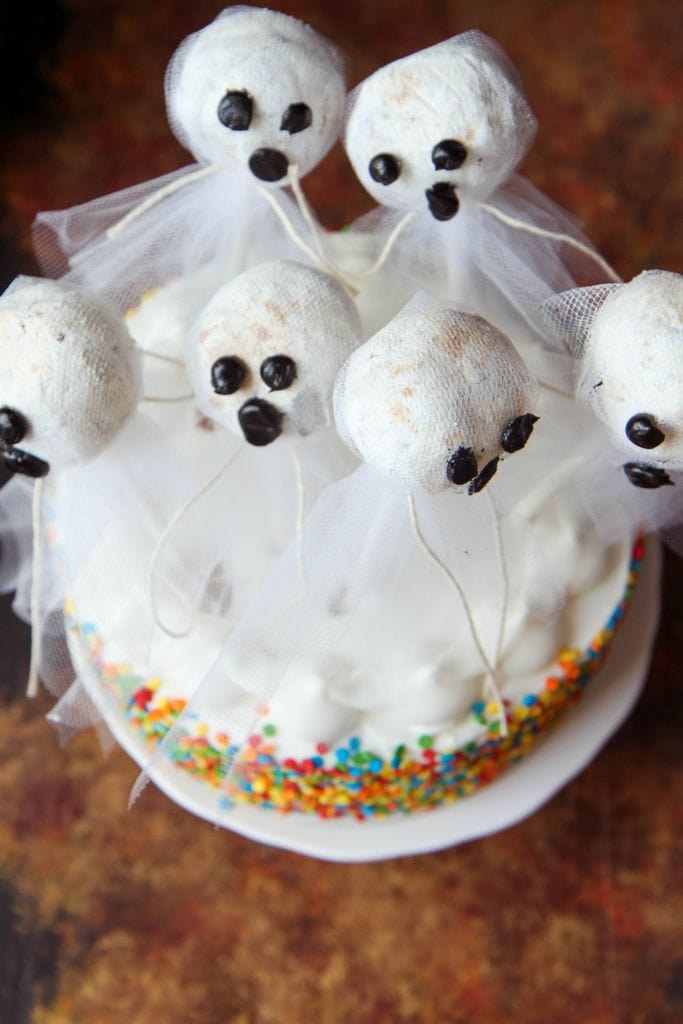
1. On a rimmed cookie sheet, insert the cookie stick into your doughnut hole.

2. Cut out two squares of tulle, approximately the same size, and angle them slightly. Fold them over your doughnut hole. Secure with a little white twine, making sure to bring the tulle down snugly over the top of the doughnut hole to make a level surface for your piping.

3. Pipe two eyes and a mouth on your doughnut hole. I found that getting the icing a little warm helped make the piping easier so keep that in mind!

4. Stick your ghosts on top of your cake.

Done.

How easy is that?

Best No-Bake Ghost Cake Idea (Fast and Easy)

This cake was such a hit and I loved that it adds a homemade touch to a store-bought treat!

As you know, I’m pretty darn frugal, so I want to share a tip that might help you at your store.

Be sure to check the rear of your store (over by the dairy section usually) to see if there are any reduced to sell bakery items on a rolling cart.

It is there where I often spy prepared cakes and doughnuts that are perfect for sharing with guests or for rounding out a meal together with friends.

If you check there first, it is possible you might be able to score these treats for a fraction of the price that I paid.

I promise to not be jealous.

I look forward to sharing more fun Halloween ideas with you in the upcoming month and hope you love this festive (and easy) treat idea!

Don’t miss these other great ideas from MomAdvice.com:

DIY Thumbtack Pumpkins from MomAdvice.com

DIY Thumbtack Pumpkins

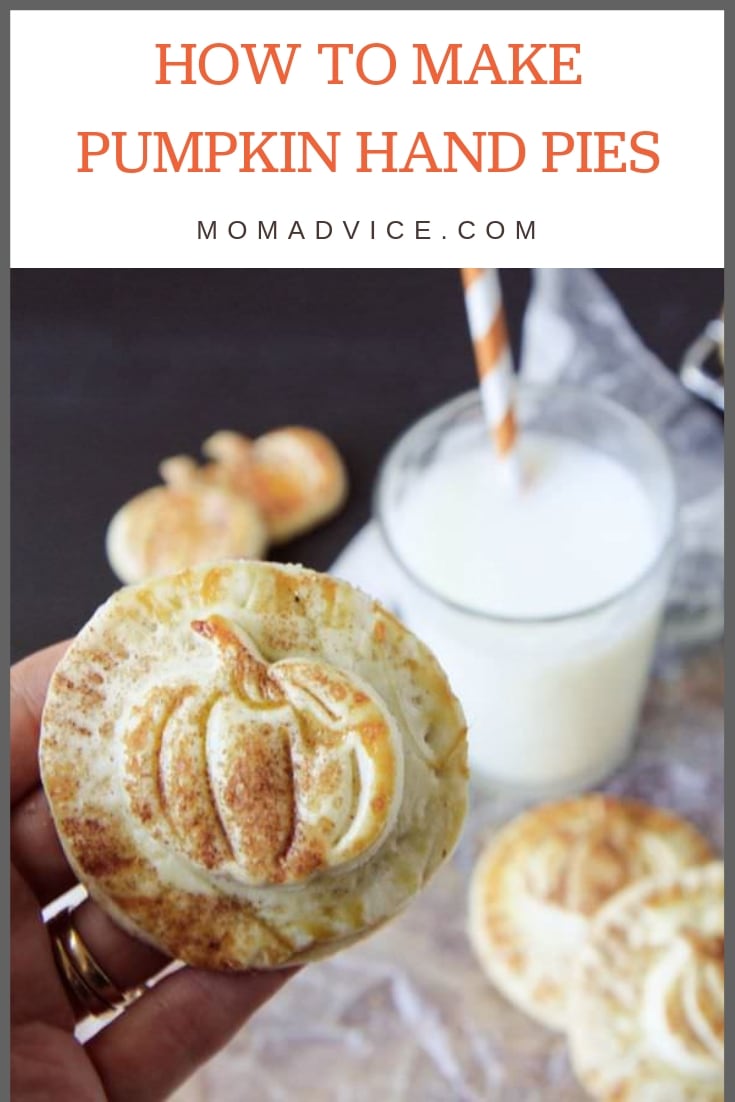
How to Make Pumpkin Hand Pies

How to Paint Pumpkins With Acrylic Paints from MomAdvice.com

Painting Pumpkin with Acrylic Paints

//www.momadvice.com/post/easy-burlap-wreath-tutorial

Autumn Burlap Wreath

Easy Homemade Gluten-Free Pumpkin Bread


This post contains affiliate links

Pin It

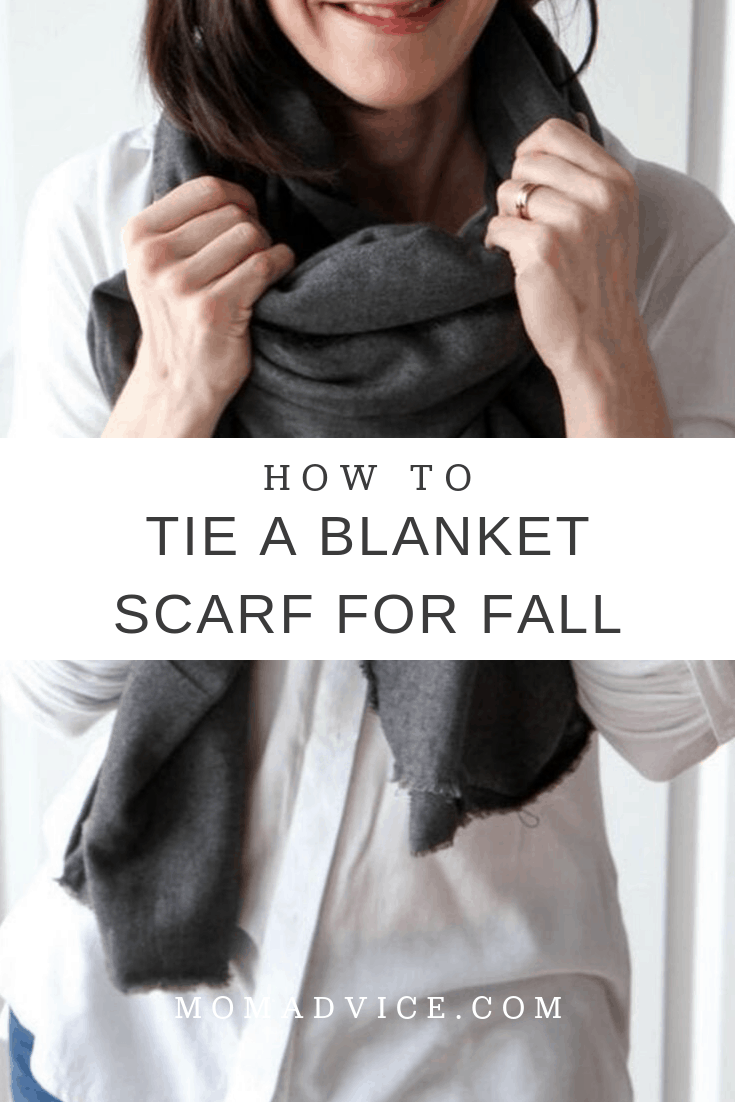
How to Make a DIY No-Sew Blanket Scarf (Plus How to Wear a Blanket Scarf)

Saturday, October 12th, 2019

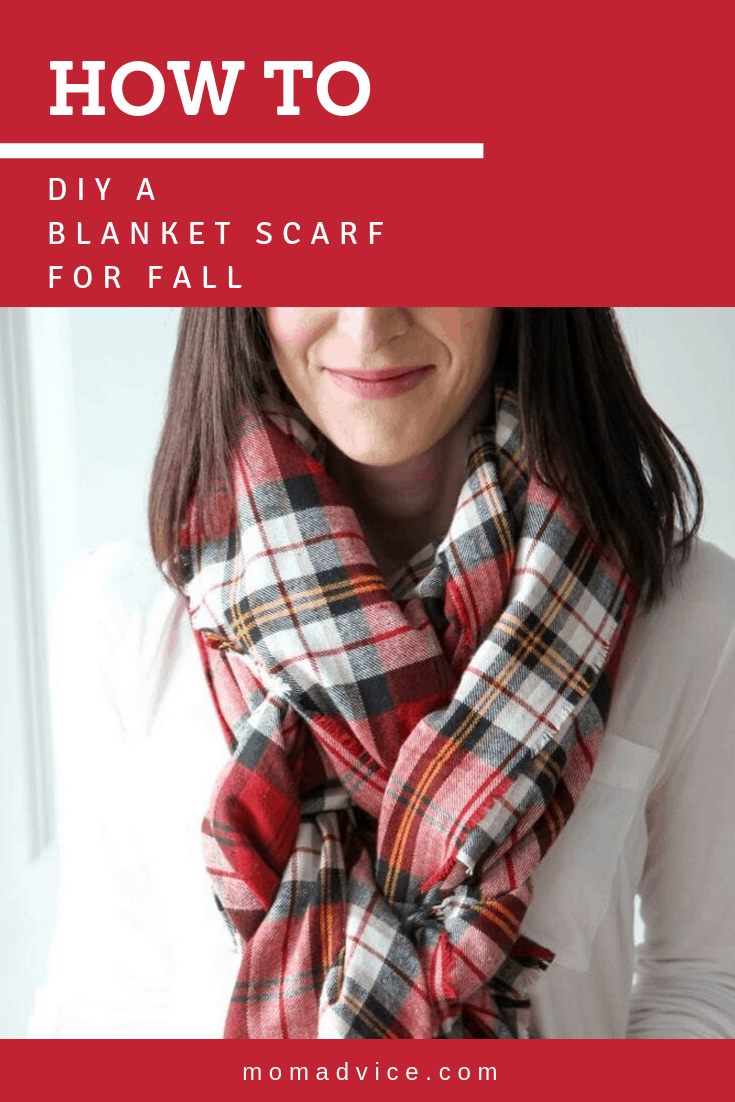
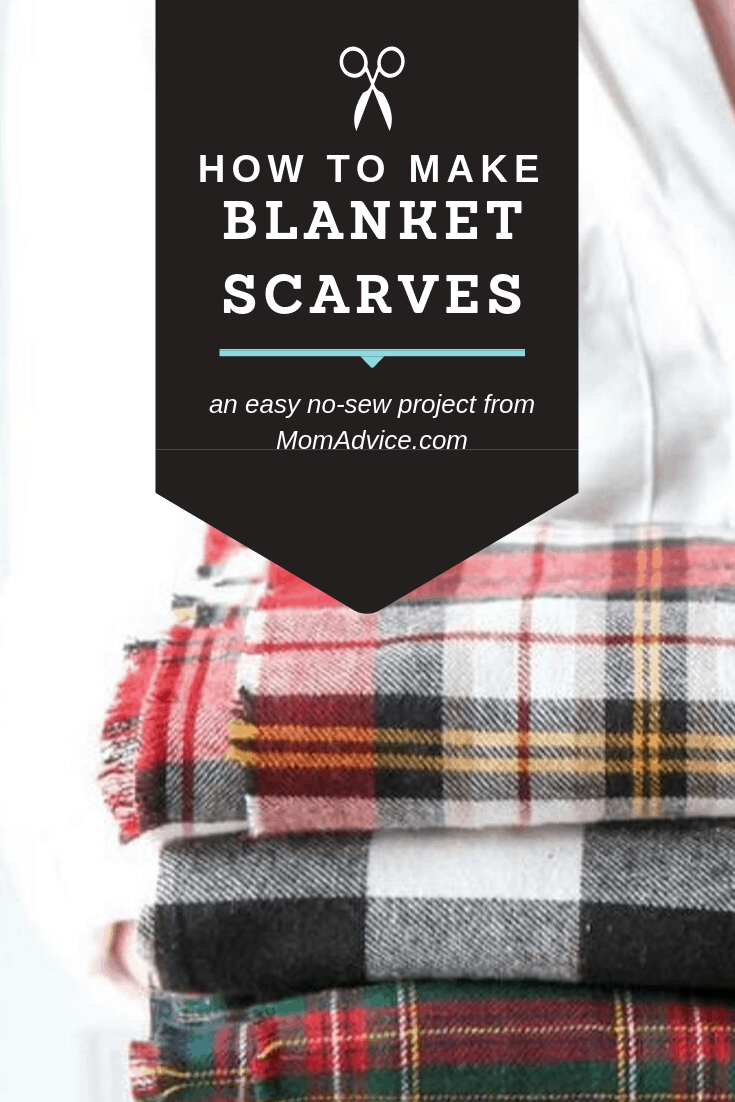
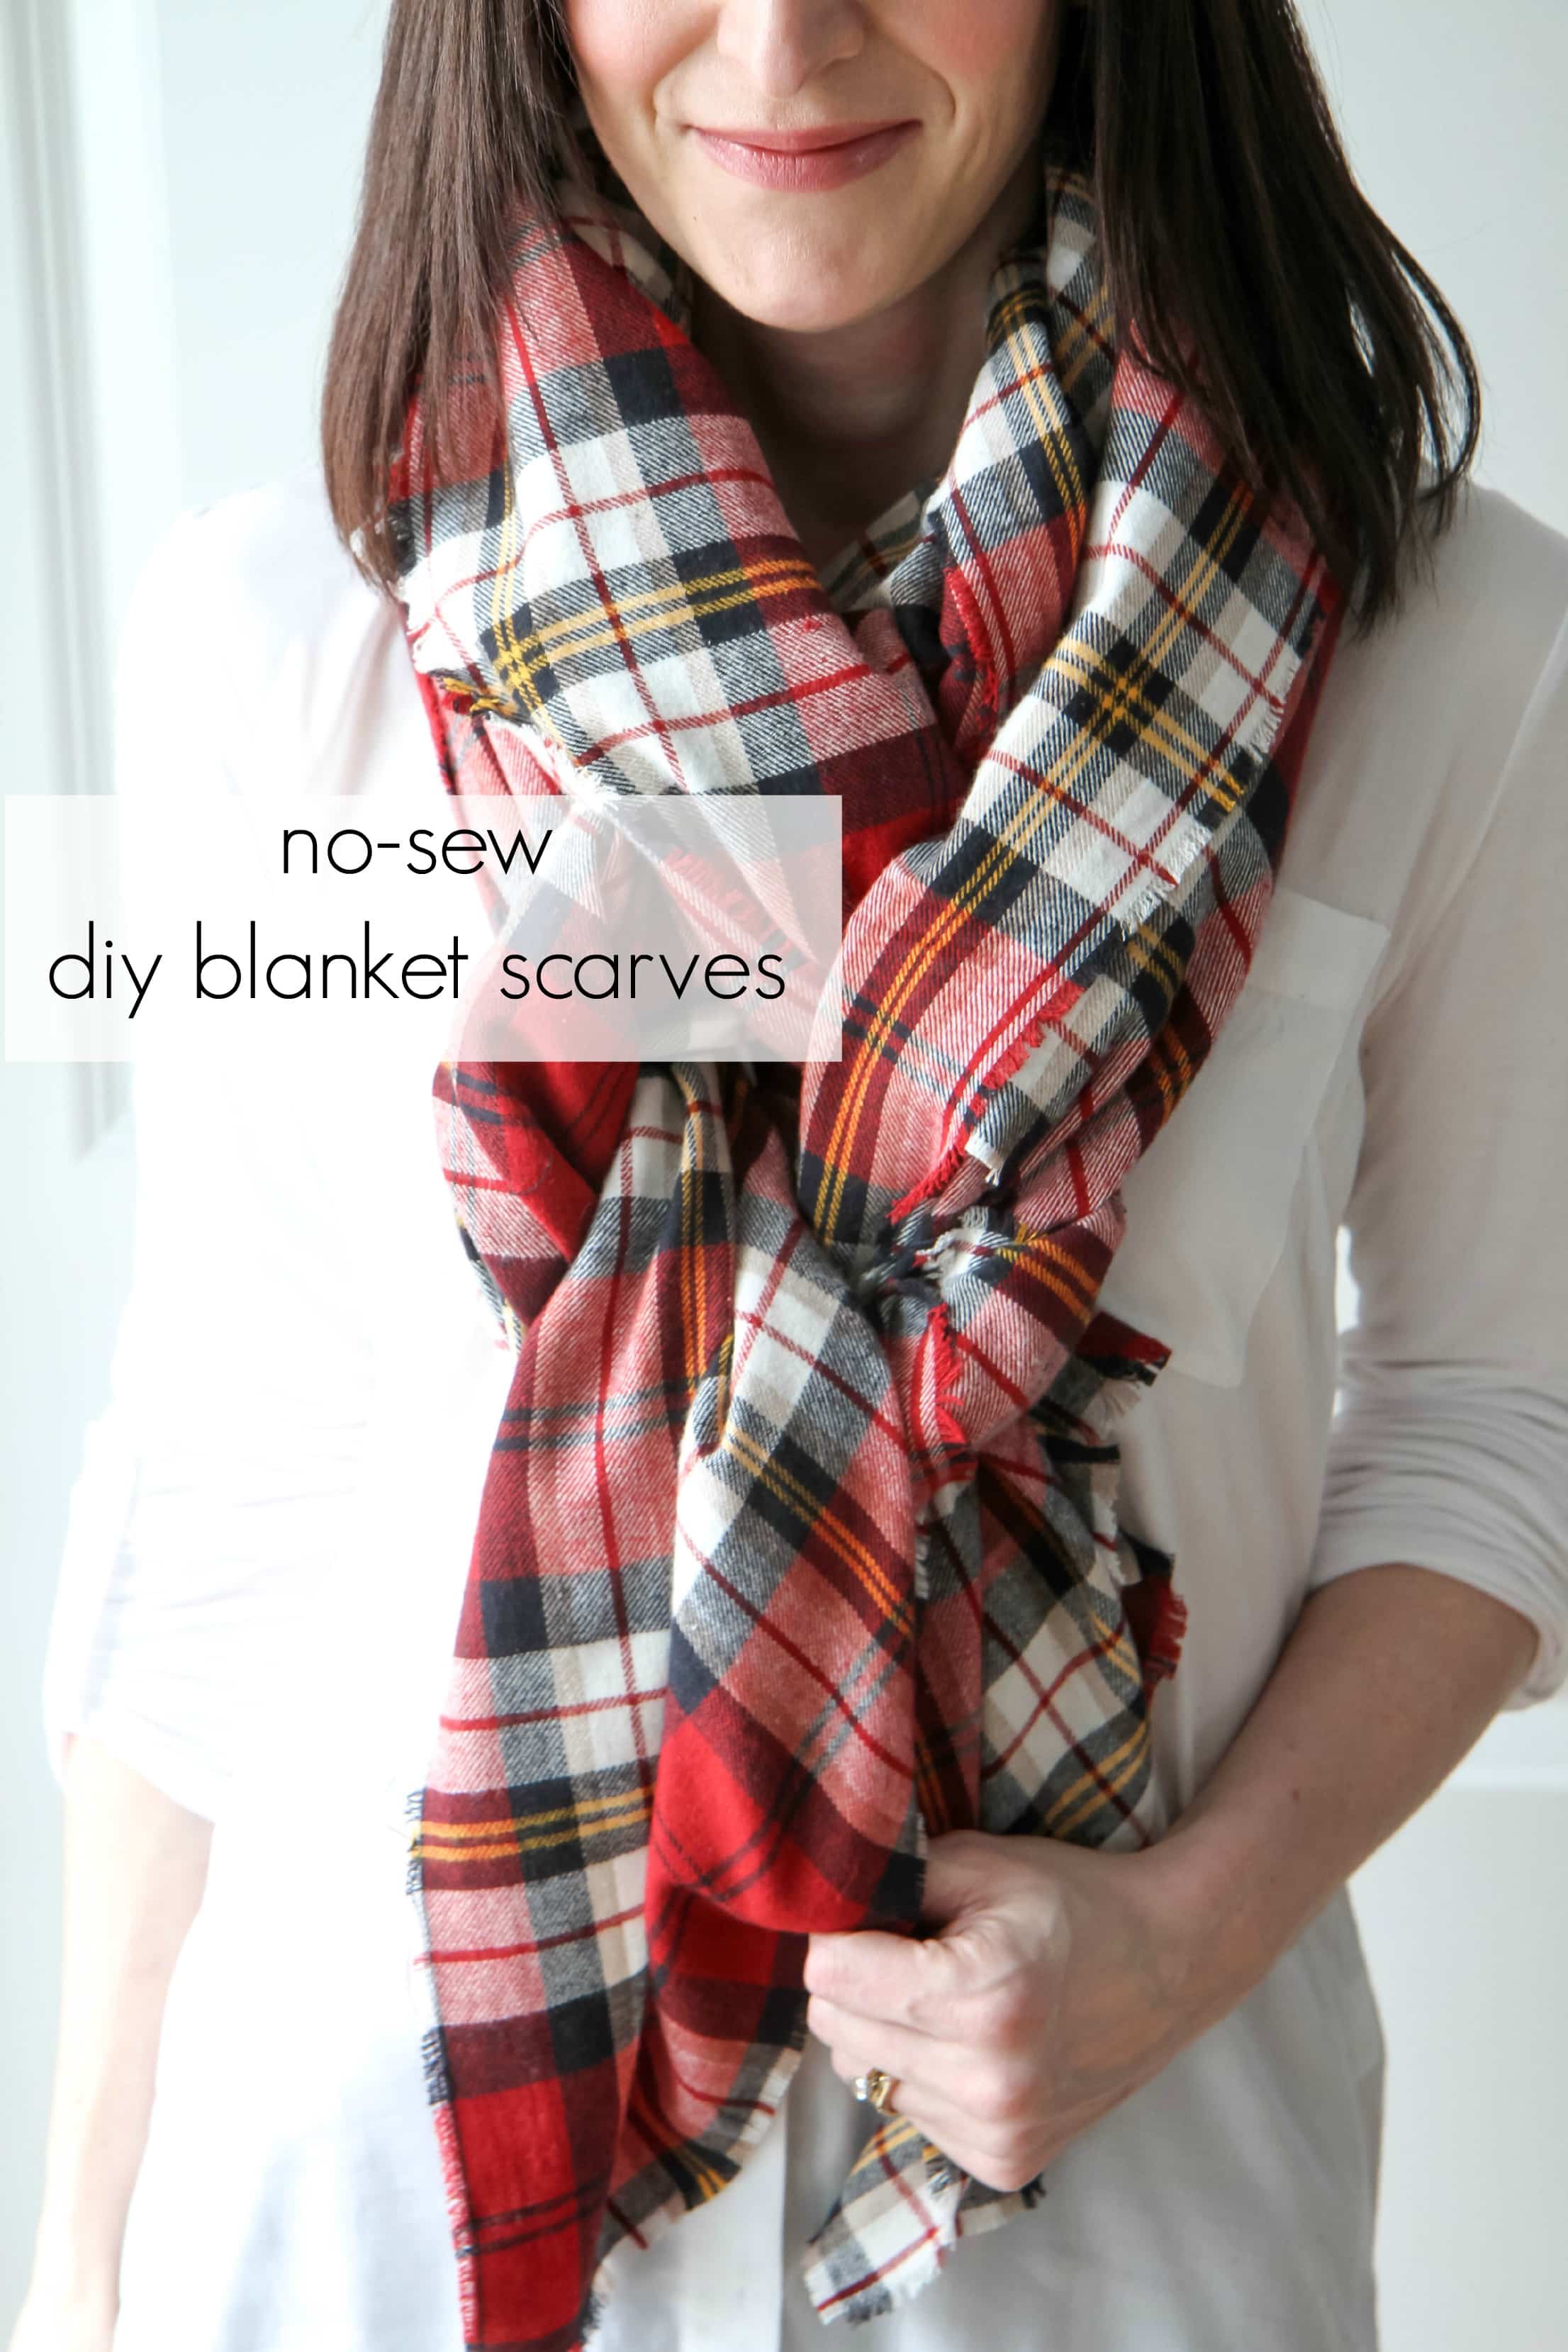
Blanket scarves are so trendy and an easy no-sew DIY to make for cold weather. Check out this diy blanket scarf tutorial and how to style your plaid blanket scarf with this easy tutorial. One trip to the fabric store for flannel plaid fabric and you will have everything you need to make a blanket scarf of your own…no sewing machine required!

I am madly in love with blanket scarves.

My obsession started as all good obsessions do.

It began on Pinterest, of course.

All of these fabulously fashionable women were rocking these gorgeous oversized scarves, but they were out of my price range or lacked the fullness & beauty that was captured online.

I mean, who couldn’t get behind the idea of wearing a blanket and calling it an oversized scarf?

Count Me In!

I decided I wanted to make some for my minimalist wardrobe because it would add so much. Did you know you can make a blanket scarf with no sewing skills required?

Let’s begin by taking a peek at the coveted $44 Zara scarf (that sells out in minutes, not kidding).

I want to zoom on in it so we can take a closer look.

Zara Blanket Scarf

Source: Style for the Seasons

The thing I want you to see is that the edges are frayed on their version too.

Guess what?

You can achieve that with a little flannel and pulling.

The best part is that this version will cost you quite a bit less than $44. I am going to make a big stack of them to show you and then I am going to show you some fun ways to tie them.

How to Make a Blanket Scarf from MomAdvice.com

The first thing you will need to do is shop for your fabric which is so much fun. I went to a few shops to check out fabric and ended up finding it at Jo-Ann Fabrics.  

Head over here to grab a coupon for your flannel fabric.

Want to know a pro-crafter shopping tip? Check out this app that I’m using to get a percentage back on my craft purchases.

If not, that same link will provide you a 40% off coupon. You will DEFINITELY want to use this because it makes these scarves budget-friendly. Don’t forget your coupons.

Head over the Fashion Flannel…at least that’s what they call it in Mishawaka (oh-la-la!).

Select your favorite patterns, tell them the amount you need, have them tell you they don’t have that much on a bolt, go grab another one, try again… Be annoyed.

Decide to do two sizes because you want you what you want, that’s why you brought it up there.

Got it?

I am going to show you what a 2 yard scarf looks like and then I am going to show you what a 2.5 yard scarf looks like below.

I love them both for different reasons and what you can do with them. The price (with no sales or coupons) is $8.99 per yard. That’s why it is great to see the two version (for cost-savings) and also really great to bring a coupon to save a bit on the fabric.

I wouldn’t recommend anything more than that or your scarf will choke you and you will die from scarf blanket suffocation.

It will be all over the headlines.

They will be laughing at you in those ridiculous segments on the radio where they try to shock you at the stupidity of Americans.  Your family will miss you. It would all be very tragic.


If you would prefer to shop online, I love to check over here for flannel by the yard. SO MANY great choices!! 


How to Make a Blanket Scarf from MomAdvice.com

How to Make a Blanket Scarf

1. Purchase 2-2.5 yards of flannel fabric (make sure the flannel printing is on both sides).

2. Using the patterned flannel edge as a guide (on the edges of the fabric), trim the edges of each side of your scarf with a pair of sewing scissors (these are what I have)  to expose the cut edges.

3. Pulling out the vertical threads, on the cut side of the fabric, begin fraying the edges of the scarf.

You will discover that pulling out threads really creates a beautiful finished edge

If you are struggling to grab a thread, don’t be afraid to use a seam ripper.

Keep doing this until there are no loose threads and you have a beautifully frayed edge. Repeat on each side of the scarf. DONE!

How to Make a Blanket Scarf from MomAdvice.com

This is what TWO YARDS of fabric looks like.

You can see that it has a lot of fullness, but is not as long or as much to tie or knot around.

Do you want to see how to tie it to look like this?

Okay then.

How to Wear a Blanket Scarf

How to Style a Blanket Scarf

How to Tie a Blanket Scarf from MomAdvice.com

How to Tie Your Two Yard Blanket Scarf

1. Fold the scarf in half, lining the edges up evenly. This creates more of a square blanket scarf versus doing it on an angle.

2. Make sure one end is shorter than the other and tuck it up over your shoulder.

3. Loop around once with the long end (or possibly twice depending on your neck size!).

4. Fluff and puff. Fluff and puff.

how-to-make-a-blanket-scarf-9

How to Make a Blanket Scarf from MomAdvice.com

Here is the same size, just not puffed up so much. Seriously, cute stuff!

How to Make a Blanket Scarf from MomAdvice.com

How to Tie Your 2.5 Yard Blanket Scarf

No need to reinvent the wheel to tie a blanket scarf…I just headed online to figure out a couple of fun ways to tie these longer blanket scarves.

I tried this braided technique on Classy Sassy and really loved it.

It is a little more complex than the one above, but it adds a beautiful detail to the styling.

How to Make a Blanket Scarf from MomAdvice.com

This half-tied technique couldn’t be easier and was a cinch to pull together and added just the right amount of fullness to the neckline.

How to Make a Blanket Scarf from MomAdvice.com

Here are a few other blanket scarf tying techniques I am looking forward to trying!

This one is similar to the half-tied technique, but no tying, just tucking. I can do that!

This chunky scarf technique would work really well with a 2-yard scarf so you could let the ends hang.

The 2.5-yard one would look great as a poncho or even pulled together with a belt.

This poncho style leaves the scarf folded making a smaller poncho version.

I also love draping this scarf just around my shoulders during the cold winter months. It makes the perfect shawl!

Regardless of the way you tie it, I love pairing these scarves with puffy vests, long sleeve shirts, and my favorite fall boots. Flannel blanket scarves are the perfect addition to your fall wardrobe. 

How to Make a Blanket Scarf from MomAdvice.com

I’m Petite & Want to Make a Smaller Version- What Can I Do?

I’m pretty petite, but I know big scarves aren’t for everyone!

Shave 6-7 inches off the width on a 2 yard version to make a more petite version of this scarf with a little less bulk or experiment with your own sizing by creating your own custom version.

Just cut, try on, adjust.

There are no wrong or right lengths- it is what fits YOU or your recipient best!

Wear it a scarf or wear it as a blanket. The possibilities for this cozy project are endless.

Love this scarf tutorial? Here are a few other DIY projects I’m proud of!

No-Sew Scarf With Hidden Pocket no sew scarf with hidden pocket

Fall Burlap Wreath fall burlap wreath

Slow Cooker Pumpkin Spice Candles slow cooker pumpkin spice candles

How to make a Yarn Pom Pom Wreath yarn pom-pom wreath

DIY Roll-up Puzzle Mat roll-up jigsaw puzzle mat

DIY No-Sew Hand Warmers no-sew hand warmers

Yarn Pom Pom Trees yarn pom pom trees

How to Make a Succulent Terrarium succulent terrariums

I hope you have a blast making these quick scarves for yourself or for holiday gift-giving. Check out this list of 54 handmade gifts you can make for the holiday season to inspire you even more! Happy crafting!

This post contains affiliate links. 

How to Make a No Sew Blanket Scarf from MomAdvice.com

Pin It

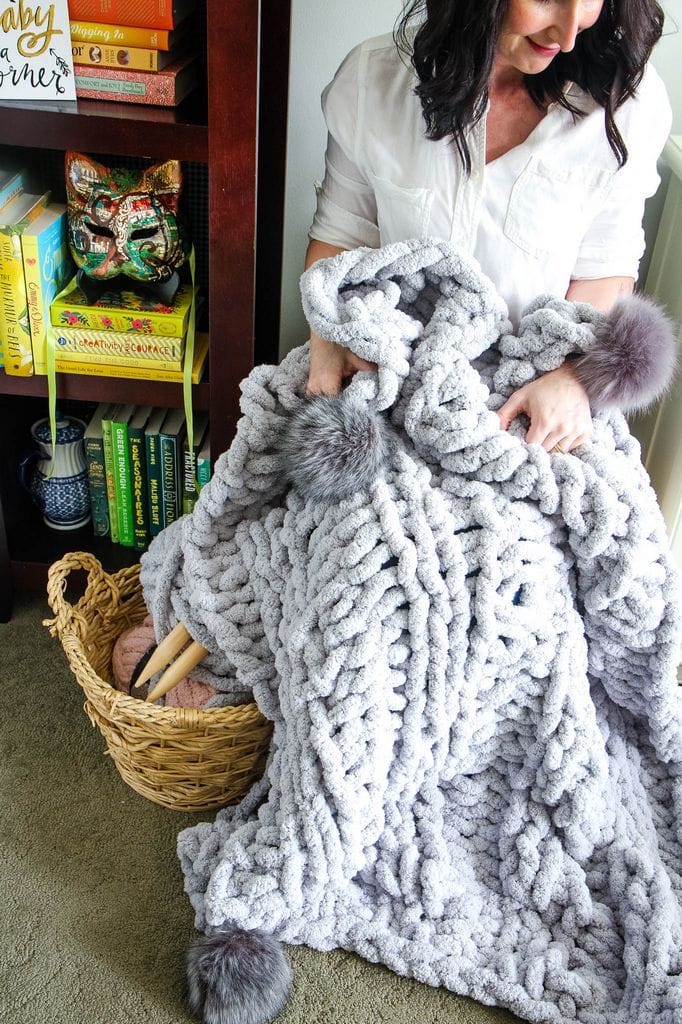
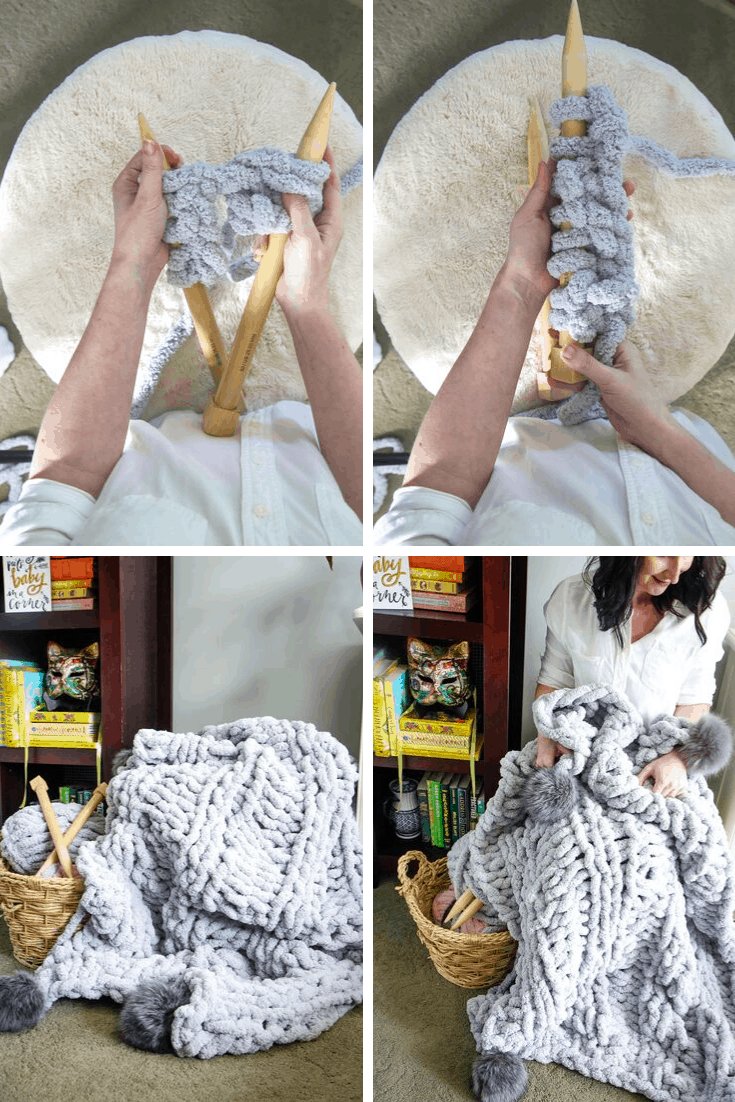
DIY Chunky Knit Blanket

Sunday, October 6th, 2019

Big Fat Hygge Blanket Free Pattern


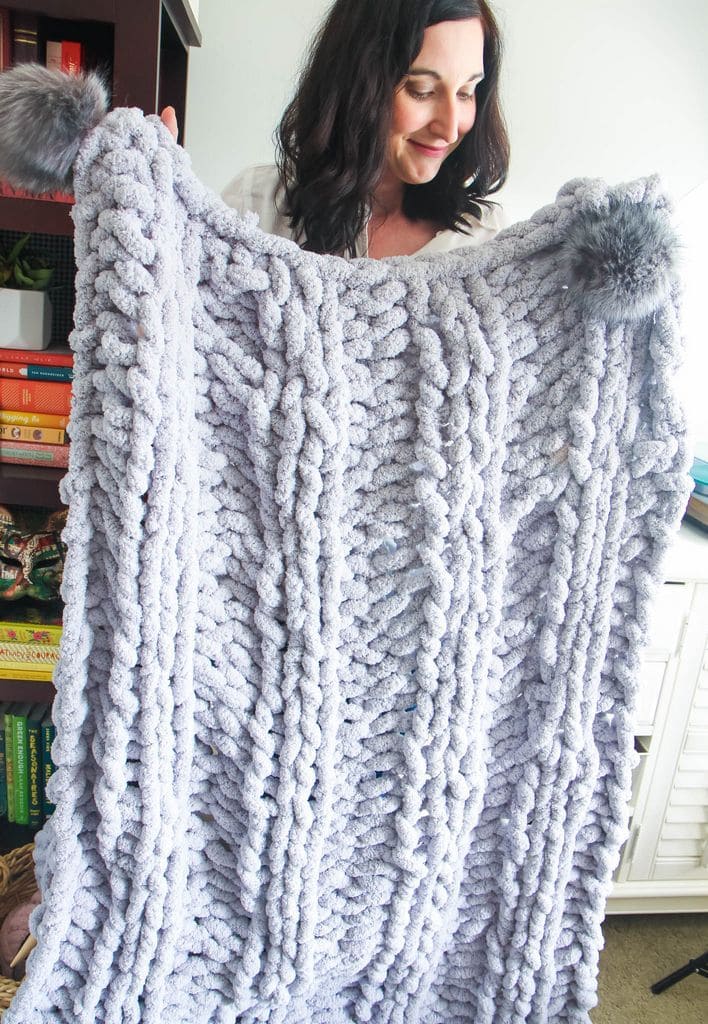
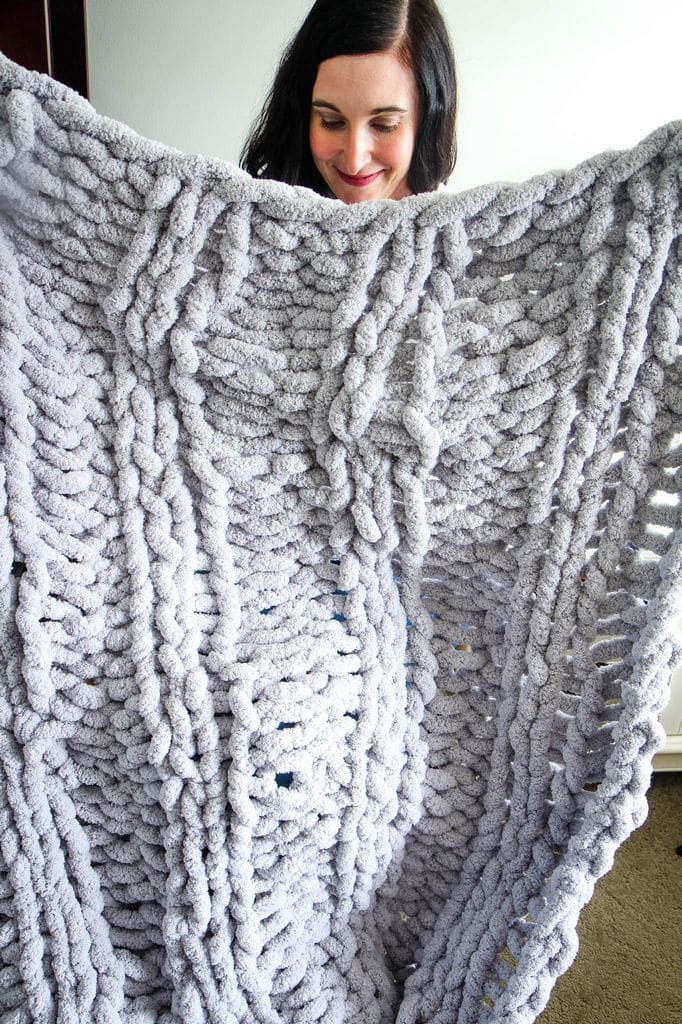
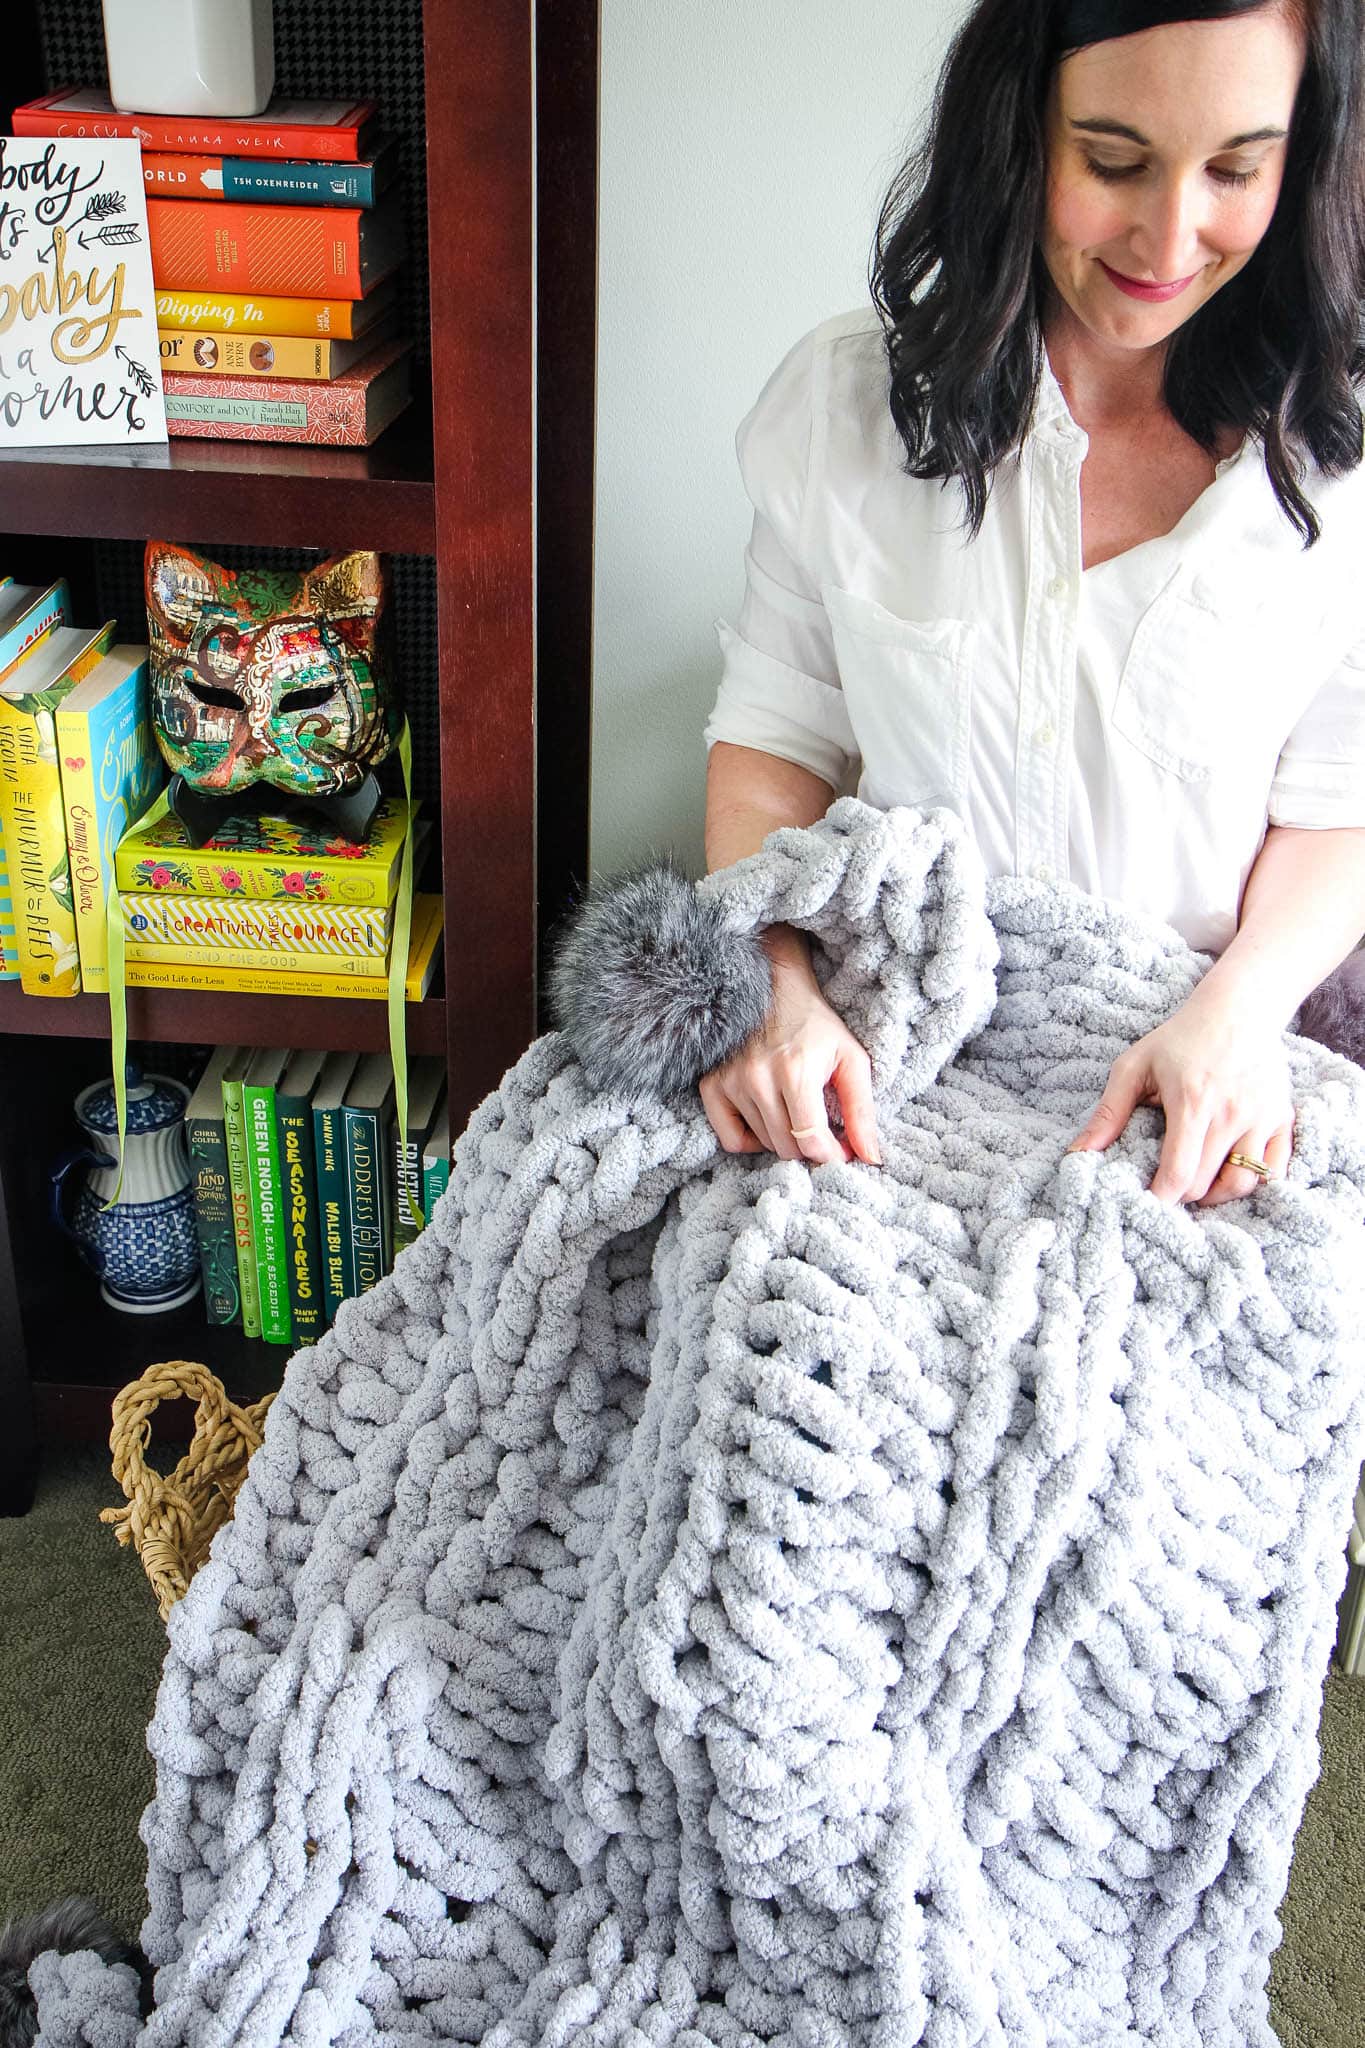
Are you ready for your next quick project? This knit throw is made with chunky yarn, big knitting needles, and a little faux fur to finish. This warm and cozy project is affordable and happens to make beautiful Christmas gifts. Follow this step-by-step tutorial to make a big fat hygge blanket of your own.

It has been a long time since I’ve shared a knitting project with you. I’ve had difficulty with hand pain, for the past couple of years, so I had to take a break. I’m so thrilled to be feeling better though and am SO excited to share with you a super easy hand knit blanket.

Blankets can be labor intensive, but this one can be finished in just a few evenings, thanks to this super bulky yarn!

These chunky knit blankets have been catching my eye A LOT on Etsy. Most of these are made with a chunky , merino wool roving yarn that create big beautiful stitches. They also cost a pretty penny to purchase or even to diy yourself.

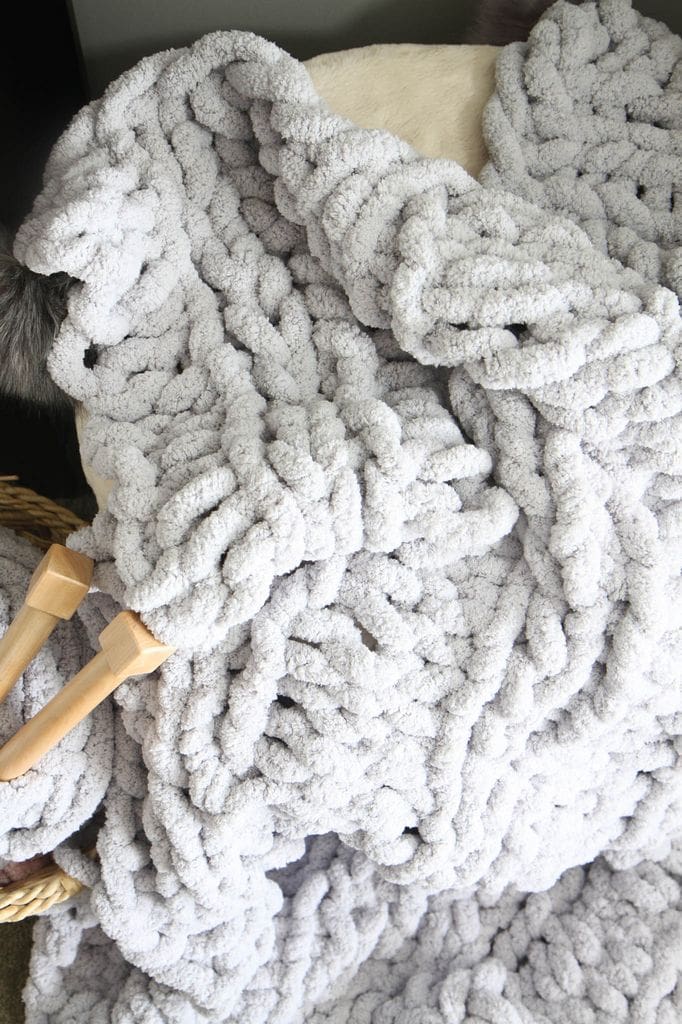
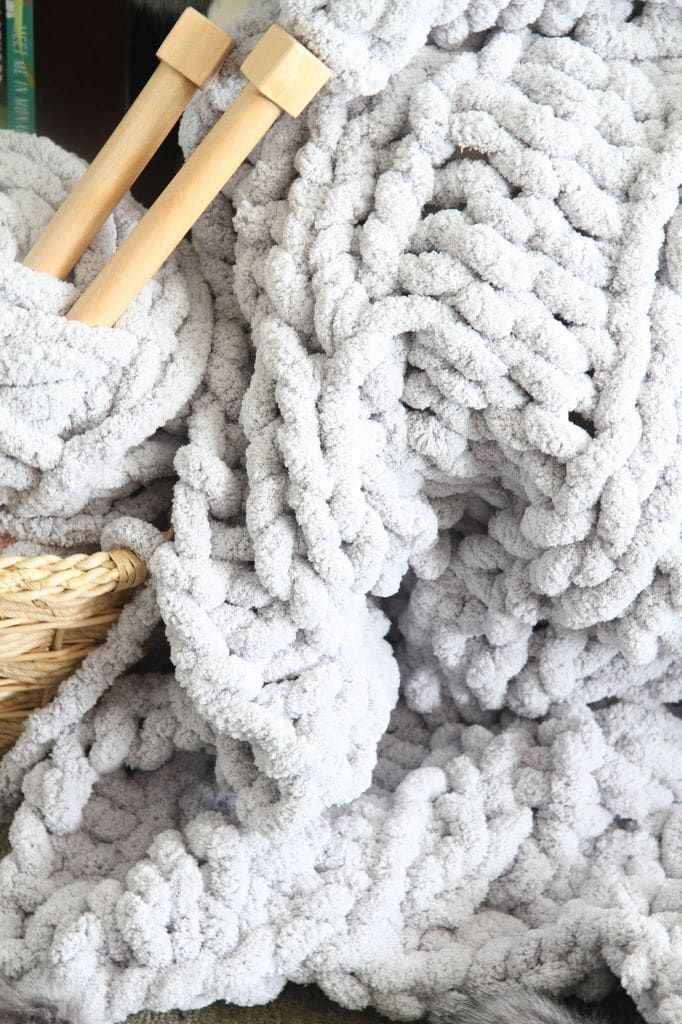
I stumbled upon the Bernat Blanket Big yarn, on a recent trip to the craft store, and absolutely loved the feel of it. This is, honestly, the coziest yarn and I knew it would make the perfect blanket.

Originally, I had planned to cable knit this blanket, but I quickly realized that working with these big needles and yarn made it difficult to work with and the thickness felt unnecessary.

I inspected a few of the patterns, sold online, and noticed that most offered a 2 x 2 ribbing or they were knitted in a simple stockinette stitch (knitting one row, purling the next, knitting one row, purling the next, etc..)

I settled on the 2 x 2 rib, mostly because I find it slightly more impressive and I like the variation in the stiching.

I’m nicknaming this blanket, “the big fat hygge blanket,” because I’m ALL ABOUT THE HYGGE in the winter time.

Not familiar with hygge?

In Danish culture, hygge refers to coziness , comfort, and a general feeling of contentment. When I think of hygge, I think of warm drinks, cozy slippers, a big stack of books, tea, and a big blanket.

Even as I knitted this blanket, I was feeling all the hygge feelings because this yarn is so darn cozy.

I have never arm knitted a blanket, but I do know that many people use this strategy to knit blankets like these. 

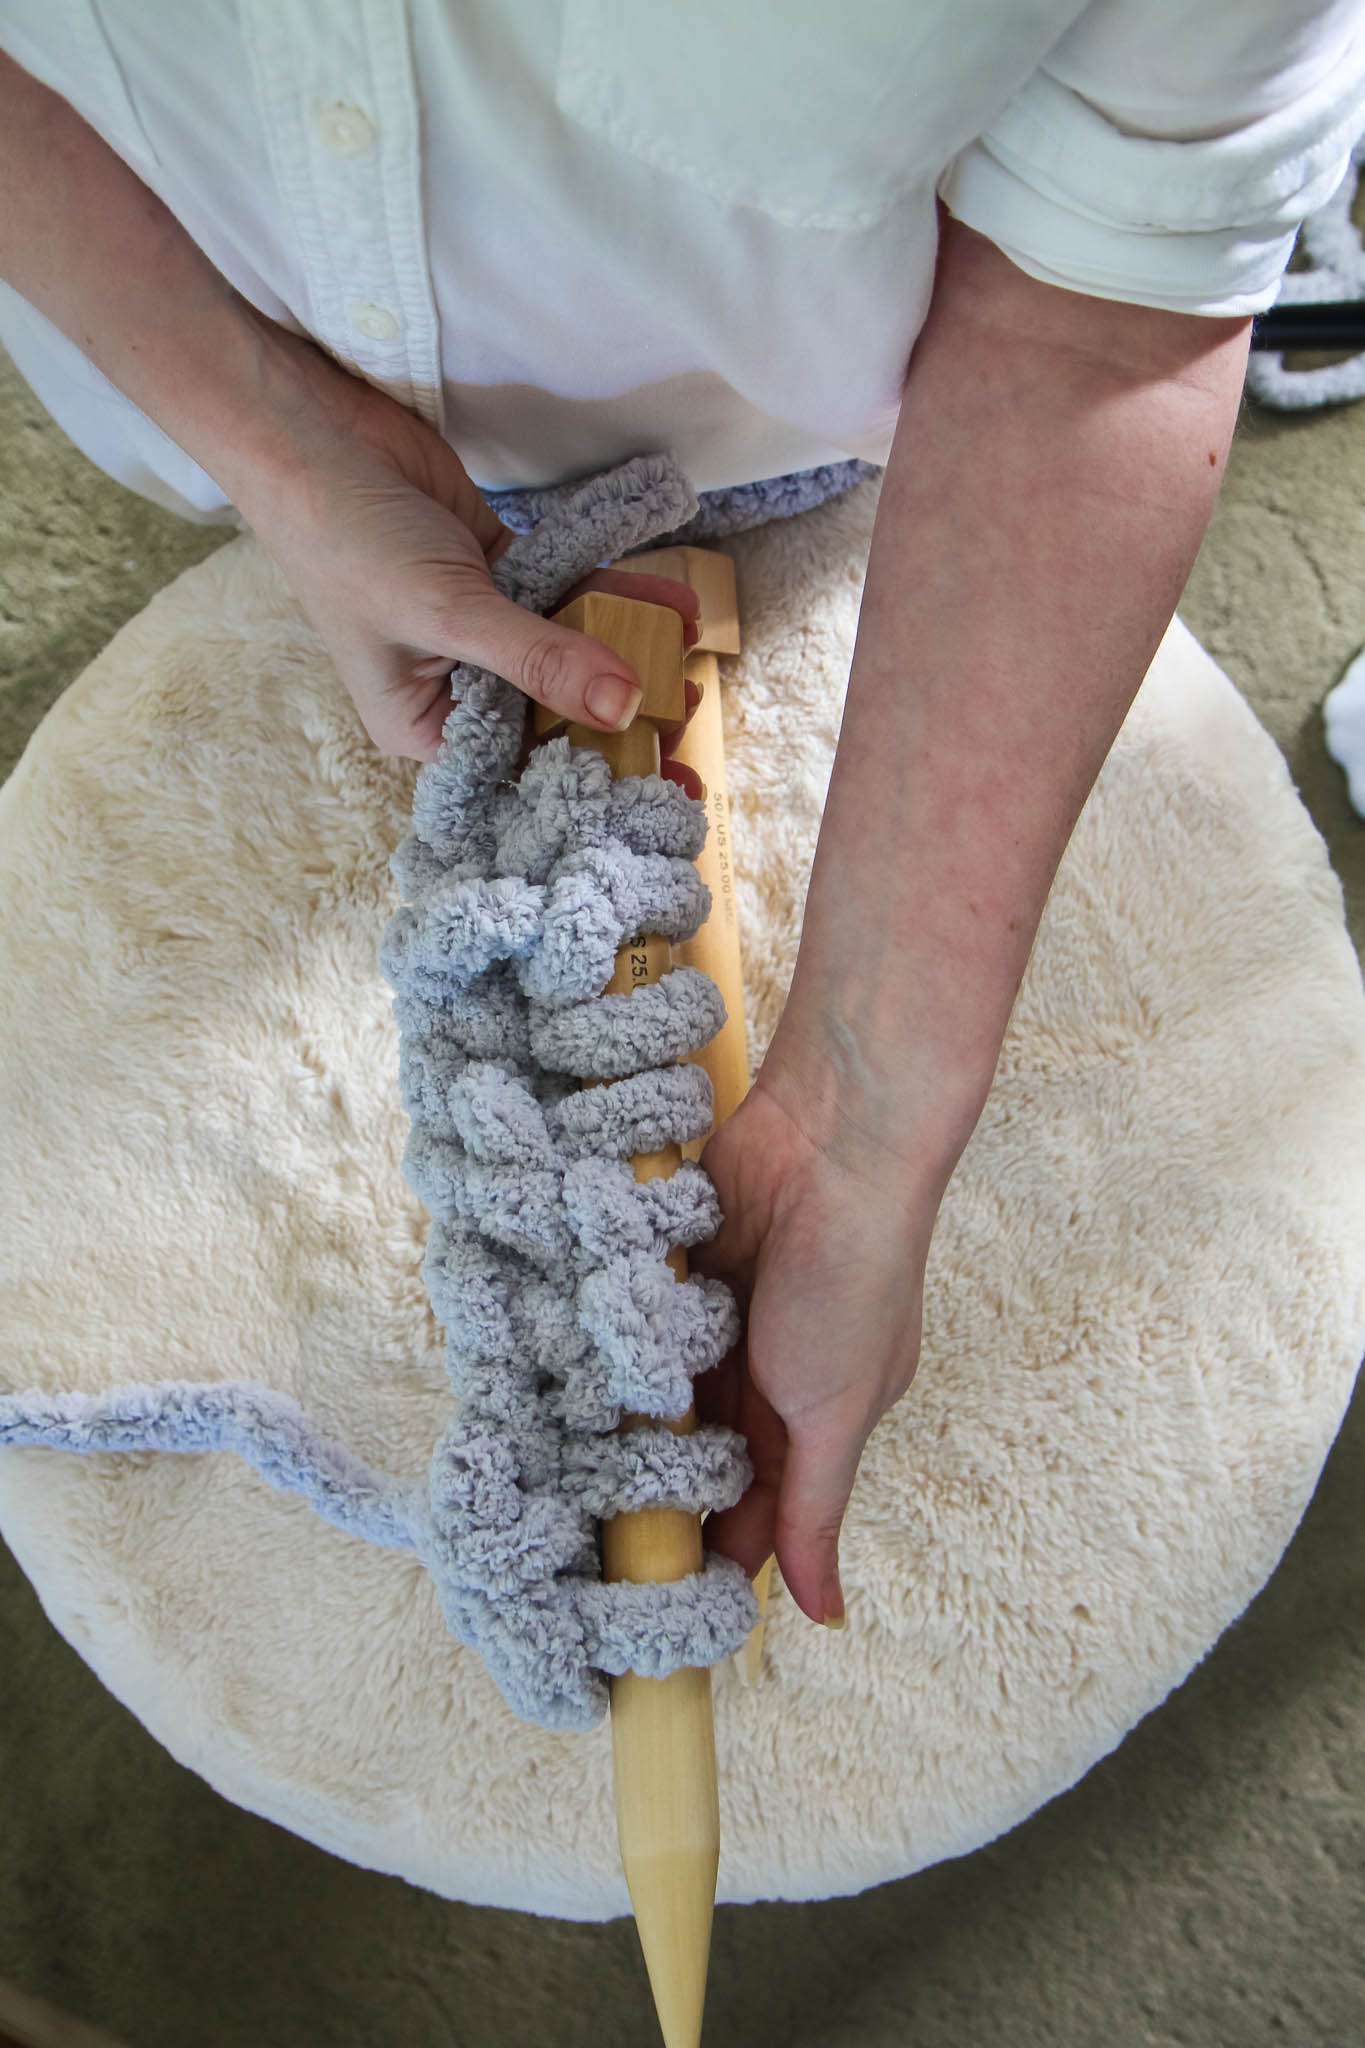
Instead, I bought some big needles (here is my exact pair) and knitted the blanket that way.

DIY Chunky Knit Blanket from MomAdvice.com

My kids thought that these needles were a decoration for our home and got a big laugh out of seeing me use these.

Seriously, they are so big that they could be hung as decorative art, like people do with oars or surfboards.

No one was laughing though when the blanket was finished and they all wanted one for themselves.

Who is laughing now, kids? 

I even got my first birthday request from my girl and have a big stack of pink yarn to knit through next.

DIY Chunky Knit Blanket from MomAdvice.com

How to Knit a DIY Chunky Blanket

Here are a few tips for knitting a super chunky blanket of your own!

Master All the Basic Techniques

If you are a brand new knitter, WELCOME TO THE CLUB! Bulky projects are super satisfying because of how quickly you can make them. I love this super simple illustrated guide to explain basic knitting techniques. You can also learn a lot through YouTube, Bluprint, or Skillshare.

Personally, I’m addicted to Skillshare because of its affordability and the variety of classes offered. It is how I have been learning about loom knitting AND about digital marketing. 

I’m a girl with many hats.

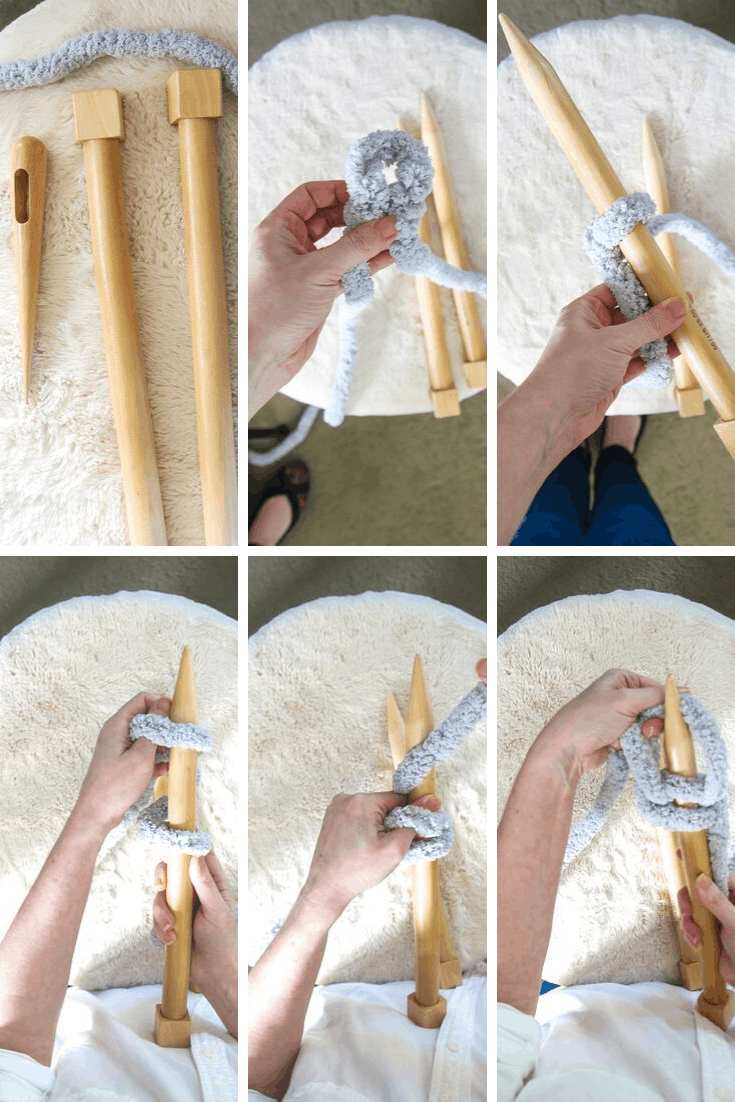
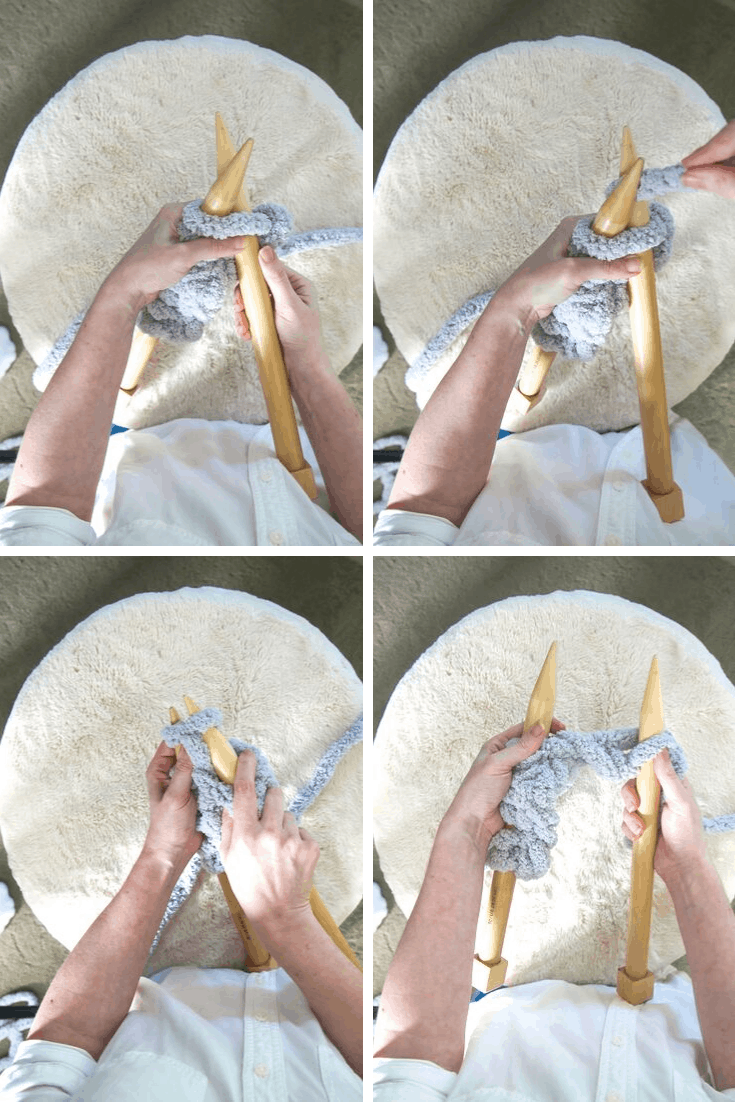
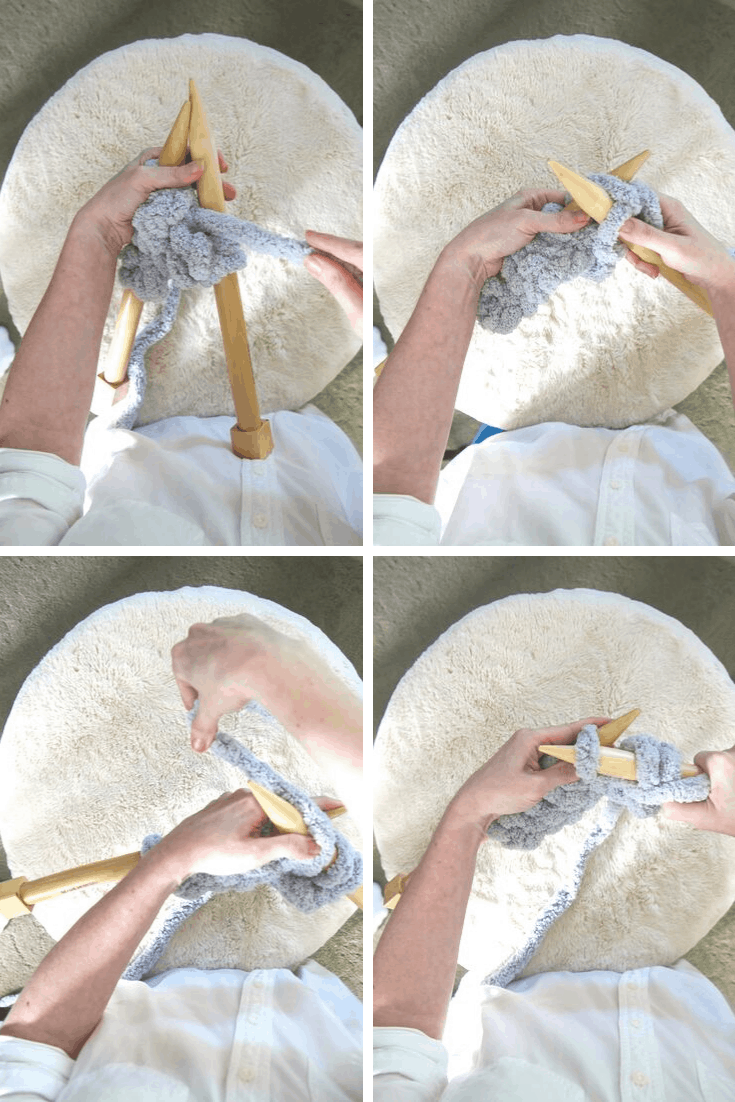
I find this yarn is hard to see the stitches, but still wanted to show you a few of the basic techniques with your Bernat Blanket Big Yarn!

DIY Chunky Knit Blanket from MomAdvice.com

here is a picture tutorial on how to cast on your yarn for your diy chunky blanket

DIY Chunky Knit Blanket from MomAdvice.com

here is a picture tutorial on how to do the knit stitch

DIY Chunky Knit Blanket from MomAdvice.com

DIY Chunky Knit Blanket from MomAdvice.com

here is a picture tutorial on how to do the purl stitch

DIY Chunky Knit Blanket from MomAdvice.com Do you see how differently these two stitches look? Two have humps and two don’t. Not only does this help you with your counting, but it also gives you an indication of what row you are working on. After you do your first row, flip your work, and take a peek at the back. This will help you if you lose track of your even and odd numbered rows.

Learn the 2×2 Ribbing Pattern Before You Start

If you have never done a 2×2 pattern, try practicing this with a smooth thin yarn and smaller knitting needles. Since this yarn is super bulky, it can be difficult to see what you are doing on the back of your work and this practice project will help you figure out what this will look like.

Normally, a 2 x 2 ribbing is set in multiples of 4 (K2, P2). Since we want this blanket to begin and end on our two knitted stitches, the blanket pattern has added 2 additional stitches (written separately like this- K2, *P2, K2*) so we end and start our rows with 2 knit stitches.

Make Sure You Understand the Pattern Fully- This is a fun beginner project, but you might be confused what certain abbreviations mean. I know that I was when I first started knitting and had to look a lot of terms up.

For this pattern, you will need to know these abbreviations:

CO- Cast on

K- Knit

K2- Knit two stitches

P- Purl

P2- Purl two stitches

*blah, blah, blah*- This means that the pattern will be repeating. In our pattern, for example, it is a *P2, K2* so we will want to repeat what is between those asterisks until the next direction in our pattern. In the case of this pattern, you will just be doing the *P2, K2* or *K2, P2* all the way to the end. How easy is that?

Keep Your Stitches Loose

You do not want to cast your stitches on tightly or knit them tightly because it makes it very hard to slip your needles in and out. Try to maintain consistency so your stitches look similar throughout the project.

Are you ready to get knitting? Follow the directions below or scroll all the way to the end for a free printable pattern.

DIY Chunky Knit Blanket from MomAdvice.com

DIY Chunky Knit Blanket

Supplies Needed (super saver tip- make sure you are signed up with Rakuten to get cash back on your craft purchases)

4 skeins of Bernat Blanket Big Yarn

U.S. 50 Knitting Needles

Big Eye Wooden Needle for threading yarn

Faux Fur Pom-Pom Balls (optional)

Directions

Cast on 18 stitches

Row 1- K2, *P2, K2* to end

Row 2- P2 *K2, P2* to end

Repeat Row 1 on all odd-numbered rows.

Repeat Row 2 on all even-numbered rows.

Repeat until you come close to the end of your fourth skein.

Cast off LOOSELY and finish with fur accents, homemade tassels, or even four yarn pom-poms. I have the ultimate yarn pom pom tutorial, if you haven’t tried making these before! These would be beautiful in an accent color. I love the Lion Brand chunky yarn, in particular, for a fat pom-pom.

Good luck tackling this fun project! 

Want a printable version of this? Well, here you go!

DIY Chunky Blanket FREE Pattern from MomAdvice.com

If you have caught the knitting, bug I have loads more knitting and yarn projects to check out!

how to knit a chunky cowl

how to knit a chunky cowl

Knitted Baby Viking Hat Pattern knitted baby viking hat pattern

knitted wine hats and scarves

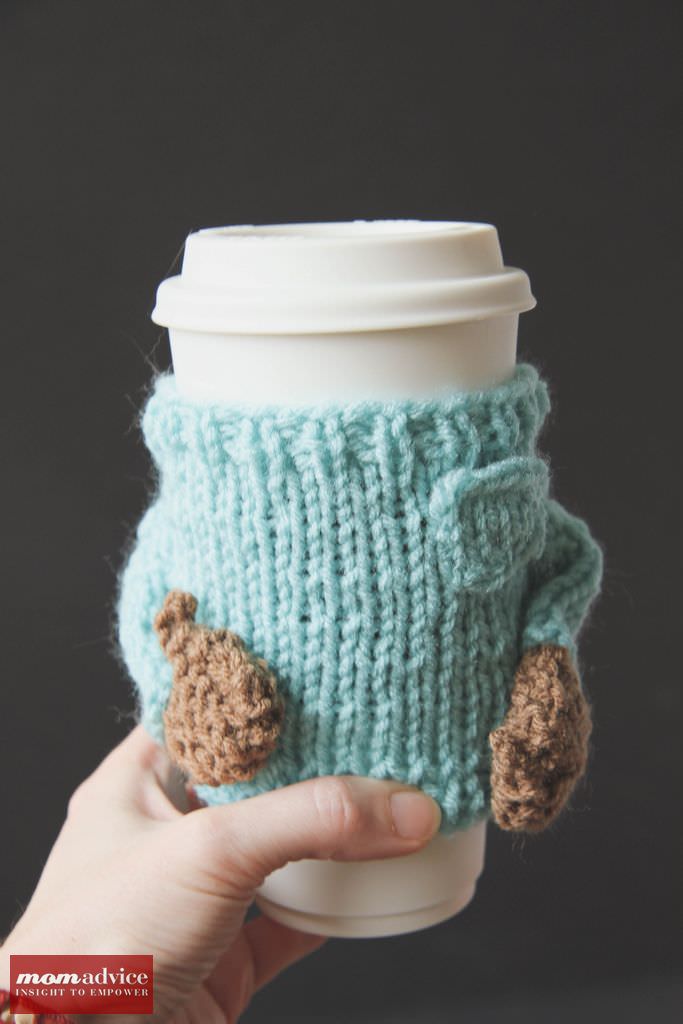
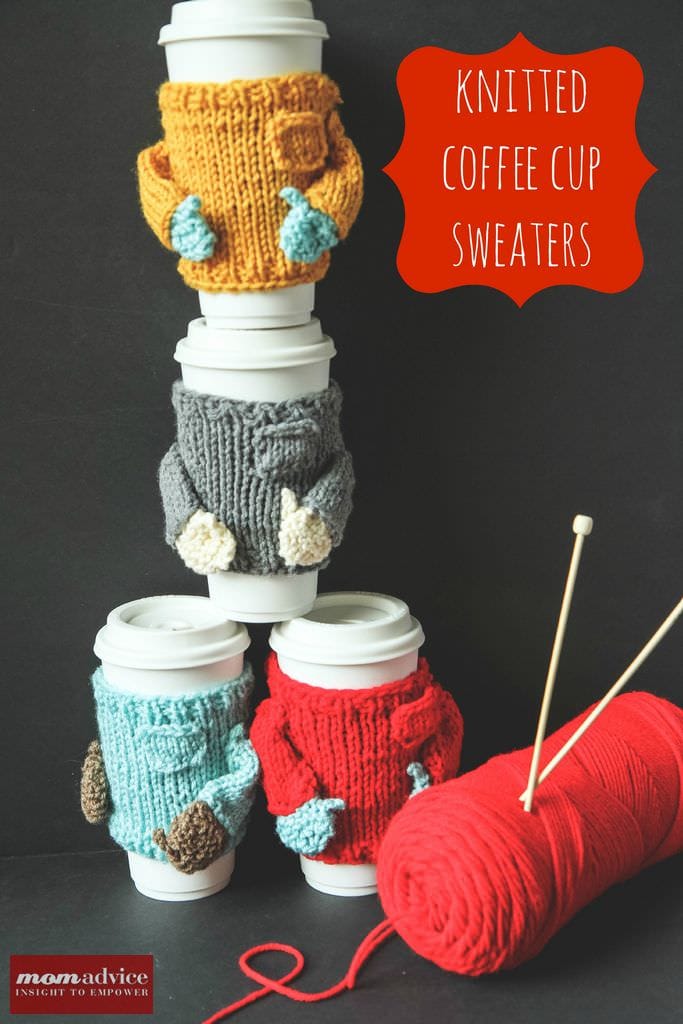
Knitted Sweater Coffee Cozies knitted sweater coffee cozies

How to Make a Yarn Pom Pom Wreath how to make a yarn pom pom wreath

Happy crafting friends! 

*this post contains affiliate links*

Pin It

How To: Slow Cooker Pumpkin Spice Candles

Thursday, October 3rd, 2019

Slow Cooker Pumpkin Spice Candles from MomAdvice.com

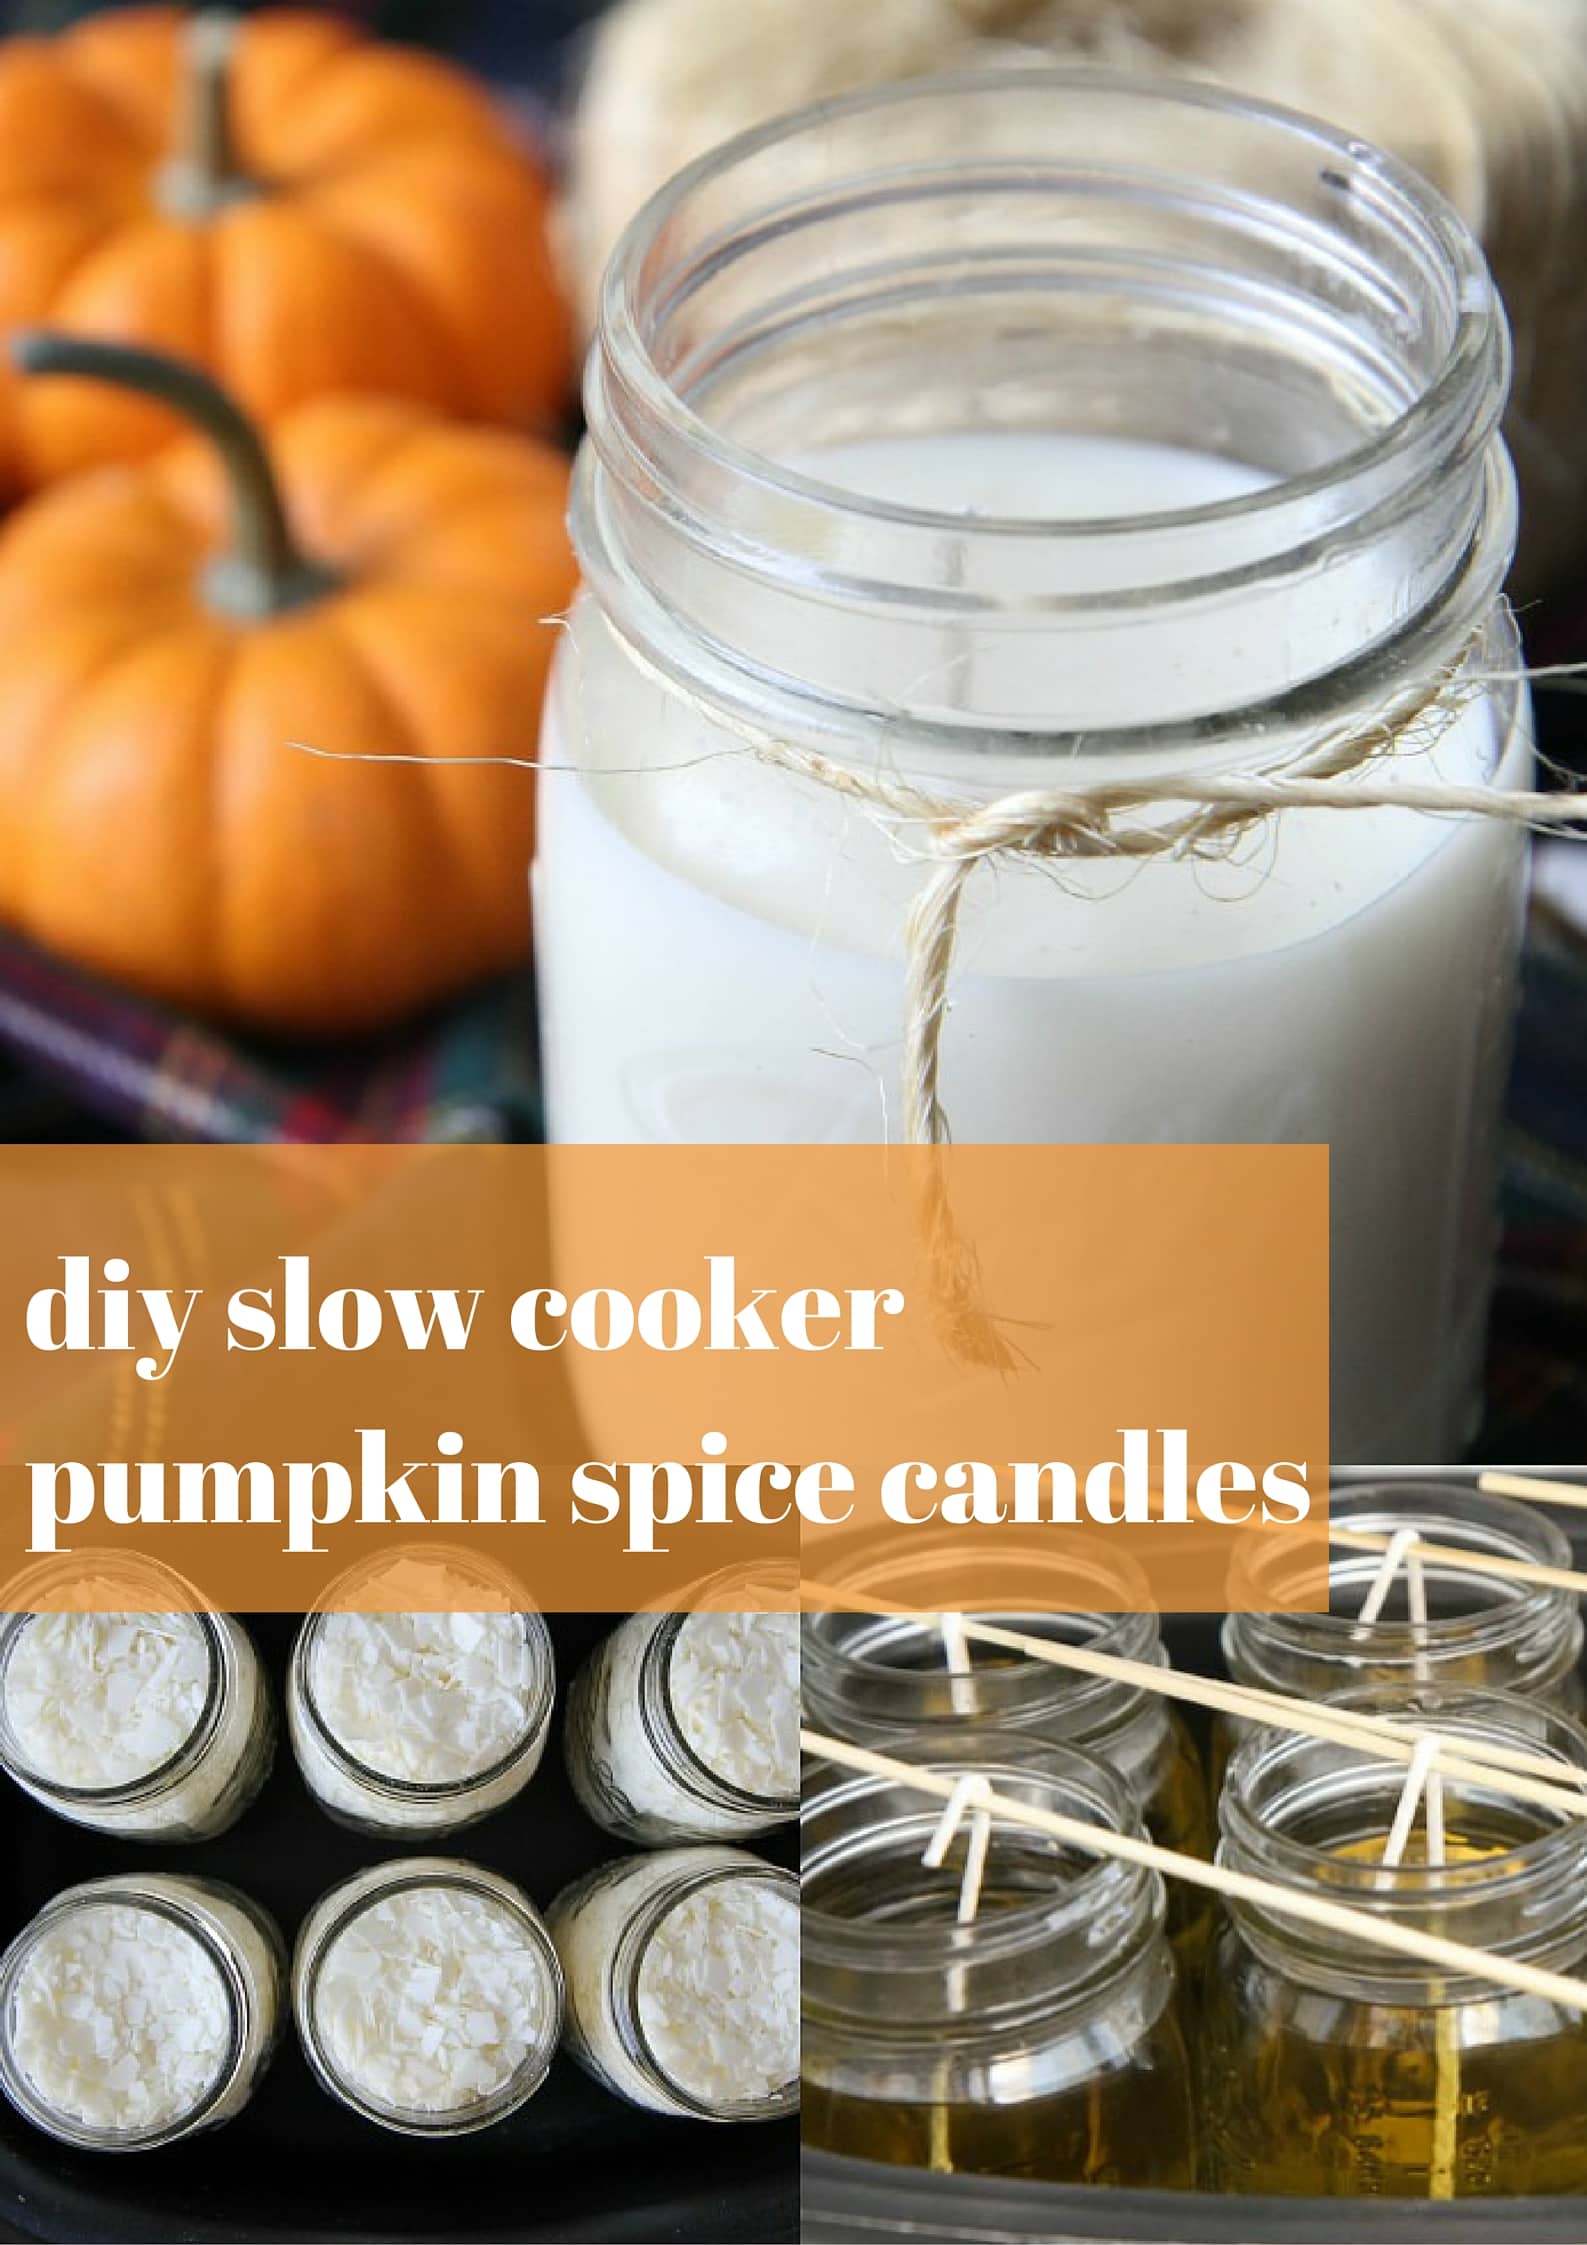
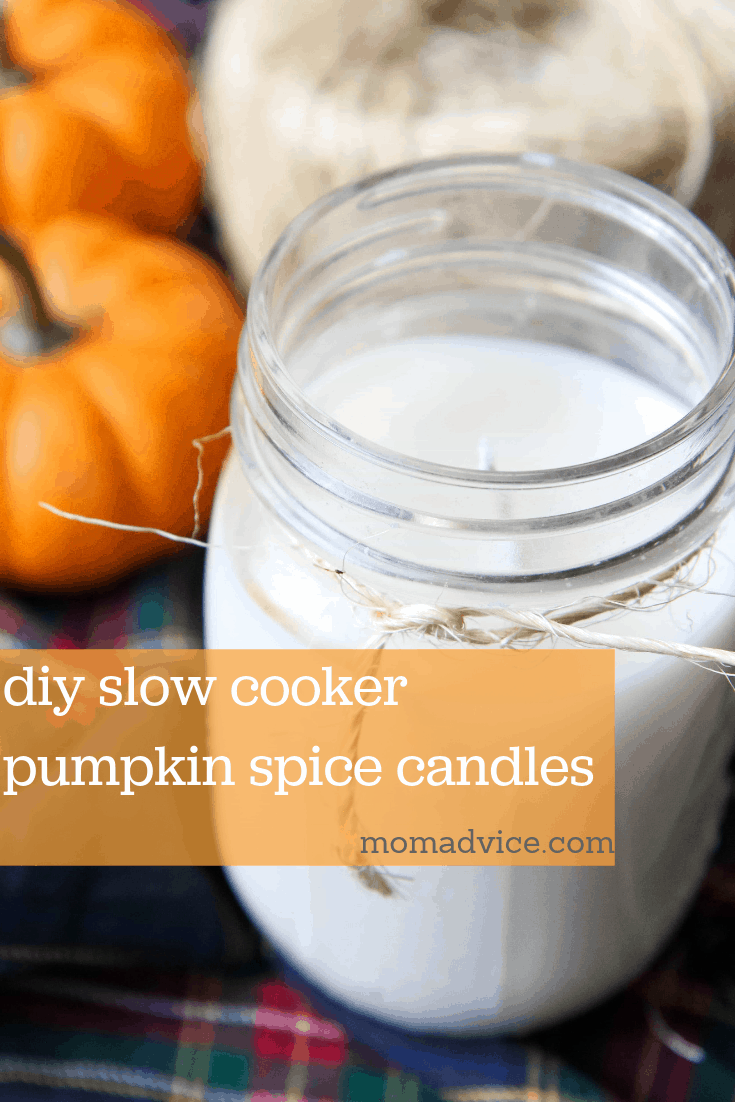
Learn how to make your own DIY candles in your crockpot or slow cooker. Did you know you can make pumpkin spice scented candles at home with just wax, a wick, and essential oils? This easy tutorial will have you make large batches of candles in no time.

DIY Slow Cooker Pumpkin Spice Candles from MomAdvice.com

Gift-giving season is upon us and I am always looking for great gifts that don’t cost a lot, can be made in bulk, and will actually be used!

Do you remember when we made Citronella Candles in our slow cooker for thoughtful hostess gifts for the cookout season?

We are going to replicate that same idea, but with one of my FAVORITE fall scents…Pumpkin Spice!

Can you believe you can make candles in your crockpot?

The first time I tried making candles in my slow cooker, I knew that I was hooked on a new favorite craft.

I am so excited to show you, yet again, how to make candles in your slow cooker and this time we are making easy Slow Cooker Pumpkin Spice Candles.

As a Pumpkin Spice everything addict, these are full of my favorite holiday scent and can be made with just a few inexpensive purchases.

These candles can also be added to a tabletop with some winter squash and some jack-o-lanterns for a festive Fall display.

FYI- I just want to warn you how good your house is going to smell so GET READY!

Slow Cooker Pumpkin Spice Candles from MomAdvice.com

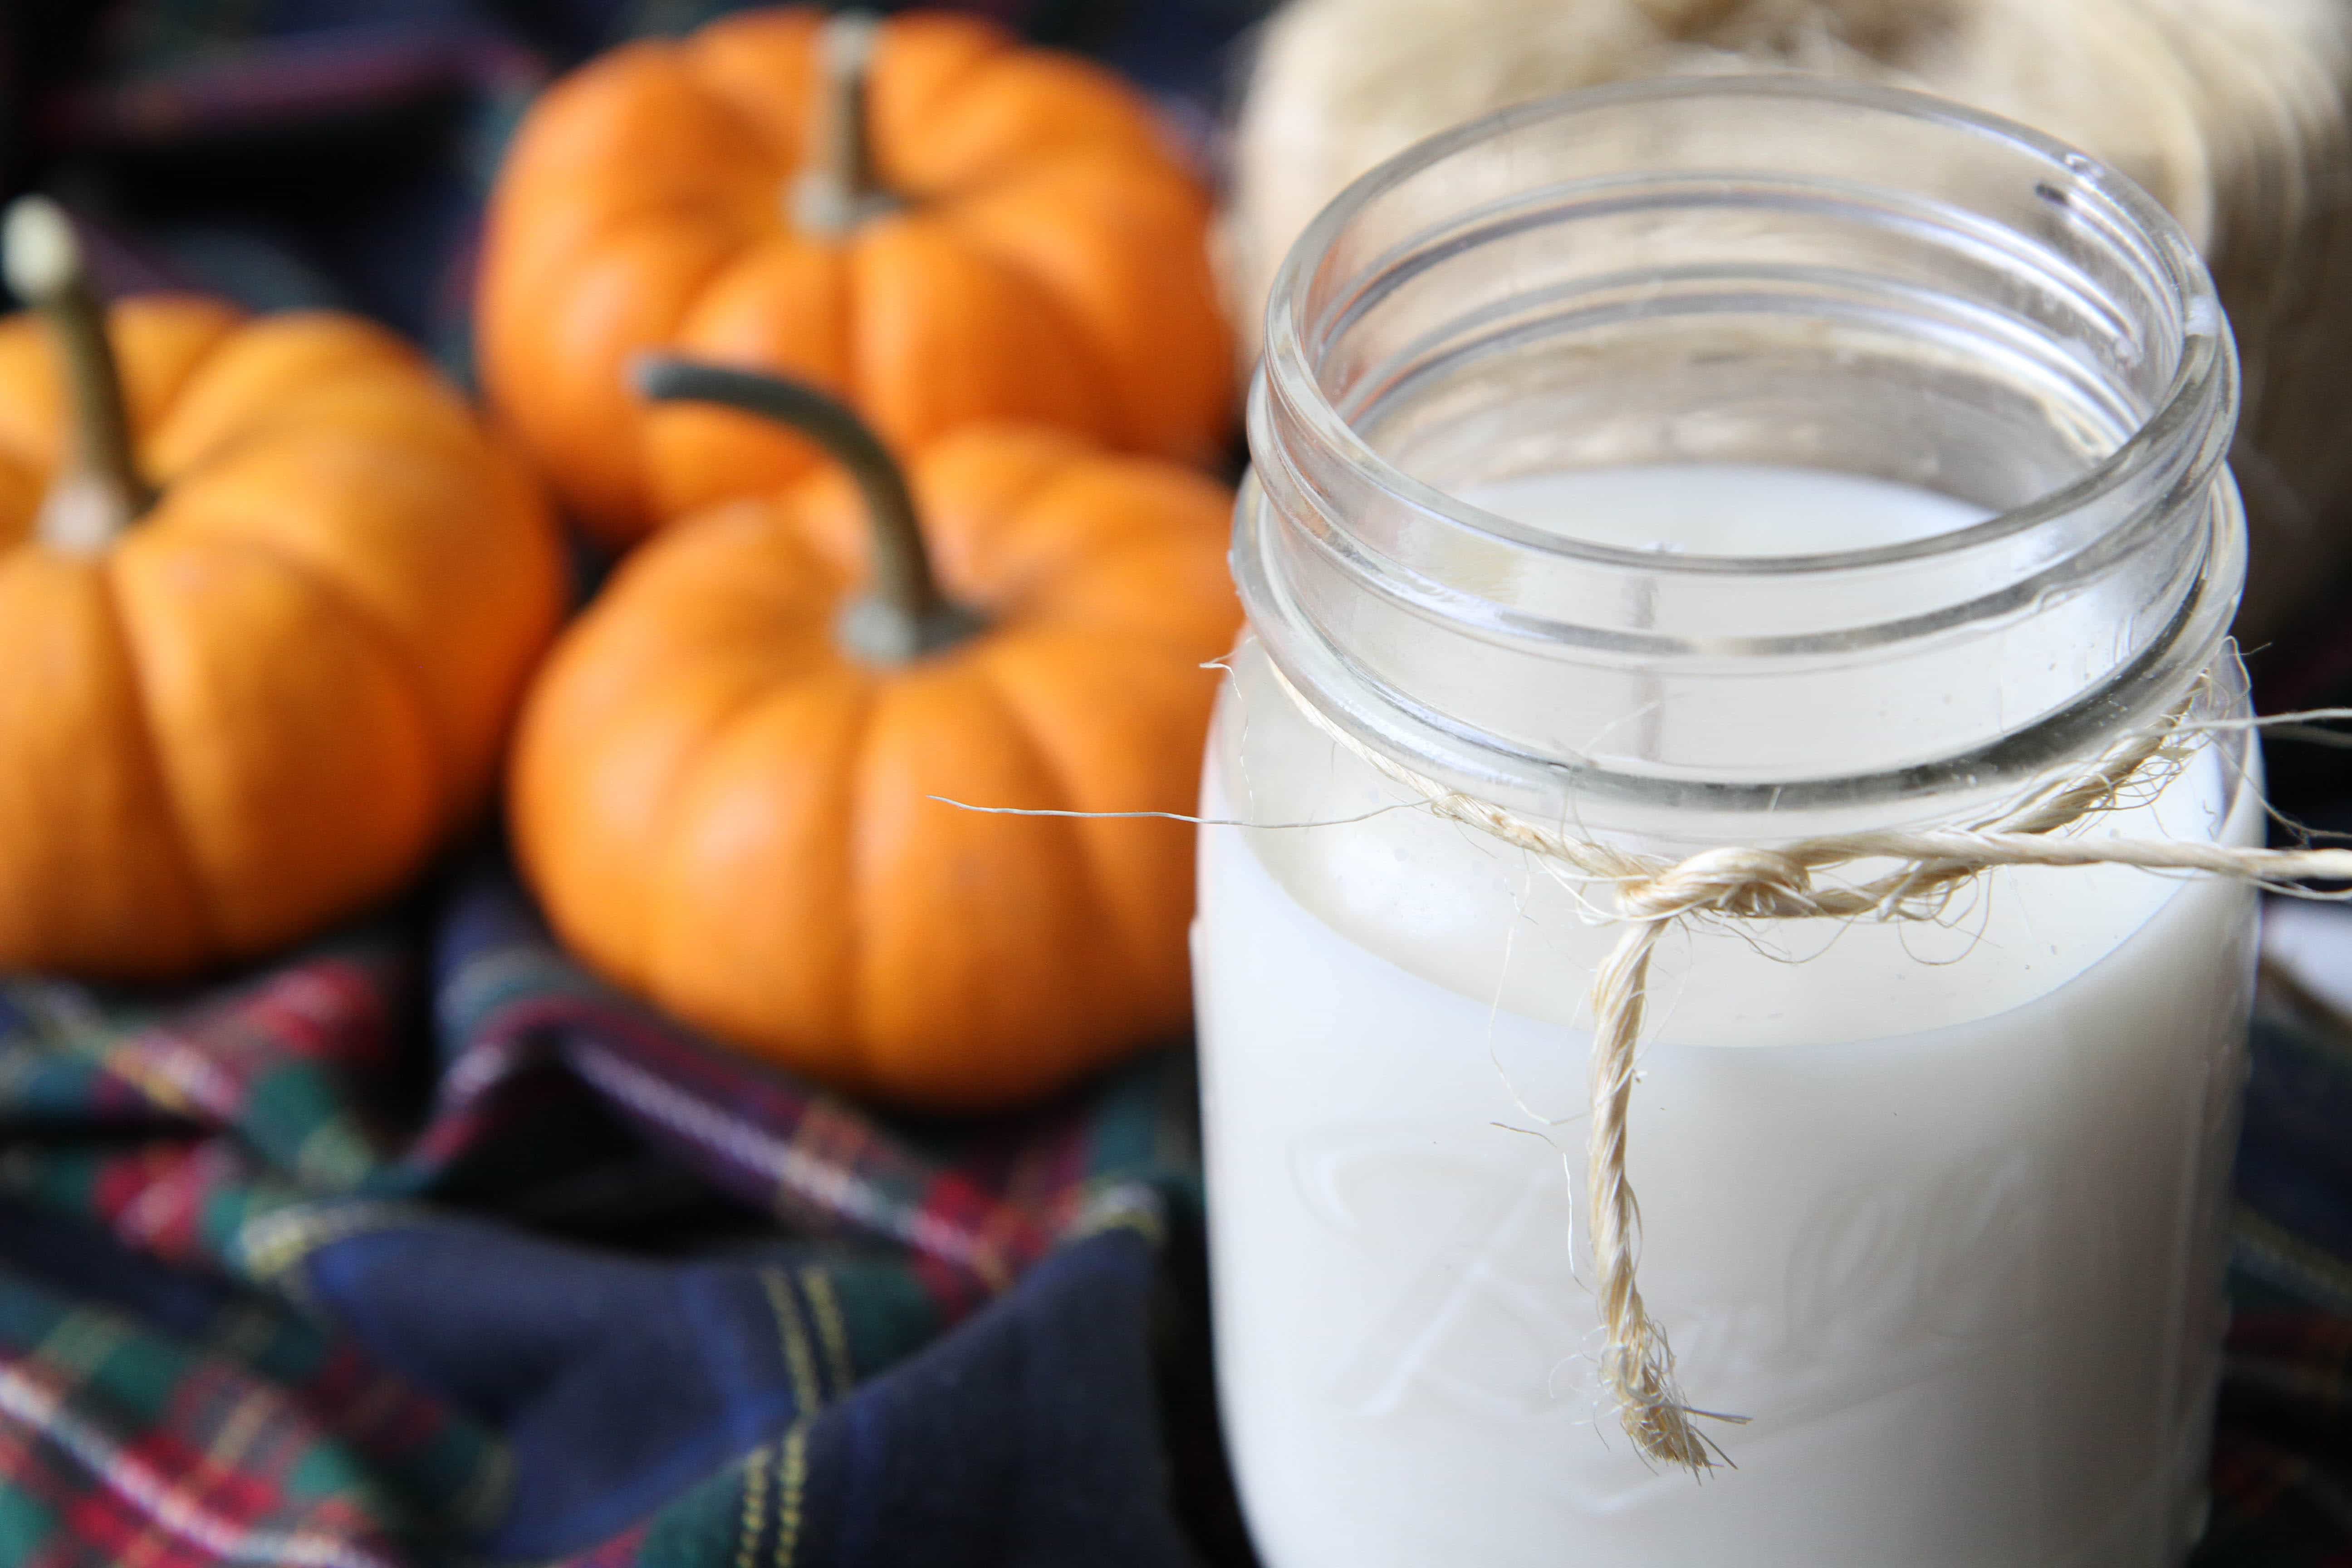
This is an easy DIY for homemade pumpkin spice scented candles perfect for Autumn.

Use your slow cooker to make your own pumpkin pie candles to give as gifts or to make your house smell like all the best things of Fall.

Supplies Needed

8 Pint-Sized Mason Jars

5 Pounds Candle Wax Flakes

6” Natural Candle Wicks

2 Jars of Pumpkin Spice Fragrance Oil

8 Bamboo Skewers (or you can use pencils!)

Slow Cooker or even your pressure cooker on the slow cooking setting

Food Scale or Postal Scale

Decorative Accents to finish your candles – I used twine and tags, but other lovely ideas would be ribbon, burlap, stencils, or even glitter!

Slow Cooker Pumpkin Spice Candles from MomAdvice.com


Directions for Making Slow Cooker Pumpkin Candles

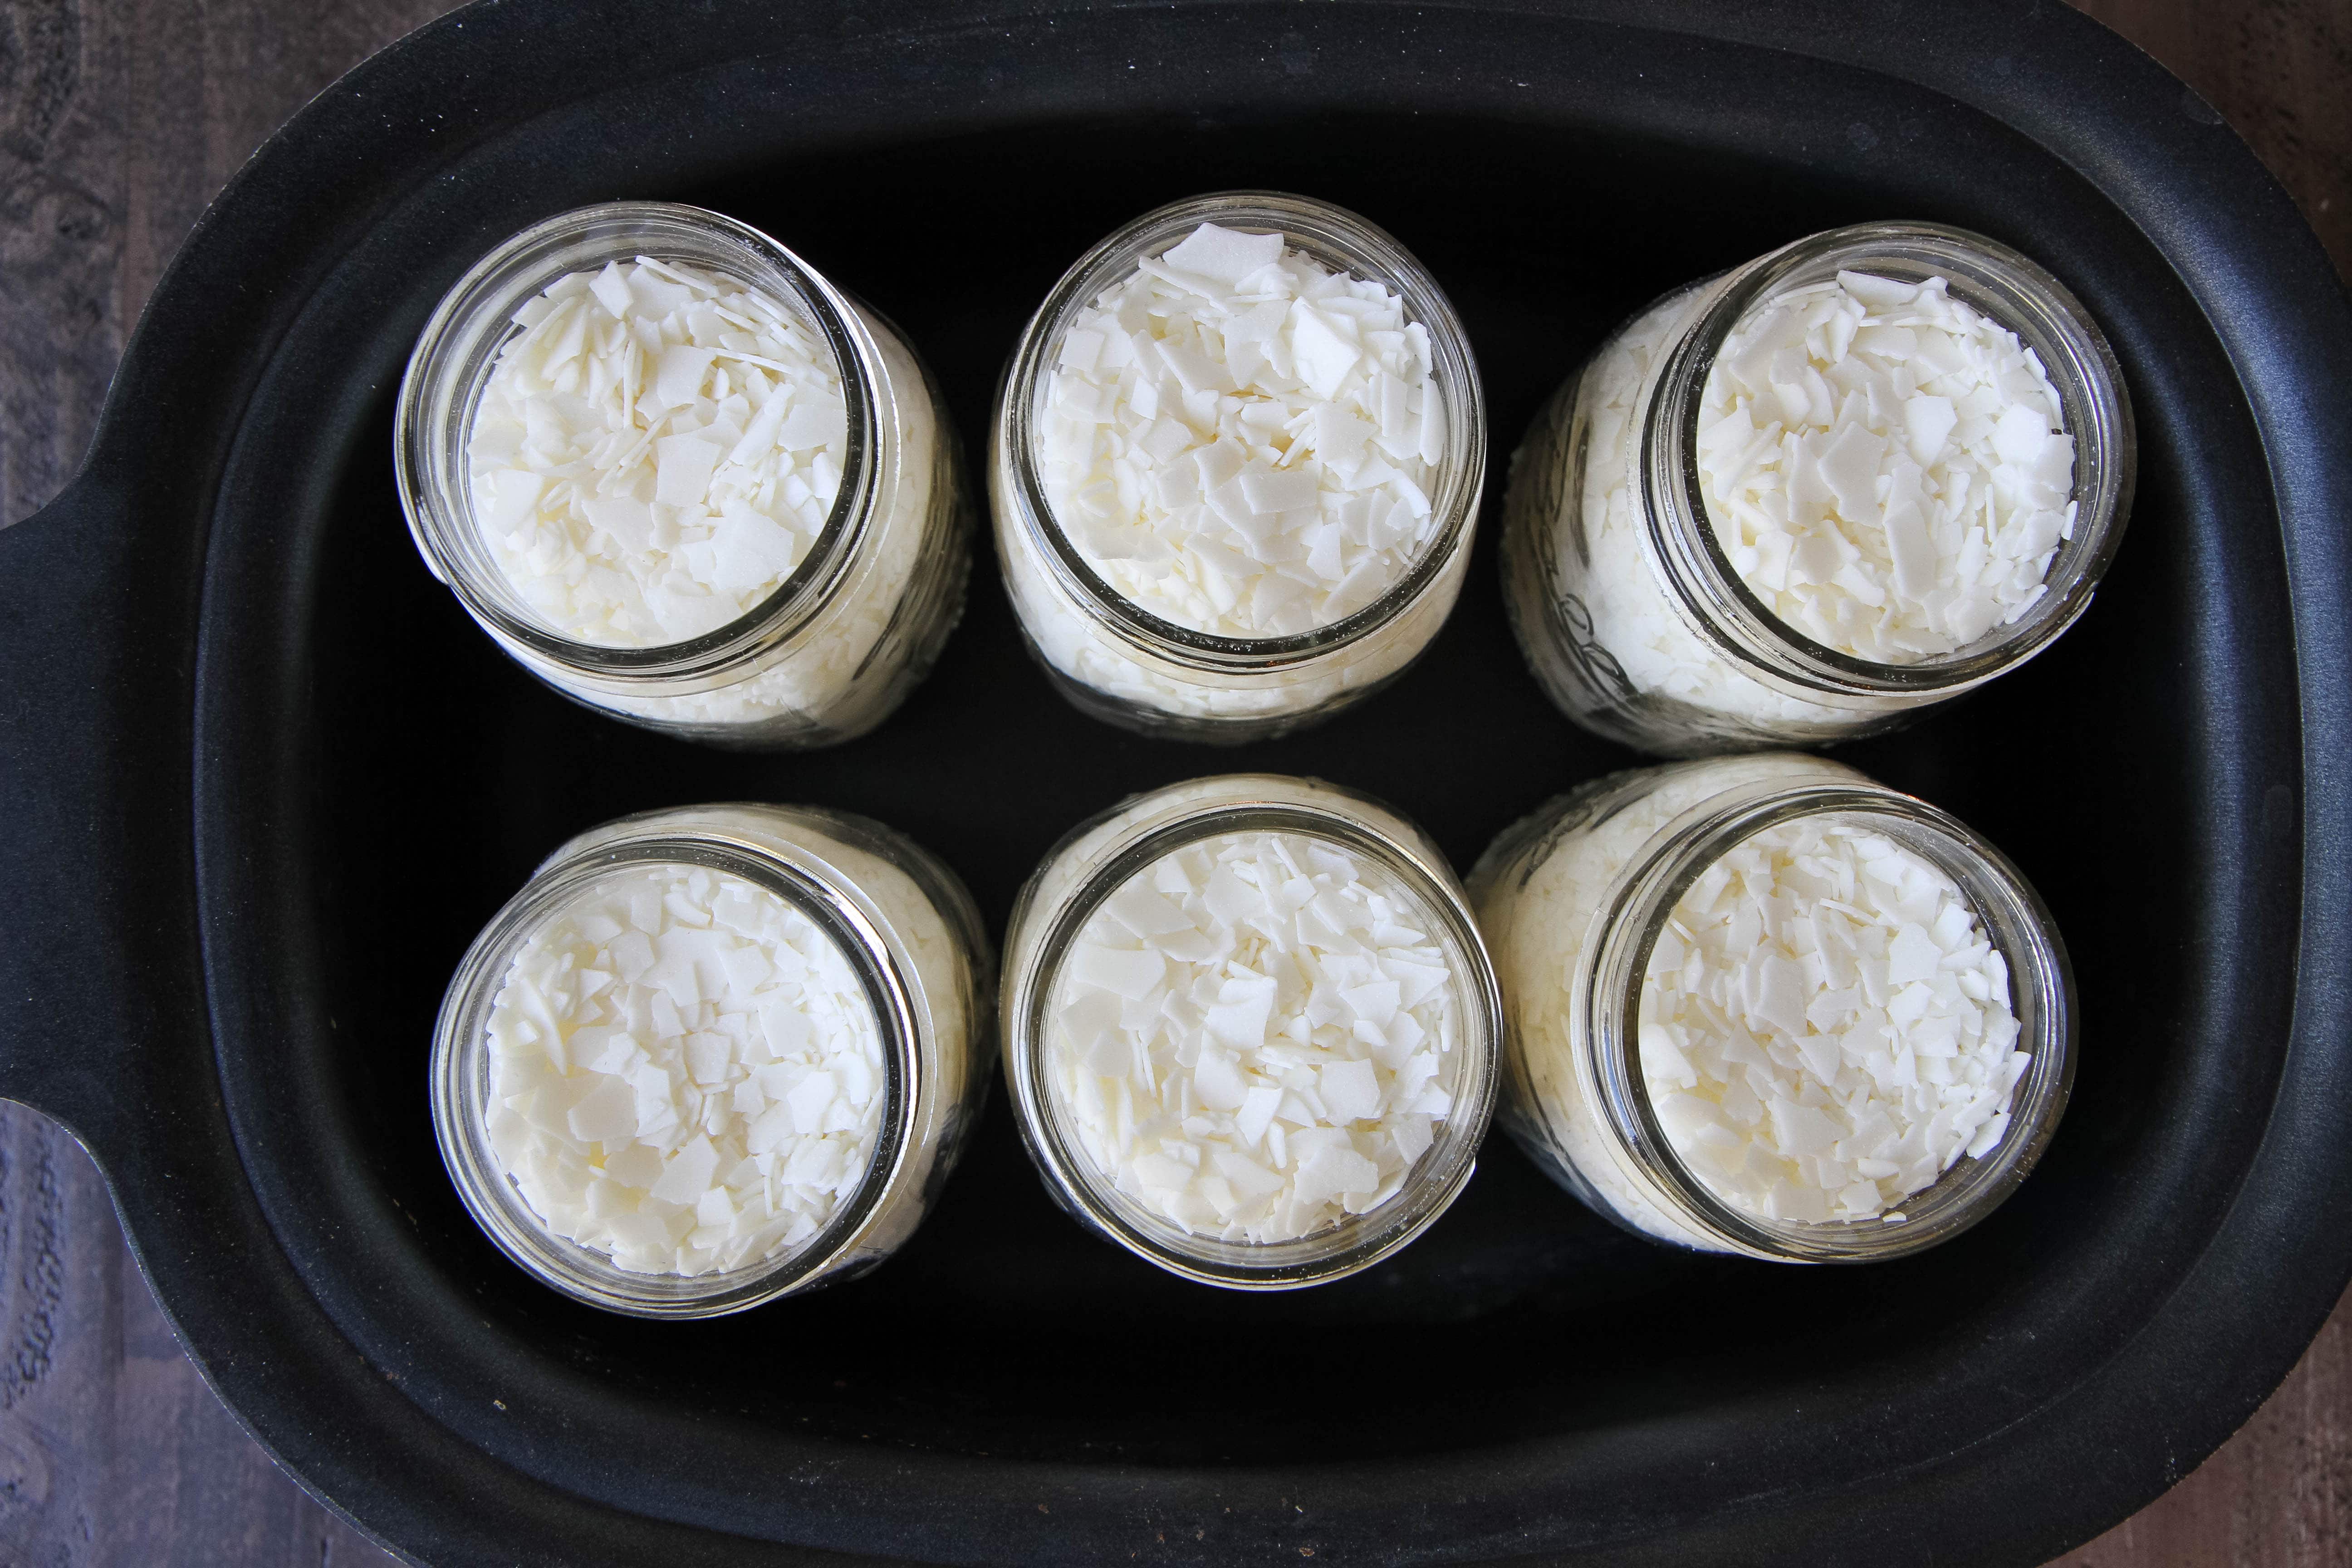
1. Measure and weigh out 7 ounces of soy wax flakes for each mason jar in a glass measuring cup (be sure to tare your scale).

It should fill jar to the top, and we will be adding more flakes after the first round melts down and creates more space inside the jar.

Repeat the measuring with all of the other candles you plan to prepare.


Slow Cooker Pumpkin Spice Candles from MomAdvice.com


2. Add an inch or two of water to your slow cooker to create a water bath for your candles. Nestle the mason jars inside the slow cooker, place a lid on top, and turn it on HIGH for two hours.

As the wax melts down, feel free to add more wax flakes into the jars to the desired height. These will melt down to about half the size of your jar, so approximately 7 more ounces of soy flakes can be added to get a full candle like my pictures.

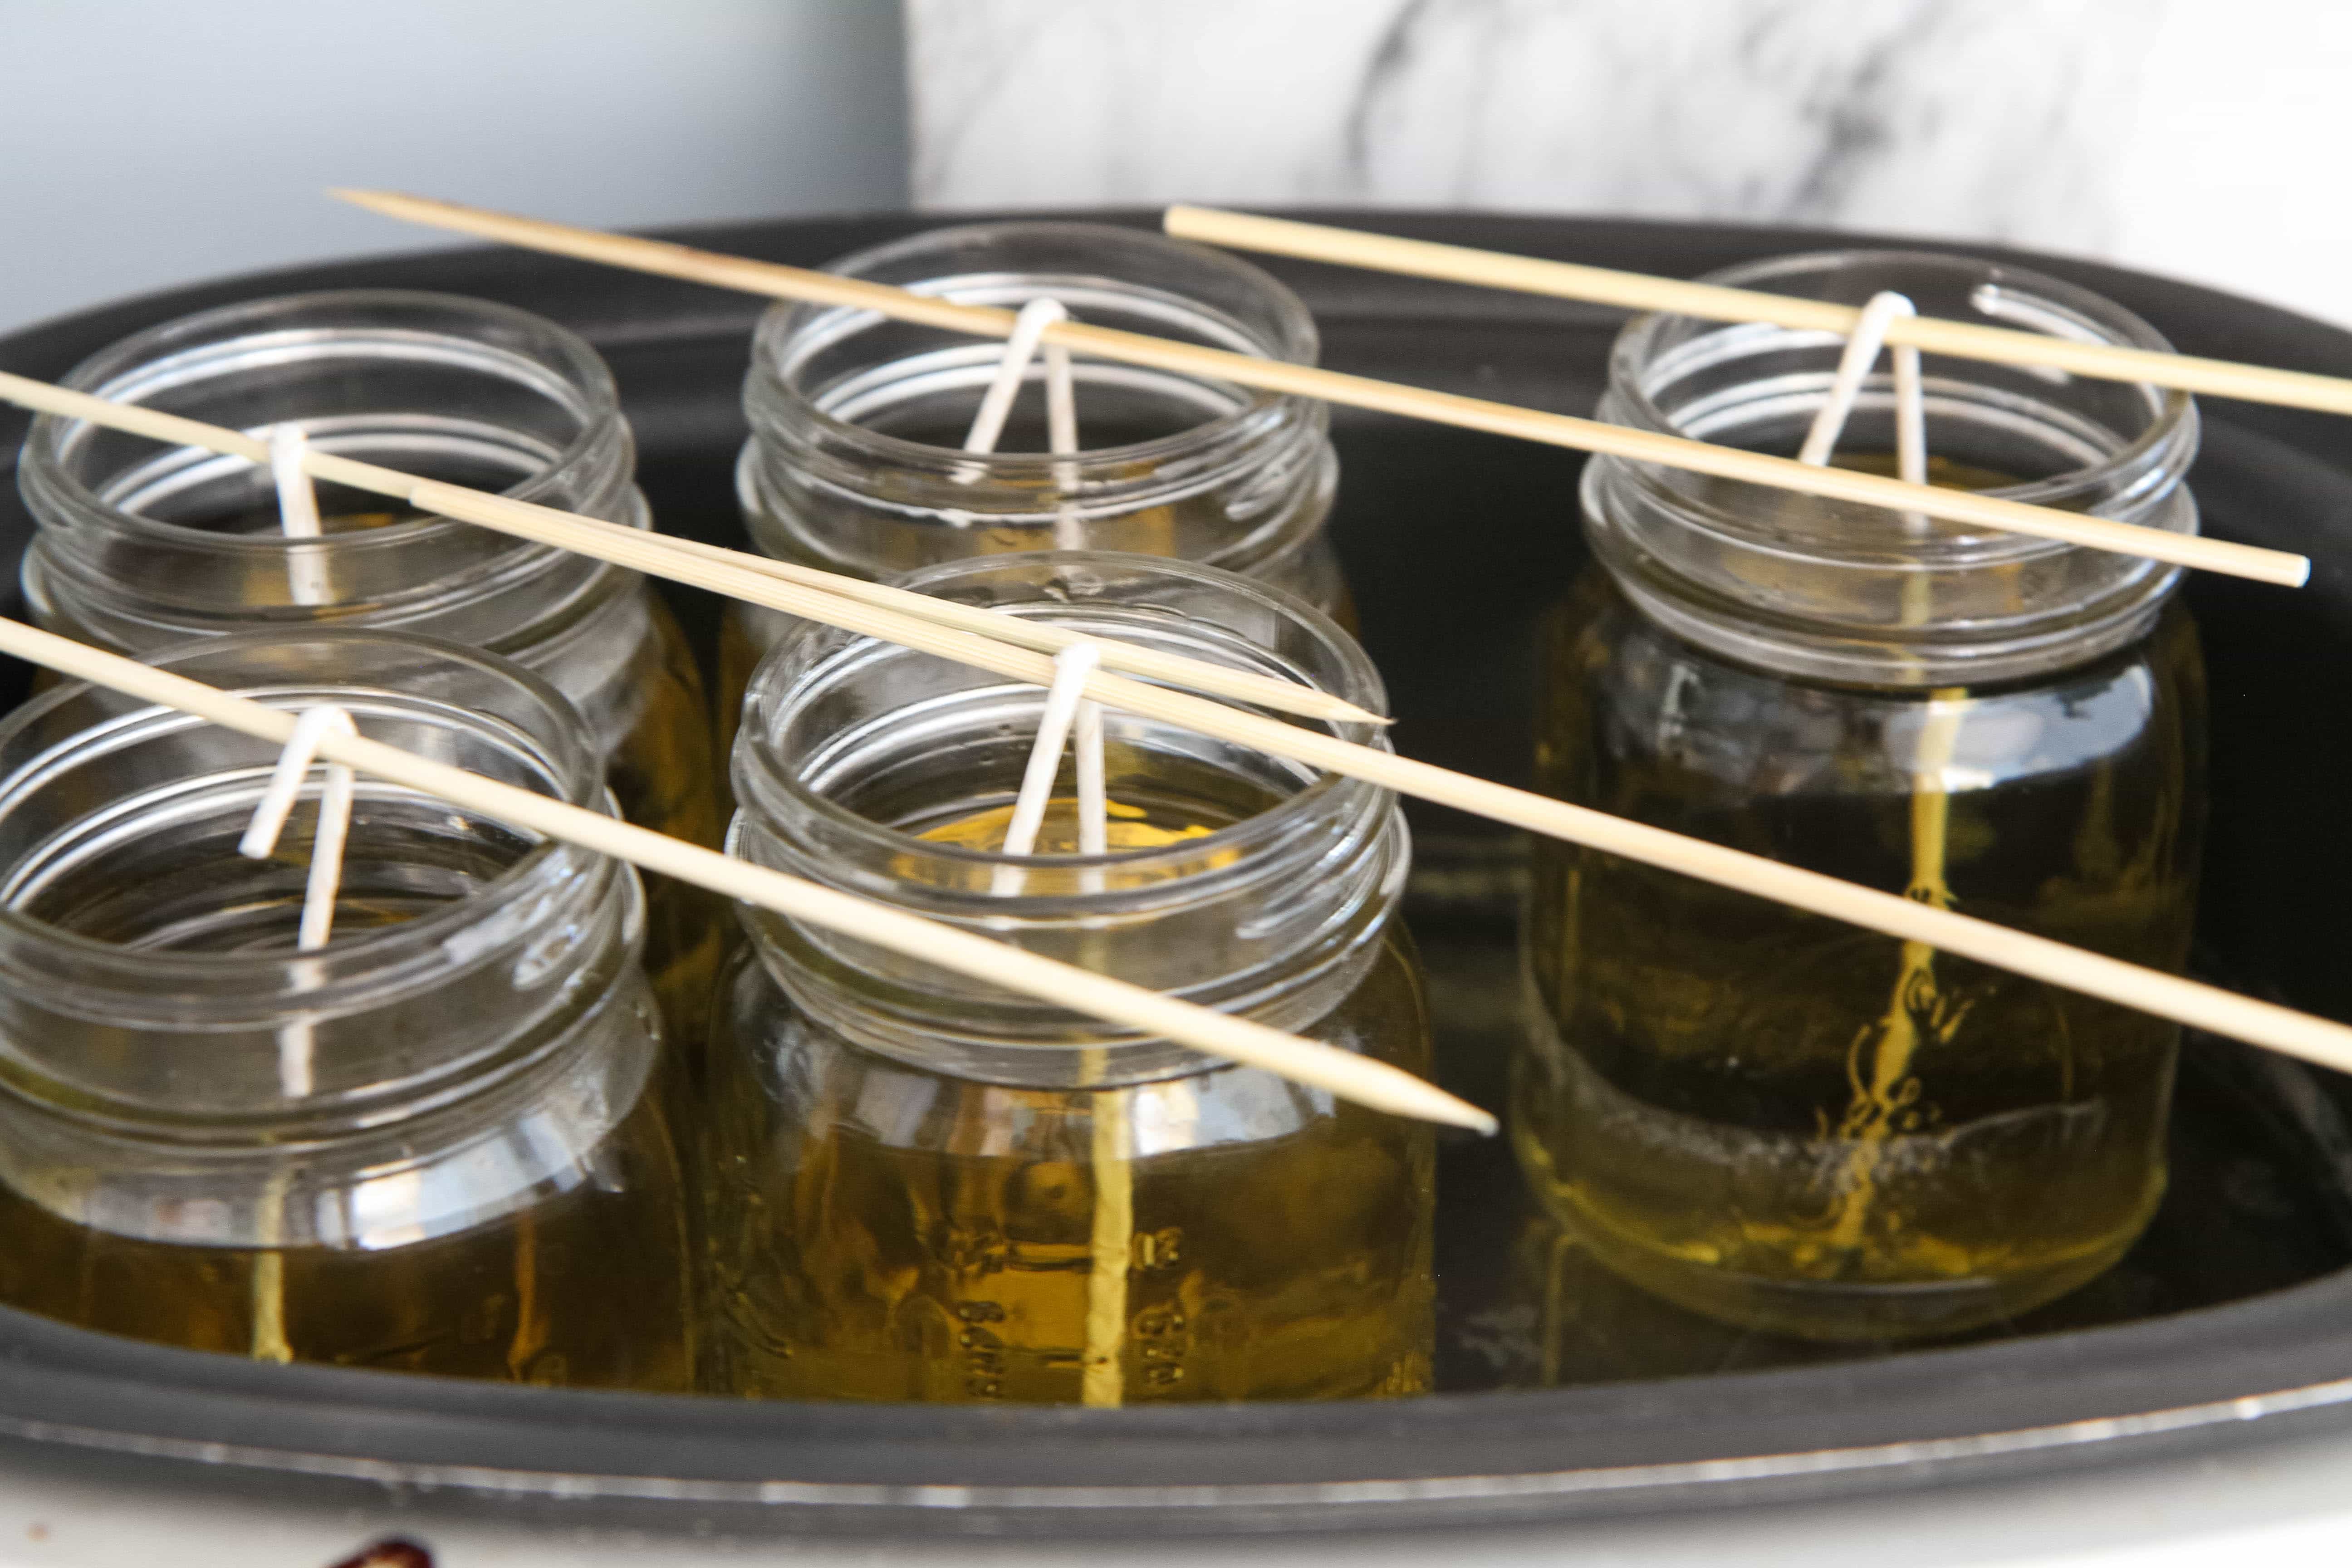
3. Once the “cooking time” of two hours has passed, open the lid and add 10-20 drops of Pumpkin Spice fragrance to each candle (approximately 1 ml of oil).

Using a bamboo skewer, stir each candle after adding the oil. Turn your slow cooker off, then add your candle wick in the center of each candle.

Take a bamboo skewer or pencil and wrap the top of the wick to the middle of it and allow it to help stand the wick up in the center of the candle. 

Leave the candles in the slow cooker until the wax begins to harden. Remove them and then dry the jars well with a dish towel. 

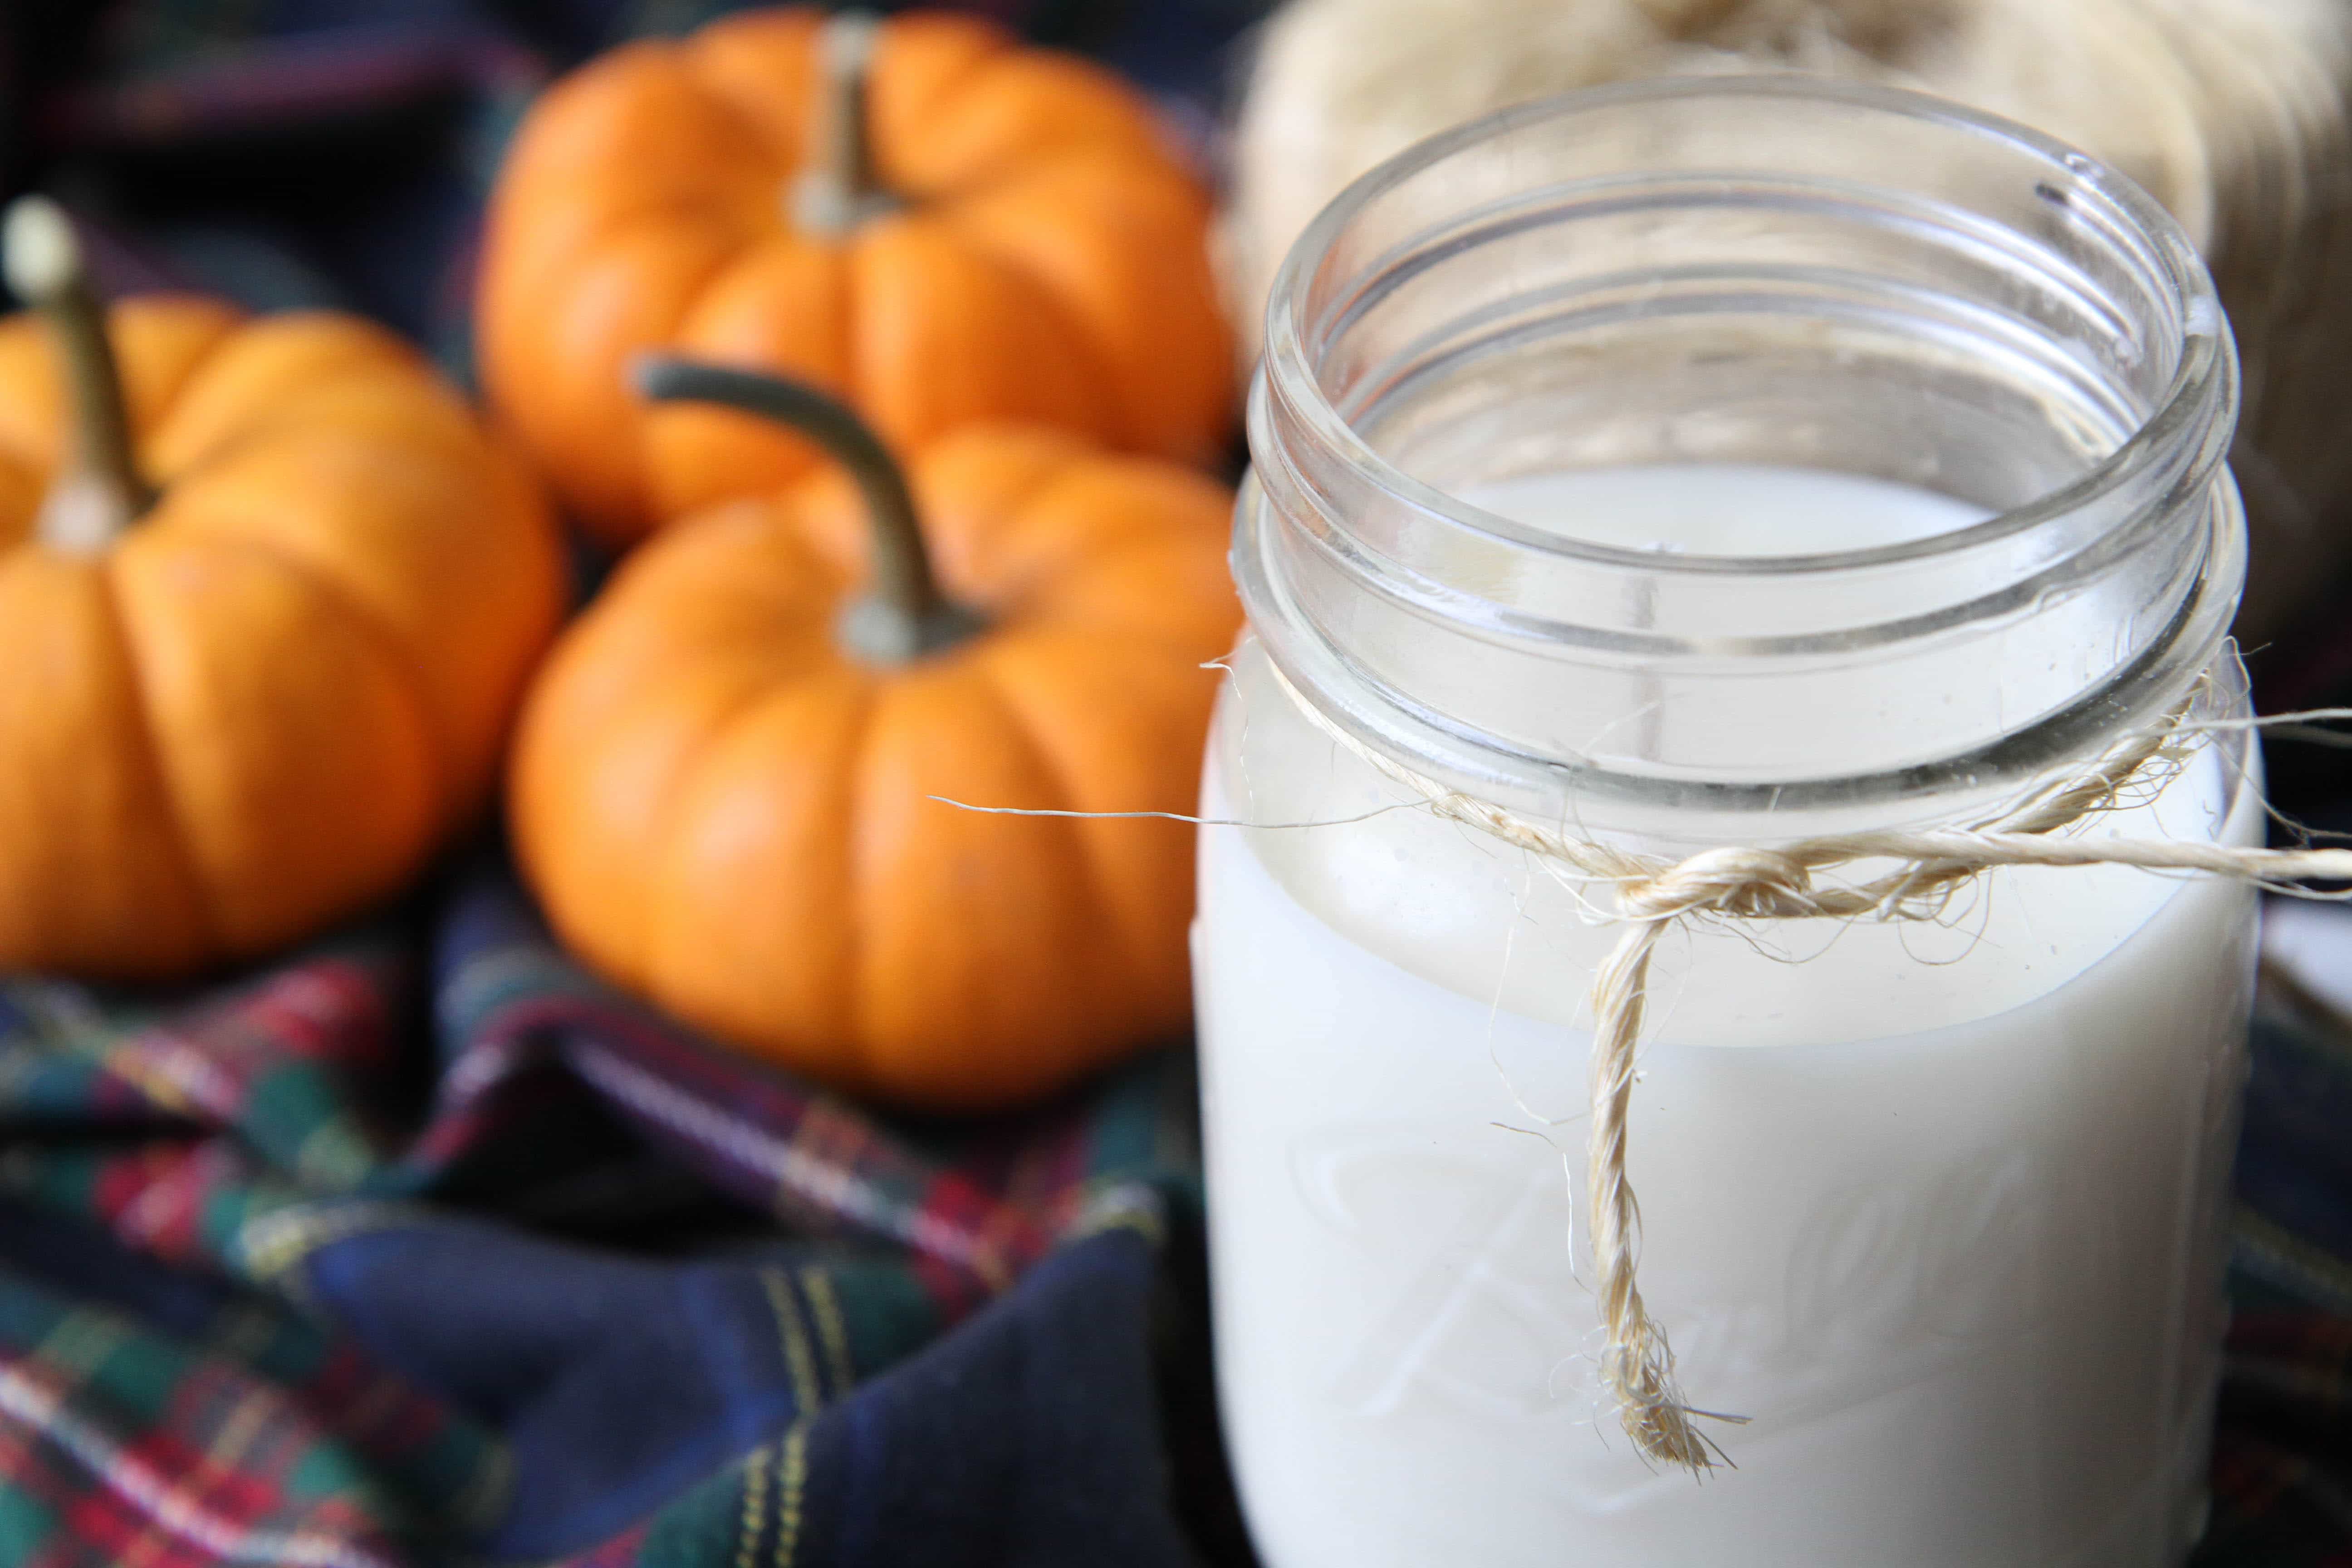
Allow the candles to fully harden on your countertop.

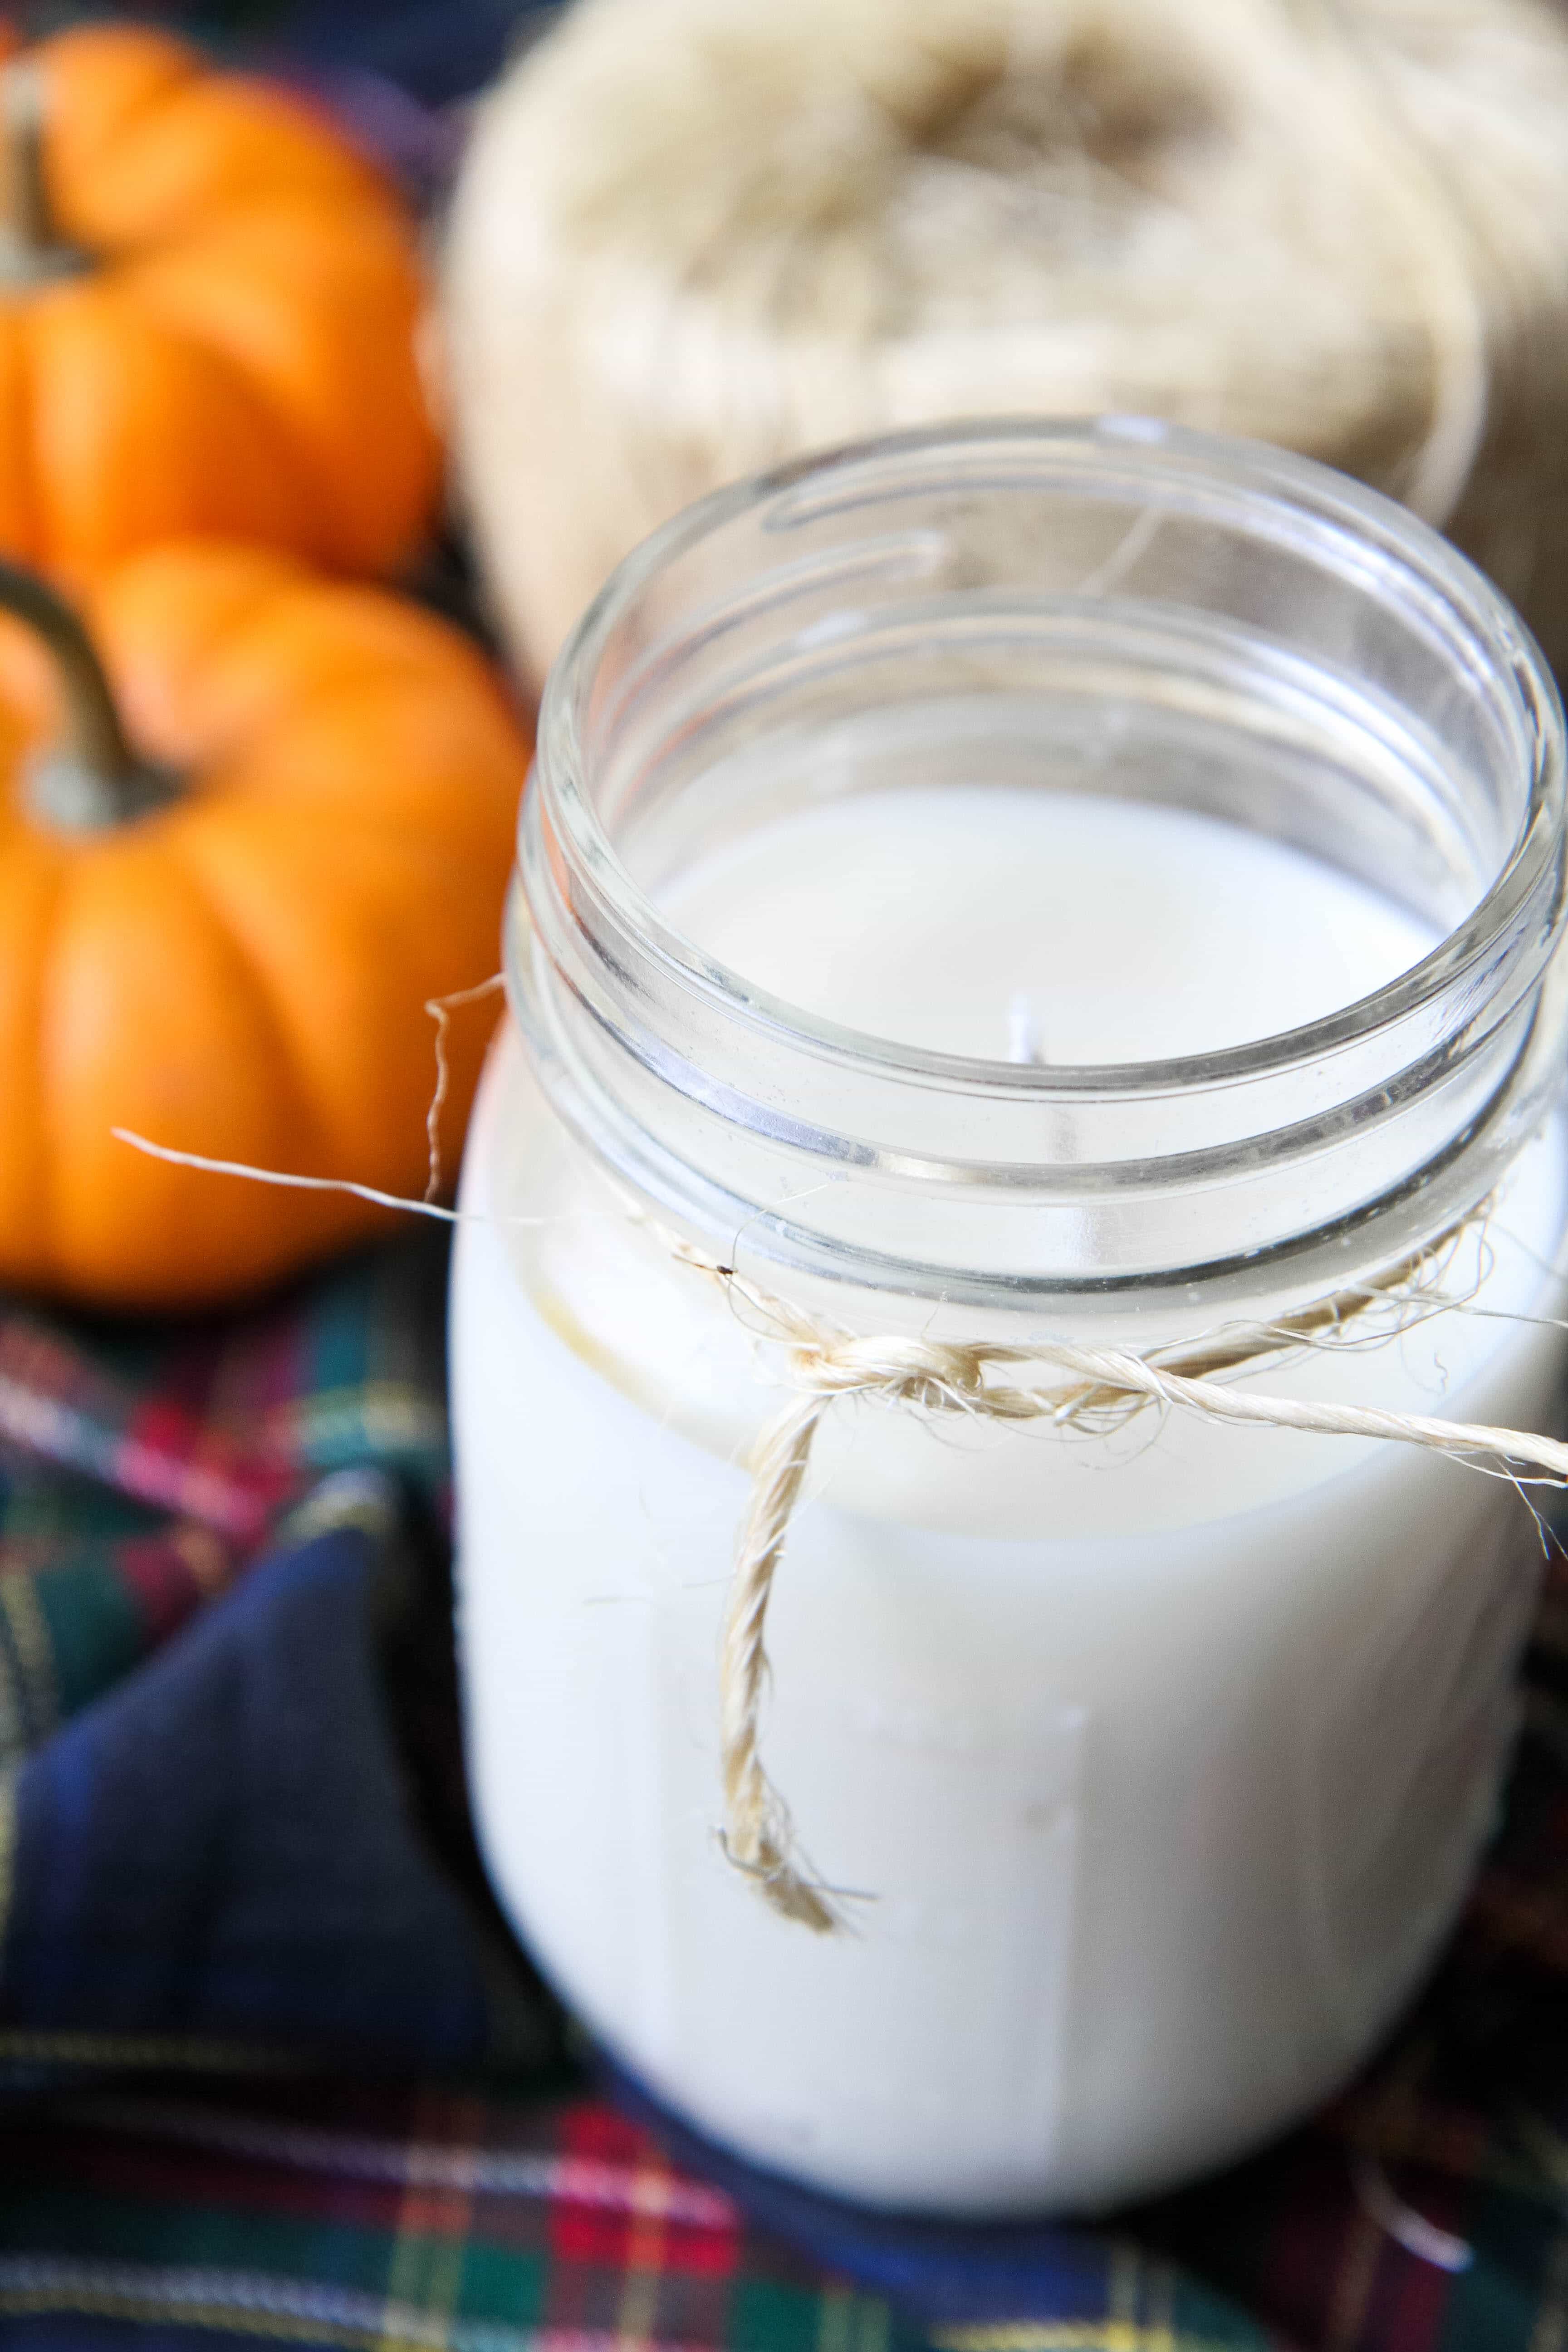
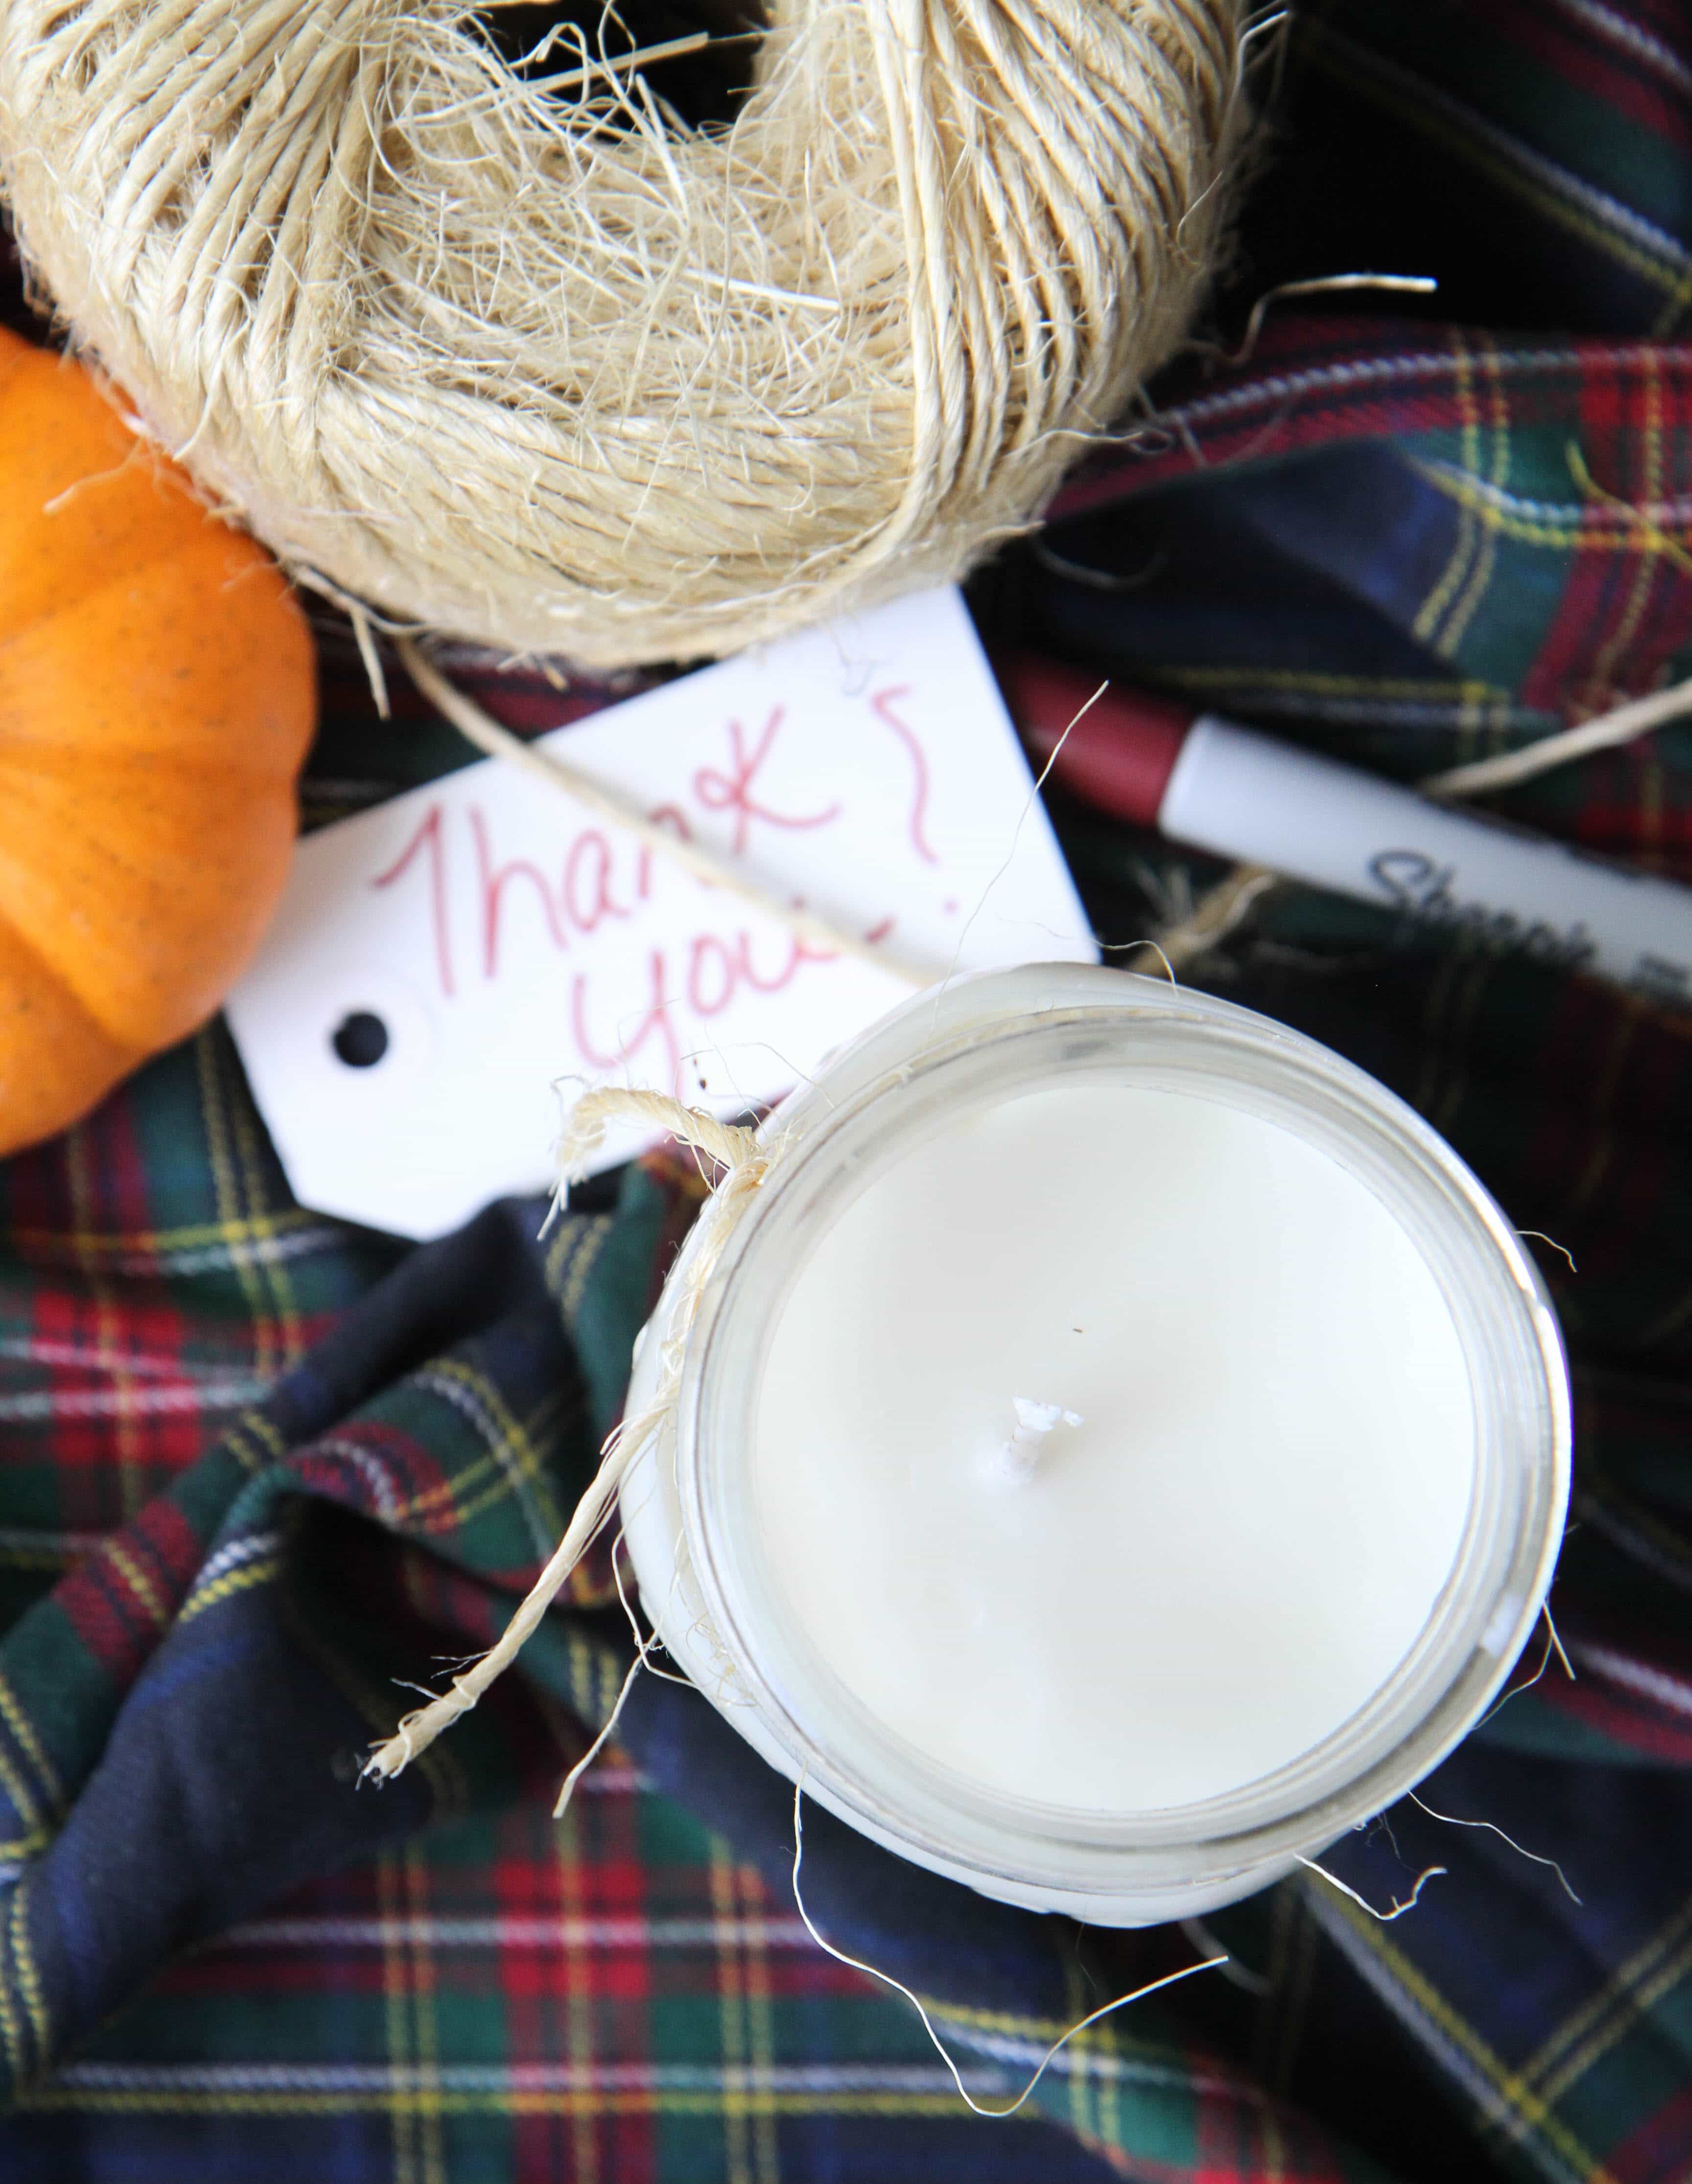
4. The next day, trim your wicks and attach a little jute twine and thank you note for your favorite hostess.


Slow Cooker Pumpkin Spice Candles from MomAdvice.com


Slow Cooker Pumpkin Spice Candles from MomAdvice.com


Slow Cooker Pumpkin Spice Candles from MomAdvice.com


The best part about making these is how incredible your house is going to smell all day long as these cook and then cool.

My kids thought I had baked pies all day when they got home from school.

What sad trickery I played on them with a slow cooker full of candles for our friends (#worstmomever).

I hope you have fun making this easy Fall craft for those you love!


DIY Slow Cooker Pumpkin Spice Candles from MomAdvice.com


diy slow cooker pumpkin spice candles momadvice.com

This post contains affiliate links! Thank you for supporting the site with your purchases!


Don’t miss these other great ideas from MomAdvice.com:


Easy Homemade Gluten-Free Pumpkin Bread

Easy Homemade Gluten-Free Pumpkin Bread


DIY Thumbtack Pumpkins from MomAdvice.com

DIY Thumbtack Pumpkins


Homemade Pumpkin Spice Latte

Homemade Pumpkin Spice Latte


http://www.momadvice.com/post/easy-burlap-wreath-tutorial

Autumn Burlap Wreath


Sign up for the MomAdvice newsletter


 Pin It

DIY Decorative Thumbtack Pumpkins

Thursday, September 19th, 2019

DIY Thumbtack Pumpkins from MomAdvice.com

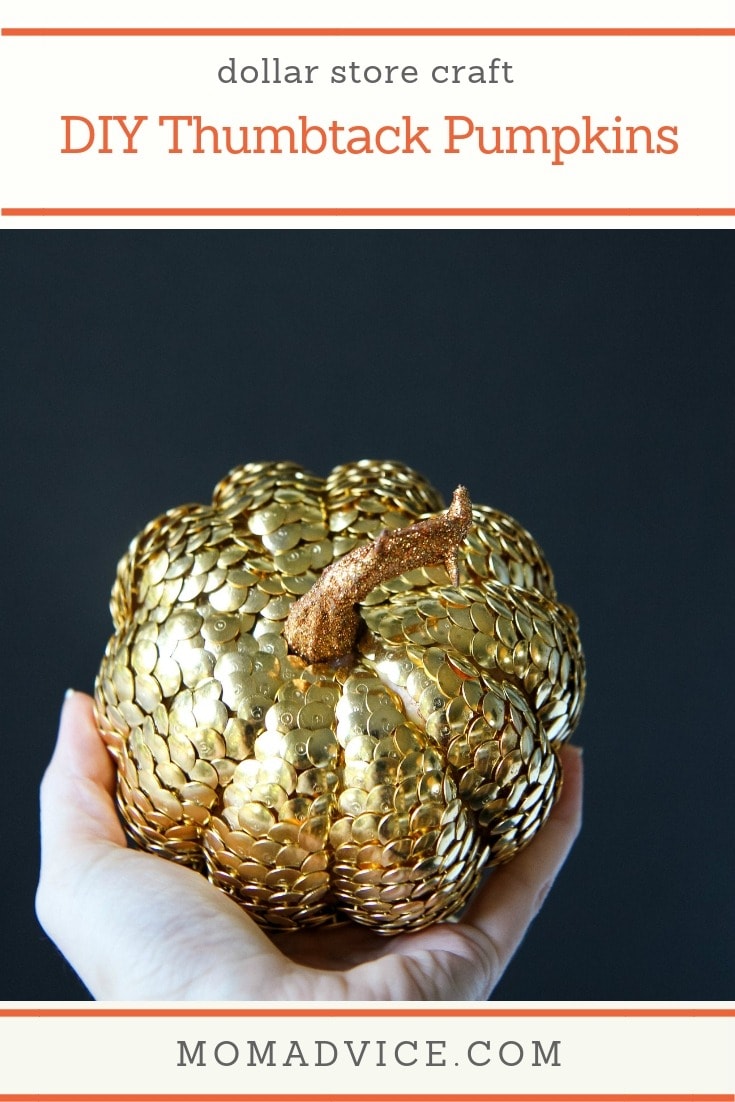
These gold pumpkins are the perfect craft for autumn, even if you aren’t crafty. You will love these DIY Thumbtack Pumpkins for your home!

I don’t know about you, but I am always looking for new ways to decorate the holiday table that are festive while staying easy on the budget. The gold trend has really been catching my eye this year so I wanted to create something beautiful and gold that anyone can do, no matter what your craft level.

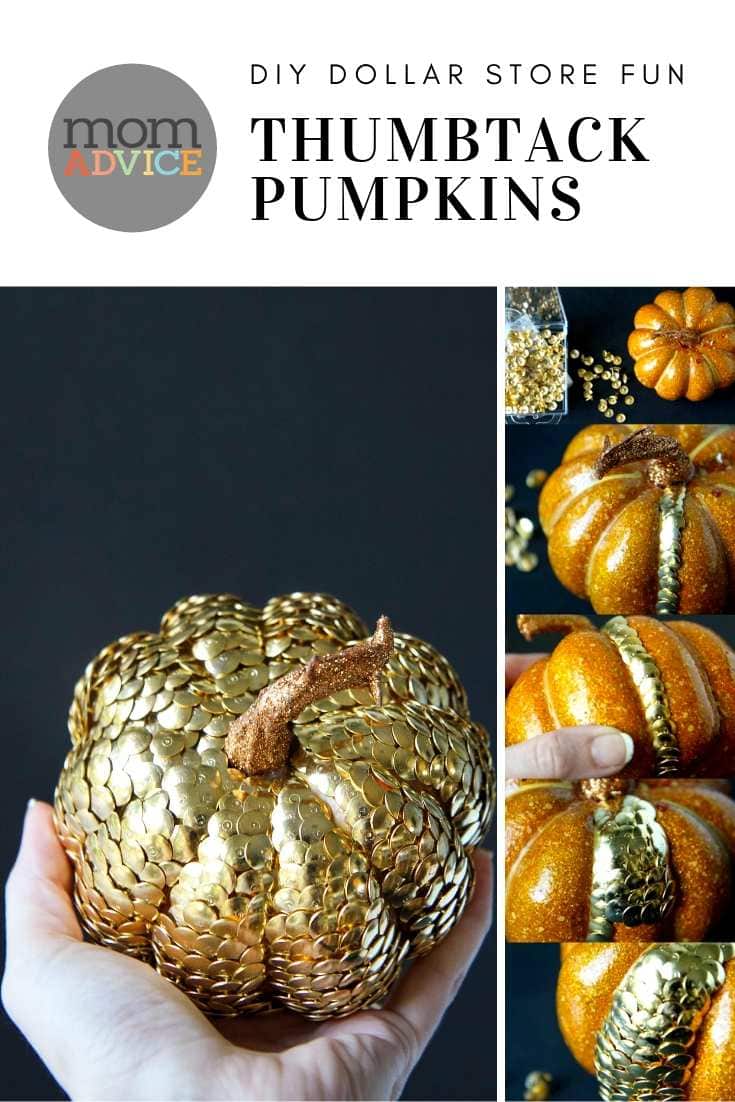
Today’s tutorial is for a decorative thumbtack pumpkin that requires just two items for a fun and festive touch to your table.

DIY Thumbtack Pumpkins Tutorial

Decorative Thumbtack Pumpkin Tutorial from MomAdvice.com

Supplies Needed

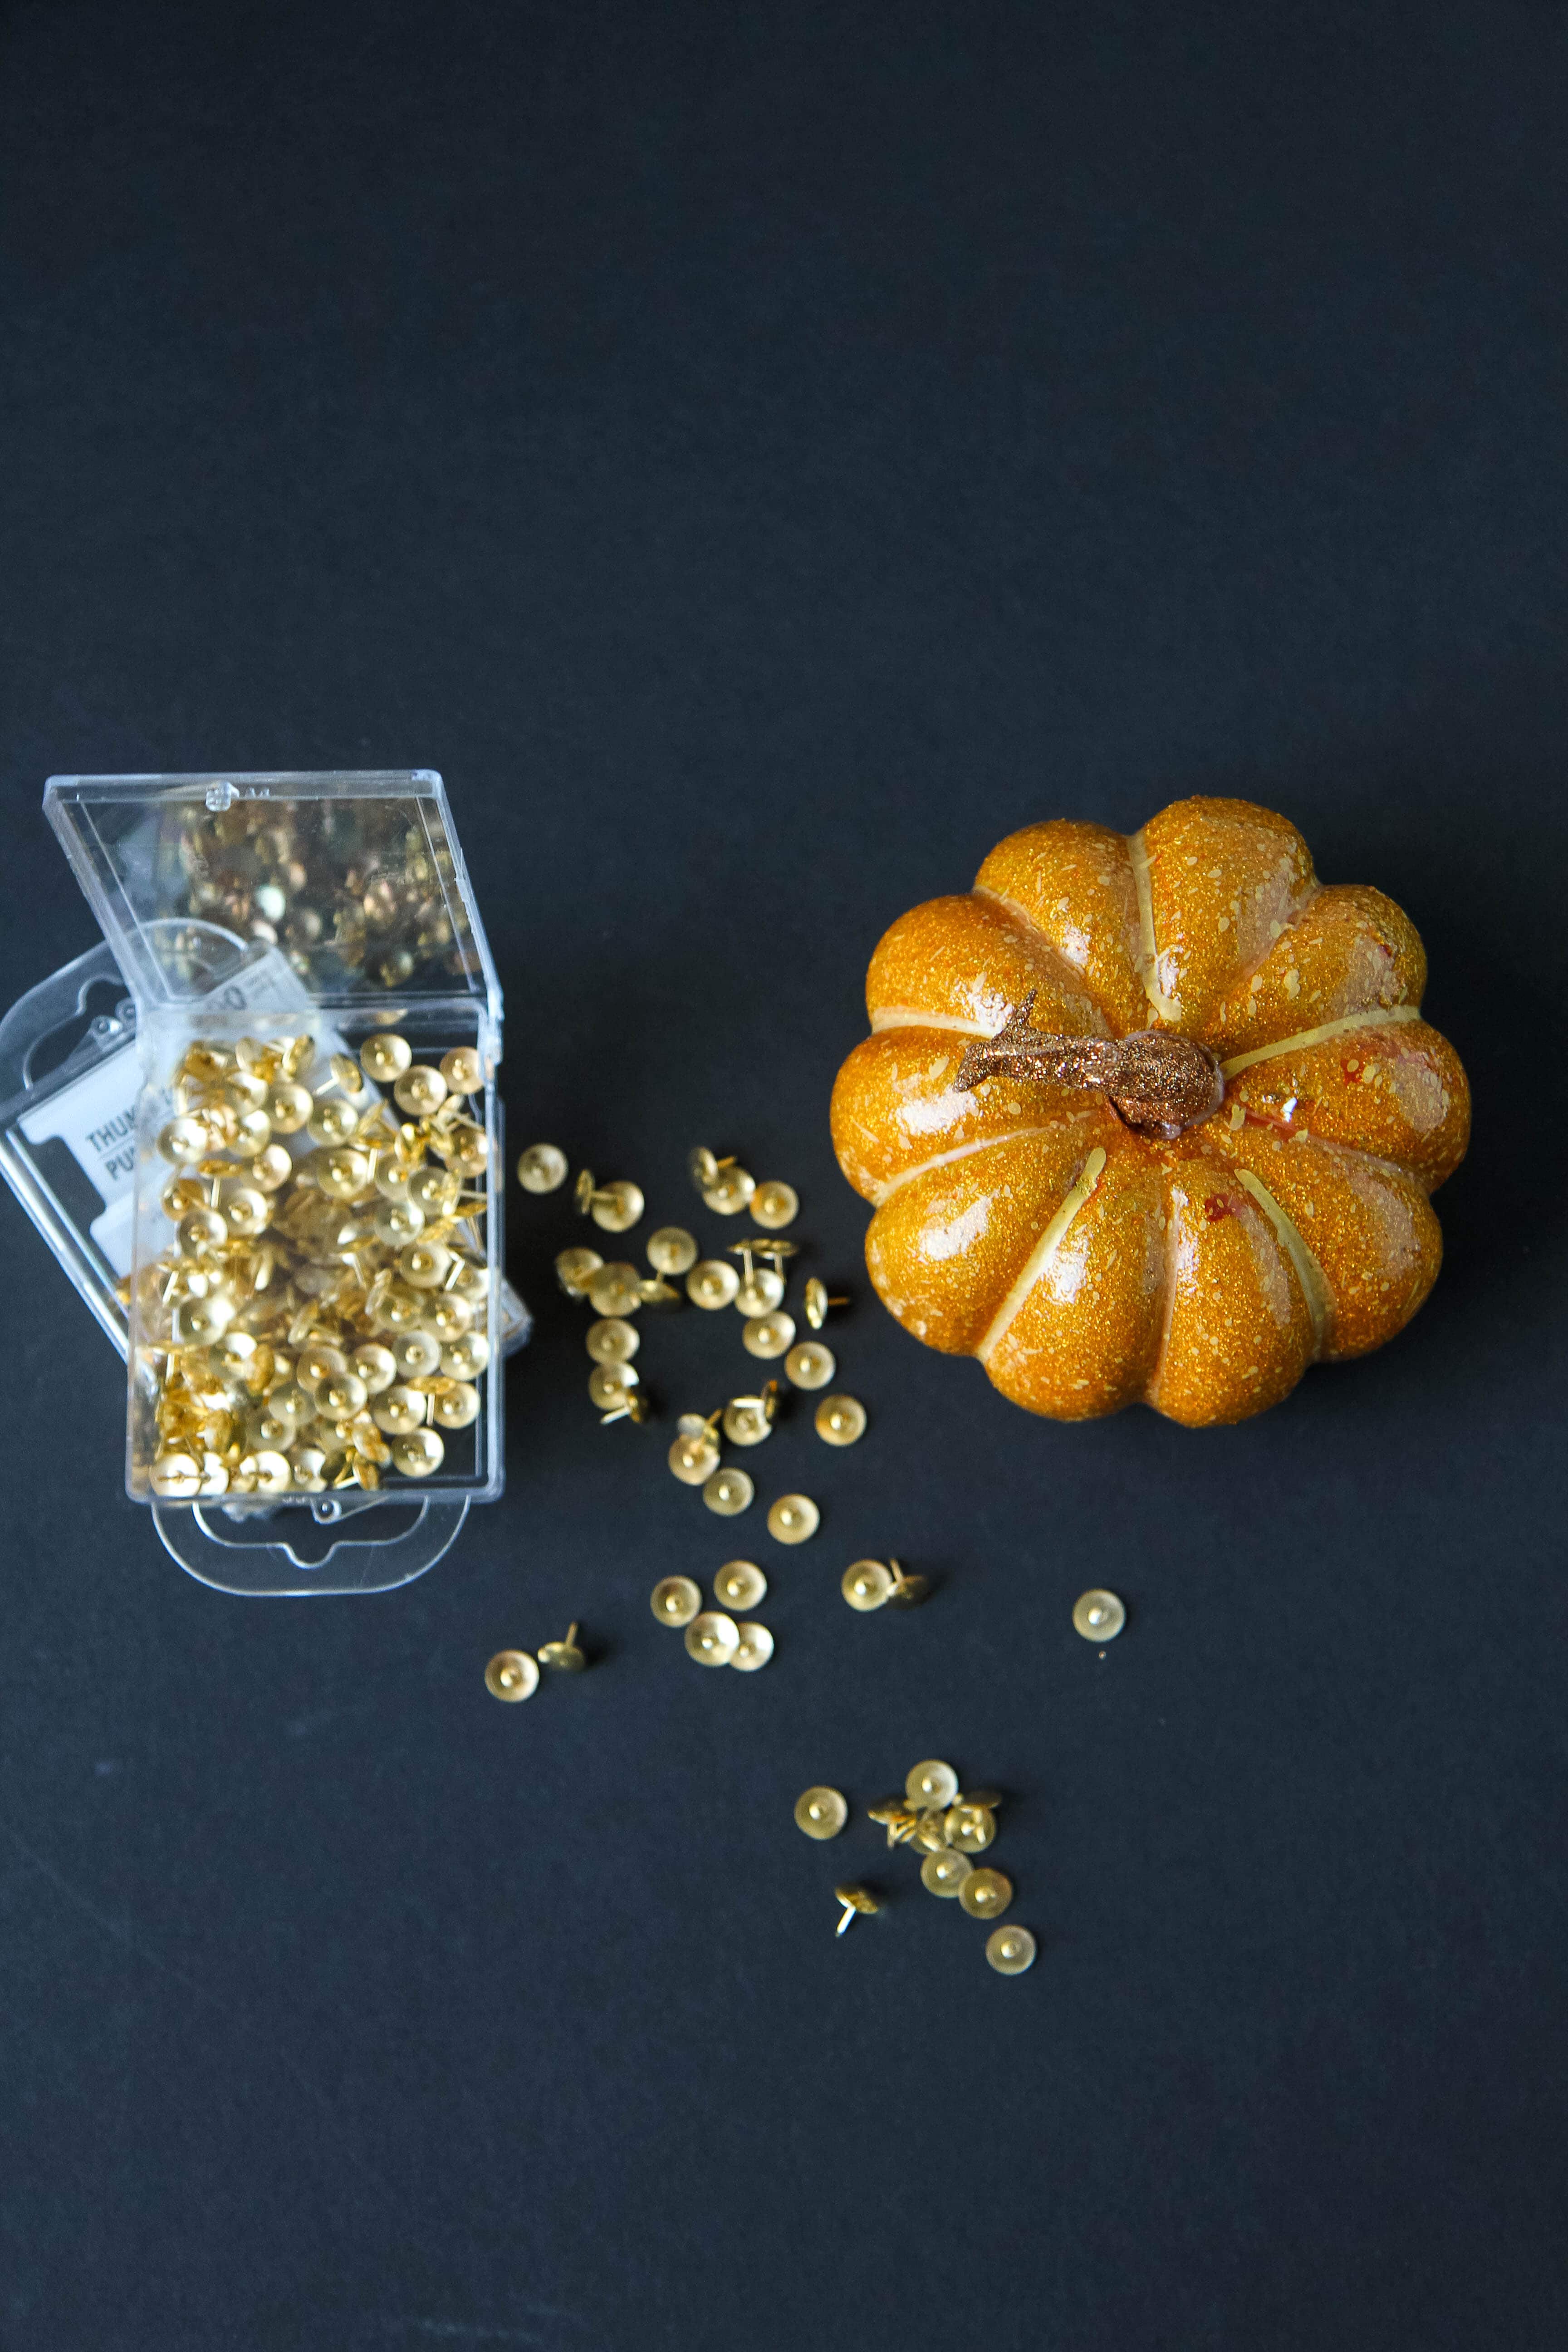
700 (or more!) gold or silver thumbtacks– these can be purchased in a package of 300 at your local dollar store

Small Faux Styrofoam Pumpkin (look for one with a fun stem detail like the glittered stem on this one)


DIY Thumbtack Pumpkins from MomAdvice.com

Directions

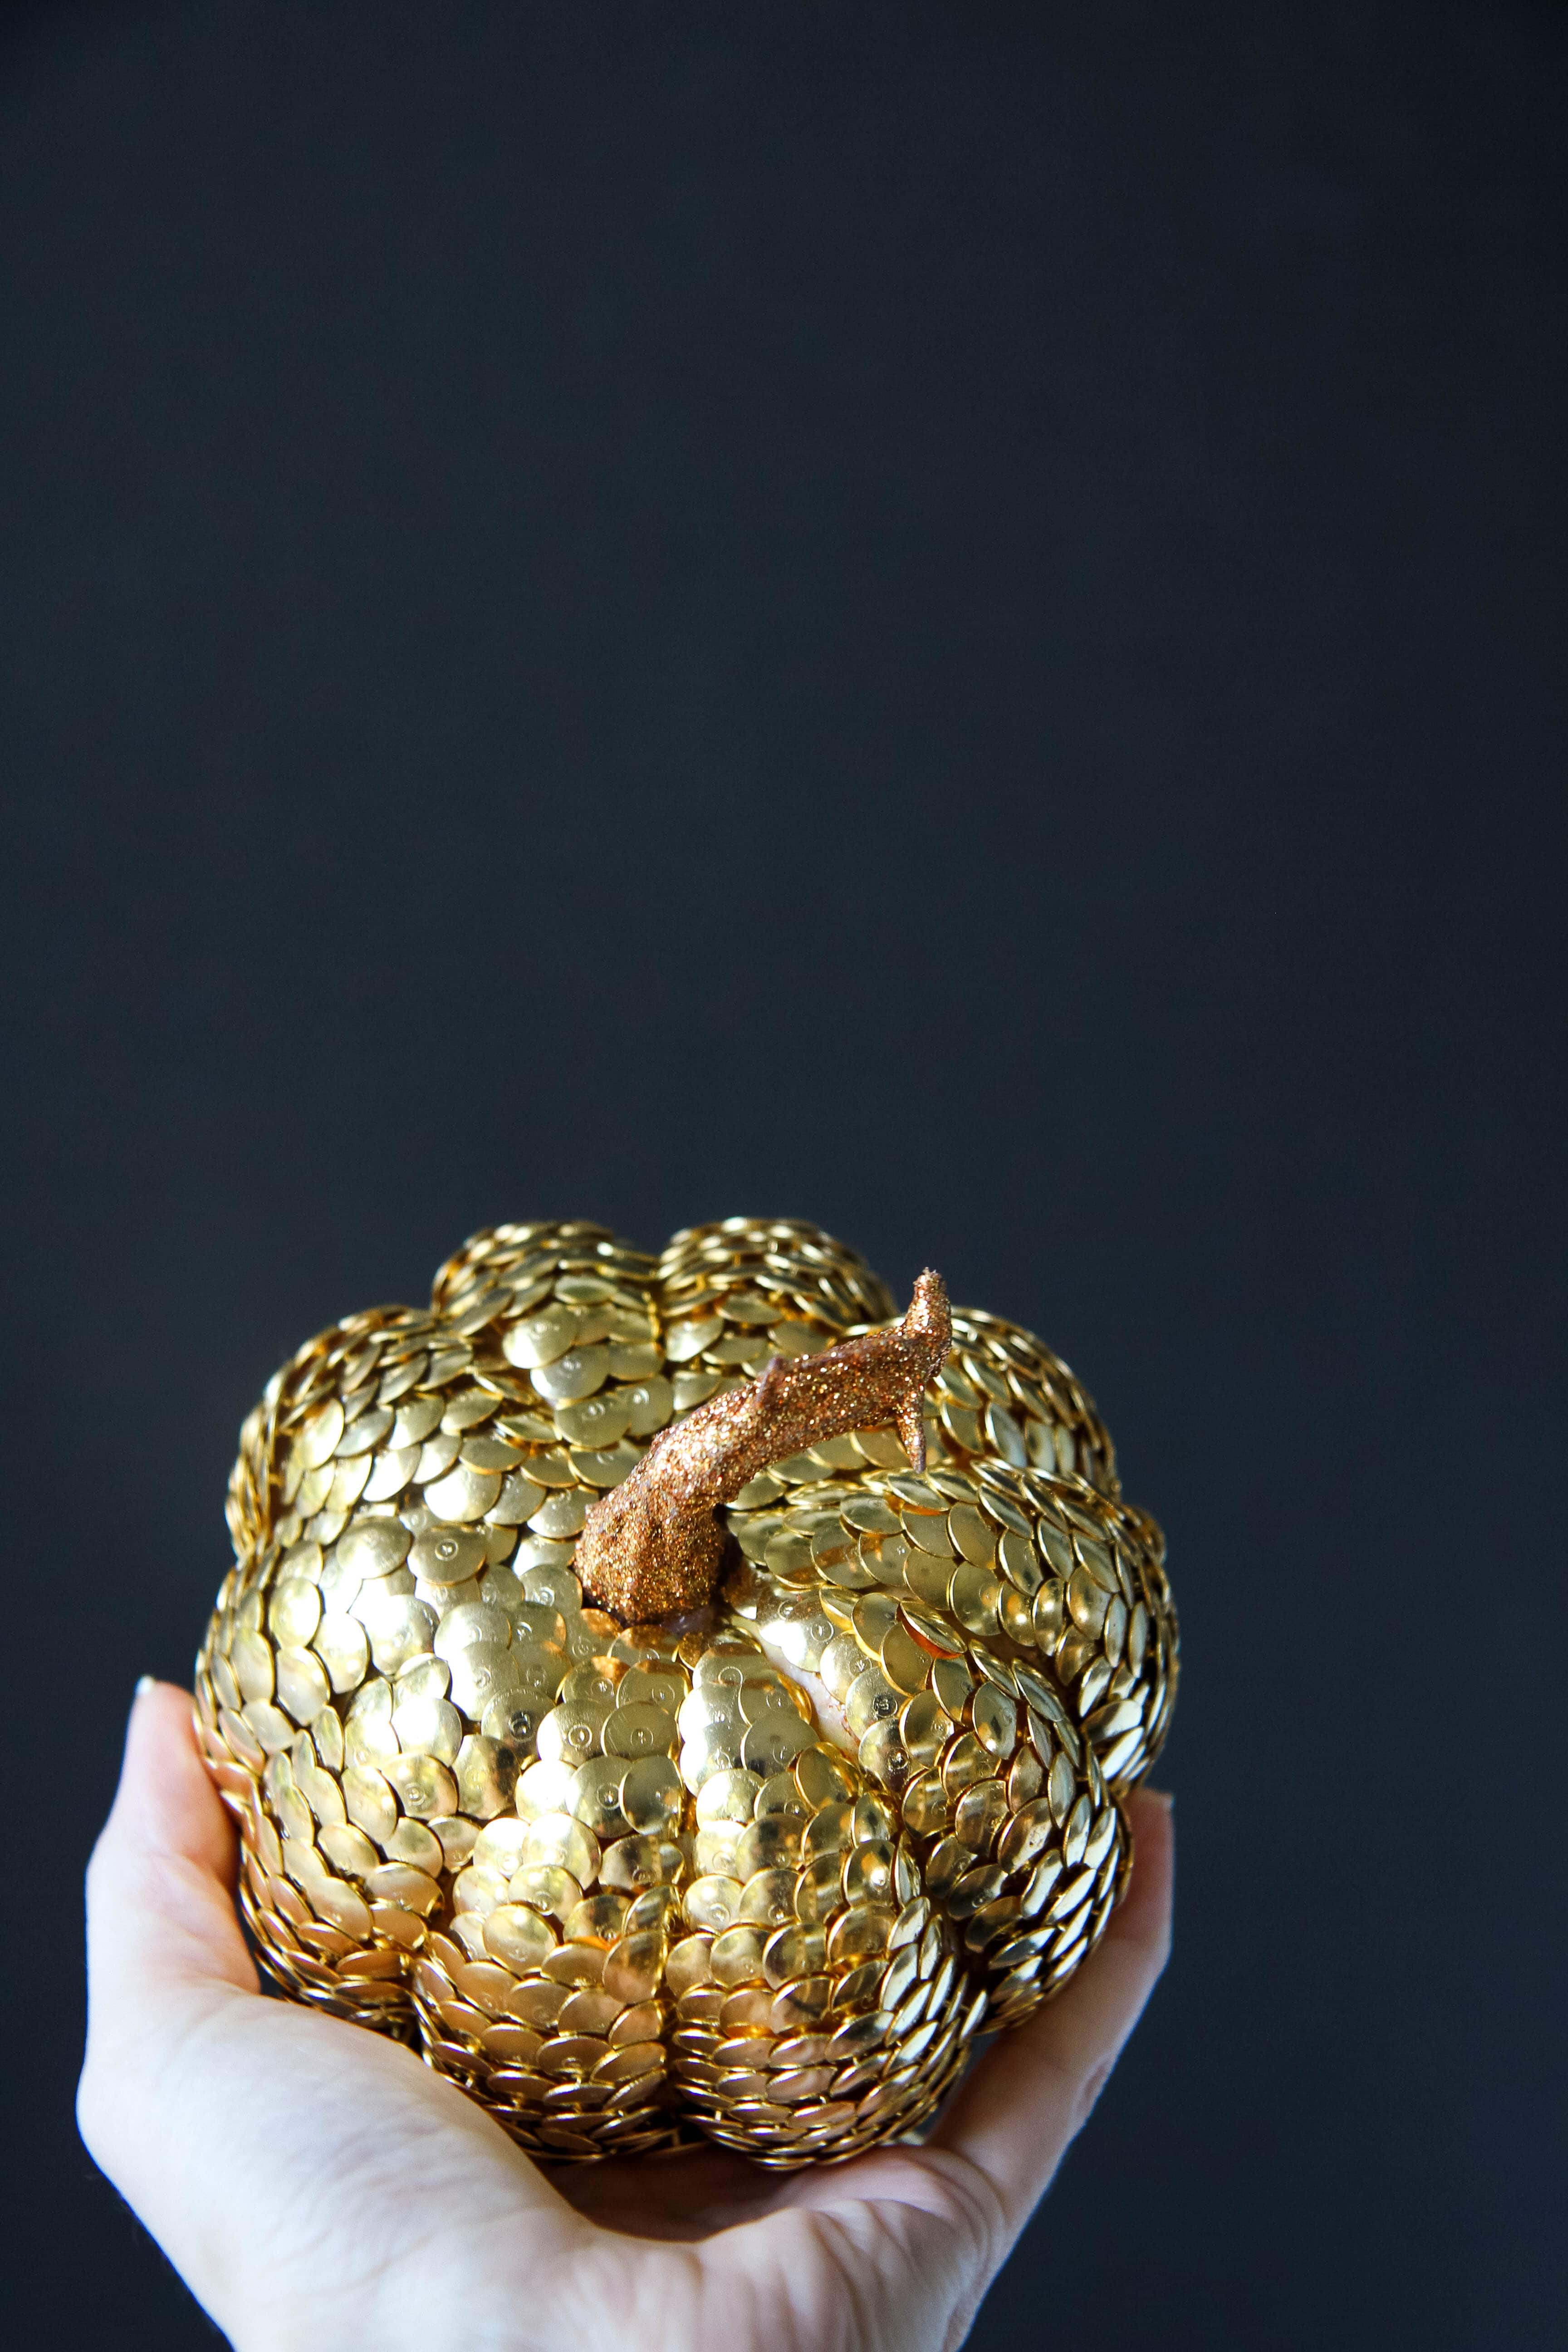
  1. Going along one of the ridges of the pumpkin, begin inserting thumbtacks, starting at the very top and working your way down. You will want to make sure that they overlap just a bit to create a feathered effect on your pumpkin. You do not need to go to the very bottom, just enough to cover it so that if the pumpkin is placed on a pedestal or candlestick holder that you can’t see the plastic bottom. This row helps to anchor your ridge as you place the thumbtacks in.
  2. Right next to that row, again overlapping from the side and down the row, begin placing thumbtacks in the same way, repeating this process until you have covered the entire ridge. Once the ridge is filled, just check and make sure there aren’t any holes in any places and fill, as necessary, with additional thumbtacks.
  3. Begin in the next ridge, just as you did with the first, giving just a little room between those ridges so you can still see that pumpkin shape. Now repeat this process again and again, until you have filled the entire pumpkin. This small pumpkin took 700 thumbtacks, but you may need more or less depending on how tightly you are overlapping your thumbtacks.

DIY Thumbtack Pumpkins from MomAdvice.com

DIY Thumbtack Pumpkins from MomAdvice.com

DIY Thumbtack Pumpkins from MomAdvice.com

DIY Thumbtack Pumpkins from MomAdvice.com

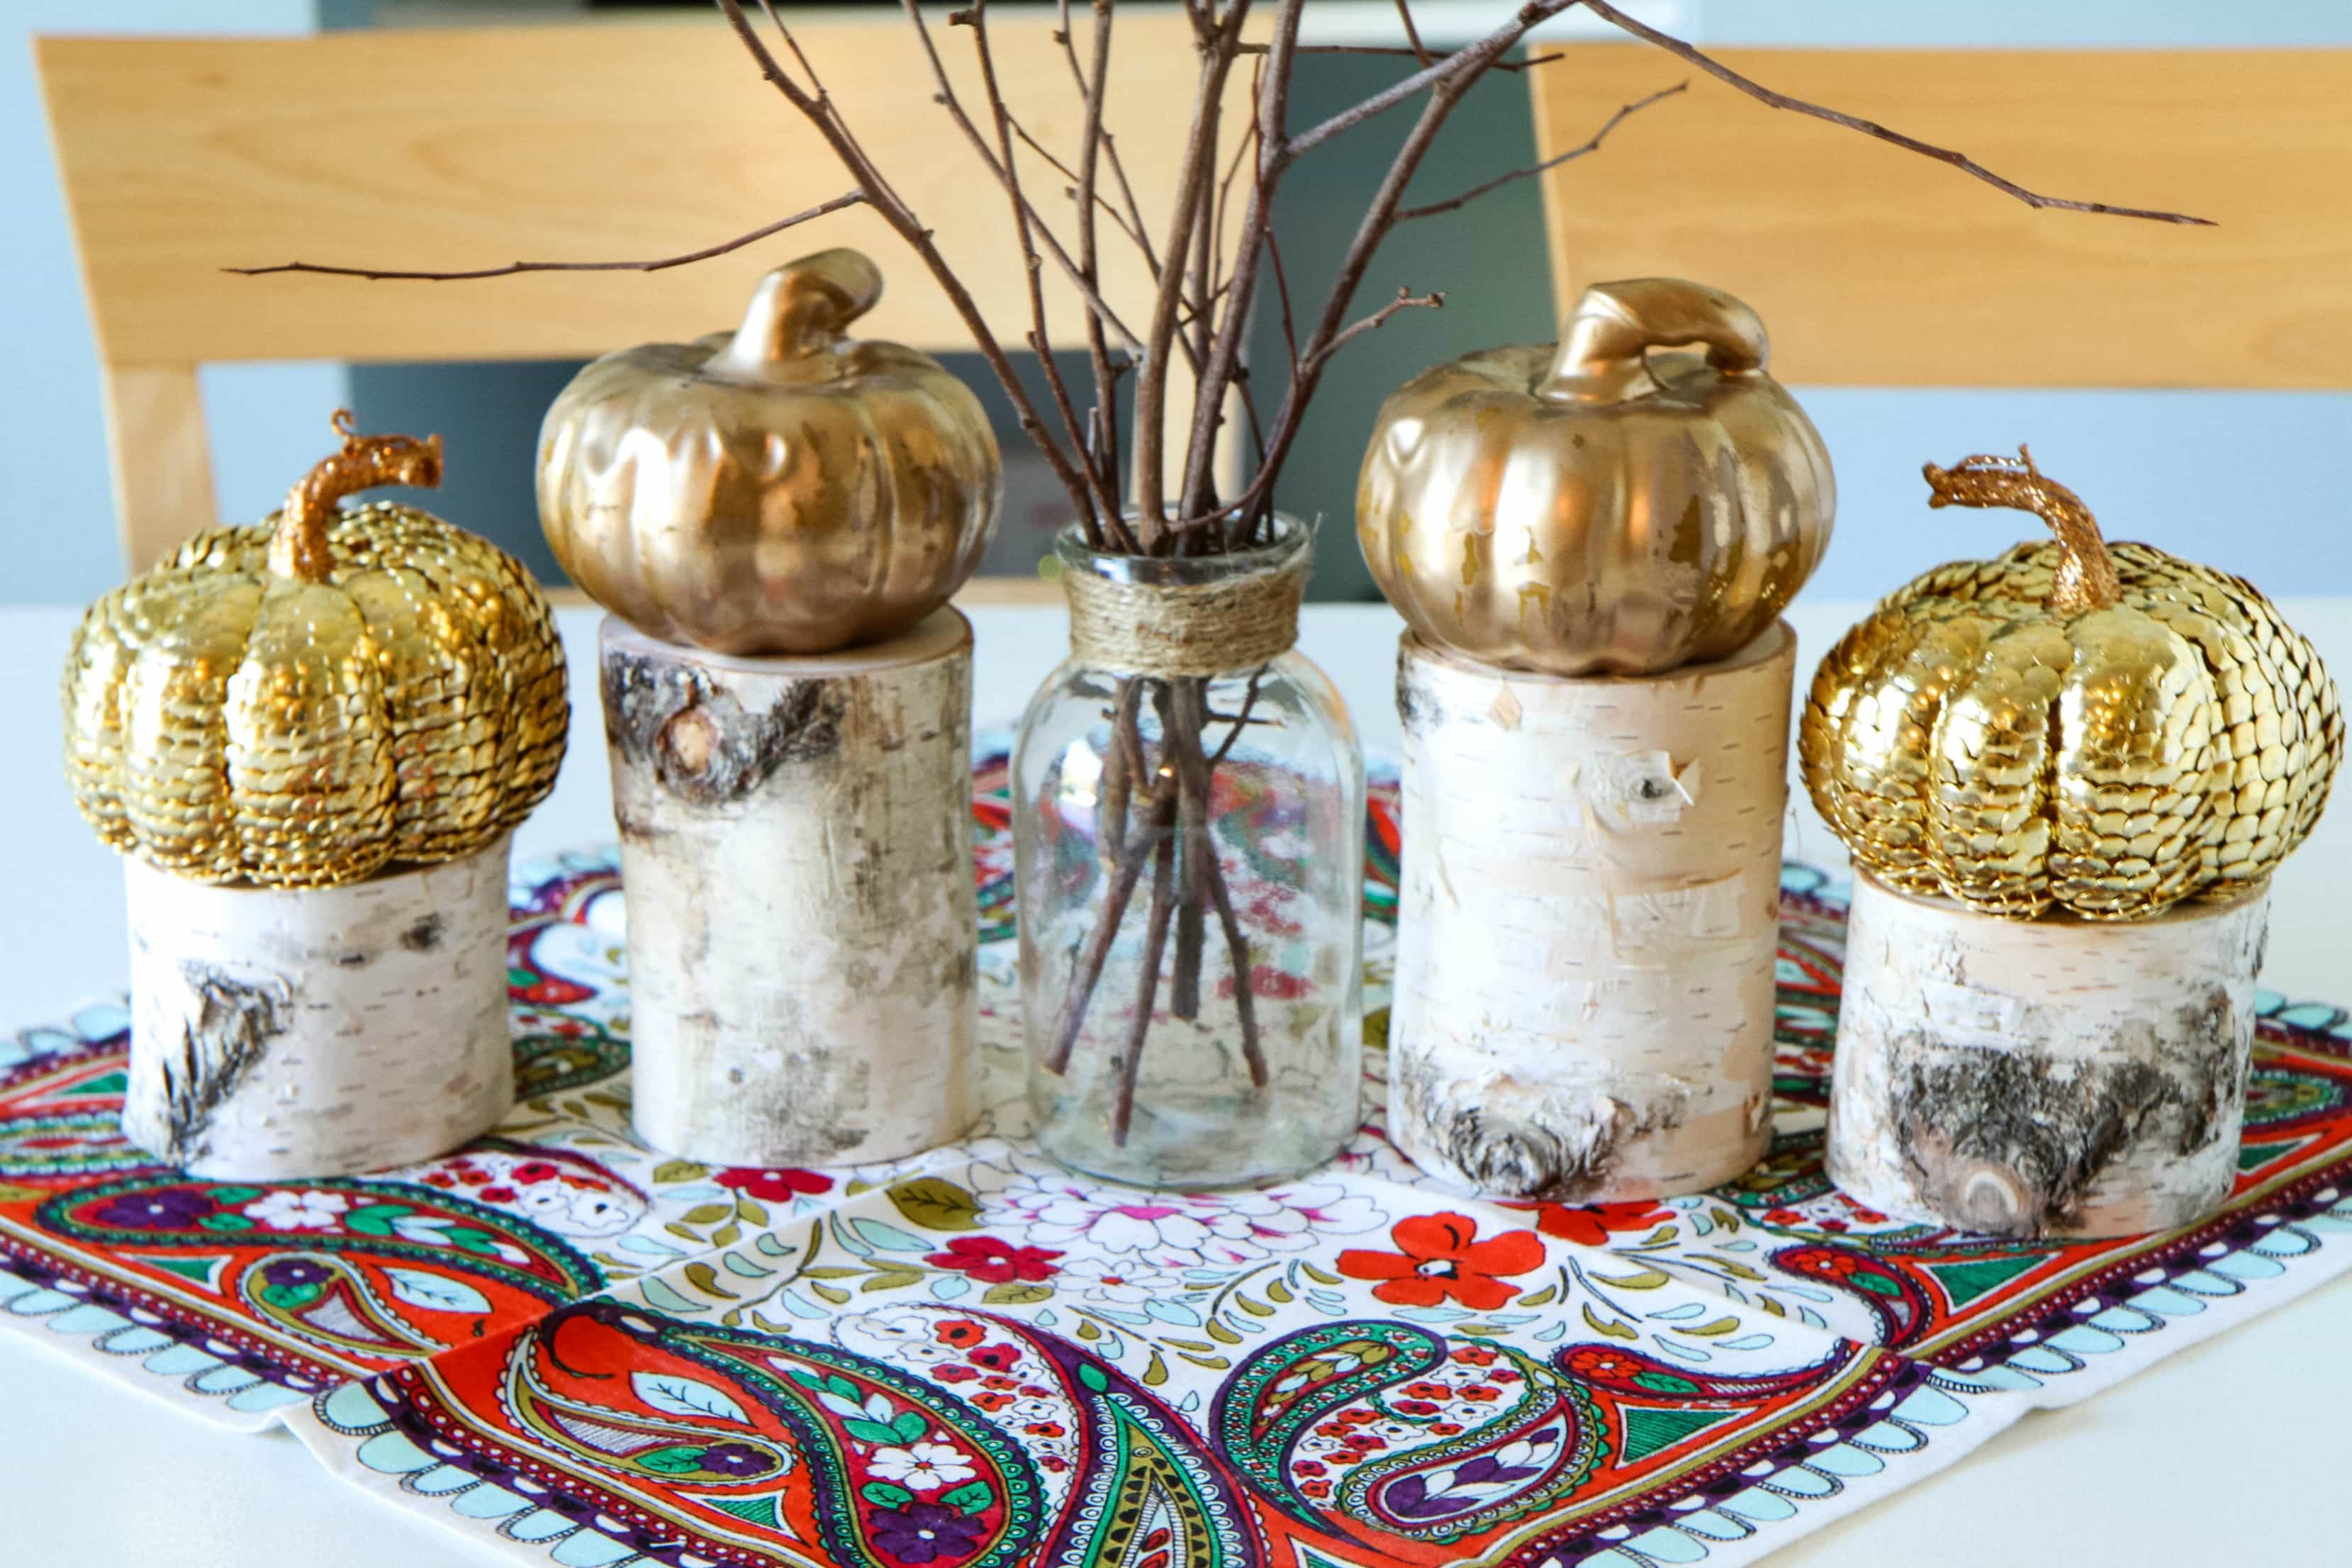
Isn’t this absolutely beautiful? Who would ever have guessed that it costs around $5 to make! I made two of them and wanted to show you a fun way to dress up your holiday table with these.

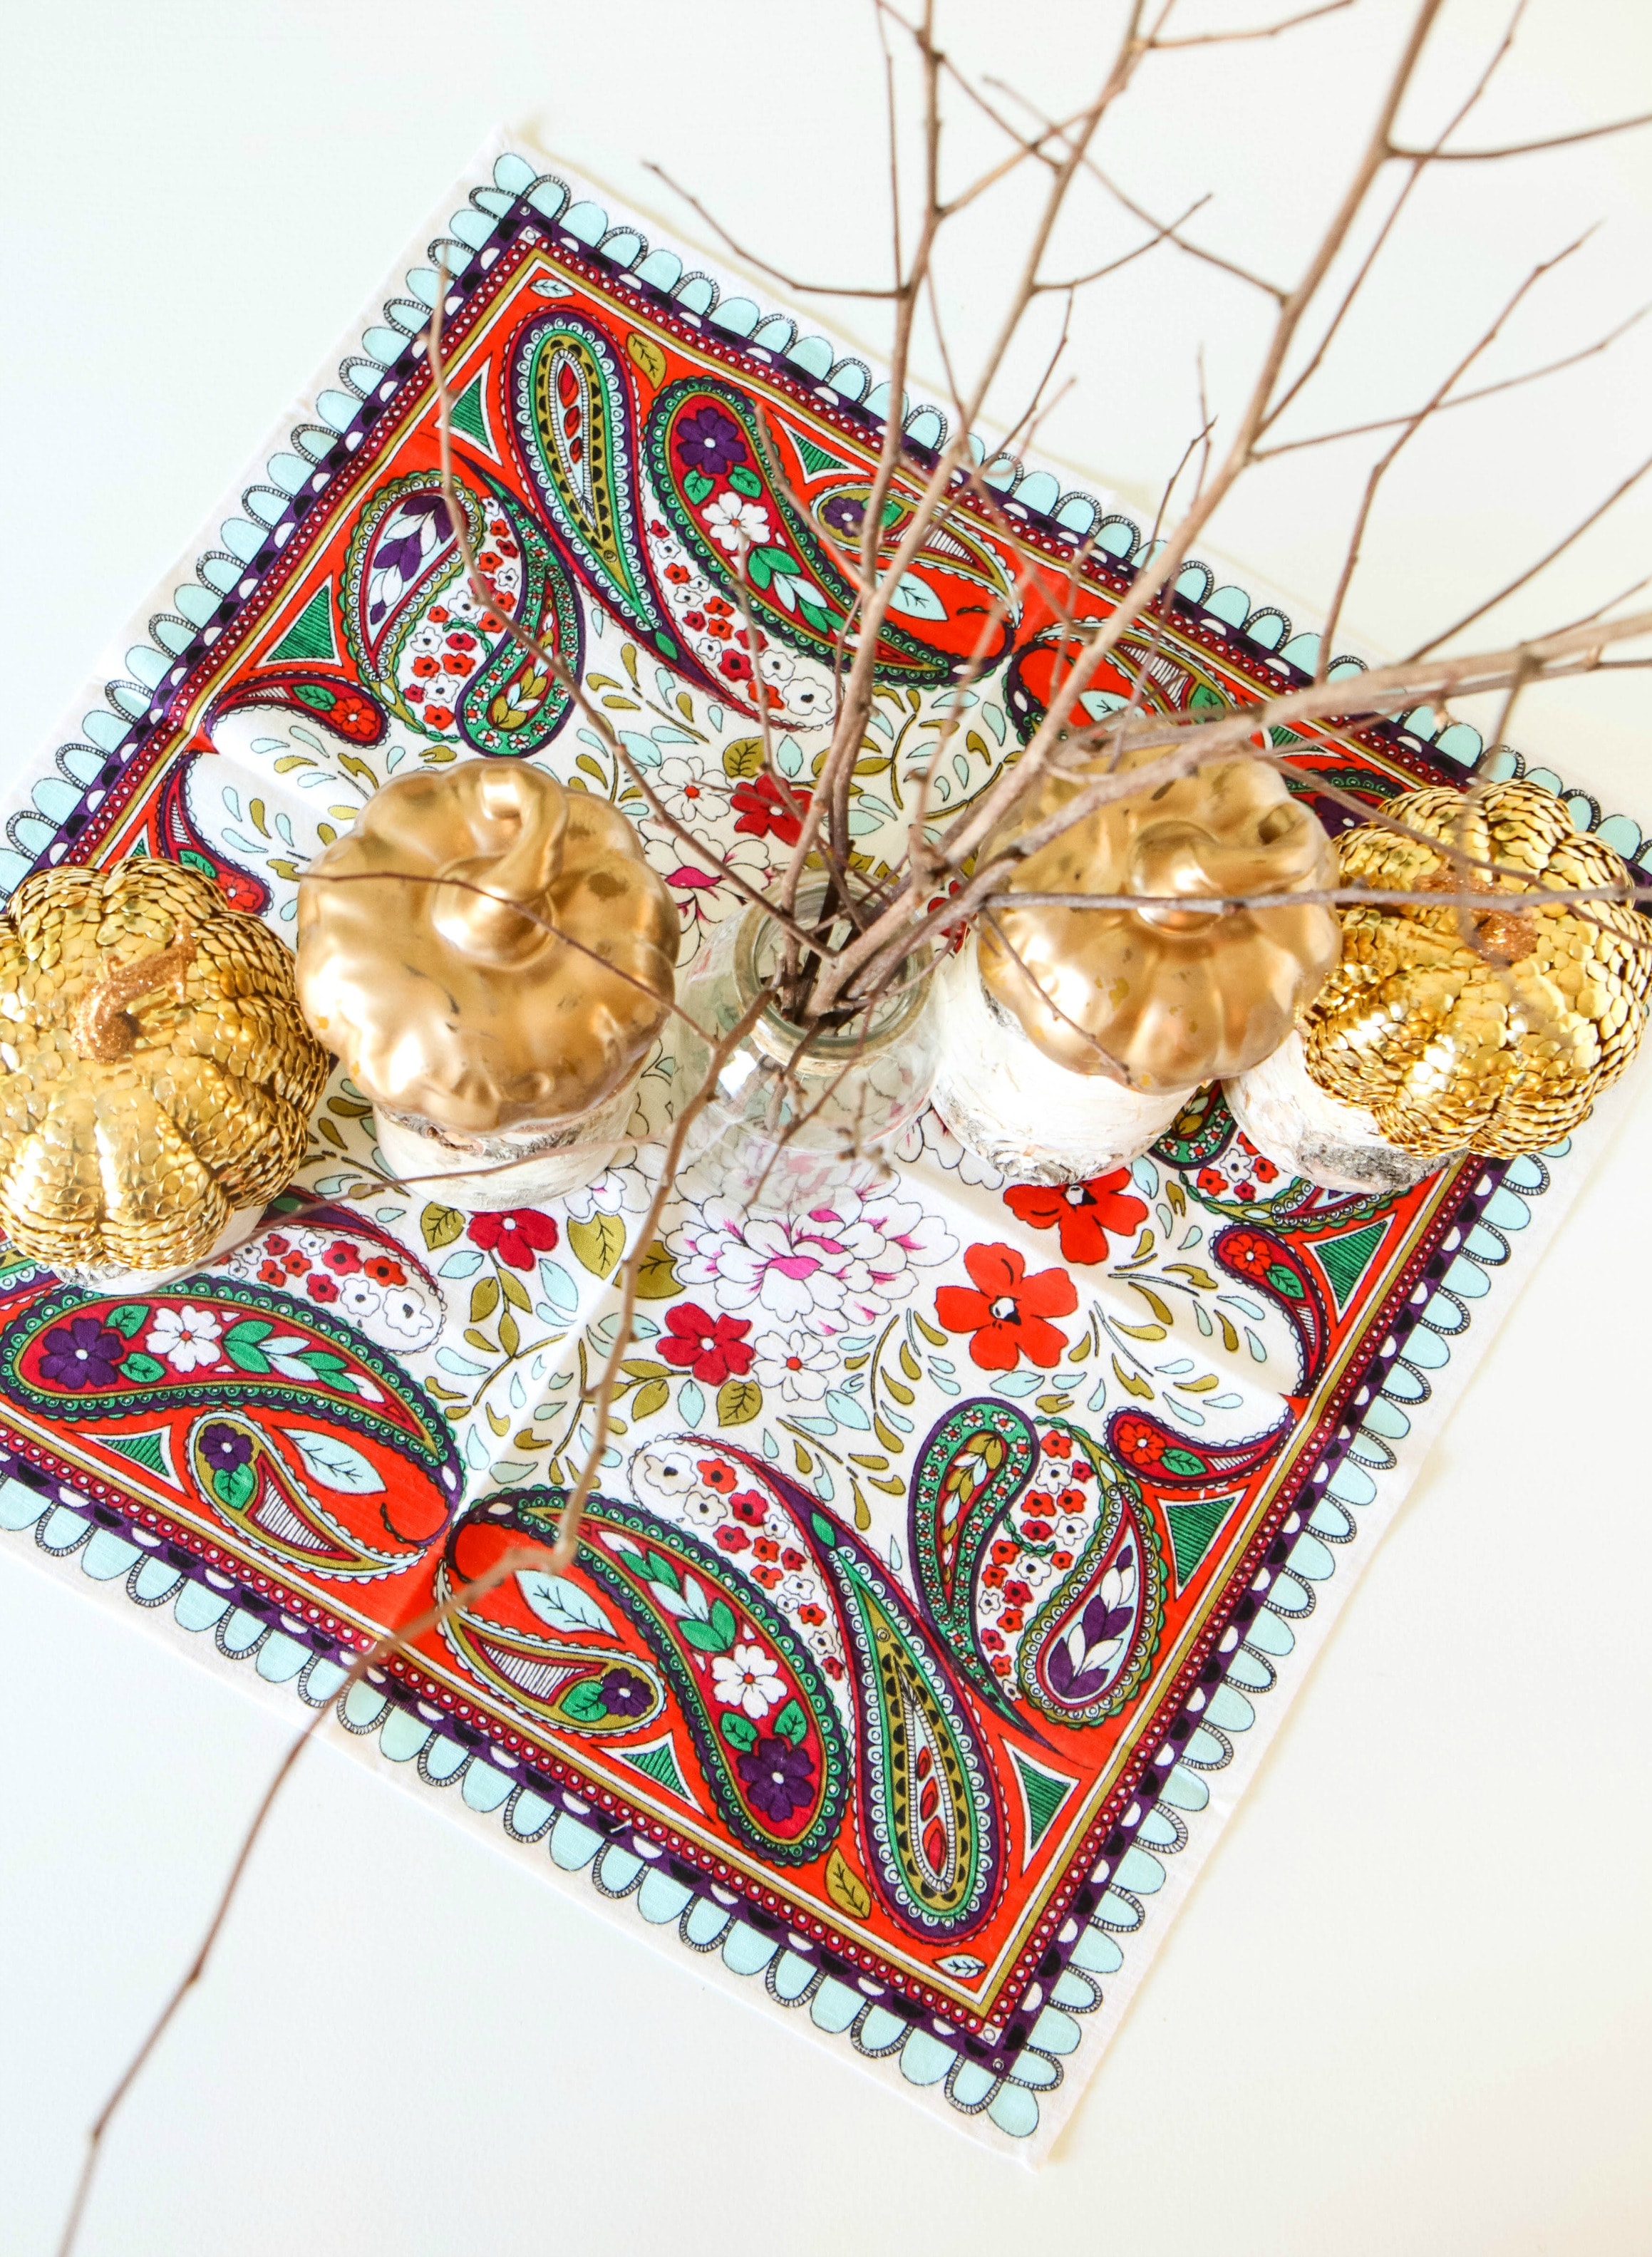
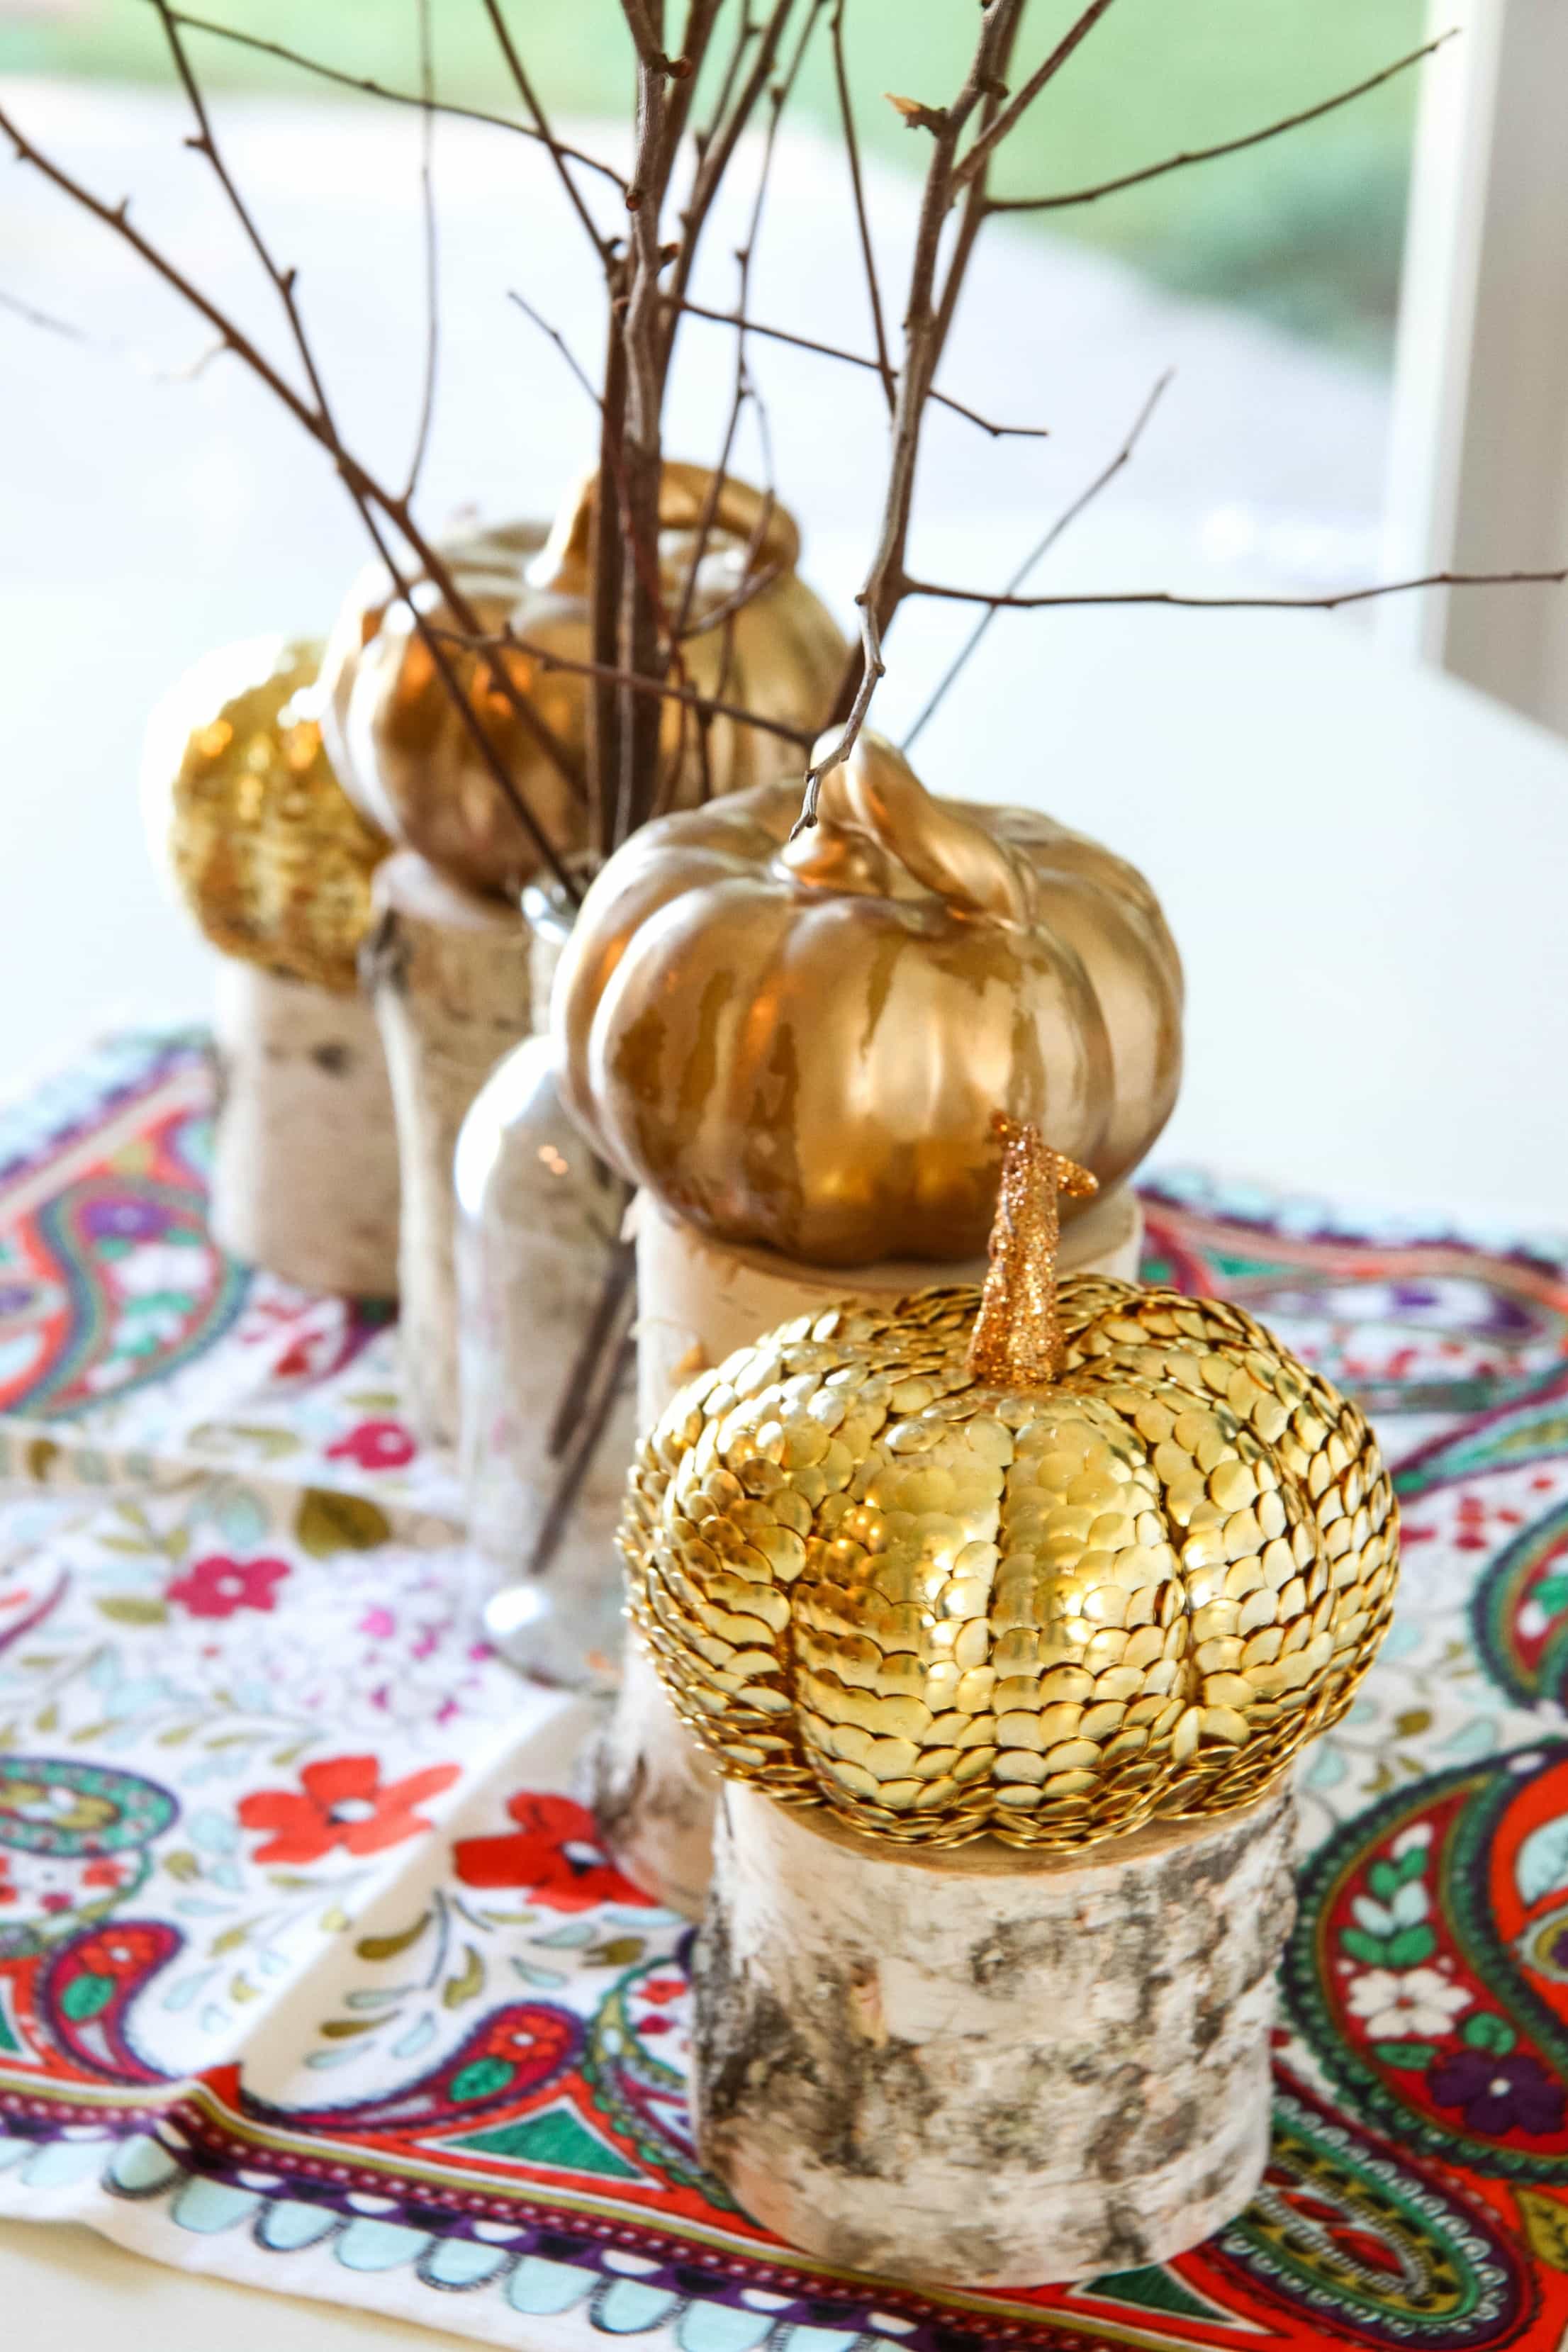
I spray painted two other faux pumpkins and then roughed them up with a little sandpaper. I filled a glass bottle with branches from our backyard to center these and then purchased these faux logs from my local craft store in two different heights to place my gold pumpkins on. I love all the variations on height and the different textures in this budget-friendly centerpiece.

I hope you find this idea easy and inspiring! Use your own creativity to create a few beautiful pumpkins of your own.

Speaking of autumn crafts…here are a few tutorials you might enjoy!

how to make a blanket scarf how to make a blanket scarf

Painted Pumpkins painted pumpkins tutorial

woodland art download FREE autumn printables

cabled earwarmer pattern cabled ear warmers (free pattern)

easy burlap wreath easy burlap wreath tutorial

Fall Burlap Wreath fall burlap wreath tutorial

how to paint laminate painted laminate fireplace to cozy up by

she shed make a she shed (best investment EVER!)

doughnut-hole-ghost-cake doughnut hole ghost cake

DIY Thumbtack Pumpkins from MomAdvice.com

This post contains affiliate links!

Pin It

How to Dye a Faded Pair of Jeans

Monday, September 16th, 2019

How to Dye a Faded Pair of Jeans from MomAdvice.com

If your favorite jeans have faded and you would like to restore the color, you won’t want to miss today’s tutorial to help you get that perfect wash back on your denim items. Follow these steps for restoring color with fabric dyes in the washing machine or even over the stovetop with this easy DIY tutorial.

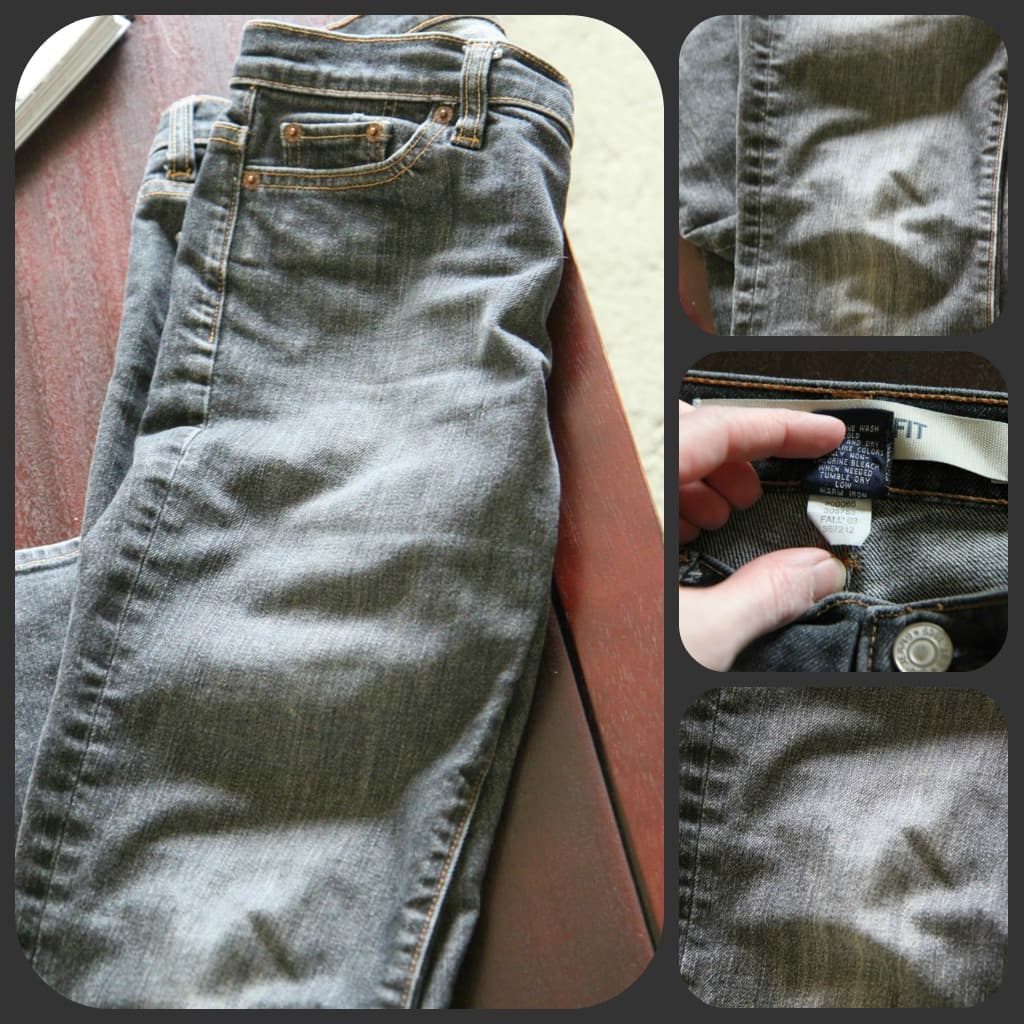
Several years ago I bought the best pair of jeans ever made. They were a classic pair of black Gap Straight Fit Jeans that I found from Goodwill with a Fall ’03 label on them. They fit me like a glove, made me feel slim, and hit at the perfect length.

How to Dye a Faded Pair of Jeans from MomAdvice.com

Have you ever wondered what to do with a favorite pair of jeans you really love and that are really starting to look like they should be retired?

Well, today I wanted to show you how I dyed my black jeans black again and restored this old pair into something that looks like brand new for less than $5!

Yup, you heard me right!

You CAN dye jeans.
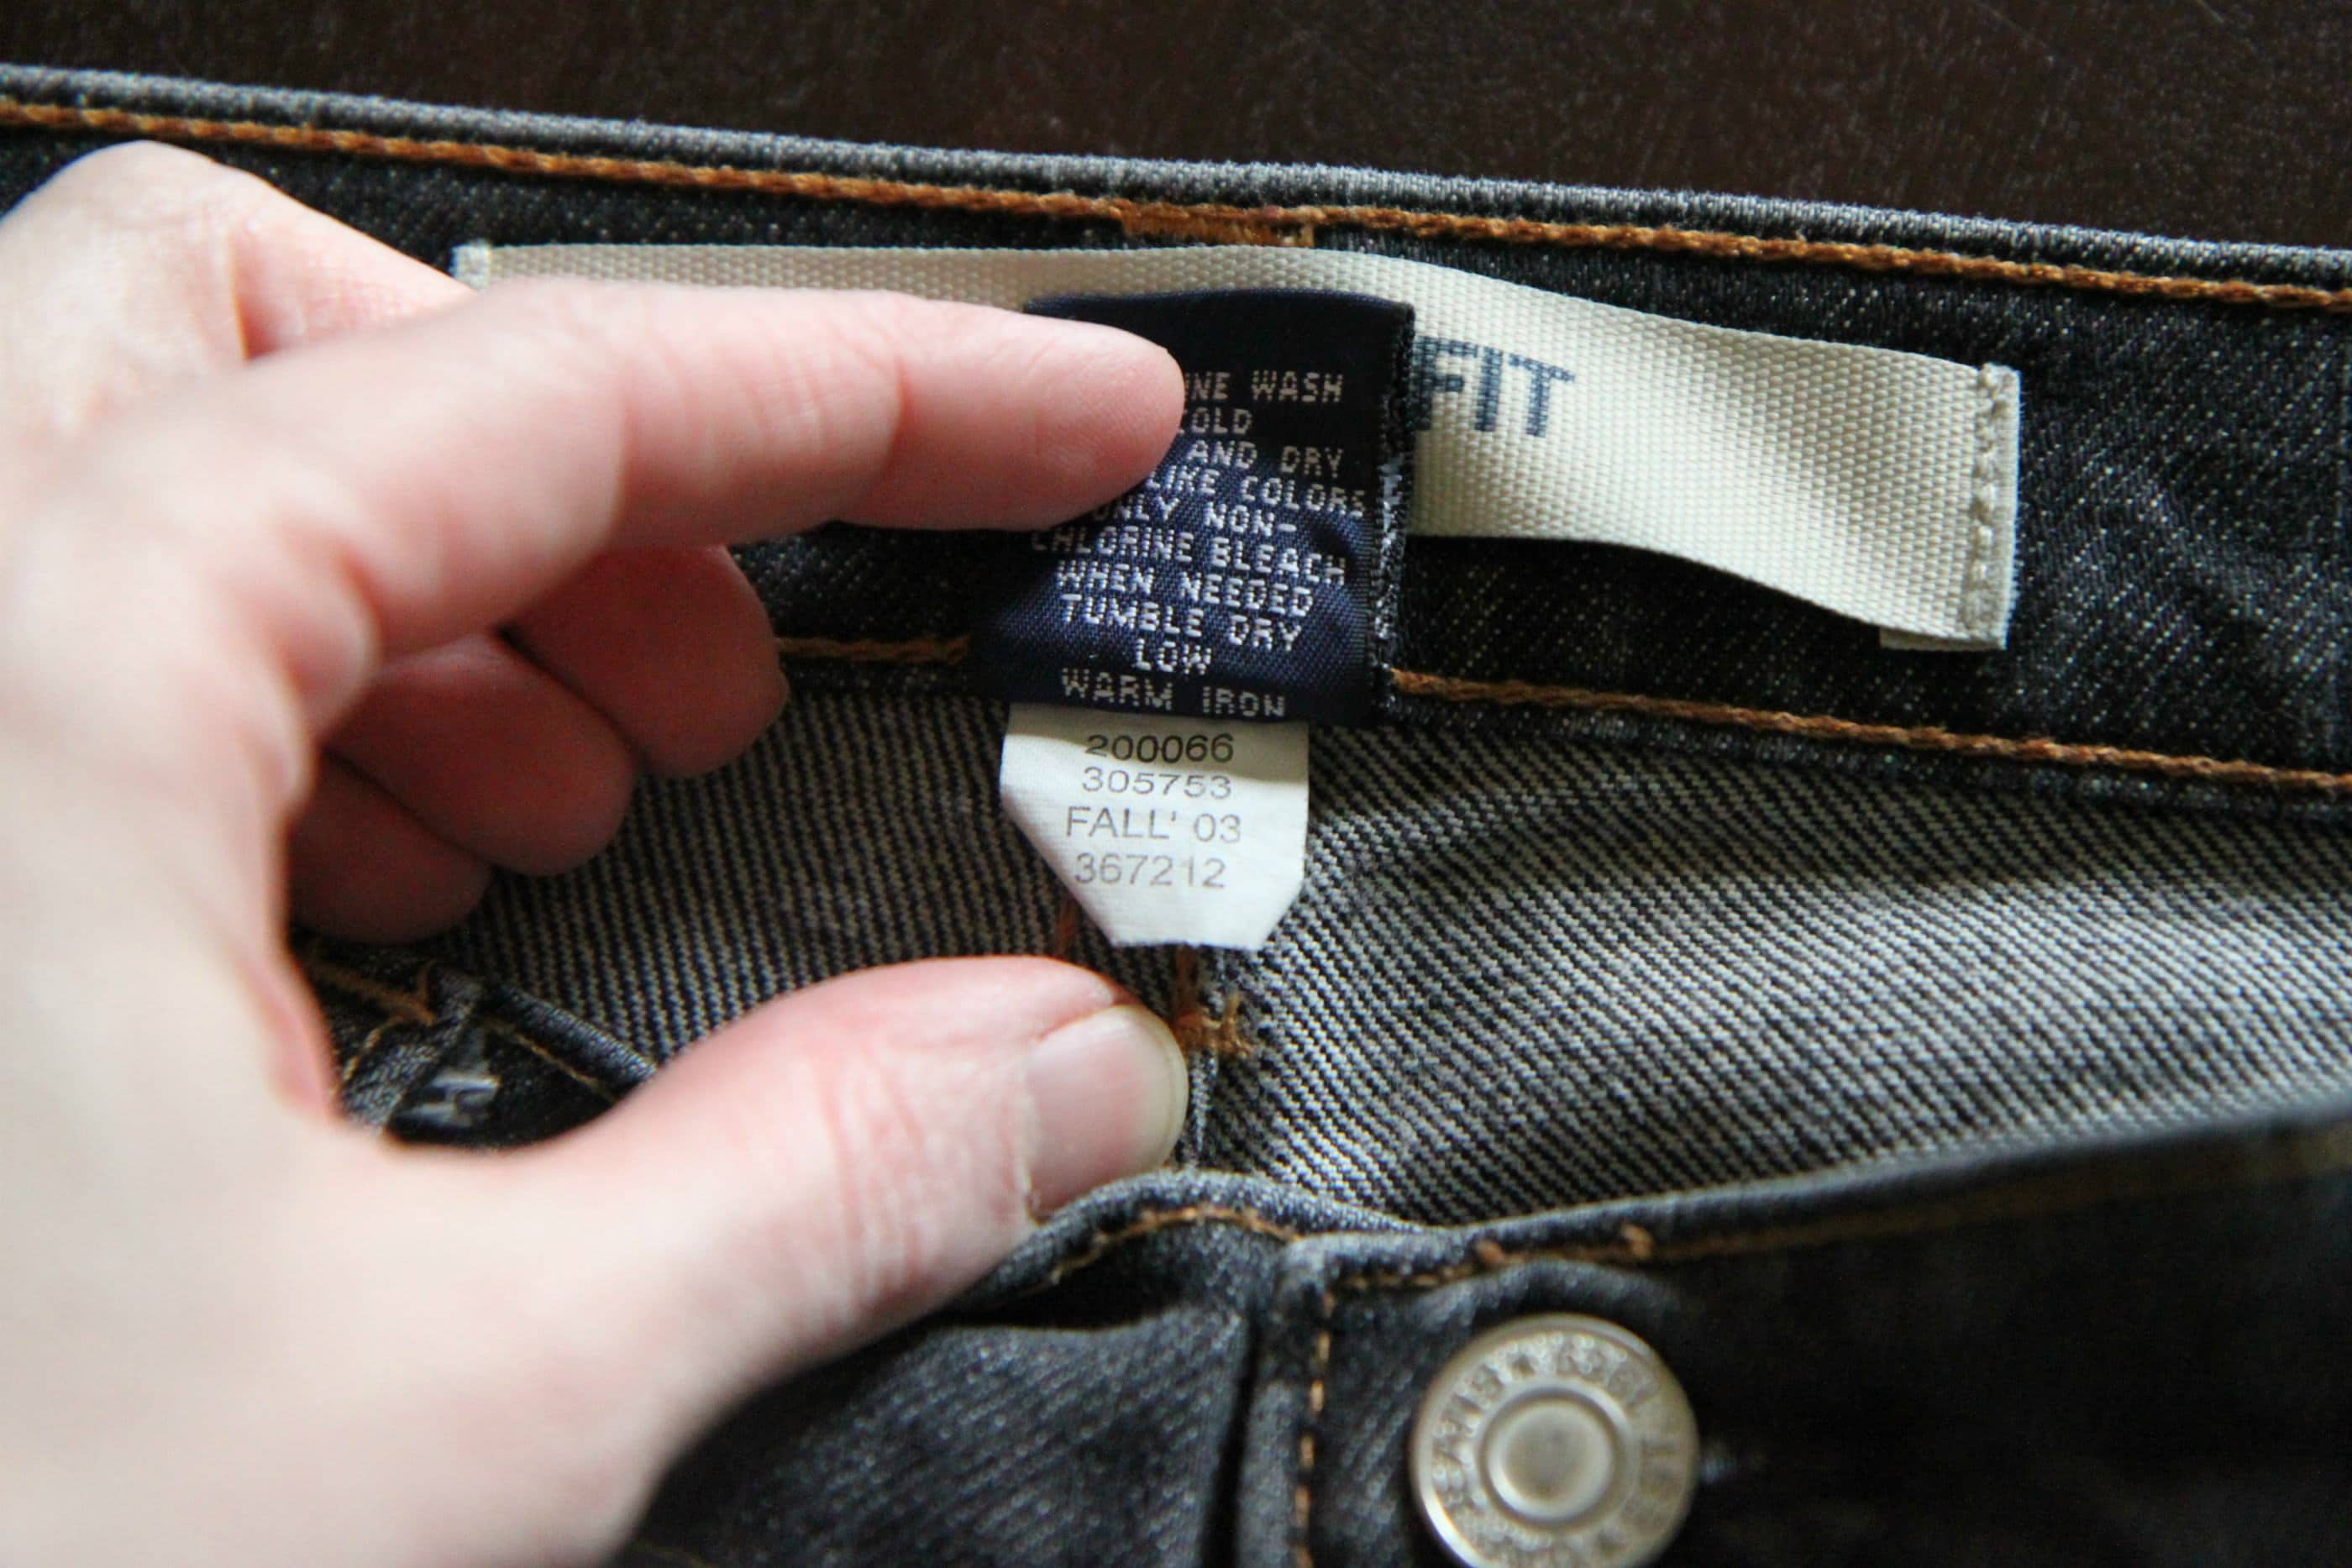
How to Dye a Faded Pair of Jeans from MomAdvice.com.

How to Dye a Faded Pair of Jeans from MomAdvice.com.

These jeans were black, but they have faded after a million times in my washing machine.

I actually think these would have been cool in eighth grade when I begged my mama to buy me a pair of stonewashed jeans that looked like they had been beat to death.

Sadly, I am no longer an eighth grader and I am starting to feel self conscious when I wear these out.

I’m tired of being judged.

Time to hit the craft store. Grab your coupons!
How to Dye a Faded Pair of Jeans from MomAdvice.com.

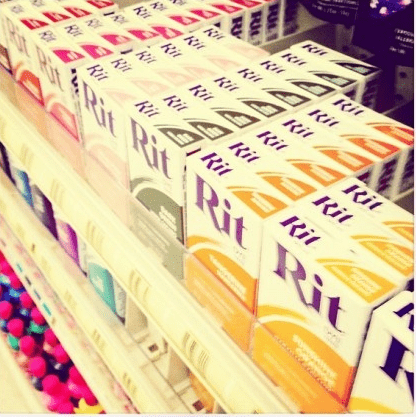
I headed to Joann Fabrics and over by the t-shirts and t-shirt decorating supplies is an aisle filled with fabric dyes.

You will need two boxes of the powdered Rit dye in your desired color.

They do offer a liquid version, but it is my understanding that the powder seems to be a bit more concentrated and adhere a little better to the fabric.

I haven’t tested this theory, but I wanted this color to stick so I went with the powdered version.
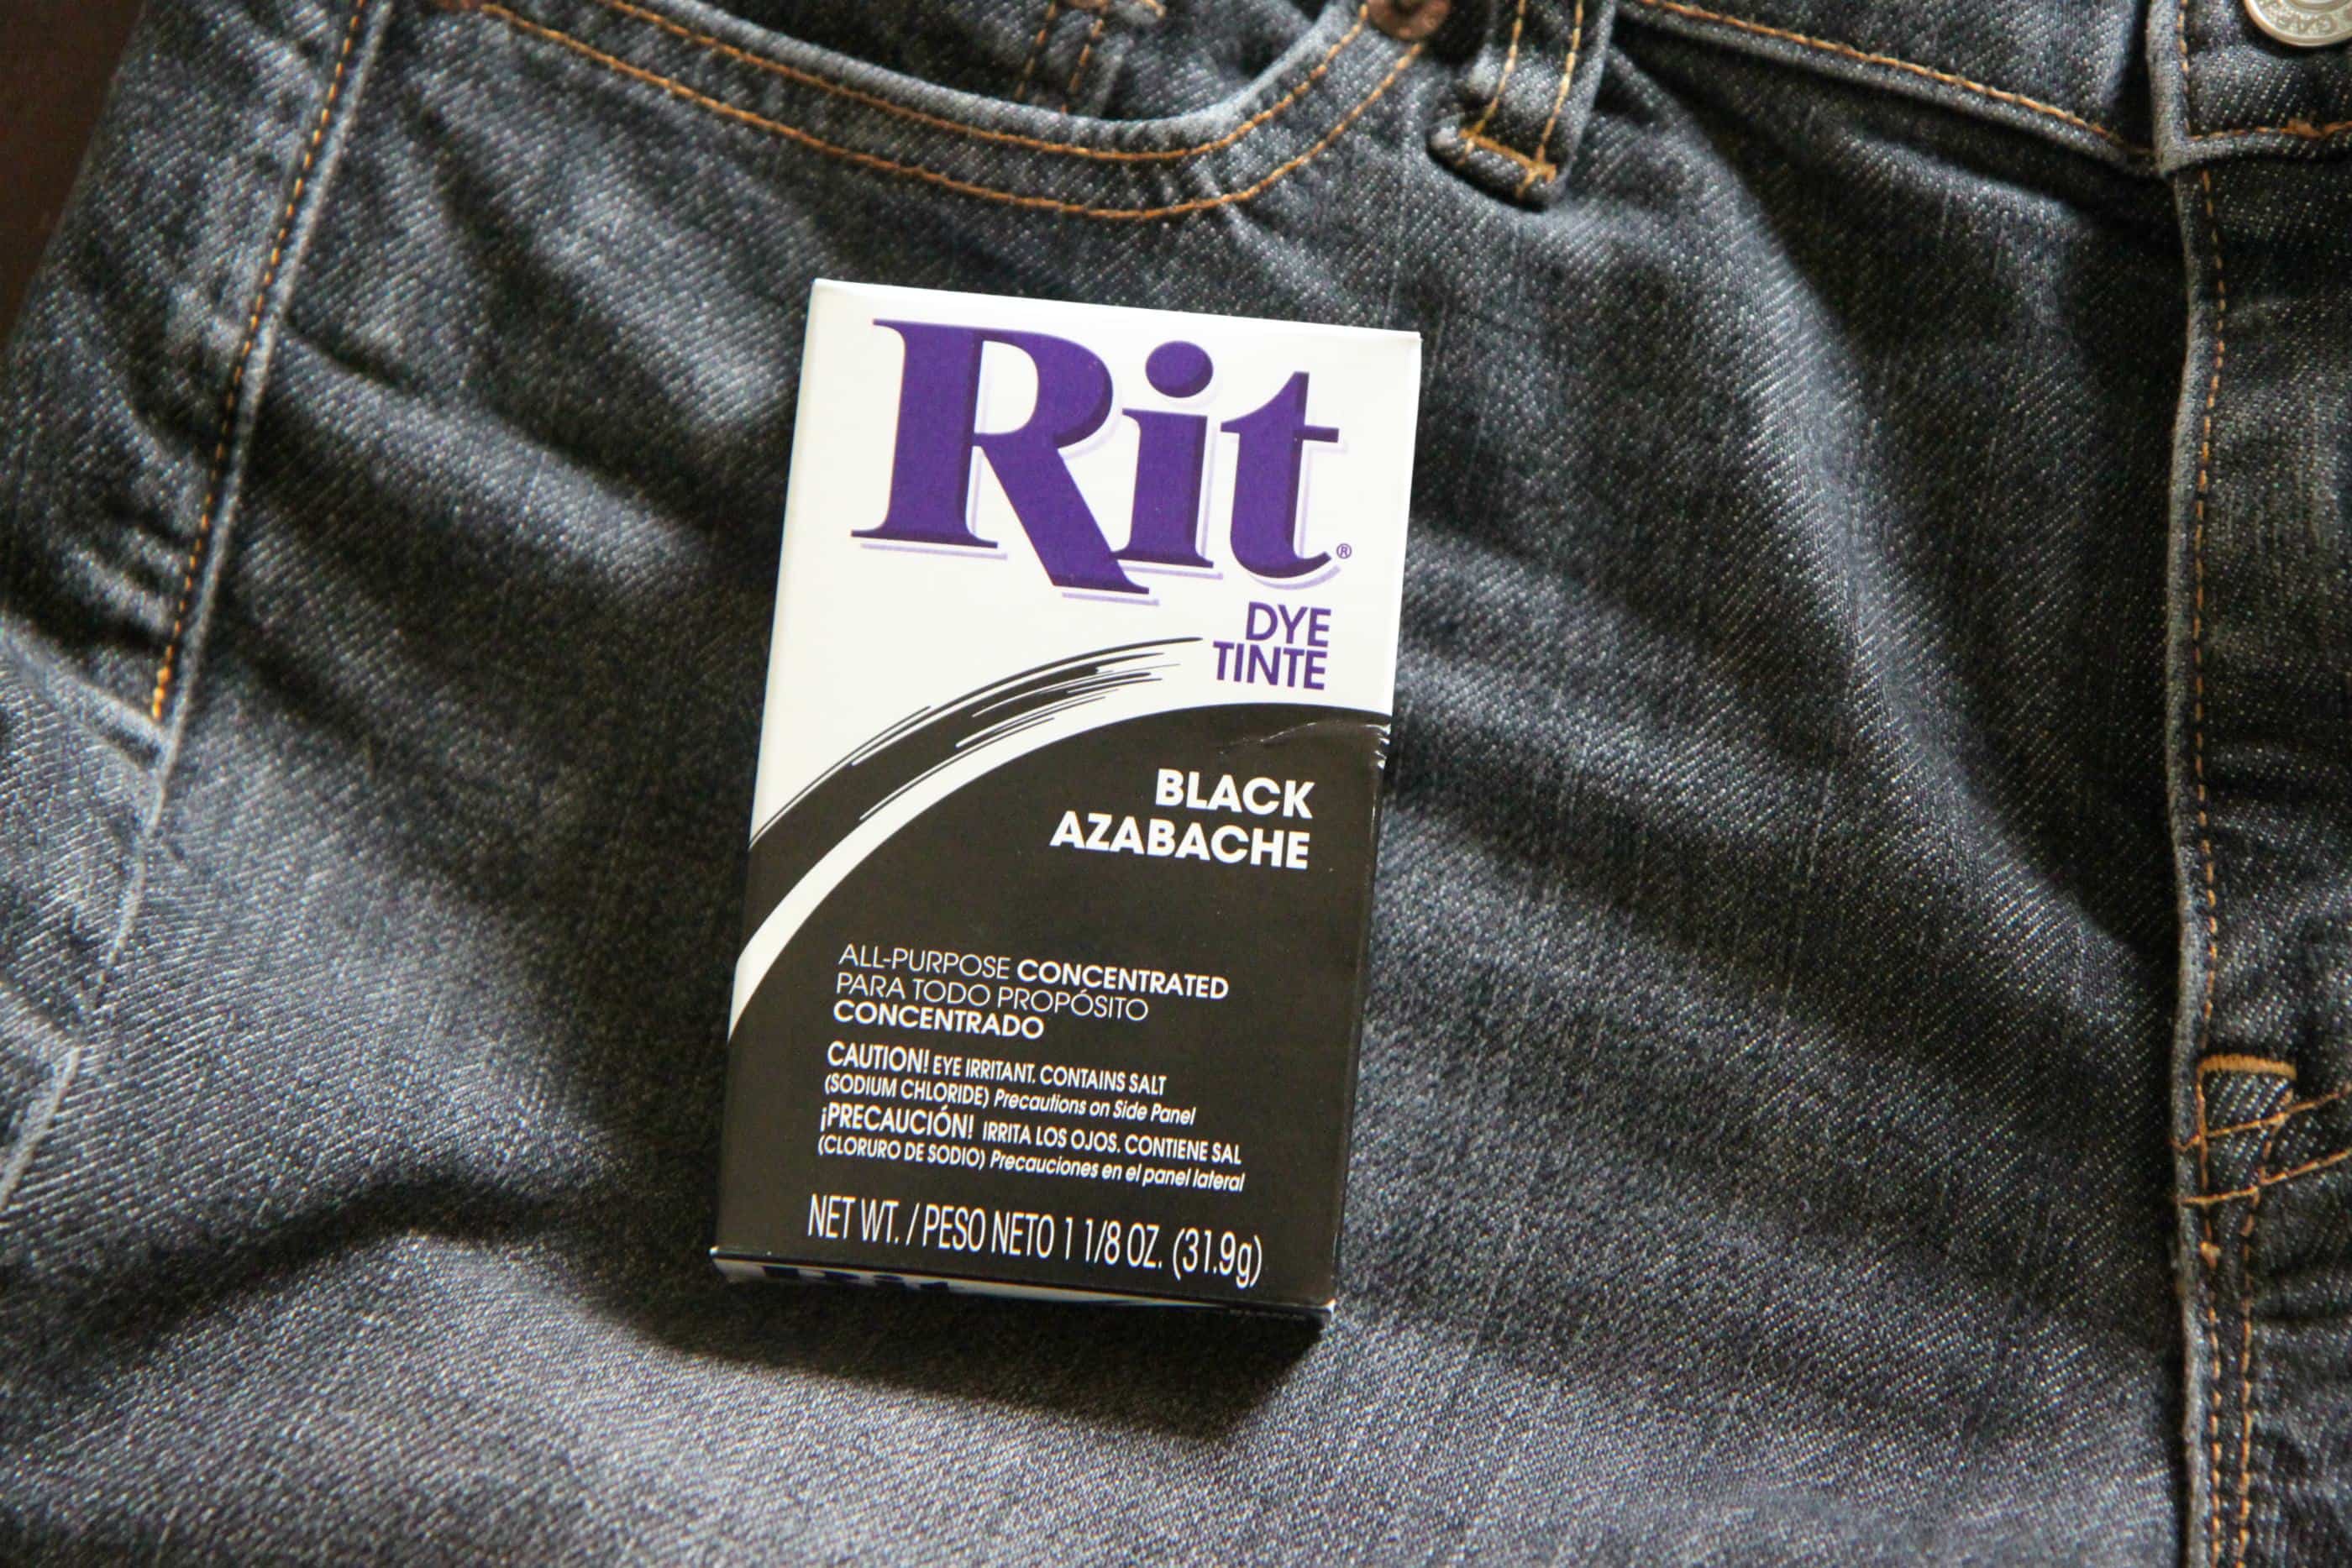
How to Dye a Faded Pair of Jeans from MomAdvice.com.

Back to black, old friend.

It makes me want to break out my Amy Winehouse playlist right now.

I used two boxes of this Rit dye in black for my jeans. If your aim is to go back to blue with your jeans, you will want two boxes of Navy (for dark jeans) or Indigo (for a lighter wash).

Be careful with the Indigo & Navy though as there are many comments reporting that this one can turn your jeans more purple than blue.

Always follow the package directions for the best advice!

My only experience is with the BLACK dye. As you can see in the after pictures, it isn’t a true black so this is the color that I would recommend for a dark wash jean!


Let’s get started!


How to Dye a Faded Pair of Jeans Tutorial
How to Dye a Faded Pair of Jeans from MomAdvice.com.

Our family has a HE washer so I am sharing with you how to dye your jeans using your HE washer.

At the end of the post, I will share the other Rit recommendations depending on your own scenario.

All scenarios create a big mess, but just think of your new-to-you jeans!

Did I already warn you?

This is going to get really messy.

I recommend throwing on old clothes and a pair of rubber gloves while you mix this.

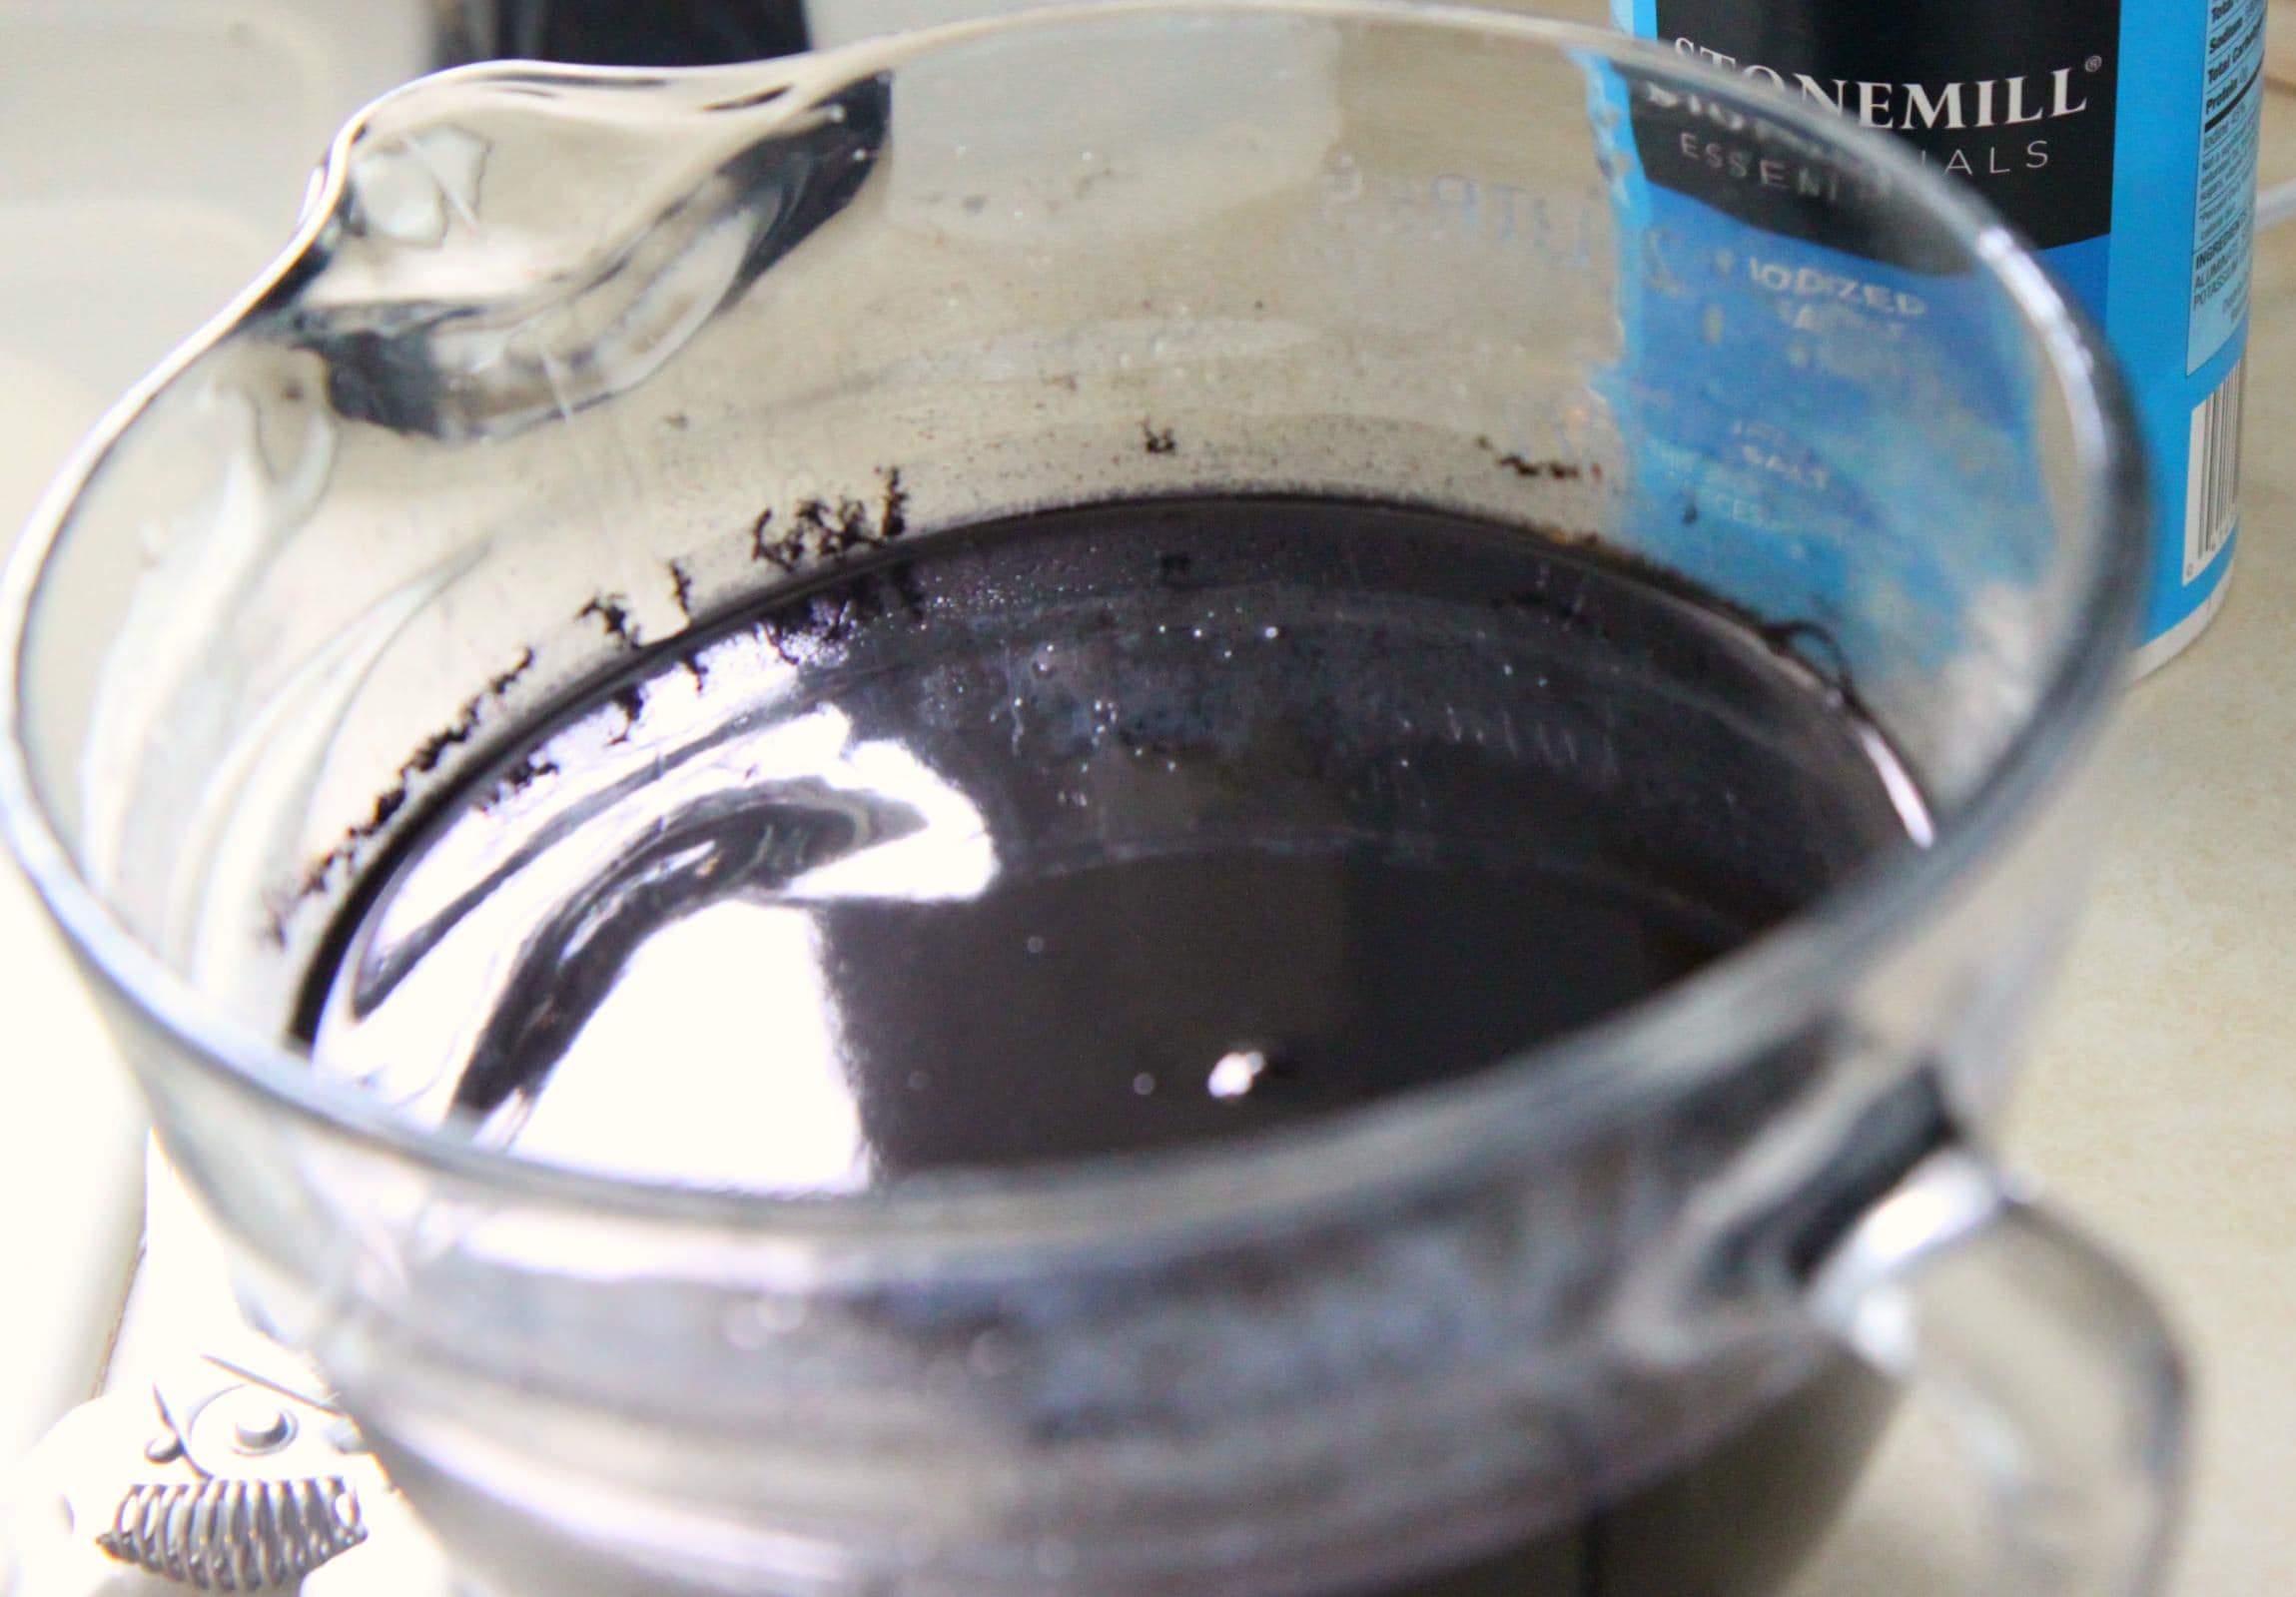
In a glass measuring cup add four cups of the hottest water possible out of your tap.

VERY carefully, add 1 cup of table salt and the contents of two of the powdered packet.

Using a metal spoon and VERY carefully stir the contents.

In your laundry sink, wet your jeans in warm water and then place them in your washer wet.
How to Dye a Faded Pair of Jeans from MomAdvice.com.

It is important to use the washer’s hottest water setting.

Additionally, a wash cycle of at least 30 minutes is recommended to obtain a satisfactory dyeing.

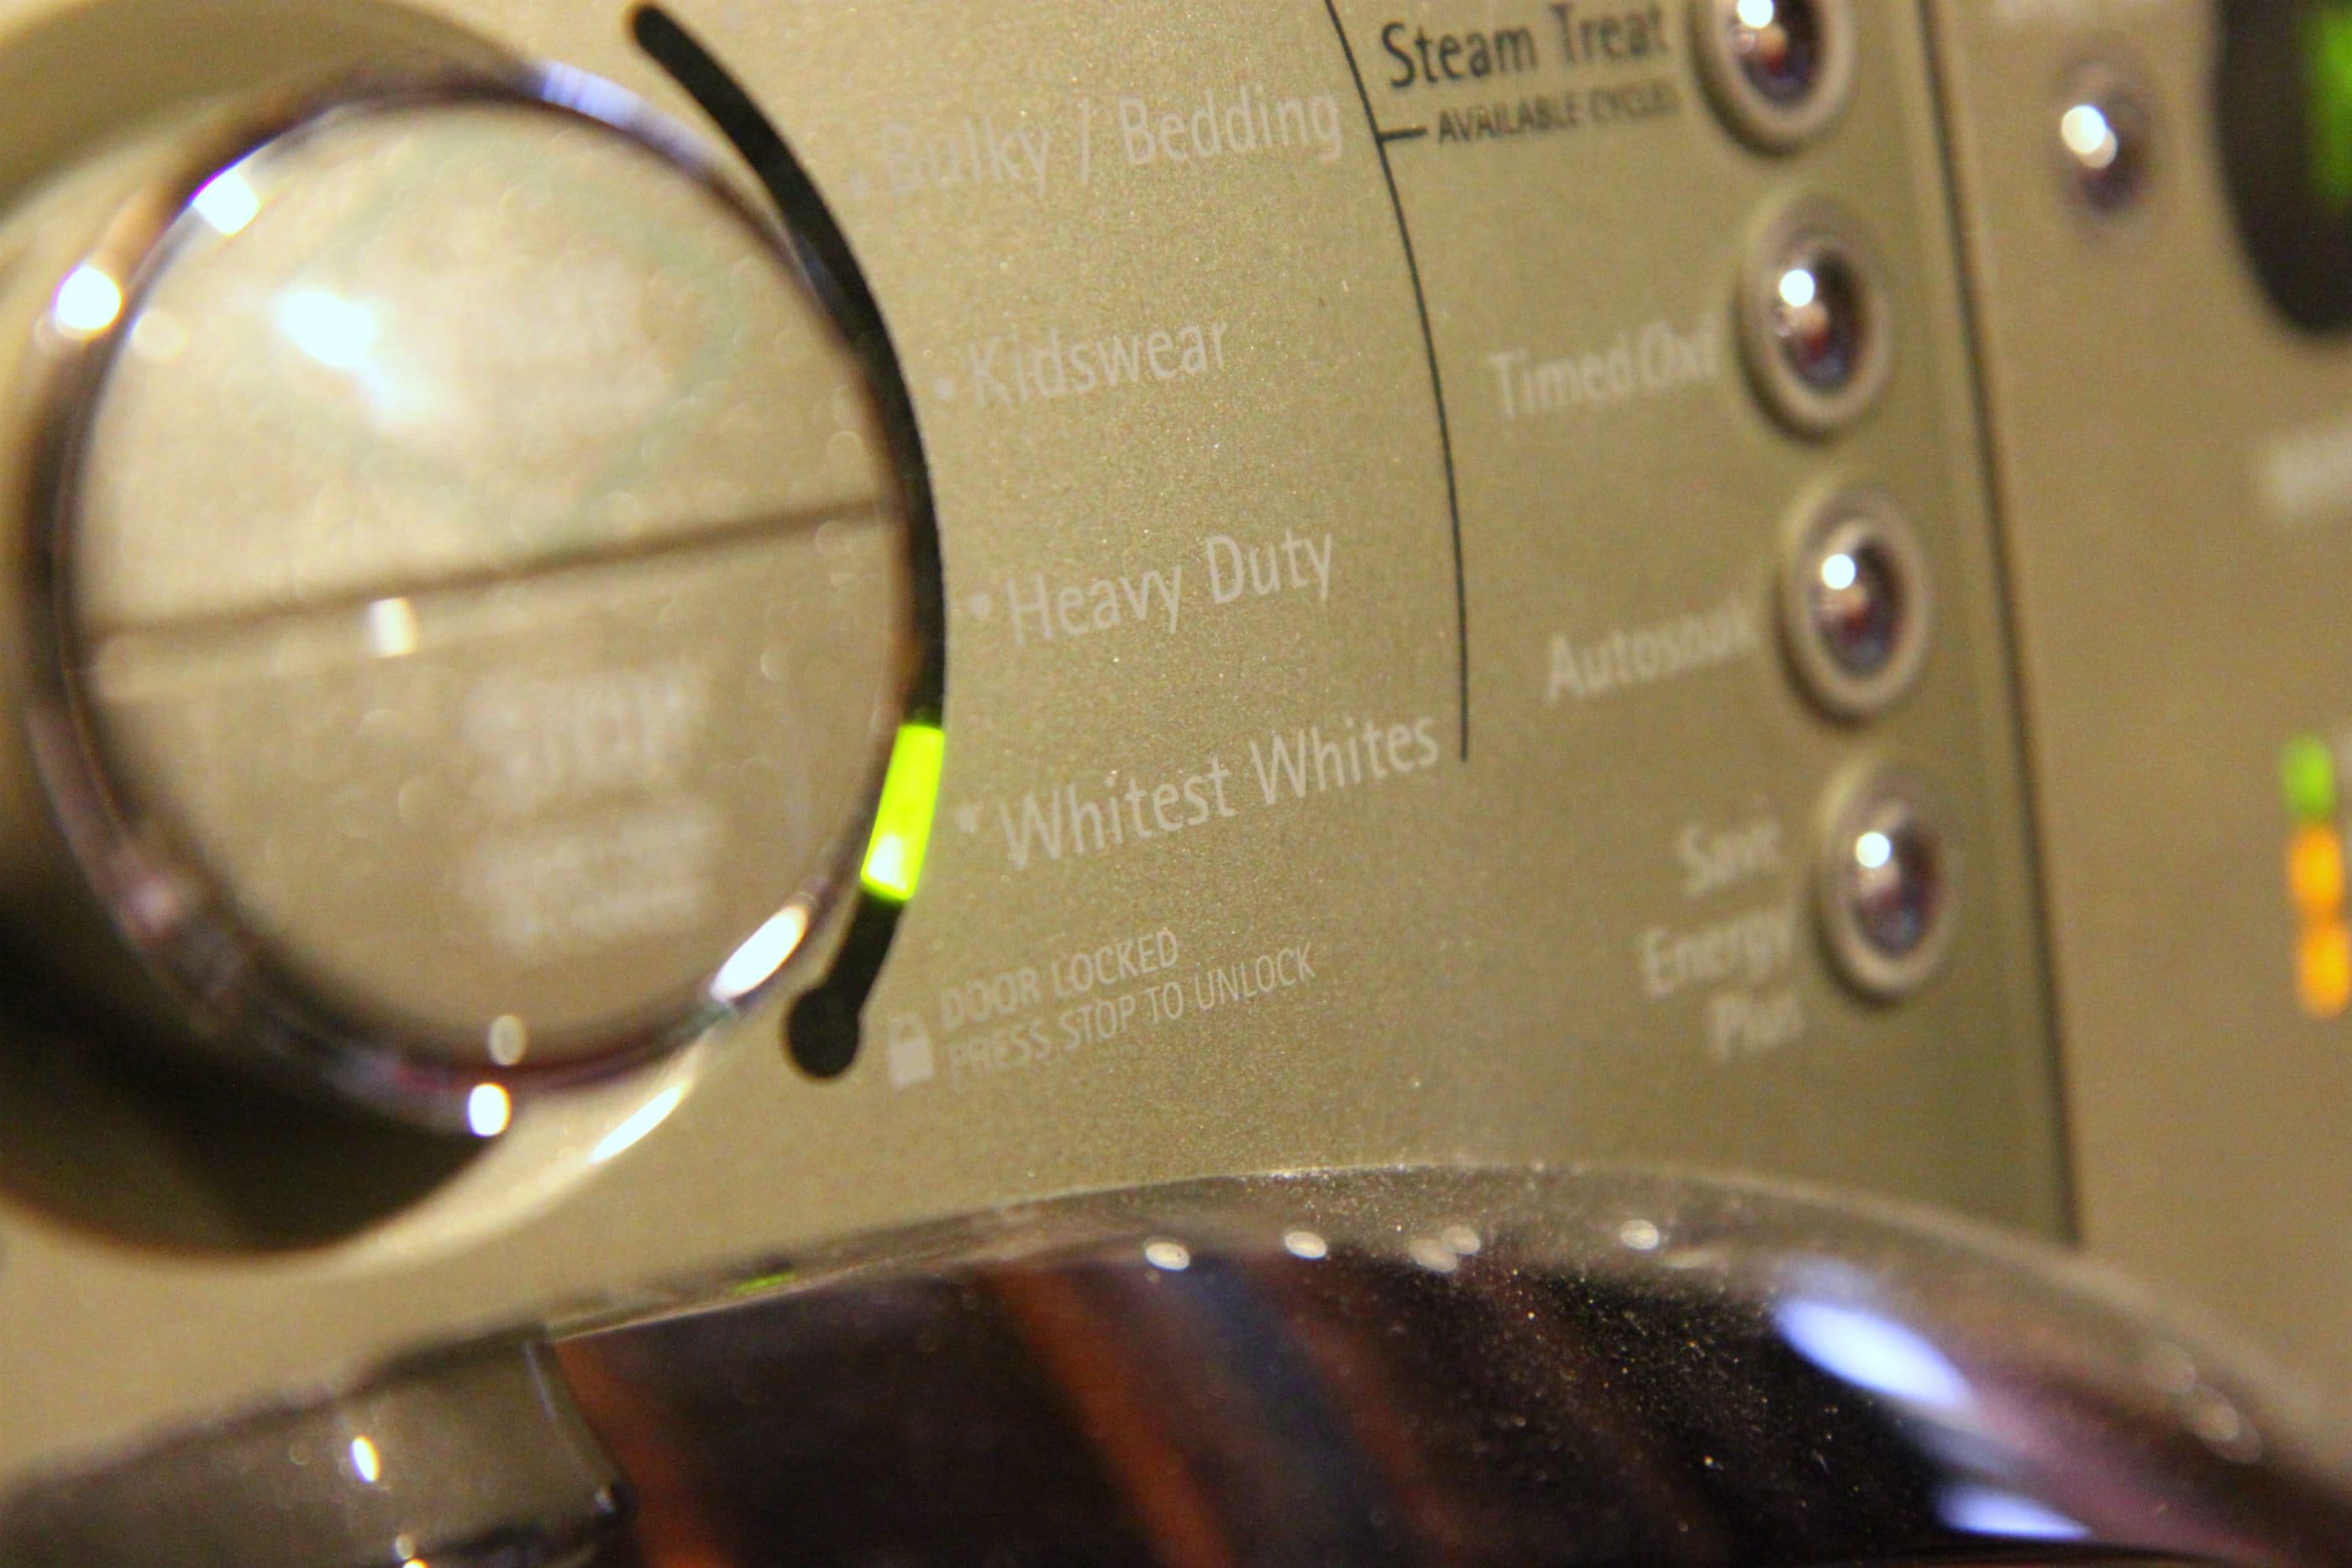
I set my washer to the Whitest White Cycle because it had hot water and was one of the longest running cycles on my washer.

Consult your washer manual to figure out which setting would be best for you. Go ahead and start the cycle with your wet jeans in there.
How to Dye a Faded Pair of Jeans from MomAdvice.com.

Here comes the super scary part.

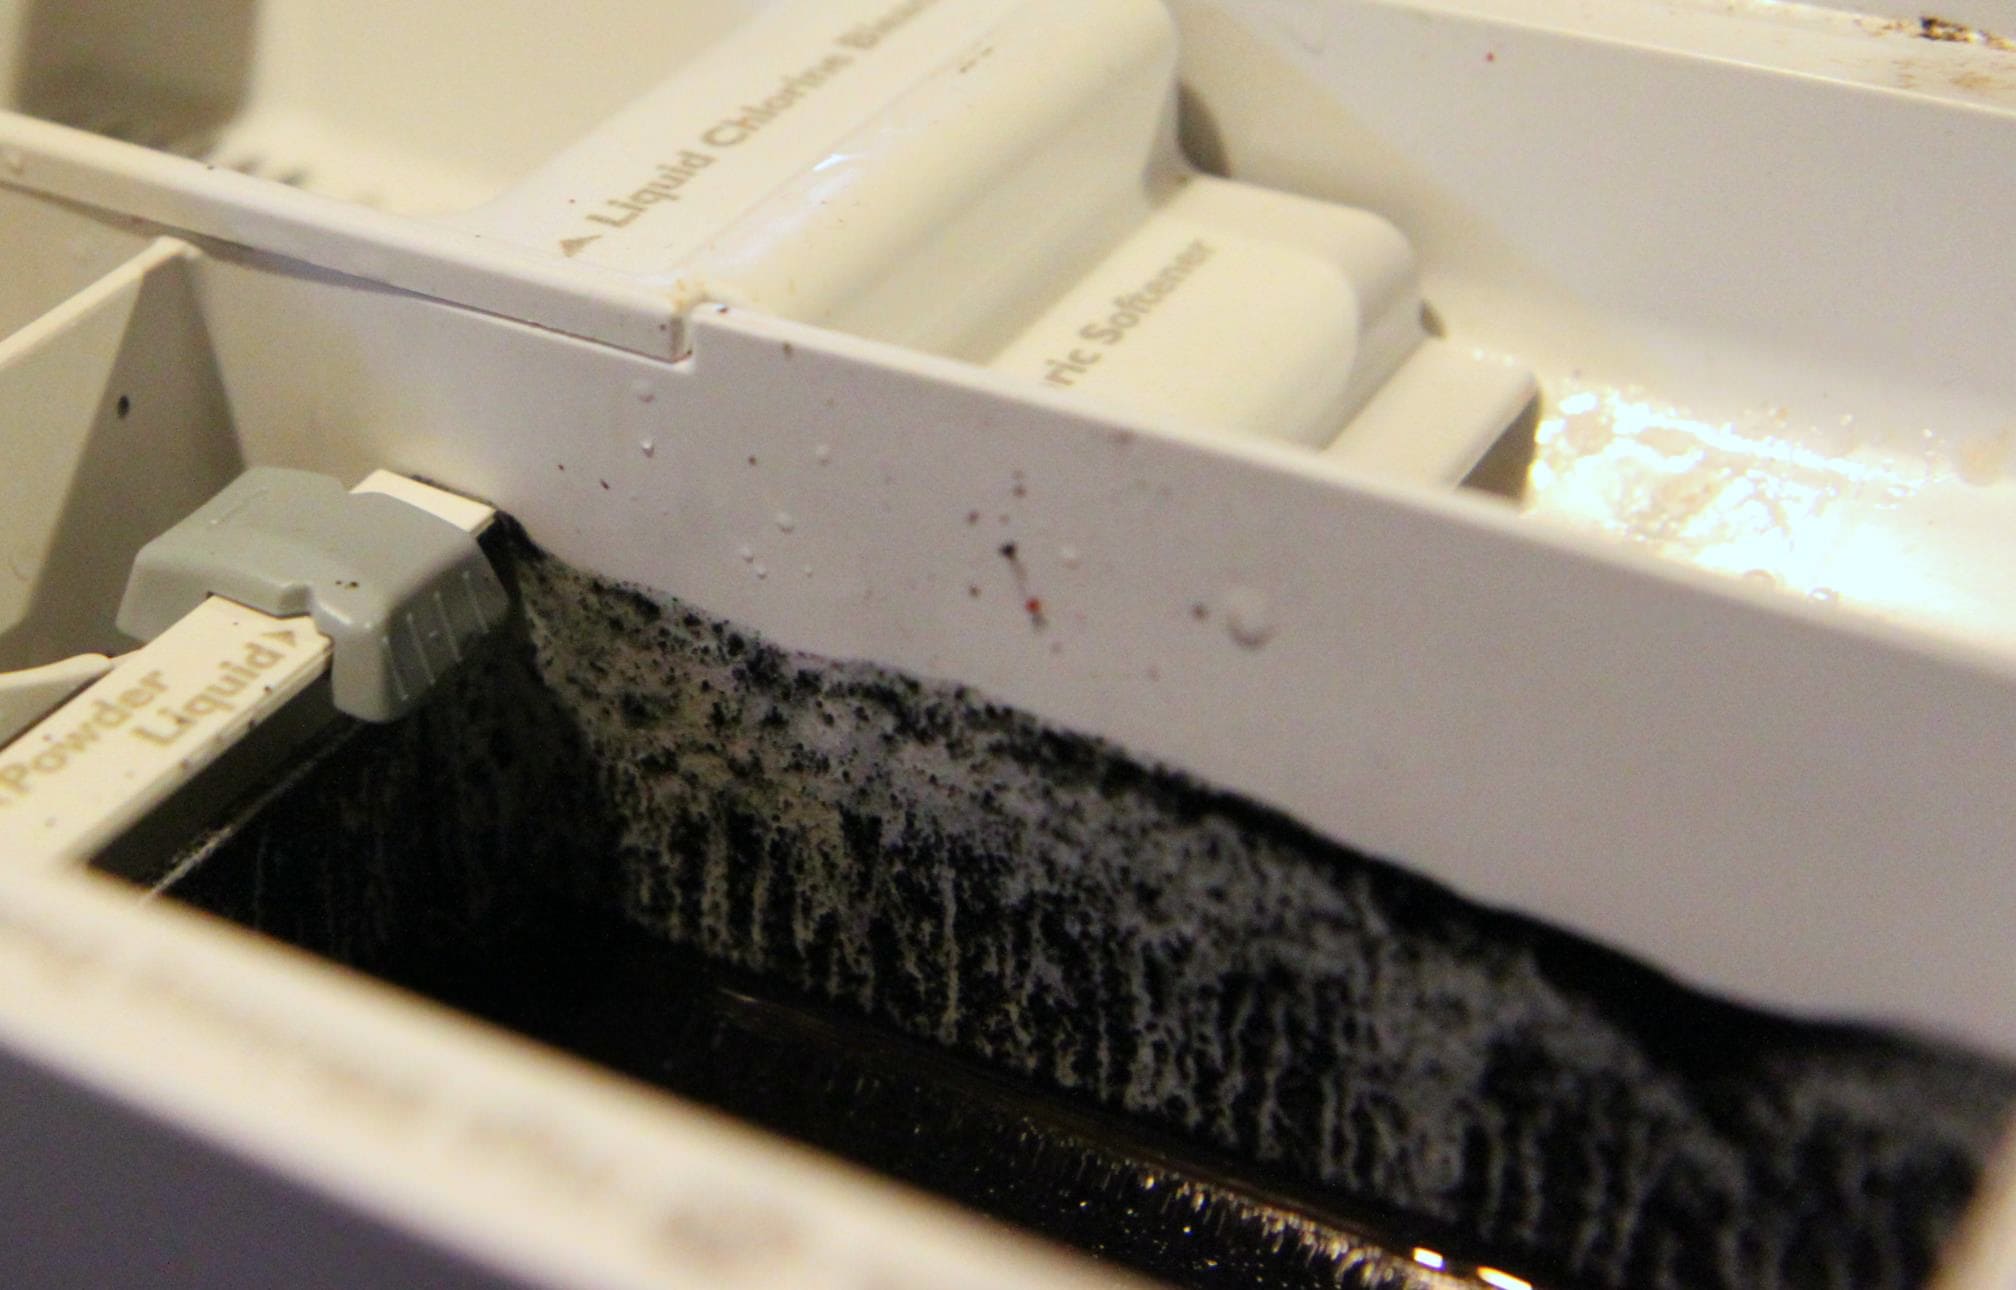
VERY carefully pour your dye solution into the spot where you put your detergent after you start your cycle.

Try to not panic like I did. I promise it will all work out.

Once the dye goes into the cycle (you will be able to tell when you open up your detergent compartment and see the dye filling in the washer) fill it with four cups of the hottest tap water possible and put it in the same exact spot you put your dye in (the powdered detergent holder) to flush the color out.
How to Dye a Faded Pair of Jeans from MomAdvice.com.

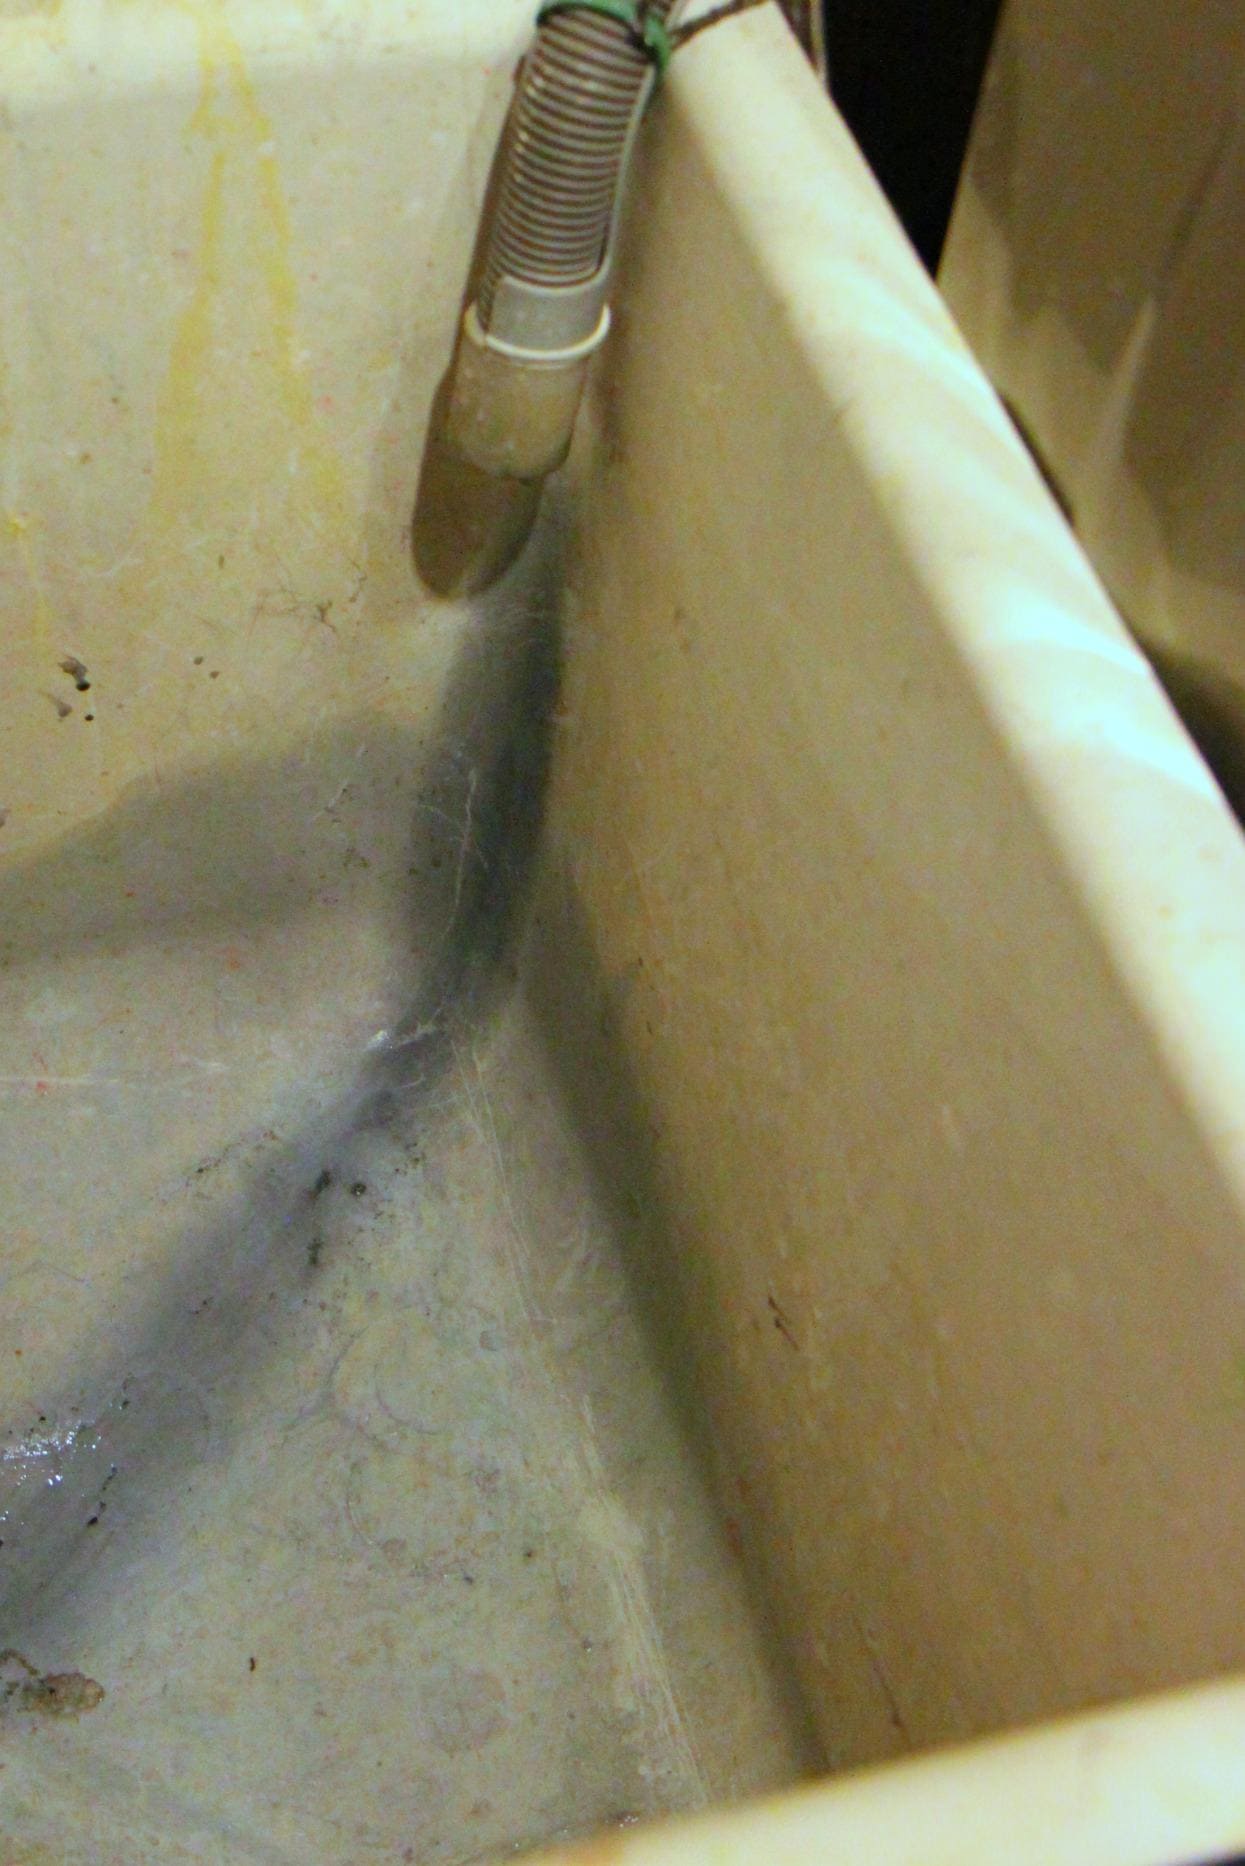
If you value your sink, this might not be a good thing because your sink will turn blue from the dye.

You will have to bleach it if you want to maintain a pristine sink.

Ours is obviously very classy down in our basement with a single light bulb attached to a piece of string.

Try not to be jealous of my laundry room.

Once your jeans are done, run it through another round or two of a warm wash cycle with detergent.

You want to check the water to see when it begins to run clear before you dry them to make sure all the color has absorbed into the jeans.

As a precautionary measure, wash the jeans separate from other items until you are completely sure that the dye will not transfer.

After that, just run them through the dryer on your usual cycle.

Notes on Retaining Color and Resisting the Fade

Other readers have shared that Retayne is a great product to use to help your fabrics retain the rich colors that you have dyed them.

Soaking your already-dyed garment in salt and/or vinegar will not set your dye.

At best, it will just add another washing, which will help to remove some of your excess dye.

The salt in the dye bath, however, helps the dye to approach the fabric instead of staying in the water, and vinegar can helps dye nylon or wool, but not cotton (like these jeans). Neither salt or vinegar is actually a dye fixative for already-dyed fiber.
How to Dye a Faded Pair of Jeans from MomAdvice.com.

After you are done, you will want to clean your washing machine.

Clean your washing machine immediately after dyeing has completed using the hottest water setting.

Since the machine automatically weighs fabric to determine the water level, place 3-4 old towels into the washer along with detergent and 1 to 2 cups chlorine bleach.

Wipe spills with paper towels sprayed with a chlorine bleach solution. Plastic or rubber parts may be tinted but will not stain laundry.

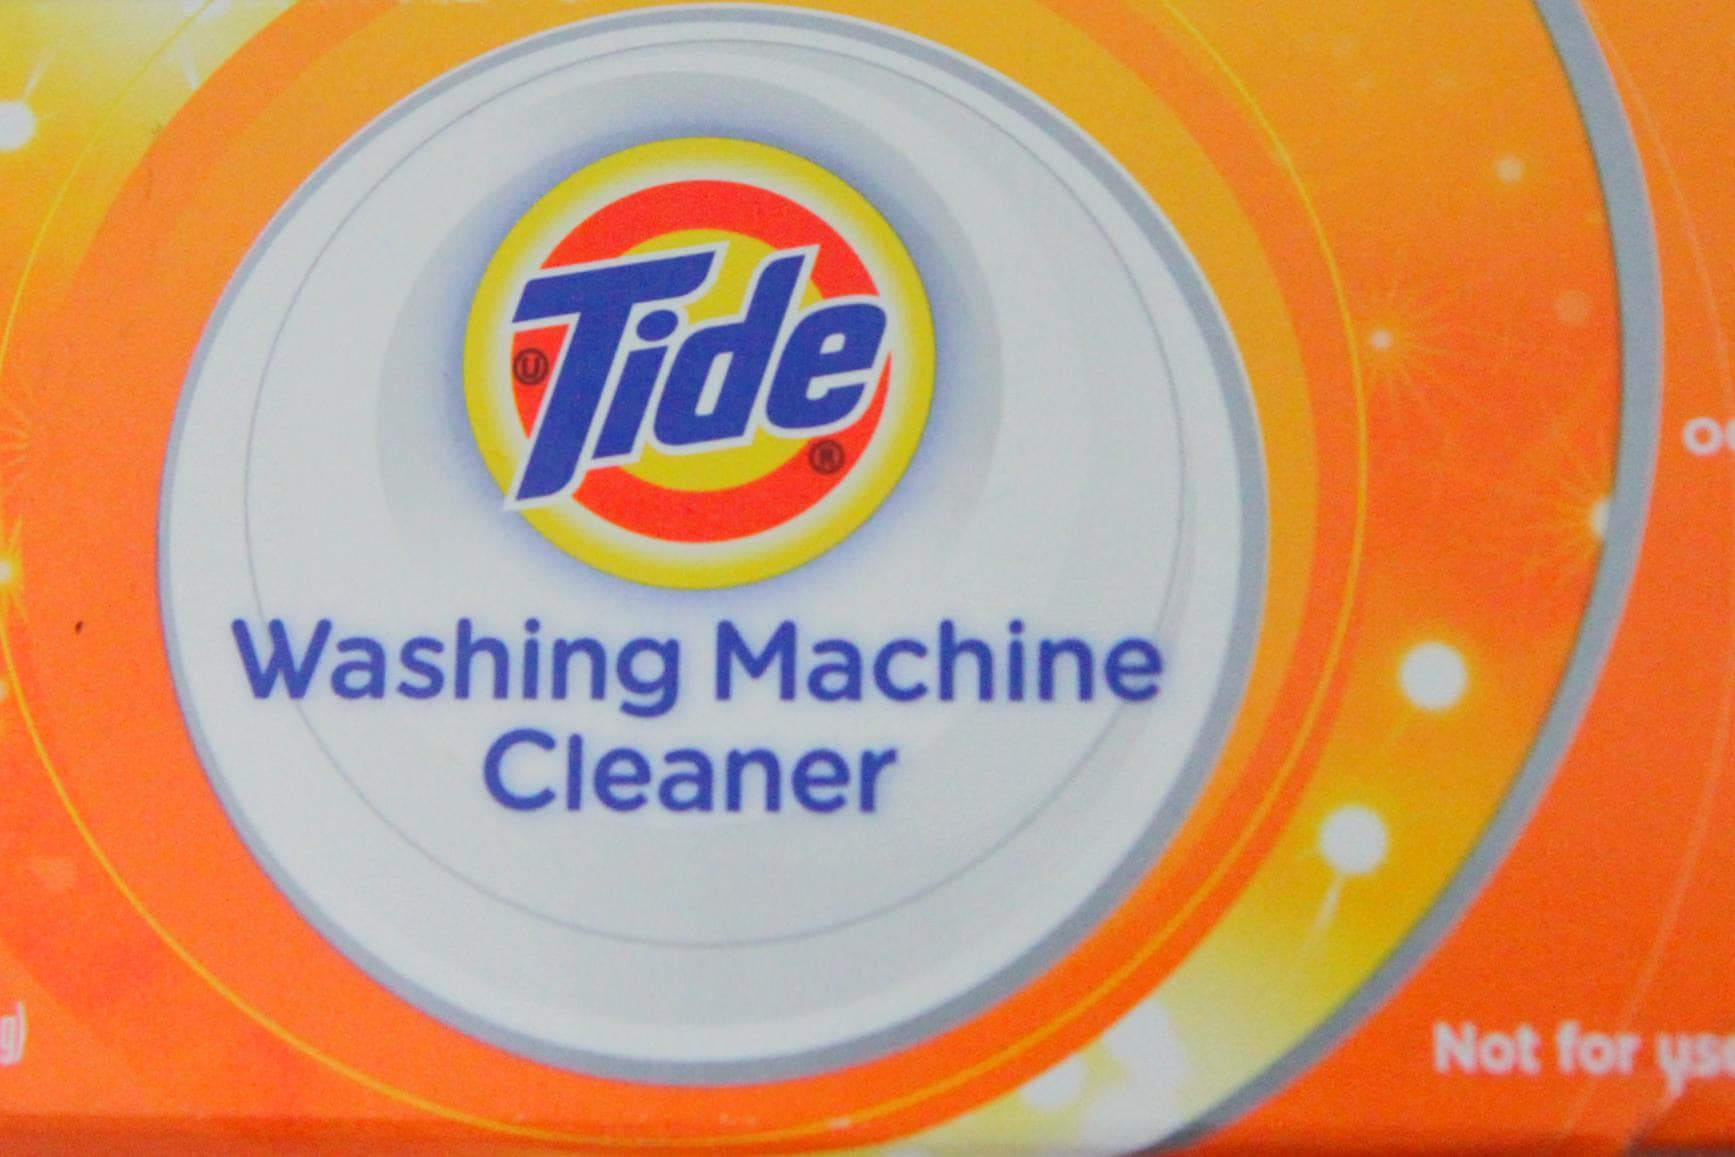
I happened to have a box of this Tide Washing Machine Cleaner and I used that in lieu of messing with the bleach.

That’s it.

A day of effort with less than $5 in supplies for a pair of new-to-you jeans.

Here are my new-to-me jeans…
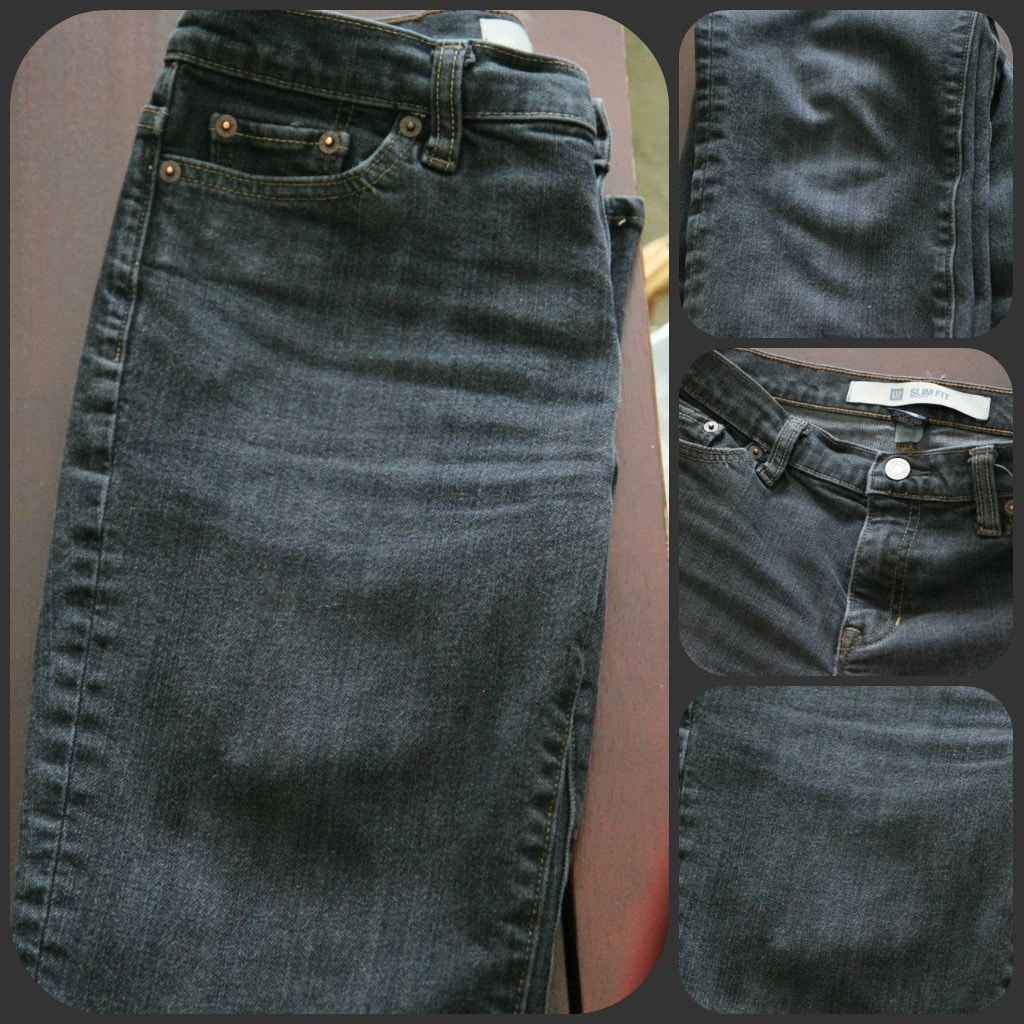
How to Dye a Faded Pair of Jeans from MomAdvice.com.

My faded barely gray jeans are now a much richer and more solid color.

I still can’t believe that this is the same pair of jeans.

Just to be up front, I used the same exact spot in my house, same time of day, and same settings on my camera so this is no trick in photography.

It really has restored the color in my jeans.
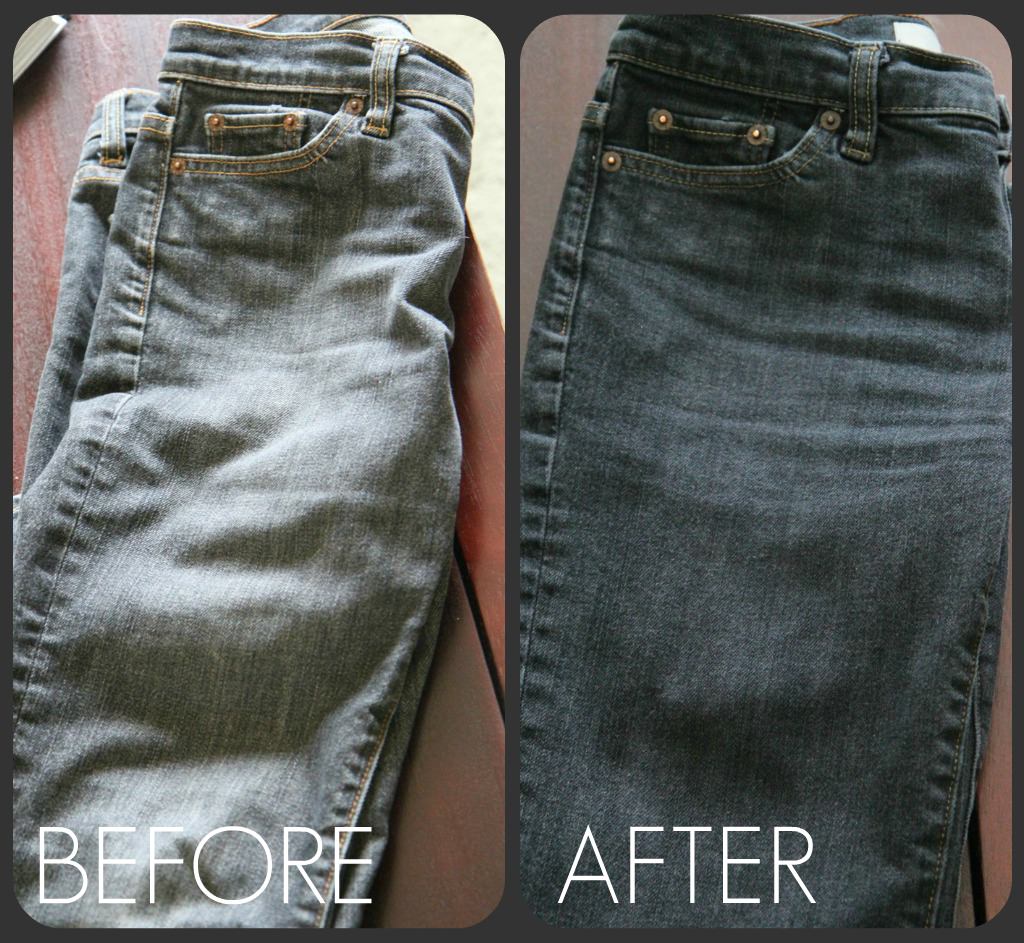
How To Dye a Faded Pair of Jeans from MomAdvice.com.

Here is a side by side of the jeans.

When they are lined up next to each other, you can see just how dramatically different this pair of jeans is.

I am amazed at the results and feel like I got a brand new pair of jeans for less than $5 in supplies.
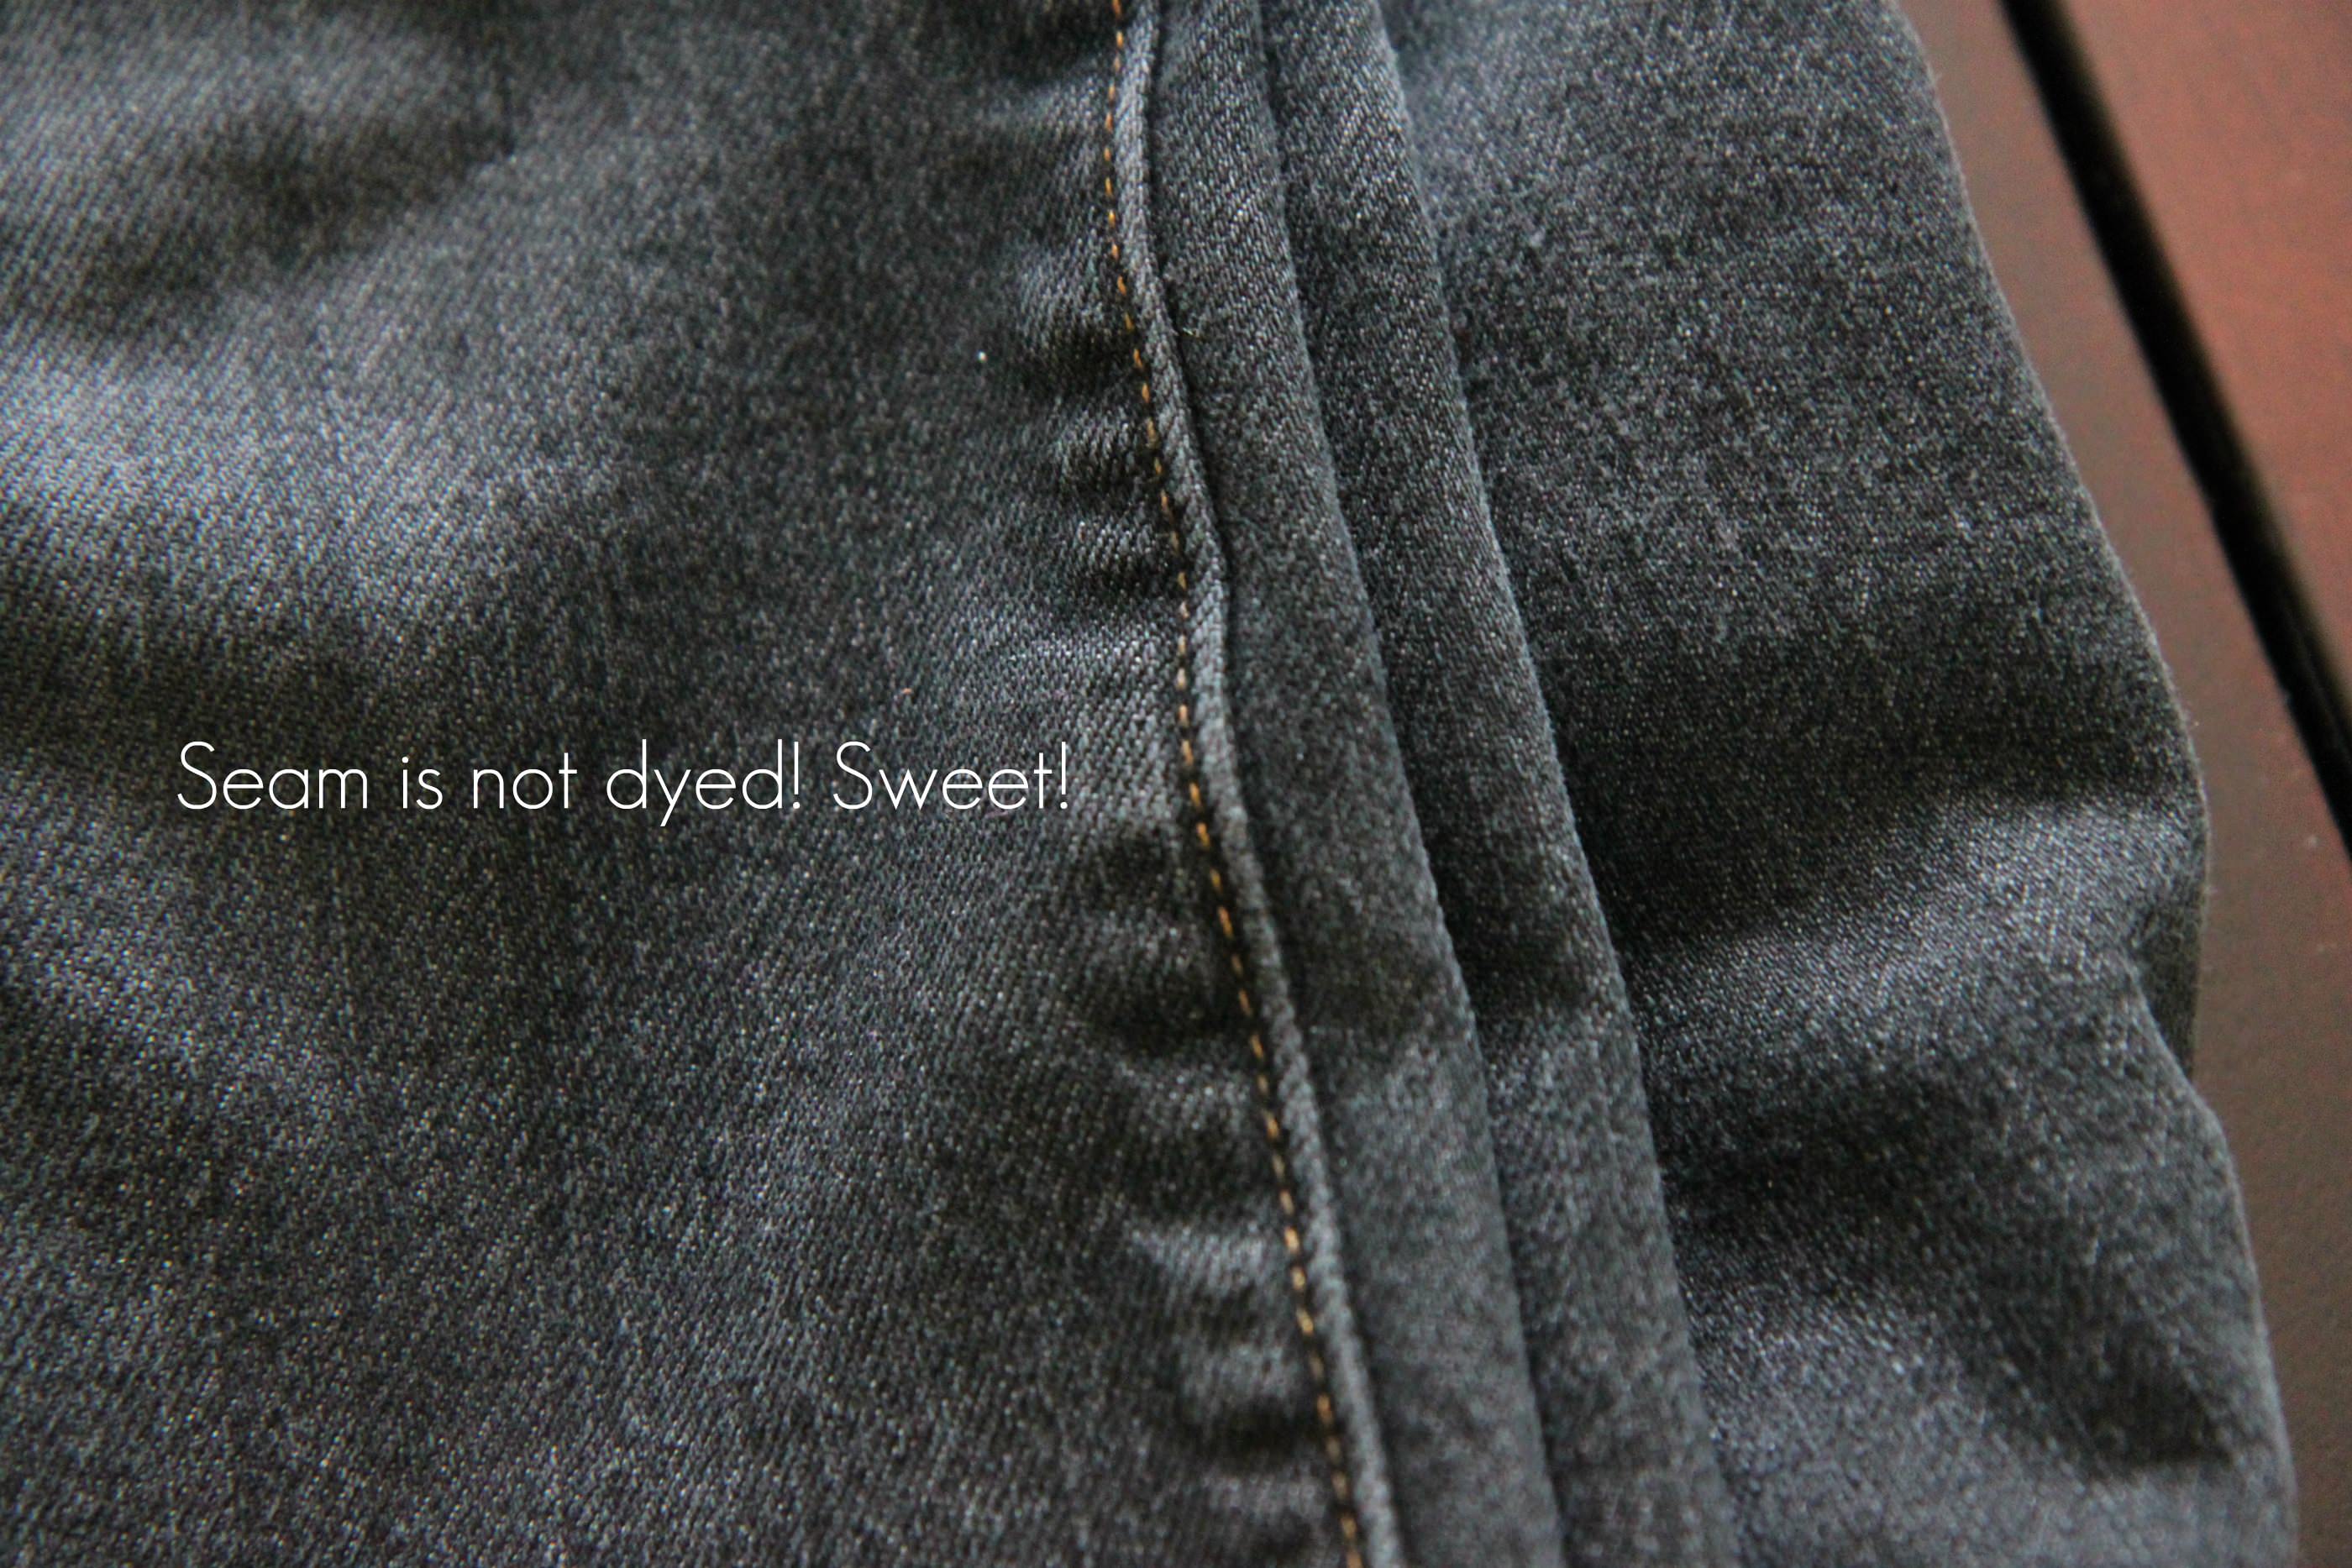
How To Dye a Faded Pair of Jeans from MomAdvice.com.

The one thing I was worried about was that the seam would be dyed along with the rest of the fabric, but the seam actually didn’t absorb the dye.

This was a lovely, lovely surprise!

If you are in love with a pair of jeans at the thrift store or simply want to restore some color in your old jeans, I encourage you to pick up some Rit fabric dye and give this a try!

The results are dramatic, while still being easy on your wallet!

How To Dye a Faded Pair of Jeans from MomAdvice.com.

Other Methods of Dyeing With Rit Dye

How to Dye a Faded Pair of Jeans from MomAdvice.com

For Top-Loading Machines

Fill machine with enough hot water for fabric to move freely. Refer to the chart below for the right amount of dye to add. Pre-dissolve powder in 2 cups of hot water. Add pre-dissolved powder or liquid to hot dye bath.

Wet fabric in hot water. Uncrumple and add to dye bath.

Set machine for extended wash cycle. Fabric should be in dye bath for at least 30 minutes before rinse begins. (You can reset your washing machine before the rinse cycle begins for extended wash cycle.)

Rinse in cold water until water runs clear. Wash deep shades in warm water with mild detergent and rinse thoroughly in cool water.

Dry item in dryer or hang to dry.

Clean washing machine using highest water level with hot water, detergent and 1 cup chlorine bleach using complete wash cycle. Clean lint traps. Plastic or rubber machine parts may be tinted but will not stain laundry.

For Front-Loading Machines

The settings and options of various front-load washing machines vary among manufacturers.

Even though there are slight differences among differing manufacturer’s wash settings, they are common in that they all introduce water to the tumbler once the garment is placed inside. They allow a time period to introduce detergent (or dye in this case), and they all finish with a spin cycle.

It is important to use the washer’s hottest water setting. Additionally, a wash cycle of at least 30 minutes is recommended to obtain a satisfactory dyeing.

Because front-load washers have built-in heaters to maintain the washer’s temperature and the water to fabric ratio is relatively high as compared to top-load machines, deep rich colors can be achieved using Rit dyes.
How to Dye a Faded Pair of Jeans from MomAdvice.com

For Stovetop

Fill pot with enough hot water for fabric to move freely.

Remember: Use 1 package of Rit powder or 1/2 bottle of Rit liquid dye and 3 gallons of hot water for each pound of fabric.

Pre-dissolve powder in 2 cups of hot water.

Add pre-dissolved powder or liquid to dye bath. Stir to mix.

Wet fabric in hot water. Uncrumple and add to dye bath.

Bring dye bath to simmer. Stir constantly (back and forth, up and down) at least 30 minutes.

Rinse in warm water, then gradually cooler water until water runs clear. Hand wash item in warm water with mild detergent and rinse thoroughly in cool water.

Dry item in dryer or squeeze out excess water and allow them to air dry.

Clean containers immediately with chlorine bleach. Scrub with chlorine-based powder, liquid, or gel cleanser, if necessary.

Love this thrifty tutorial? Here are a few others I think you will love just as much!
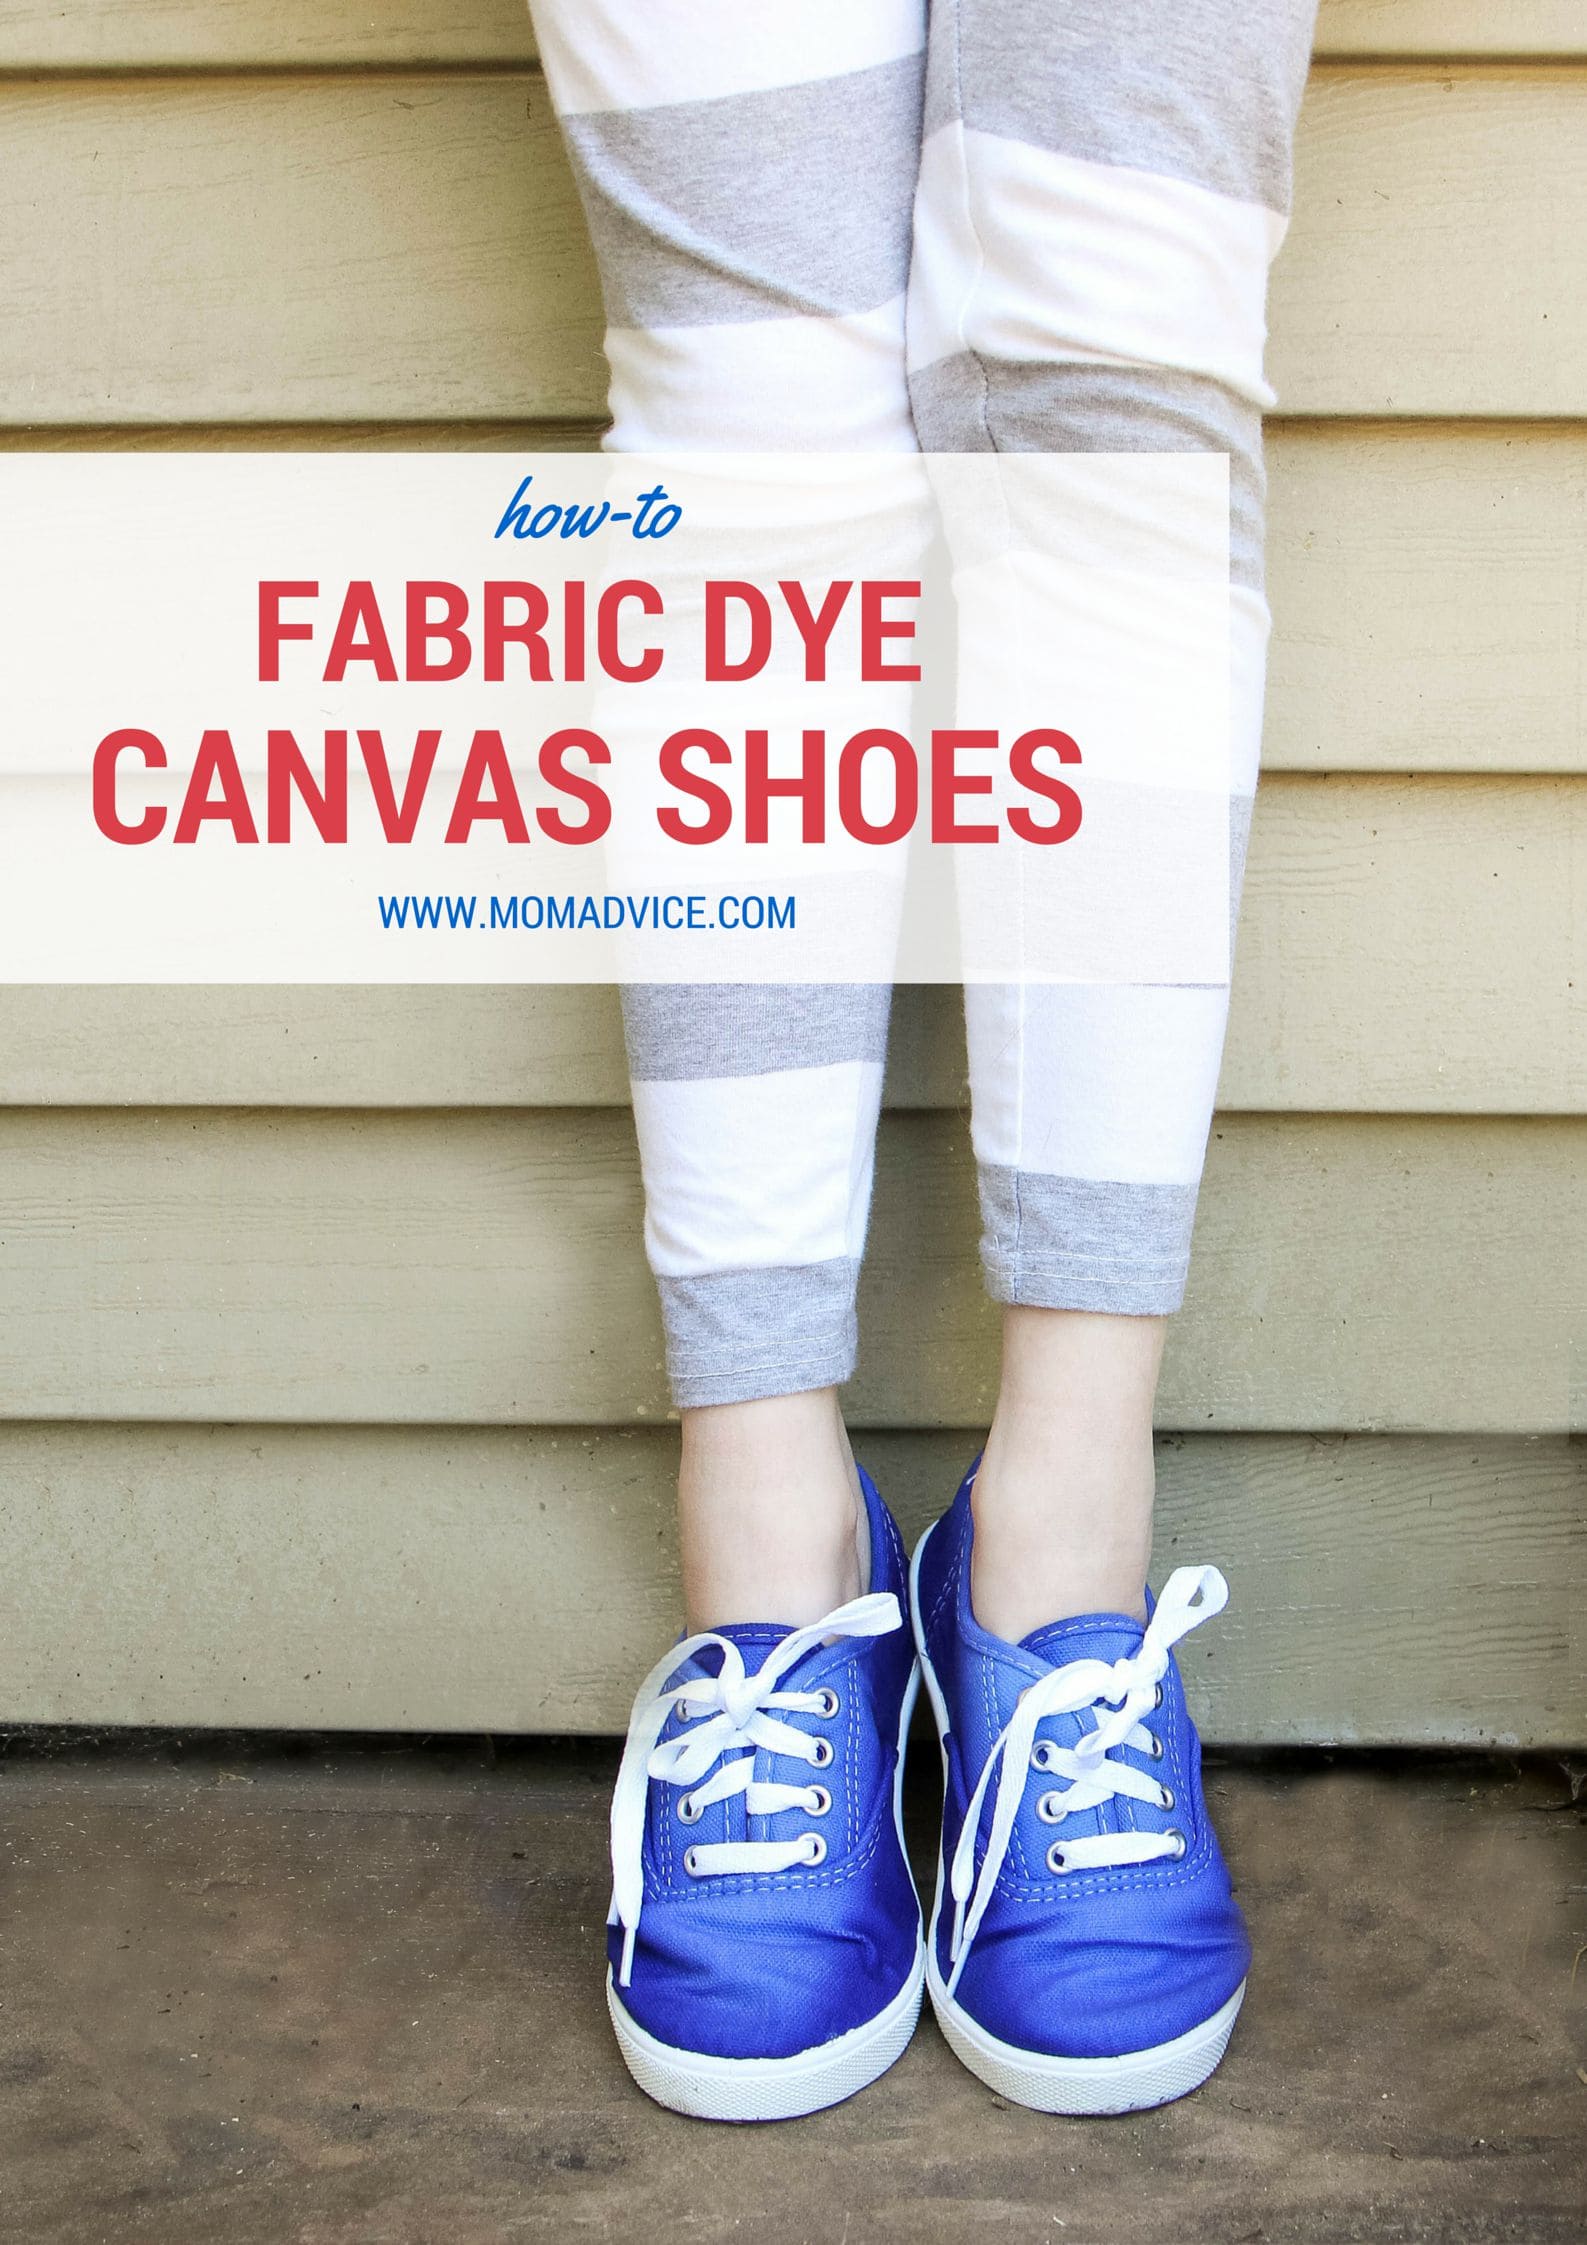
How to dye canvas shoes how to dye canvas shoes

how to make a blanket scarf how to make a blanket scarf

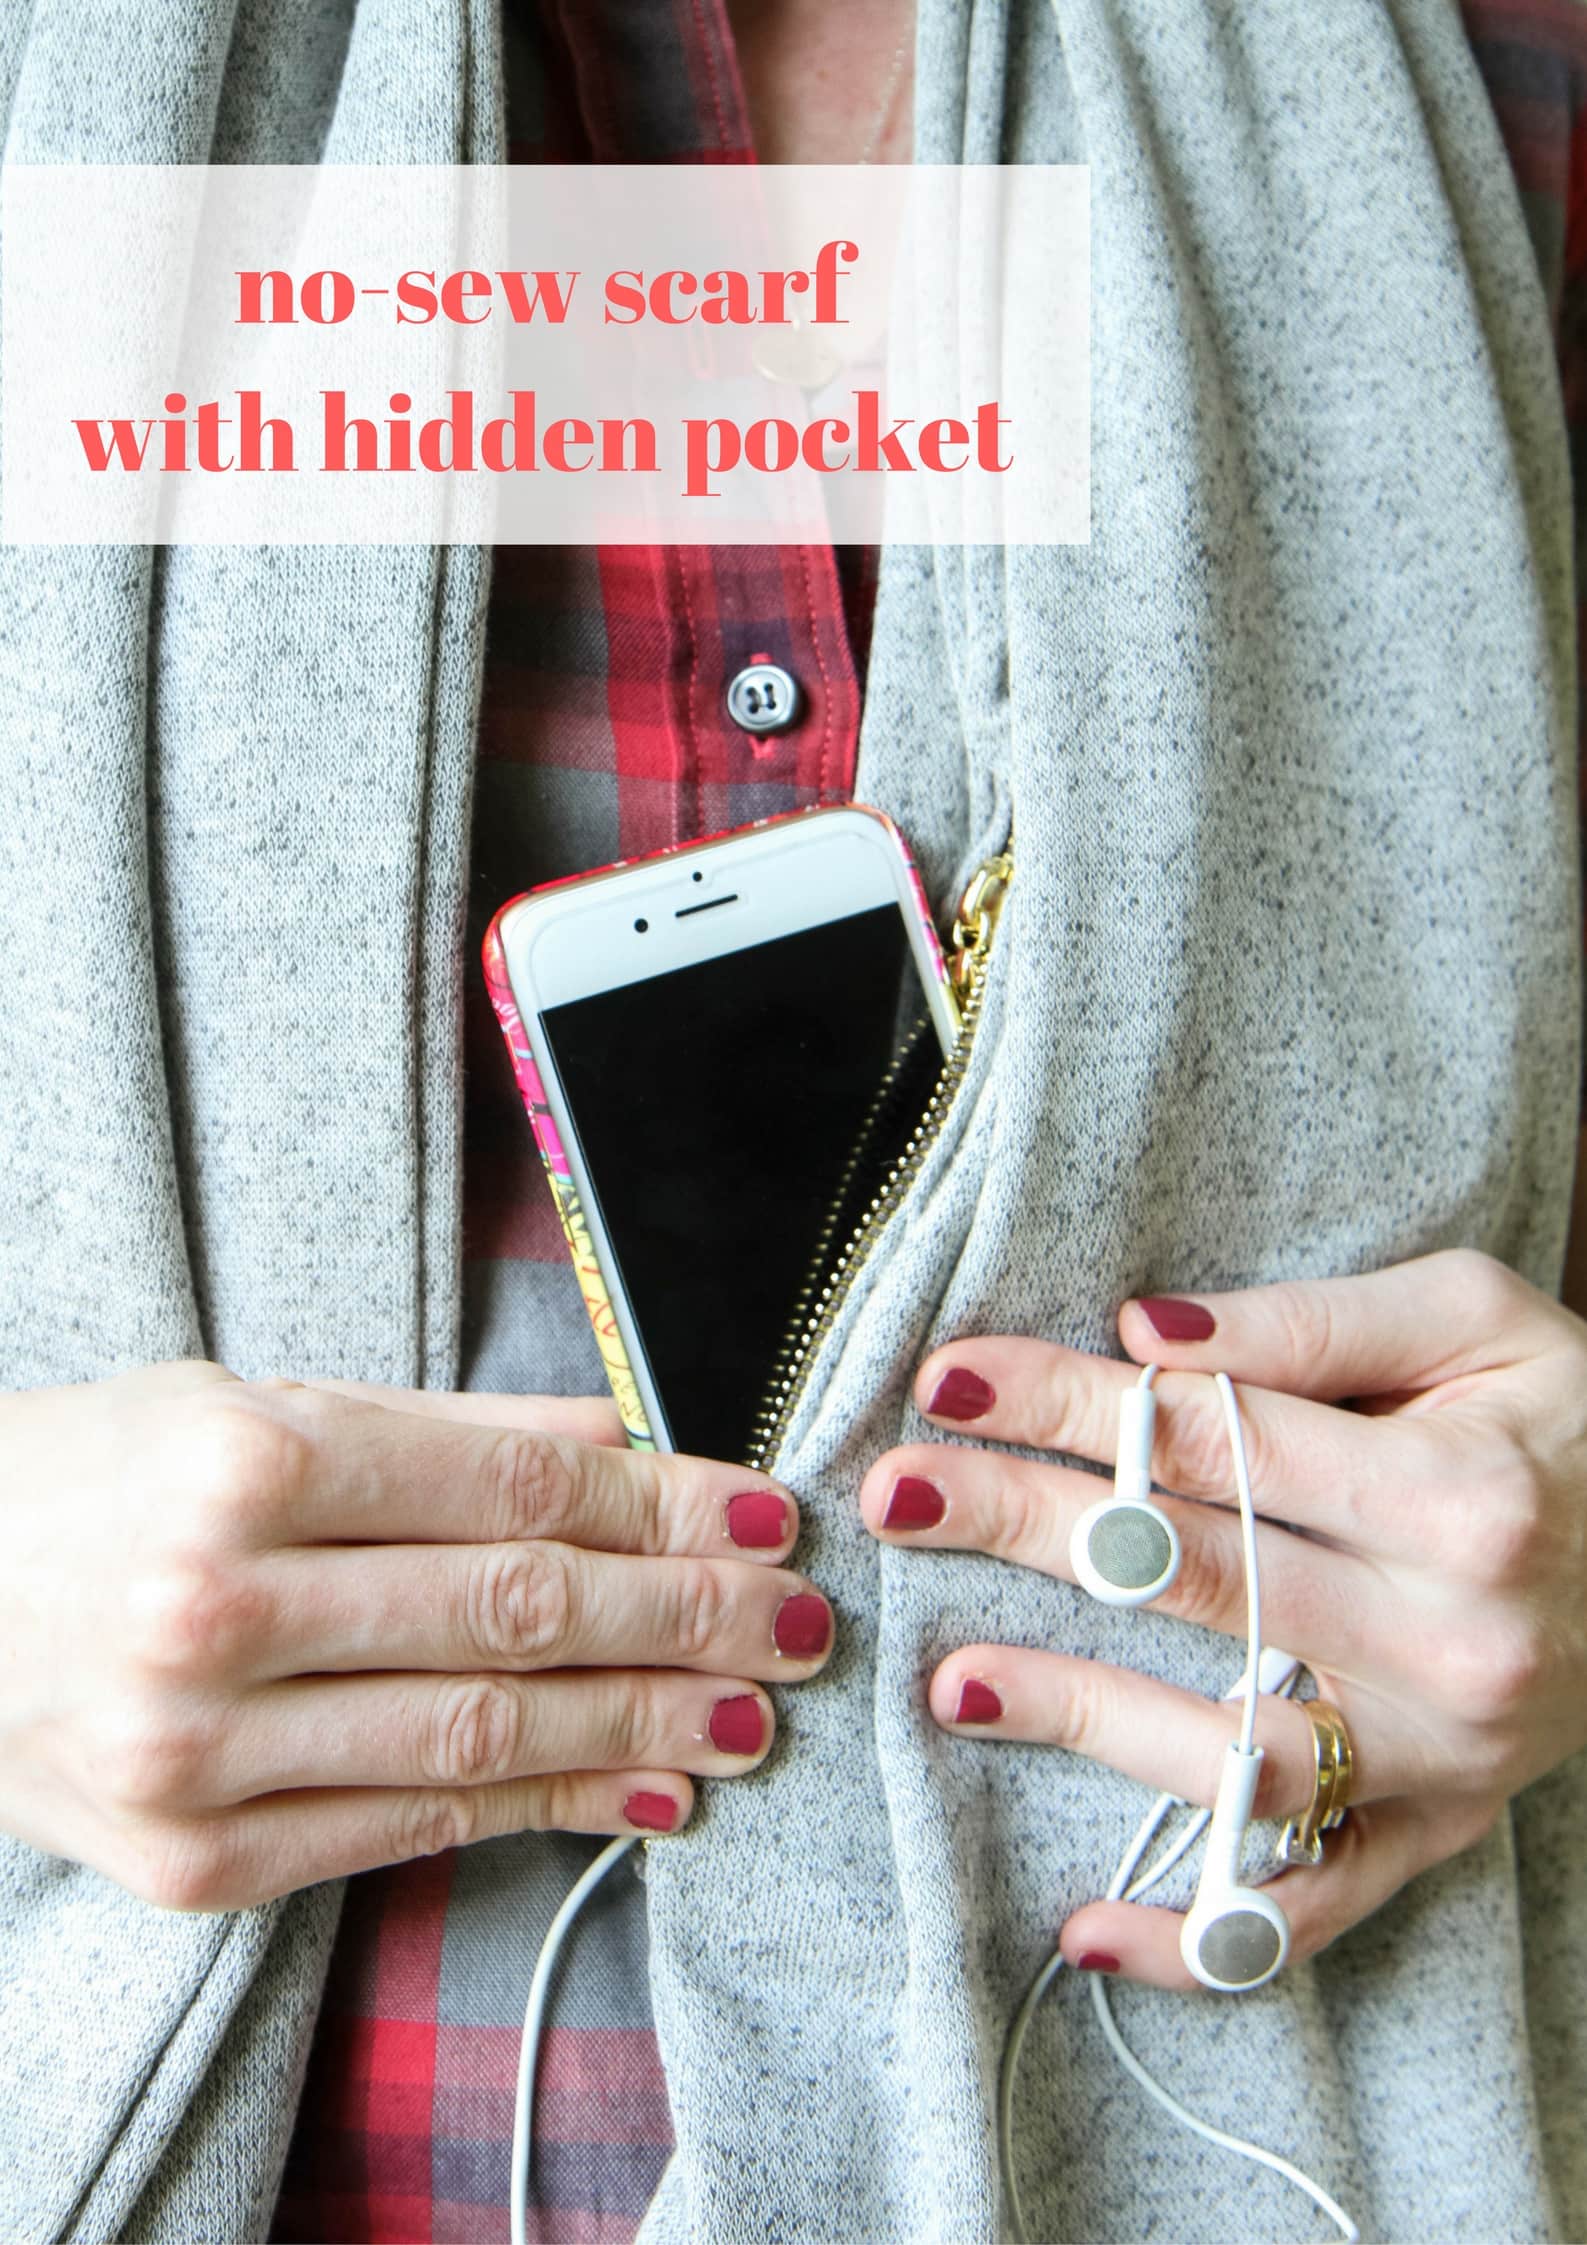
No-Sew Scarf With Hidden Pocket scarf with no-sew hidden pocket

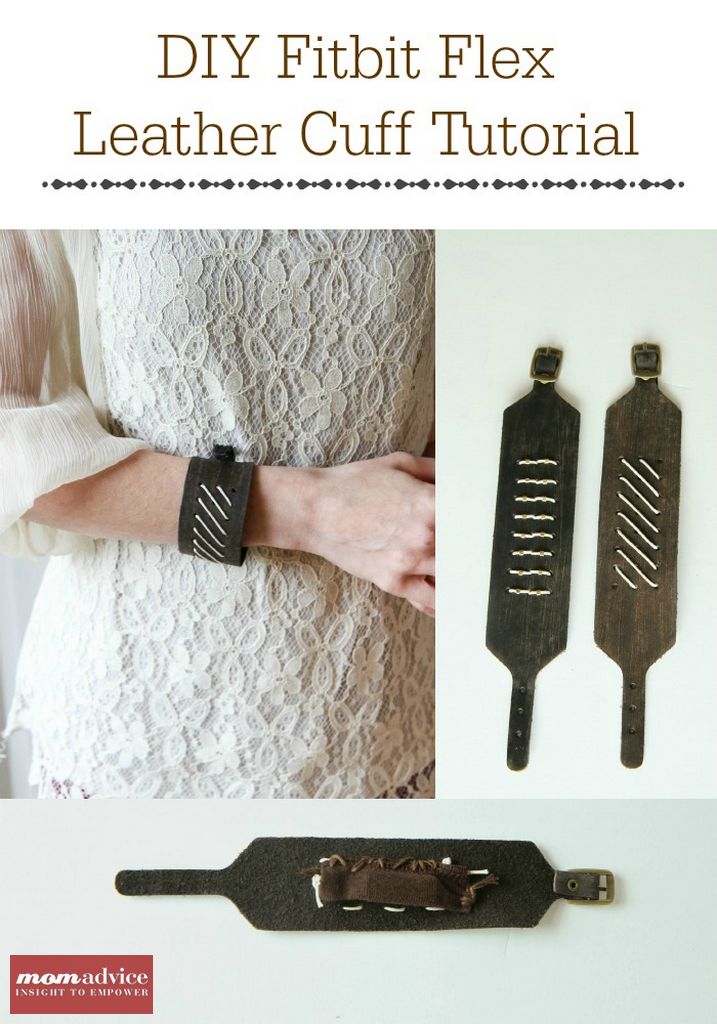
diy fitbit bracelet diy fitbit bracelet

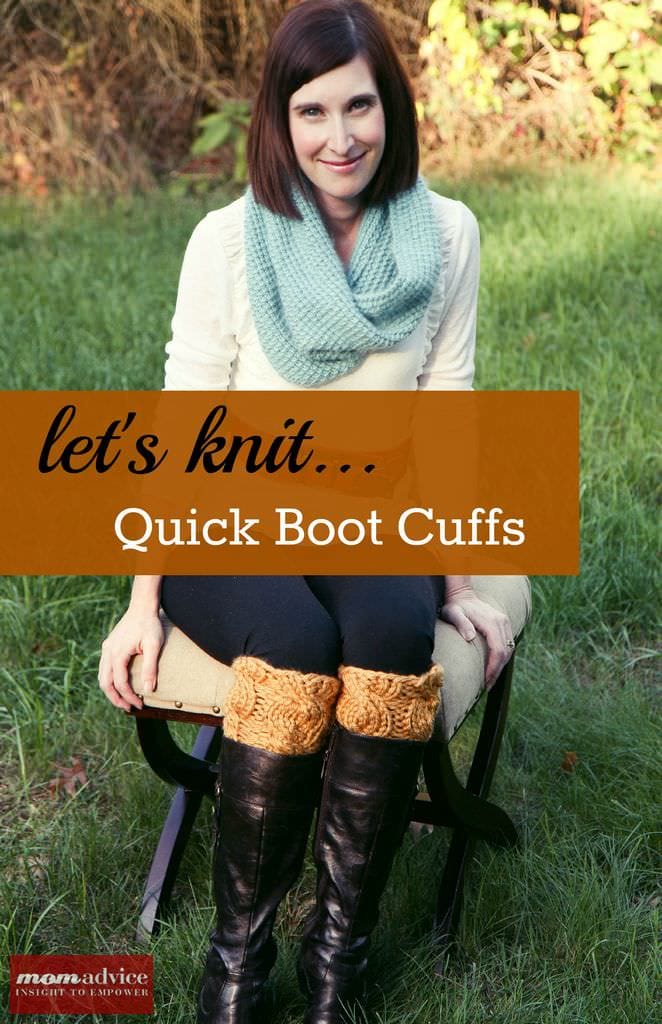
knitted boot cuffs diy knitted boot cuffs

cabled earwarmer pattern cabled ear warmers

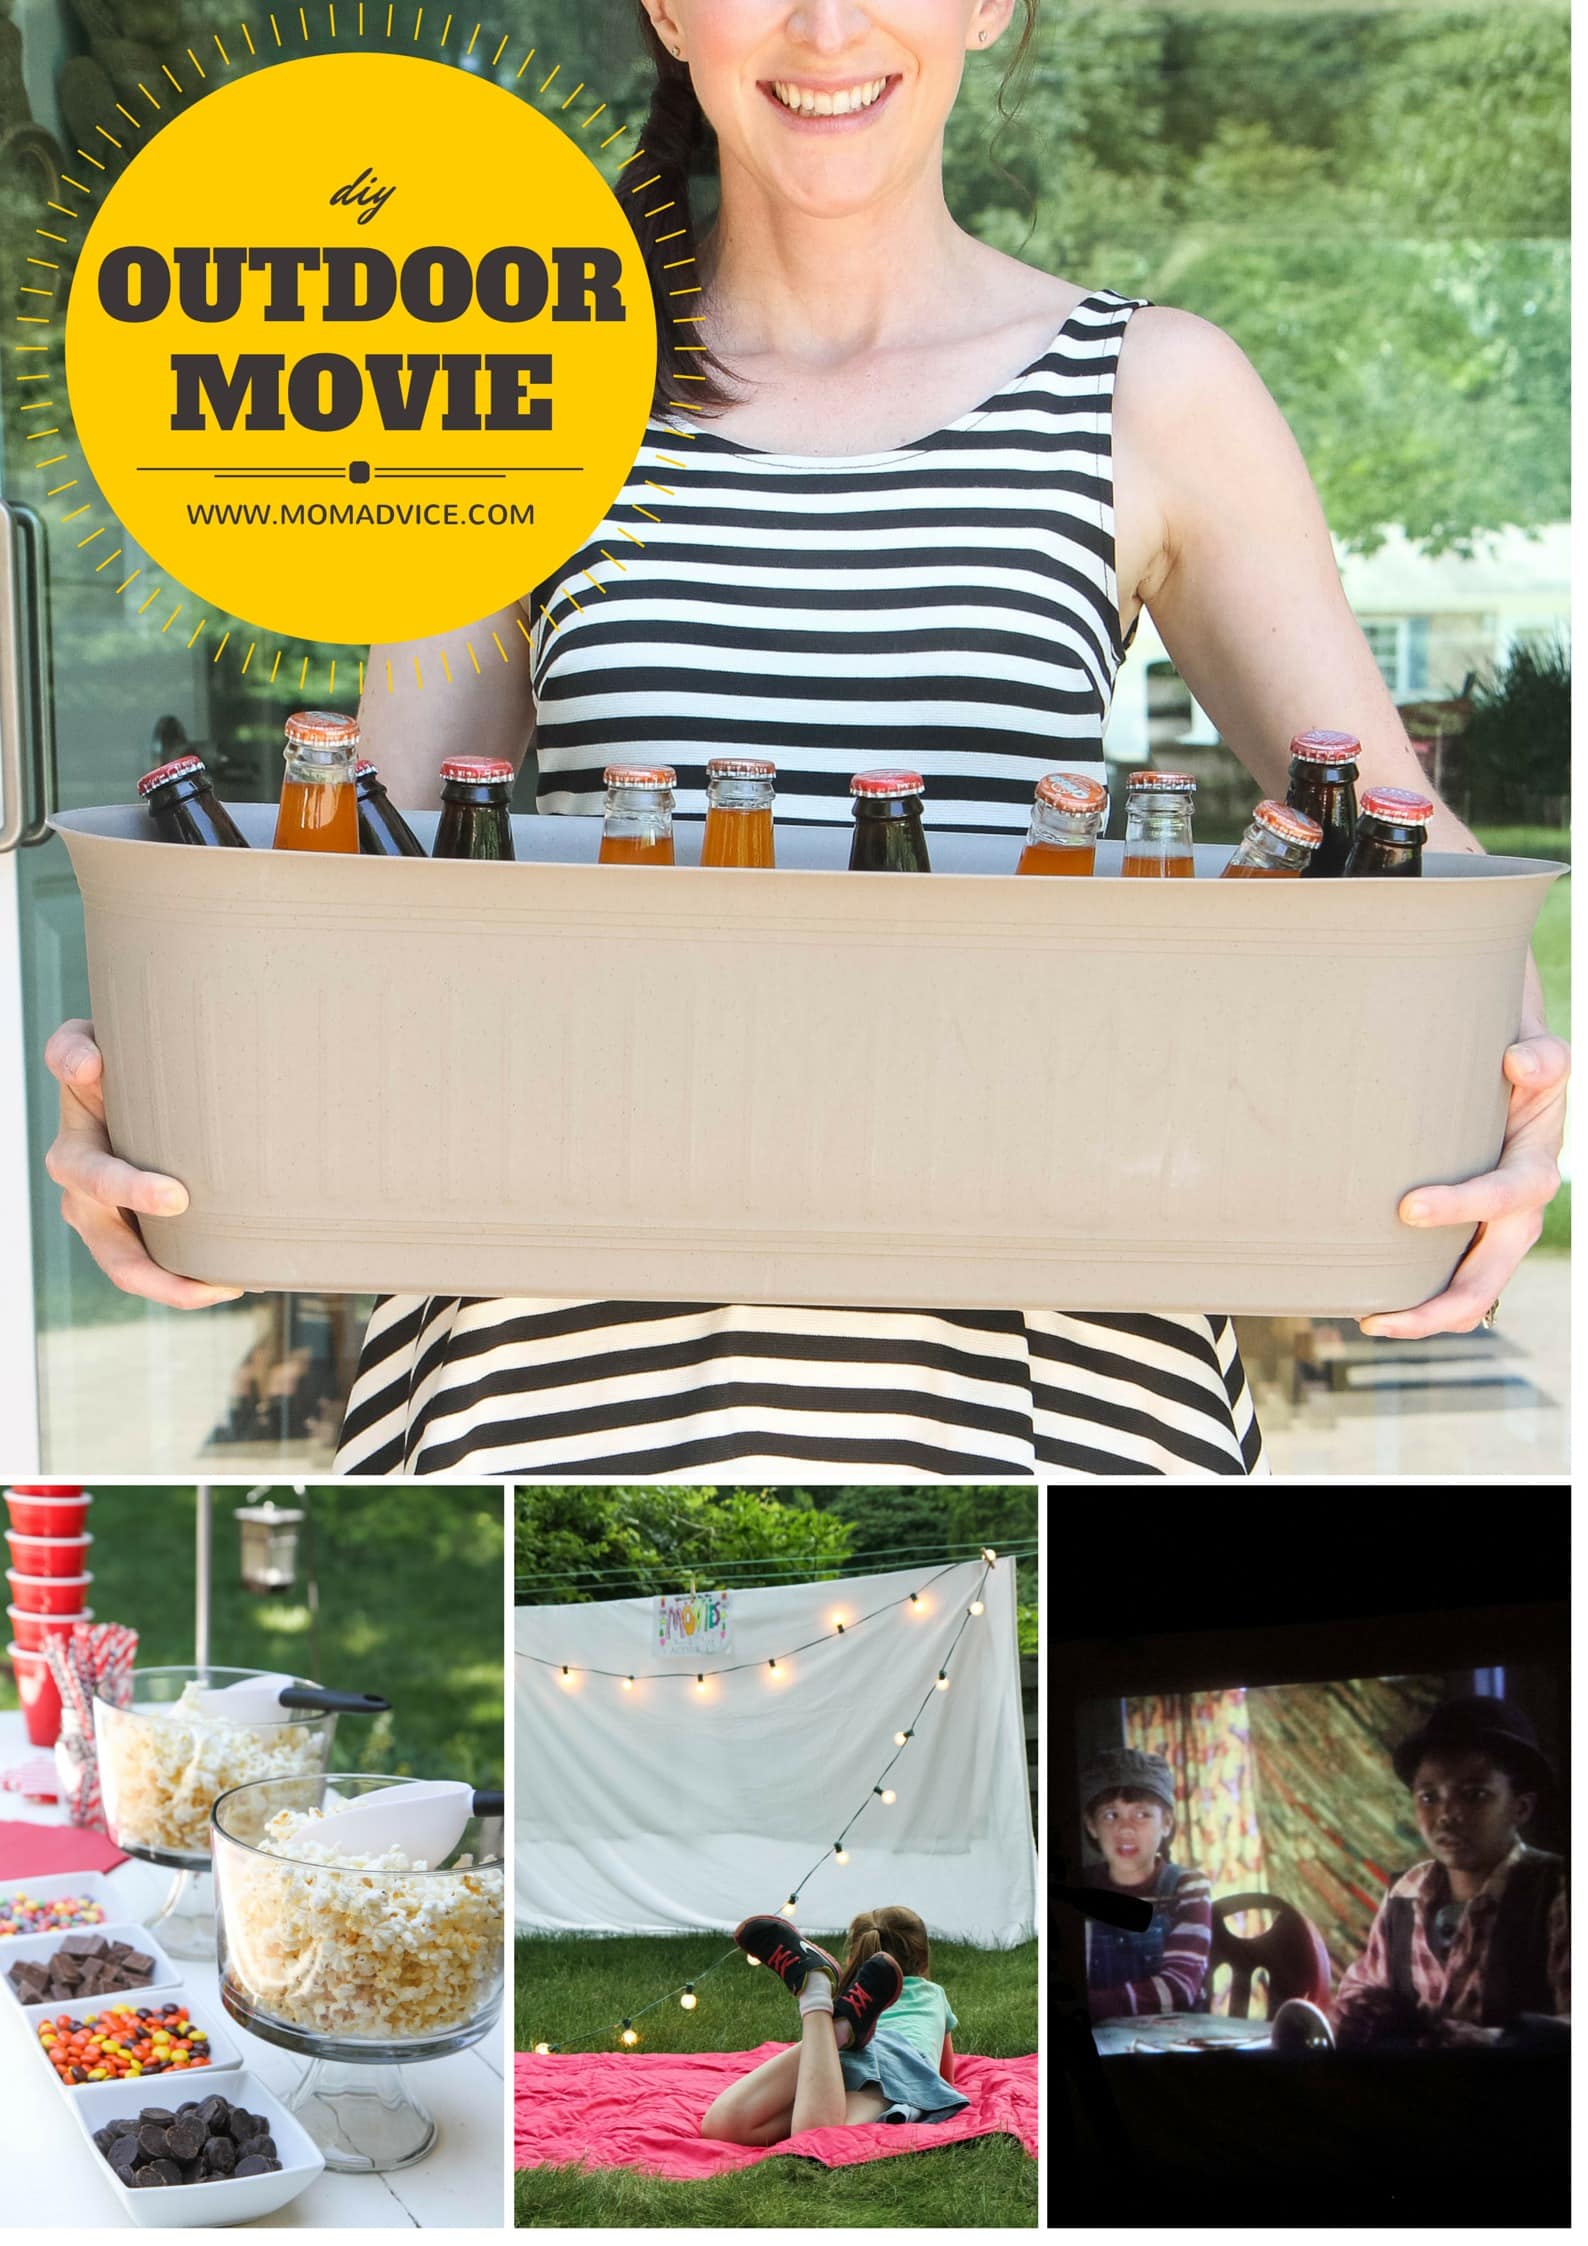
DIY Outdoor Movie Night diy outdoor movie night


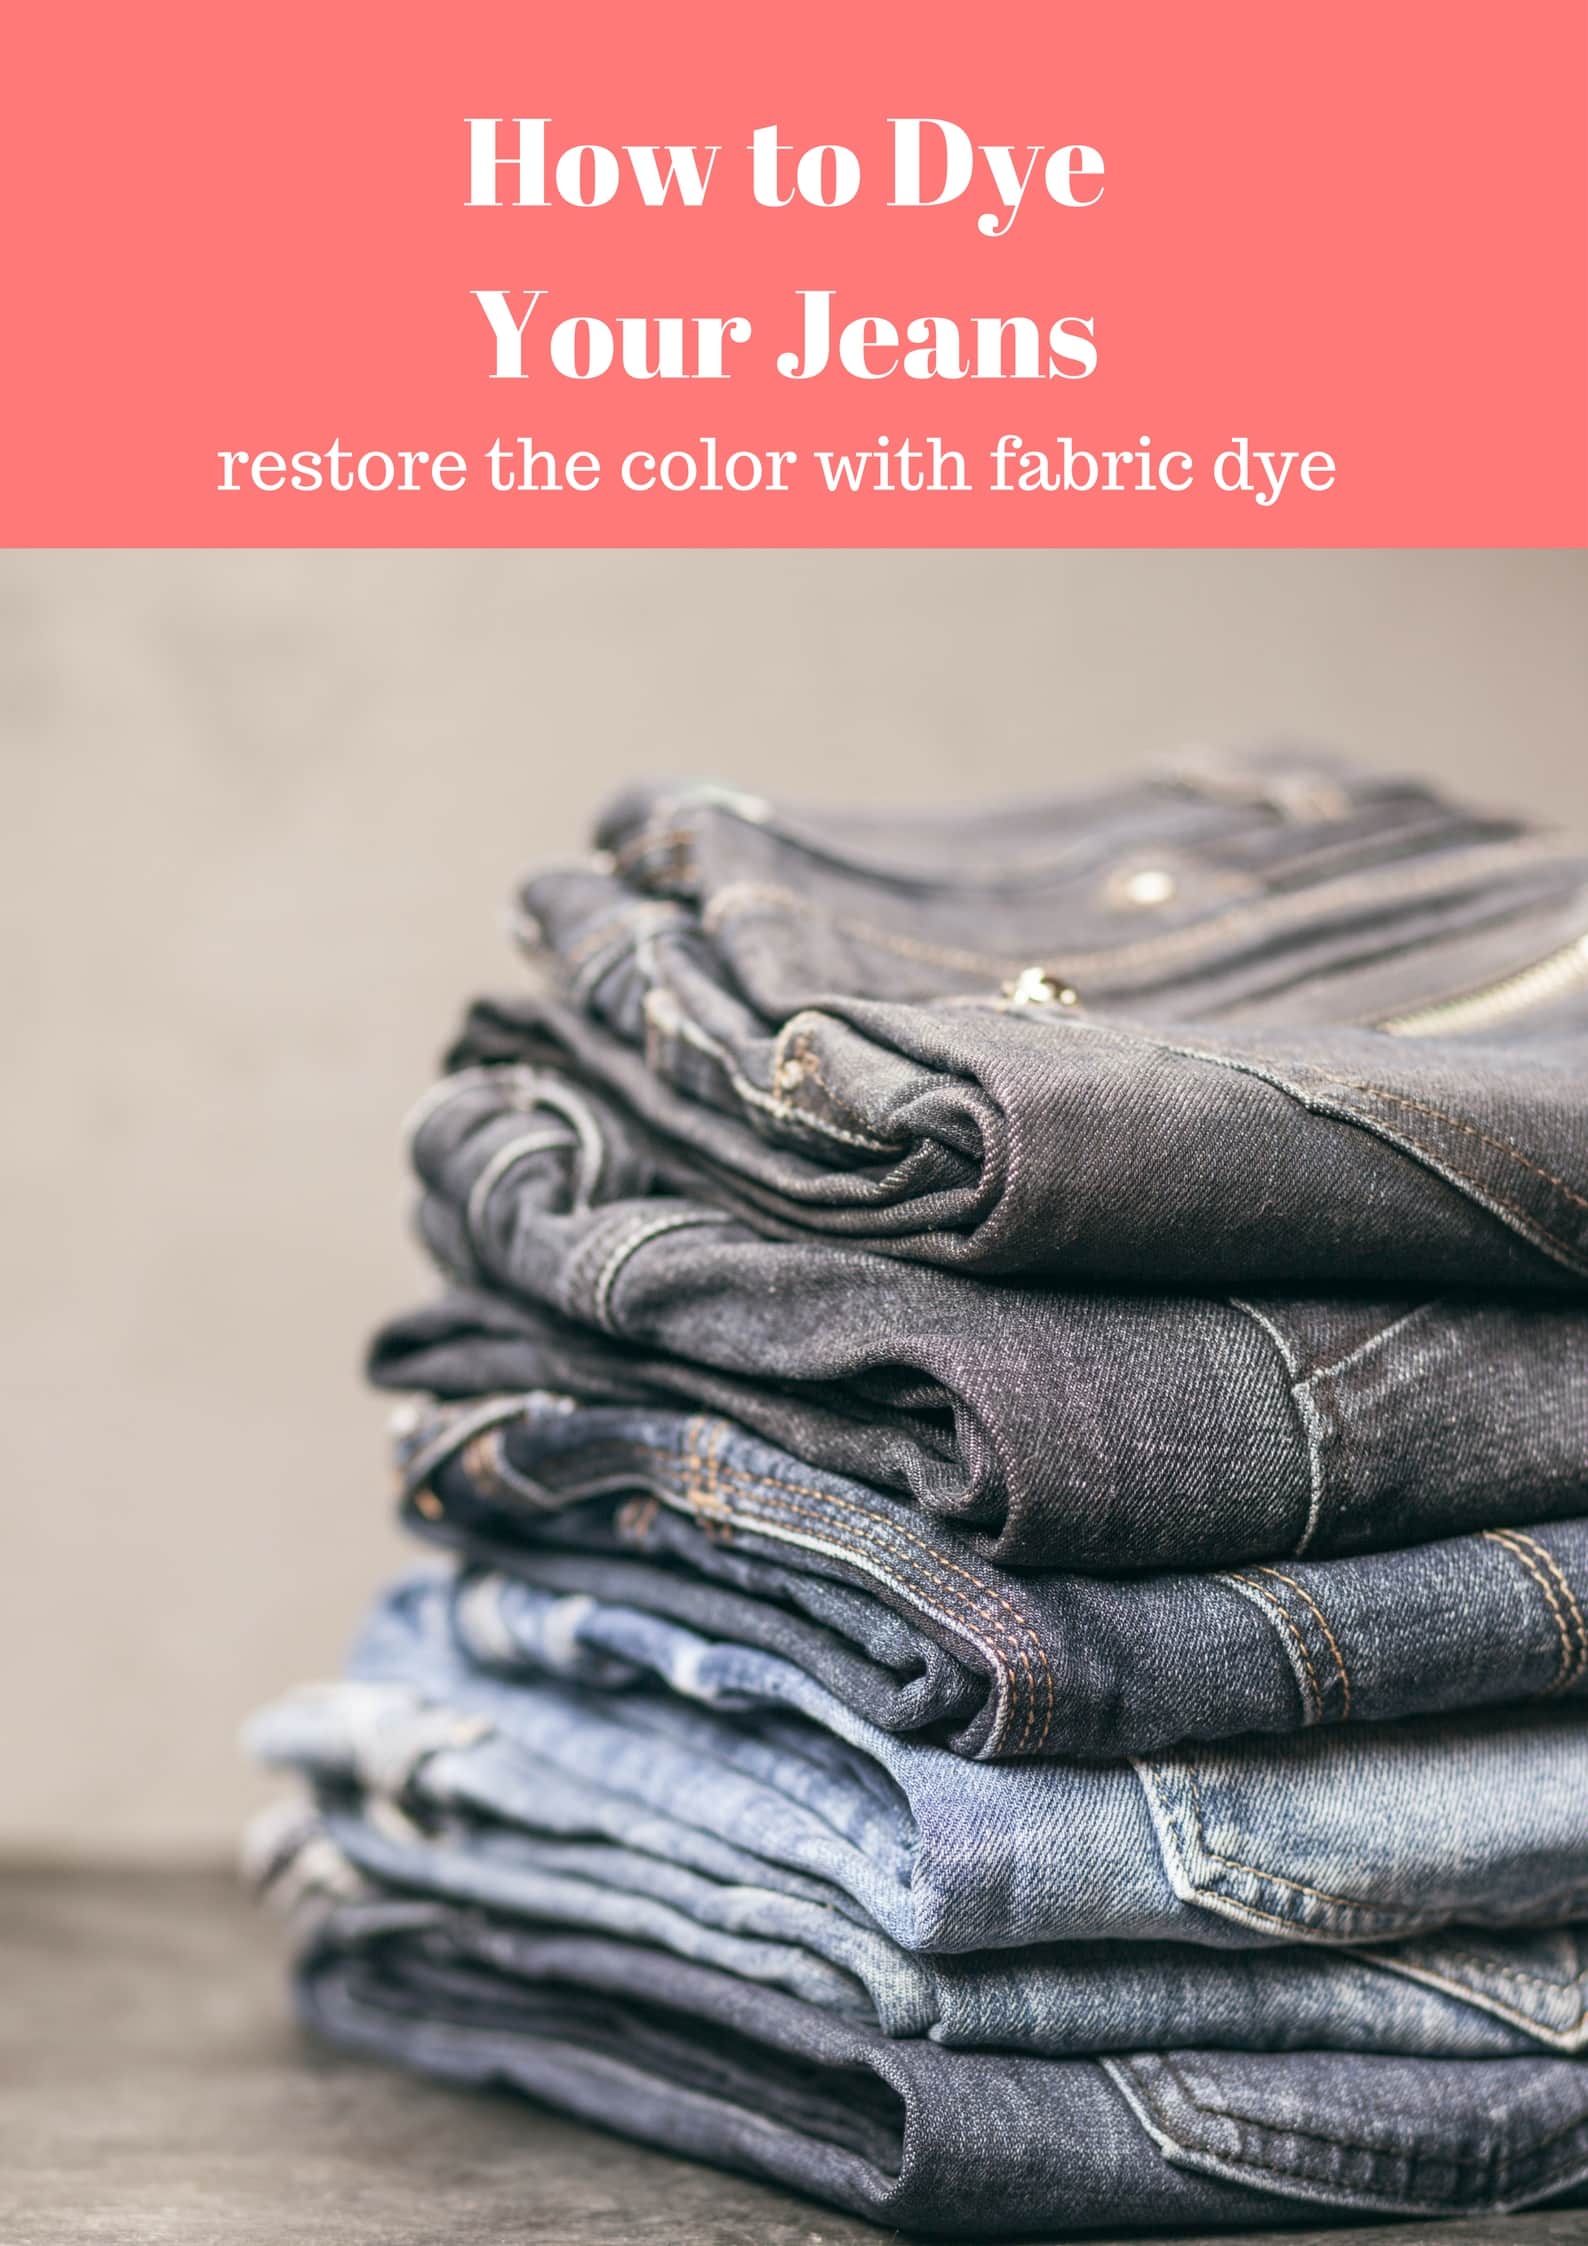
How to Dye Your Jeans from MomAdvice.com


Have you ever used fabric dye for any projects? Any tips or recommendations when using fabric dye? Let’s share!


*This post contains affiliate links*

 Pin It
Painting Pumpkins With Acrylic Paints

Thursday, September 12th, 2019

How to Paint Pumpkins With Acrylic Paint from MomAdvice.com

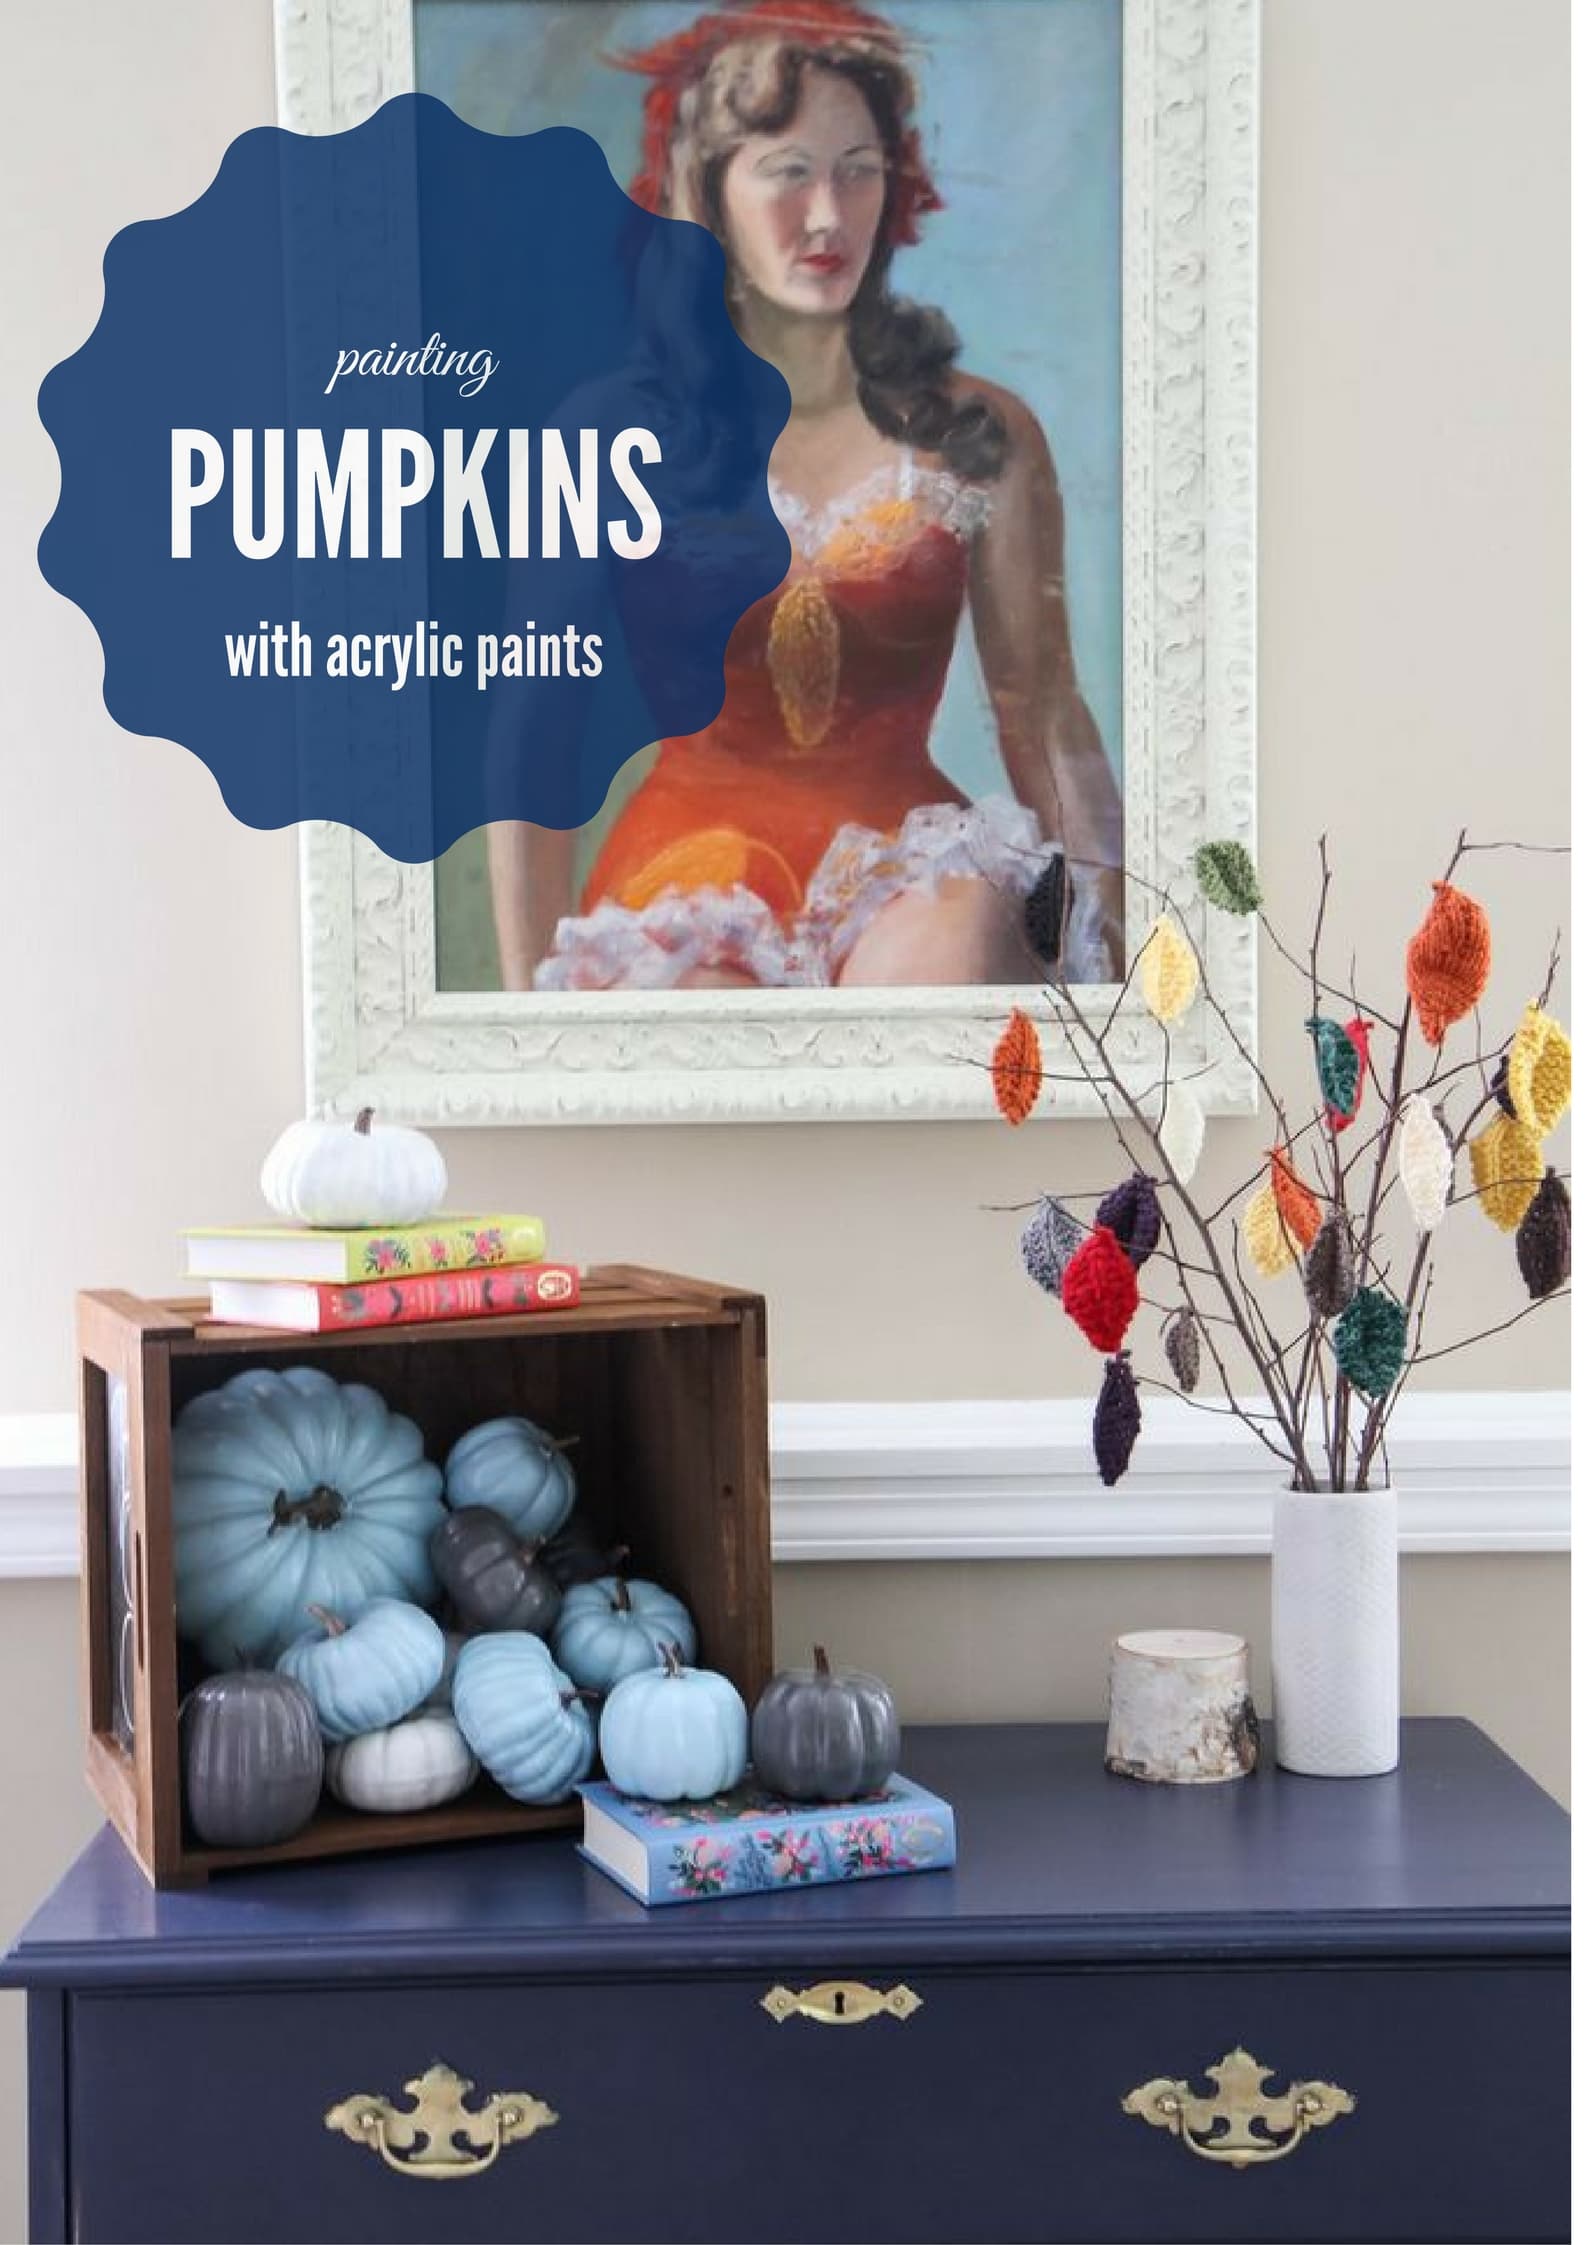
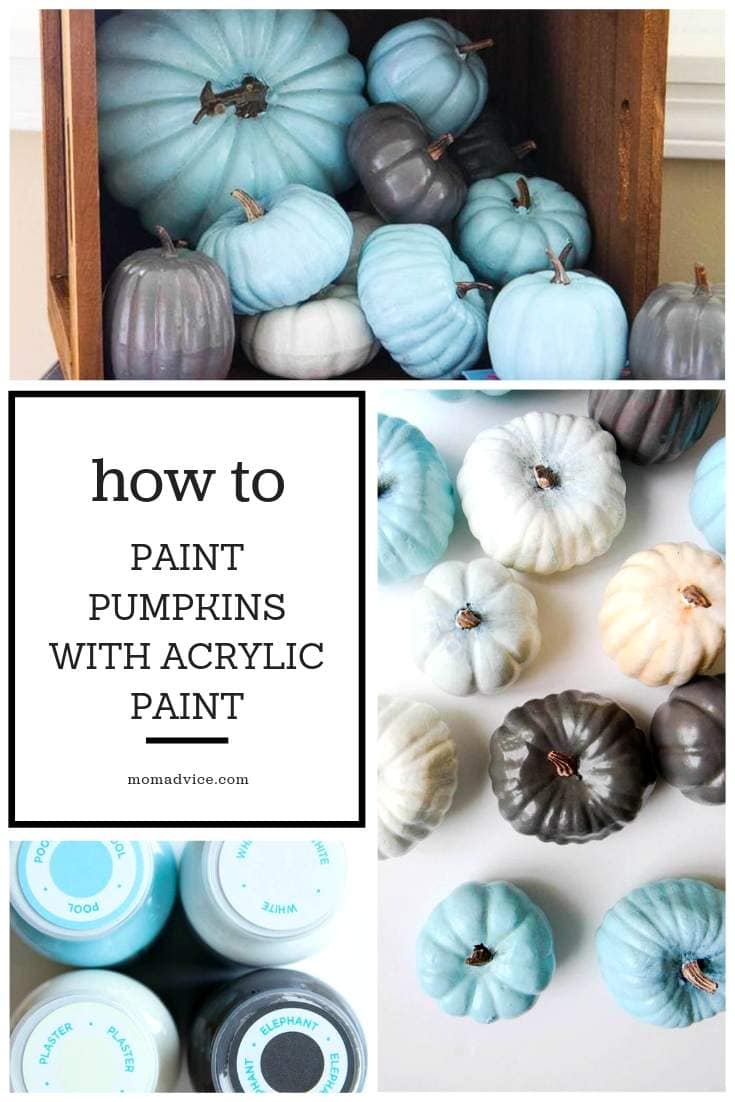
Have you ever decorated for fall with acrylic paint pumpkins? This tutorial shows you what kind of paint to paint pumpkins with and how to paint those faux pumpkins to match your home decor.  You’ll love these creative ways to paint a pumpkin.

This post was created in partnership with Waverly Inspirations. Thank you for supporting the companies that support our site! 

Who could use a pumpkin decorating craft for fall?

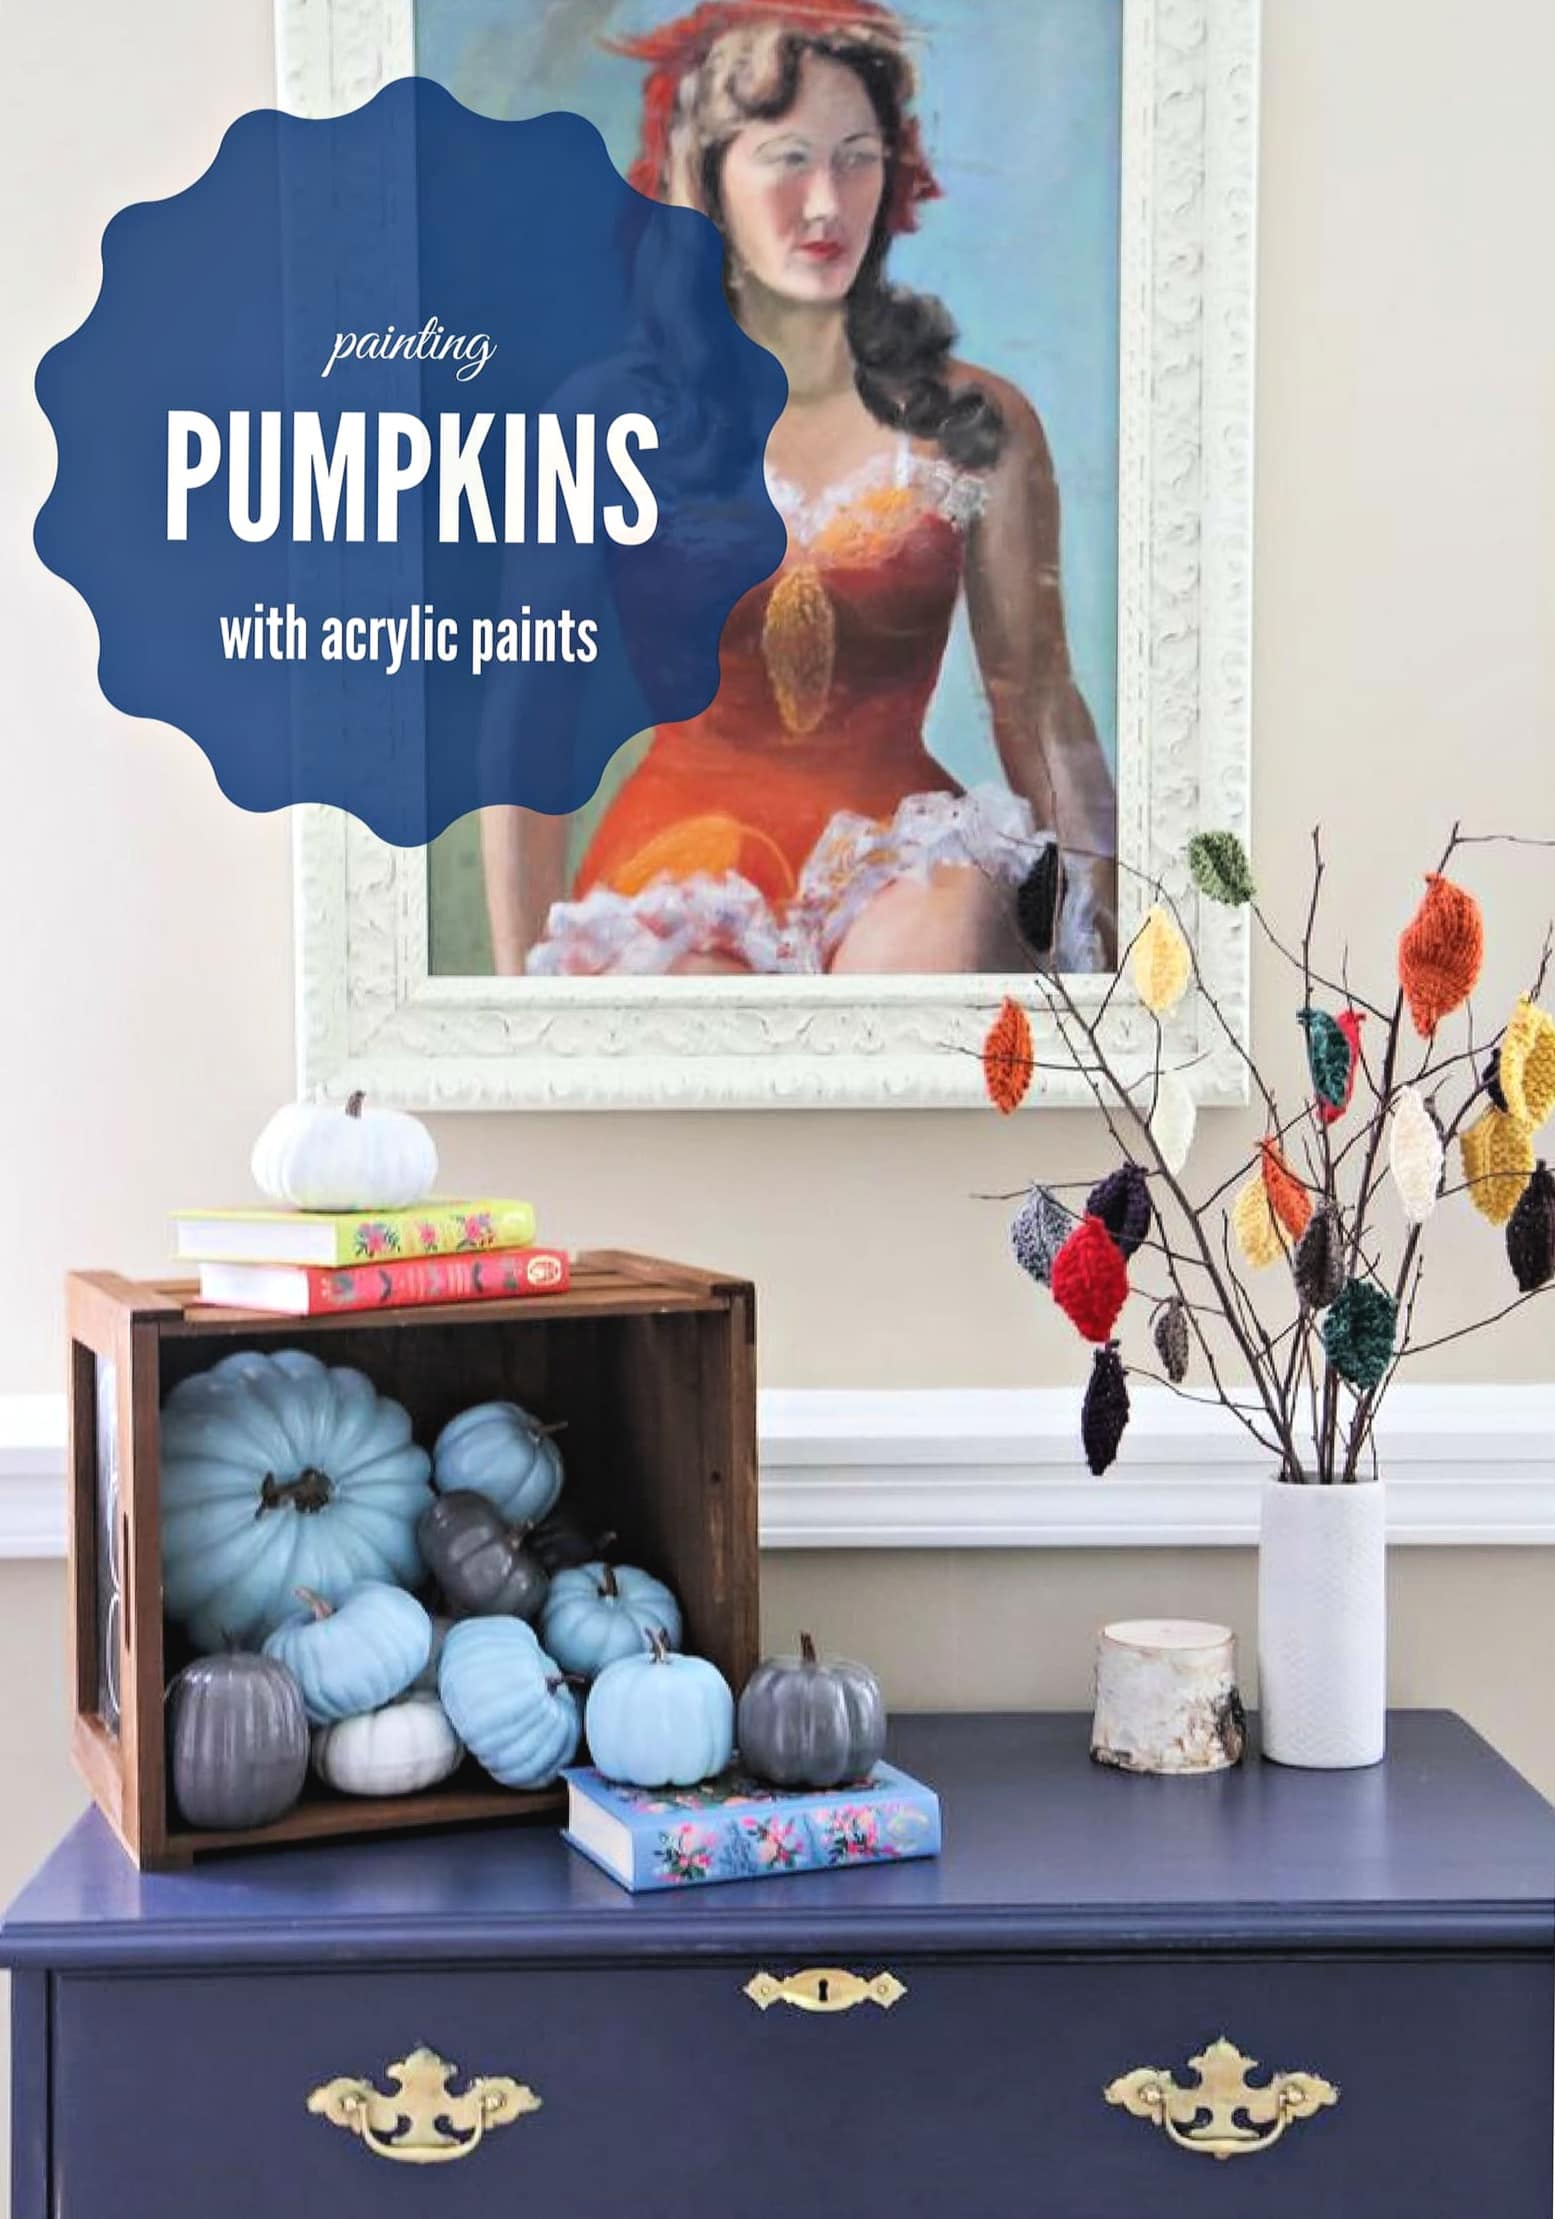
I decided to decorate fake pumpkins this year and am showing how you can do the same thing with supplies from your local craft store or even dollar store.

This was my first time painting our pumpkins this way and it could not be easier. I wanted to create a pumpkin display that would be perfect for the entire fall season and wanted to show you a cute way to display your pumpkins this year!

I am not big on decorating for Halloween and would prefer to skip right over that part of the fall decorating.

This month’s challenge was to create a Halloween decorations so I wanted to create a minimalistic display that would give a nod to the season, but complement our decor until it is time to deck the halls.

The best part is that these pumpkins can be used year after year and the painting is a lot less messy than carving pumpkins or using spray paint.

How to Paint Pumpkins With Acrylic Paint

Painting Pumpkins With Acrylic Paints with MomAdvice.com


How to Paint Pumpkins With Acrylic Paint from MomAdvice.com

Supplies Needed (all of these supplies can be found at Walmart!)

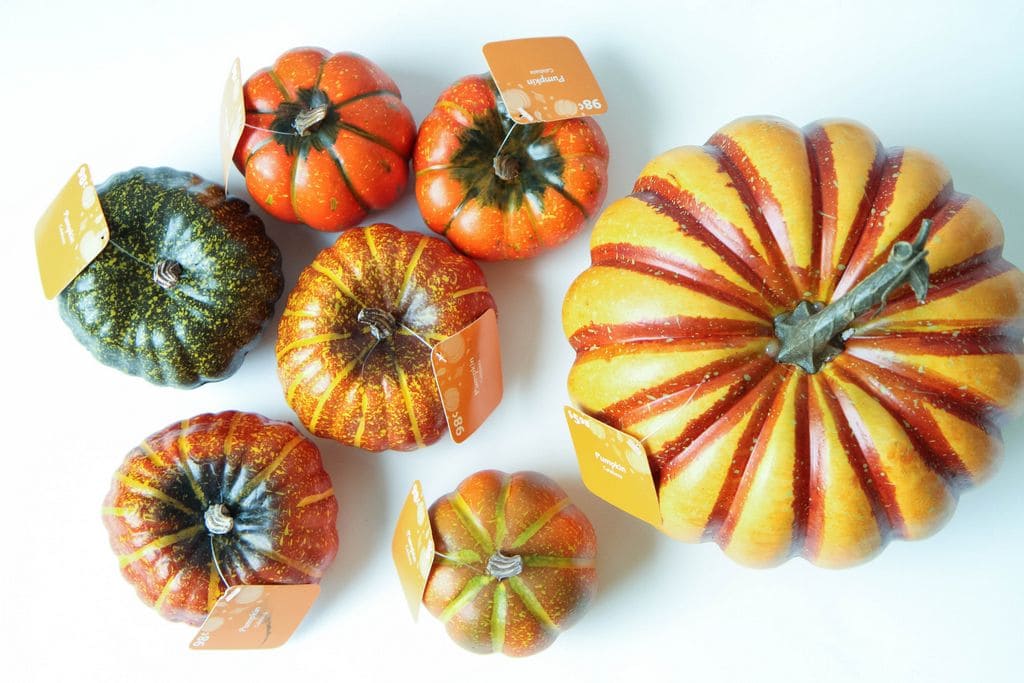
Any size you like of their faux pumpkins- the small ones are just $.98!! (you could also do real pumpkins!)- try Etsy for supplies.

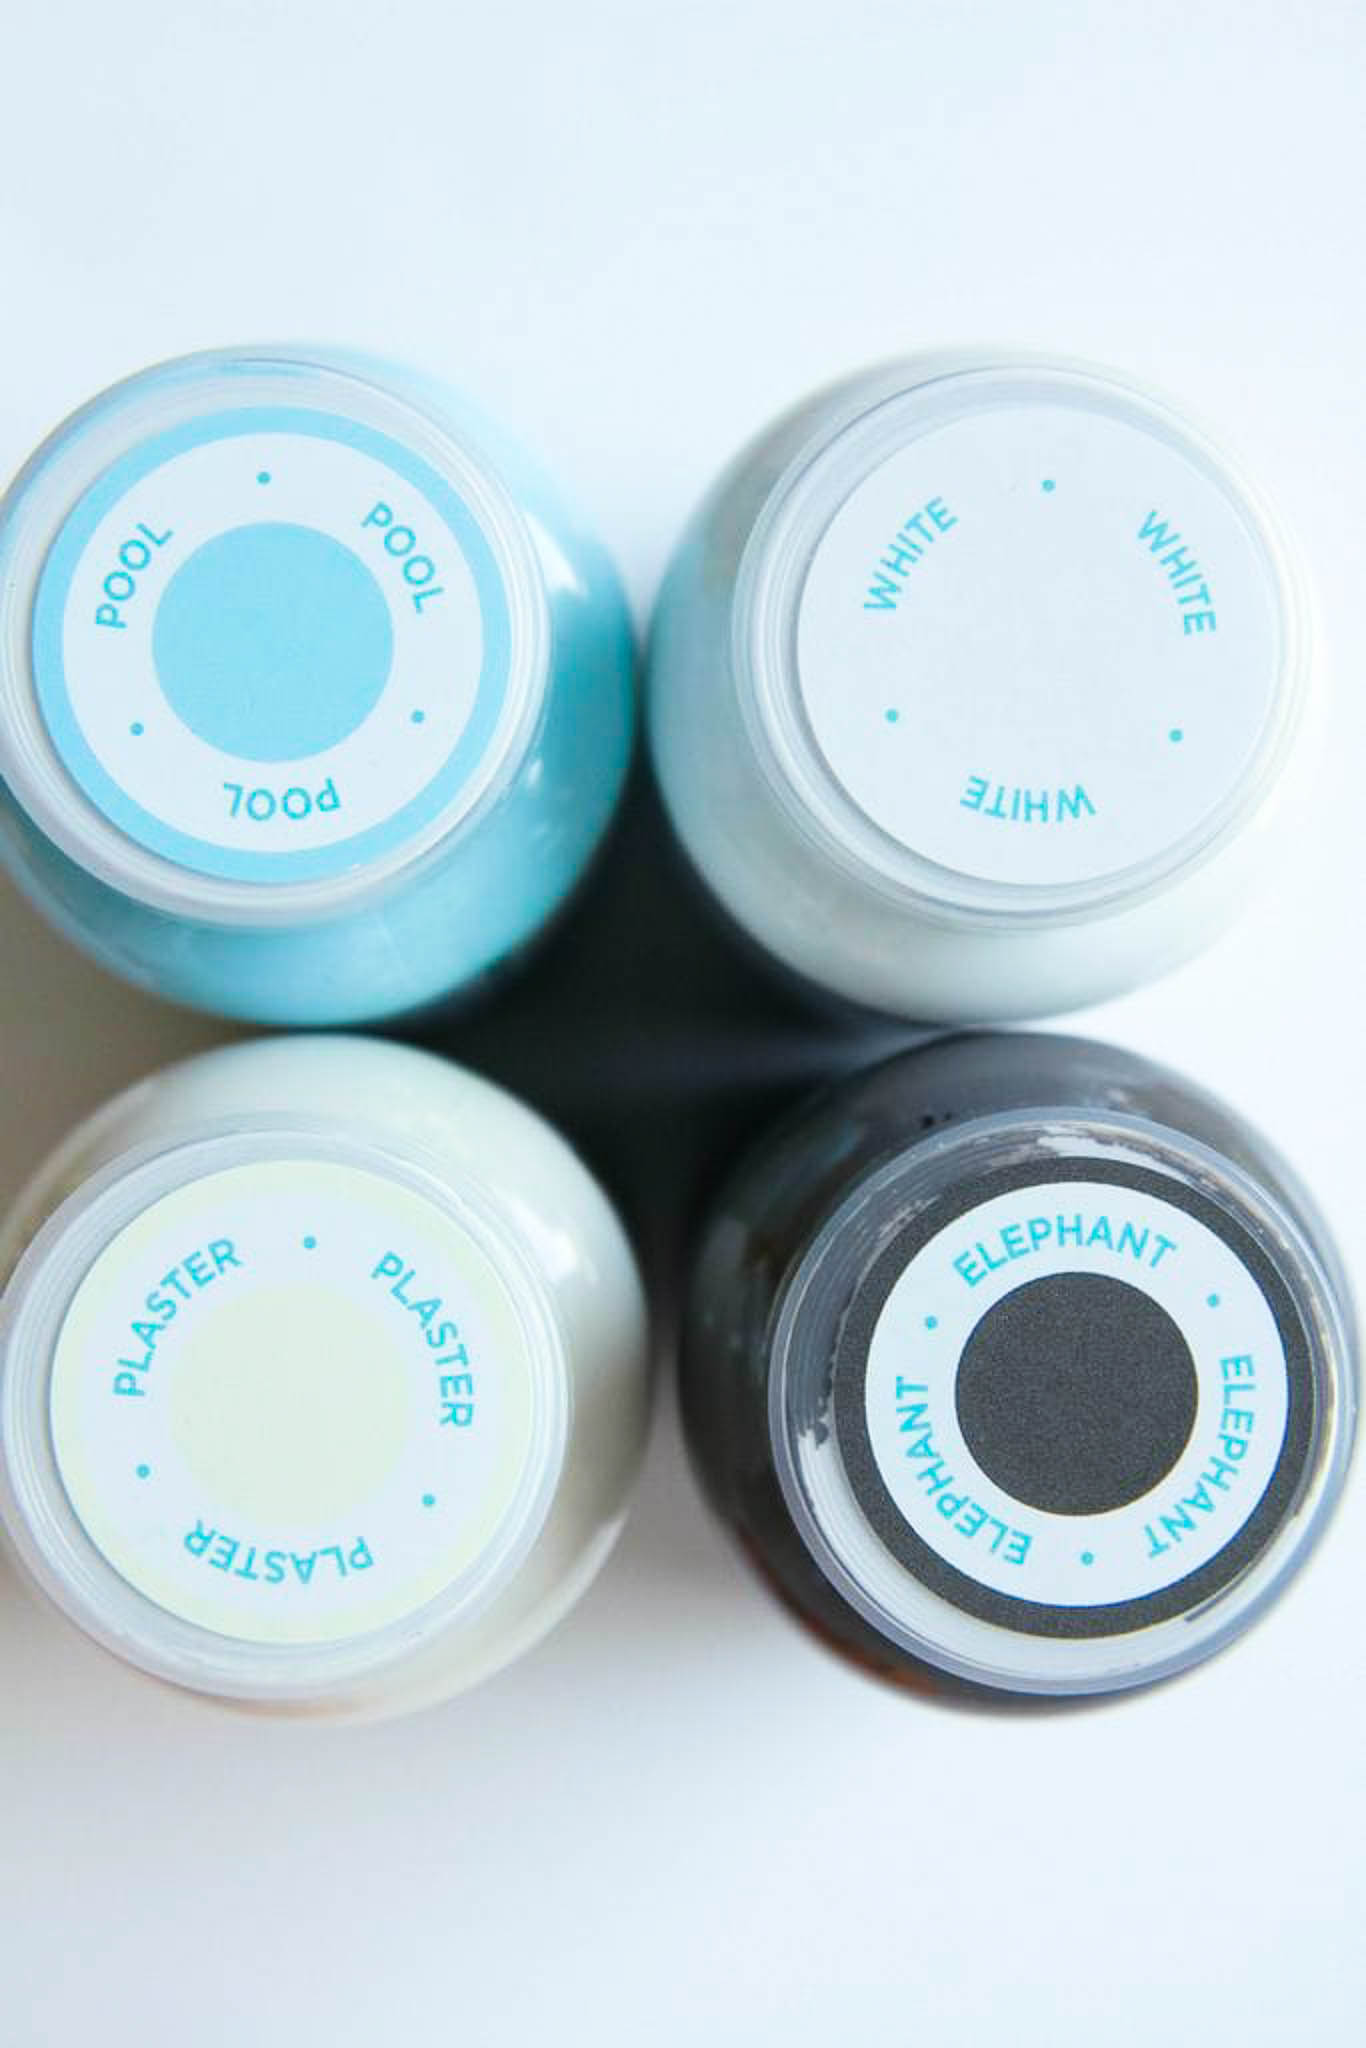
Waverly Inspirations Acrylic Paints in Elephant, Plaster, Pool, & White

Waverly Inspirations 4-piece wide brush set

Cup with water, paper towels, and something to cover the surface while painting

Wooden Crate 

How to Paint Pumpkins With Acrylic Paint from MomAdvice.com

Remove the labels from the pumpkins and protect your surface with cardboard while painting.

With a clean wide brush, begin painting your pumpkins, using the stalk of the pumpkin as a handle to work around the surface.

If you find the area around the stem to be difficult to decorate, you can pull the stems off carefully and use hot glue to reattach after they dry.

Paint the entire pumpkin and then set it aside to dry. Don’t feel limited by painting them all one color though. Feel free to add designs on your pumpkin for Halloween too or decorate your pumpkins with an autumn-theme. The possibilities are endless on the pumpkins you can create. Personally, I love polka dots and think that would be fun AND easy.

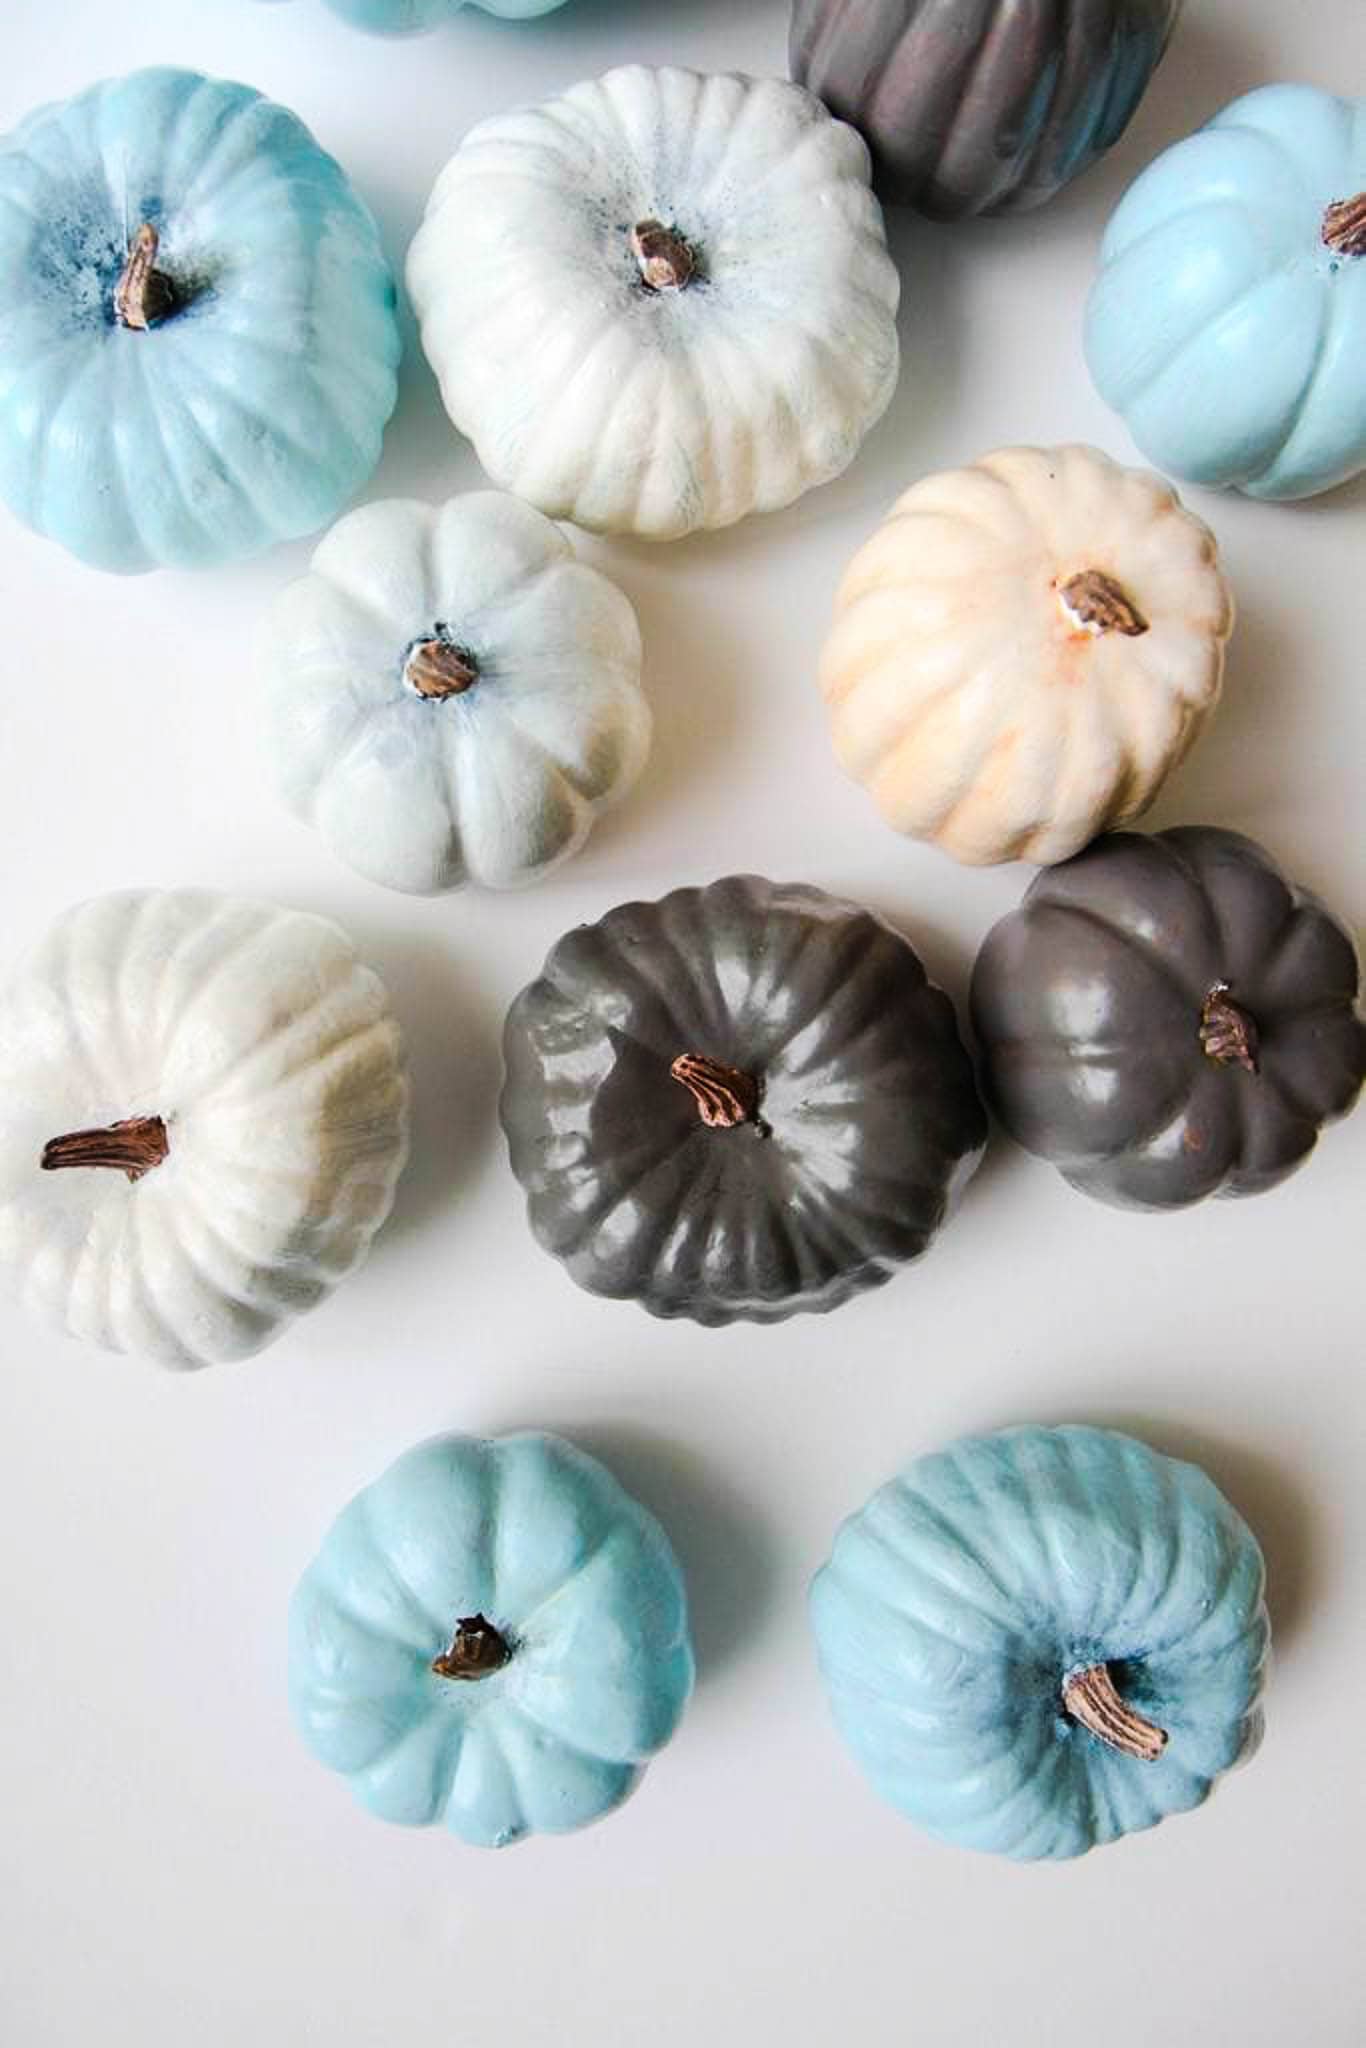
 Drying time can take anywhere between 15 minutes to one hour, depending on how thickly you applied the paint.

Repeat this process as many times as you like to achieve the hue you are going for.

I found the gray pumpkins only required a single coat, while the white pumpkins required two coats.

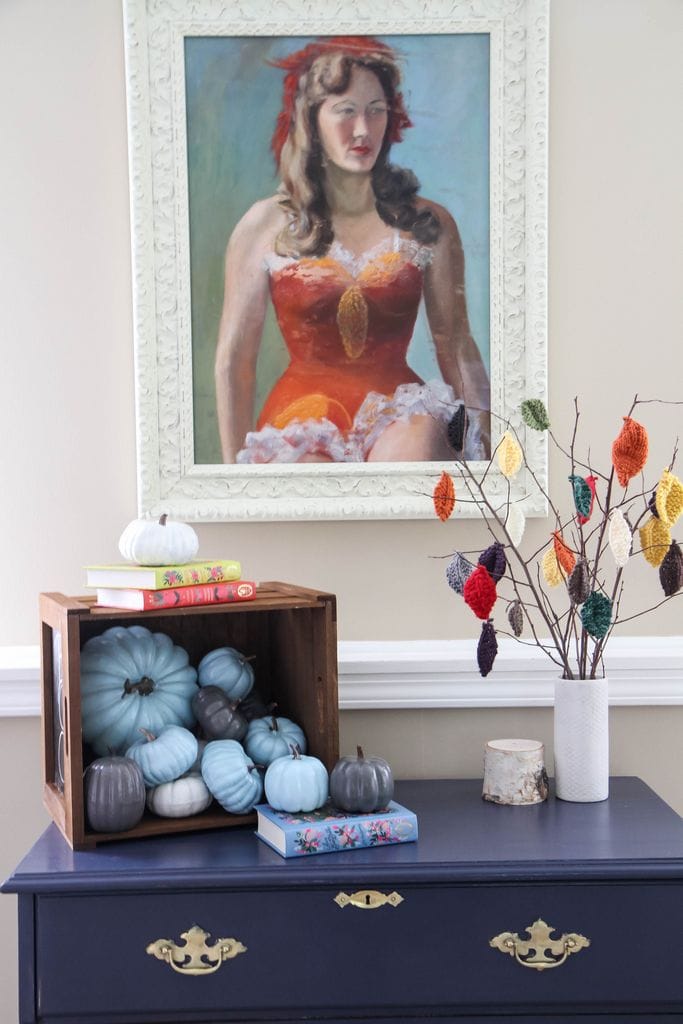
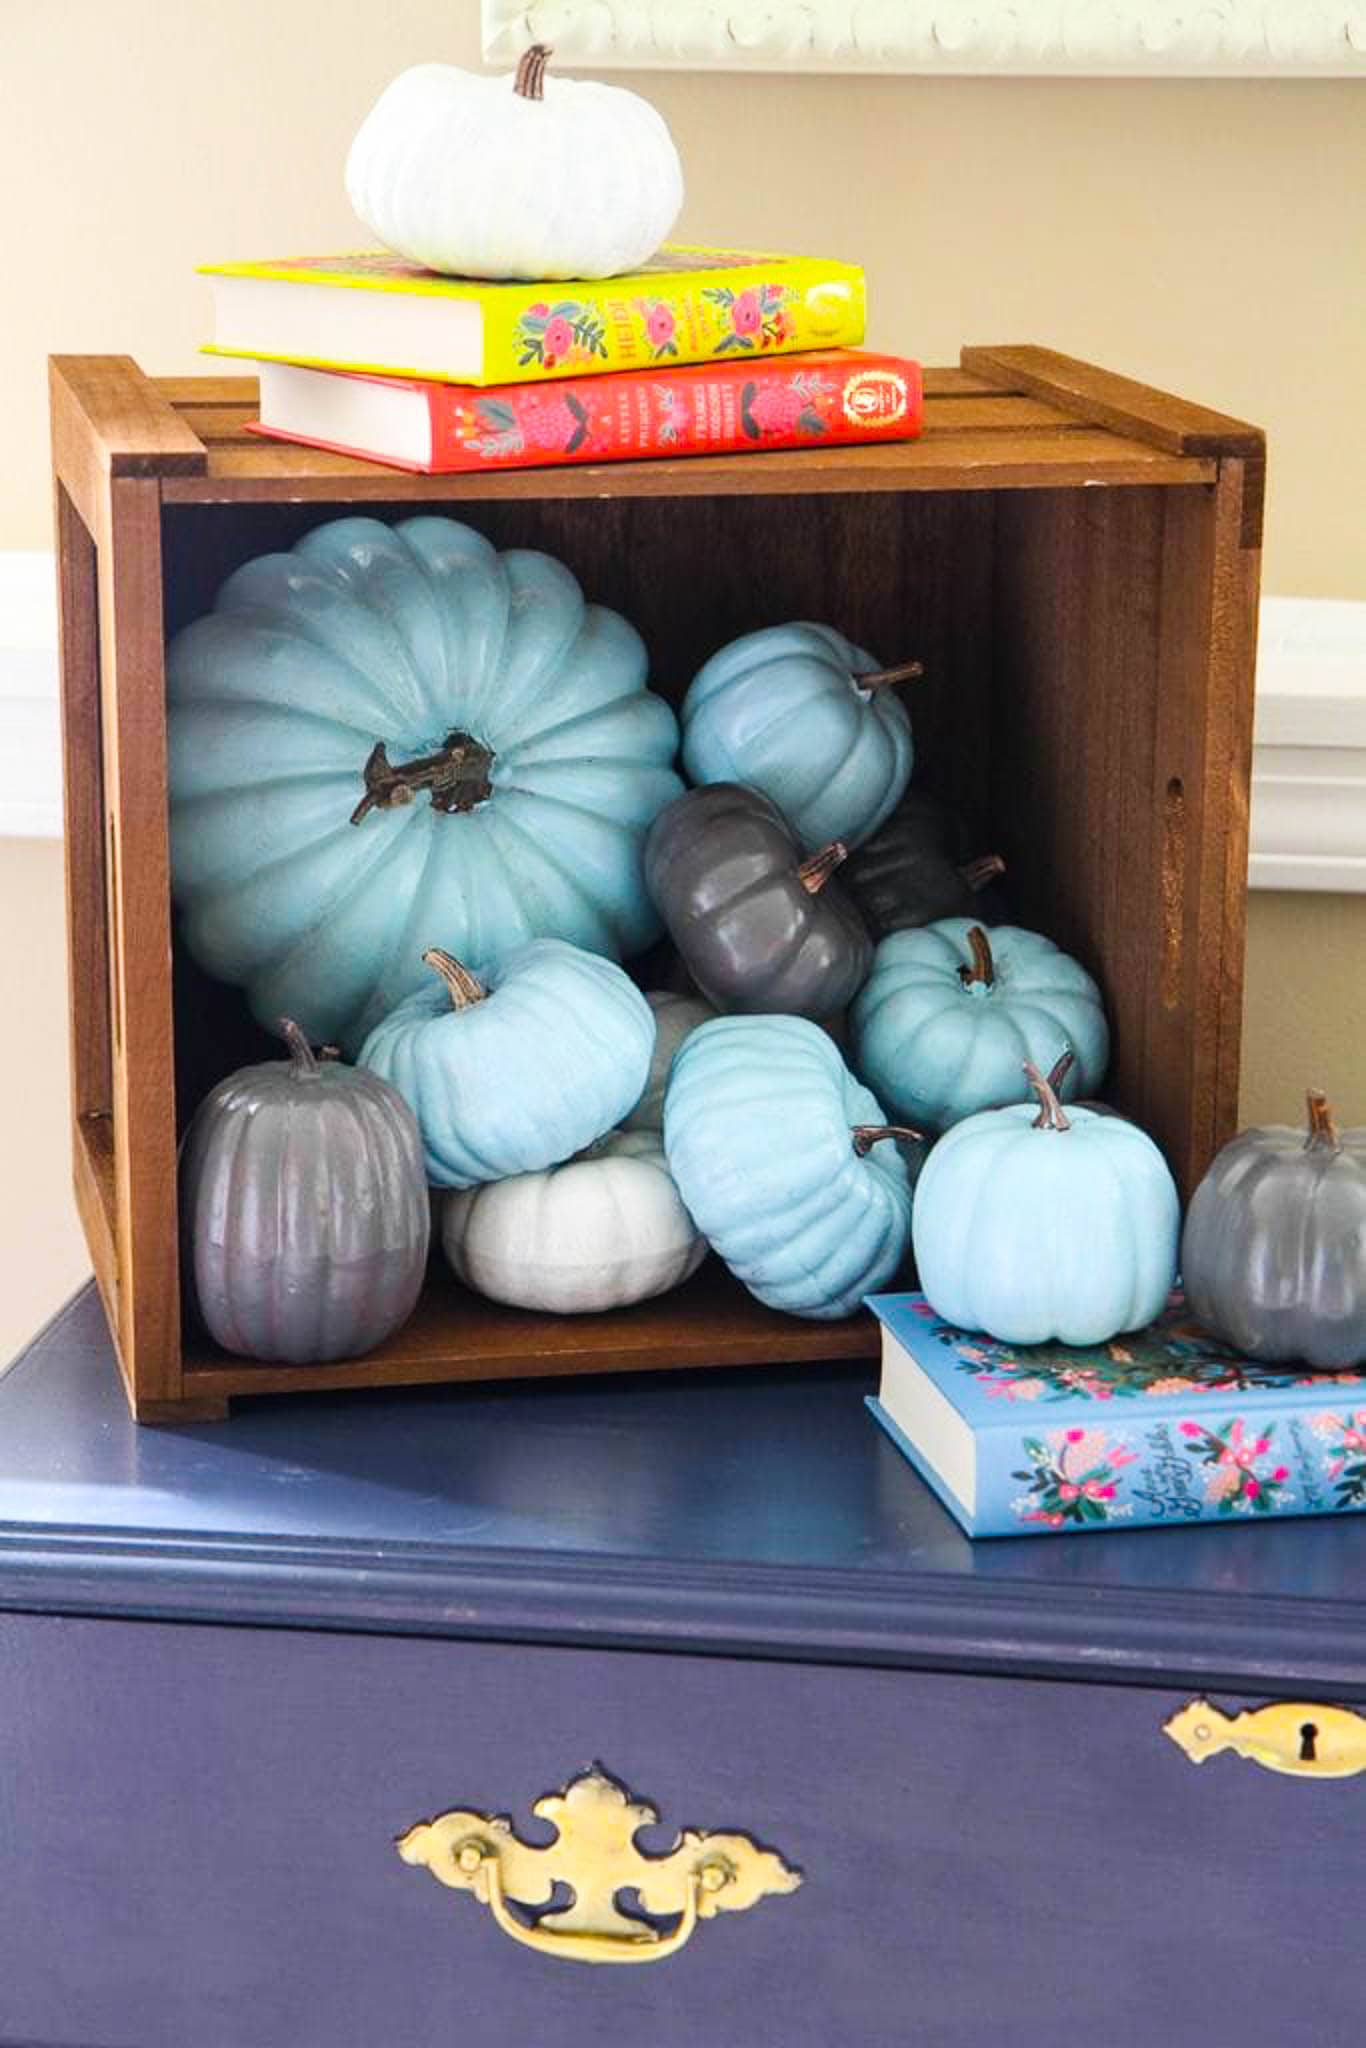
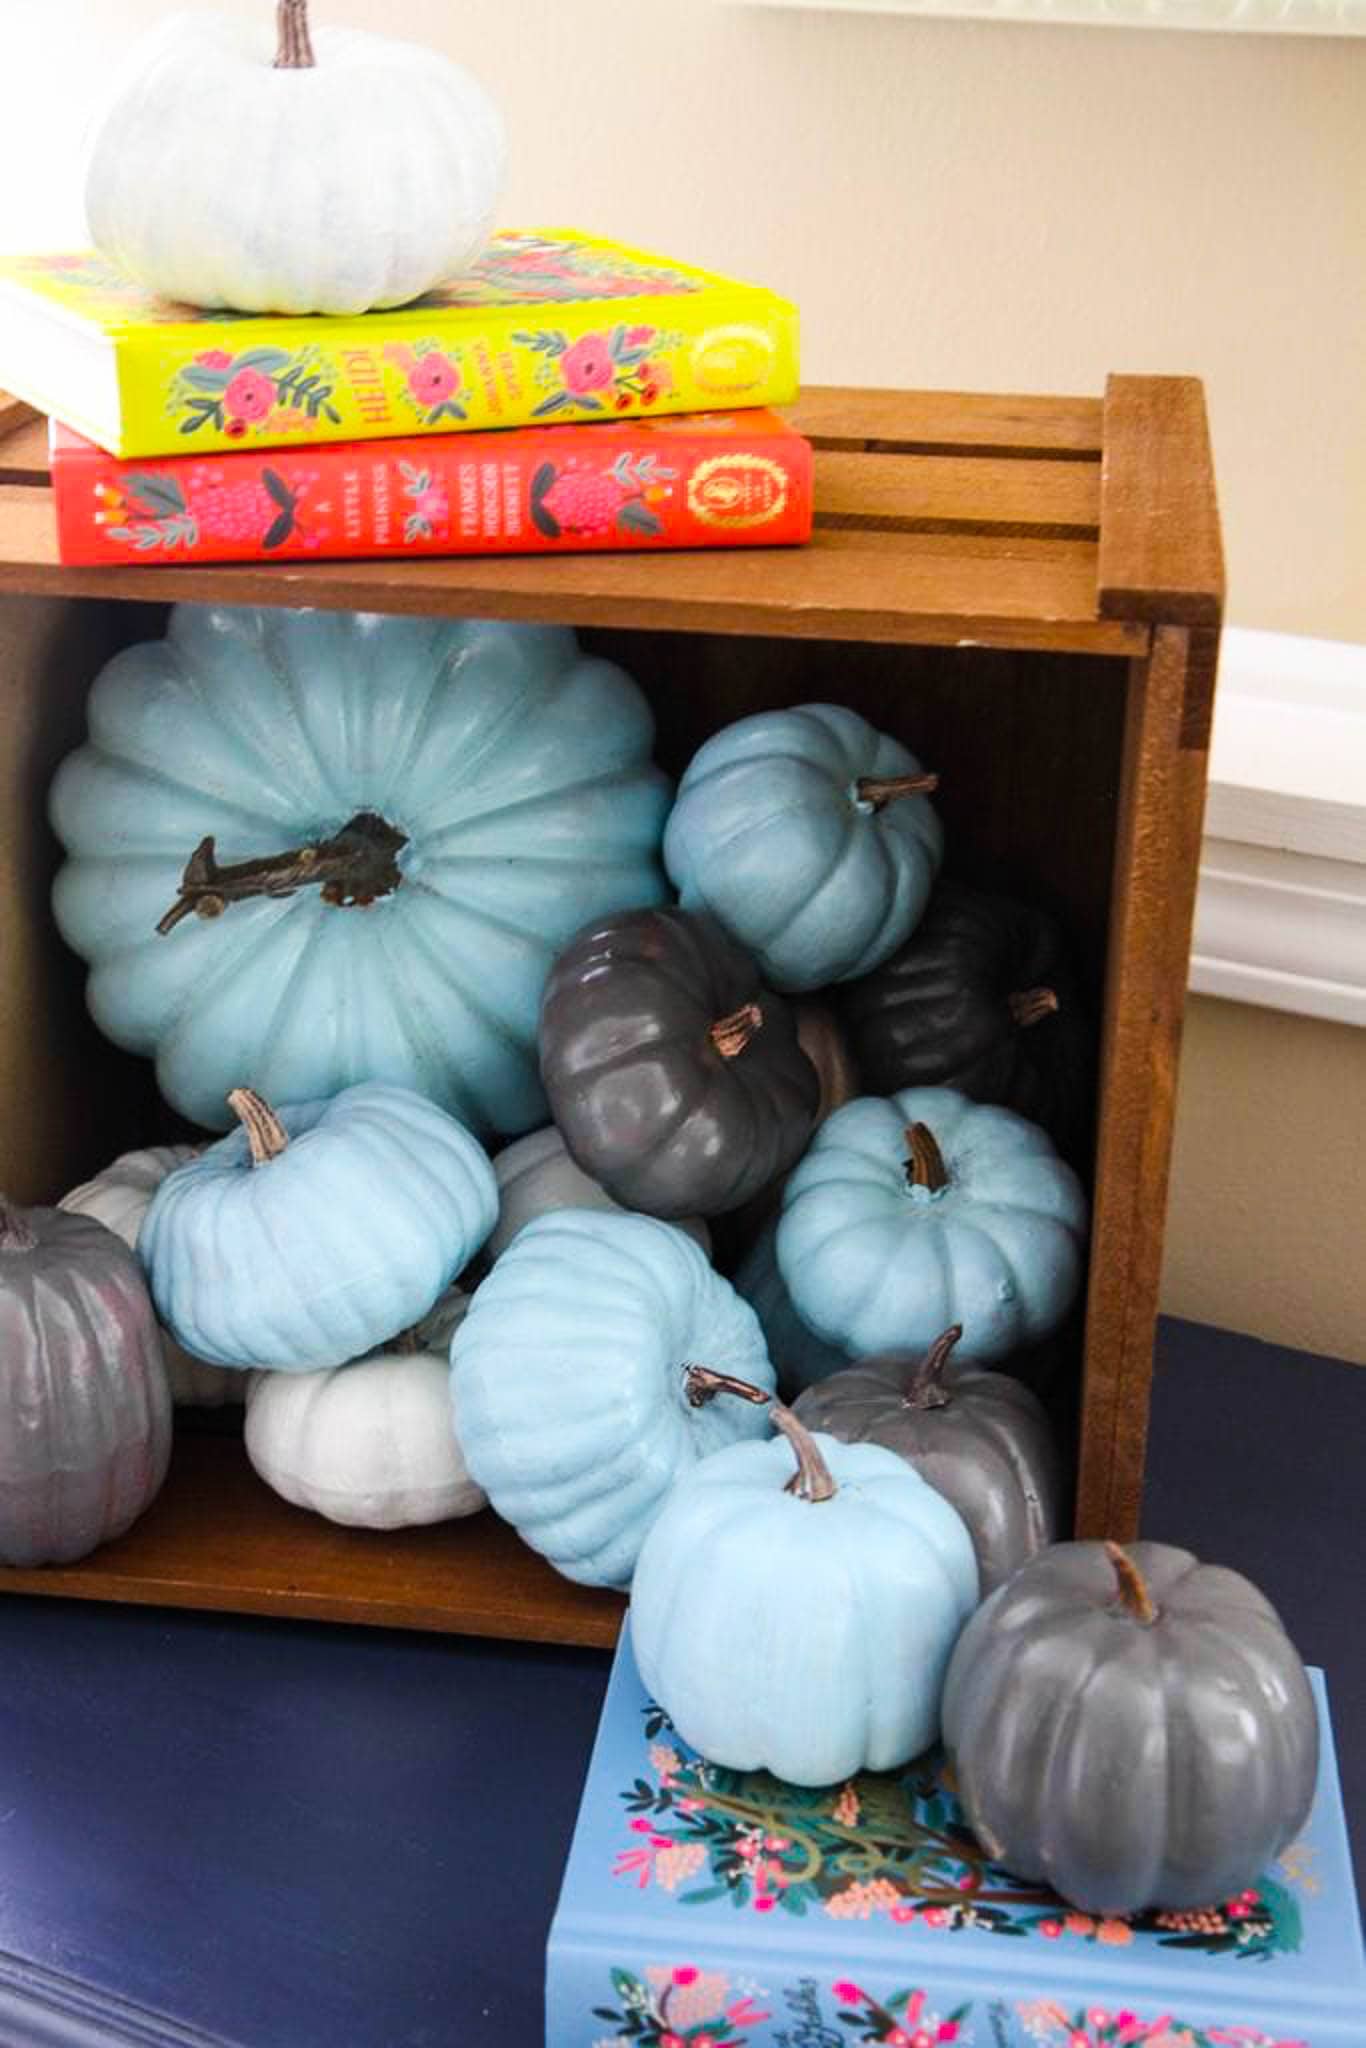
Once dry, sprinkle these pumpkins throughout your house or create a crate display like I have done.

I love how these pumpkins spill out onto some of my favorite childhood reads.

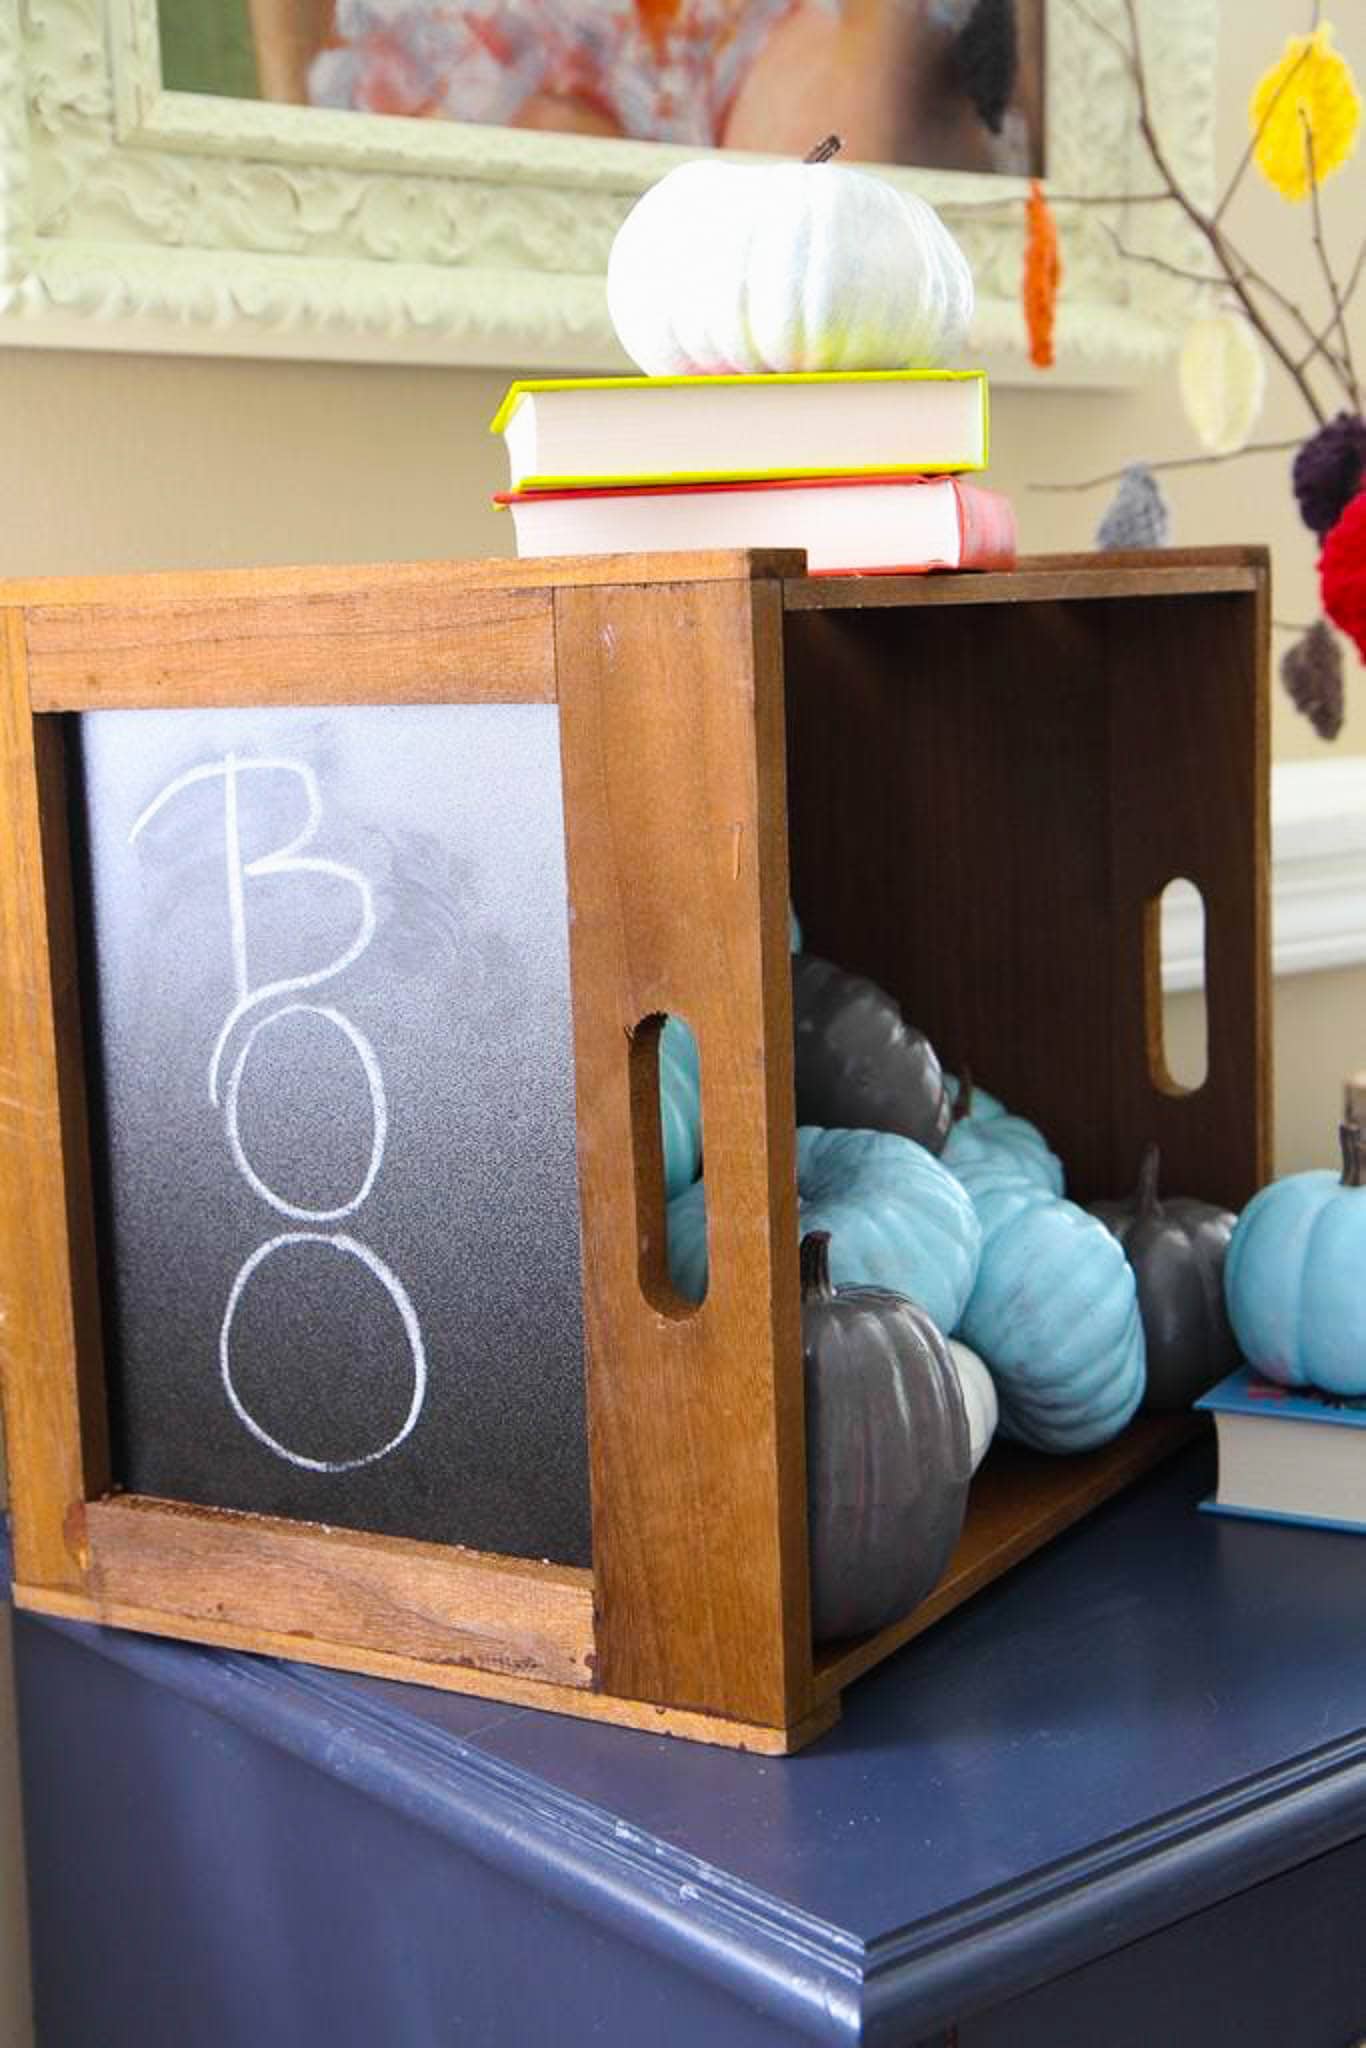
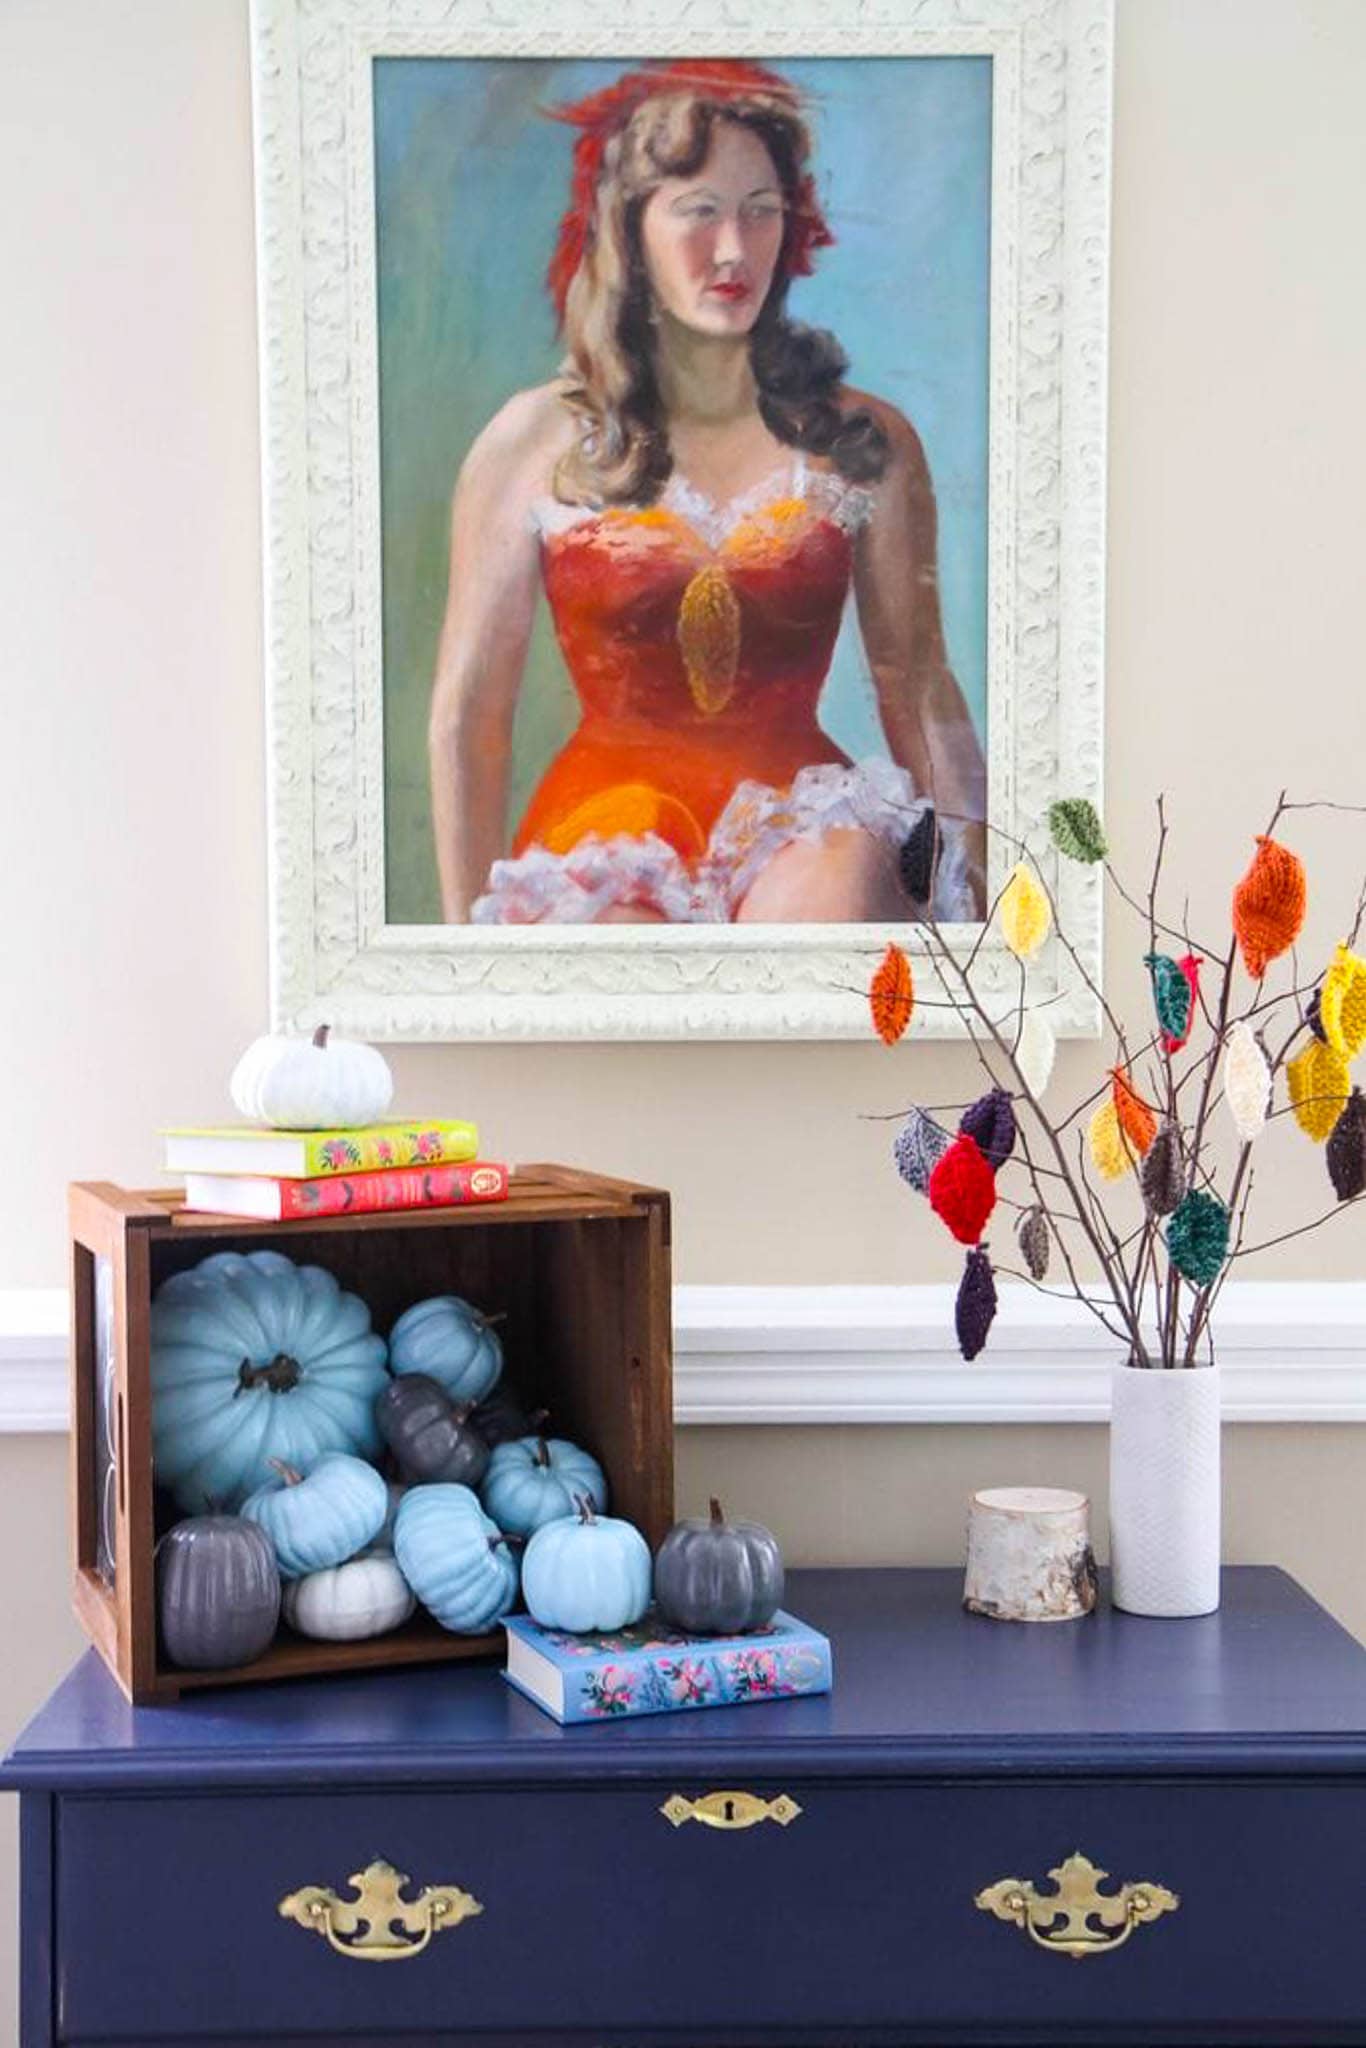
The chalkboard side on this crate gives me the chance to make this display feel a little more Halloween and then can be replaced with a different label later in the fall.  I added my knitted leaf centerpiece to the side of the table- I can’t believe how well these branches have held up over the years!

For a corner in our home that used to have nothing, this has quickly become my favorite focal point in our living room.


How to Paint Pumpkins With Acrylic Paint from MomAdvice.com

How to Paint Pumpkins With Acrylic Paint from MomAdvice.com

How to Paint Pumpkins With Acrylic Paint from MomAdvice.com

How to Paint Pumpkins With Acrylic Paint from MomAdvice.com


I love how these pumpkins spill out onto some of my favorite childhood reads.

The chalkboard side on this crate gives me the chance to make this display feel a little more Halloween and then can be replaced with a different label later in the fall.  I added my knitted leaf centerpiece to the side of the table- I can’t believe how well these branches have held up over the years!

For a corner in our home that used to have nothing, this has quickly become my favorite focal point in our living room.

Do you prefer to paint your pumpkins with chalk paint? I think you will get a kick out of the pumpkins we created for the season when our kids were small.  We really have some of the best pumpkin painting ideas on here so please stick around!

What is the Best Way To Clean Up After Painting With Acrylic Paints?

Acrylic paint crafts can get pretty messy, especially if you are involving your kids in on the fun. I use a simple formula for removing paint from little hands that you should definitely try.

Whether you are dying eggs for the Easter season or painting pumpkins for Halloween, this formula is a great one to keep in your back pocket.

The best way to remove acrylic paint from your hands is to squirt a small amount of whitening toothpaste, add a squirt of facial exfoliant (or body exfoliant), and a squirt of baby oil.  Just rub this combination on your hands until you have removed all the paint. 

The best part is that you will have baby soft hands after you are done! 

This post contains affiliate links. I receive a commission if you make a purchase through our links.

Love this project? Check out these additional craft projects!

dollar store thumbtack pumpkins

autumn burlap wreath

slow cooker pumpkin spice candles

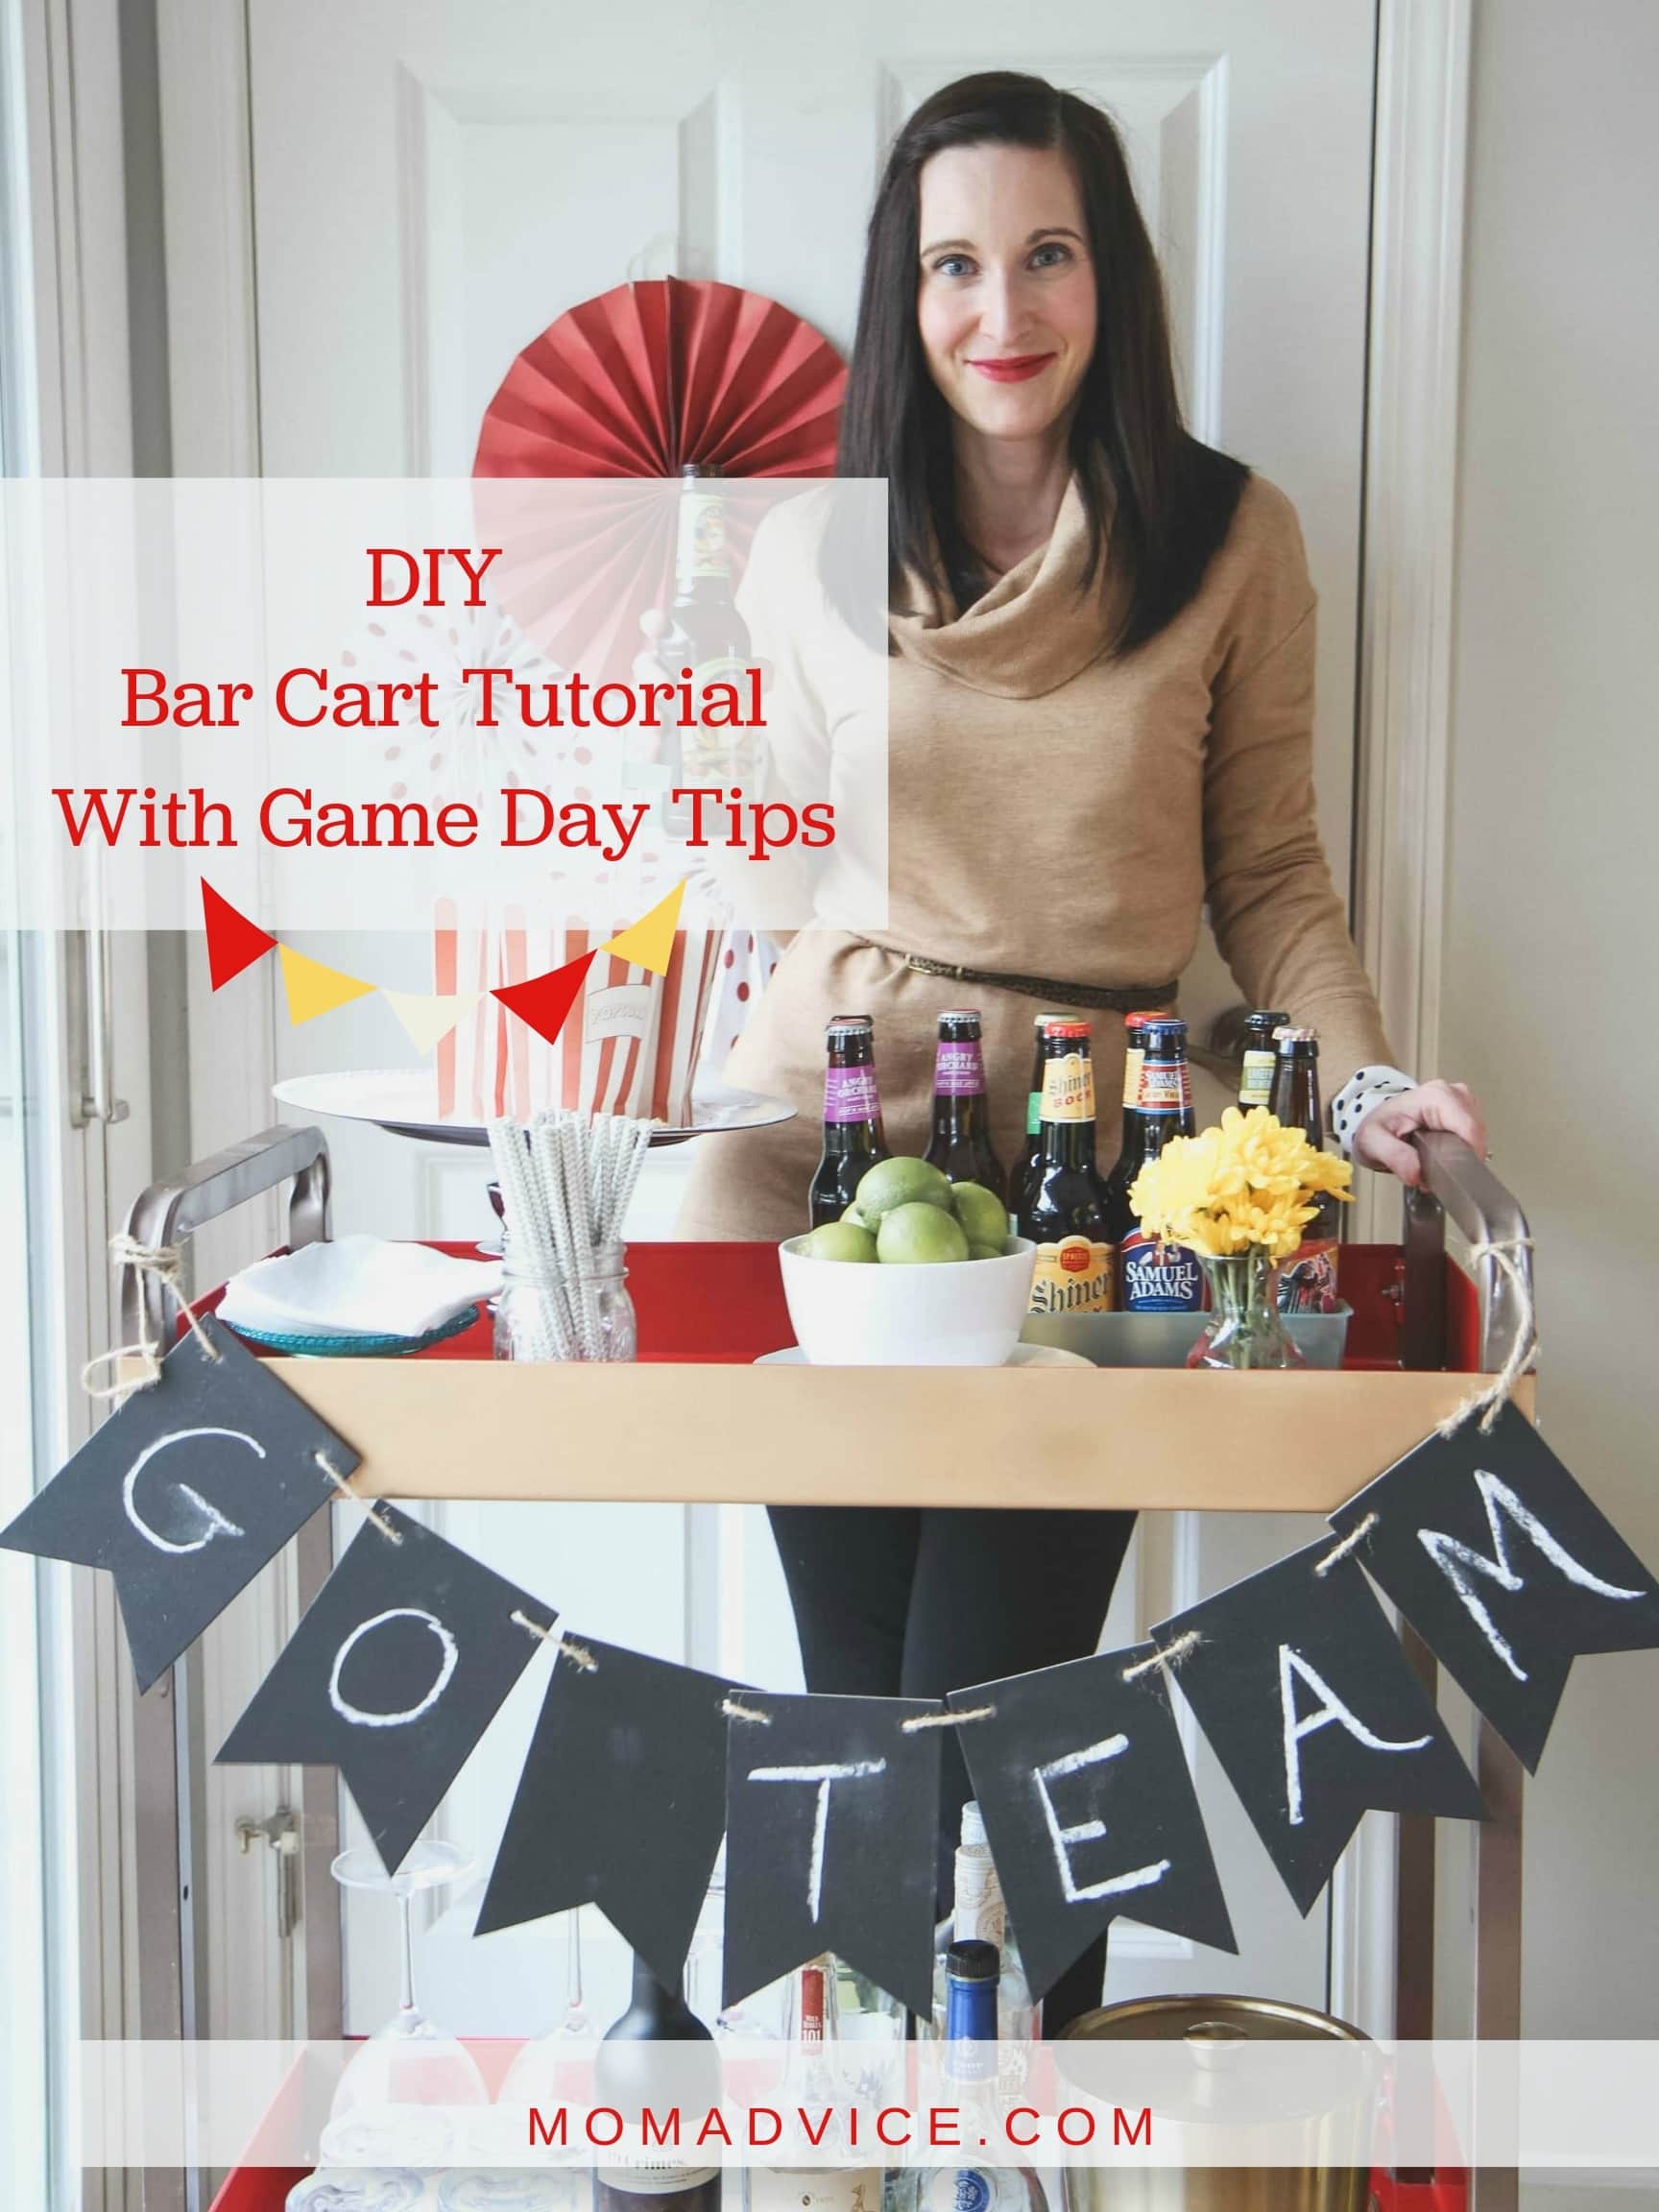
diy game day bar cart

no-sew blanket scarves

Do you want more craft inspiration from Waverly? Try these!

DIY No-Sew Reversible Chair Cushions

Fabric Wreath & Matching Garland

Fabric Bulletin Board Tutorial

This post was created in partnership with Waverly Inspirations and contains affiliate links. Thank you for supporting the companies that support our site! 

How to Paint Pumpkins With Acrylic Paint from MomAdvice.com


Pin It

Handmade Autumn Burlap Wreath Tutorial

Thursday, September 5th, 2019

http://www.momadvice.com/post/easy-burlap-wreath-tutorial

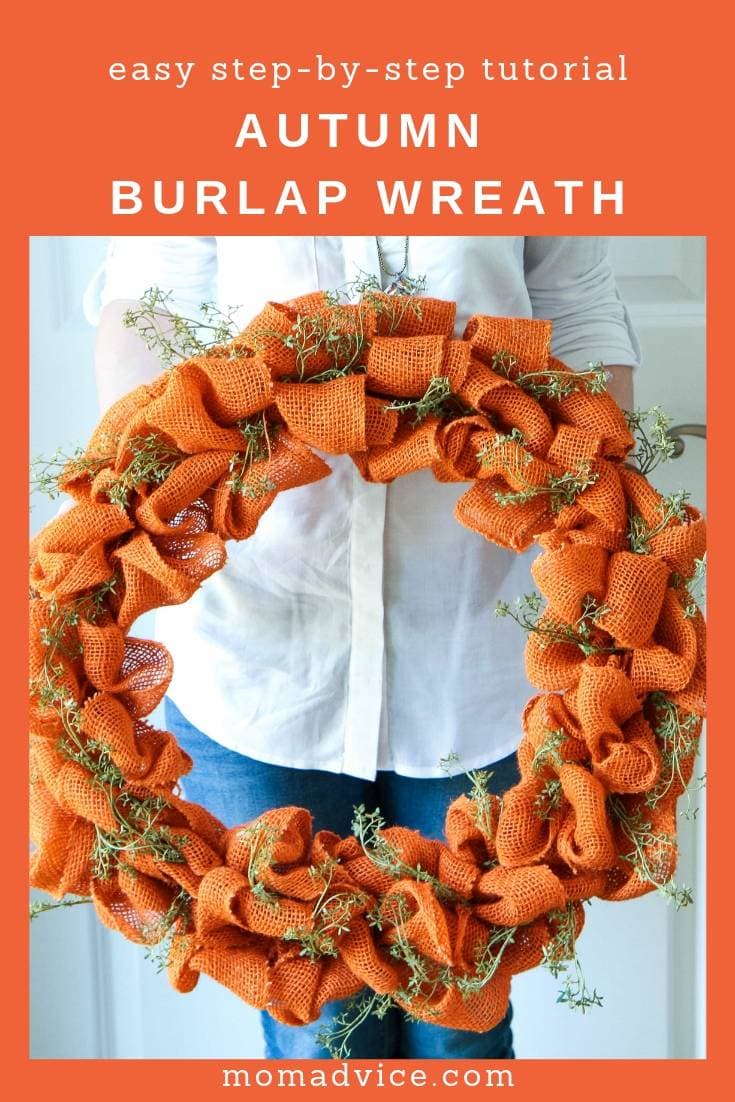
This diy burlap wreath is eye-catching and oh-so-easy to make. Let me show you how to make an autumn burlap wreath for your door with this simple tutorial and just a few craft supplies items!

Have you made a burlap wreath before? If you can believe it, our most popular craft on our website is this simple burlap wreath that can be used for just about any holiday. It was with that in mind that I decided to explore some new ways to play with burlap in our craft room. 

Honestly, I can’t begin to tell you how happy this autumn wreath makes me hanging our front door and the pop of color this fall wreath brings to our home decor. This orange hue is just what our door needs for the holidays and this wreath is perfect for all fall through Halloween and Thanksgiving.

If you haven’t made a burlap wreath before, this tutorial is for you! It outlines step-by-step how to recreate this wreath with my picture tutorial.

Handmade Autumn Burlap Wreath Tutorial

The crisp coolness of fall is moving in here in the Midwest and with it comes the urge to decorate every square inch of my home to honor it. 

Dare I say that we do more fall decorating than we do Christmas decorating? 

With simplifying as our goal, though, instead of decorating for Halloween and decorating for Thanksgiving, I am trying to create pieces that can double for both holidays and be appreciated until it’s time to break out the Christmas decorations.

The best part is that this burlap wreath requires no crafting skills, no cutting, and is very inexpensive to create.

The one thing I will say with making burlap wreaths is that you need to have a little patience with yourself in the beginning. My first wreath, I took apart three times before I got the hang of it.

Once you get the bubbling of the burlap down though, this really is a quick and easy craft and such a great way to dress up a door. 

If you are feeling inspired, I highly recommend making a craft date with a good friend. My best friend and I got together to make our holiday crafts and she was quite amused when I stood up her chair to take photos of my process to make my first wreath.

The thing was, NO ONE showed you how to actually start a burlap wreath and how you were supposed to be even feeding this burlap ribbon into the wire wreath frame.

I told her that I just knew that this was going to be a popular post and just in the last 30 days, that image has been viewed over 322,000 times and pinned countless times.

Do I know my audience OR WHAT?

Let’s get started with this super easy craft that would be fun for your door or to share as a holiday gift with someone you love!

How to Make an Autumn Burlap Wreath

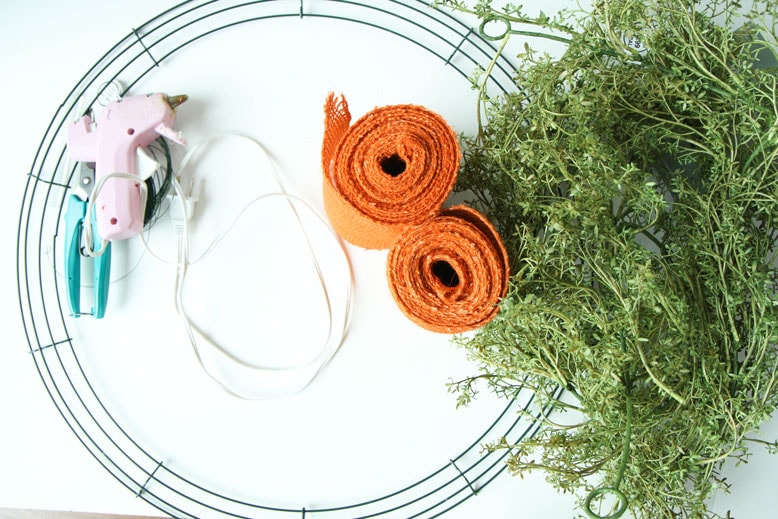
Fall-Burlap-Wreath-Tutorial-Supplies Supplies Needed:

Autumn Burlap Wreath Tutorial from MomAdvice.com

Directions:

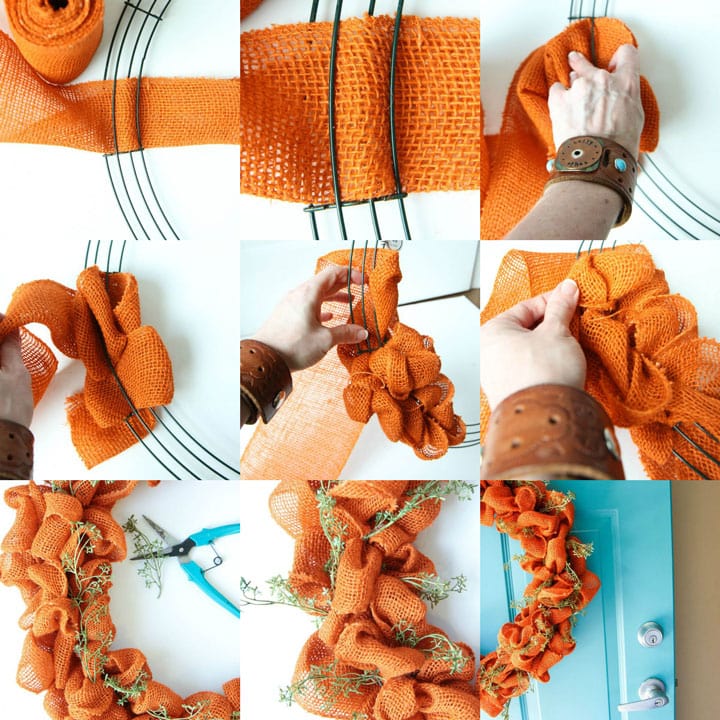
Begin by folding your burlap in half, like I have shown above, and keep the fold going as we go along. 

Select one section of the wire wreath to start in. 

Feed the beginning end through the wreath as shown above: over the outer ring, under the next, over the next, and under to finish. 

Leave a little loose end to tuck in or you can wire it to the wreath with a little floral wire in the back. Now you have started your wreath- super easy!  This is the technique we are using throughout.

Note: I am showing it to you tightly so you can see how this will work, when you do this, you will actually be pulling out the burlap a bit to give it to that bubble effect that we are going for. 

Using the working end of the burlap (the working end is the side that isn’t the final end of the burlap, but in the end you are working with), we are going to begin making the bubbled burlap right next to this row, within the same section of that metal wreath, but we will begin weaving in the opposite direction, continuing to pull out and bubble the burlap as we go, moving the working burlap into each section, weaving one direction than weaving the other direction. 

If you are still confused, this is the most pinned article on our website that shows you how to get this wreath started easily.

When you run out of burlap (it should be when you are about halfway through covering the wreath), tuck the end towards the back and pick up where you left off. Again, you can wire these ends with a little floral wire on the back.

Once the entire wreath is covered, secure the final end with floral wire on the back of the wreath to make sure everything is held into place, twisted around one of the metal strands of the wreath.

Now you can fluff your burlap out to create that bubbly effect and to cover any of the metal you can see peeking out..

Clip small stems of your greenery to weave into your wreath. Starting with the front, add bits here and there, but not in a pattern, to make it look natural. Repeat this process with the middle layer and then finally attach a few towards the back to add texture to this wreath.

Handmade Autumn Burlap Wreath Tutorial

I don’t want to brag, but doesn’t this look like something out of a magazine?

Weaving in the texture of the greenery really makes this wreath pop and looks professional.

Thanks to catching some half-off sales at our local craft store, I was able to make this beauty for less than $20 which also makes me very happy!

Handmade Autumn Burlap Wreath Tutorial

I hope you can dress your home up simply and beautifully for the fall holidays with this fun idea!

Are you looking for more wreath ideas? Check out these fun craft ideas below for fall or visit our entire crafts section for more inspiration!

how to make a yarn pom-pom wreath

How to Make a Fabric Wreath and Garland how to make a fabric wreath and garland (you could use your favorite Fall prints for this one!)

DIY Thumbtack Pumpkins from MomAdvice.com dollar store diy thumbtack pumpkins

Knitted Leaves Centerpiece knitted leaves centerpiece

Happy crafting!

This post contains affiliate links.

Pin It

DIY Yarn Wrapped Letters Tutorial

Tuesday, March 12th, 2019

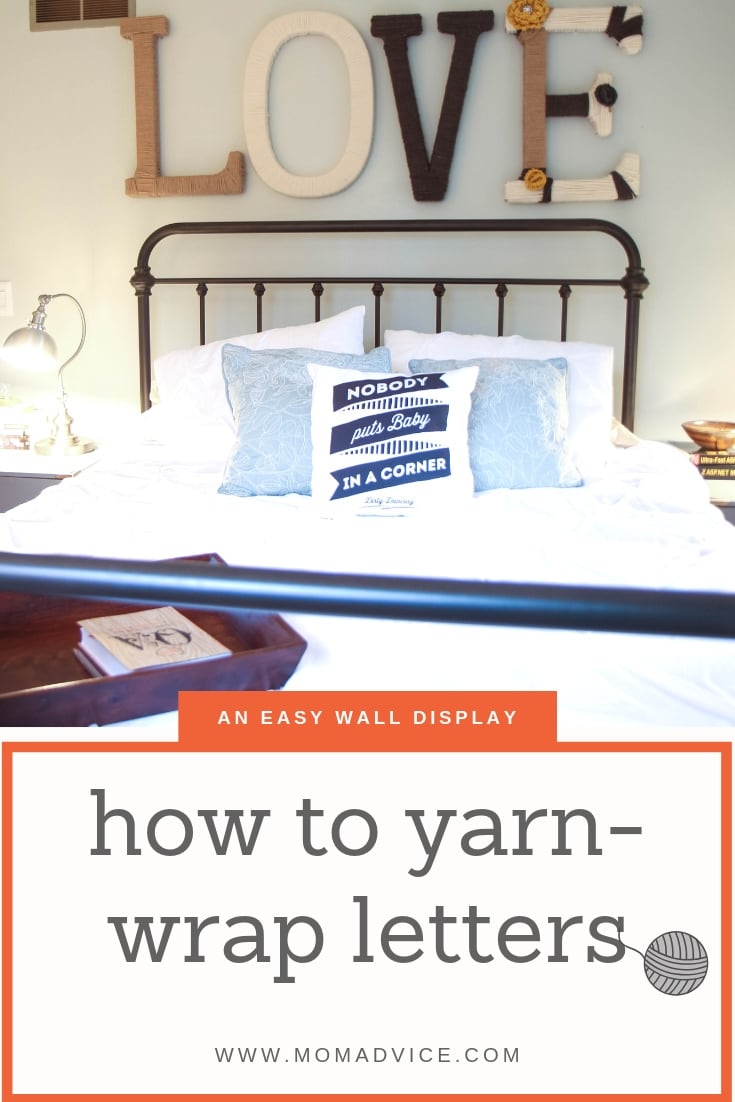
Create a beautiful wall display with letters and scrap yarn. This Anthropologie-inspired craft really adds a beautiful element to any home. This tutorial will show you step-by-step how to achieve a wall display of your own!

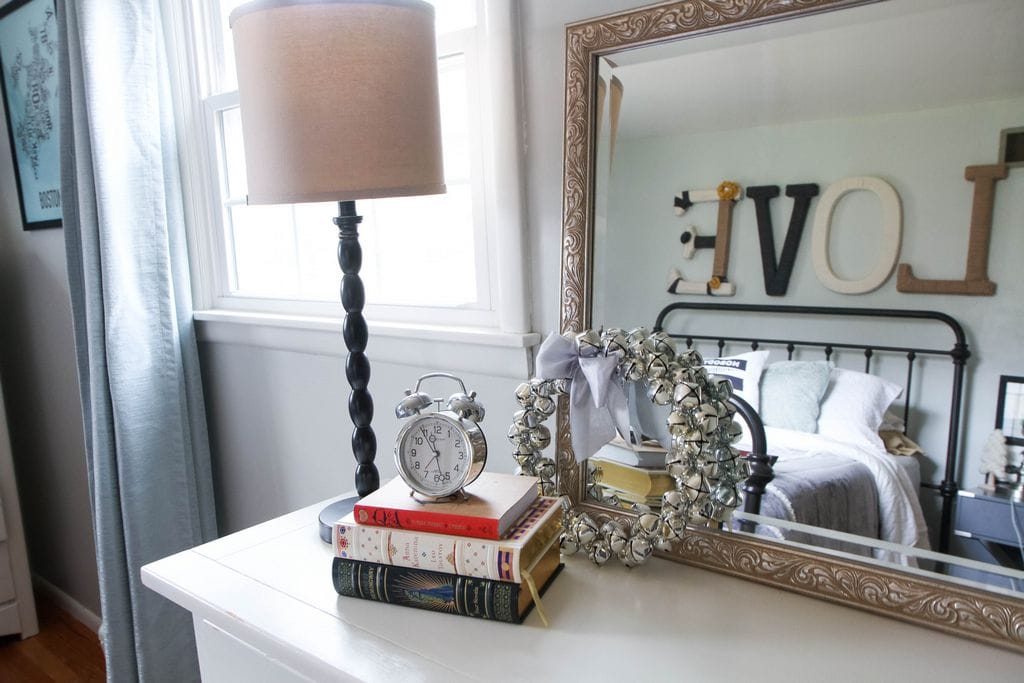
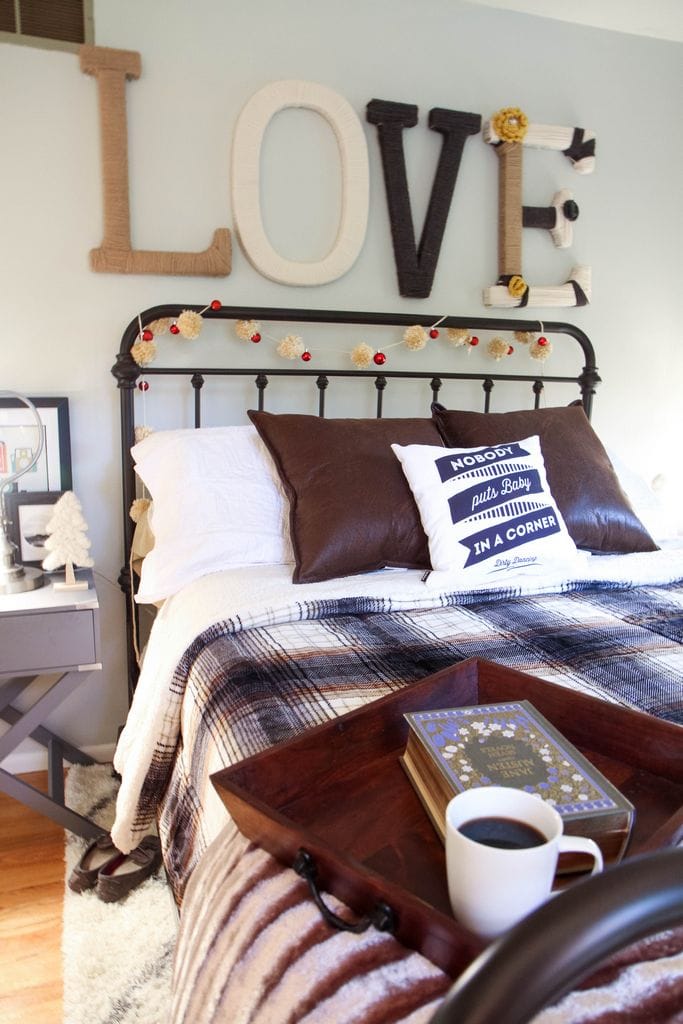
There are a few decorations in our home that have stood their test of time and the wall display in our bedroom remains one of those tried-and-true craft projects that I still love today.
I love to create projects that can be great stash-busters for the knitter AND a great yarn project for someone who doesn’t knit, but would love to have those textures in their home. Today’s project requires zero knitting skills and is simple enough that you could yarn-wrap those letters with your child.

I can’t wait to show you how easy it is to make this yarn display for a wall in your home.

Additions to my home, like these, really bring that Anthropologie shopping experience right in my home. It is, in fact, a lot of the inspiration for the crafts I try to do around here!

Let’s get started!

How to Yarn-Wrap Letters


Supplies Needed

23.5” paper mache letters that spell LOVE  (or your word of choice)

6 skeins of bulky yarn (the back of the packaging should tell you the weight of the yarn)

Scissors

Hot Glue/Tape, or even a Thumbtack for securing yarn in place

Large Package of clear 3M hooks for damage-free mounting


Directions

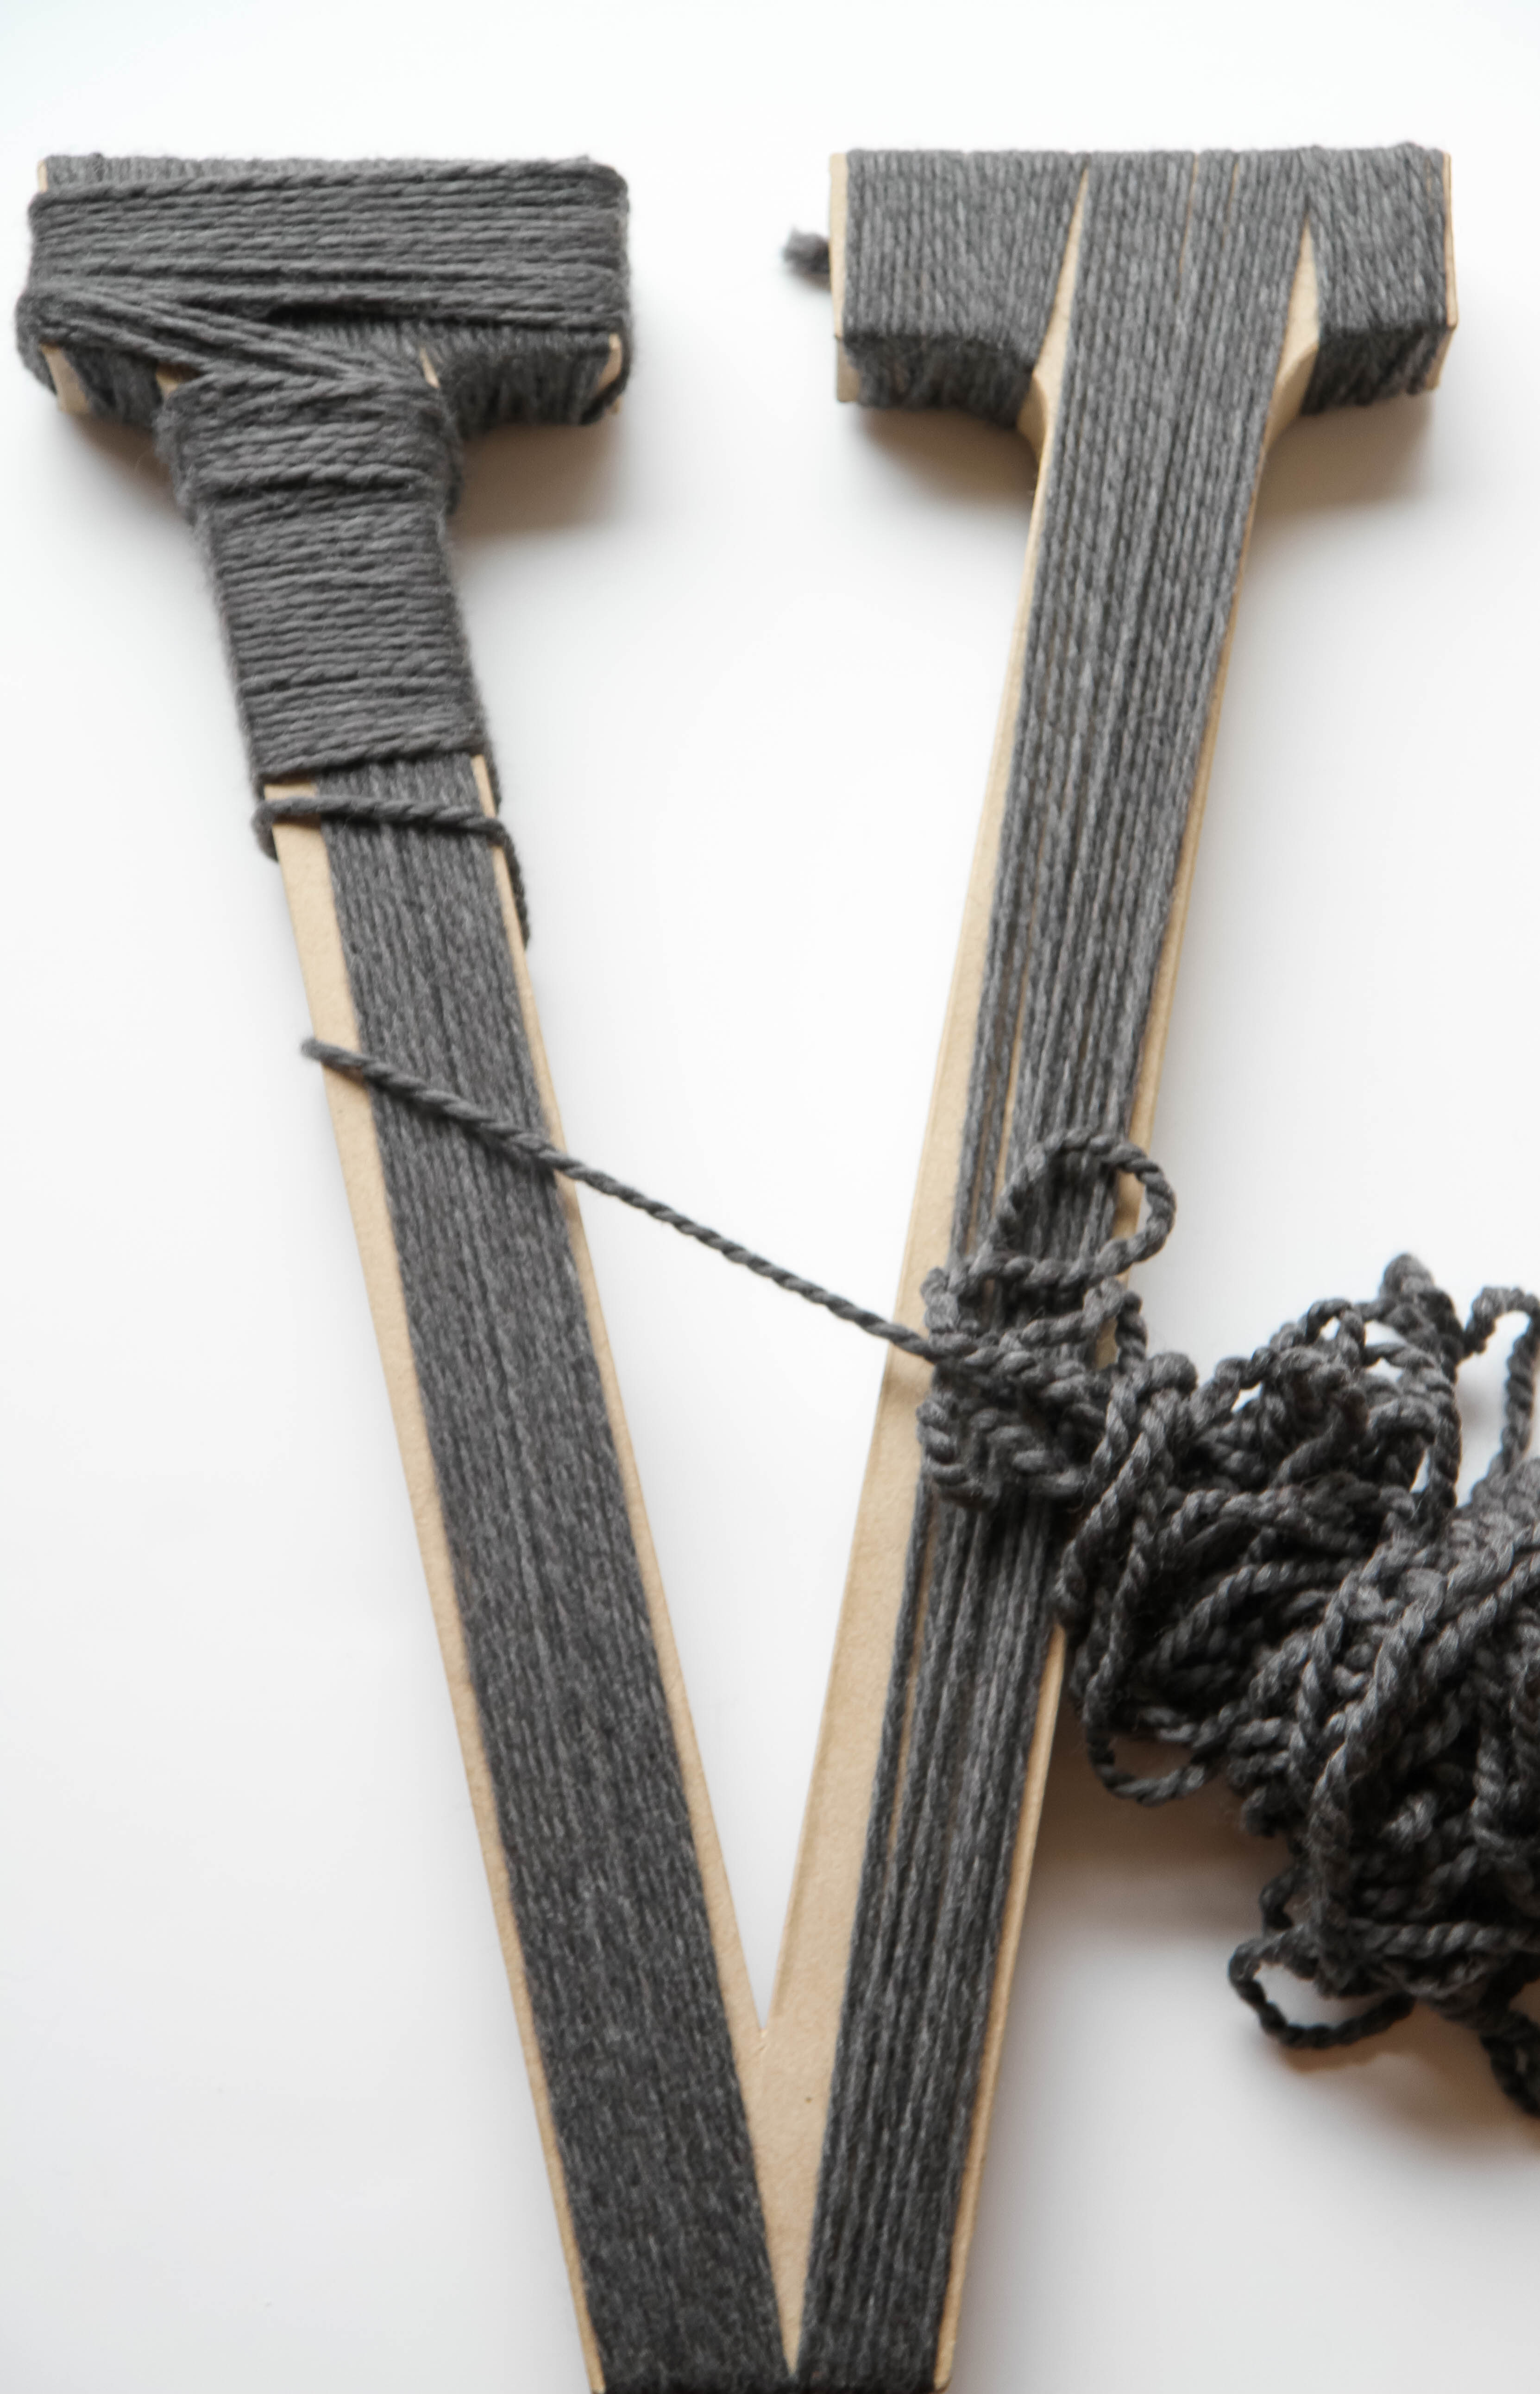
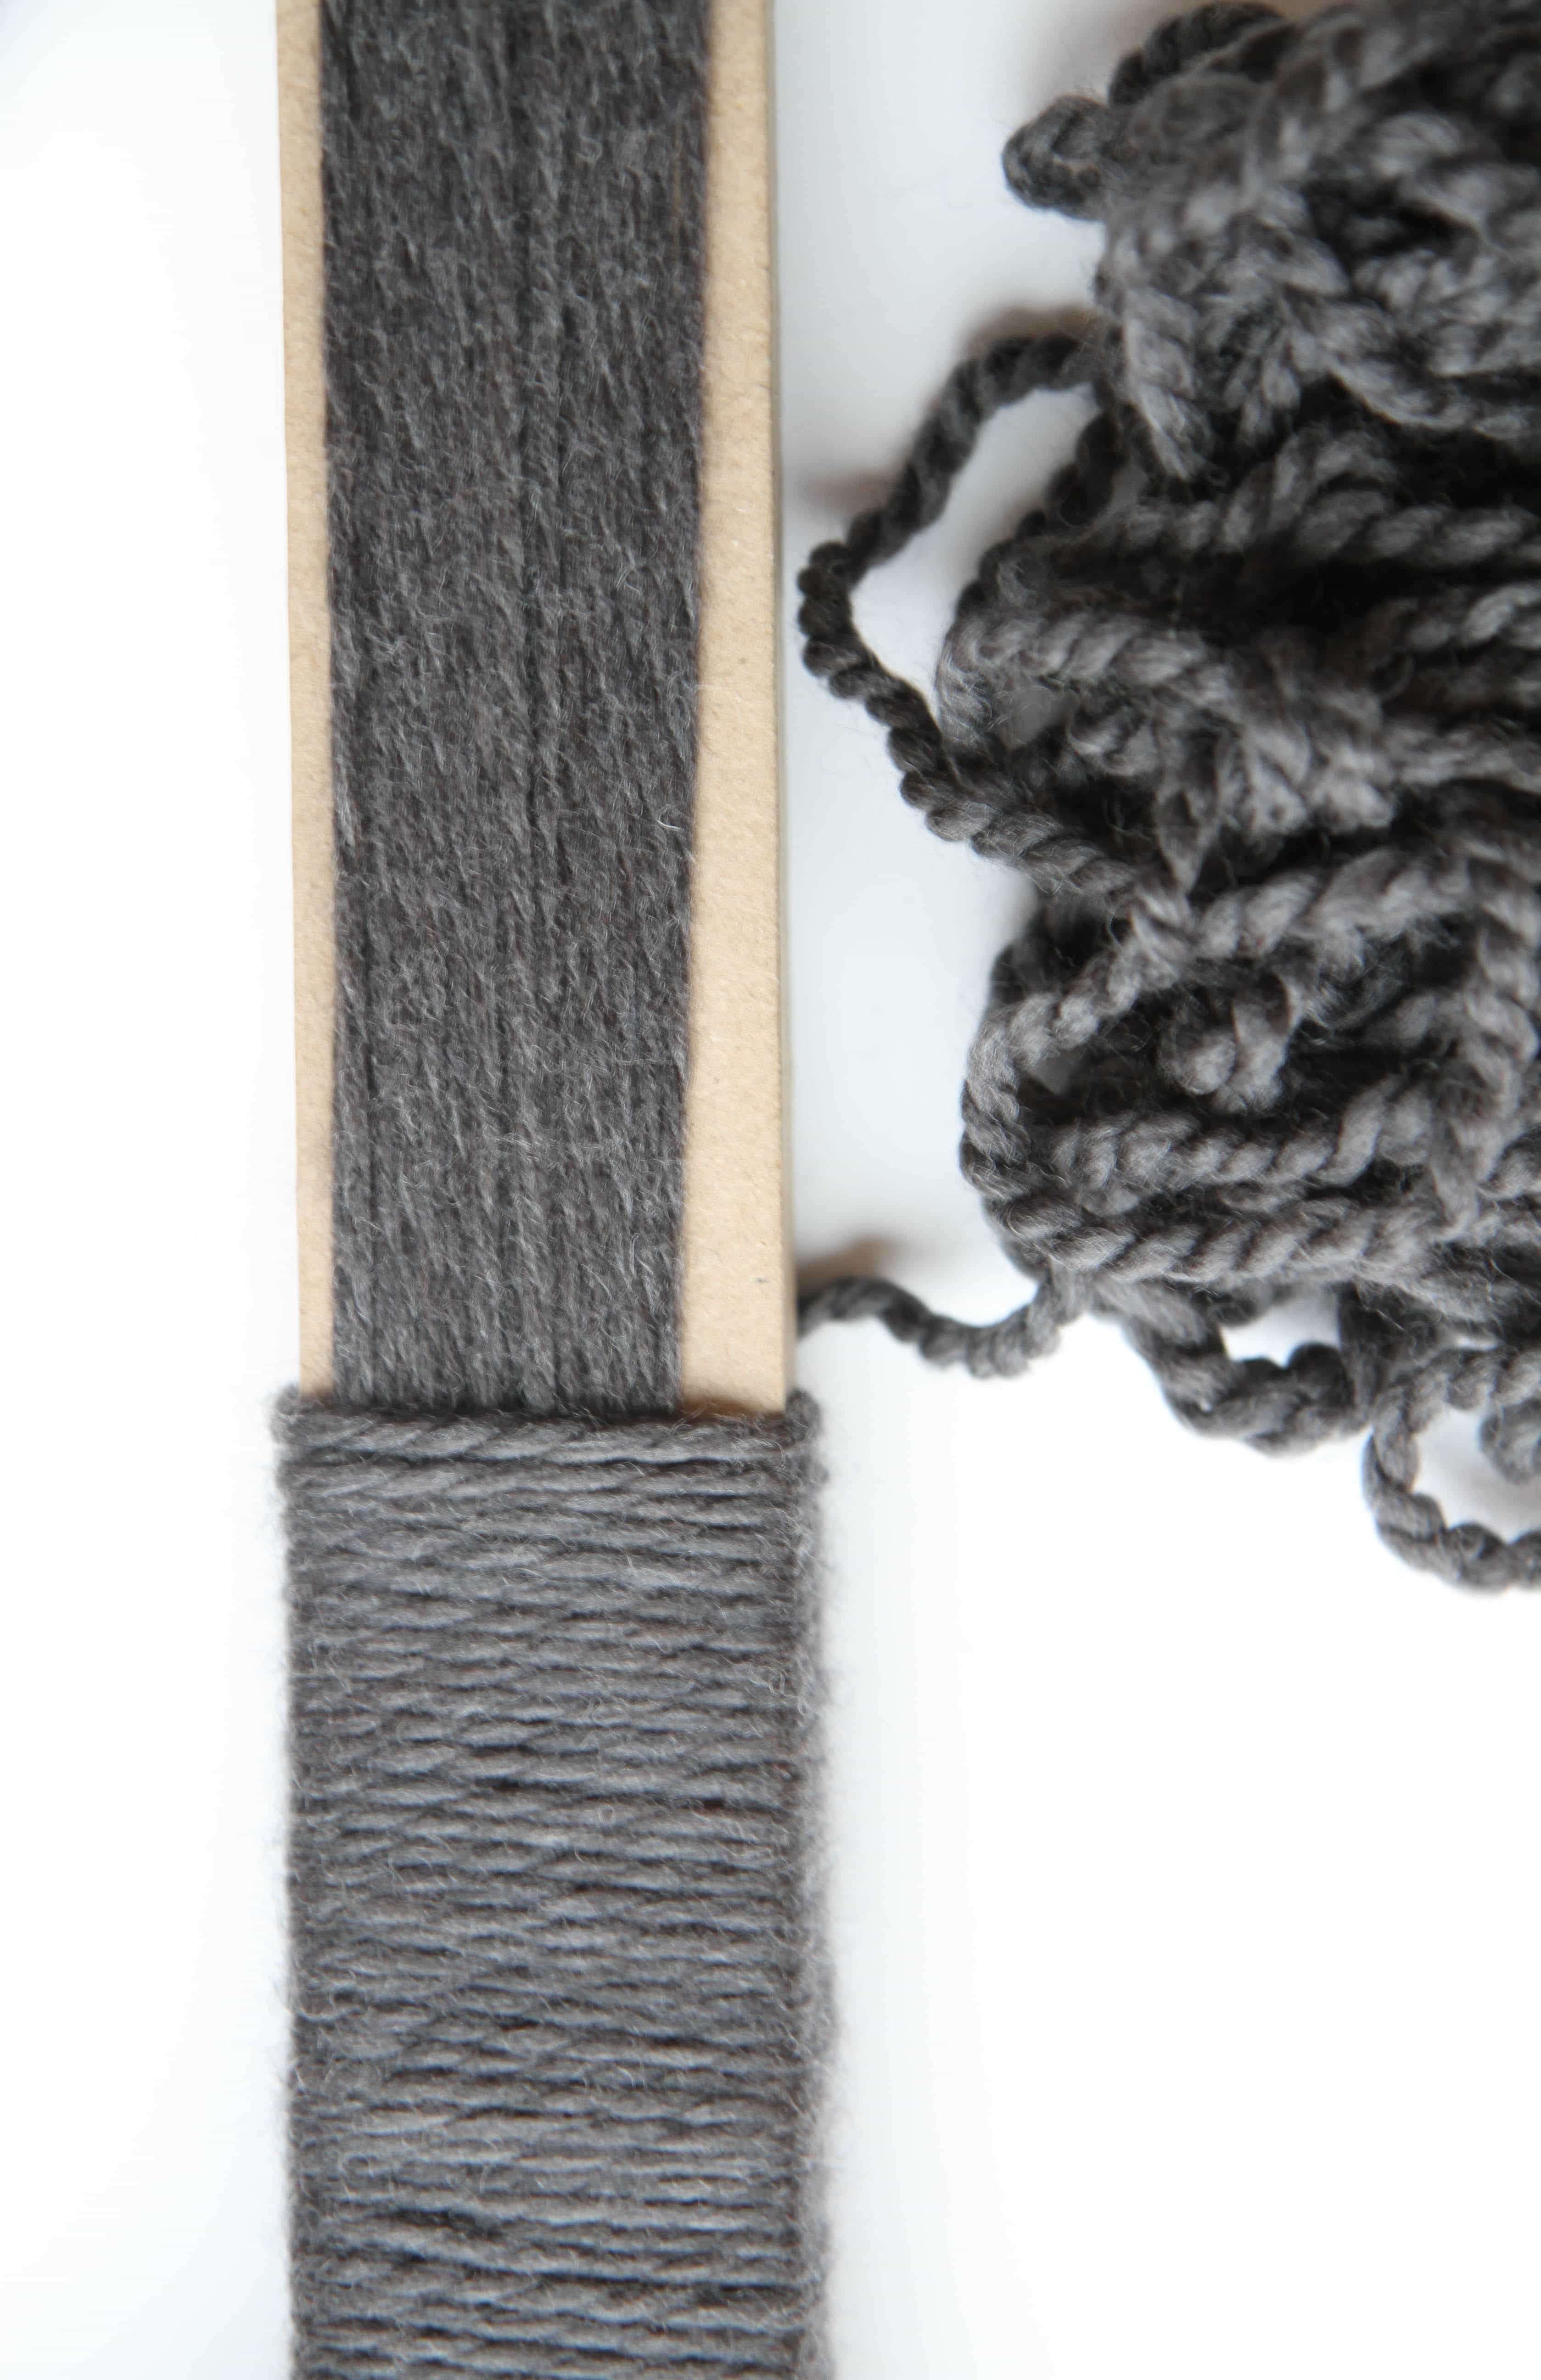
To begin, grab a skein of yarn and begin wrapping your letters in one direction (I started going up and down first).

Do your best to cover the letter in that direction and feel free to cut and secure yarn on the back as you go to cover the entire letter.

You can begin and end the securing of your yarn with a thumbtack, a piece of clear tape, or a little dab of hot glue.

Once you have covered the letter to the best of your ability, now begin wrapping the yarn in the other direction.

Navigating around detailed corners will be tricky. Don’t be afraid to stop and start the yarn to wrap the letters. I found that the corners were a bit bulkier to try to cover, but no one will notice that.

For the last letter, utilize all the ends of each of your skeins to create a scrappy letter from the three colors used in your L,O, and V.

I tried to layer the colors in places, securing again with a little hot glue, tape or thumbtacks for starting and finishing these wrapped places.

I also added a few knitted accessories to my last letter. The same idea could be achieved with fabric, interesting buttons, or purchased accessories. The possibilities are limitless and can fit your own style.

To mount them, I used clear 3M hooks, and used a razor blade to cut an “X” in the back of the cardboard letter to create a spot to hide the hook internally. Some of the letters could be mounted with just one hook (like the O) while others require d two or three hooks to secure.
The best part is that you can move your letters around or remount the hooks if you struggle with getting everything level.

These won’t damage your walls and when you get tired of this display, you can remove them and try something else.

bed from overstock (if you can believe it!!)

DIY Yarn Wrapped Letters Tutorial from MomAdvice.com

As you can see from my giant display, I tend to go all out when I tackle projects like this, but you could definitely use smaller letters and thinner yarn to make this display of LOVE on a smaller scale.

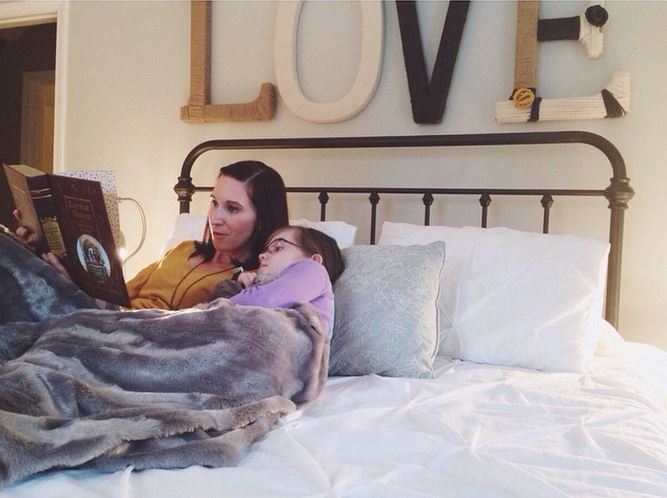
Anybody else want to curl up and read Little House with me?

Love this yarn project? We have SO many more fun ways to use yarn on the site!

check out this viral sensation- how to make a pom-pom wreath

diy yarn trees (make in different colors for different seasons!)

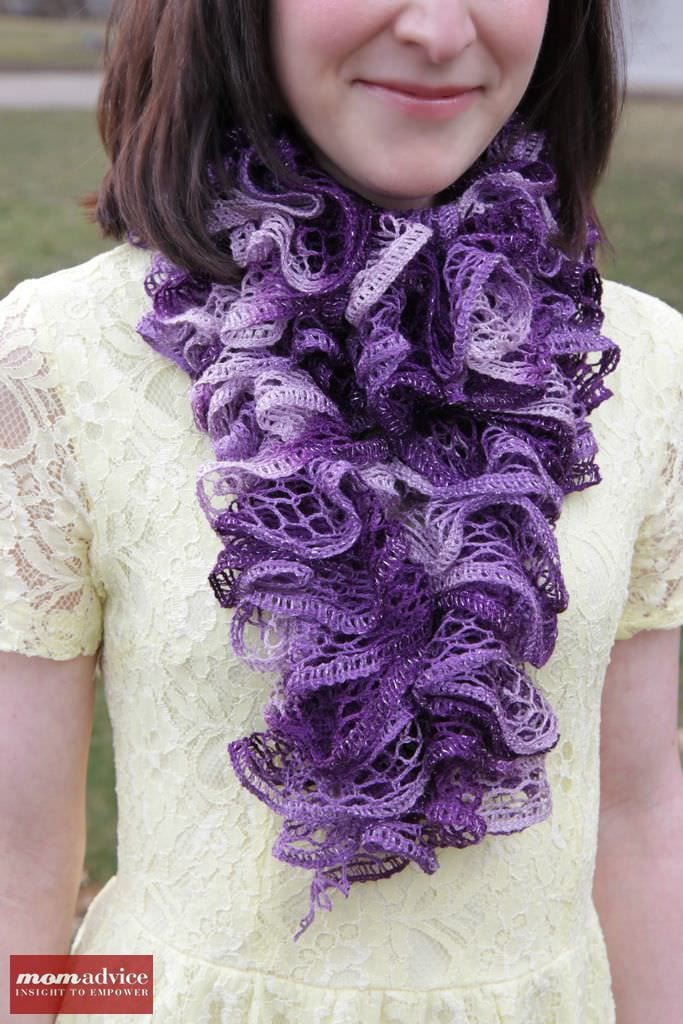
6-stitch knitted ruffle scarf

knitted leaf centerpiece (made from scraps and twigs!)

quick & easy knitted boot cuffs

knitted sweater coffee cozies

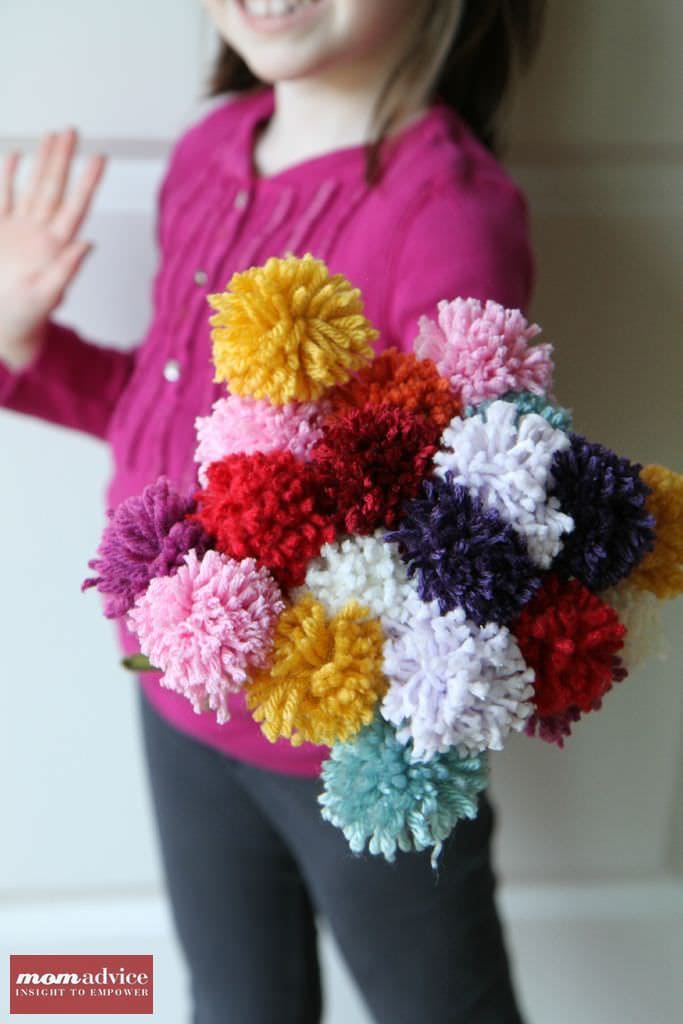
how to make a pom-pom flower bouquet


This is one of those projects that you can make all your own and I hope you share your interpretation with us! xo

This post contains affiliate links.