
Blessing bags for the homeless are such a beautiful act of kindness for those in need. Today’s post will show you how to make homeless kits for those in need. These hygiene kits are handy to keep in your car, for those that live on the street, or can be given as gift bags for your local homeless shelter. Be sure to print out our free printable supplies list for your homeless care kit.
One thing that you may not know about our family is that we are really passionate about caring for the homeless.
Creating a homeless care package (also known as a Blessing Bag) can be one fantastic way that your entire family can be involved in caring for those in need.
Today we want to provide a checklist of supplies for the homeless bags, a local resources sheet you can print out (if you are in our area), and some tips for involving the whole family in this project.
After all, homeless gift bags are a great idea to help teach your children kindness.
These homeless packs have been replicated by so many people and are the perfect activity for volunteer organizations you may be part of.
By involving others, you can alleviate some of the expenses by asking everyone to bring the materials to craft these bags.
Distribute the list and allow each attendee to bring travel size items, food, socks or bags to help the homeless in your area.
I also appreciate that these homeless care packages can be prepared for your local shelters or kept tucked away in the trunk of your car for those you may see on the street looking for your help.
I love feeling armed in these situations and these kits are a simple way to show how much you care.
Over the past couple of years, I have also had the opportunity to work at our local food bank and food pantry. What many people don’t realize is that many of these items cannot be purchased using food stamps.
Items that are not food (like toothpaste, paper products, deodorant, shampoo, toothbrushes, etc…) are not eligible and that is why these items are often in high demand at church community pantries.
It is why these are the items that I choose to donate to our shelter each year.

I wouldn’t be truthful if I didn’t tell you that my husband inspires me every day with his giving heart. Last winter, he was coming home late from work because he would see people in need and run to stores to get them supplies and gift cards.
That is his heart.
That is why I love him.
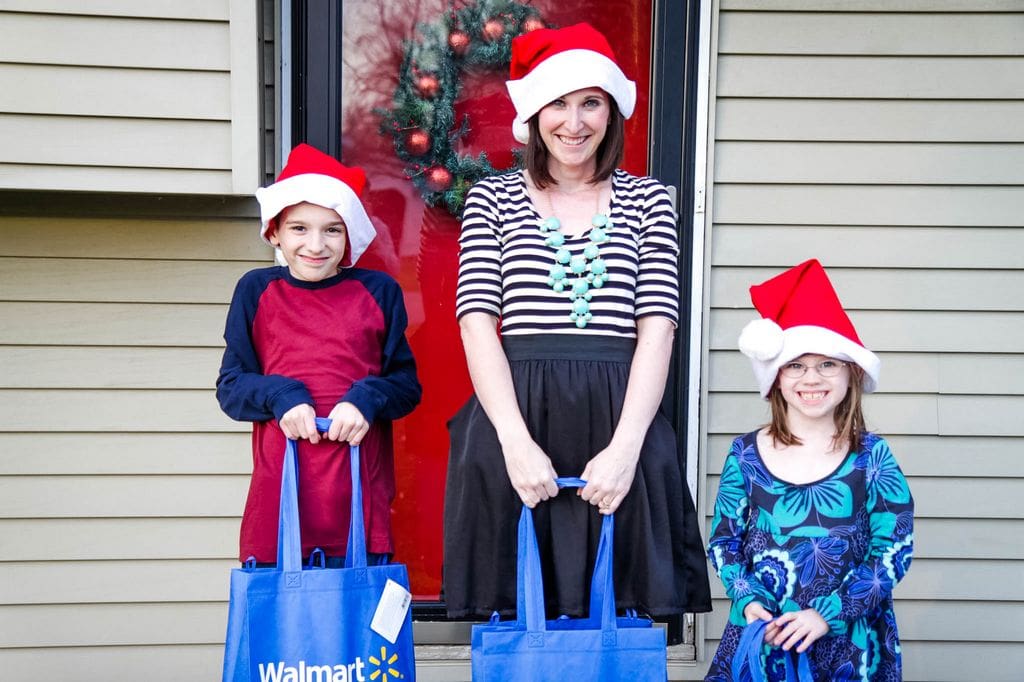
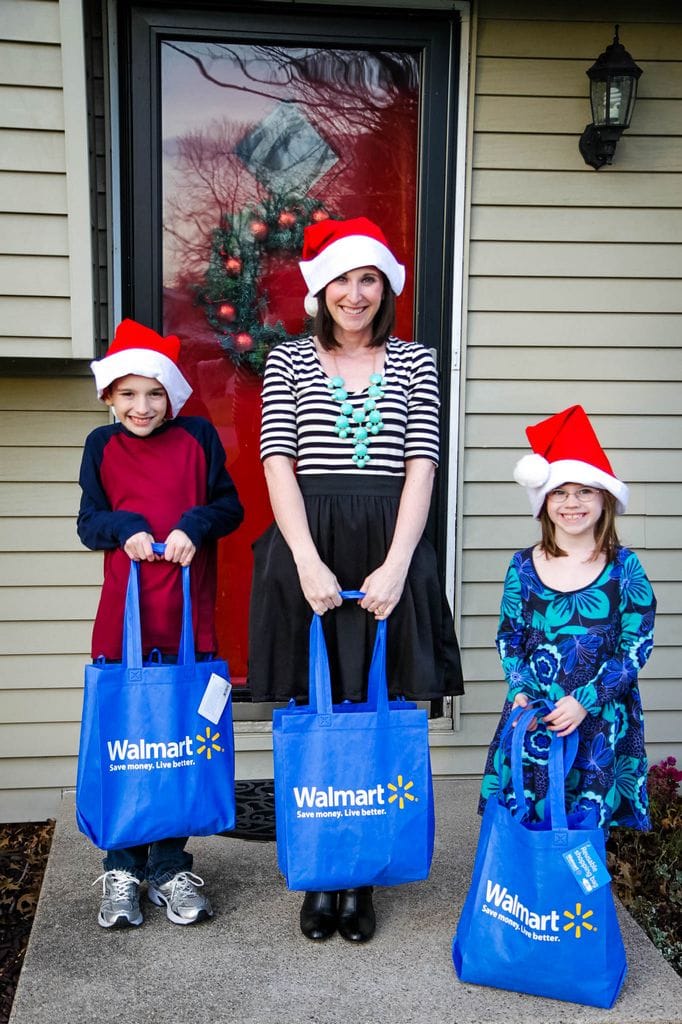
 If there is one thing I firmly believe in, it is that giving should be a family affair.
We have to lead our children by our example.
I want my children to remember that what made our family special is that we always gave with our whole hearts.
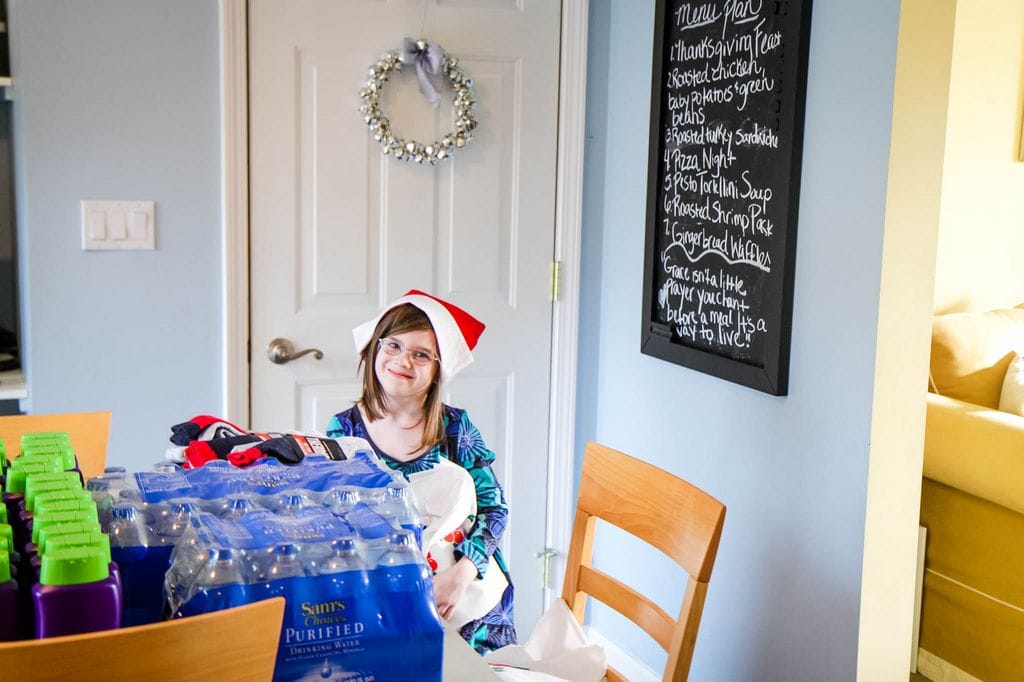
My kids assisted in every aspect of this project.
My son came with me and did the number crunching on a good old-fashioned calculator, my daughter helped sort and organize all of the items we bought, and both kids helped fill the bags with all of the necessary items.
Here Are My 3 Essential Elements to a Great Homeless Care Package
Feed Their Needs
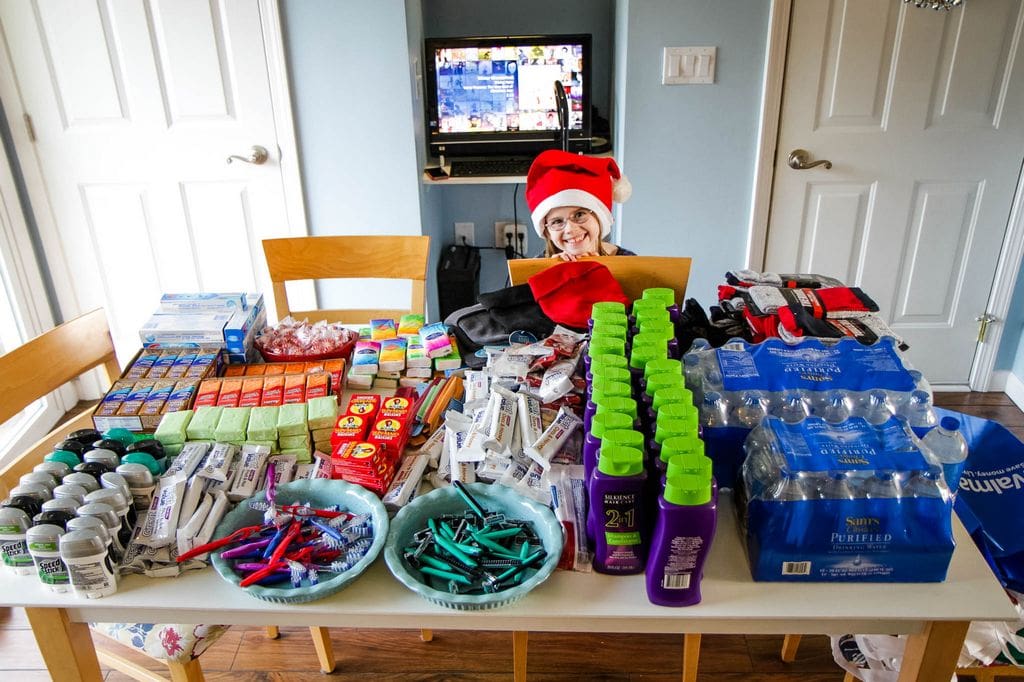
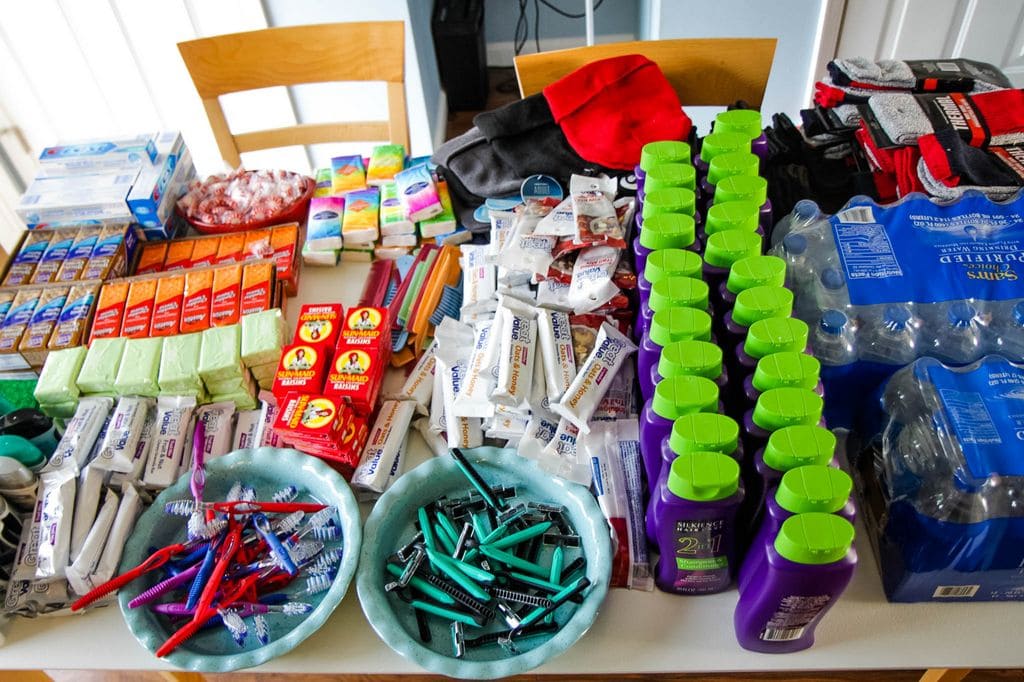
One of the greatest gifts you can give to someone who is homeless is personal hygiene items and food to nourish their bodies.
Begin by picking up items that will satisfy this area in their life first.
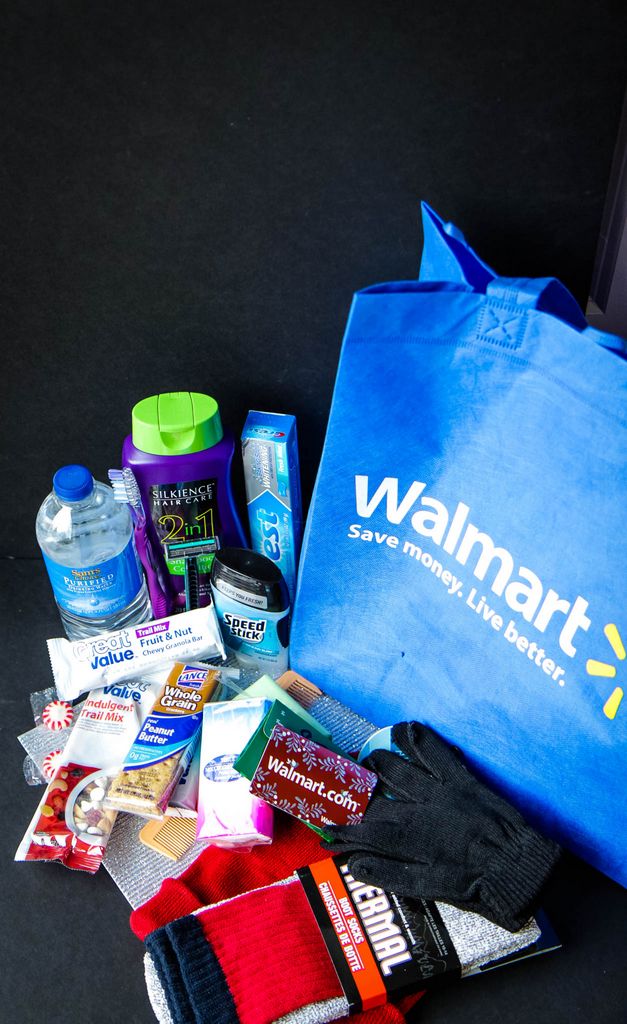
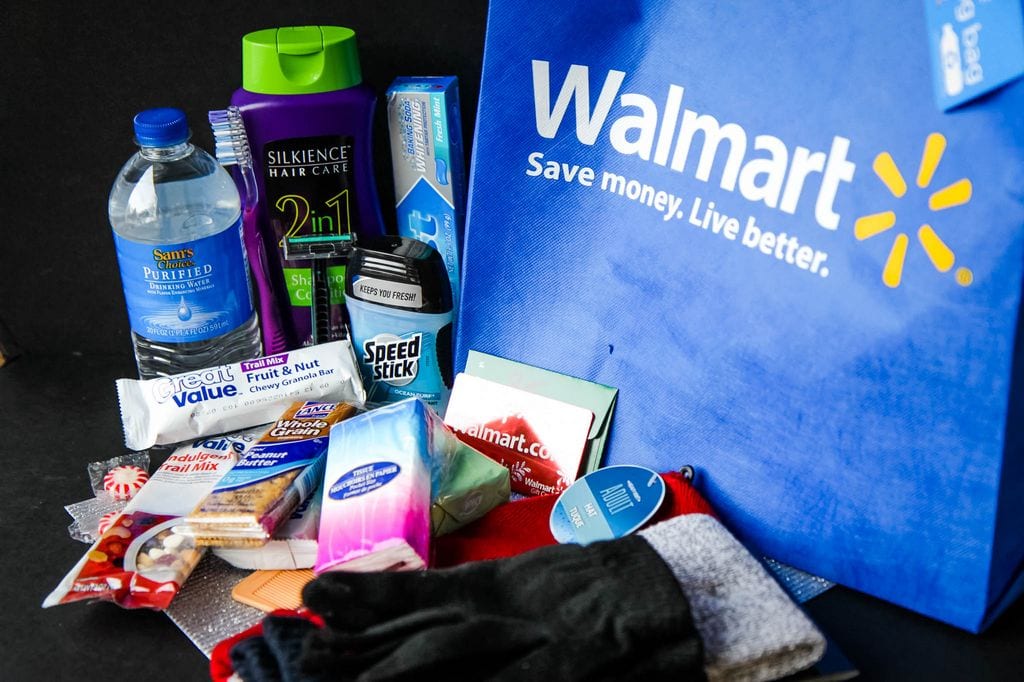
Simple items like shampoo, a razor, hand sanitizer, baby wipes, deodorant, a toothbrush, toothpaste, a comb, a bar of soap, and tissues are all great items to keep on hand.
Food like granola bars, crackers with peanut butter, beef jerky, trail mixes, dried fruits, and a bottle of water are also great items to tuck into your bags.
If you have the funds, small denominator gift cards (we did $5 Walmart gift cards) can also be great to give so that they can pick up a meal or item(s) they might need.
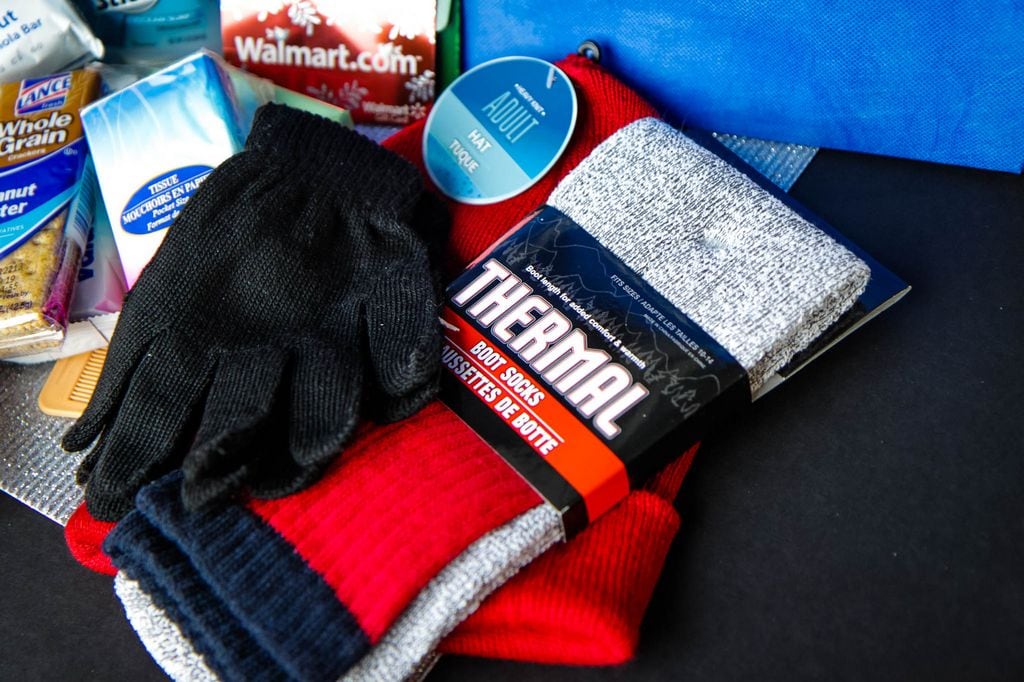
Provide Warmth
We live in Indiana and the winters here are brutal for homeless people.
I can’t imagine how cold it would be to stand on the streets without the proper items
I need for warmth.
Add items like thermal boot socks, gloves, scarves, and hats to your gift bags.
Items like these may seem out of your financial reach, but I found all of these at the dollar store and the sets of gloves were a mere $.50 each.
Feed Their Souls
I am sure it goes without saying, but feeding someone’s soul is just as important as feeding their needs.
You can feed their souls in a variety of ways depending on your families beliefs and resources.
We created a local resources list (available for local residents to download) that they can tap into for further resources in our town.
A note that lets them know that they are on your prayer list, a note of encouragement by your children, or a scripture that you find comforting can also be excellent additions.
If these are not enough ideas, I encourage you to spend a bit of time browsing through the comments on this post.
Many people regularly volunteer at their shelters and food banks and have some great ideas to help.
Please also know, that we are real people (sometimes that doesn’t seem that way on the website, am I right?) and we did OUR personal best to put these together so we appreciate your KIND words on this post and definitely encourage you to share your own must-have items in a care package while being respectful of others in these comment threads.
How Do I Order My Homeless Care Package Supplies in Bulk?
Did you know that you can purchase items from Dollar Tree IN BULK.
Looking to save even more? Consider using this incredible rebates app to get cash back on ALL your holiday purchases.
We were able to place a bulk order with Dollar Tree and pick up the items we needed for these kits from our local store.
Don’t have room in your car?
No worries!
They can ship all the items directly to you.
How cool is that?
What Our Readers Suggest Adding to Your Hygiene Kits for the Homeless
I love seeing what contributions YOU recommend for these packs! Here are some of my favorites you shared!
“My husband and I travel a lot when he’s working on contract.
I save all the little complimentary shampoos, conditions, soaps, etc and when I have quite a few saved, I sew up pretty drawstring bags, divide the items I’ve save between the bags and then donate them to our local women’s shelter.
I’ve also started adding toothpastes and toothbrushes that I purchase to the bags.
Many times women arrive with nothing but the clothes on their back and this way they can be given their own personal care kit. I make each bag different so that they don’t feel like they are getting something that is assembly line, but something that was made just for them.”
“Many homeless also have dogs.
Perhaps you could add some things like treats, small pouches or pop-top cans of food, grooming supplies and toys.
And with the winter months coming, both owner and pet need to stay warm and dry…some large trash bags to put on the ground to keep from getting wet and even colder.
And I have seen fleece throws just recently at Walmart for like $2!”
“I currently make and deliver hot chocolate to a few homeless people I see on my way home from work (I work in downtown Chicago) and I pass out cold cans of pop in the summer.
I also make plates of food from leftovers after work luncheons and pass them out after work. (I don’t consider this stealing because I know that by 4:30 anything left in the kitchen will be thrown away.) I
know it isn’t not much, It won’t make a huge difference in the world, but it might make a world of difference to the person I’m helping.
Thanks for the list. I’m glad to see there are others out there who are concerned for the homeless and actually do something about it.
I hope the care package(s) I pass out, make the receiver(s) feel loved, thought of and cared for.”
“This is a wonderful idea! I got so excited when I saw this-I immediately began to think of other items that might be added, such a bar of soap or bottle of body wash, plastic glass and mug, plastic cutlery and plate, tissues, pen and notebook, small clock, personal wipes, instant oatmeal packets, instant soup packets, hot chocolate packets, instant noodle packets, towel, facecloth, thermal blanket, and in the summer, a sun hat, sunscreen, inexpensive umbrella and a fly swatter!
Many of these things can be found on sale, at Walmart, and the dollar store. They don’t have to be bought all at once and do lend themselves as a project for a family, like yourselves, or amongst a group of friends, a Sunday School class, a school class or a Brownie troop.”
“You might also check with your school district if they have children.
All our local schools have a homeless liaison who works to get food, clothing and housing for homeless families.”
“I regularly carry around coupon books from various restaurants, but this goes even further.”
“As truck drivers, my husband and I see many people standing on the exit ramps of the interstate highways.
We give ziplock bags with toiletries, (in a separate bag) and foods like you mentioned, plus single serve packages of oatmeal, grits, hot cocoa, ect. I add pack of sugar, jelly, peanut butter, plasticware, napkins, whatever we get from the take out and fast food restaurants.
I also pick up dollar store gloves, hats, socks, ect. We have added stamped postcards, Christmas cards and candy canes in season.
Notepads and pens are welcomed as are throws we get at thrift stores.
We were giving the gift books from the fast food places, but now they’ve gone to gift cards.
Chapstick is a good idea, as are deodorants, comb, sanitary items for the women, (yes, we see homeless women and children too).
We give small toys, stickers and tattoos for the kids. We stay in motels a lot and always ask housekeeping for extras.”
“I love this post. I am in the middle of coordinating a SOCKS party here in Nashville.
We are getting the big, thermal socks, and filling them with different items for the homeless.
We’ve been fortunate to have my dentist donate the toothpaste and floss, and McDonald’s donated 1,000 Cards for a free dollar menu item.
We also have tons of shampoo, conditioner, and soaps from hotels.
We’ll stuff it with snacks, hand warmers, and other items (many on your list).
We are getting together for our SOCK party and letting the kids stuff the socks and make the tags, which will say “I care”.
The kids are excited and I love what it’s teaching them. Thanks for inspiring others to give back!”
Aren’t my readers incredible? Just think of the possibilities with this one!
God has been so good to us, but 10 years ago we were in a very different place than where we are now.
My husband was unemployed for almost an entire year, our financial situation was a house of cards, and my heart was in a bad place.
Although I don’t like to admit it, I wondered what my purpose on this earth even was.
I never have forgotten that dark place and it is why we still try to be so careful with the resources we have been given and why I have such a tender place in my heart for those who are struggling.
If you would like to read more about it, I encourage you to read my book where I share how we recovered from this difficult financial period in our life.
Being careful though doesn’t mean that you can’t be a giver.
There are fantastic ways to give, both big and small, around the holidays.
Be sure to check our list of ten painless ways to give back to charities to help you get started.
I call these smaller ways to give the, “scraps of life giving.” I have talked a lot about that with my partnership with Pure Charity as well!
We want to help you give back to your community! Here are some resources to do just that!

Don’t just click on the picture, head to this link to grab a full-size PDF version!

Grab our Local Resources List for your care packages (if you don’t live in Michiana, you can use this as a template for your own sheet)! Don’t just click on the picture, head to this link to grab a full-size PDF version!
Looking for more great ways to give back? Here are a few other great ideas!
How do you give back in your community? How do you teach your kids to be givers?
As an Amazon Associate I earn from qualifying purchases.
this post contains affiliate links.


Pin It

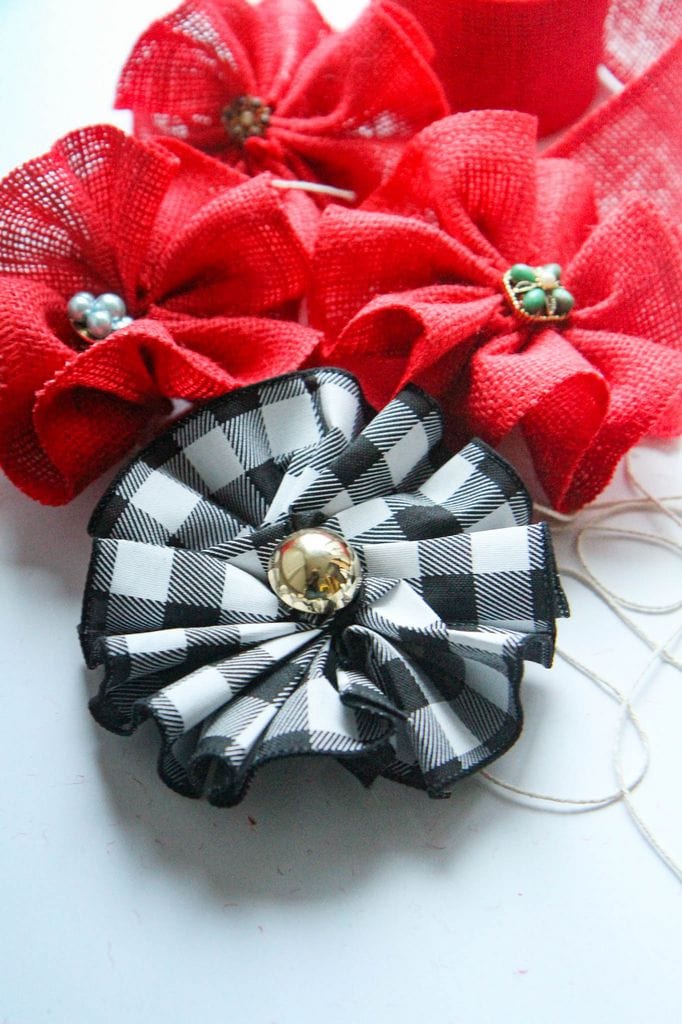
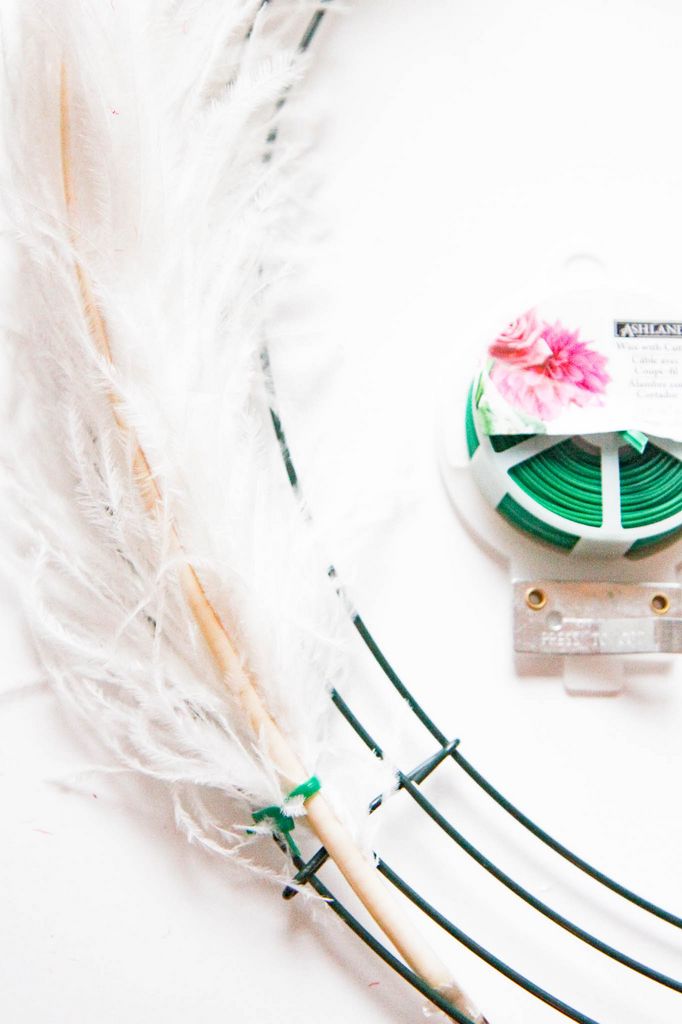
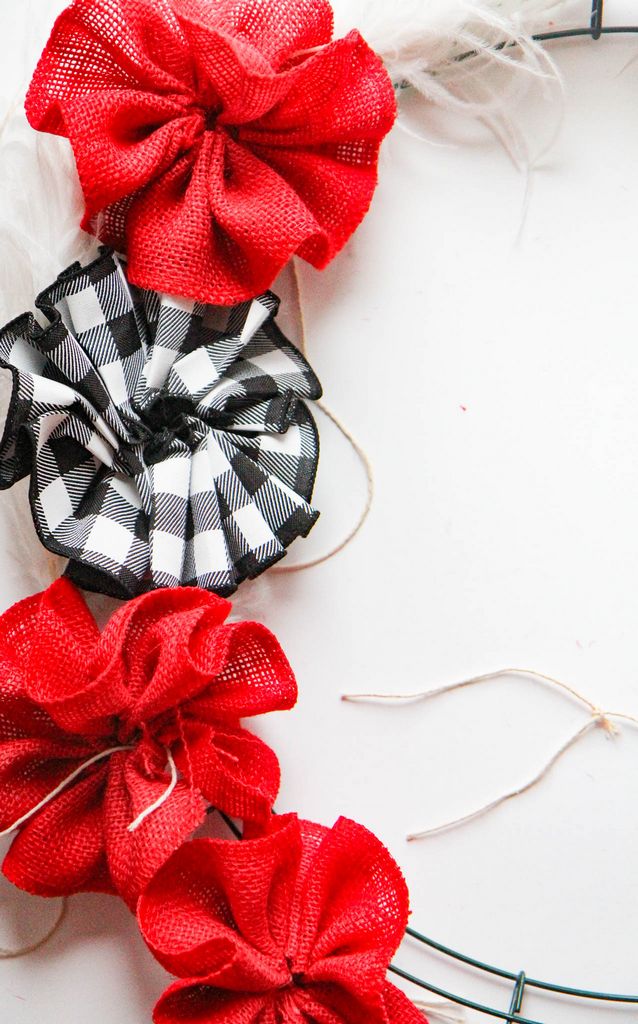
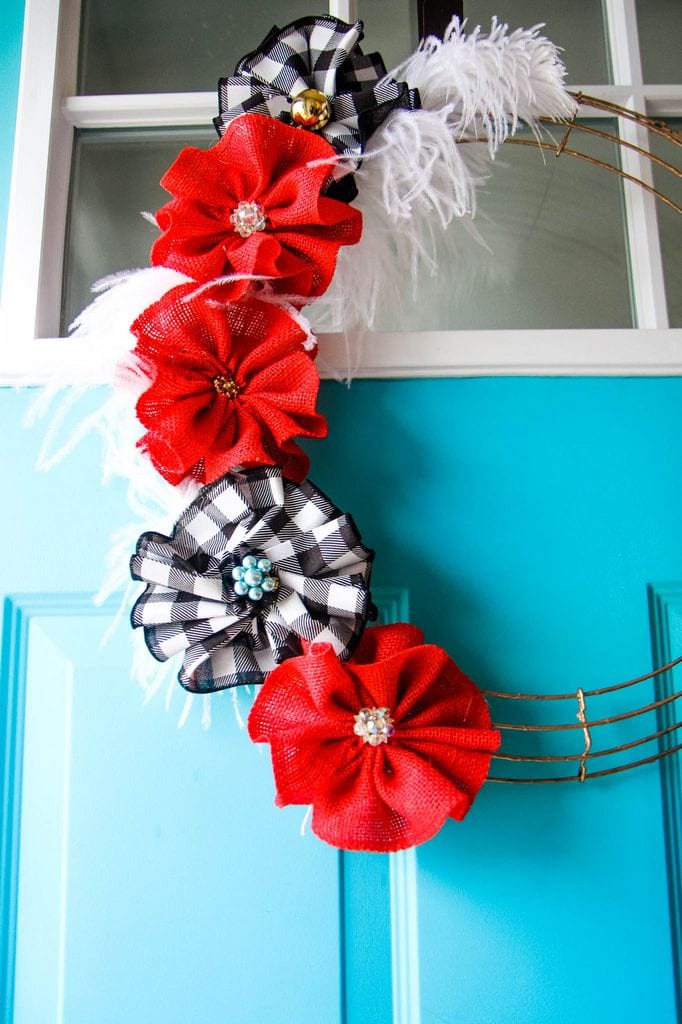

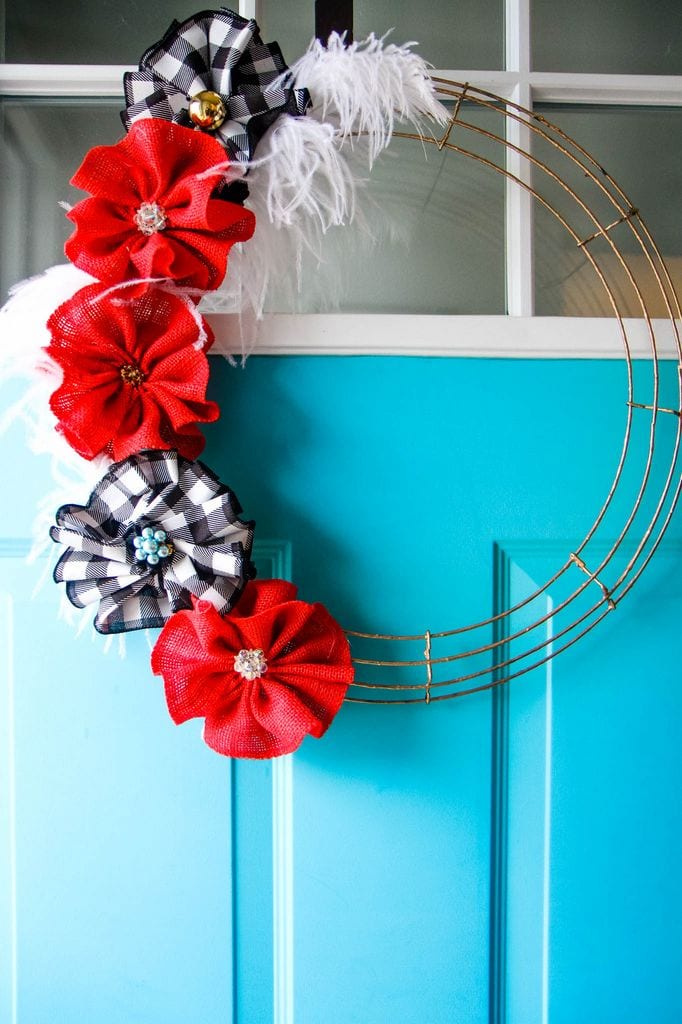
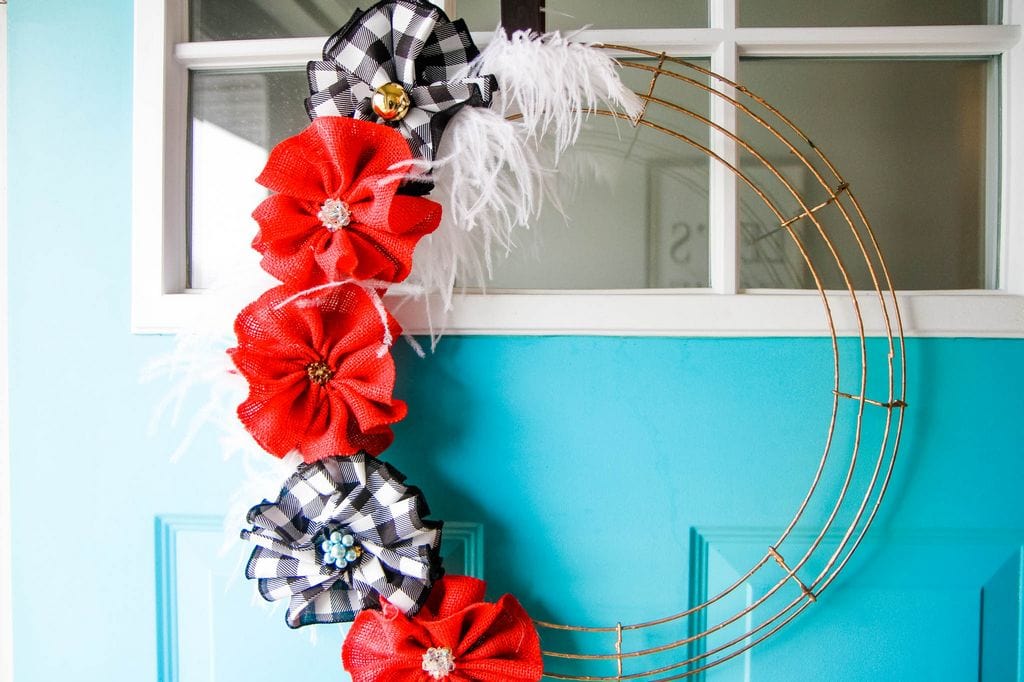
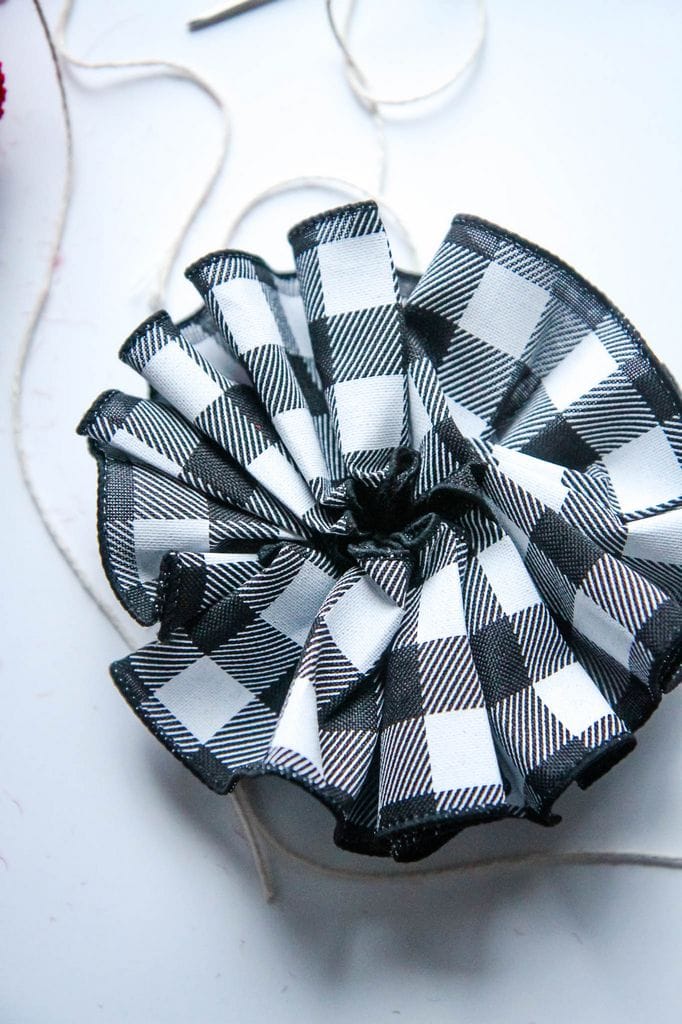
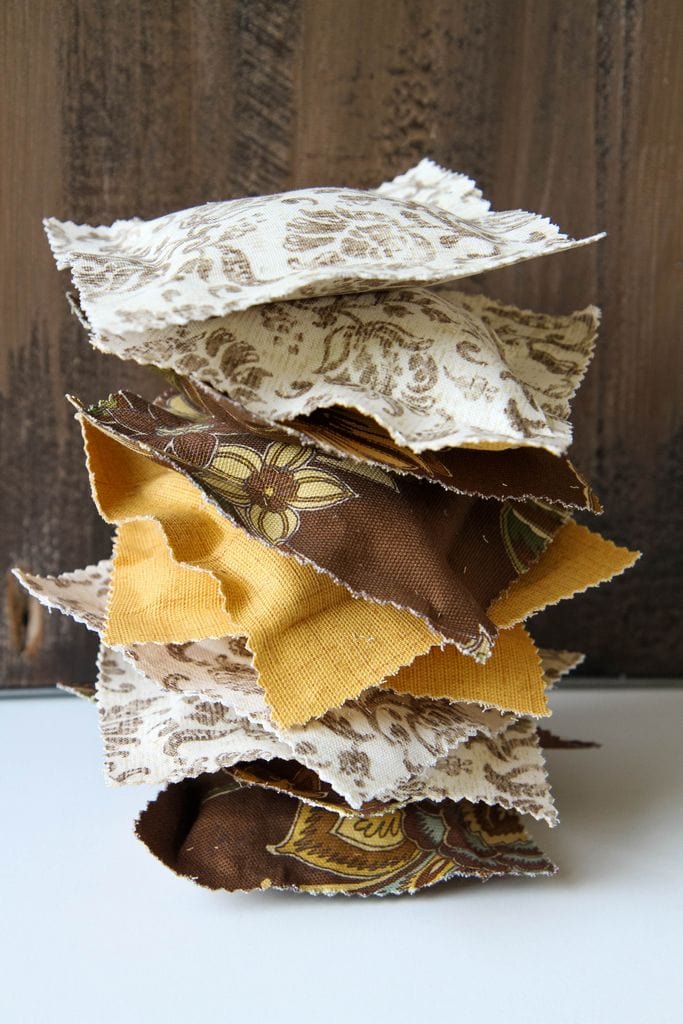
 make a floral fabric wreath out of scrap fabrics
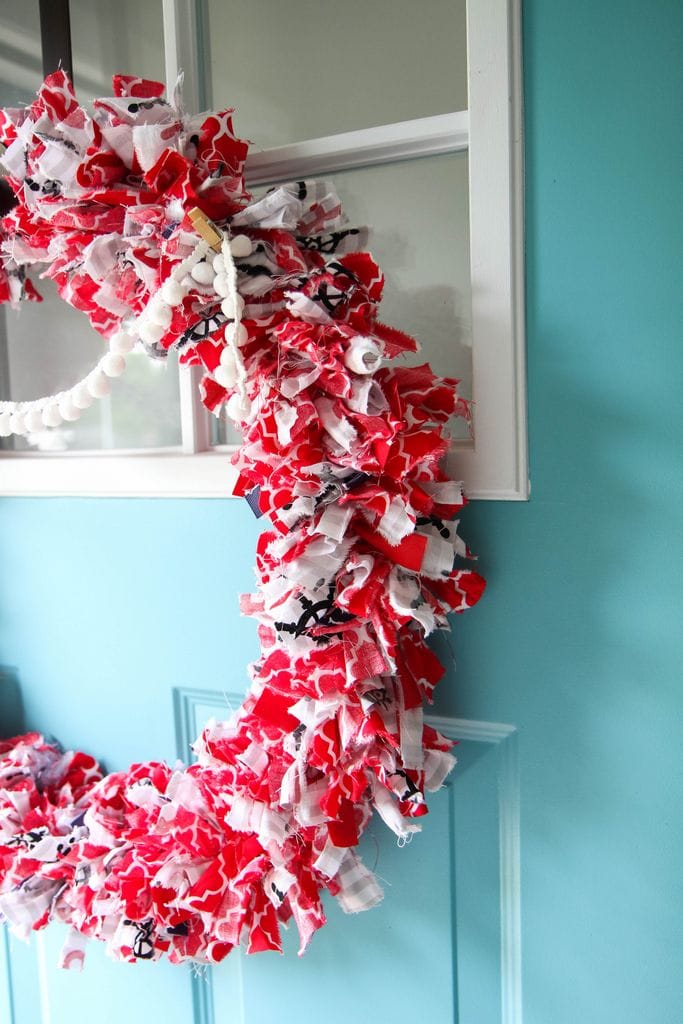 make a fabric rag wreath out of scrap fabrics
 turn peeps into a wreath with toothpicks (this lasted FOR YEARS- not kidding!)
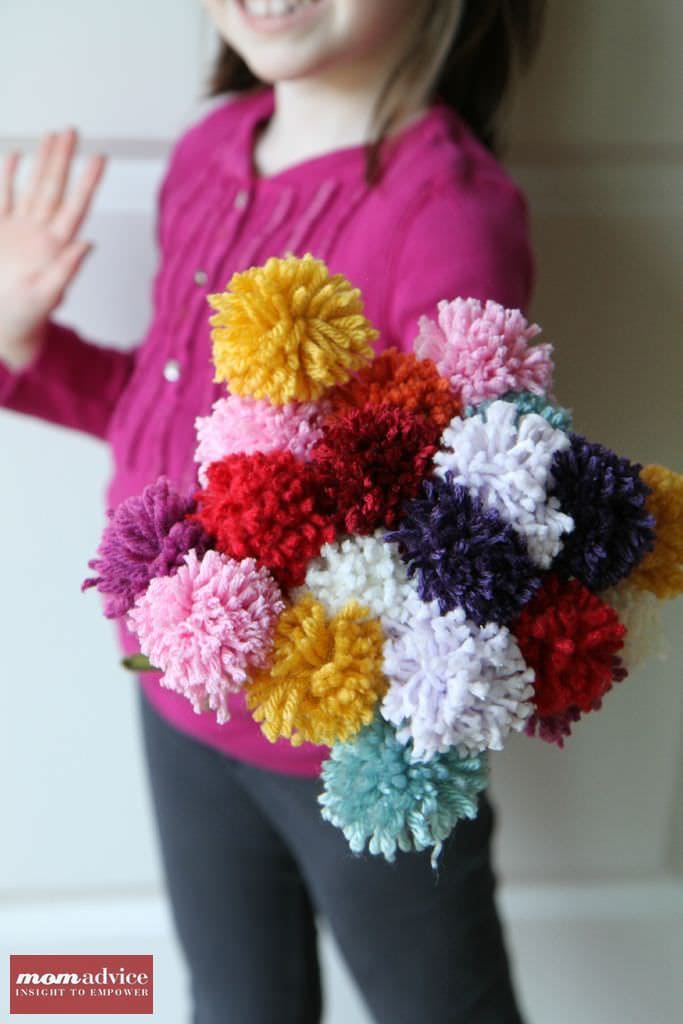
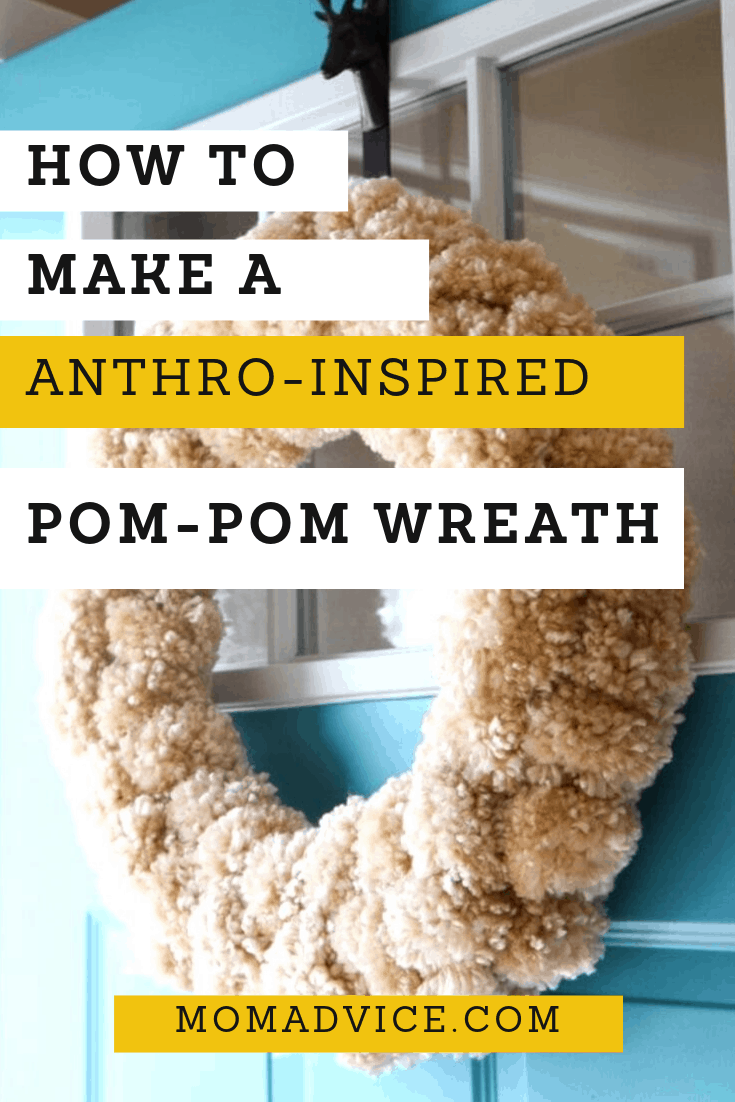 diy yarn pom pom wreath
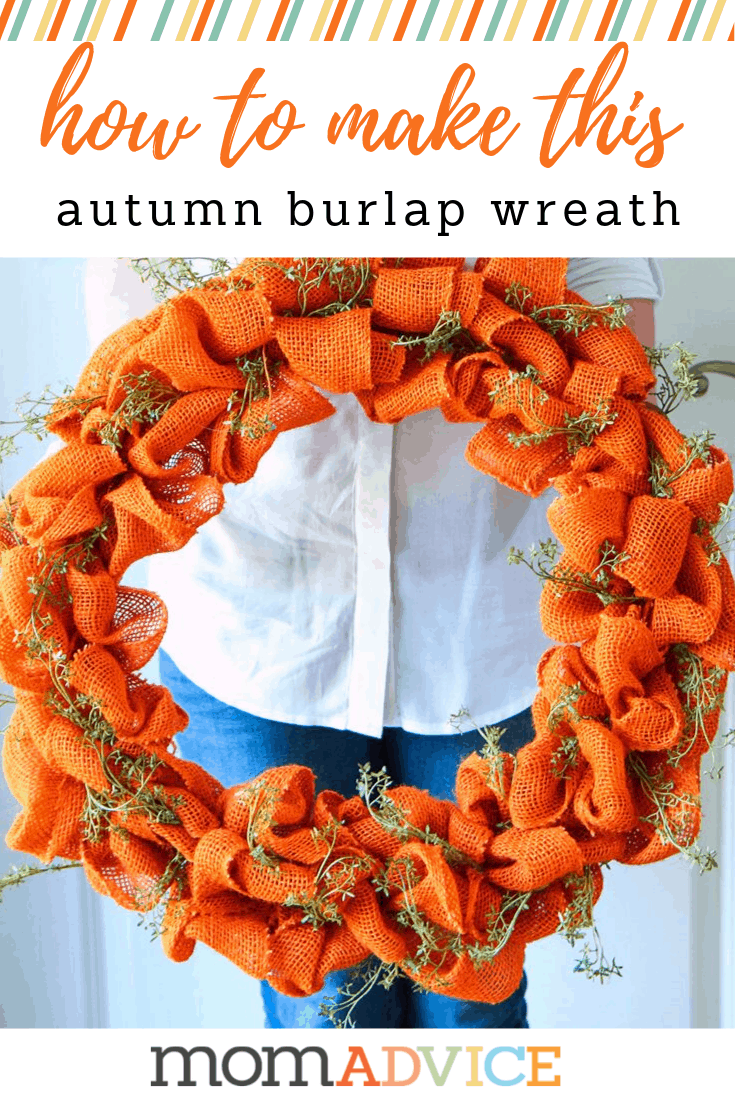
  make a burlap wreath for your front door


