This post was created in partnership with Waverly Inspirations. Thank you for supporting the companies that support our site!
I love adding a few homemade touches to our home each year for the holidays and especially those items that can be repurposed in a variety of ways. For example, one year for Valentine’s Day I made a festive tree from cupcake liners and it got lots of love during that season. Perhaps, a bit TOO MUCH love (ahem!) as they began to wilt and wrinkle. The beauty in that project though, and in today’s project, is that the materials were pinned to the same styrofoam base which allows you the opportunity to reuse this same tree year after year in brand new ways.
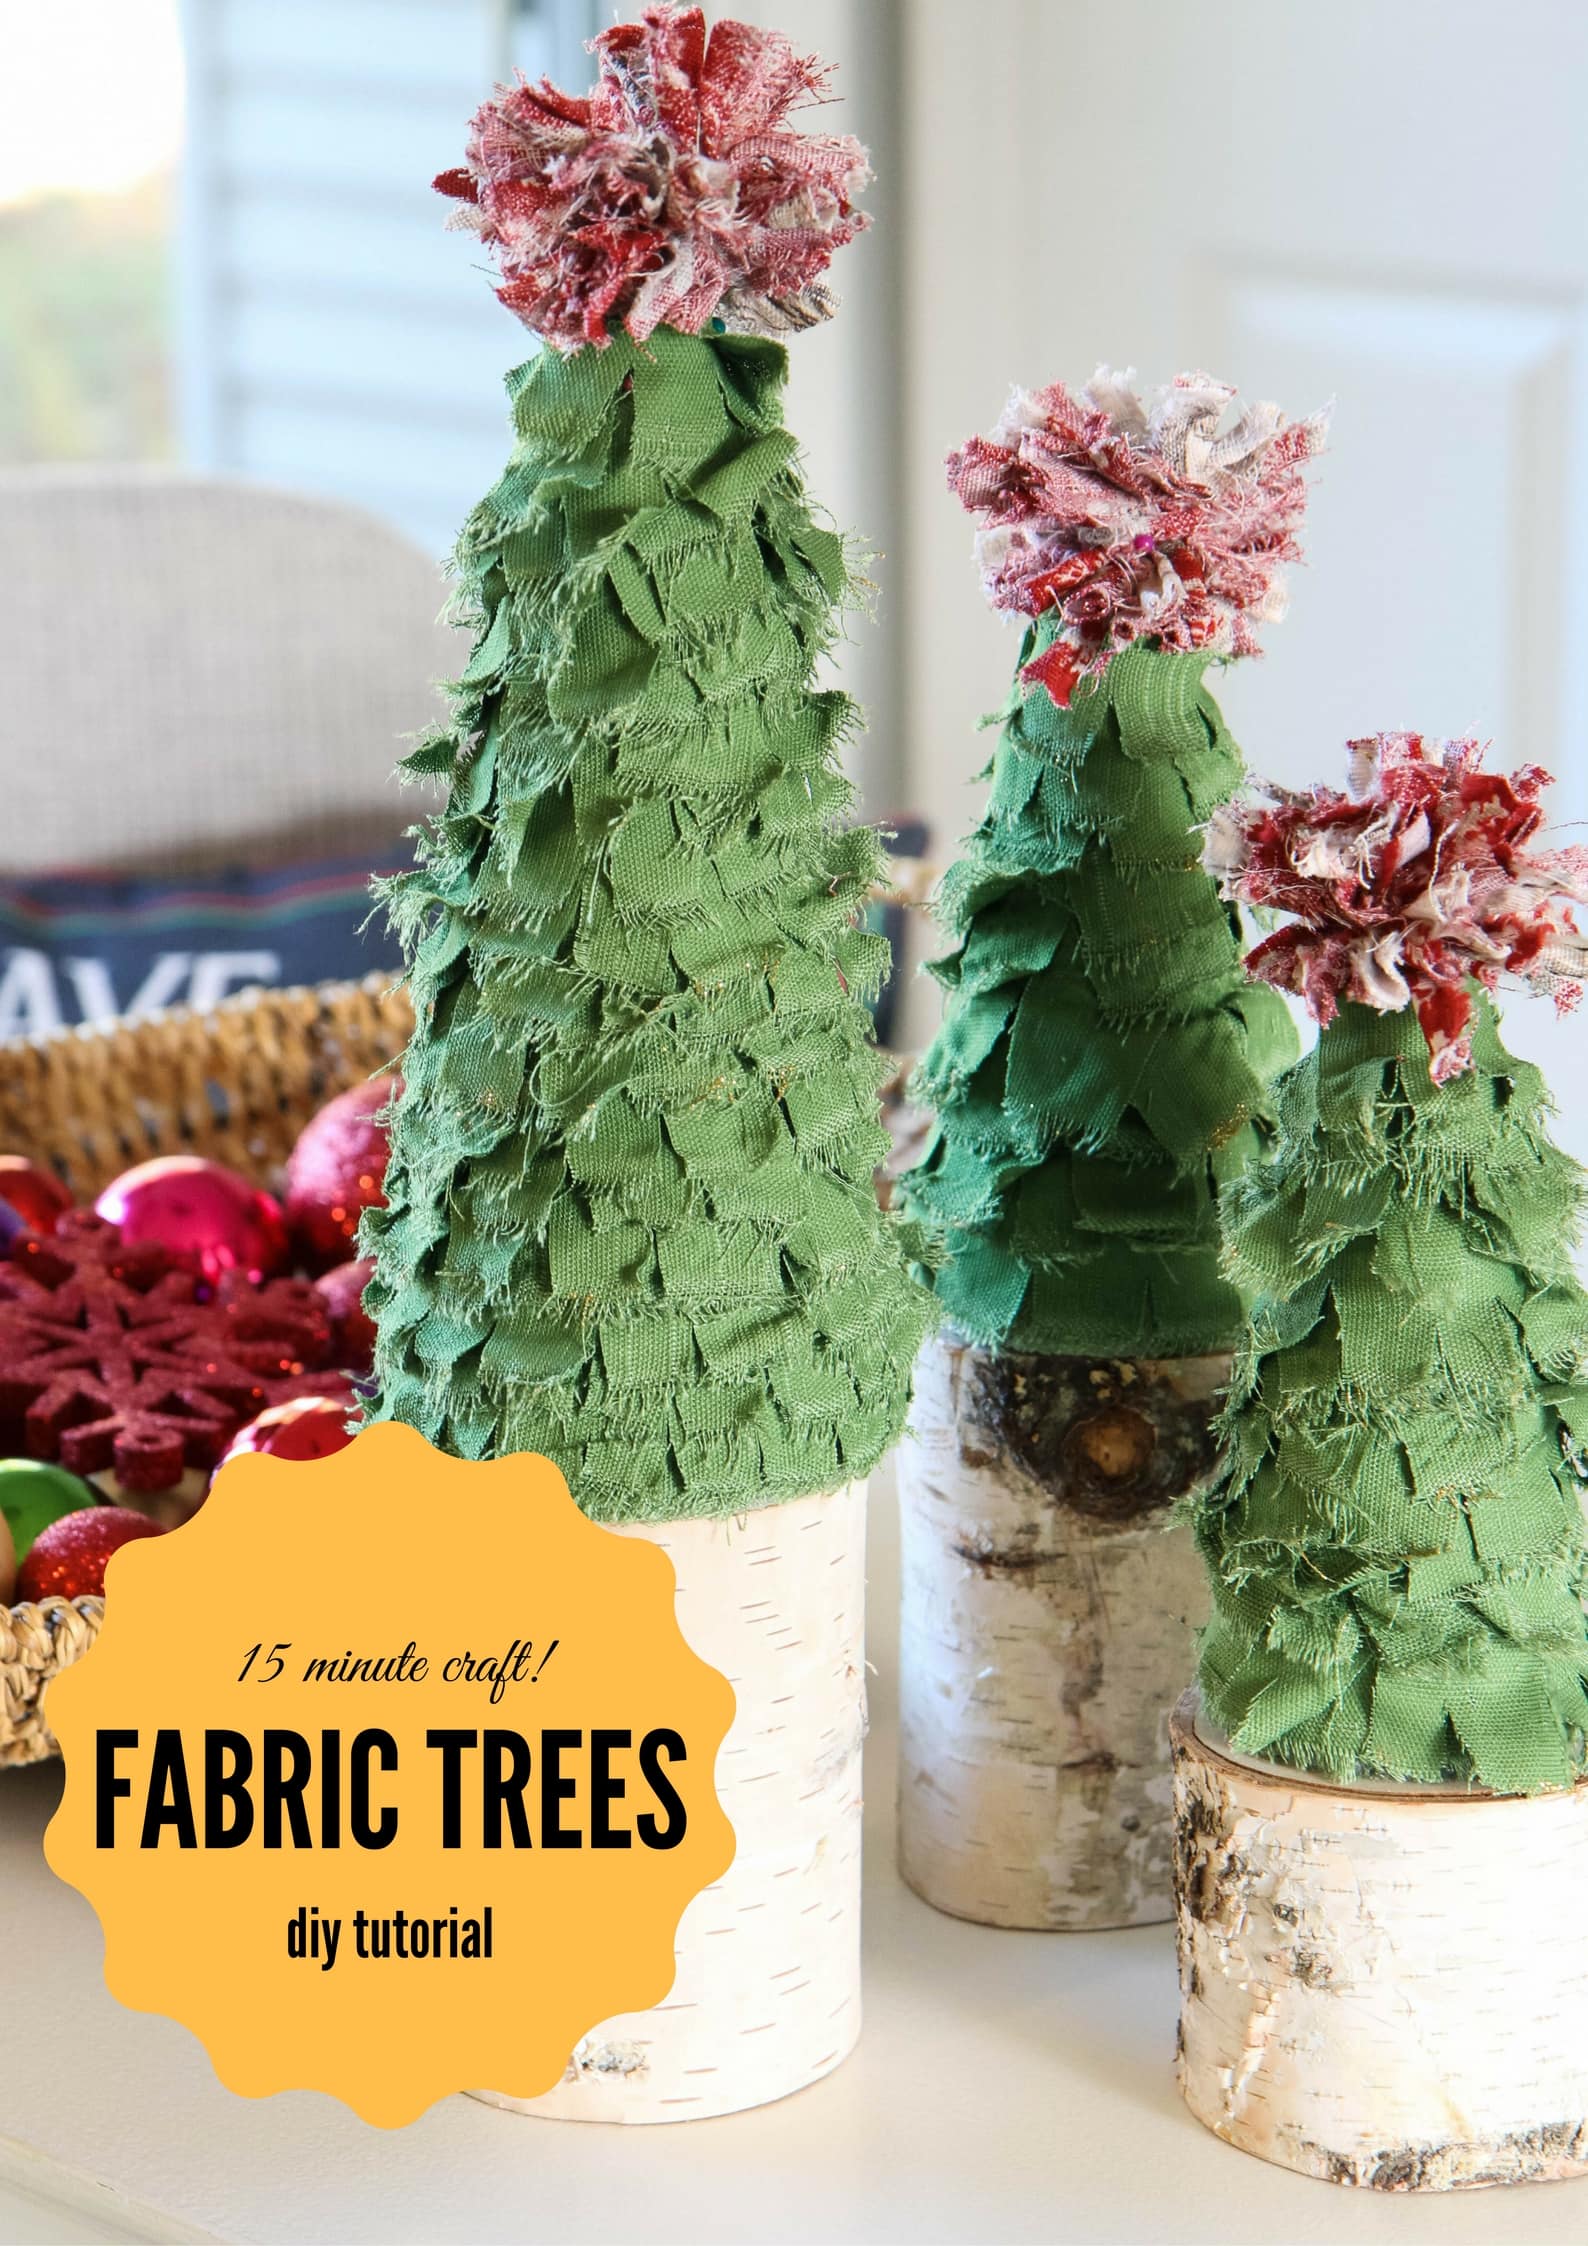
I wanted to create some festive holiday fabric trees to fill an empty space in one of our corners so I created this easy 15-minute fabric tree that is so simple that you could have your kids even do it for a holiday craft. I just know you are going to love these fabric trees as much as I do and I’m really loving the finishing touches on this one with a fabric pom-pom and a touch of shimmer on the edges.
How to Make a Scrappy Fabric Tree
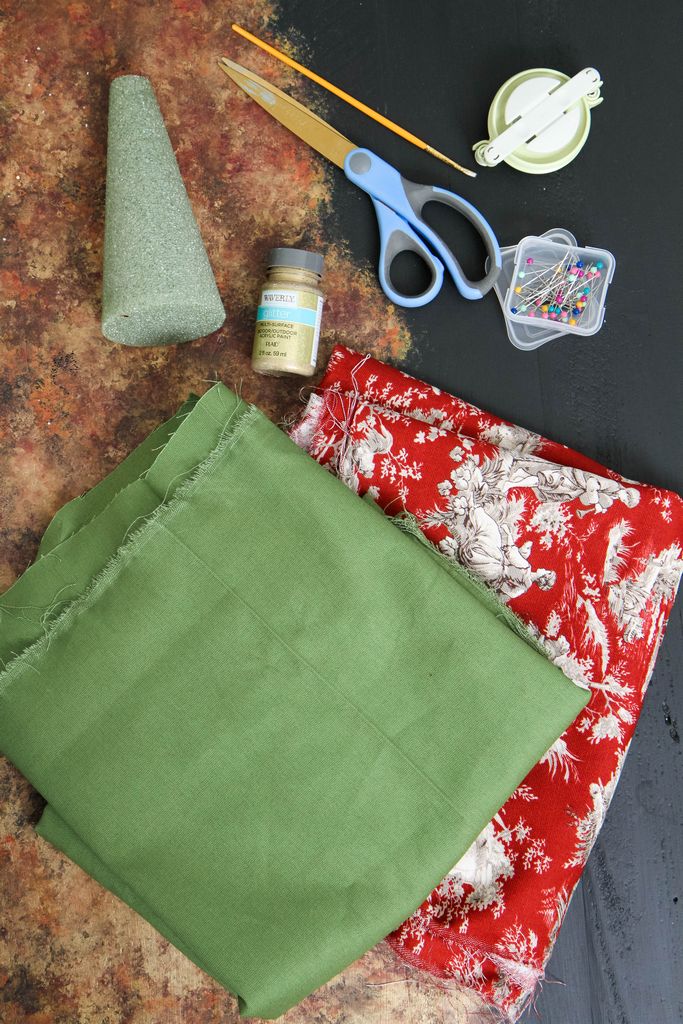
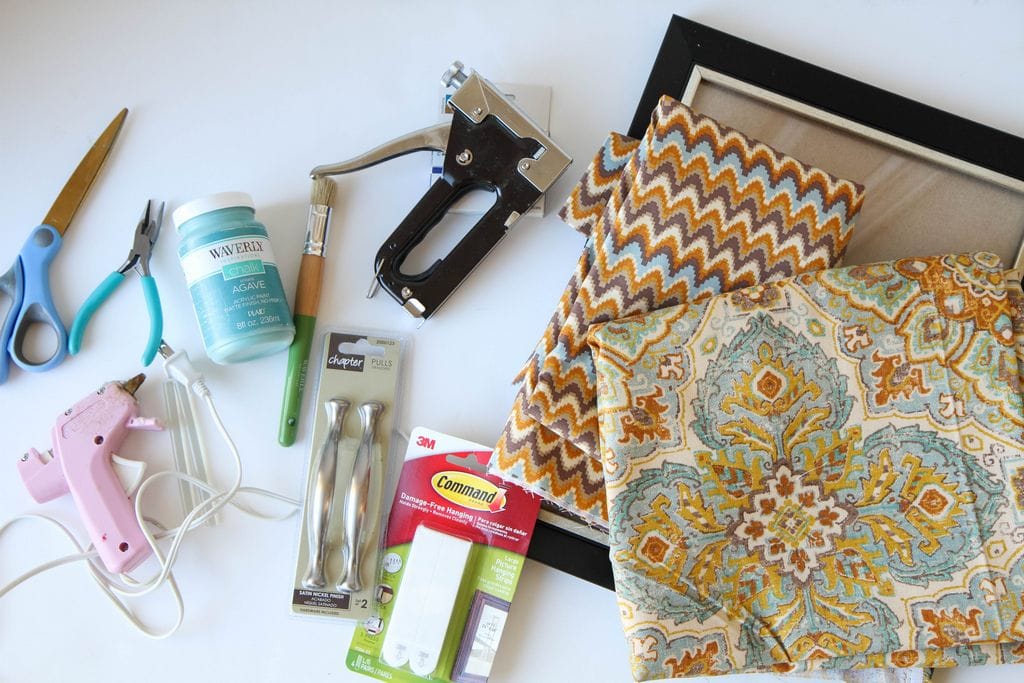
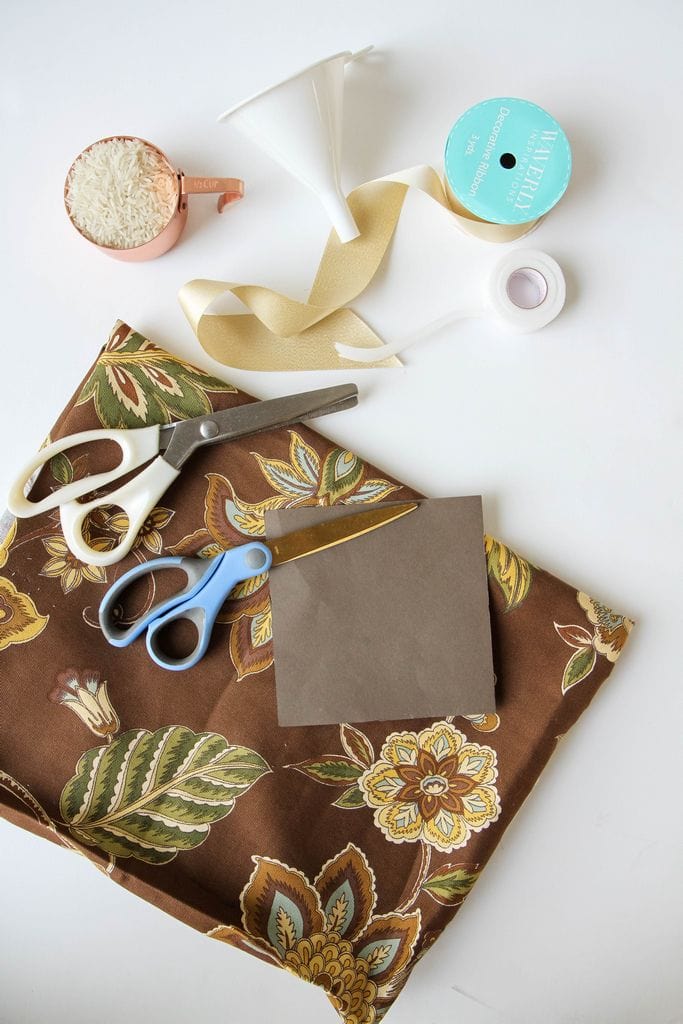
Supplies Needed (all of these supplies can be found at Walmart!)
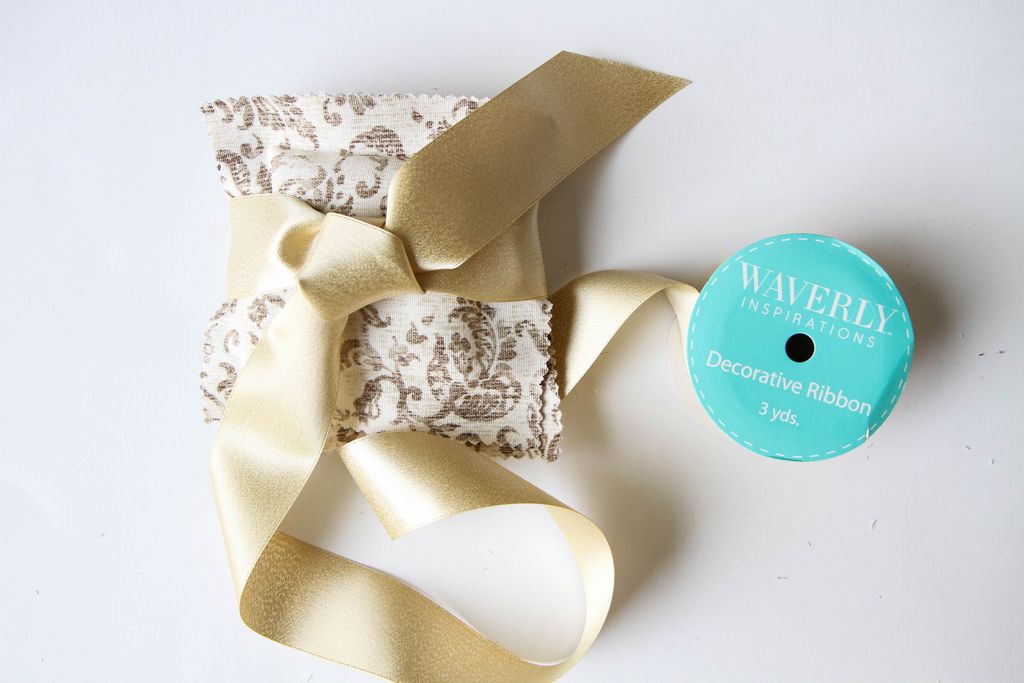
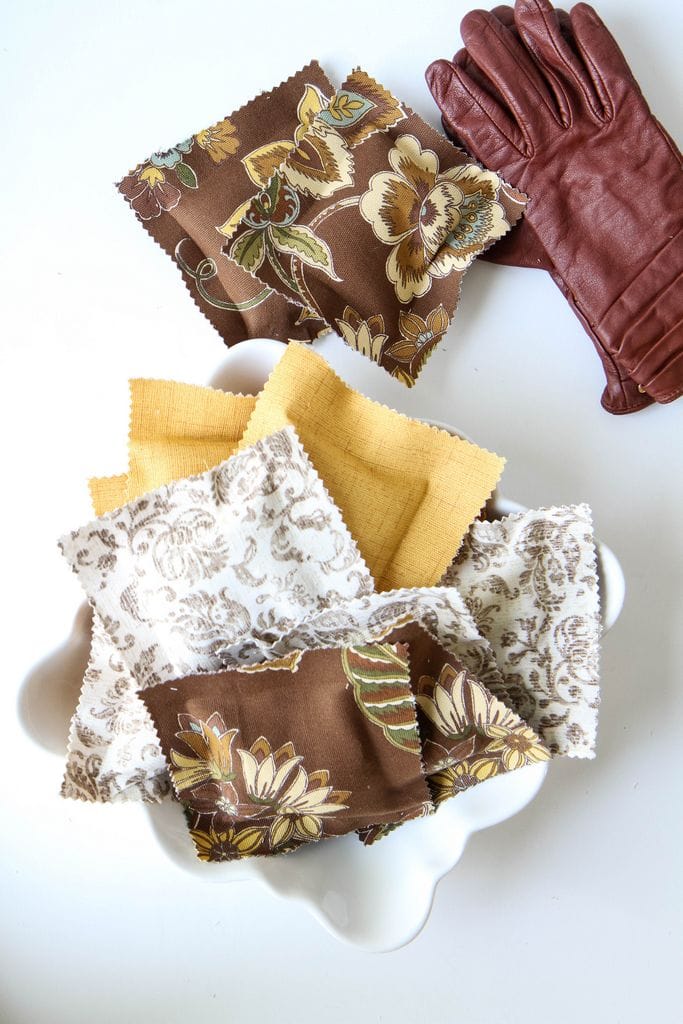
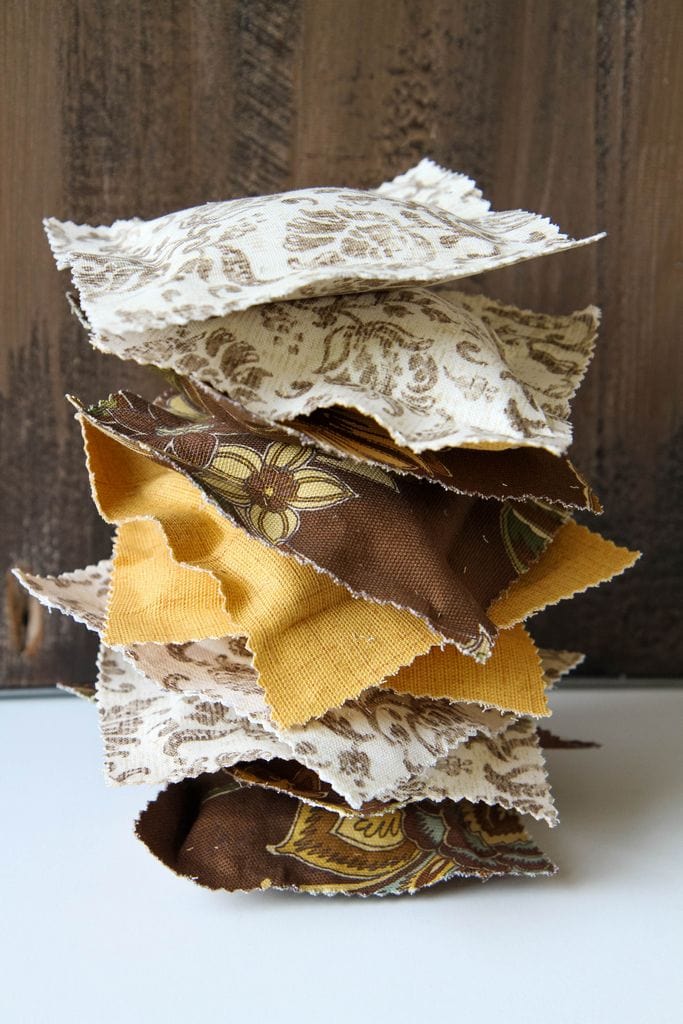
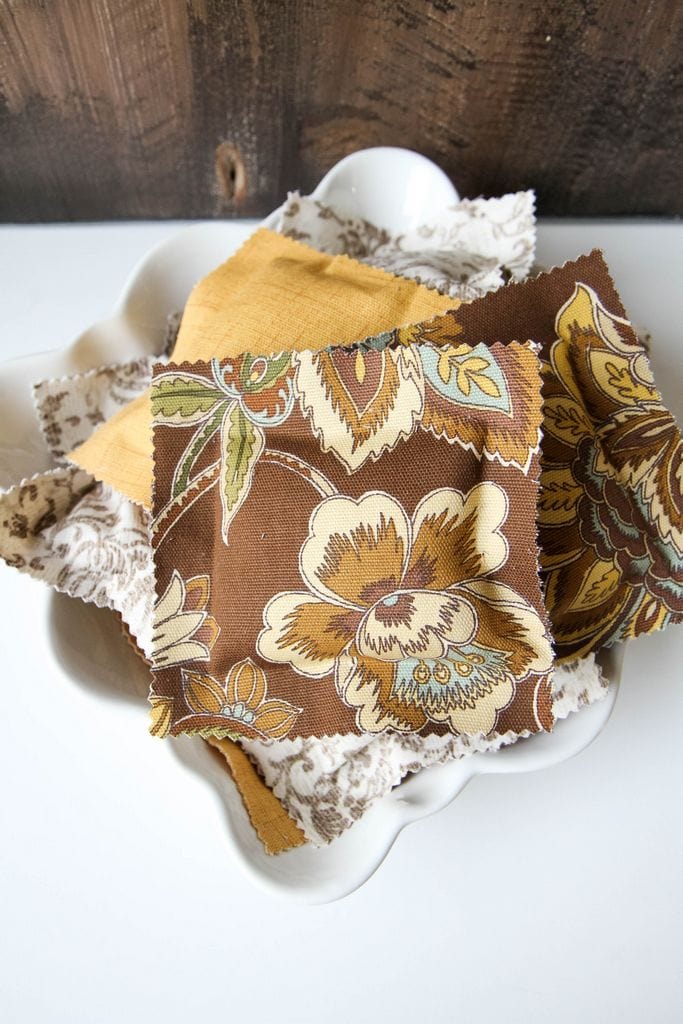
2 kinds of Waverly Inspirations Fabric in coordinating fabrics (I used the 100% cotton duck fabric available at the store)- this craft does not require a lot of fabric so even 1/4 yard should be plenty!
Small or Large Clover Pom Pom Maker (I used the large option for my trees)
Styrofoam Cones (any size!)
Waverly Glitter Paint (in stores)
Paint Brush
Directions for Scrappy Fabric Trees
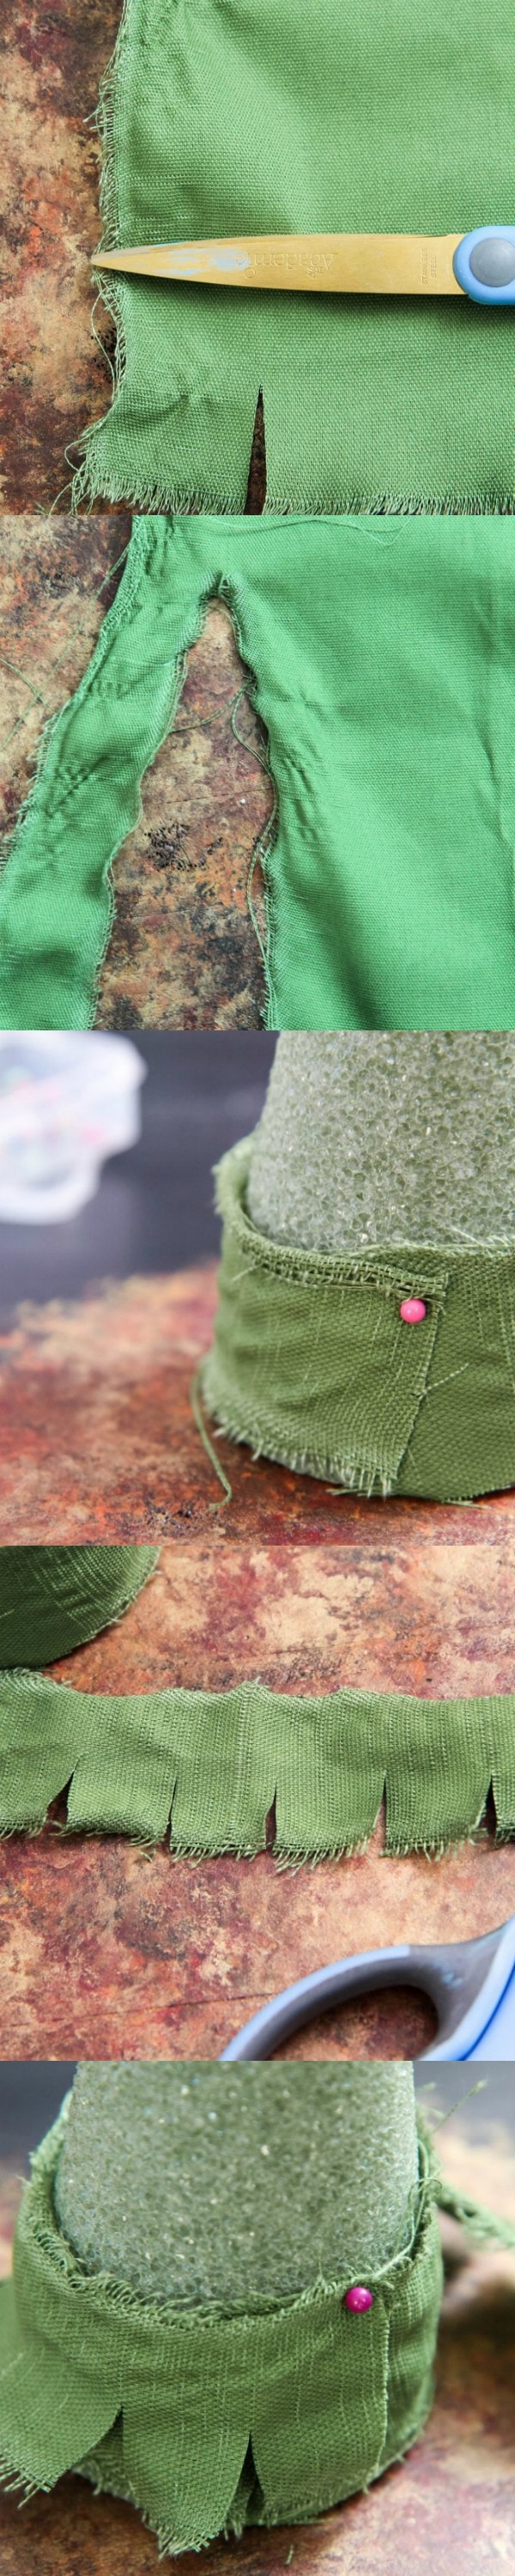
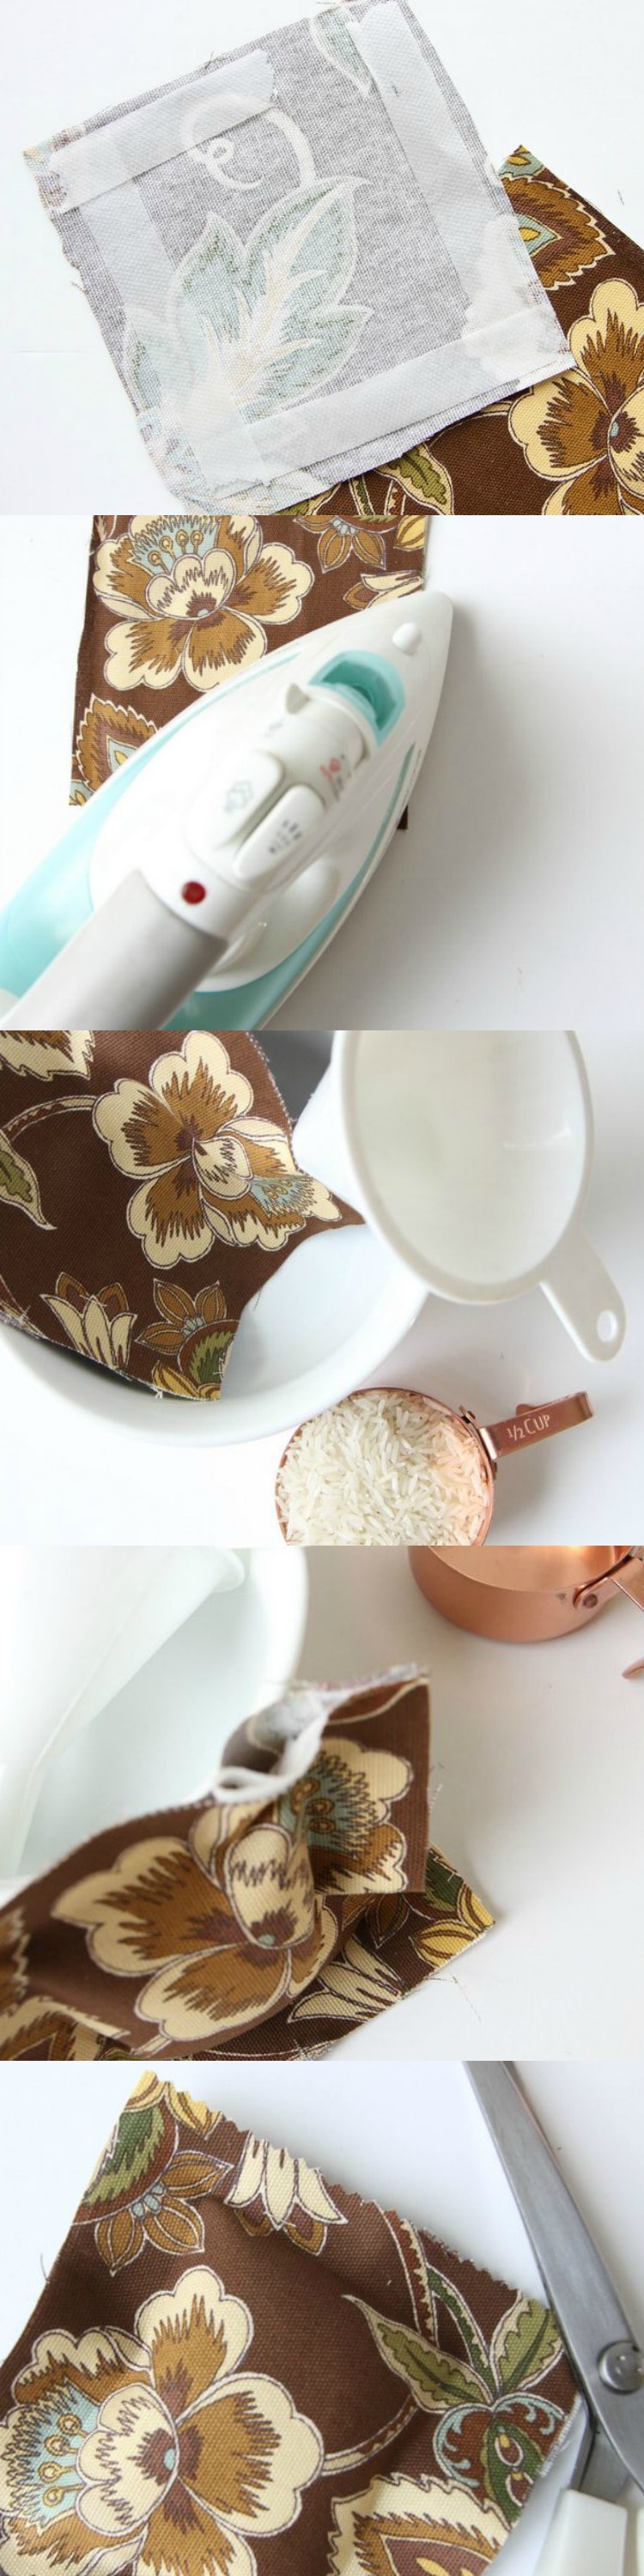
1. Begin by cutting into the long-side of your fabric by an inch or an inch and half. Once you have your cut, begin pulling the fabric with your own bare hands (ROAR!!! TAKE OUT THOSE HOLIDAY FRUSTRATIONS HERE AND IMPRESS YOUR KIDS WITH YOUR HULK STRENGTH!) and ripping it all the way down until this strip of fabric is completely separated from the fabric. If you have any loose strings (and you will!) pull them off the strip before beginning the next step.
2. Take this strip and pin it along the bottom edge of the cone to cover the styrofoam core.
3. With the remainder of your fabric strip, begin cutting notches into it, as evenly as possible, as I have shown above in the picture. Do this down the entire length of your fabric.
4. Starting at the very bottom, and layering over that first layer we laid, begin wrapping the tree, cutting once it has met the other side, and pinning into place.
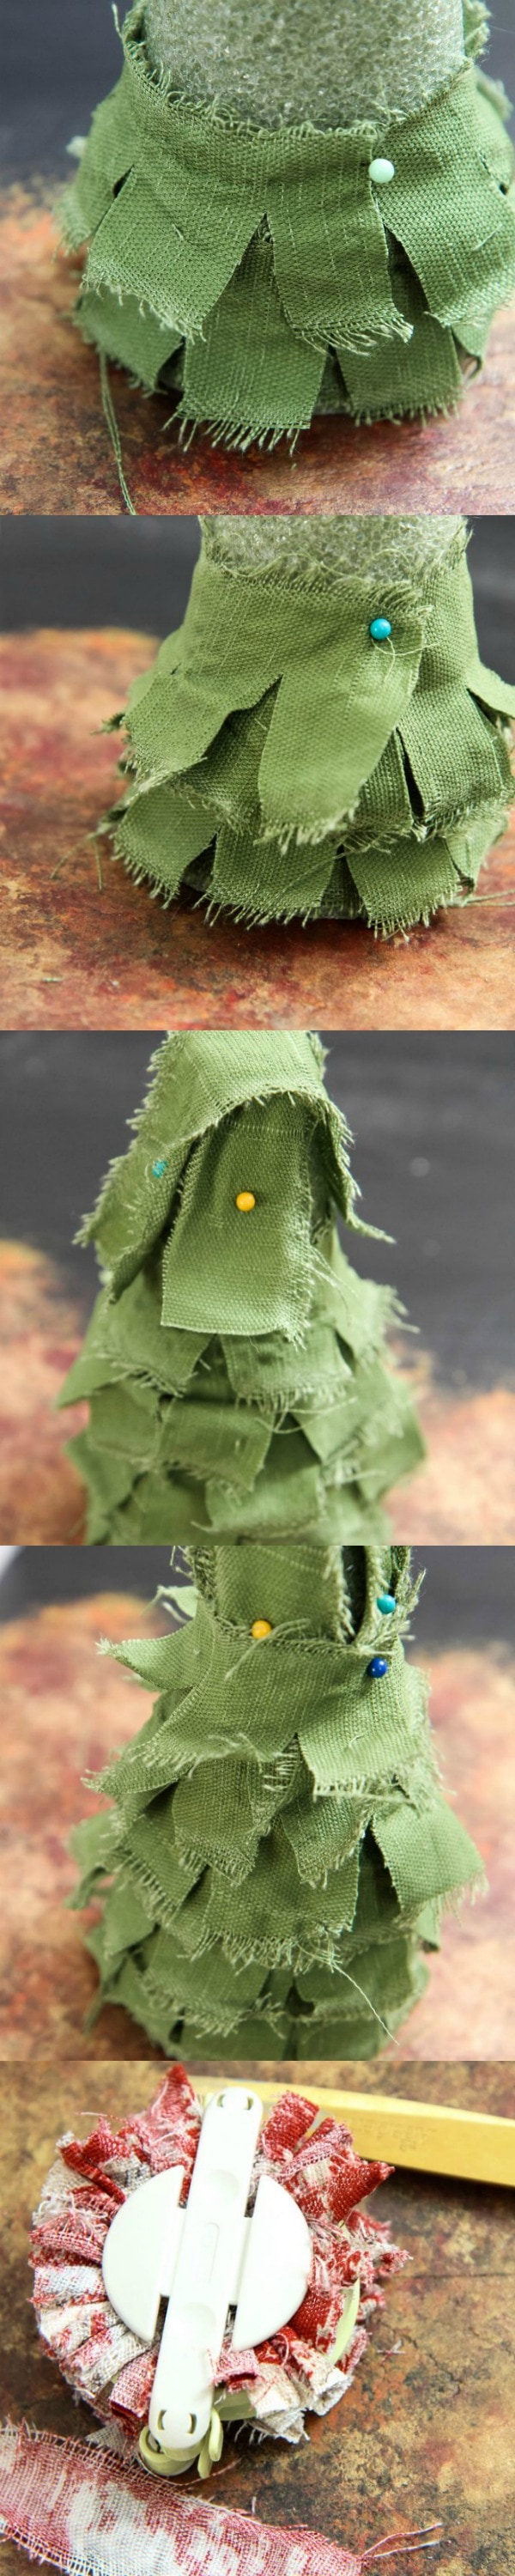
4. Continue doing this layering over each layer to cover those pins and also staggering the pieces so that each layer has a little leaf peeking through. Do this until you get to almost the top of the tree. You may need to cut and repeat this process again if you have run out of material to work with. REPEAT HULK MOVES.
5. Once you get close to the top of tree, rip another strip of fabric and use that to cover the top of the tree as I have shown you in the picture. You want to criss-cross the material so that you don’t have any of that styrofoam cone showing. Now wrap more of your layers over that to disguise the pins and to continue the ruffling on the tree.
6. In your other fabric, tear a 1/2″ strip just as you did with the tree, but this time we are going to be making a pom-pom out of it. If you have not used the Clover Pom-Pom Maker before you are going to love it. It’s very easy to use and I have a great step-by-step tutorial if you are new to pom-pom making. When making this, take care to not wrap numerous times or get the material so thick that you are unable to cut it. Just a nice even layer down each side should work. Cut the pom pom out and then use another fabric strip to tie it tight to secure.
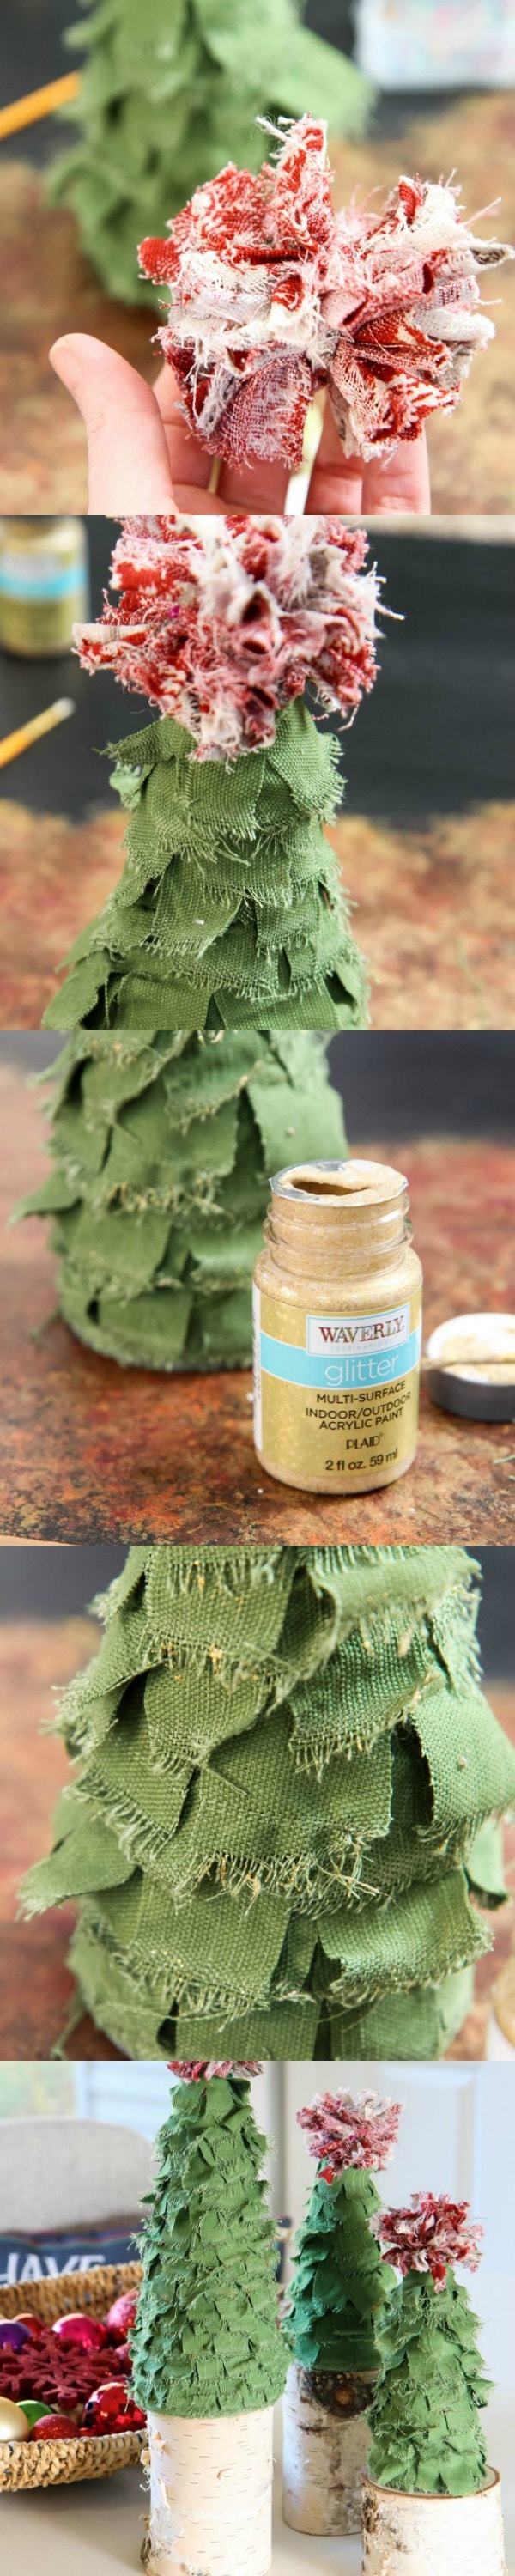
7. Pin your pom-pm to the top and check to see if you need one more layer underneath to complete the tree. I liked adding just one more ruffle to finish.
8. Using your Waverly glitter paint and a tiny paintbrush, dip the paintbrush in the glitter paint and paint just the edges of the torn fabric on the pom-pom and on the tree to add a finishing shimmer.
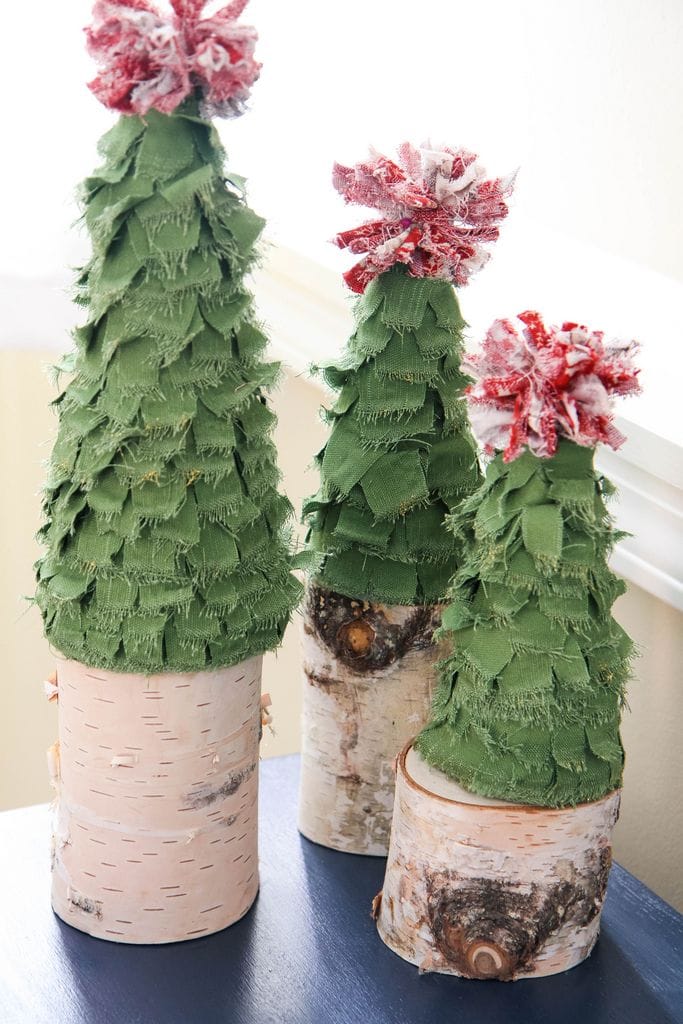

Why make one when you can make three?
I’m in love!
The best part is that you can switch these materials out with the seasons and make this same object look different from season to season. Who knows? You just might see these out again around Valentine’s Day with a brand new look on the site!
Do you want more craft inspiration from Waverly? Try these!
DIY No-Sew Reversible Chair Cushions
Fabric Wreath & Matching Garland
Fabric Bulletin Board Tutorial
Painting Pumpkins With Acrylic Paints
This post was created in partnership with Waverly Inspirations. Thank you for supporting the companies that support our site!
Pin It


