A Few Hidden Secrets to the Perfect Sugar Cookie

December 7th, 2010

I wanted to dust off this entry from last year for your holiday baking! Last year I experimented with this fabulous recipe for the perfect sugar cookie and I learned a thing or two along the way. This recipe is going to be made in my kitchen again this year and I can’t wait to share more of these cookies with our family and friends.

I love, love, love to cook. Baking bread, whipping up fancy dinners, making stacks of gourmet waffles…those are my favorite thing to do! Baking cookies? Total fail. I don’t know what it is, but making great cookies is not something I am good at. To be honest, I just don’t think I have the patience for it. More than that, I haven’t had the time. I rely on bar cookies, quick breads, and other easy snacks to get us by.

Of all of the fails, cut-out sugar cookies have been the biggest fail for me. They are misshapen, taste like cardboard, and are far too time-consuming. I have tried a half dozen recipes with the same results and had determined that I was destined to be a cut-out cookie failure.

I decided this year though that I would find a good recipe that would look nice and yield a tasty result. Where do I turn when I don’t have time to run a full-fledged test kitchen out of my home? My America’s Test Kitchen Family Cookbook. The recipe was entirely unique and promised fantastic results. Crisp cookies, full flavor, and step-by-step tutorials that would be worth eating and sharing.
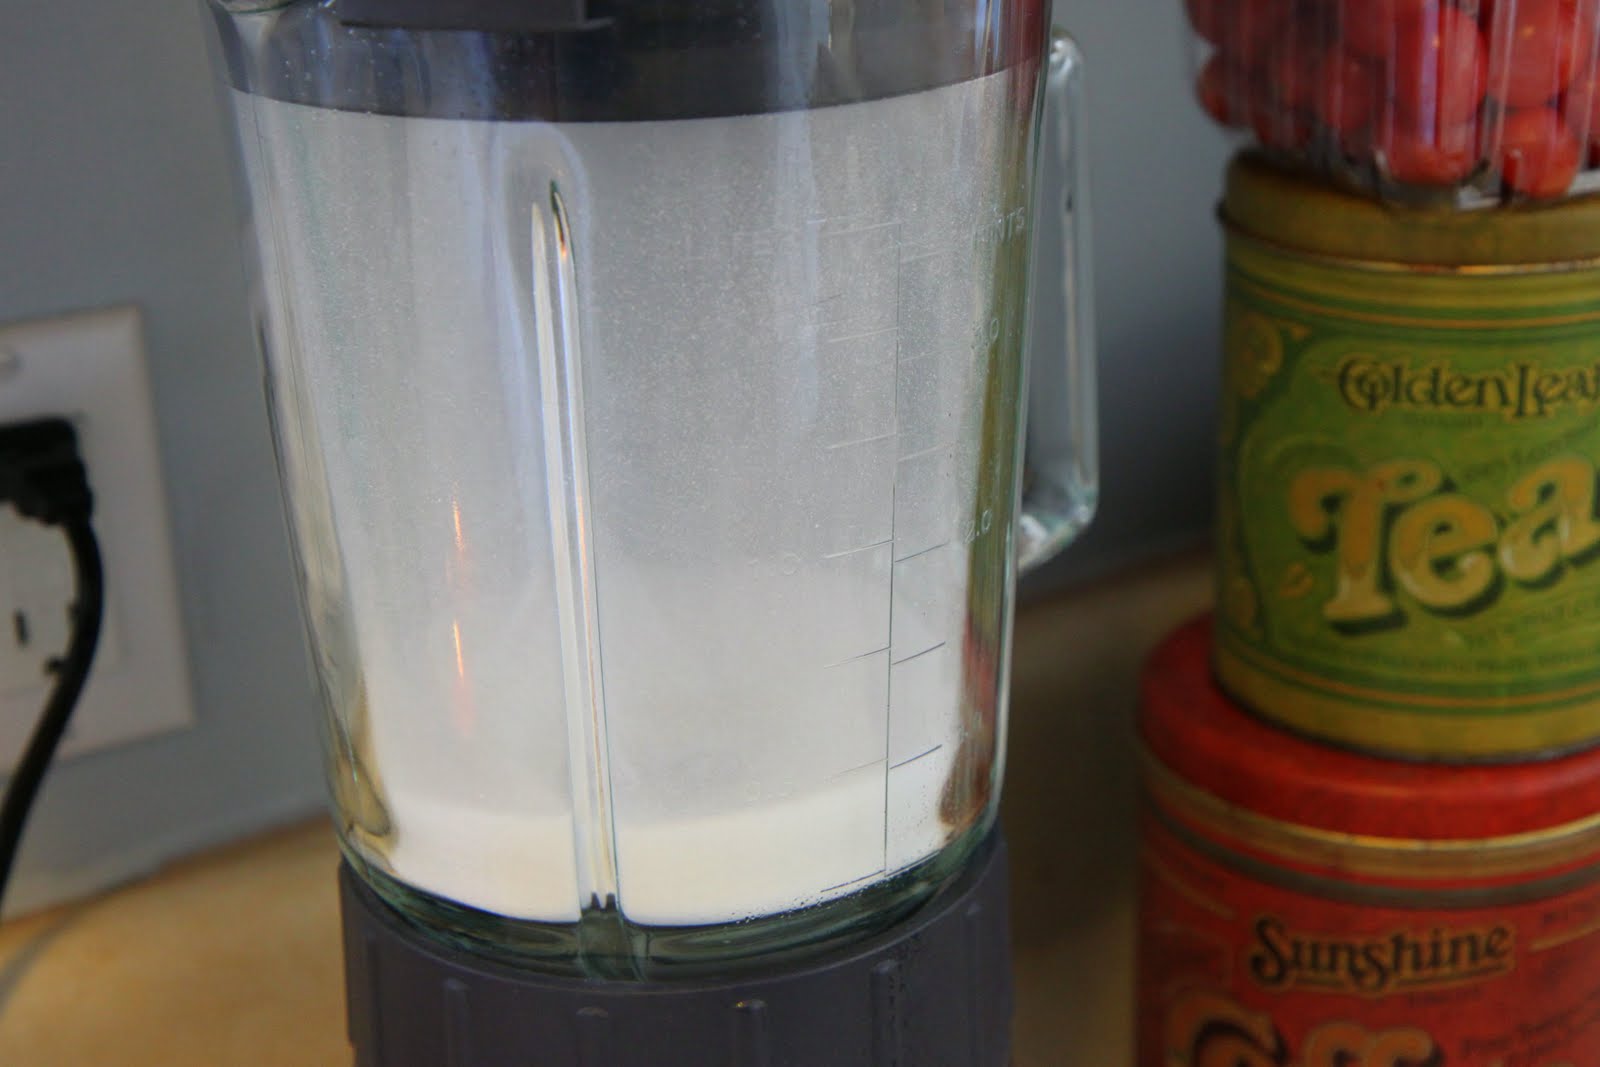
The first step towards a great sugar cookie was to use superfine sugar. According to the cookbook, superfine sugar gives the cookies a finer crumb and crisper texture. You can buy this in the store or do what I did which was to process the granulated sugar in a food processor or blender for thirty seconds and then measure out 3/4 cup of the sugar for the recipe. You know me, I chose the cheaper option for this recipe and put my blender to work.

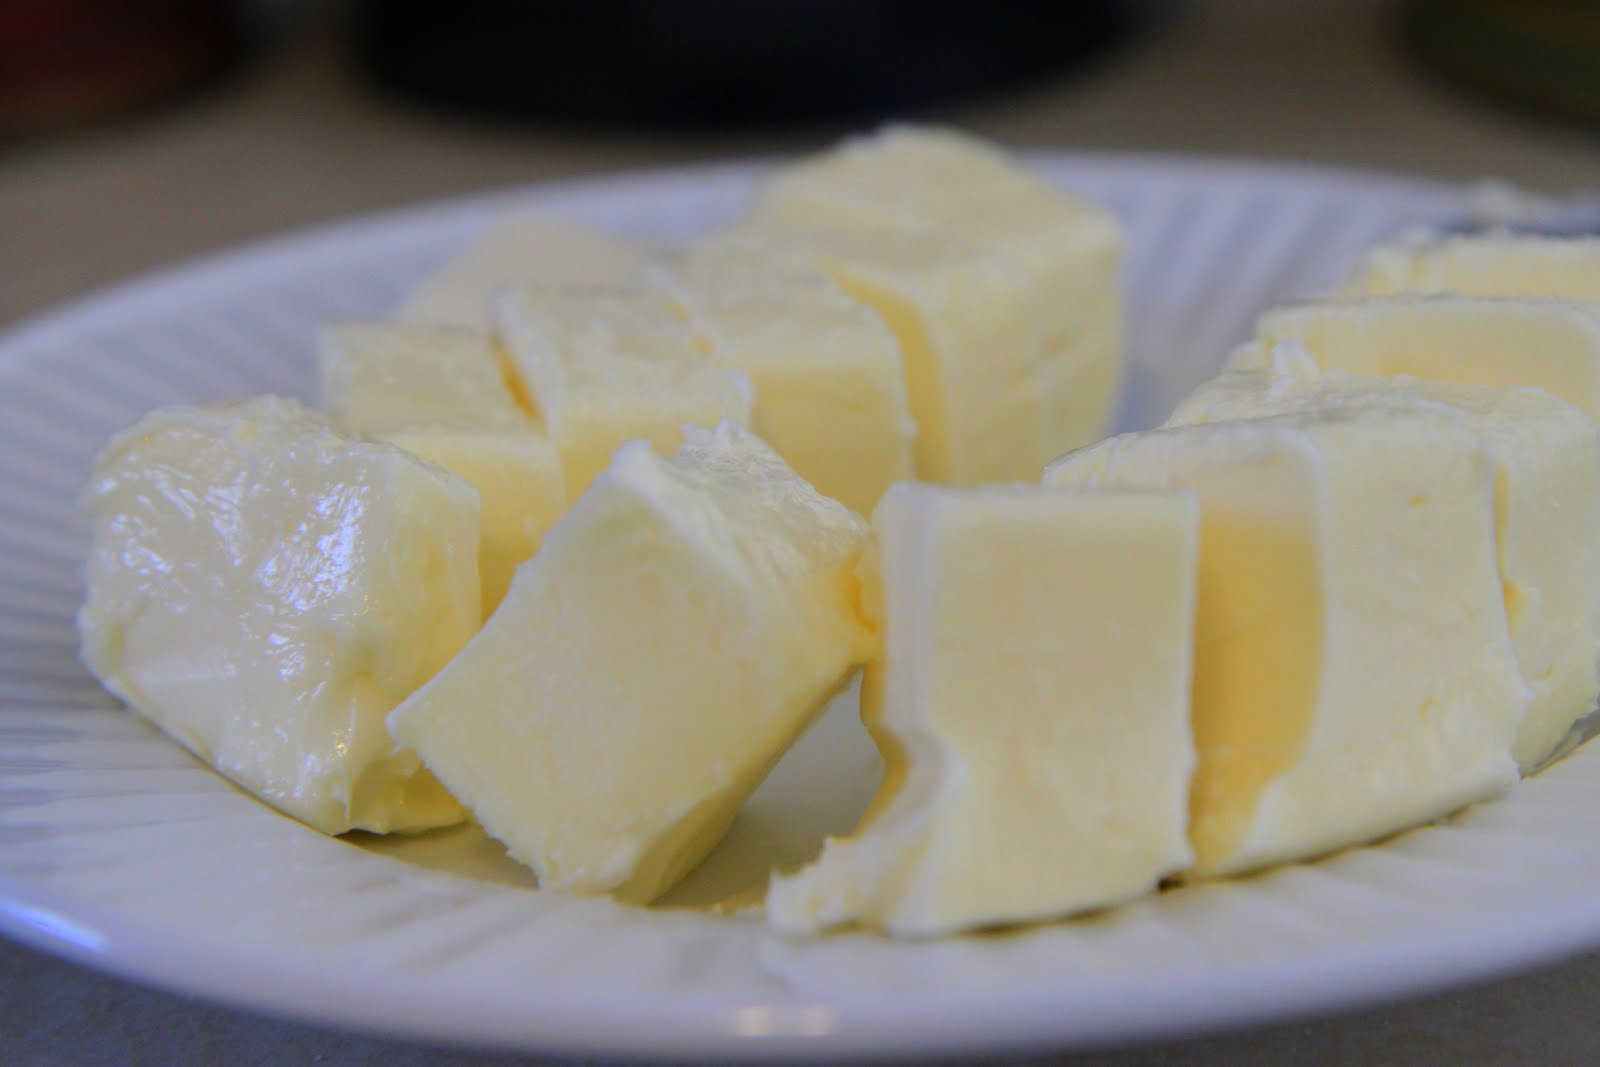
The second step to their perfect cookie was a “reverse” mixing method. Instead of the traditional creaming of the sugar with the butter they took a different approach to create a cookie that would be sturdy enough to decorate. With this method, you mix together all of the dry ingredients and then add butter tablespoon by tablespoon to create the dough. The dough is finished with cream cheese, to pull everything together and make the dough workable, and you finish the mixing with a vanilla finish.
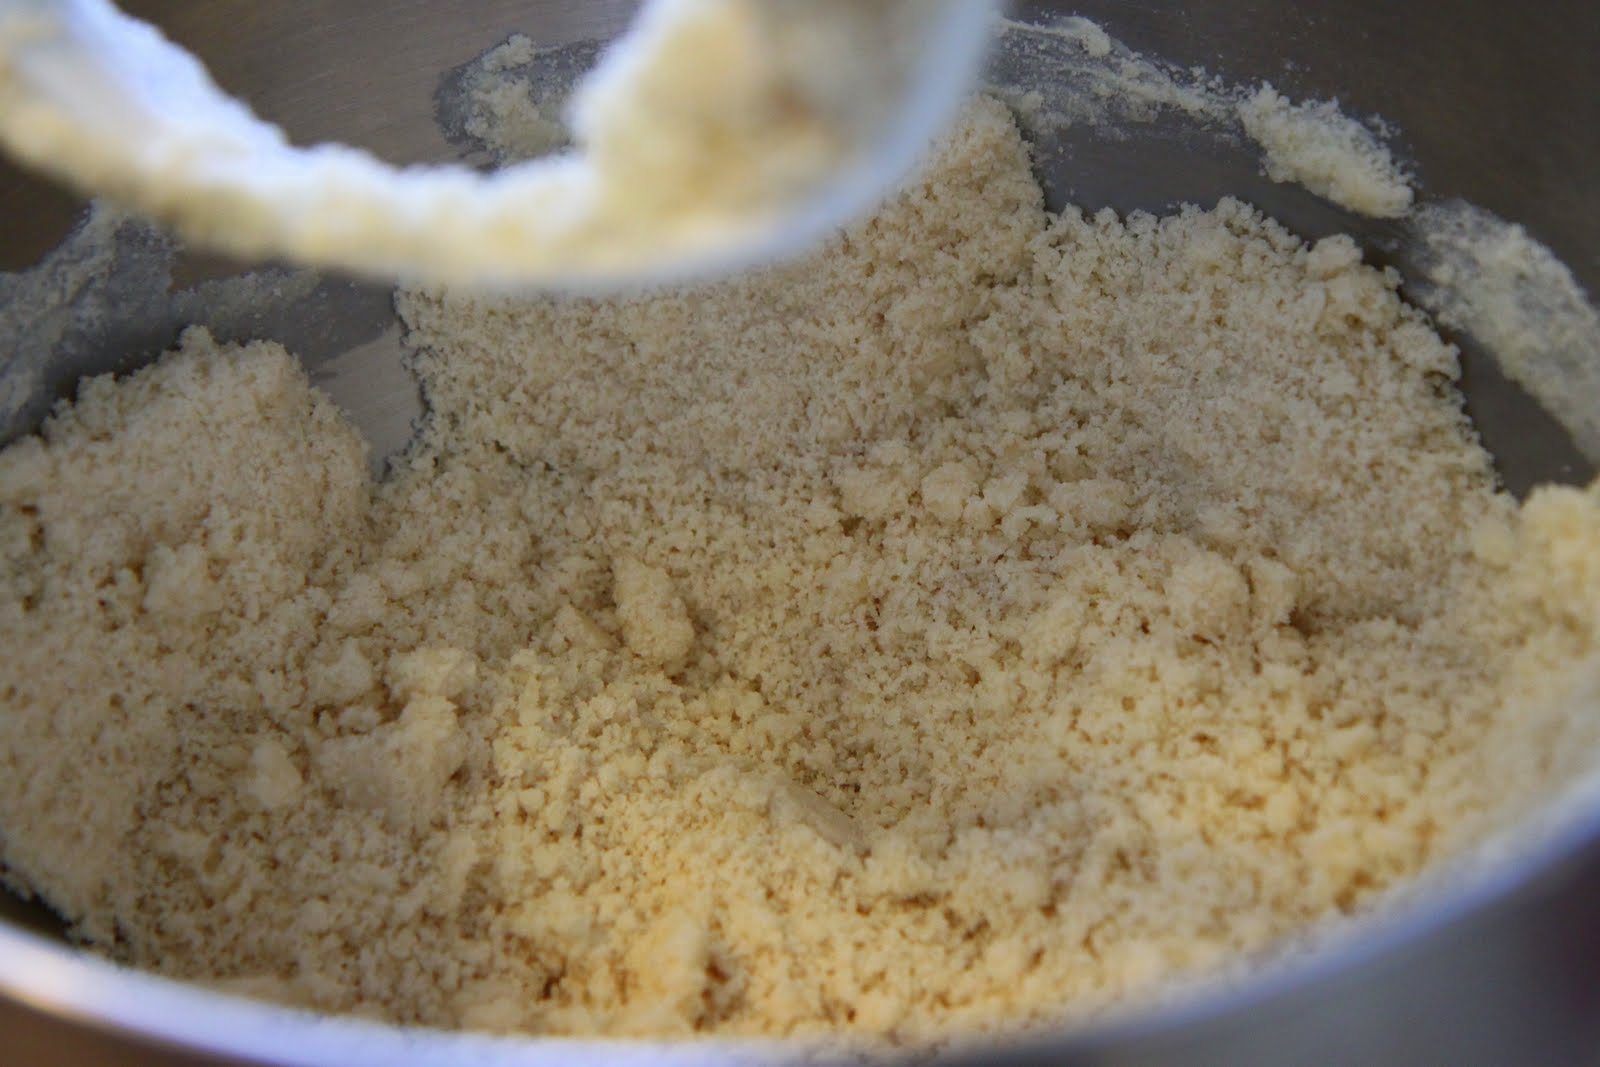
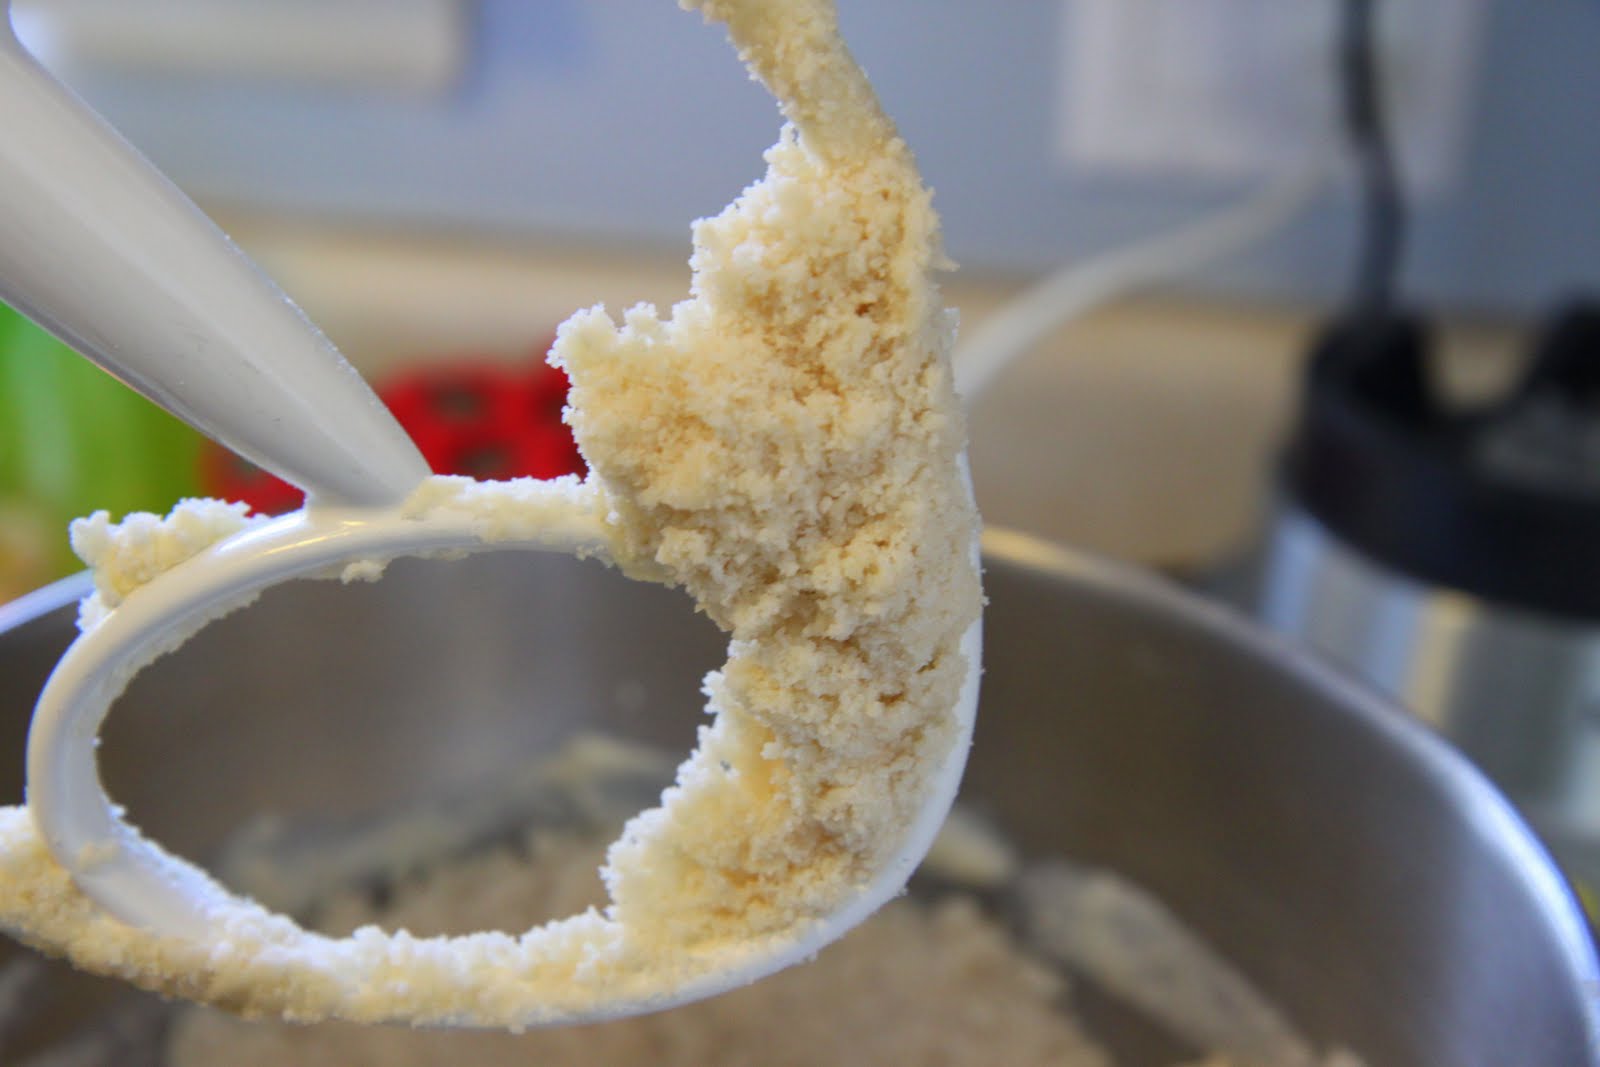
The dough looked like this. It looked crumbly and not very wet. You were instructed to pull the dough together with your hands and form it into a ball. I wasn’t too sure how this was going to work out. It just did not seem sticky enough to me.
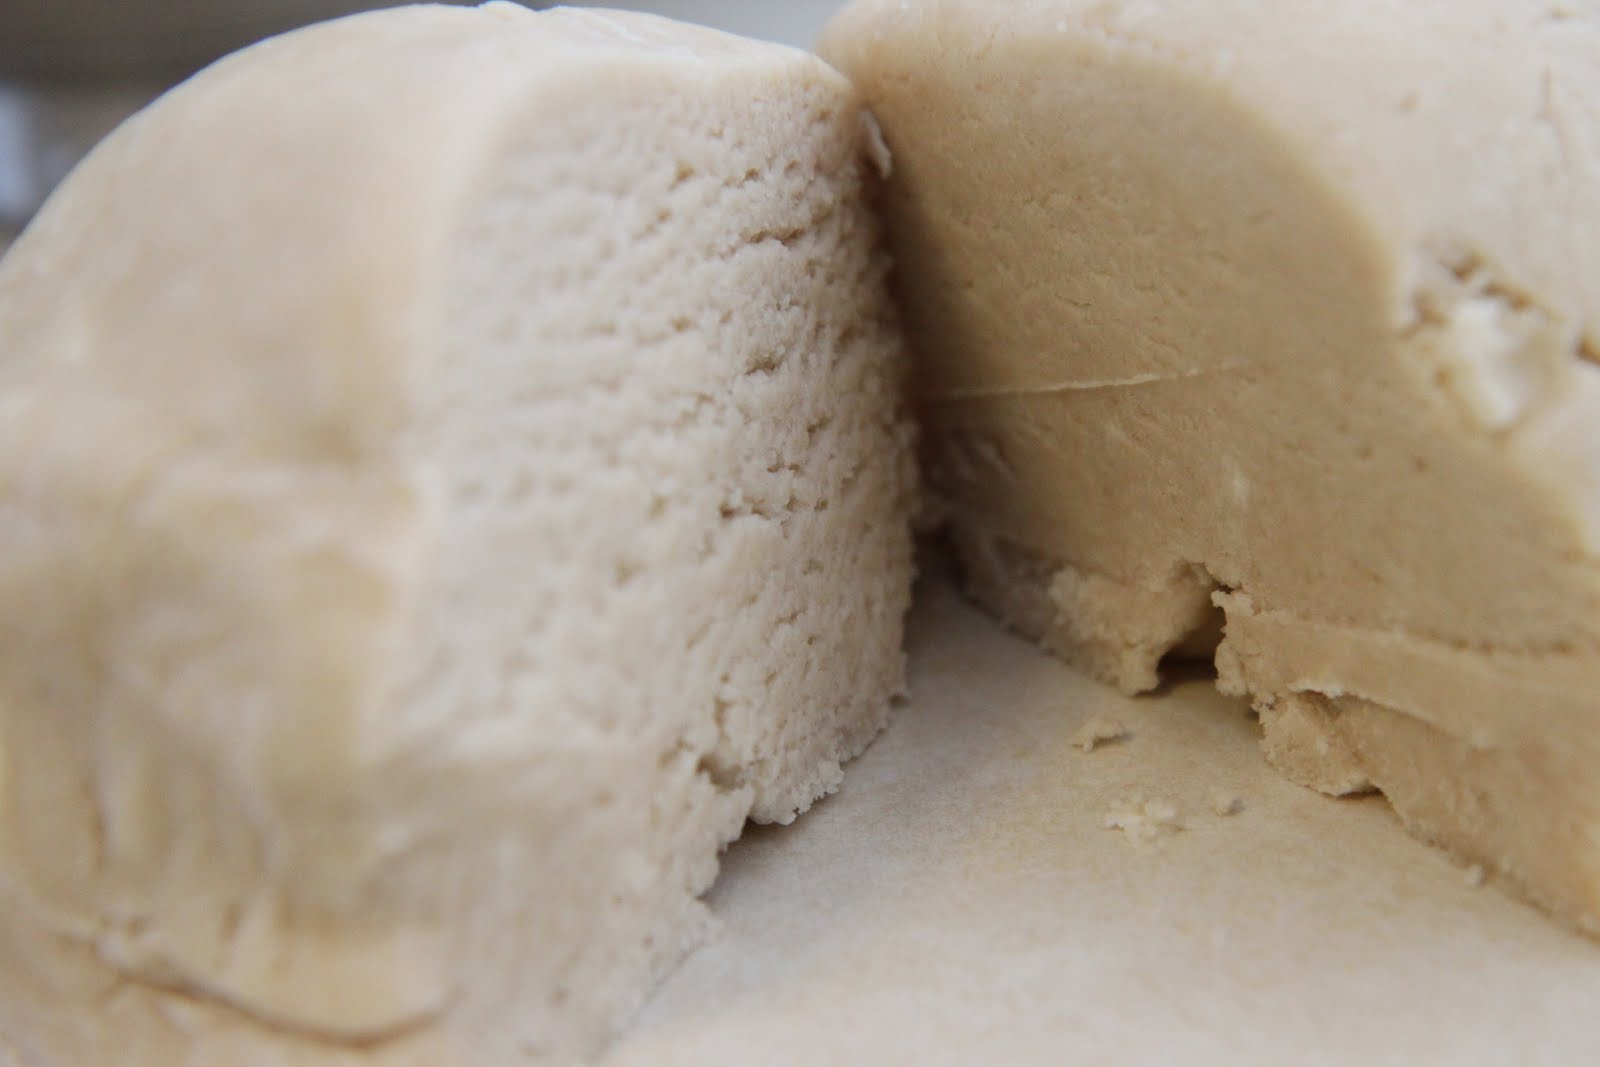
After a couple of minutes of kneading, this is what my dough looked like. I don’t think my dough has ever looked this good.
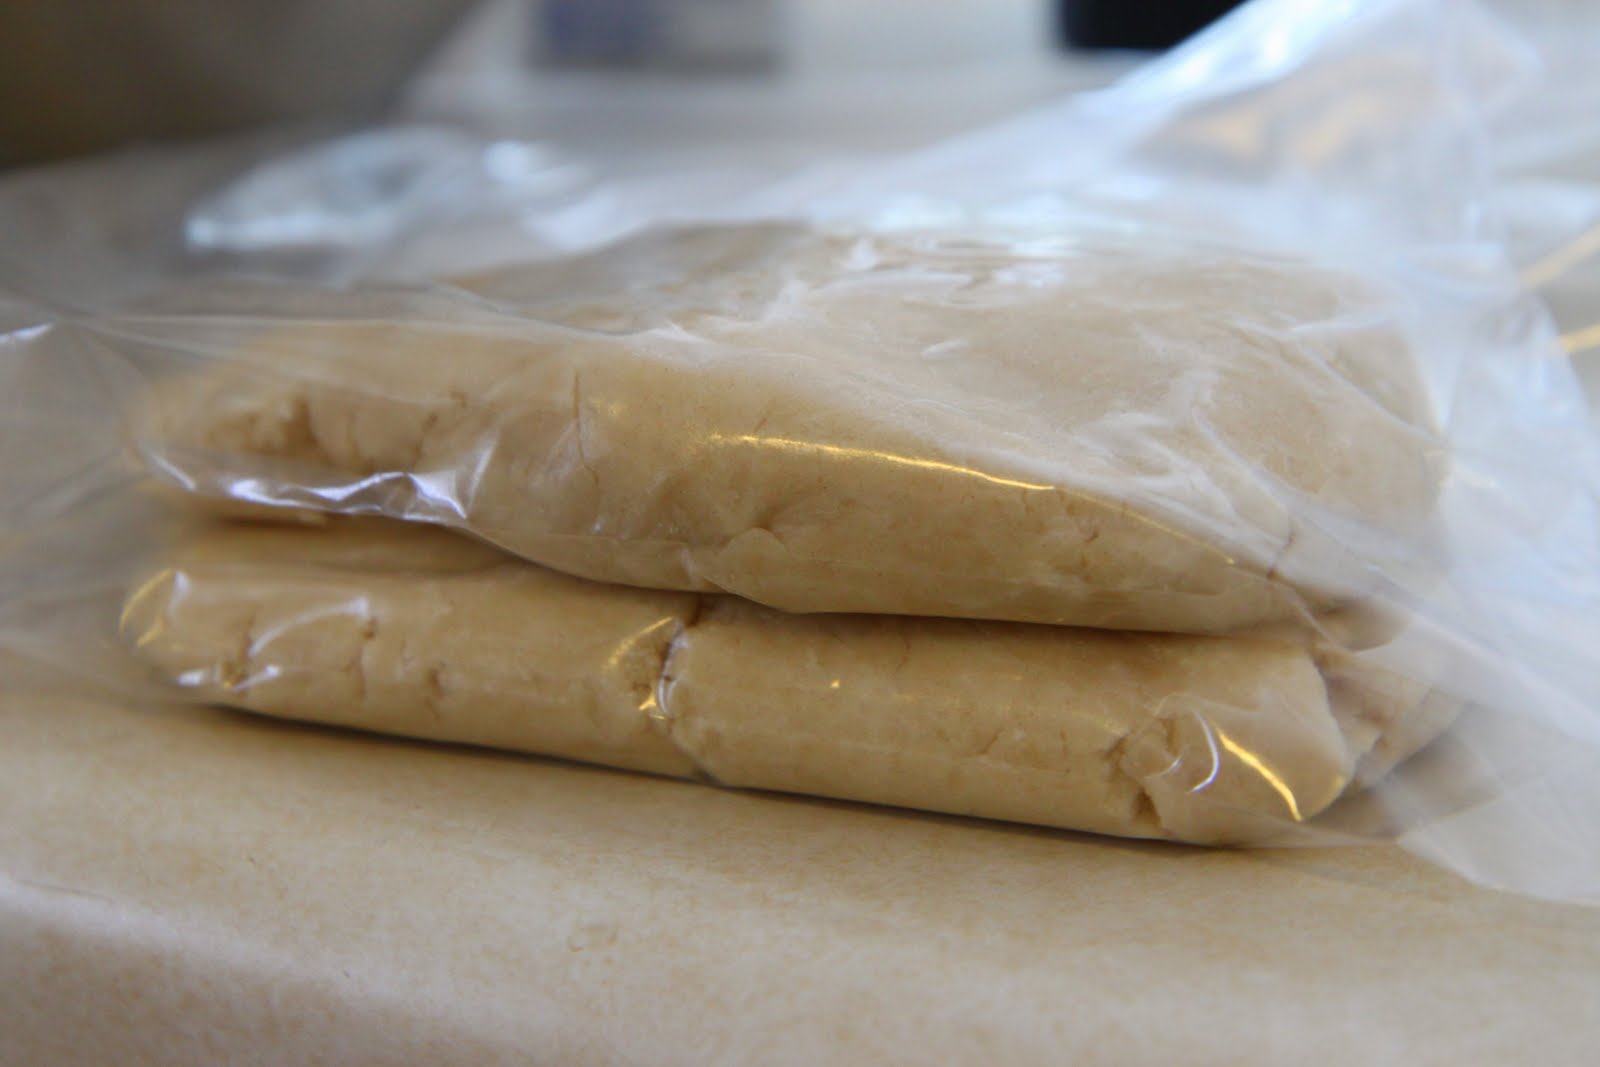
You were to divide the dough and pop these in the refrigerator, flattened into two 4″ disks, and leave them in the fridge for 20-30 minutes.
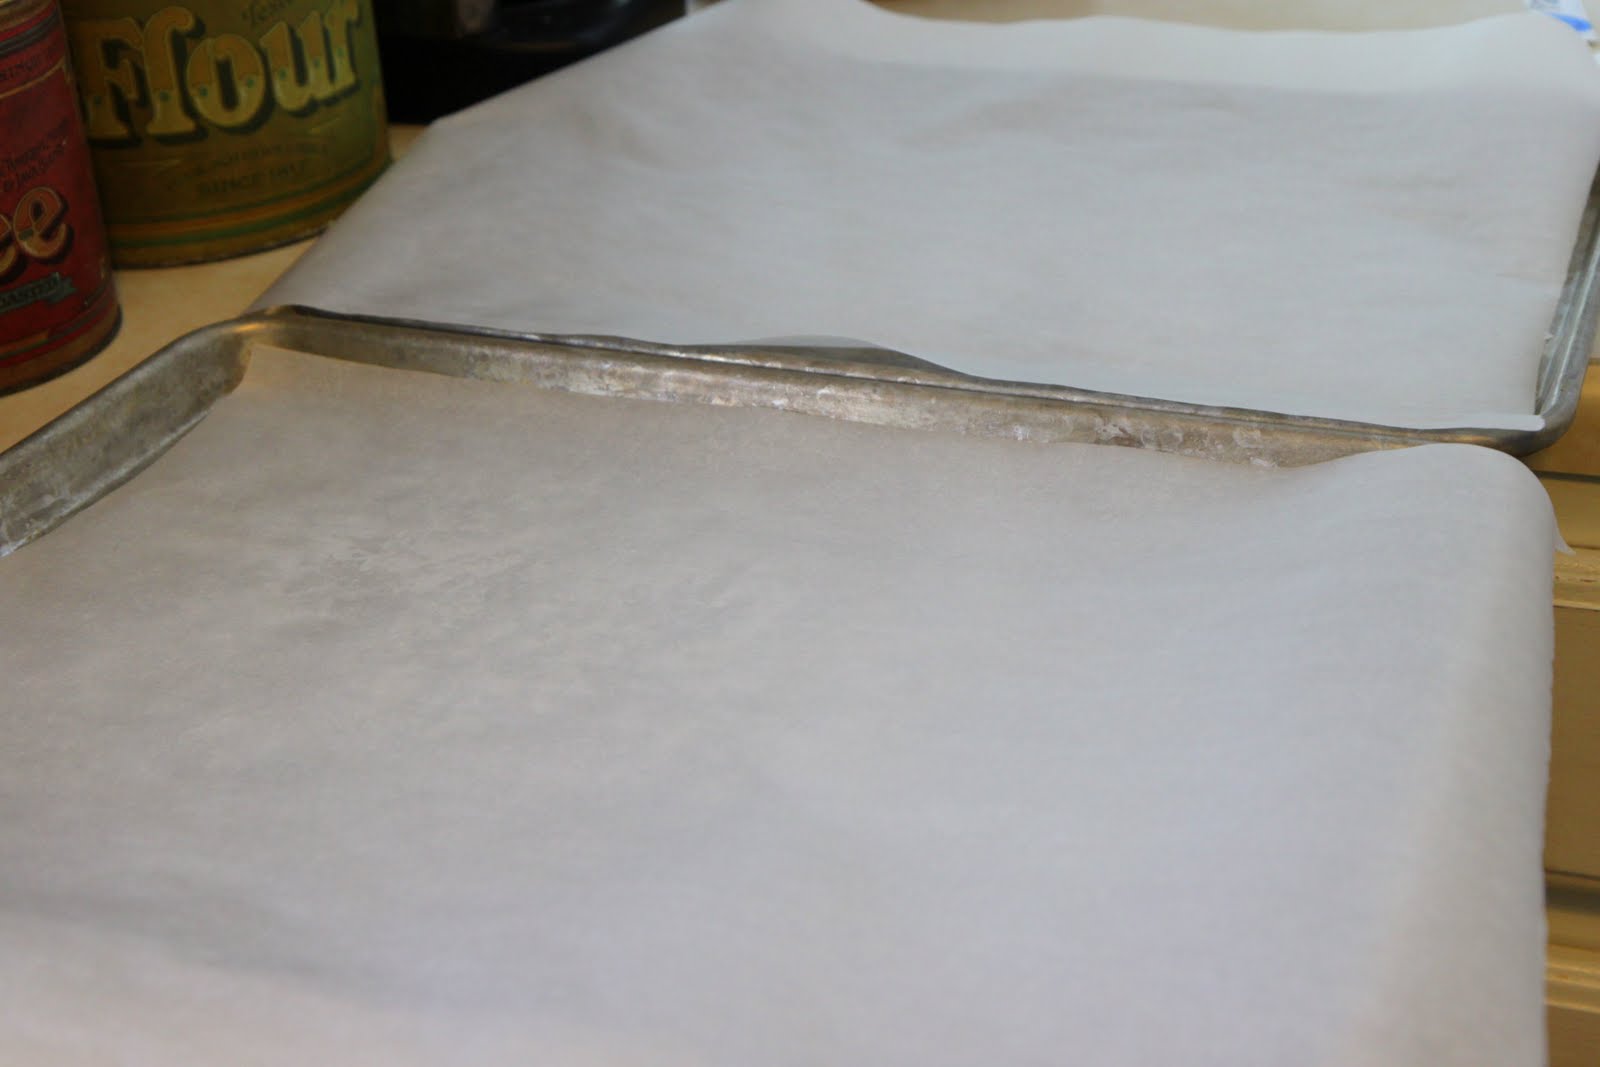
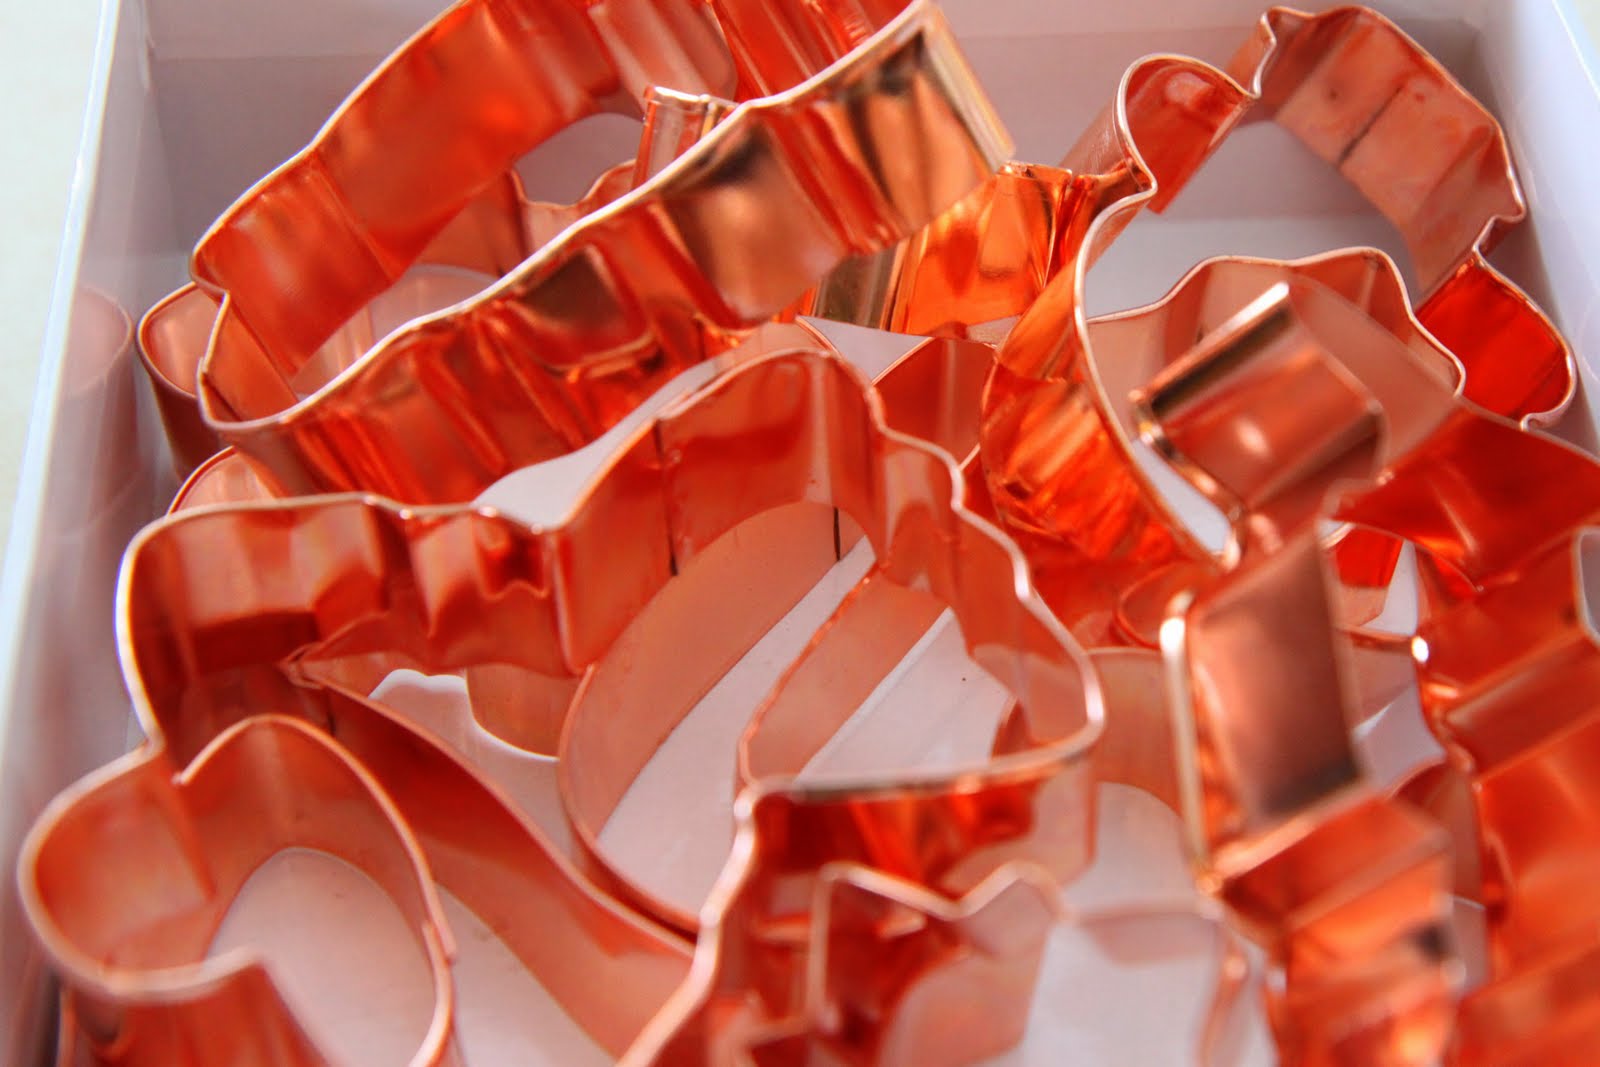
While the dough is chilling, you can tidy up the kitchen and then get everything else ready to go. Line your cookie sheets with parchment paper, break out those cookie cutters, and tear off two sheets of parchment paper per dough disk to roll out your cookies. That’s right, no floured counters which will save on clean-up time!
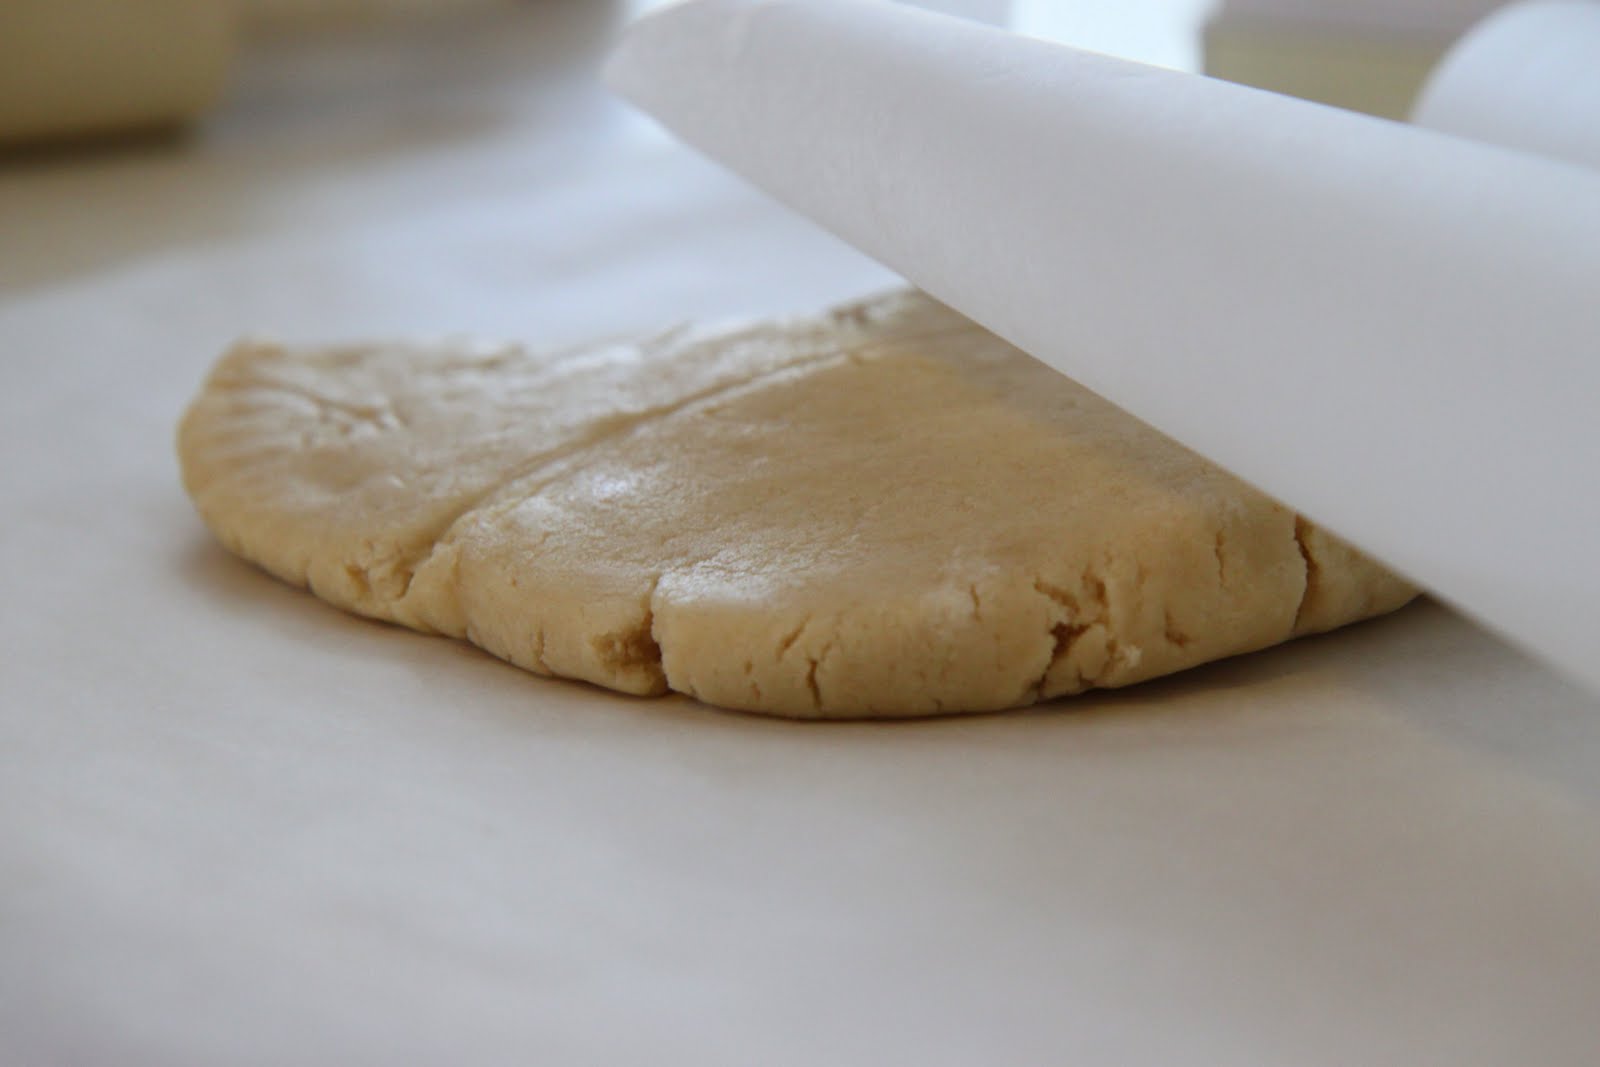
Put your disk between the parchment paper and roll the dough out. I secured one set of corners between me and the counter to hold the paper in place. Let me know if you know a better way to do this, but that seemed to keep everything secure without any special tools. Now pop the dough back in the refrigerator for ten more minutes or until the dough is firm for cutting. I know it is a total pain and feels like a waste of time, but it will yield a cookie with sharp edges and one that will hold its shape. I figured if I was already going to all of this trouble, it would be worth the extra effort to do it right.
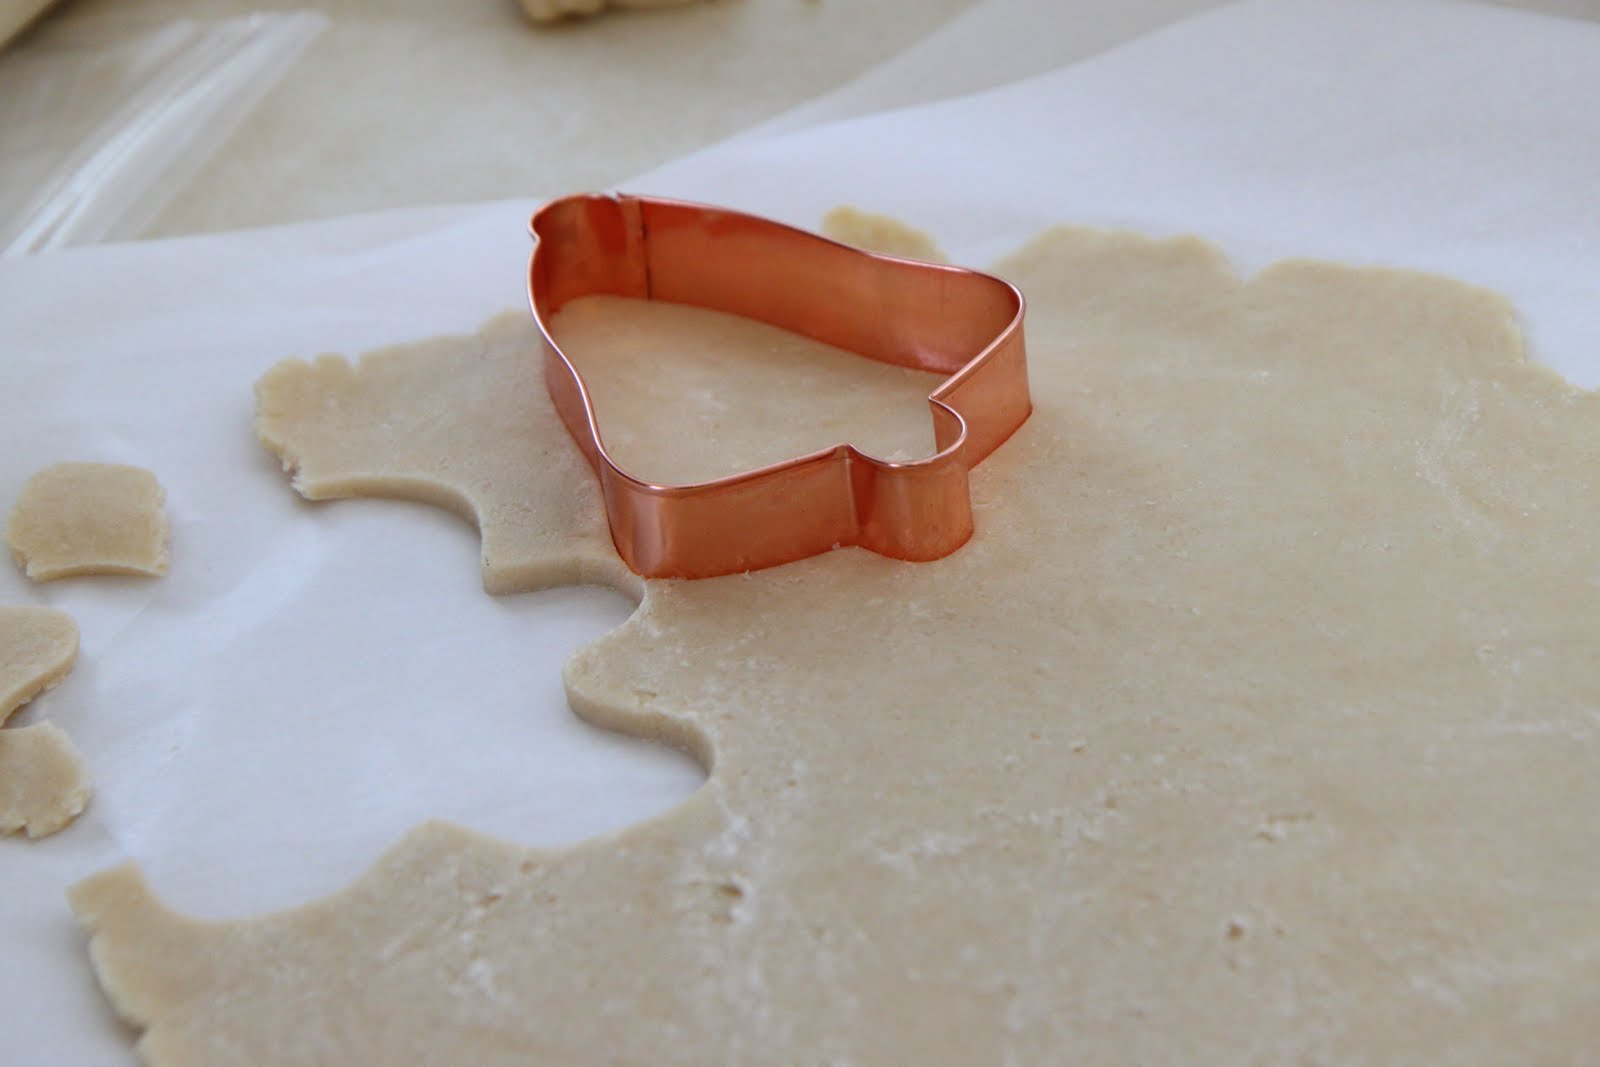
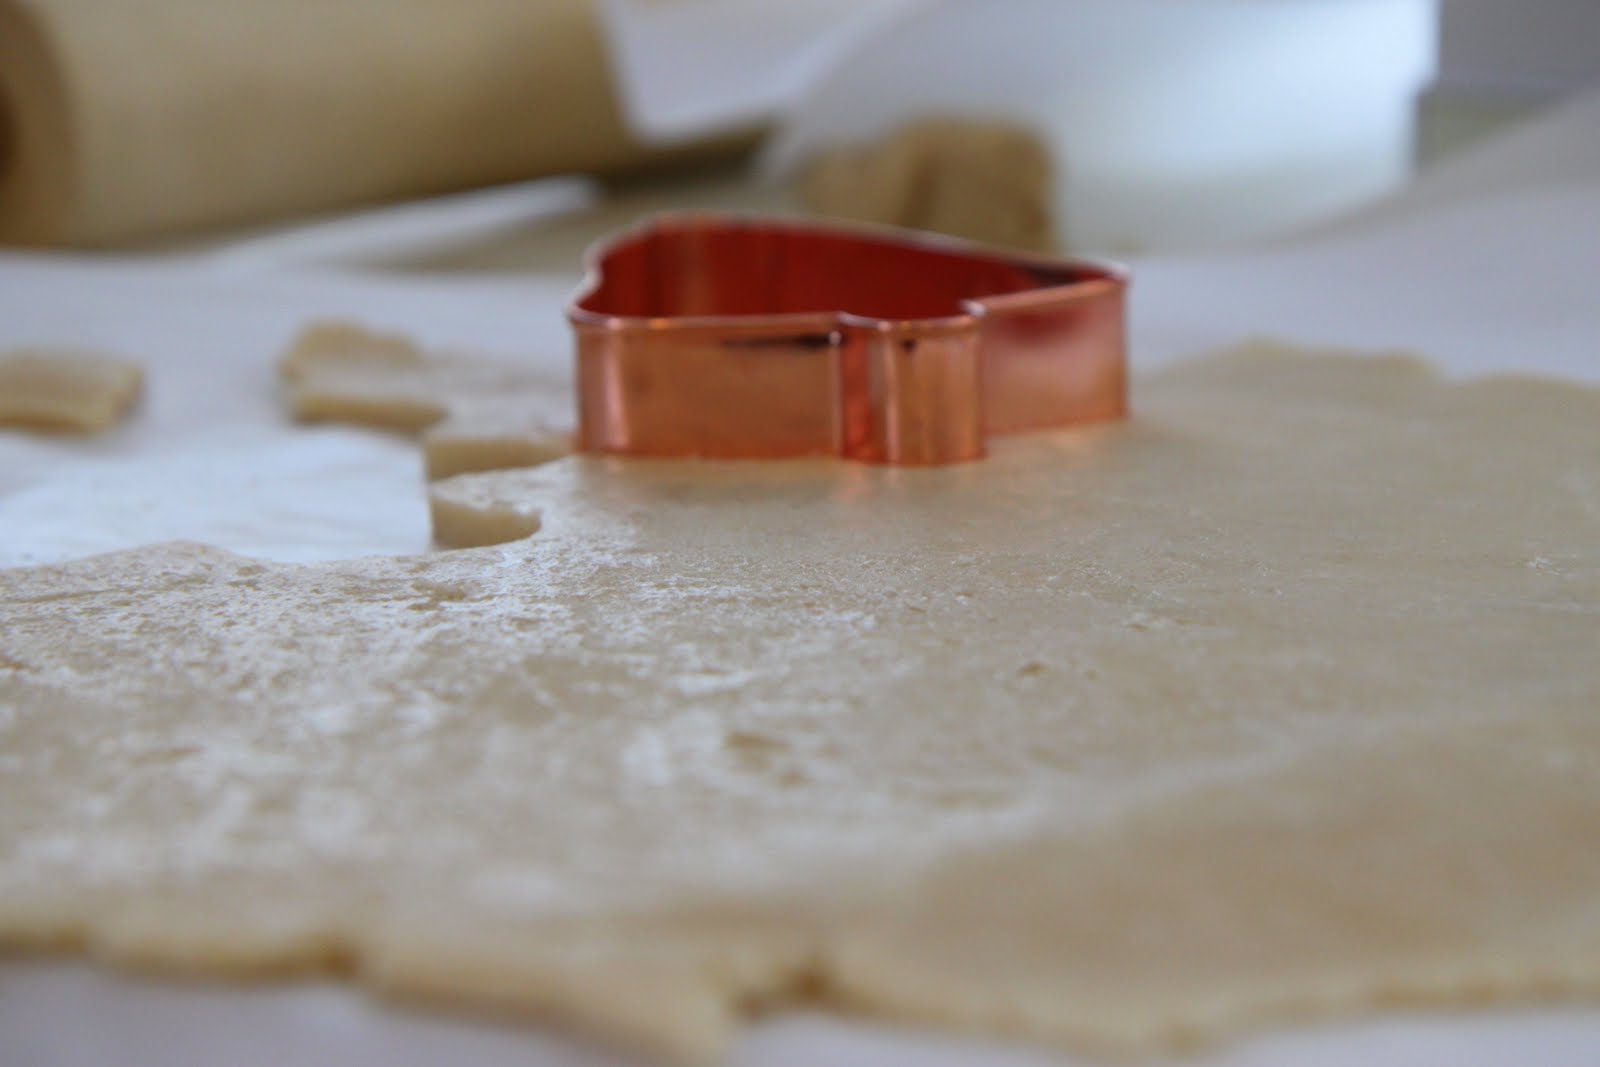
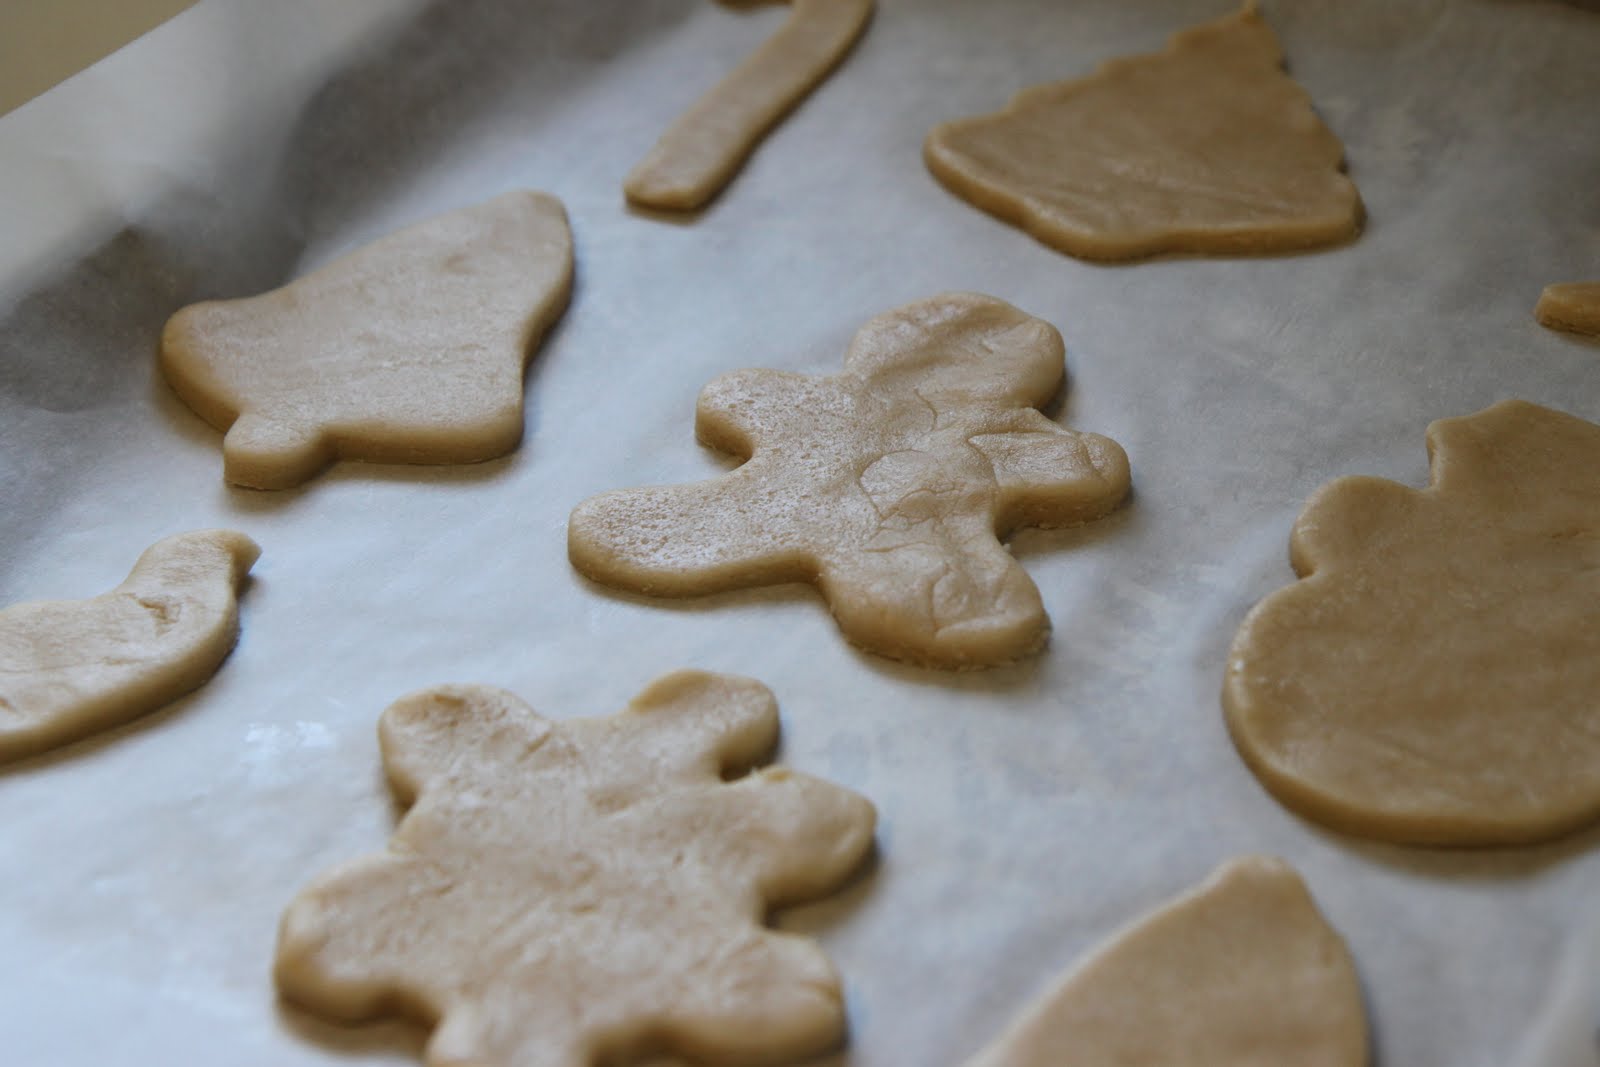
At this point, I was already patting myself on the back. Aren’t you glad you weren’t in the kitchen with me for this annoying moment? The cookies cut out beautifully and were firm enough that I could easily transfer them over to the parchment paper without losing feet and snowman arms and wings off of birds. I bet you are glad you never saw my past cookies!

Into the oven they will go while you stand watching them through the glass and continuing to annoyingly pat yourself on the back. Instead of letting one rack stay doughy and one rack get burnt, they have you rotate the cookie sheets halfway through. What a novel idea!
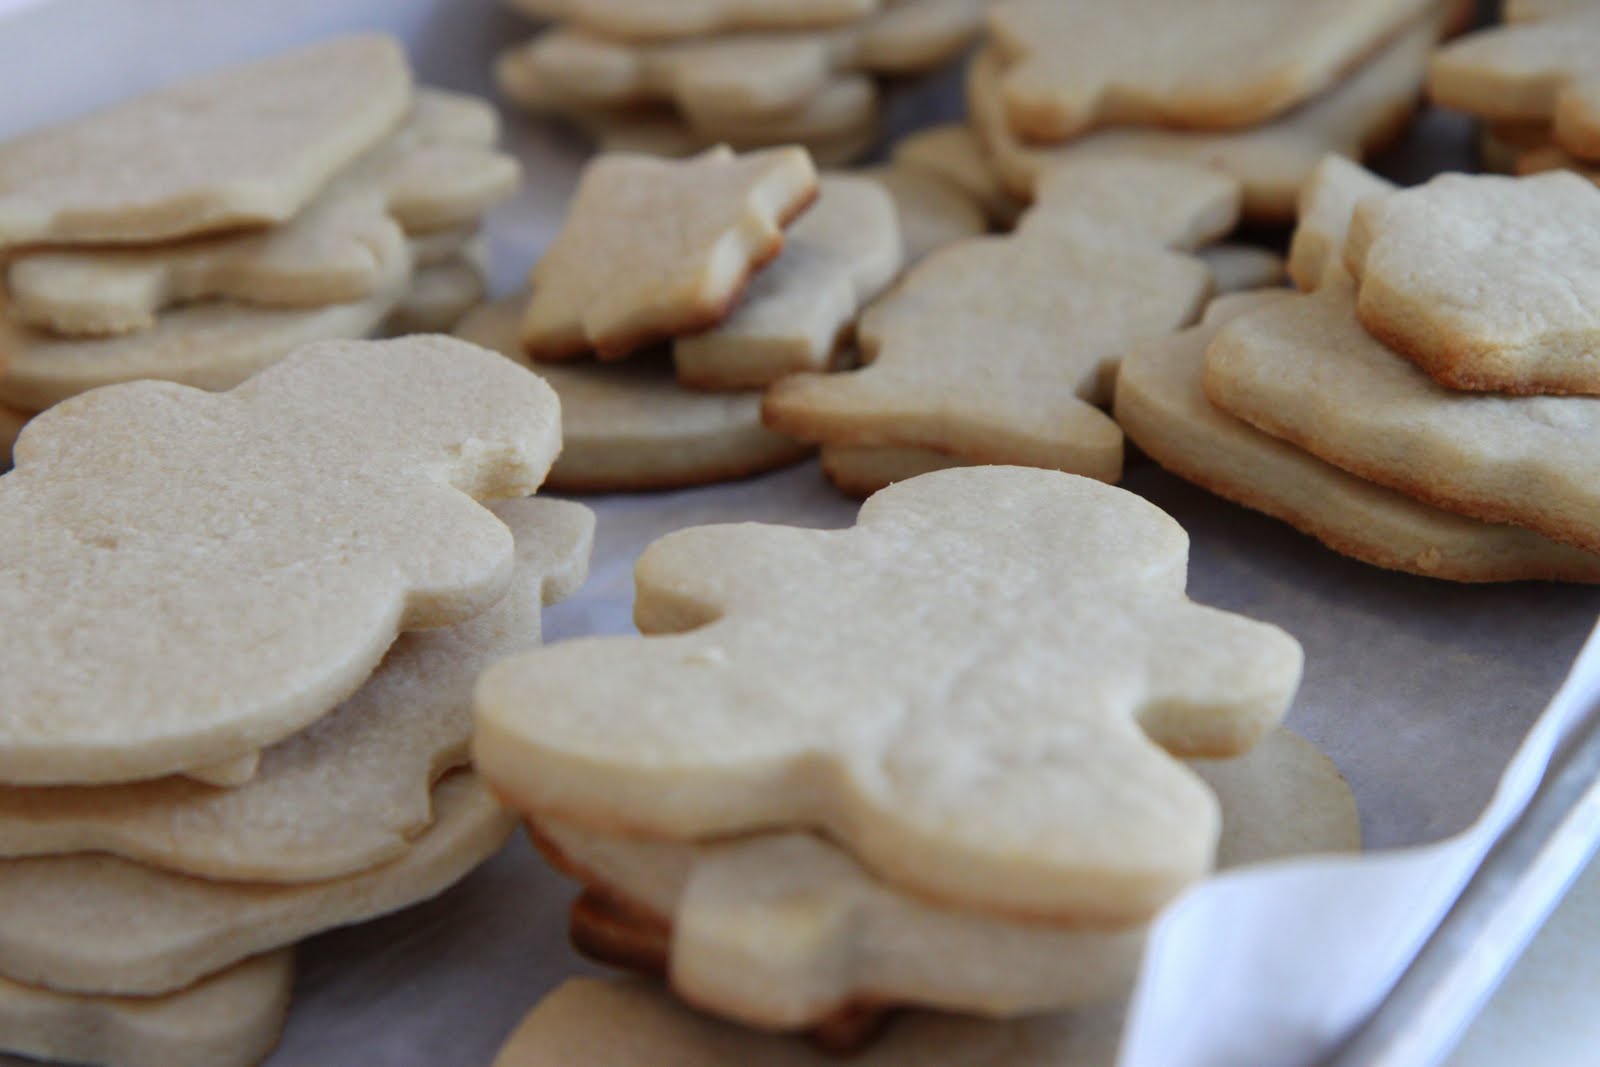
These are my cookies after baking! I KNOW! One thing I want to note about my cookie experience is that the ten minutes is all that is really needed to bake them. They didn’t look done to me, but they were so don’t overcook them. I had one batch that got out in the nick of time after I added two minutes to the cooking time. They will harden up for you without any additional cooking.
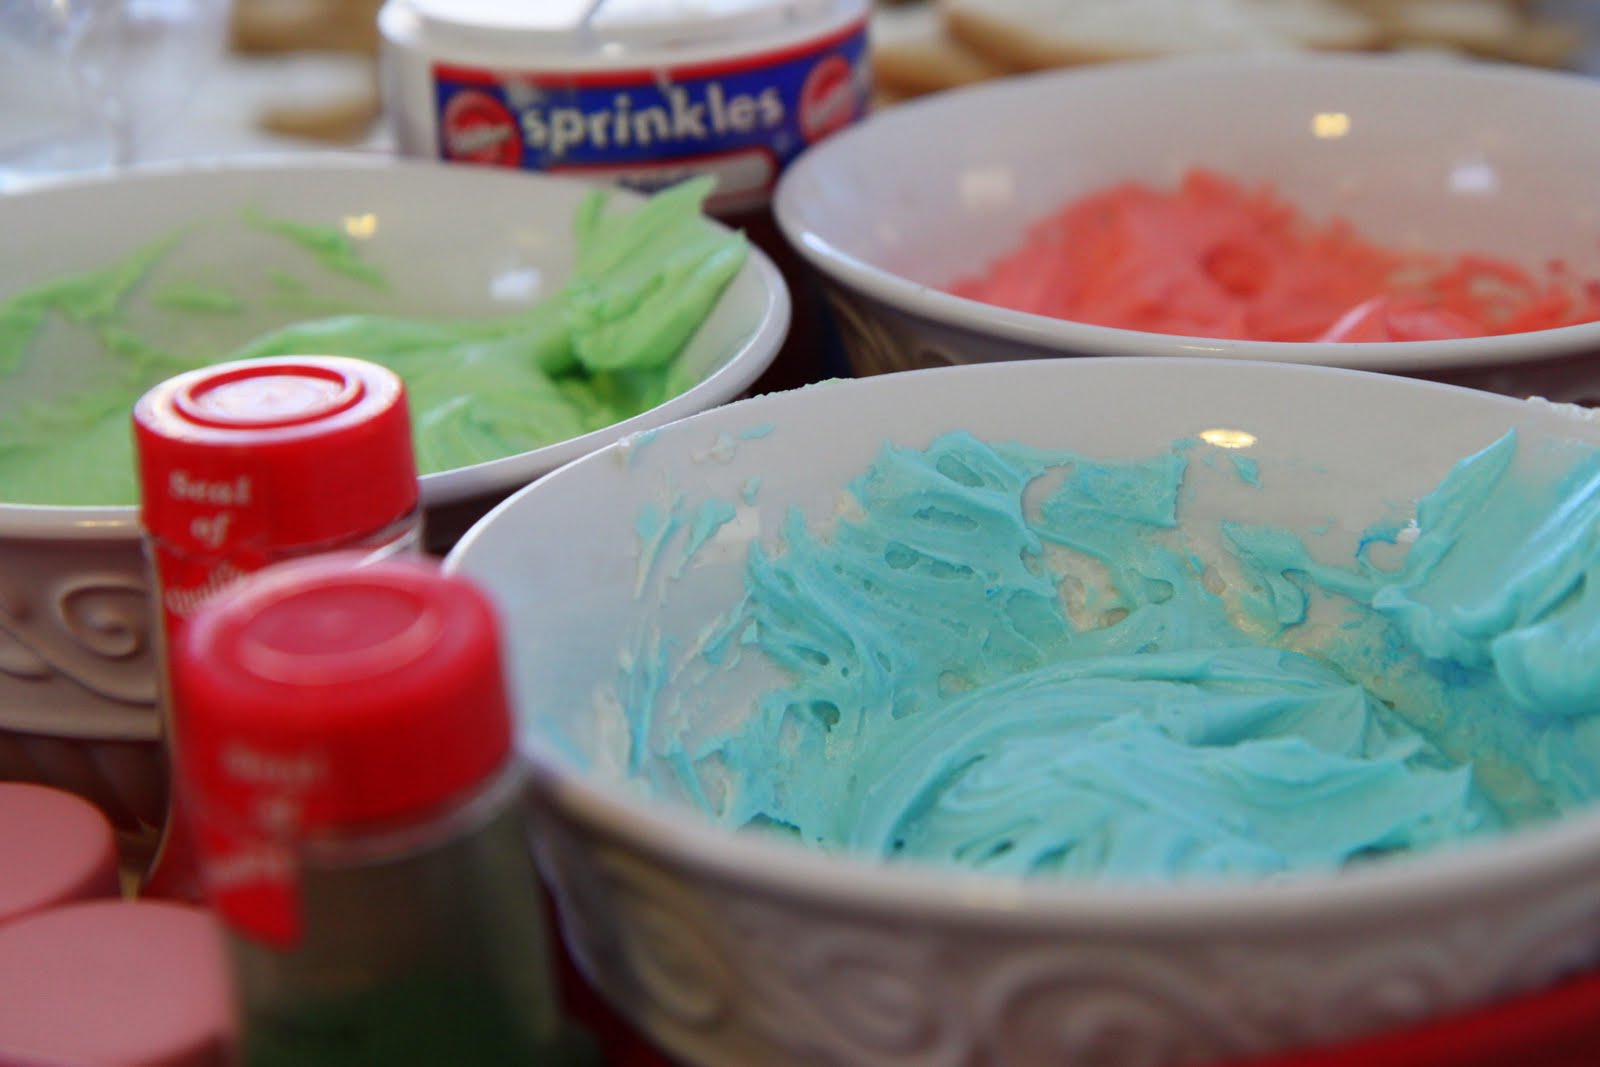

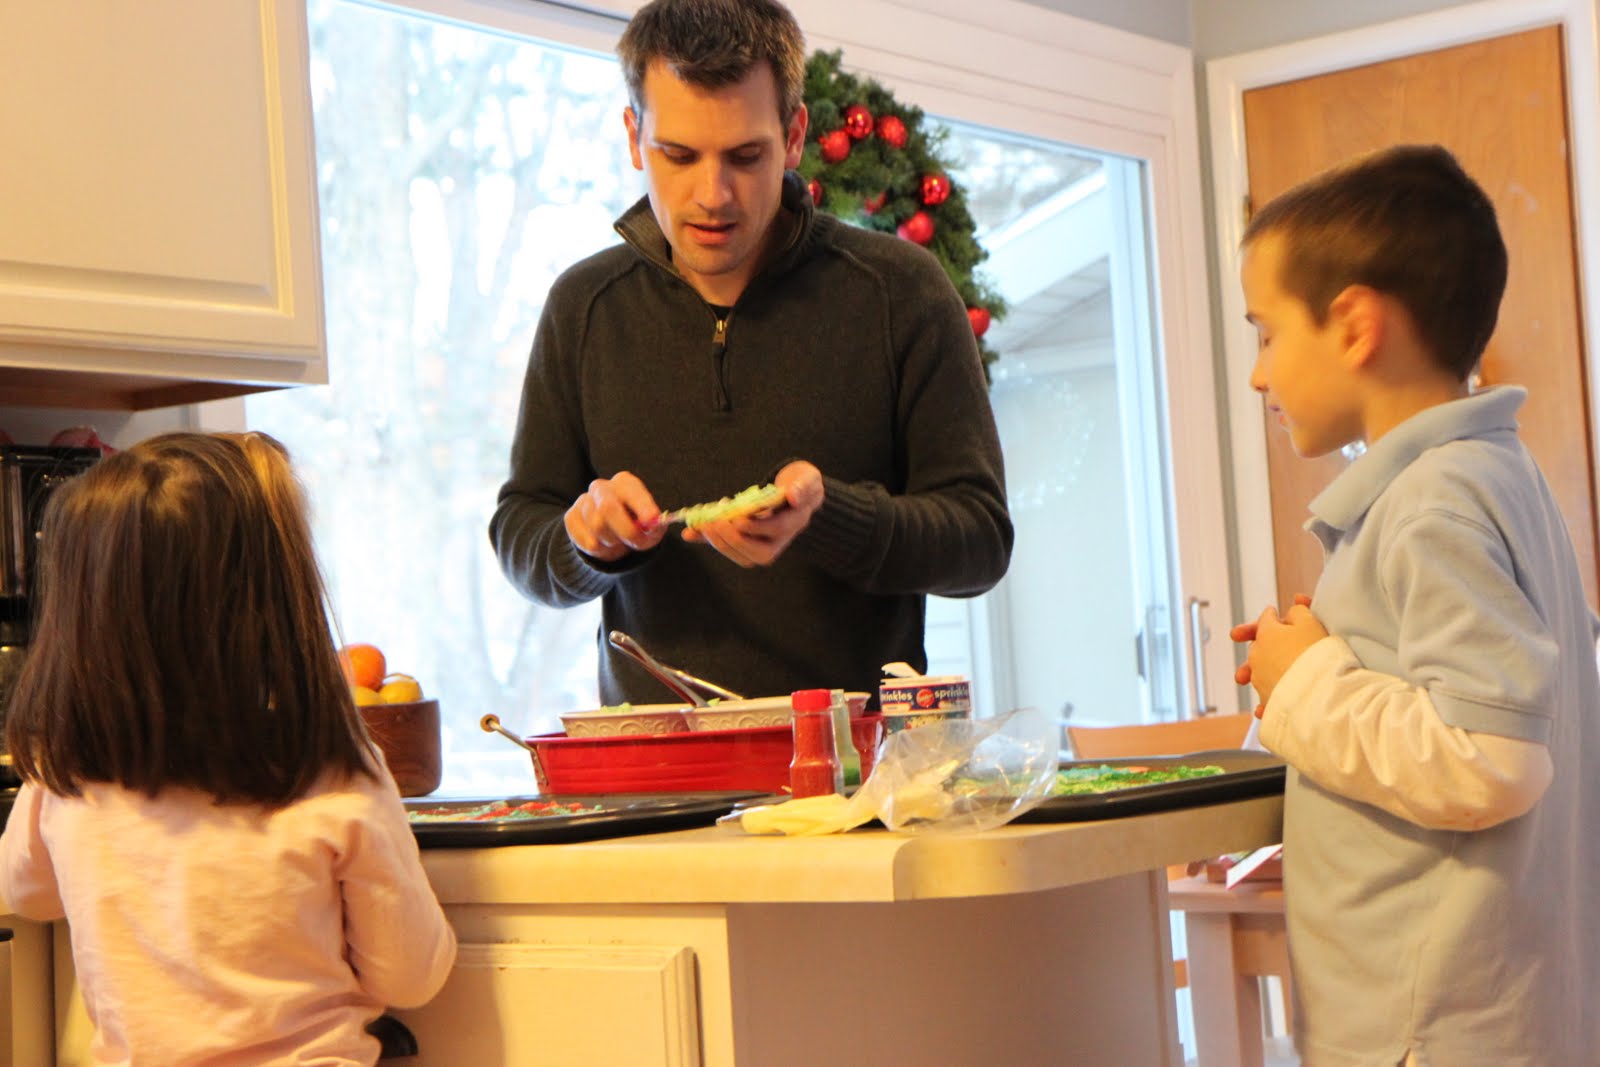
They recommend decorating with glaze. I am not a fan of how the glaze tastes. I stick to a traditional frosting recipe that requires a little more time to harden, but has a thicker tasting frosting.

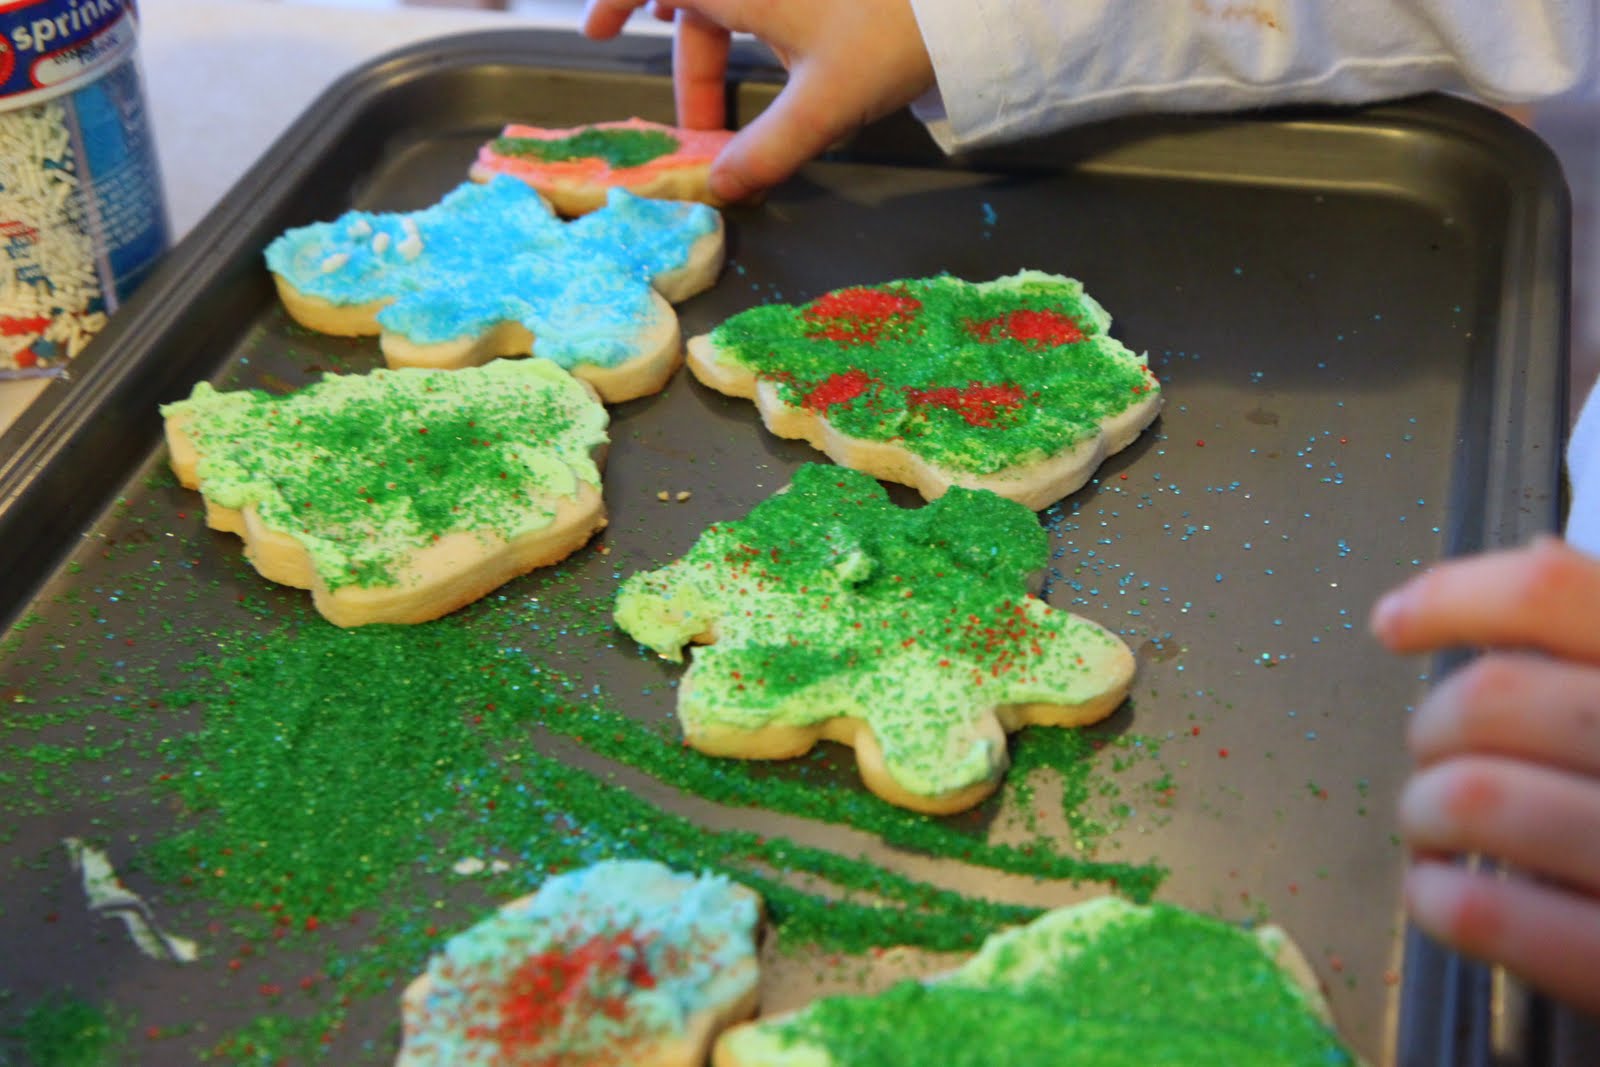
Since our cookie sheets were lined with parchment paper, I took the paper off and gave each kid one to use to decorate their cookies. This caught any runaway sprinkles or the sprinkle dumping that seems to occur every year (see above for examples).

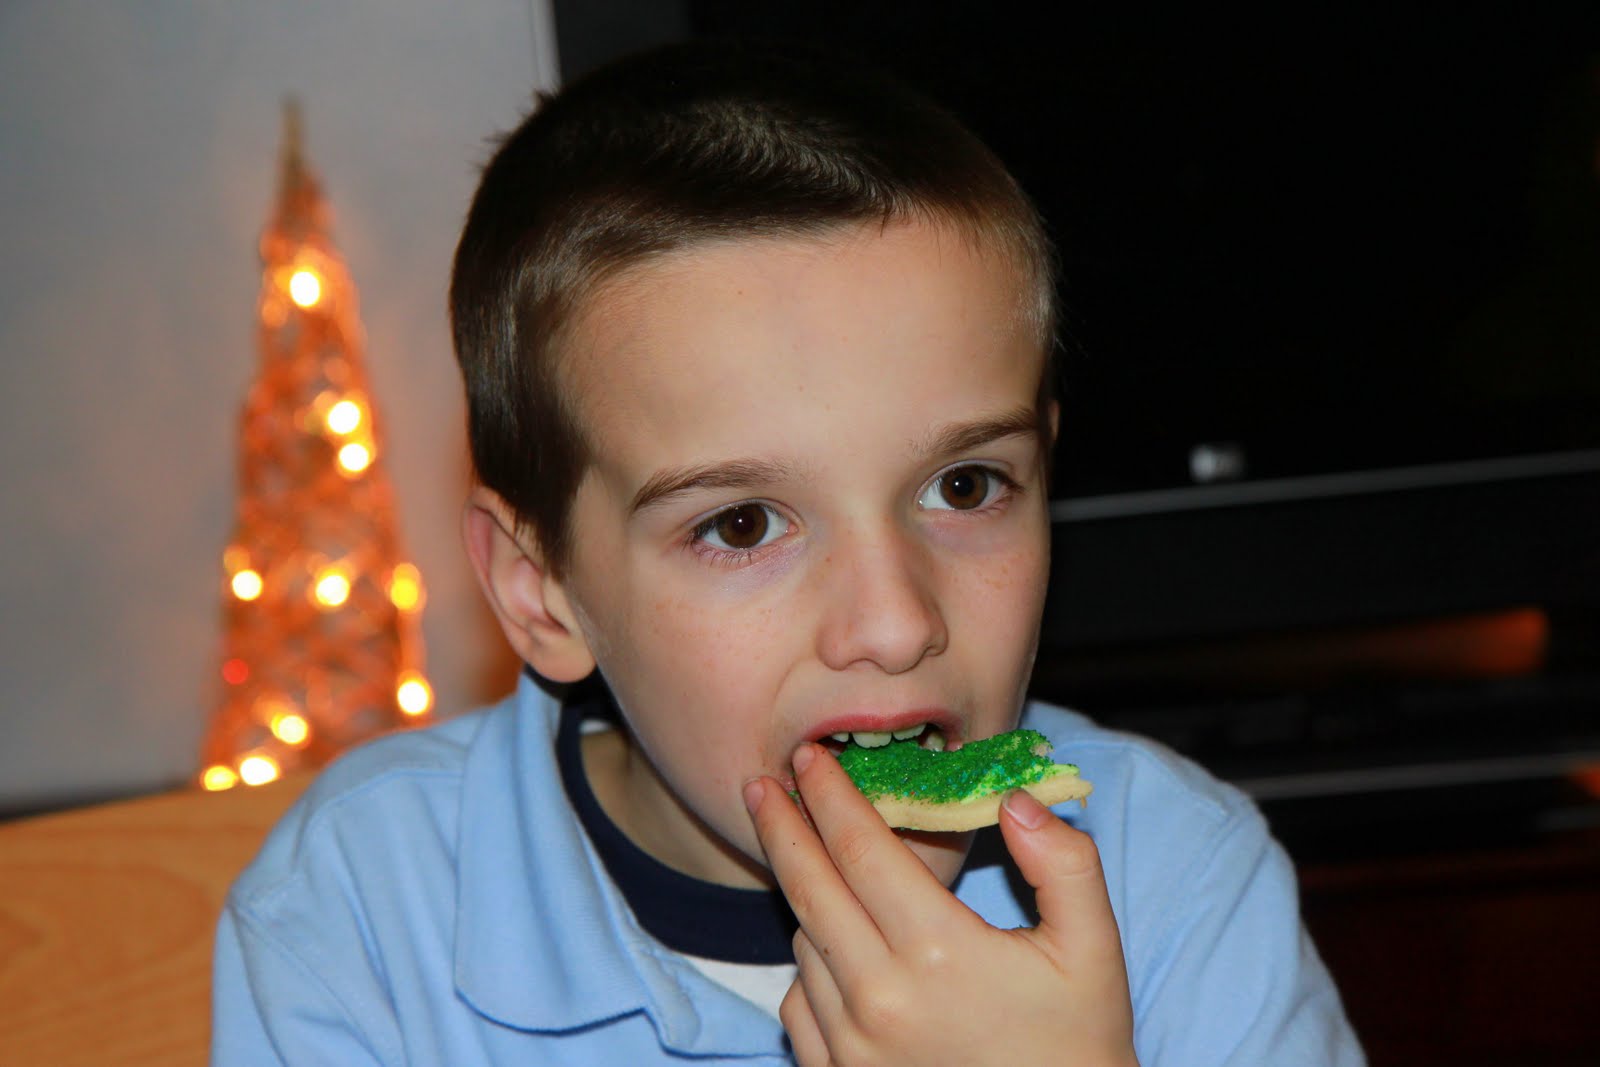

The cookies looked good, but the real question is did they taste good? I asked our very official taste-testing and decorating crew to give me their honest opinions.

Sometimes a picture is all you need! They were perfect, not crumbly, sturdy, but not thick, tangy, but buttery. Basically, perfection!

Perfect Cut-Out Sugar Cookies (Recipe from America’s Test Kitchen Family Cookbook)

Recipe says it will yield approximately 3 dozen cookies. I doubled the recipe & got 32 cookies with my cookie cutters. The amount of cookies will definitely depend on your cookie cutter sizes!

2 1/2 cups flour
3/4 cup superfine sugar (just whipped 1 cup sugar in the food processor until it was blended and then measured out 3/4 cup)
1/4 teaspoon salt
16 tablespoons (2 sticks) unsalted butter, cut into 1/2″ pieces & softened
2 tablespoons cream cheese, softened
2 teaspoons vanilla extract

Whisk the flour, sugar, & salt together in a large bowl. Beat the butter into the flour mixture, one piece at a time using an electric mixer on medium-low speed, then continue to beat until the mixture looks crumbly and slightly wet, 1 to 2 minutes. Beat in the cream cheese & vanilla until he dough just begins to form large clumps, about thirty seconds.

Knead the dough in the large bowl by hand a few times until it forms a large, cohesive mass. Turn the dough out onto a clean counter, divide it in half, and apt into a two four inch disks. Wrap the disks tightly in plastic wrap and refrigerate until they begin to firm up, 20 to 30 minutes.

Adjust an oven rack to the middle position and heat the oven to 375. Work with one disk at a time, roll out the dough to a 1/8″ thickness between two sheets of parchment paper. Slide the rolled dough and parchment onto a baking sheet & refrigerate again until firm.

Working with one
sheet of dough at a time cut out shapes using cookie cutters and lay on two parchment-lined baking sheets, spaced about 1″ apart. Bake the cookies until light golden brown, about ten minutes, rotating the baking sheet halfway through baking.

Let the cookies cool on the baking sheet for two minutes before transferring them to a wire rack to cool completely, about thirty minutes. When cooled, the cookies can be decorated as desired.

****************

Sugar Cookie Frosting

4 cups confectioners sugar
1/2 cup shortening
5 tablespoons milk
1 teaspoon vanilla extract
Food coloring

In a large bowl, cream together confectioners sugar and shortening until smooth. Gradually mix in milk and vanilla with an electric mixer until smooth and stiff, about five minutes. Color with food coloring if desired.

****************

I would highly recommend adding this cookbook to your holiday wish list. That same recipe can be adapted for many different types of cookies! It has definitely earned its keep on my bookshelf.

Do you have a favorite holiday cookie recipe? Please share your recipes or links here!
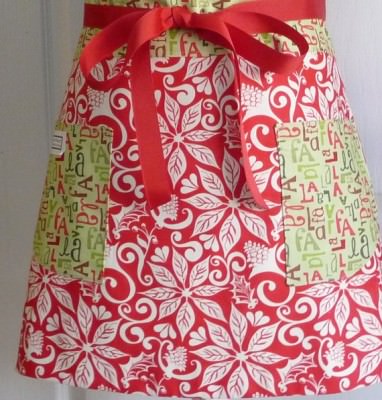
An Apron Full of Giveaways 12.07.10

December 7th, 2010

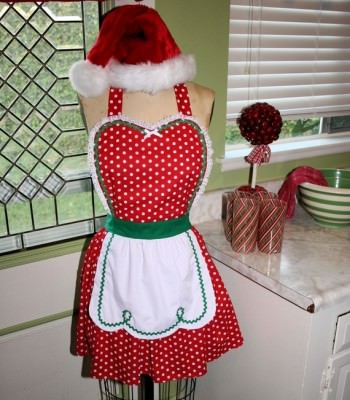
Handmade Whimzy, $29

Welcome to our Apron Full of Giveaways! I hope everyone is having a great week this week! As we do each week,  here is our round-up of giveaways for our readers. We hope that this is beneficial to you and your family! Please let us know if you guys win anything- I love to hear the success stories!

Below are the contest links-if you are hosting a contest please link it up below. Sorry, we aren’t giving away the aprons just showcasing them! Please put your site name and then what type of contest you are hosting. For example, “MomAdvice (Children’s Movies).”

Please let me know if you have any questions and good luck to each of you!

Holiday Treat: Baked Glazed Gingerbread Donuts

December 6th, 2010

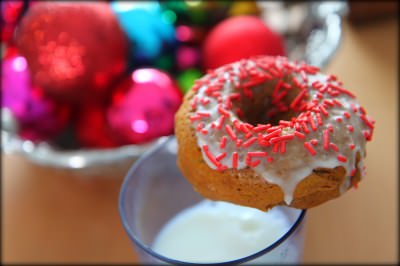
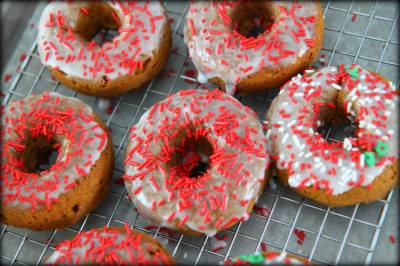
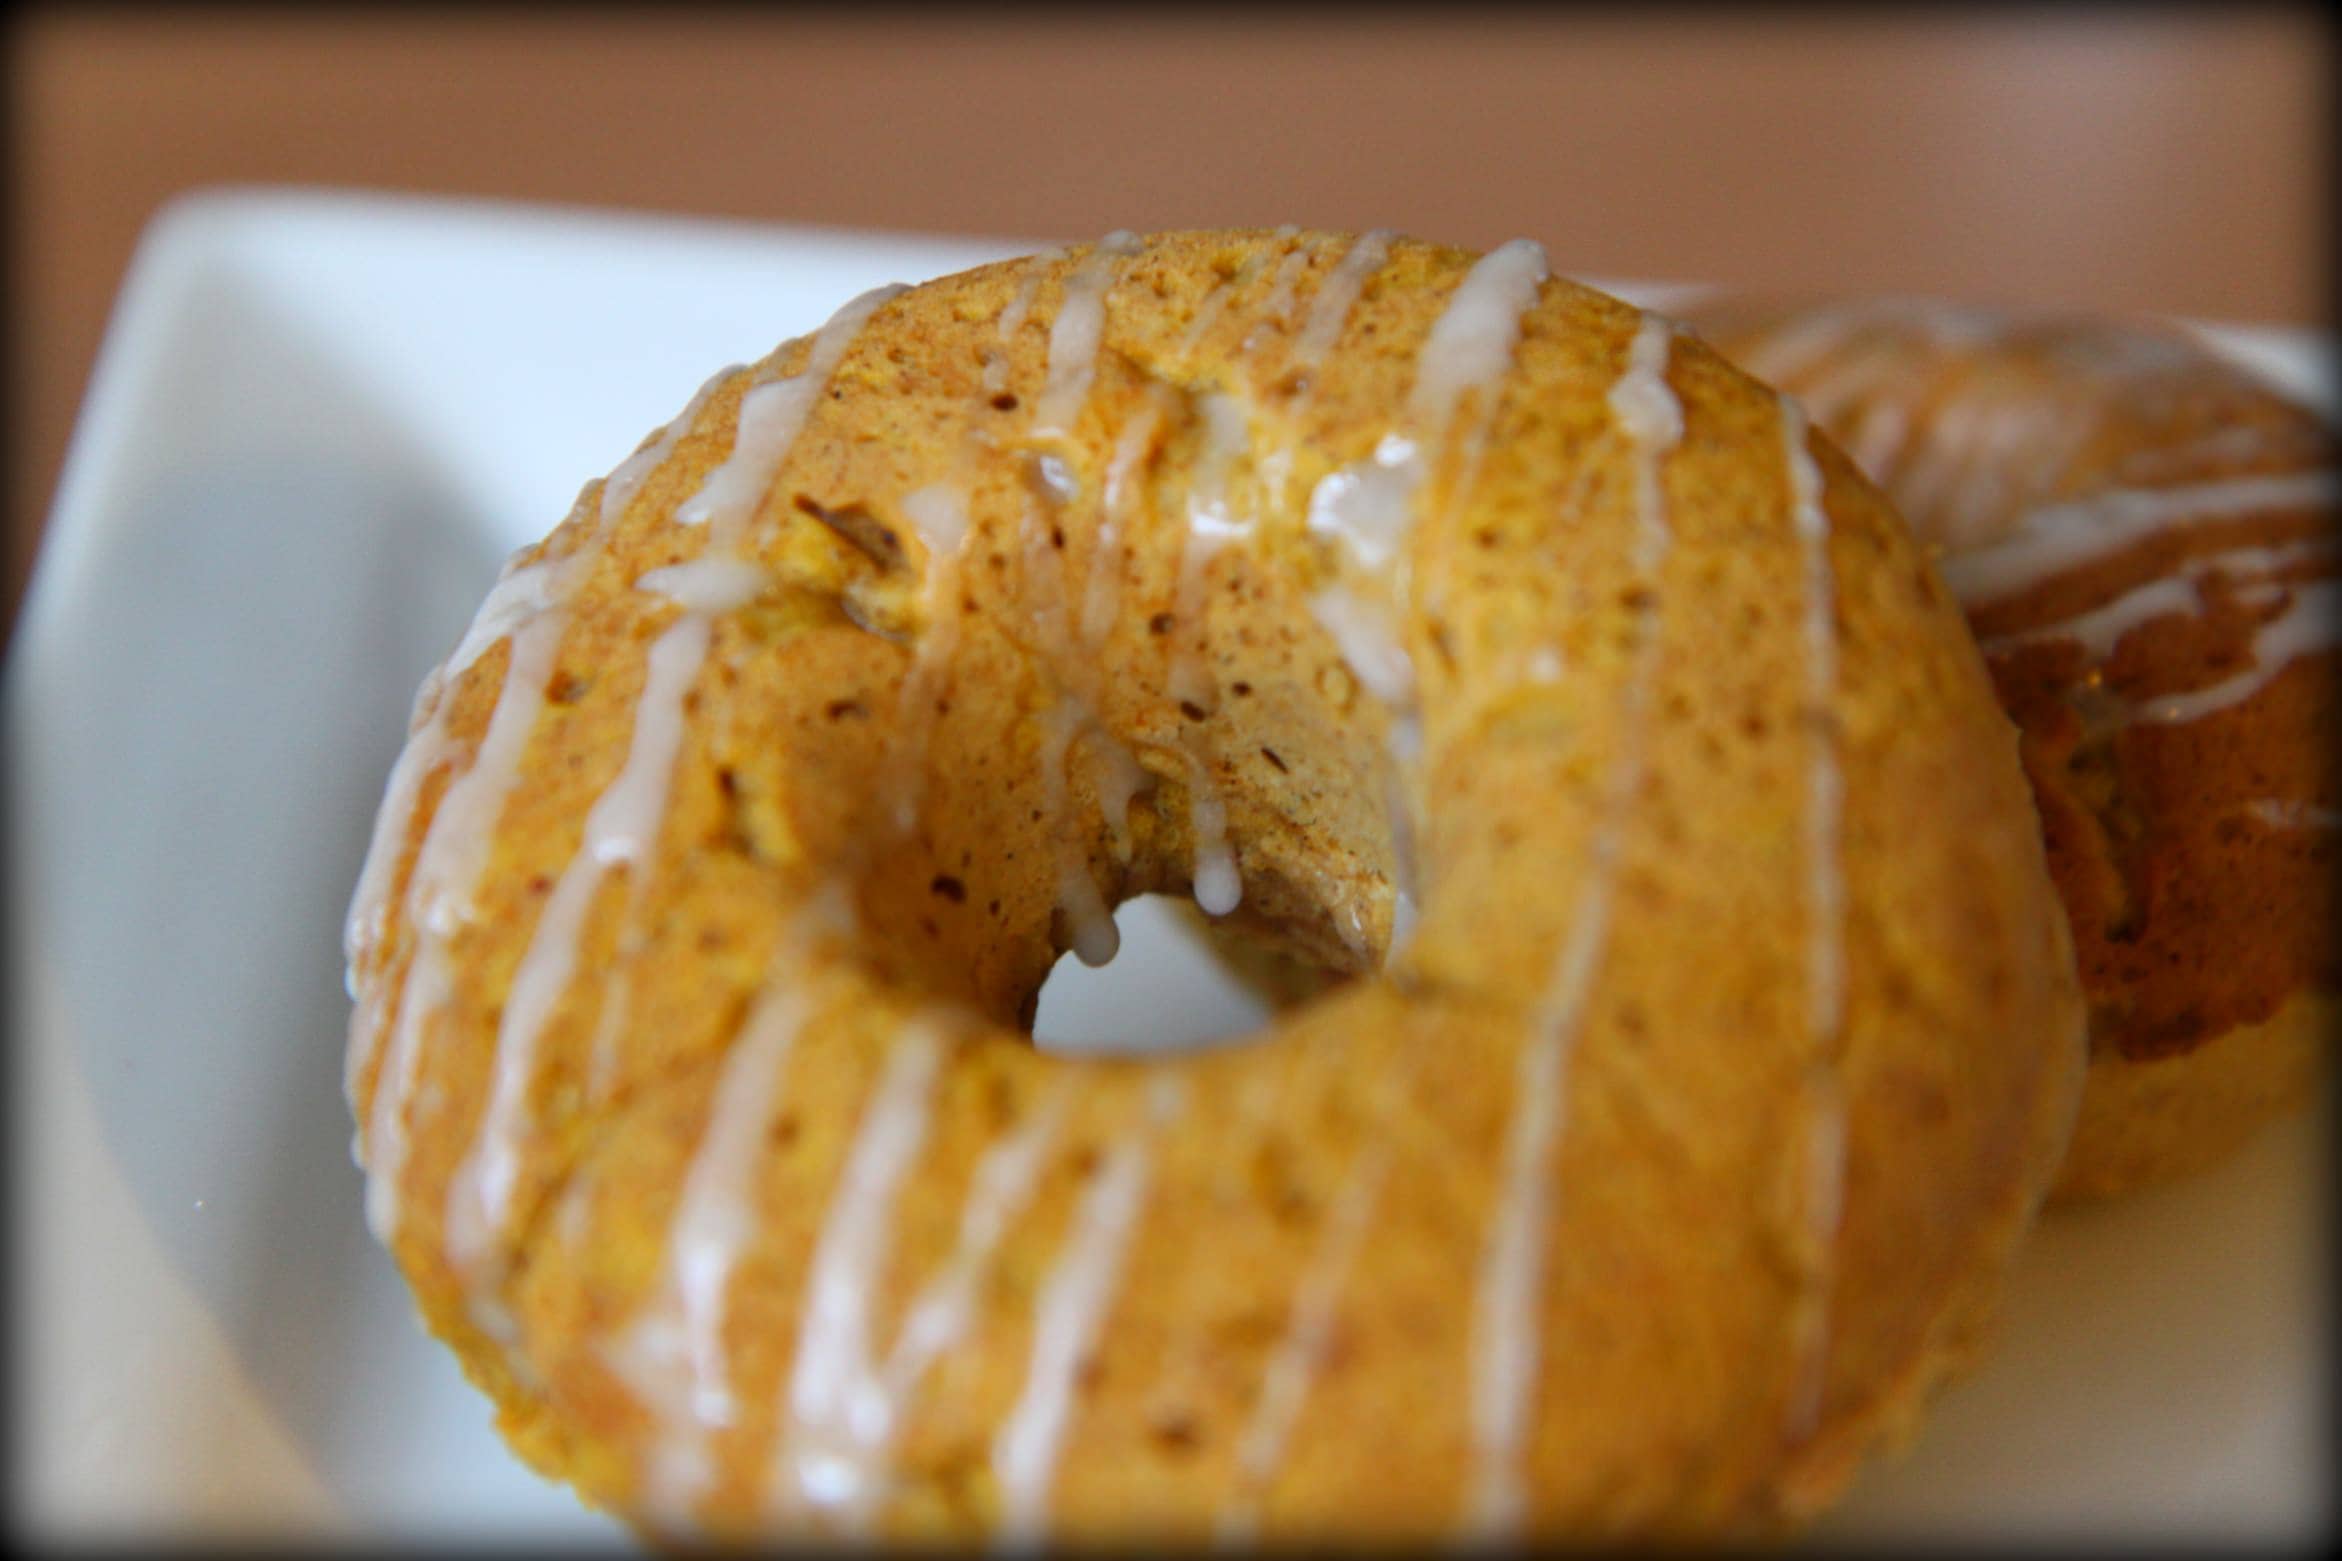
There are few things in the world that say Christmas to me more than the flavors of gingerbread.  Our family tradition is to indulge in Gingerbread Waffles on tree decorating day and for Christmas morning.  This weekend we had a busy weekend filled with fun holiday activities and I thought it might be fun to whip up a batch of baked gingerbread donuts as a special treat following my daughter’s holiday concert.

I spent the morning searching for a recipe to use and came up with not a single one. I had not intended to invent one, but once I had my heart set on a gingerbread donut, there was no turning back. I decided to pull together the ingredients from our gingerbread waffle recipe with a few of the ingredients from our Baked Pumpkin Donuts With Maple Syrup Glaze. By pulling these ingredients together, I just think I might have nailed down the perfect baked gingerbread donut.

As far as equipment goes for this, I did buy two donut pans with some Swagbucks that I set aside and credited those towards an Amazon gift certificate to purchase these. I found these Norpro 6-count Nonstock Donut Pans for $12.99 each and decided to put my certificates towards two of those.

If you don’t want to put these in a donut pan though, you could use a muffin tin or a mini-bundt pan. They have roughly the same amount of batter in them, but you will want to keep one eye on them to make sure they don’t overcook and test them with a toothpick to see if they have cooked all the way through. They won’t look like donuts, but will achieve all sorts of deliciousness without buying any extra equipment.

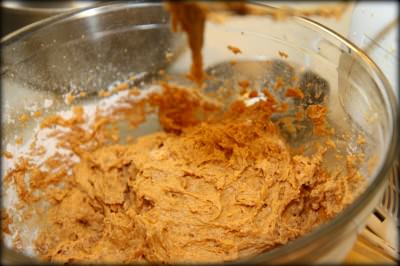
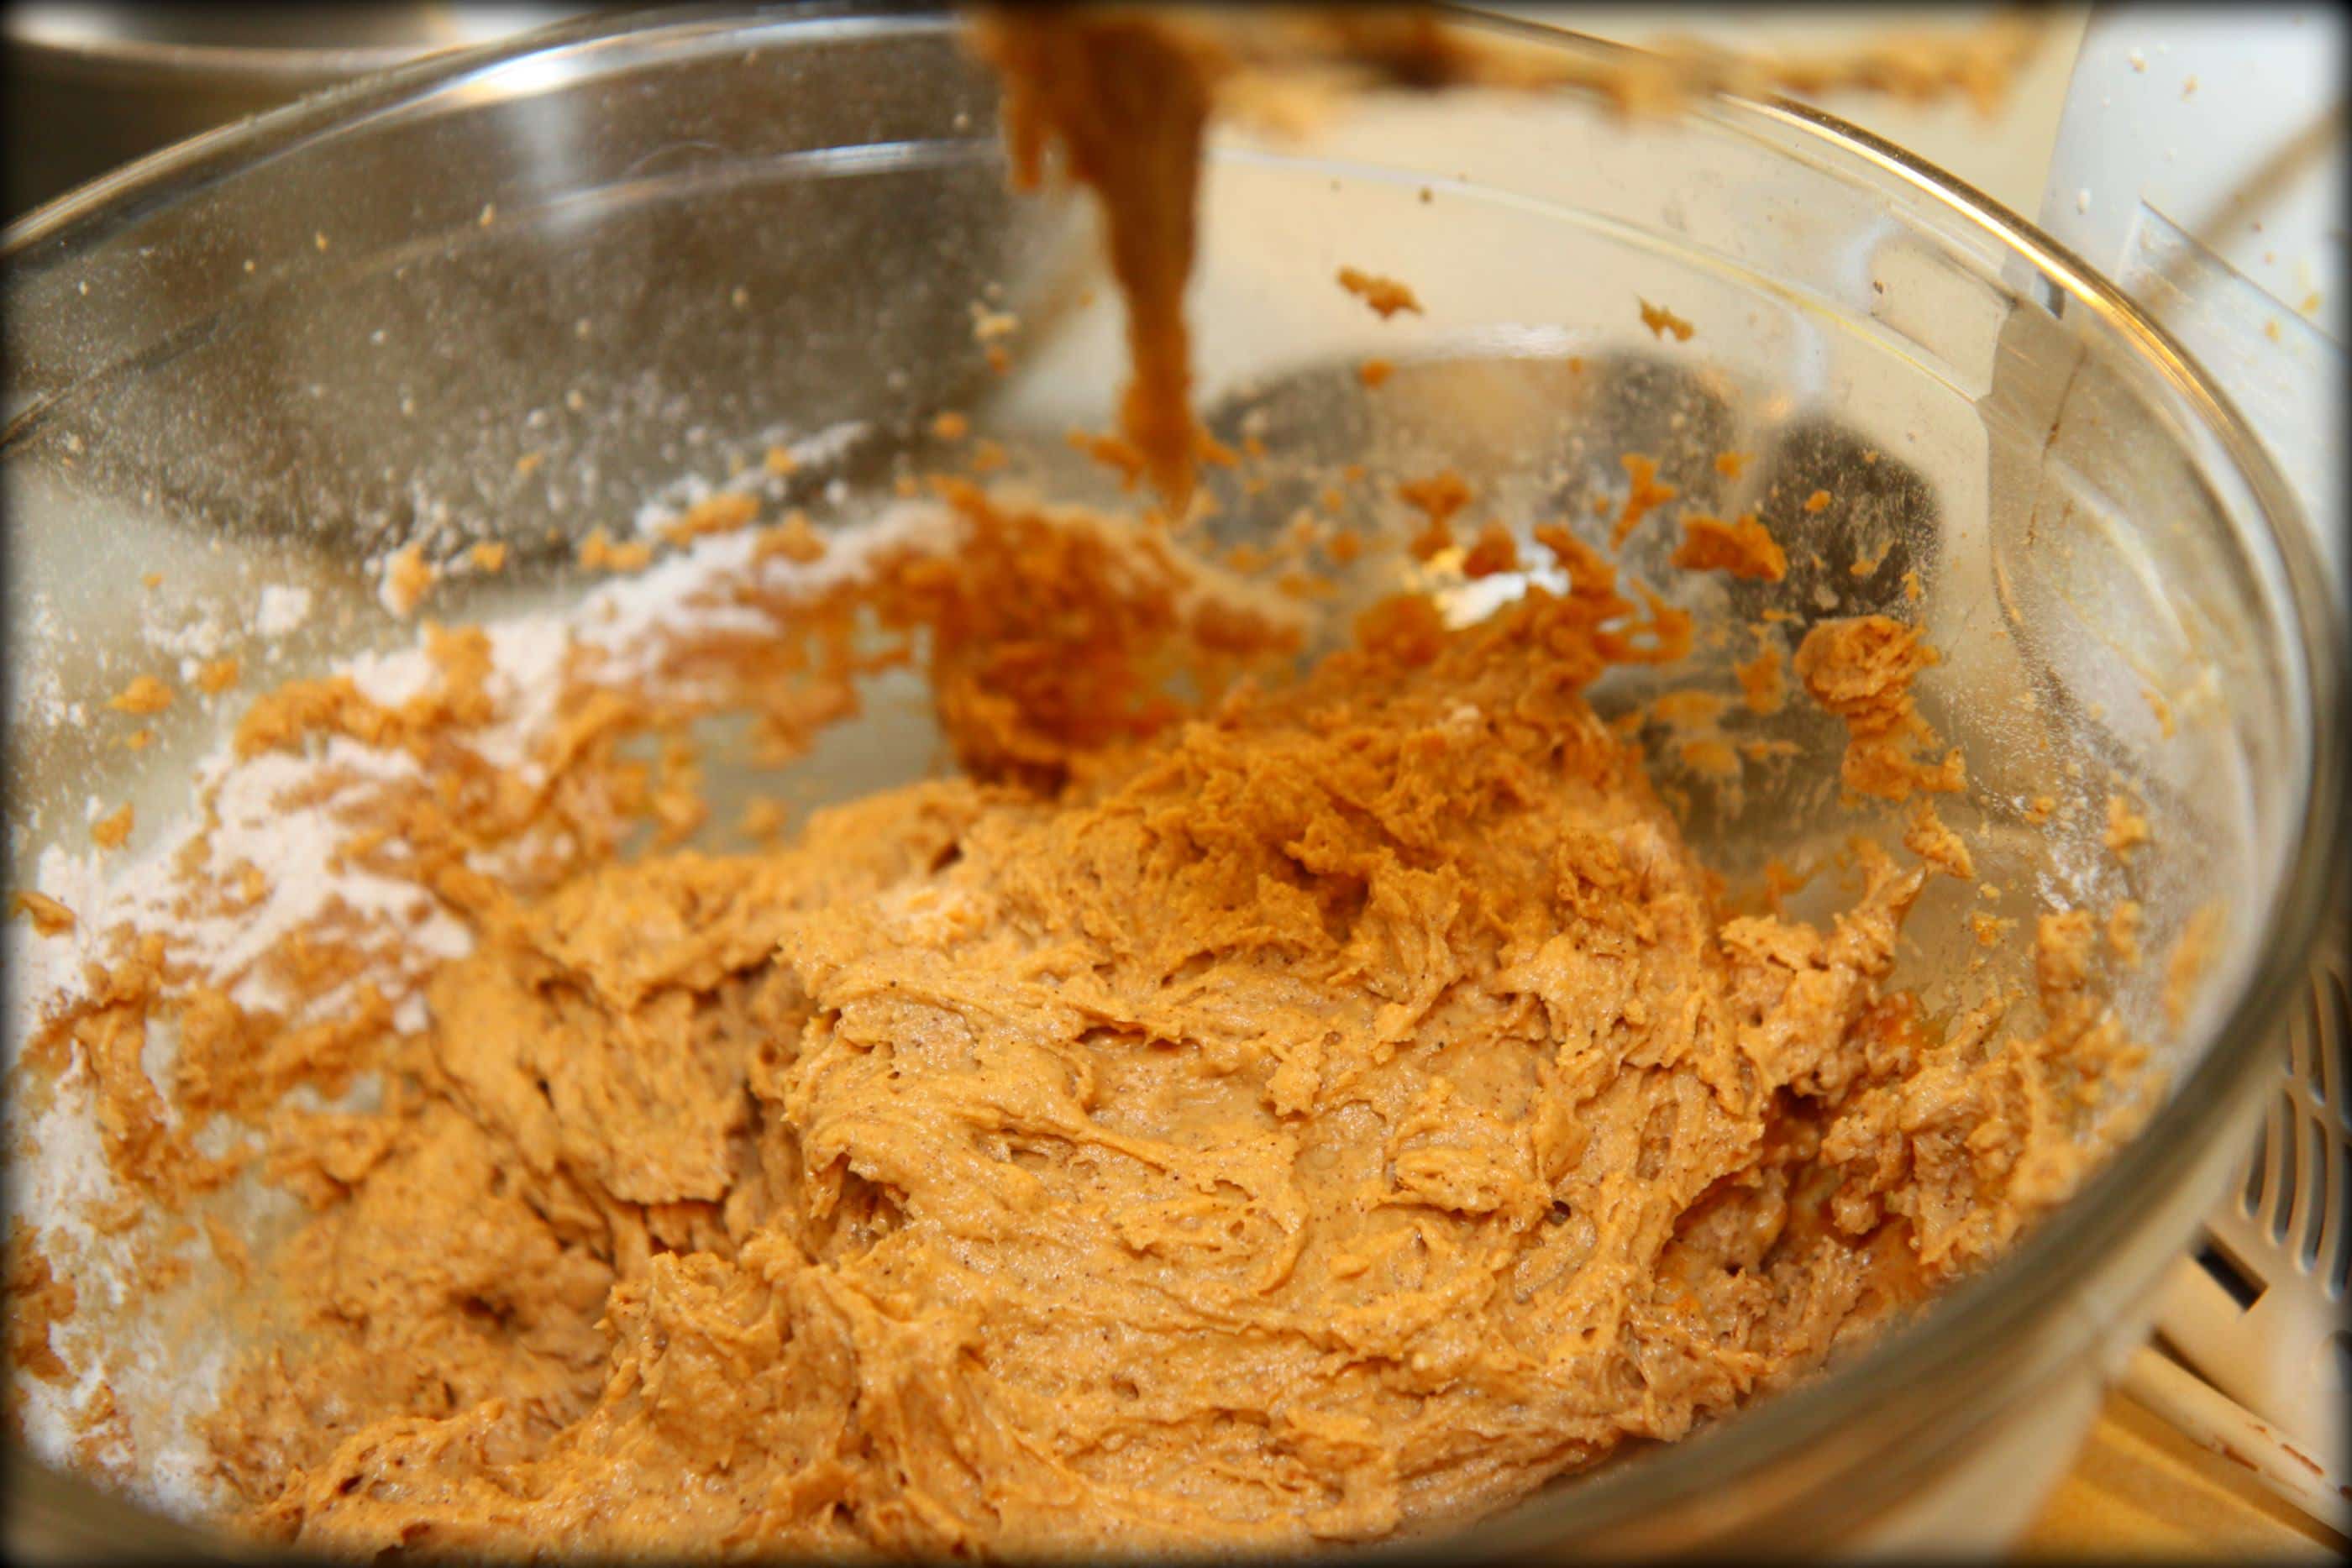
Let’s get started on our donuts! To begin making these donuts, you need to mix together the dry ingredients in one bowl. In a separate bowl, mix together all of your wet ingredients.  Then just add your dry ingredients to the mixed wet ingredients, just until they are combined. I just used my little hand mixer for this quick job.  It really is that easy.

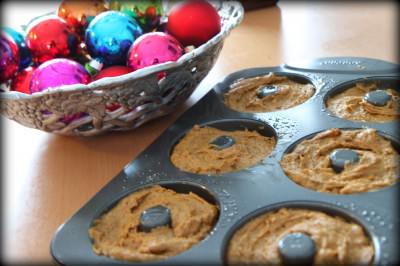
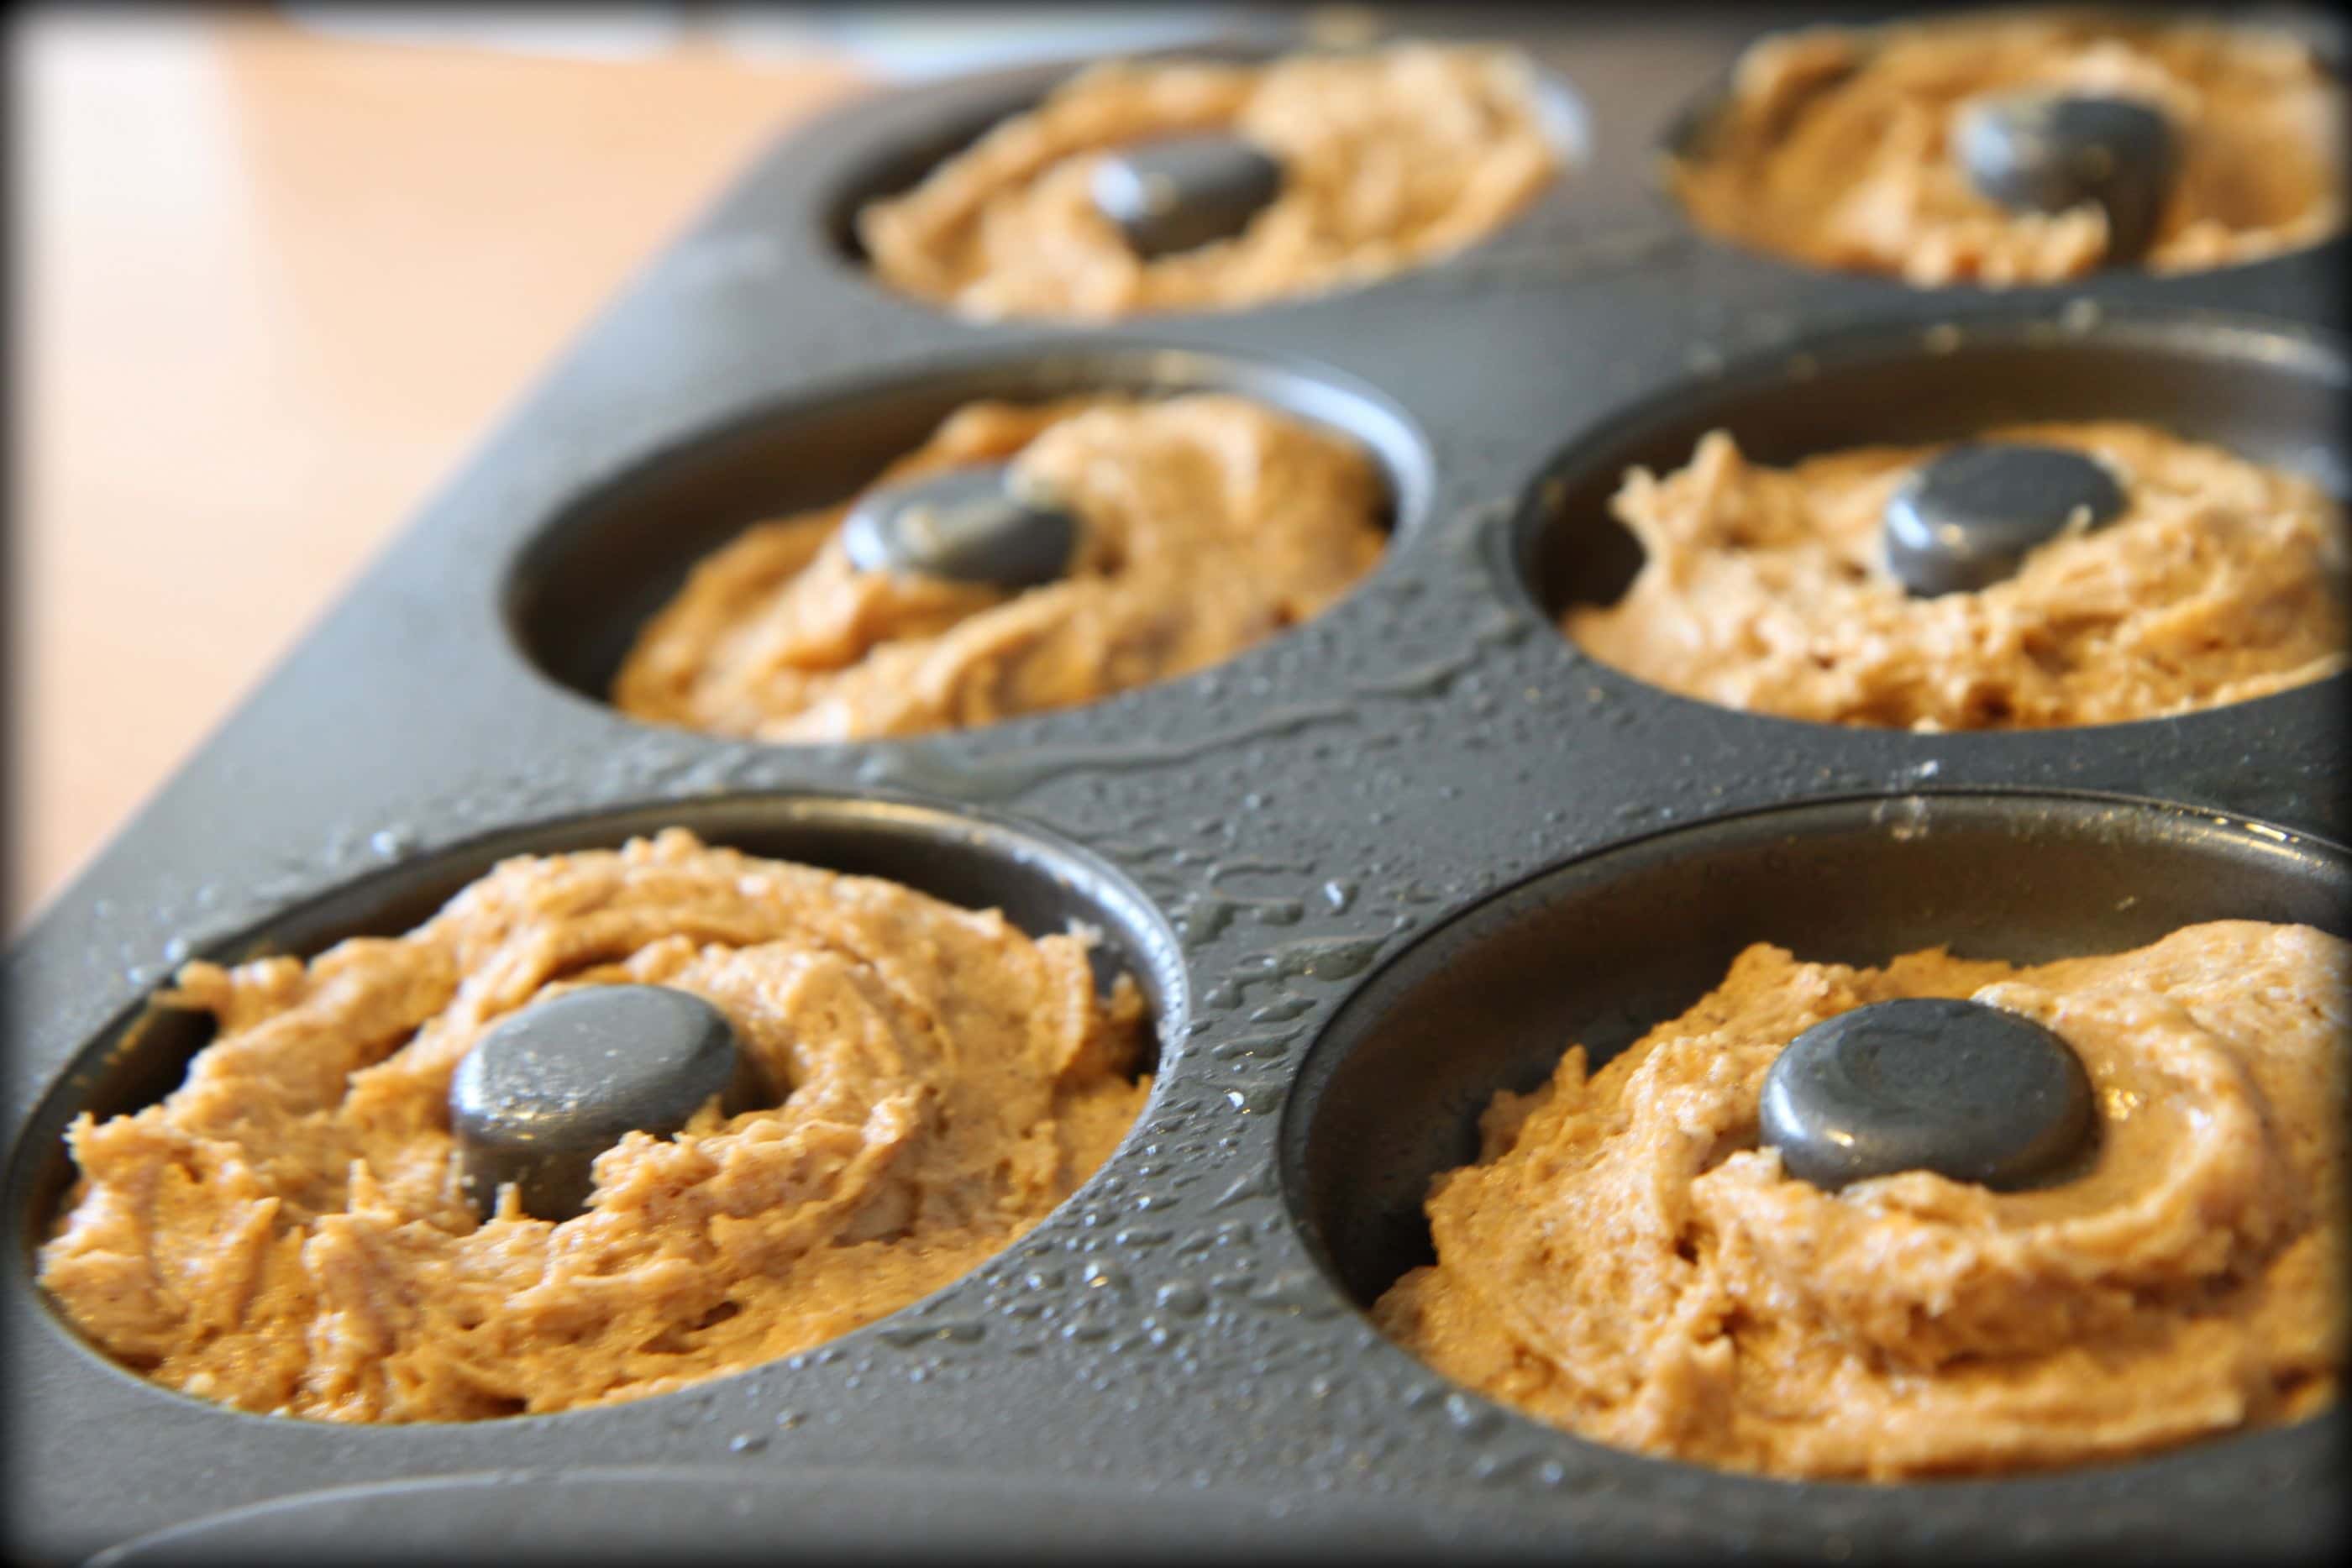
Now it is time to fill your donut pans.  Lightly spray your donut pan with a little cooking spray.  To fill the pan, you can do my lazy version or you can do it the “right way.” To do it the right way, scoop the batter into a gallon size bag and cut off the end corner to pipe the batter in. The lazy version simply requires an ice cream scoop and trying to scoop half the batter in on one side and half the batter in on the other side. Then smooth the batter on top with a butter knife.

See this picture above? Do not fill them this high.  You need to only fill them 1/2 to 3/4’s full. If you fill them this high, they will not cook as evenly….trust me!
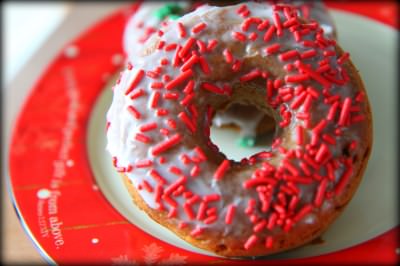
It’s time to whip up your glaze. This one is a simple one with just confectioner’s sugar, hot water, and a little vanilla extract. I mixed it in a bowl that is wide enough to give the donuts a little dip on top. This simple glaze won’t take away from the bold spices that are incorporated in the gingerbread. I consider the glaze more of a holder for the sprinkles than a frosting.

Once your donuts have cooled, place them on a cookie sheet with a cooling rack on top. Dip the tops of the donuts in your glaze you have prepared and then quickly give them a little shimmy shake with the sprinkles all over. This is a great way to use up some of those sprinkles that have been gathering dust in your baking supplies. I had quite a variety leftover from our holiday cupcake decorating extravaganza from last year.

Accept the wild compliments and applause from your family members. If a nomination for Mom of the Year is thrown around, accept your nomination graciously. Pledge to continue making fabulous food & family traditions for the holidays that your children will long remember.

Baked Glazed Gingerbread Donuts (courtesy of me)

2 cups flour
1 1/2 teaspoons baking powder
1/4 teaspoon baking soda
1/4 teaspoon salt
2 teaspoons cinnamon
1 teaspoon ginger
1/2 teaspoon nutmeg
1/2 cup brown sugar
1/4 cup molasses
4  tablespoons butter, softened
2 eggs
2 1/2 tablespoons milk
1 cup pumpkin purée

For the Simple Glaze:

1 cups confectioners’ sugar
2 tablespoons hot water
1/2 teaspoon vanilla extract

Preheat the oven to 375 degrees and grease two doughnut pans. In a medium bowl, whisk together the flour, baking powder, baking soda, salt, and spices.In another medium bowl, cream together the brown sugar and butter. Beat in the eggs one at a time, and then the vanilla extract, milk, molasses,  and pumpkin puree. Gradually beat the dry ingredients into the wet ingredients just until combined. Fill each doughnut mold 3/4’s full with batter. Be careful to not overfill the donut pans or the donuts will not cook evenly.  Bake 8-10 minutes or until the doughnuts spring back when touched. Remove from the pan and cool completely.

For the simple glaze: In a small bowl, combine confectioners’ sugar, water, and vanilla extract; stir well. Add additional water, if needed, to reach desired consistency. Dip tops of donuts in the glaze and then quickly sprinkle with colored sprinkles (if desired).

Eat.

Be Merry.

Freebie Friday: December 3, 2010

December 3rd, 2010

Happy Freebie Friday, everyone! Today starts our very first Freebie Friday with our wonderful hostess, Stephanie from Couponing 101. I am so excited that she will be assisting us each week with our freebie list and would love for you to leave her a comment to welcome her to our site.
Stephanie is running two great giveaways this week. She is giving away a $35 LilyTom Creations Gift Card and $35 Wall Worthy Vinyl Decor Gift Card . Please head over to her site to enter to win these fabulous giveaways! Please visit Couponing 101 for ways to save on a little bit of everything in  your life!

This week we are sharing a recipe for baked pumpkin donuts with maple frosting syrup for a fun way to use up that pumpkin puree from the holidays, we are showcasing an idea for creating an Advent calendar out of common household items, our weekly notebook of craft & food inspiration for the holidays, and our weekly giveaway round-up.

Have a great week, everyone!

Health & Beauty
Always and Tampax Sample Pack
Potty Training Success DVD
Emergen-C
Breathe Right Strips
Vaseline Intensive Rescue Lotion

Food
Tea Chef Tea
Krispy Kreme Doughnut (when you join “Friends of Krispy Kreme”)
Wendy’s Natural Cut Fries with Sea Salt
Denny’s Gingerbread Pancake Puppies (on Facebook)

Entertainment
25 Free Christmas Music Downloads

Home
Charmin Extender

Pet
Purina One Dog or Cat Food

This Week’s Freebie Events:

DECEMBER 4 – 10

Whataburger: 12 days of Freebies!

Starbucks: 12 days of Sharing

Santa’s Wonderland at Bass Pro Shops

4 Home Depot Kids Workshops Build a Picture Frame, 9am – 12pm.

4 – Lakeshore Learning Craft: Create a Reindeer Hat, 11 am – 3 pm.

4 – Lowes Build and Grow Clinic Make a Train Caboose, 10 – 11am.

4 – Photos with Santa at Toys “R” Us Giveaways, story time, and decorate a cookie, 12 pm – 3 pm.

5 – Borders Kids: Hanukkah Celebration Stories, games, sing-alongs, and more at 3 pm.

Amy’s Notebook 12.01.10

December 1st, 2010

I am so inspired by this dollar store advent calendar (@ Infarrantly Creative)

I love this idea for recycling toys into ornaments for the holiday season (@ ohdeedoh)

These DIY monogram mugs would be a cute gift to give (@ Design Mom)

I want to make my own little snowman kit for the kids (@ A girl and a glue gun)

These vanilla chai cupcakes look delicious (@ gimmie some oven)

I am in love with these fabric Christmas trees (@ JAQS Studio)

These no-sew scarves would make a cute holiday gift to give (@ MaryJanes & Galoshes)

This zuppa tuscana looks like a great soup for a cold night (@ The Ungourmet)

The vintage glitter snowballs would be a cute holiday ornament to make (@ Under the Table & Dreaming)

I have to make this chocolate pumpkin cake this year (@ My First Kitchen)

This little girl-y necklace and bracelet set would be a hit with my daughter (@ lemon tree creations)

I am bookmarking these little origami turkeys for an activity to do for Thanksgiving next year (@ Let’s Explore)

This idea for transforming an old sweater into a potluck cozy is so smart (@ Craft)

This spinach artichoke dip would make a great appetizer to serve at your next holiday get together (@ Annie’s Eats)

I like this tutorial for making an art smock in five minutes (@ Problem Solvin’ Mom)

Our Thanksgiving Feast

November 30th, 2010

I hope everyone had a wonderful holiday! It was so wonderful to take time off from the blog and get ready for the holidays that I think I just might have to do that the week of Christmas too! I am having a hard time getting back in the swing of things now that I have had that time off though.  I did a lot of crafting, cooking, and tackling some of  our holiday shopping & chores. It was definitely not a vacation, but it was really nice to get to spend more quality time in the evenings with my family.

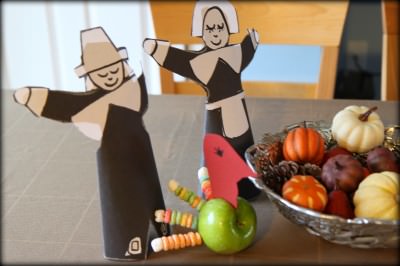
Our Thanksgiving feast this year was really special because I got to have both sides of our family together for the big dinner. Pictured above were the beautiful crafts that my children created at school that adorned the kid’s table this year. I have to say, with beauty like that, who needs to splurge for fancy centerpieces!

We started the day off with the annual Thanksgiving Day parade. The kids really seemed to love the parade this year and the Rockettes were a huge hit with Emily.  Next year I am hoping to incorporate this Thanksgiving Parade Bingo into our annual traditions!

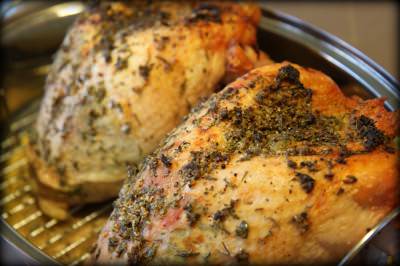
This year I was in charge of the turkey, mashed potatoes, gravy, pumpkin cornbread, the cheese ball, and the punch. I tried to make as much as I could ahead of time, but left the turkey, cornbread, and gravy for last. This year, I opted for two turkey breasts instead of the whole turkey since no one is really a big fan of the dark meat. I had thirteen pounds of turkey breast and only had enough for a sandwich leftover. Now I am craving leftover turkey sandwiches so I am thinking I am going to make another one just for us to enjoy now that the festivities are over.

These turkeys did turn out great, but I will admit that I am still learning about turkey roasting. I watched a lot of Martha Stewart Thanksgiving episodes before I made these birds! I will share the recipe with you next year for another idea for your Thanksgiving recipes.

More importantly though, I got to spend time with my family!

My brother & sister.

My husband’s side of the family (mom, dad, sister-in-law, & us)

My mom & dad.

My grandma & mom.

My grandma-in-law, sister-in-law, & my mother-in-law.

My sister’s family (my nephews, sister, & brother-in-law)

My little family.

I hope you had a wonderful holiday too that was spent with those you love! We are excited to share more ideas for the holiday season and ways to enjoy simple celebrations on a budget!  I will be dusting off lots of our older entries and sharing more on our Facebook page as we prepare for the holidays!

How to Create an Advent Calendar Out of Common Household Items

November 30th, 2010

It is that time of year again and that means another Advent season. Today I wanted to share with you a “use what you have” Advent calendar that we created last year. It was such a hit that I plan to make another one for this year! This requires no pricey materials and is based around what the holiday season should be all about… being together!

In the years past, we have always had a Christmas Jar of activities. Each day we would randomly draw from a set number of activities and enjoy a holiday activity together as a family. This year, our life with our two children has become increasingly busy and scheduled. We have two school schedules, extracurricular activities, homework, holiday programs, holiday family events, and so much more going on. Our life of leisure seems to have taken a detour and I have had to be more thoughtful in our approach towards carving time out for what we would hope to accomplish this year.

I wanted to create our own countdown to Christmas in a creative way, but I didn’t want to spend any money on it. I decided to use what I had to create our homemade Advent filled with fun activities and wanted to share with you what we created!

Homemade Advent Calendar

Supplies needed:

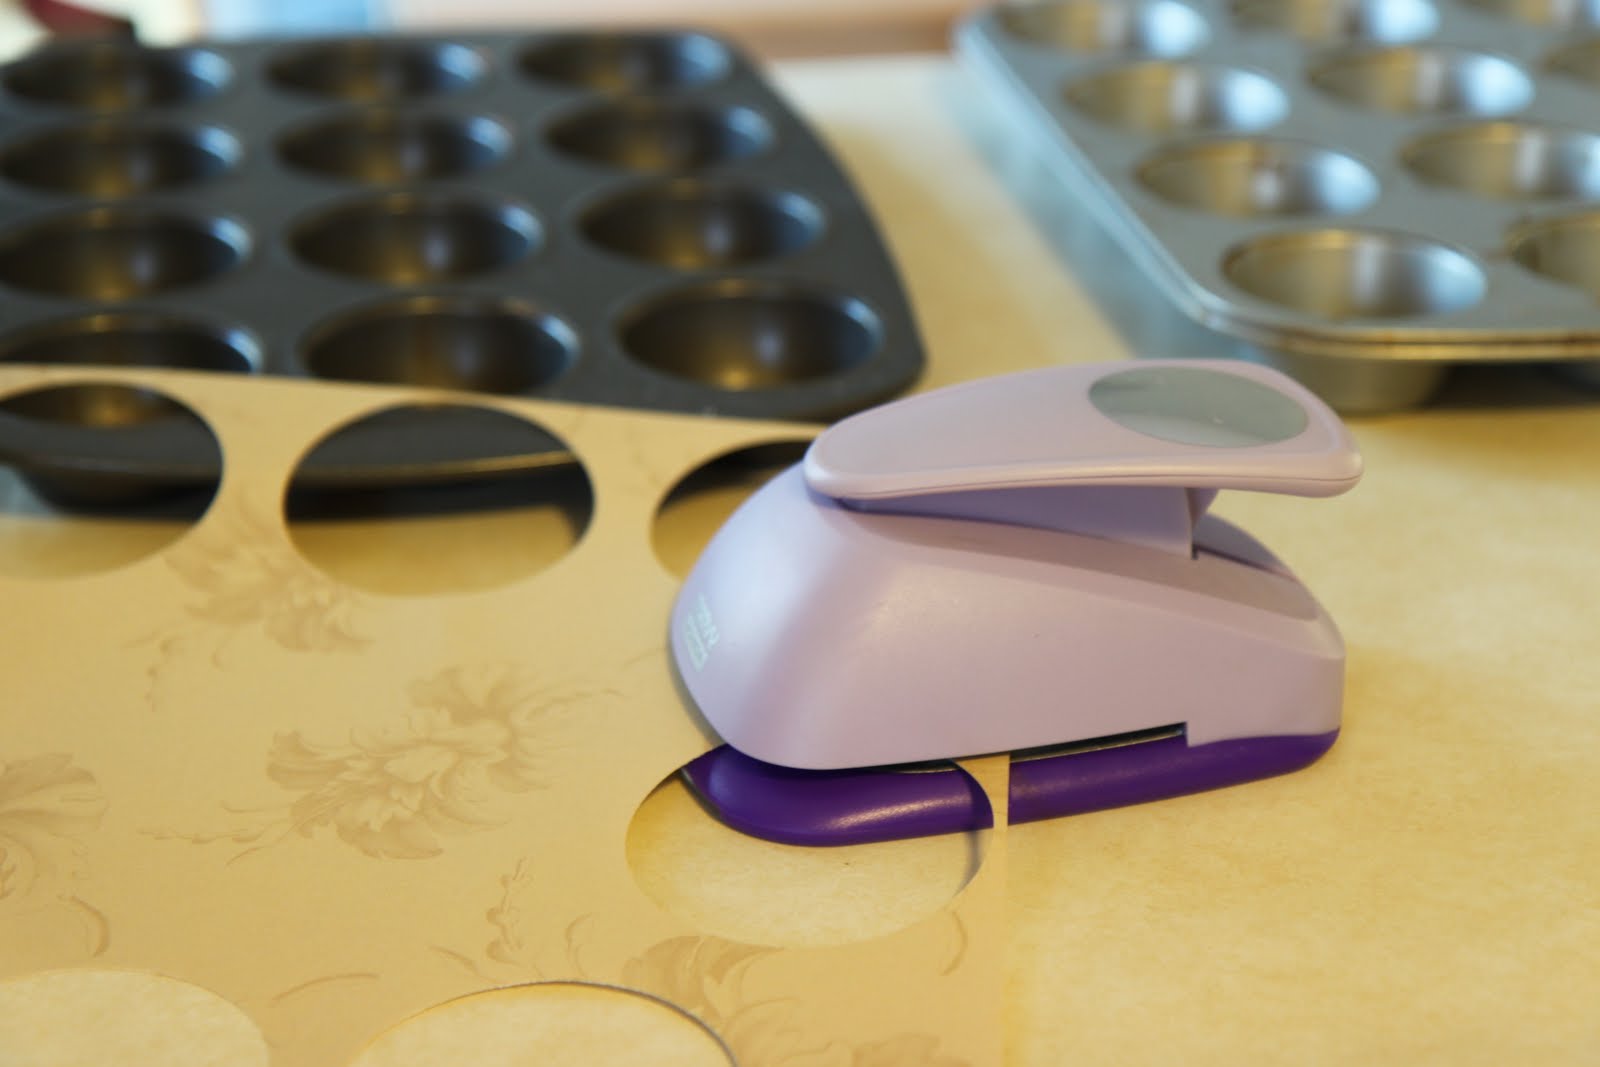
A large circle punch (in scrapbook supplies at craft store) or a jar or glass for tracing
Tape
Scrapbook or festive holiday gift wrap
Ribbon
Marker
2 Muffin Tins
A picture frame stand or a place to prop your finished tins

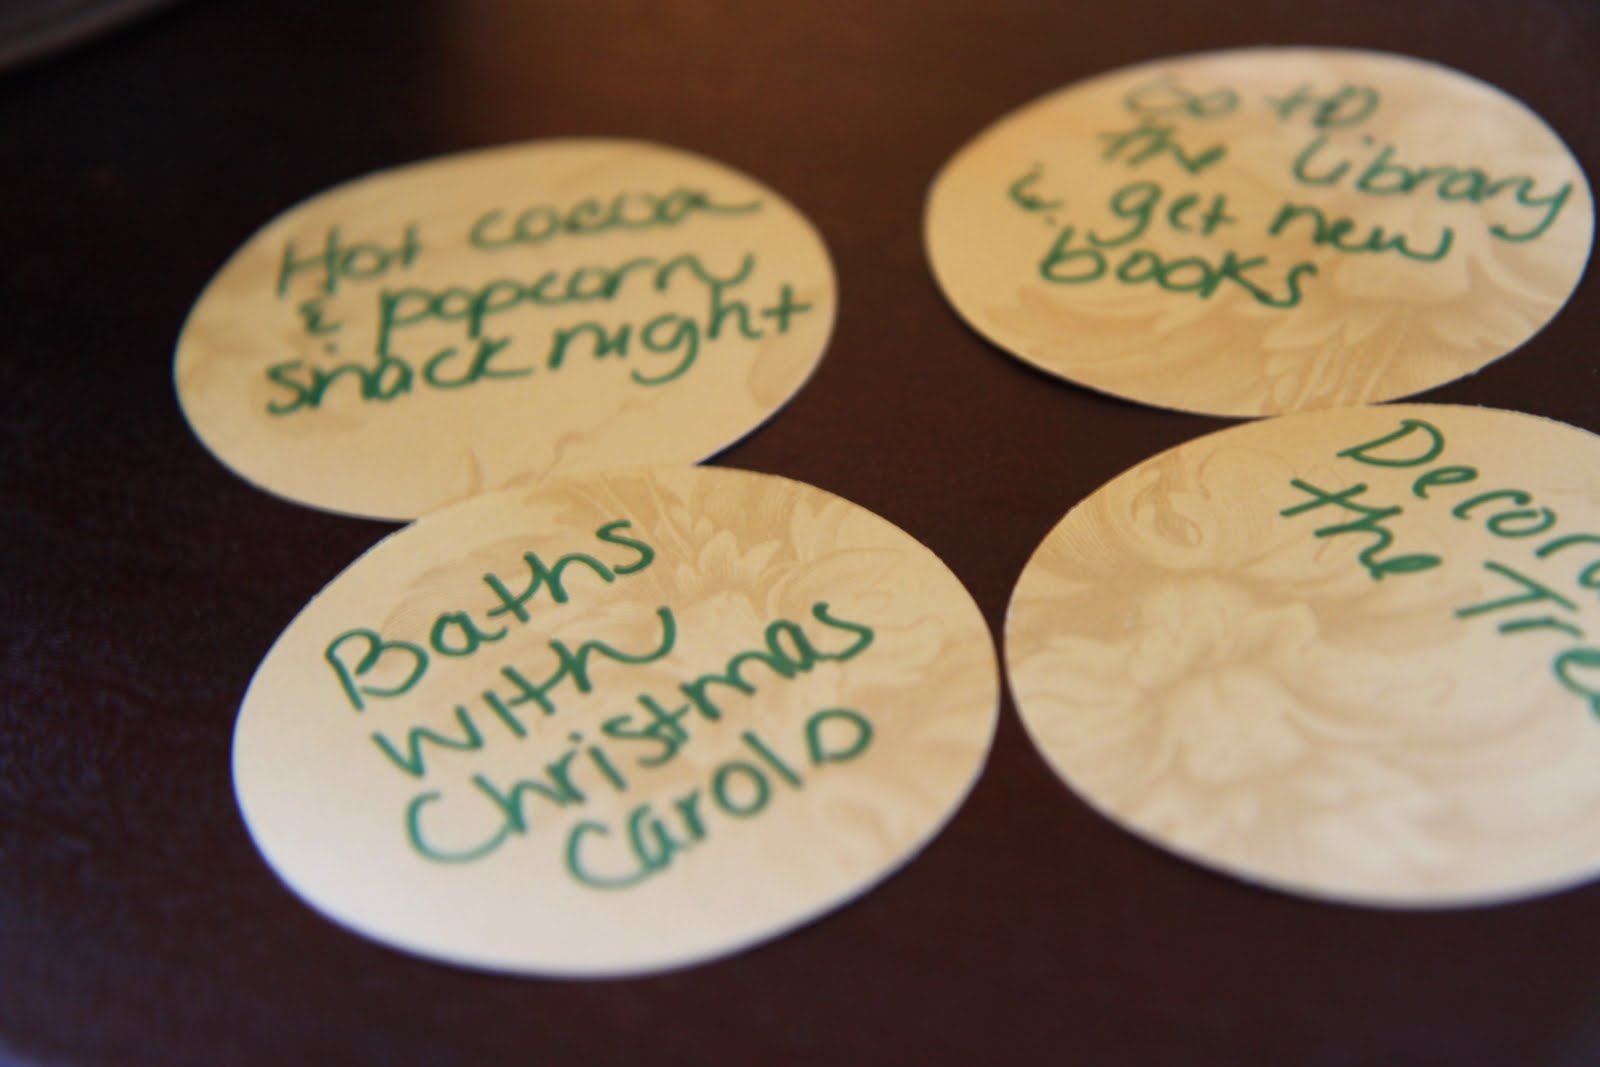
I began this project by punching out 48 circles. On half of these write the numbers 1-24 and on the other half you can write fun activities to do with your children in anticipation of the big day.


Stick your holiday activity folded up inside of each muffin tin and then attach the numbered circles to each individual muffin tin. Secure with tape on both sides to hold your activities in securely.


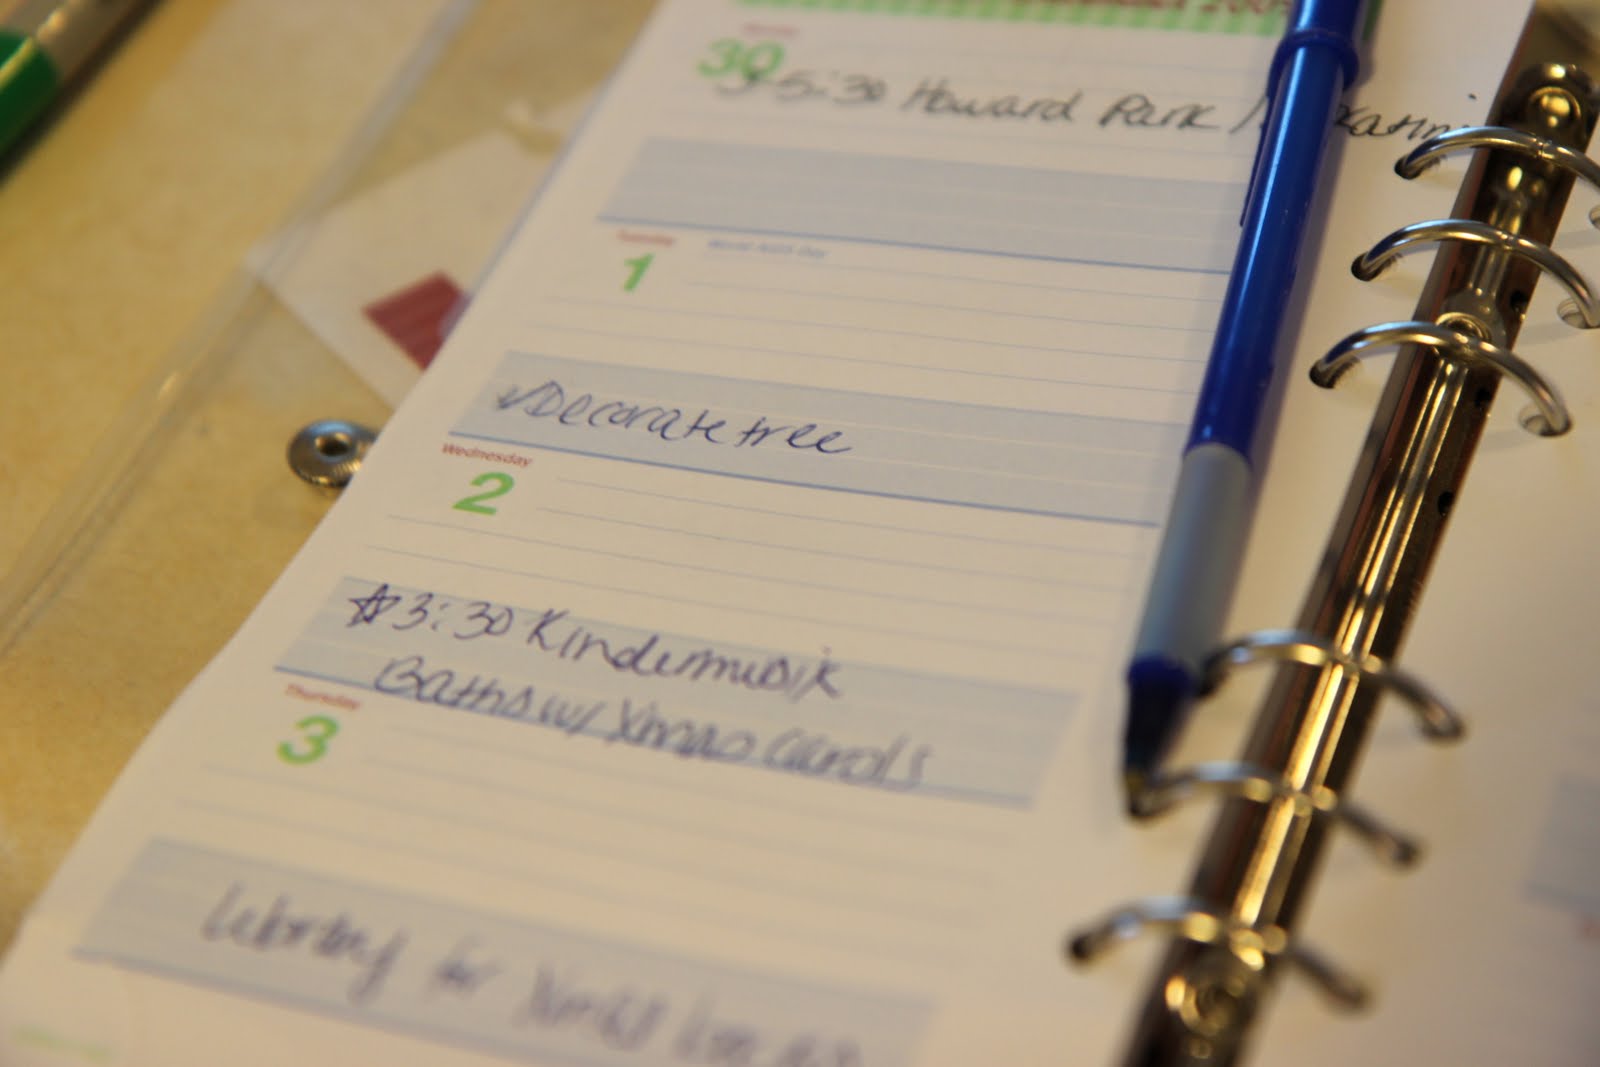
Break out your trusty calendar and jot down the activities for each day to remind yourself what you need to plan for and what supplies will need to be purchased to accomplish the activities.

Add a little festive ribbon to the top of your muffin tin. Display the muffin tin by using a picture frame stand or finding a sturdy wall to prop it up with. Have your child draw an activity each morning to complete as a family.

Our Activity List

1. Decorate the Christmas tree.
2. Big bubble baths with holiday music playing.
3. Going to the library to pick out holiday books.
4. Special popcorn and hot cocoa snack (possible visit for the tree lighting ceremony in town).
5. Going to a Christmas Concert.
6. Decorating gingerbread houses.
7. Make Christmas cards for our special friends.
8. Watch a holiday movie.
9. Color a holiday coloring page.
10. Bake Christmas cookies.
11. Go see holiday lights.
12. Go see Santa and a trolley ride through downtown.
13. Write a letter to Santa.
14. Pop popcorn & play a board game together.
15. Host an ornament decorating party.
16. Color a holiday picture.
17. Holiday party to attend.
18. Go to the dollar theater and see a movie.
19. Go see the Christmas lights.
20. Deliver holiday treats to our friends & the firefighters in town.
21. Big bubble bath with holiday music.
22. Open one gift early.
23. Watch a holiday movie.
24. Celebrate our family Christmas.

Total cost for this project was zero and very little money will be spent to do these activities together. The memories I hope to create with my children though, I hope those will be priceless!

Do you do an Advent calendar or have a special way your family celebrates the countdown to Christmas? I would love to hear your ideas!

An Apron Full of Giveaways 11.30.10

November 30th, 2010

Lover Dovers, $29.99

Welcome to our Apron Full of Giveaways! I hope everyone is having a great week this week! As we do each week,  here is our round-up of giveaways for our readers. We hope that this is beneficial to you and your family! Please let us know if you guys win anything- I love to hear the success stories!

No giveaways this week, but we will be back next week with a brand new giveaway that you won’t want to miss! Trust me, it will be the perfect gift to wrap under you tree. In the meantime, please enjoy linking up and visiting these fabulous sites below for great giveaways!

Below are the contest links-if you are hosting a contest please link it up below. Sorry, we aren’t giving away the aprons just showcasing them! Please put your site name and then what type of contest you are hosting. For example, “MomAdvice (Children’s Movies).”

Please let me know if you have any questions and good luck to each of you!

Baked Pumpkin Donuts With Maple Syrup Frosting

November 29th, 2010


Baked Pumpkin donuts with maple syrup glaze from MomAdvice.com


If you are anything like me, I am sure you have a few extra cans of pumpkin leftover after making those pumpkin pies for the Thanksgiving feast.

I have just the idea for where you can put those cans to good use and wanted to share with you my baked pumpkin donuts with a maple syrup frosting drizzle that would be a wonderful treat to indulge in while you are tackling those holiday to-do lists.

I had been dying to get a baked donut pan after seeing all of the wonderful baked donuts circulating the blogs this fall.

Luckily, I had a few Swagbucks set aside and credited those towards an Amazon gift certificate to purchase them for free.

I found these Norpro 6-count Nonstock Donut Pans for $12.99 each and decided to put my certificates towards two of those.

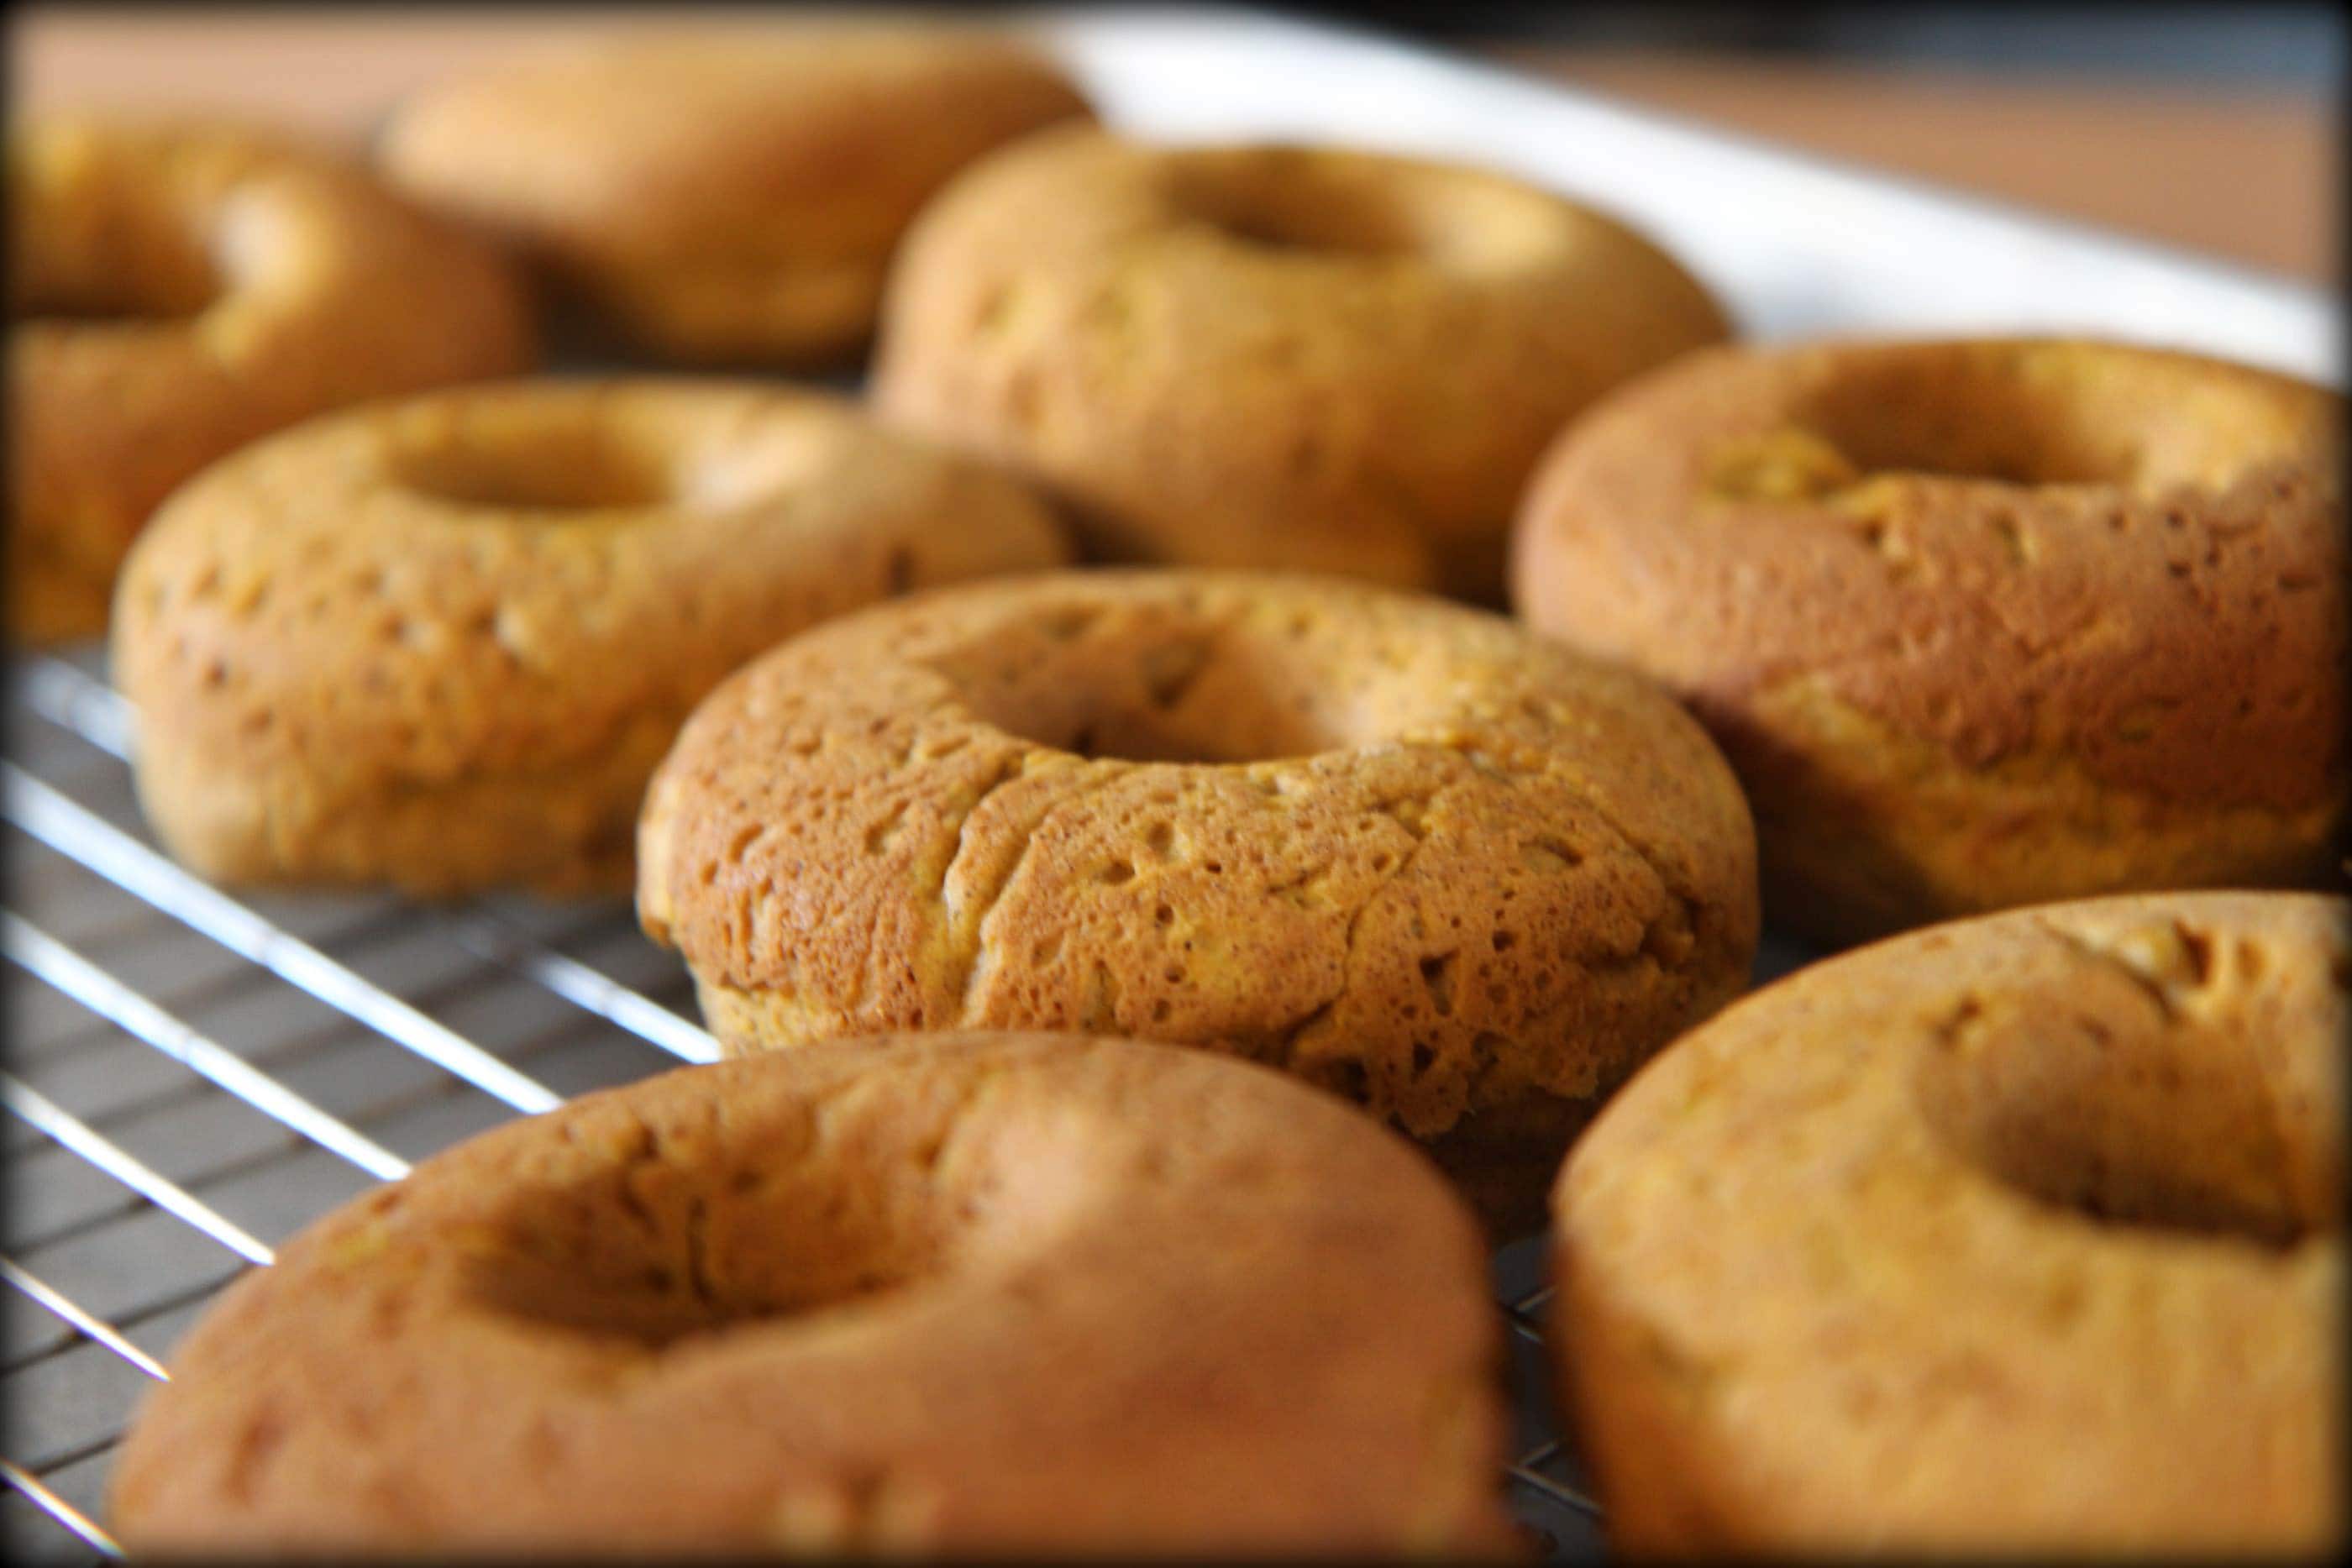
If the picture above doesn’t say, “these are worth every dime,” then I don’t know what would convince you! 

If you don’t want to buy them for yourself though, these would make a lovely holiday gift to add to your Christmas list this year.

As a special treat after church, I have been making the family donuts to go with our Sunday paper.

I mix all of the dry ingredients before we leave, or if I am running ahead of schedule, I make the batter and tuck in the fridge until we get home.

We all are loving the homemade and fresh from the oven donuts. 

I love that these baked varieties are healthier than the fried versions.

Still not healthy, but you know… healthier.

Let’s get started…


To begin making these donuts, you need to mix together the dry ingredients in one bowl.

In a separate bowl, mix together all of your wet ingredients. 

Then just add your dry ingredients to the mixed wet ingredients, just until they are combined.

I just used my little hand mixer for this quick job.


Lightly spray your donut pan with a little cooking spray. 

To fill the pan, you can do my lazy version or you can do it the “right way.”

To do it the right way, scoop the batter into a gallon size bag and cut off the end corner to pipe the batter in.

The lazy version simply requires an ice cream scoop and trying to scoop half the batter in on one side and half the batter in on the other side.

Then smooth the batter on top with a butter knife. 

You want to fill them about 3/4’s full which worked out to be nine donuts worth. 

Slide them into your oven and bake them for eight to ten minutes.


After you have pulled them out, allow them to cool for a couple of minutes and then invert them on a cookie sheet with a cooling rack on top.

Now it is time to make your delicious maple syrup drizzle to make these even more delicious.


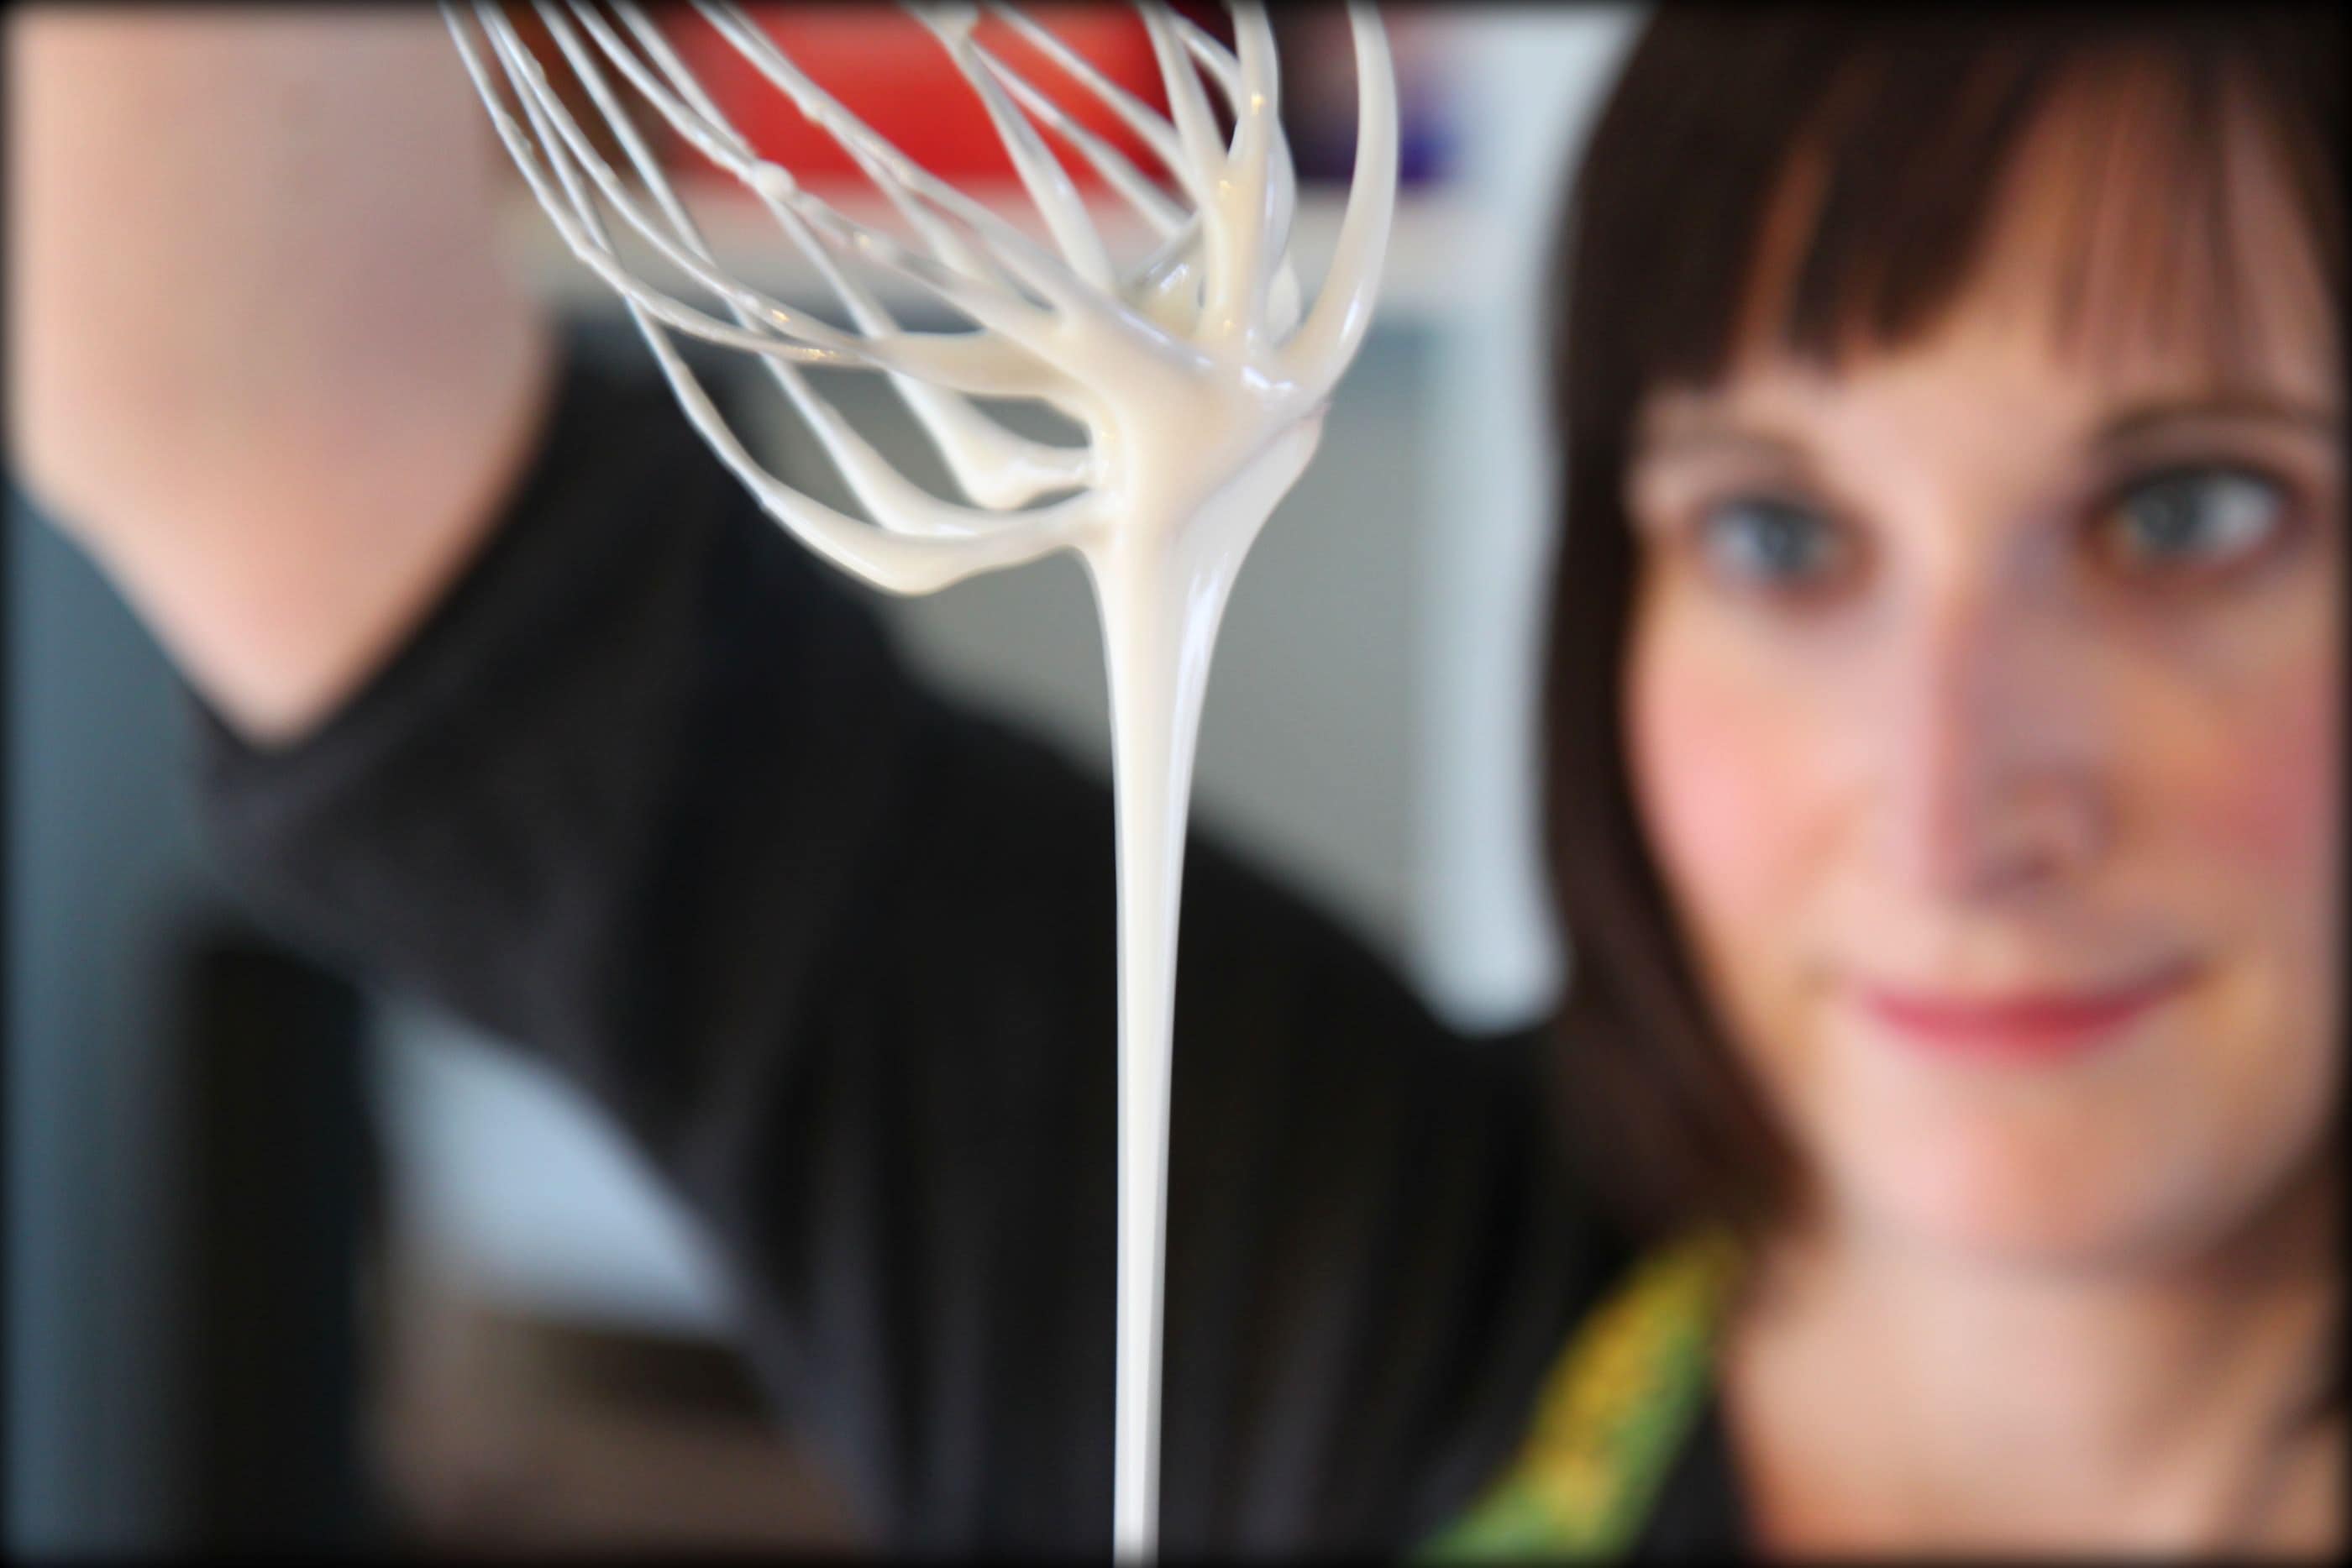
Here we go, it’s time  to mix up your maple syrup frosting drizzle for the tops. 

It sounds fancier than it really is- you just mix up some confectioner’s sugar, milk,  and a little maple syrup to make your frosting.

It makes a ton of frosting so it is up to you how much frosting you want to add to your donuts.


Now it is time to frost your donuts.

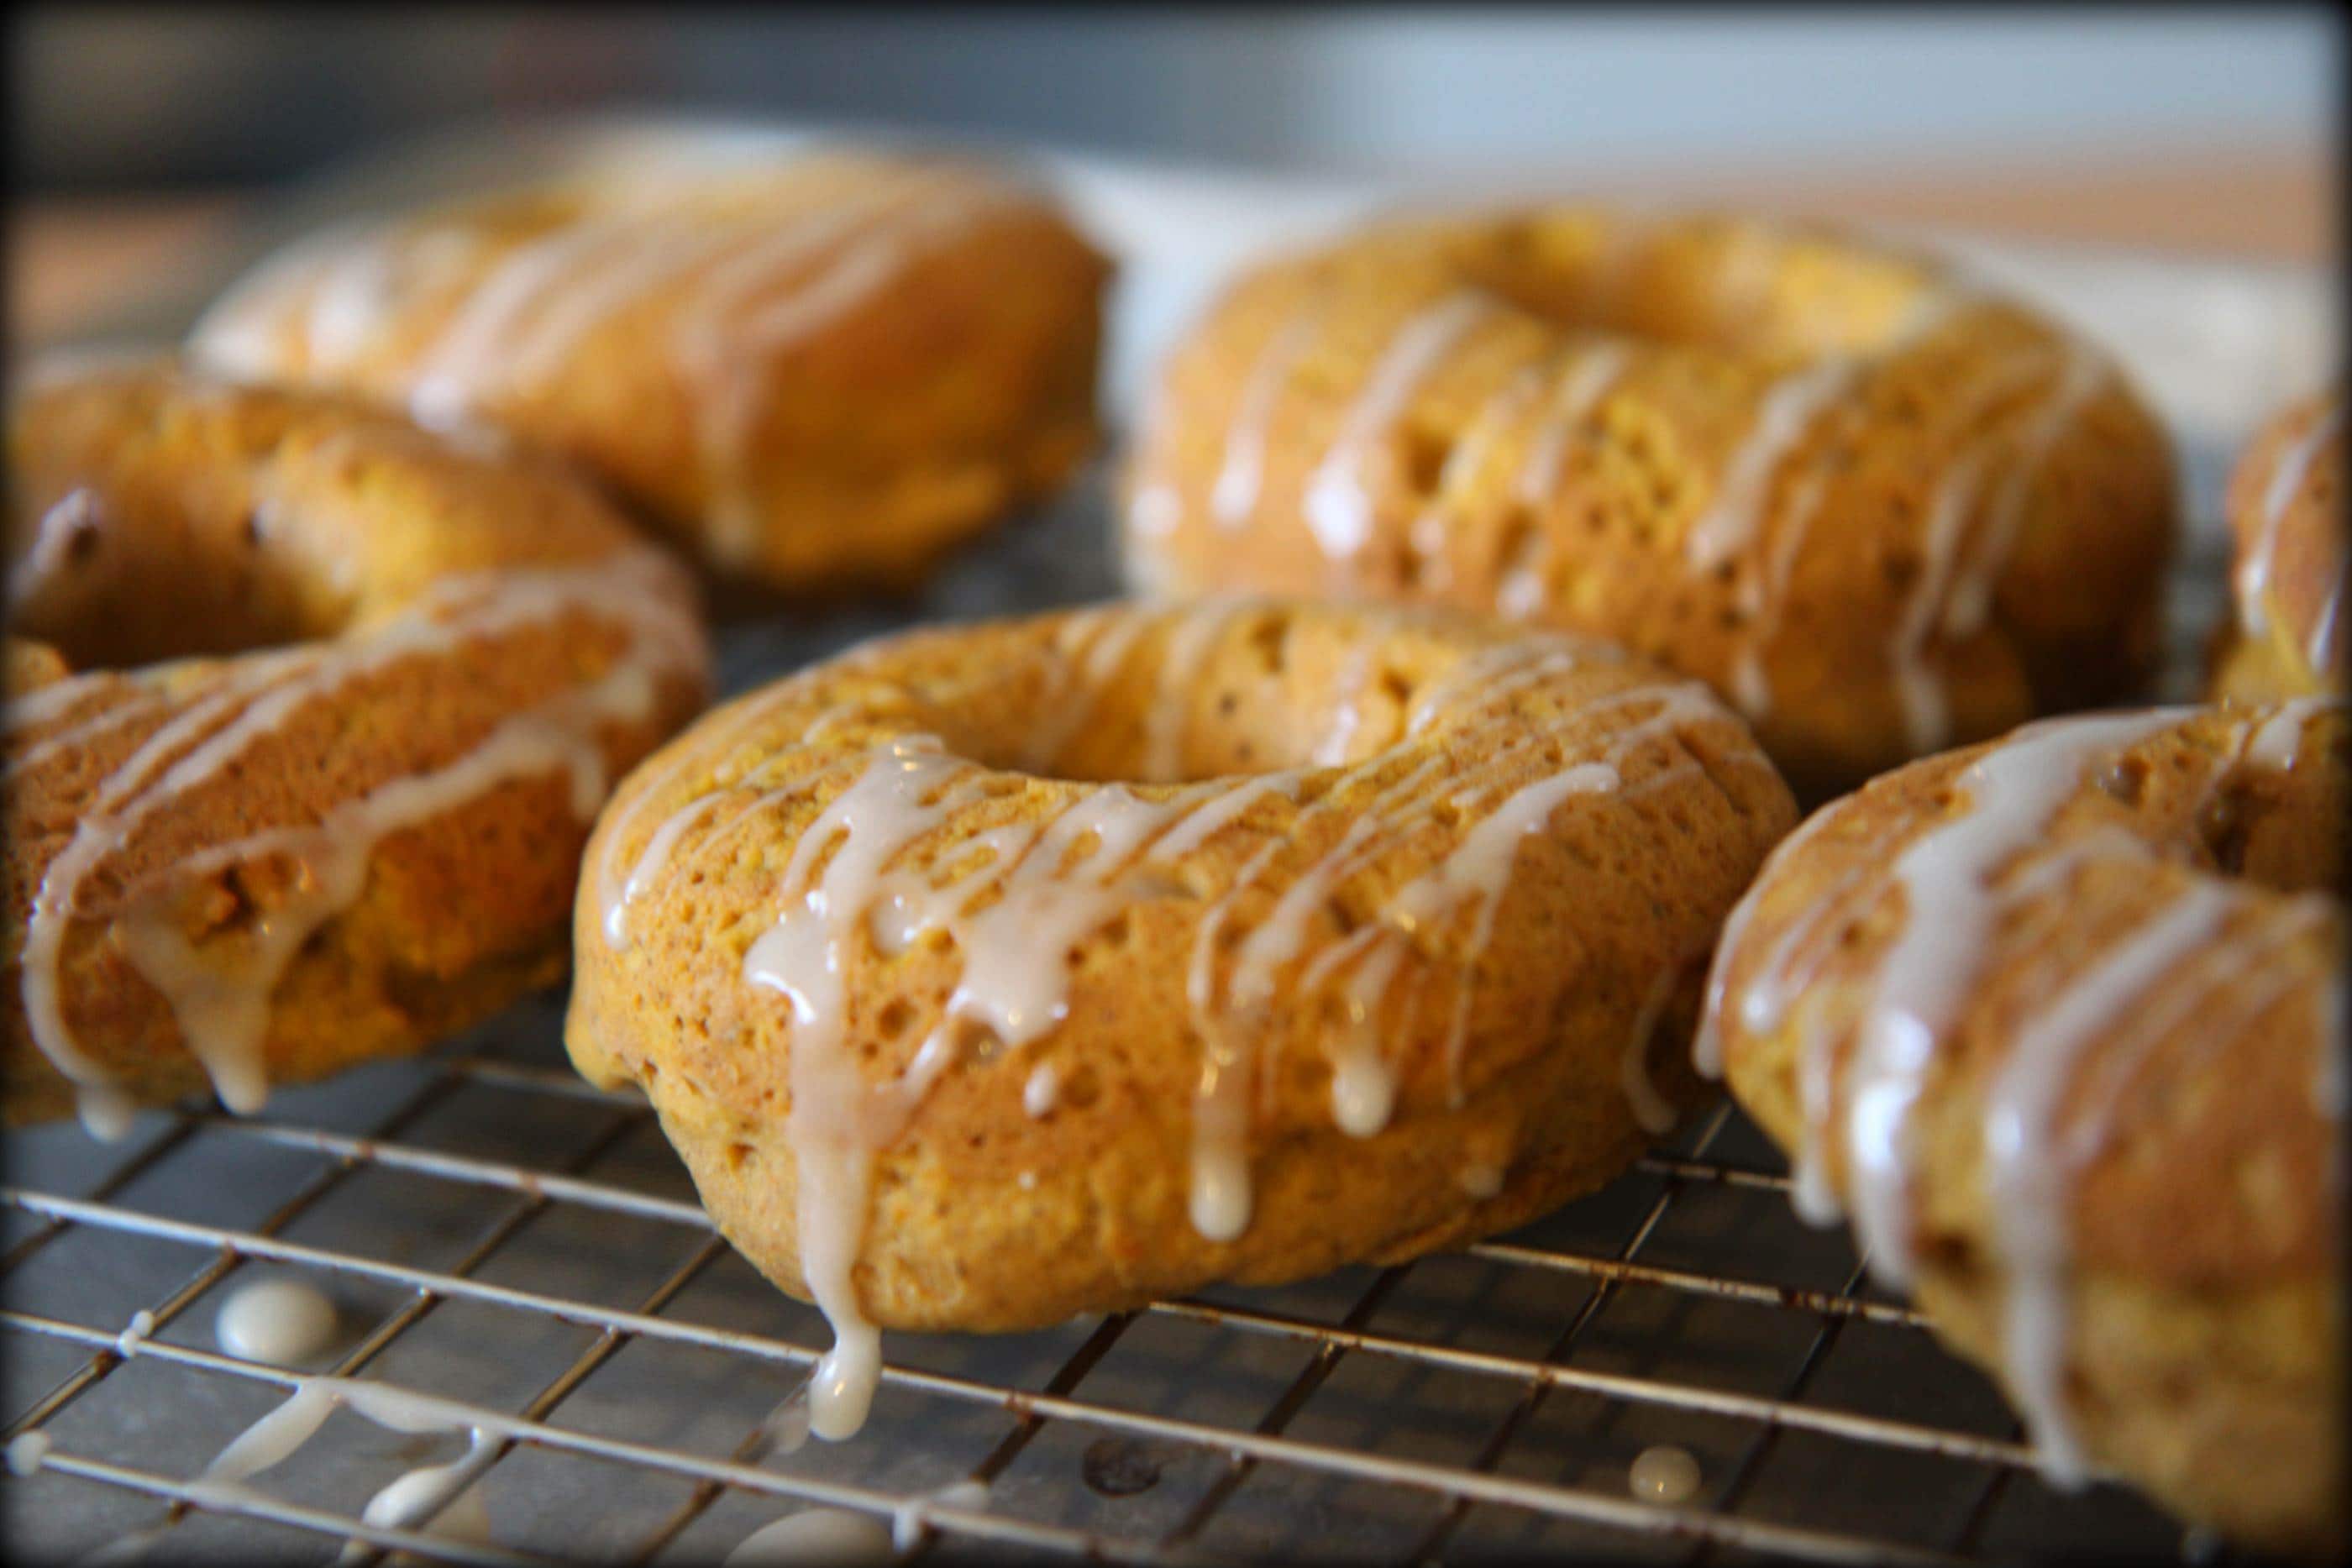
I just grabbed a spoon and drizzled the frosting in a back and forth motion over my donuts.

You could also dunk the tops in the frosting and then allow the icing to harden or you could skip the frosting altogether and just enjoy them with a light dusting of confectioner’s sugar.

I highly recommend the frosting though, it really adds a little sparkle and an extra bit of delicious to your donuts.


Now you can eat your donuts.

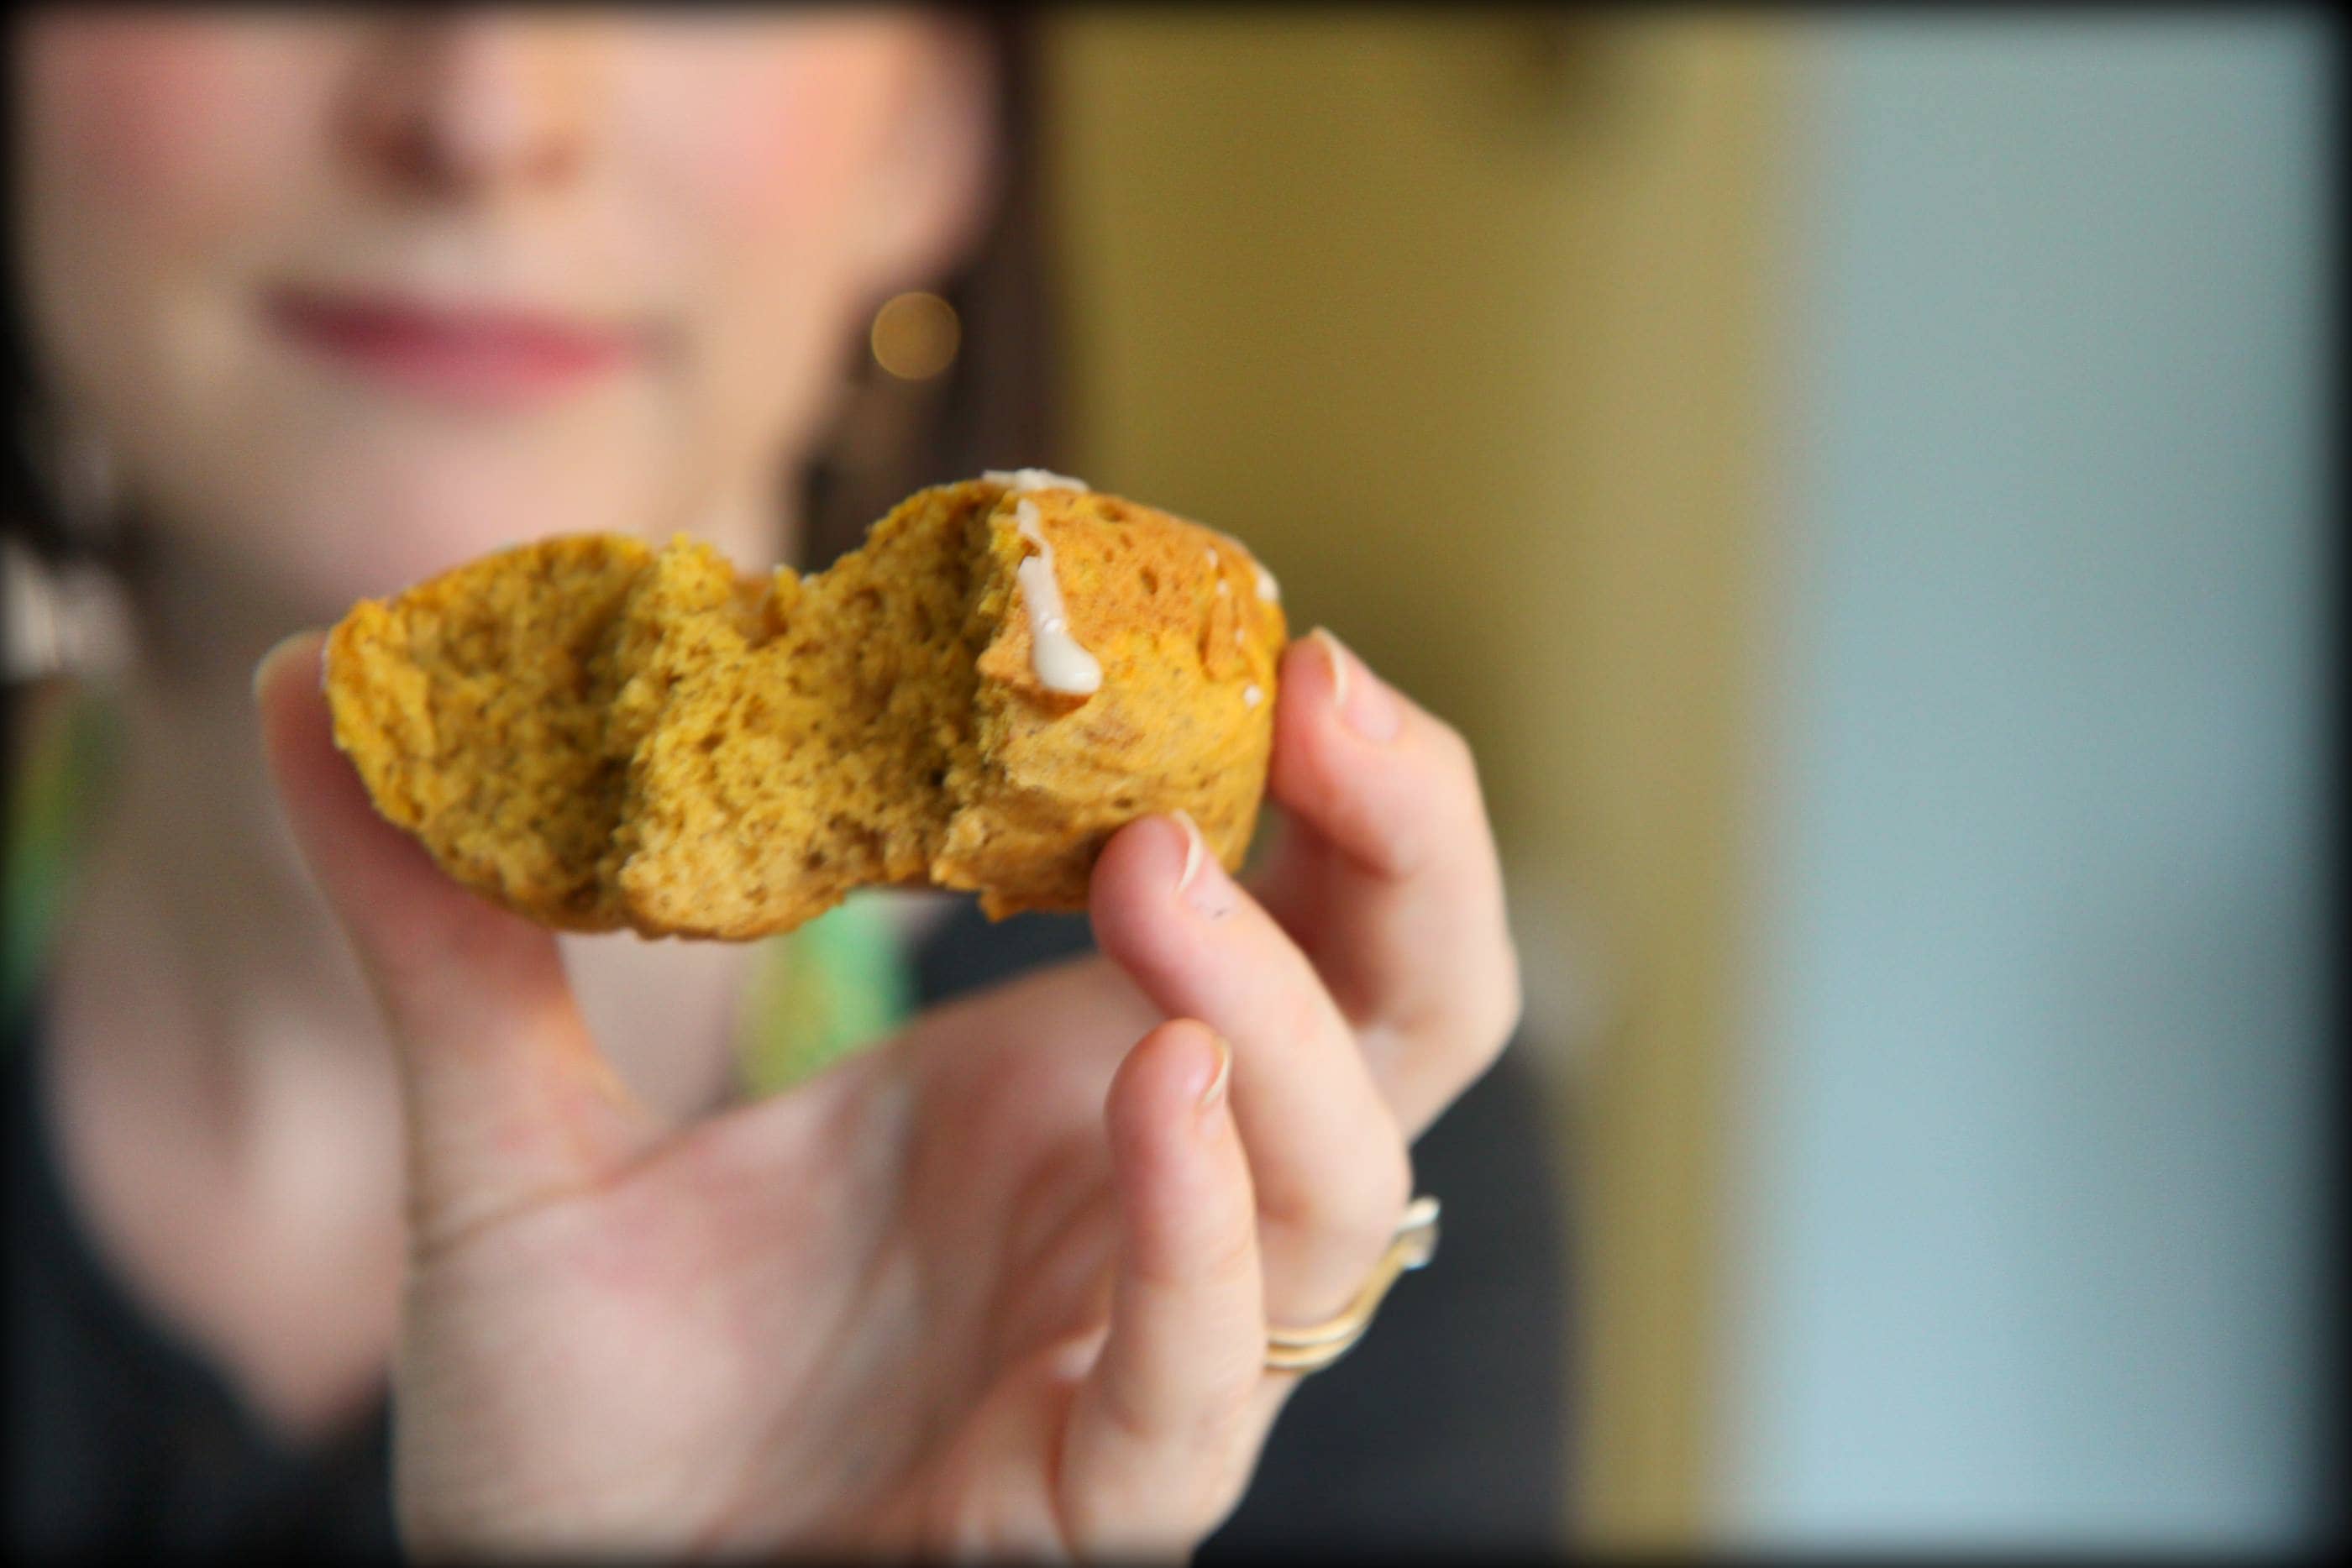
These are flavorful and almost like a glass of wine, you can taste all the different flavors as you eat them.

You can taste the hints of cinnamon and nutmeg, the rich pumpkin flavor, and then that maple syrup sweetness from the light glaze drizzle.

The texture is different than a fried donut and more like a muffin or a good piece of cake.

They are not overly sweet though and the pumpkin really seems to add a savory quality to these.

I hope you enjoy these as much as we have! Still have pumpkin left?

Be sure to check out my 8 Ways to Use Canned or Fresh Pumpkin for some added inspiration!


Baked Pumpkin Donuts With Maple Syrup Frosting

2 cups flour
1 1/2 teaspoons baking powder
1/4 teaspoon baking soda
1/4 teaspoon salt
2 teaspoons cinnamon
1 teaspoon nutmeg
1/8 tsp cloves
1/2 cup brown sugar
4  tablespoons butter, softened
2 eggs
1 teaspoon vanilla extract
2 1/2 tablespoons milk
1 cup pumpkin purée

For the Maple Syrup Glaze:

1 1/2 cups confectioners’ sugar
1/4 cup milk
1/8 cup maple syrup

Preheat the oven to 375 degrees and grease two doughnut pans. In a medium bowl, whisk together the flour, baking powder, baking soda, salt, and spices.In another medium bowl, cream together the brown sugar and butter. Beat in the eggs one at a time, and then the vanilla extract, milk, and pumpkin puree. Gradually beat the dry ingredients into the wet ingredients just until combined. Fill each doughnut mold 3/4’s full with batter. Bake 8-10 minutes or until the doughnuts spring back when touched. Remove from the pan and cool completely.

For the maple syrup glaze: In a small bowl, combine confectioners’ sugar, maple syrup and milk; stir well. Add additional milk, if needed, to reach desired consistency. Drizzle over donuts.

Serve with big mugs of coffee or milk for dunking. Expect praise and wild applause from your family members.

Baked pumpkin donuts with Maple syrup glaze from MomAdvice.com

More fabulous fall ideas:


Easy Homemade Gluten-Free Pumpkin Bread

Gluten-Free Pumpkin Bread


Pumpkin Hand Pies from MomAdvice.com

Pumpkin Handpies 


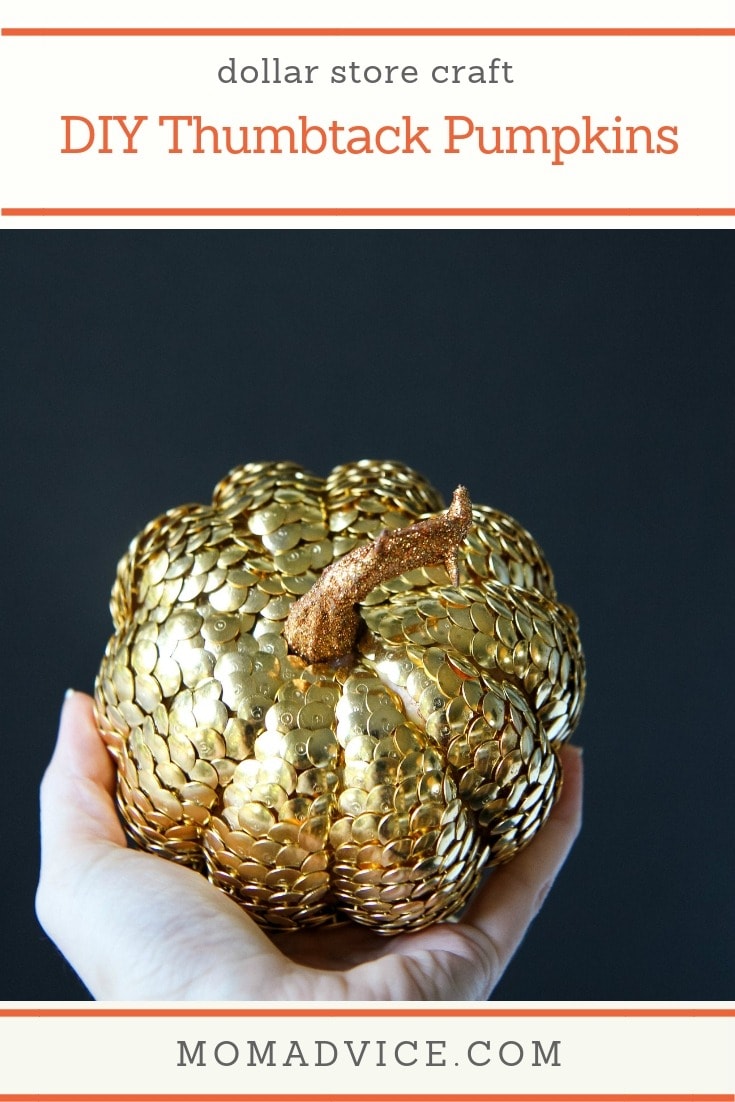
DIY Thumbtack Pumpkins from MomAdvice.com

DIY Thumbtack Pumpkins


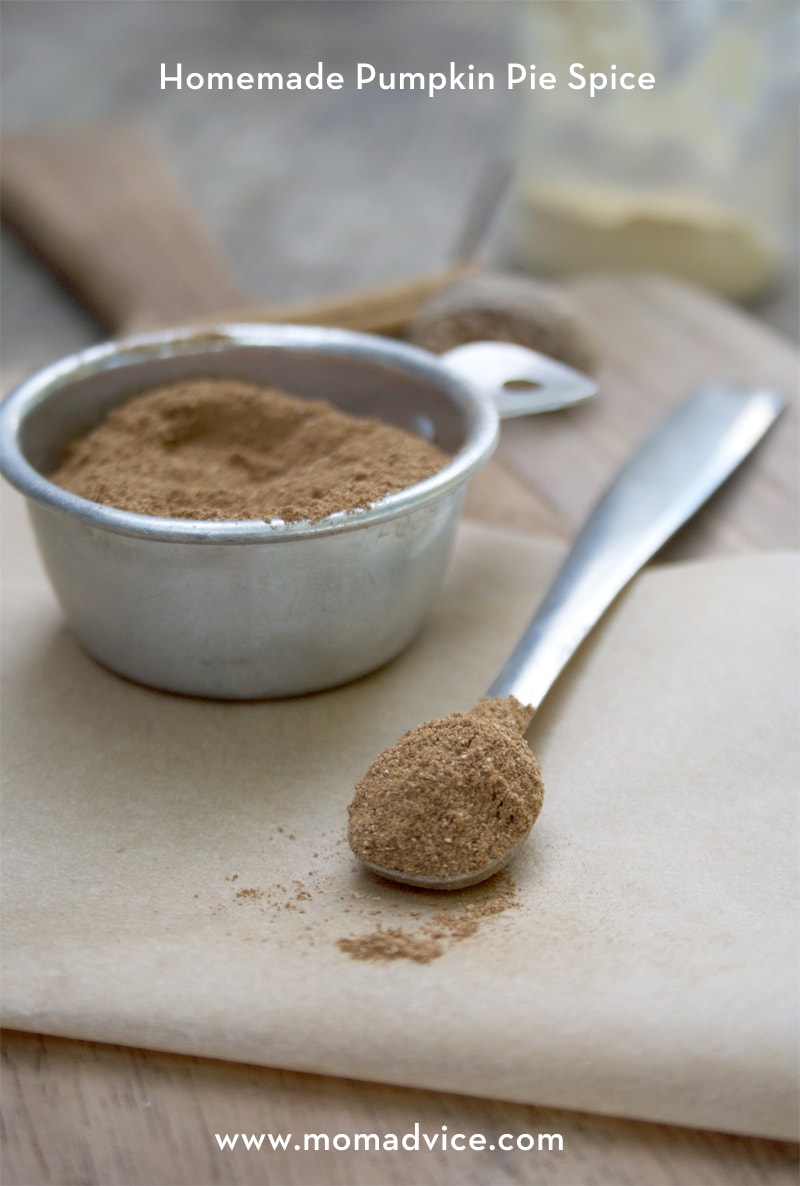
Homemade Pumpkin Pie Spice


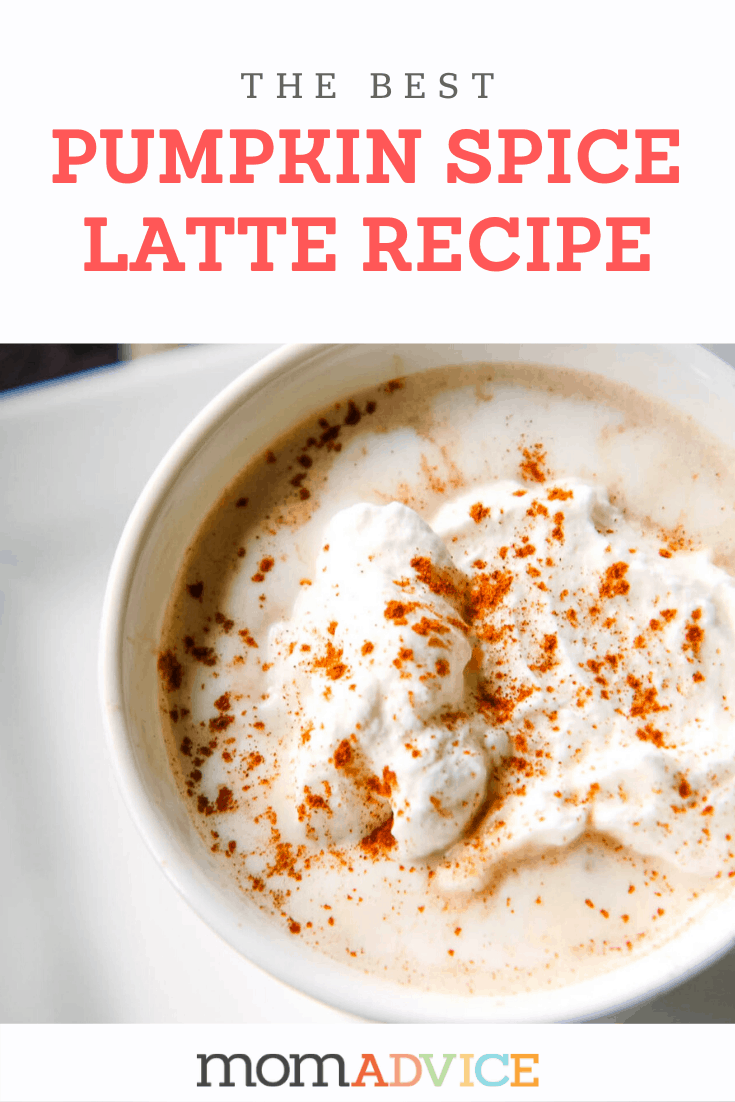
How to Make a Pumpkin Spice Latte from MomAdvice.com

DIY Pumpkin Spice Latte

Happy Holidays from the Clark Family

November 20th, 2010

Well, sweet friends, for the first time ever…I am taking a little vacation from the blog.  In almost seven years, I have never purposefully taken a week off unless it was because of technical difficulties.  This week will be a crazy one as I have a film crew moving in for the day to shoot a webisode for my spokesperson job with Cheer and I am hosting both sides of our fabulous family for Thanksgiving. Vacation timing, for me,  could not be more perfect.

I leave you with these beautiful portraits of our family that my wildly talented and awesome friend Nancy took of our family. I must be the luckiest girl in the world because I have, like, ten close friends that are all wildly talented photographers in town. We never have a shortage of wonderful people to take our picture here. We were so excited to do a portrait session with Nancy. If you live here, you should too.

I hope you all have a wonderful Thanksgiving filled with laughter, love, great food, and family. I will be back in a week as we gear up with holiday crafts, traditions, and food to create this holiday season.

With much love and thanksgiving for you,

Amy