Note: This is a repost of Ashley’s post from January of 2014 that I thought we needed to see again as we journey through our m challenge of focusing on our health because not only is Ashley inspiring, she gives some wonderful, concrete tips to make healthy living a real part of our daily lives!

I am Ashley Johns, a Personal Trainer, Writer, Creator of Fierce Forward and Fierce Forward Intention Bracelets. Ever since losing over forty pounds and taking back my life, my mission is to empower others to move forward, fiercely and healthfully, towards the life they want.
I met Amy at a local blogger’s get-together where I learned how retro-chic and creative she is! We chatted about me guest posting on Momadvice and decided something very valuable I could share with you are my tips on how to make you and your family’s health a priority.
Maybe you’re wondering, “Does this chick have kids?” Let me answer that. I am a fierce chick and I do not yet have children, but I sure do know how to manage healthy living and make it work for anyone!
Oh, and I am a master empathizer.
Last September, I married my love, Marcus, and with kids in our foresight, I have made it a priority to position myself in a healthy, balanced lifestyle before all the madness begins, or so that’s what my friends are bracing me for!
Although I’m not yet a mother, I can tell you that I have the utmost respect for all mothers out there and am so grateful to have my mother as my best friend, along side my husband. Having a full time job, cooking, working out, grocery shopping, friend time, date night, bubble baths, doing your hair on a good day, prepping your healthy food, drinking your gallon of water each day; I mean, how would all this be doable with a little person(s) in your life?
Well, I know that one day I will figure it out and take it from Amy that it can be done. After all, I believe nothing is impossible and if you want something bad enough, you find a way and make it work! Because us women do hard things.
Here are my tips on how to incorporate healthy living back in your life!
Stock your car.
Stock your car with water bottles and bring healthy, kid friendly snacks with you when you are on the go. My favorite snacks to pack that are fast and easy are nuts, protein bars, Larabars, cheese sticks and my amazingly delicious baked oatmeal. This way you leave your house prepared and you won’t be inclined to get fast food in a pinch.
Know your fast food alternatives & set a healthy precedent for your children.
It is so easy to be on the road, feel hungry and pull through McDonalds in 2 minutes; boom, the kids are happy. Don’t fall prey to this behavior because you and your children deserve more. There are so many healthy fast food alternatives available to you, such as Starbucks Perfect Oatmeal or Greek yogurt, Panera Bread’s Secret Low Calorie Menu, Subway with mostly fresh ingredients and so many more. Be mindful of where you take yourself and your kids when you’re out by browsing the online food menus available at most restaurants. You and your family deserve to eat healthfully and it is possible when you set the intention to do so.
Pack your gym bag the night before.
After a long day’s work, it is easy to put off going to the gym, but if you have your gym bag packed and with you in the front seat, coupled with a quick snack from your snack pack, you will be much more likely to hit the gym. If you have your kids with you, there are plenty of gyms that have child care. I look forward to my future “me time” at the gym when I have kids. Use it as your time to decompress, breathe and regroup so that your children get to vibe off of your calm nature as you go on with your day together.
Breathe.
A lot of people underestimate the power of breathing. When you’re going from place to place, dropping one child off at day care and entertaining another child in the car while on your way to get groceries and feeling the stress on your shoulders, take three deep breaths, exhaling slowly to release the stress, anger and frustration you’re feeling in the moment; then smile. My motto is, ‘Just breathe through it.’
Be kind to you.
This is a hard one for us women! Put a spot for you on your to-do list or make a date with yourself. As women, we spend so much time and energy on others, it’s also important to make time for yourself. Make sure you’re at the top of your to-do list! Don’t for a second, forget that you are just as important as everyone else that gets your love and energy. You deserve that love and energy and need it. Be kind to yourself, allow yourself the freedom to make mistakes, laugh it all off, smile, make time for you and know that whatever you need, you have it now. You are enough and you are perfect.
Be intentional.
I have heard children are like sponges. I truly look forward to the time I can be a source of influence and inspiration to my children. I wholeheartedly believe in the power of intention and that what you think becomes your reality. By allotting more time to focus on your intentions as a family, you are creating a more solid foundation in which you are grounded in. When you know where you are going, it is easier to get there. I created Fierce Forward Intention Bracelets to empower myself and others to live with intention each day. Having a visual reminder of your Purpose, Commitment, Courage & Strength, you begin to embody these intentions the more you focus on them. I even make them child sized upon request!

You are so lucky to have a family, a foundation, to build upon and work towards something bigger, together! Be intentional as an individual-remember that girl in the picture- and as a whole and you surely will have a healthy family and a healthy you.
My final tip I will leave you with is to find a picture of yourself that radiates who you are. This can be a picture from childhood, a picture of you caught off guard five years ago or a more recent picture. Take your time in choosing and make sure this picture speaks to you and truly nails the definition of you. Put it up on your DIY Chalkboard (that link will take you right to my tutorial!) or your bathroom mirror, look at that picture every day and remember to take care of her.

Thank you so much for reading my words and thank you amy for the opportunity to reach your Community of Fierce Mothers, whom I look up to!


To Find Out More About Ashley:
Fierce Forward Intention Bracelets
Website: Fierce Forward
Find Ashley on Facebook
Find Ashley on Pinterest, on Twitter or on Instagram!
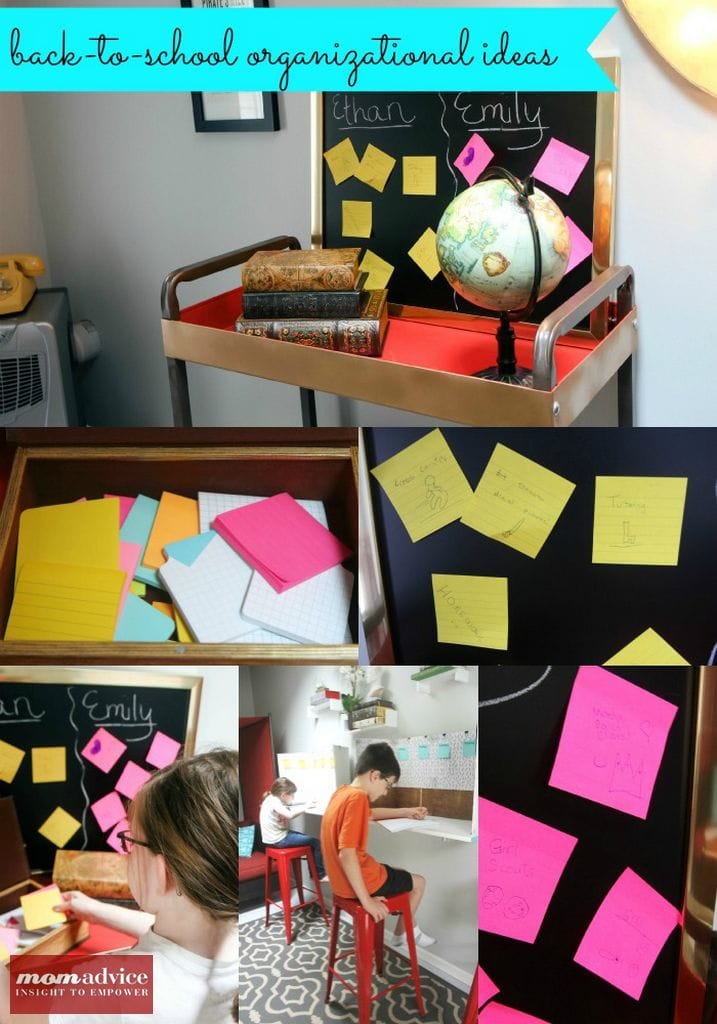
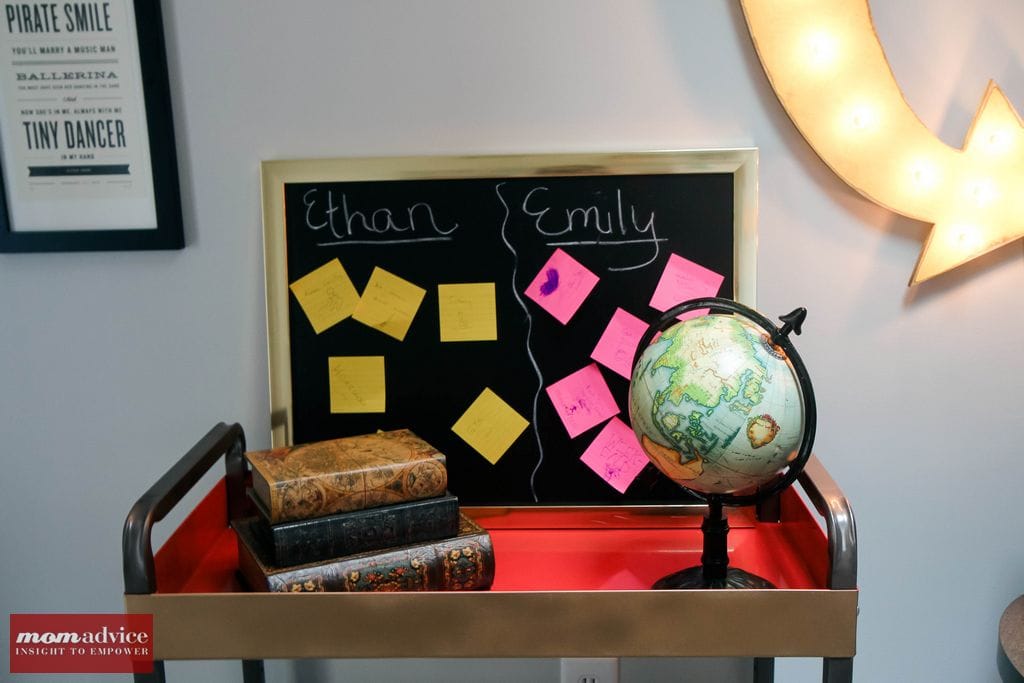
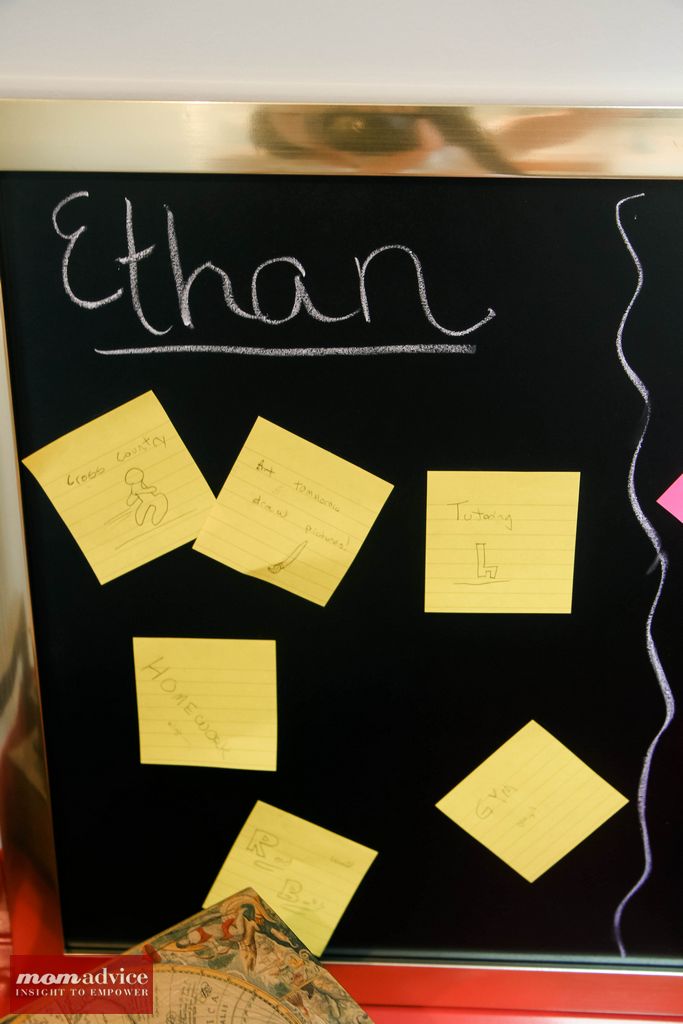

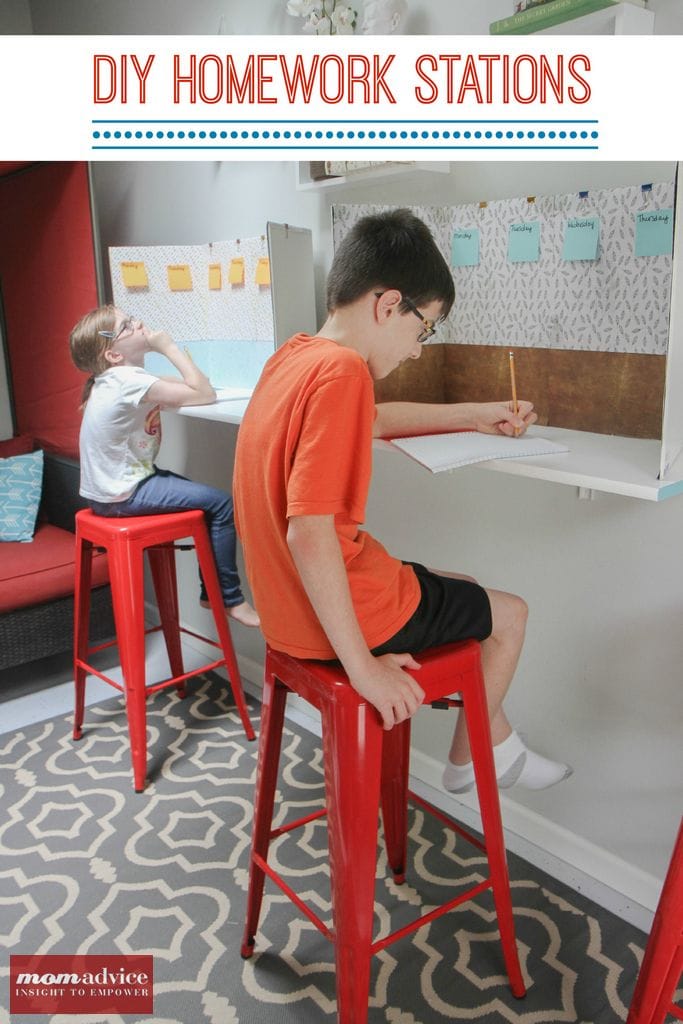


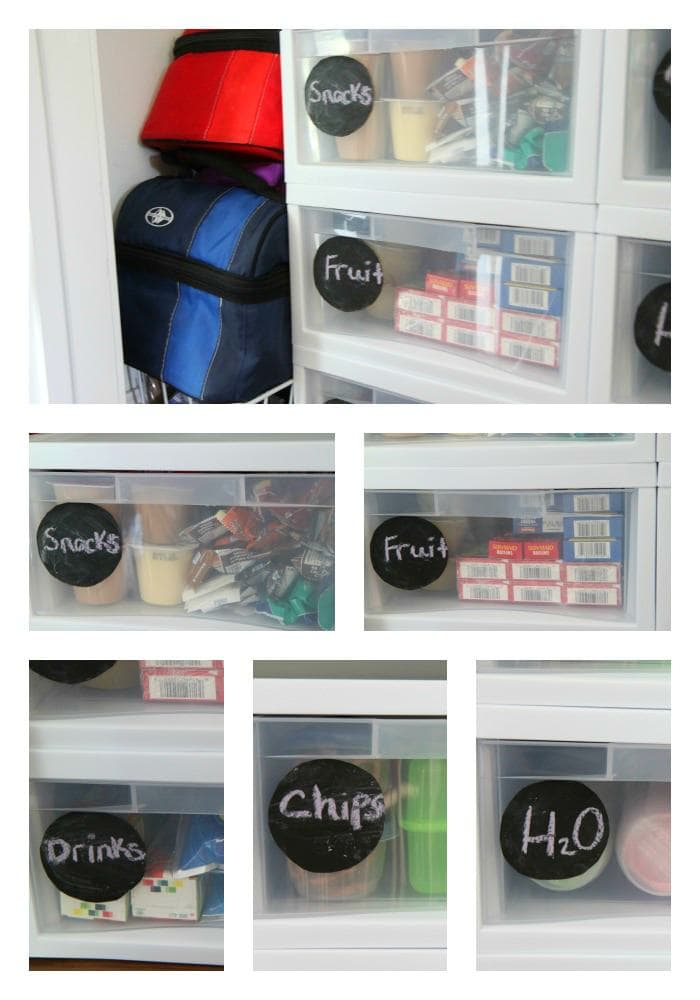


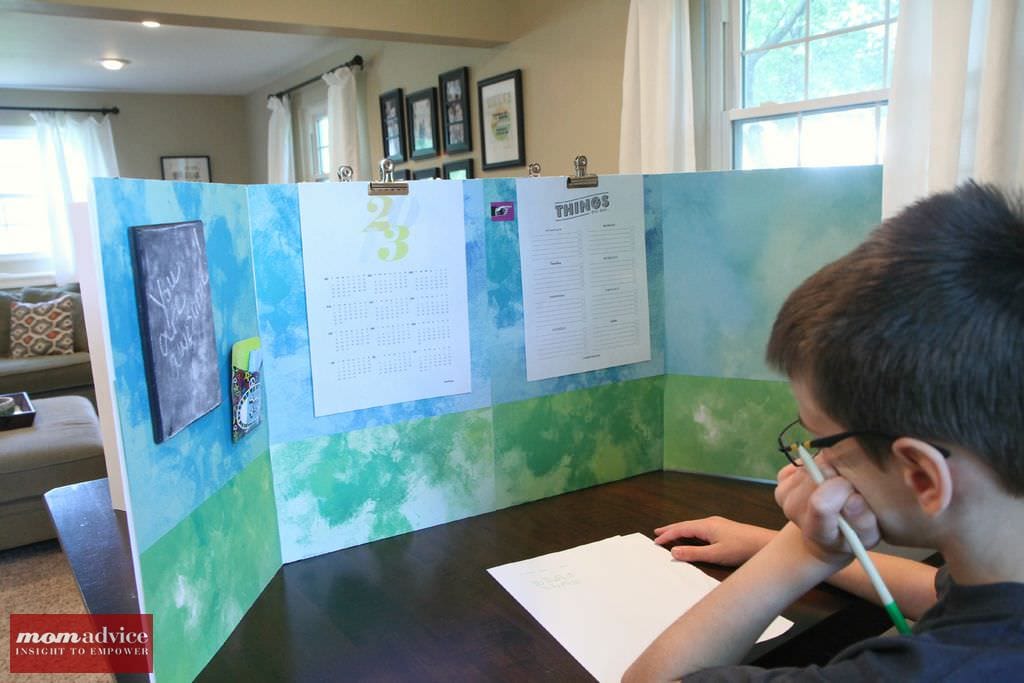
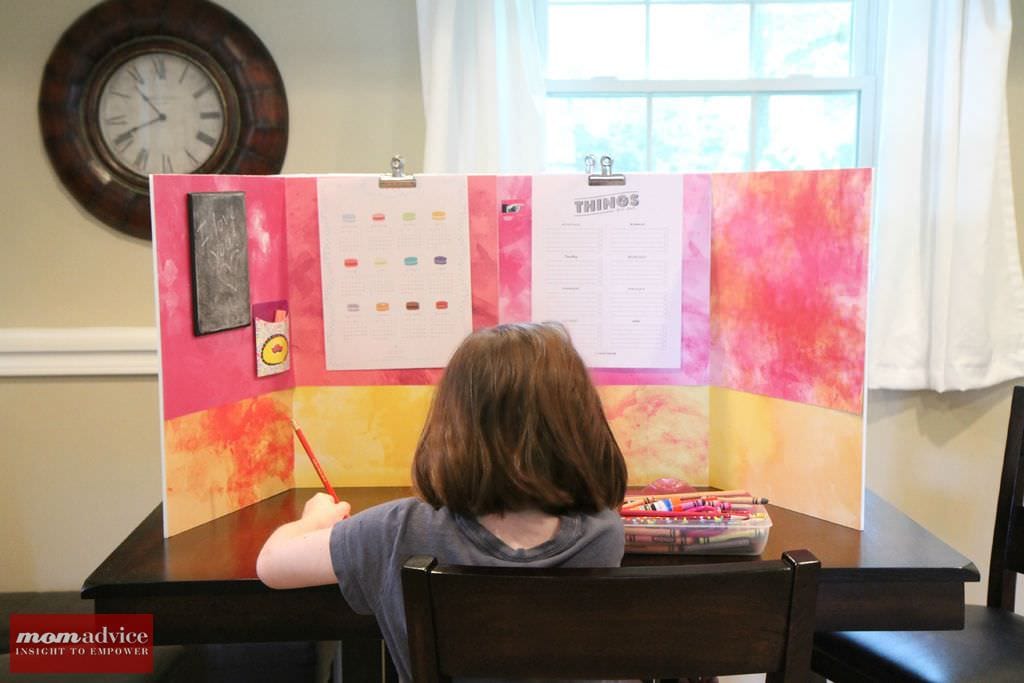
 As you can see, I can wheel them over to corners in our office so they don’t get in the way. I am so thankful for these smart solutions for our space. I am also thankful that I finally feel organized in this space.
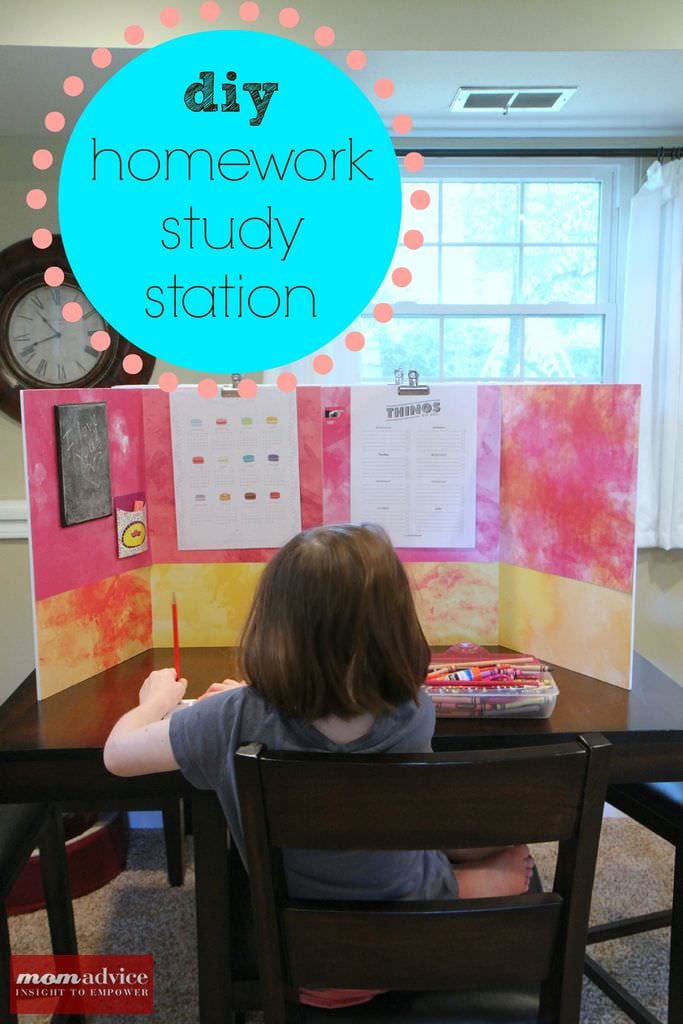
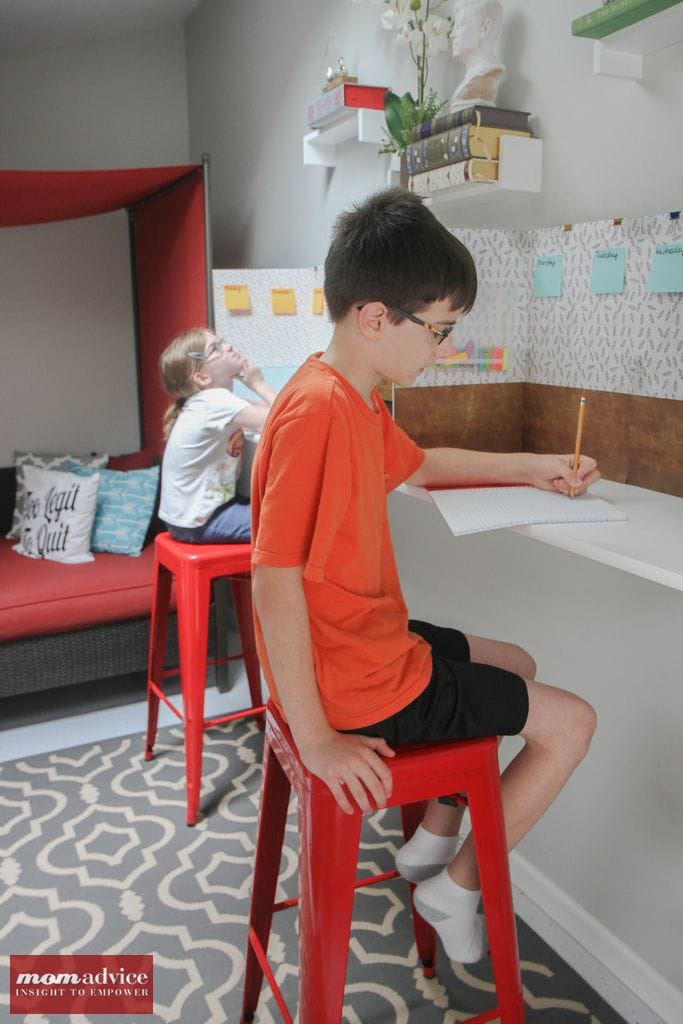
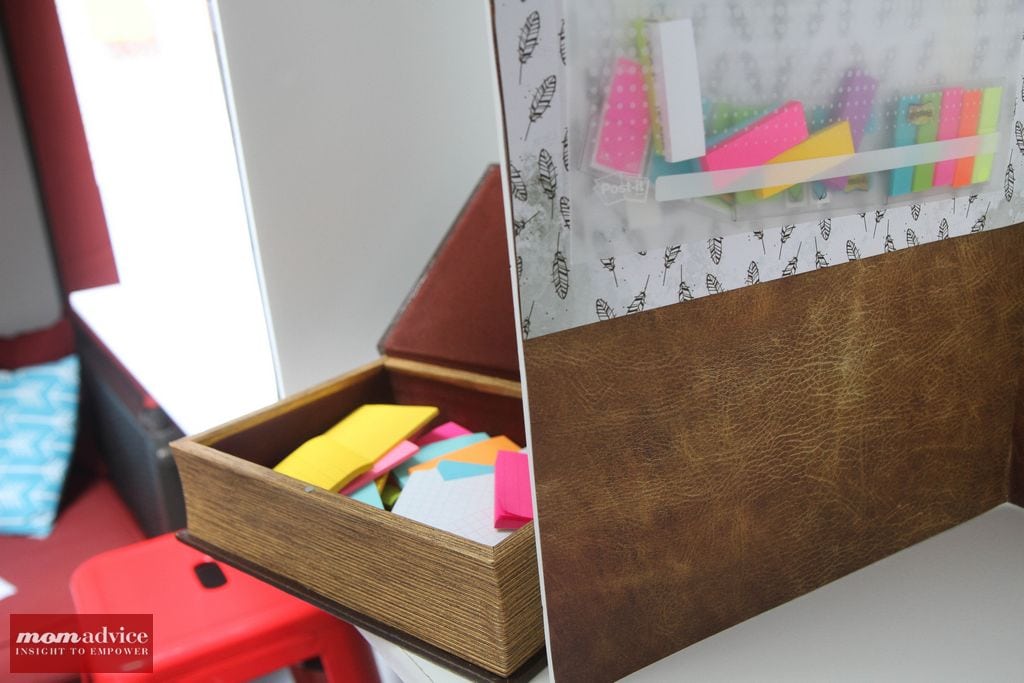
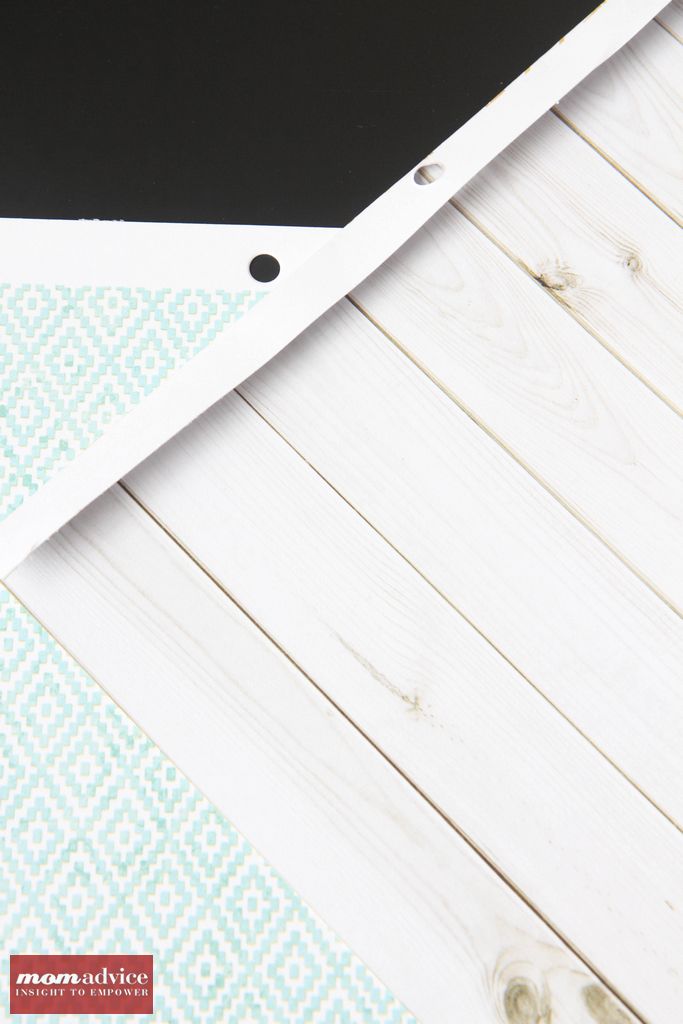
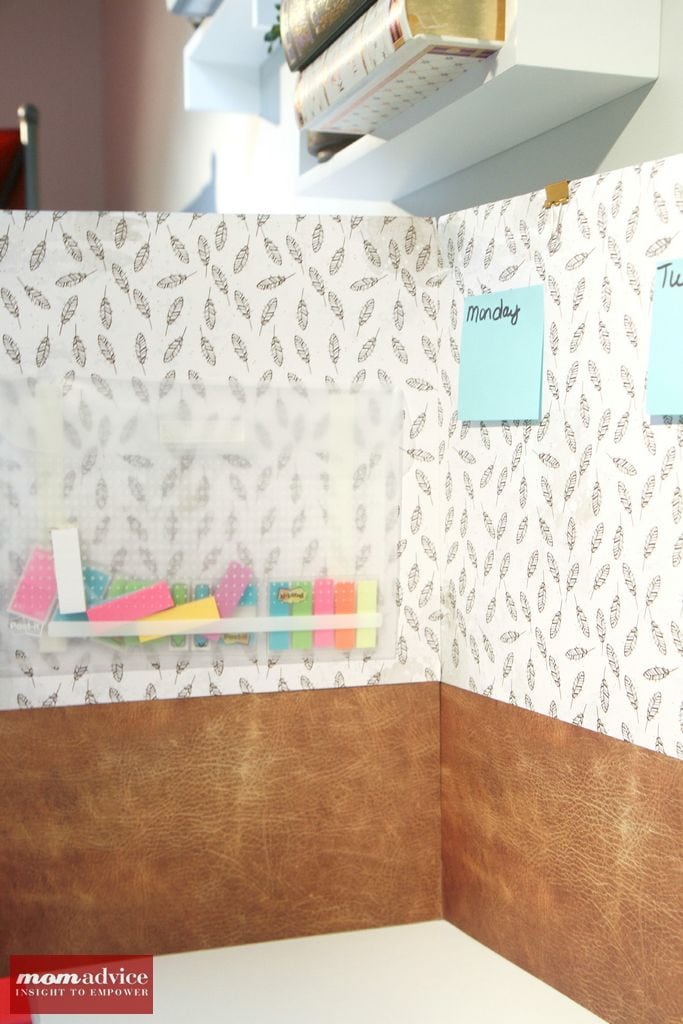
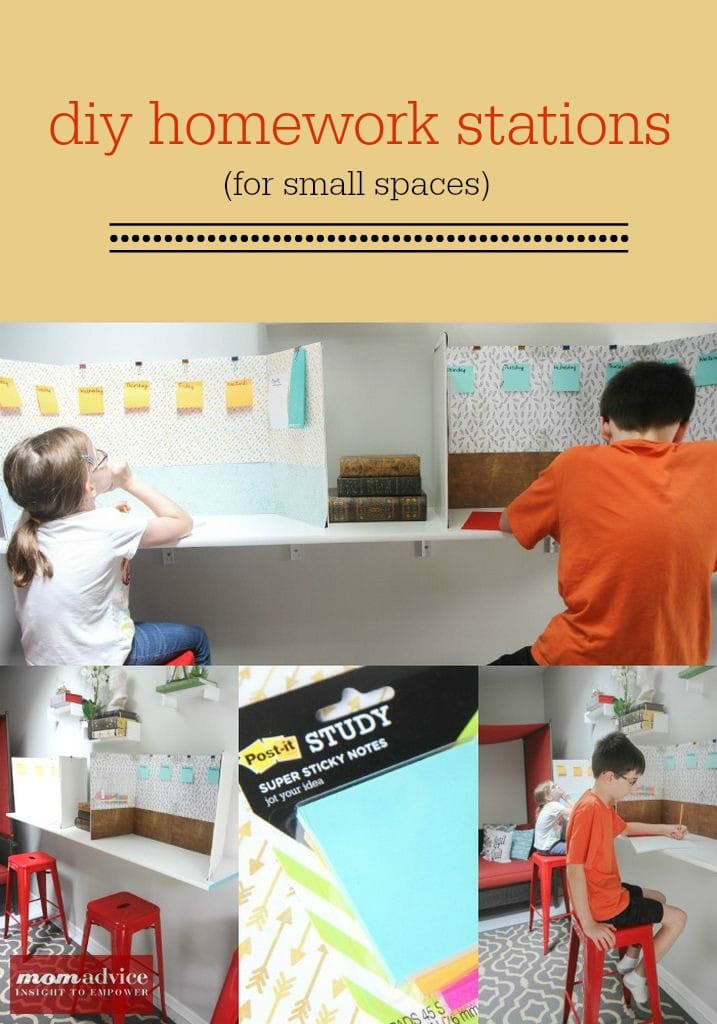
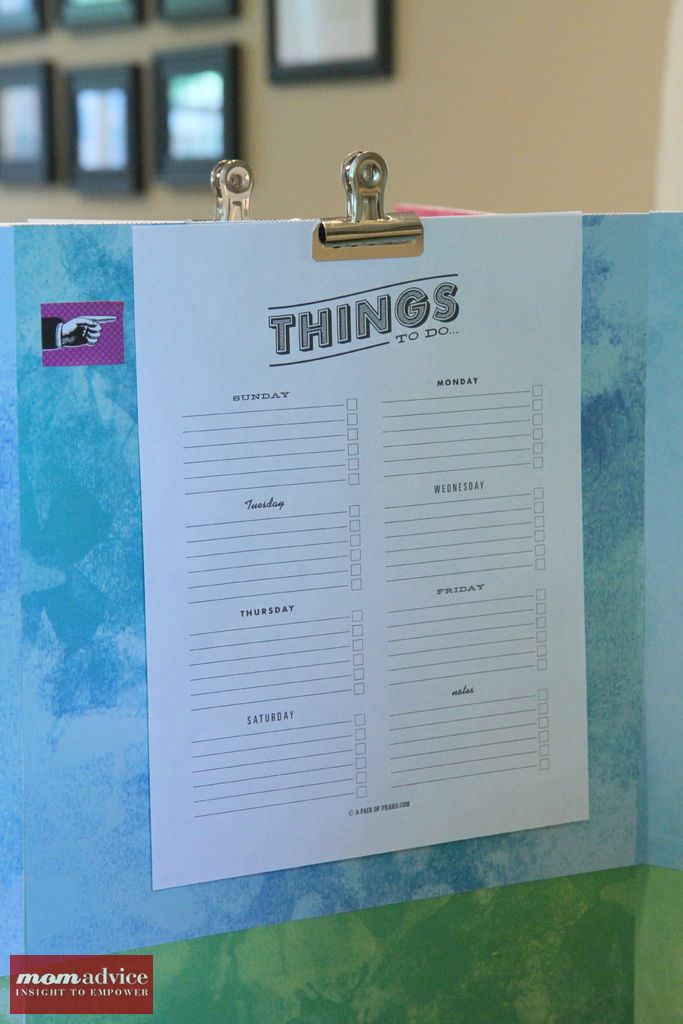
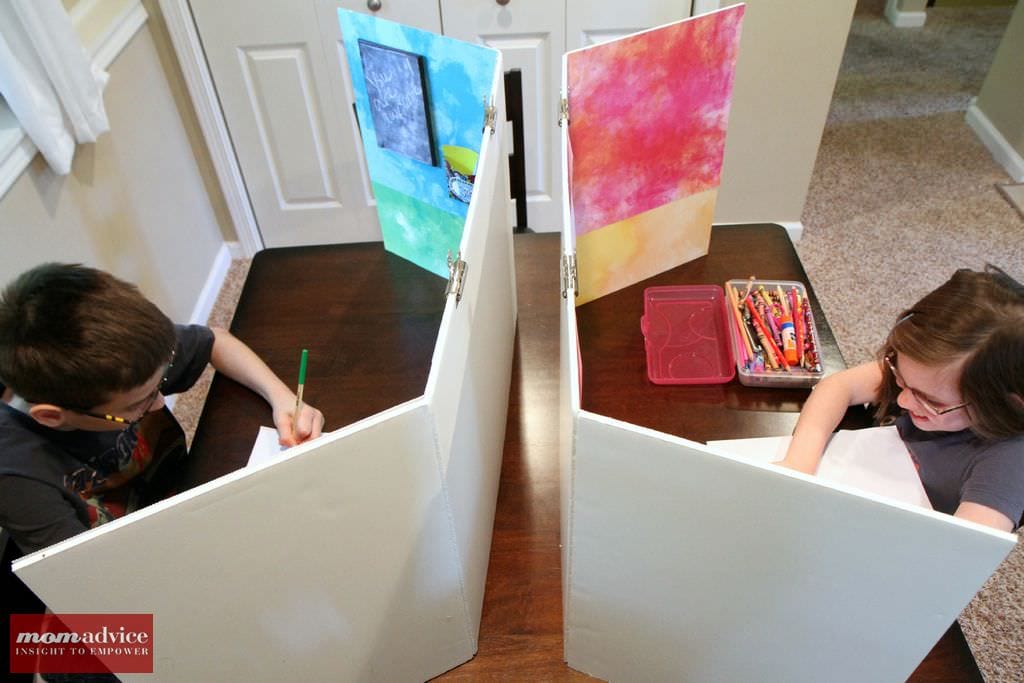 These homework stations are perfect for small space living. Two kids at one table, but each having a place to call their own, so they can focus on their own coursework. The best part is that these can fold flat and be stored elsewhere when not in use! I can’t wait to show you just how easy it is to create these for your kids!
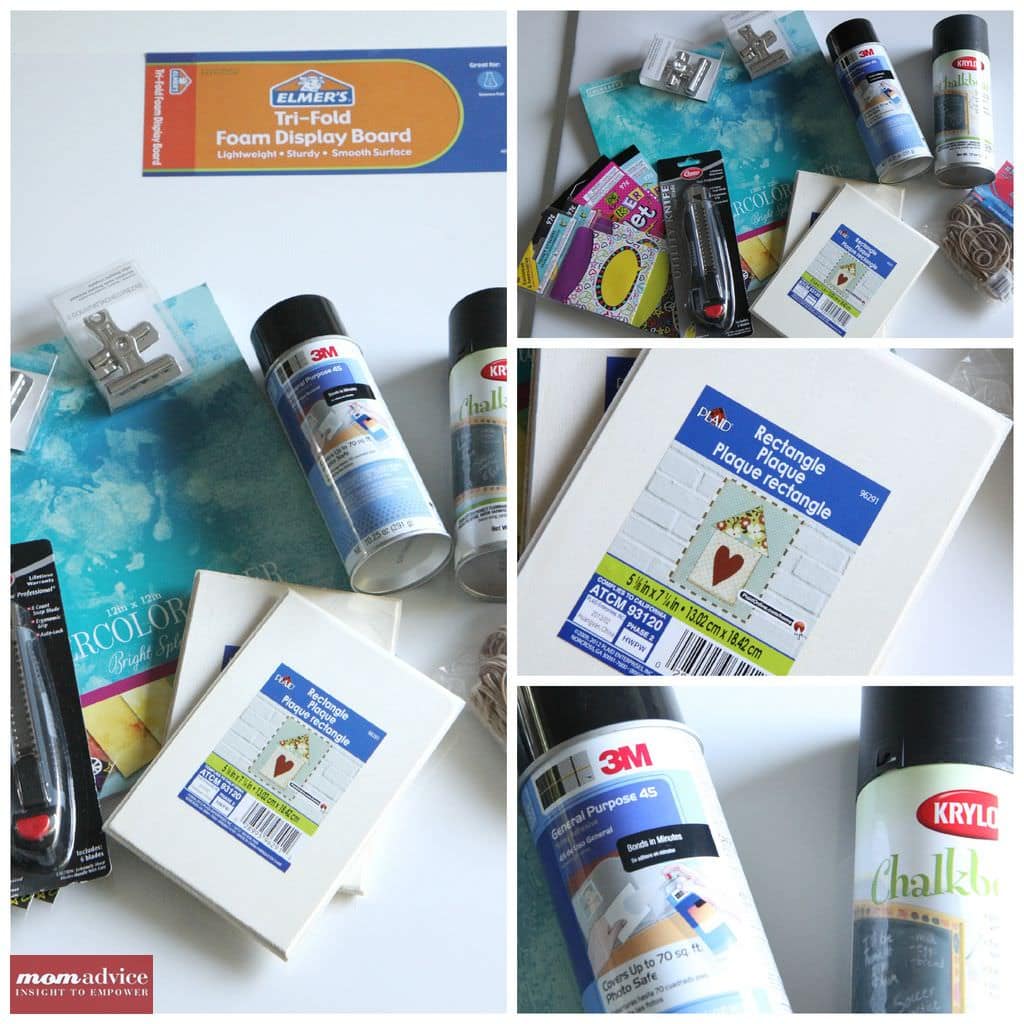
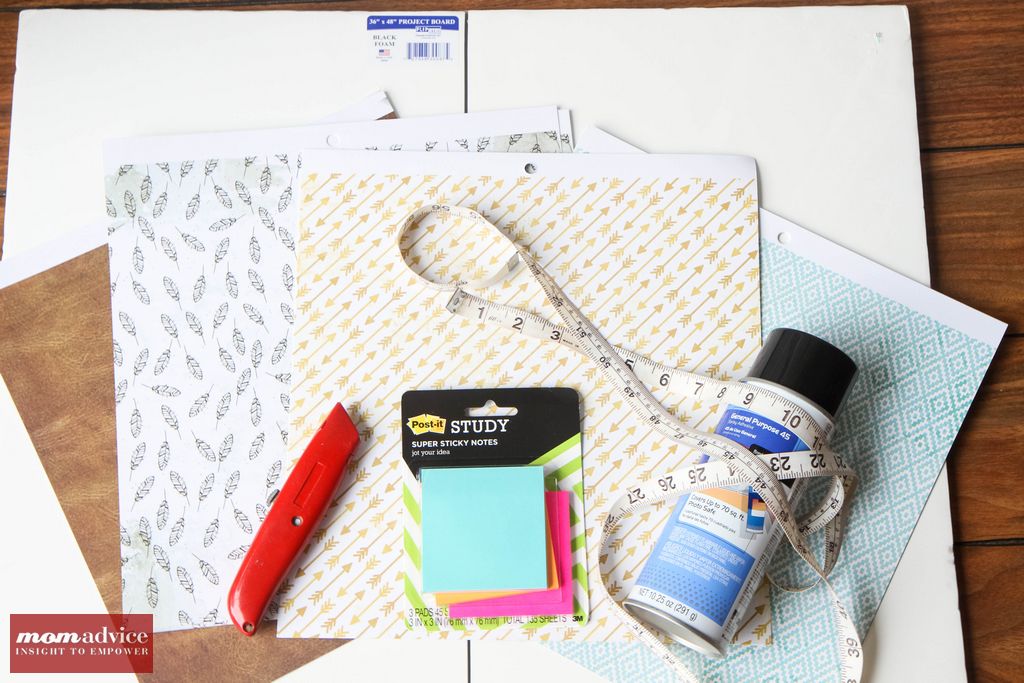
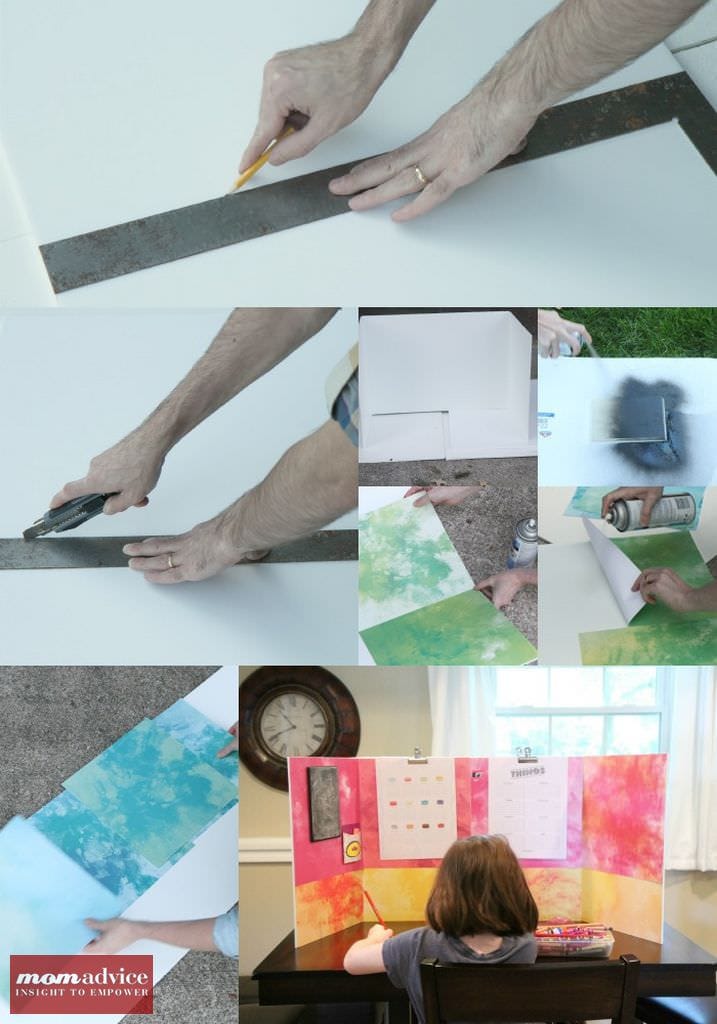 Directions
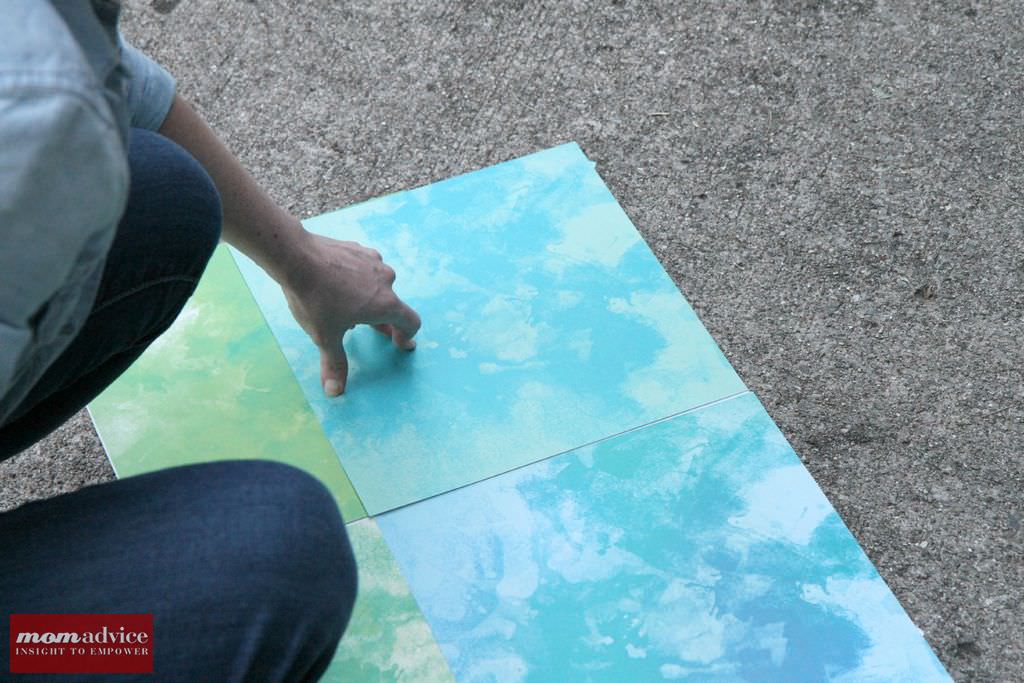


