Archive for the ‘Home & Organization’ Category
Product Review: Family Life Organizer & Planner
Monday, August 13th, 2007Ask Frugal Momma: How Do You Organize Your Pantry & Cupboards?
Wednesday, July 25th, 2007I know you guys were most impressed with the way we organized our closet, but what you *REALLY* wanted to know is how do we organize our pantry.
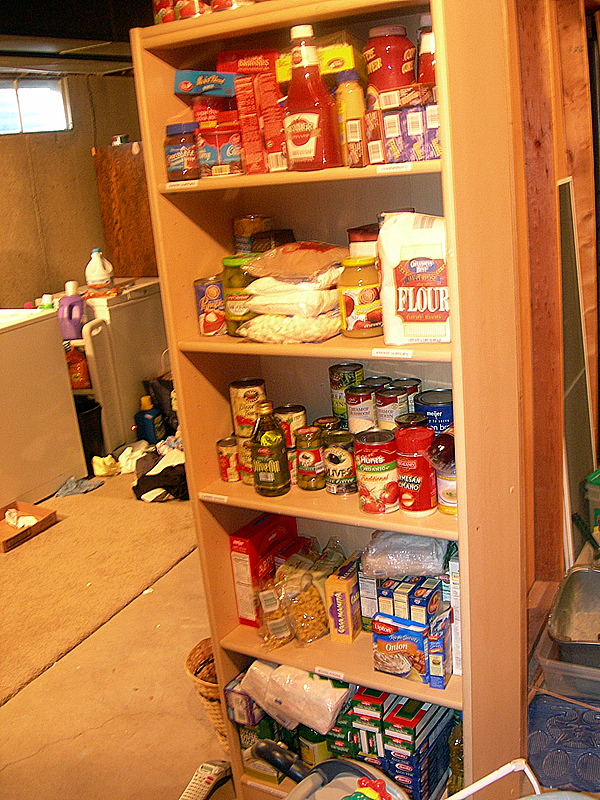
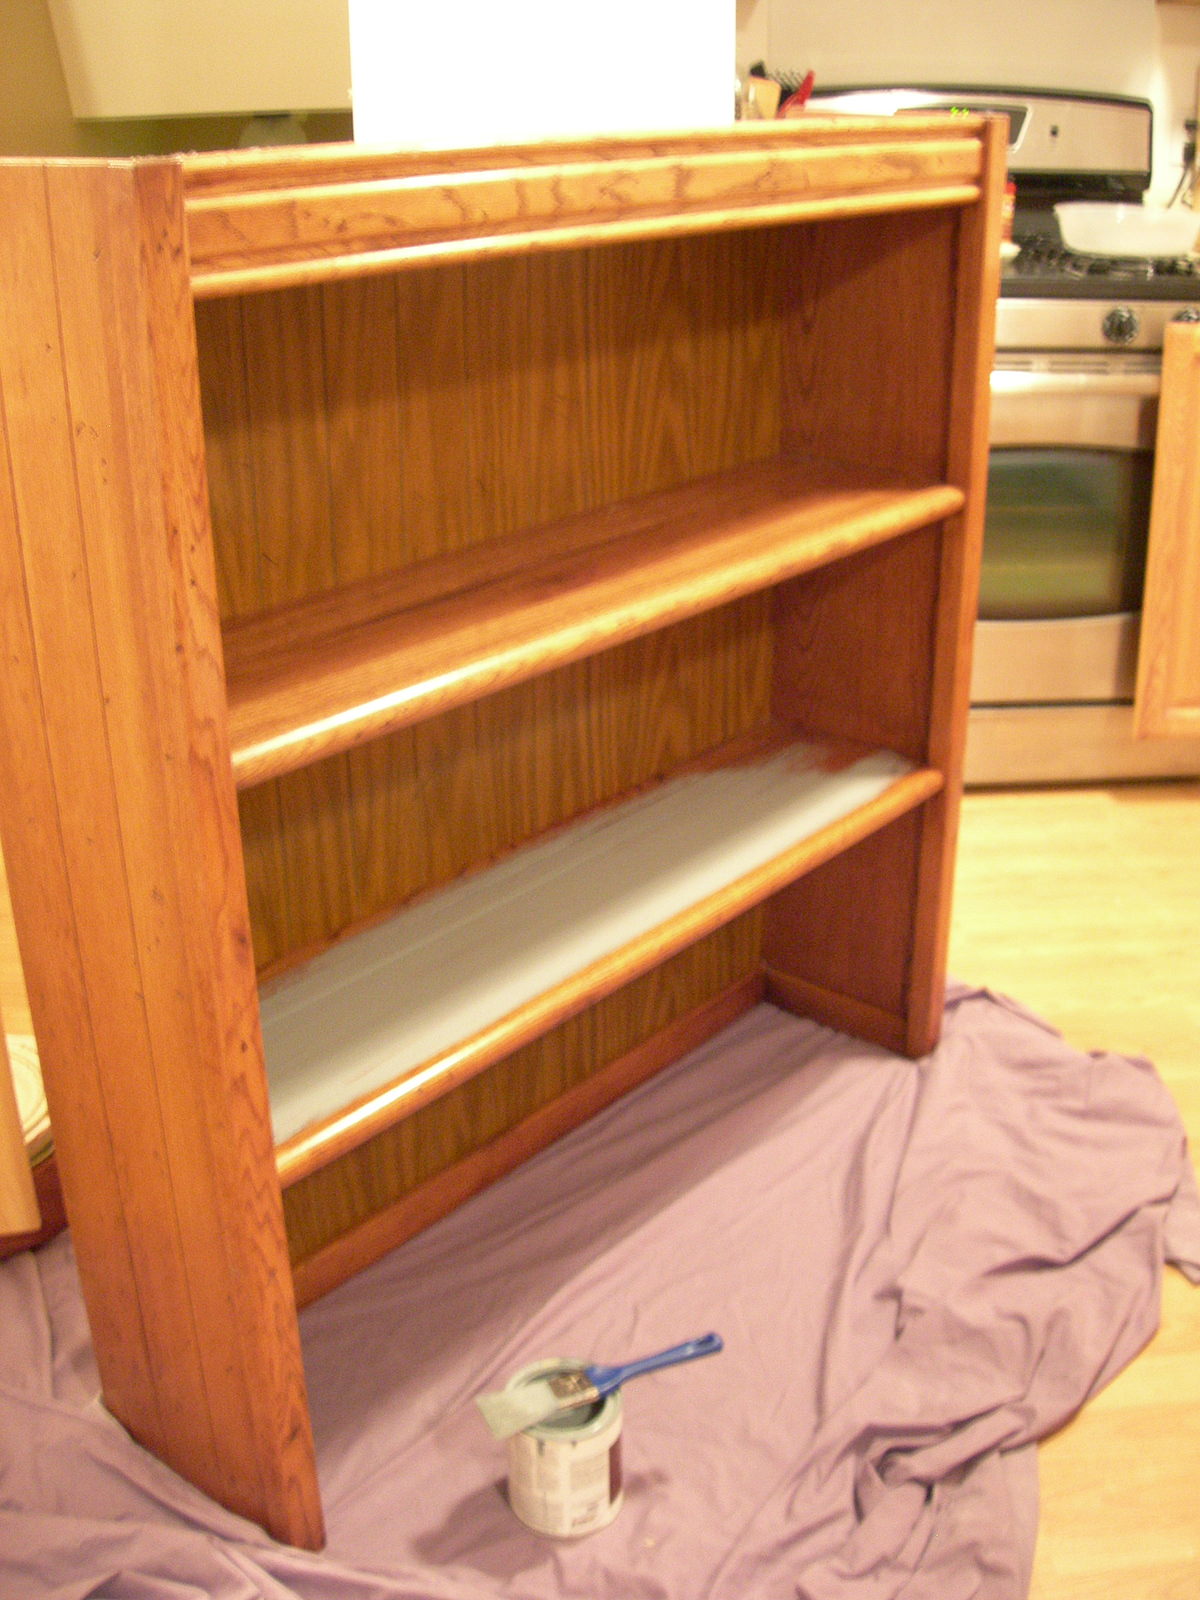
Remember when I revamped my laundry system and my yard sale system? That day I hit up the same college student for a great bookcase that she was getting rid of for only $20! I knew right away what I wanted to do with it and couldn’t wait to bring it home and put it in our basement.
First, let me give you some background information on our house and previous storage solutions. My kitchen does not have very many cupboards or pantry space so I have had to be more creative with my storage. Our big dream is to expand my tiny utility closet into a walk-in pantry, but until that happens I have been storing the majority of my pantry items in our basement.
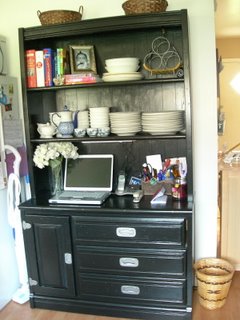
Previously, we had a dark wood bookcase that was extremely deep that we were using to store the pantry items. We had ripped this “bookcase” out of our closet that we had turned into an entertainment unit. Yes, you could say that we are pretty creative with our smaller home. We have tried to maximize the space in places that were not being used properly instead of moving into a bigger home.
Due to the depth and darkness of the unit, what had ended up happening was that I found myself doing the repeat-buying. I would look in the unit and say to myself, “No tomato paste?” And then I would rush to the store and buy tomato paste. When I would pull items out though, I would see twenty cans of tomato paste that I had already bought. This was not frugal and the bookcase was working against me.
The location of the unit was also not the smartest place for me. With a quad level home, I was already making the trek down all of our stairs to retrieve items and then walking into the farthest corner of the basement to get what we needed. It was inconvenient and not a functional storage solution.
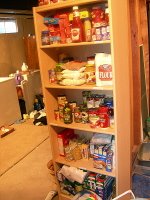
Welcome to the new home for my canned goods! This bookcase rests just at the bottom of the stairs in a well-lit area of our basement. The light wood color makes it easier to see what is in my pantry and the labels (created with my label maker) make it easy for even my husband to find what we need out of the pantry.
Our upstairs cupboards needed revamping as well. We have the same problem with our cupboards as we did with our former basement storage solution. One cupboard was extremely deep and items would get shoved back there until we said, “Hmmm… do you think that this is still good if it expired in 2003?” Obviously, we were wasting food and valuable cupboard space.
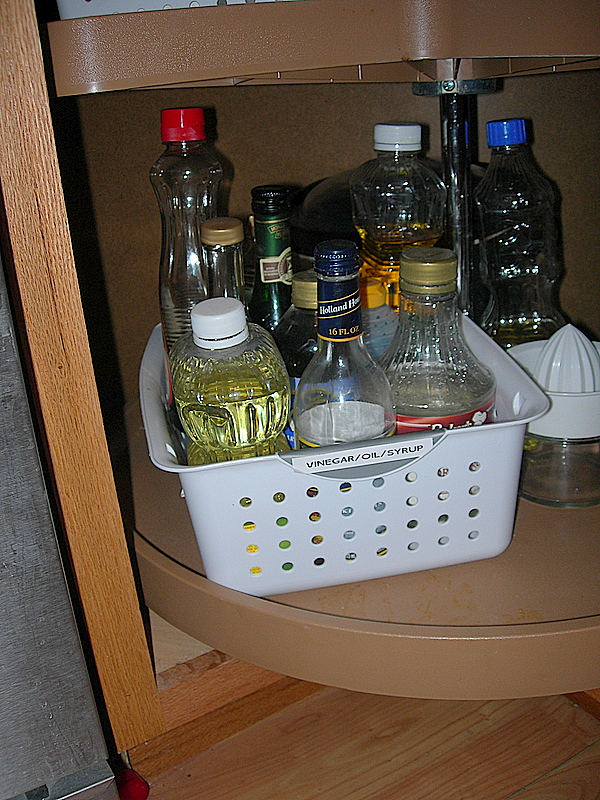
Repeat the same scenario above with the Lazy Susan unit that we had, but just make the items revolve in mass chaos. Clearly, we had a serious problem!
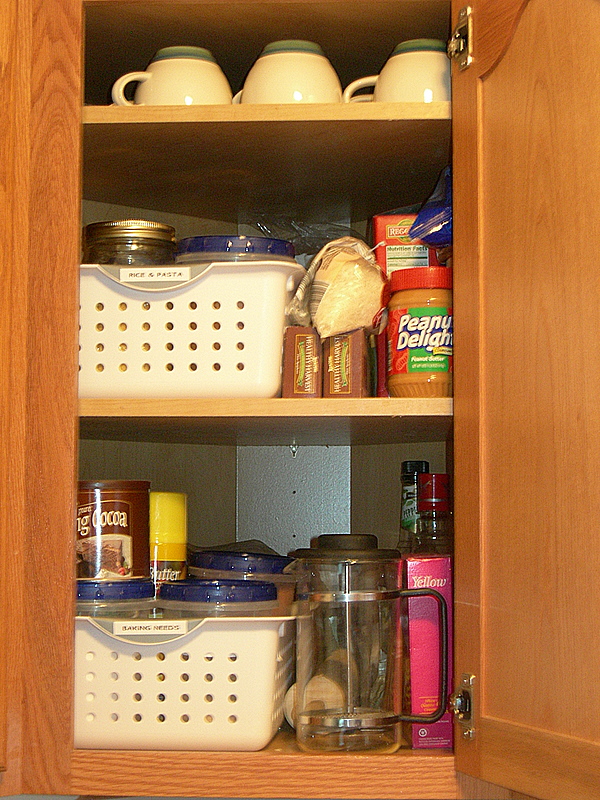
I got these handy storage baskets for less than two dollars each and divided our pantry items into categories. The storage baskets made it much easier for me to pull down exactly what I needed, rather than climbing up on a chair to try and dig through the back of the pantry. It also makes throwing items out quicker, when I need to clean out the pantry, and makes tasks easier because I had grouped like items (or cooking projects) together.
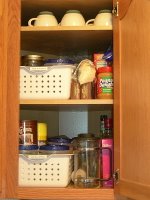
Here is how I grouped the items:
Spices- All of the spice containers were gathered together and imagine my surprise that we had plenty of repeat performers in this category. I wiped down the spices and consolidated them into one container. The spice container is residing in the cupboard closest to the stove. I can pull the small basket down and take out whatever we need and slip it back into the cupboard when I am done cooking. This is much easier than rifling through fifty teeny bottles and makes shopping day easier too!
Cake/Cookie Decorating Supplies- These are items that are used less frequently, but still needed a home. I put these higher up in a basket with handles. Piping bags, piping tips, cookie cutters, food coloring, sprinkles and the birthday candles (that no one could ever find) all went into this container.
Baking Supplies: This is a pretty general category, but it was all of the items that I needed, but could never find. In this larger basket went our baking powder, baking soda, confectioners sugar, shortening, and cocoa powder.
Rice/Pasta: These ingredients went into a larger basket and all of the boxes were consolidated and smaller pastas and the rice were placed into clear Mason jars. The mason jars were labeled and have the cooking instructions labeled on them (unless I knew the directions by heart). In the Mason jars were white rice, brown rice, jasmine rice, orzo pasta, macaroni, and couscous. Larger pasta included linguine, angel hair, and thin spaghetti. Everything fit more neatly and anything extra went into the downstairs bookcase unit.
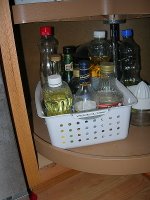
Flour/Sugar: This organizing unit went into our Lazy Susan. This included wheat flour, white flour, self-rising flour, cake flour, brown sugar, and white sugar.
Syrups/Oils/Vinegars: This organizing unit also went into our Lazy Susan and included corn oil, vegetable oil, canola oil, olive oil, balsamic vinegar, white wine vinegar, red wine vinegar, molasses, honey, and maple syrup. Using this unit eliminated the “sticky” factor, which usually occurred, making a huge mess in the bottom of our pantry. Any extra condiments also get put in there, as they are often used in recipes.
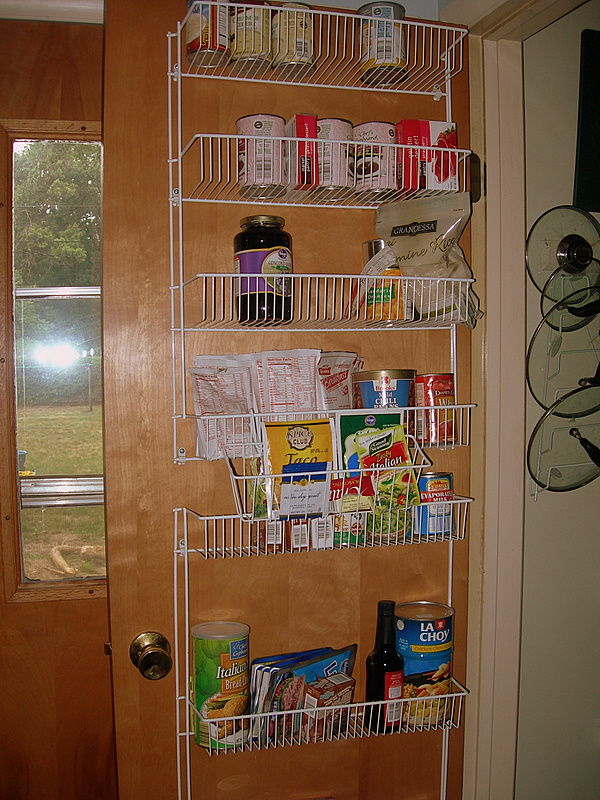
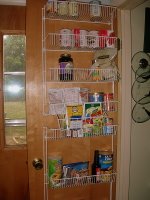
Finally, the items that I like to keep on hand upstairs all go into our pantry door. We bought one of these wire units that mounts on the door and keep items that I might need on hand. A smaller unit, that clips onto the larger unit, houses all of those little packets that we might need to assemble a meal. I try to keep what we need for the week in the upstairs pantry door and then the excess (or whatever doesn’t fit) ends up going downstairs.
If you want, I am happy to share where we keep appliances and stuff like that, just leave me a comment!
I hope that this will help give you s
ome creative storage solutions for your pantry!
Note: You can click on the pictures to expand the size.
Related Readings:
Free Up Pantry Space & Make a Snack
Making Your Spice Rack Usable
Getting the Car Organized
Gettin’ Quick in the Kitchen
Living Out of Your Pantry
Sound Off: What storage solutions have you found work in your pantry?
How I Finally Cleaned Out My Closet
Monday, July 23rd, 2007
I got the opportunity to check out, “It’s All Too Much: An Easy Plan for Living a Richer Life with Less Stuff” by Peter Walsh. I was excited to read this book because I love to read up on organizing the items in my home. Unfortunately, the book focused more on the psychological aspect of people who cannot part with their clutter, rather than a book that is geared towards an enthusiastic clutter-buster.
I would highly recommend this book to someone though who is not living a life that they desire and feel consumed with the clutter in their home. He shares a lot on achieving the life that you have always wanted by taking action and parting with the “stuff” in your life that isn’t benefiting you, but is hindering you from enjoying your home and your life.
The fact is, I am the type of person that feels attached to very little in my home. It isn’t that I don’t appreciate what I have, but the desire to keep items for sentimental reasons has never been big on my priority list. I have memories of good times…not items that represent those good times.
I don’t like to collect items because I don’t like to maintain and dust collections of things. I don’t like to hang on to things that I think I might need in the future because I would rather free up the space in our home.
Don’t get me wrong, my house has true areas of chaos. Our garage is a disaster and our basement is in disarray. These are projects that I need to devote some time and thought to and seem to be the dumping stations when clutter starts to consume our house. We have definite areas that we need to work on in order to make our home more spacious and to create more organization in my life.
The one area that I have always really struggled with is my closet and the clothing in it. I hate to turn away clothing when friends and family give me things (even if I don’t look good in them) and I have hung onto my work wardrobe for no other reason than the fact that I spent a mint on it and thought I could use it when I returned to work.
The simple fact is that I have no idea when I will be returning to work and the pieces in my wardrobe are already beginning to look dated. By the time I return to work, I will still need to invest in a new wardrobe, and I will also need to get rid of the items that are taking up closet space. Why should I wait until then and just free it up now?
Since our closets are small, and the space there is so premium, I decided to use one of the tips that Peter Walsh had recommended when promoting his book on Oprah. He suggested hanging your hangers the opposite way and flipping them when you wore (not just trying on) an item. Whatever hanger did not get flipped at the end of the specified time, got the boot.
This season I was able to get rid of thirty items in my closet. I loaded them up in bags and took the stuff over to our local thrift store. Not surprisingly, this was very freeing for me and I felt really good about the small accomplishment I made.
My clothes are now sighing with relief because they can breathe a bit. Now that I have room to move my hangers and see my wardrobe, I am able to enjoy the items I have and am noticing all of the the potential outfits in my closet that I had never seen before.
Sound Off: Do you get emotionally attached to your belongings? What is your problem area in your home?
Ask Frugal Momma: Washin’ the Washer
Tuesday, July 17th, 2007
Dear Frugal Momma, Would you mind doing an entry on cleaning the washing machine…both inside and out? I know that probably sounds strange, but I try to clean everything in my home on a regular basis! Thanks in advance! The Cleaning Queen
I have to admit that this is something I had never really thought about, although I am sure it is one of those items that I should add to my regular home maintenance. This entry required a little research so I hope that it will help someone else out there!
For the interior of the washer, you will want to clean your washing machine from time to time by running it empty on a hot cycle. I will offer up two choices for cleaning the washer. You can do it the environmentally-friendly way or by trying the bleach version.
The first way that you can clean the washer is by running the hot cycle with one cup (250 ml) of white vinegar. Just add it during the cycle and allow the vinegar to clean the washer for you. The vinegar will help remove any detergent deposits that have built up on your washing machine.
The second alternative for cleaning can actually be used in disinfecting a variety of non-food-contact surfaces. The recipe was supplied by, “Home Comforts” written by Cheryl Mendelson. This method is recommended for your washer, as well as the bathtubs, showers, sinks, marble, plastic, fiberglass, diaper pails and indoor garbage cans. The disinfecting solution is not recommended, however, for metal fixtures or on dark or colored grout.
Disinfecting Solution
3/4 cup bleach
1 gallon warm water
1 tablespoon of powdered laundry detergent
Using solution, wash surface or object clean. Then keep it wet with the solution for at least five minutes. Rinse and let dry.
The exterior of most washer and dryer tops are made from porcelain enamel or synthetic enamel. This type of material does not stand up well to repeated exposure of chemicals such as ammonia, chlorine bleach, or any abrasive cleaners.
The best solution for cleaning the exterior of the washer (and just about everything else) is my homemade all-purpose cleaner. The recipe for that is:
All-Purpose Cleaner
2 tablespoons dish soap (any kind works fine)
2 cups warm water
Put two ingredients into a spray bottle and give it a shake to incorporate them.
If you begin to see any mildew damage to the rubber door seal, on your washing machine, you will want to disinfect it to discourage further problems and to remove what has already occurred. Make a solution of one cup chlorine bleach to two cups warm water. Wearing rubber gloves, first wipe the lower portion of the door seal (where the water and bacteria will be most concentrated) with a soft cloth soaked in the bleach solution. Then wipe down the entire seal. Finally fill the bleach dispenser with bleach and run the washer empty through one hot cycle. You can repeat this process every two to four months to keep mildew down. This is particularly recommended if you live in a humid climate or if your laundry room is not well-ventilated.
I hope this helps answers your question! Please feel free to email your questions directly to me at amy@momadvice.com on any topic related to homemaking or saving money. I would be happy to answer your questions. You can also submit your questions through our forum.
Related Readings:
Happy Homemaking the Homemade Way
Cleaning Out Yo Fridge
Frugal Solutions for the Swiffer
Frugal Carpet Steaming
Favorite Frugal Cleaners
Organize Your Week
Washing Your Child’s Lovies
Monday, July 9th, 2007“It doesn’t happen all at once,” said the Skin Horse. “You become. It takes a long time. That’s why it doesn’t happen often to people who break easily, or have sharp edges, or who have to be carefully kept. Generally, by the time you are Real, most of your hair has been loved off, and your eyes drop out and you get loose in your joints and very shabby. But these things don’t matter at all, because once you are Real you can’t be ugly, except to people who don’t understand.”
(The Velveteen Rabbit)
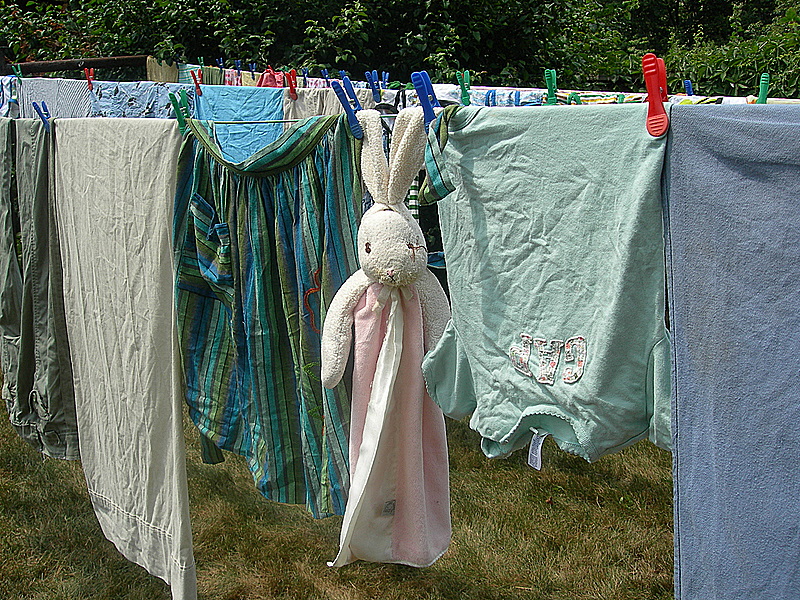
Do you see anything strange hanging on our line? Emily’s rabbit makes an appearance there quite regularly, and it always cracks me up to see him pinned and waving in the breeze by his ears. There is just something so comical about that.
Since Emily was three weeks old, she has been in love with bunnies. Before she was born, my grandmother and I were antique shopping and ran across a cute little gift shop. Inside the gift shop was a bunny that I pointed out to her and said how perfect it would be for a little one to carry around since it was smaller than a blanket. She ended up buying one for Emily and she absolutely loved it. A girlfriend also happened to send a very similar bunny to us as a baby gift for Emily. She always had one of these little guys tucked under her arm since she was really small and now we can’t go anywhere without them. Her rabbits remind me of my favorite story growing up, “The Velveteen Rabbit.” I was never attached to anything in this way, but I always wished I loved something like that.
Emily’s bunny collection has grown and now we have four bunnies in tote with us on any given day. She likes to chew on their ears and drag them around on dirty floors. With all the love they receive, they need frequent baths.
Here are some tips for cleaning your child’s stuffed animals:
– For smaller toys, like beanie babies, you can actually throw them in your dishwasher. My girlfriend’s daughter loves to tote these around and she just puts them in the dishwasher on the top rack. The chemicals that help whiten the dishes, will also help whiten the stuffed animal. Allow the stuffed animal to air dry. Other smaller toys, that your child puts in their mouth, can also be thrown in the dishwasher for a quick and easy way to keep them clean.
– For larger stuffed toys or ones that have been loved a bit too much and could fall apart in the washer, you can stick the stuffed animal in a paper bag with a little baking soda. Shut the top of the bag and shake the bag until the animal is coated in the baking soda. Let the animal sit in the bag for about a half hour and then take him out and give him a quick swipe with a towel, to get any lingering baking soda residue off. He should smell nice and fresh.
– In most cases, you can throw the stuffed animal in a pillowcase and run the delicate cycle in your washer. Before you throw the animal in, make sure that all of the stuffing is sealed in and all body parts are attached. Perform any emergency surgeries before the washing, and then run the cycle. Avoid the dryer, if at all possible, and allow the animal to air dry. In our situation, we have a back-up that we can use, but if you don’t the waiting-to-dry process can seem like days. If you have a clothesline, you can hang the animal out there and let the sun dry the animal. Trust me, it is a lot quicker and time is of the essence when it comes to your child’s most loved items!
– If you have animals that are collecting dust (this is most likely not the case when it comes to the lovies), you can use your vacuum hose and suck the dust off of the animal.
Sound Off: Does your child have an animal that they carry around with them? How do you care for your animals and how do you distract your child while they are being cared for?
Achieving Balance When Working From Home
Saturday, June 30th, 2007
I knew that I always wanted to work from home because it would be the ideal situation for our family. I would be able to be home with my children and do all of the things that I could ever want with them, and I would also maintain a booming business in the process. I wanted the best of both worlds and never really thought about what it would take to achieve the balance of home and family life when both were so intertwined.
Working from home is an incredible blessing and is something that many people desire. Receiving a paycheck while being home with your children is ideal for many families, but how do you squeeze in time to work and also make time for your children, particularly with small children underfoot?
Here are some tips for achieving that balance in your life:
Make a Schedule and Stick to It
Just because you are not clocking into a workplace, does not mean that you don’t have the opportunity to create regular hours. Life does get in the way of this, but trying to set aside a specific block of time to work is ideal for you and for your children. Set a timer for yourself and begin working during this time. When the timer beeps, it is time for you to turn away from the work you are doing and focus on the children. The children will be just as excited as you to hear the timer beep and will be more respectful of the time you need to get your work done.
Take advantage of any down times that you can. Do your children have a nap? Use their nap time to work. Do they have quiet time each day? Use this time to accomplish some tasks off of your list. Down times can also include time when dad can help with the children or when the children are tucked away in bed.
Sit down and write out an ideal schedule for your life and print it out and hang it somewhere visible for the whole family. Explain that these are your hours and that you need these hours to work so that you can continue being home with them. It will take some time for the family to adapt, but they will adapt. You will have a greater sense of accomplishment for the day and you will have more time for your family in the process.
Create a Kid-Friendly Office
Making your office child-friendly is very important, particularly when your children are small. It is important to incorporate them into your work environment and have fun things for them to do in your workspace.
In our office, for example, we have tons of art supplies and a small table and chairs for the children to sit at. While mommy is hard at work, the children can be “working” on their own projects. Other ways that I have included them in my workspace are a set of shelves for their own books, a special selection of toys, games, and a chair for them to sit on and talk to me. They are small additions to the office, but provide a welcoming place for them to visit with me while I work.
Conducting Business
It is hard to conduct business with children. The best way that I have found to do this is through email. I try to do the majority of my communications through email because there are no distracting noises on our end and I can do my replies at my leisure.
If emailing is not possible, suggest times during a child’s quiet time or during their naps so that you can have a time with the least amount of disturbance. Suggest a window of time to the person and make sure to specify your time zone. I have had many an unfortunate conversation at the wrong time because I did not make this specification.
Just realize that it is Murphy’s Law that whatever time you pick, your child will choose an entirely different schedule for that day. I try to go with the flow and if there is a lot of noise on my end, I think it indicates to the other person that I am exactly what I say I am- a mom who is busy doing both roles at home. There will be the occasional person who is irritated, but more often than not, they say, “You really do operate your business out of your home!” If the noise begins to cause too much confusion, request a different time to chat and chalk it up to just another day of working from home!
Get Help When You Can
If you are having trouble with your workload, it might be a good idea to hire someone to help you. There is no shame in asking for help and many times friends and family will feel proud that they can help you in achieving your goals.
Try and take advantage of the summer days and hire a mommy’s helper to take care of your children while you work in your office. Teenagers have more availability in the summer, but you will also have to work around their family vacation schedules and summer camps.
If you can’t afford to hire any help, check in with other people who have work-at-home businesses and see if you can trade babysitting with them. They are probably in the same exact predicament and would welcome the opportunity to trade with you.
Your significant other is also a great person to have help you during the evening and weekend hours. Explain to him the difficulties that you are having with time management and sit down together to tackle a plan of attack. Your spouse knows you better than anyone else and will know where your weaknesses are versus your strengths.
Utilize Time-Saving Strategies
When you run a home business, you may still be responsible for the laundry, the dinner, and keeping up with the house. It is important to try and take advantage of ways to save time so that you can get these things done and still have time with your children and your business.
Slow cookers can be an invaluable way to save time when preparing a meal. Make sure to chop everything and throw it in the crock before going to bed and all you will have to do in the morning is turn your slow cooker on.
Laundry is better tackled one load at a time so each morning, hunt through your hampers and see if you have enough for a load. If you let the laundry pile up, you will feel overwhelmed and it will require more of your time.
Keeping up with the house is easier if you just take short bursts of time and try and tackle one room at a time. Set a timer and devote fifteen minutes to each room, concentrating on the rooms that will be most seen, especially if you are having a sitter come. It is easier to shut to door to your bedroom than it is to the family or living room that the children play in. Pick the rooms that need the attention the most and worry about the rest later!
What is the best time-saving strategy of all? Involve your family in helping you with the house. Give the children daily chores and make sure that they follow through on them. While teaching your children to do things around the house can be tedious in the beginning, the rewards will be worth it! Have your spouse and children help you so that less of that work falls on your shoulder. Remind them that the help that they offer you will give you all more opportunities to spend time together as a family.
However you decide to balance your work and family life, remember the original purpose for working at home…it was so that you could spend time with your family. If you find your business begins to take priority over your family time, it is time to reevaluate your life and your goals.
Getting the Car Organized
Wednesday, March 28th, 2007A couple of weeks ago, the warm weather got me out to finally clean my
Frugal Carpet Steaming
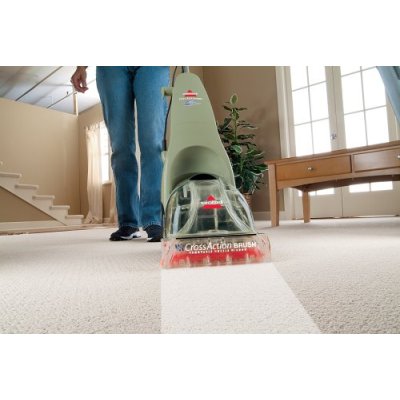
Friday, February 23rd, 2007When my in-laws saw how horrible the carpets were, they offered to purchase a small steam cleaner for our new place. They took us to Target and invested in a small Bissell Steam Cleaner for our new home and some bottles of cleaner for us to deep clean the carpet.
After steaming those floors and feeling the pride in how clean they were, I was ready to steam all the other carpets and rugs in our home. Unfortunately, the cleaner had run out so I would have to invest in some more of the carpet cleaner… Or would I?